

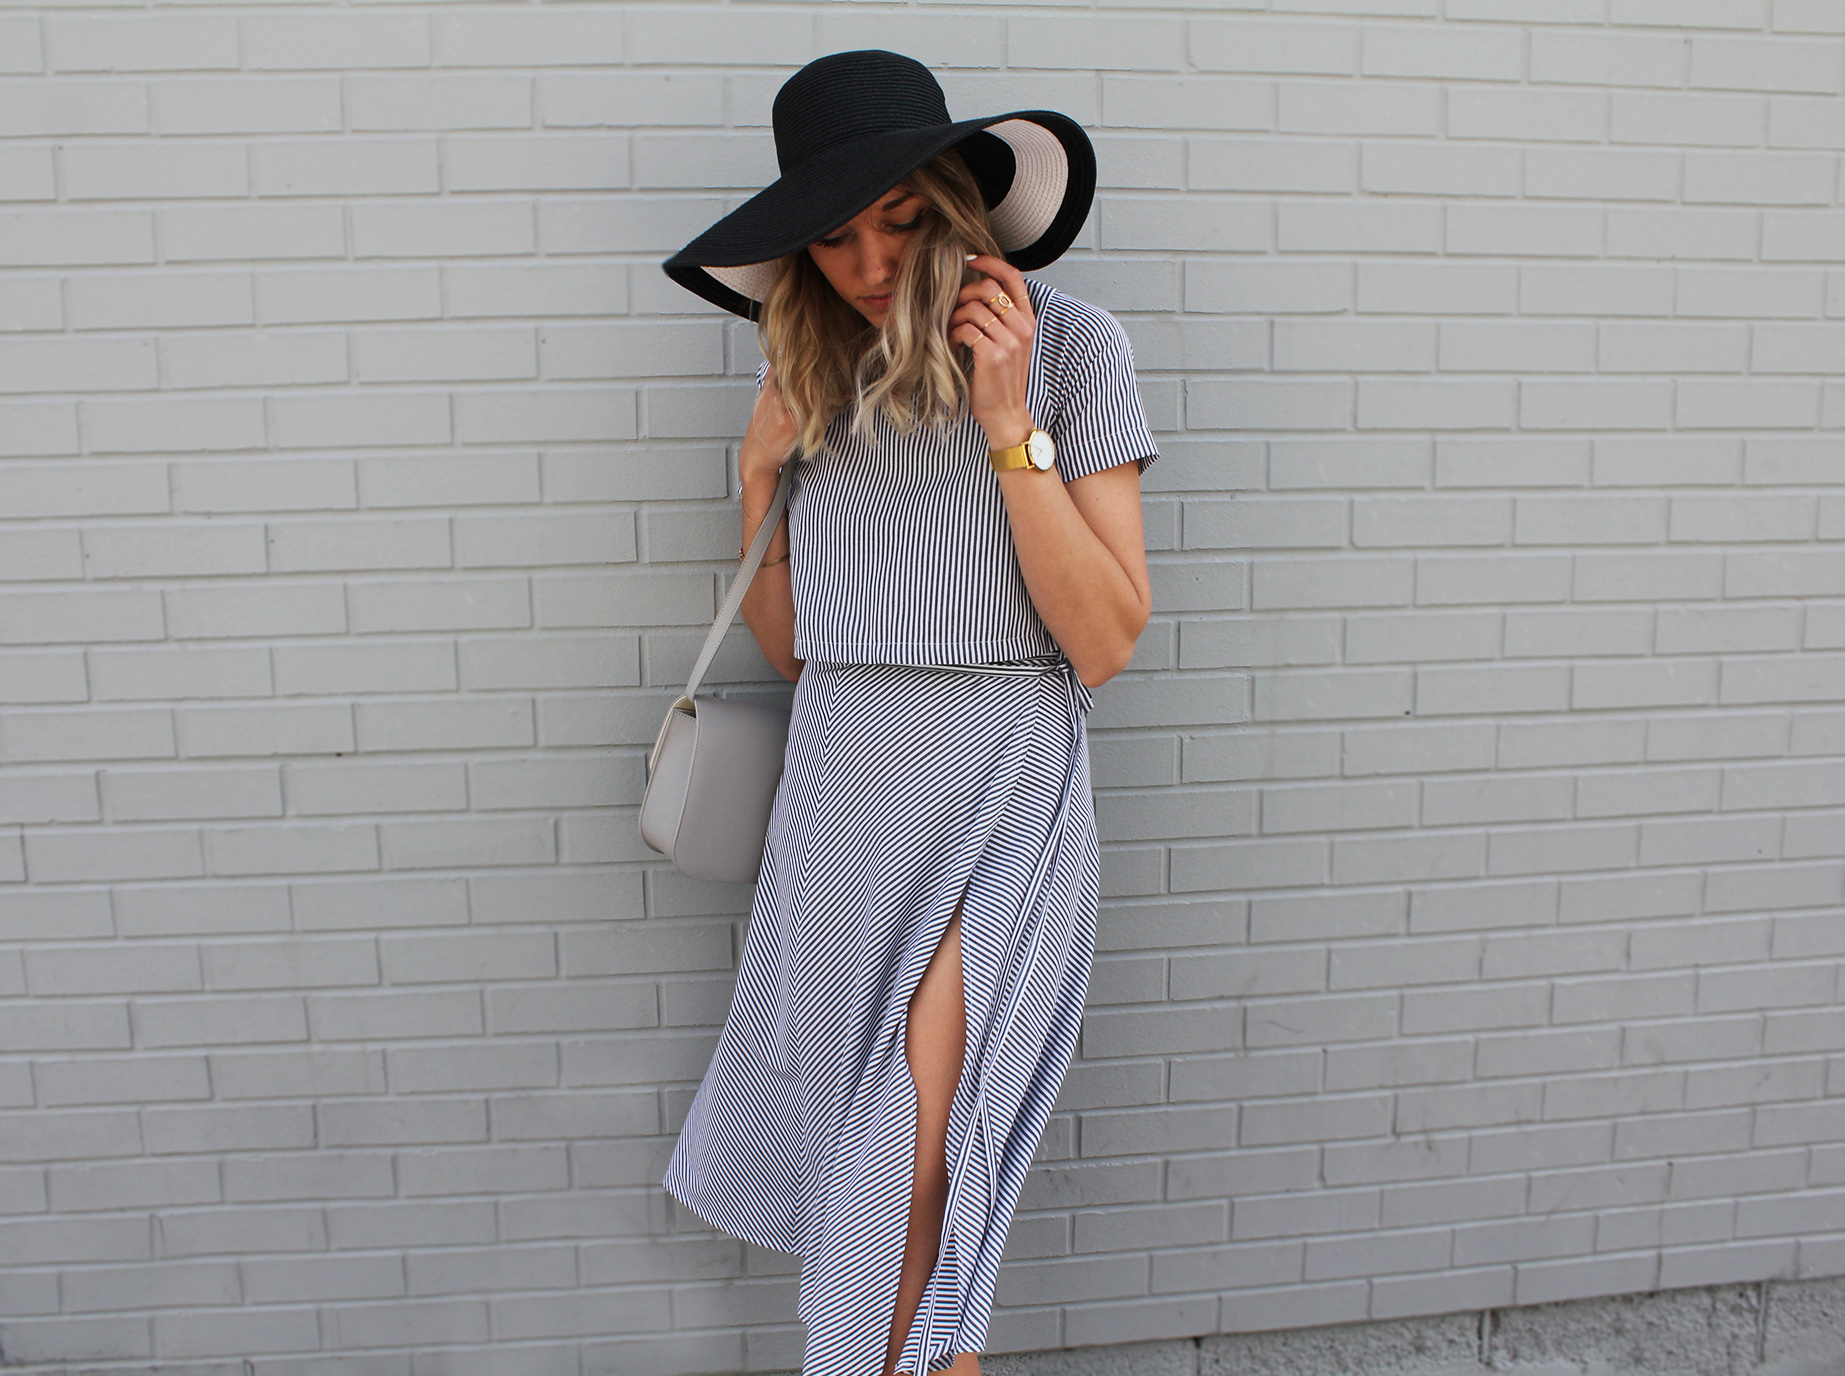
Summer & stripes are here! There's nothing like the mindless simplicity of a matching top and bottom.. Any day where the hardest decision is which hat to wear is a good day. Shoutout to the gorgeous Olivia Lopez of Lust for Life for surfacing this awesome set by Stil. to me, it had to be done. My sleeve fit didn't turn out perfect but it was in no way uncomfortable, so didn't bother me much.
TOOLS:
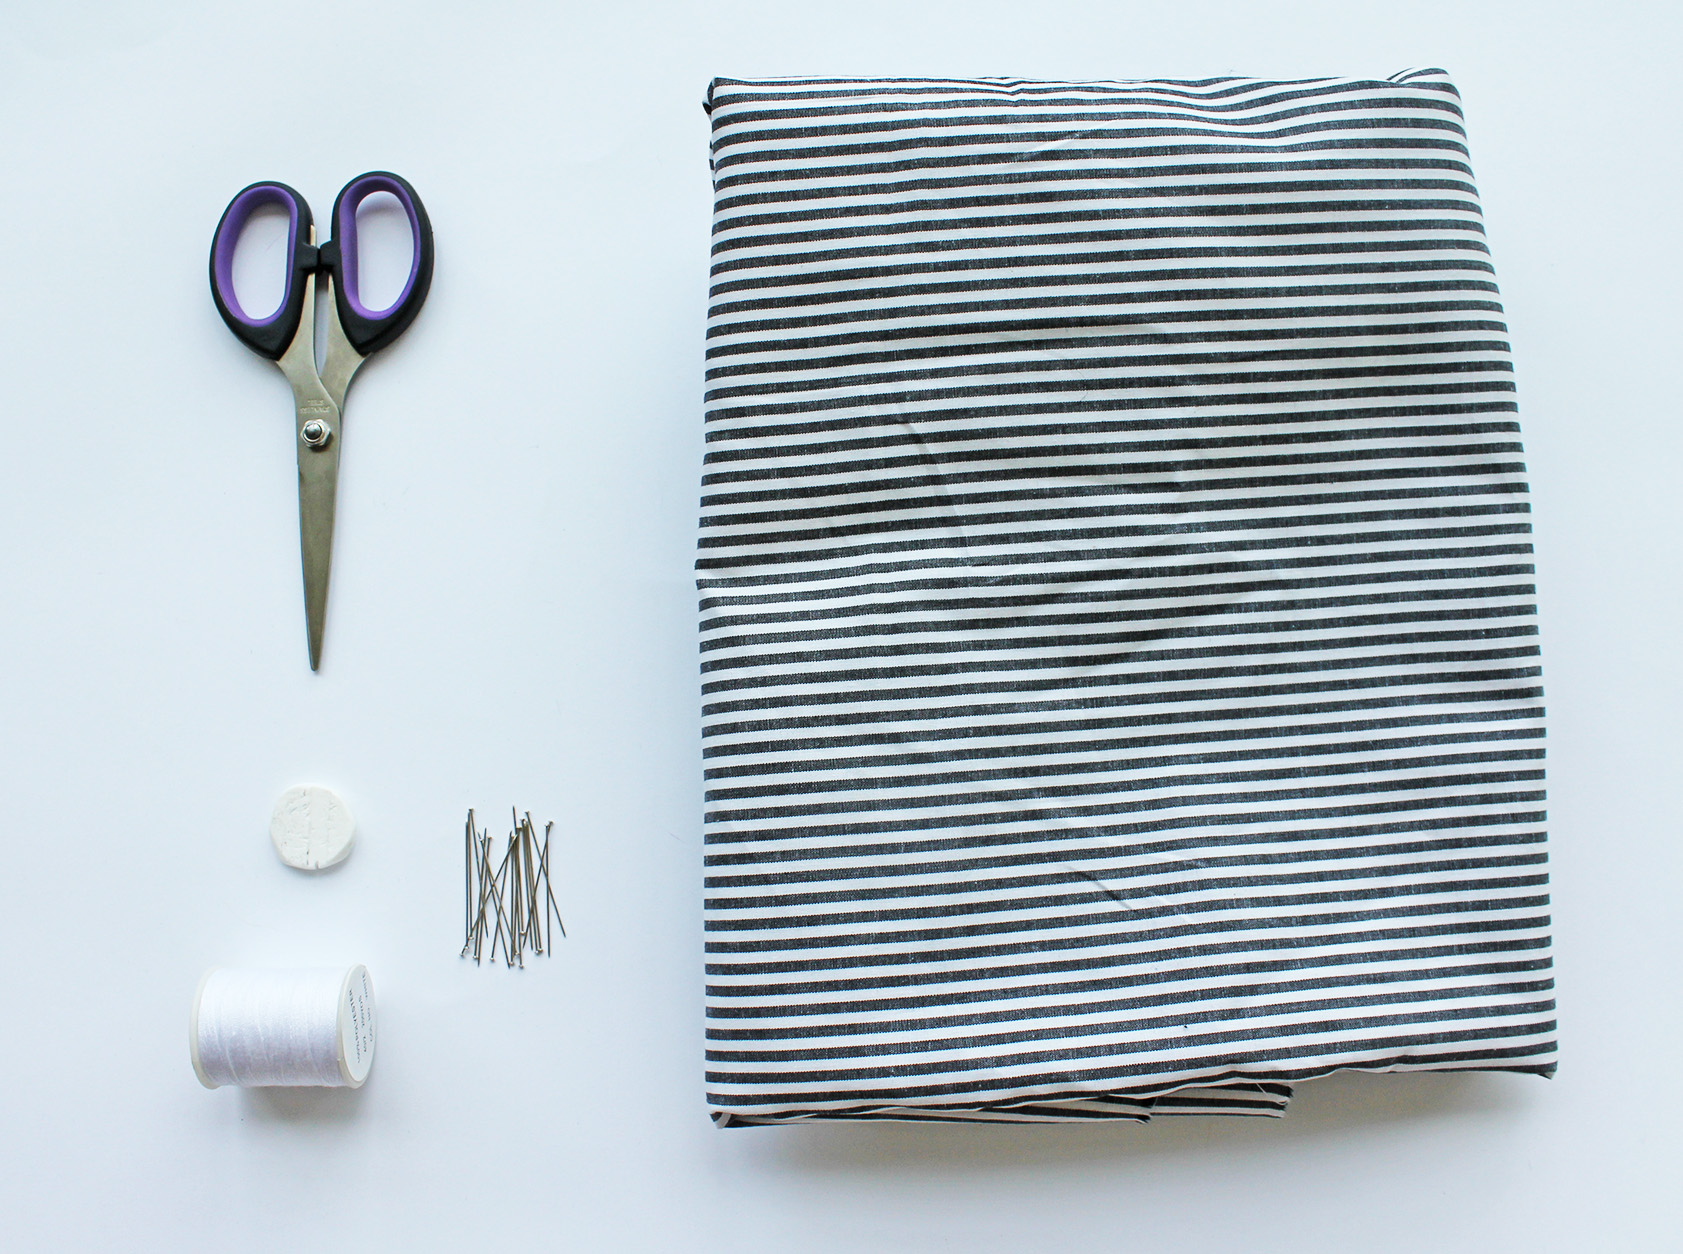
Stripy fabric (I used a light cotton, about 2,5 m) | Pins | Fabric marker | Thread & sewing machine | Scissors
THE SKIRT
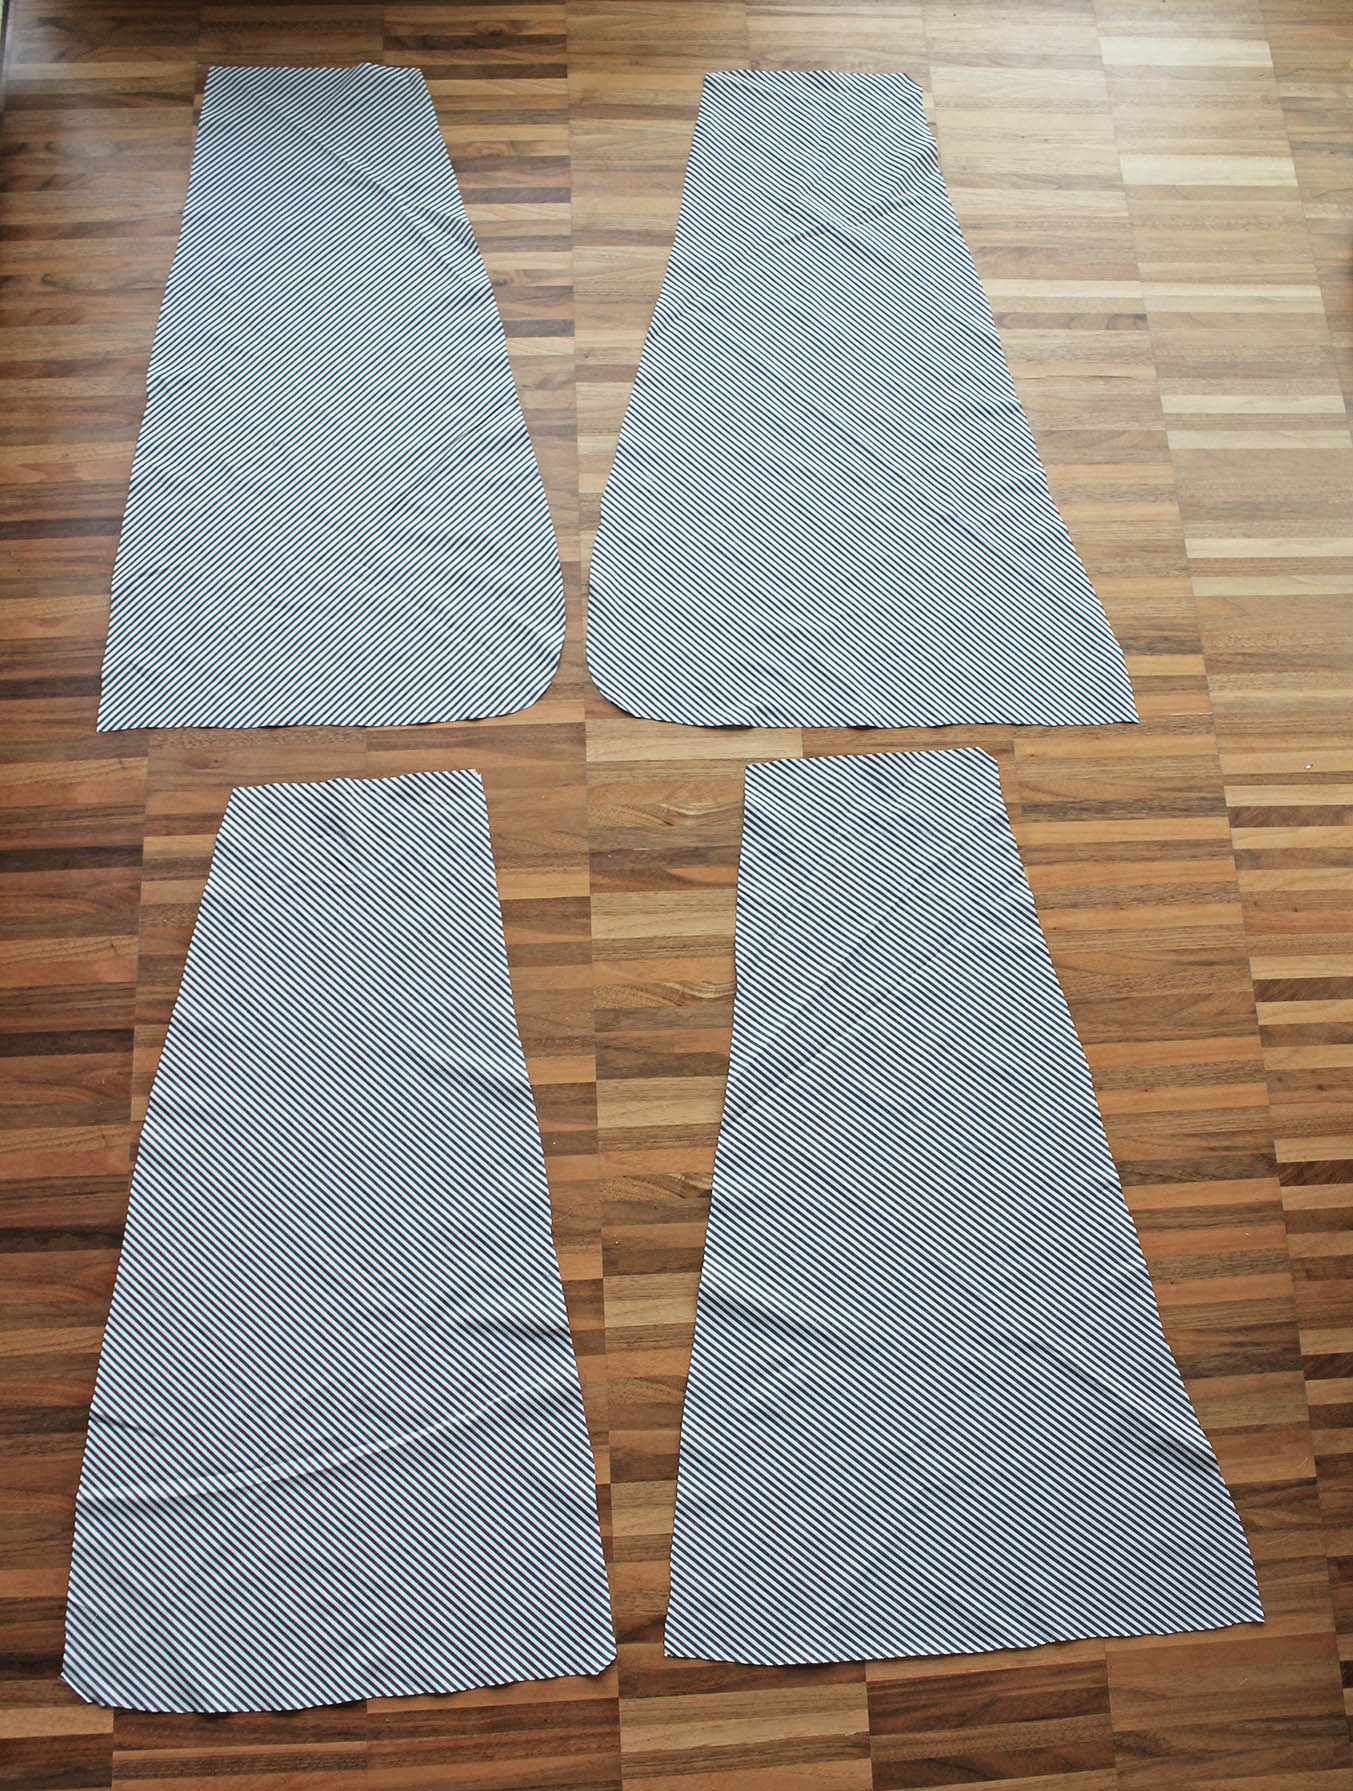
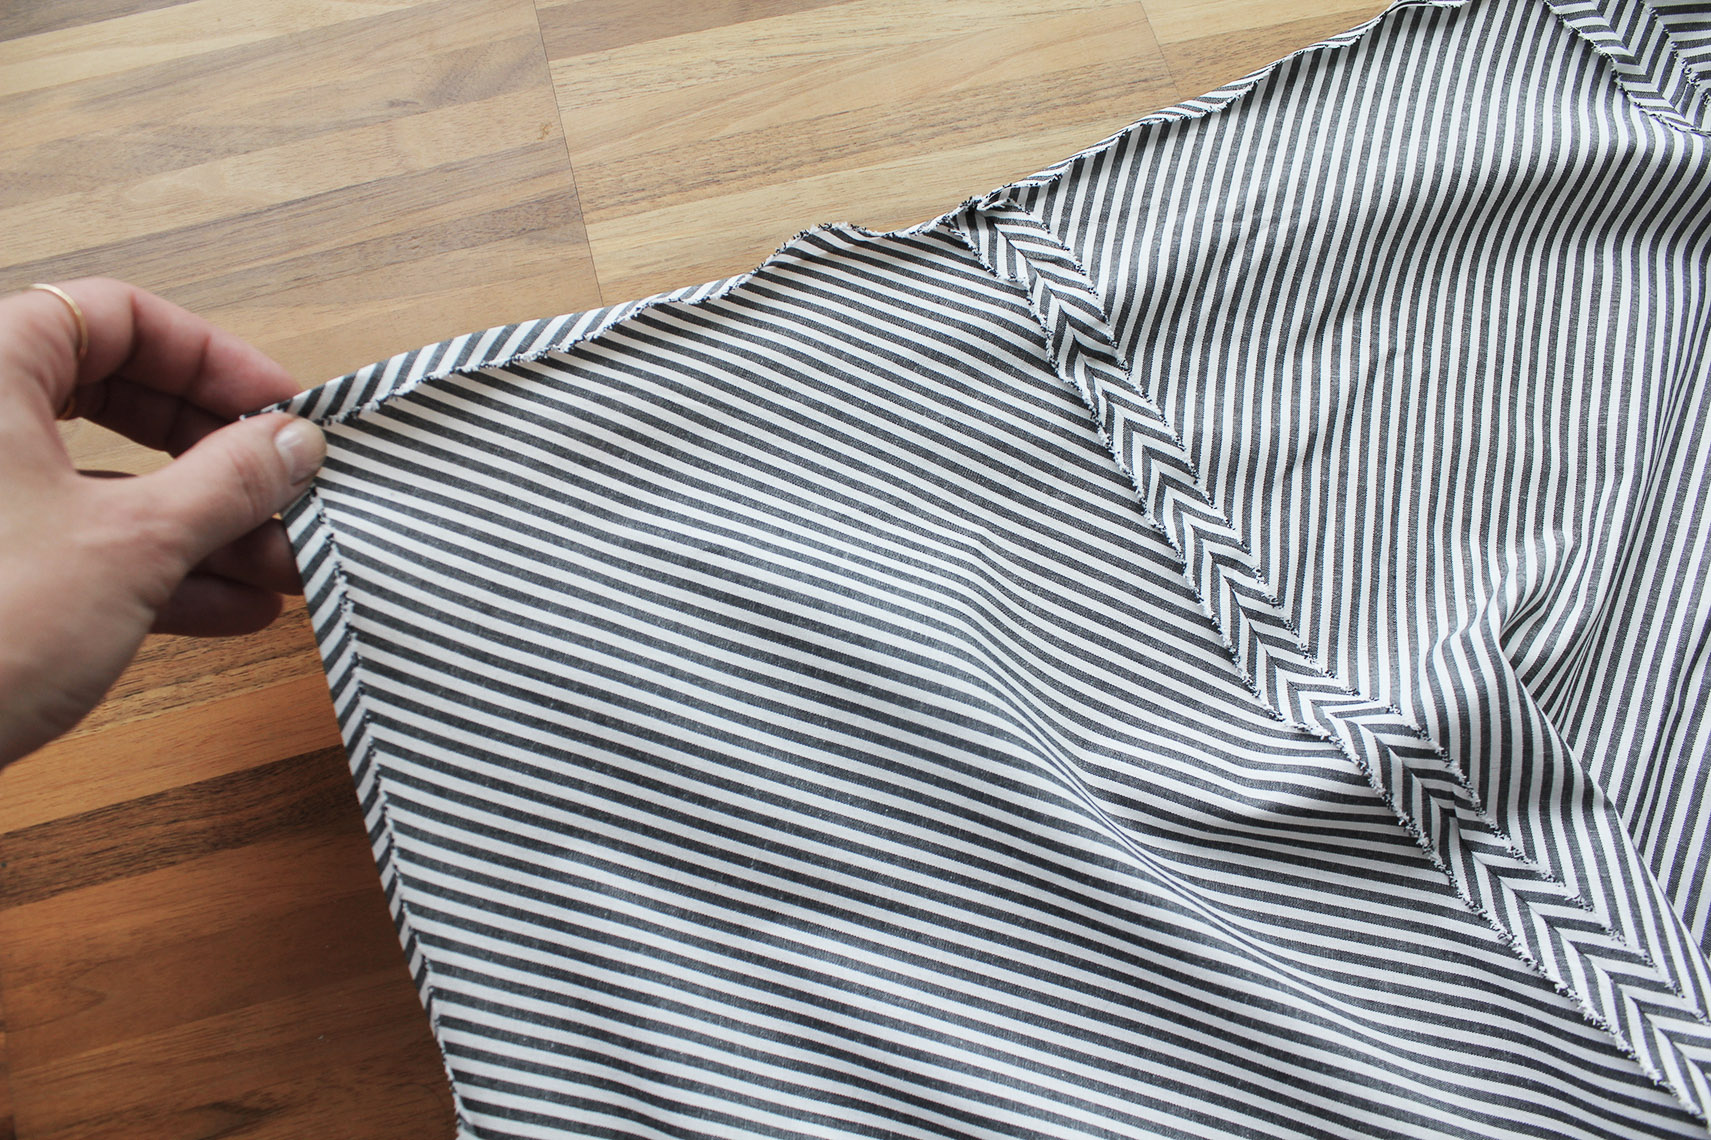
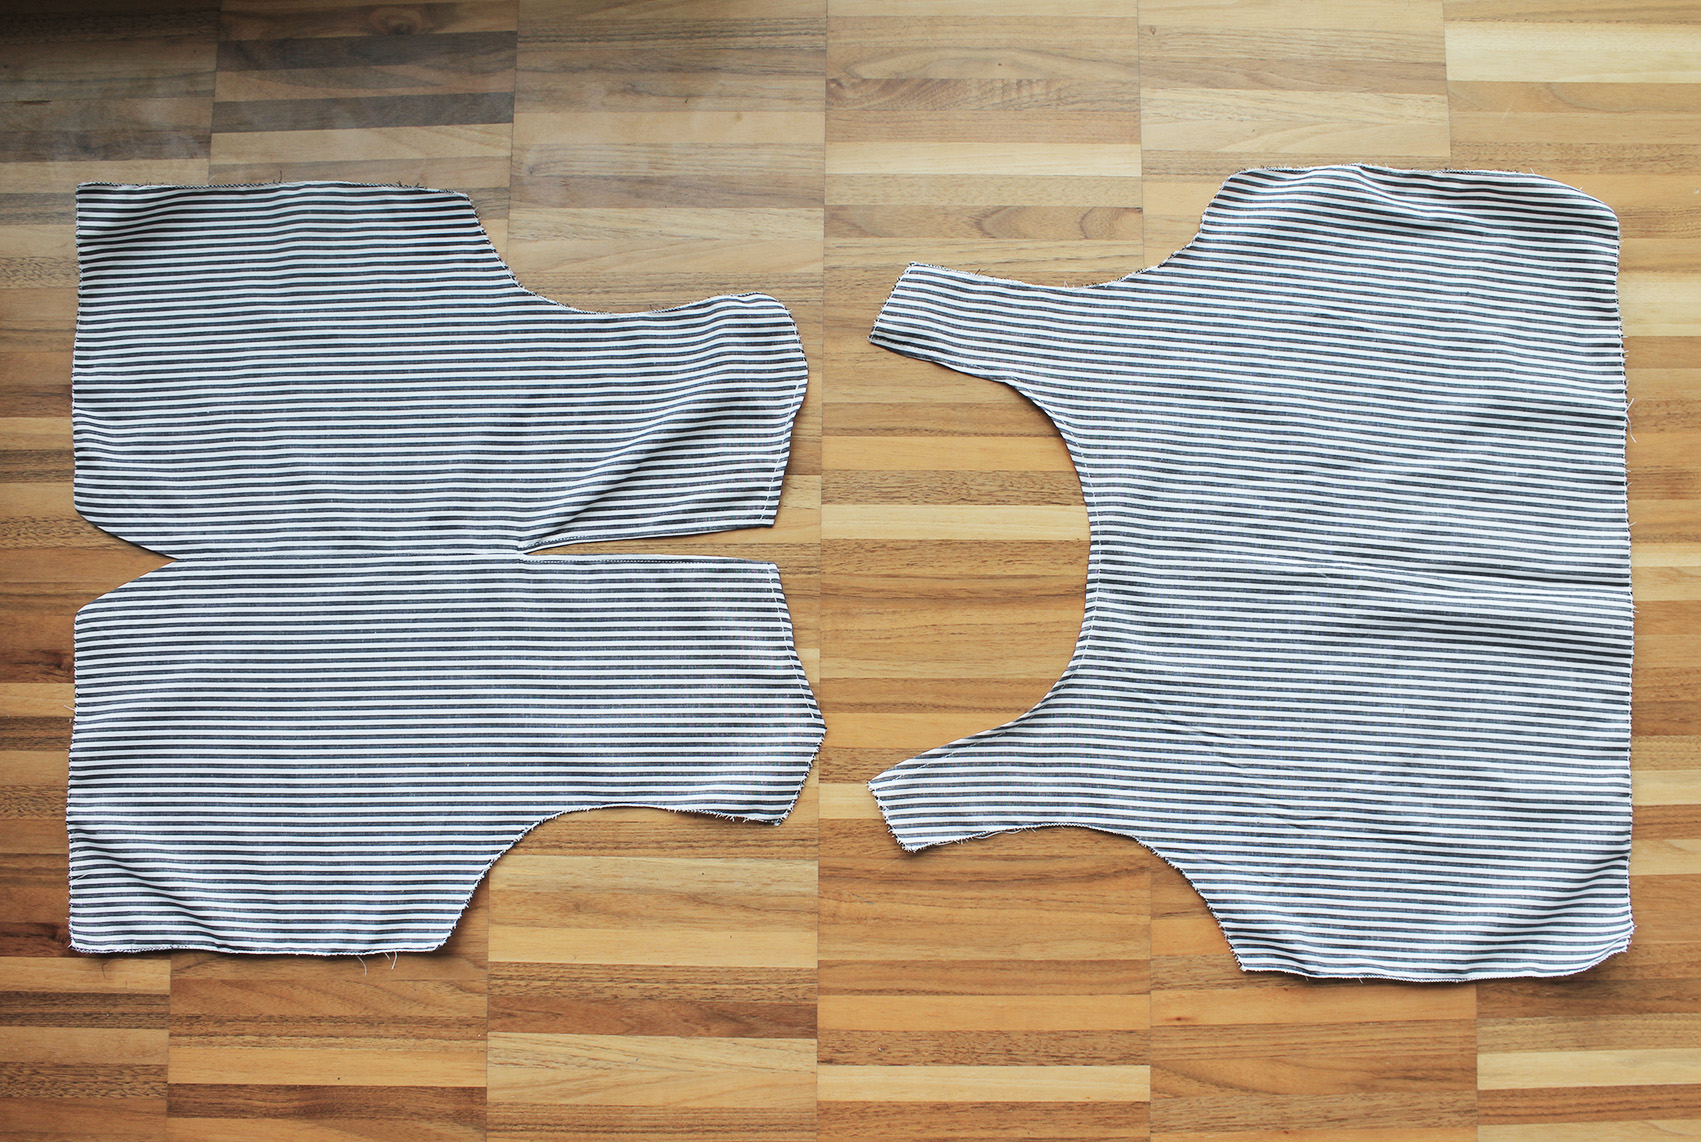
I. Cut four triangular-ish pieces out and zig-zag the raw edges. You'll want to first tilt the fabric so the stripes are at the angle you're looking for. We all know horizontal stripes only work on supermodels with the bodies of 14 old boys.I made the corners of the pieces that will be at the front a bit rounded. The combined width of the pieces will depend on how open you want to end result to be, I don't mind a slit, so my pieces put together were only about 15 cm more than my waist circumference. If you want a closed skirt that doesn't show skin, I'd add about 30cm to your waist measurement.
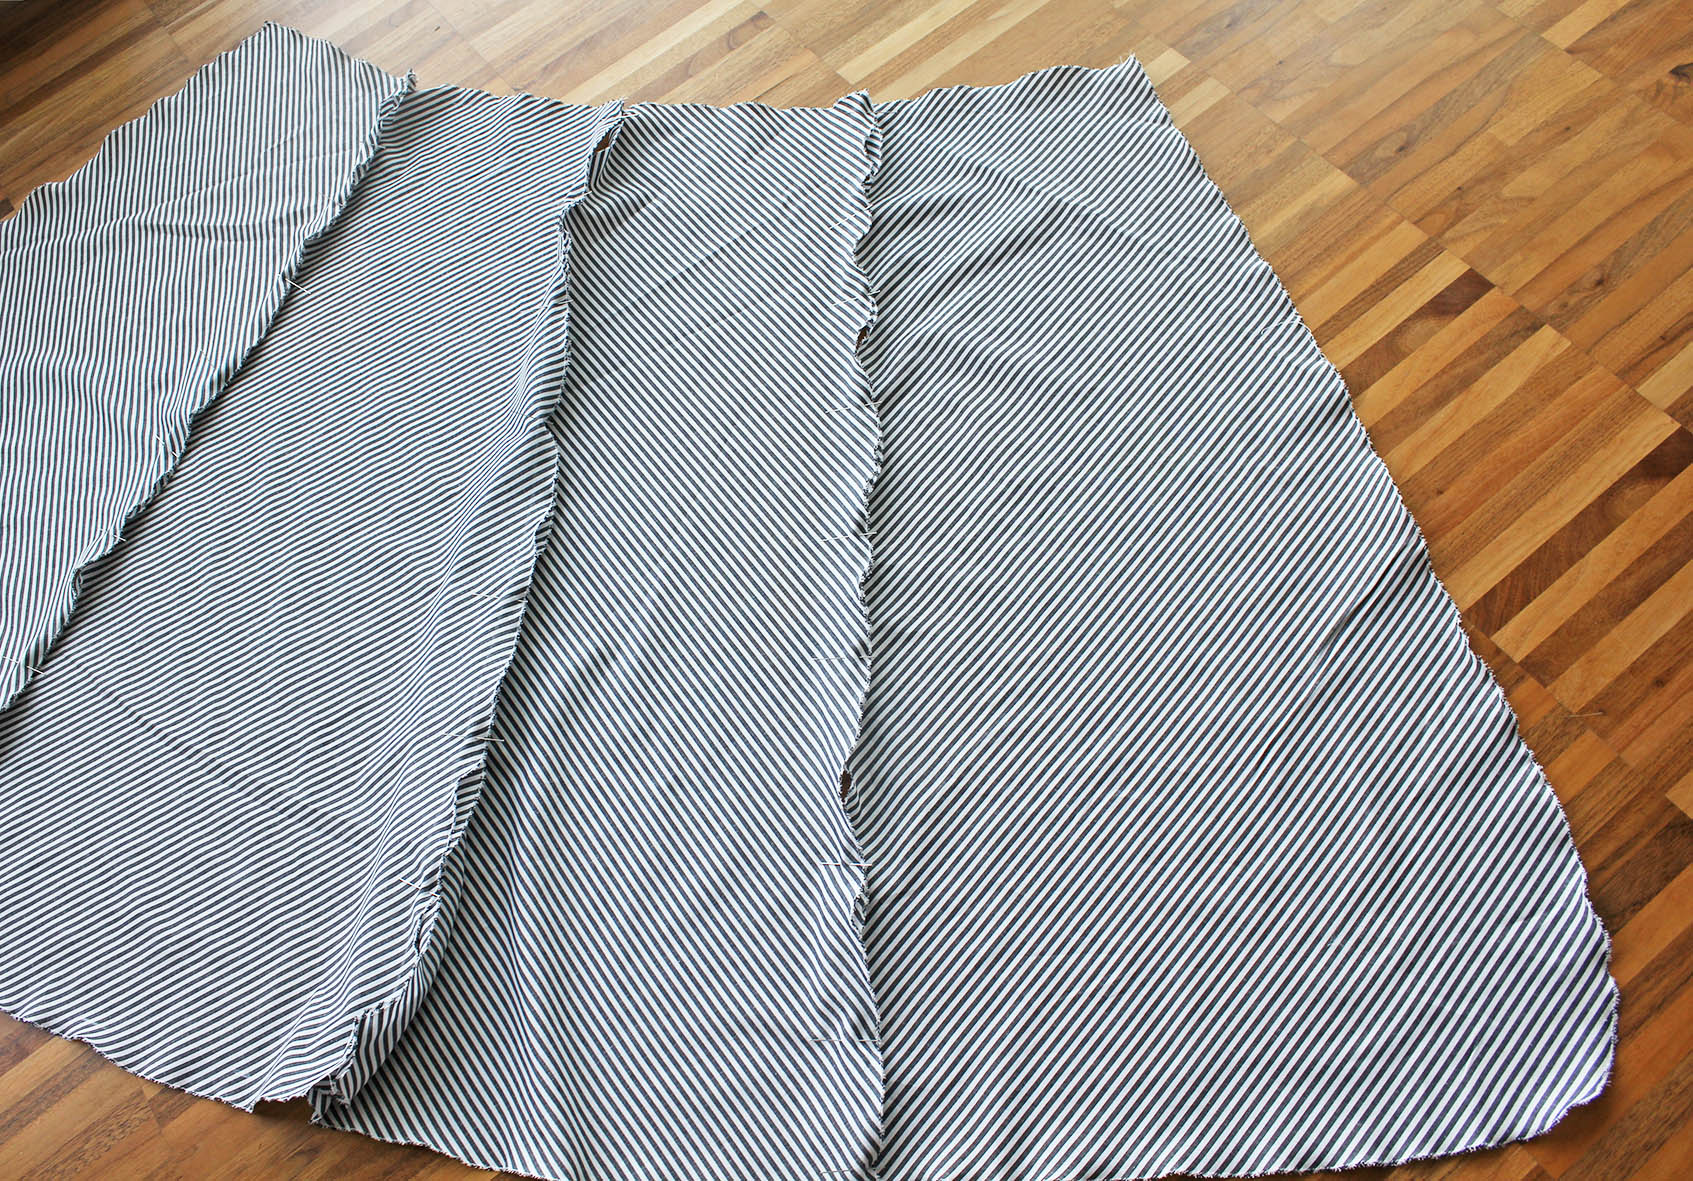
II. Pin together, right sides facing. Try to align the stripes. Sew a straight stitch down each seam an press with iron.
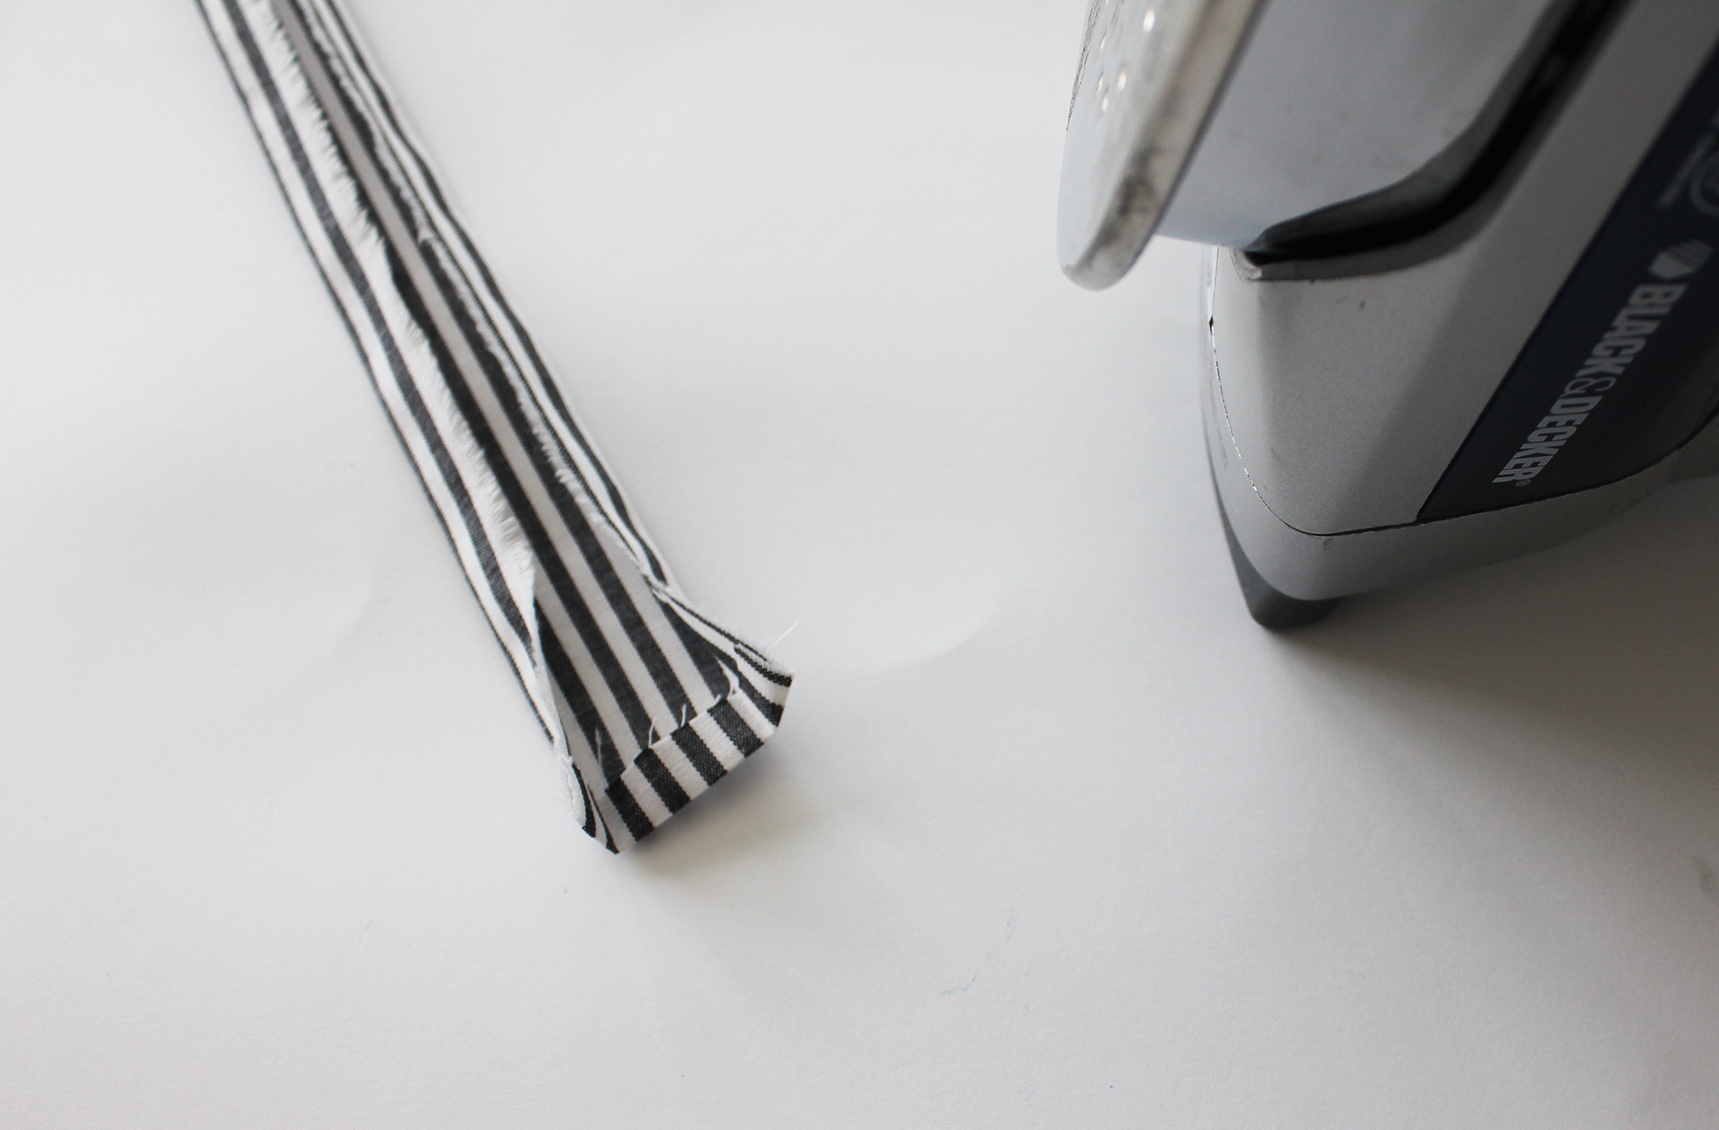
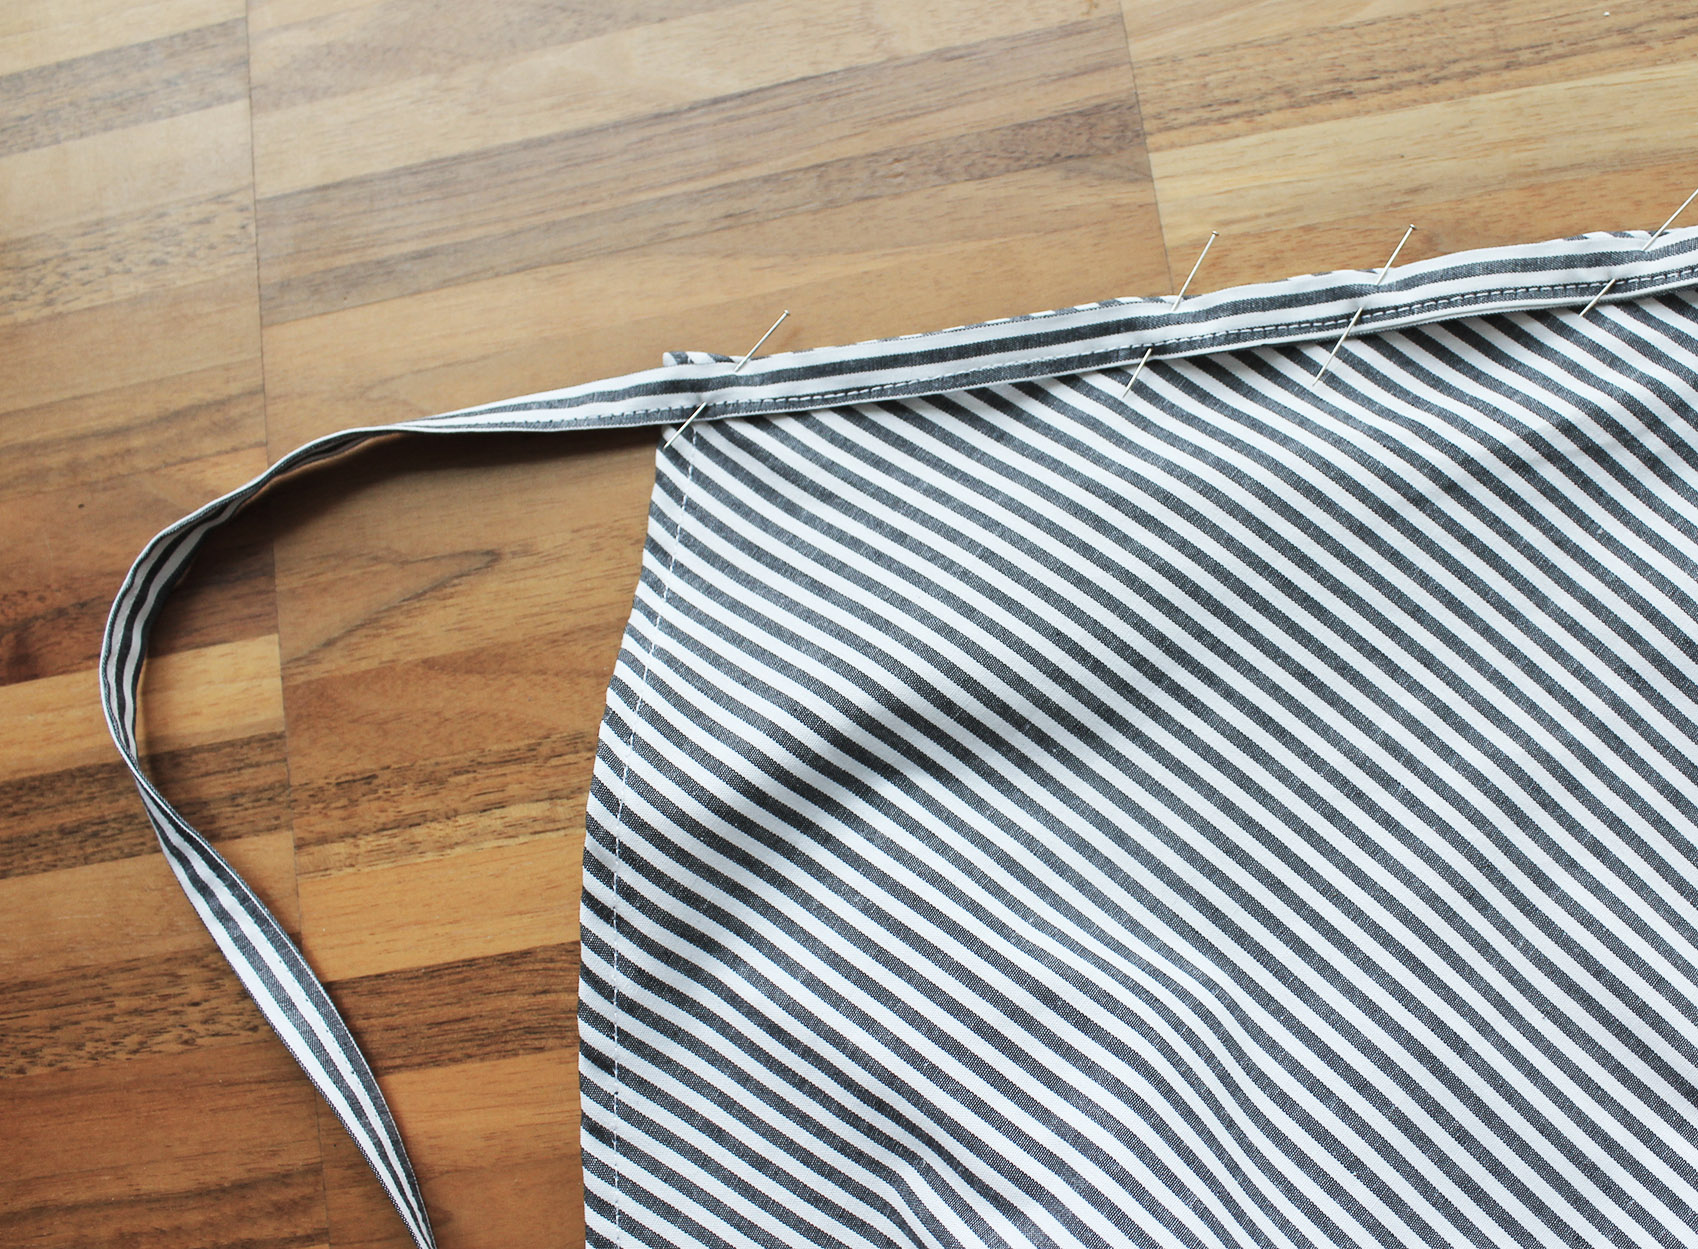
III. Cut (or tear) a looong piece of fabric about 4 cm wide for the string at the waist..
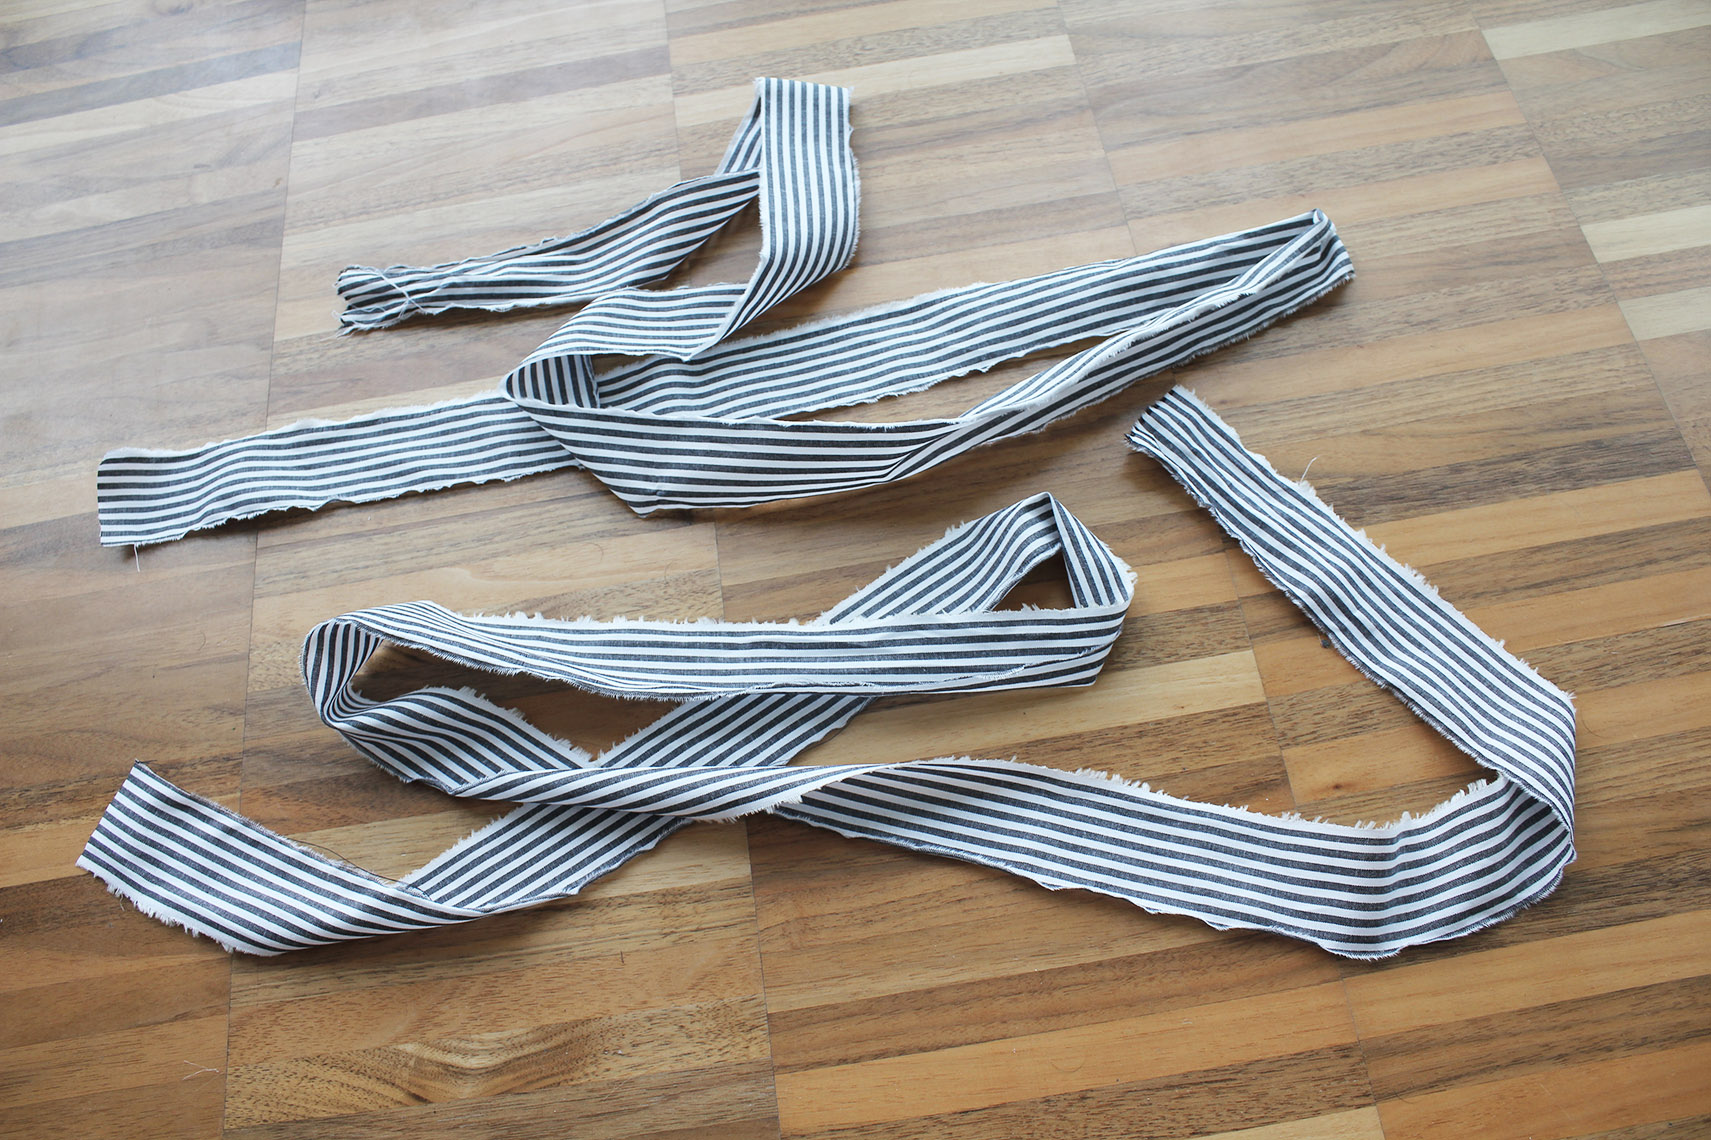
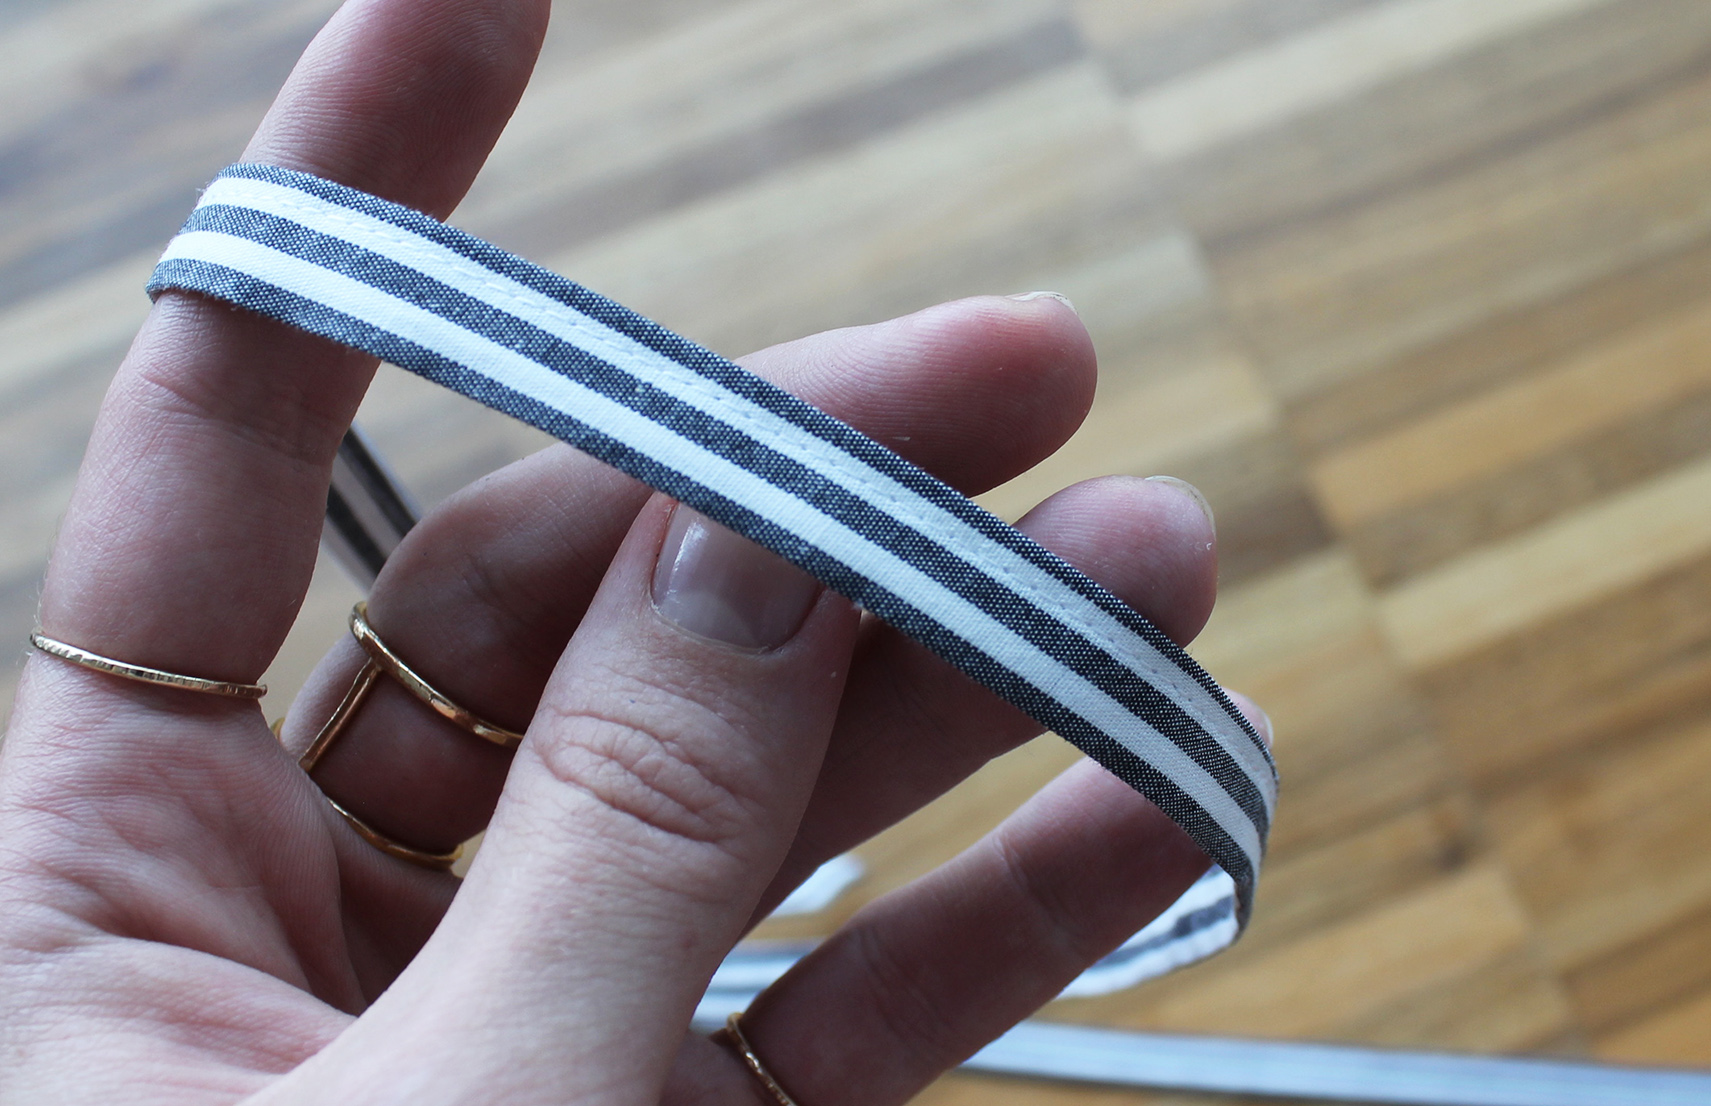
.. Press with iron like so to create a nice & clean ribbon..

.. And sew a straight stitch along the edge.
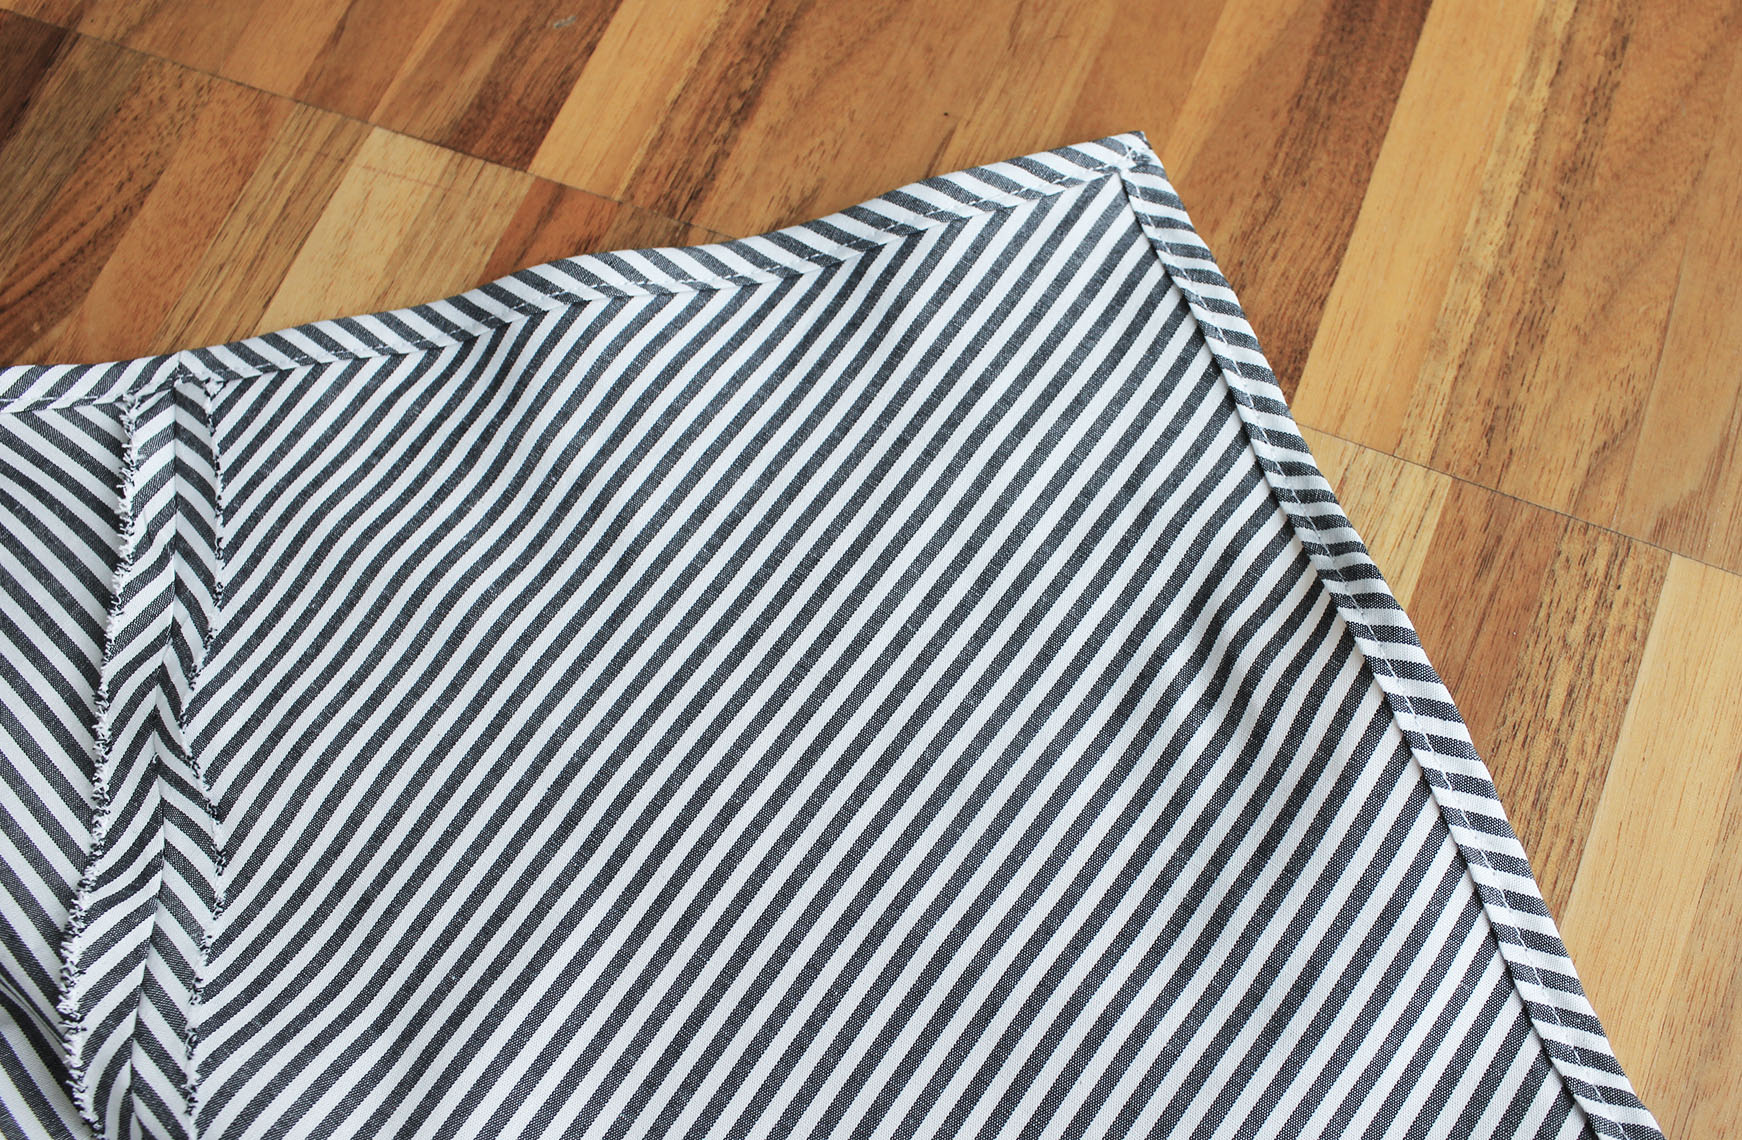
IV. Back to the skirt. Press a fold on the edges.
V. Sew the seam by folding the edge over again as you go.
VI. Pin the ribbon onto the skirt (wrap around yourself to confirm if you want it exactly centered or one loose end longer than the other). Sew two straight stitches at the top and the bottom of the ribbon to secure it in place.
THE TOP
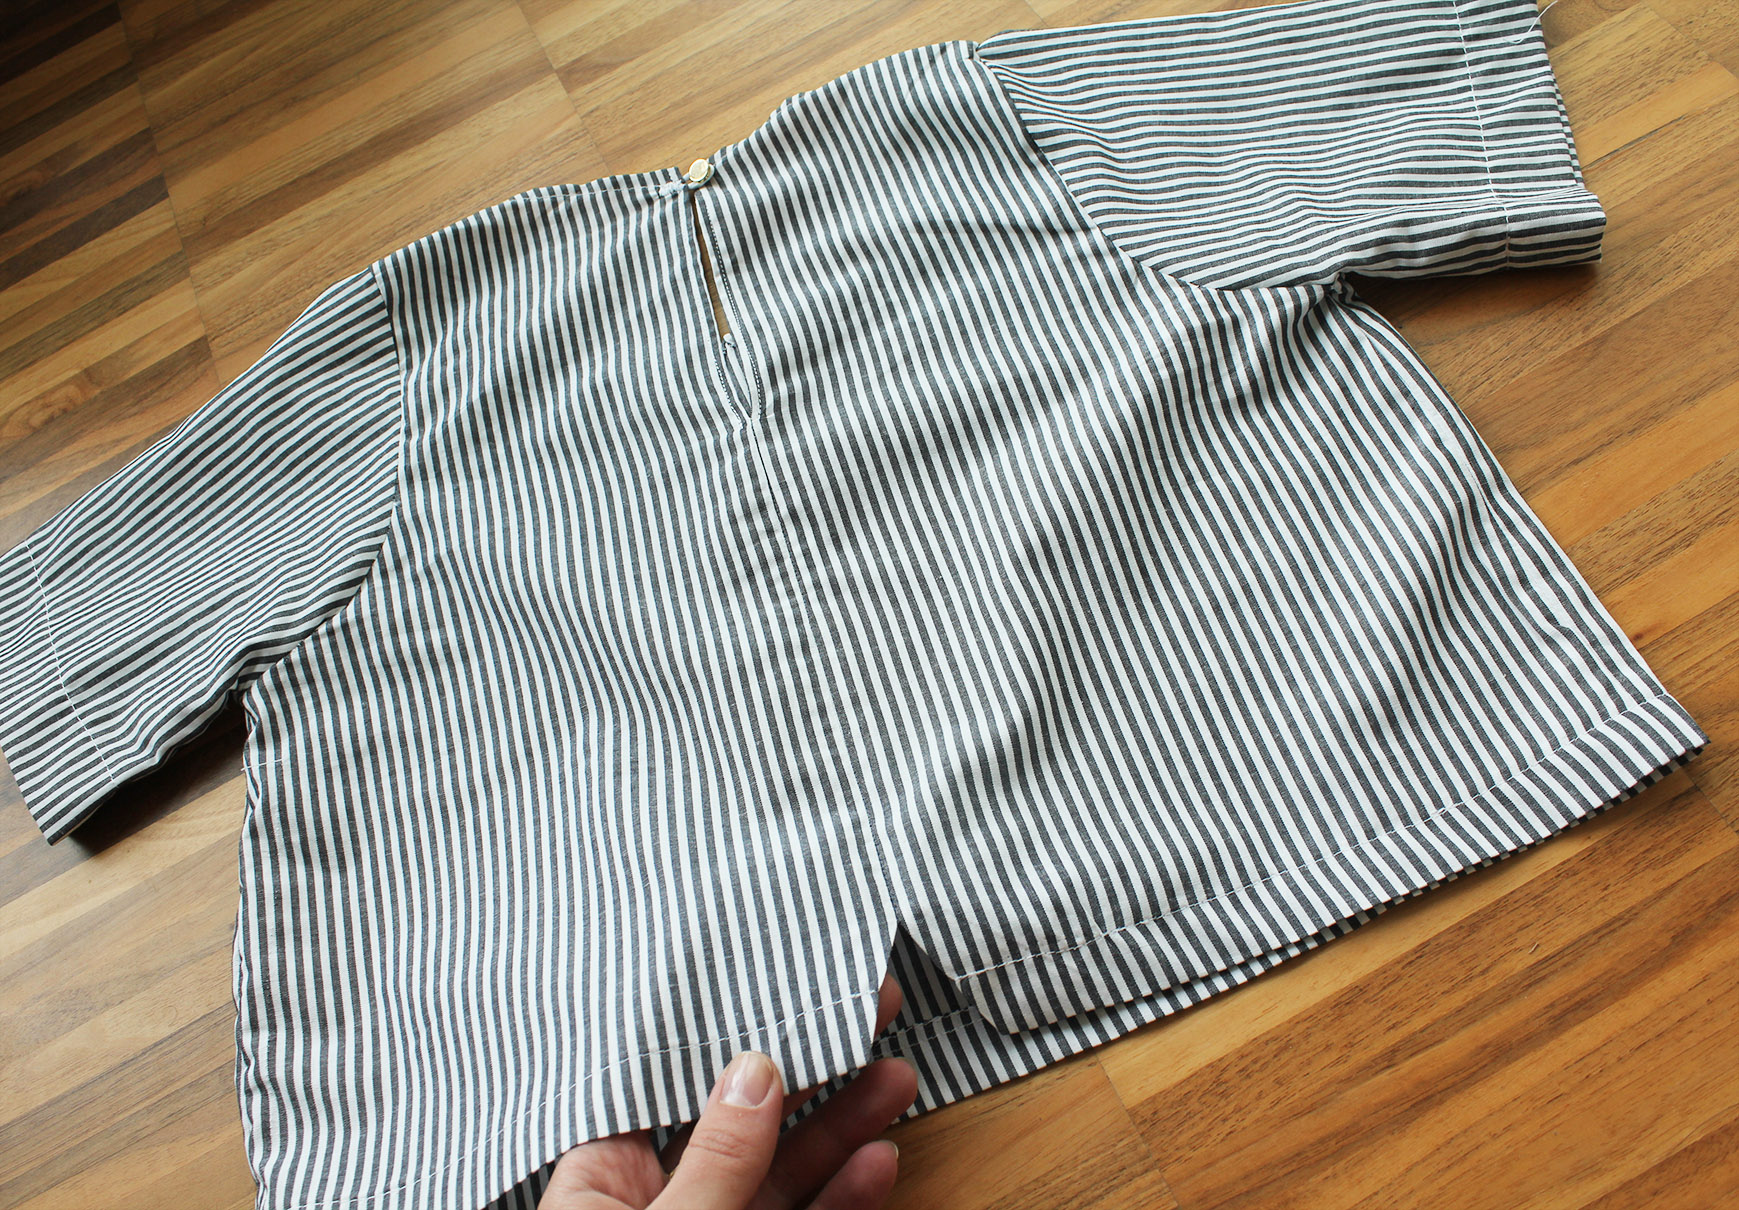
I. Trace & cut out the front and back pieces + the sleeves. I did some back detail where I slit the back piece in two down the middle. Zig-zag all raw edges.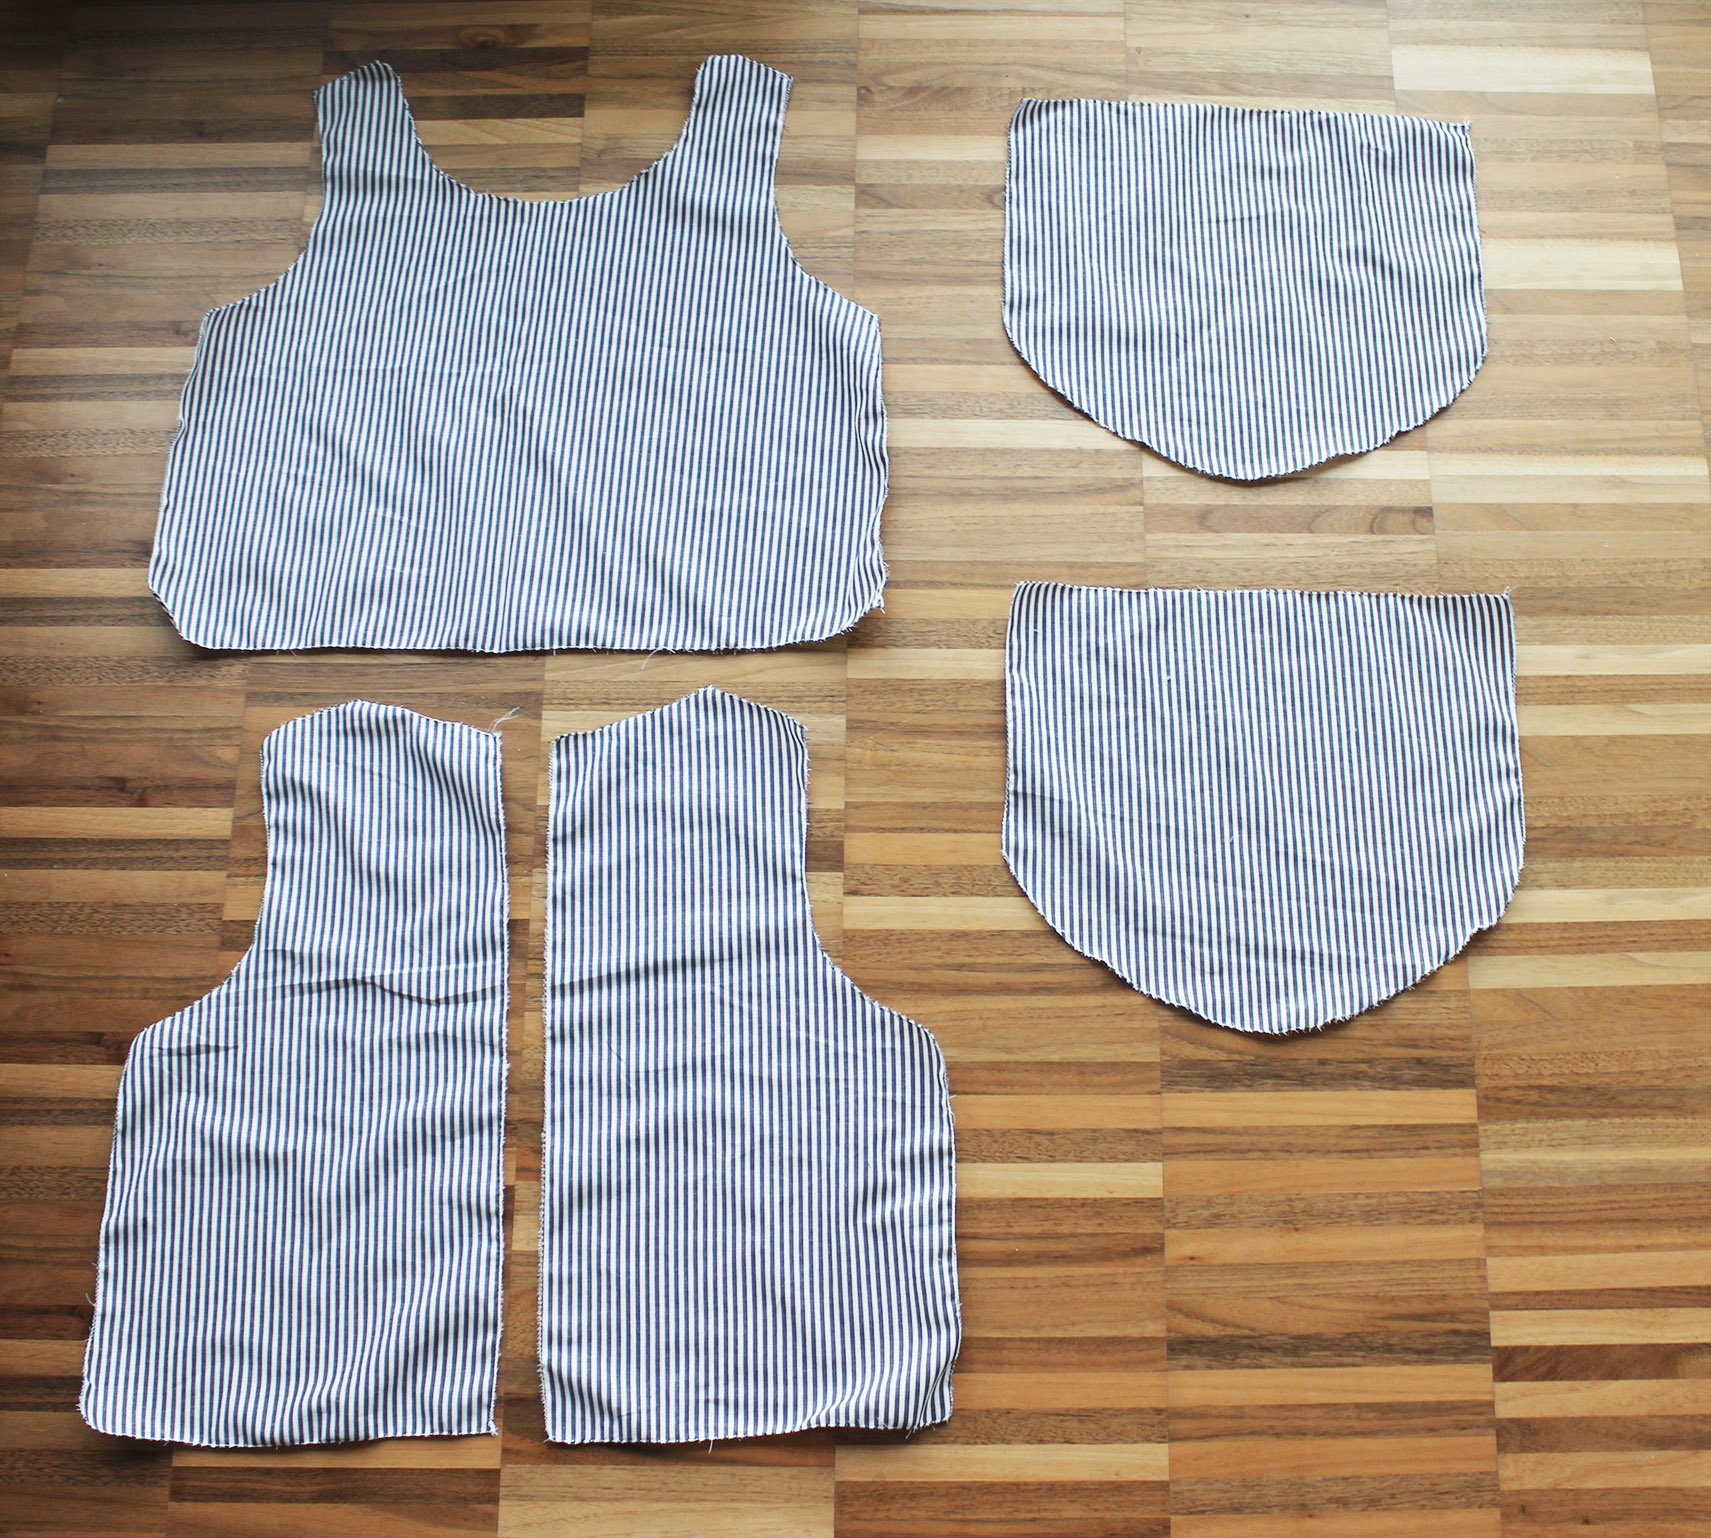
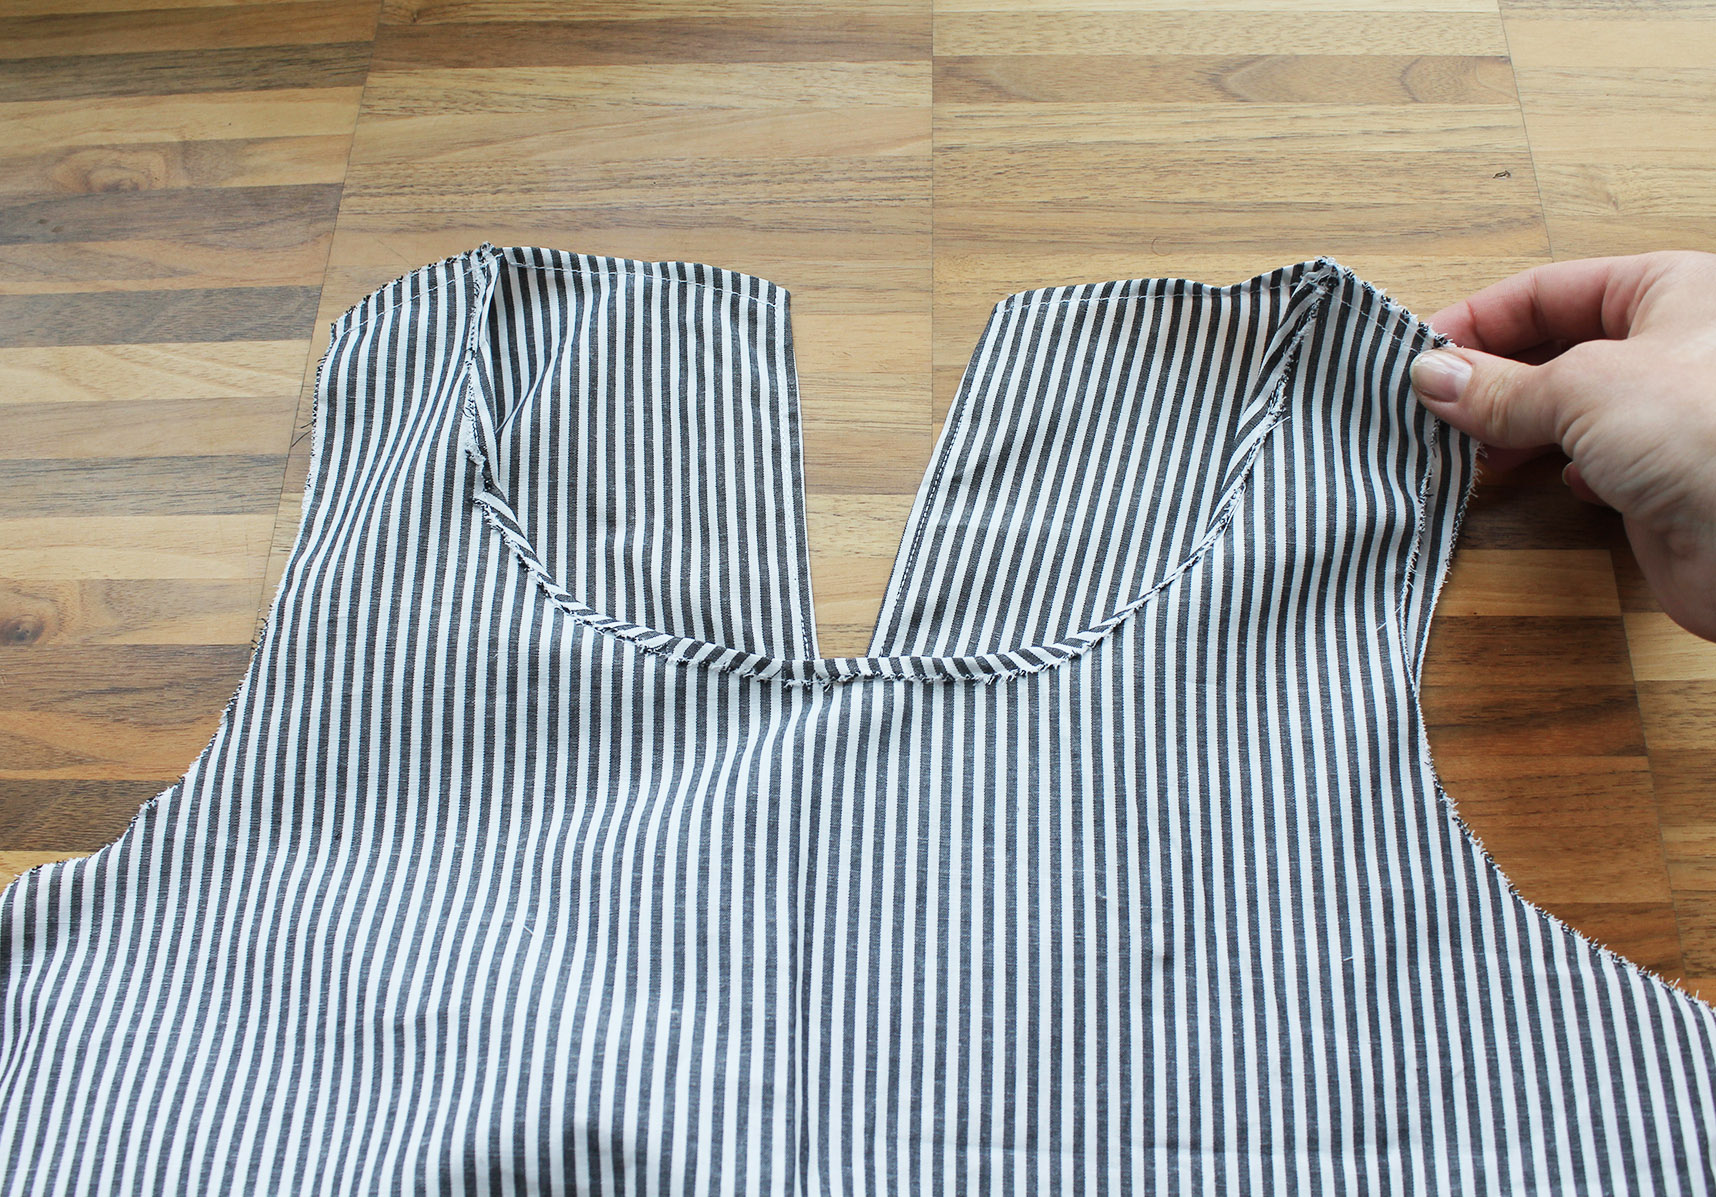
II. Instead of a regular back I did a slit at the top and another triangular slit at the bottom. At this stage also made a fold at the neckline of both pieces and sewed a straight stitch about 0.7 cm from the edge to finish. if the front neckline is giving you trouble, cut small incisions along the curved edge an it will submit to your will as you sew.
III. Place the front and back pieces together at the shoulders and sew a straight stitch there.
IV. Attach the sleeves; pin in their spots right sides facing the right side of the top. Then sew the sleeve under seam and continue down both sides.

V. I finished the back by adding a button to the top to close the slit, and hems with a wide fold and a straight stitch.
Doesn't get breezier than this.
xo,
Julia


I've just come across your blog through Instagram and don't know why you don't have more followers!? This self made 2 piece is so good. Looking forward to your future DIYs!
ReplyDeleteWhat a lovely compliment Sacha!! Glad you liked it:)
DeleteSorry but what were the measurements for the top? I am the same size as you and so your tutorials are absolutely perfect for me!
ReplyDeleteYou could use the measurements of my many many top tutorials, e.g. this one http://www.contouraffair.com/2017/11/how-to-kooples-inspired-floral-short.html (just crop it)
ReplyDelete