

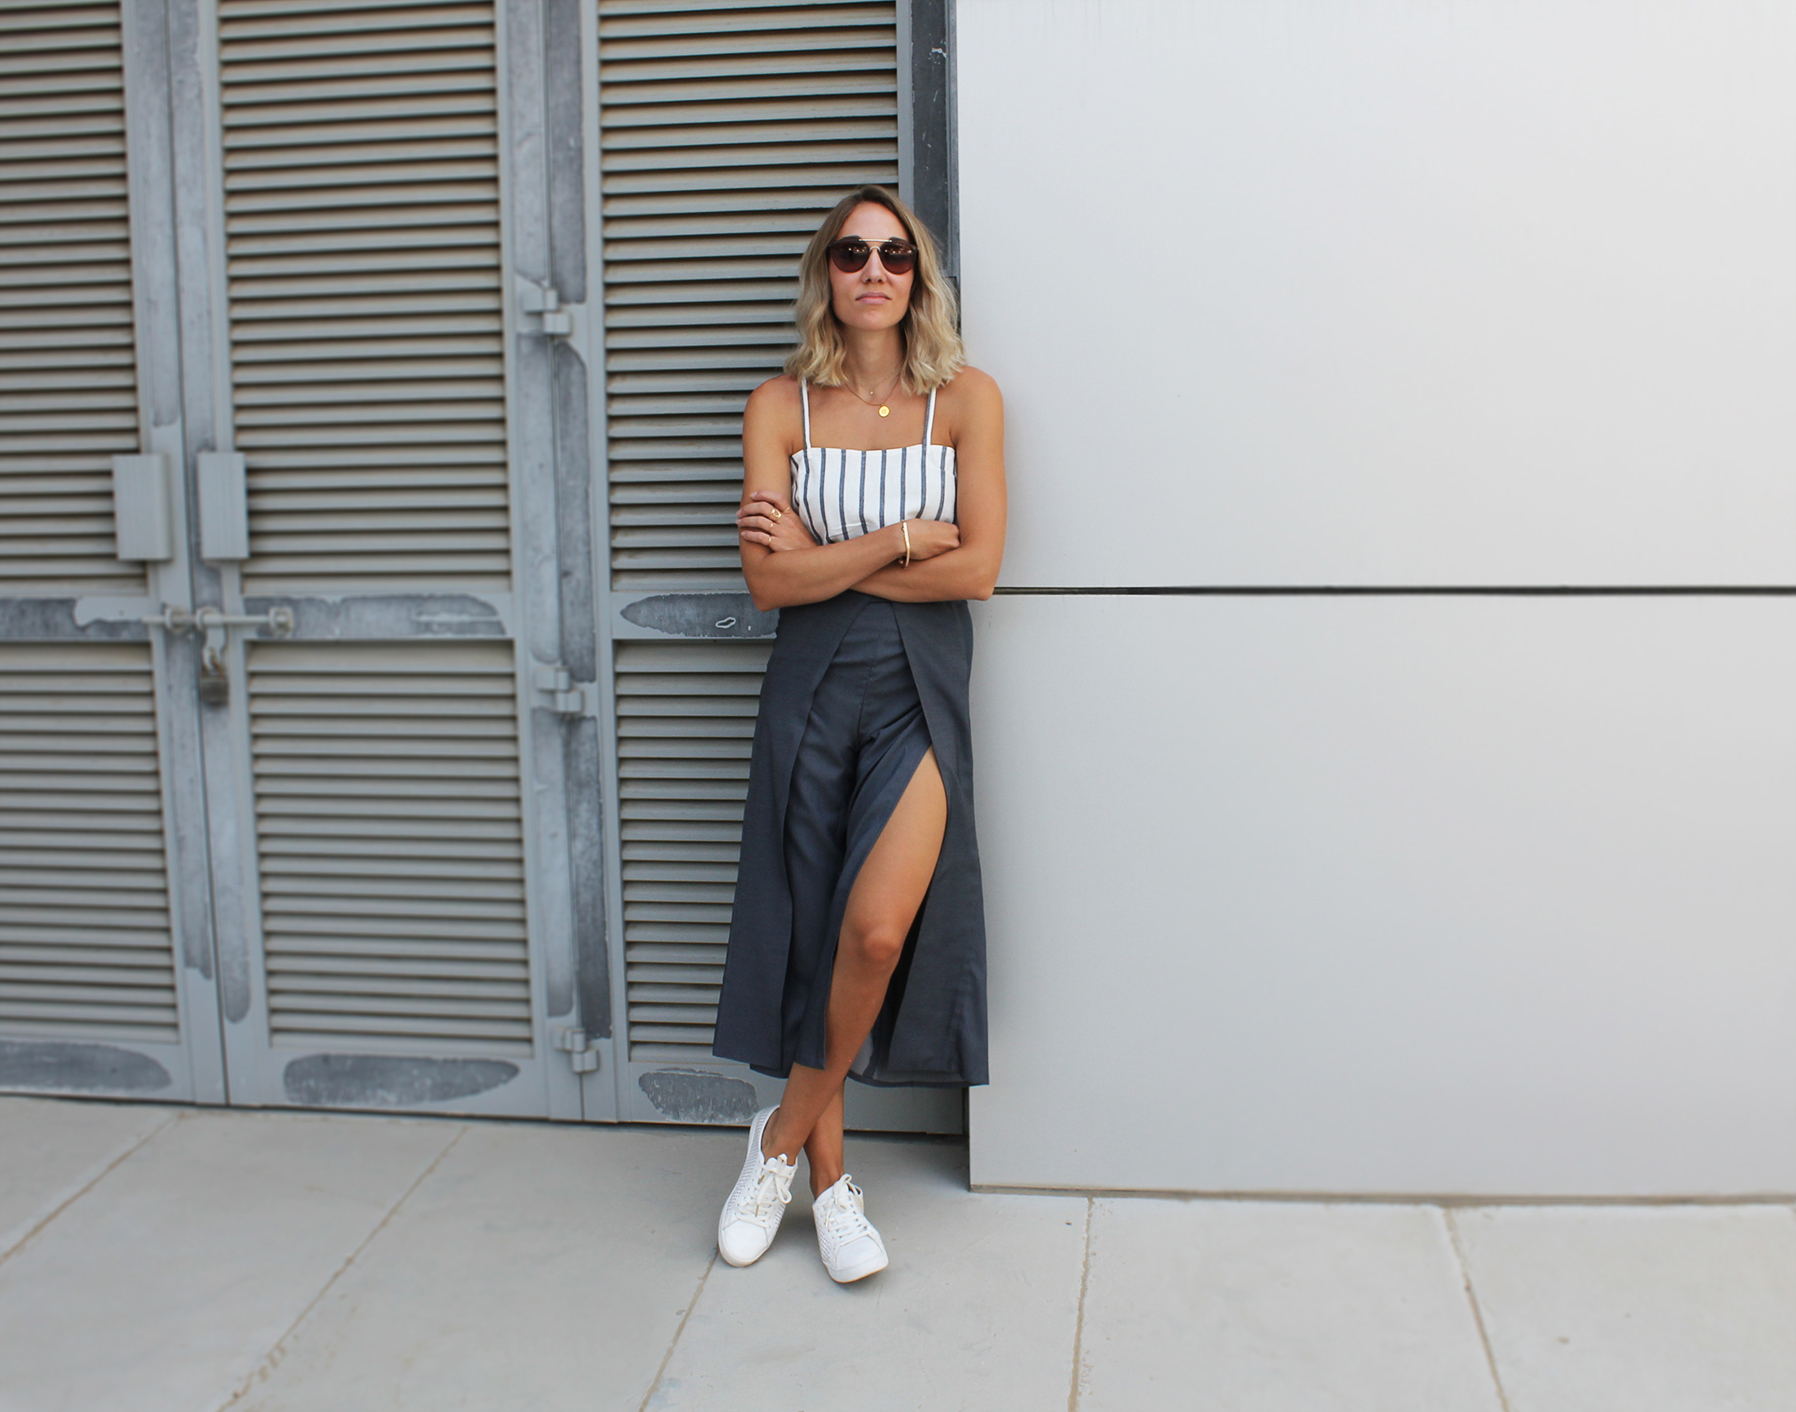
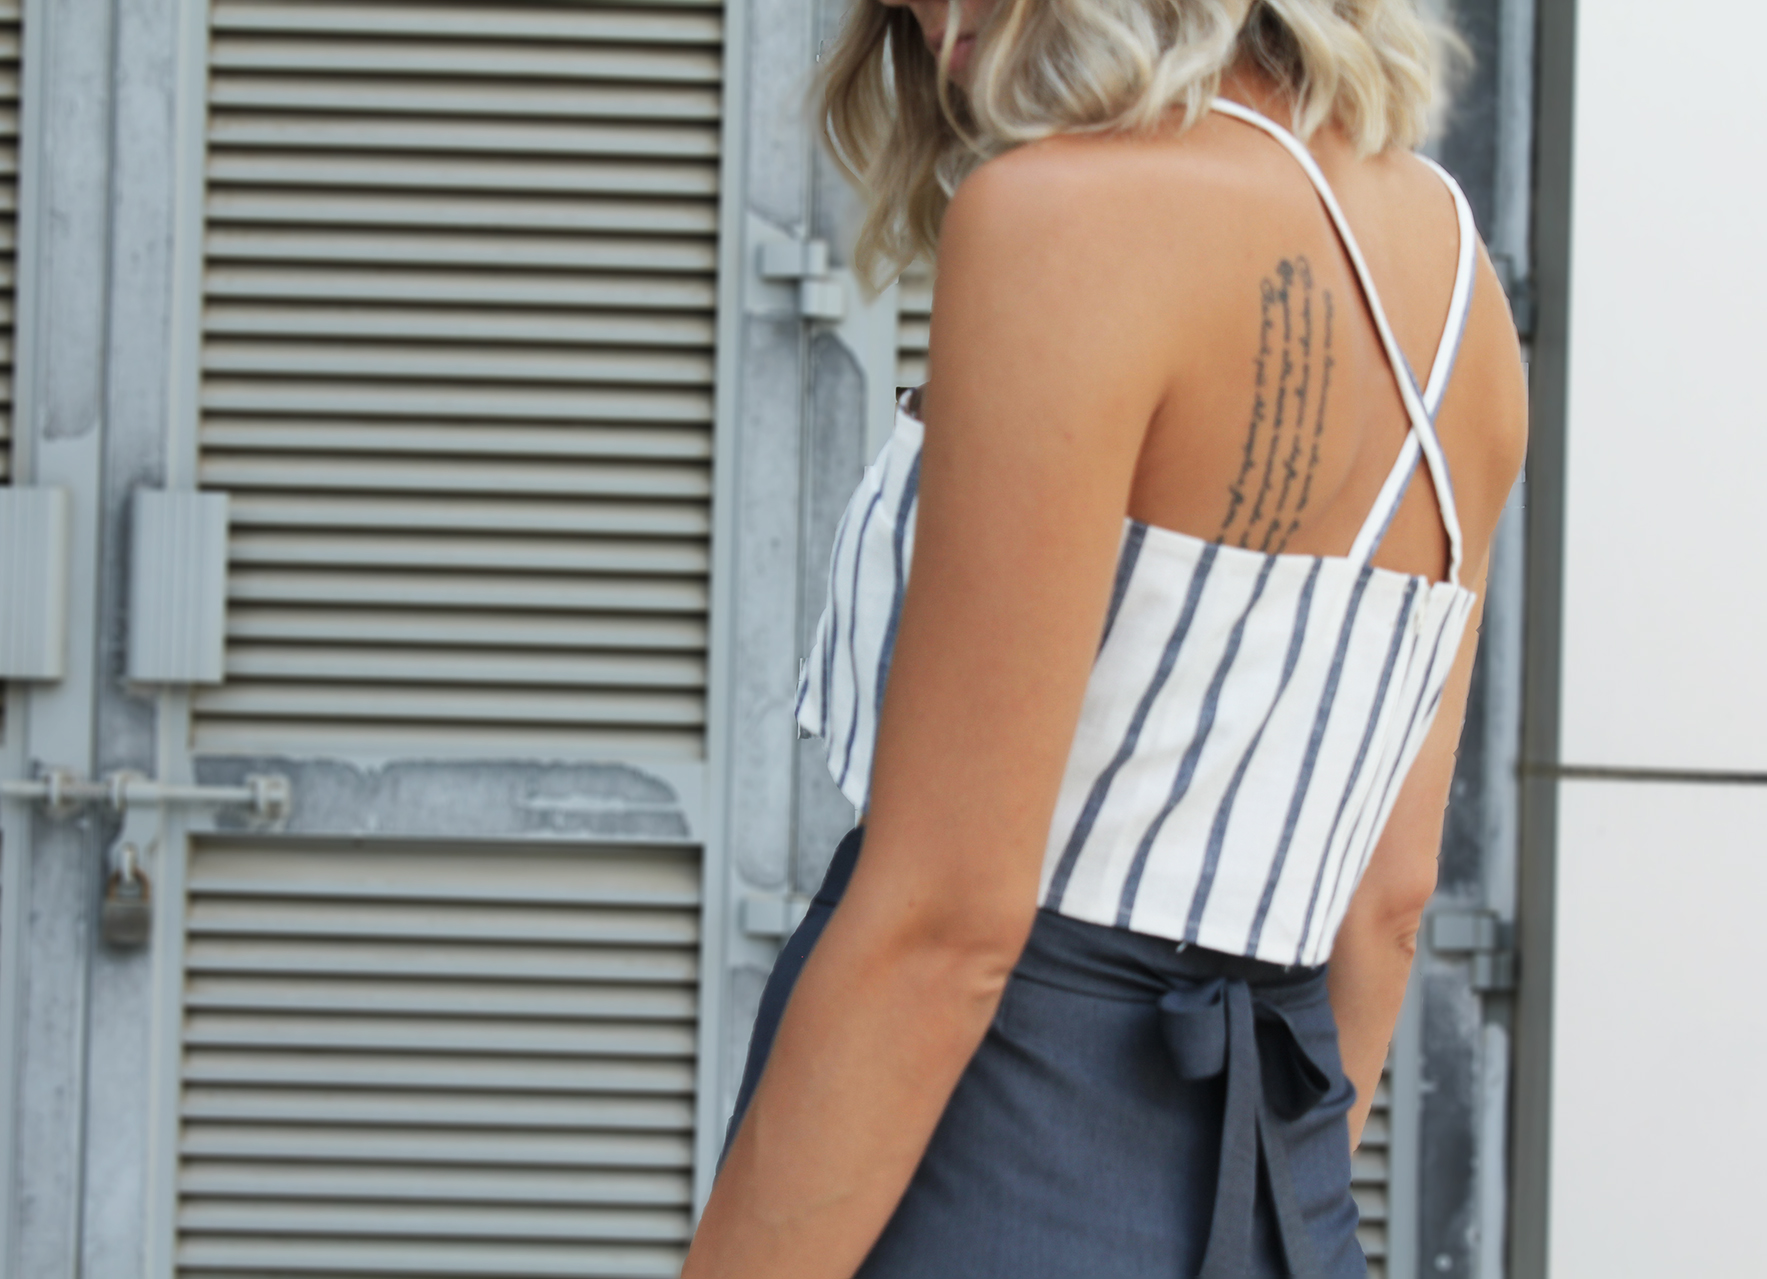
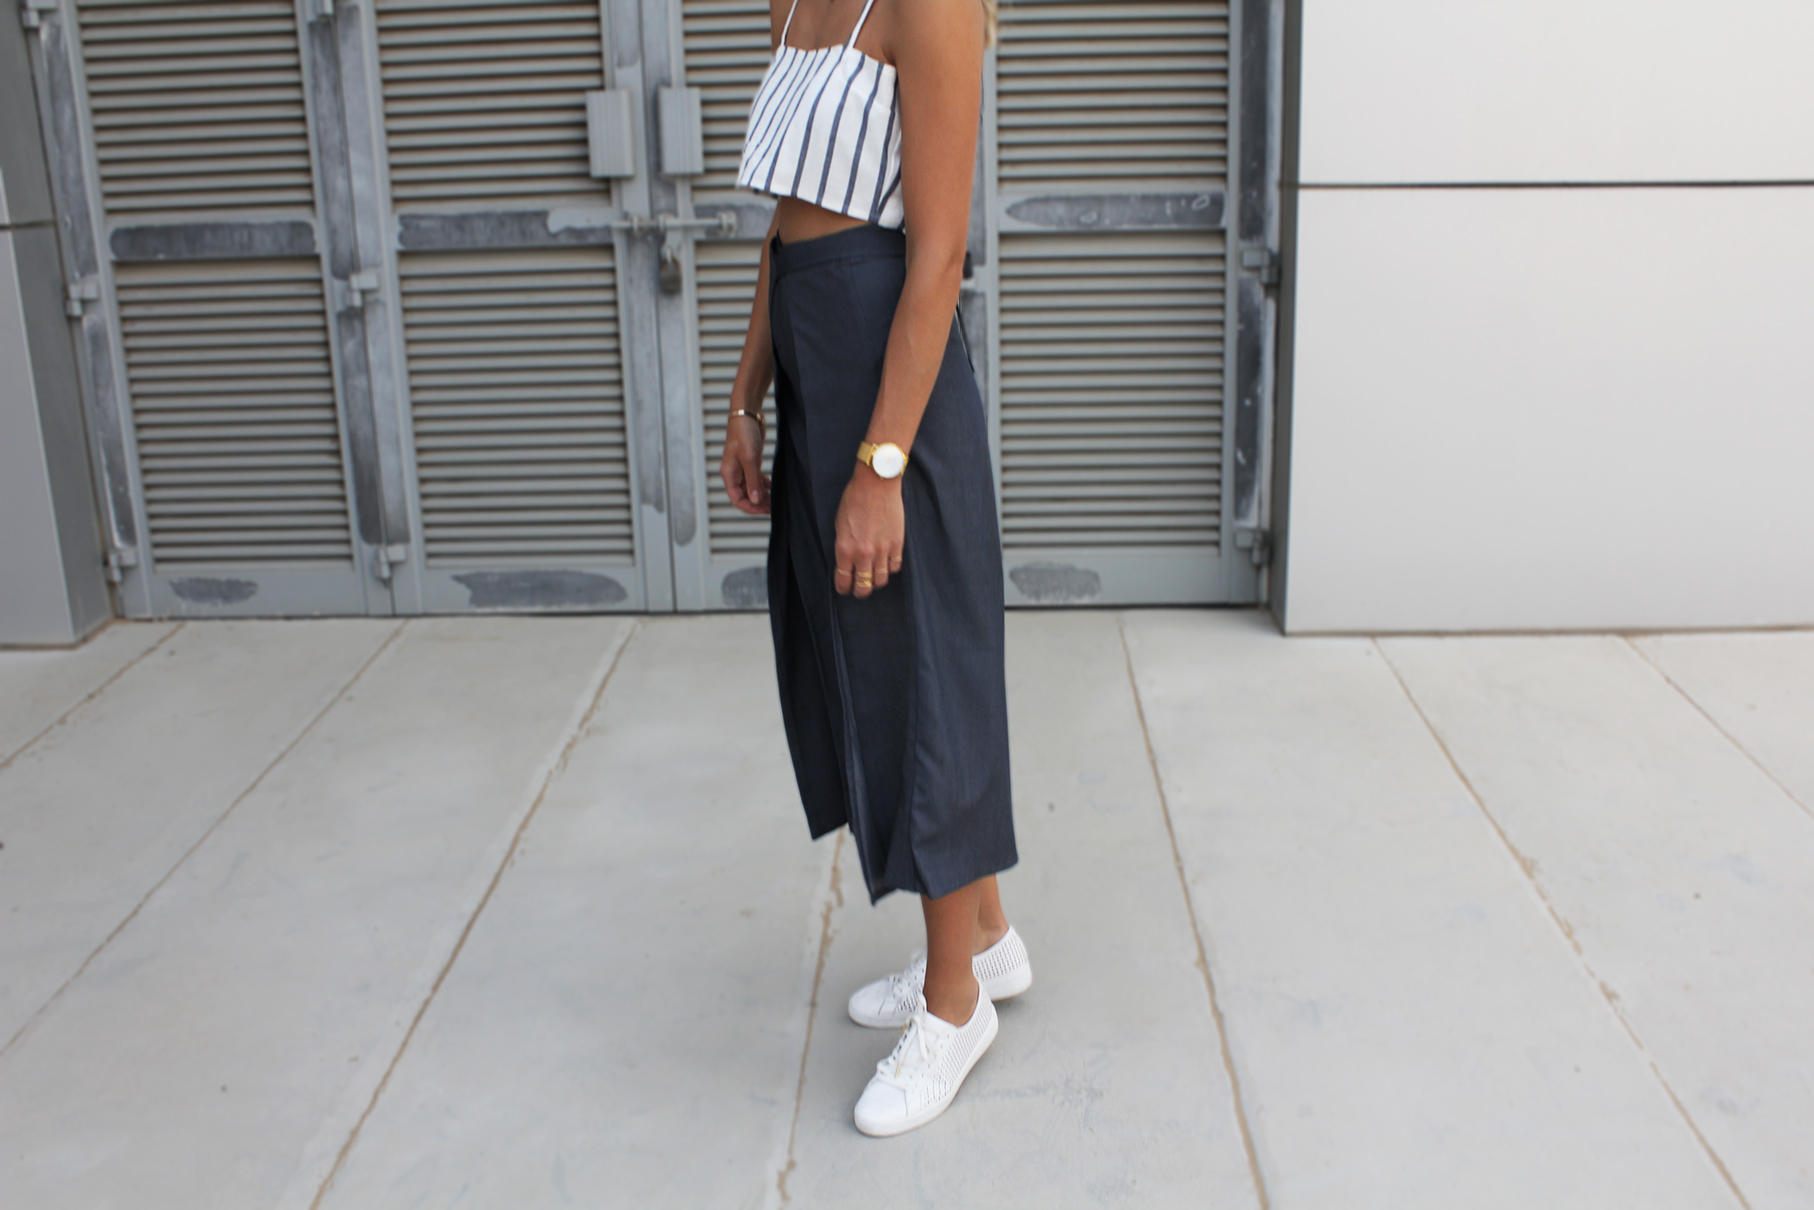
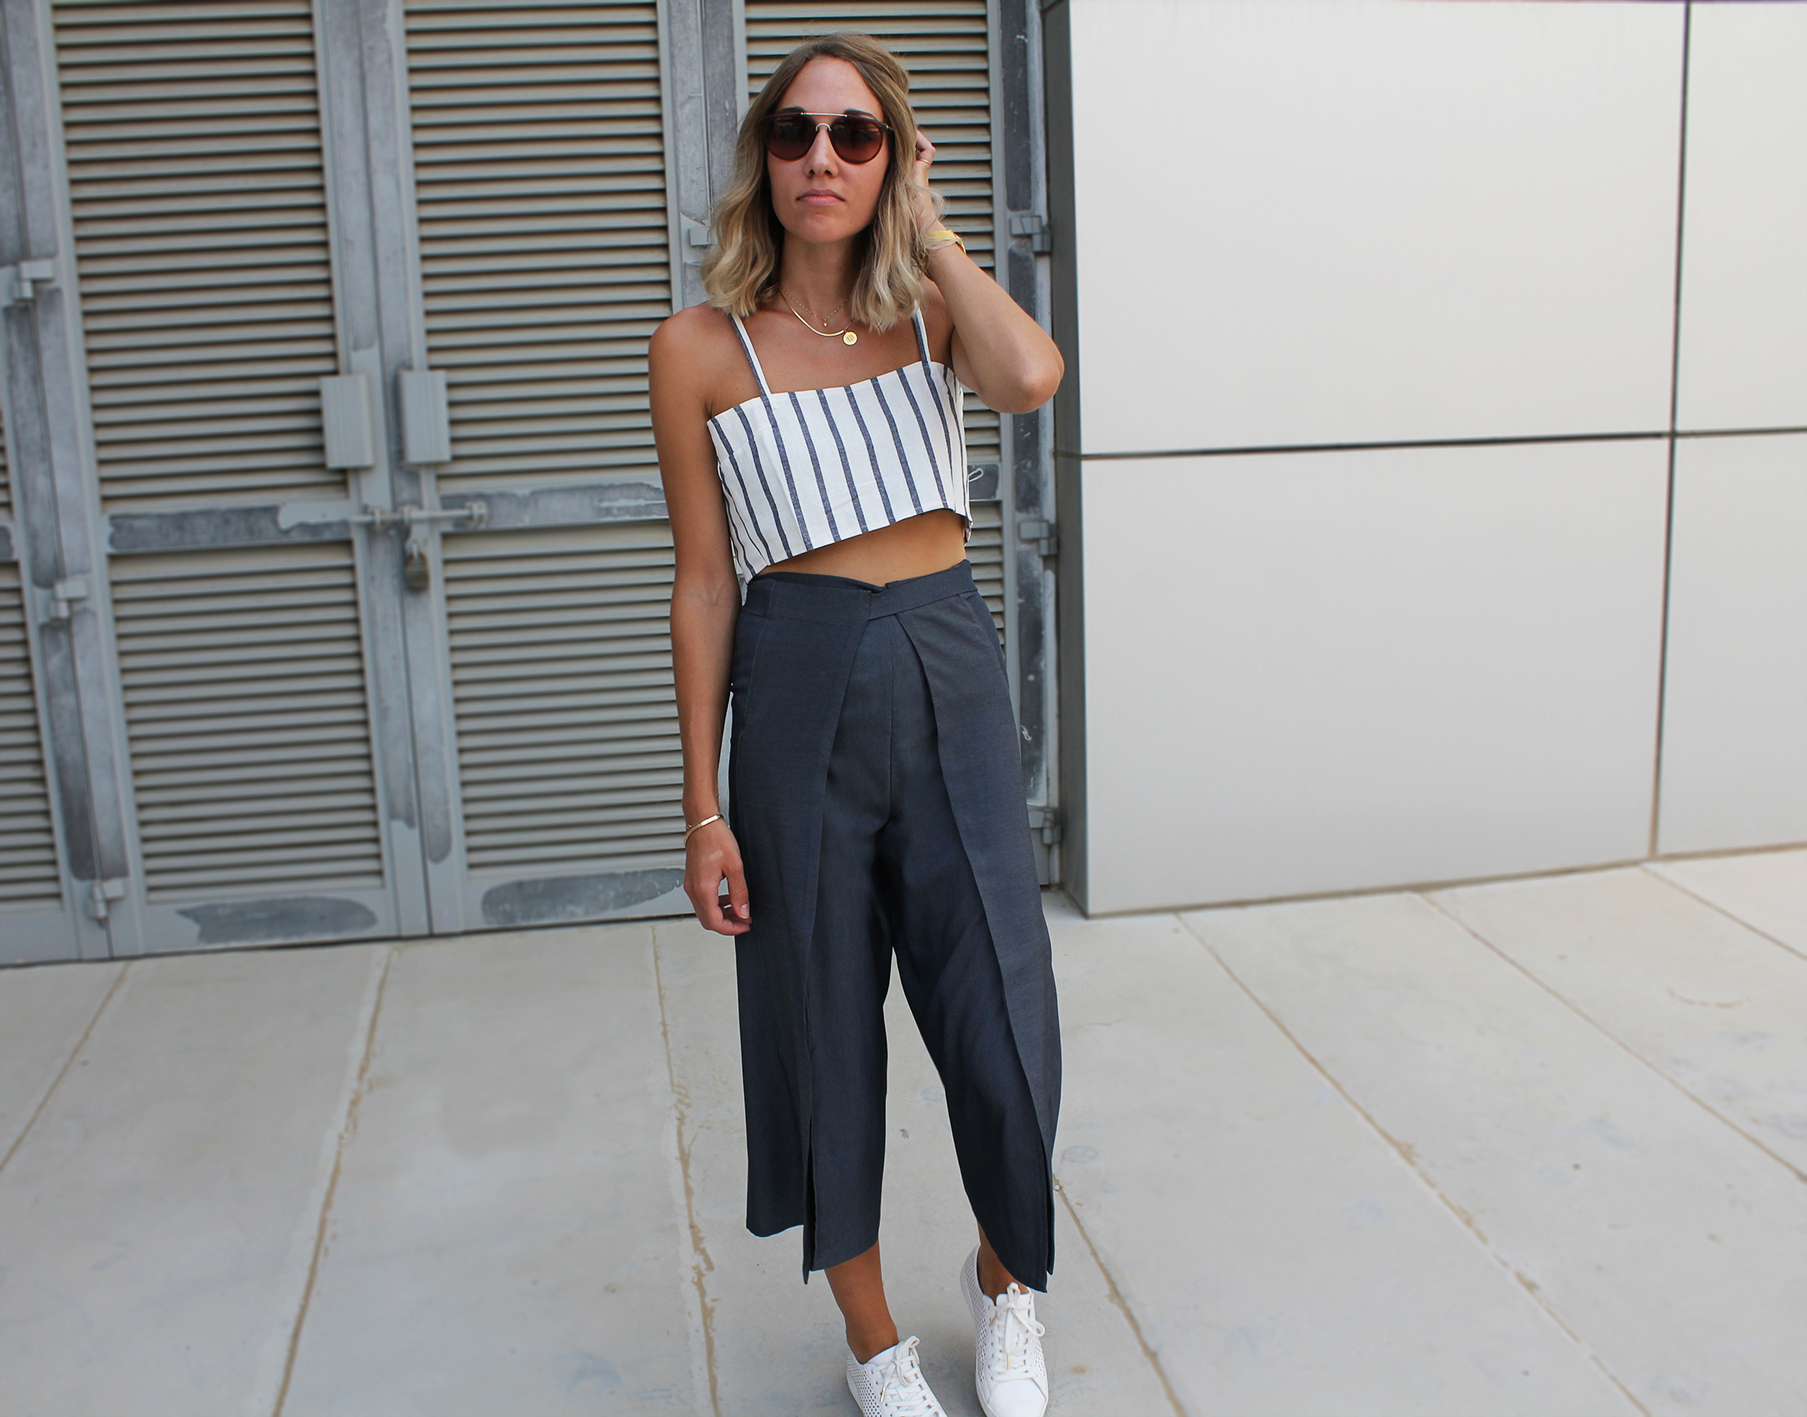
Culottes are (IMO) of of the most versatile pieces of clothing out there. Dressed up, dressed down, work in different climates - Which is good news for someone like me - a Wardrobe streamliner. I've been seeing different variations of the wrap/crossover culotte recently (like this and this), but most of them are constructed so the wrap is fixed in place. I wanted something you actually wrap around yourself, and that's more airy and appropriate for the Dubai weather. On top of utility-style buckles and belts, I find myself really into anything resembling an apron. The look has the vibe of making things, using your hands to create, and I love it. I've got a few ideas for a layering piece and/or dress in this style, stay tuned..
Tutorials take a lot of time & effort to create, and I choose to make mine available for free. If you enjoy this guide, you can support me with a donation that feels right for you, here.
TOOLS:

Fabric with a stretch for comfort, 2 m (I used Tencel which is an amazing material) | Scissors | Pins | Thread & Sewing Machine | Fabric marker | + didn't make the photo: Long piece of string, e.g. a shoe lace (see step VIII) | Two small buttons
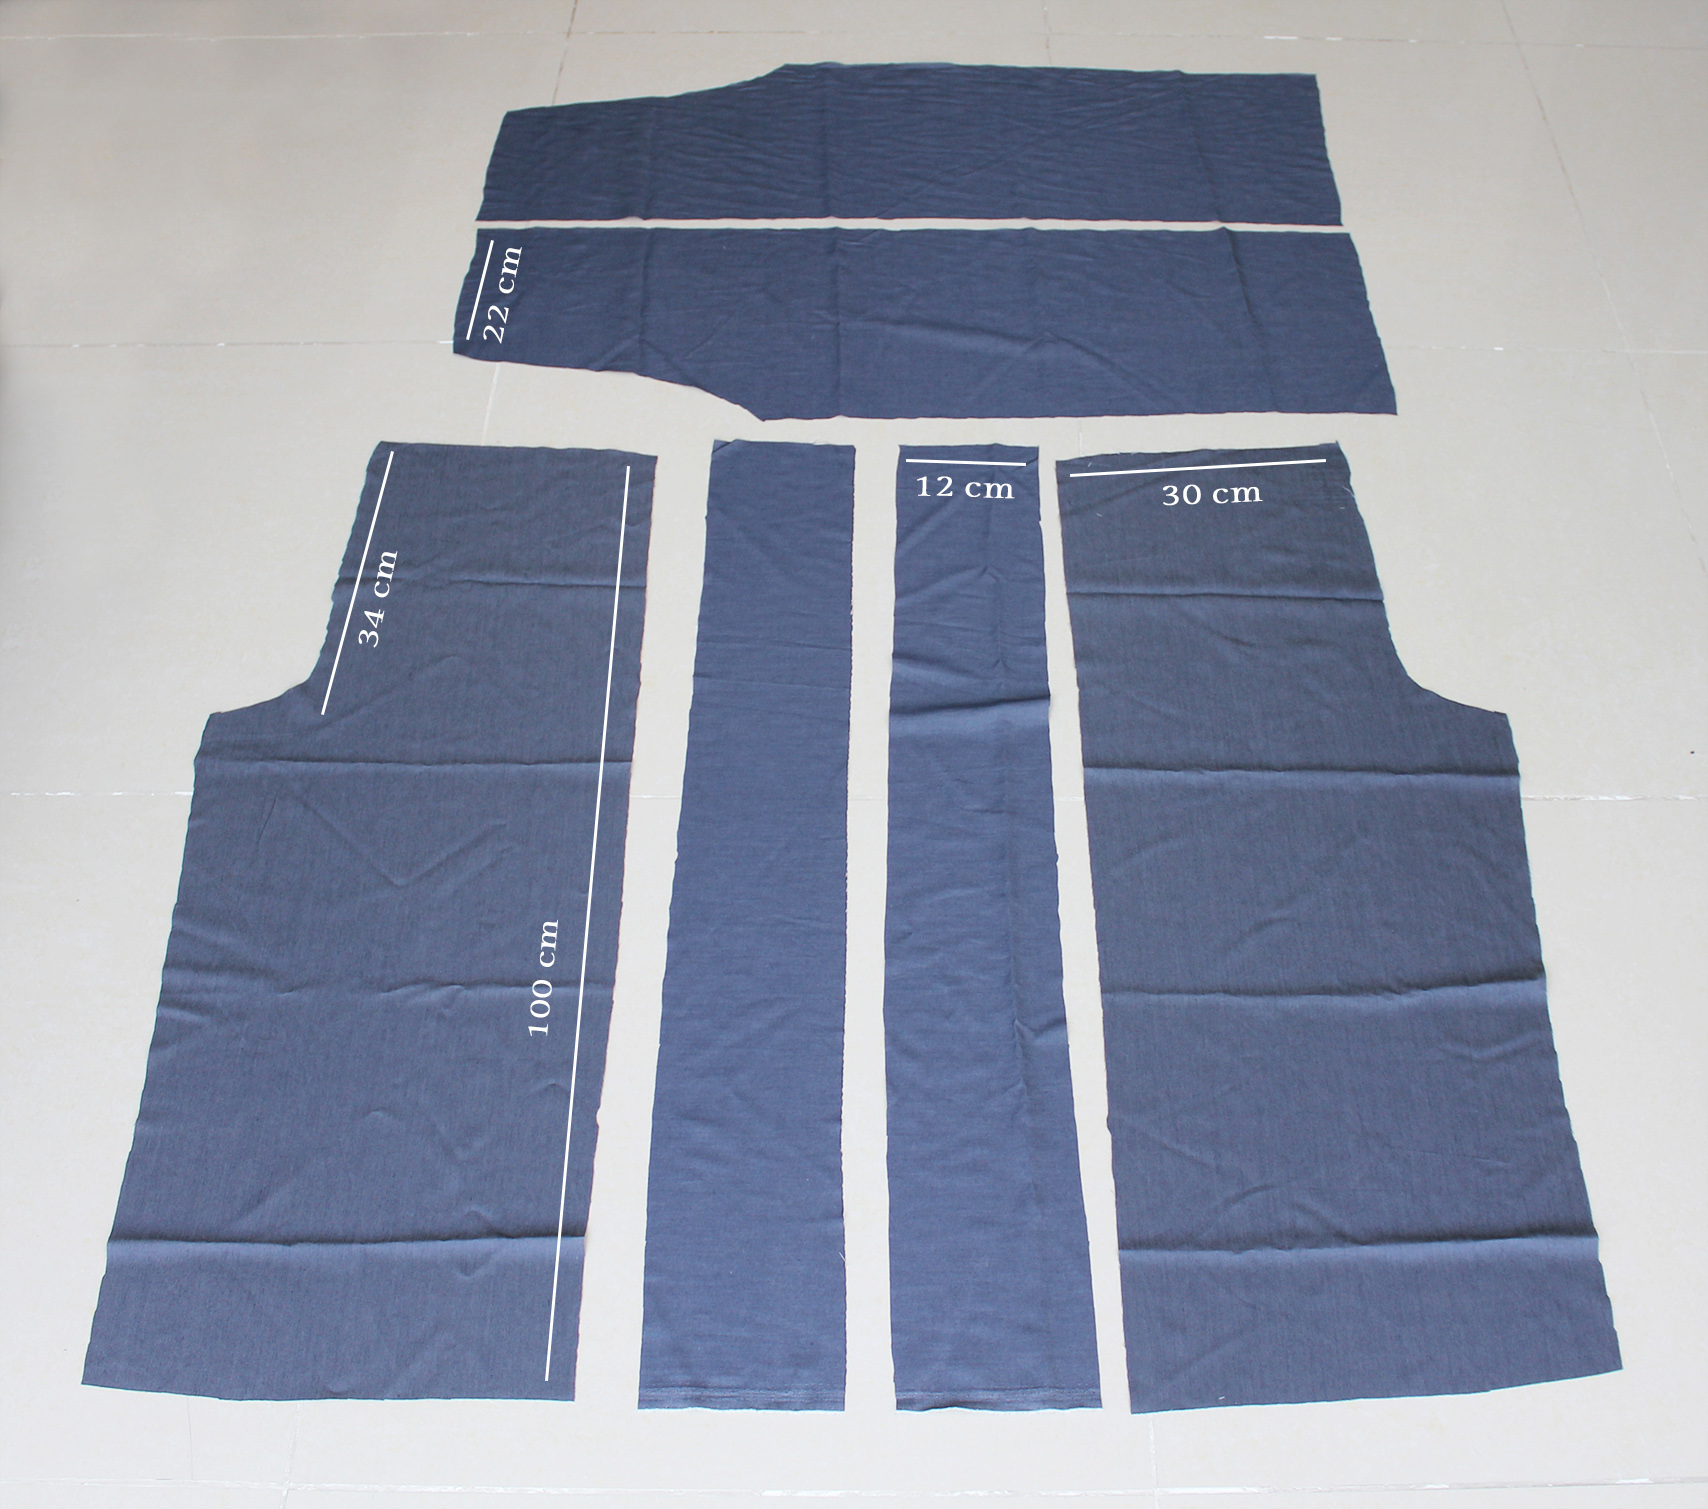
I. Some people have been asking me how I do my tracing/if I use patterns - I don't, I just draw directly on the fabric (sometimes using an existing garment I have for guidance, laid flat, to trace around). I've started adding some indicative measurements in case those help. I'm a European size 36/US 4 (my waist is 70 cm). You need these pieces + we'll cut a couple more just slightly wider than the two narrow extension rectangles in just a bit. Finish raw edges with a zig-zag if your fabric frays.
 II. Place the two back pieces and the two front pieces right sides facing and pin the crotch seams, sew along the curve. Press the seam.
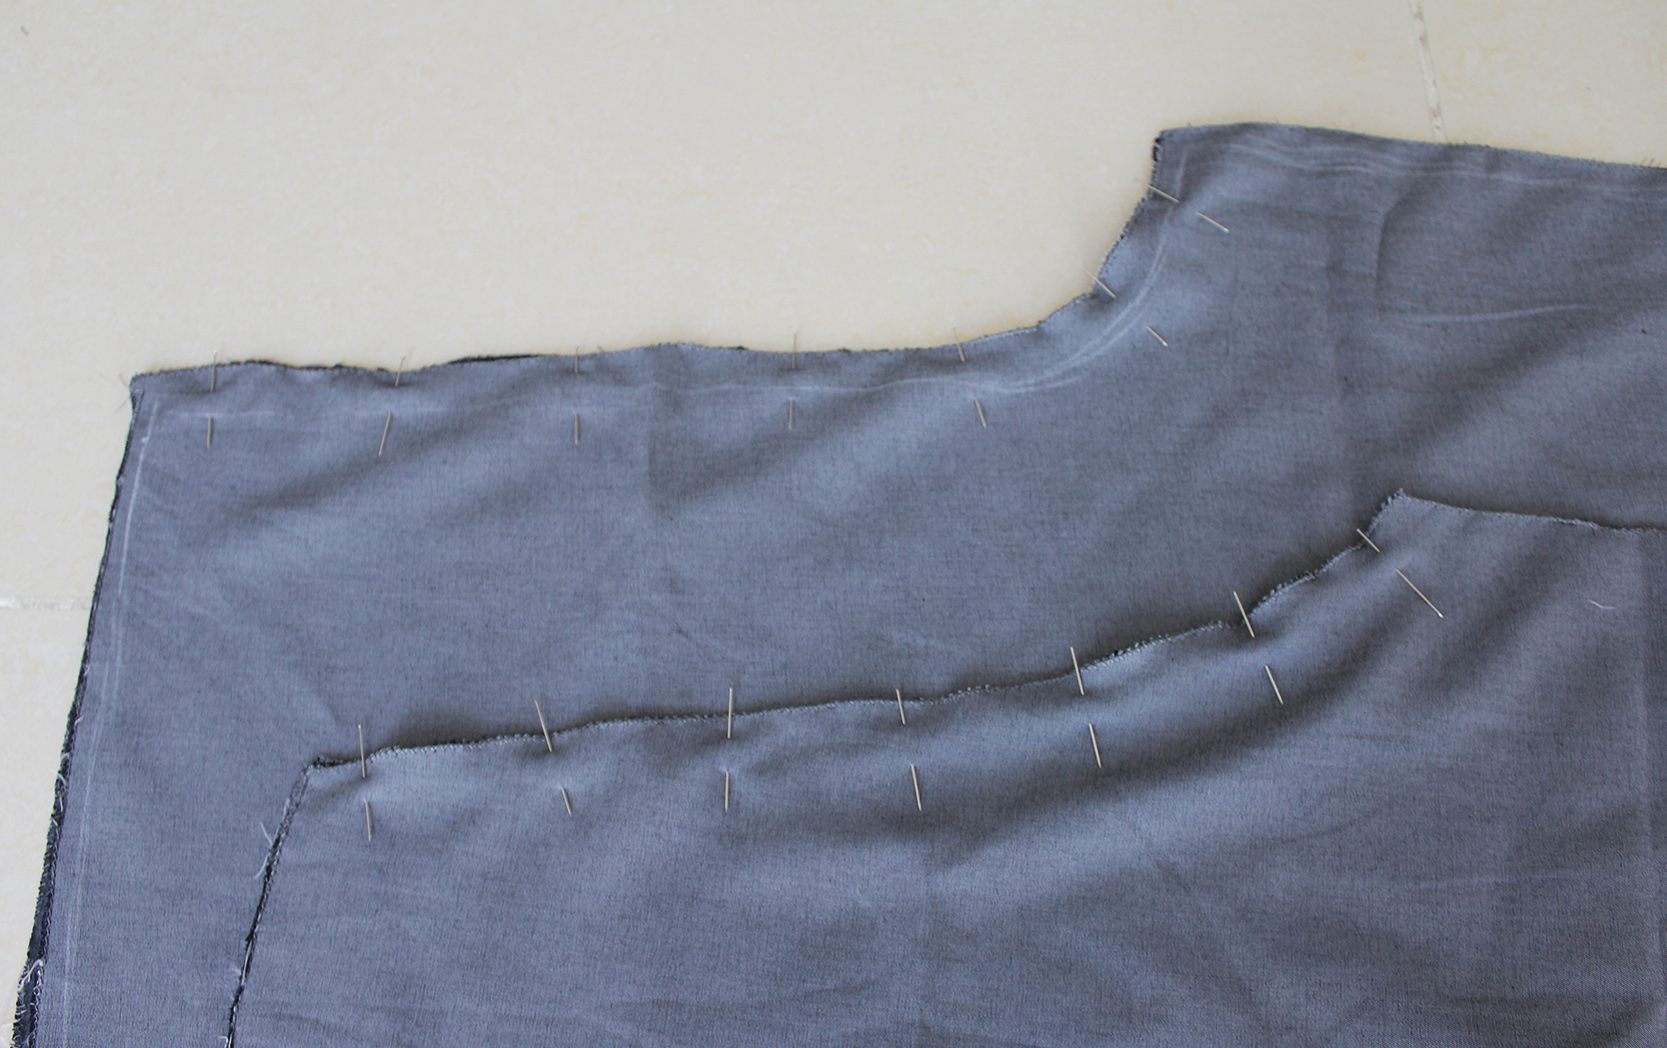
III. Pin the extension pieces to the sides of the now attached back piece. Sew along the edge and press the seam open.
IV. Pin the inseam and sew & press that one too.
V. Finish off the sides of the front piece by pressing a double fold at the edge and stitching in place.
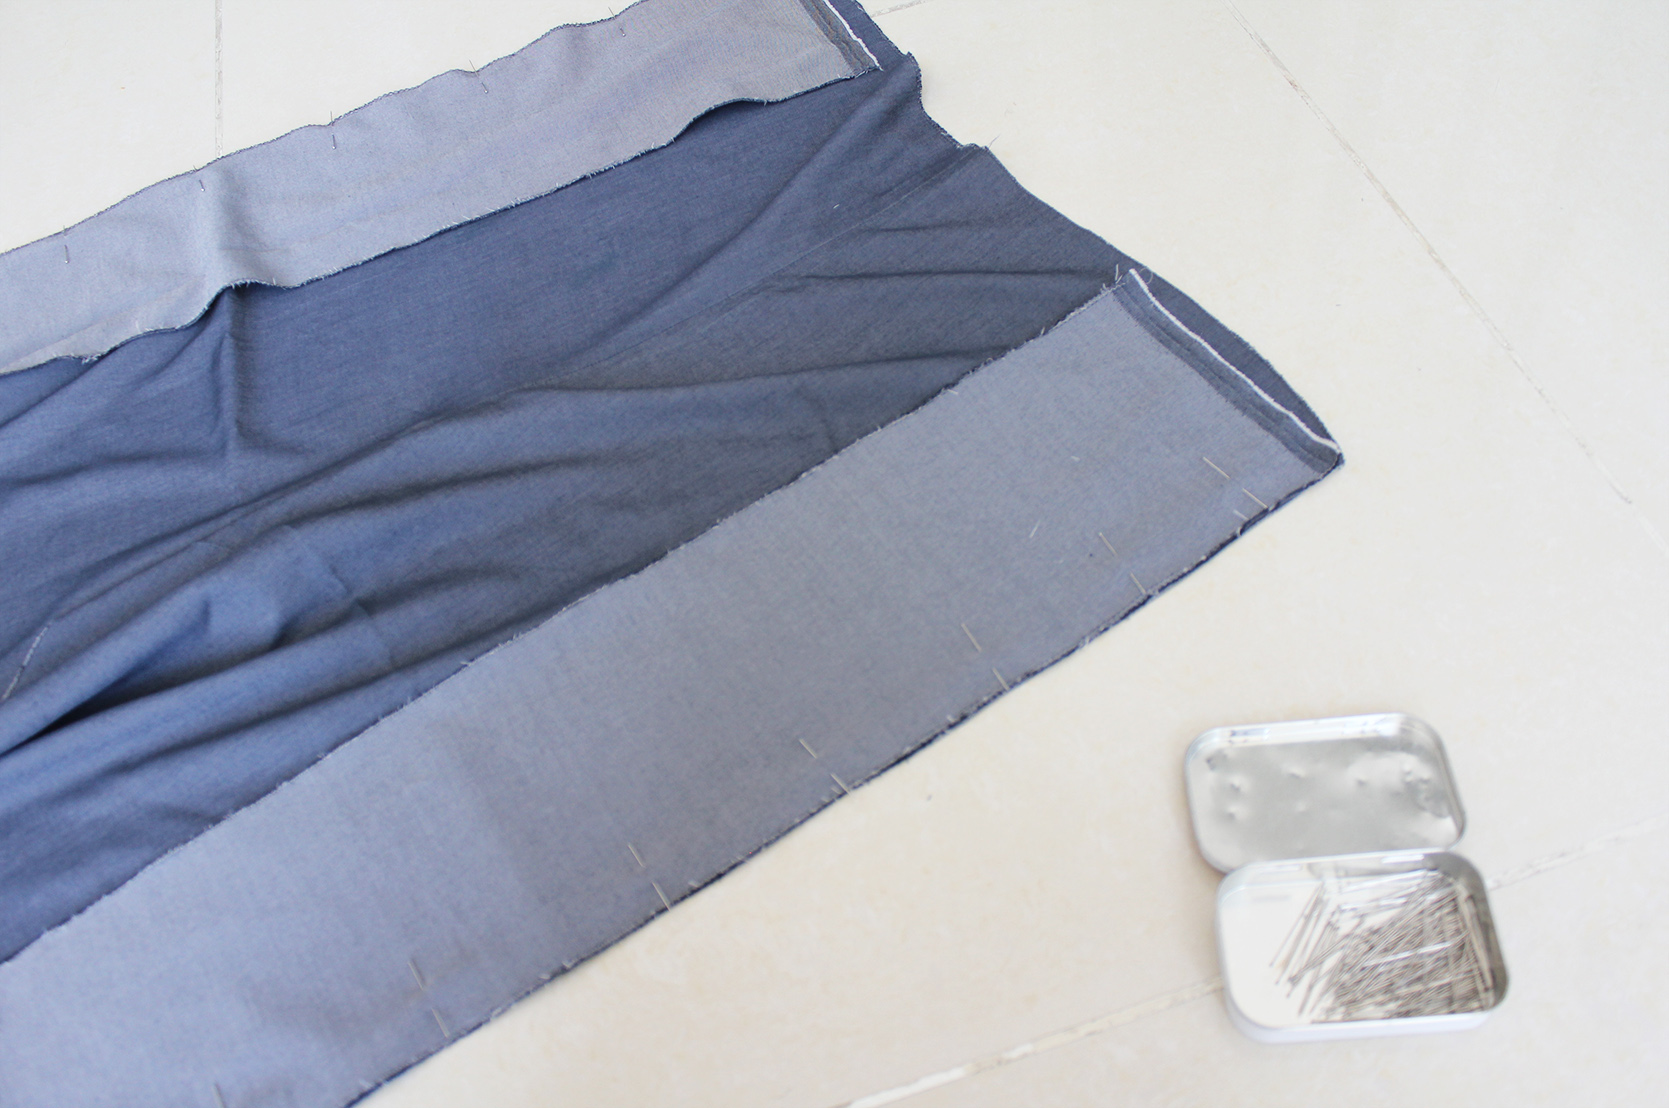
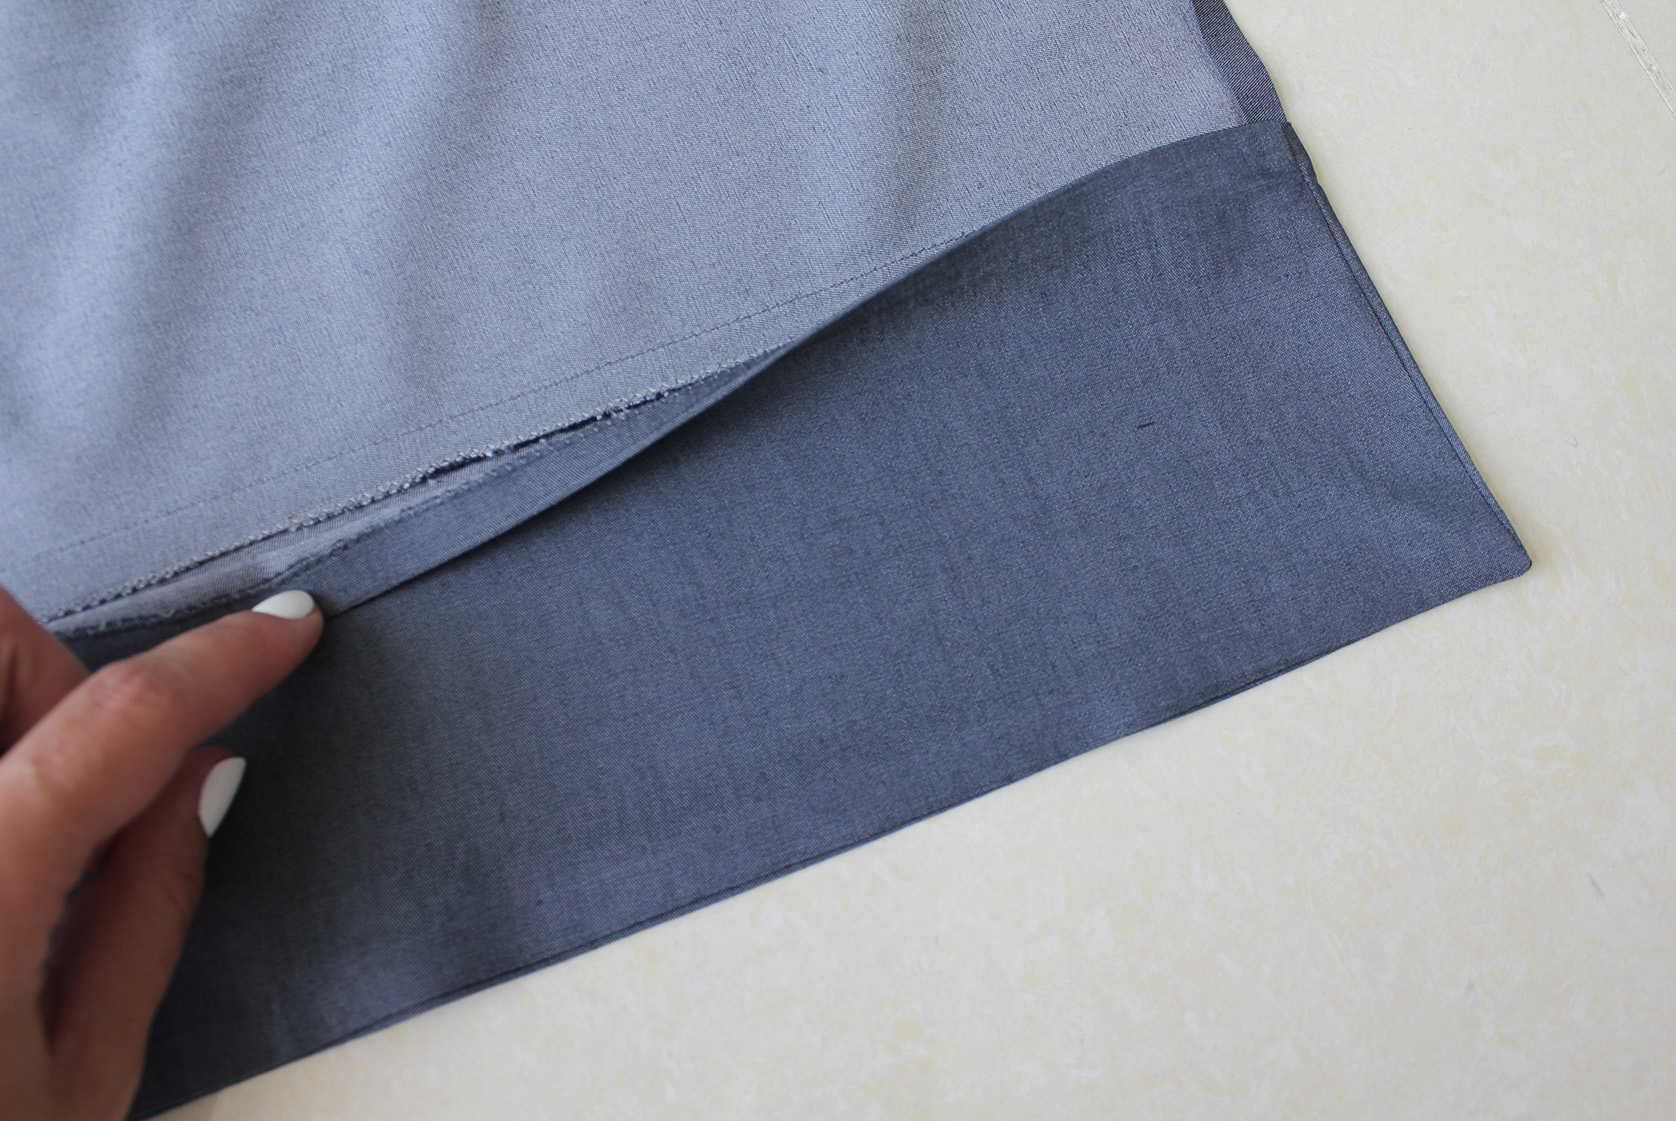
VI. Back to the back piece. Cut two more rectangles matching the length of the trousers. These are needed because in the ready garment there will be movement when you walk, and you unless your fabric has little difference between right and wrong side, you don't want the reverse showing all the time. The width of these pieces should be a bit more than the first extension piece, so you have enough to cover the seam.
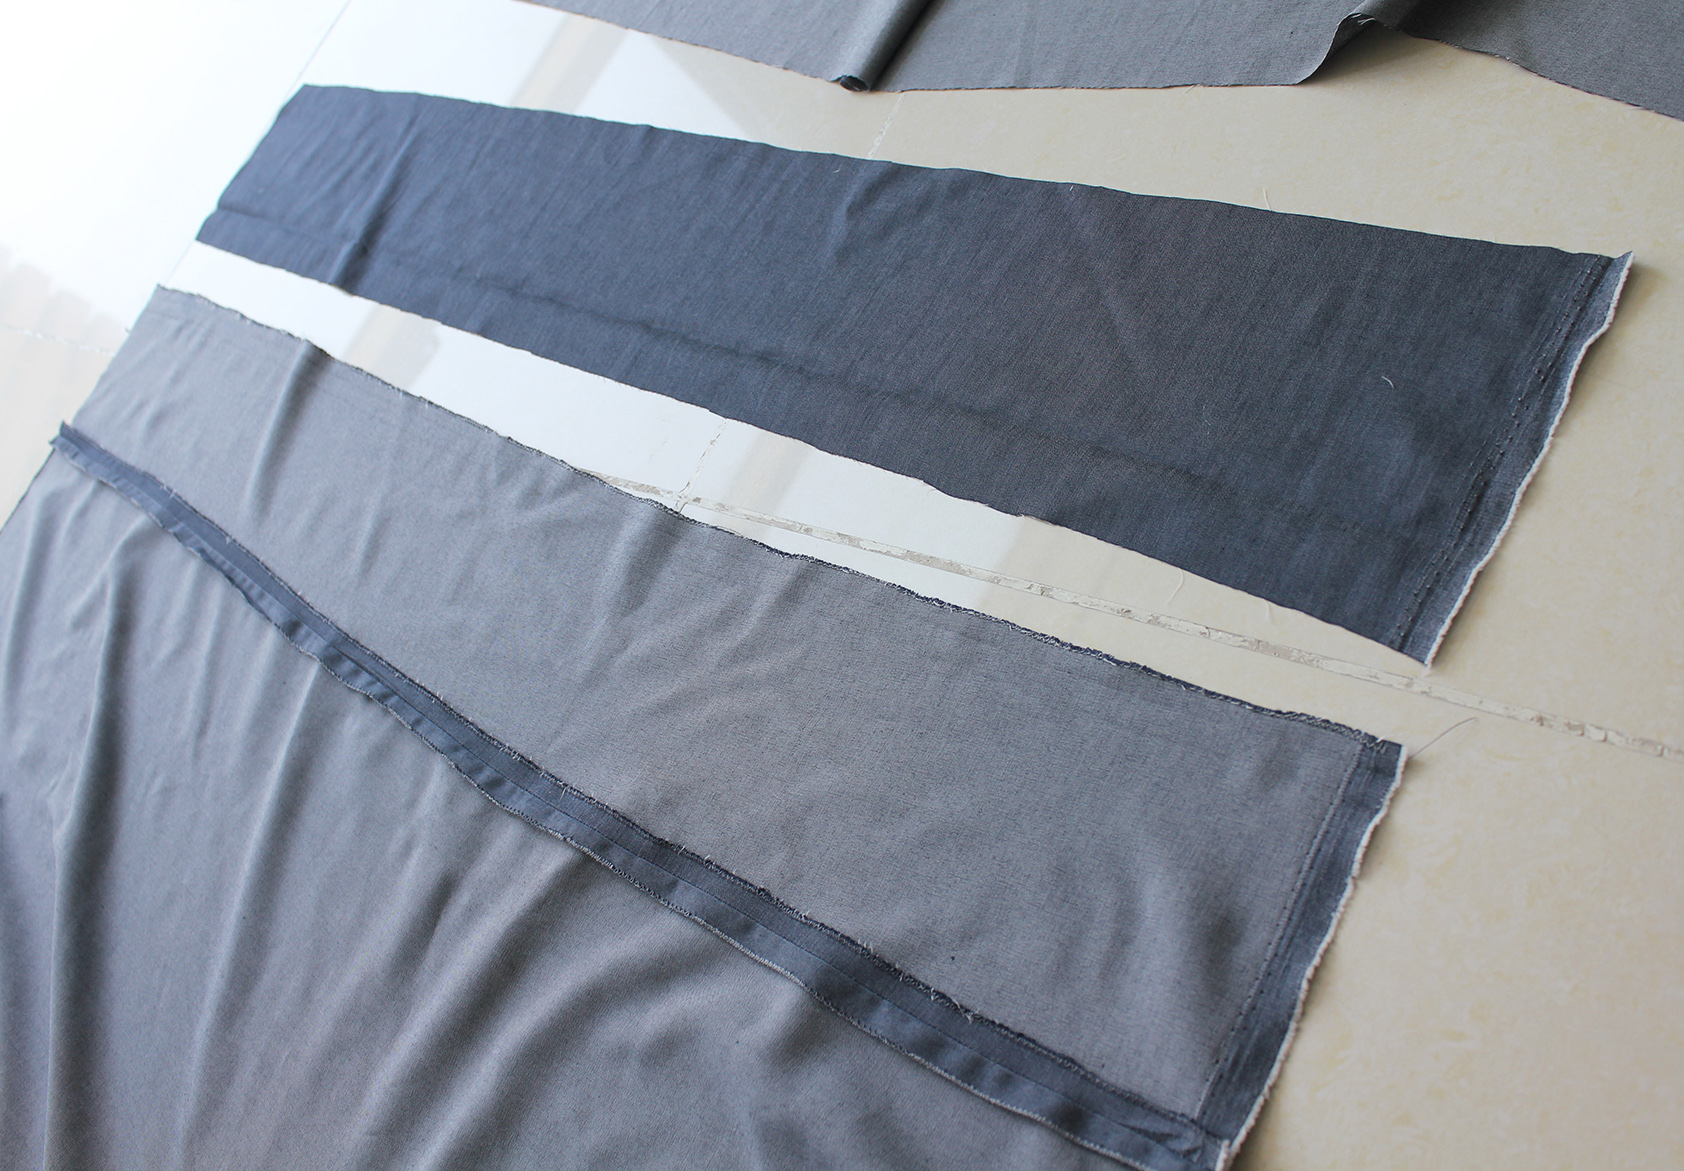
.. Pin these pieces to the sides, right sides facing, sew down from the top..
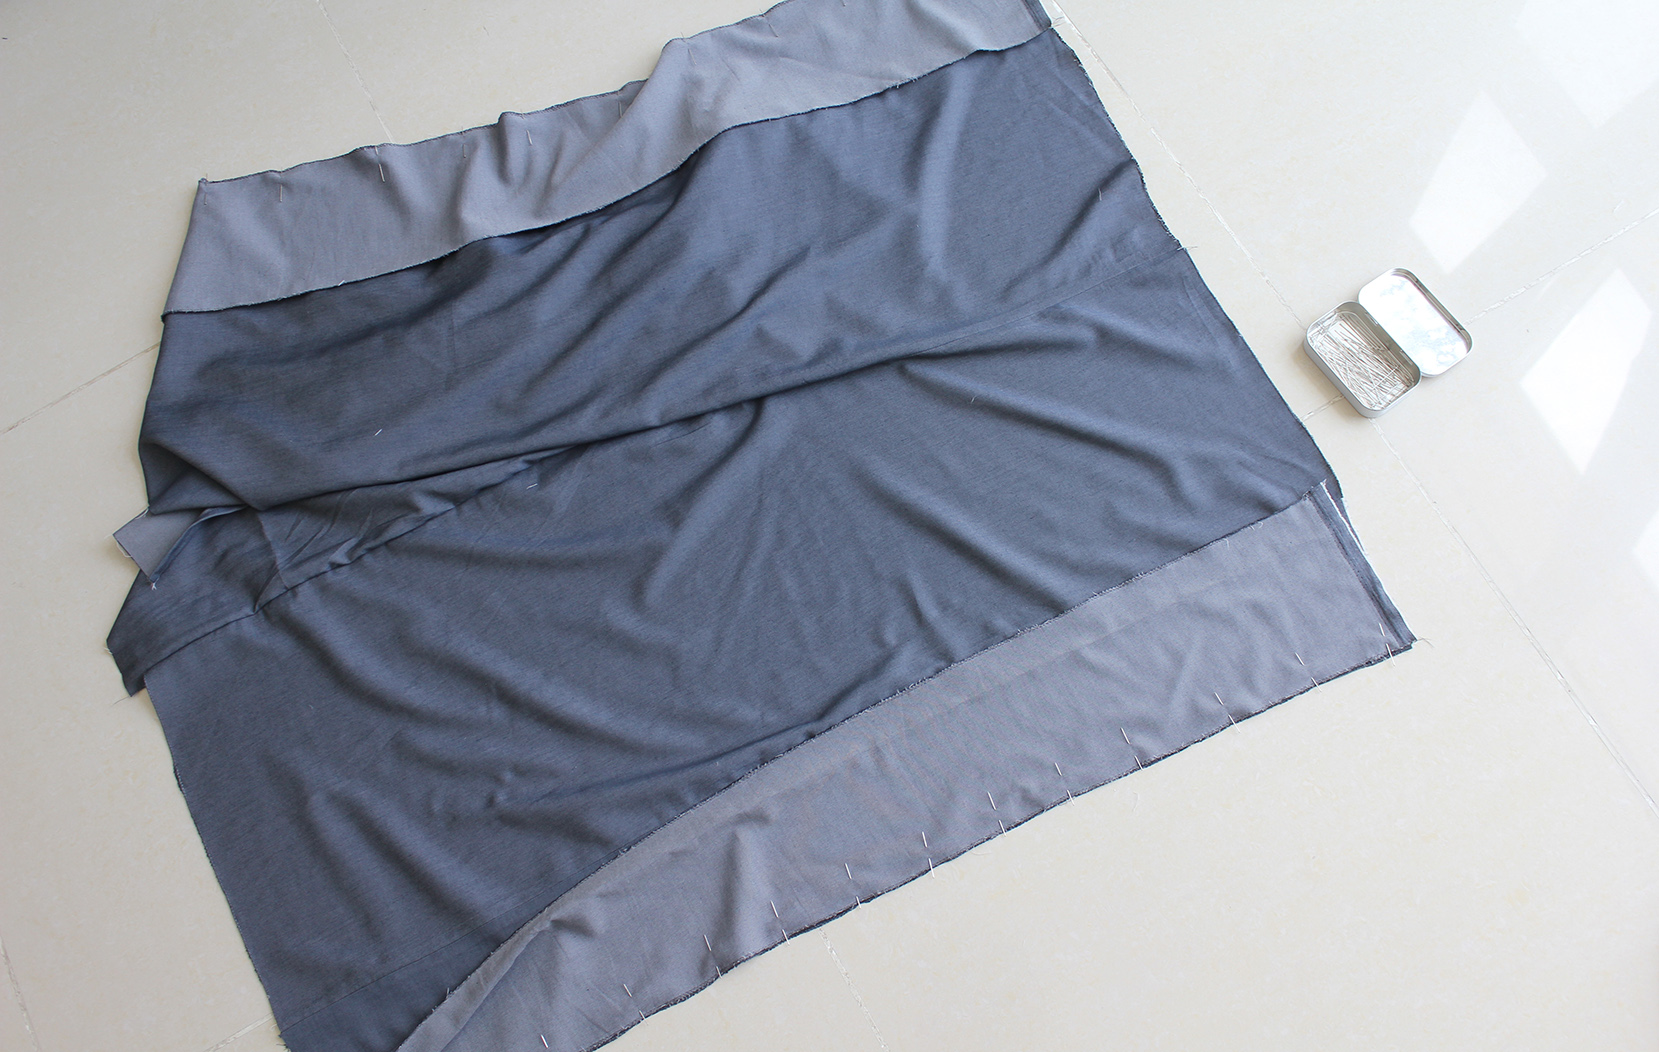
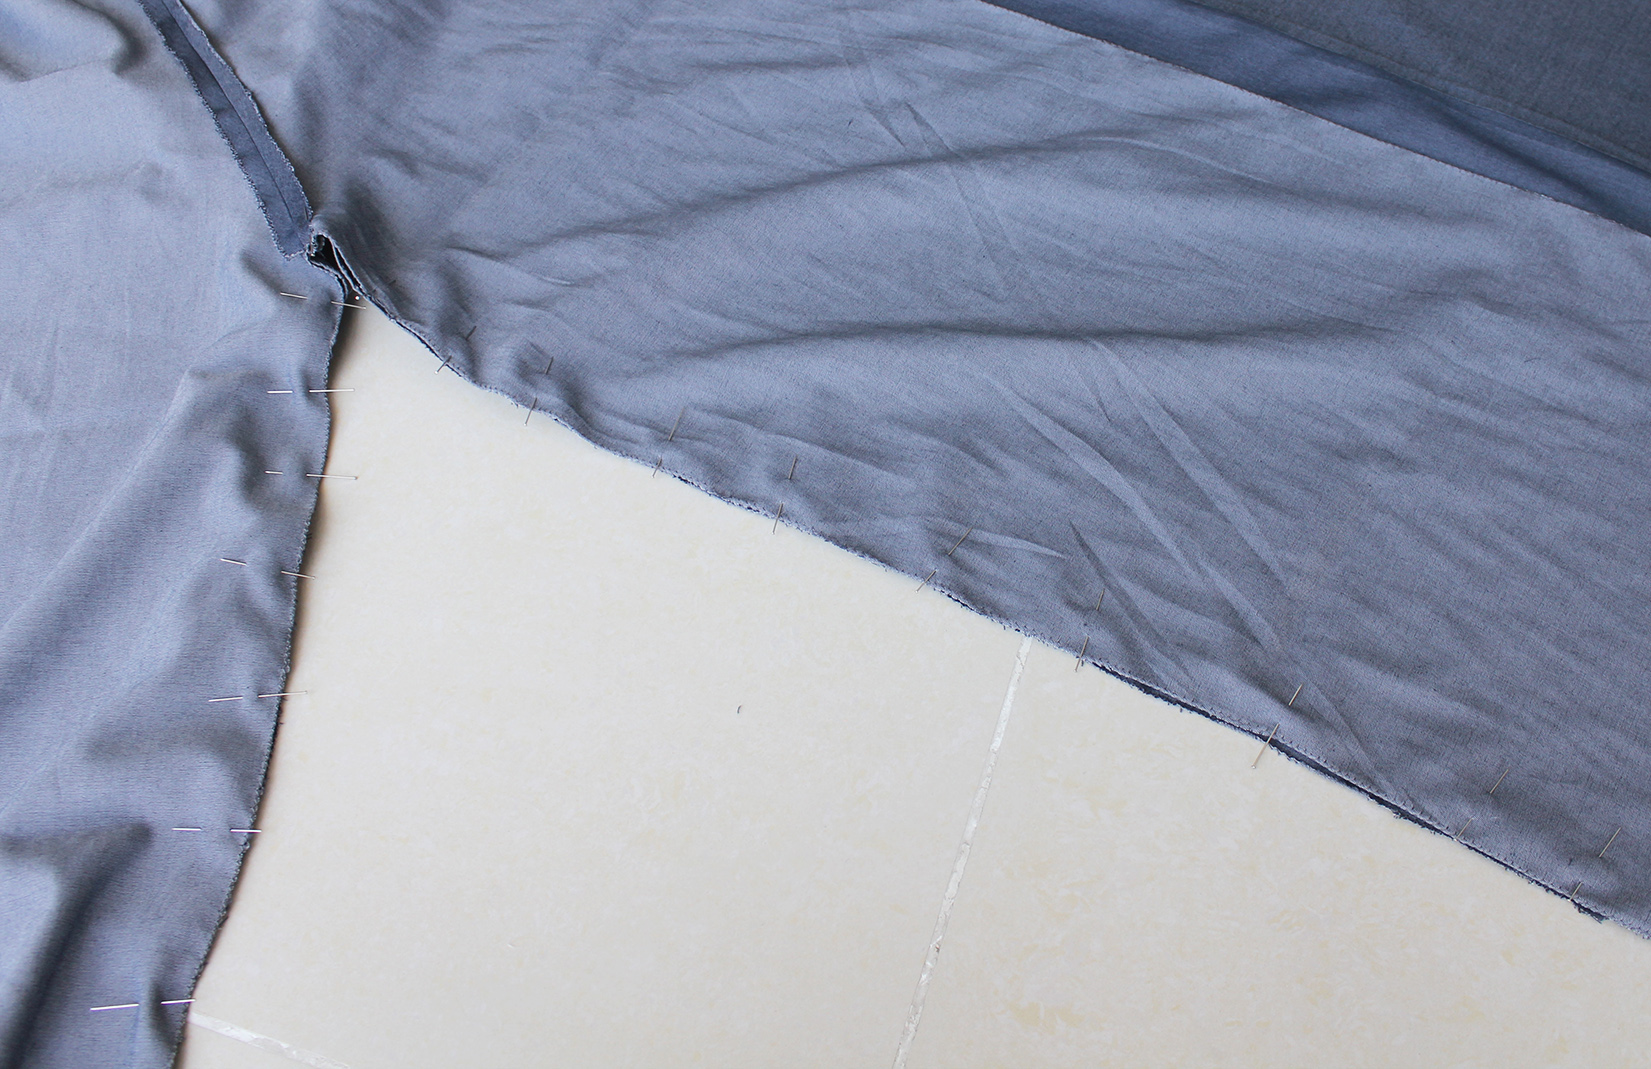
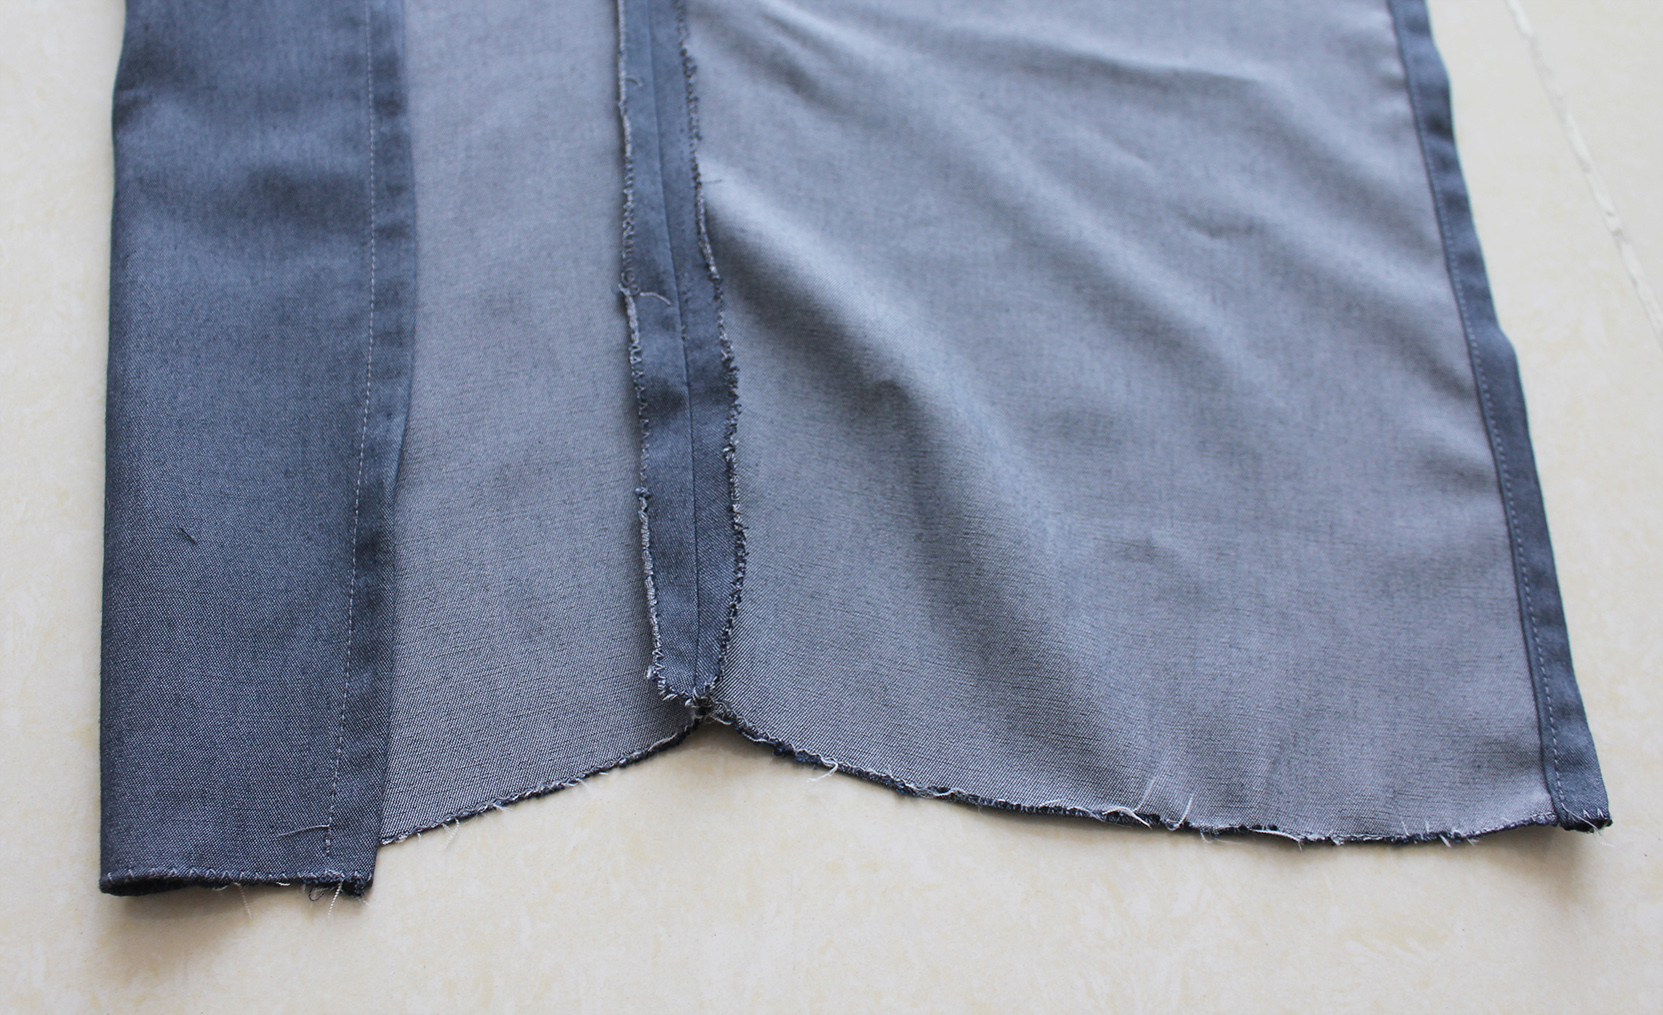
.. And when you get to the bottom, pivot at the corner and continue the stitch to the seam. Trim excess, especially around the corner so it turns right side out nicely.
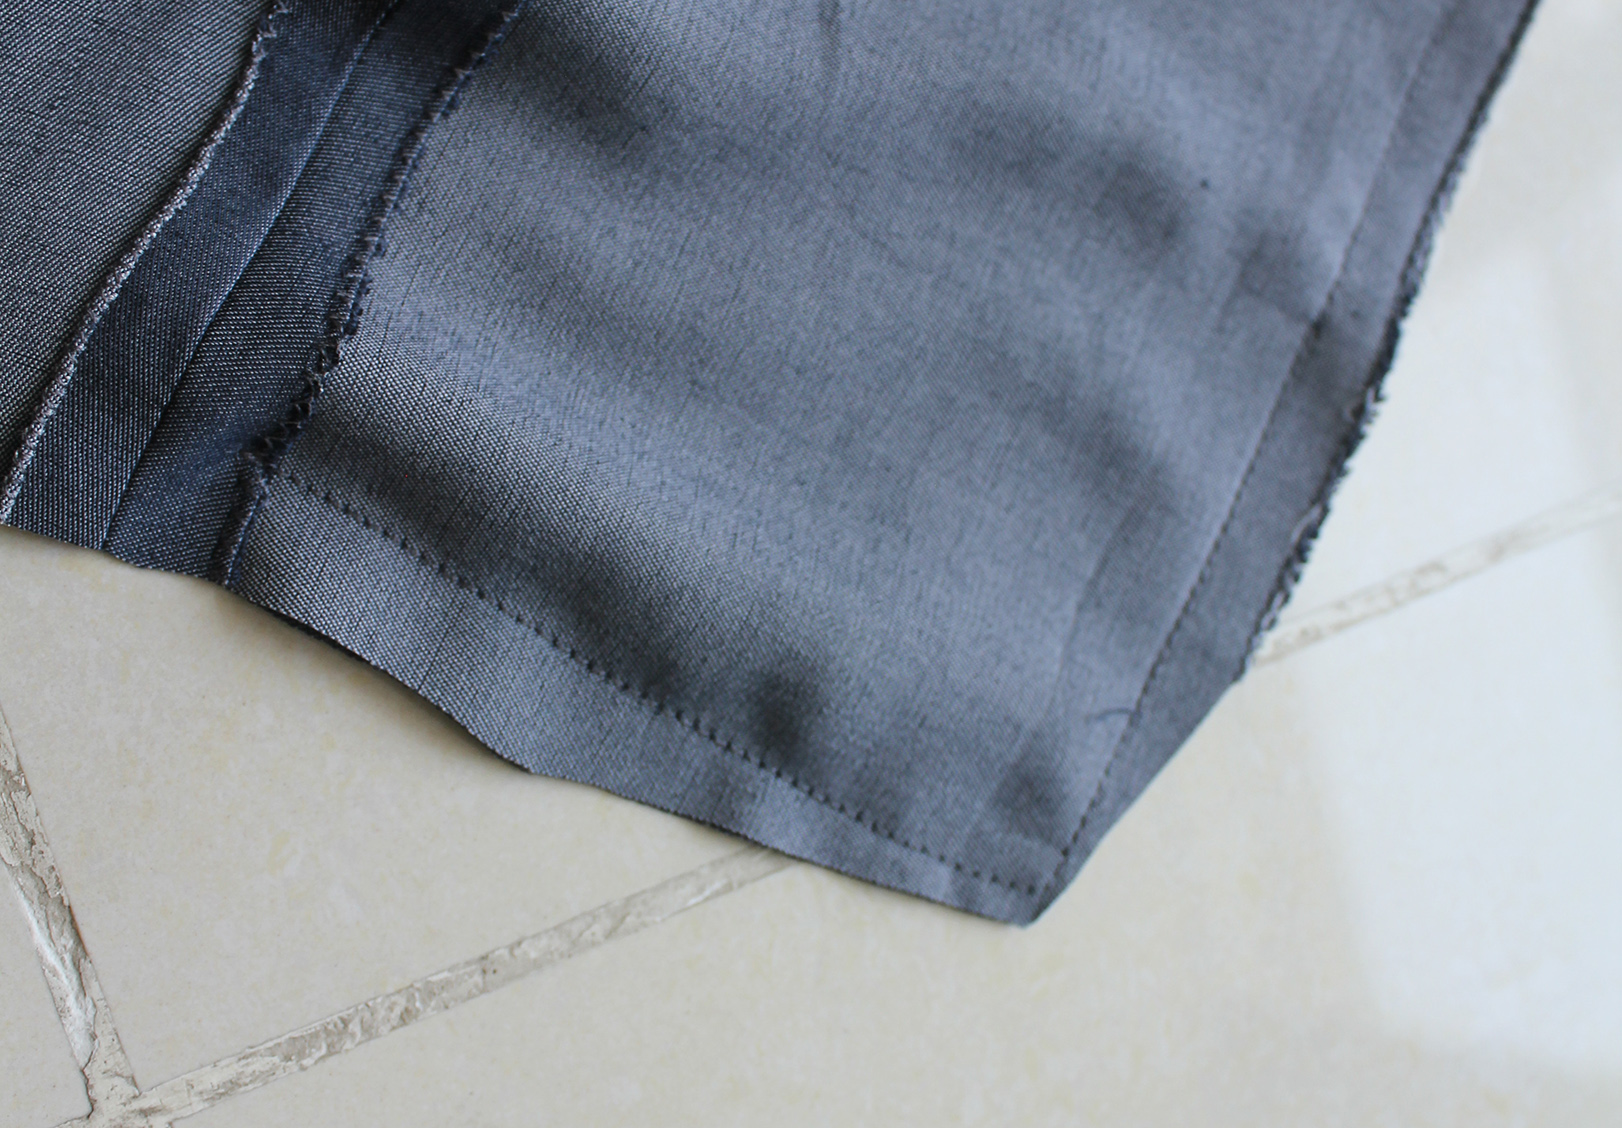
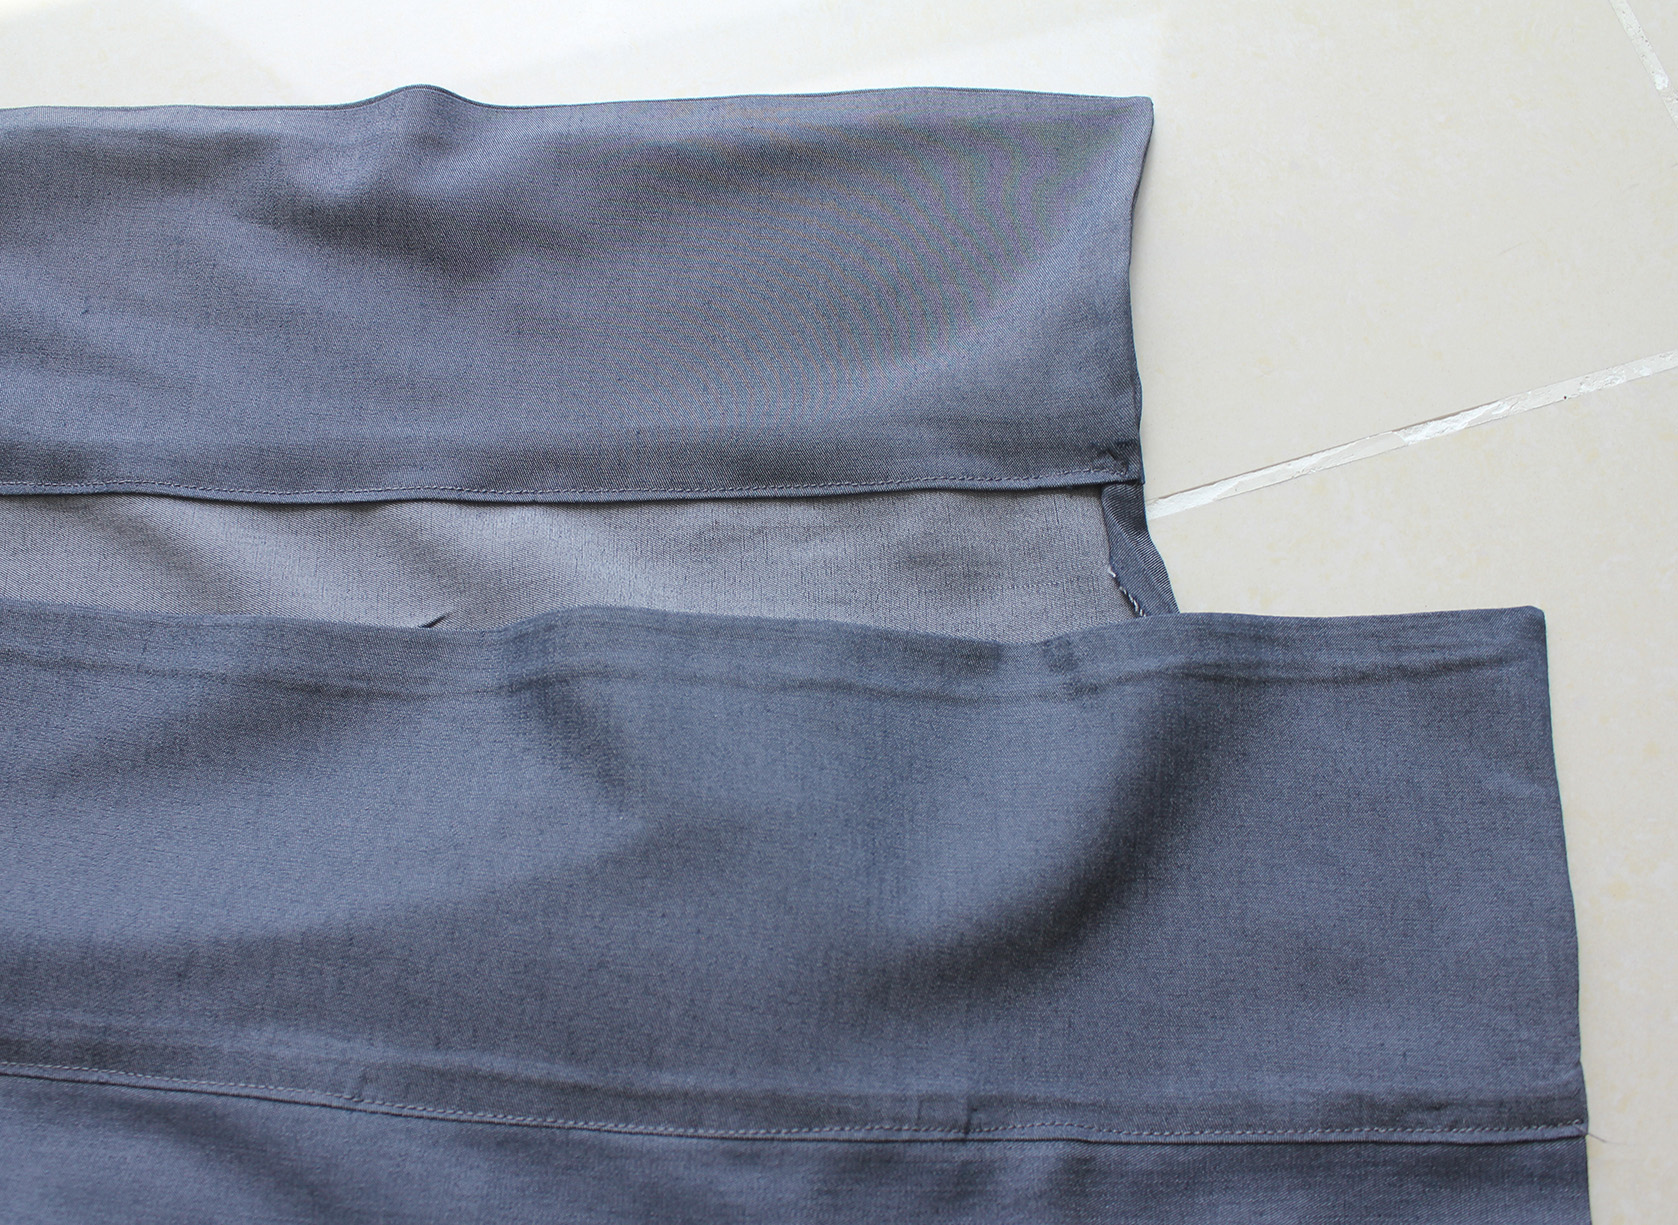
VII. Turn the right side out, press. Then press the seam allowance we want to cover on this side, and press another fold on the raw edge of the piece you just added. Pin in place making sure you cover the seam all the way.
Then sew on the right side, right next to the seam there, to secure in place.
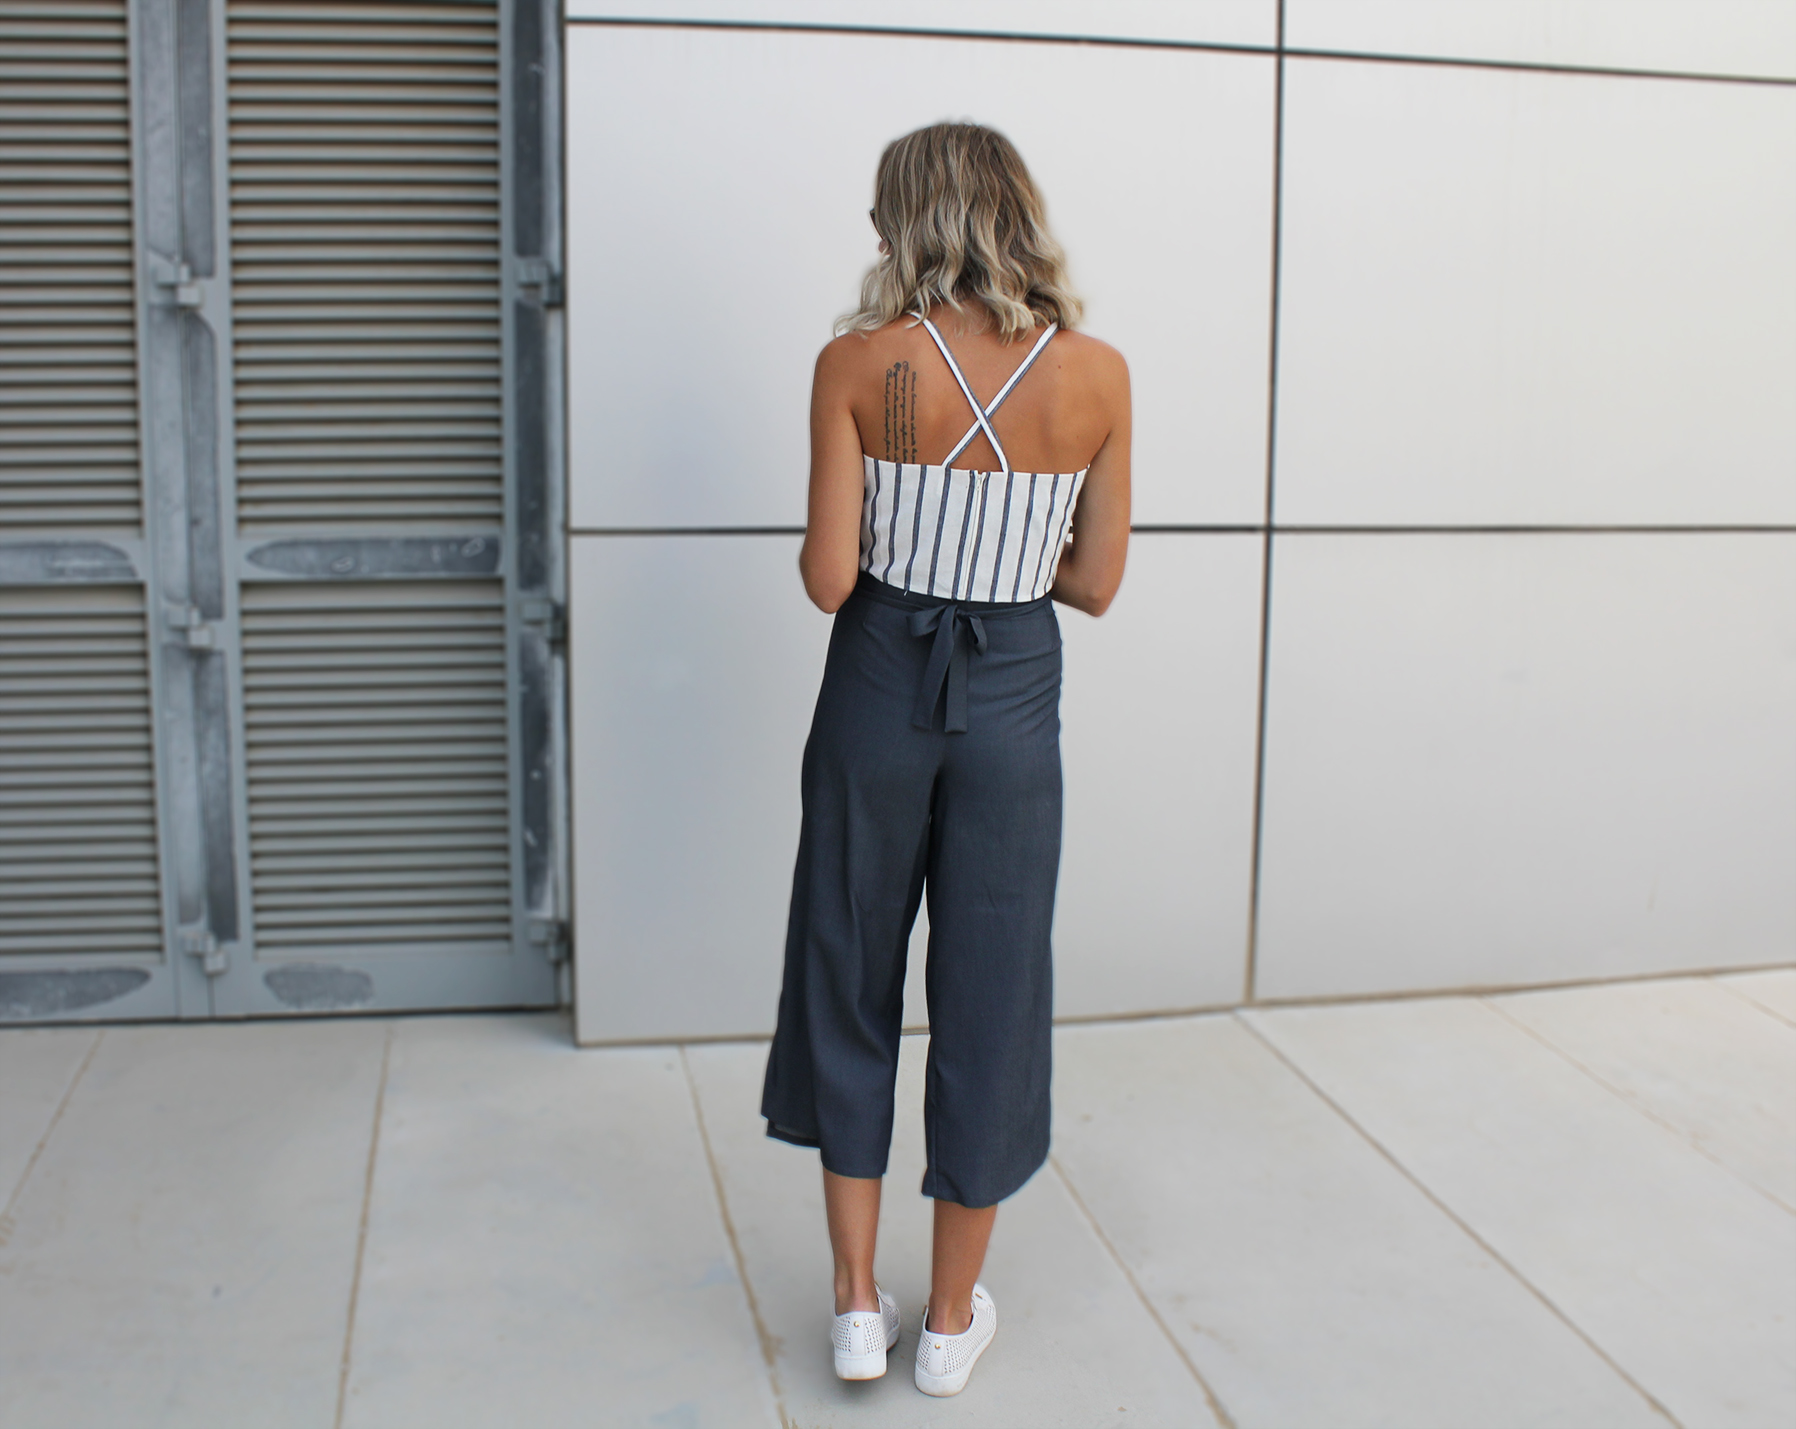
VIII. Time to make the belt. Cut two straps about 5 cm or so wide, and as long as you want the loose belt ends to be. Mine were about 60 cm long each. Fold in half width-wise, right sides facing, and press.
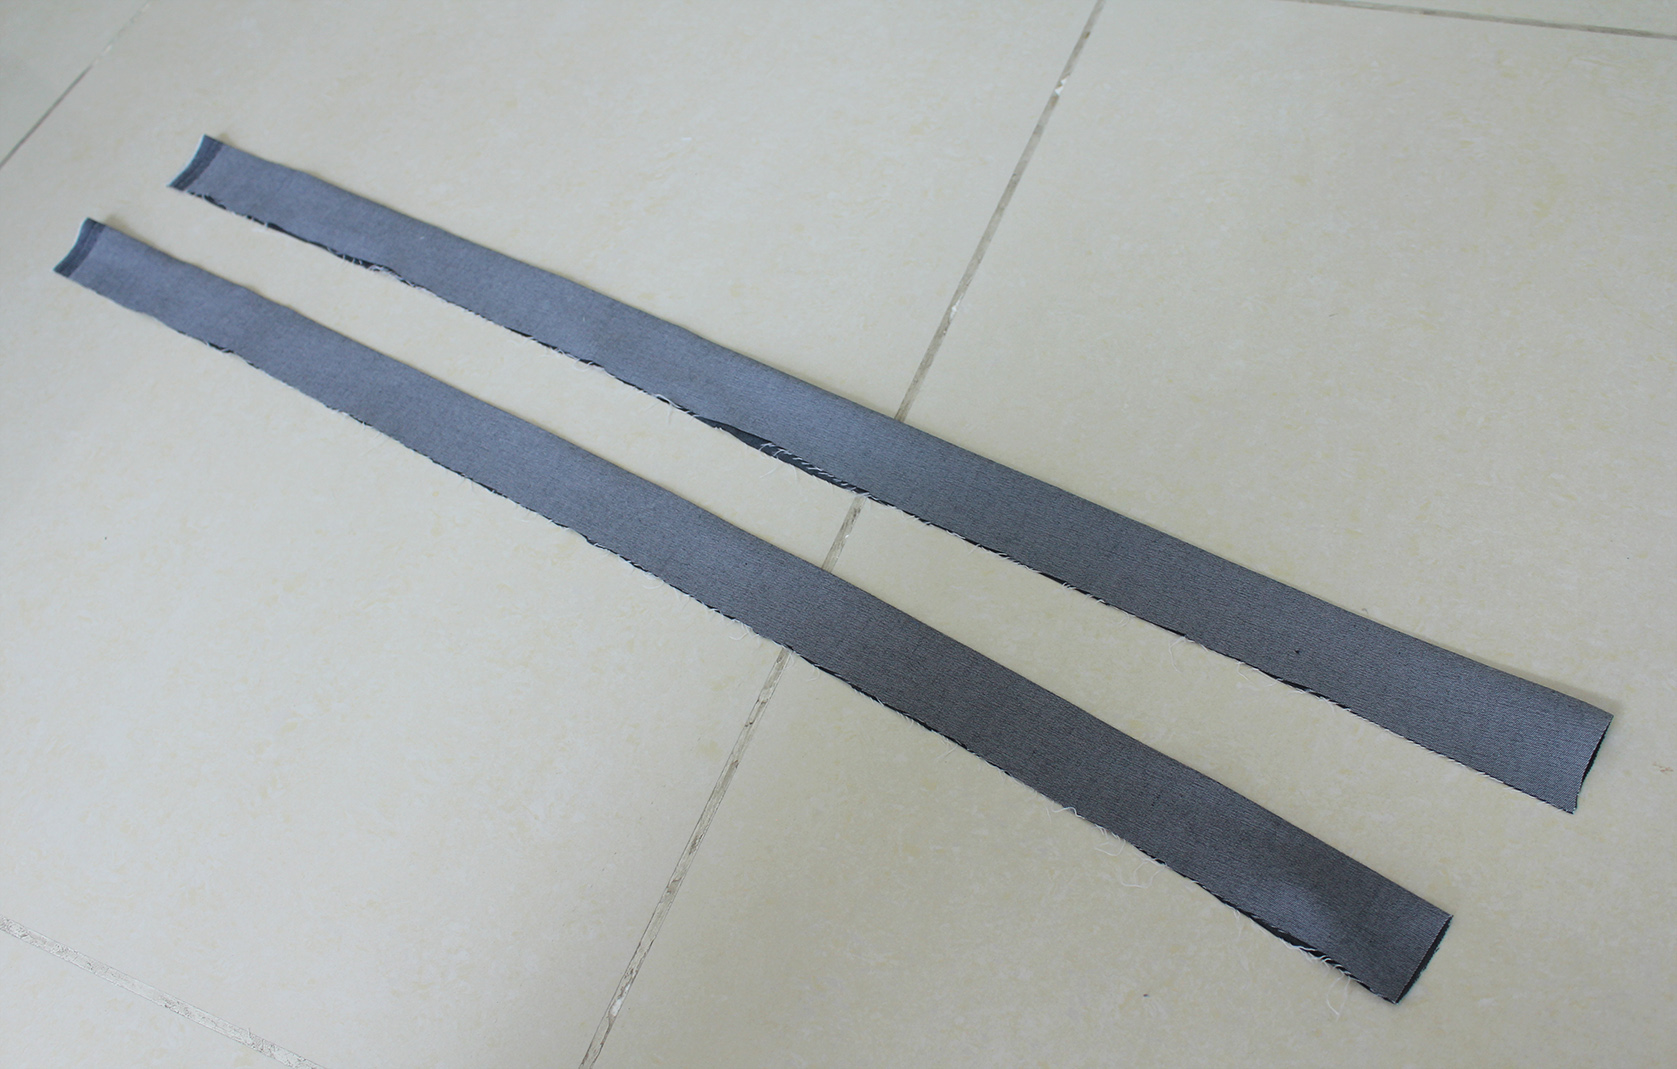
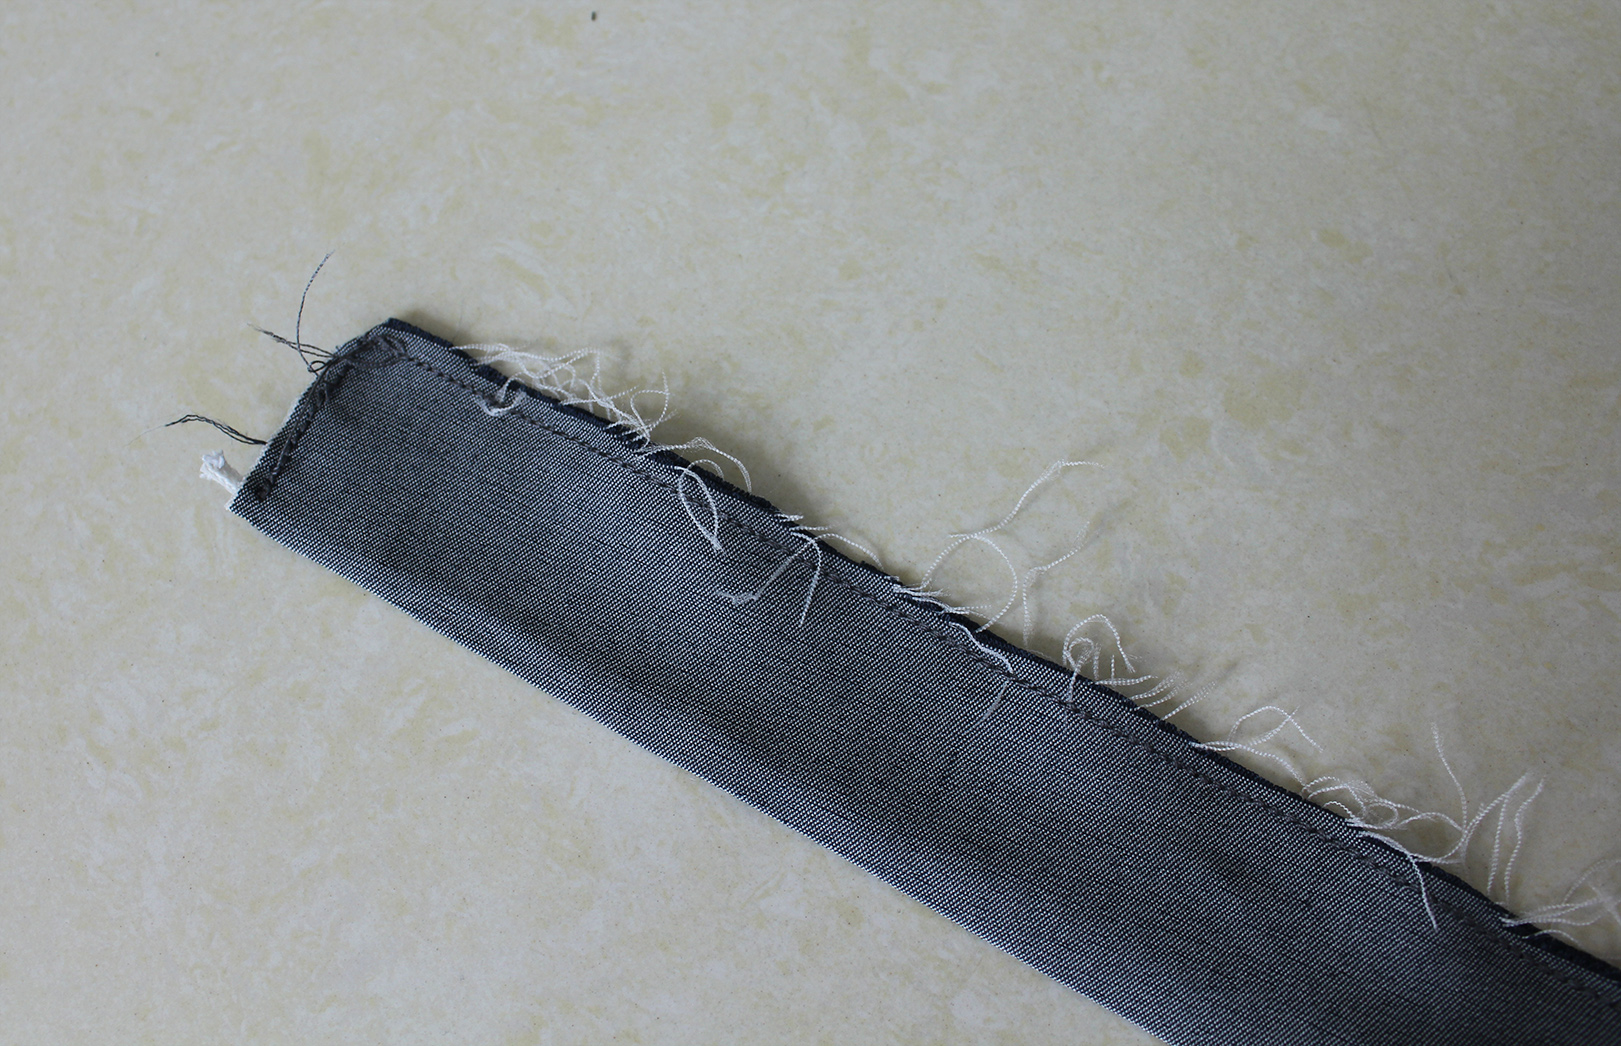
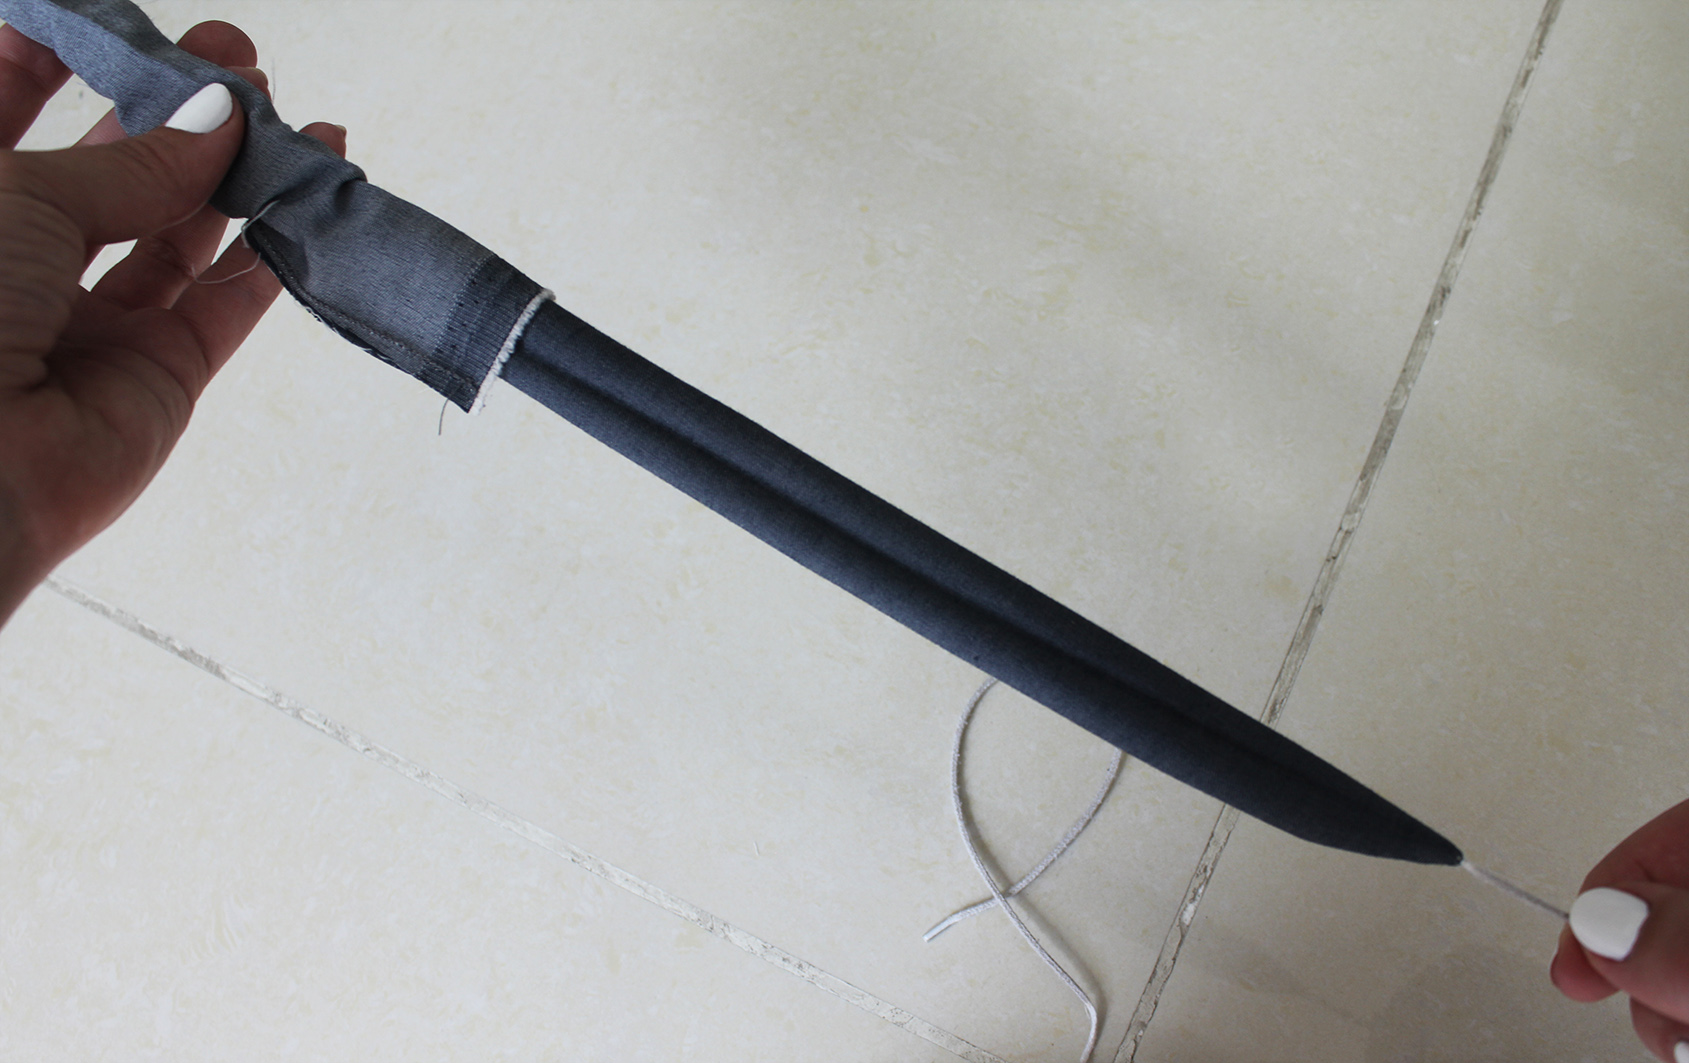
Take a string that's longer than your strip of fabric, insert it inside the fold, and sew around the edges, trapping the string in the stitch. Leave the other end open. Trim excess edges once done.
.. You can then use the string to pull the strap right side out like this.
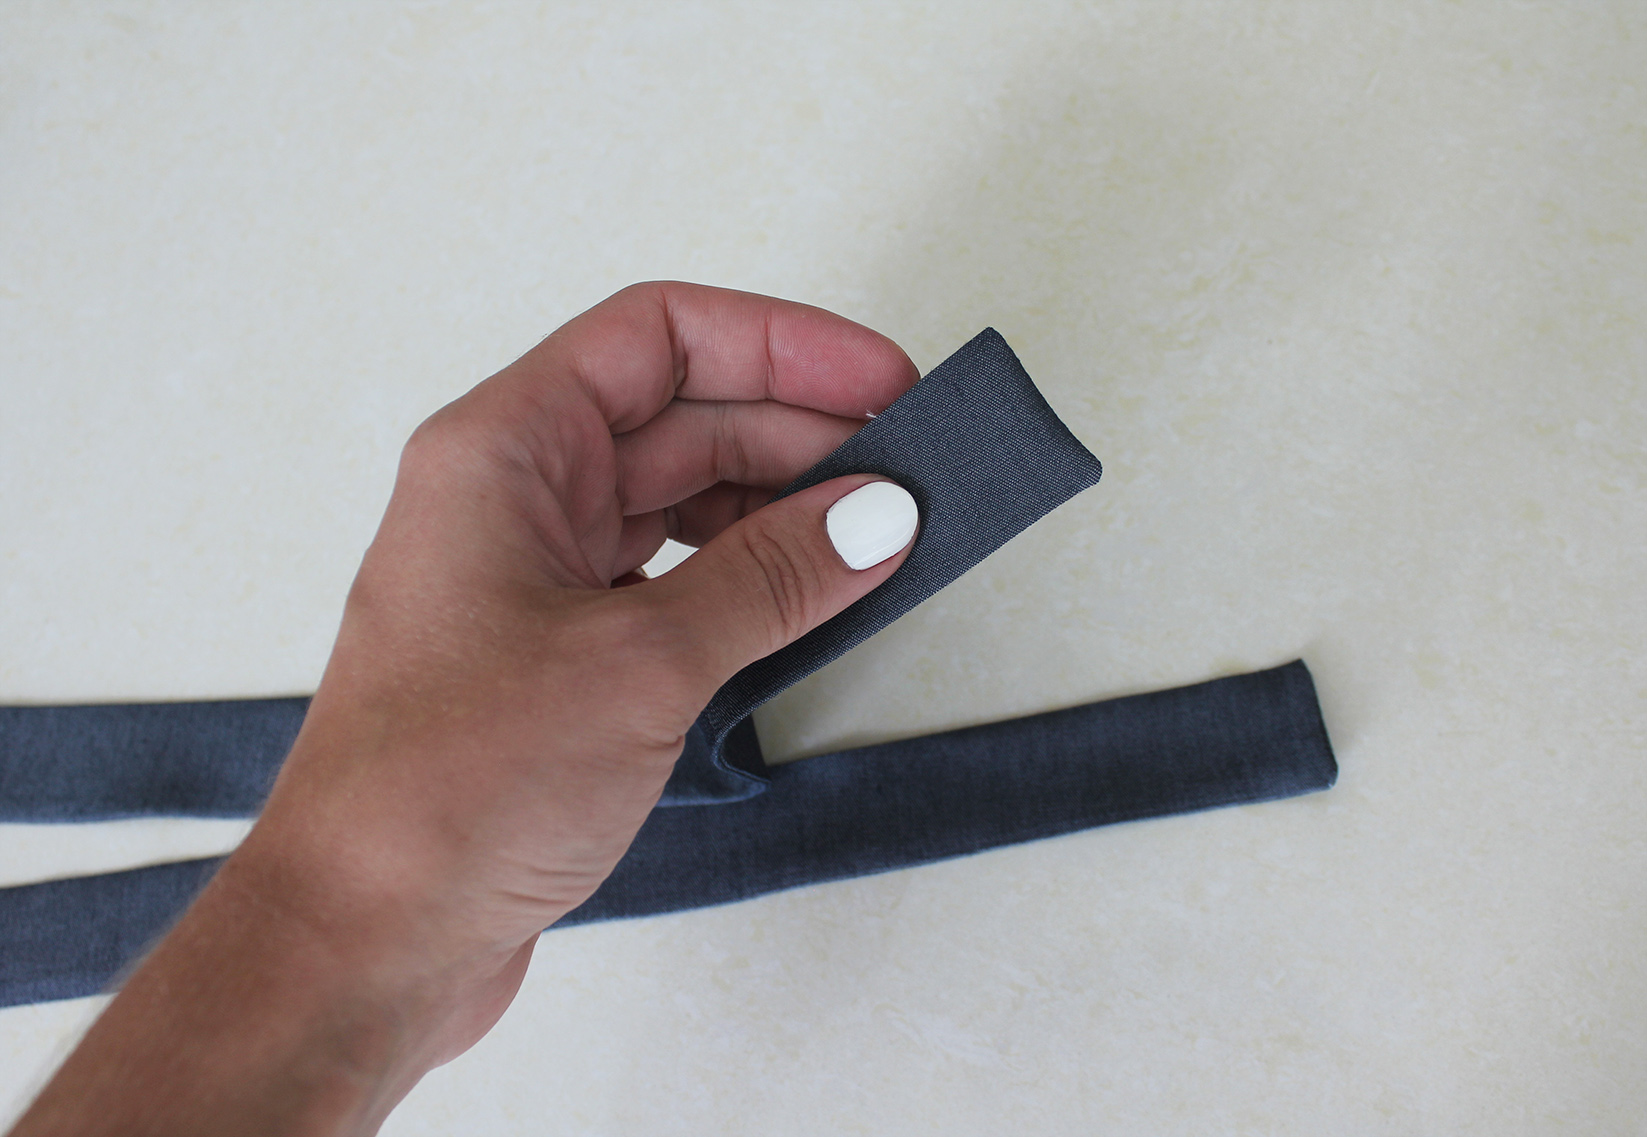
Finish the belt straps by pressing and hand-sewing the small hole left from cutting off the string.
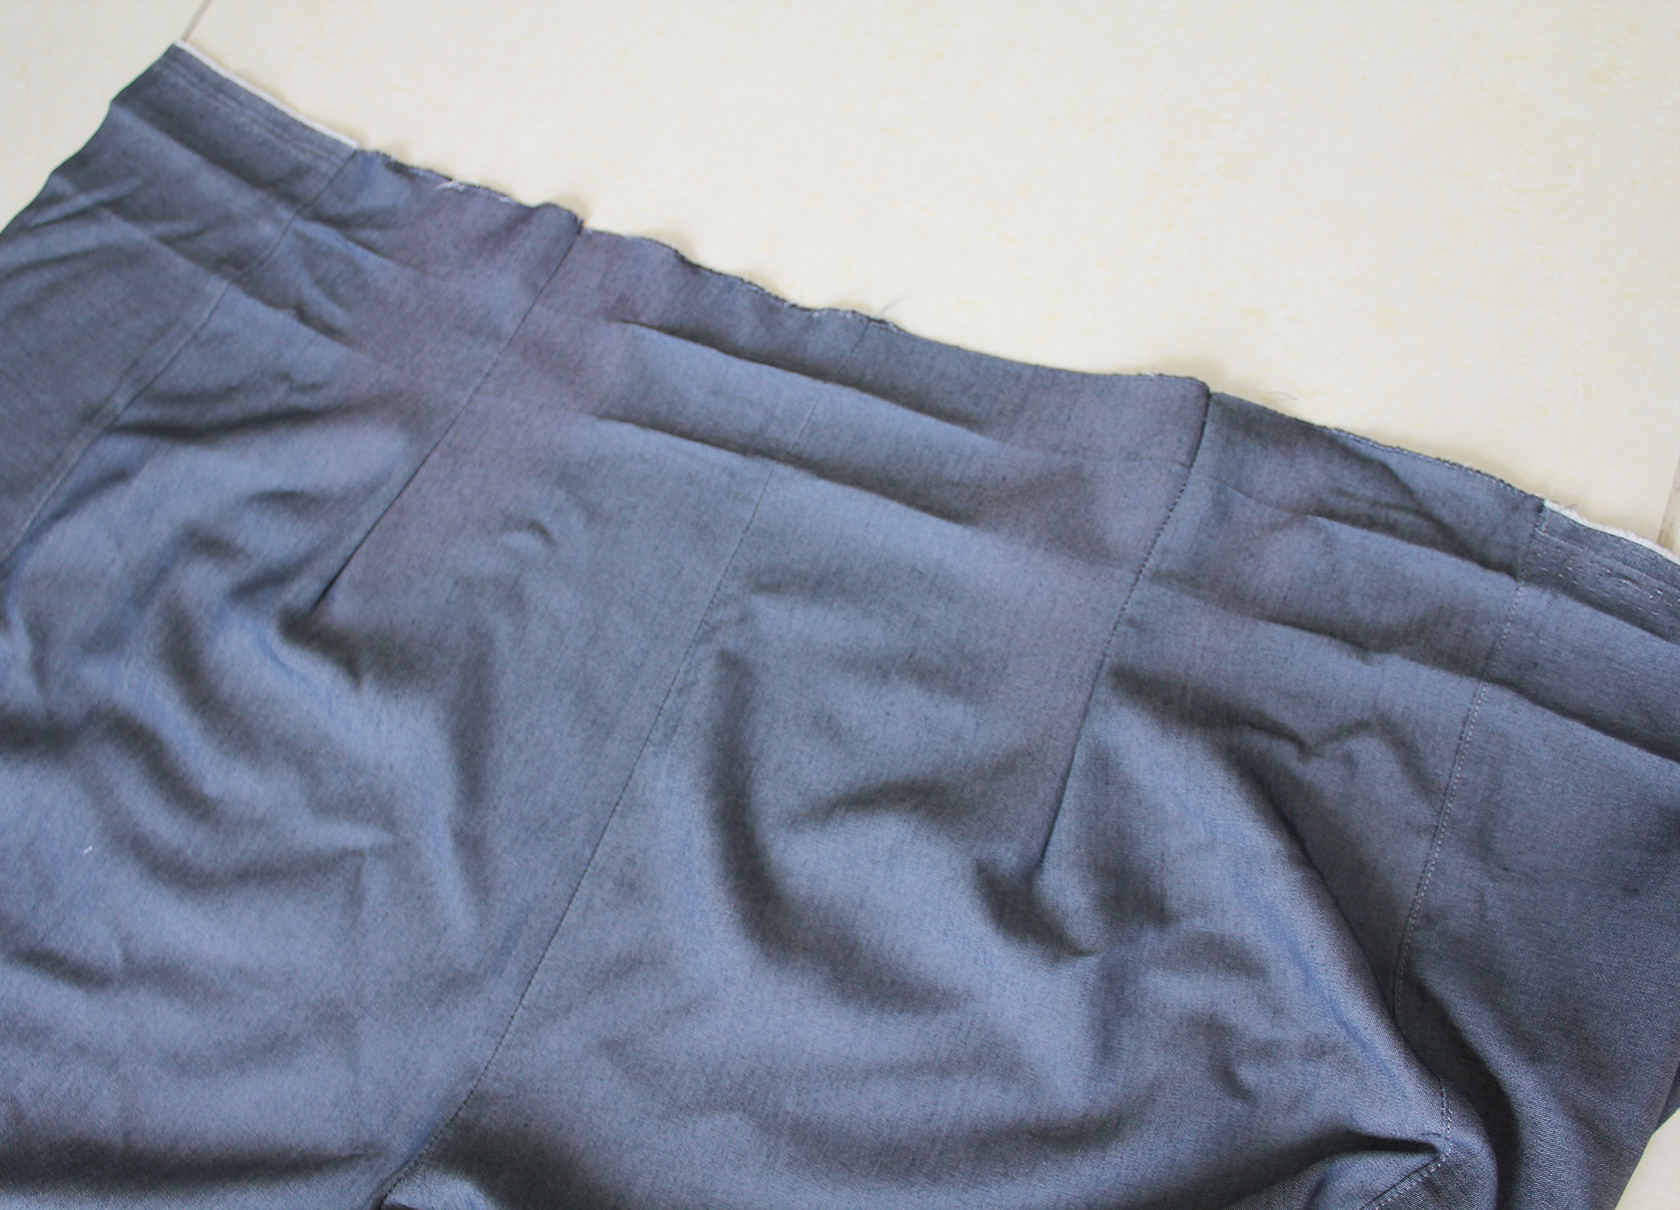
IX. Add a couple darts to the back piece. If you don't do this, the trousers will fit all uncomfortable and awkward. My darts were 1 cm at the top. Now you can wrap the pants around yourself a bit to confirm how much you want to fold at the waistline for the waist height you want. As you see here, I pressed a double-fold to make the waist band.
.. Pin that waist fold in place and add the belt to the end, inside the fold. Hand-stitch in place (or if you don't mind stitches showing on the right side, you can machine stitch at the edge of the fold.

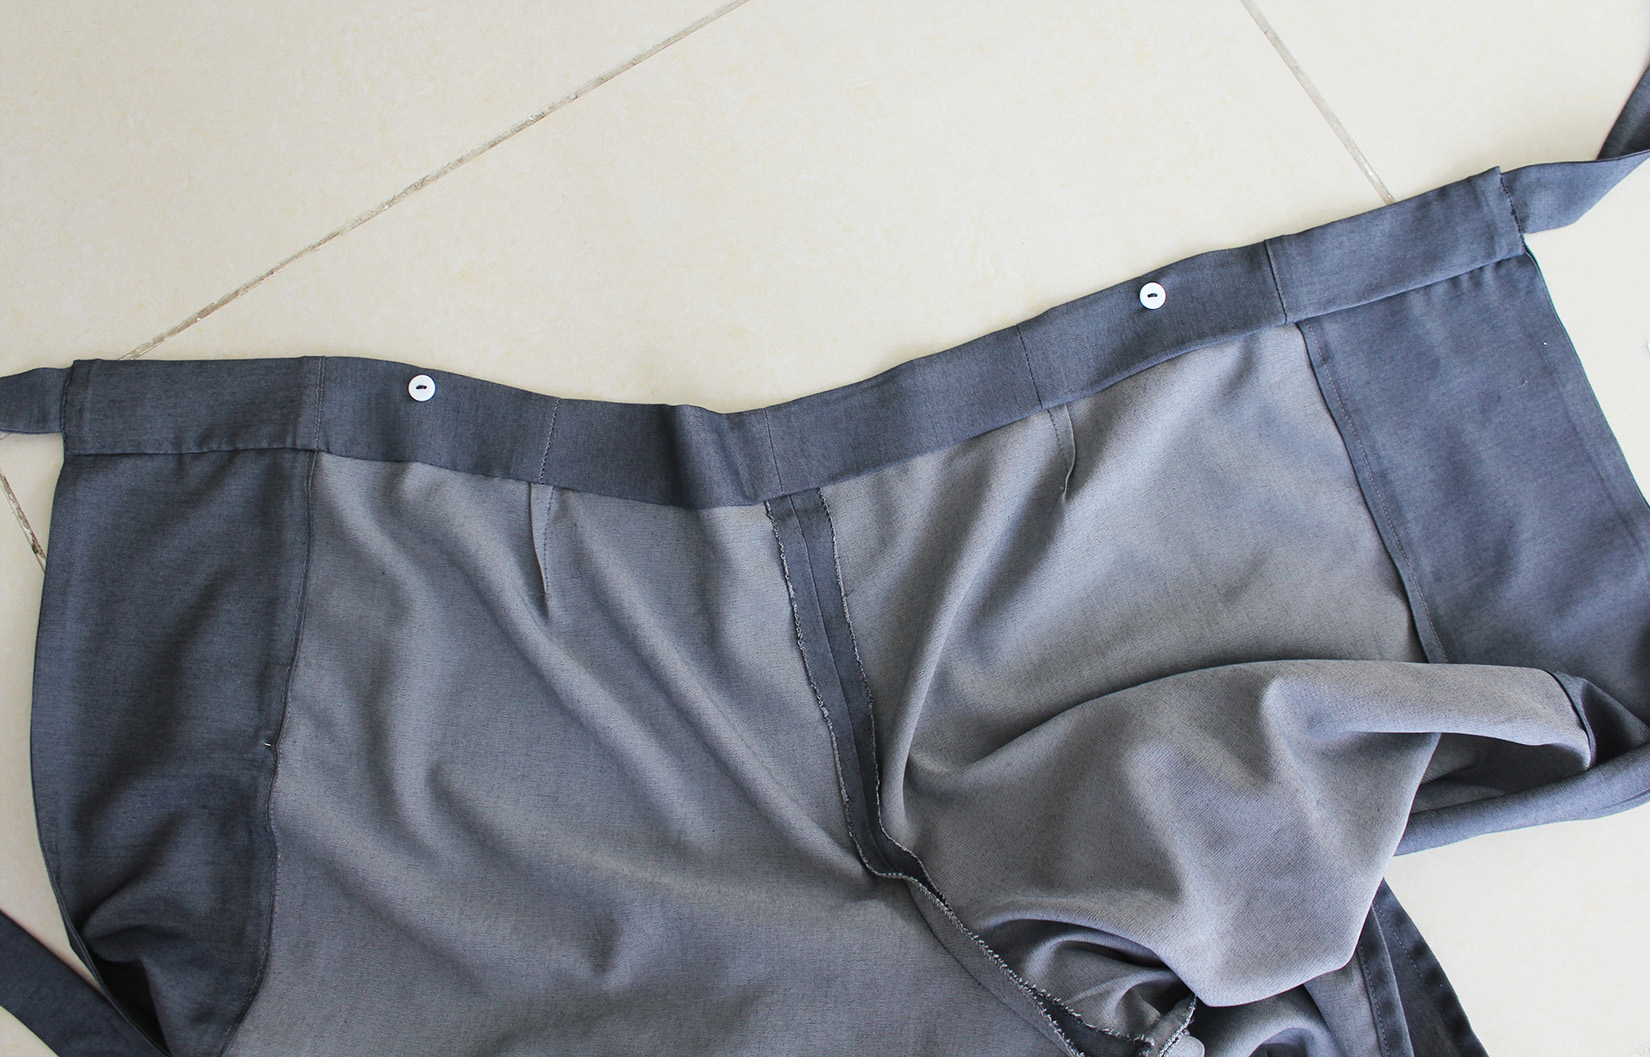
X. Finish the front piece waist line in the same way - try on first to confirm the size of the fold, press, and hand/machine sew. This last piece is optional but I wanted some security measures in place: You can add button holes to the ends of the front piece..
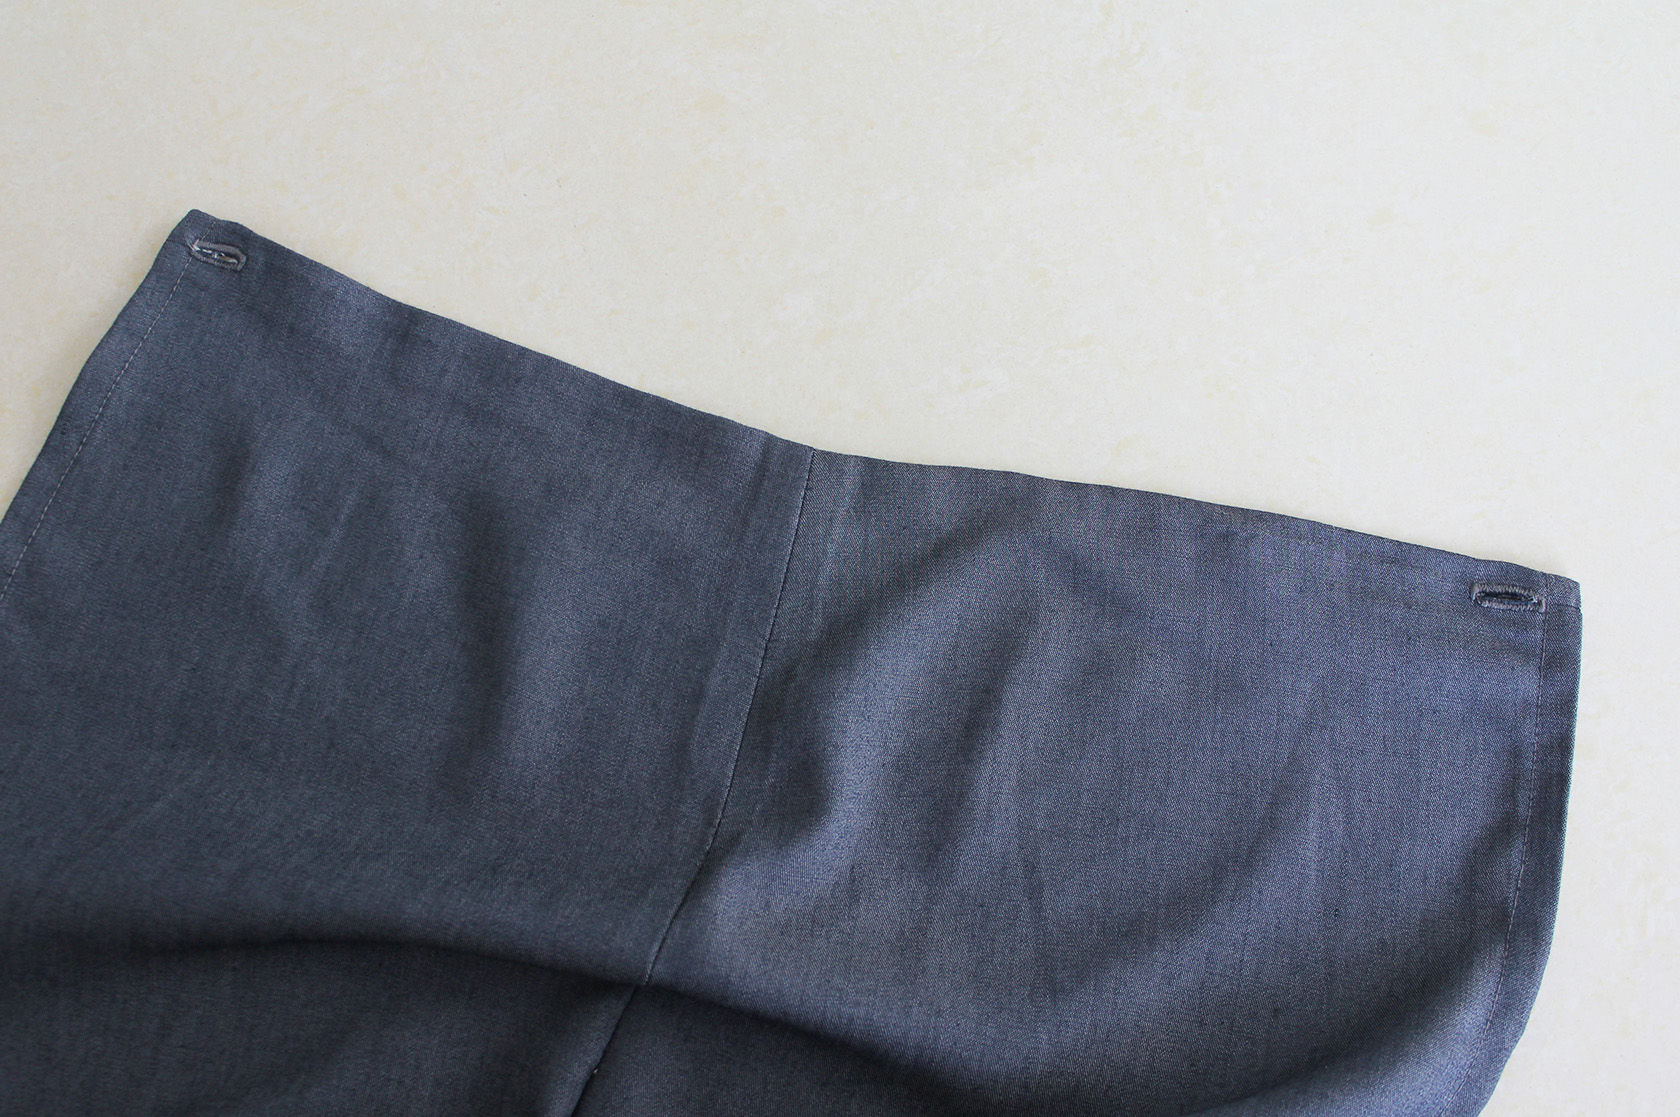
.. And buttons to the back piece. This way the trousers are 1) easier to put on 2) you can be sure they don't accidentally come off.
So breezy!!!!


xo,
Julia


creativity in trends
ReplyDeleteI will try it.
ReplyDelete