

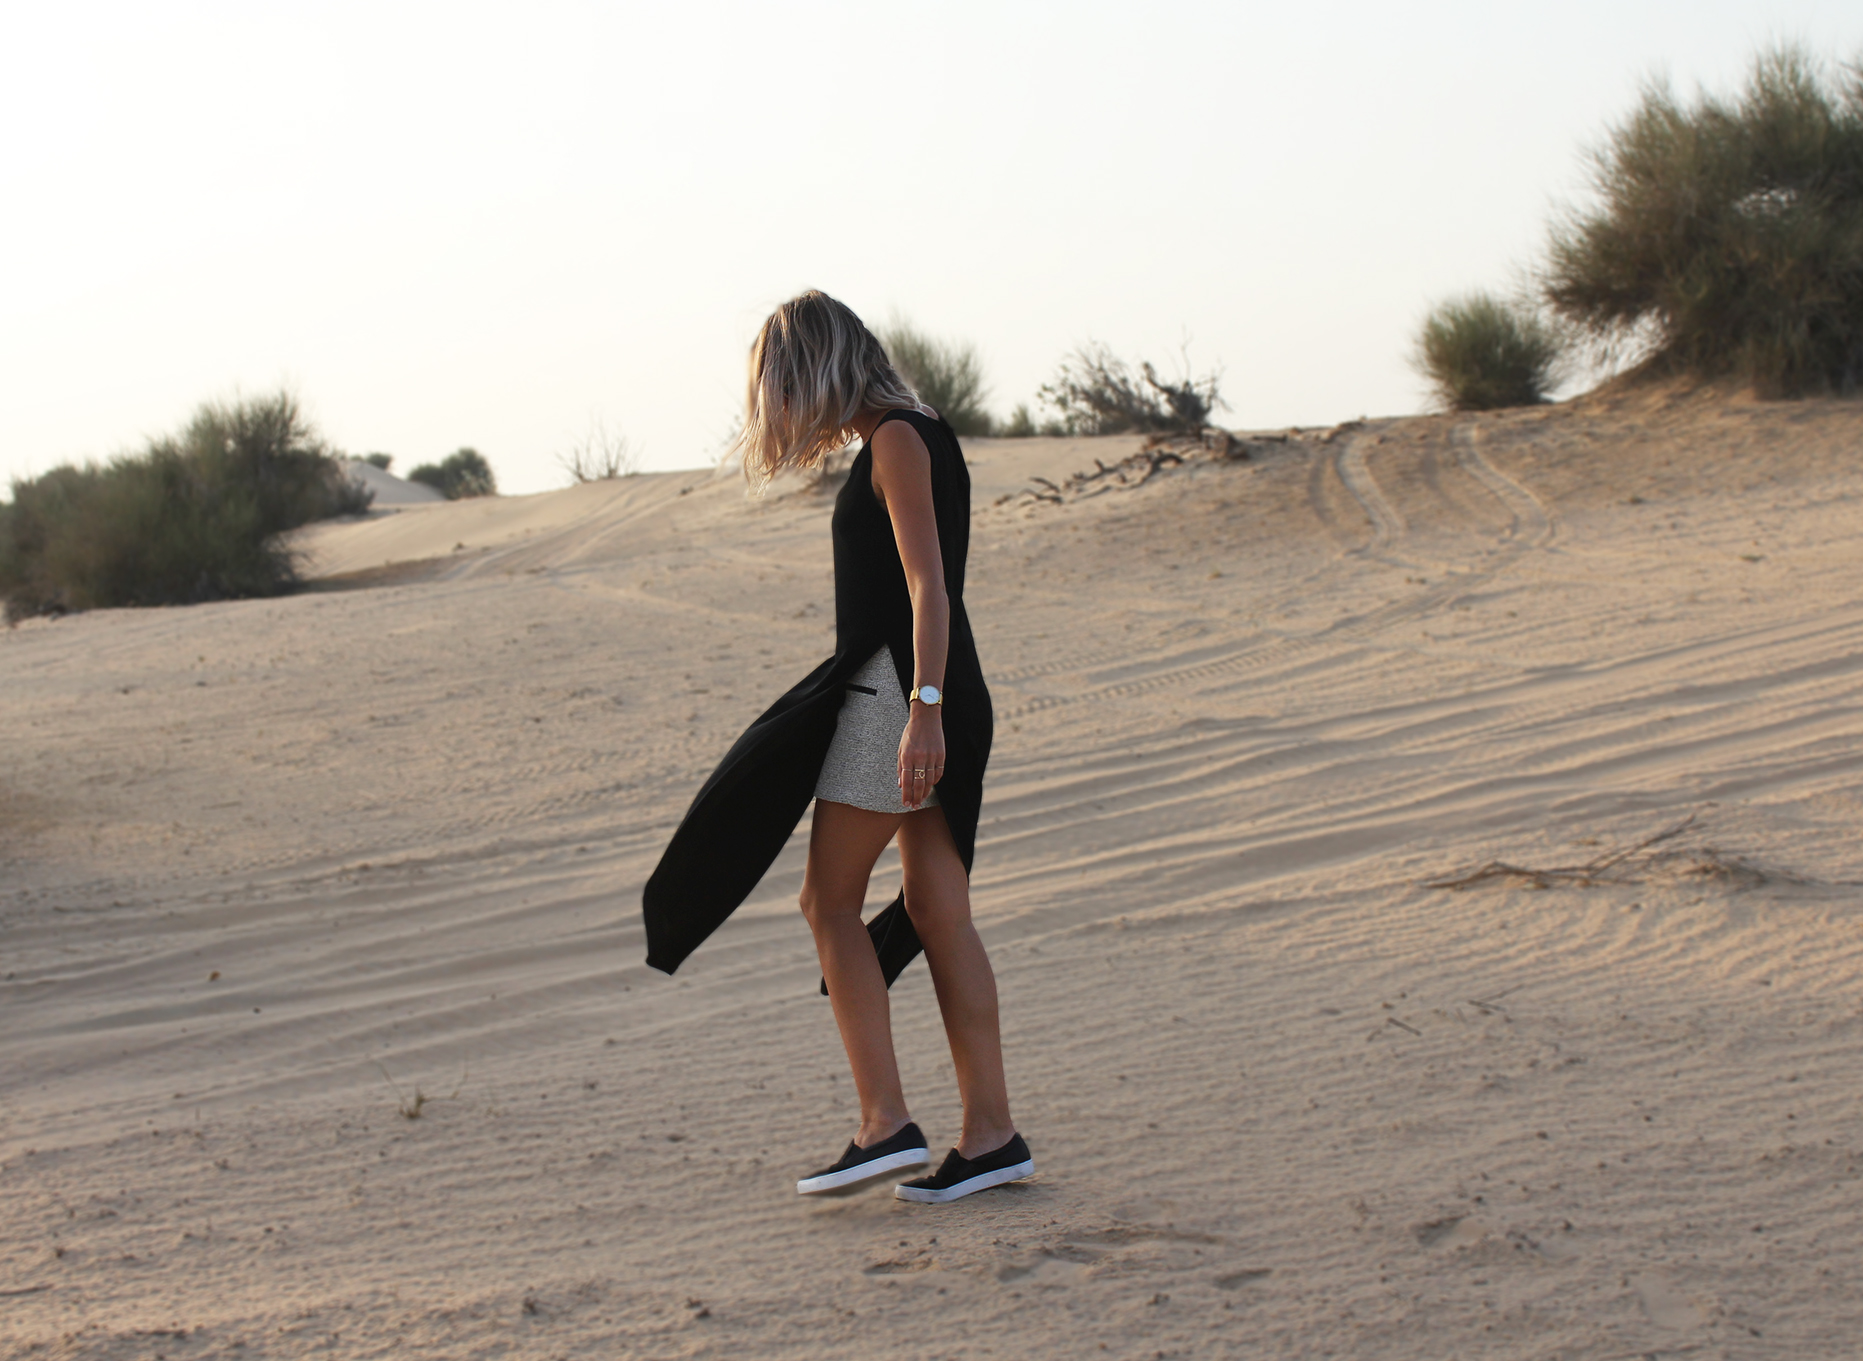
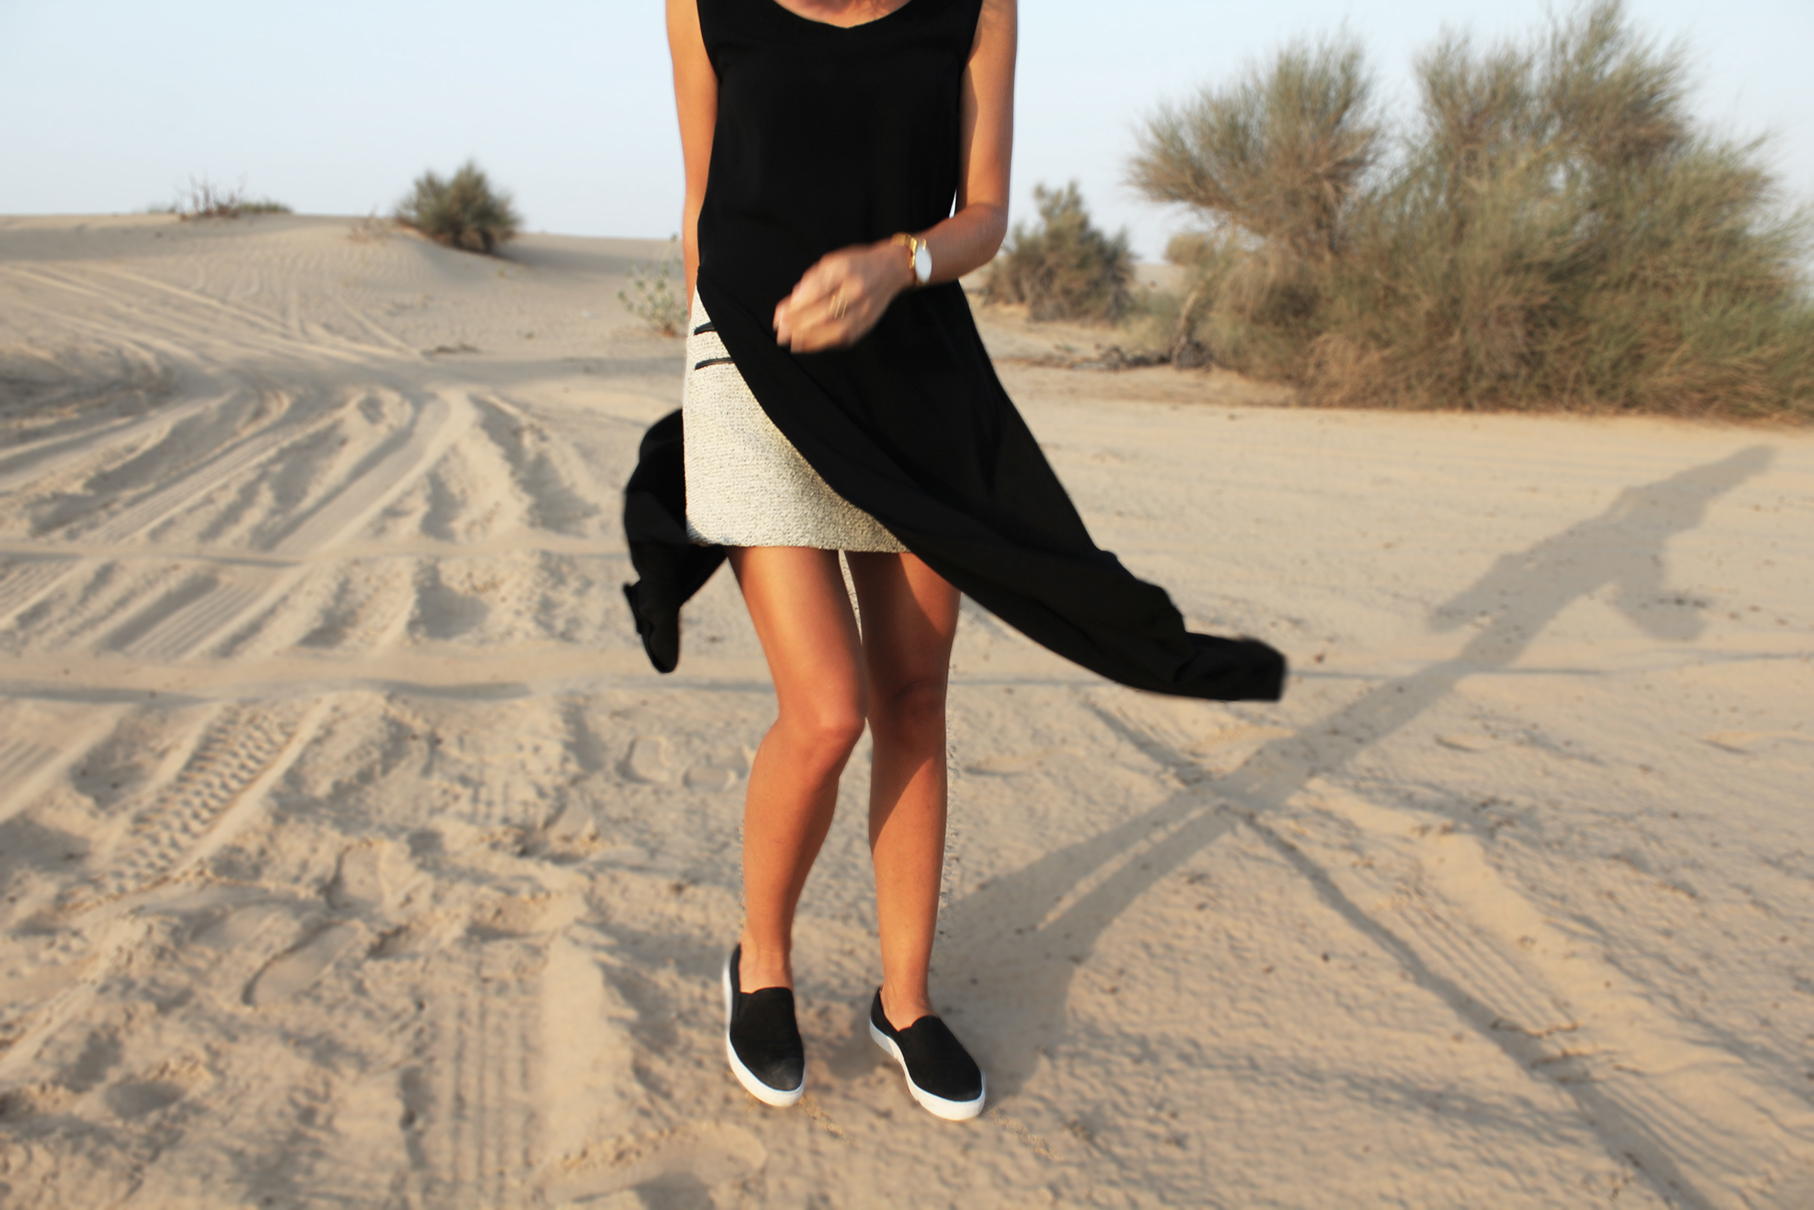
Anyone that's been here a couple times before knows I hold a special place in my heart for any garment with a slit somewhere. So when this perfect, minimal longline top from the Tim Coppens SS2016 collection landed on my screen it was not a question of if, but how soon. The only thing I changed was the neckline which I made just slightly lower. Overall supremely easy and versatile piece to make! Looking forward to slightly cooler weather so I can pair this with jeans.
Tutorials take a lot of time & effort to create, and I choose to make mine available for free. If you enjoy this guide, you can support me with a donation that feels right for you, here.
TOOLS:
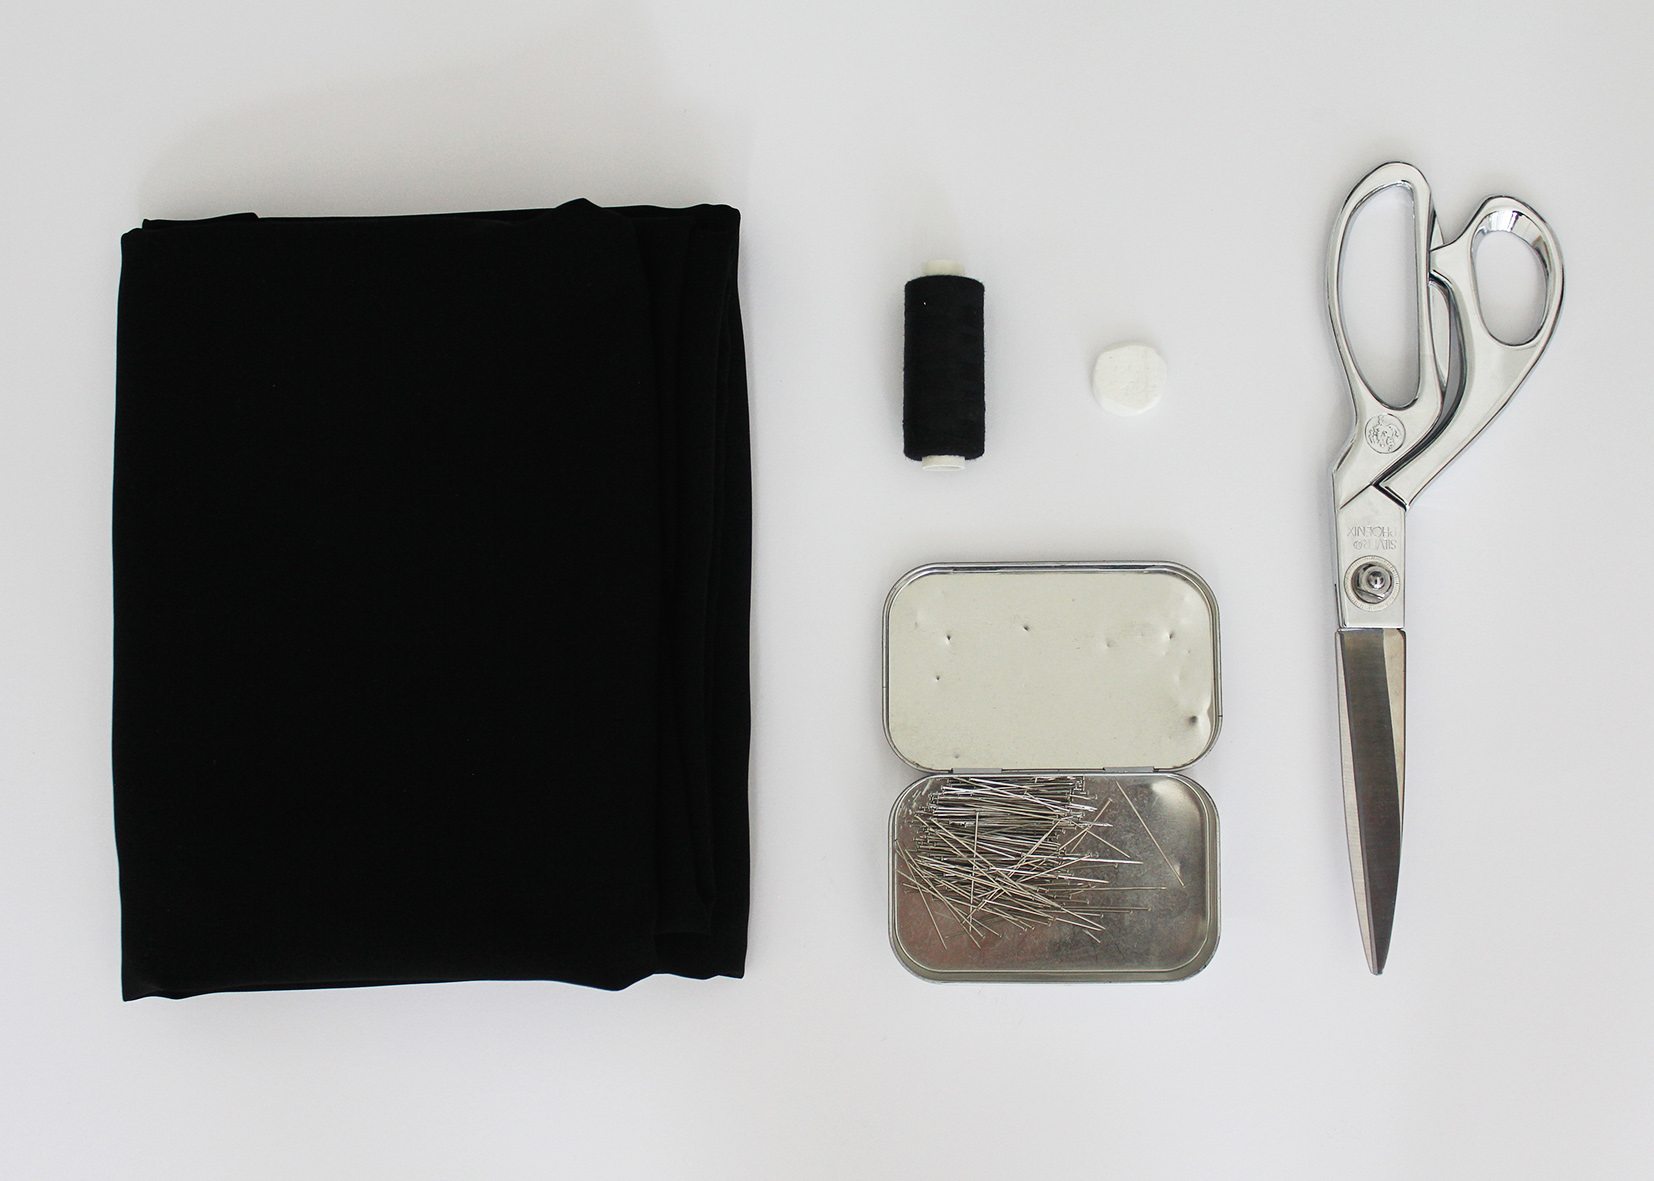
Lightweight fabric, I used silky crêpe, 1,5 m | Pins | Fabric marker | Scissors | Needle, thread, Sewing machine
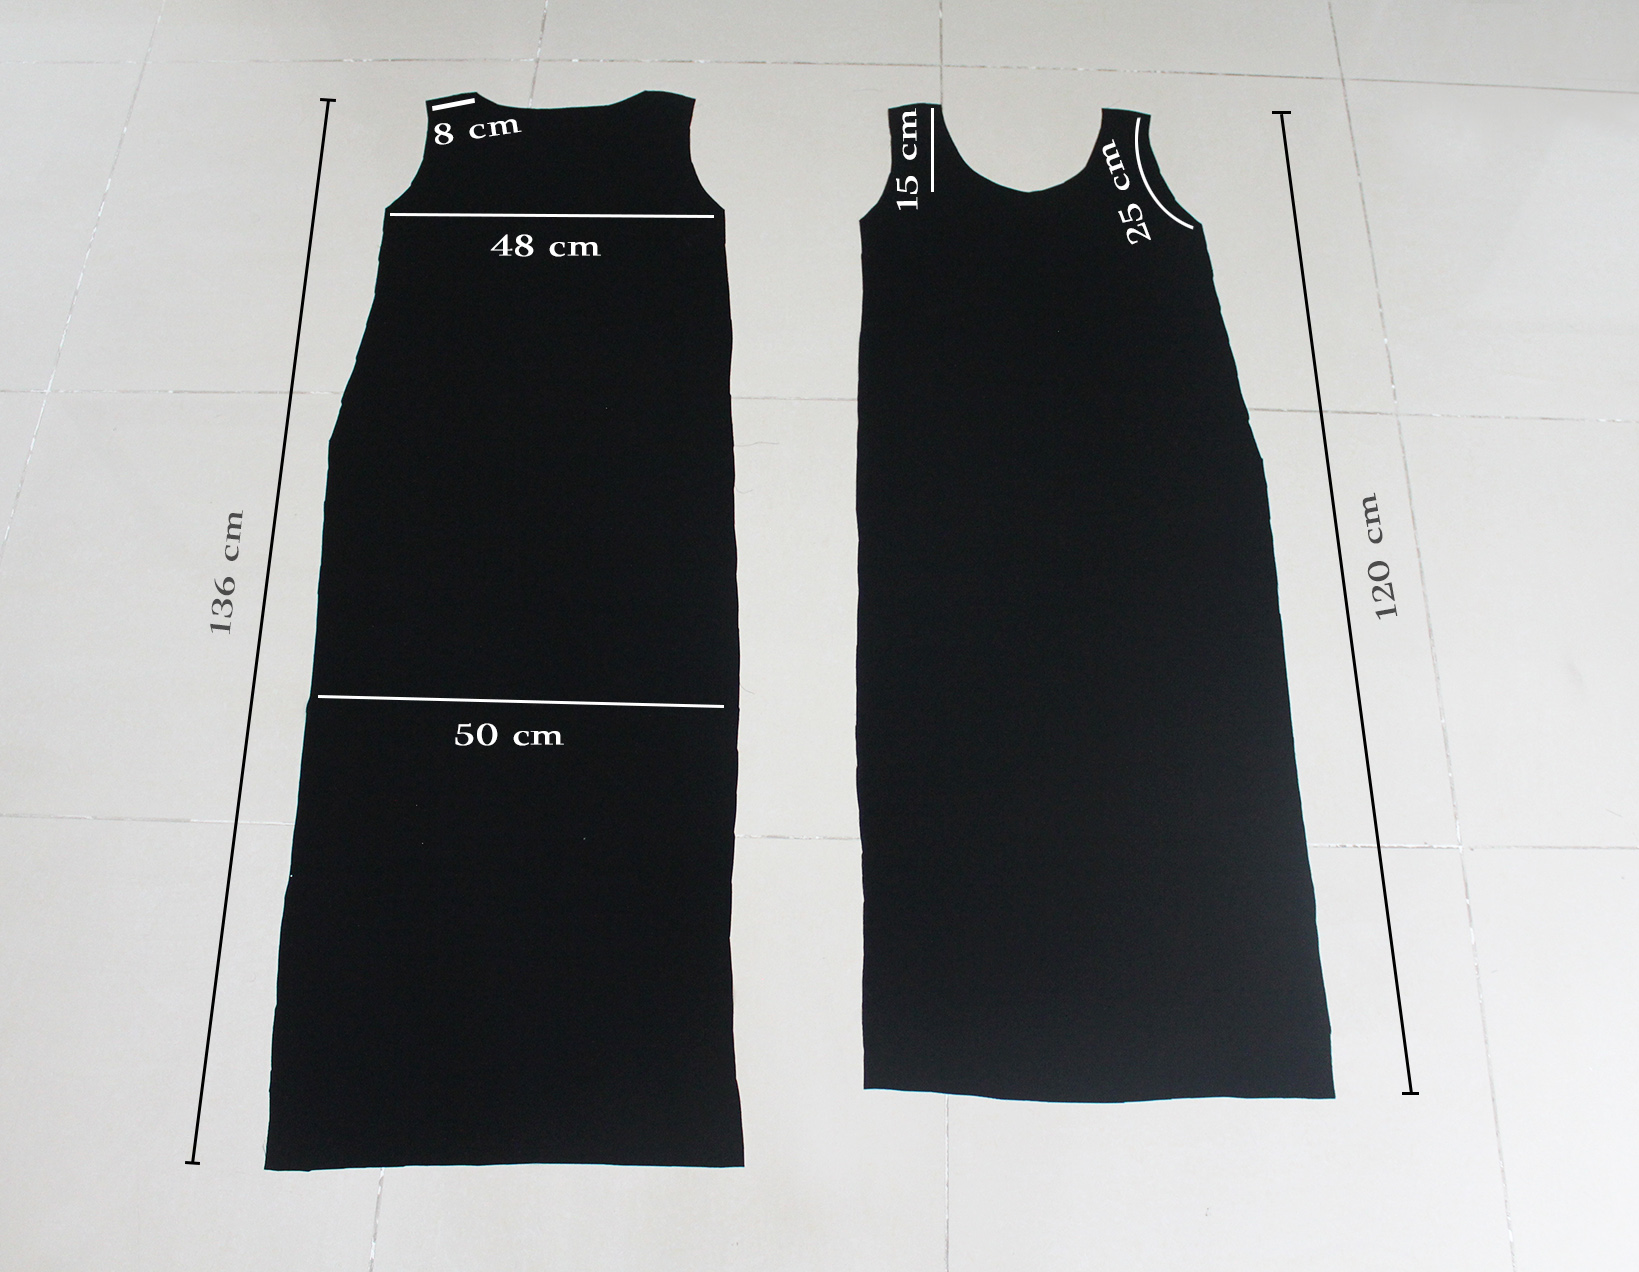
I. Here are the approximate measurements for my cut pieces (result is a size S/M top). The critical measurements are the bust and hip. For the width of the pieces at the bust, measure your bust, divide by 2 and add about 4 cm. Same thing for the hips (though not as critical as with the slits, the top will be open at the hips).
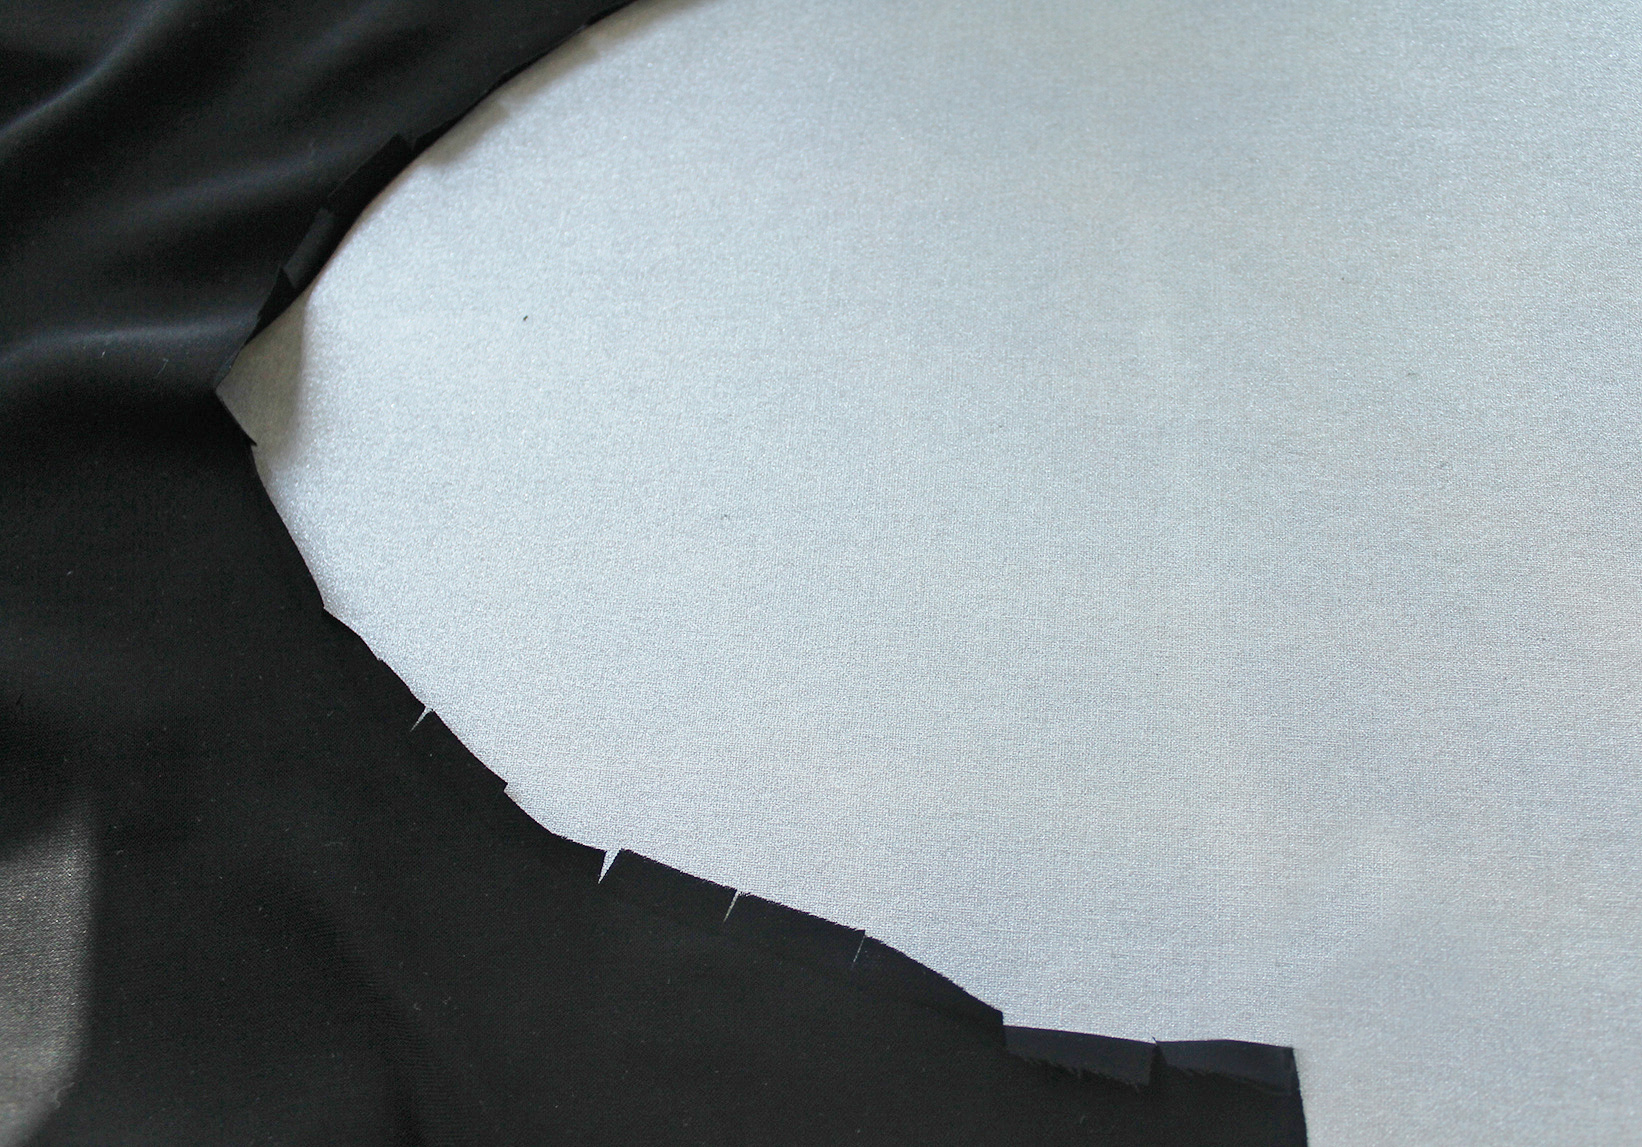
II. Start with the neckline. Cut small notches along the curved edge, and press the first fold with your iron.
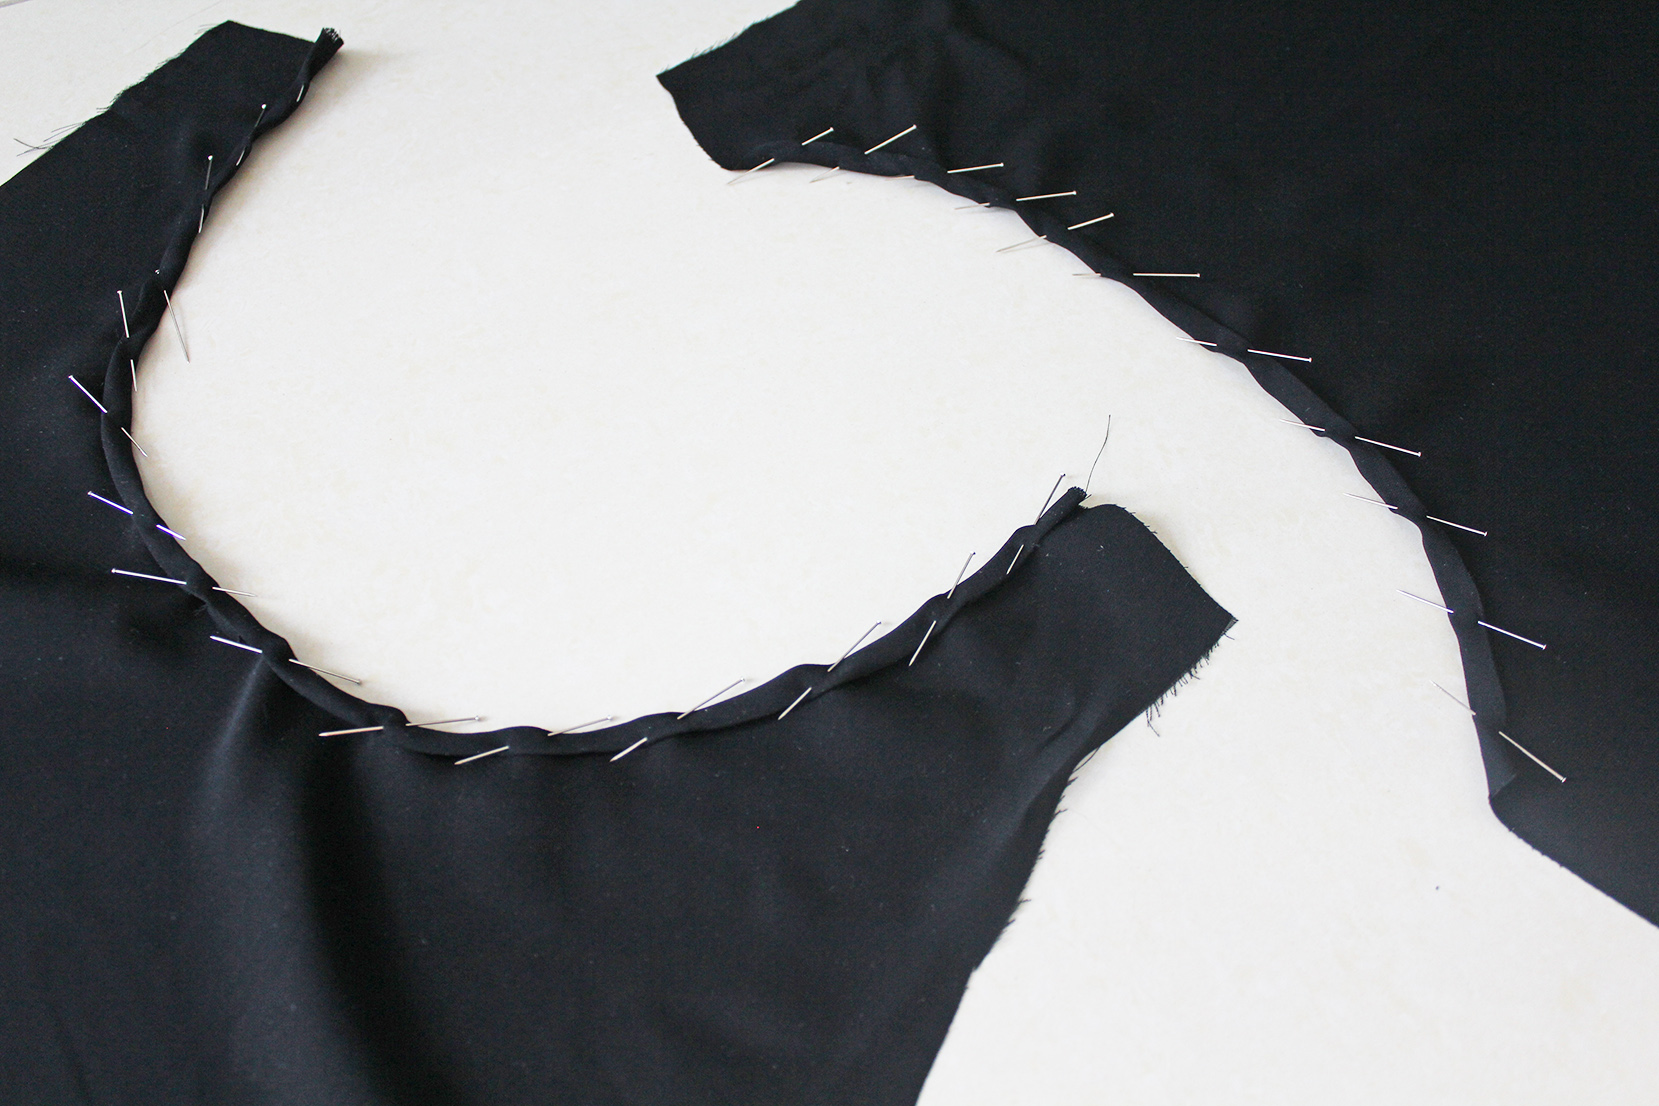
Then fold again, pinning as you go. The more pins you add, the better the result. Press with iron, and sew a straight stitch just before the edge of your fold (I did a 0,7 cm fold).
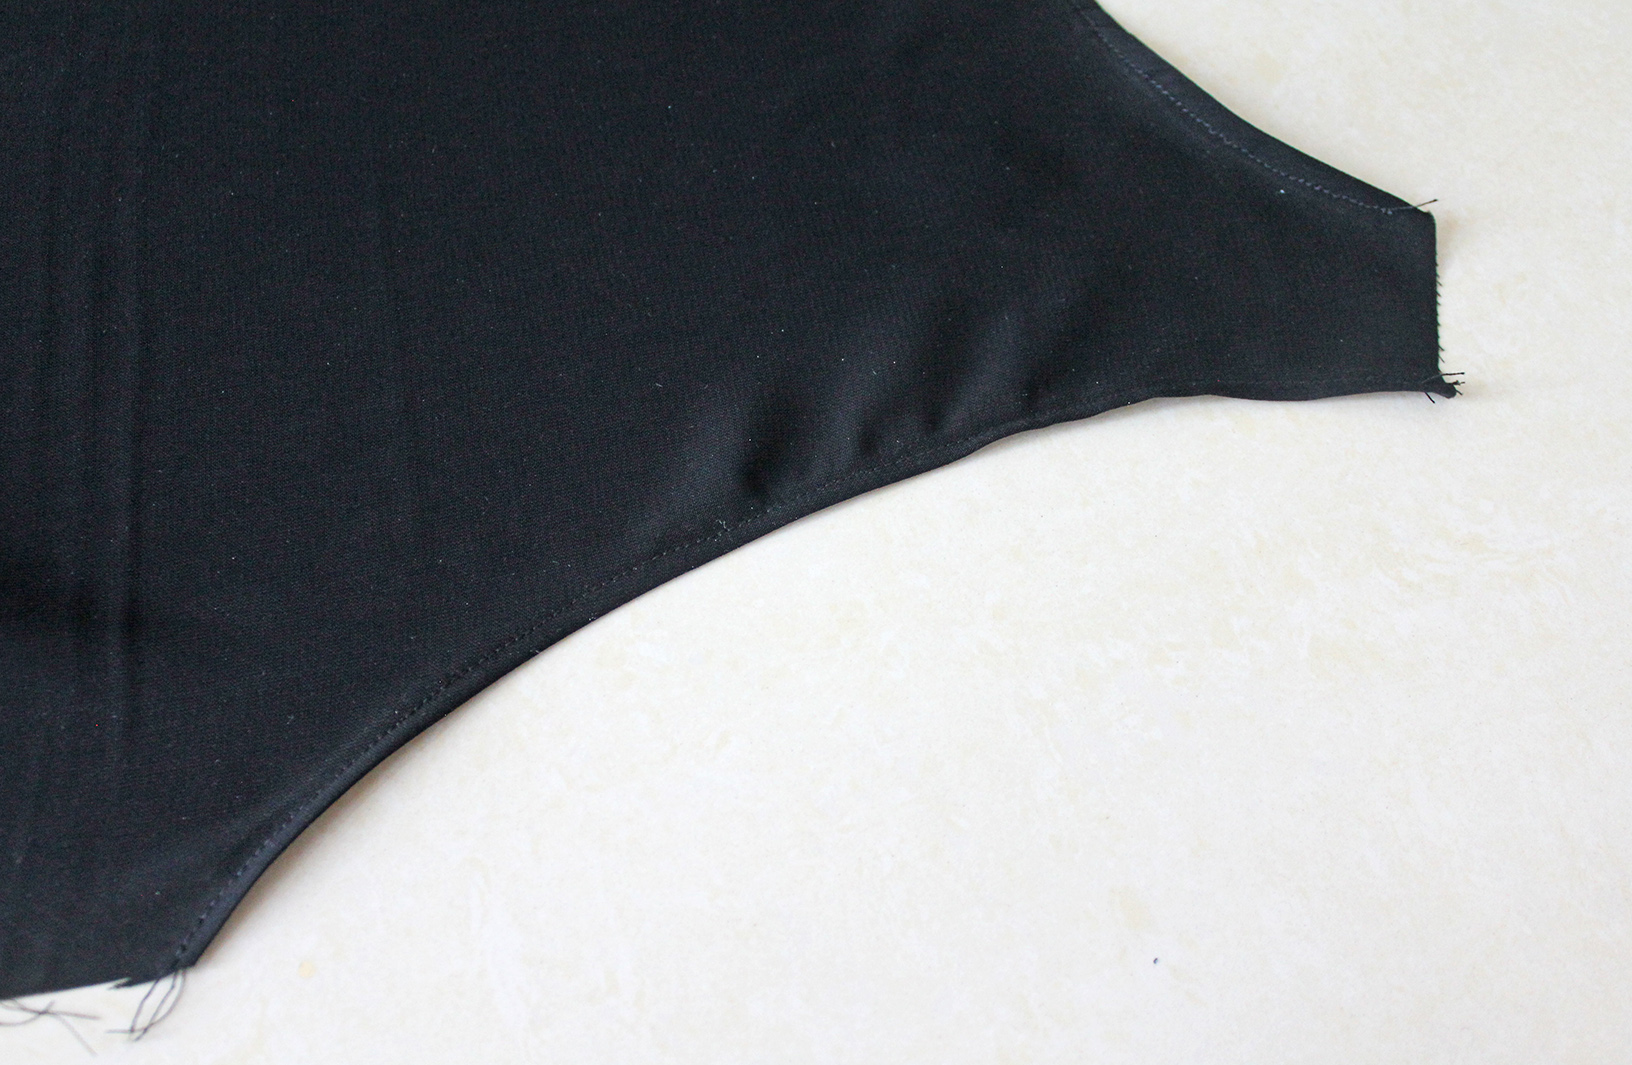
III. Repeat the process with the arm holes. When done you should have something like this:
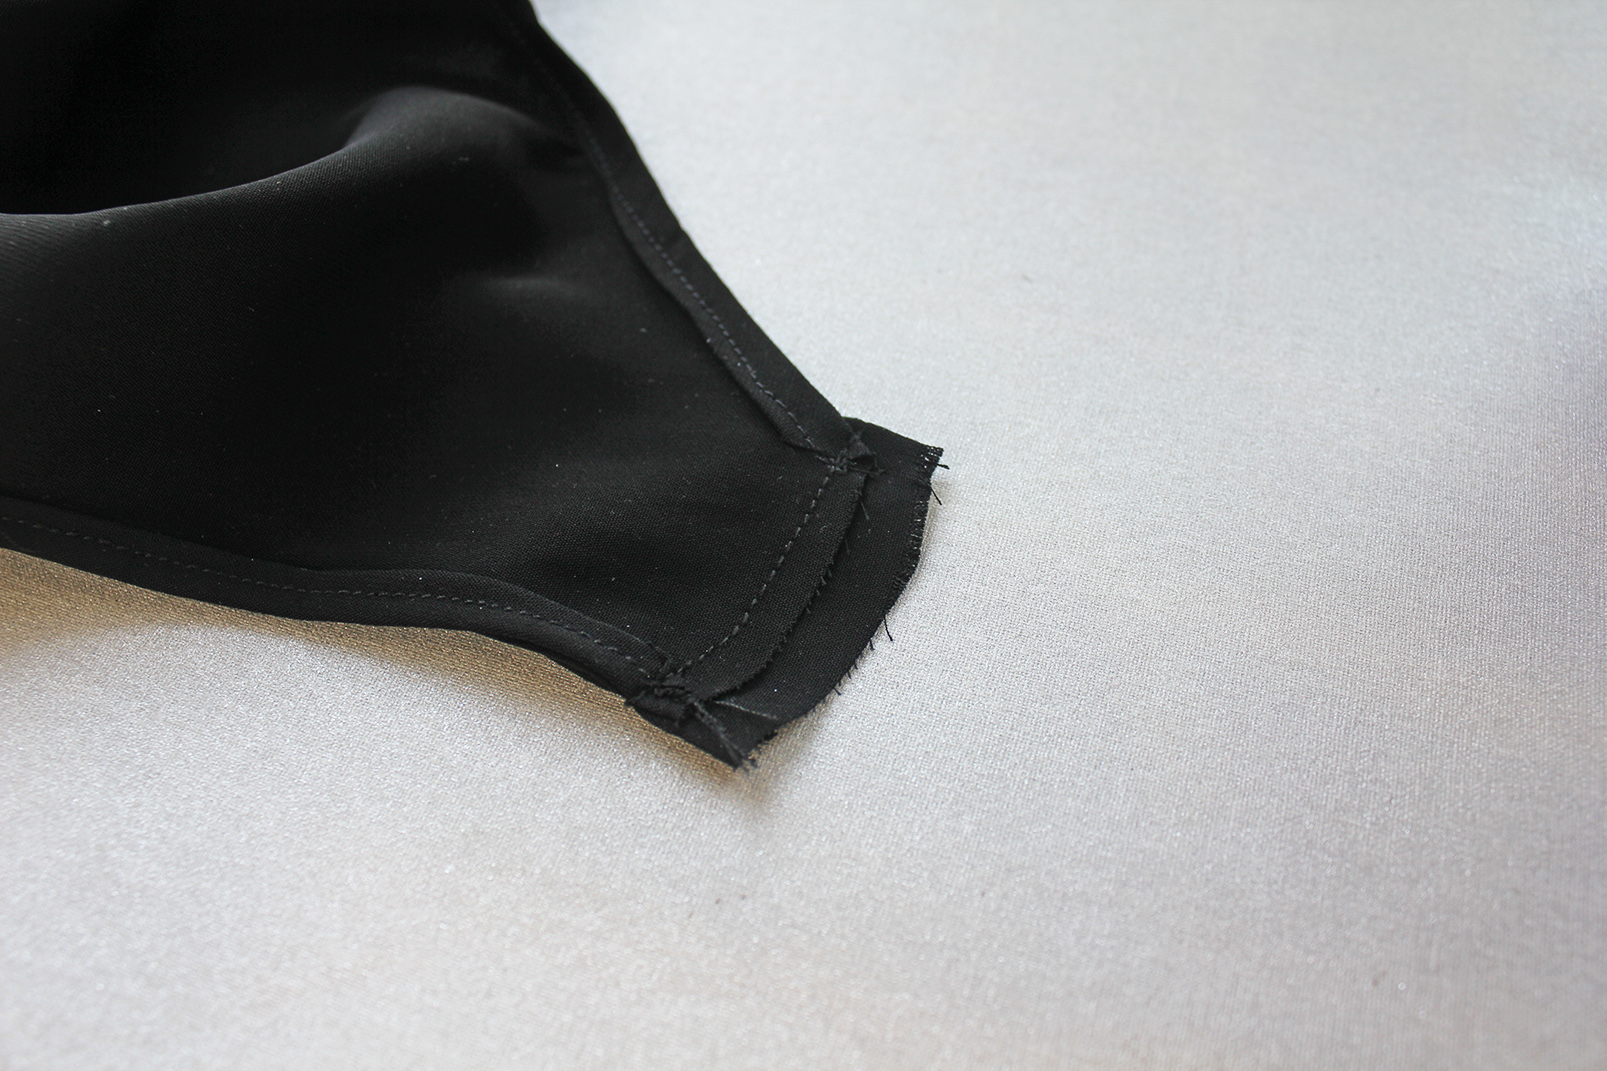
IV. To attach the shoulders, pin them together, right sides facing, leaving the seam allowance of the front piece 0,5 cm longer than that of the back piece. Sew a straight stitch through (or sew with identical seam allowances, and trim the other shorter).
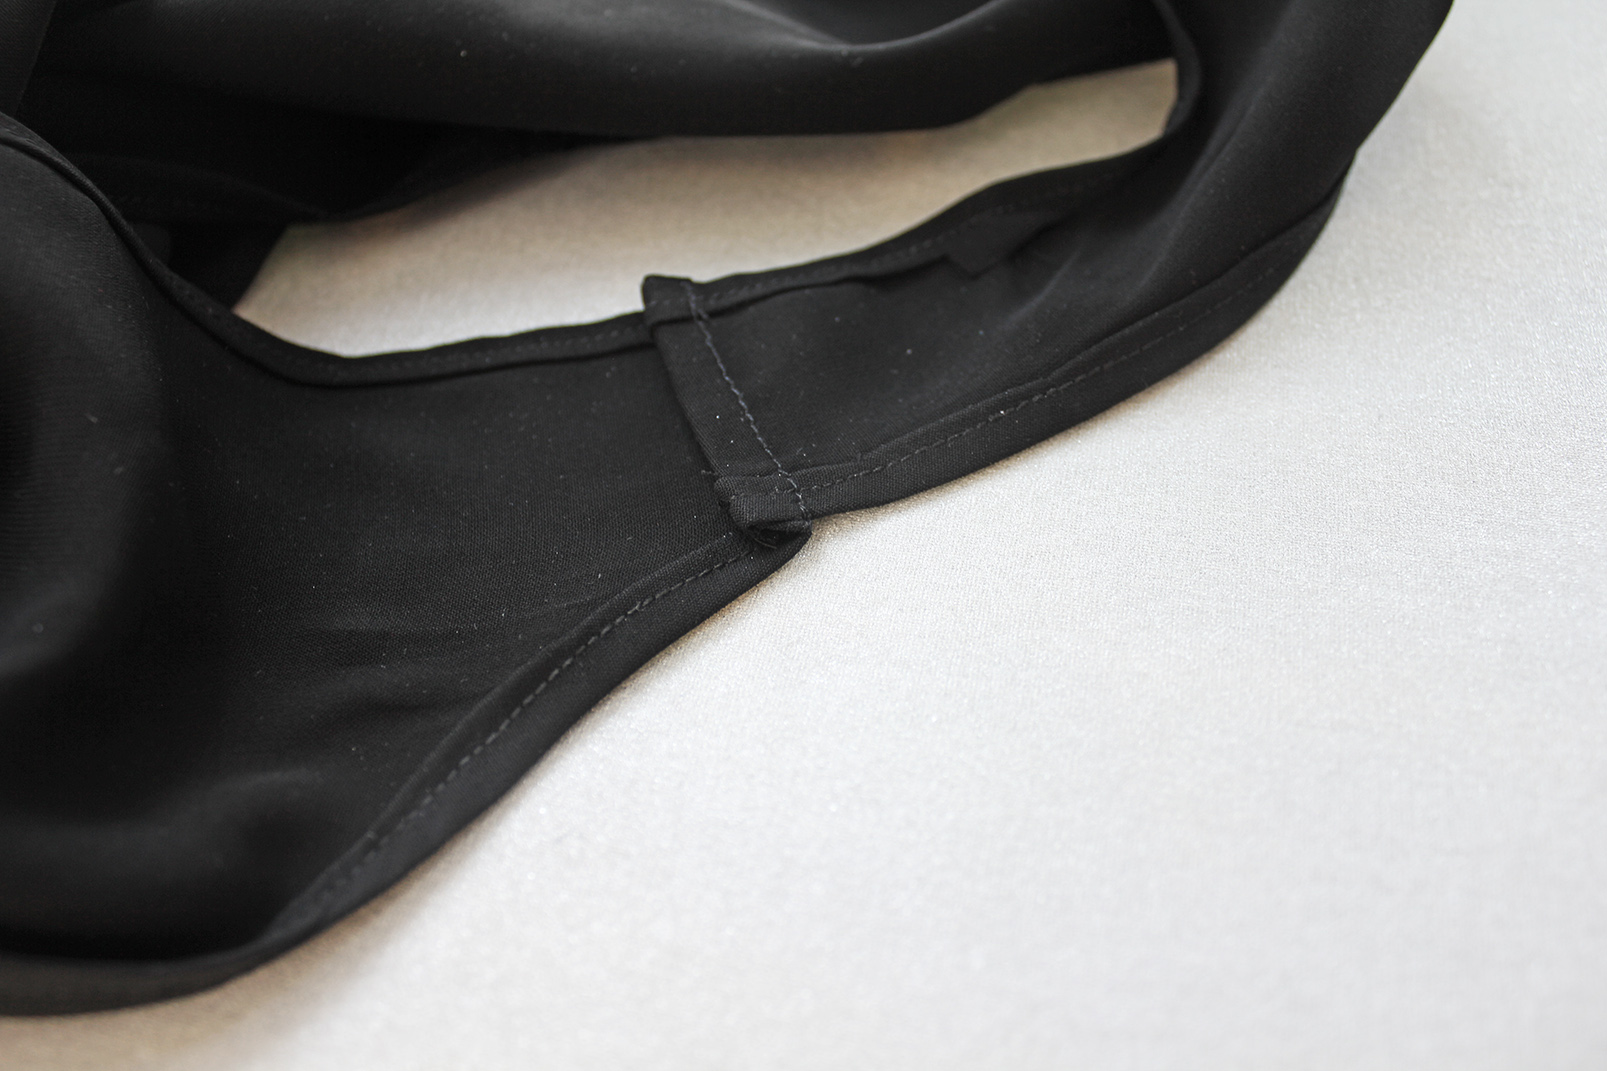
On the reverse, with the help of your iron, fold the longer seam allowance so it encases the shorter one. Sew in place either by hand, or with your machine on the right side to make sure your stitch is straight and parallel with the first seam.
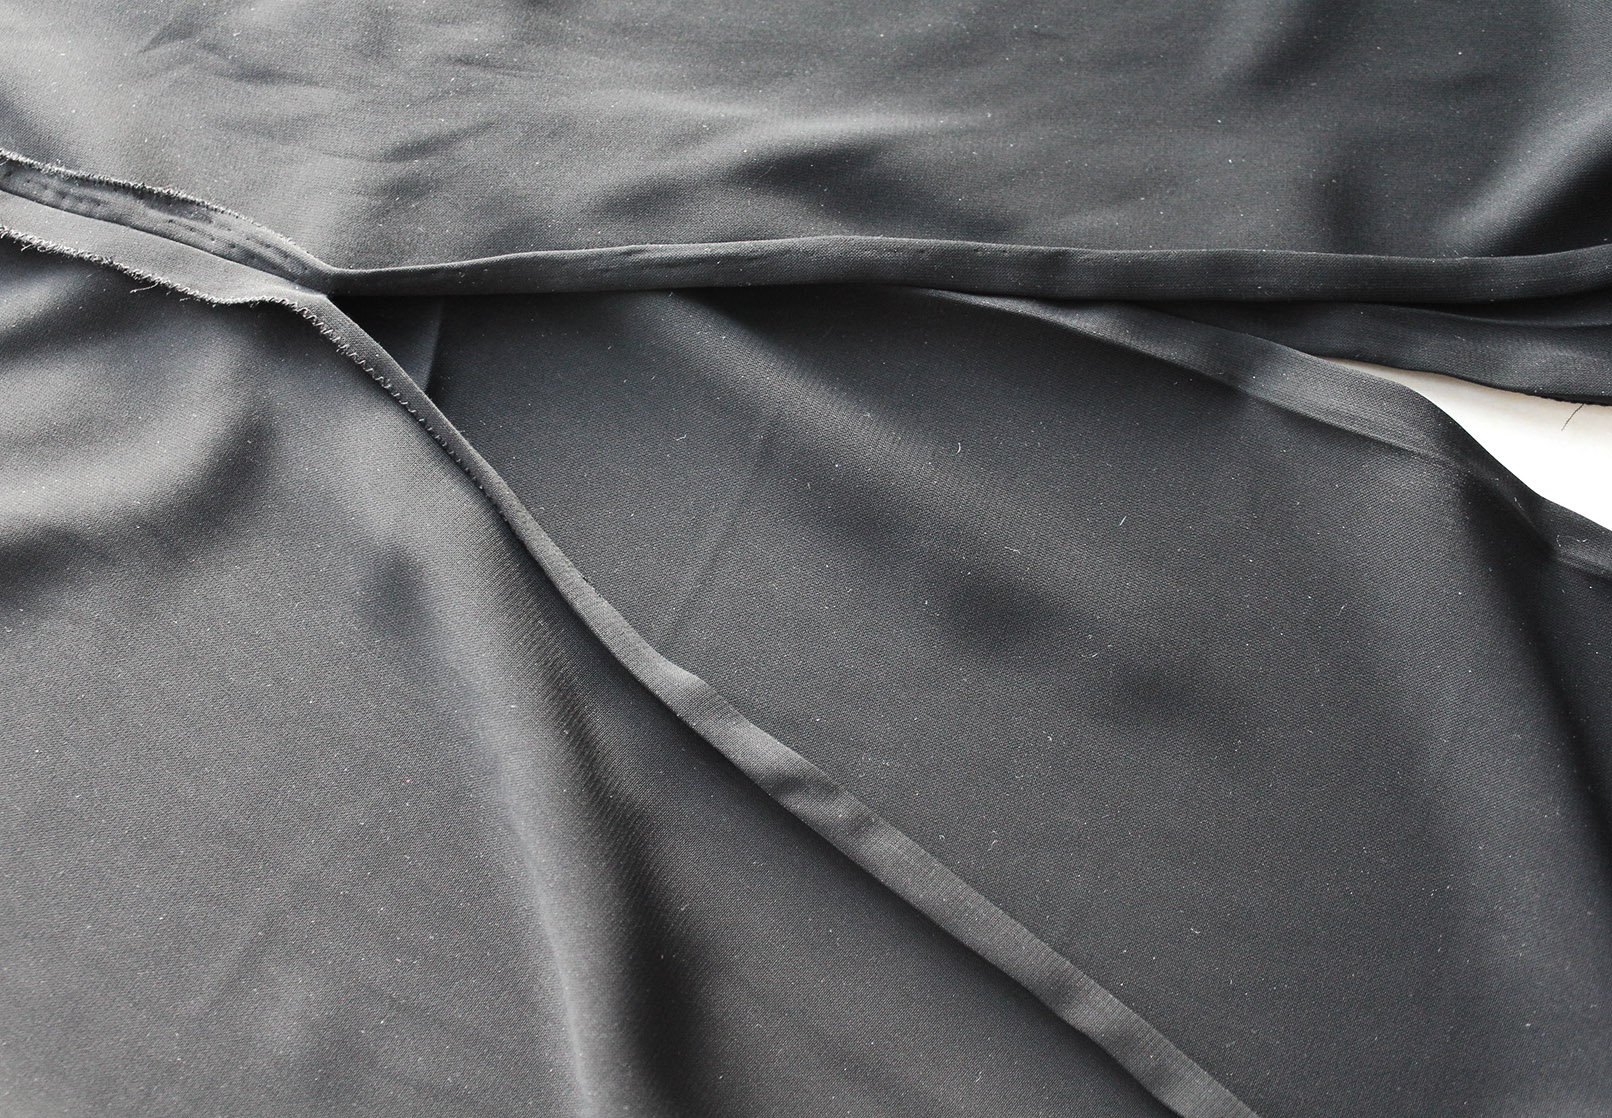
V. Pretty much nearly done! Right sides facing, pin the sides together. How far down you take the stitch depends on how high you want the side slits to be. I took my stitch 23 cm down from the armpit. Sew with at least a 1 cm seam allowance and press the seam open.

VI. The last step is to finish the slits and the hem. I did mine with a double fold and blind stitched all the way by hand, same thing for the hem. Note - you could continue the fold all through the side seam on the reverse side to make it nice and clean, but I didn't really care as this part will never be visible.
Playing in the desert on the long weekend in my new top!

 xo,
xo,Julia


very pretty. Thanks for adding more detail
ReplyDeletevery pretty. Thanks for adding more detail
ReplyDeleteGlad you like it!!
Delete