

I don't normally run after every trend, in goes against my philosophy of building a sustainable timeless wardrobe. But sometimes something resurfaces that I absolutely fall in love with. Lace-up detail is one of those things. I'm trying to keep this under control (so far we're contained at the present blouse and and two dresses - here and here) but the internet keeps throwing dreams like the Tess Bigerson SS16 collection at me.. You could of course skip the whole making of the blouse part, just take an existing V- neck and jump straight to step VII.
Tutorials take a lot of time & effort to create, and I choose to make mine available for free. If you enjoy this guide, you can support me with a donation that feels right for you, here.
TOOLS:

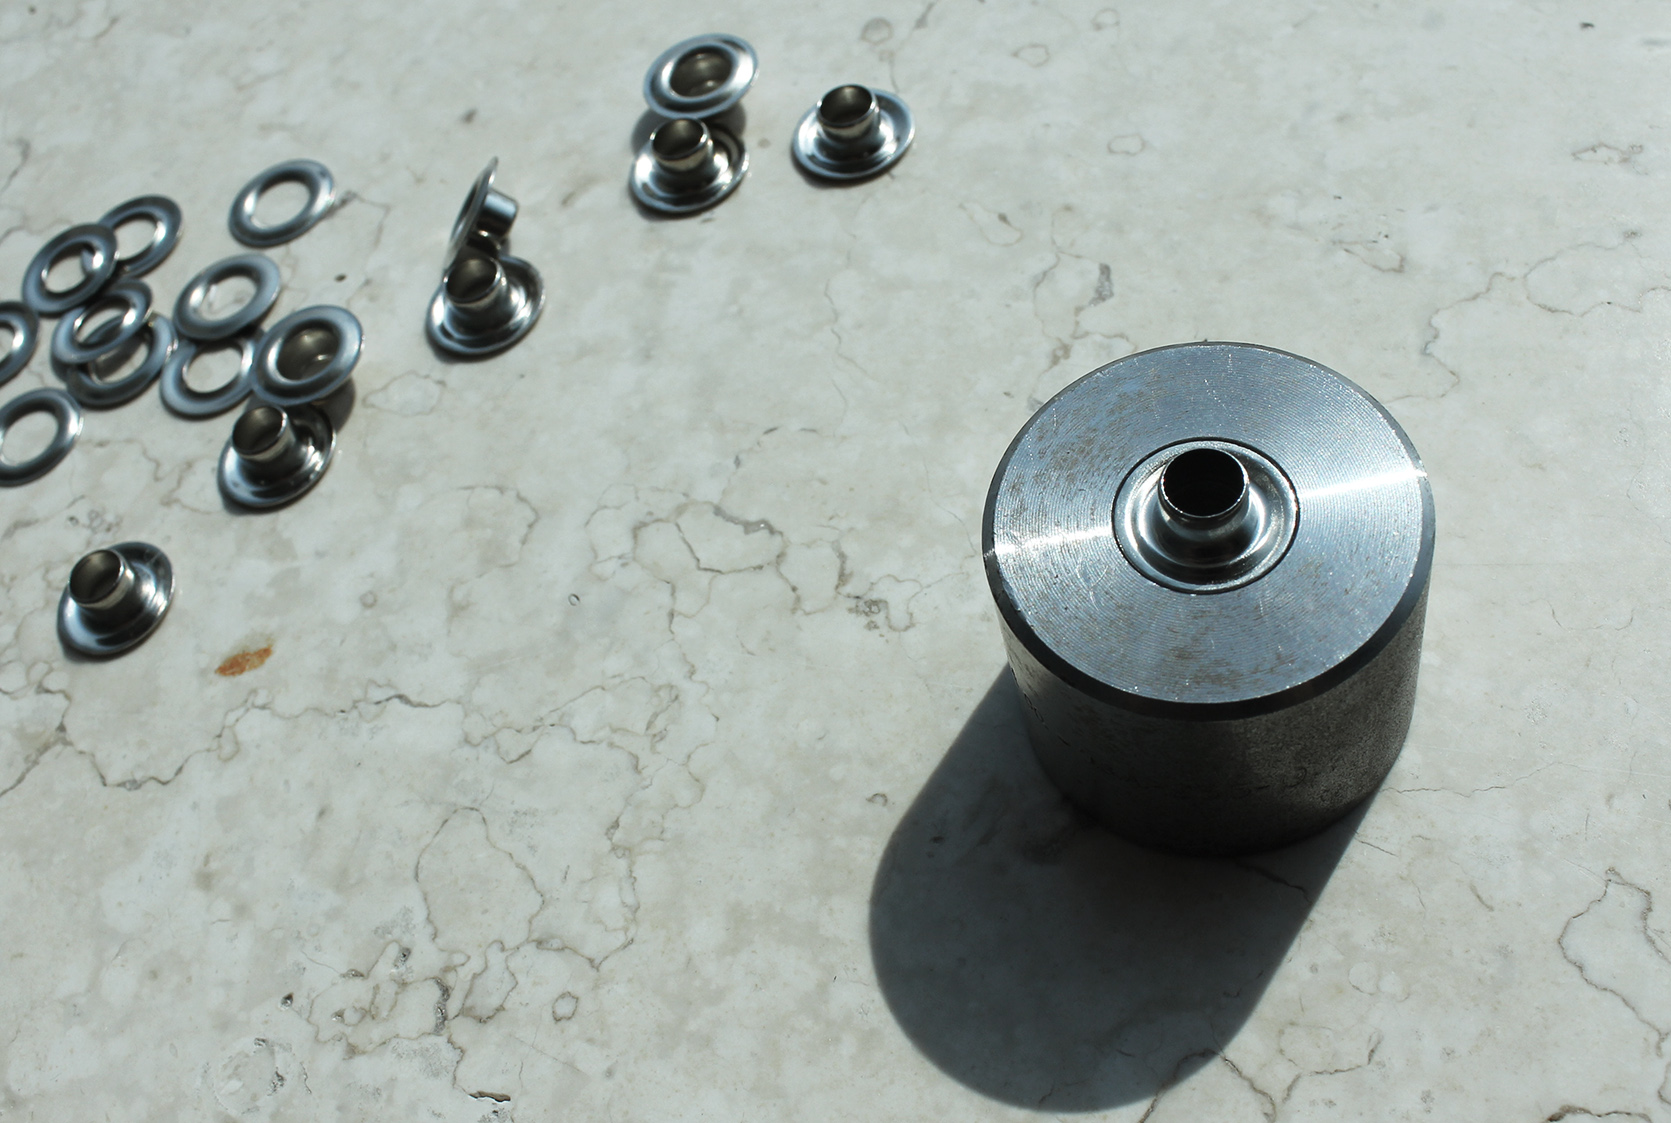
Grommet kit (I used 10 grommets total for my blouse) + Hammer | Scissors | Pins | Fabric (I used a cotton knit) 1,5 m | Thread & sewing machine | Fabric marker | String for lacing up the blouse (I made mine from my fabric, see this post for how)
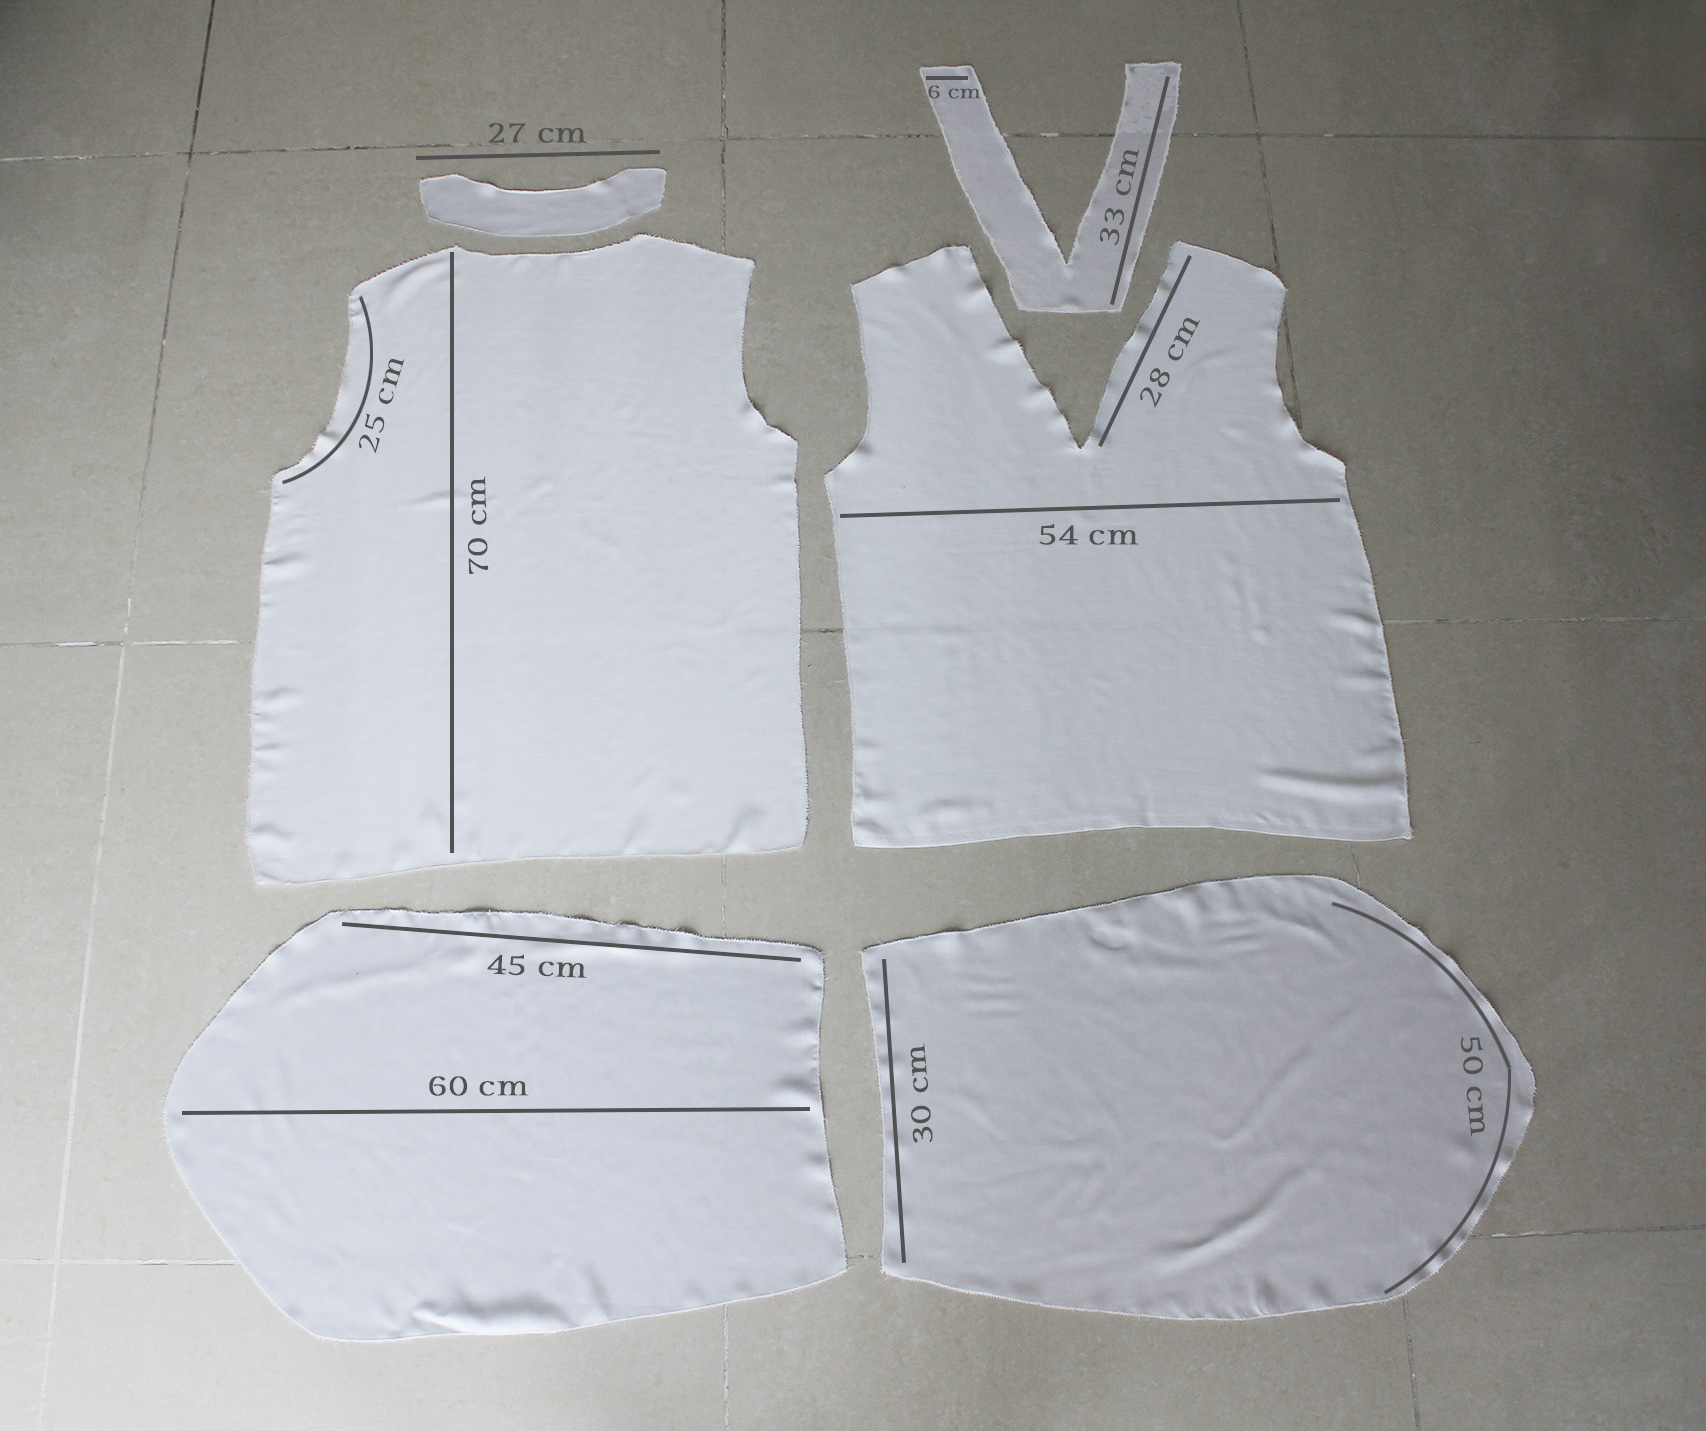
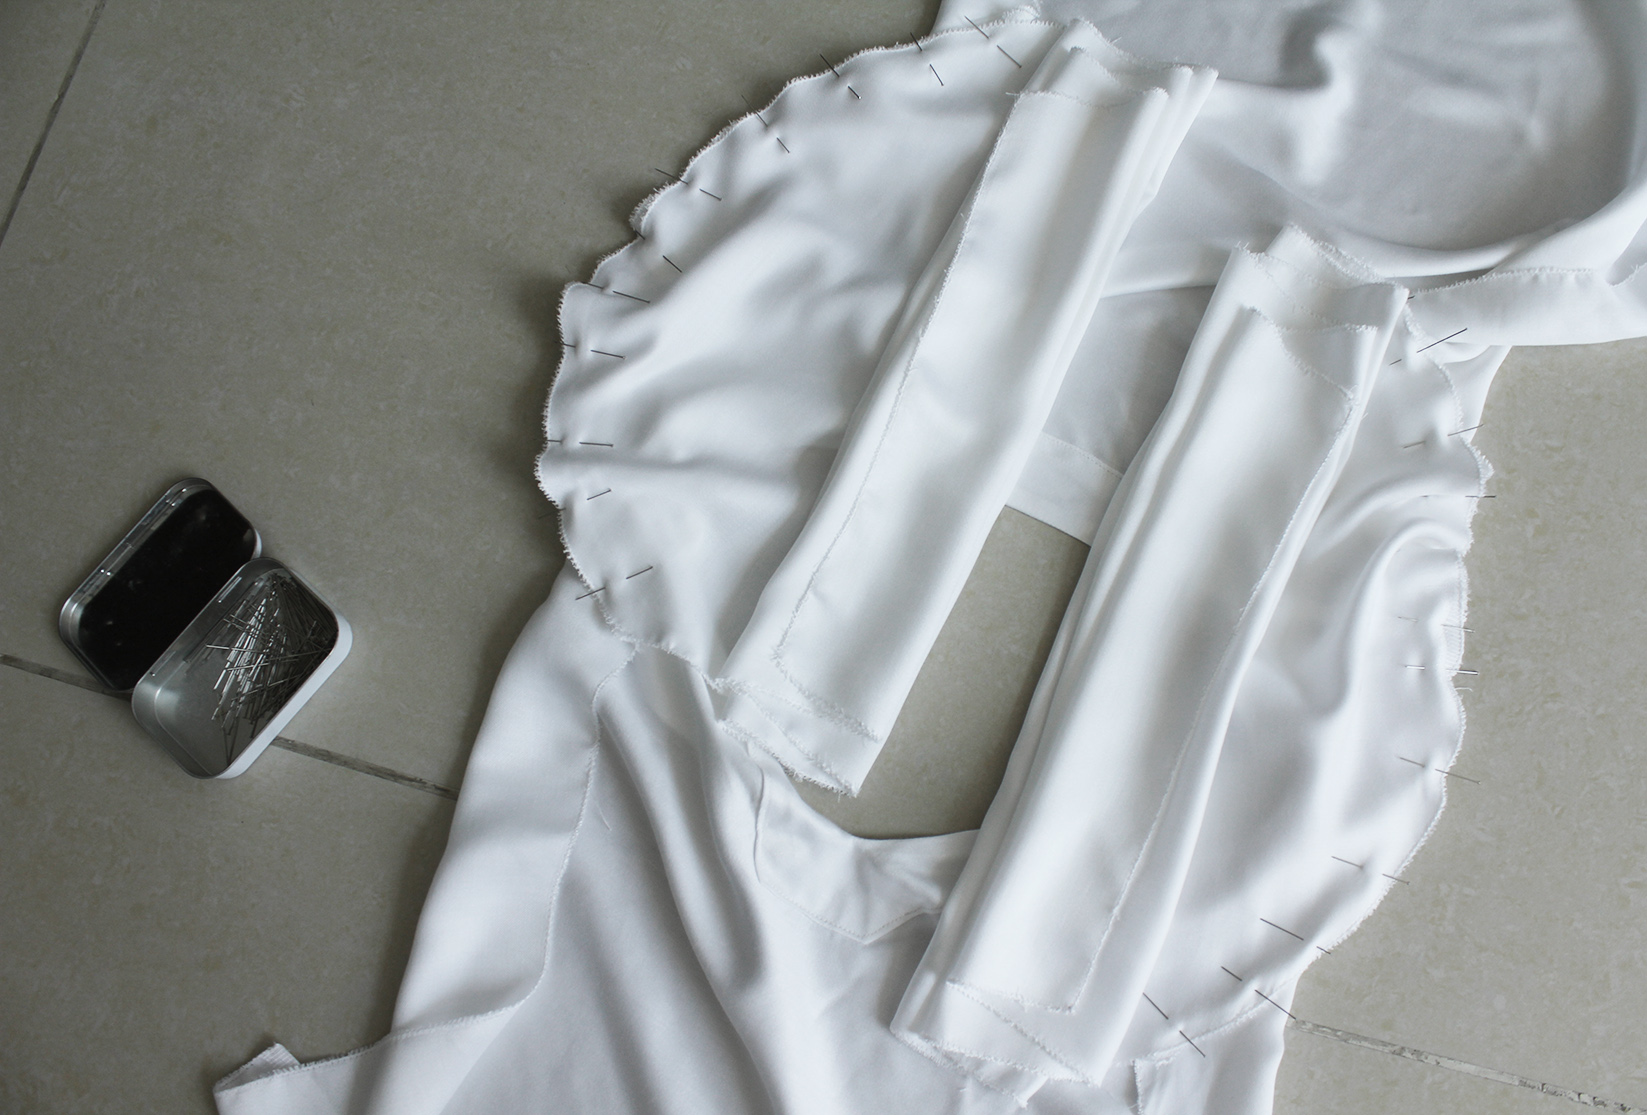
I. Cut out the pieces, mine looked like this after zig-zagging the edges that frayed quite a bit. The measurements make for a European size 36/US 4 shirt with a loose fit.
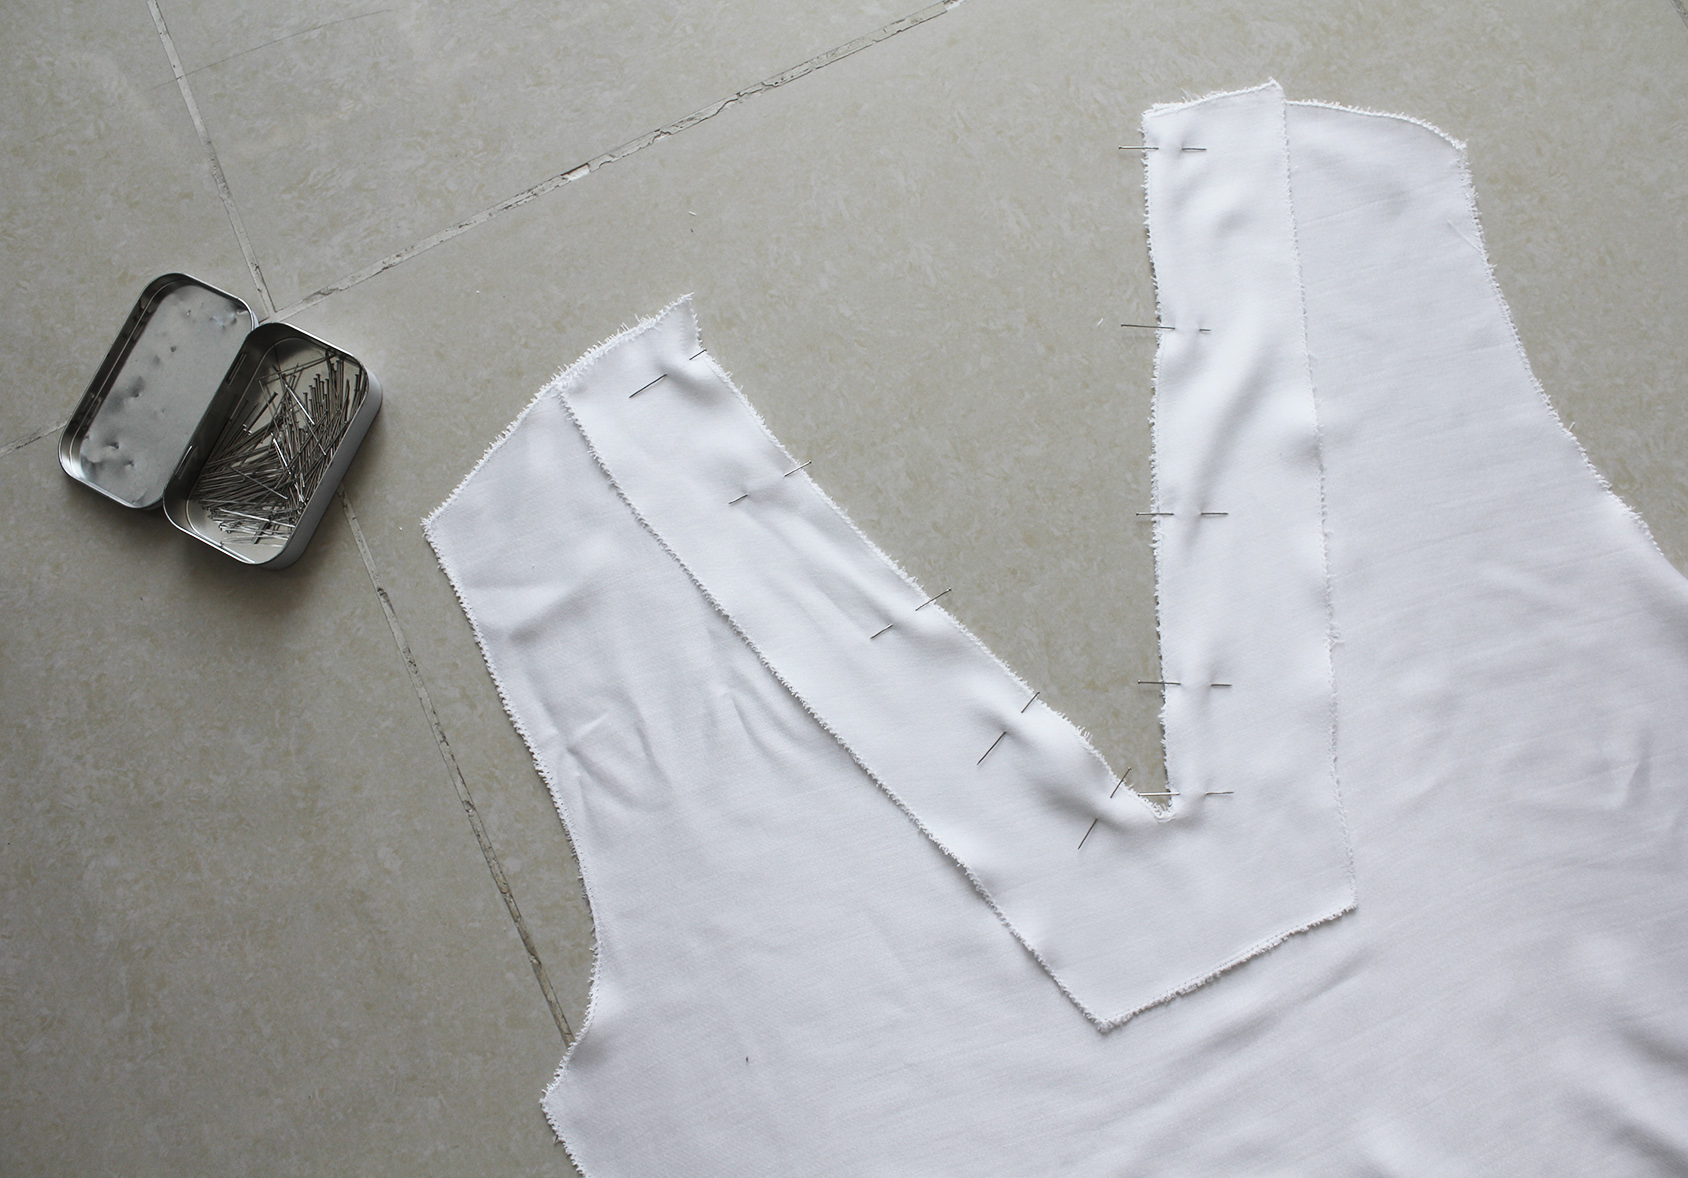
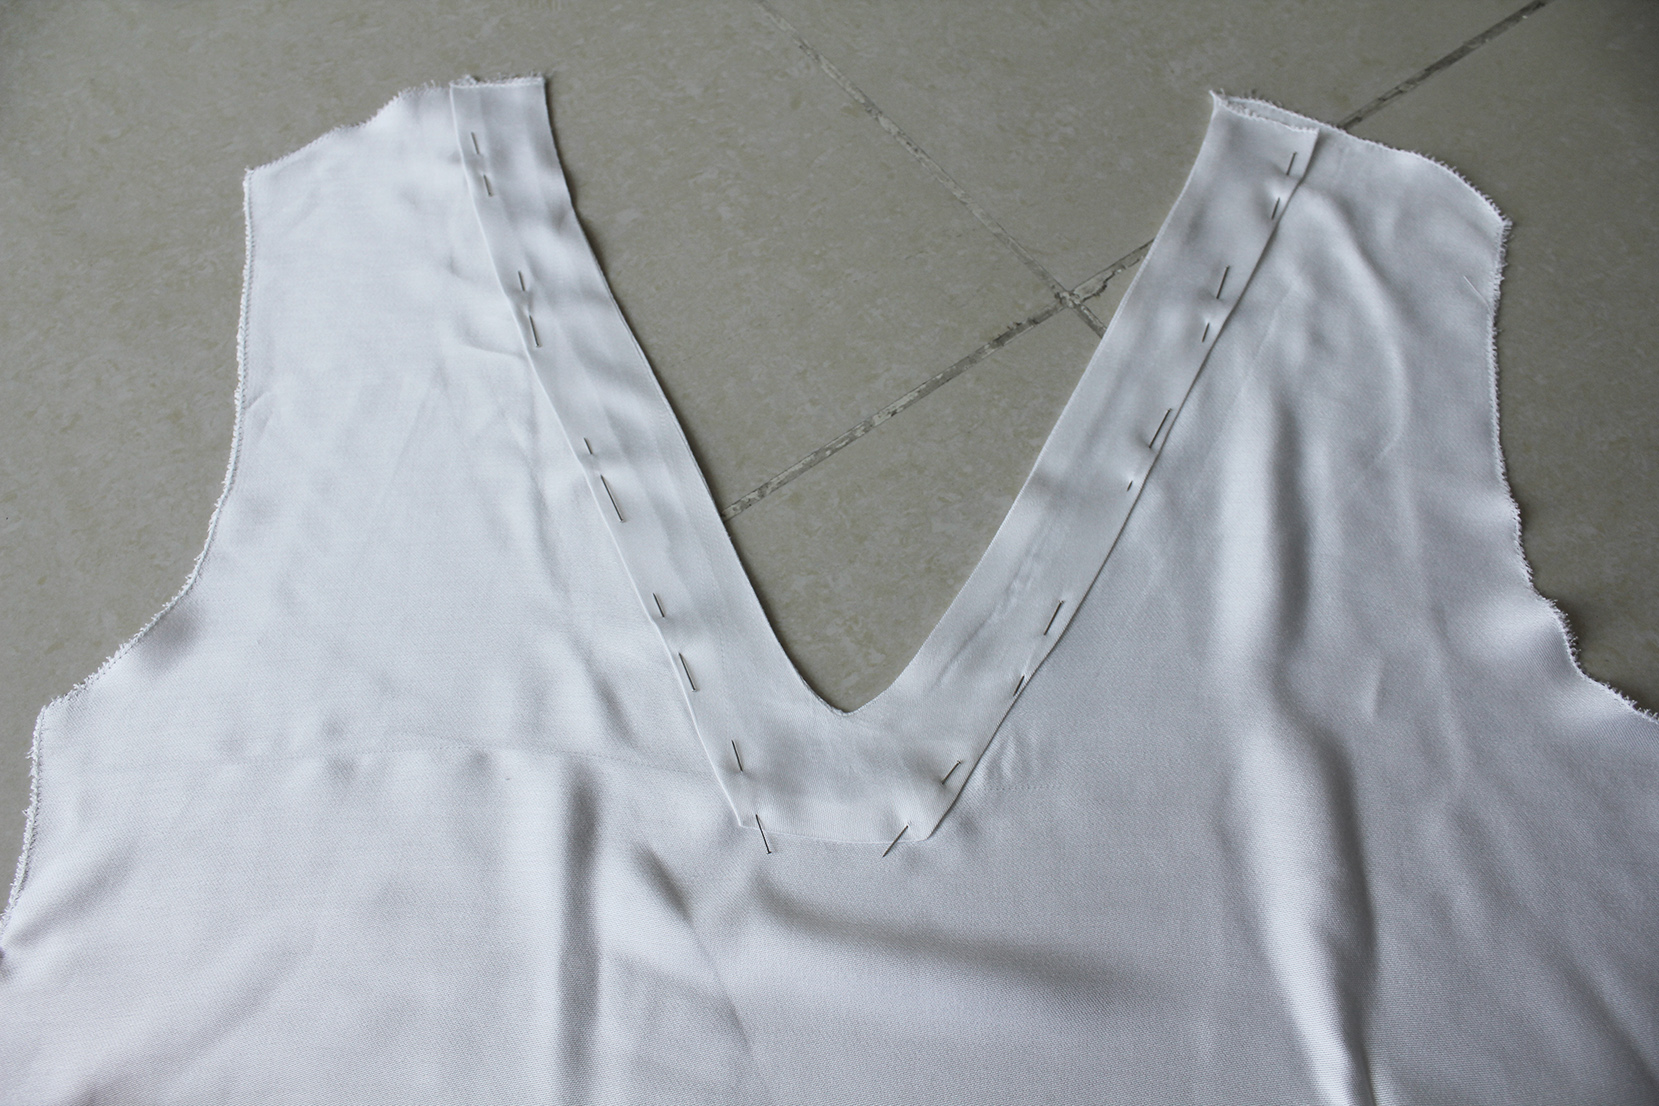
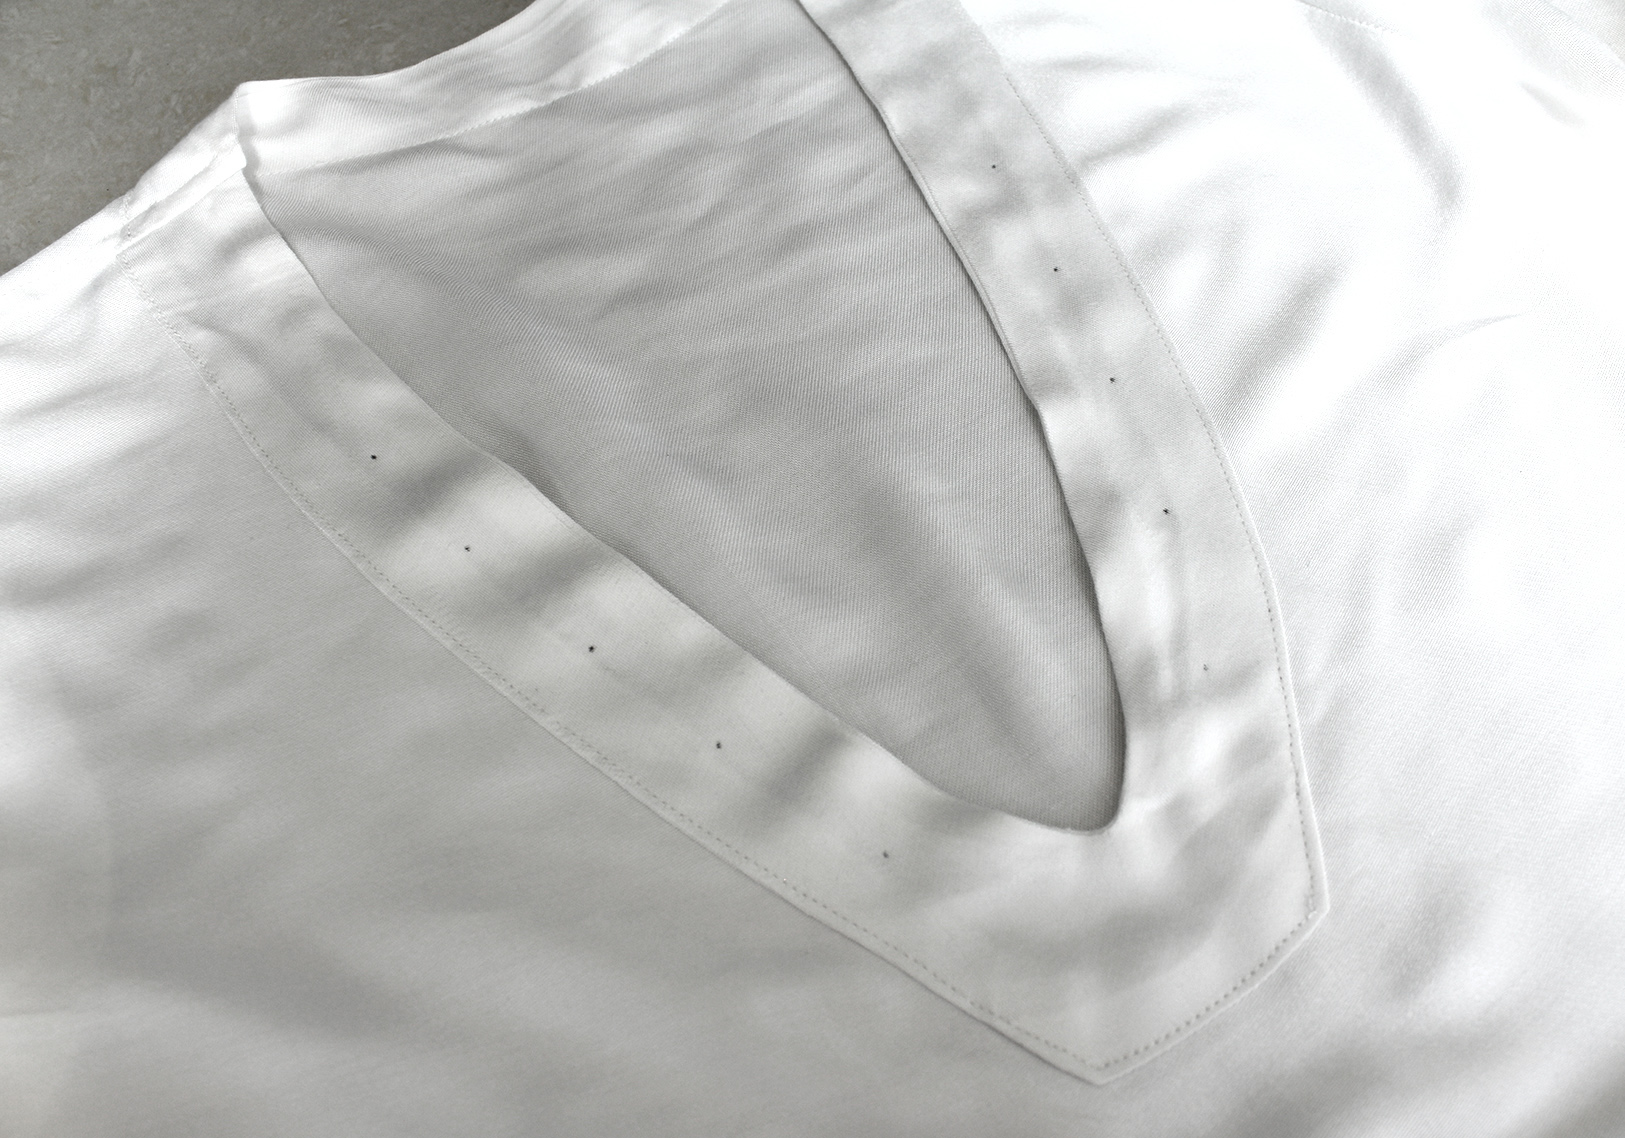
II. Pin the collar piece to the V of the neckline, right side of the collar to the wrong side of the top. Sew about 0,5 cm from the edge, pivot at the bottom of the V.
Notch the bottom of the V to remove tension (careful not to cut your stitch)..
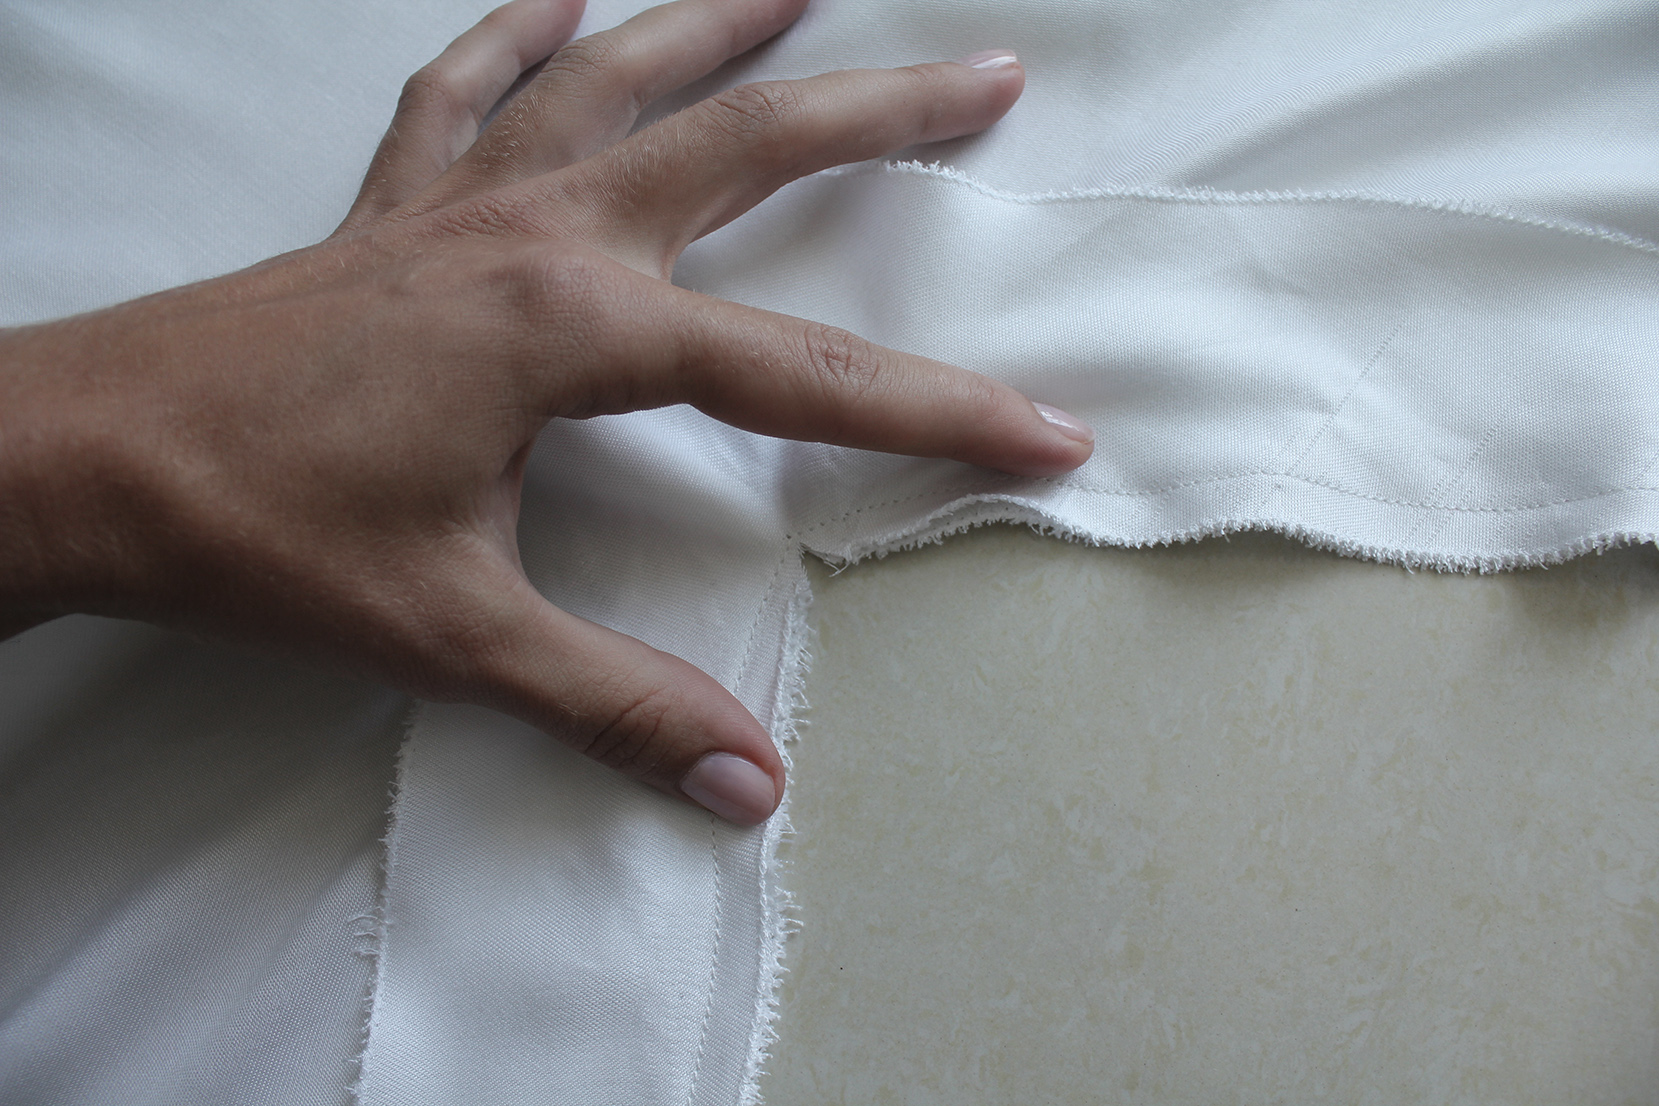
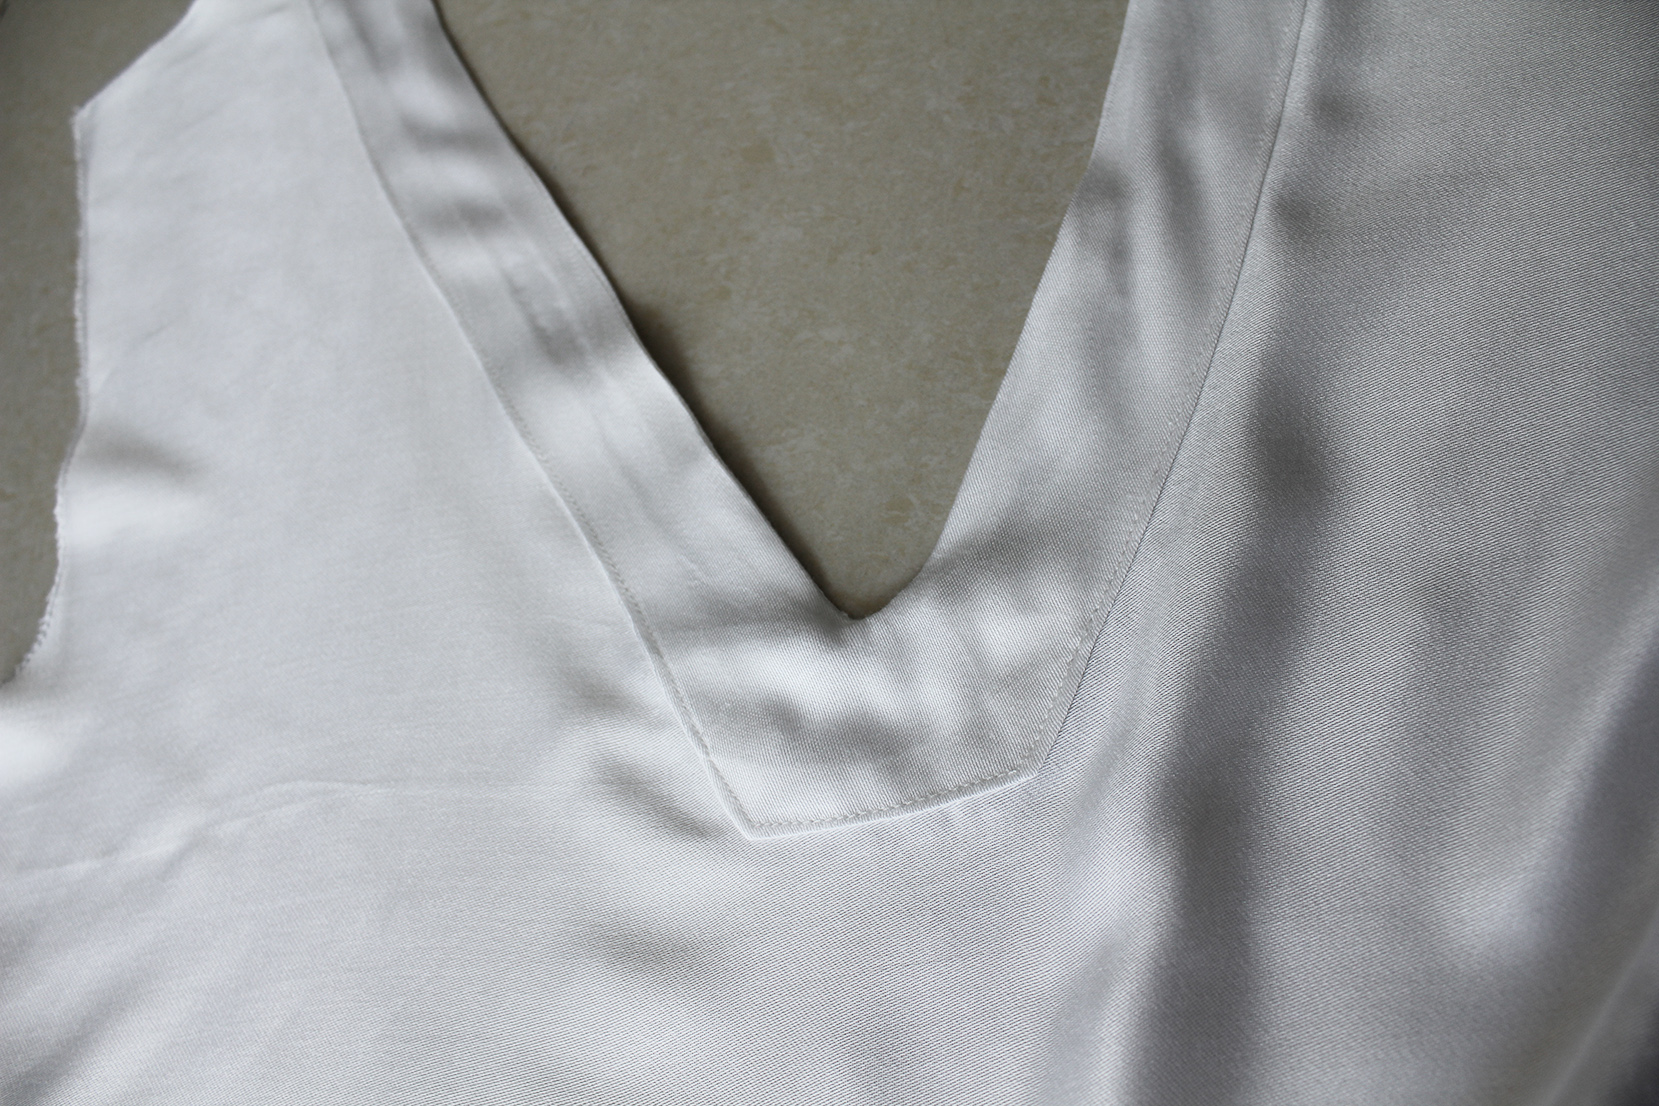
.. So you can flip the collar over to the right side, press the seam, and fold it into shape like this:
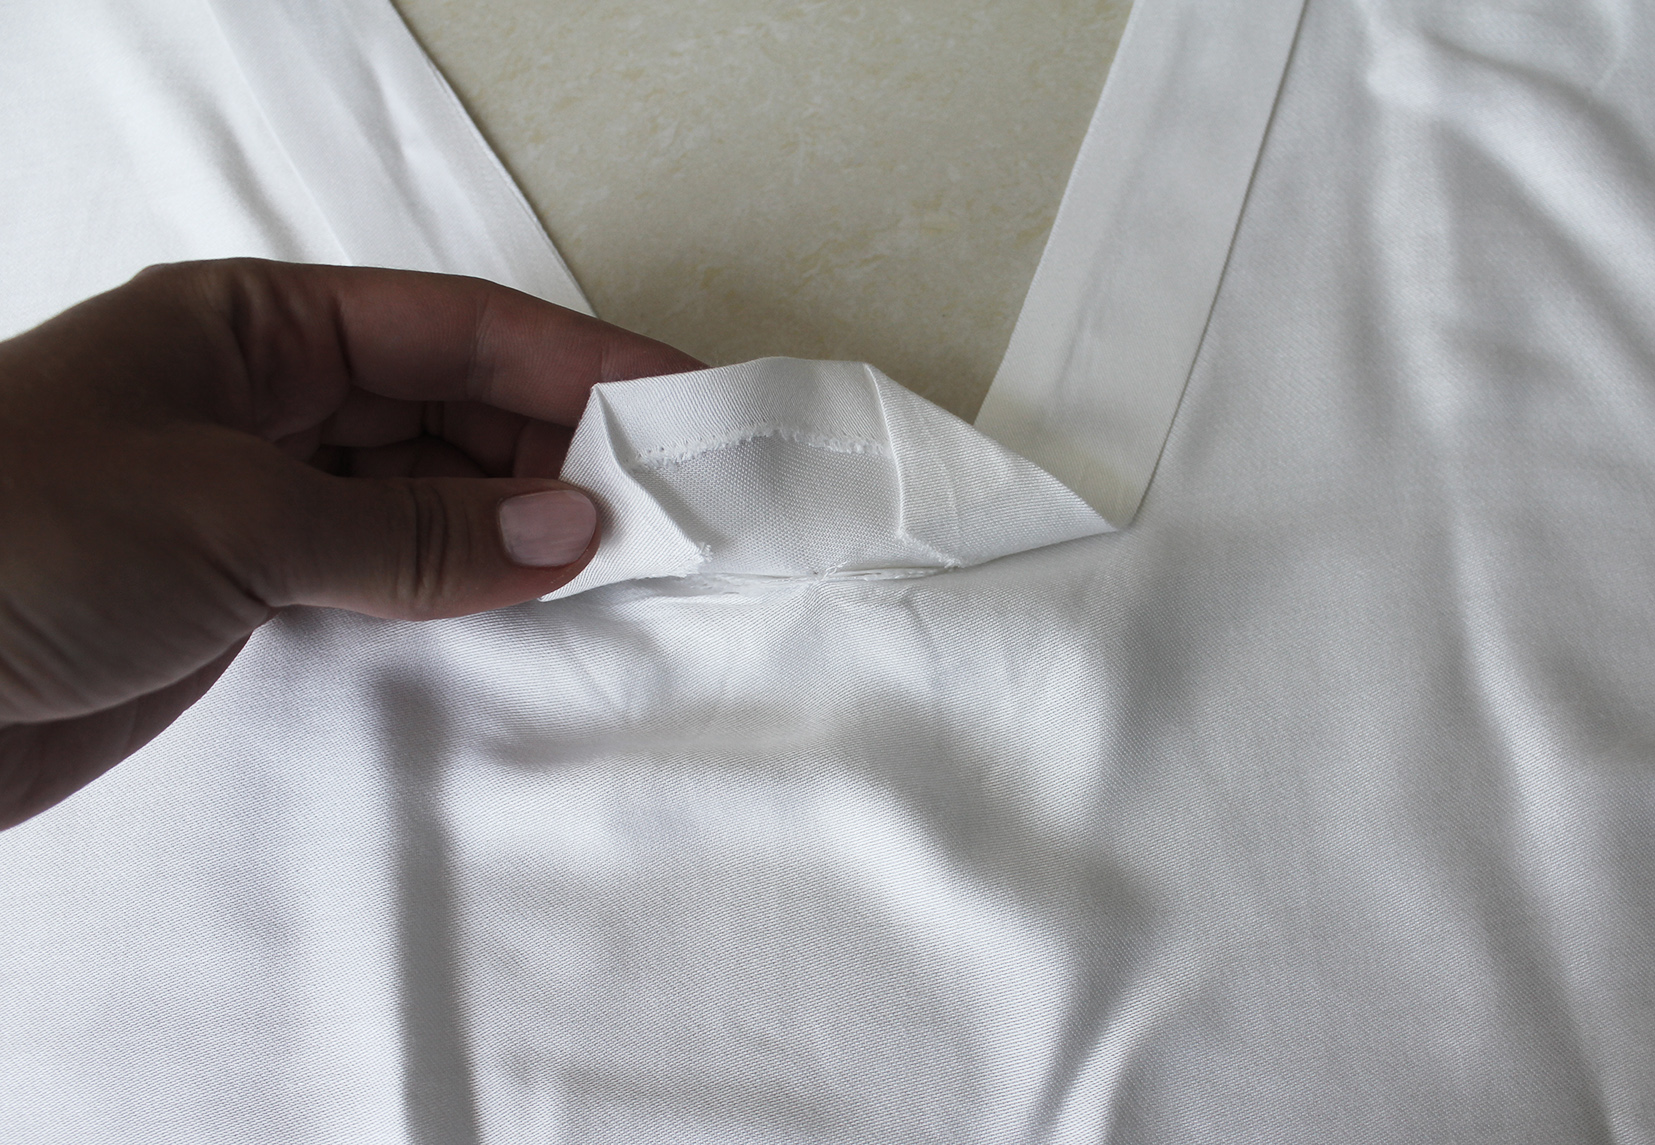
Then pin the collar in place and sew a straight stitch right at the edge.
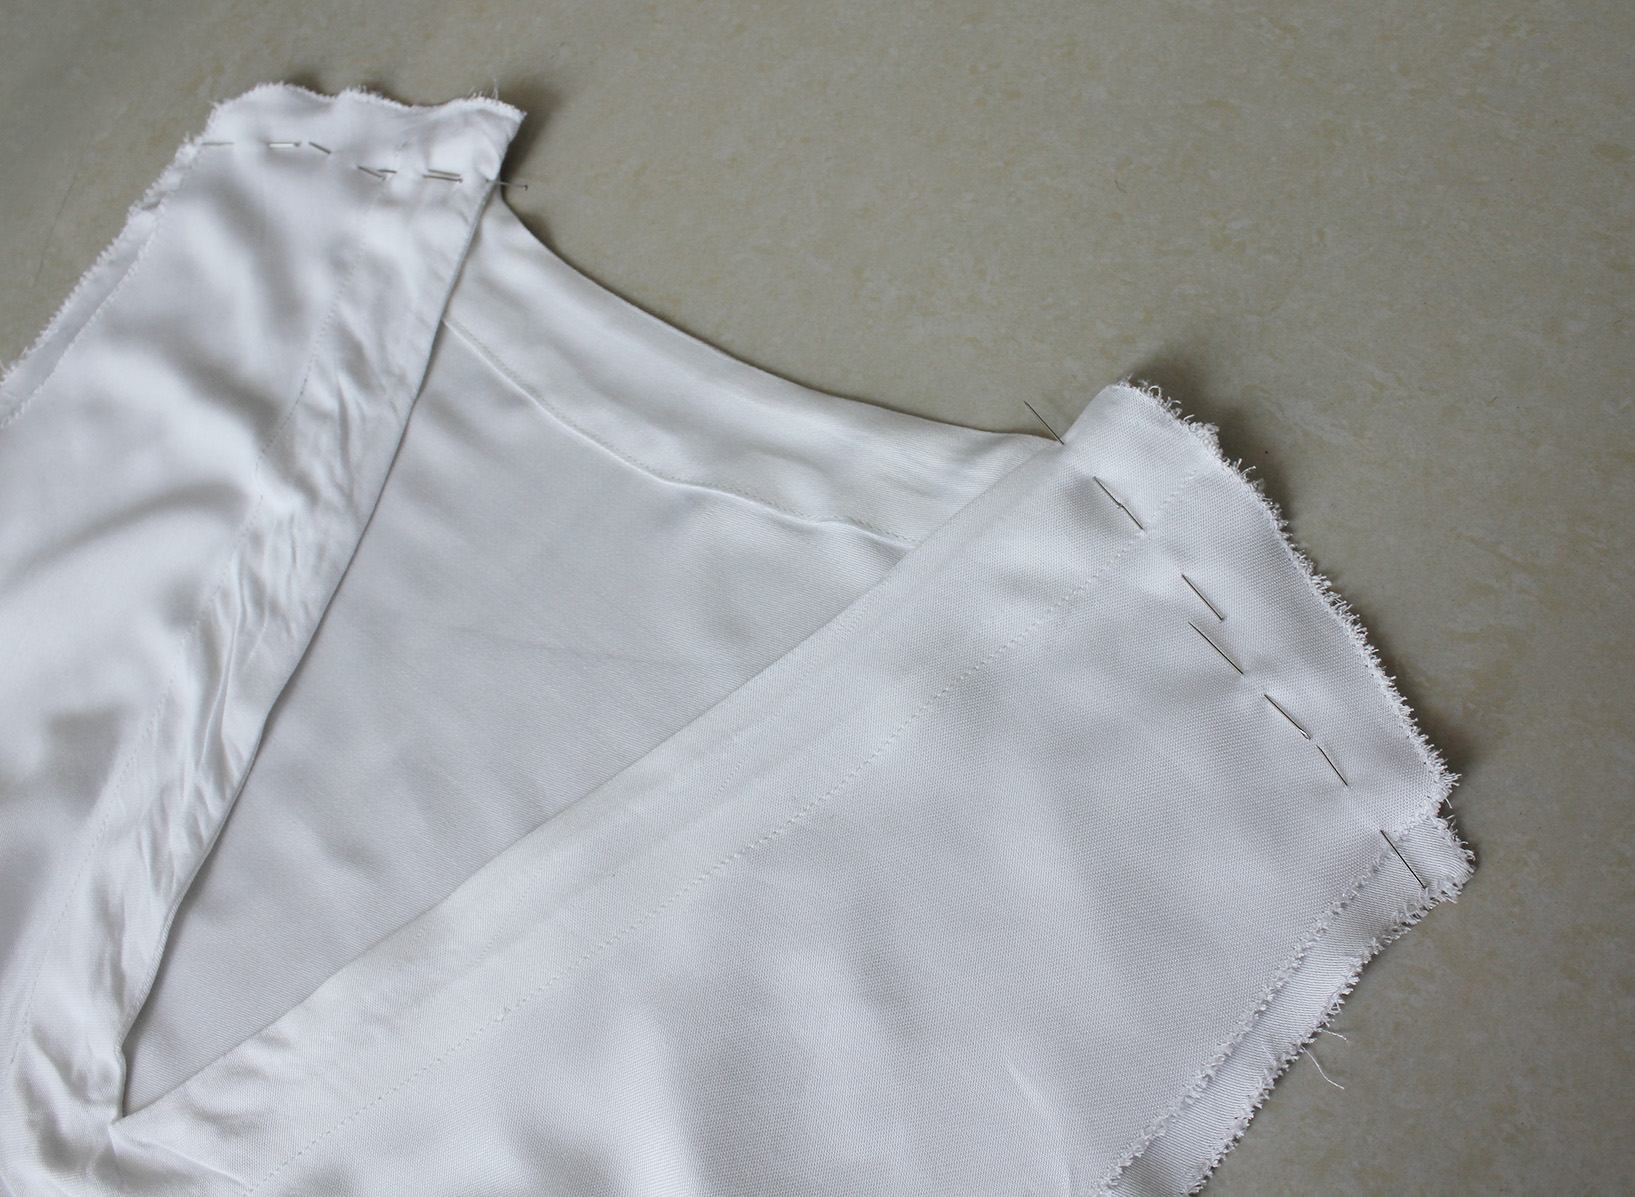
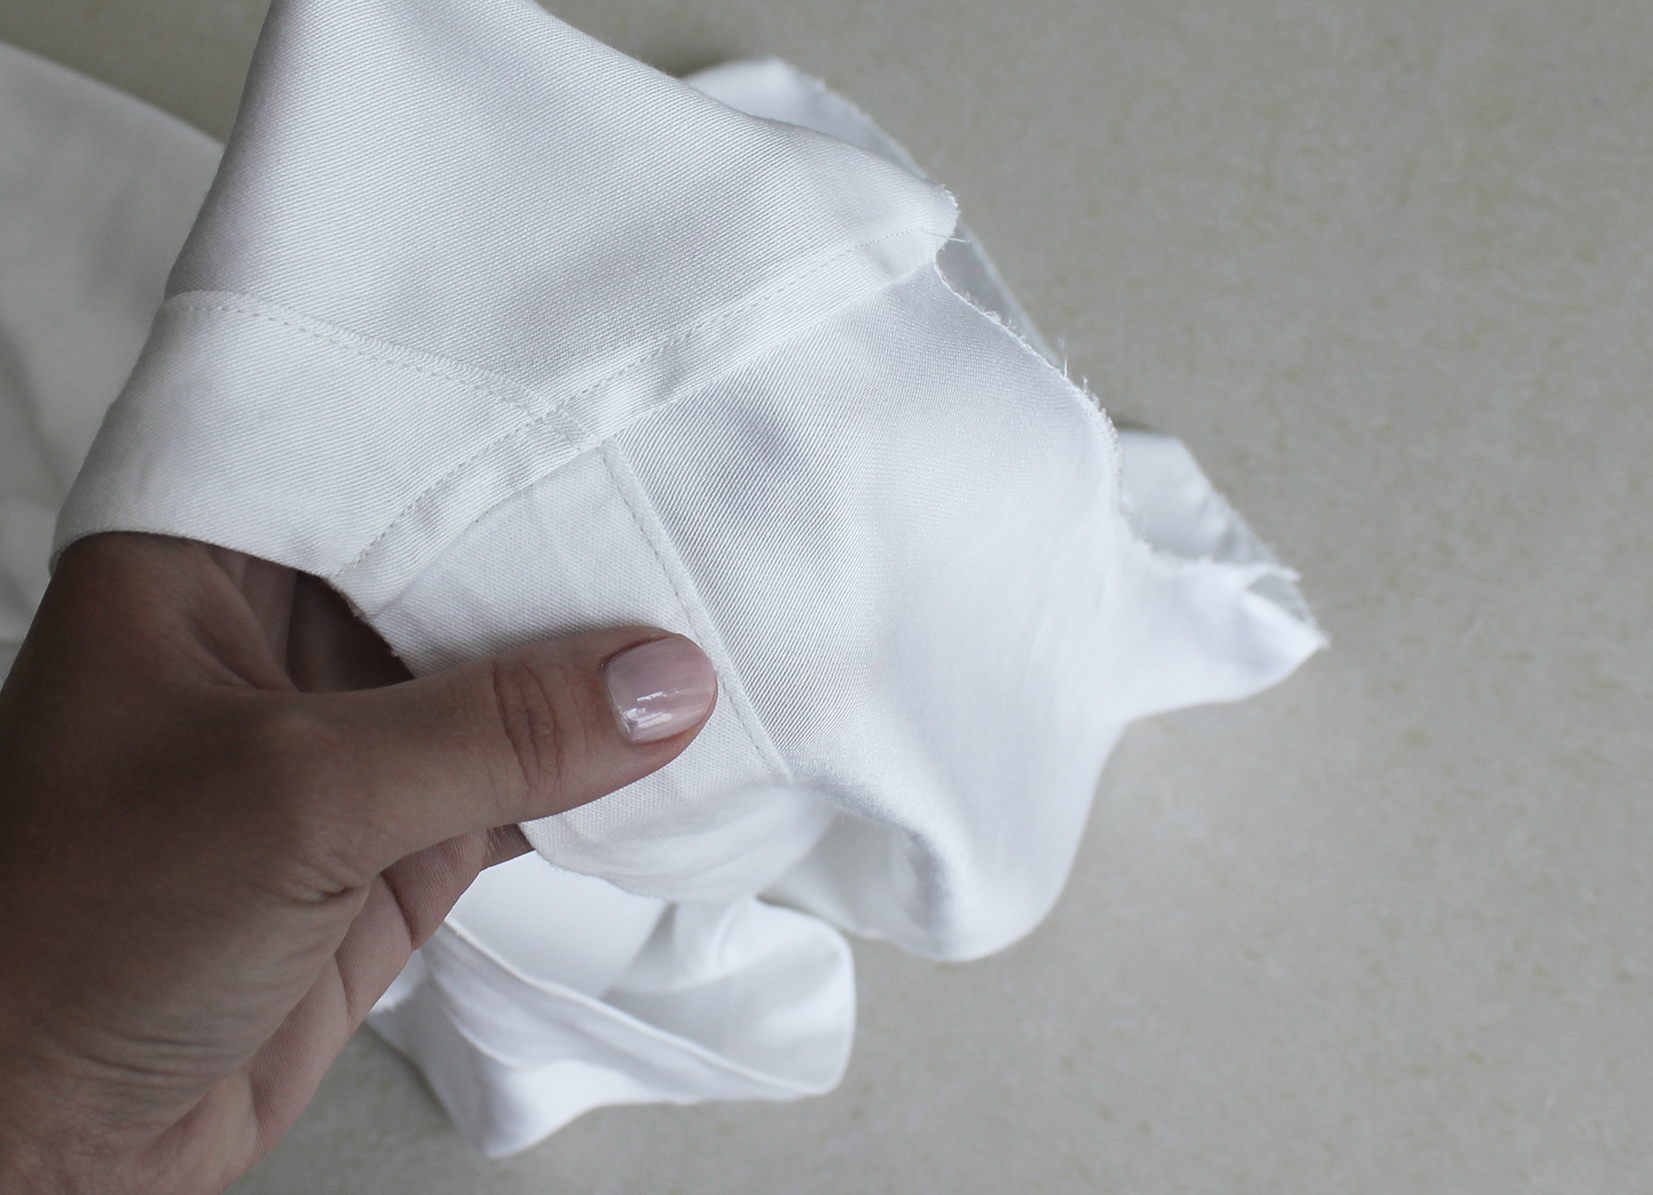
III. For the shoulders I did what I almost always do, a flat-felled seam = Pinned the shoulders together, right sides facing, front piece slightly (0,5 cm or so) higher than the back piece, stitched, folded the longer seam allowance around the shorter one, pressed flat, and sewed a second stitch on the right side, next to the original stitch. Here's a video if this is new to you.
IV. Then for the sleeves. Pin them to the arm holes, right sides facing right side of the top. Sew along the curved edge and press the seams open.
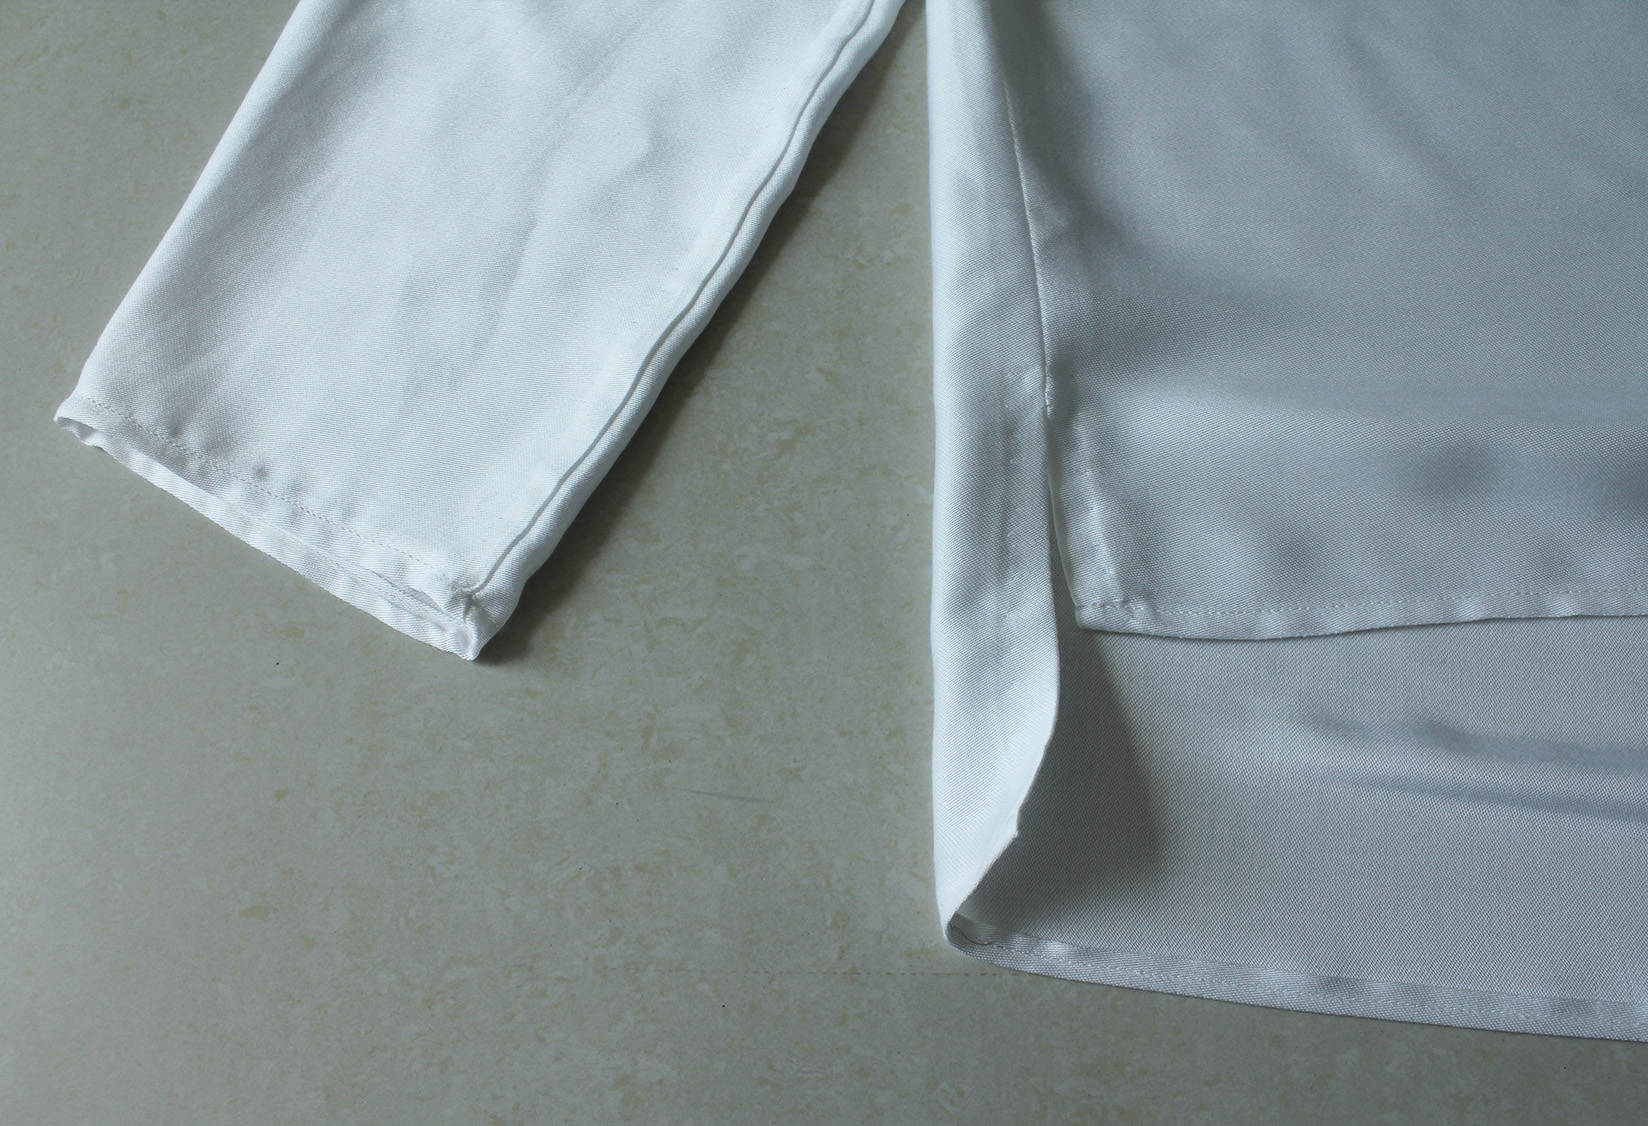
V. Pin the sleeves and the sides of the top together, right sides facing, and straight stitch the sleeve under seams and the side seams. My sleeve seam here is pinned like what looks mismatched because I did a flat-felled seam there too (I roll up my shirt sleeves all the time so I wanted the seam to be clean on the reverse as well). I left 6 cm or so open at the bottom of the side seams for small slits.
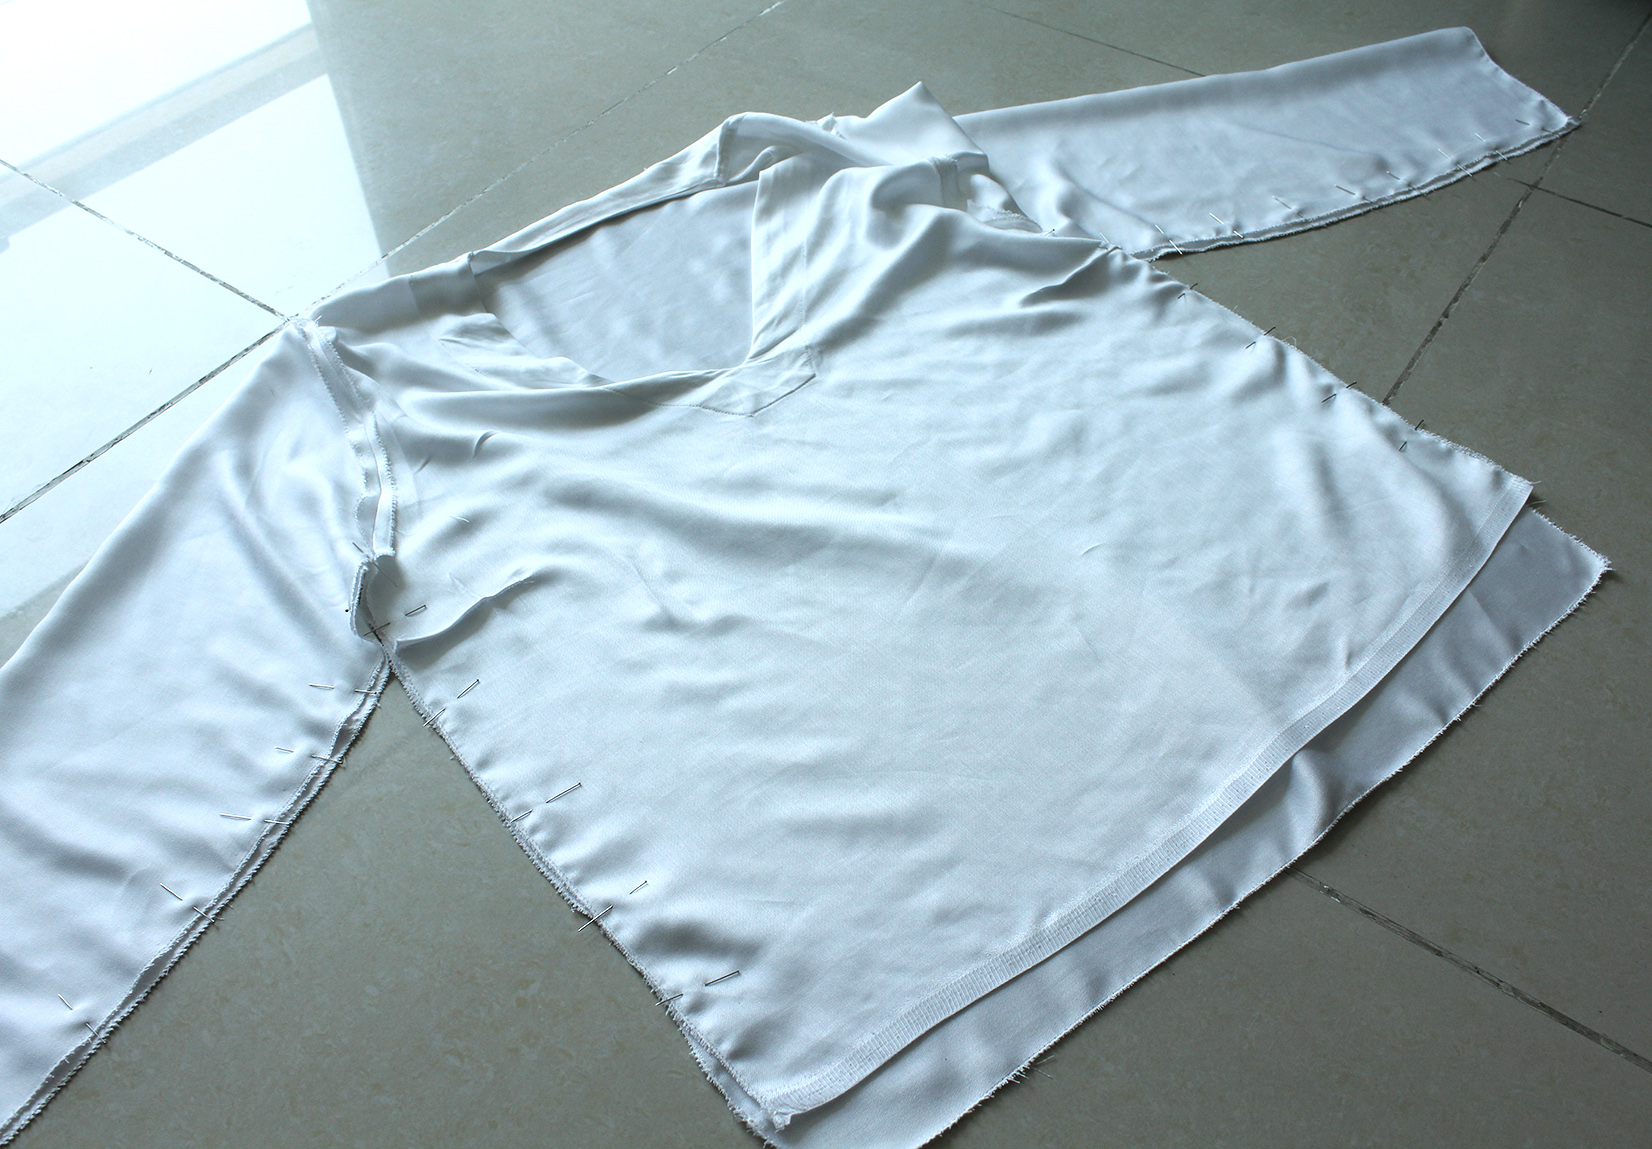
VI. For the finishing touches I did a double-fold to hem the sleeves, and the same thing for the top hem.
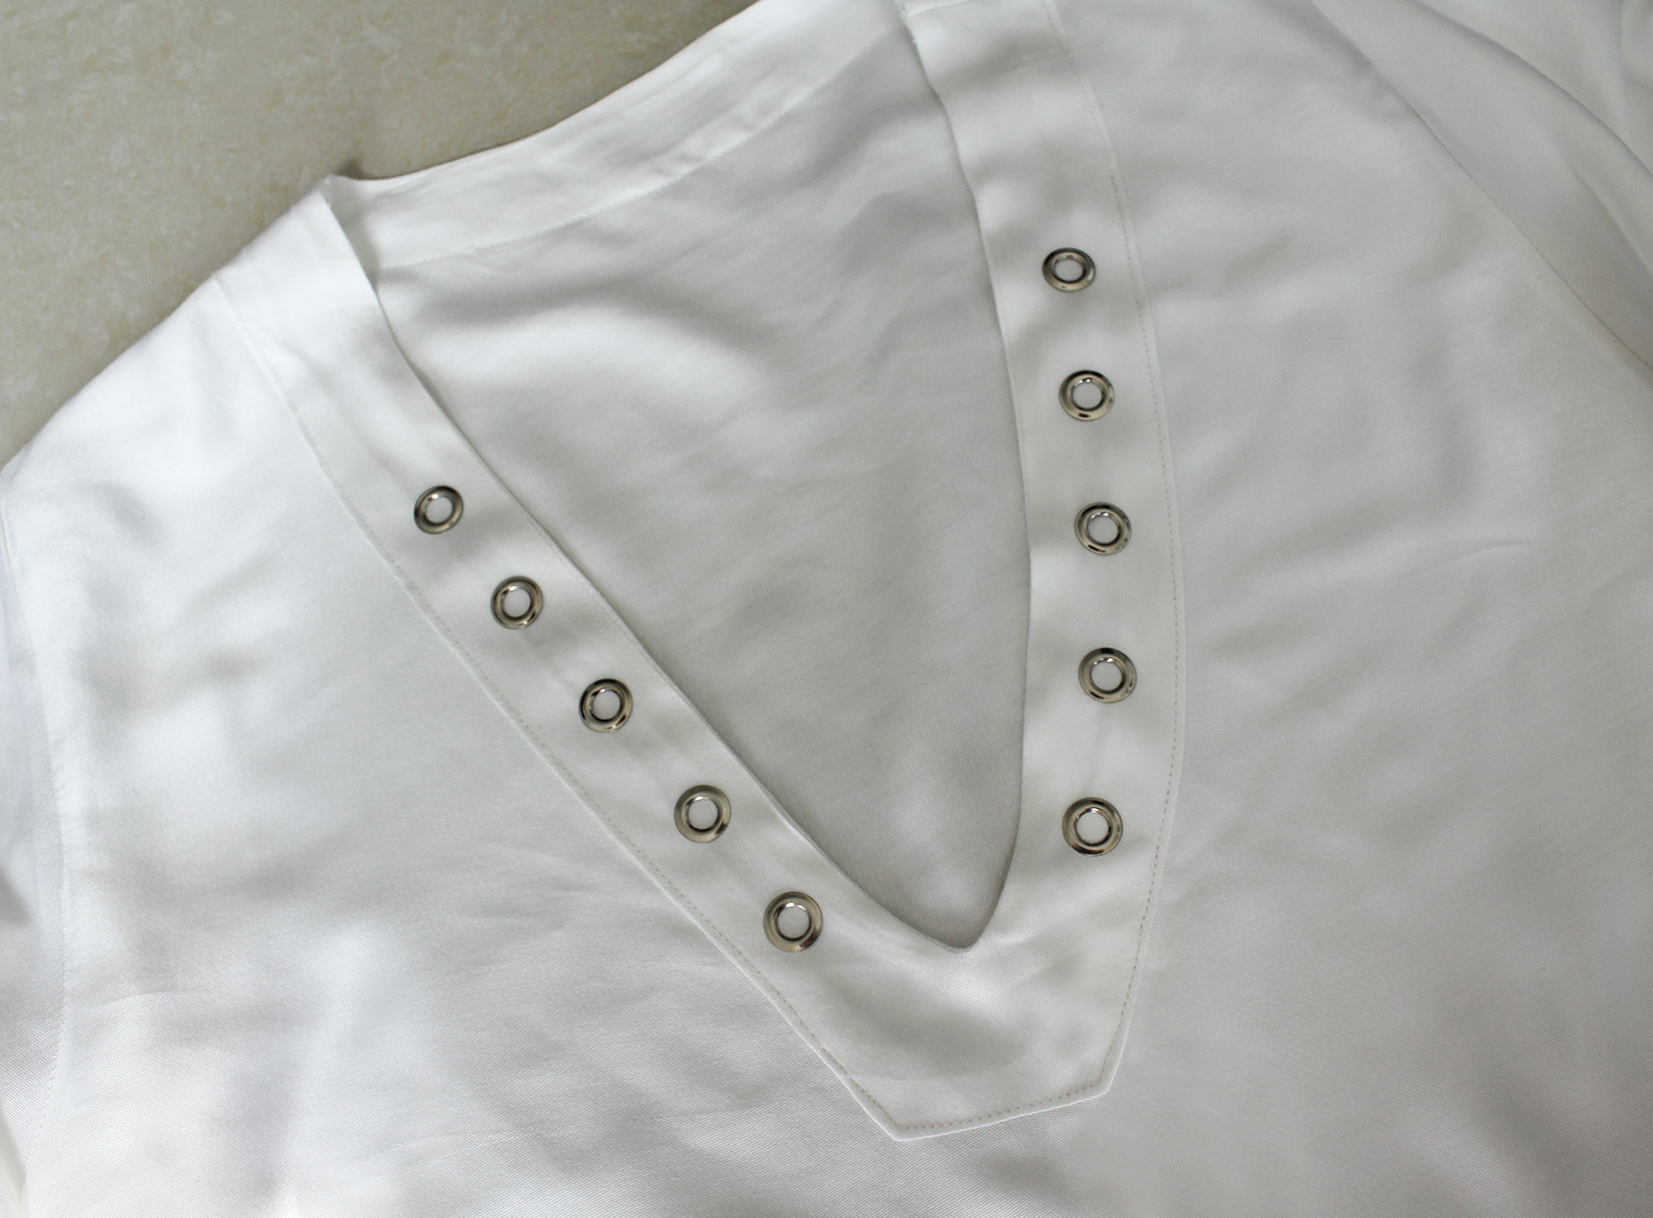
VII. Grommet time! Place your grommet rings on the top collar to figure out where you want them.
Mark those spots.
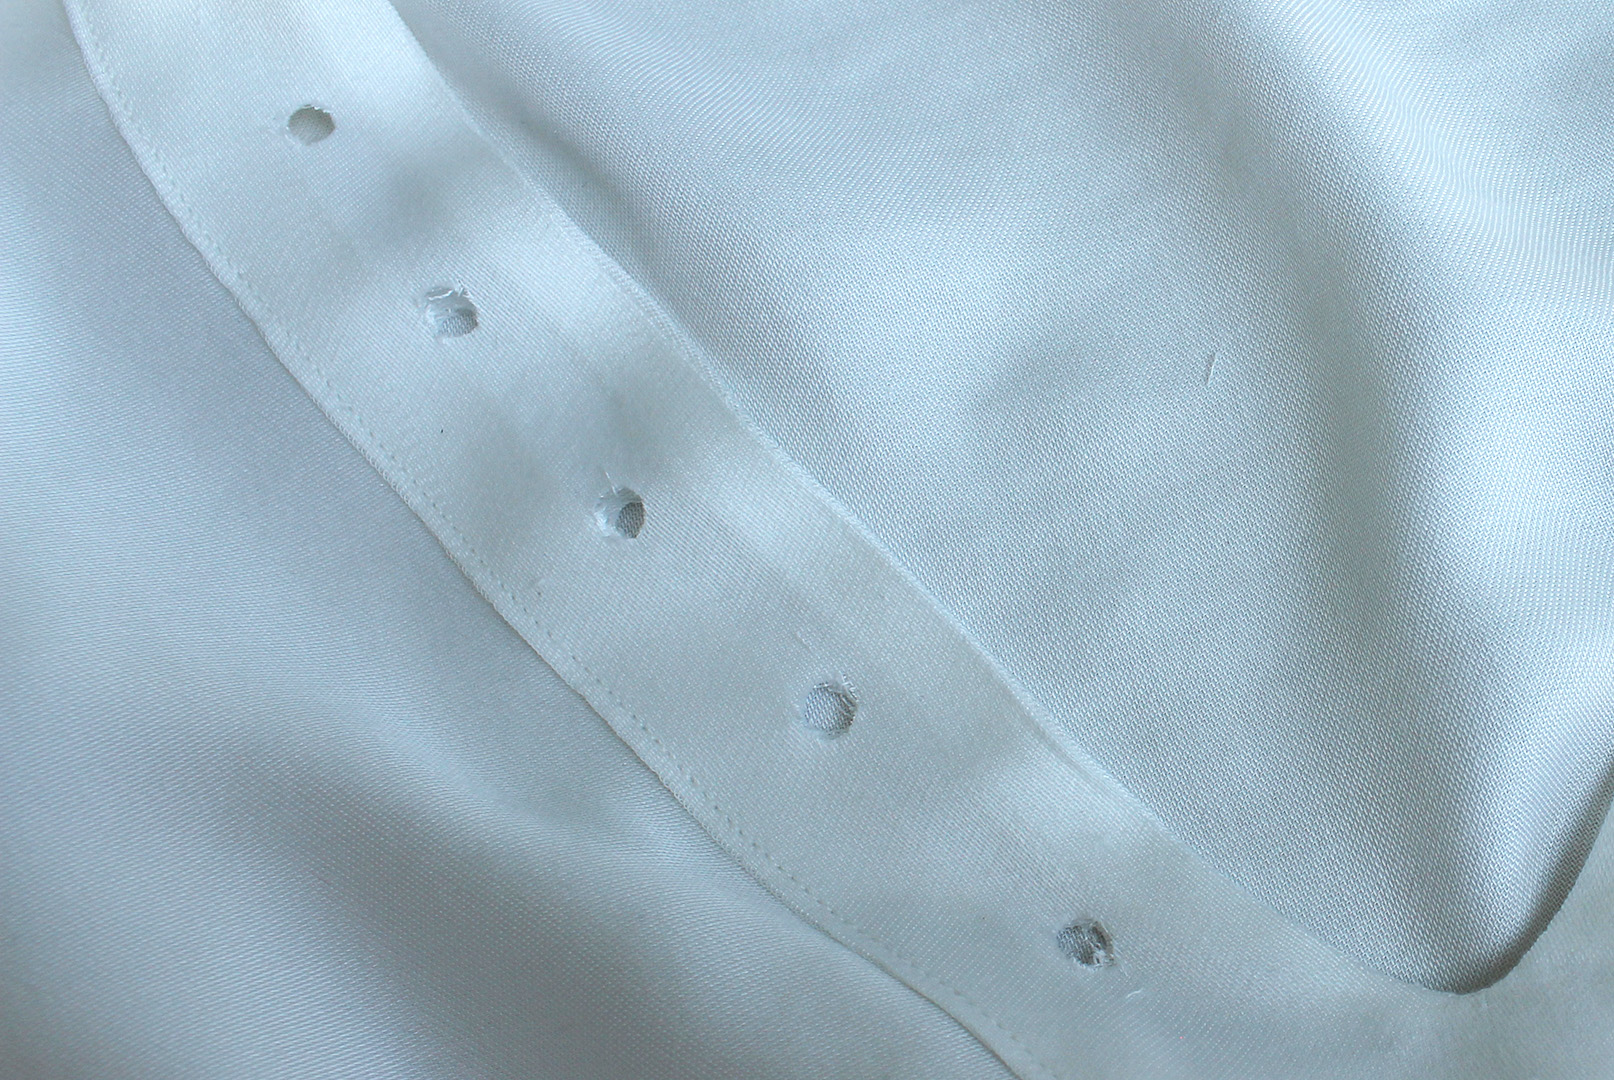
From here on out, I recommend you first use a scrap piece of your fabric to practice installing one grommet and get confident. It's super easy, but it can be a bit terrifying to start punching holes into your perfectly good blouse.. Once you feel like an empowered grommet installer, use the hole puncher to make your holes. IF you have an actual, proper hole puncher I highly recommend using it. Because of our moving chaos I wasn't able to locate mine. If using one, select the size that's slightly smaller than the size of the grommet piece sticking out - this way you make sure your holes don't end up too loose and unravel.

Here's what I wish someone had told me at this point: If you are working with a fabric that frays even a little bit, it's a good idea to secure your holes with fray-stop glue (if you don't have that, a small amount of clear nail polish should do the trick). This will make sure the holes don't fray as you install the grommets. I had some fraying problems and had to reinforce the fabric around a couple of grommets by hand-stitching at the end. Not good!
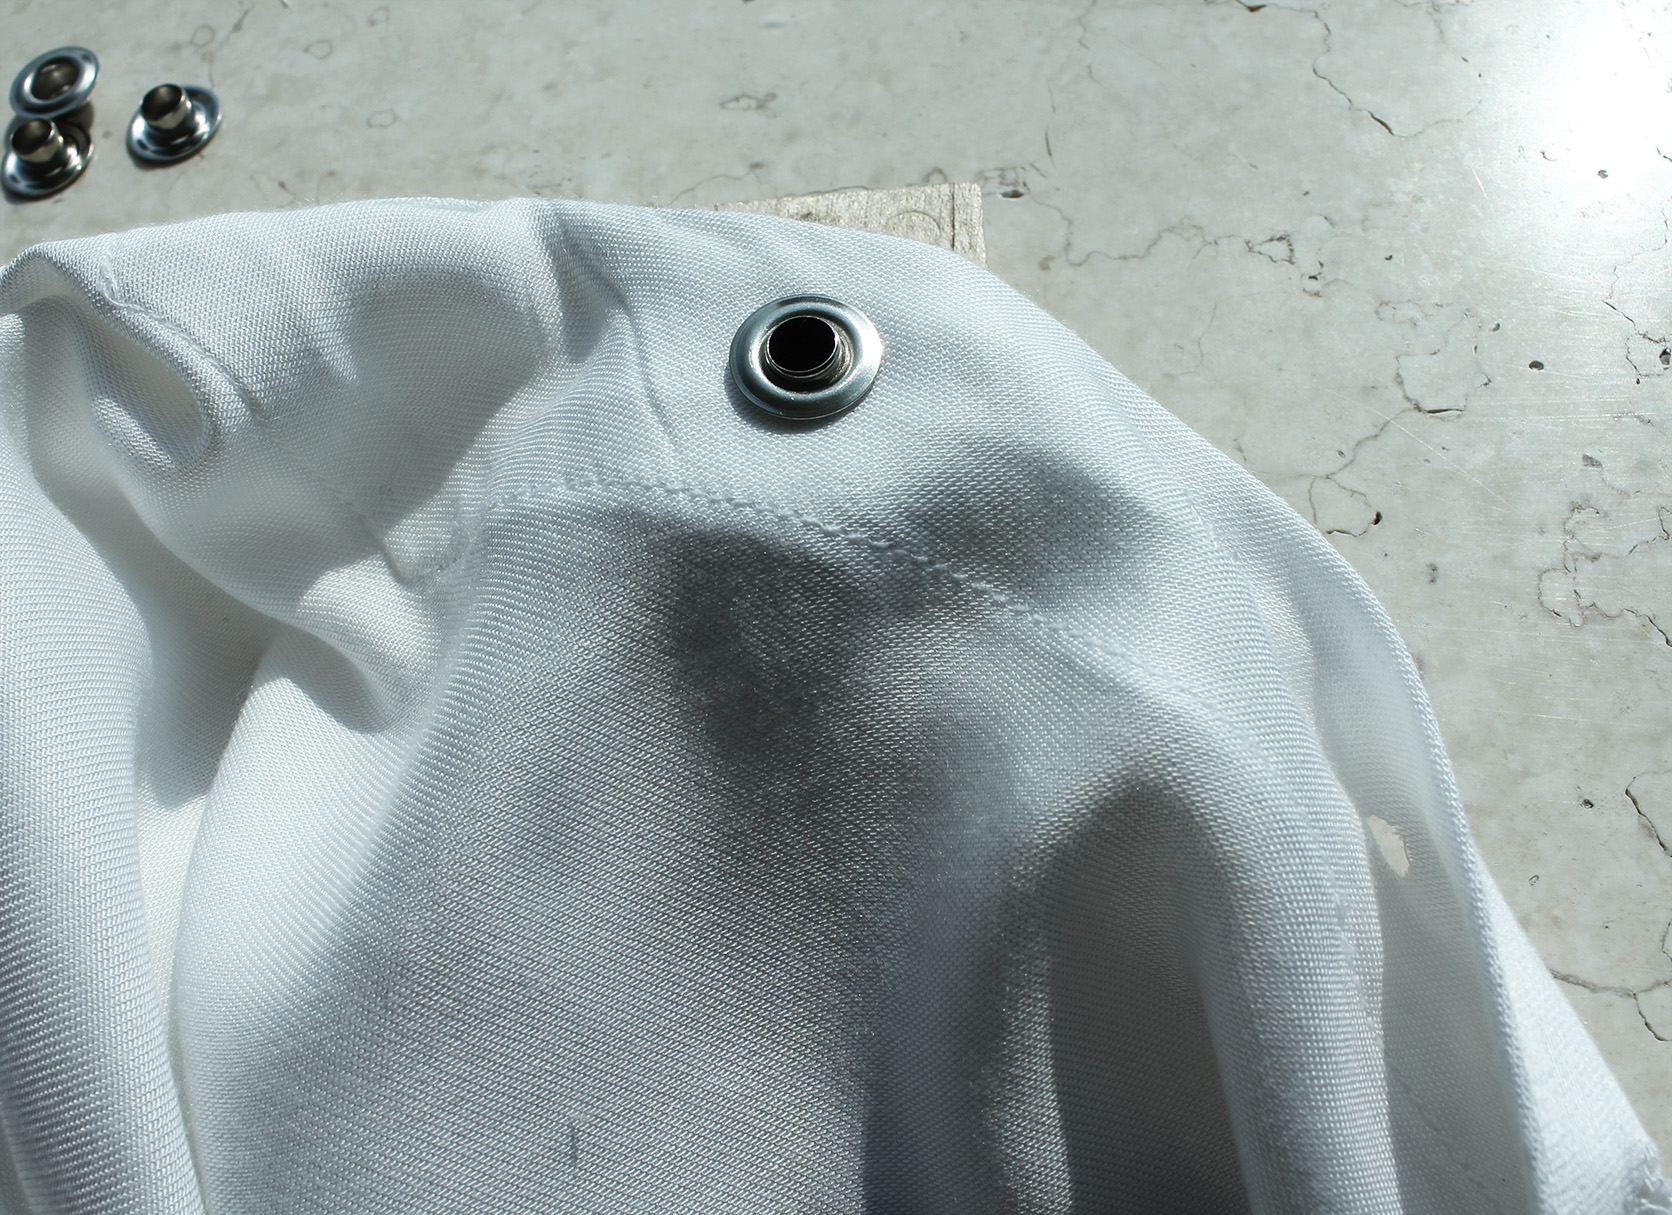
To install a grommet, place the part that has the piece sticking out on the base tool:
Then place your fabric on top, right side of the fabric downwards.
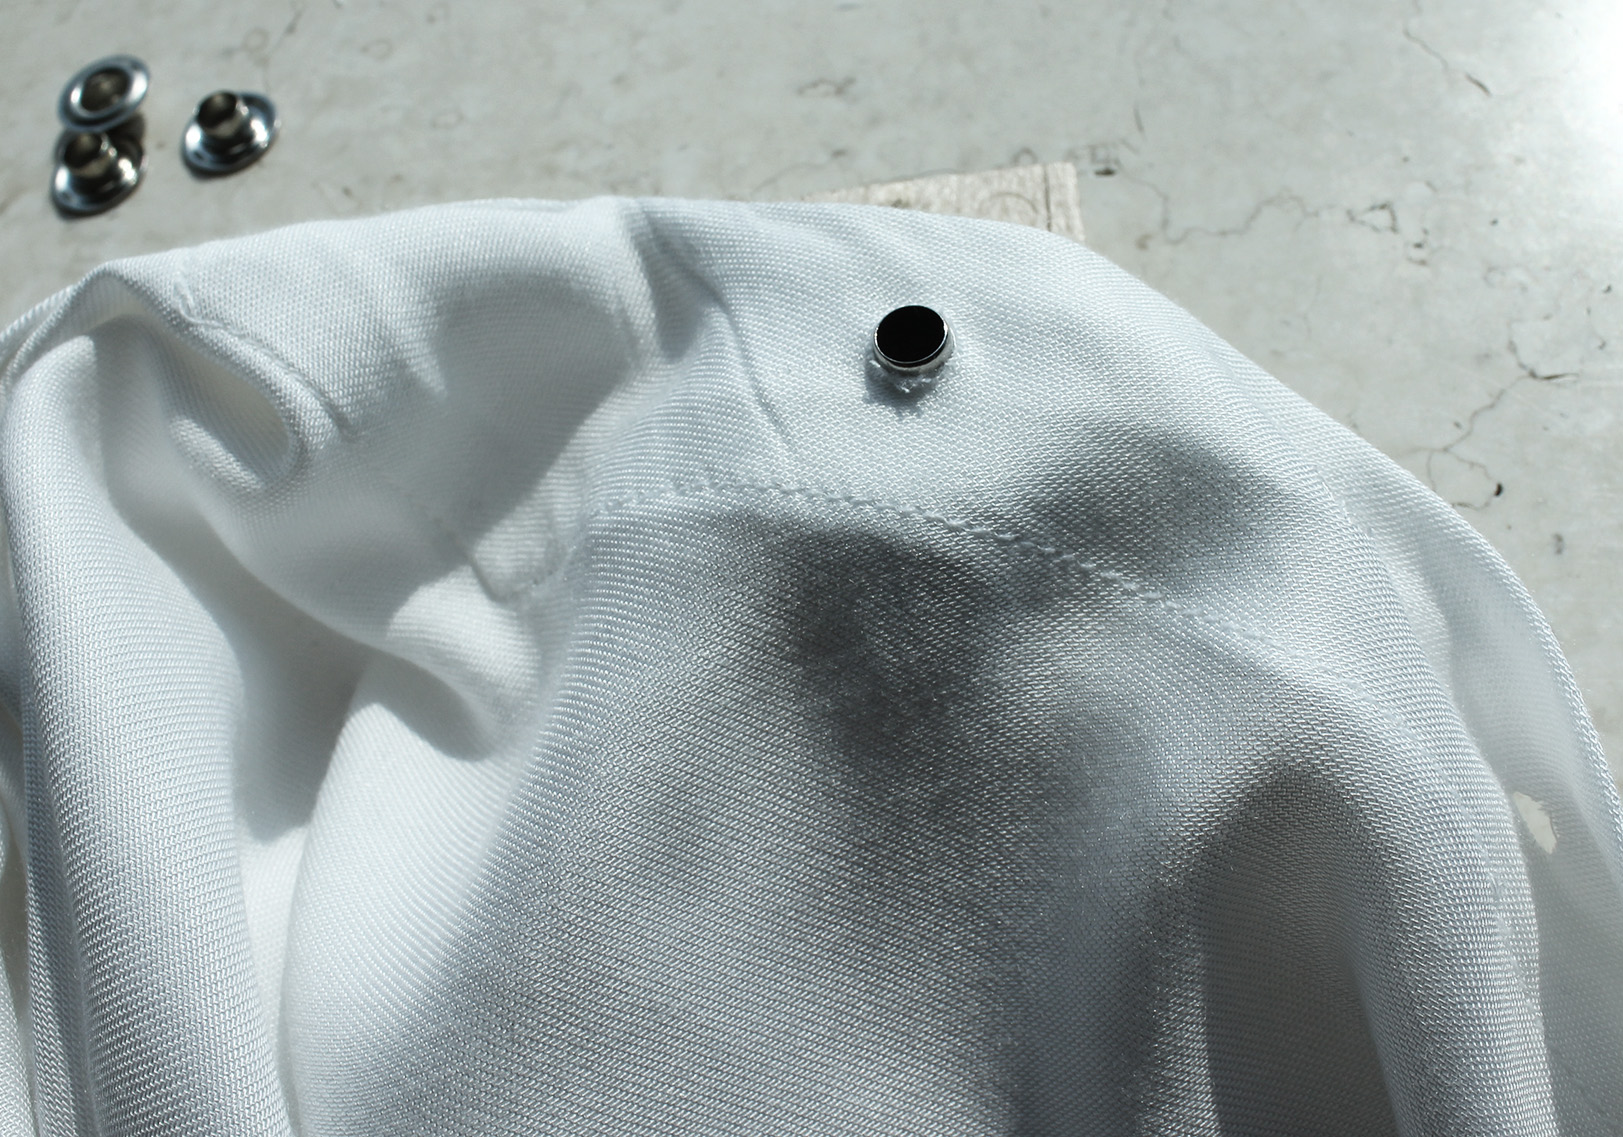
Insert the other side of the grommet (the concave side upwards):
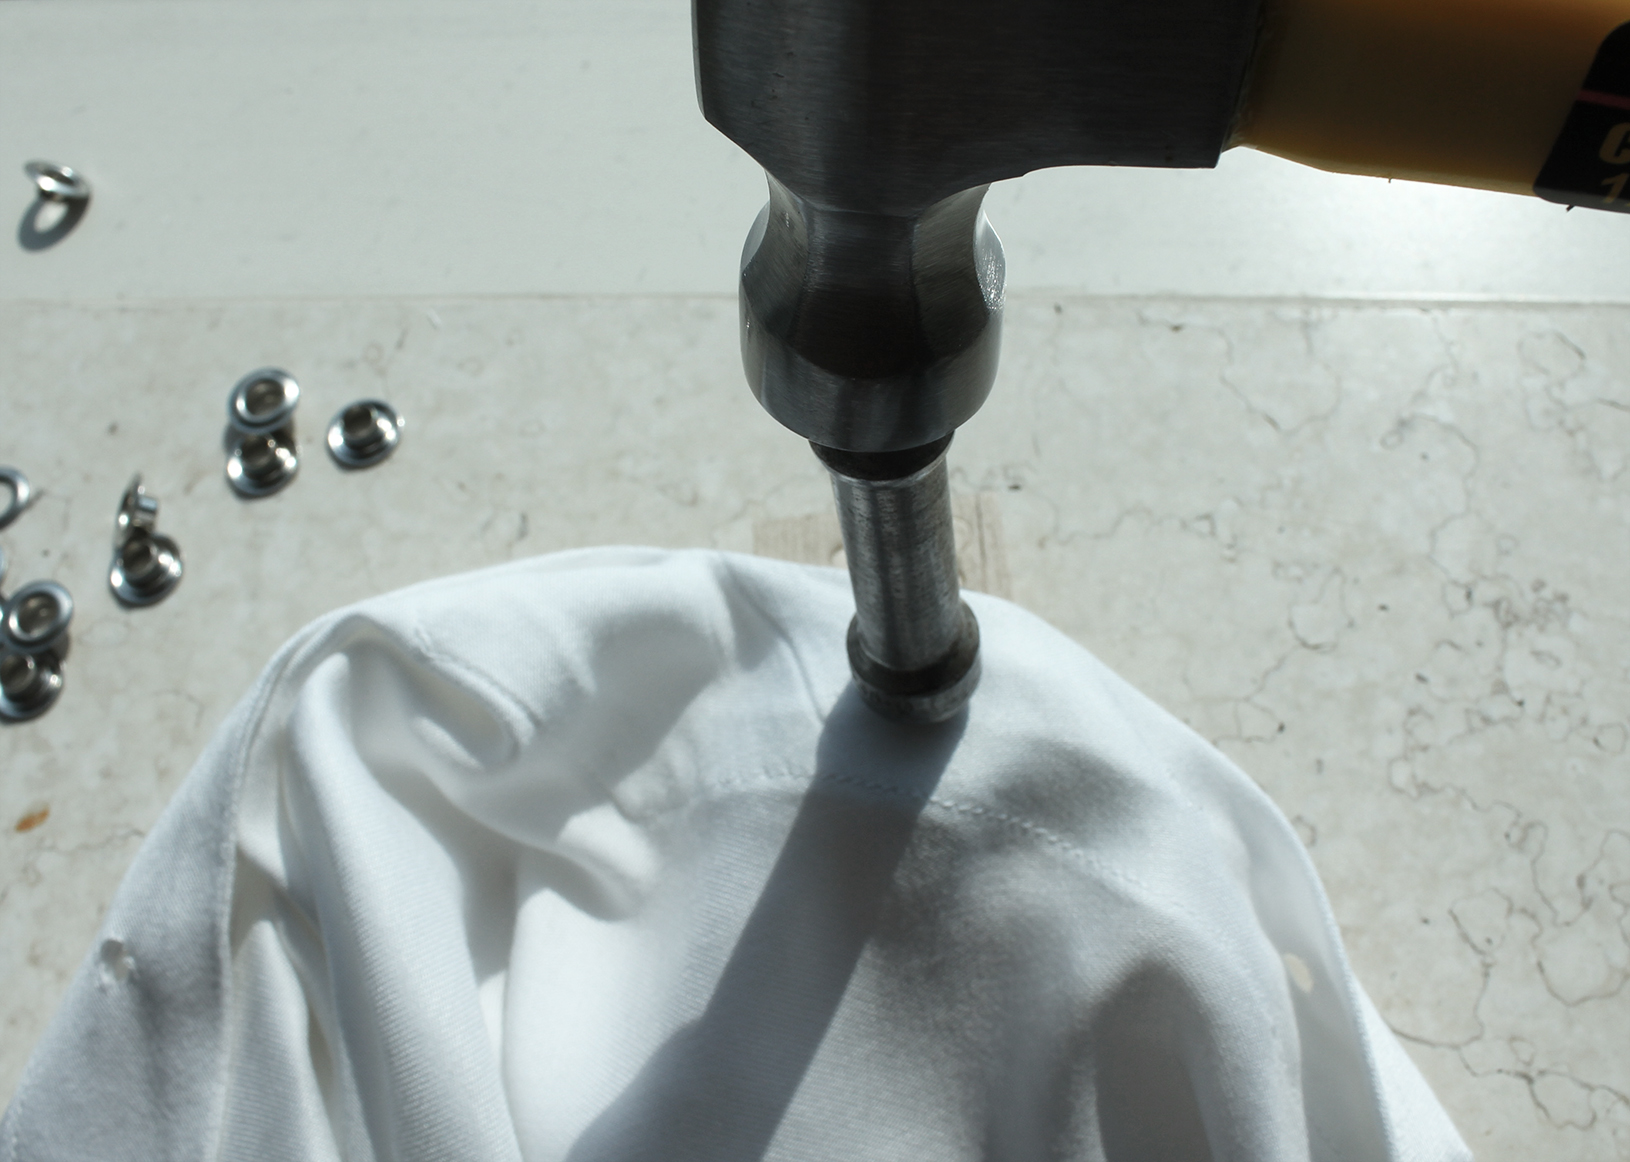
And after sticking the grommet tool into the hole, hammer it home! Be decisive here, a couple strong blows should drive the grommet sides to merge together.
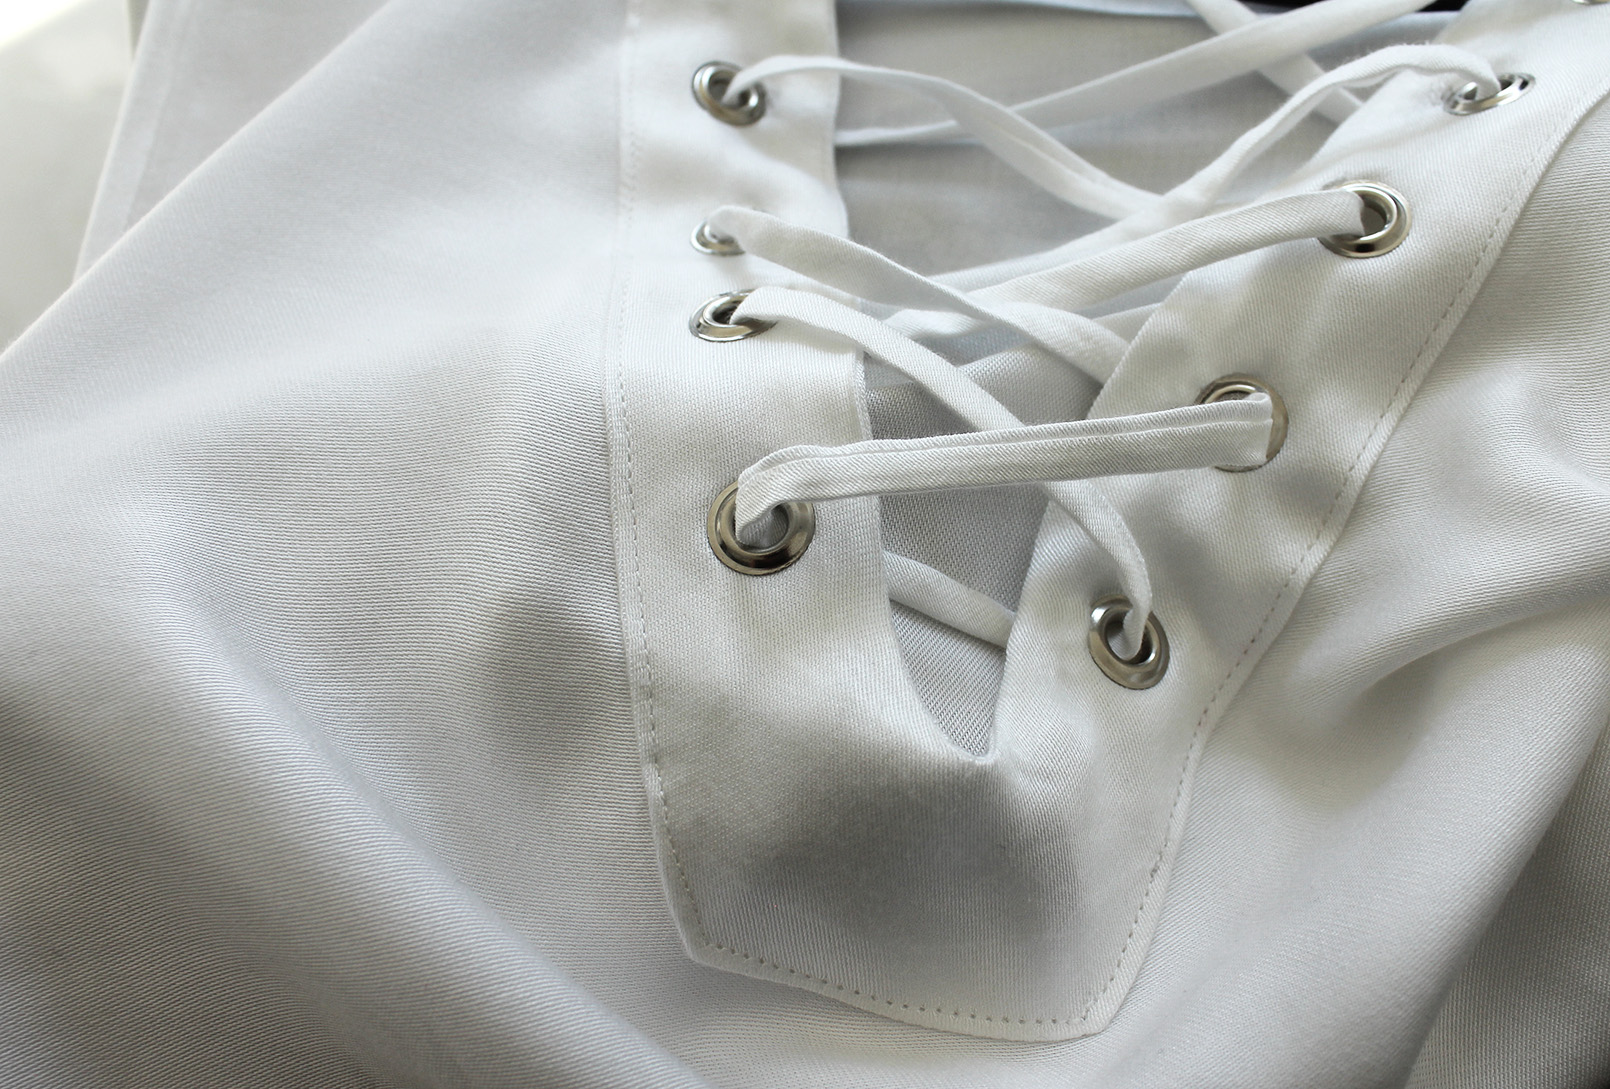
Et voilà! Grab your string and lace it up!


 xo,
xo,Julia


Hi Julia!
ReplyDeleteThe blouse is awesome! Could you please tell me what is the diameter of grommets?
So happy you liked it! The grommets I used were 11mm in diameter :)
Delete