
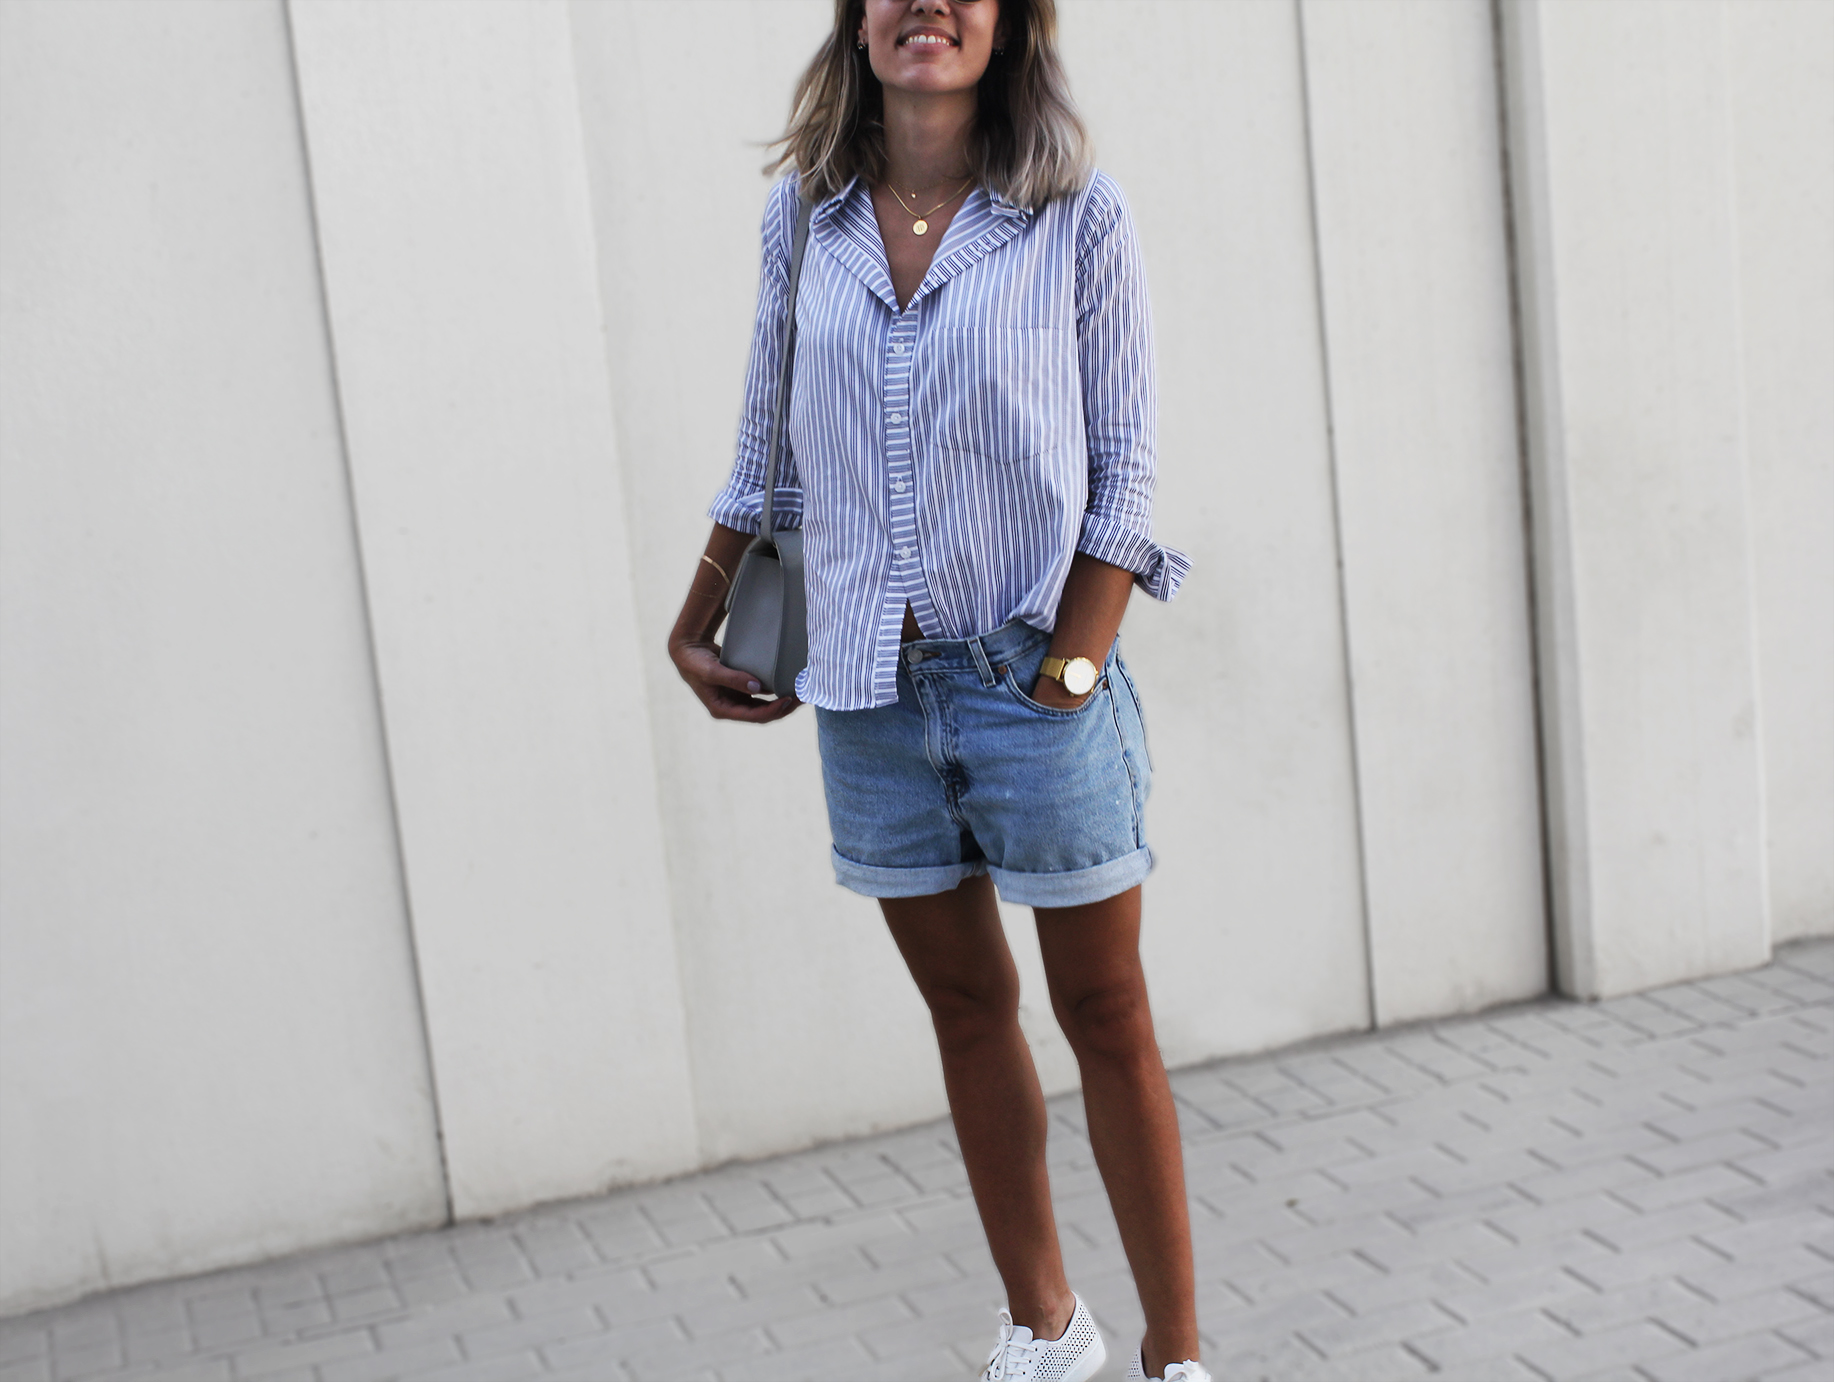
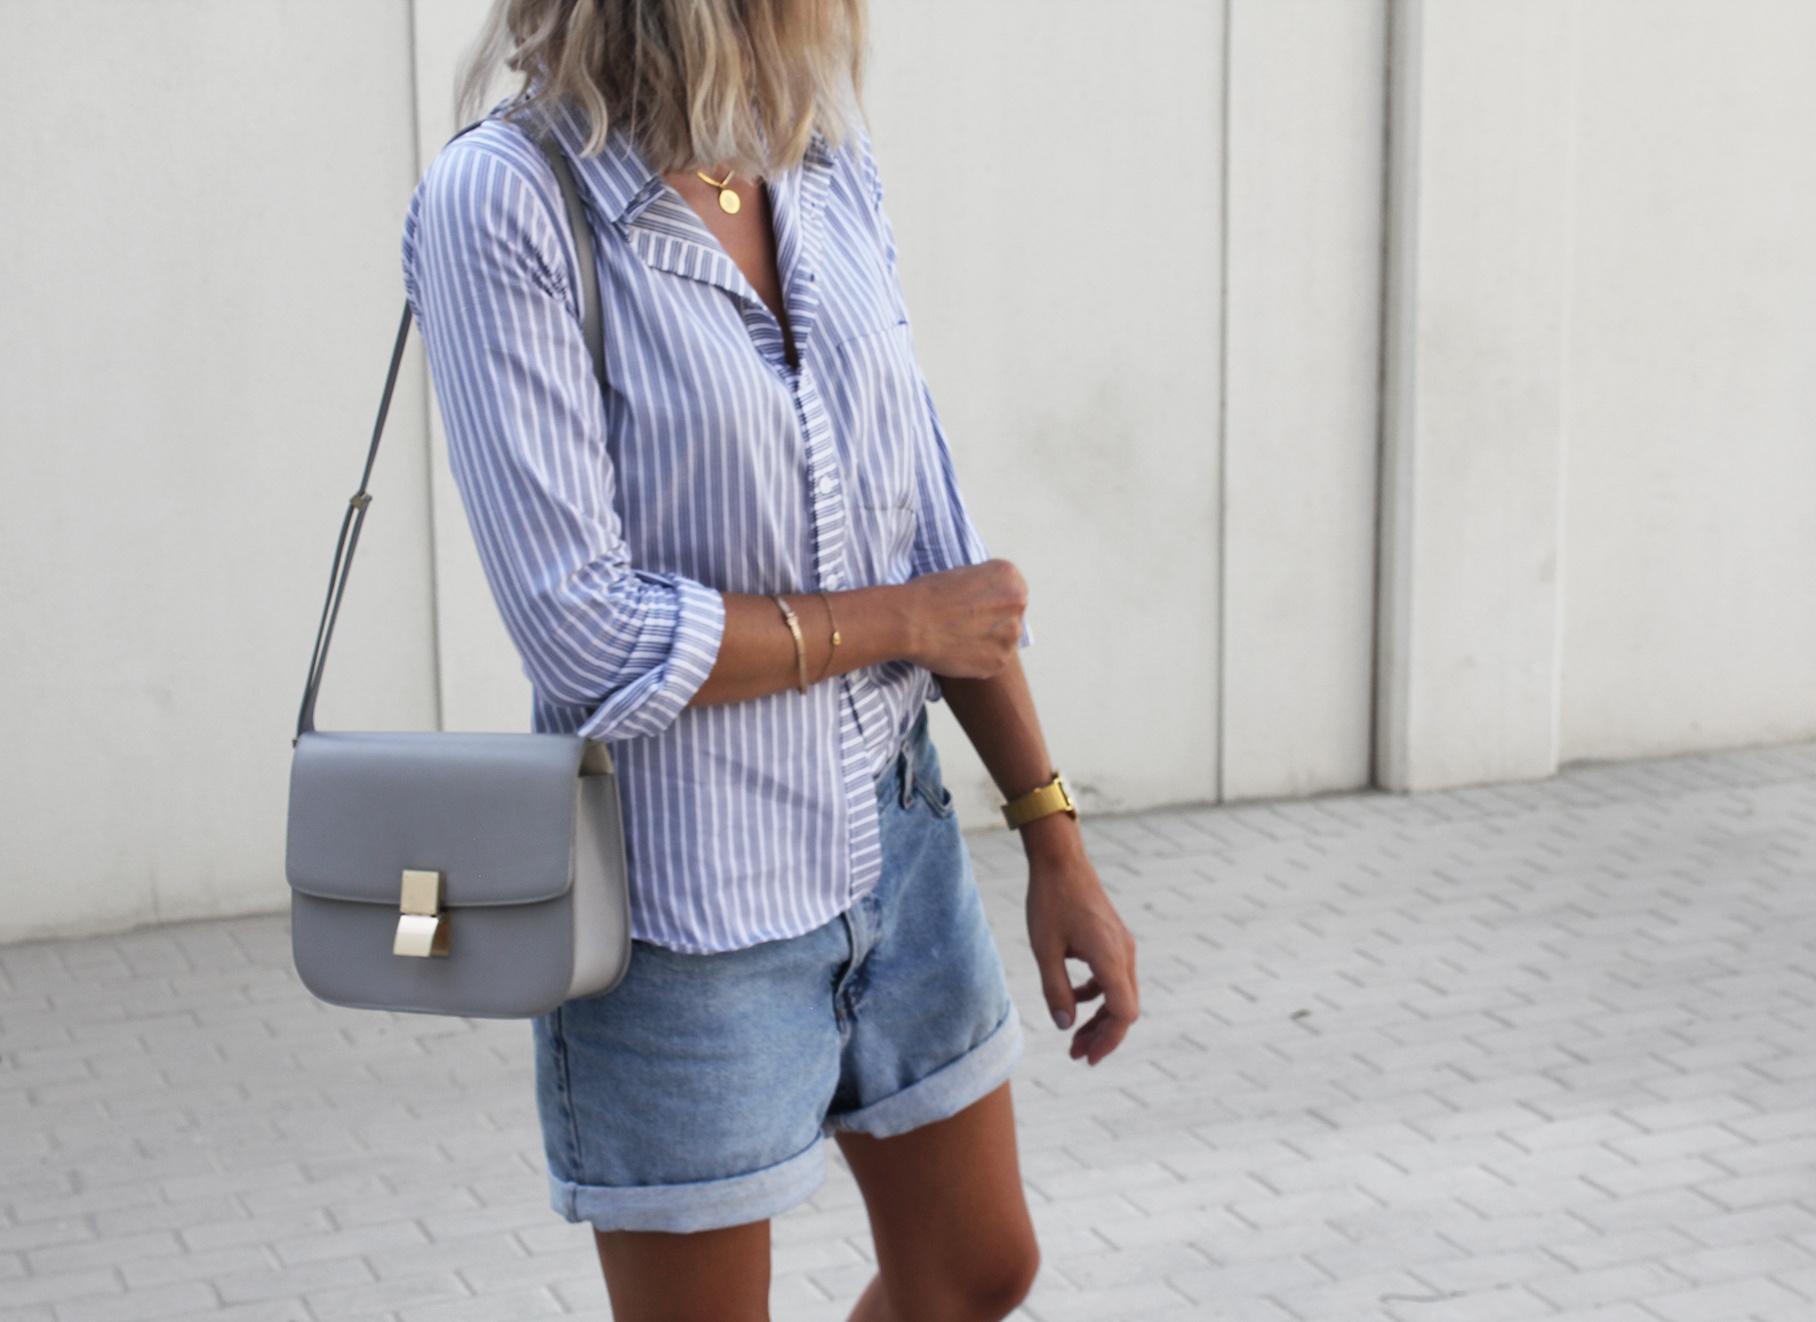
This is a lazy person's button-down, because I figured teaching myself 2 new things (collar and cuffs) was enough risk of meltdown for one project.. Meaning I didn't do a yoke (that rectangular piece at the top of the back that you see in most shirts), or the traditional sleeve plackets, rather came up with a quick & easy sleeve slit solution. I've since figured out how to do both as I started my foray into men's shirts, and as usual, it's way easier than I had intimidated myself to believe!
Tutorials take a lot of time & effort to create, and I choose to make mine available for free. If you enjoy this guide, you can support me with a donation that feels right for you, here.
TOOLS:
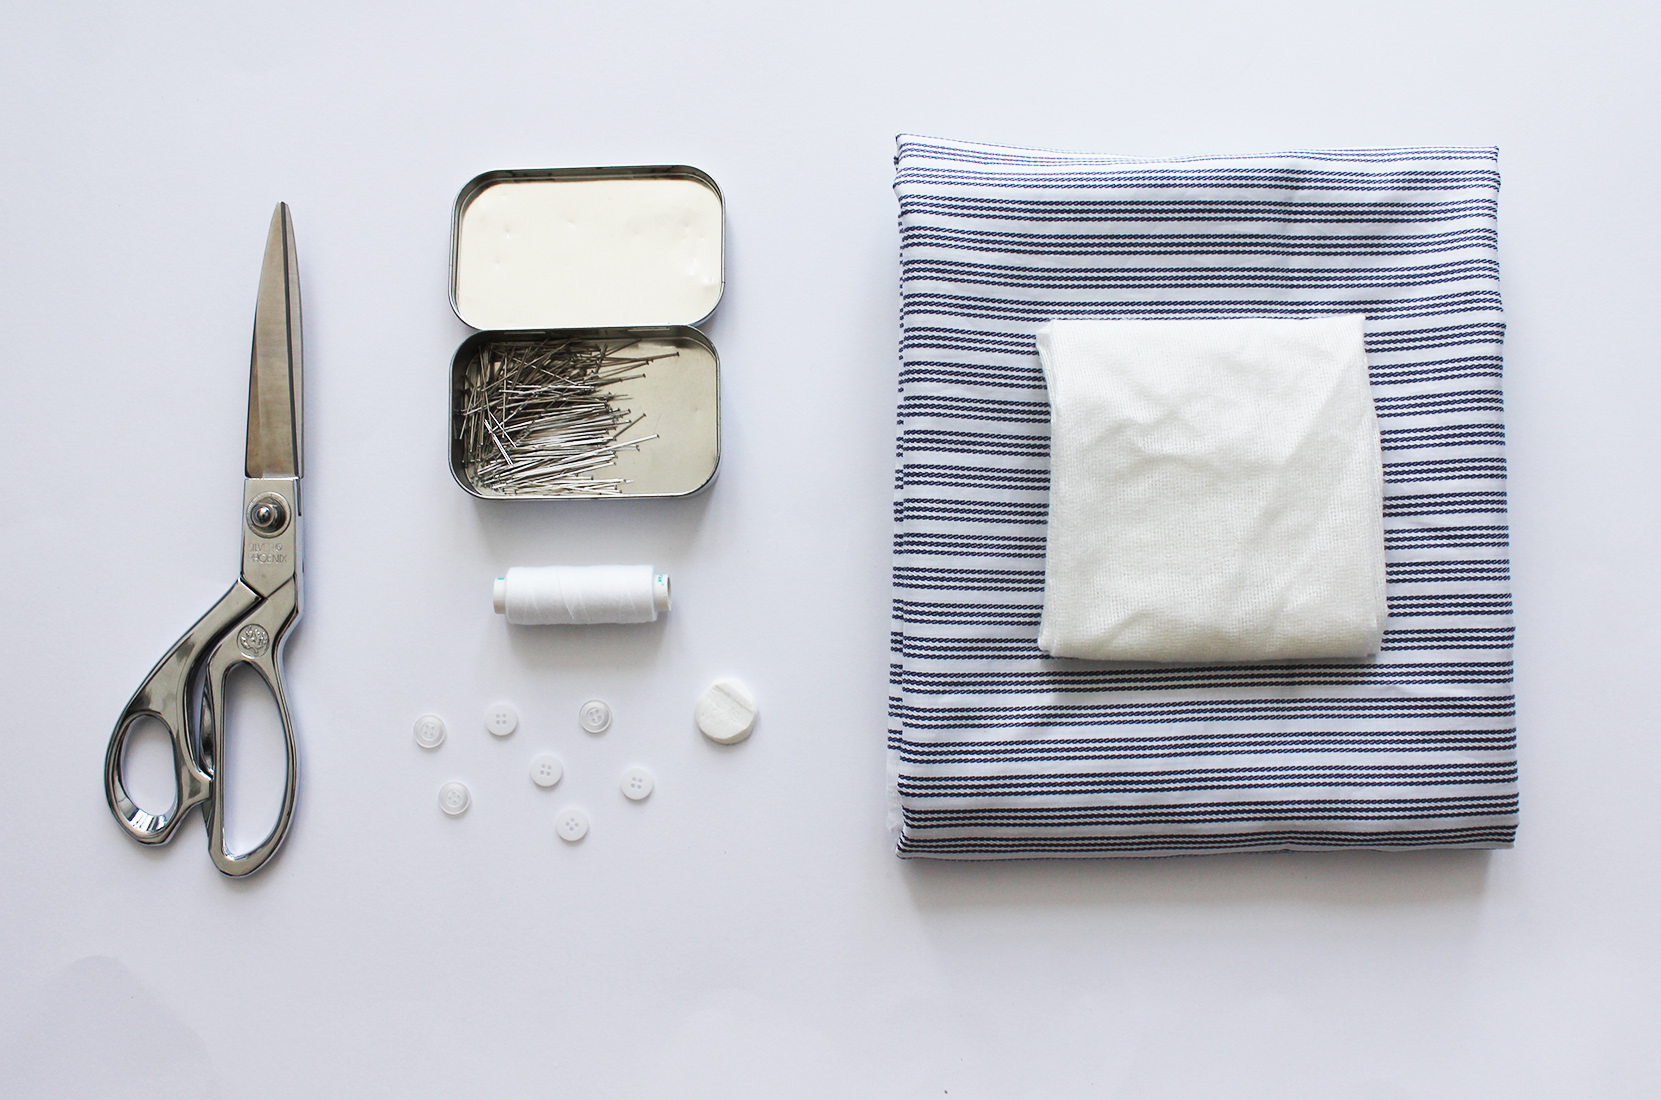
Fabric (I used only 1 m of 100% cotton, but I recommend getting 1,5 m) | Small piece of interfacing (15 cm x 20 cm) for the collar | Scissors | Buttons (I used 9 total) | Fabric marker | Thread, sewing machine, needle | Pins
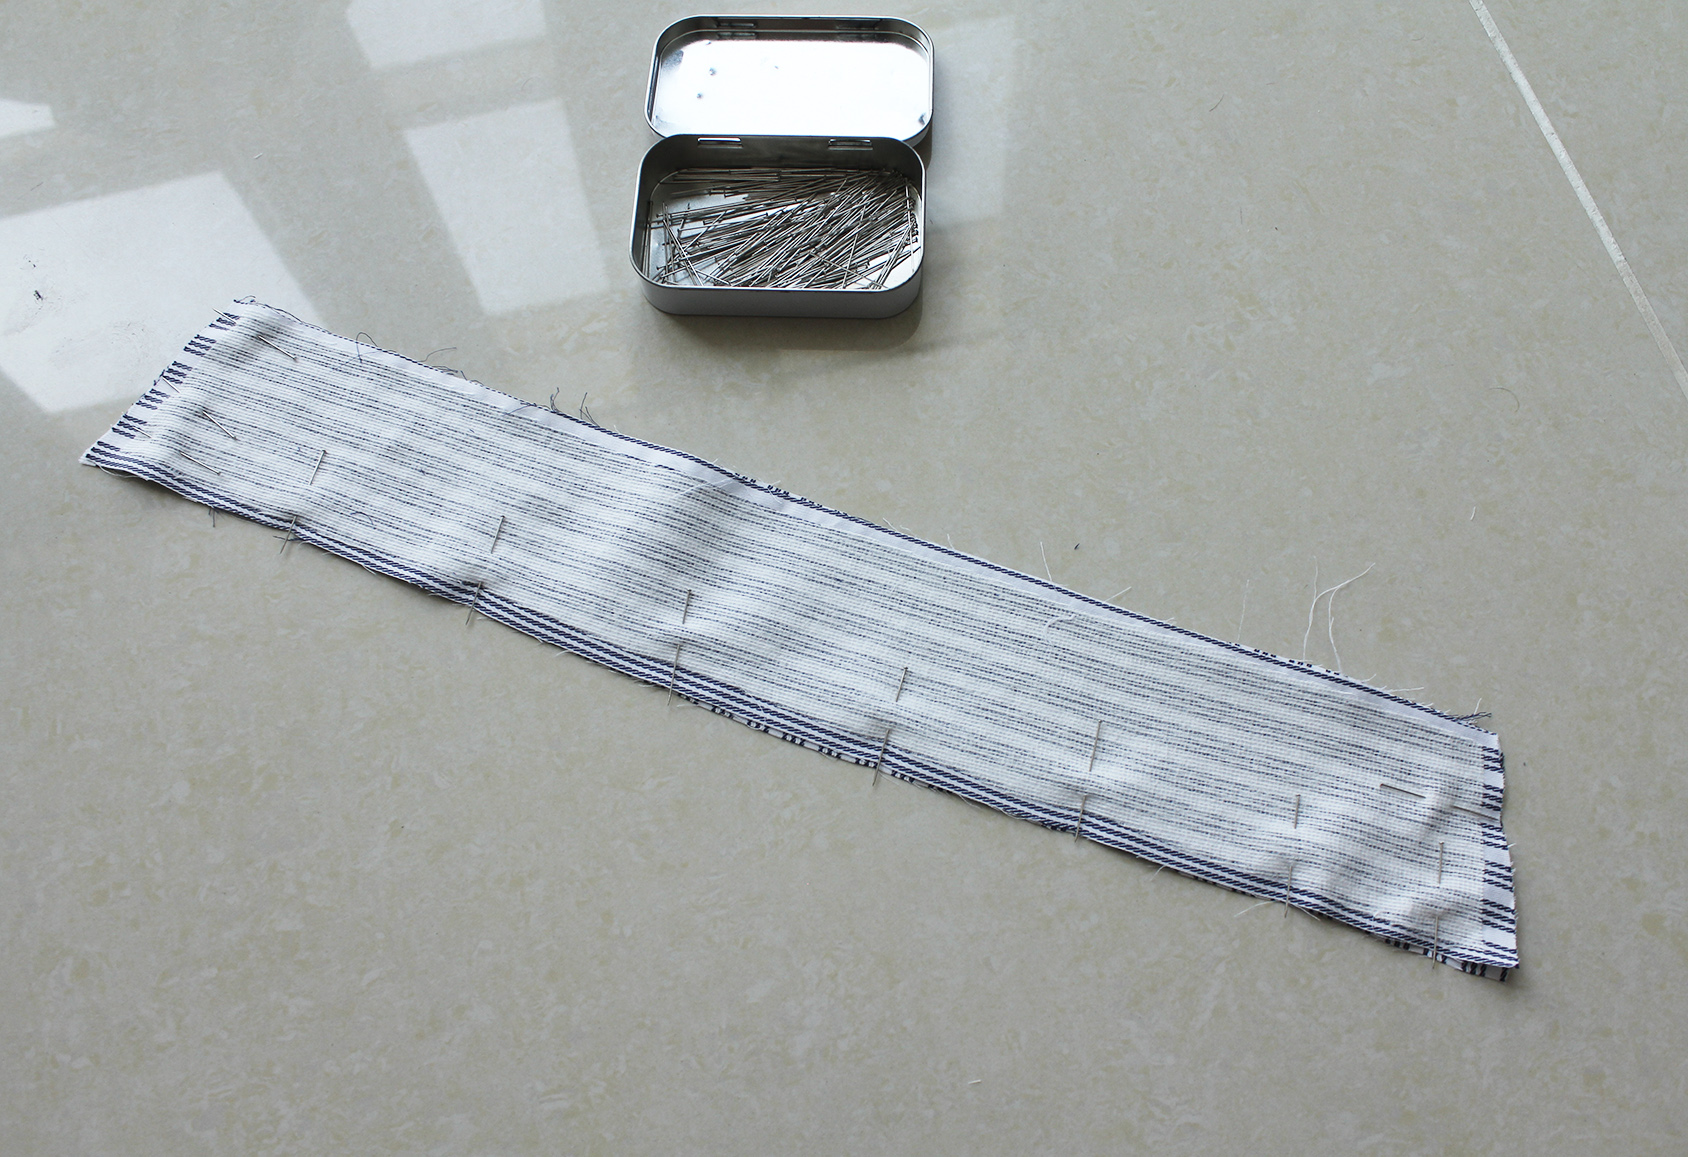
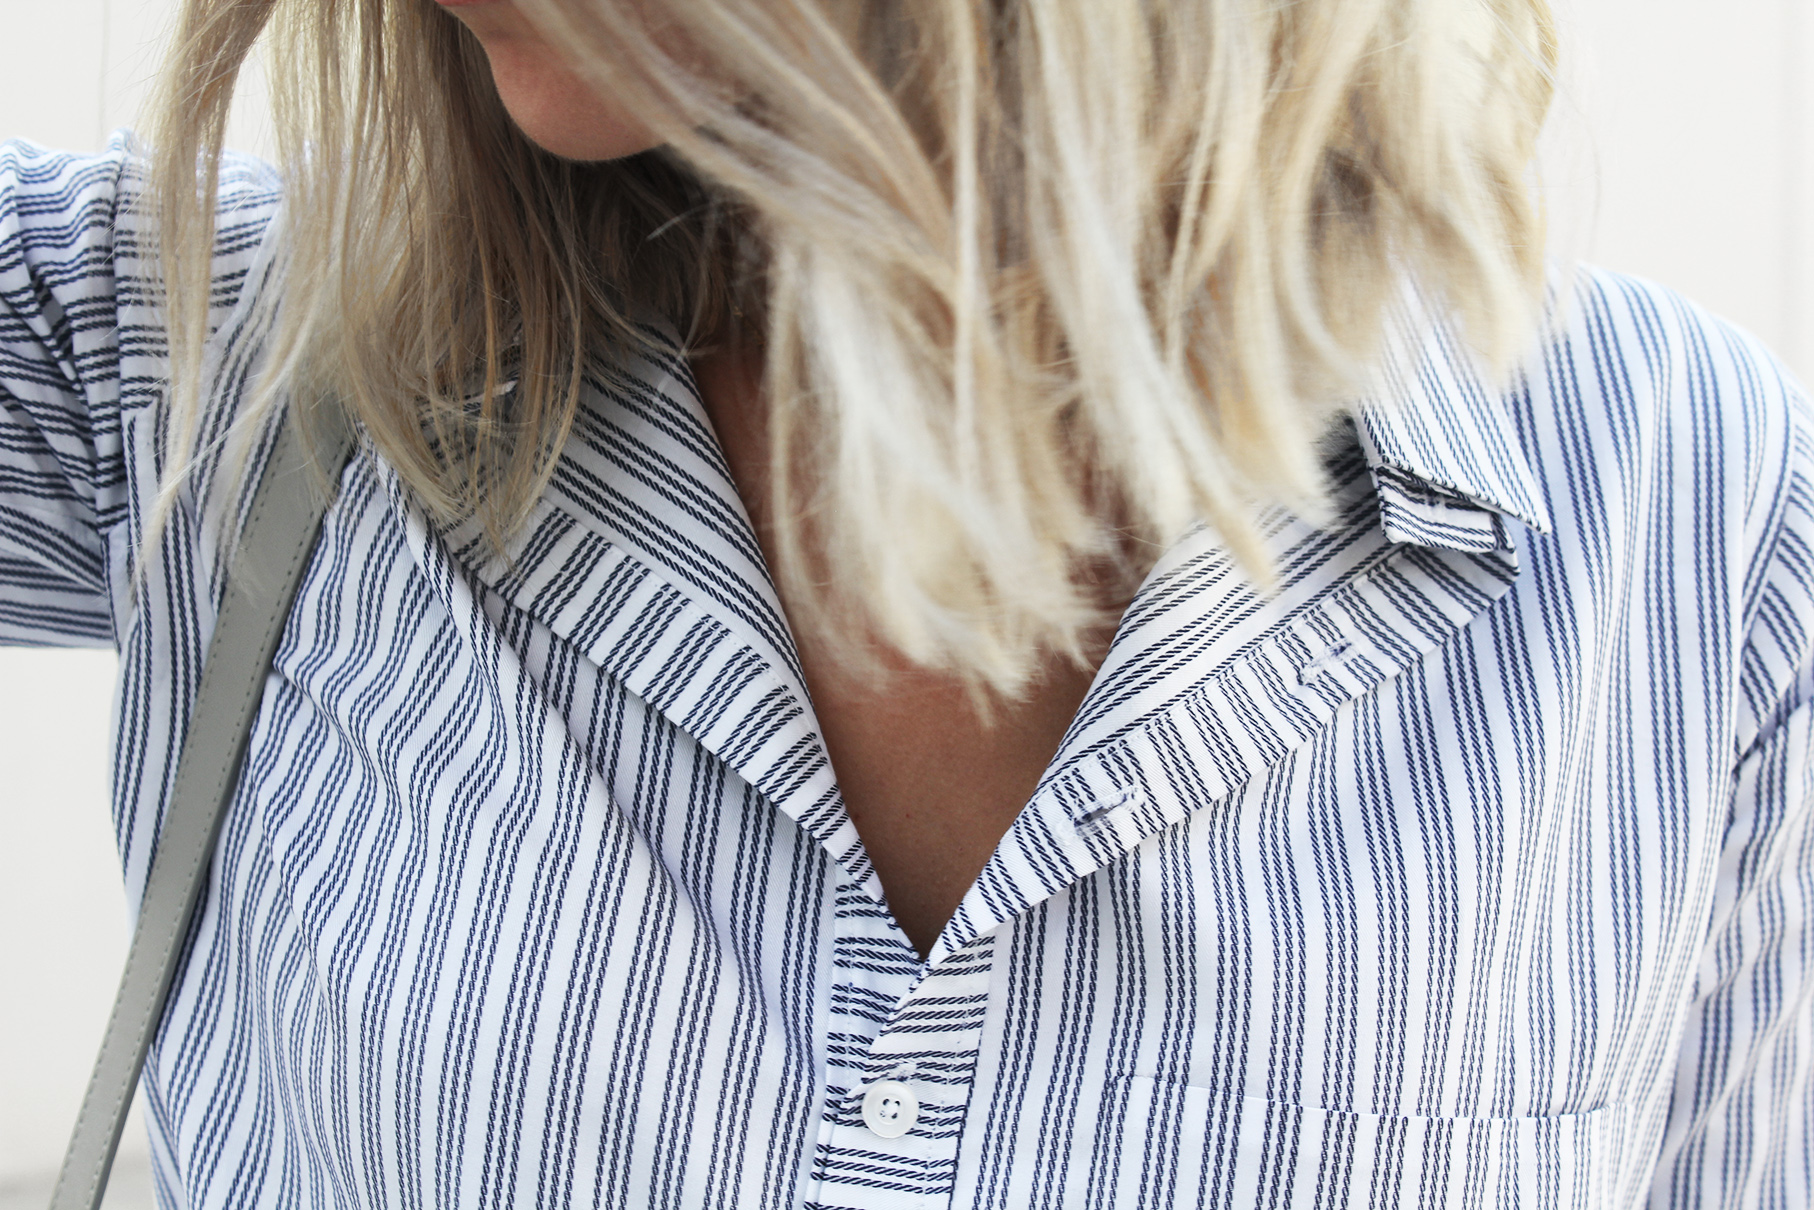
I. Here are some indicative measurements of my traced pieces (I am EU 36/US 4). You'd want to adjust based on your sizing to get the torso, sleeve length, etc. to fit yourself. The most important measurements to get right are those of the neckline so it matches the collar. In the images below, I've marked these lines in pink. The total circumference of your neckline (back neckline + both front necklines - which incorporate the button band) minus seam allowances should be equal to the length of the collar band (marked in pink in lower image below) - seam allowances. The button band will be folded in half, so in my example: Back piece neckline 13 cm (15 cm - 1 cm seam allowance for each shoulder seam) + Front piece necklines 2 x 13 cm (14 cm each - 0,5 cm seam allowances for both the shoulder seam and button band seam) + Button band width 2 x 2,5 cm (6 cm/2 = 3 cm minus 0,5 cm seam allowance) >> Results in total circumference of 44 cm. This should be the same as the length of the collar band - seam allowances. And this was also my main mistake in the process. Even though my collar band length as I measured it was 45 cm, which minus 0,5 cm seam allowances on each side should equal the same 44 cm.. I somehow messed it up and had to do a little pleat fix as I was attaching the collar, as you'll see later on.
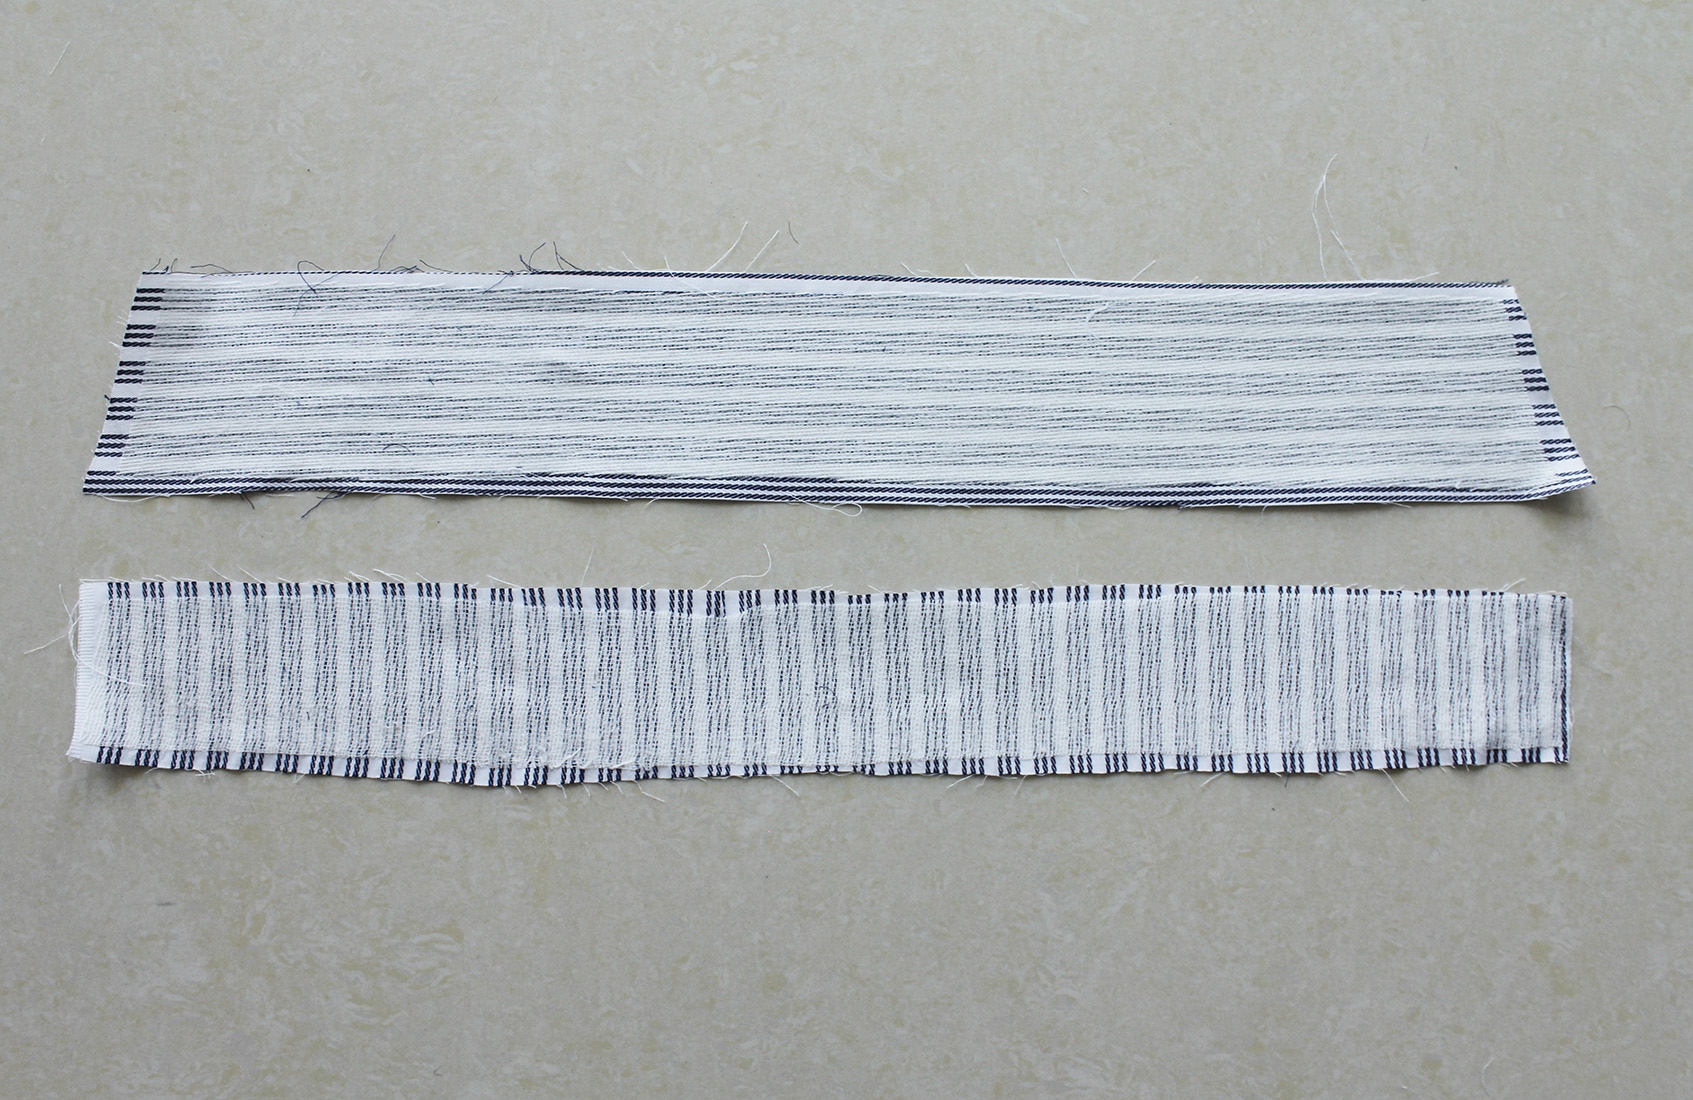
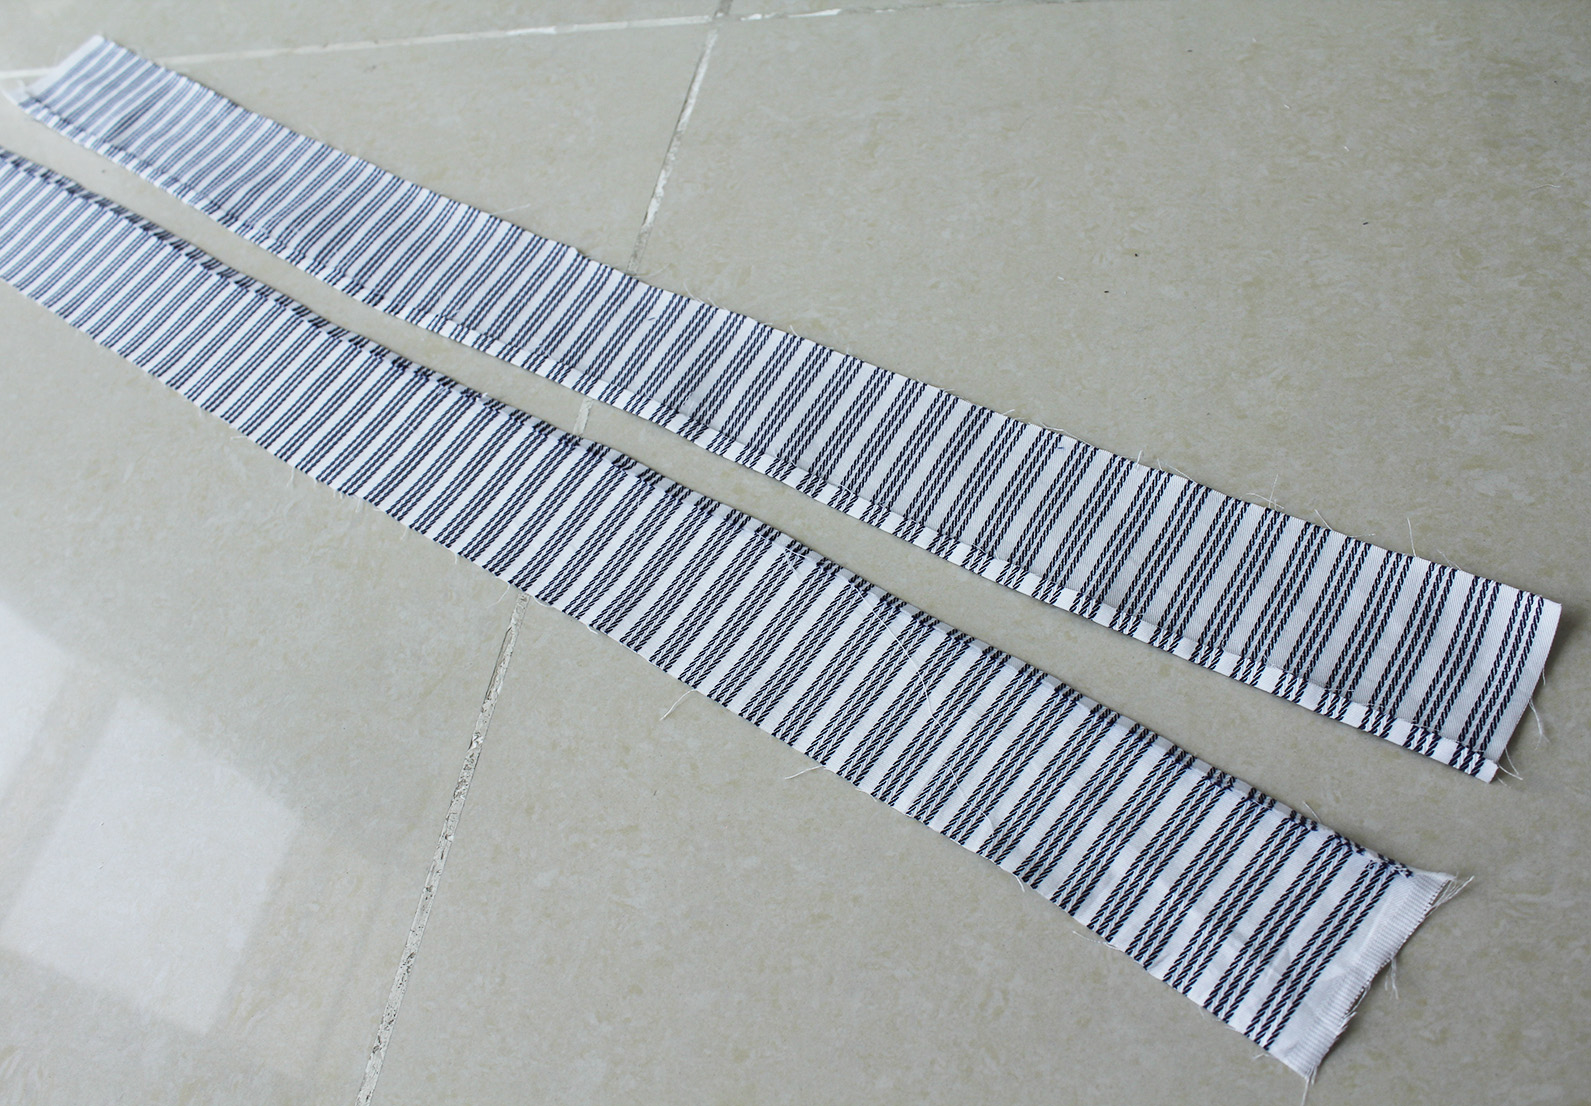
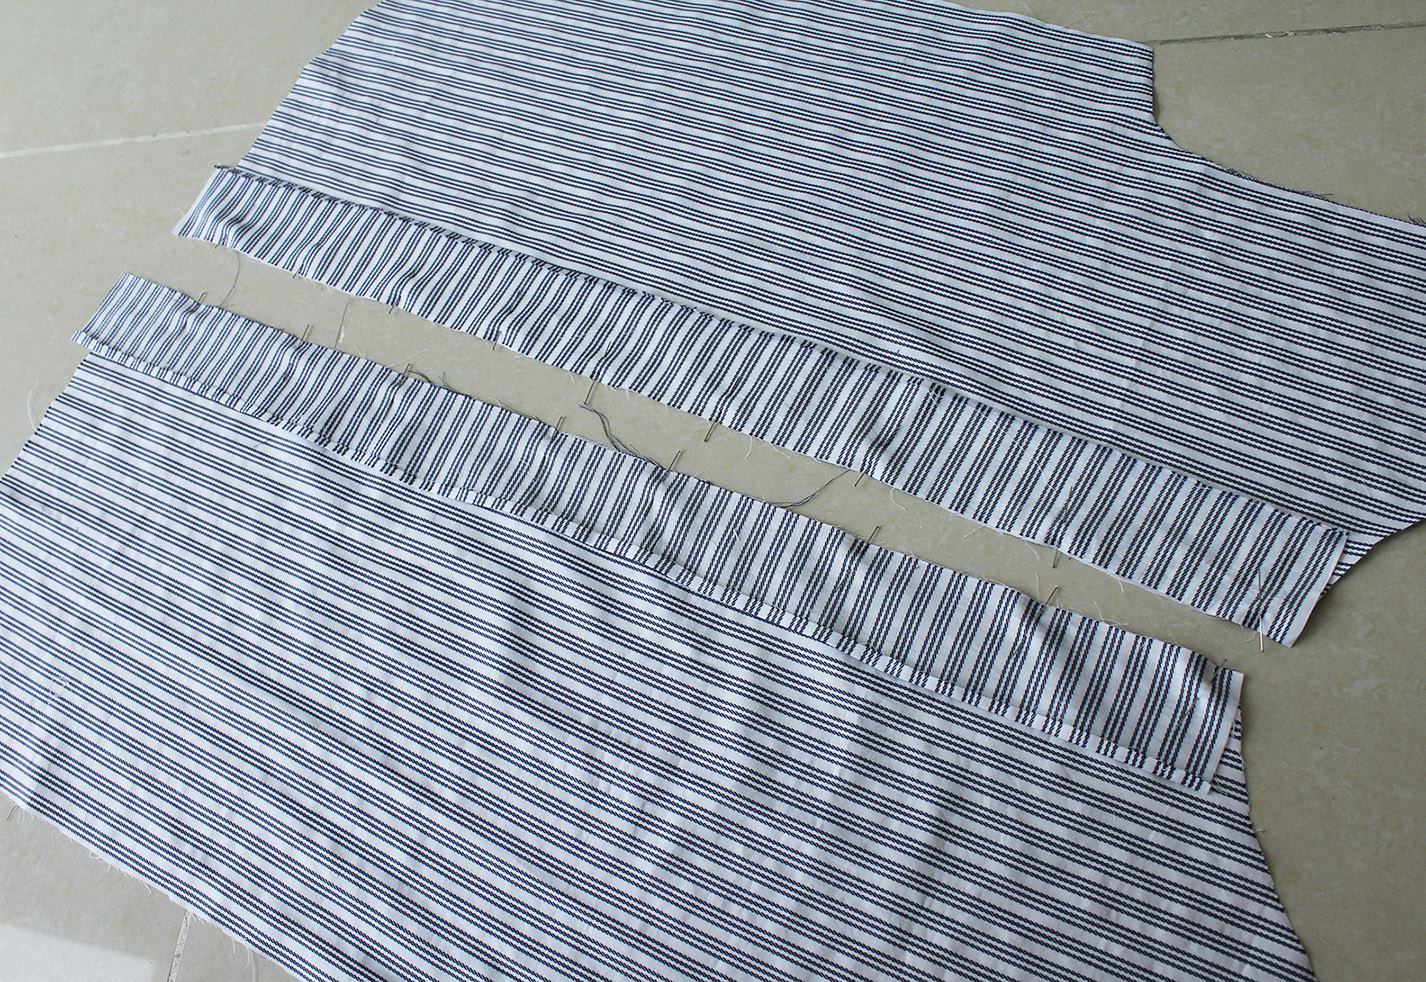
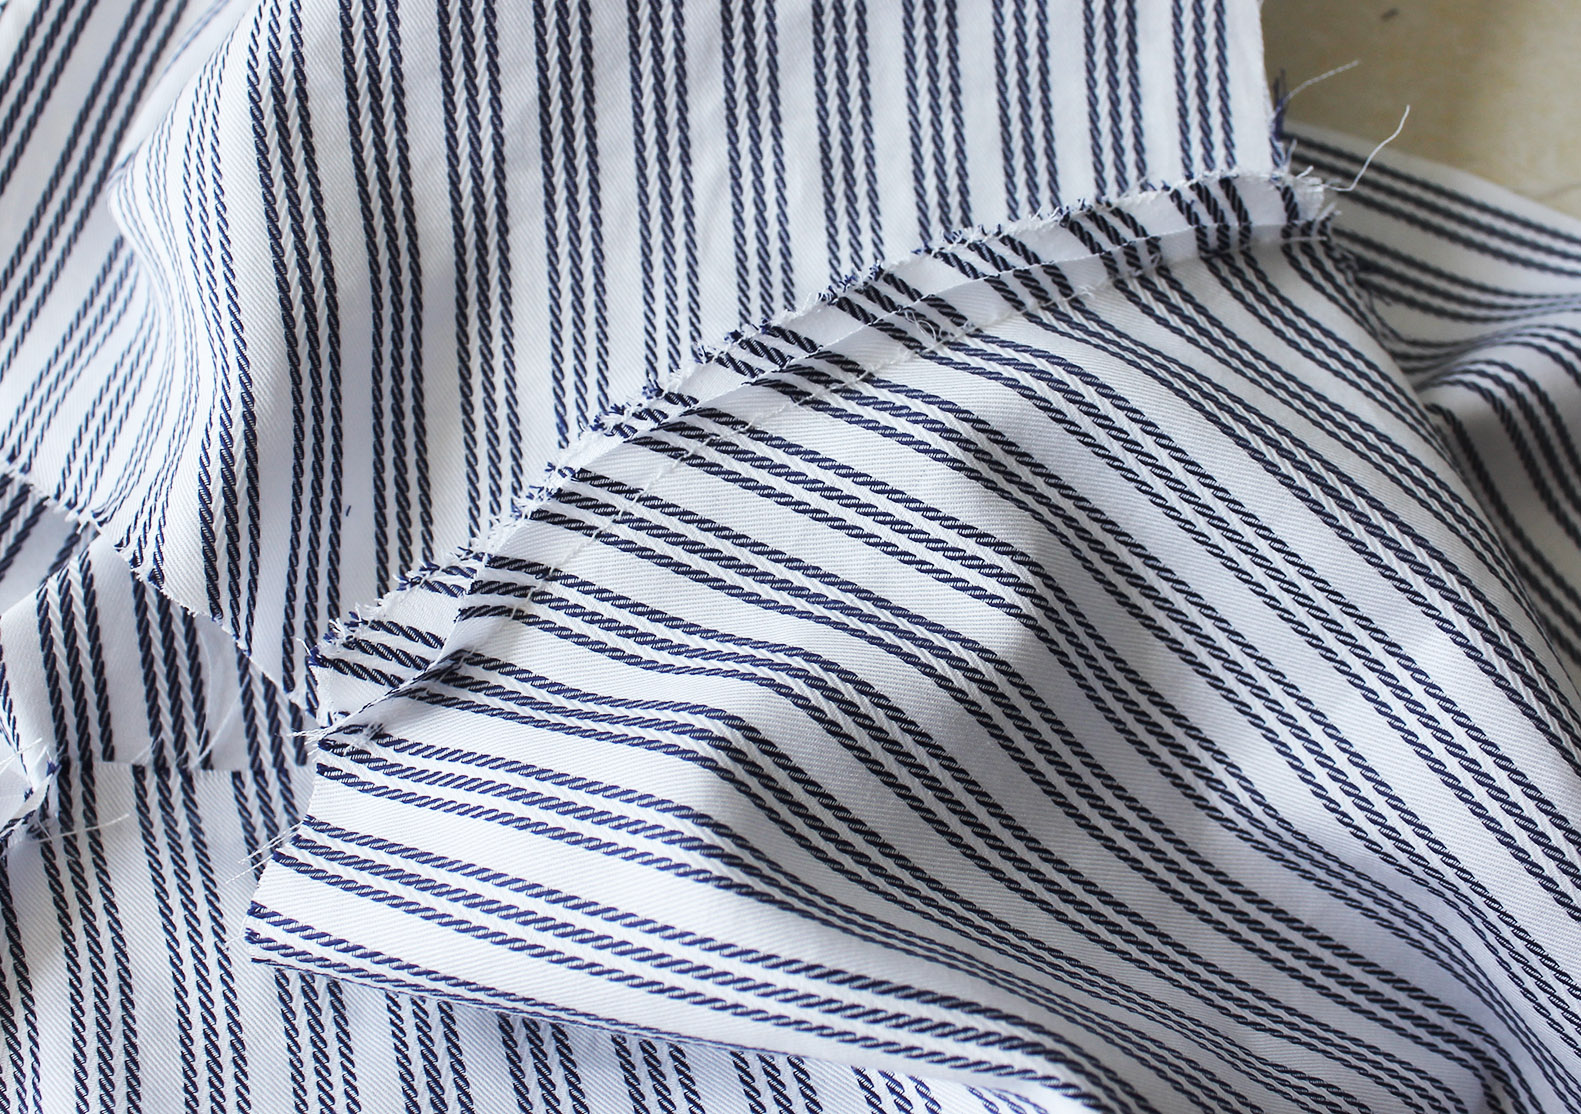
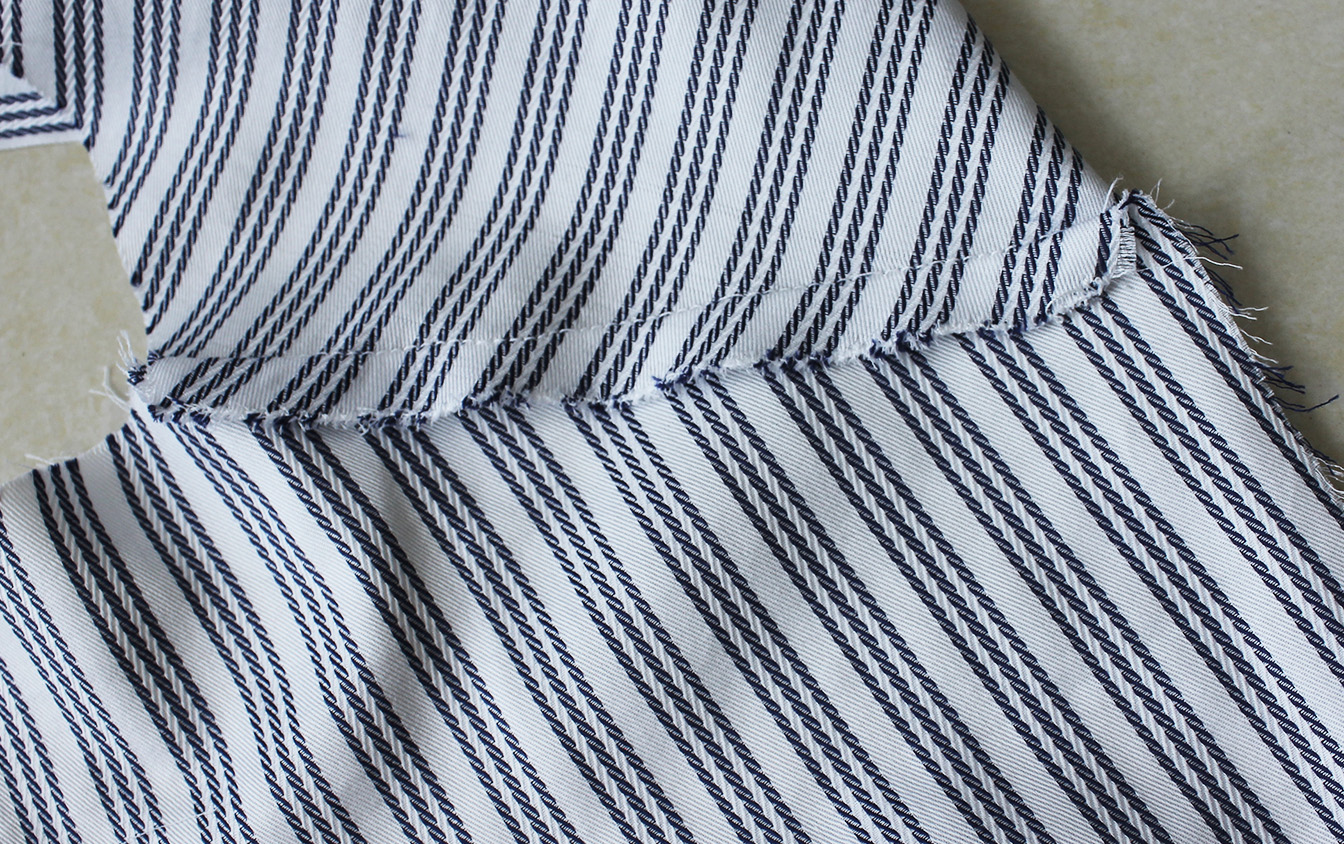
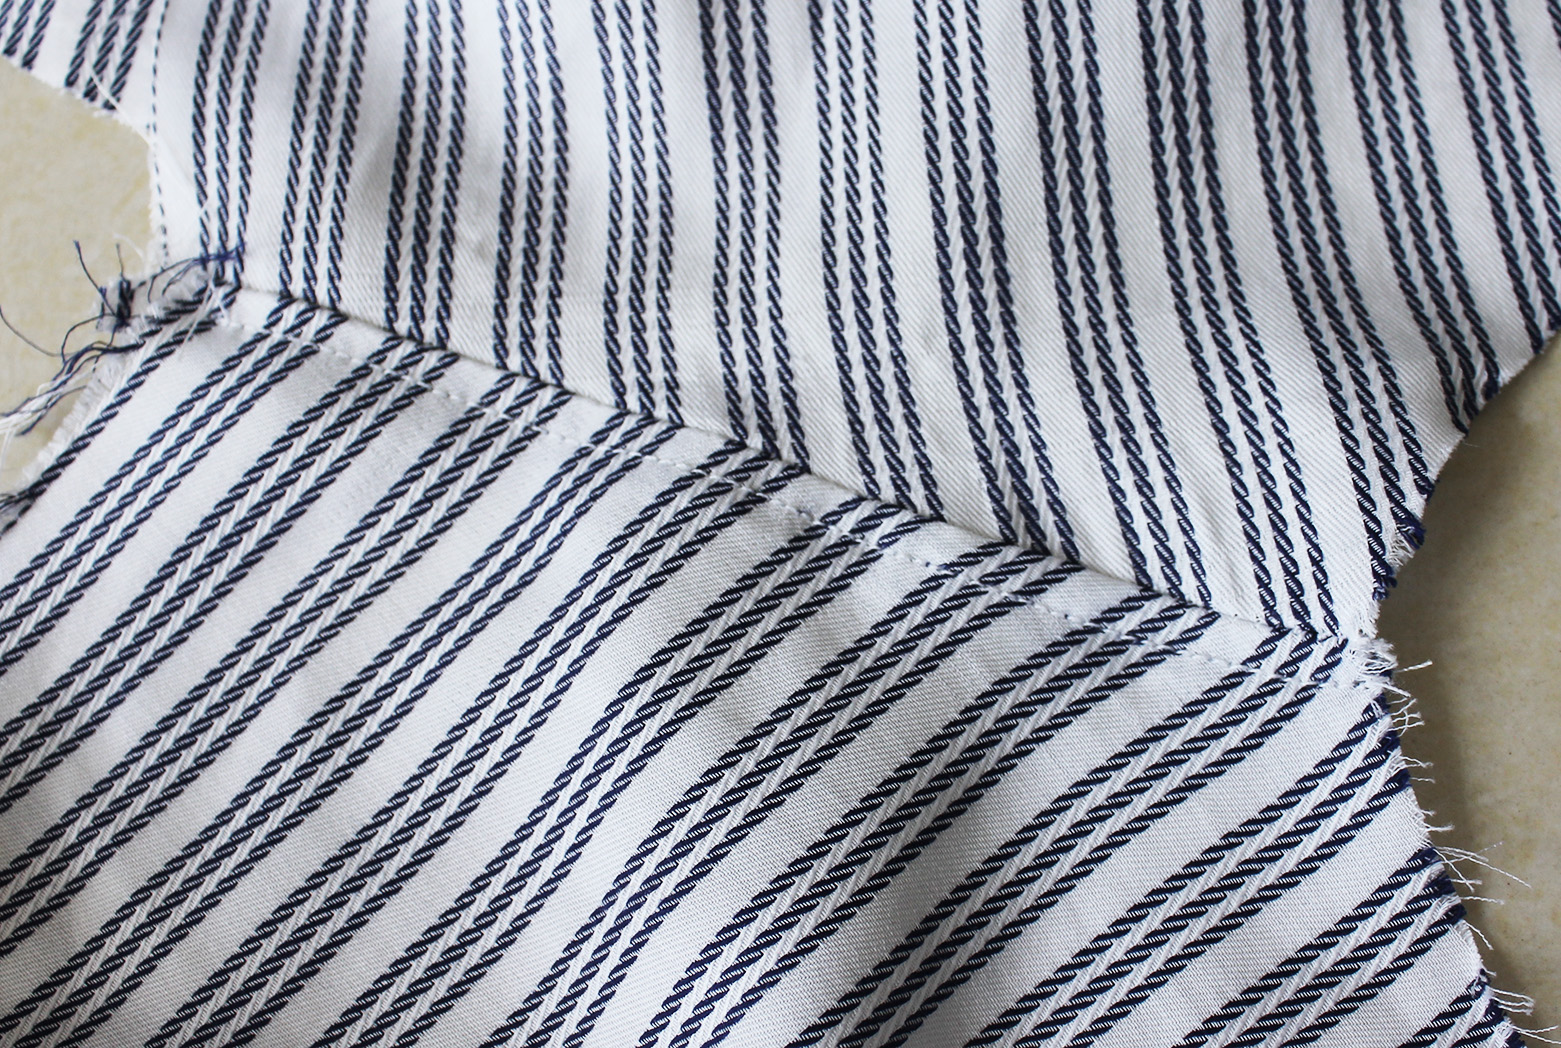
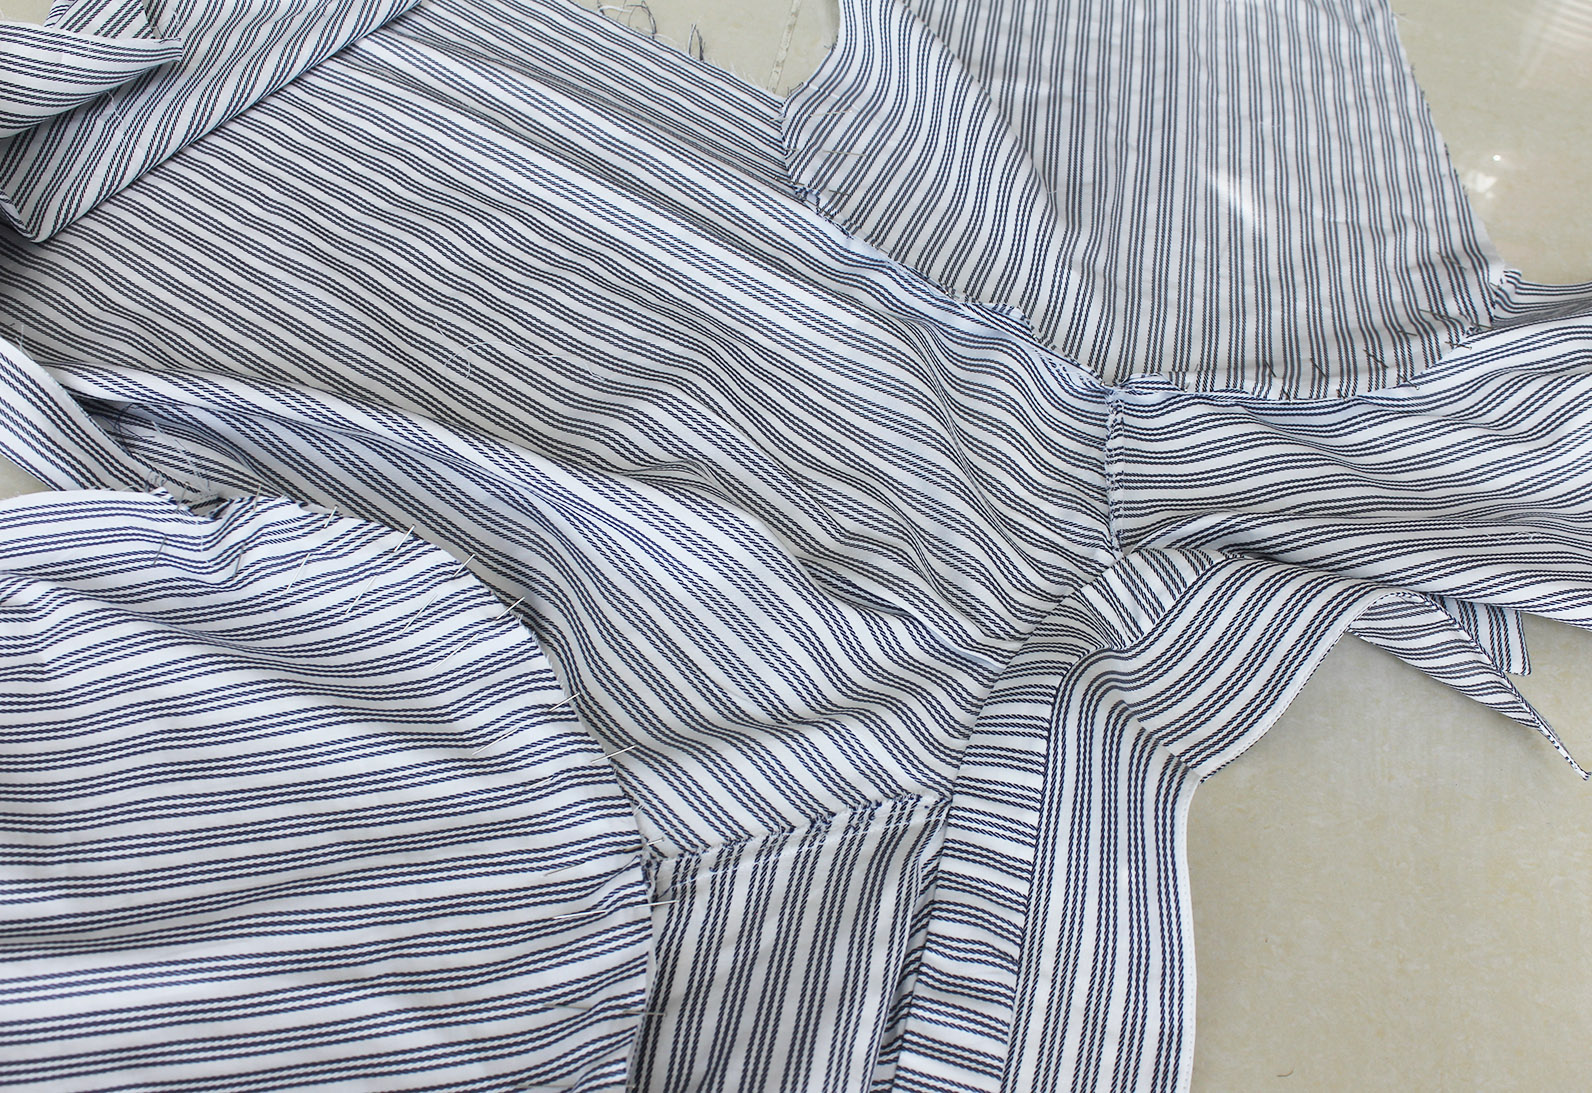
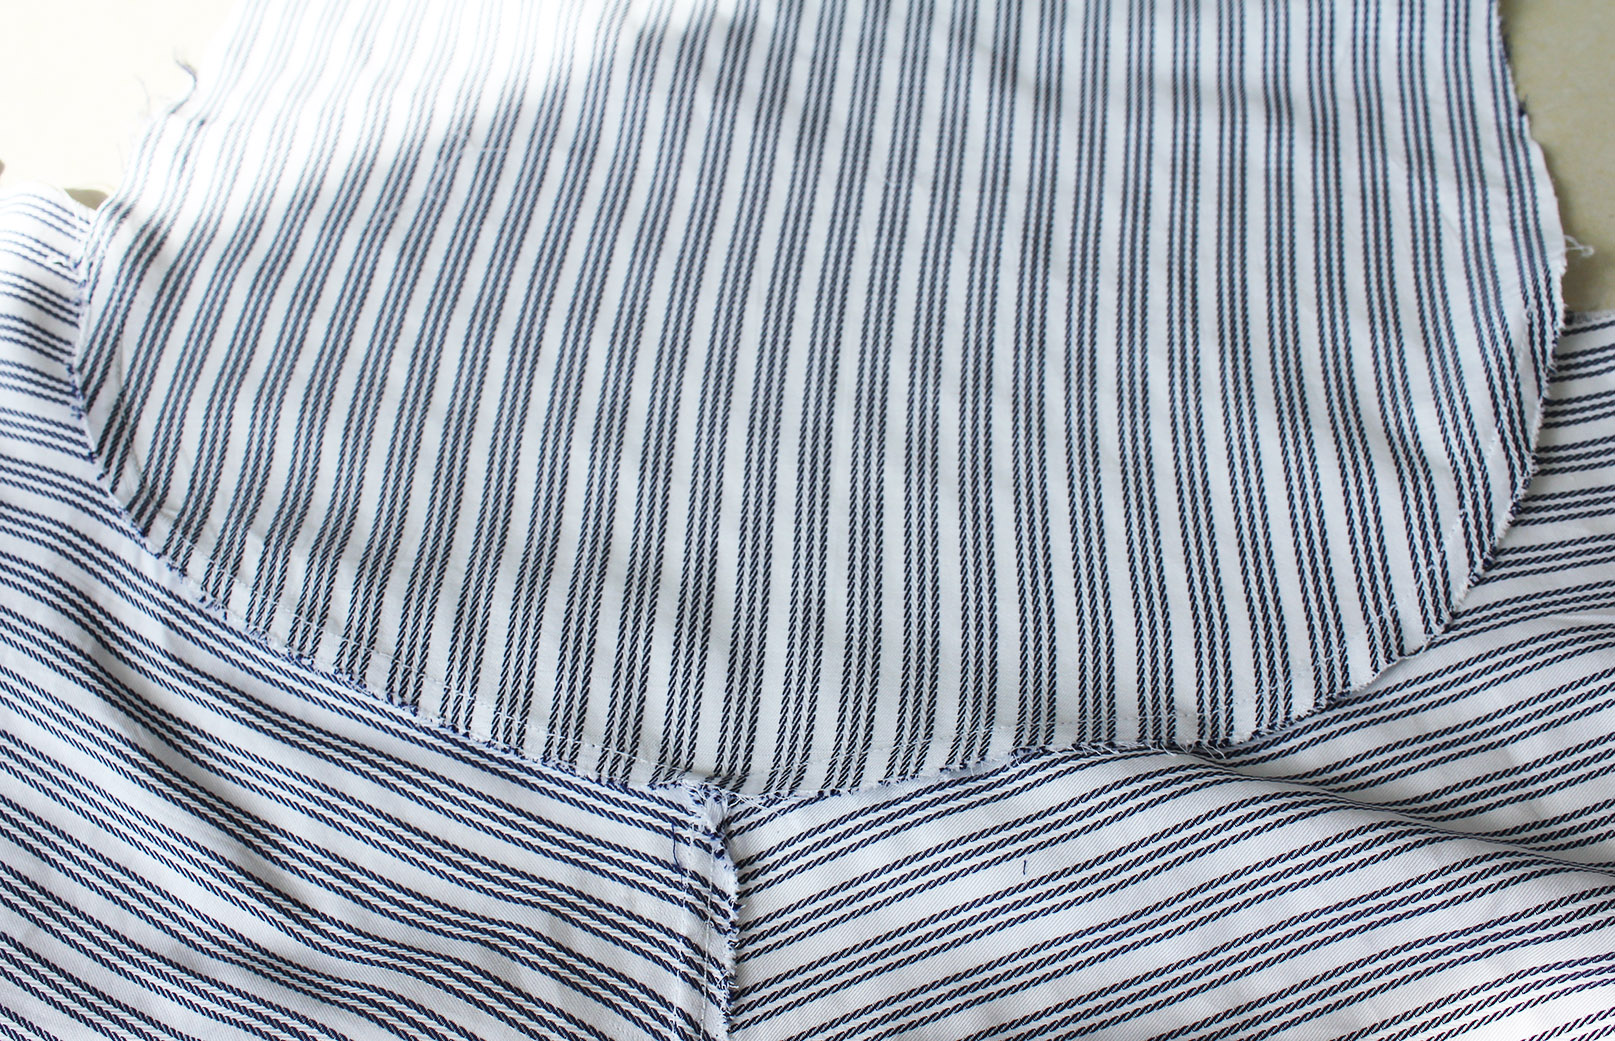
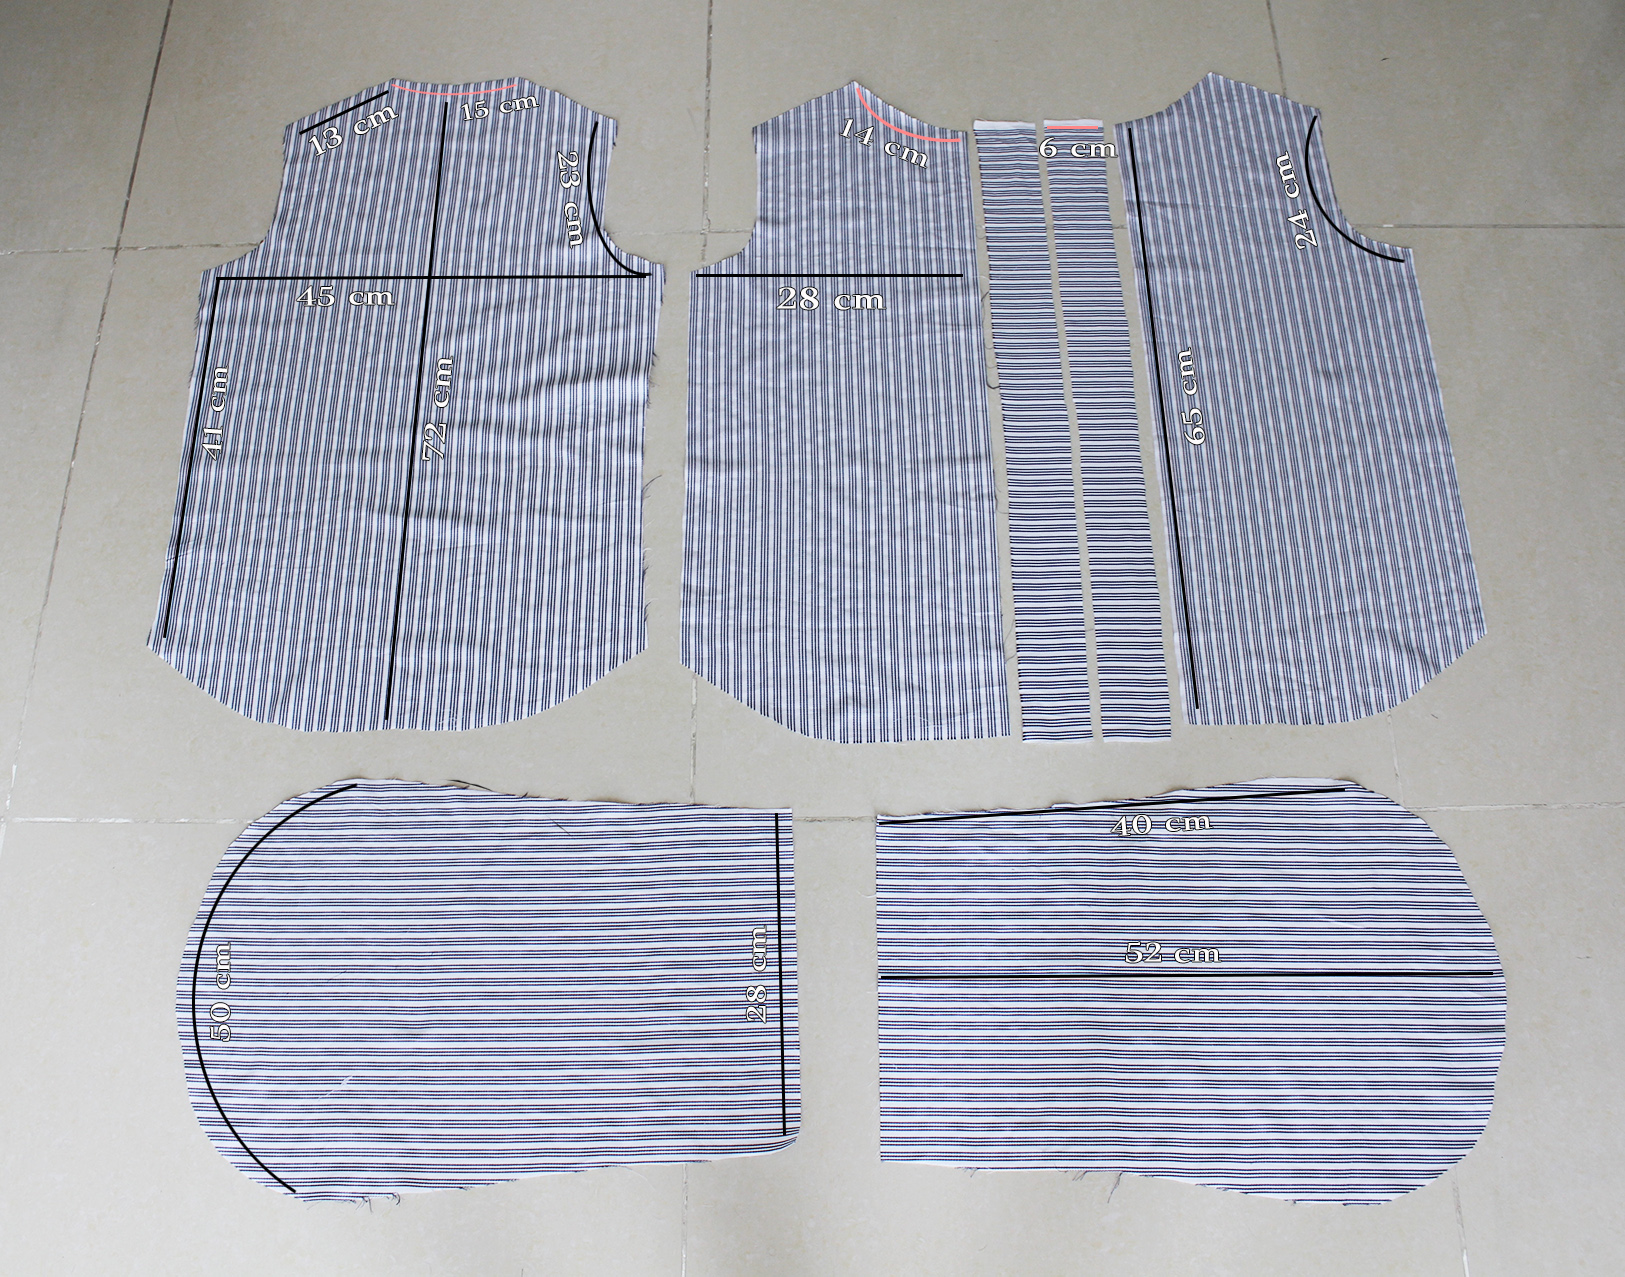 In addition to the pieces above, you need two pieces for cuffs, and two pieces for the collar and collar band each, with just slightly smaller pieces of interfacing. As you can see, in my shirt the stripes go in different directions, this was mainly because I only had 1 m of fabric to work with so I had to get creative with how I was cutting.
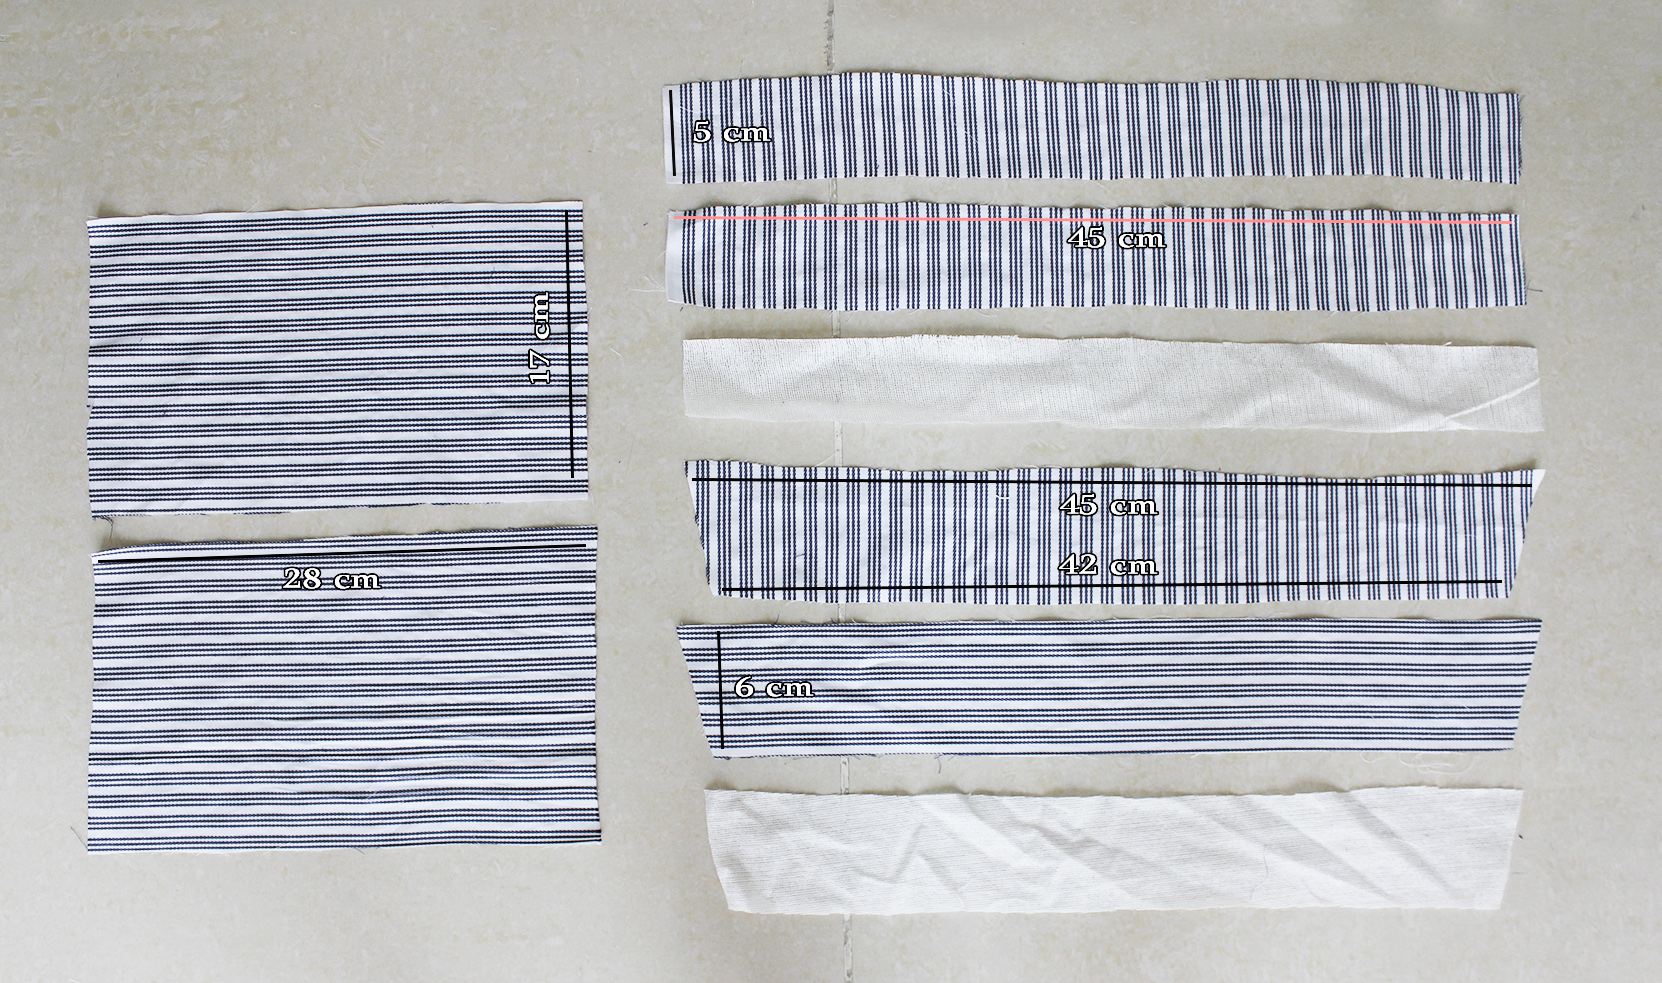
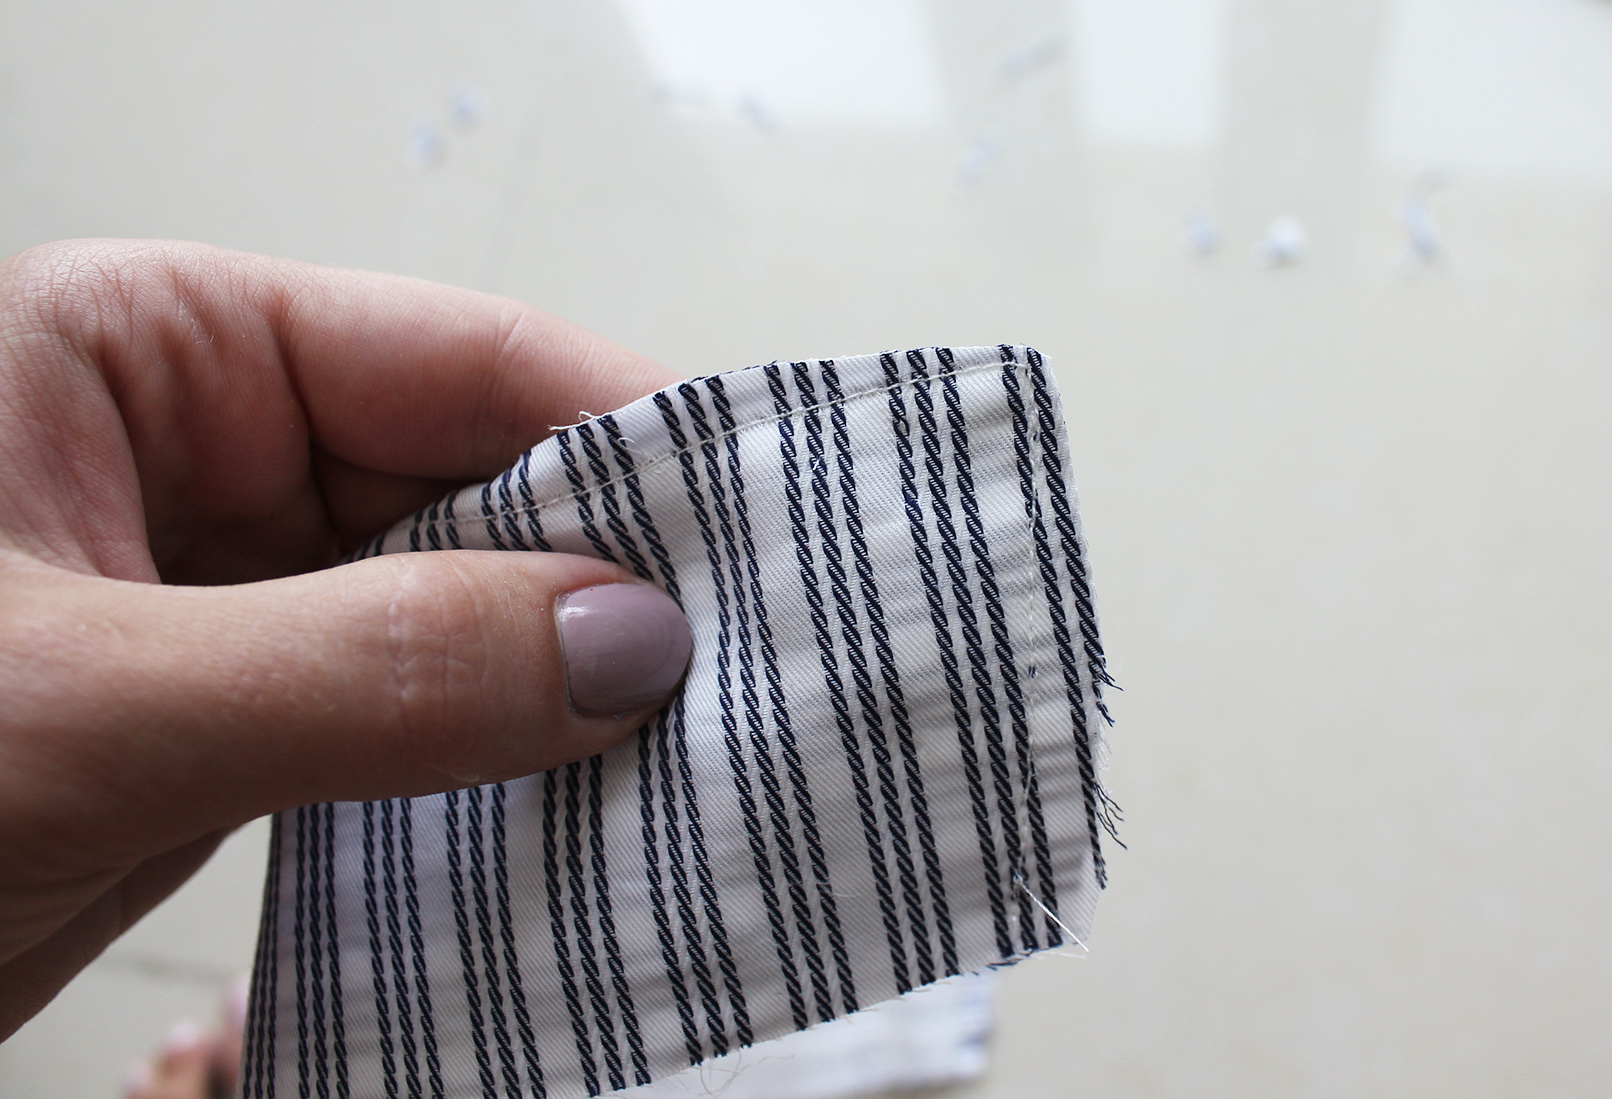
II. I started with the collar. Iron the interfacing onto the reverse side of one collar piece and one collar band piece. Hopefully less crooked than mine.
Pin the collar pieces together right sides facing, and sew a straight stitch just at the edge of the interfacing, which should be equal to your seam allowance.
Trim excess around the corners..
.. And flip right side out, pushing the corners out gently. Press.
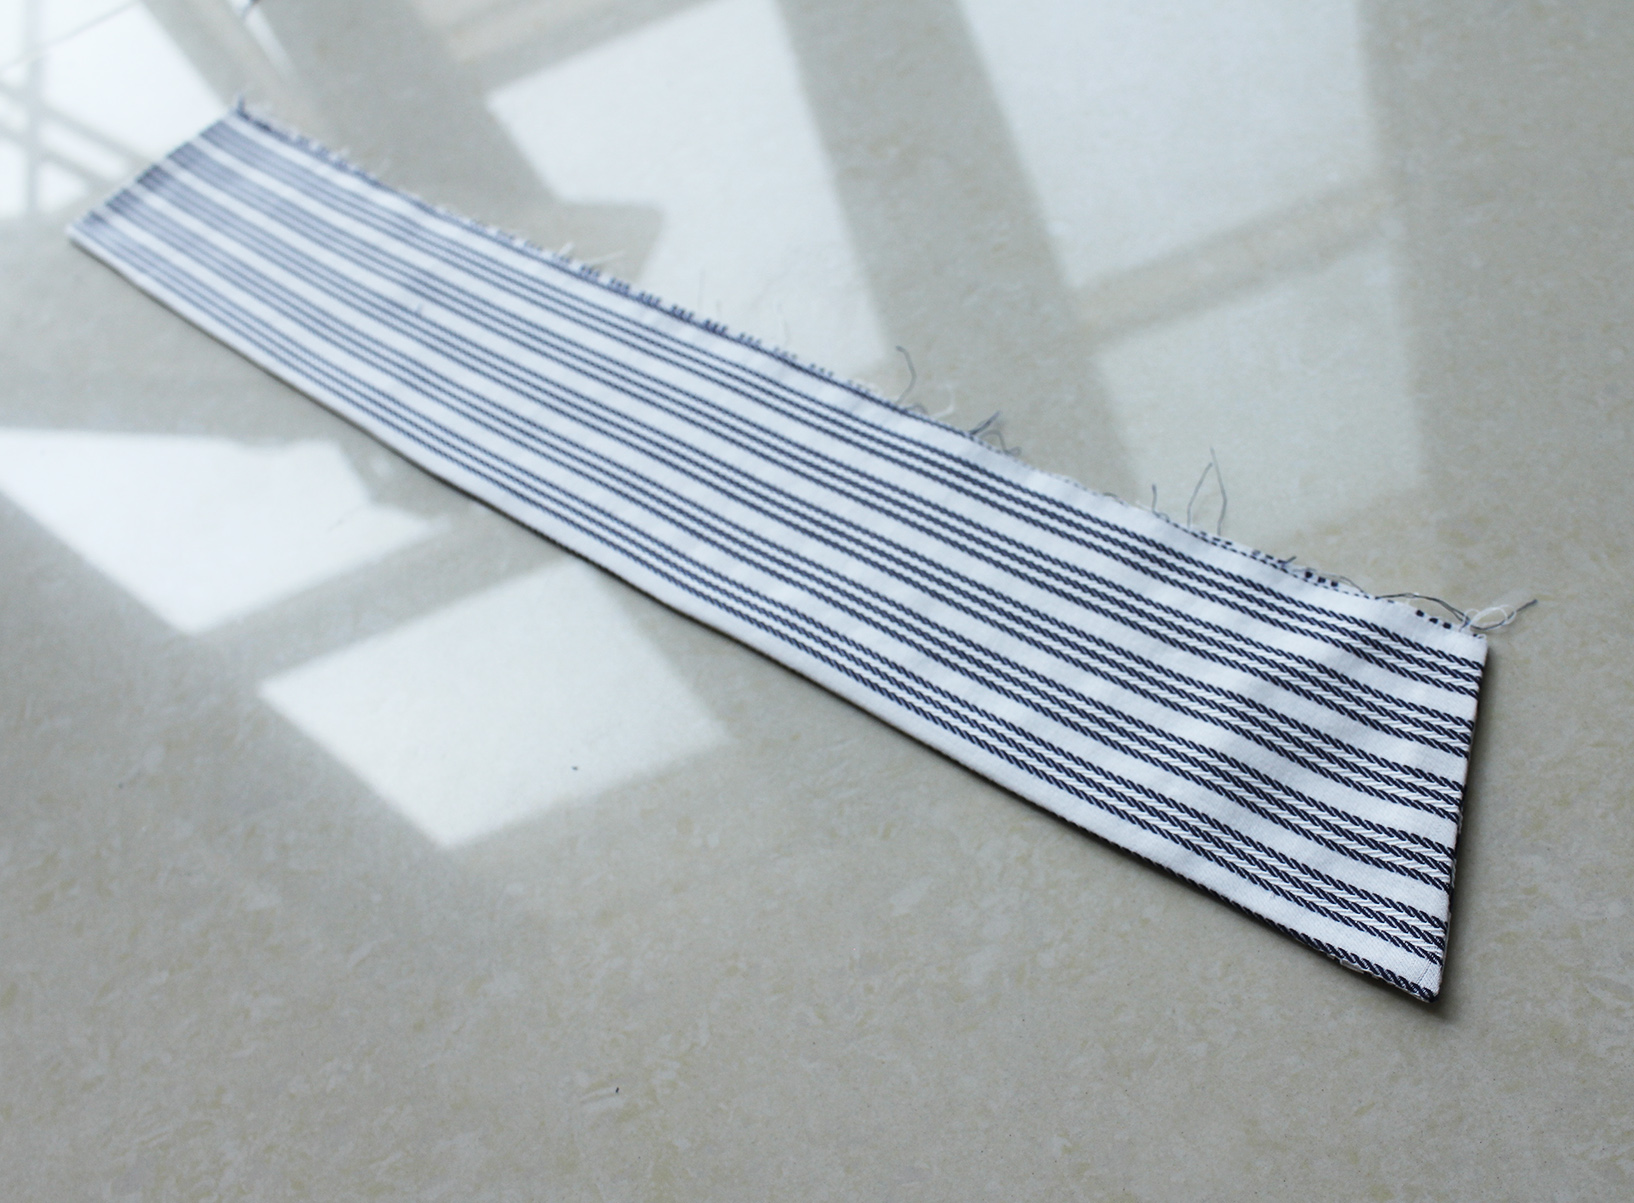
Finish with a stitch right next to the edge.
Take the interfaced collar band piece and press a fold the size of your seam allowance on one long side.
Stack the pieces so the collar is in the middle, and your two collar band pieces sandwich it, right sides facing. Sew around the collar band at your seam allowance.
Flip the collar band right side out and press. At this point I realized my first brain lapse - Since my collar had the stripes in different directions on each side (due to scarcity of fabric) - my fold on the collar band was on the wrong side. I pressed it off and added it to the non-interfaced part. This really made no difference in attaching the collar to the shirt later.
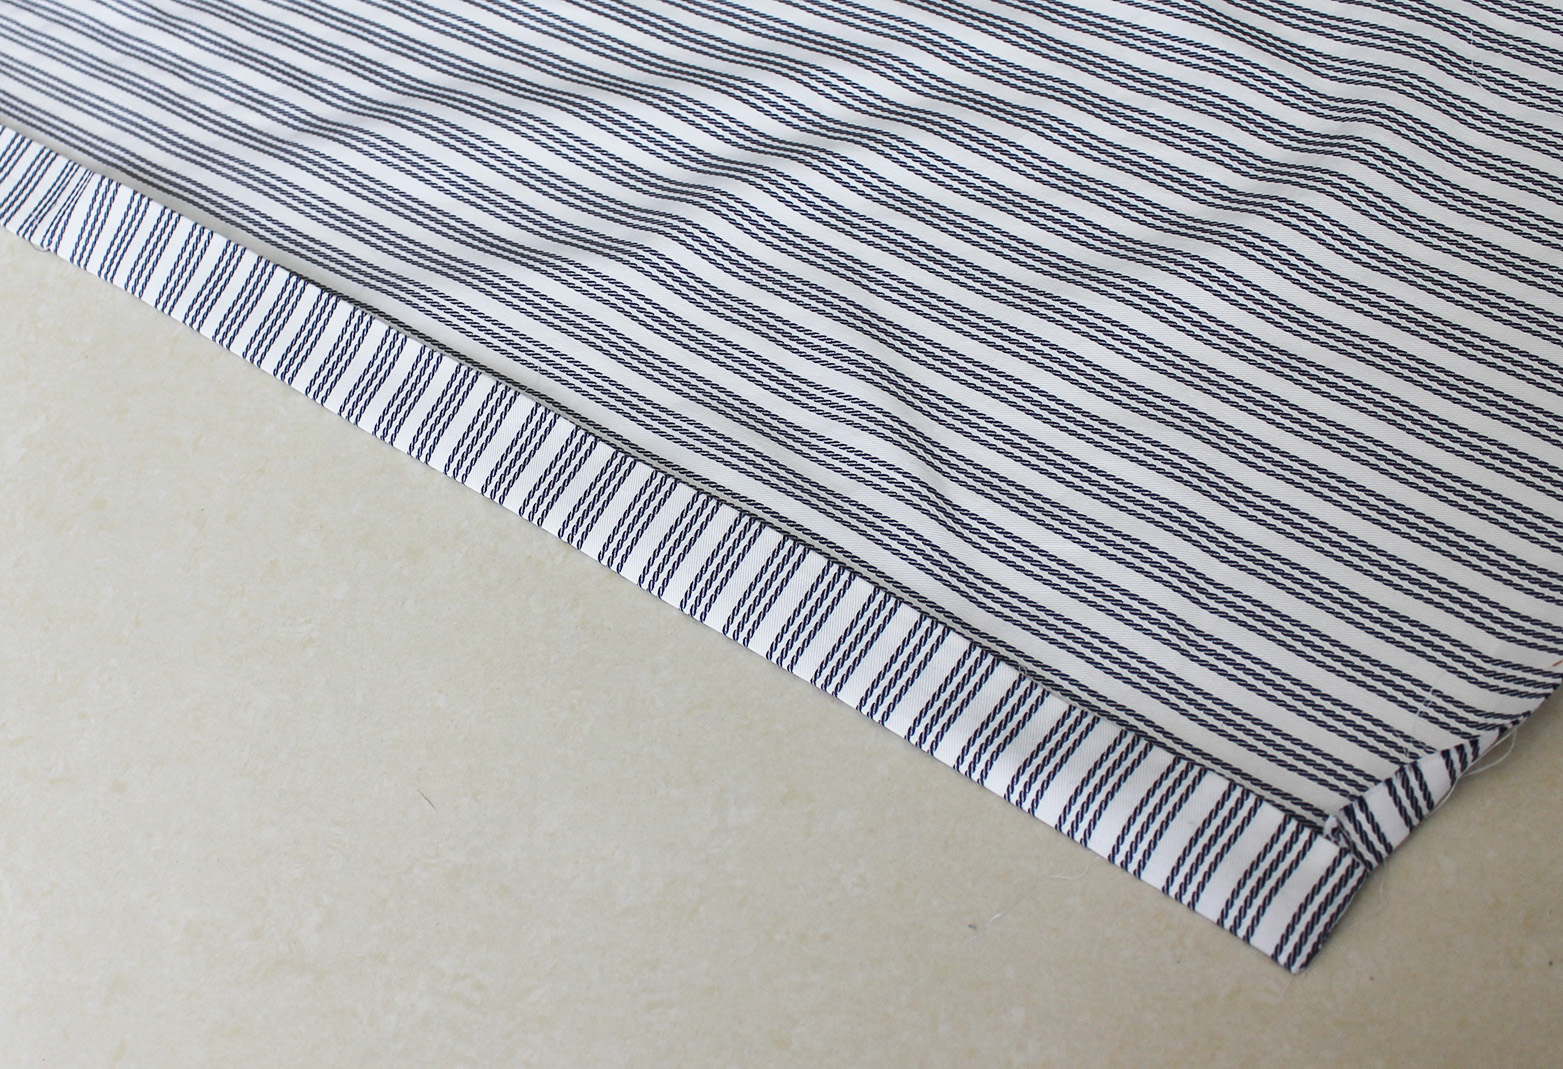
III. Next up are the button bands. Press a fold the size of your seam allowance to one long edge of each, on the reverse side.
Pin the button bands to the front seams of the shirt pieces, right sides facing. Sew down the pinned edge.
Fold the attached button band onto itself, right sides facing, pin at the bottom..
.. And sew a straight stitch through the bottom. Trim excess.
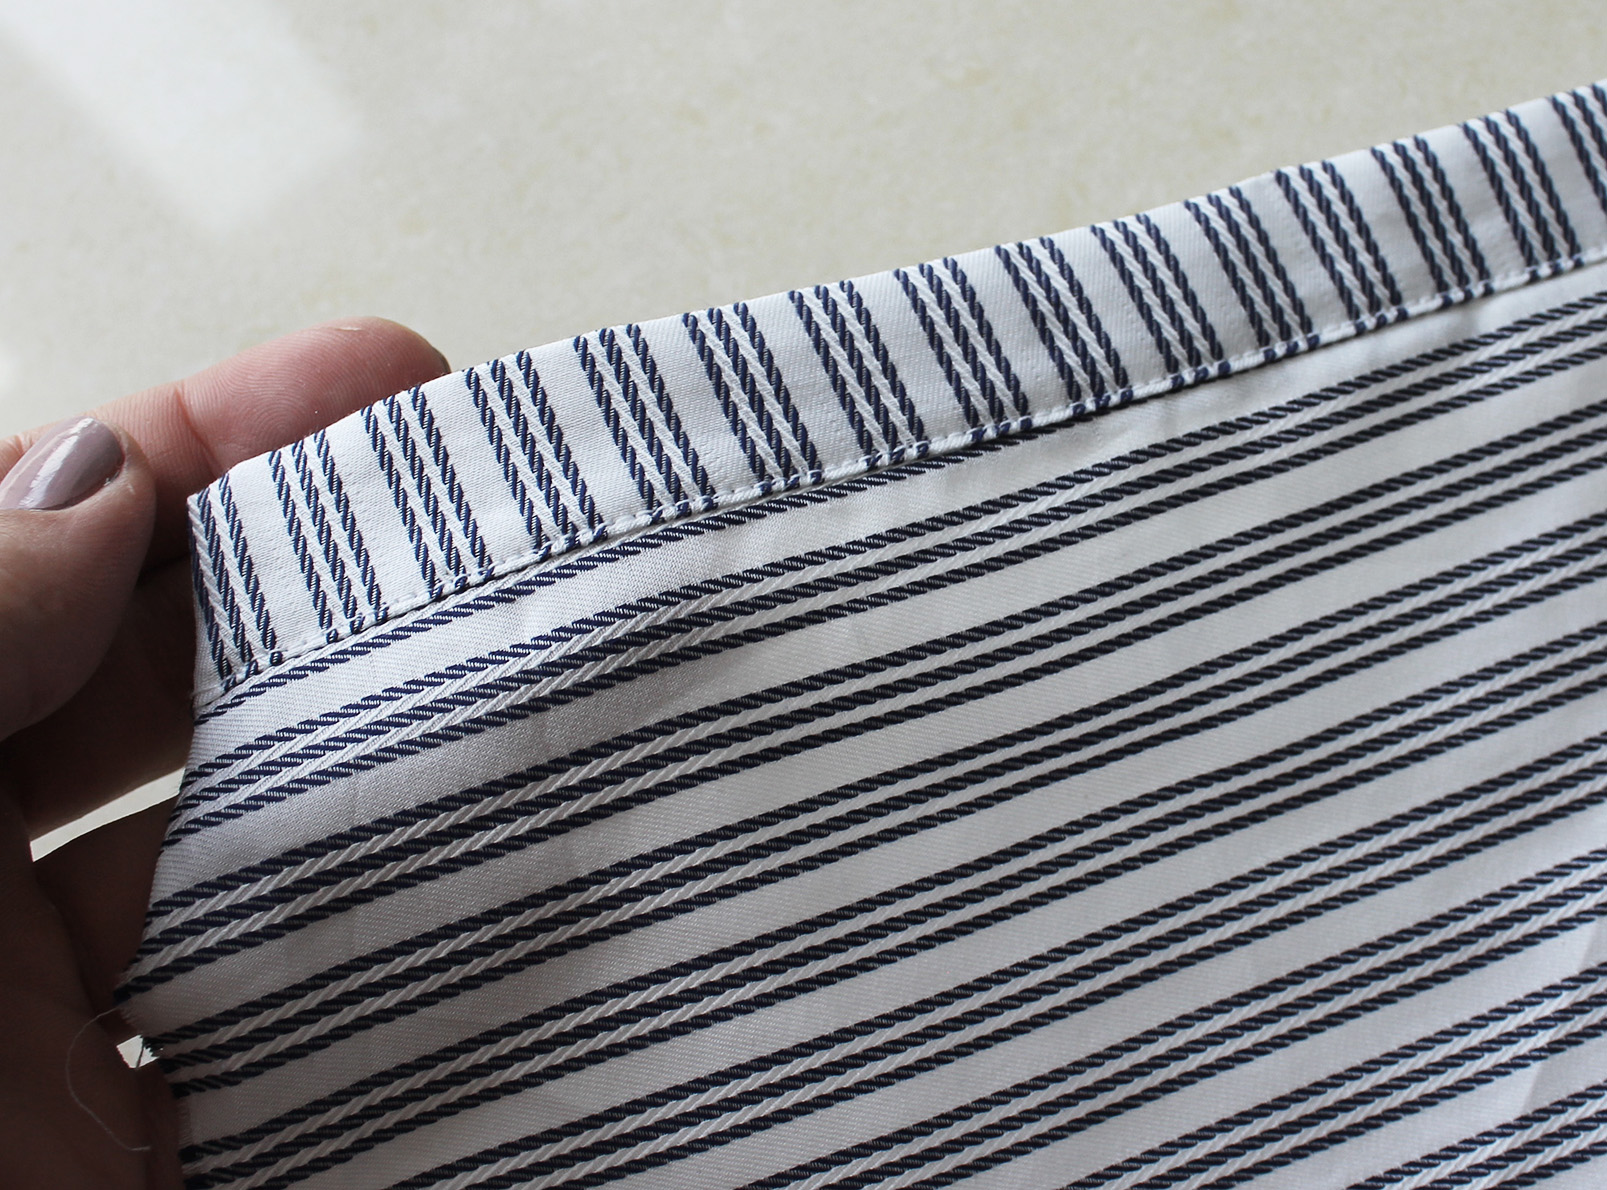
Turn the button band right side out and press.
Pin the loose edge on the reverse side down..
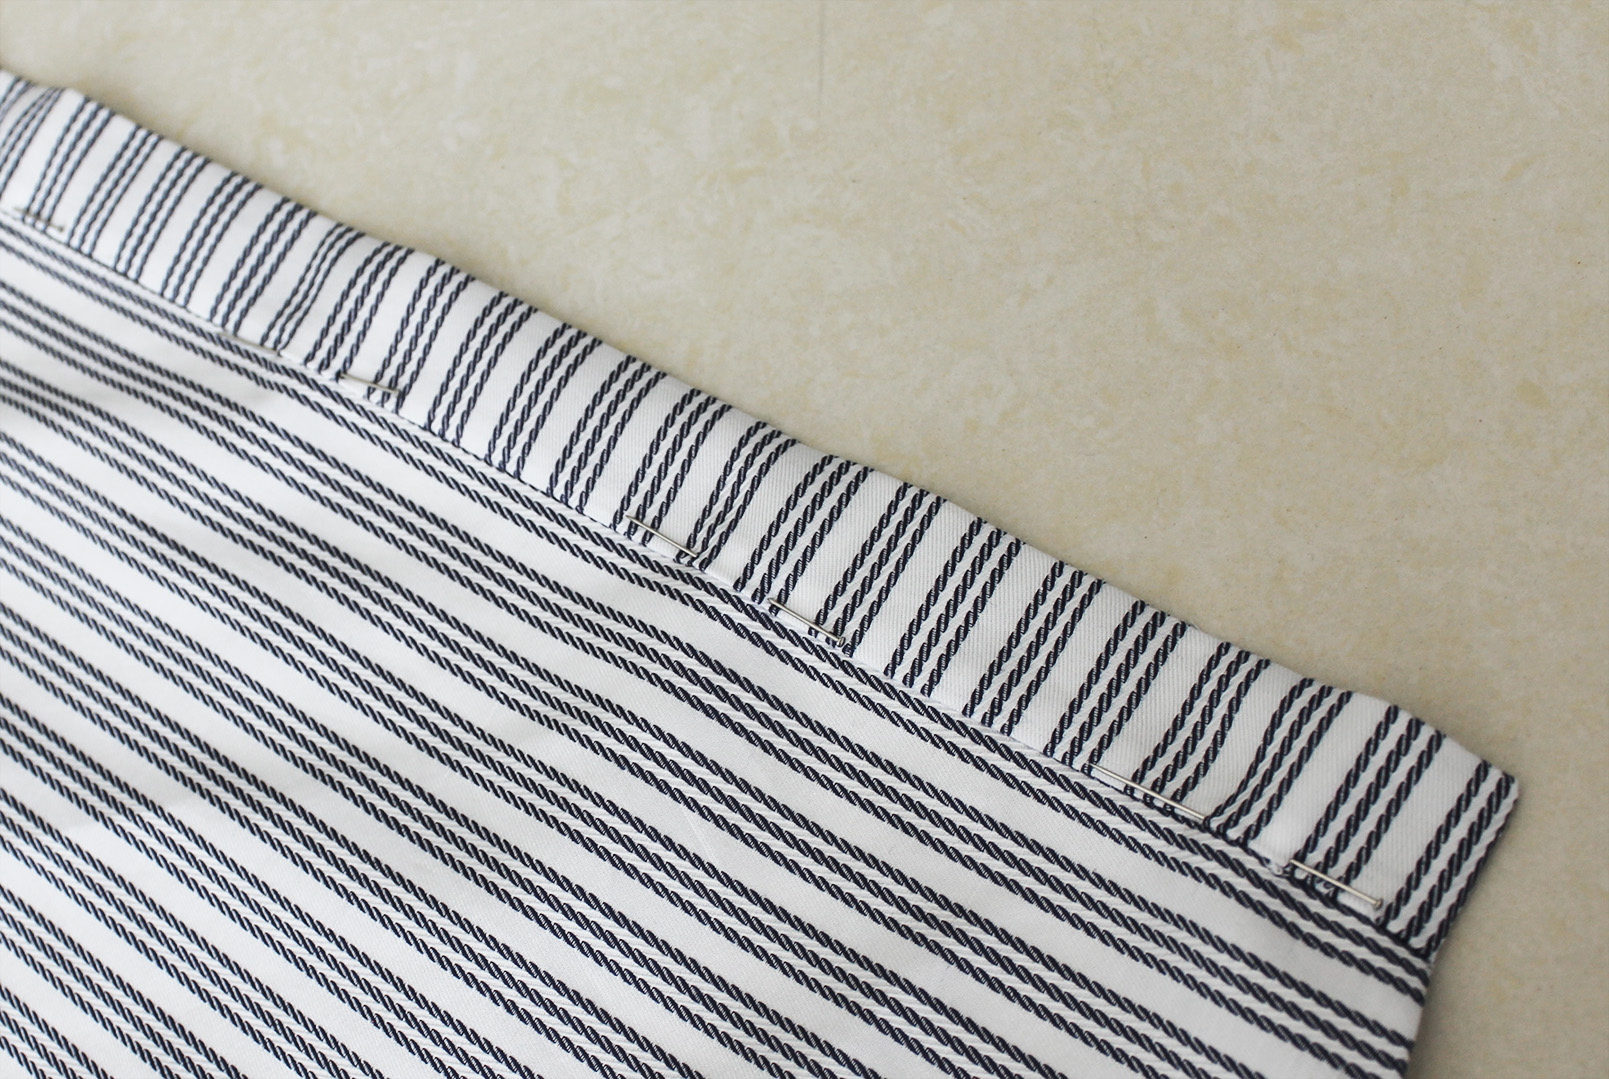
.. And add a straight stitch on the right side right next to the first seam.
IV. Shoulder seams! I did a lazy version of a flat-felled seam. Pin the front pieces to the back piece at the shoulders, right sides facing.
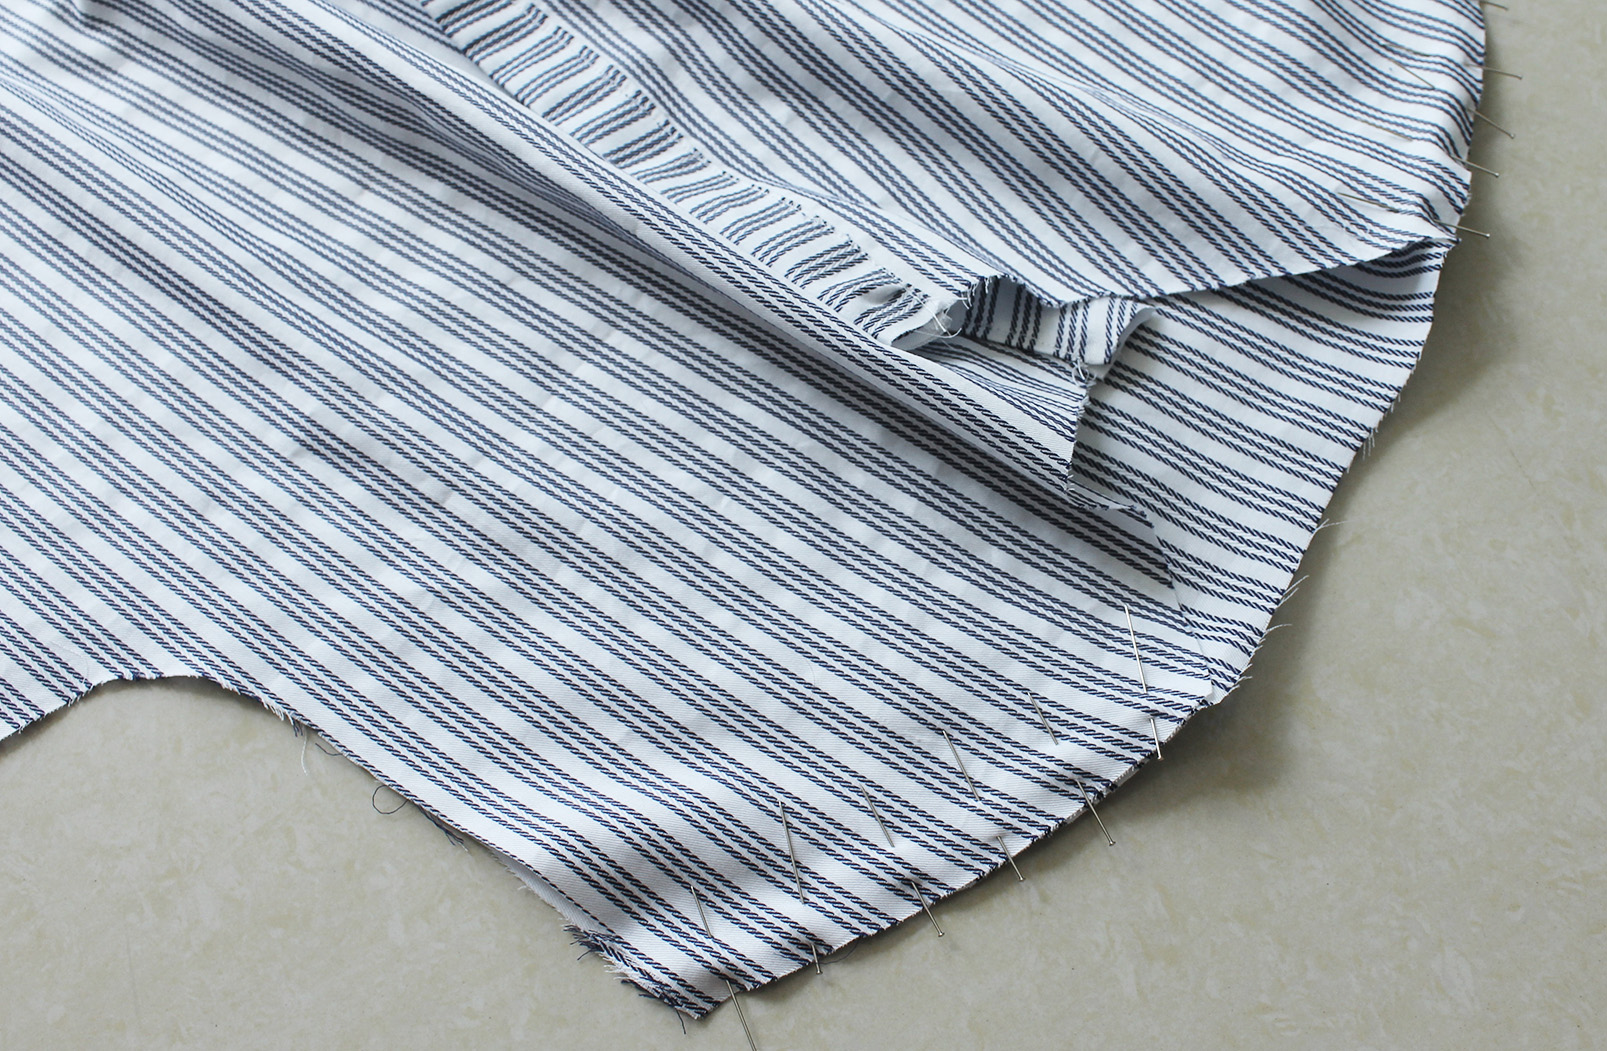
Sew together, and trim the seam allowance of the back piece down to half that of the front piece. Zig-zag-finish the longer seam allowance.
Press both seam allowances towards the back piece of the shirt and pin down.
Add a stitch on the right side to secure the seam allowances in their flat position on the reverse side.
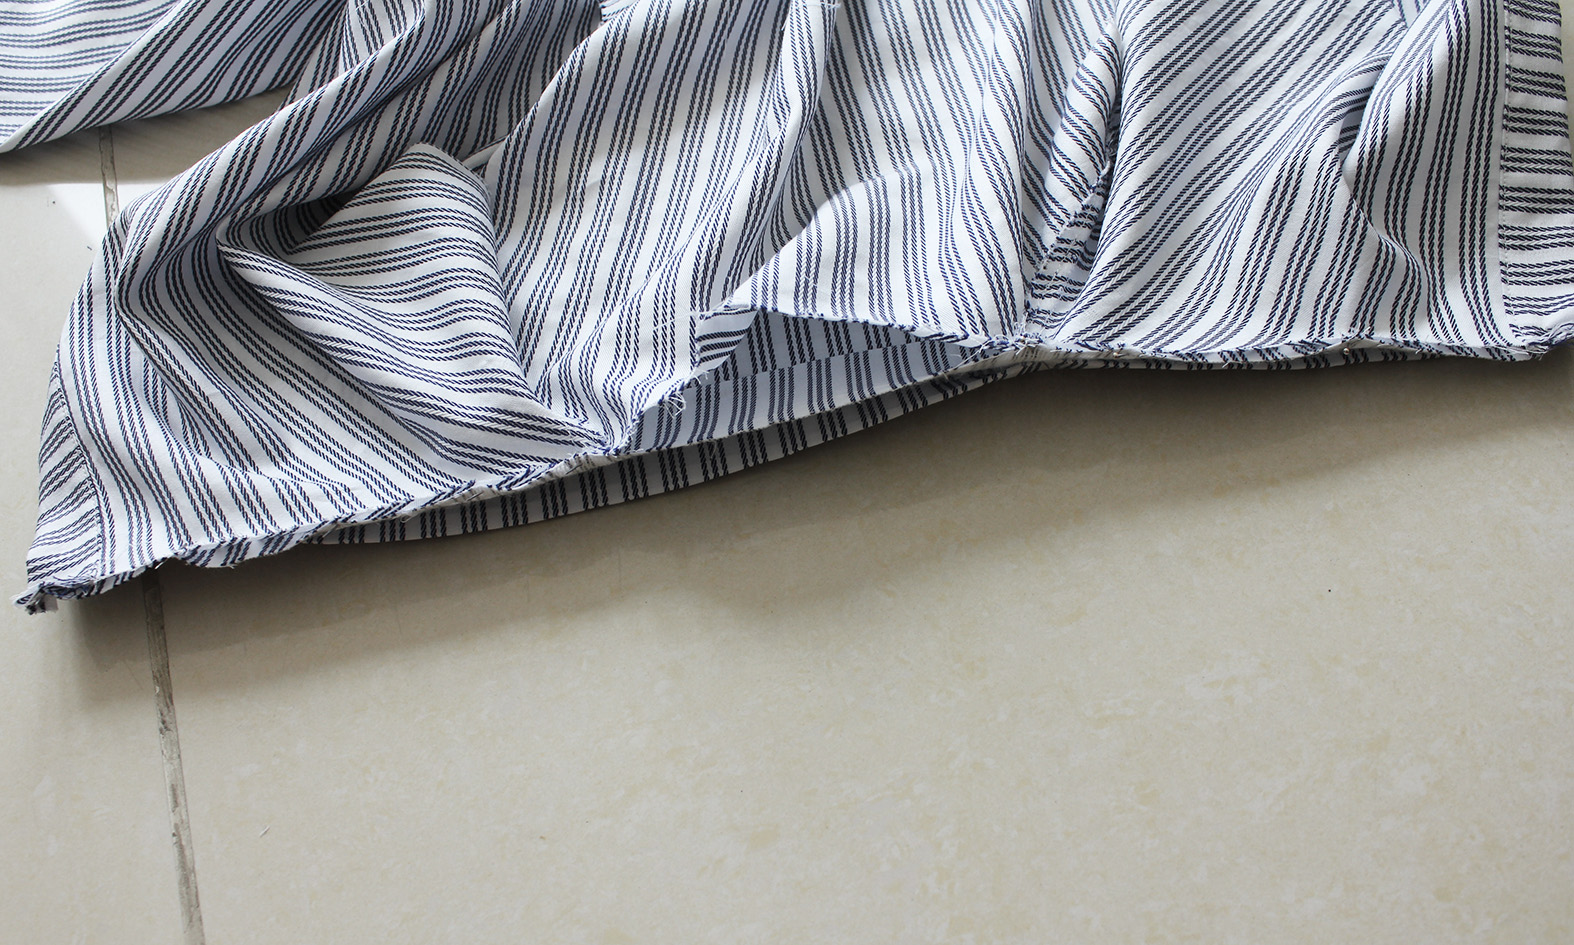
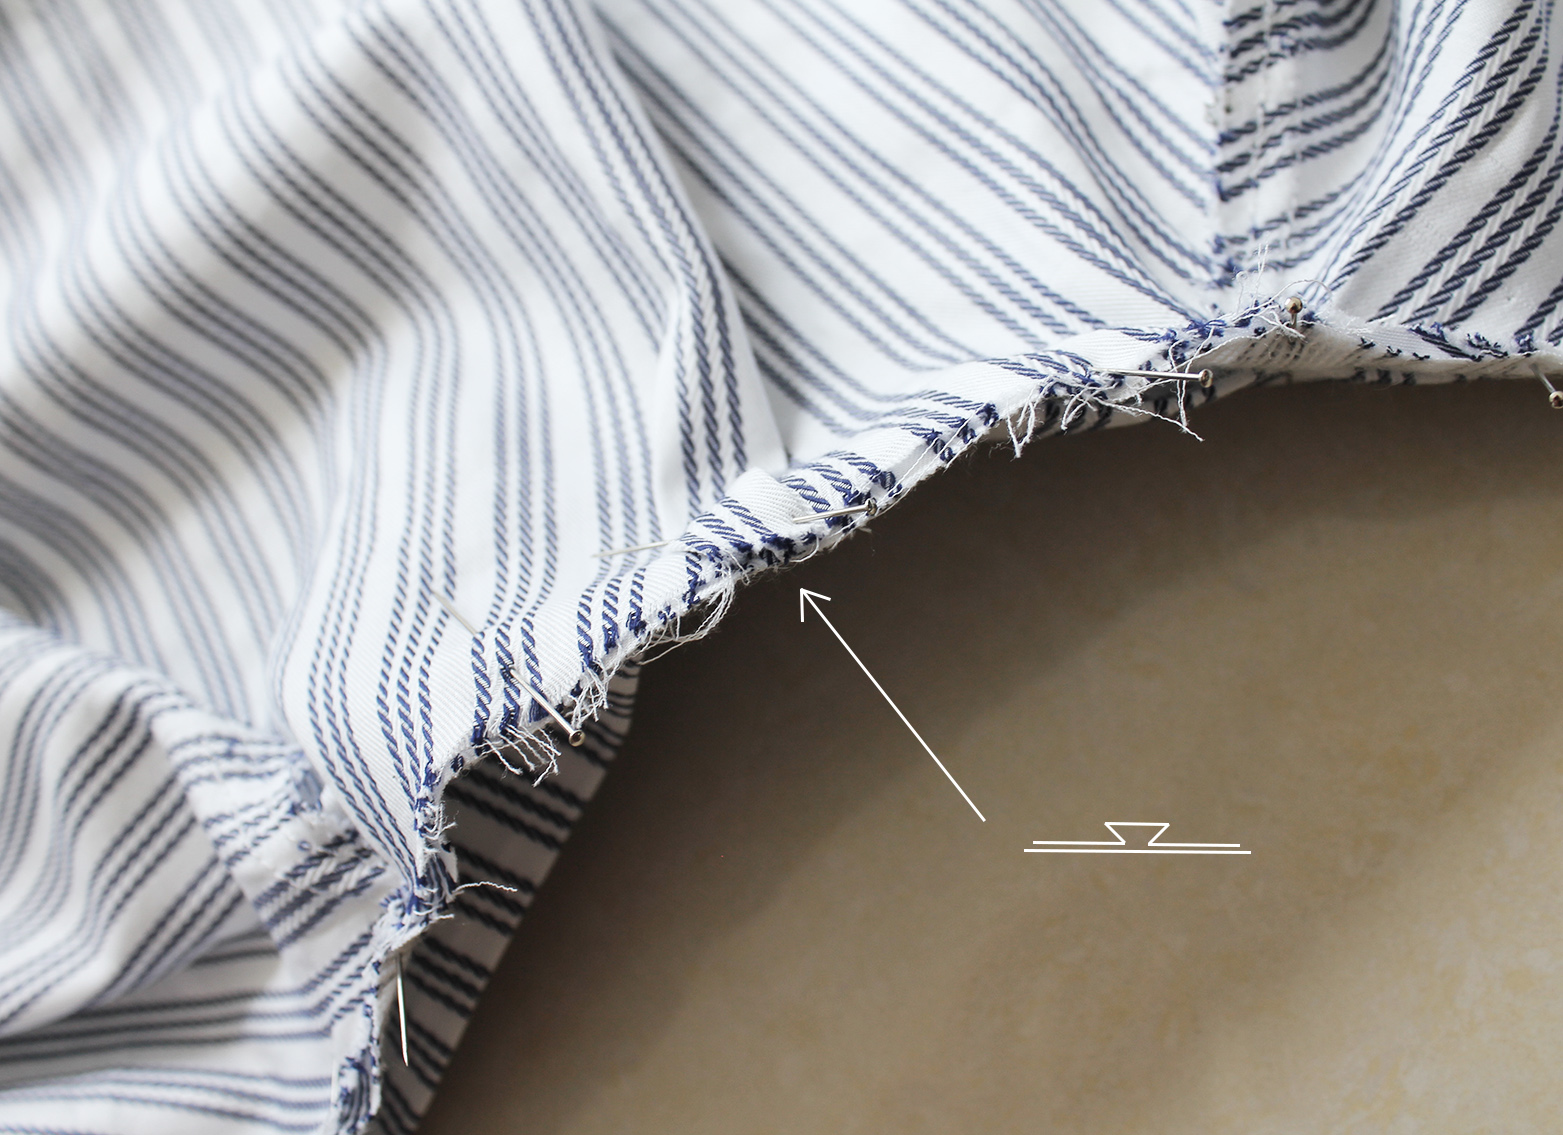
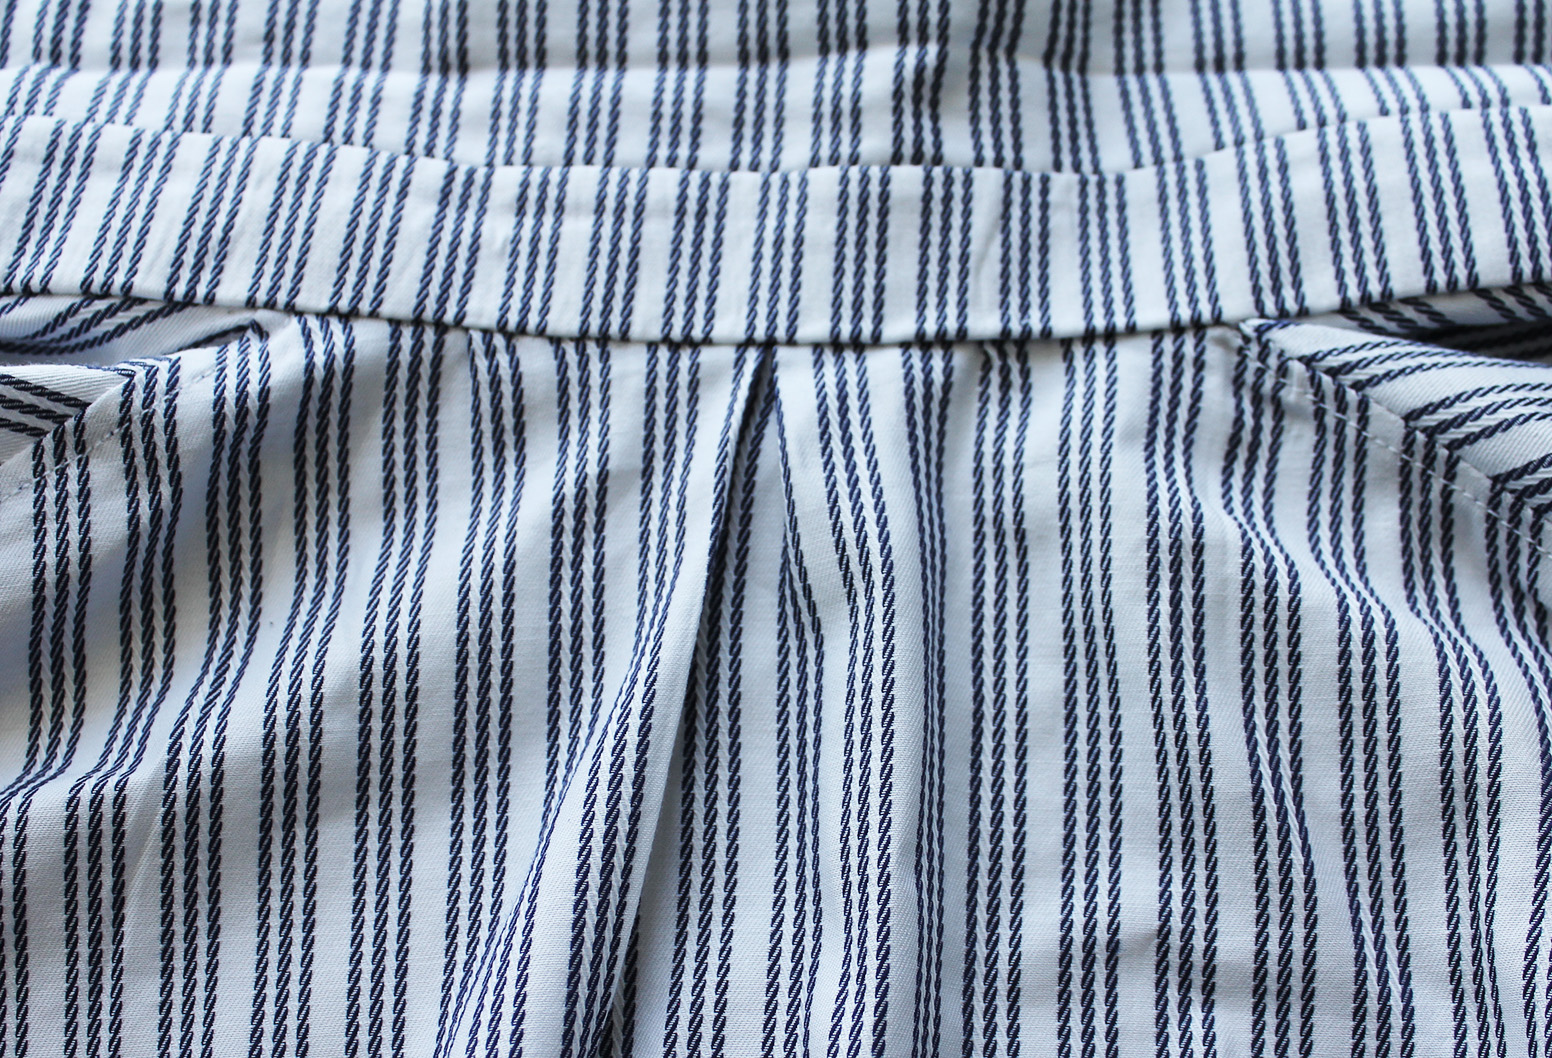
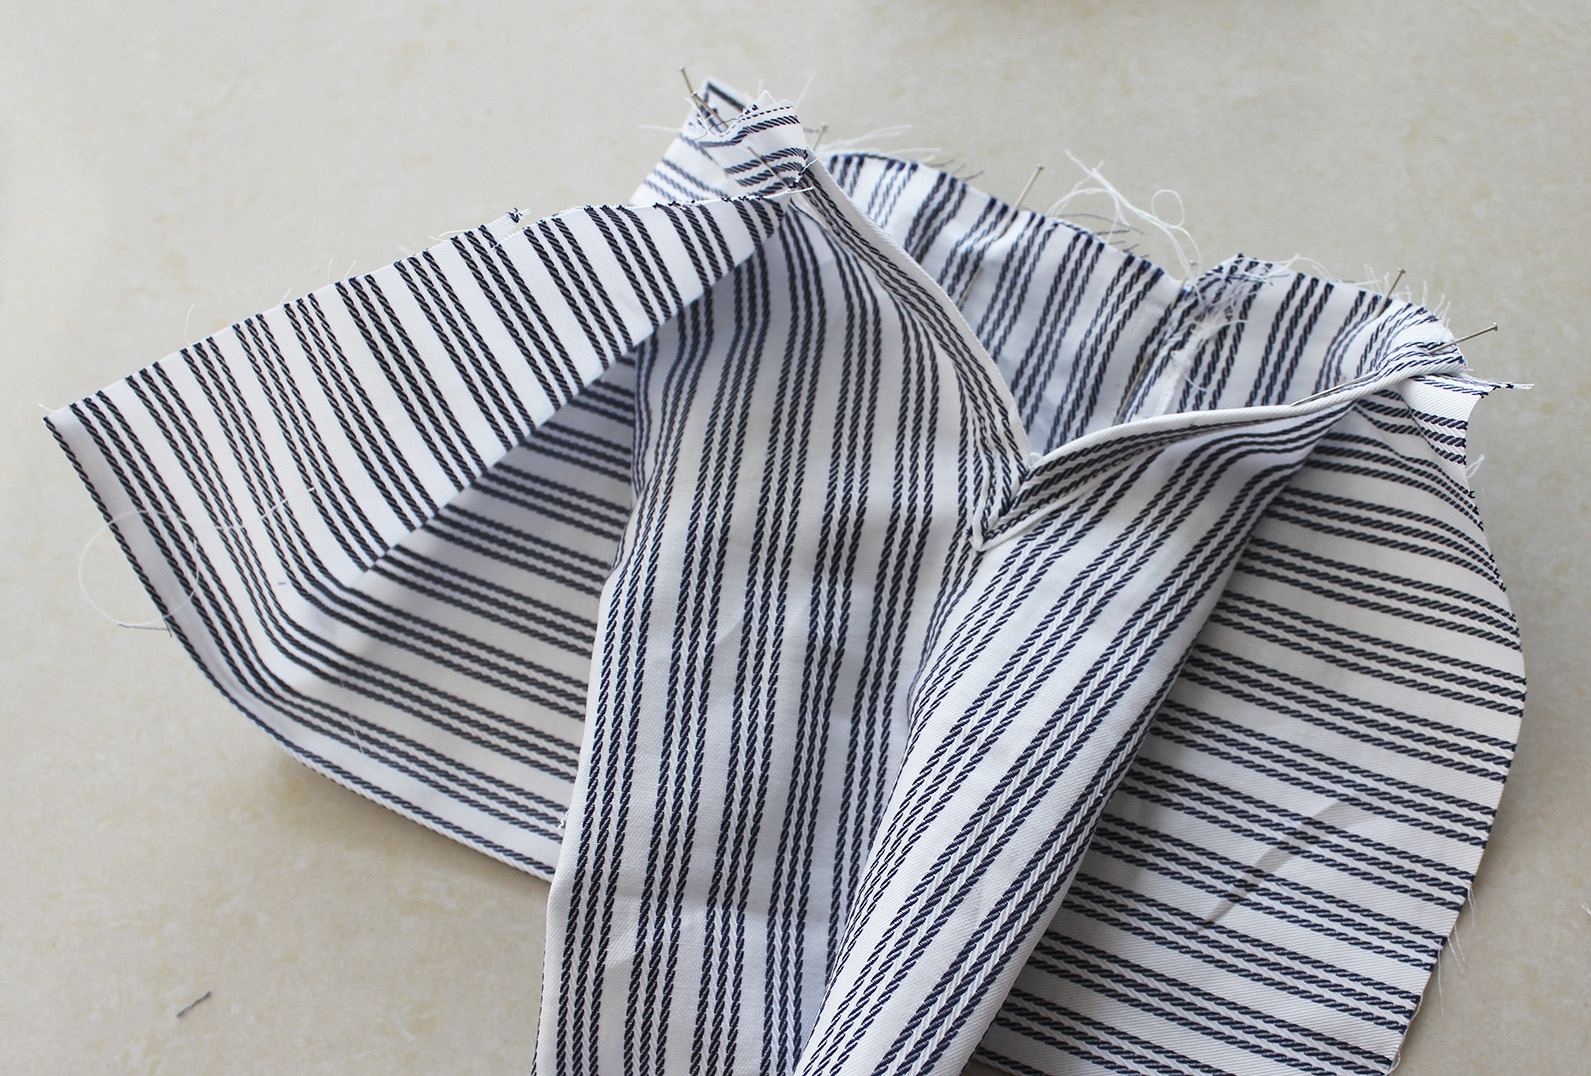
V. Time to attach the collar to the shirt - and for me, time to come to terms with my second brain lapse. No matter how meticulously I thought I had measured my pieces, I somehow managed to make my neckline circumference on the shirt longer than the collar band.
So when I started pinning the unfolded side of the collar onto the shirt (right sides facing, start with the fronts to make sure they match) I realized that for reasons unknown to mandkind (I measured everything twice) there ended up being excess fabric at the back of the shirt neckline. PANIC!!
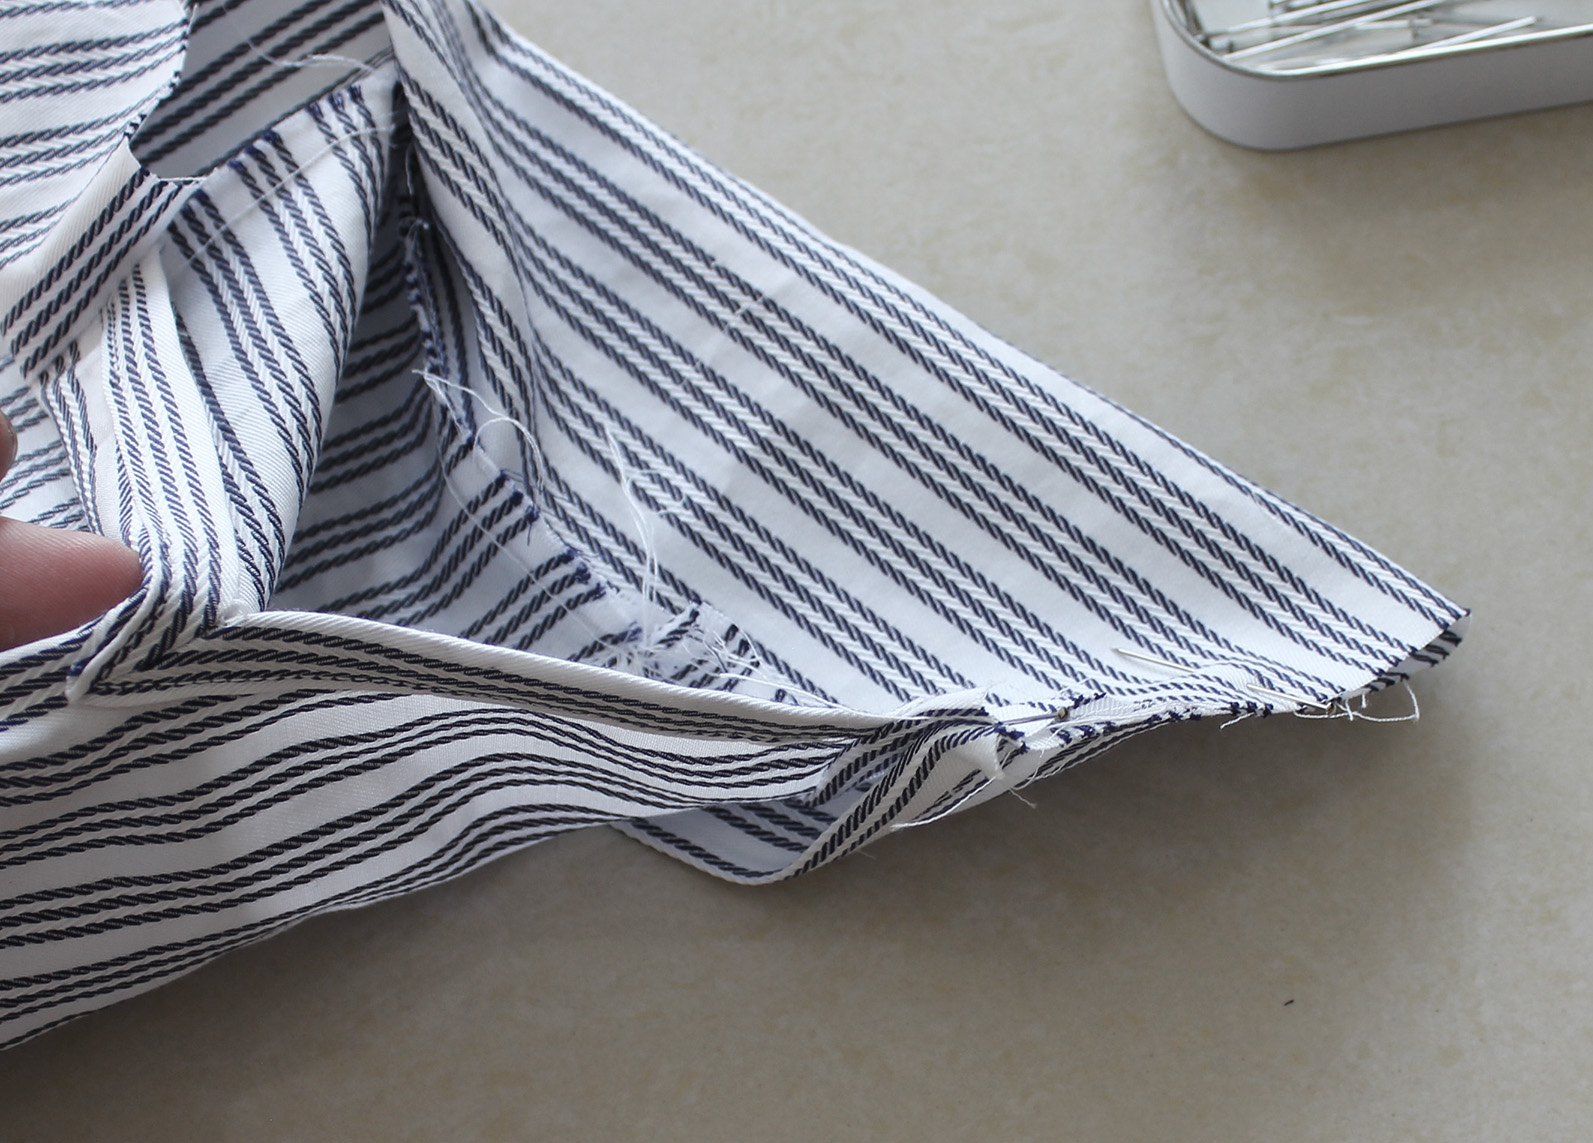
.. Or not! Here's an awesome trick to fix a situation where one side of the seam is longer than the other, and you don't feel like backtracking and re-doing your work: Box pleat!! I added one right at the middle of the back of the neck, and problem solved!
Once your first seam is done, just confirm your fold on the other side of the collar band is good for that piece to just cover the seam after you've pressed all the seam allowances towards the collar.
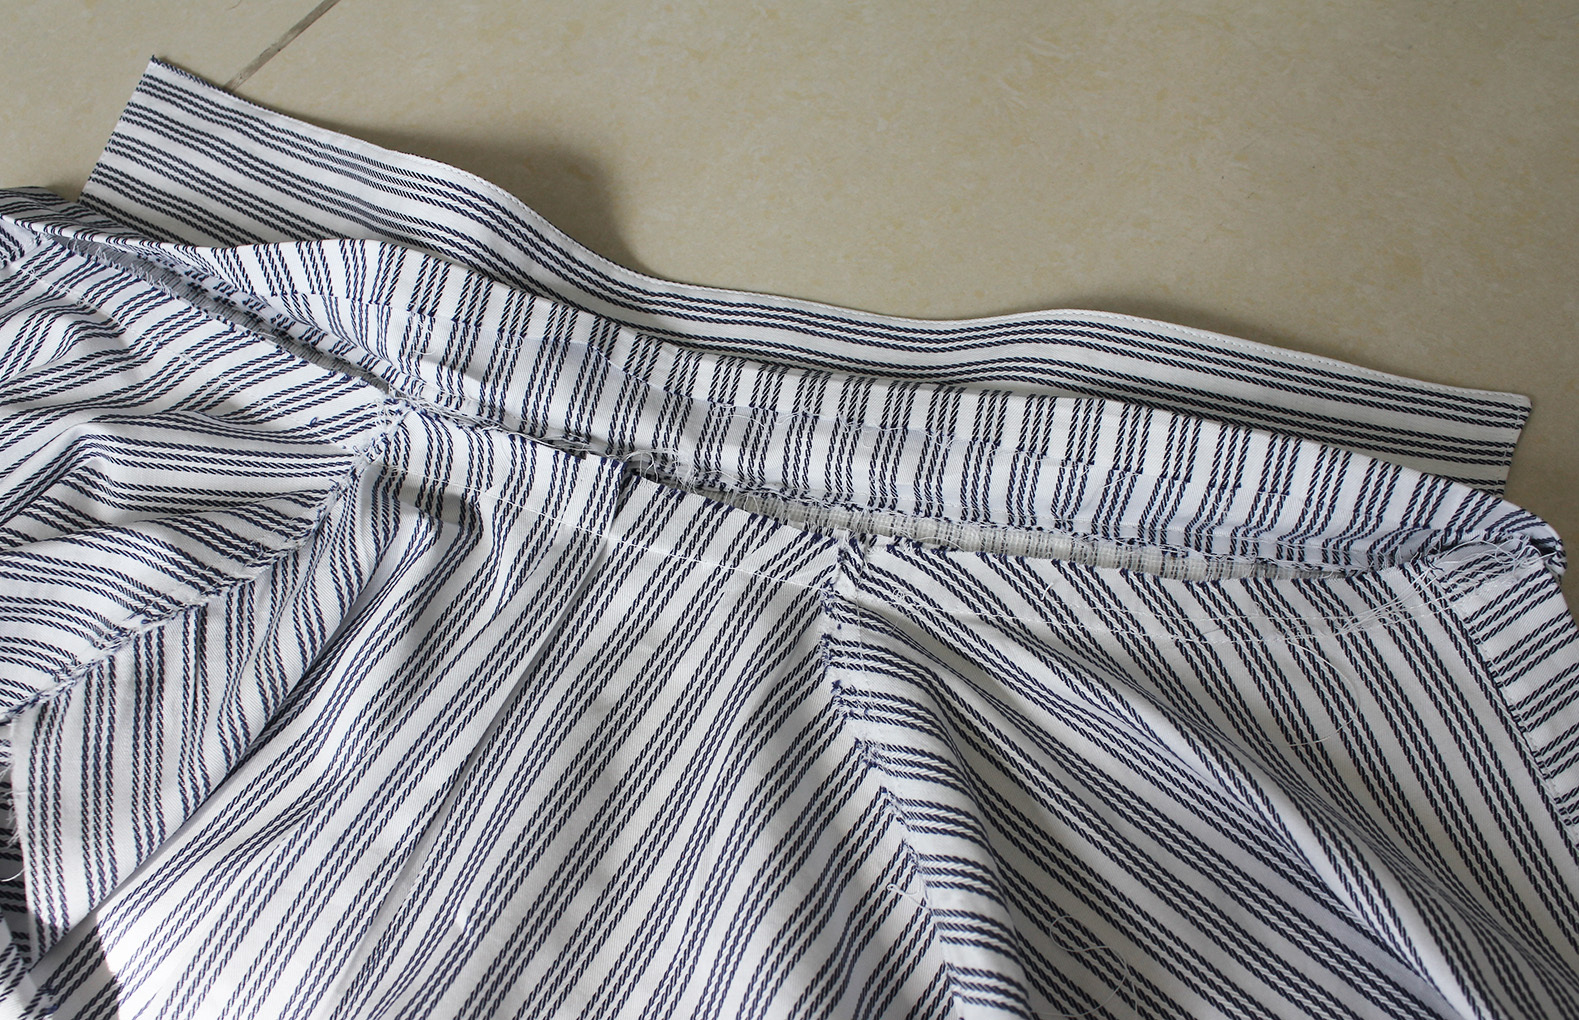
Slip stitch in place by hand (or you could do a machine stitch right at the edge).
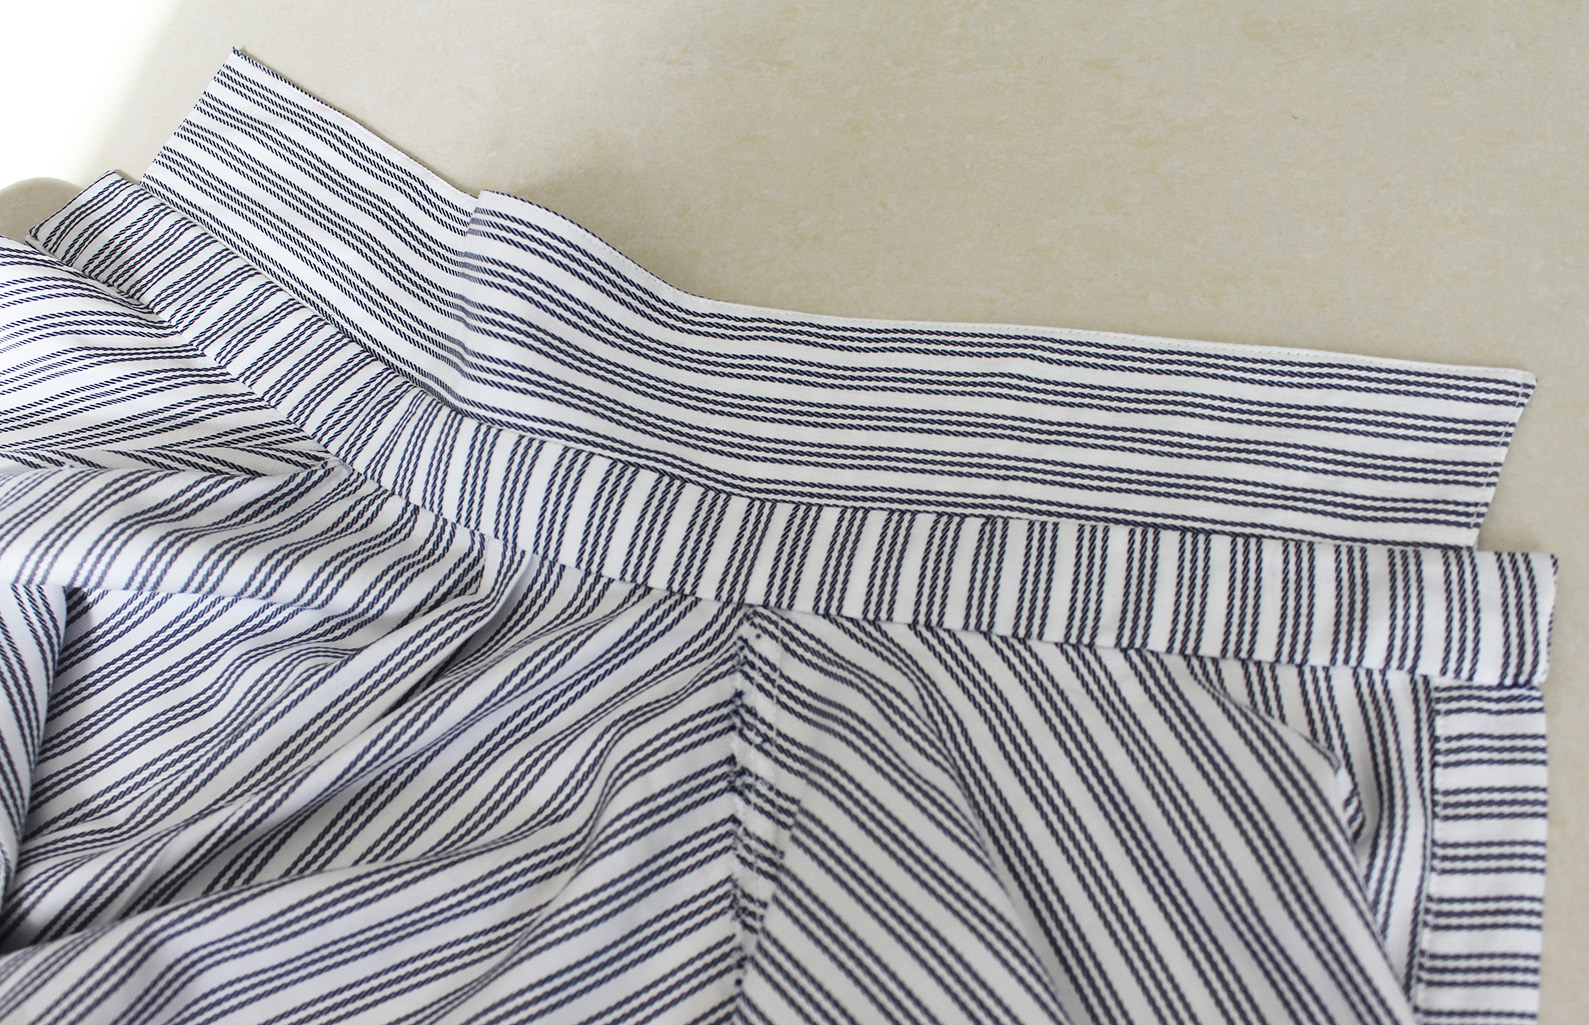
This is what my box pleat fix ended up looking like on the right side. Onto the next!
VI. Pin the sleeves to the shirt, right sides facing. Sew along the curved edge.
To finish these seams, I did the same as with the shoulder seams; trimmed the seam allowance of the shirt back and front pieces to half that of the sleeve, finished edge of sleeve seam allowance with a zig/sag, pressed both seam allowances towards the shirt body..
.. And added a stitch on the right side.
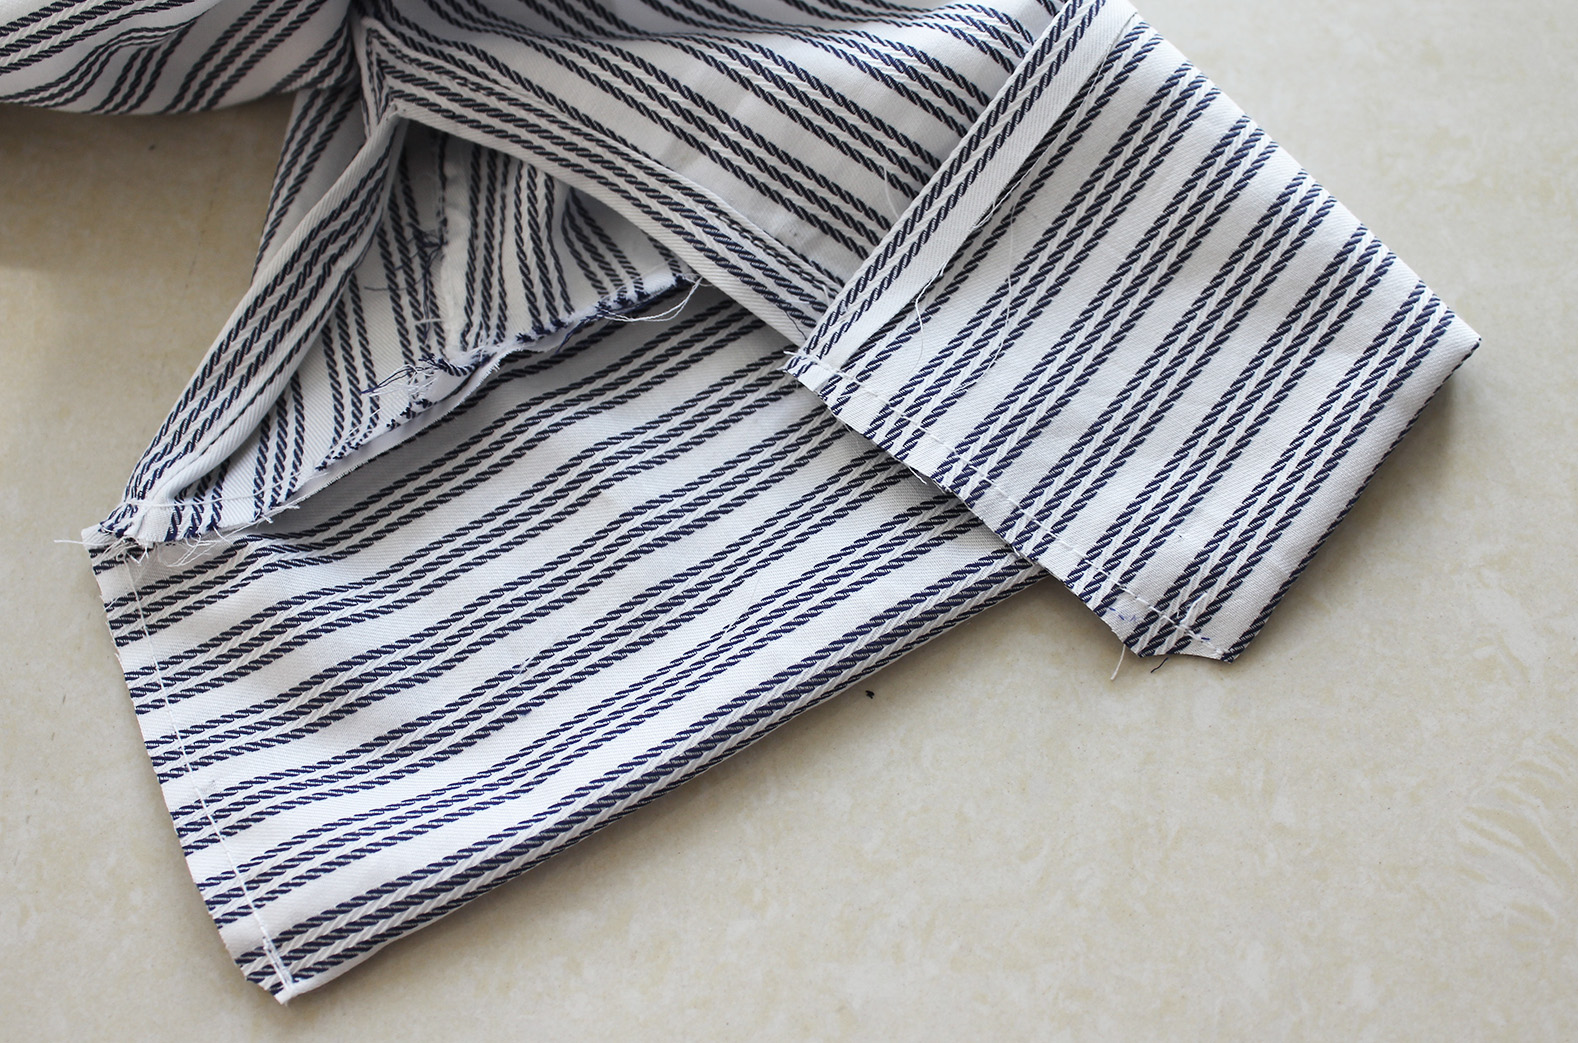
VII. Same deal with sleeve under seam and side seam. Pin and repeat the process above.
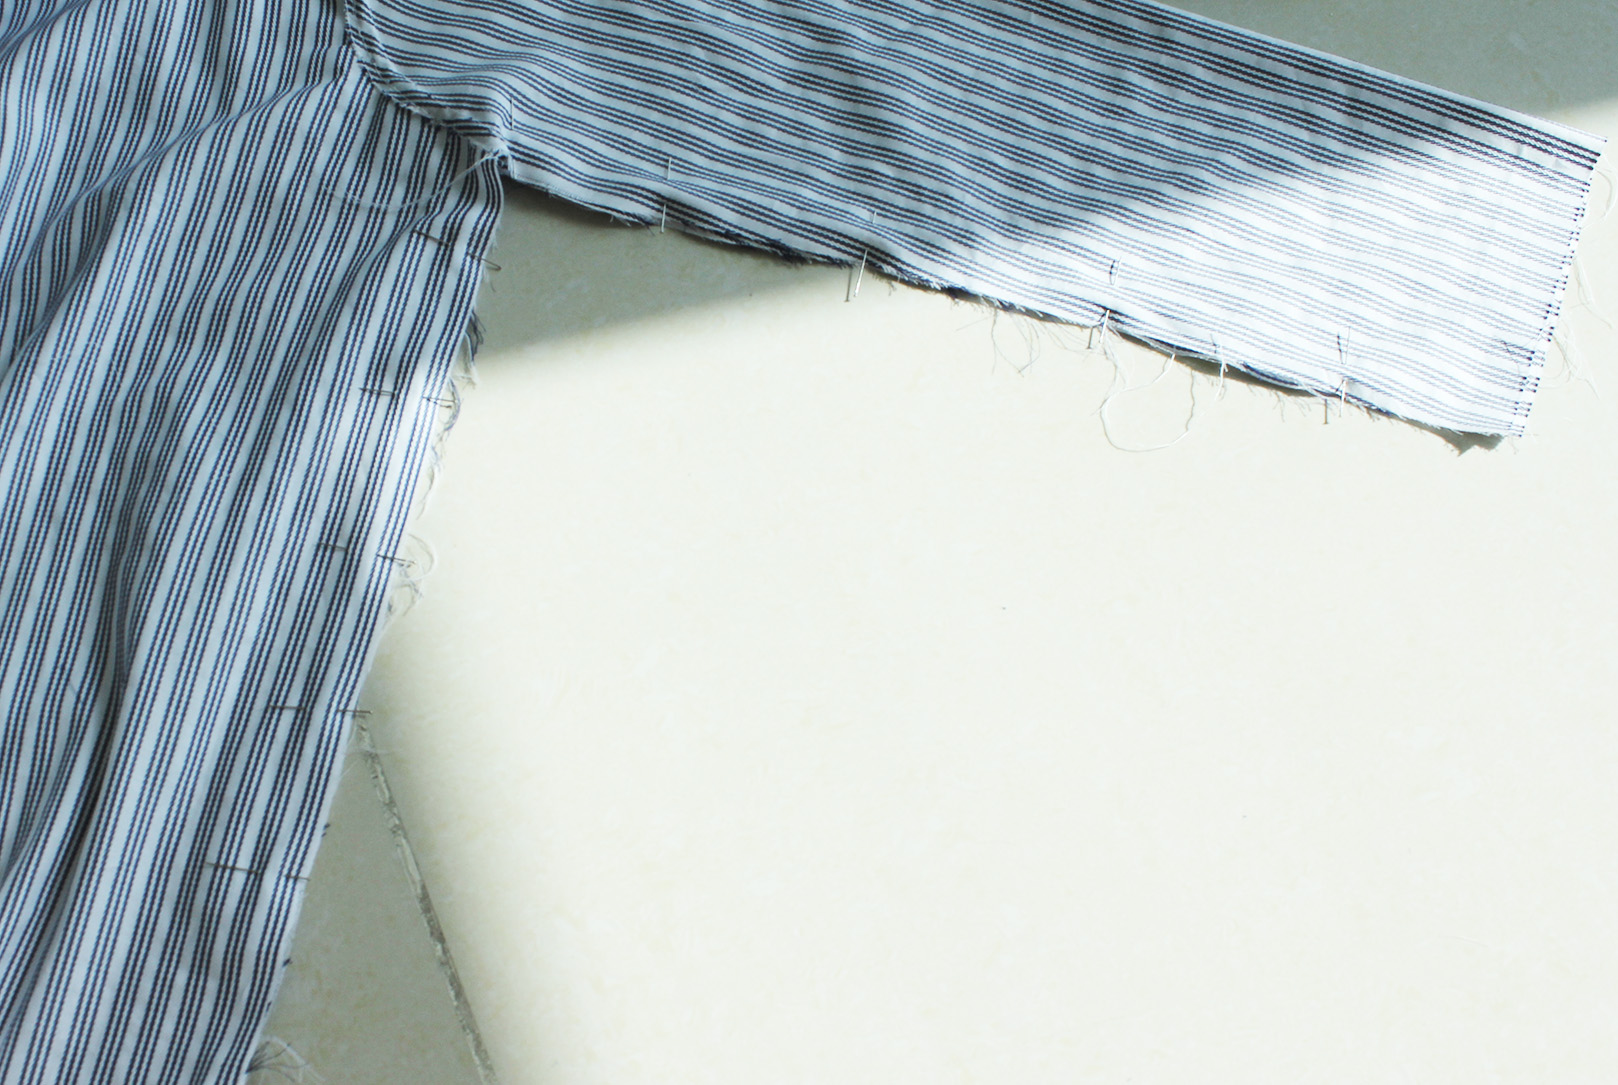
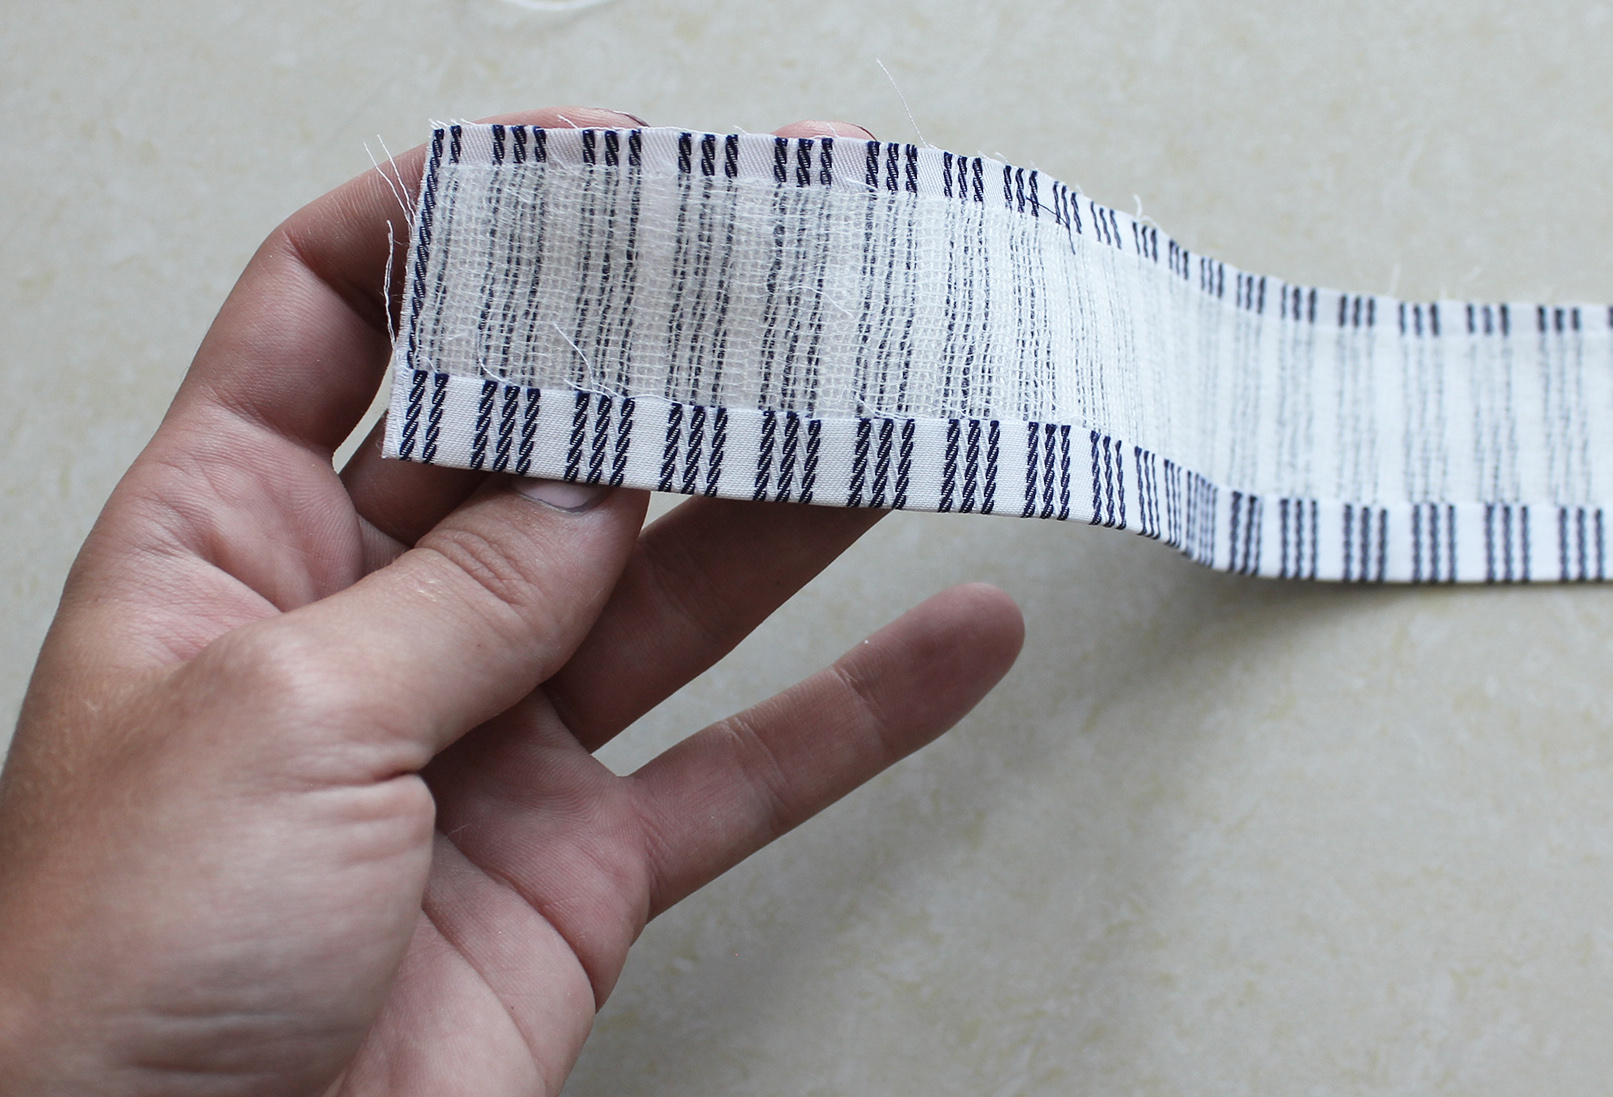
VIII. Slowly but surely, getting there. Lay the shirt flat, back facing up, and cut a slit on both sleeves in the center of the the back of the sleeve. Cut two pieces about 3 cm wide and double the length of your slit.
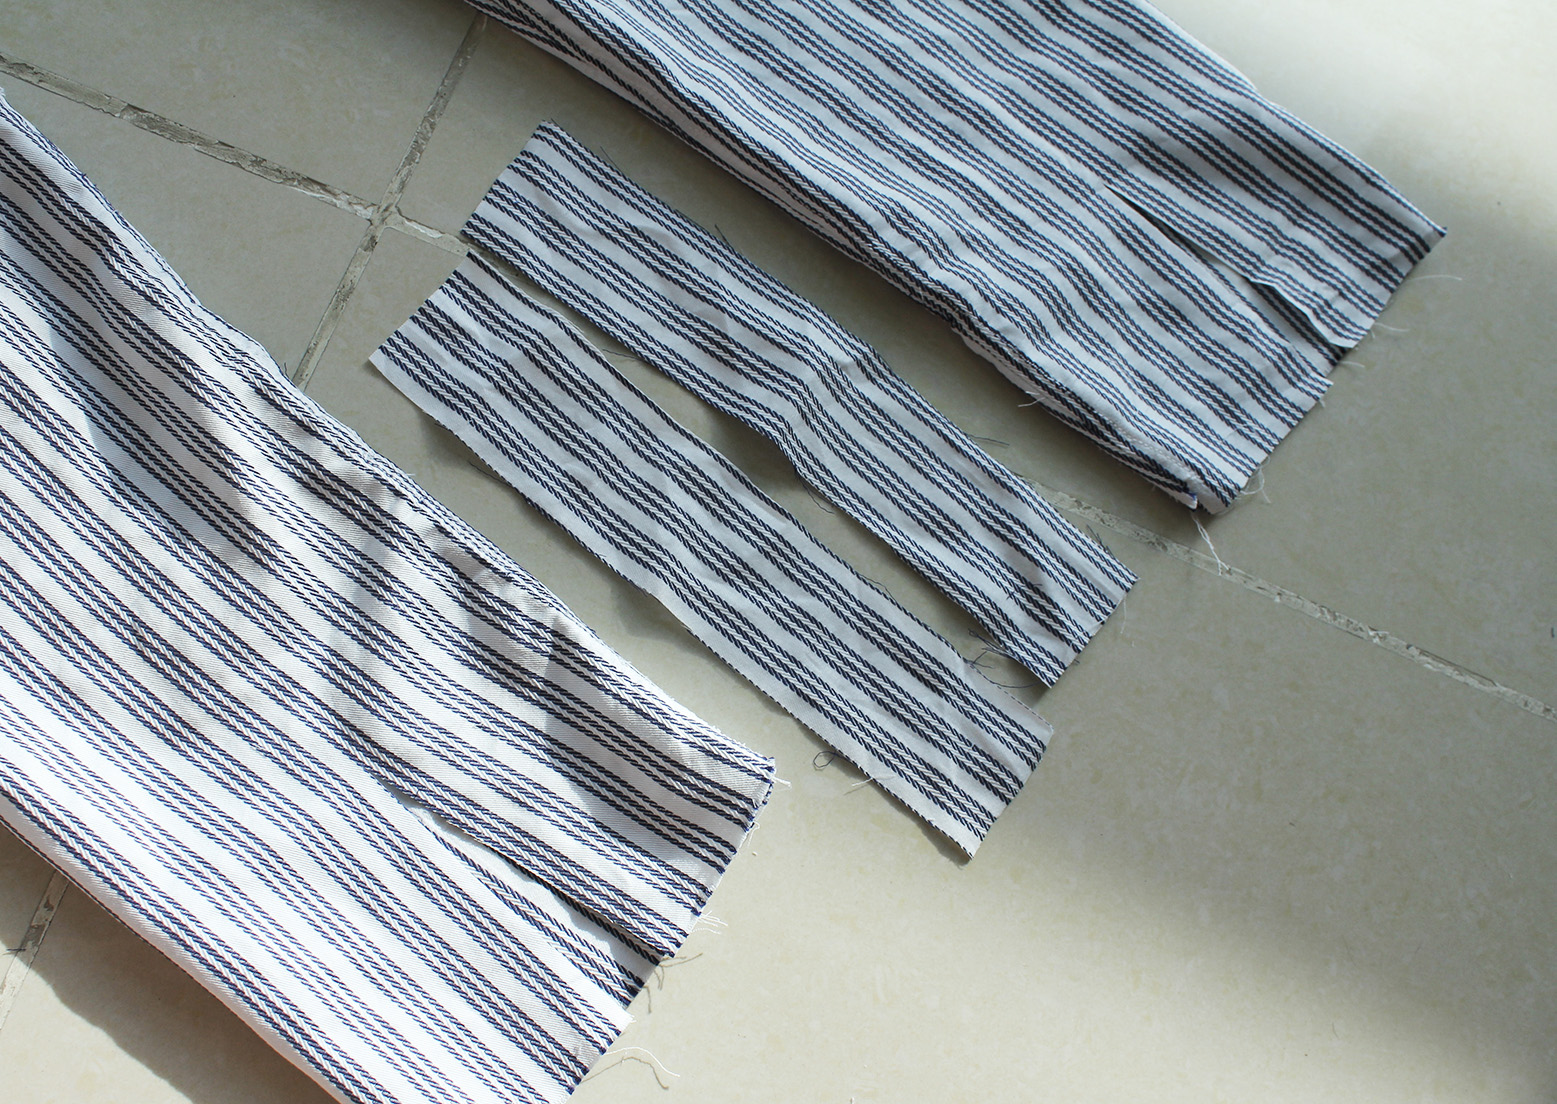
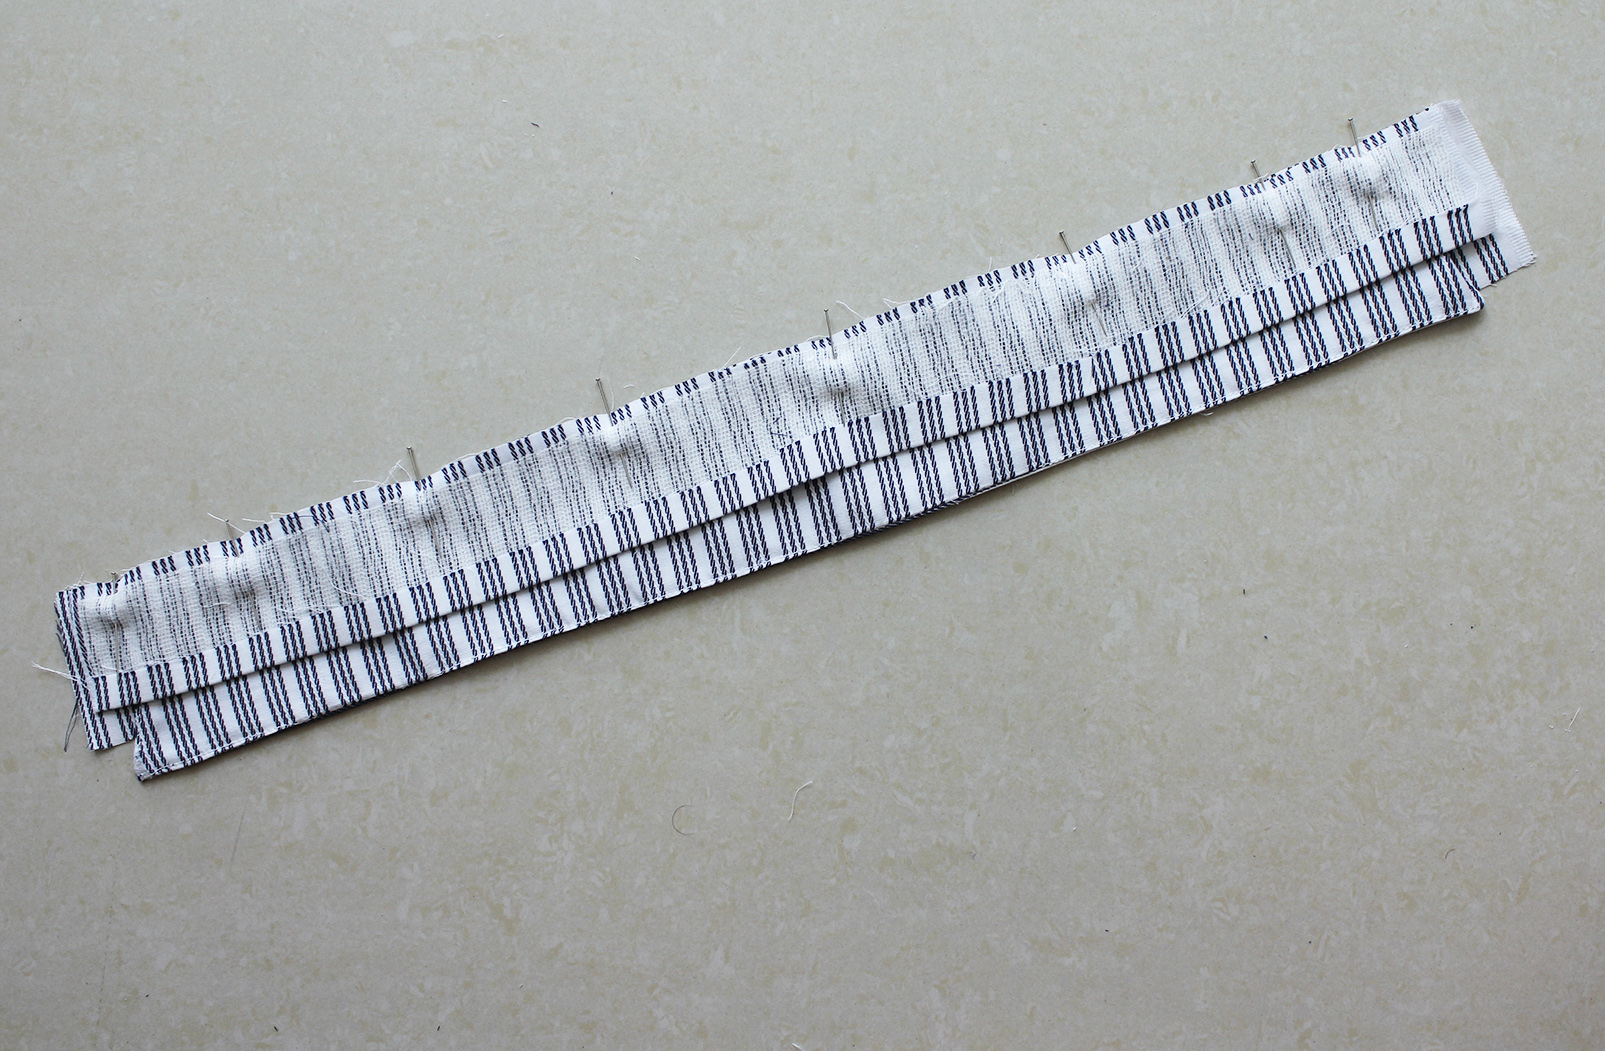
Take those pieces and make your bias tape: fold in half width-wise and press, and repeat to create this:
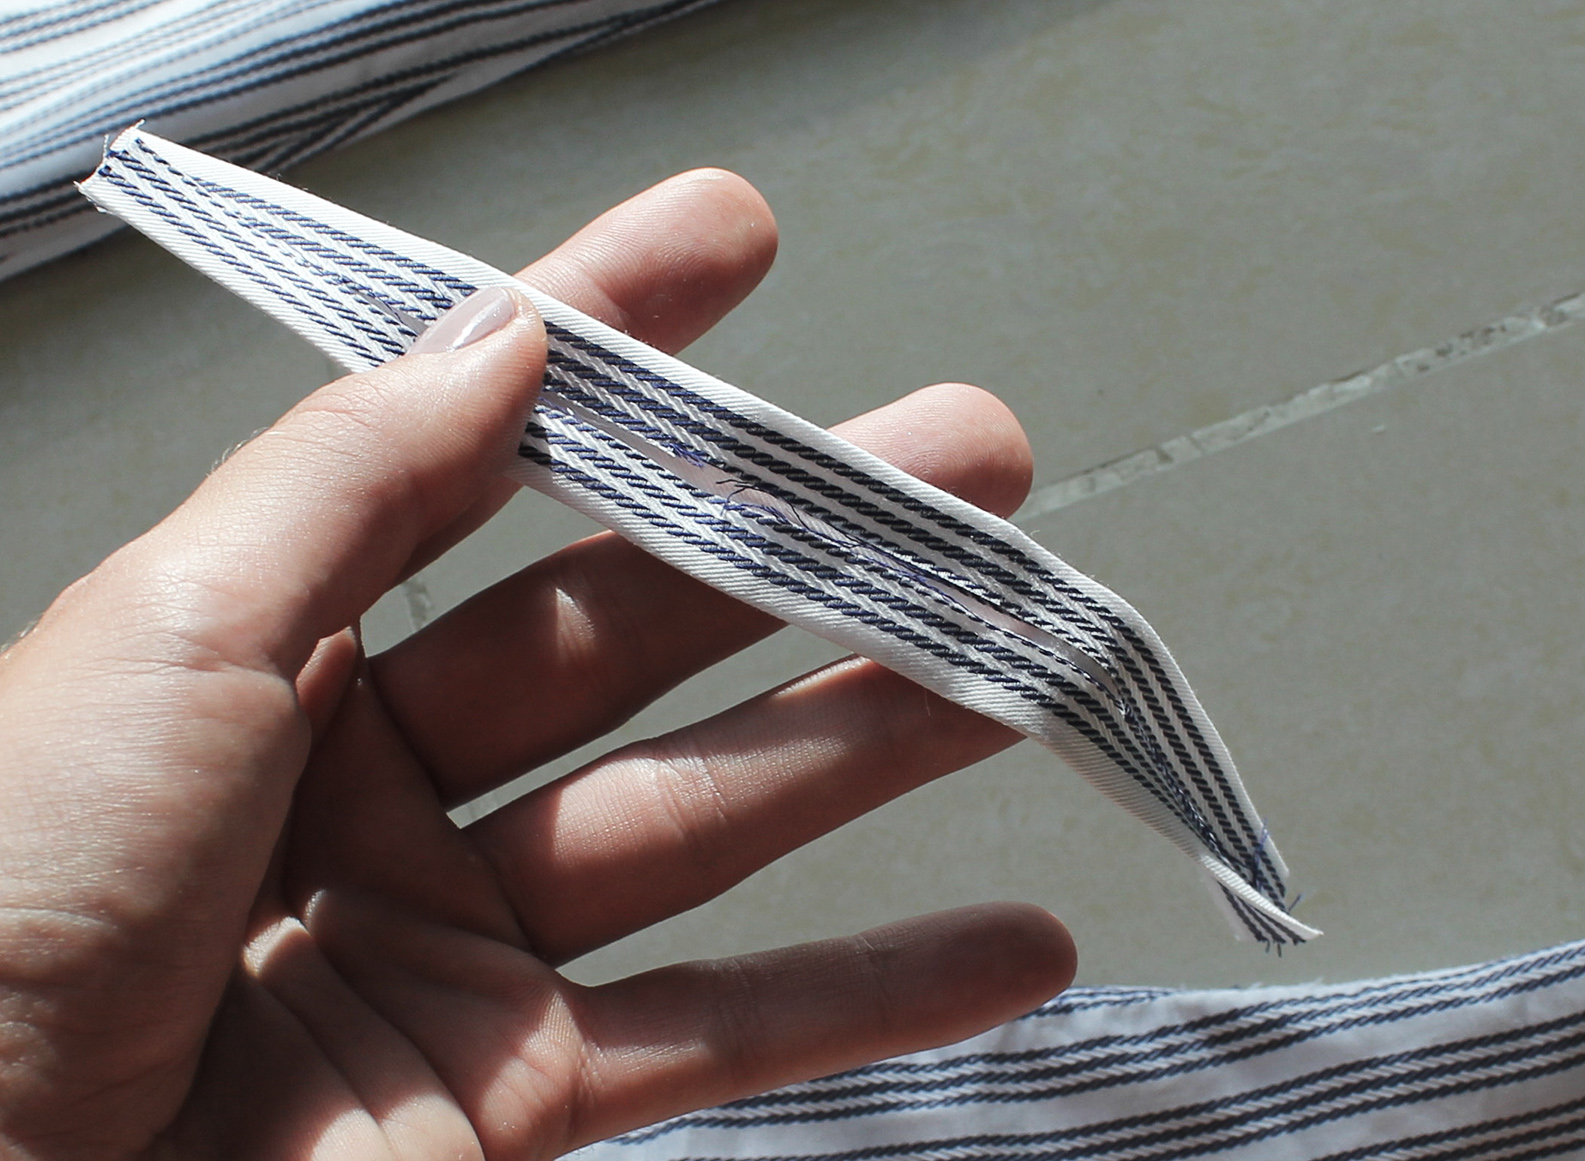
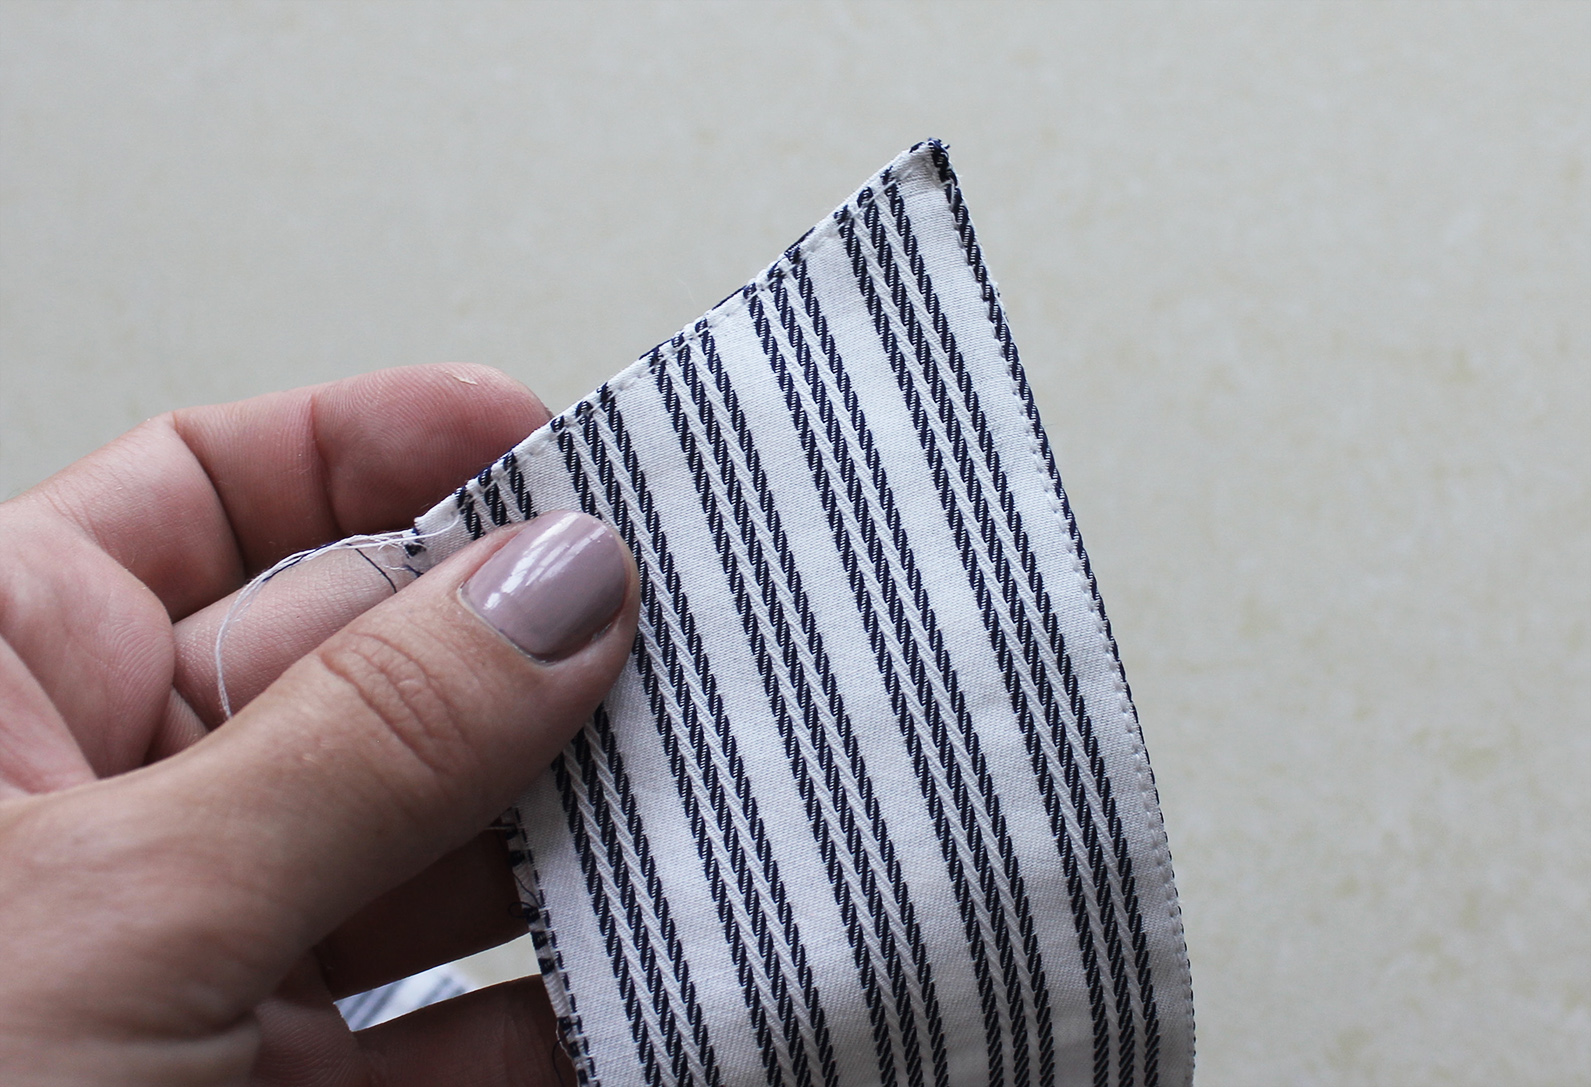
Fold the piece in half length-wise, right sides facing, and sew a triangular stitch at the bottom of the fold:
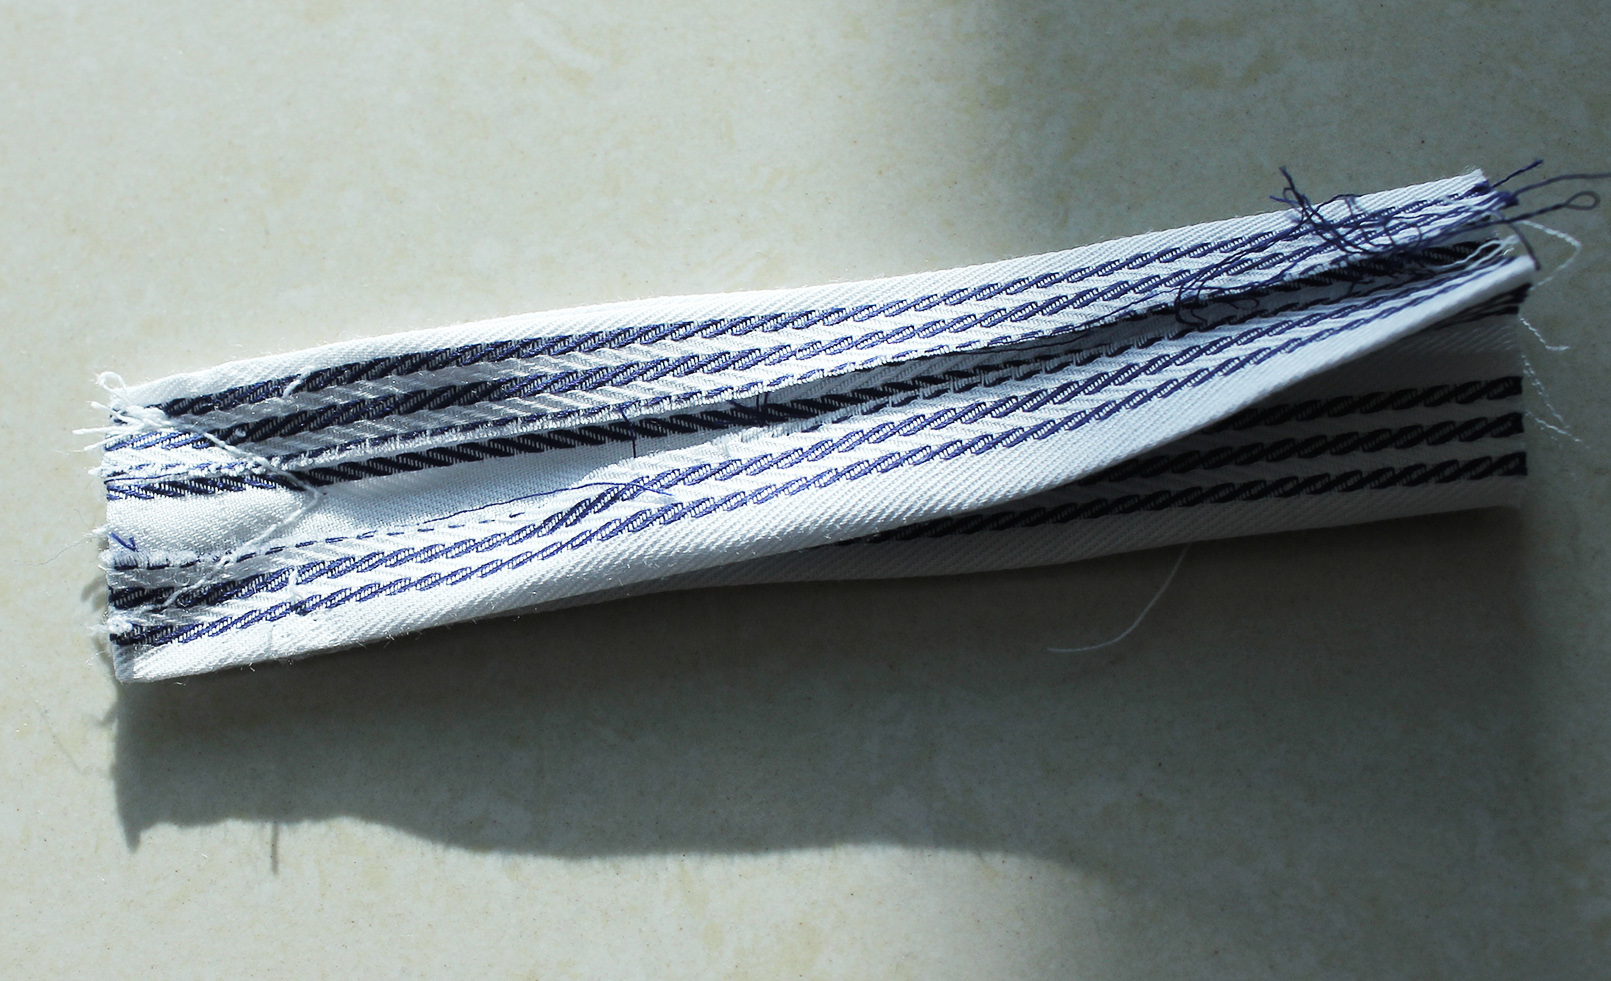
Trim the fabric:
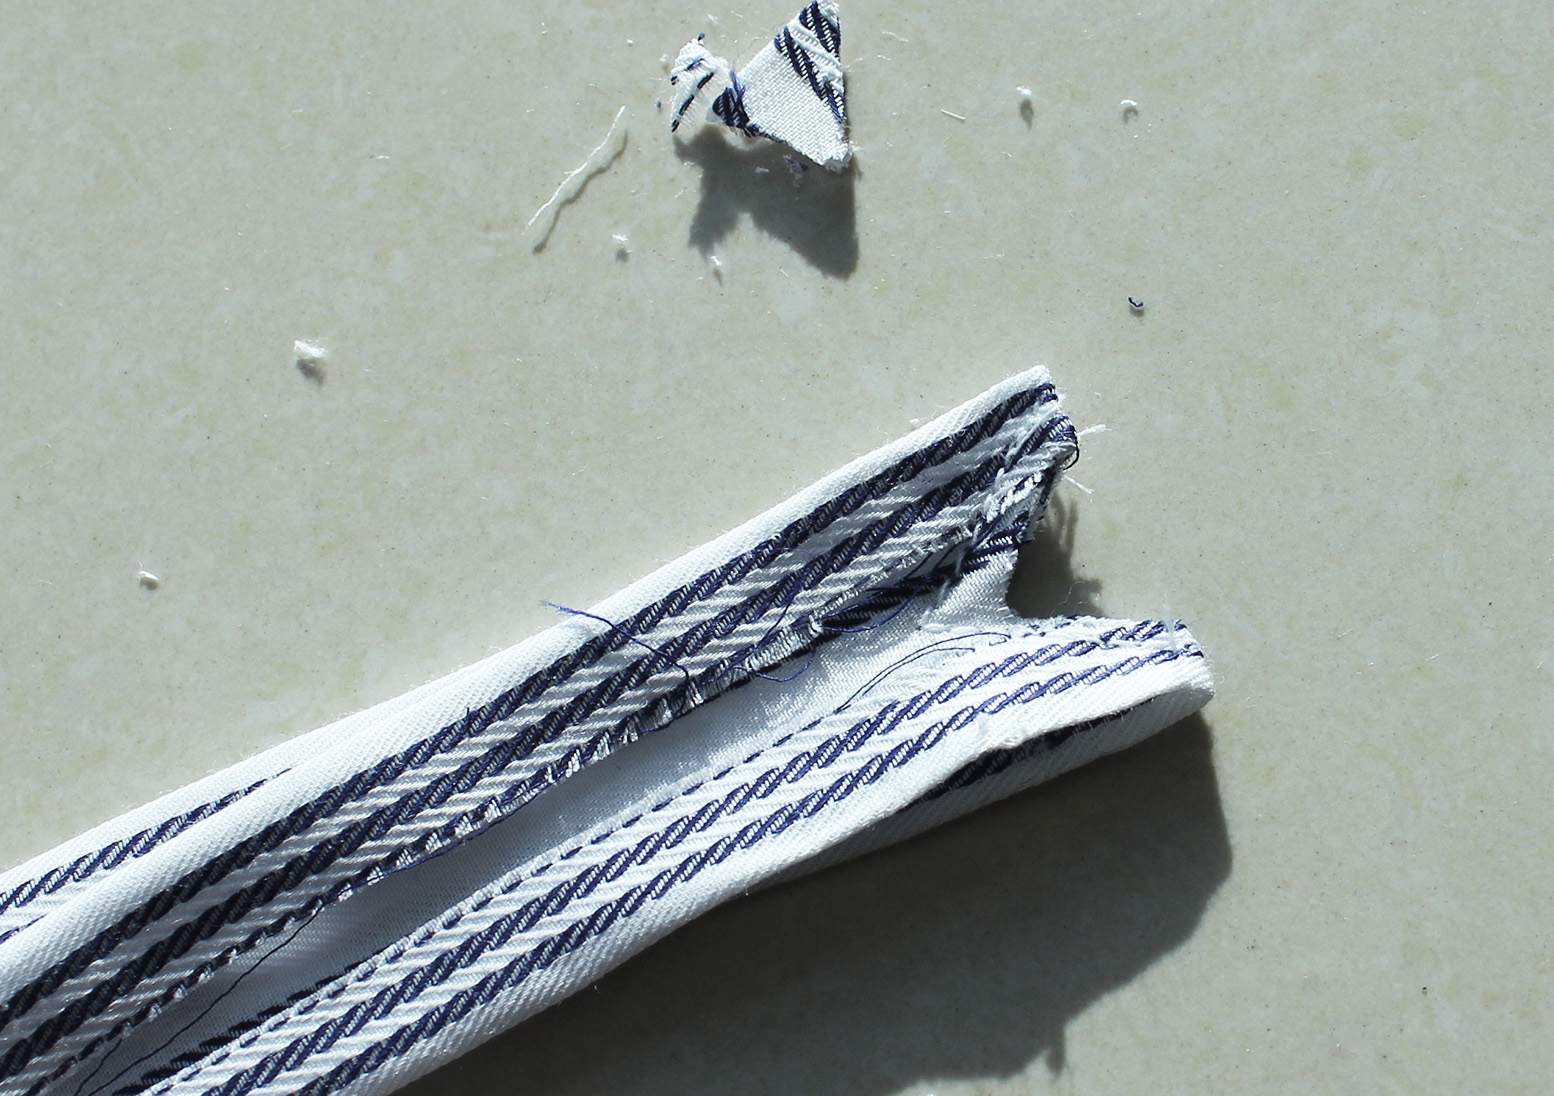
.. And turn right sides out, press, and you should have this:
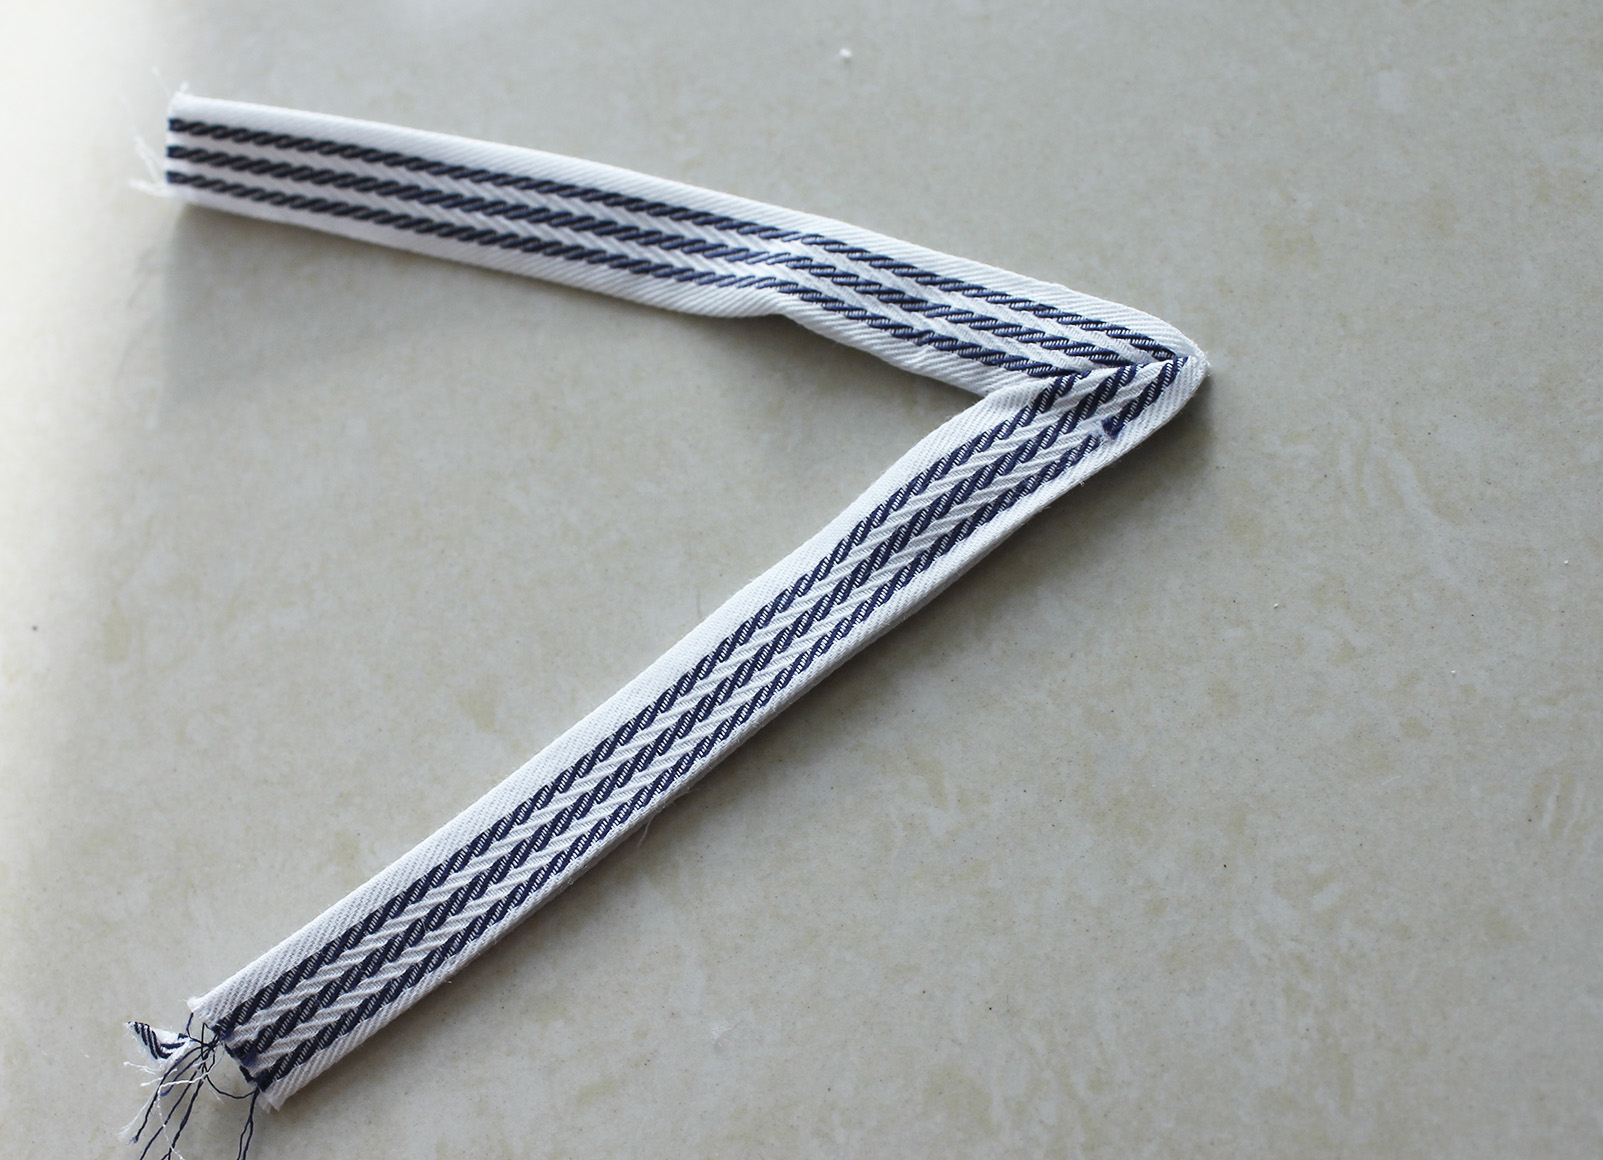
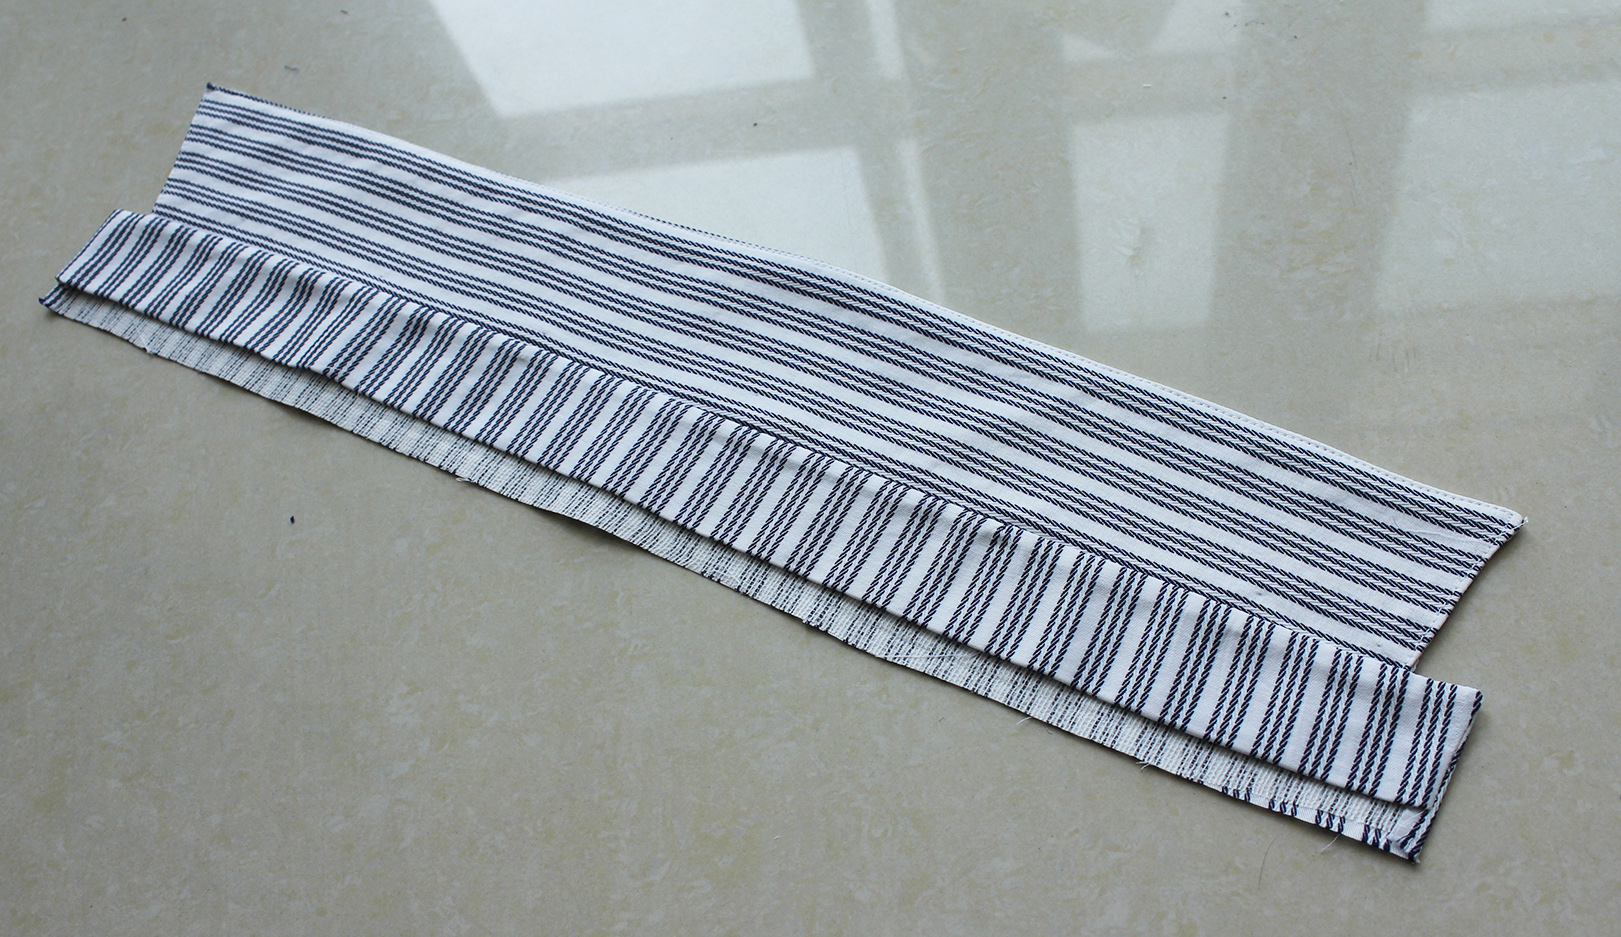
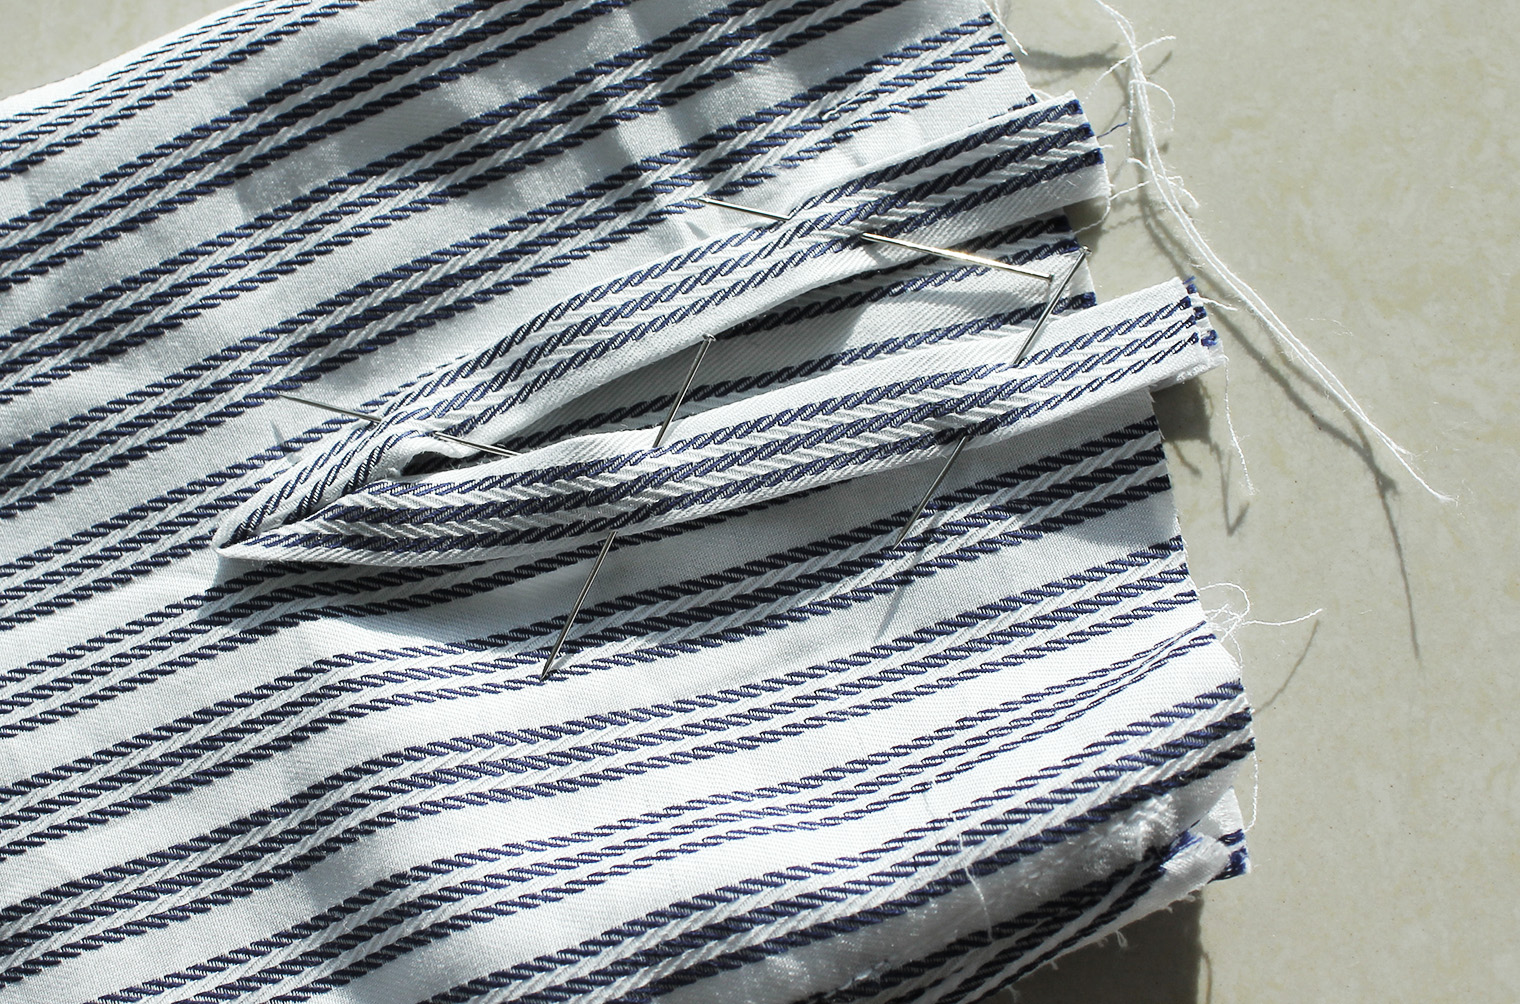
Pin onto the slit, sew along the edge. Repeat for other sleeve.
IX. So close!!! We're at the cuff. Fold the width of your seam allowance on one long edge of both cuff, on the wrong side.
Pin the unfolded edge onto the shirt sleeve, right sides facing. Sew in place.
Fold the cuff in half, right sides facing, and pin the sides.
Add a stitch down the side and trim excess around the corner.
Fold right side out and push out the corner. Press. As you did with the collar, iron the seam allowances inside the cuff and either slip stitch on the reverse or machine stitch on the right side.

X. The last step is to add your button holes and buttons. Check your sewing machine manual for how yours works for button holes, or this video which is pretty universal.
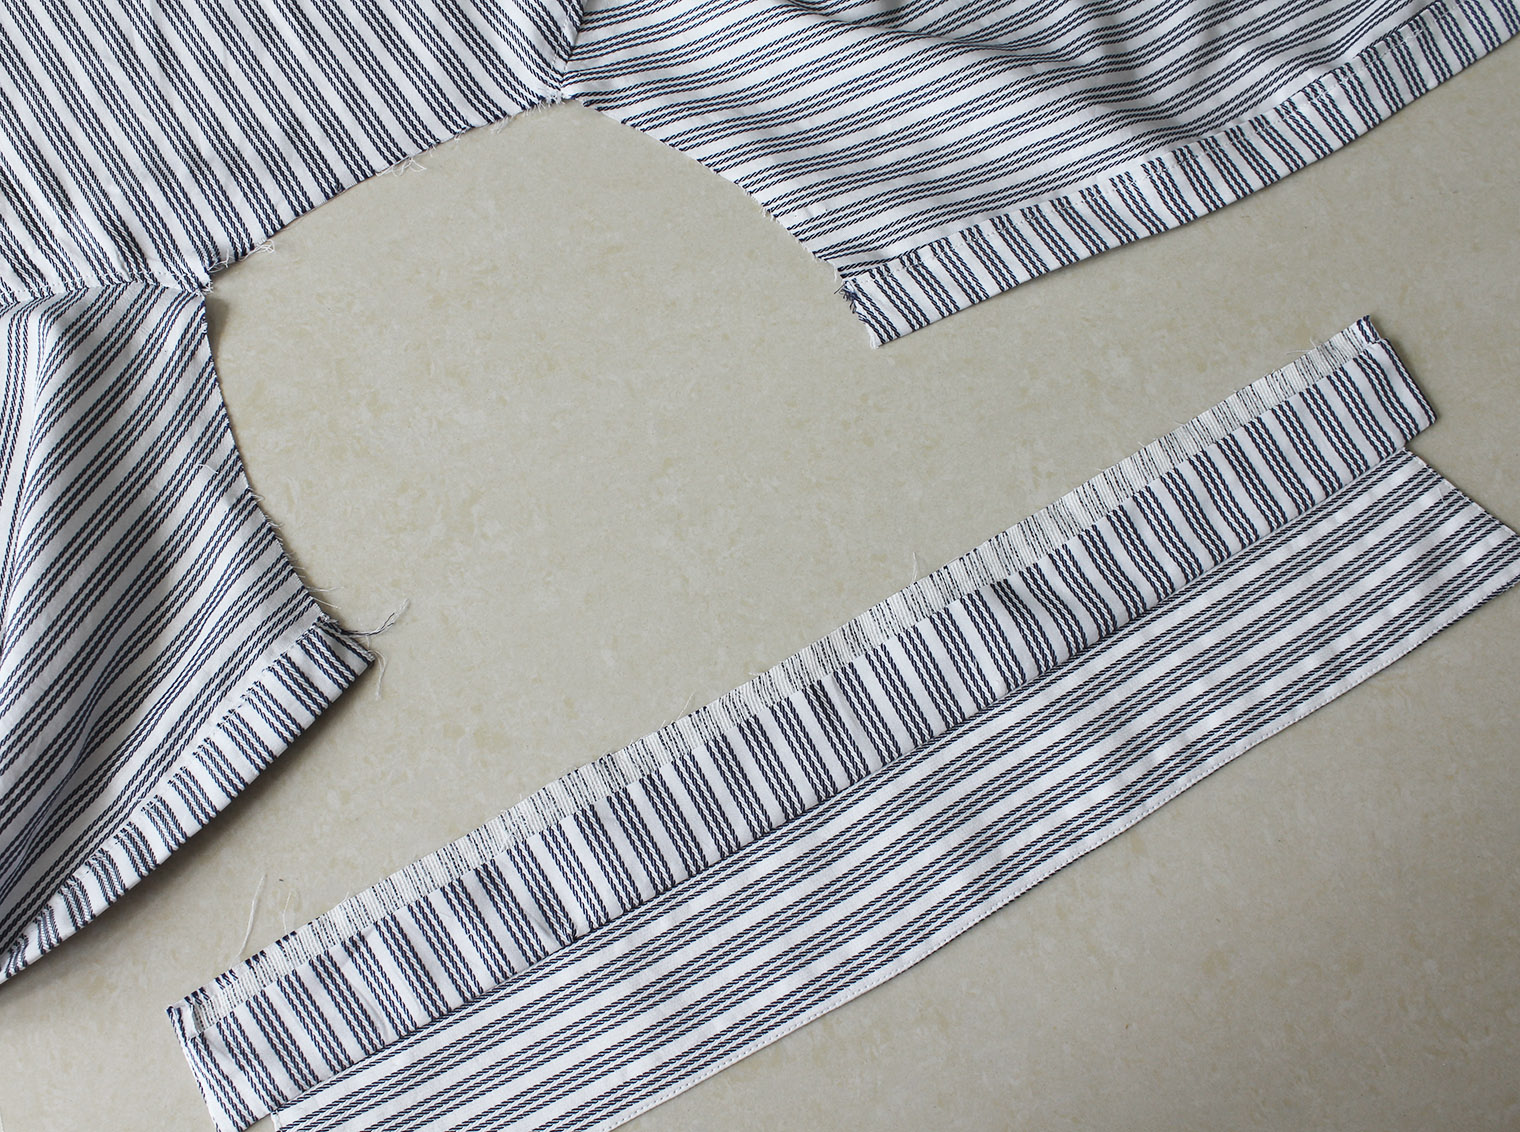
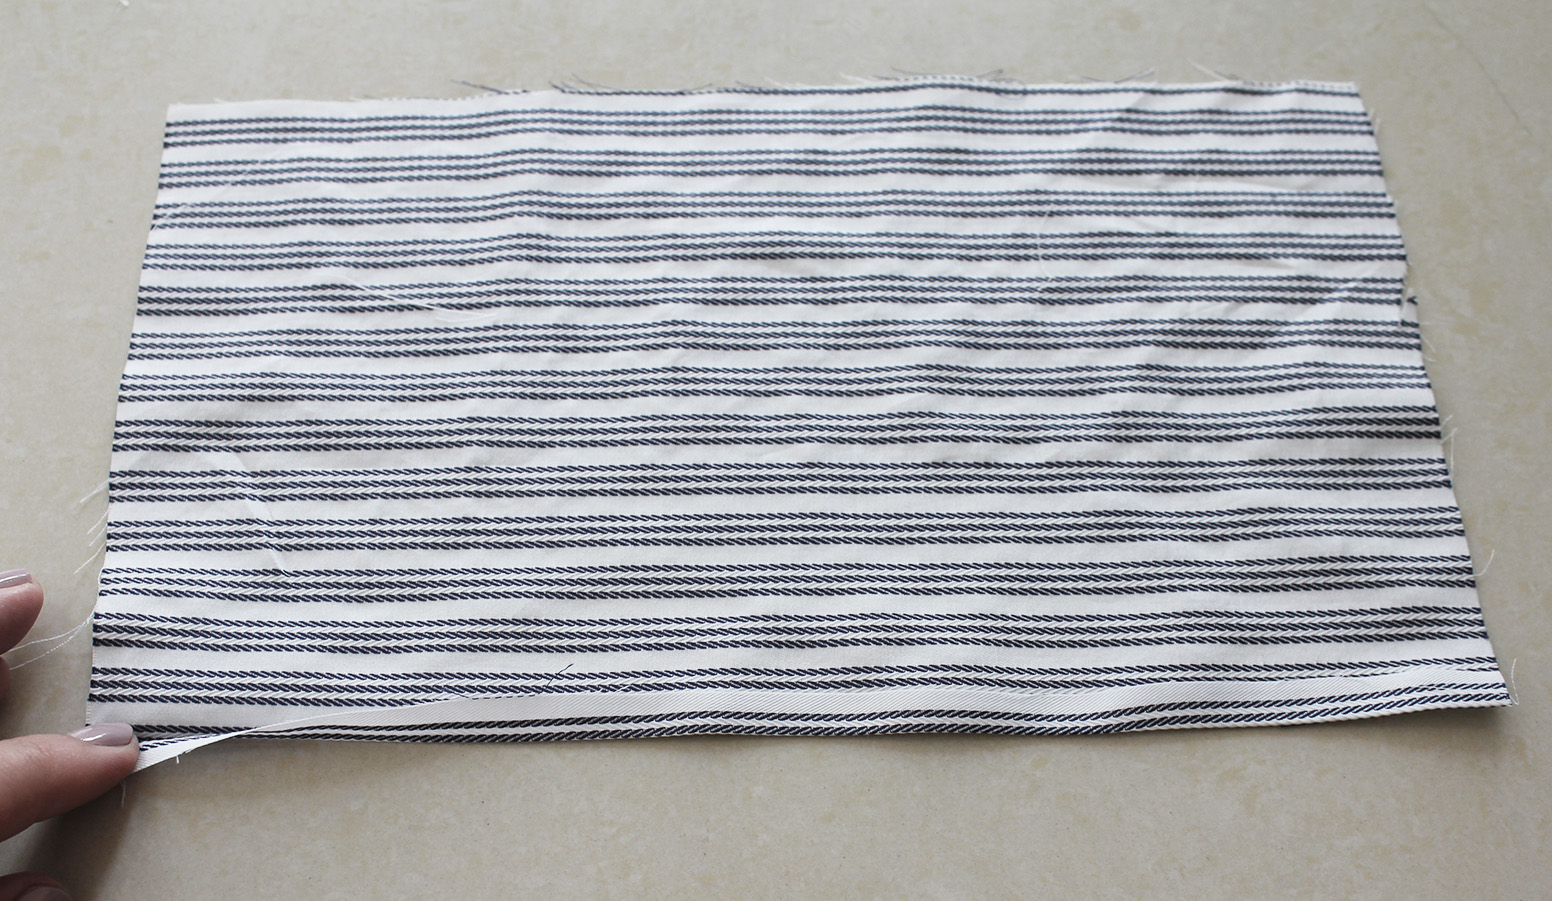
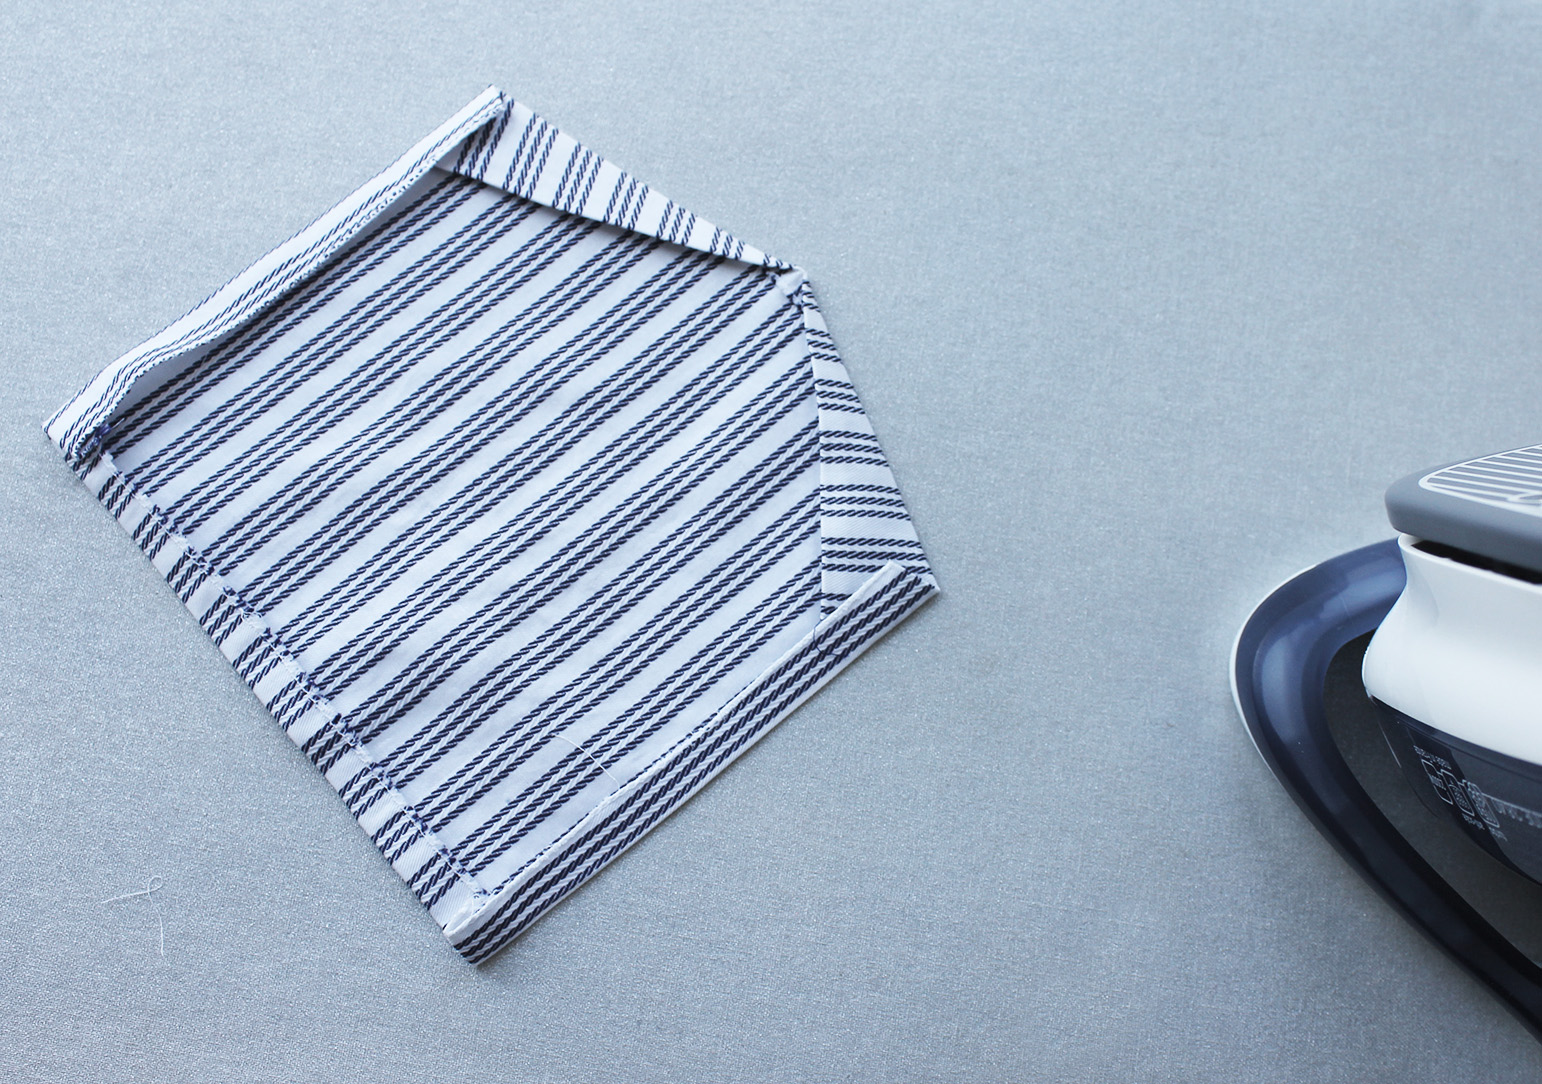
At the end, I had exactly this much fabric left. So yes, you can make a shirt out of 1 m of fabric! I decided to go all the way and use up the very last bit, so I made a pocket.
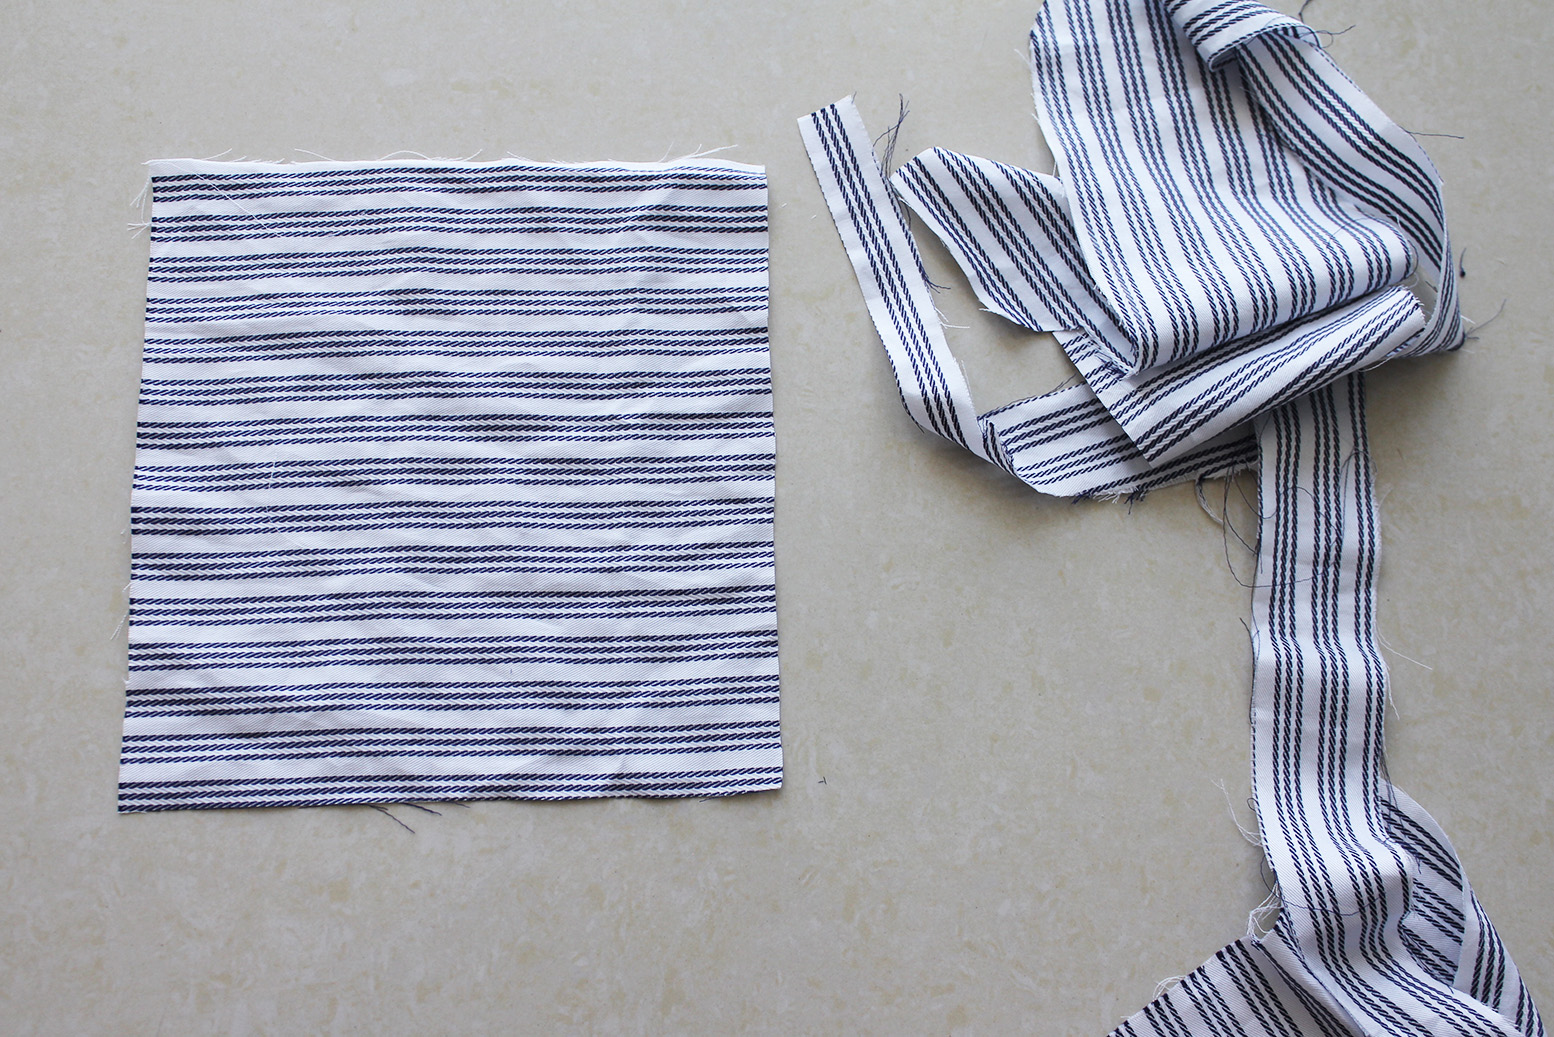
Pressed into shape with my iron, pinned onto the shirt, and sewed in place by hand to make sure the stripes aligned exactly.
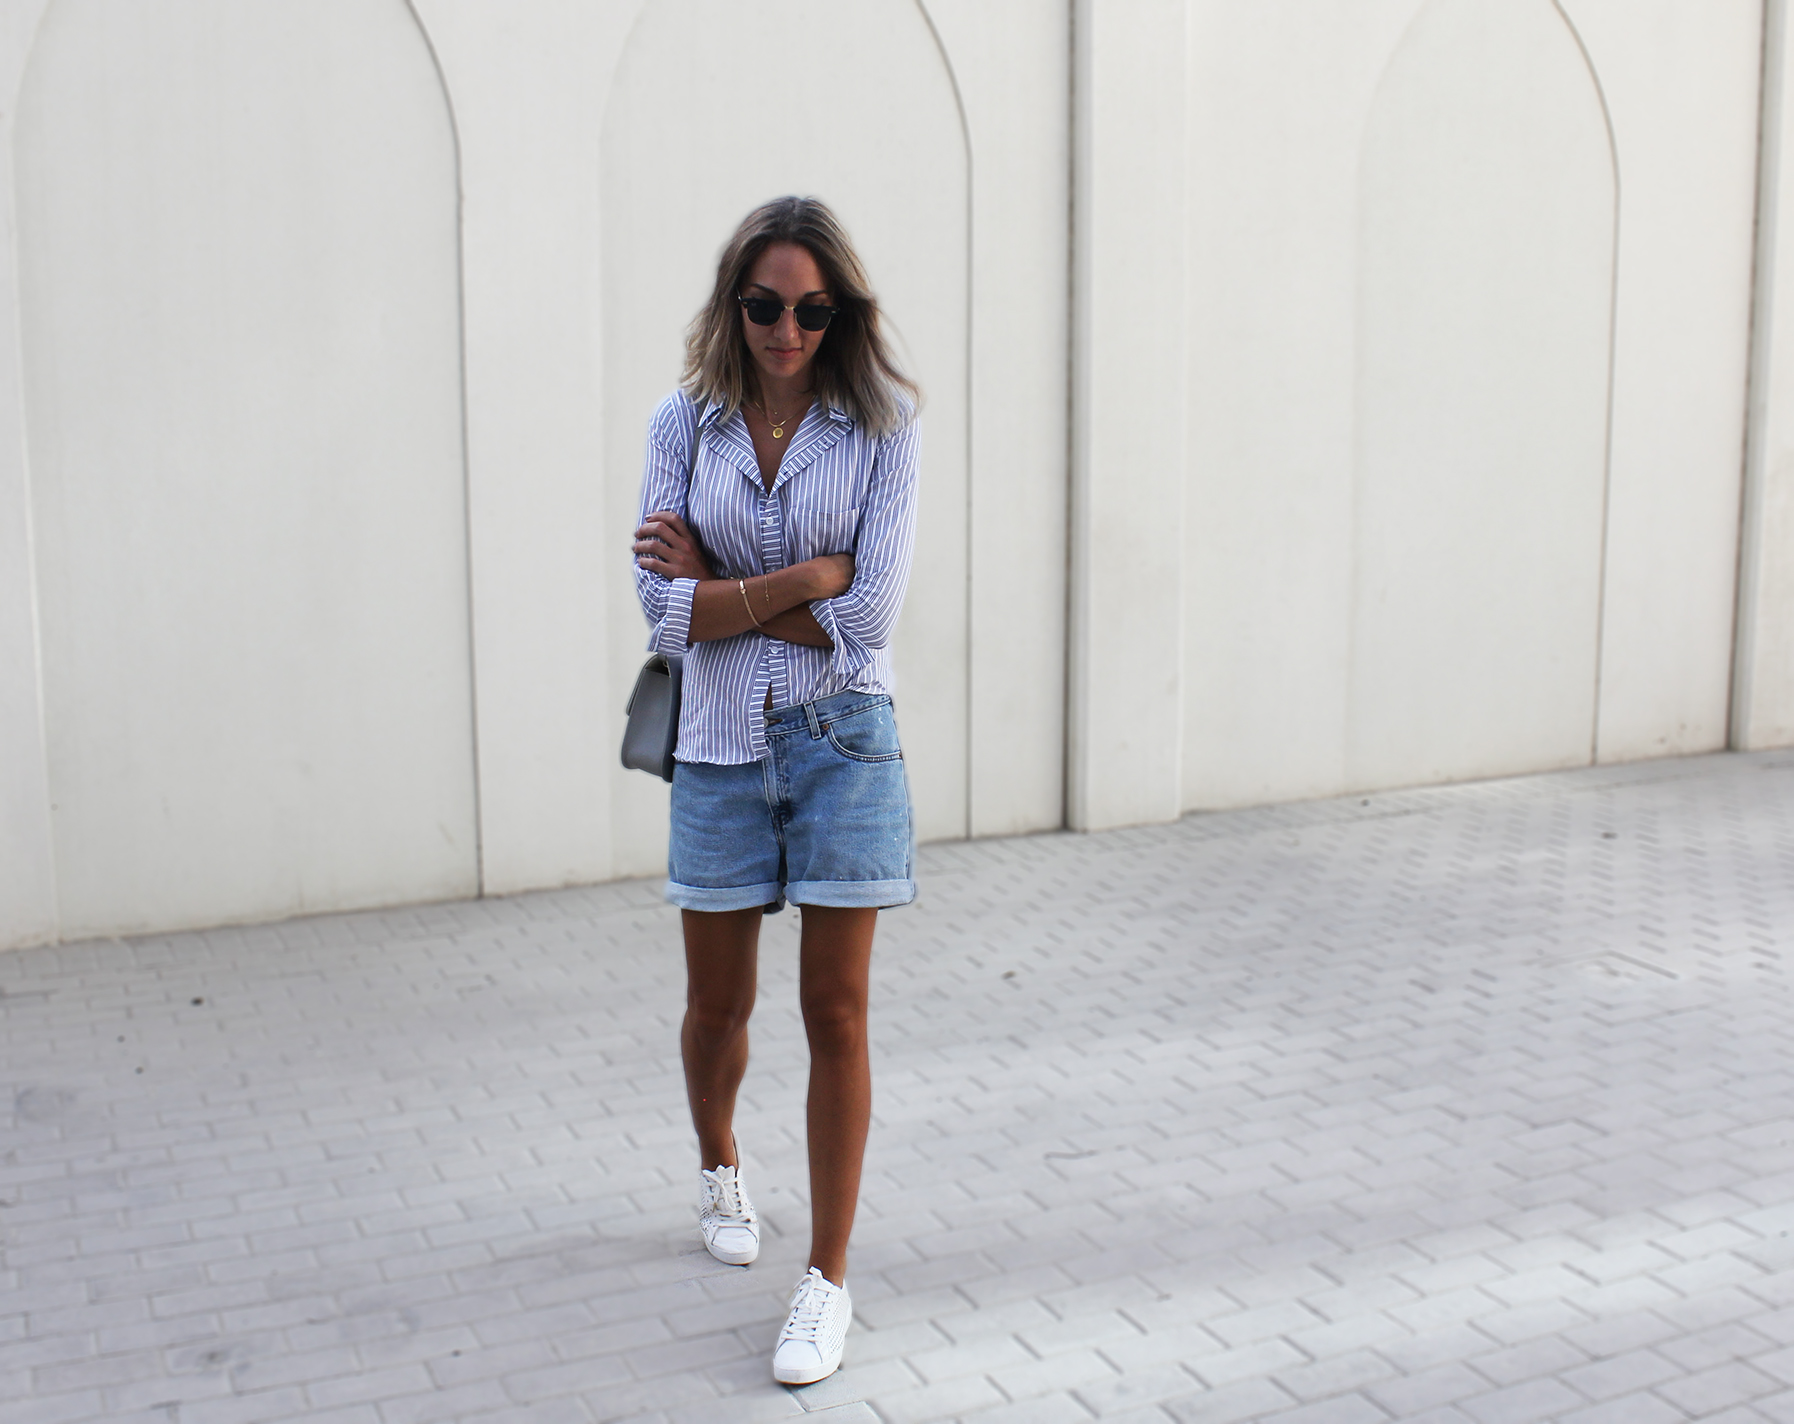
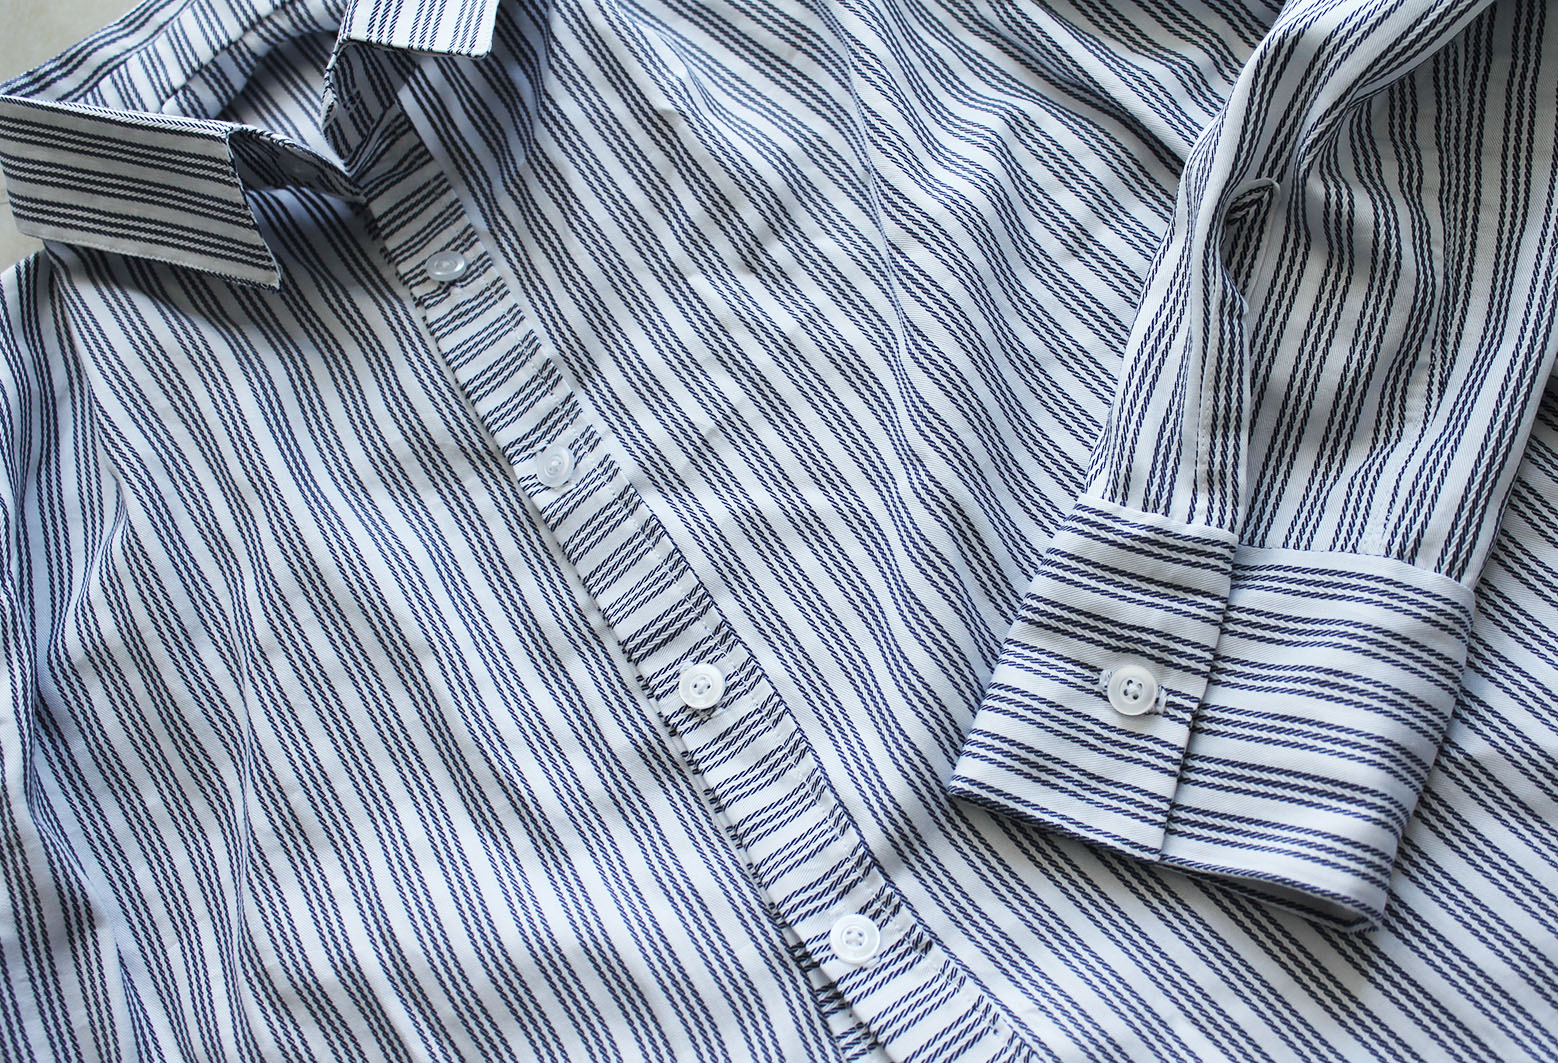
Self-made shirts make me happy!

xo,
Julia


I love those stripes! If I had all the time in the world I would make myself one button-up shirt a week!
ReplyDelete