

When stuck in Finland waiting for a UAE working visa, freezing cold outside, to preserve my sanity I needed something with lots of meditative hand-sewing involved. This lace trim came from my grandmother's sewing box, which makes it extra special.
Tutorials take a lot of time & effort to create, and I choose to make mine available for free. If you enjoy this guide, you can support me with a donation that feels right for you, here.
TOOLS:
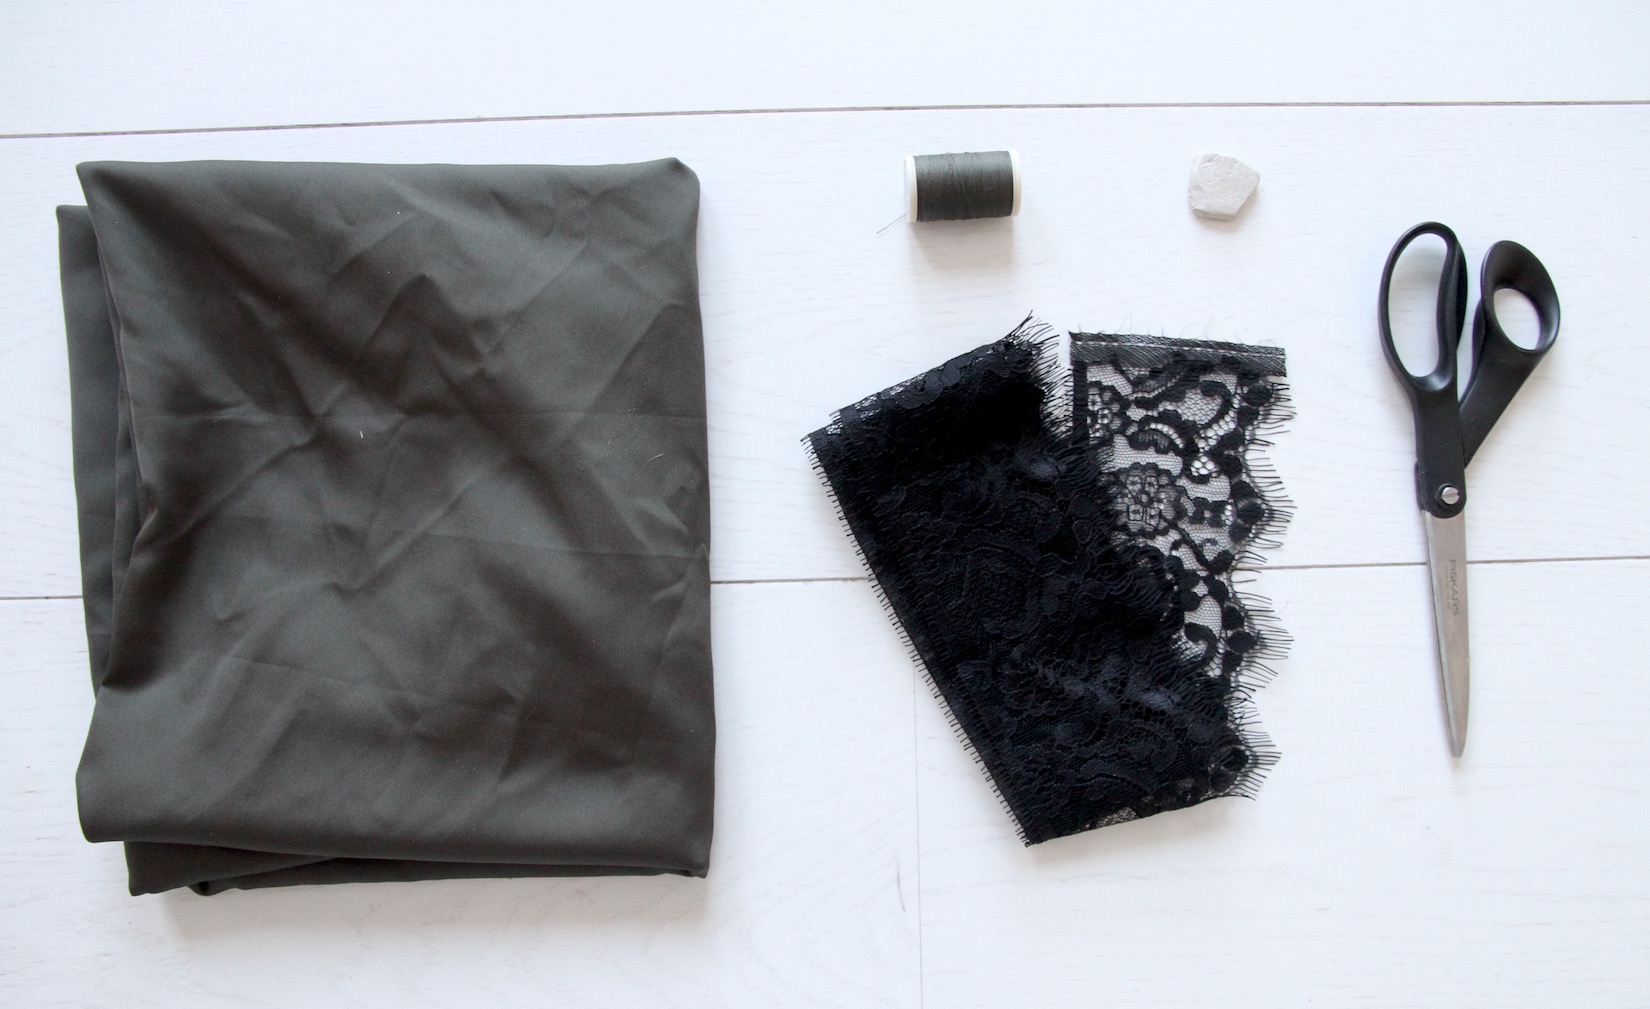
Satin (or similar feel fabric), 2 m | Scissors | Fabric marker | Thread, sewing machine & needle | Lace trim, 1 m | Elastic (enough to go around your waist) | Some string to make the straps (any thin string will do, just used as a tool and not visible in the finished garment)
TOP
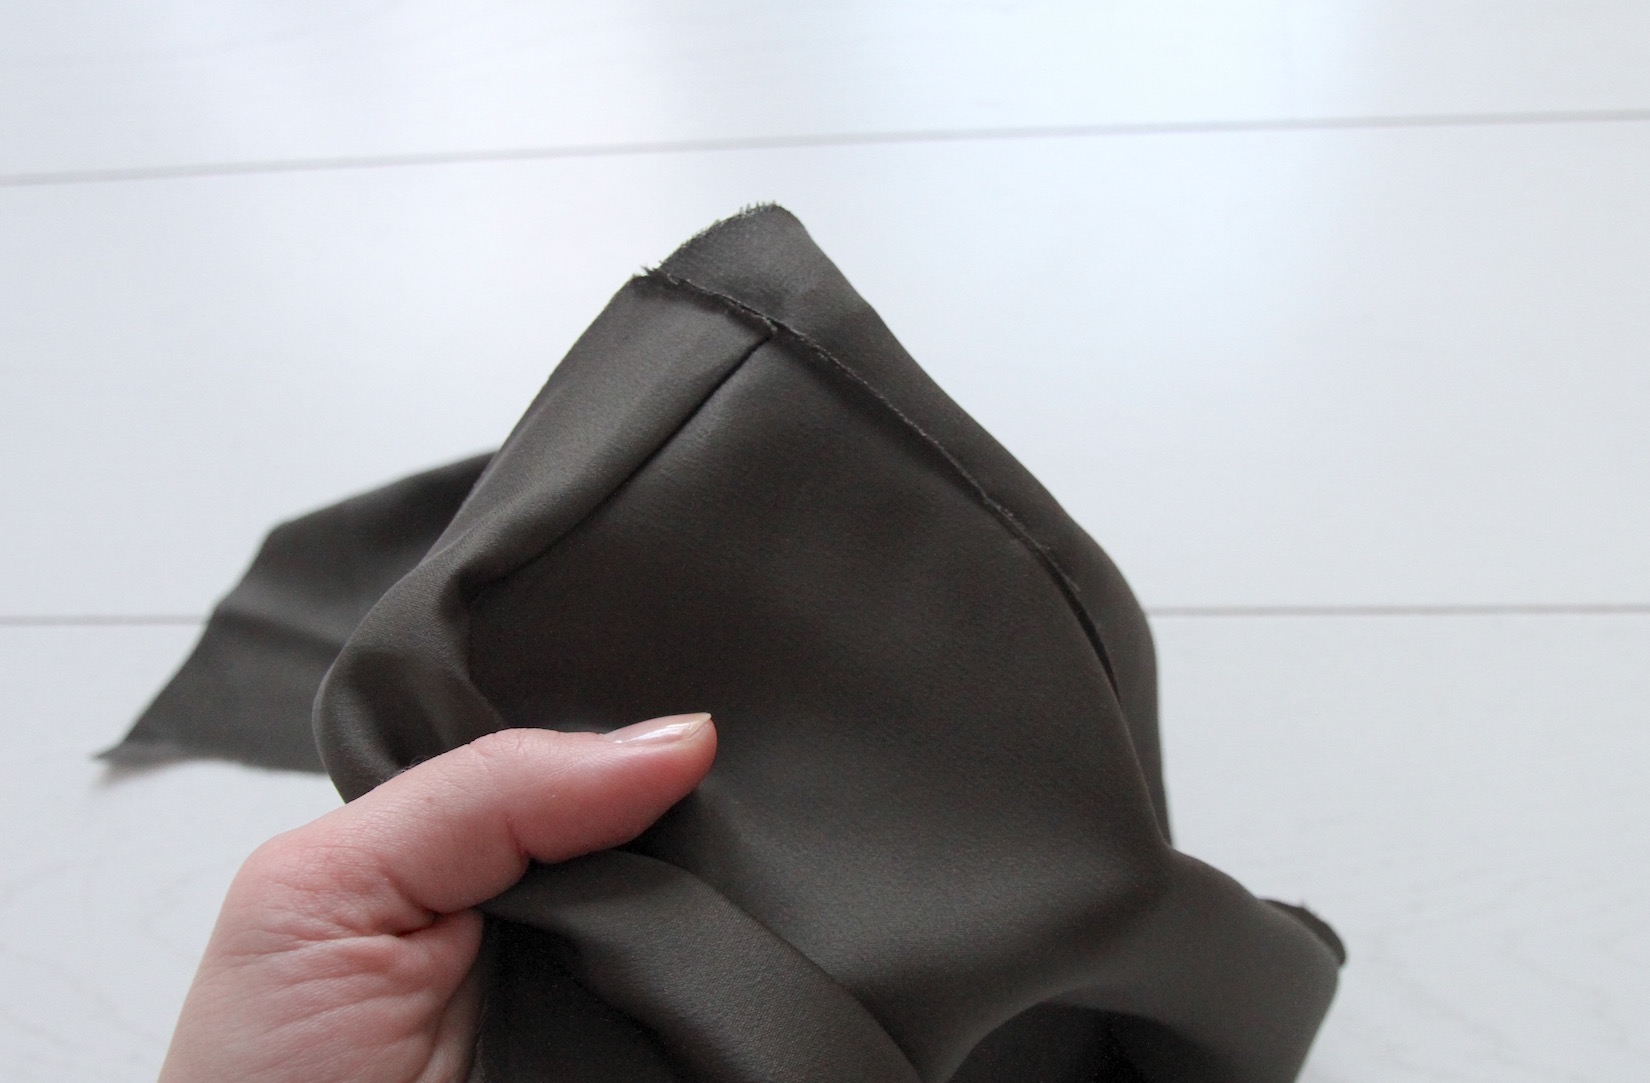
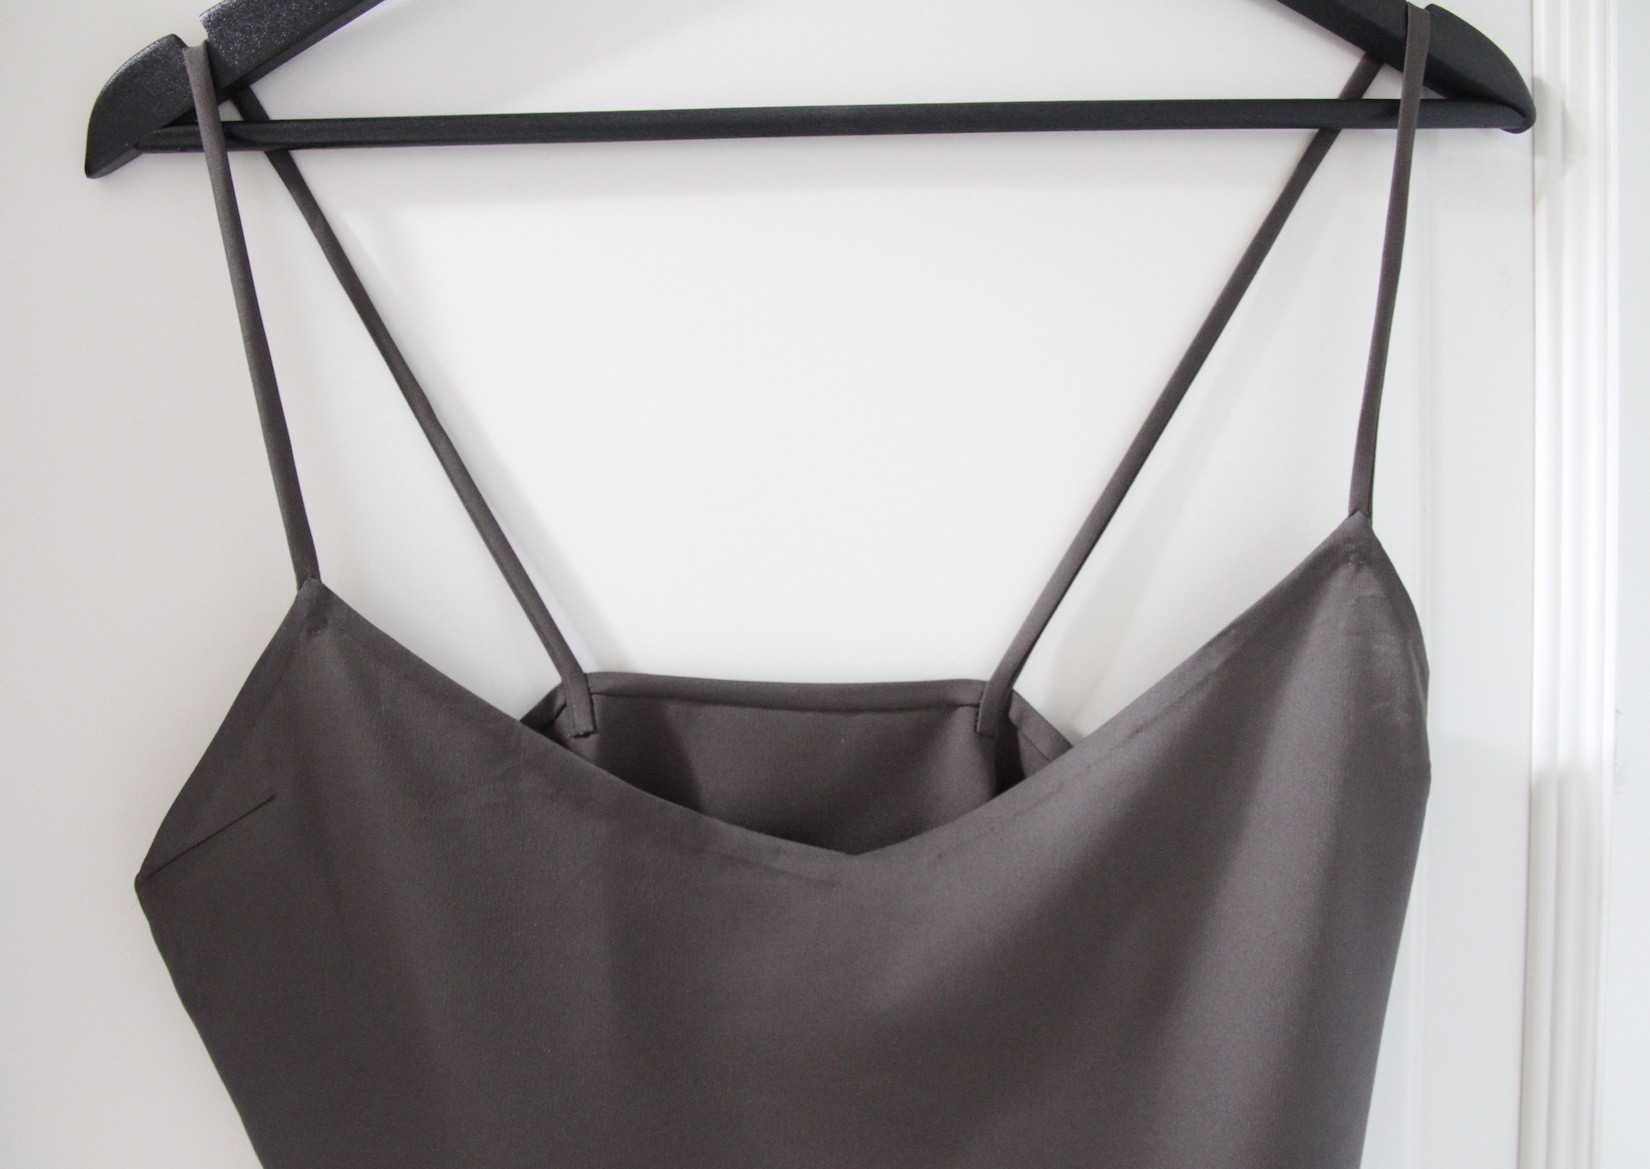
I. Cut pieces should look something like this. the measurements are good for a size EU36/US 4 top.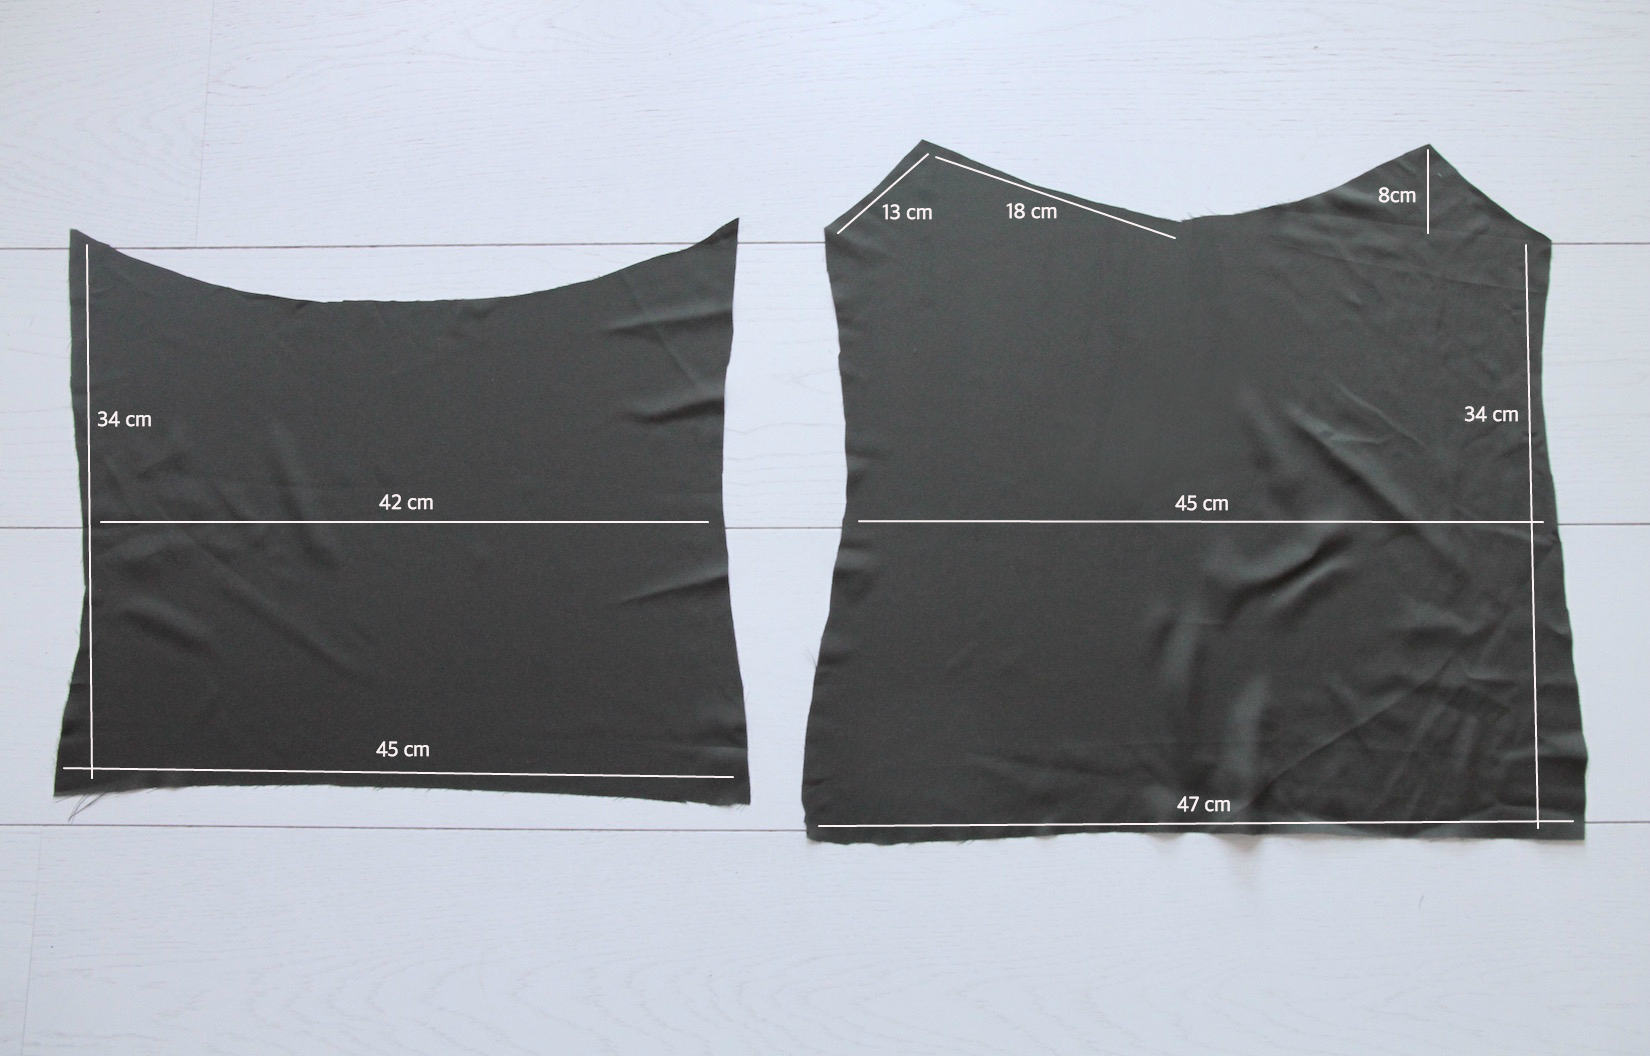 II. First sew small darts to the bust area:
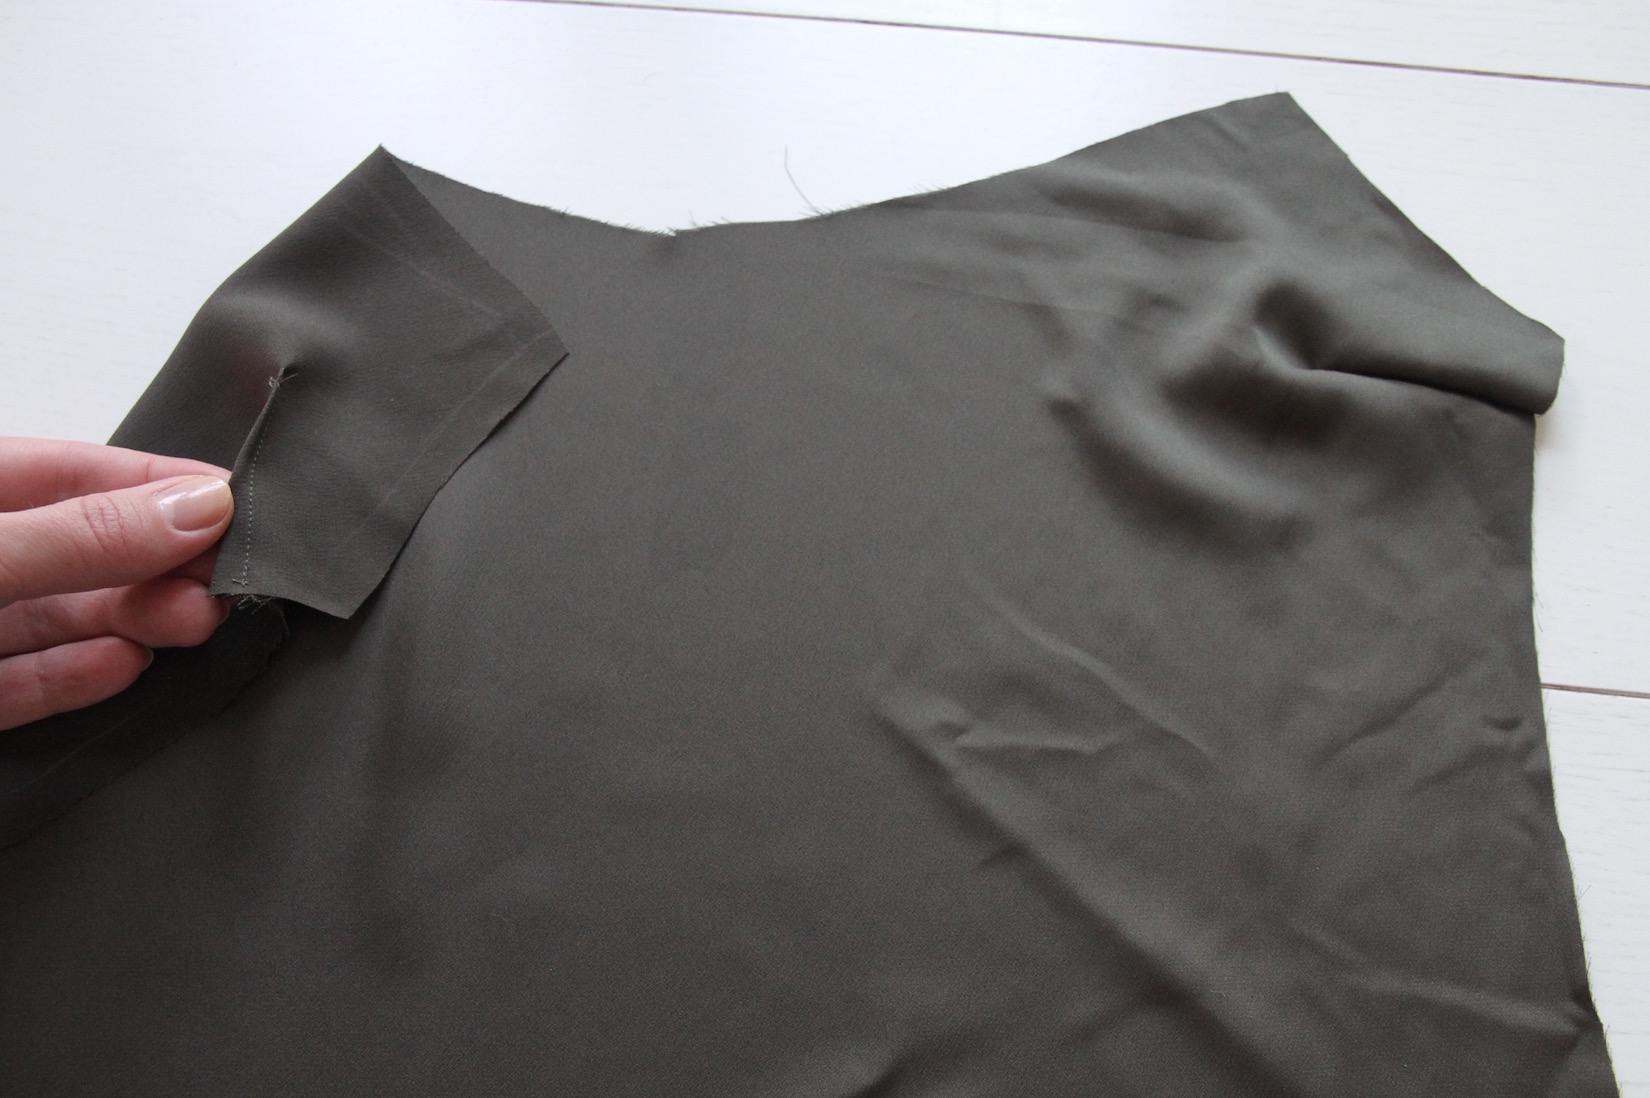
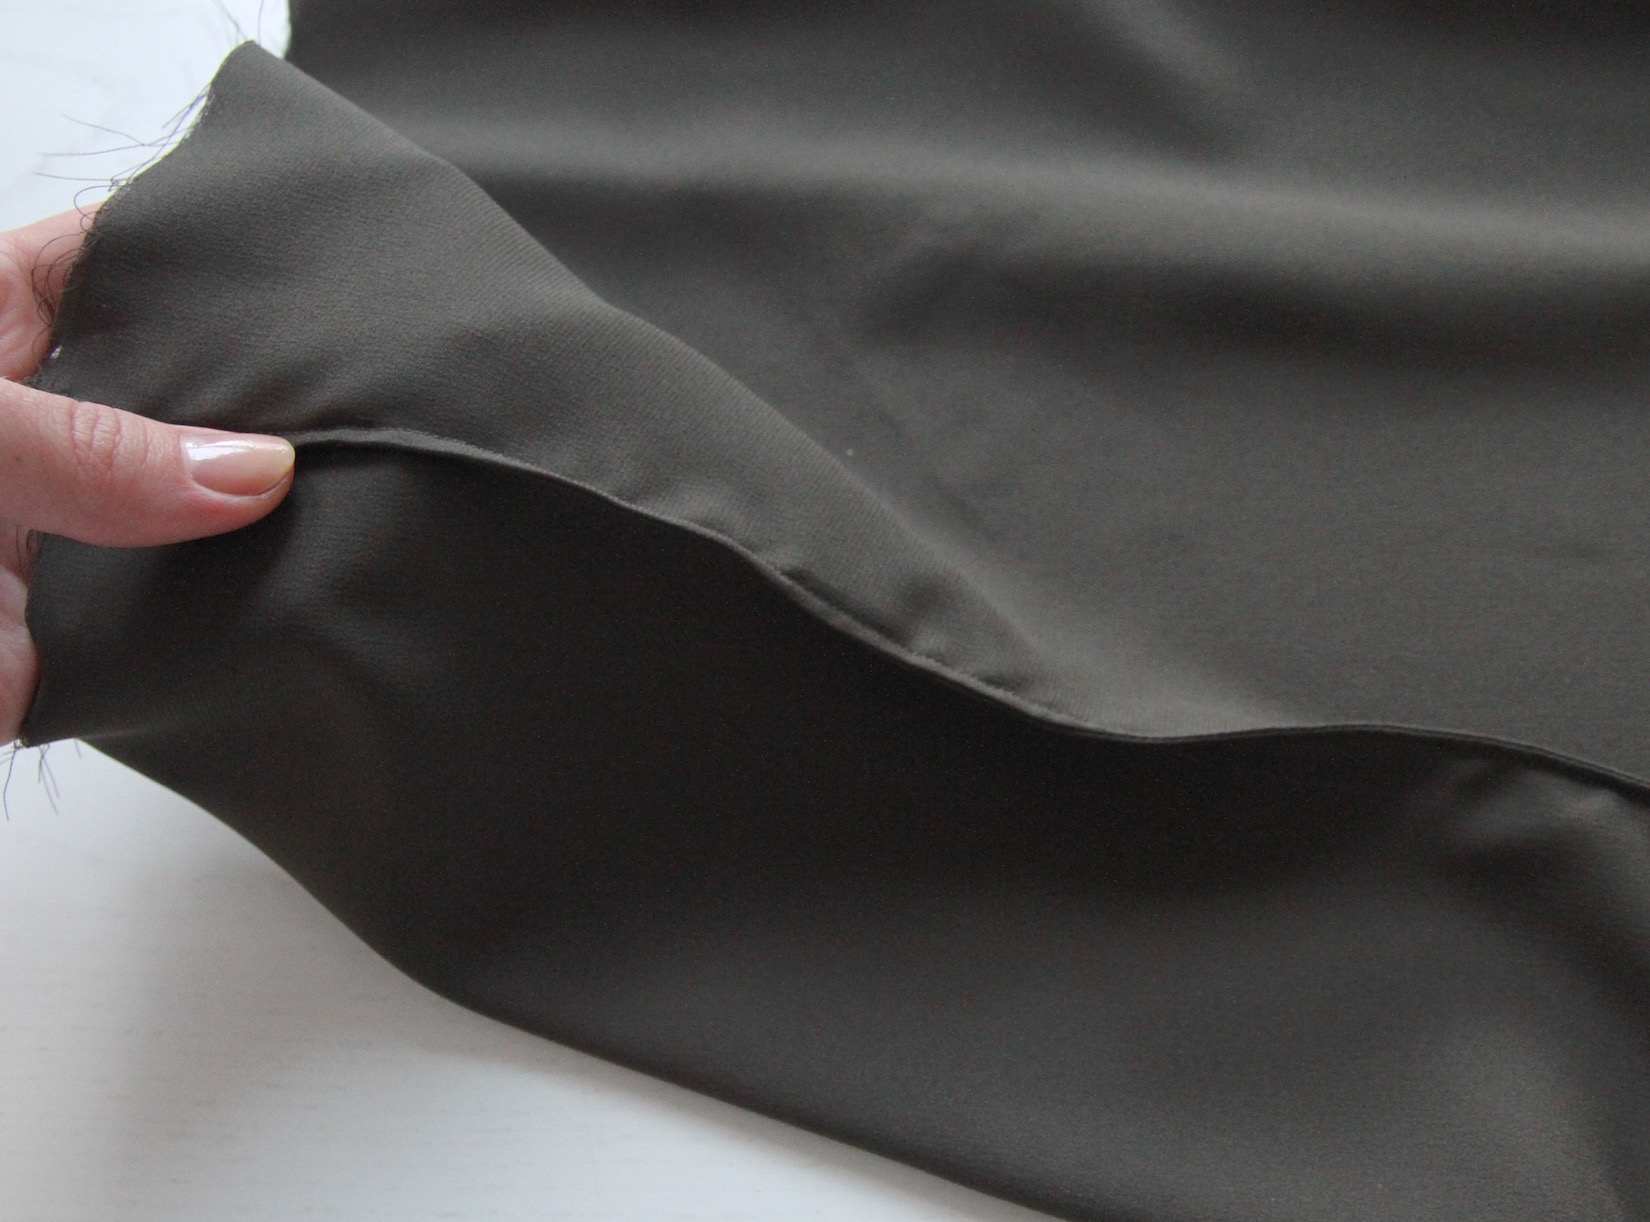
III. For the sides, I did a French seam, which is nice for delicate fabrics like satin, chiffon... Start by pining the sides seams together, wrong sides facing. Sew very close to the edge.
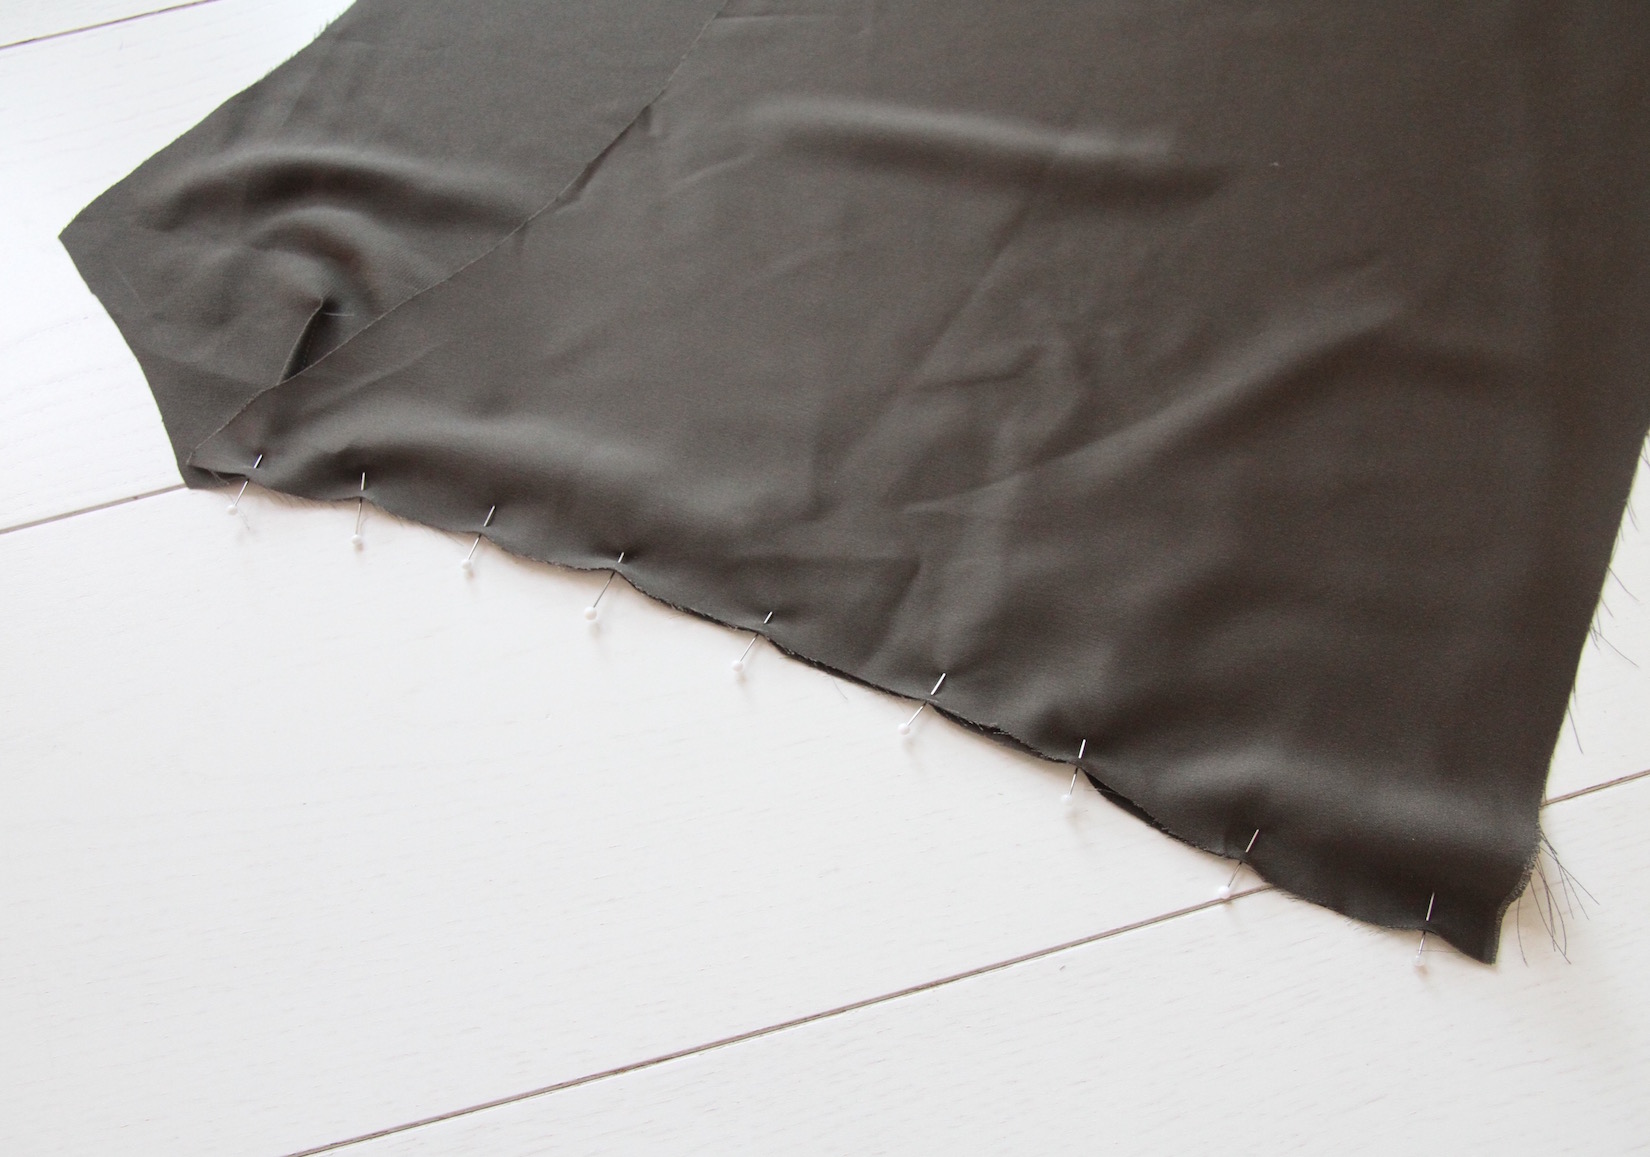
Trim any excess so you only have a couple 11 of seam allowance left.
Then flip the fabric over so your right sides are facing (like you would normally go about doing a seam). At this point it helps to press the fold with your iron so that the seam you just sewed is right at the fold. Then sew right next to your first seam allowance - if you trimmed your seam allowance at 2 mm, sew at about 3 mm from the edge. This way you ensure that the entire raw edge is trapped inside, and none of it comes through this second seam onto the right side. This will leave you with a really pretty and clean seam on the reverse, while it will look just like a regular seam on the right side.
IV. Finish the hem with a double-fold and straight stitch.
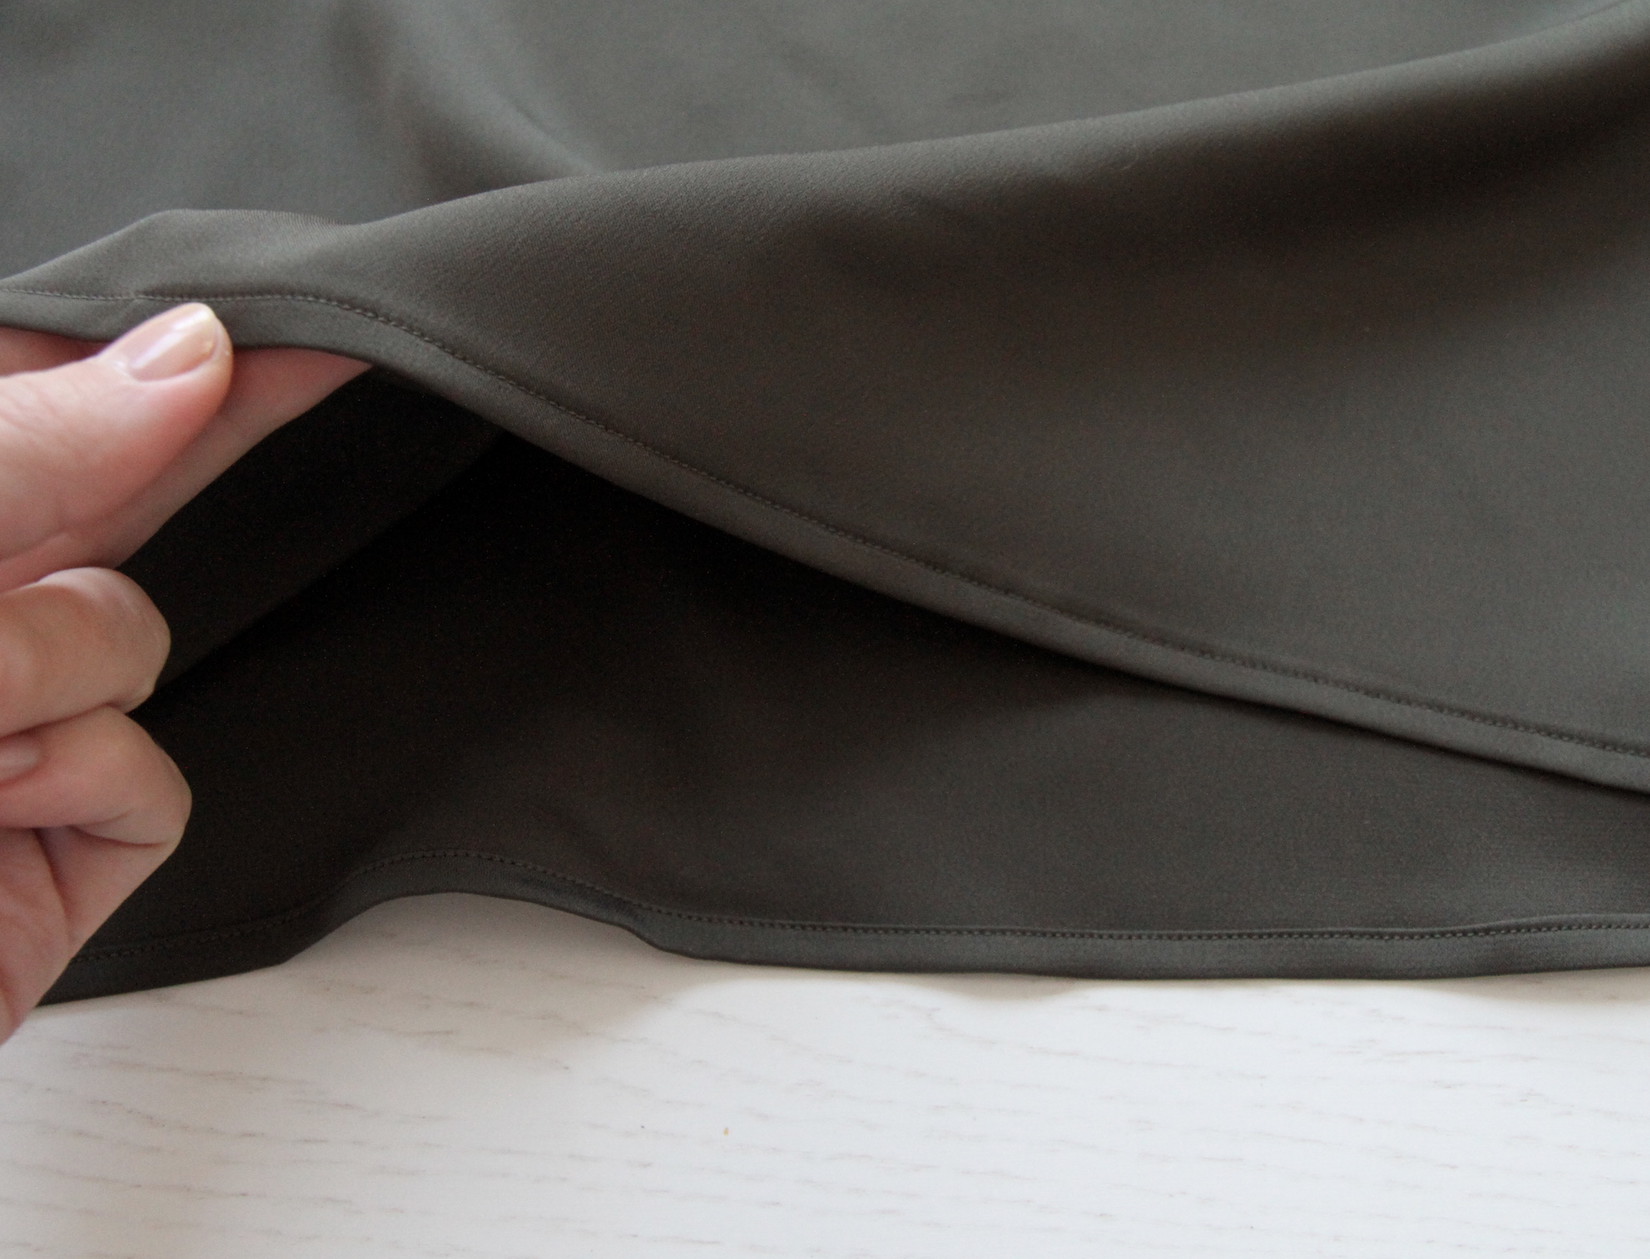
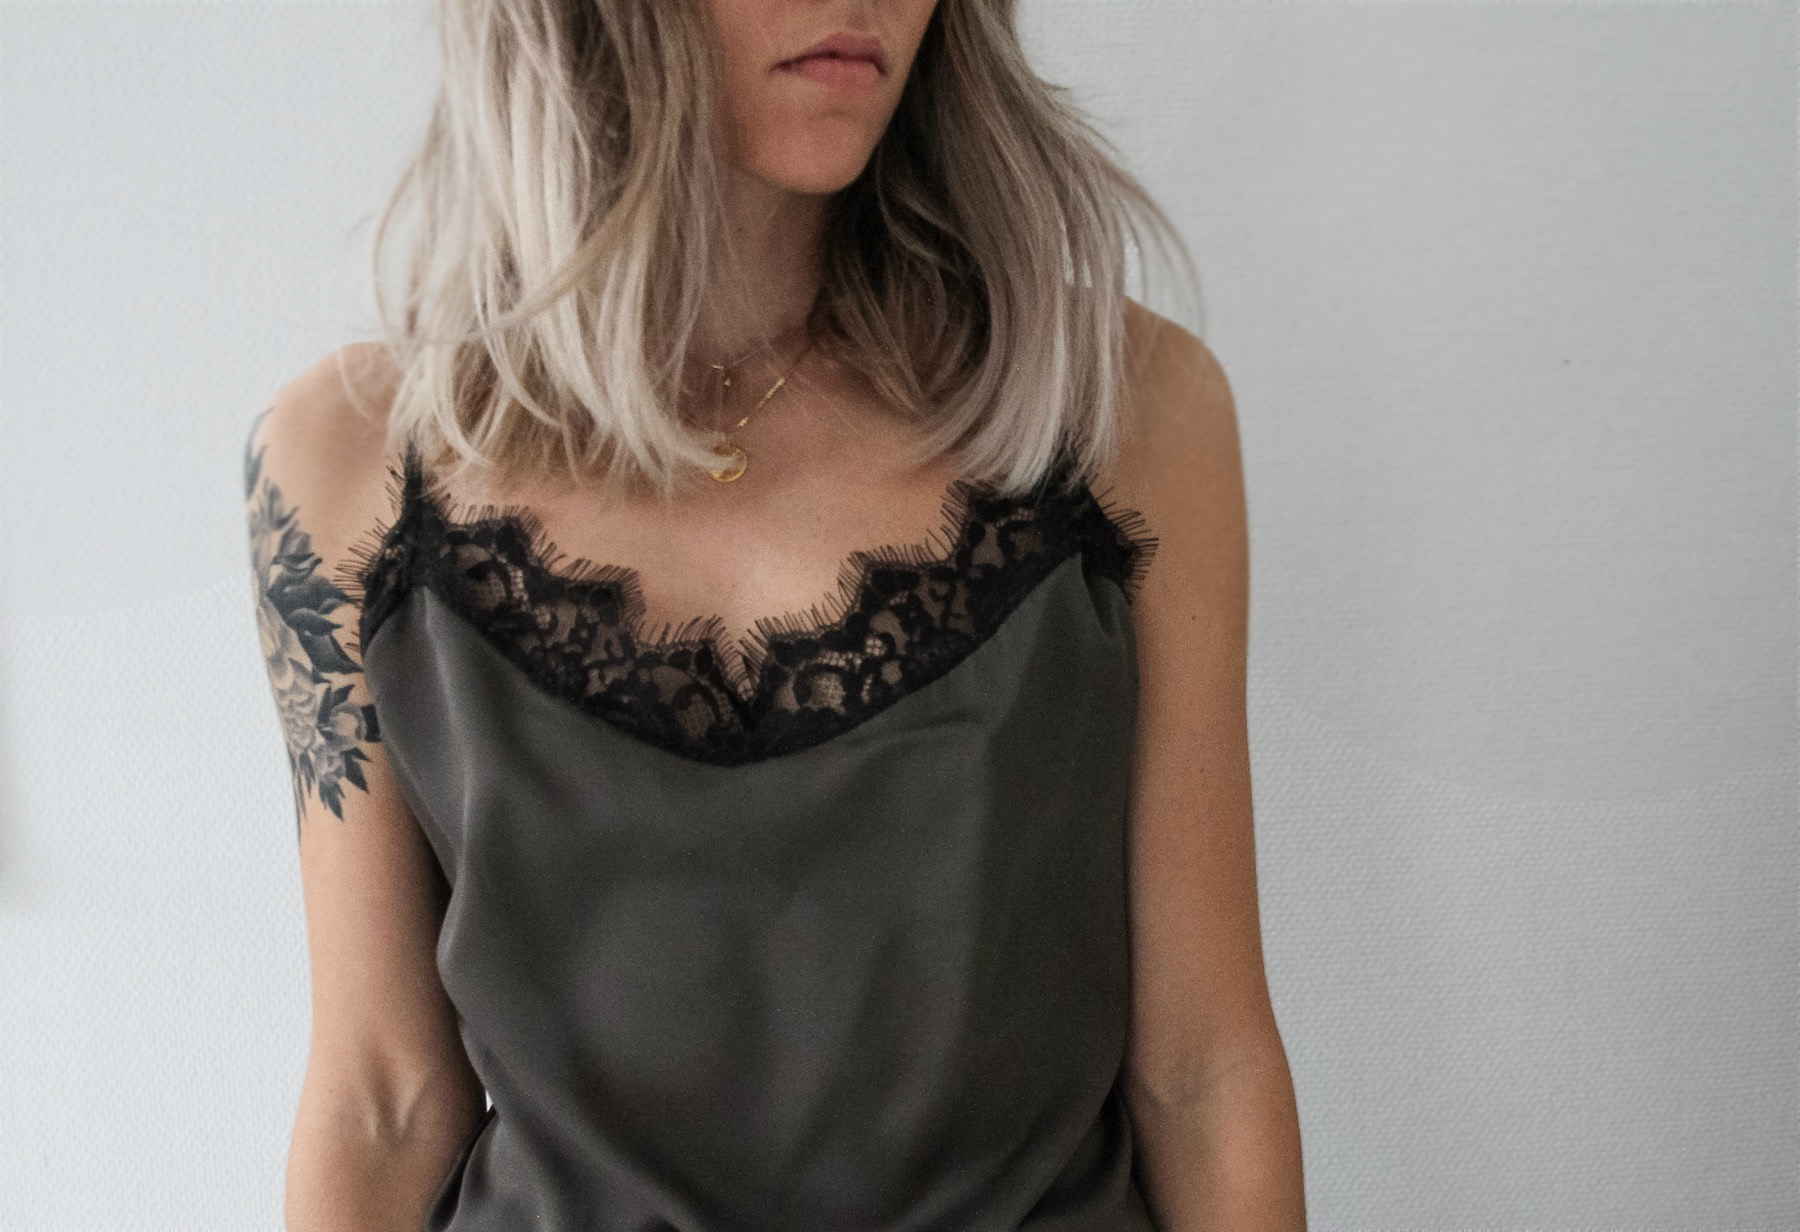
V. Onto the neckline. Do a double fold (I did about 1 cm) and press with your iron. Then you could machine stitch, I did a blind-stitch by hand.
VI. Add your straps, which I made using this method. My straps were 44 cm long each.

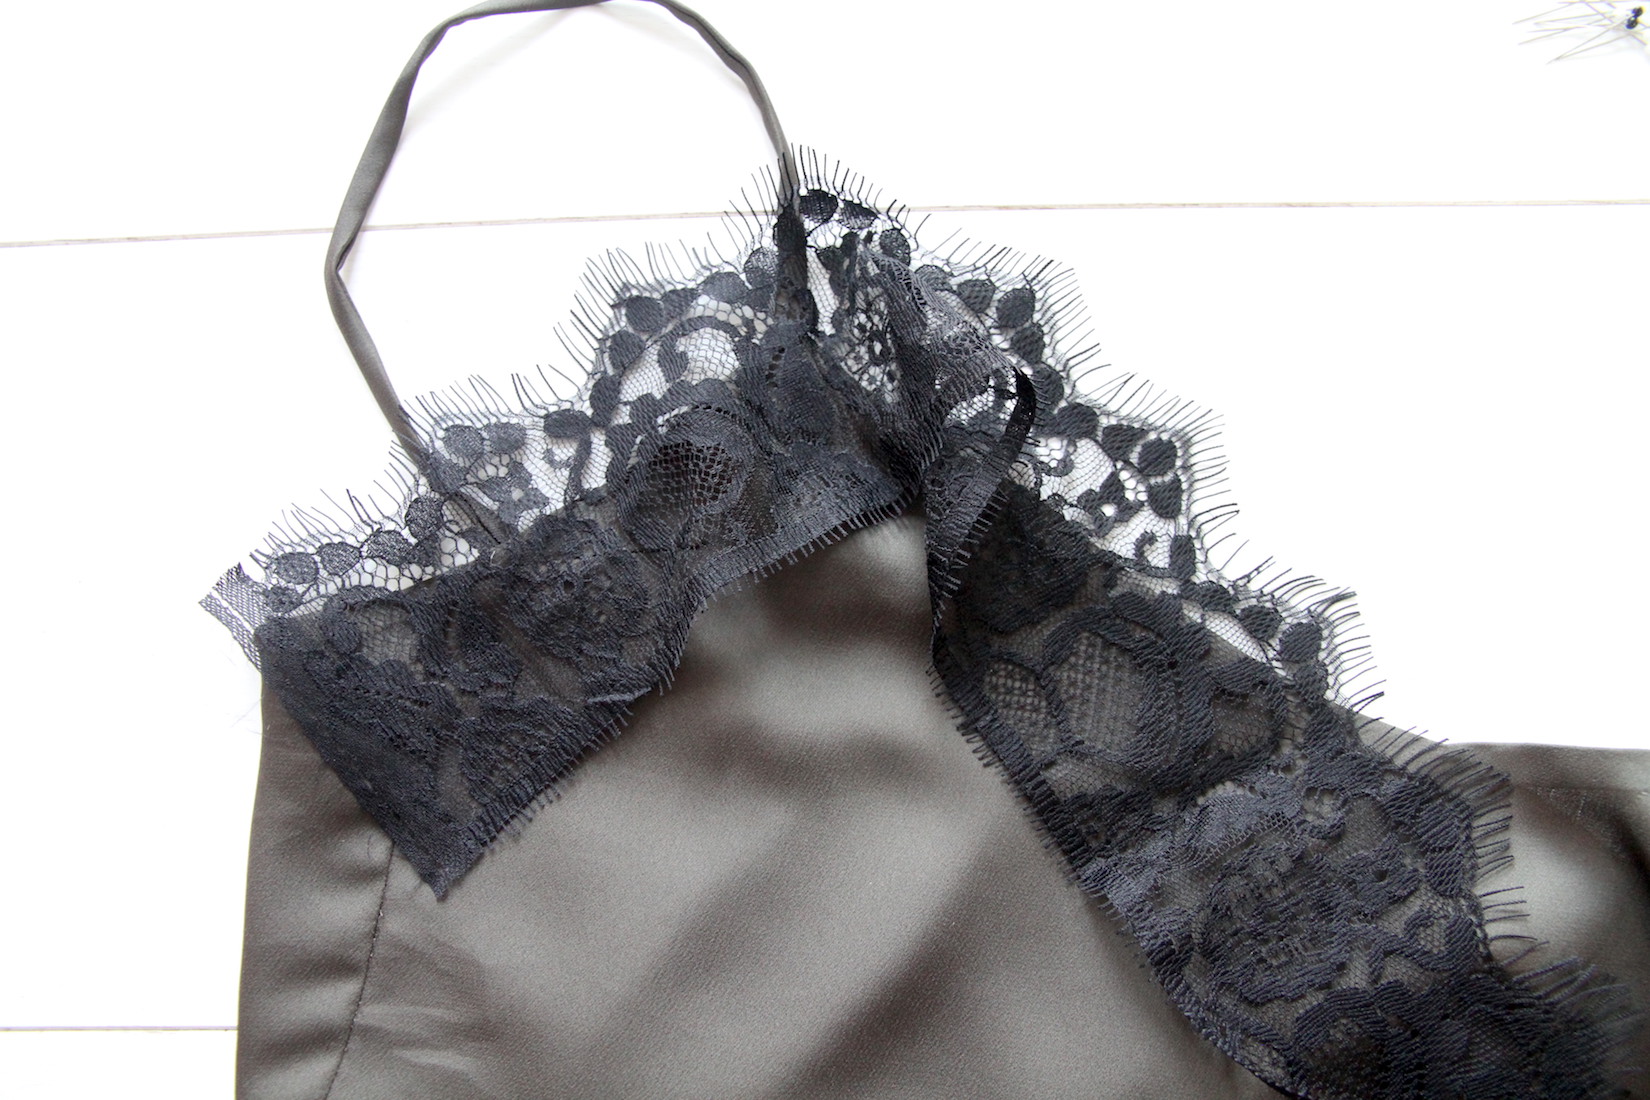
At this point the top is ready except for the lace trim, which we'll add next.
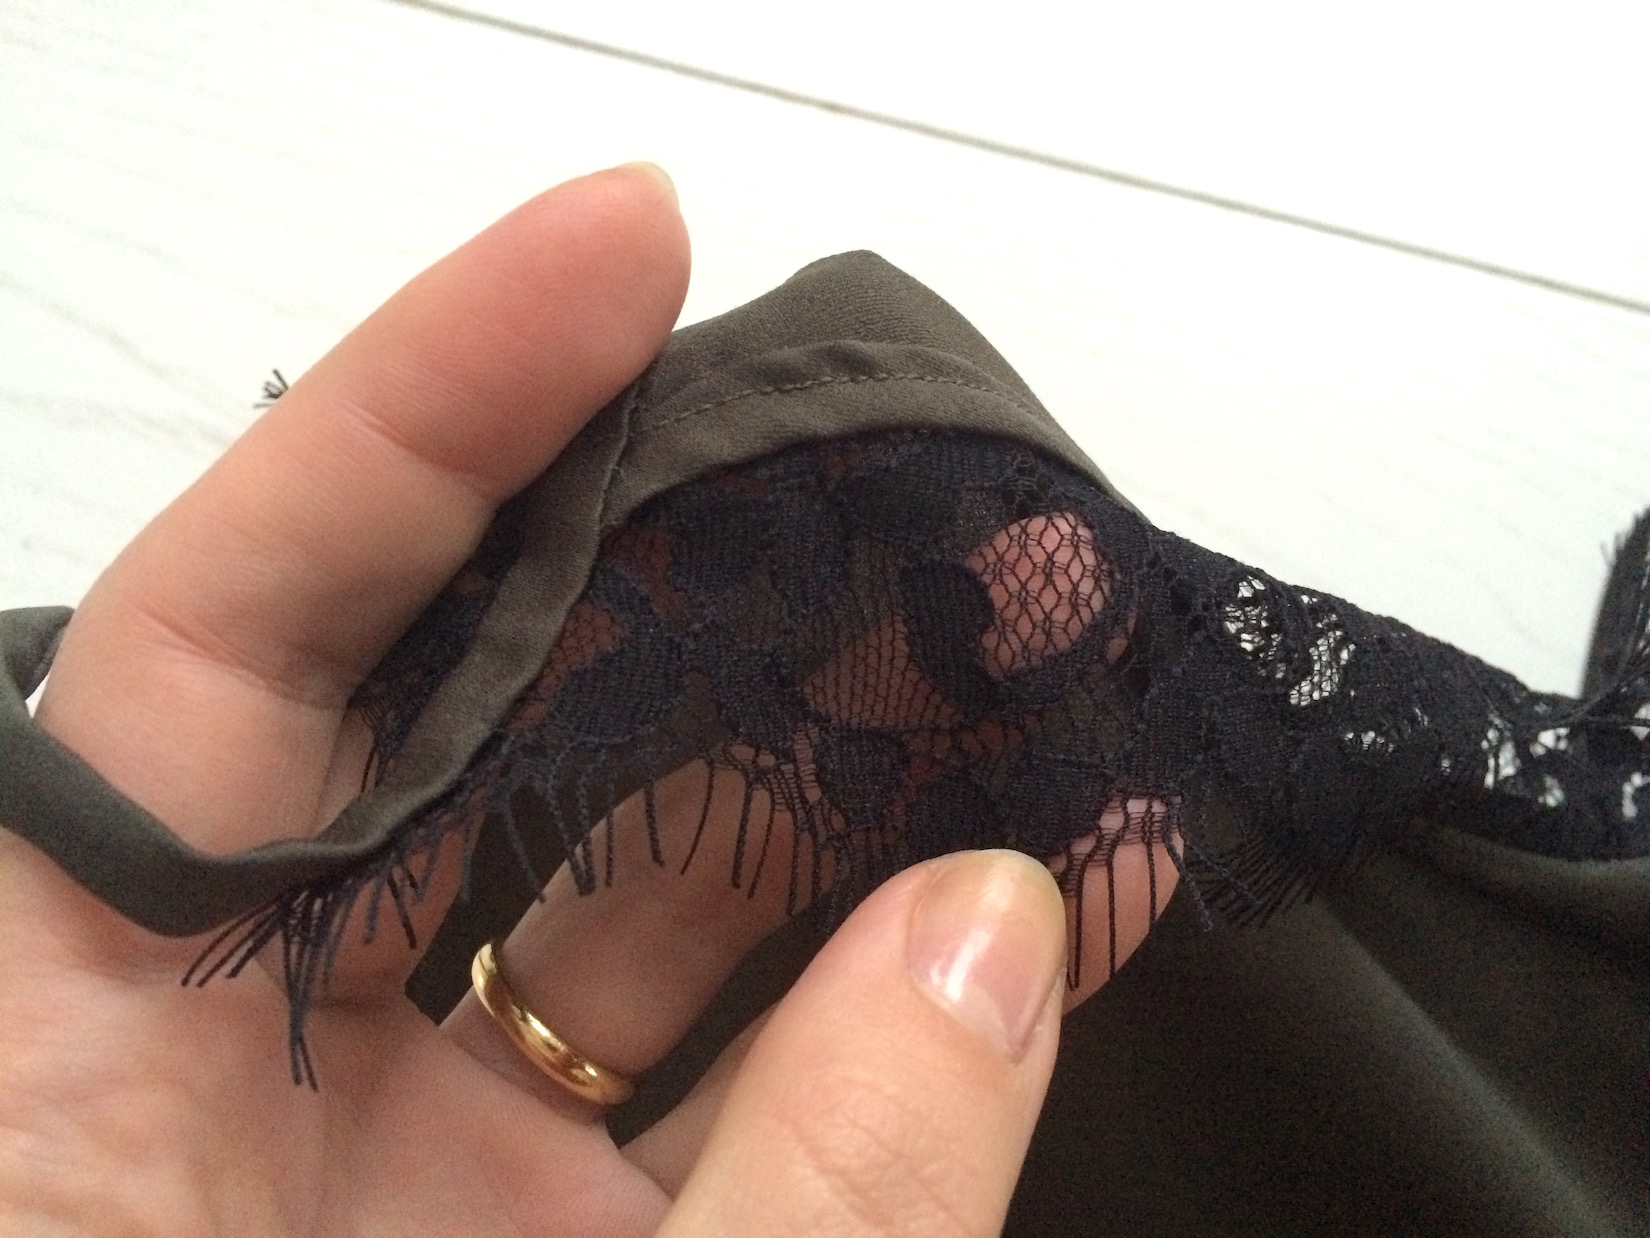
VII. Take your lace and place it over your neckline to measure how long you need from the side seam to the strap, down to the middle of the v of the neckline, back up again to the strap, and down to the other side seam. As you measure, mark the spots with pins.
Then take those spots and sew darts. For the two spots that meet the start of the straps, the darts need to be placed so that they get narrower towards the top. For the spot that meets the bottom of the neckline V, the triangle of the dart should get bigger towards the top.
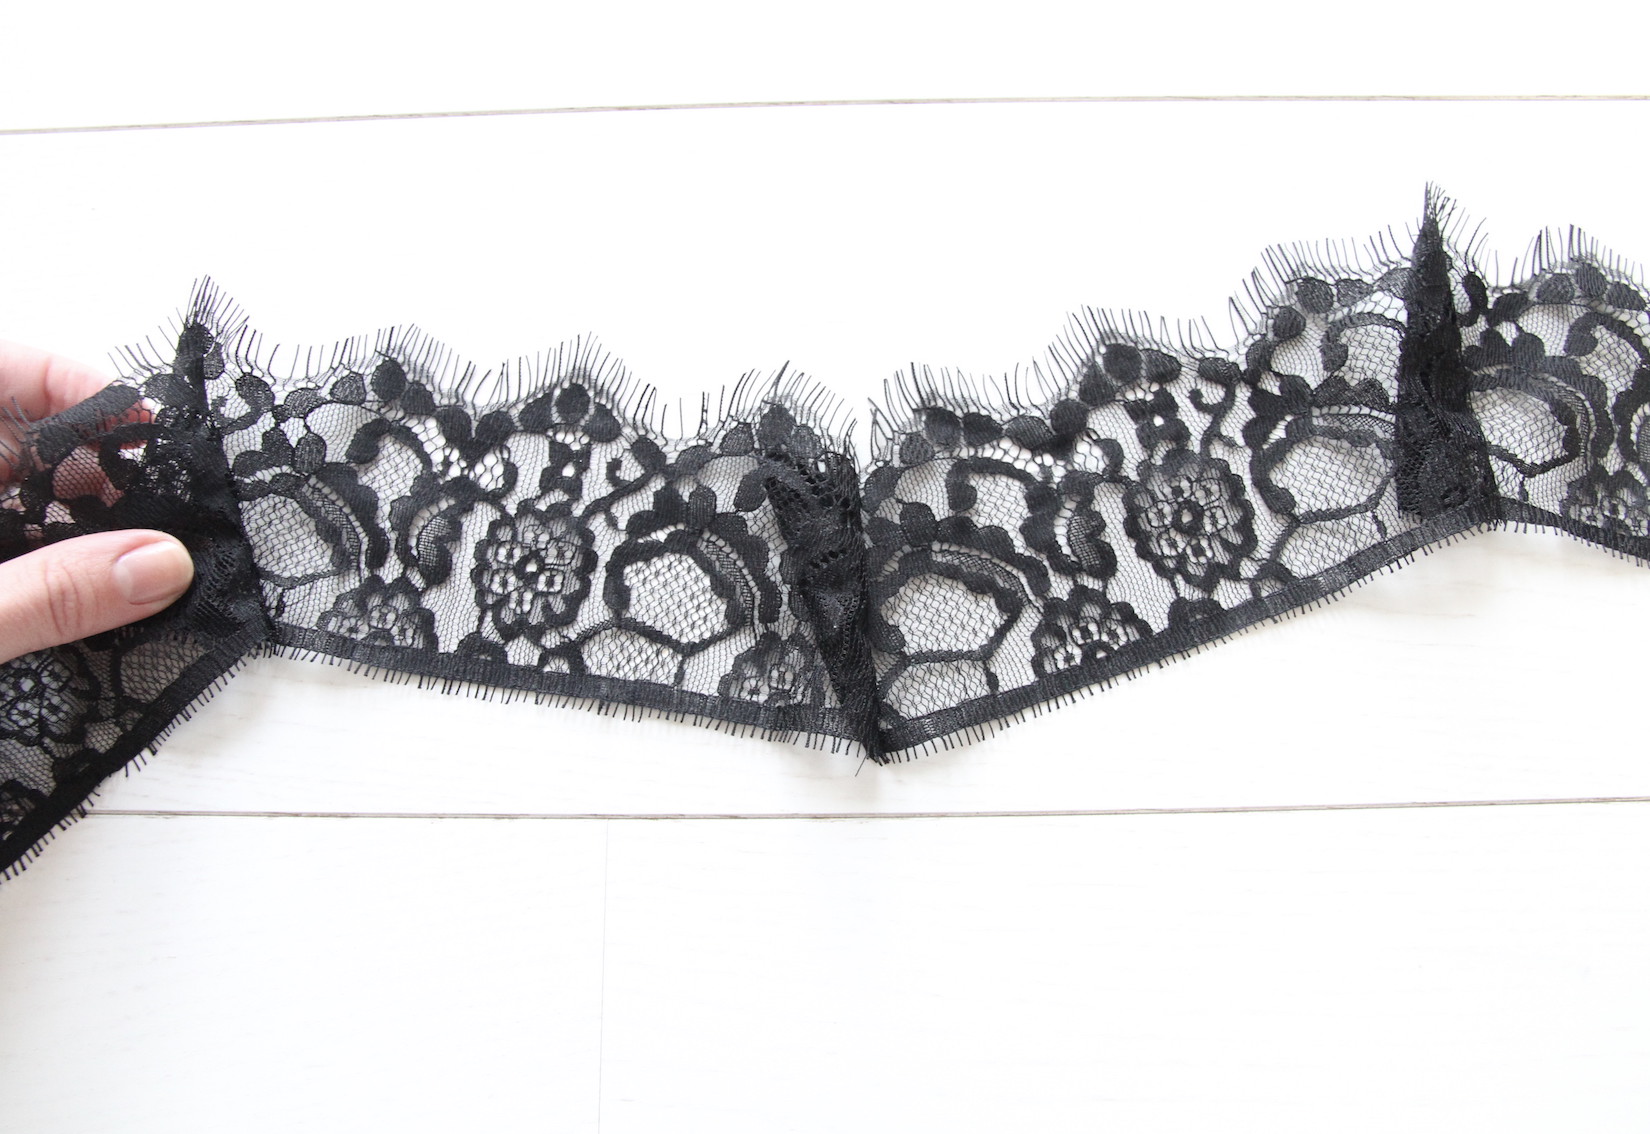
Here are the darts from the reverse side.
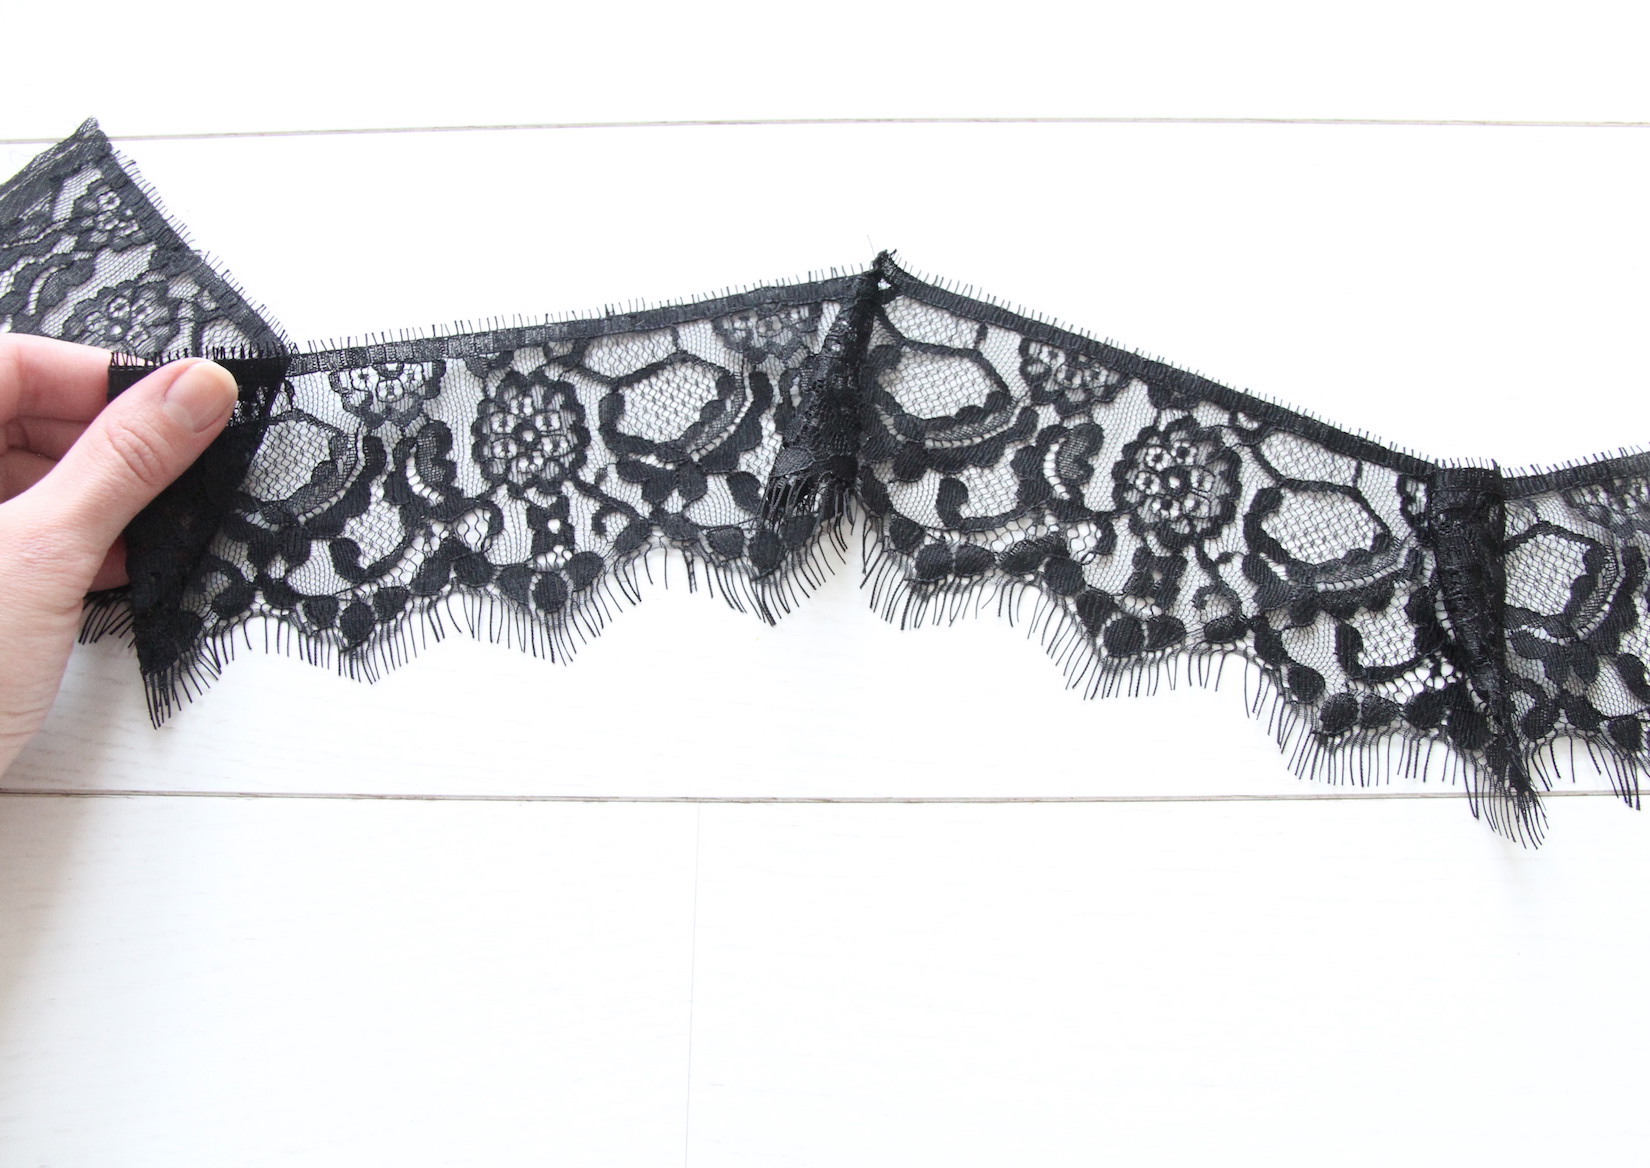
Trim the little triangles of the darts off.
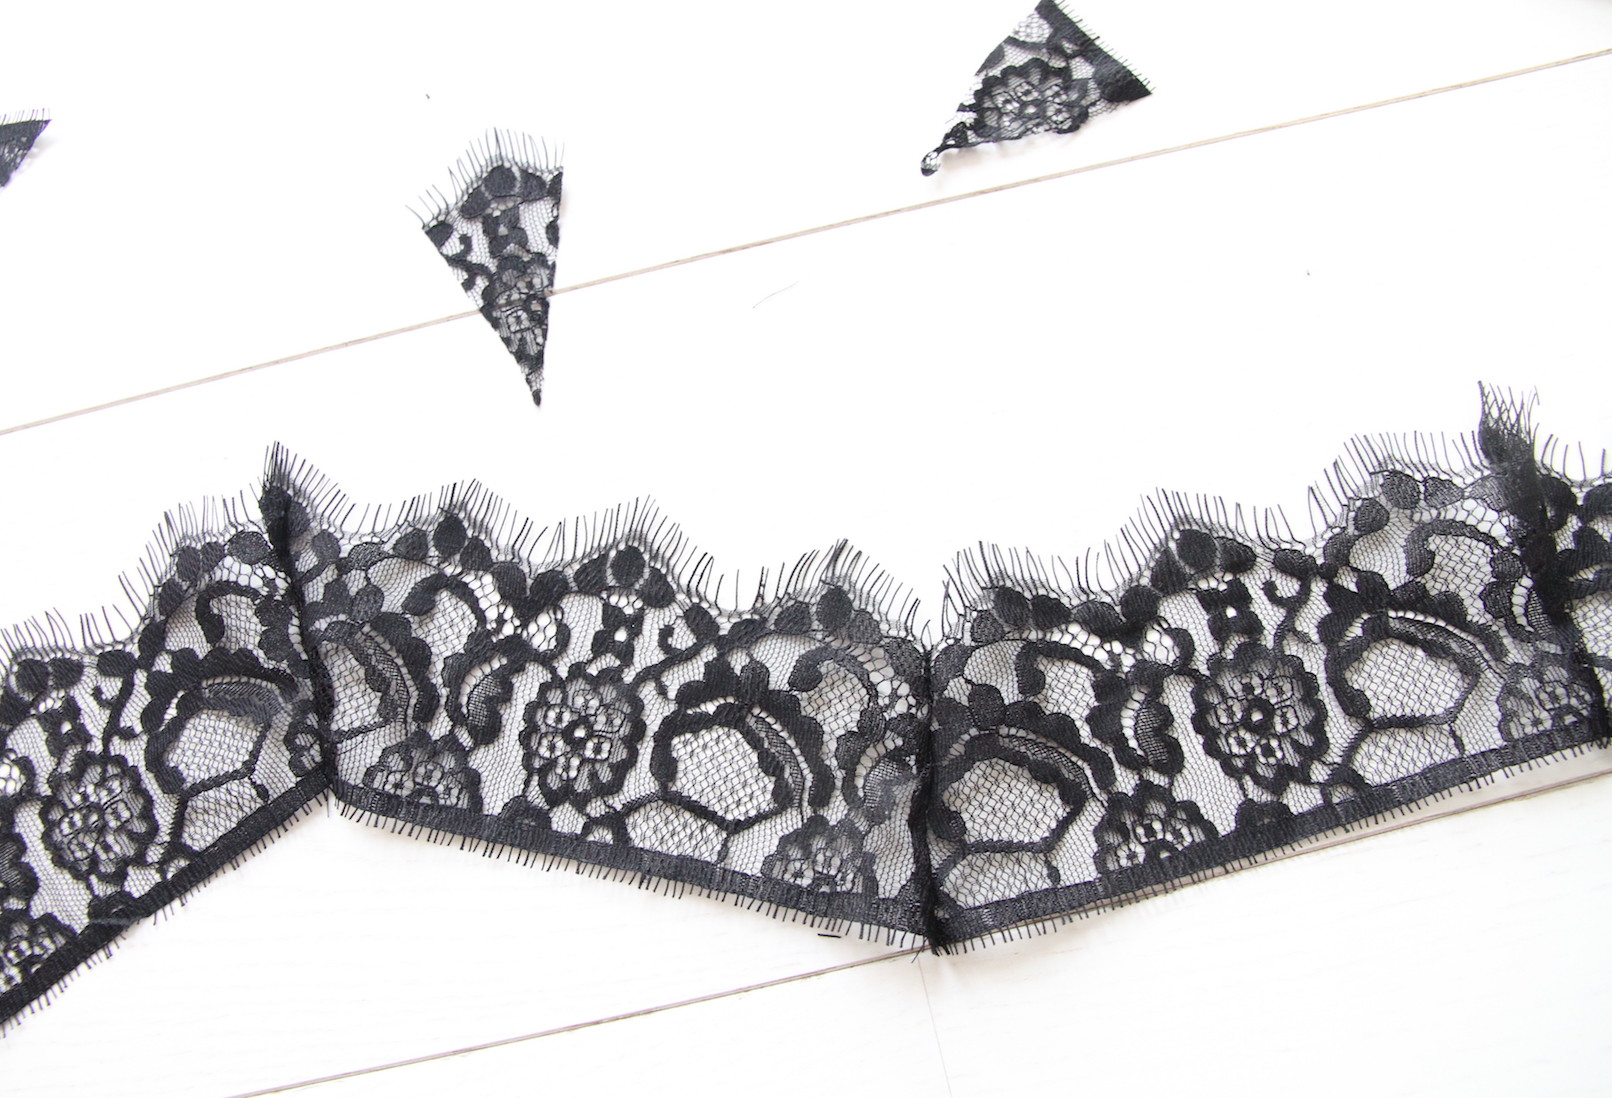
And this should leave you with a lace trim that matches nicely with the shape of your neckline. You can trim the width of the lace a bit here if it's too wide.
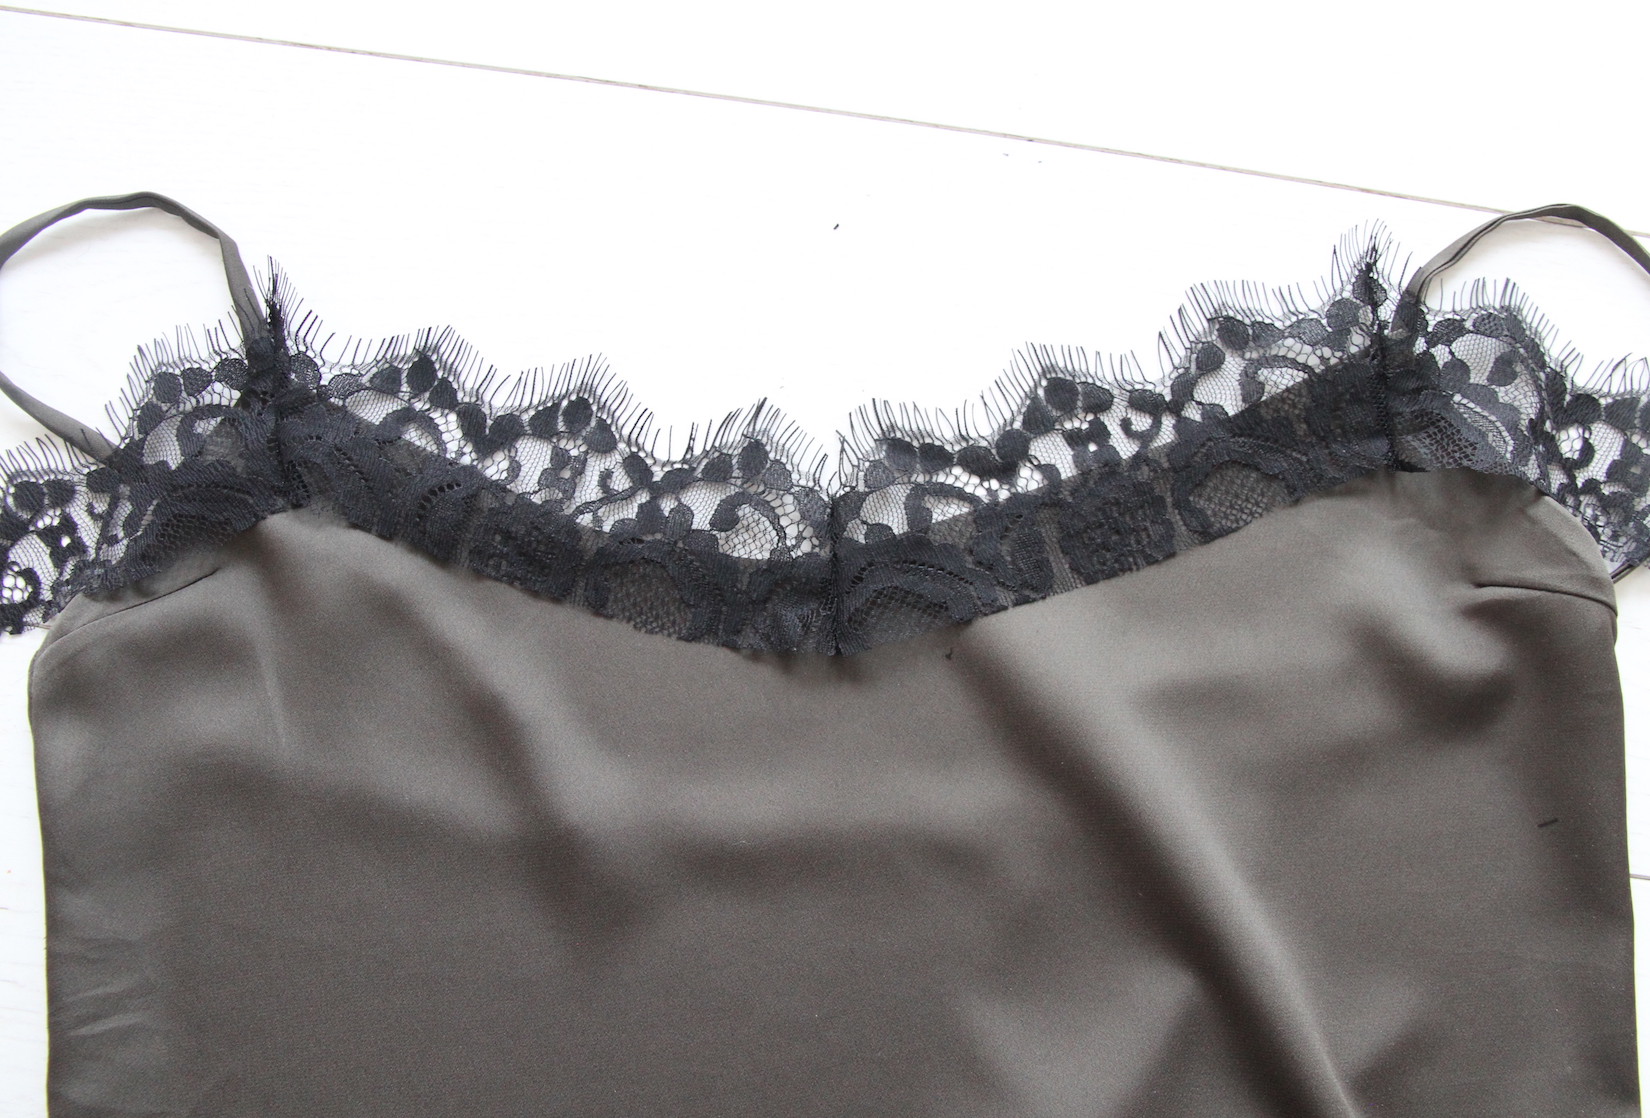
VIII. Then pin the lace to the neckline, right side facing right side of top, and sew 0,5 cm or so from the neckline edge. Note how I pinned the parts going towards the arm pit so that the lace gets gradually narrower until it ends at the side seam.

Once done, trim the excess lace.
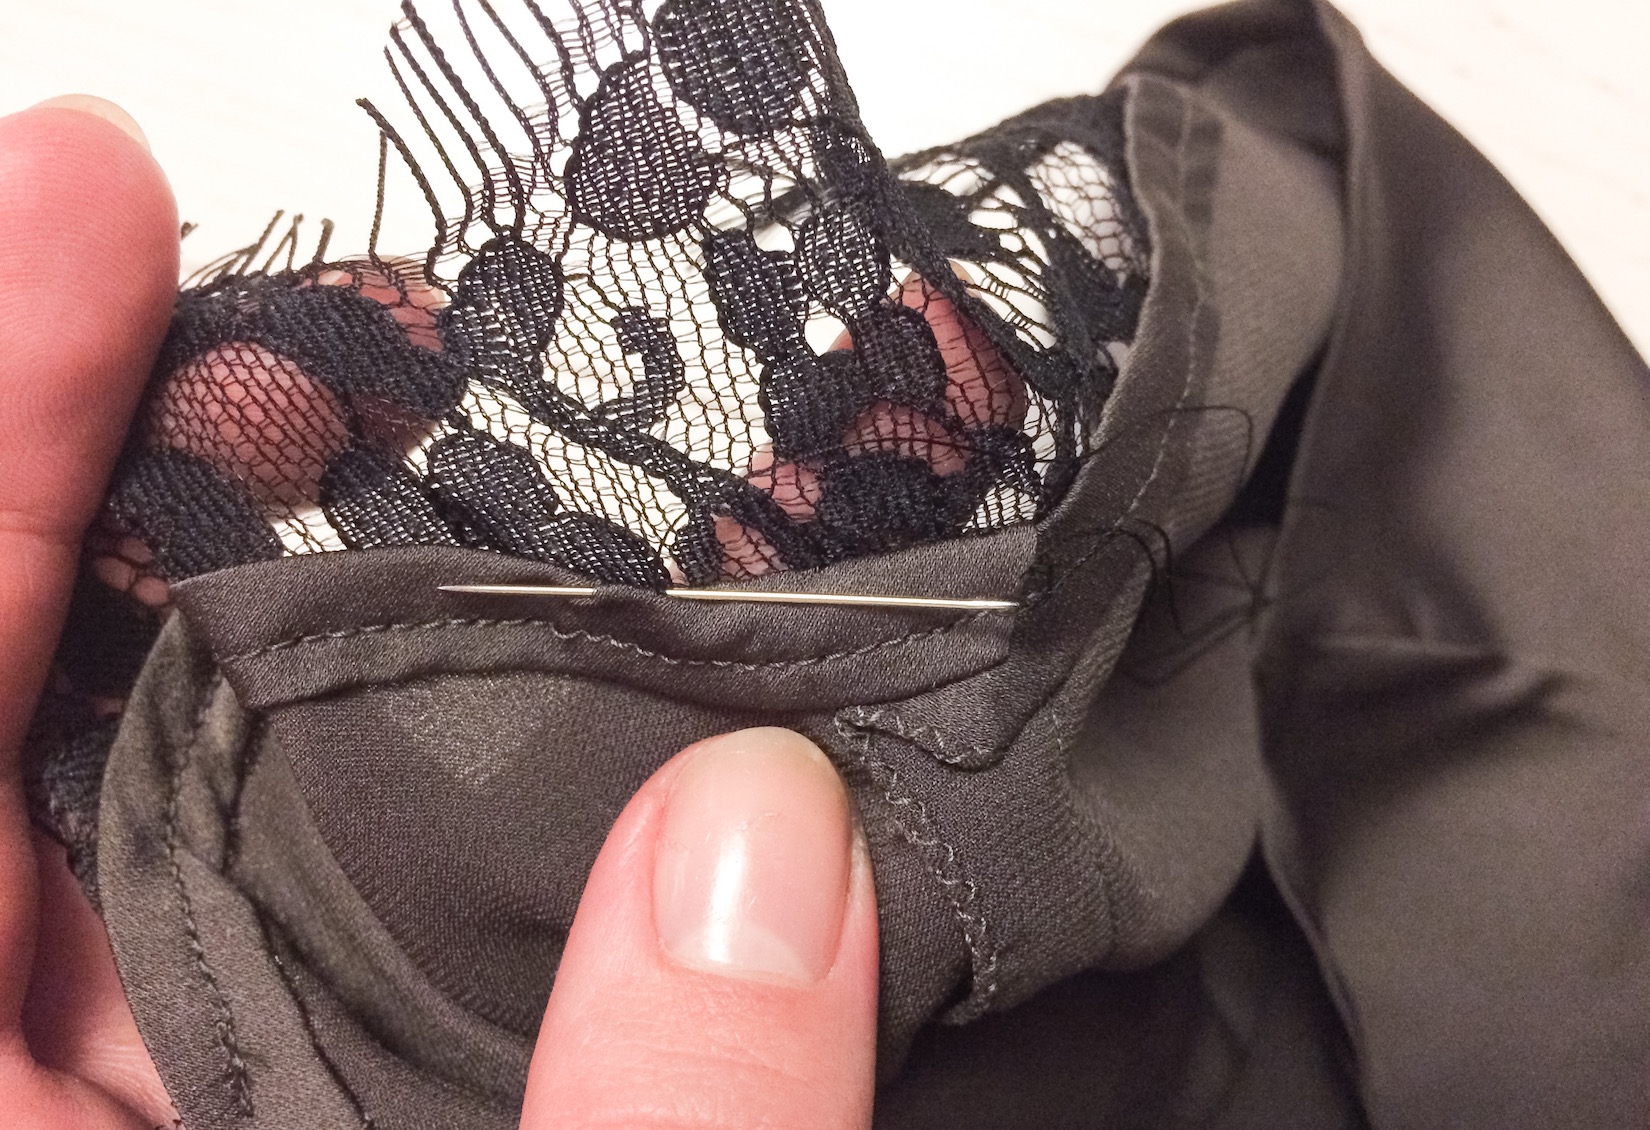
Then flip the lace up and press with your iron. The last step is to hand-stitch the lace carefully to the edge of the top's neckline, and the part where it goes over the start of the strap, with a thread that matches the color of your lace, so it stays neatly in place.
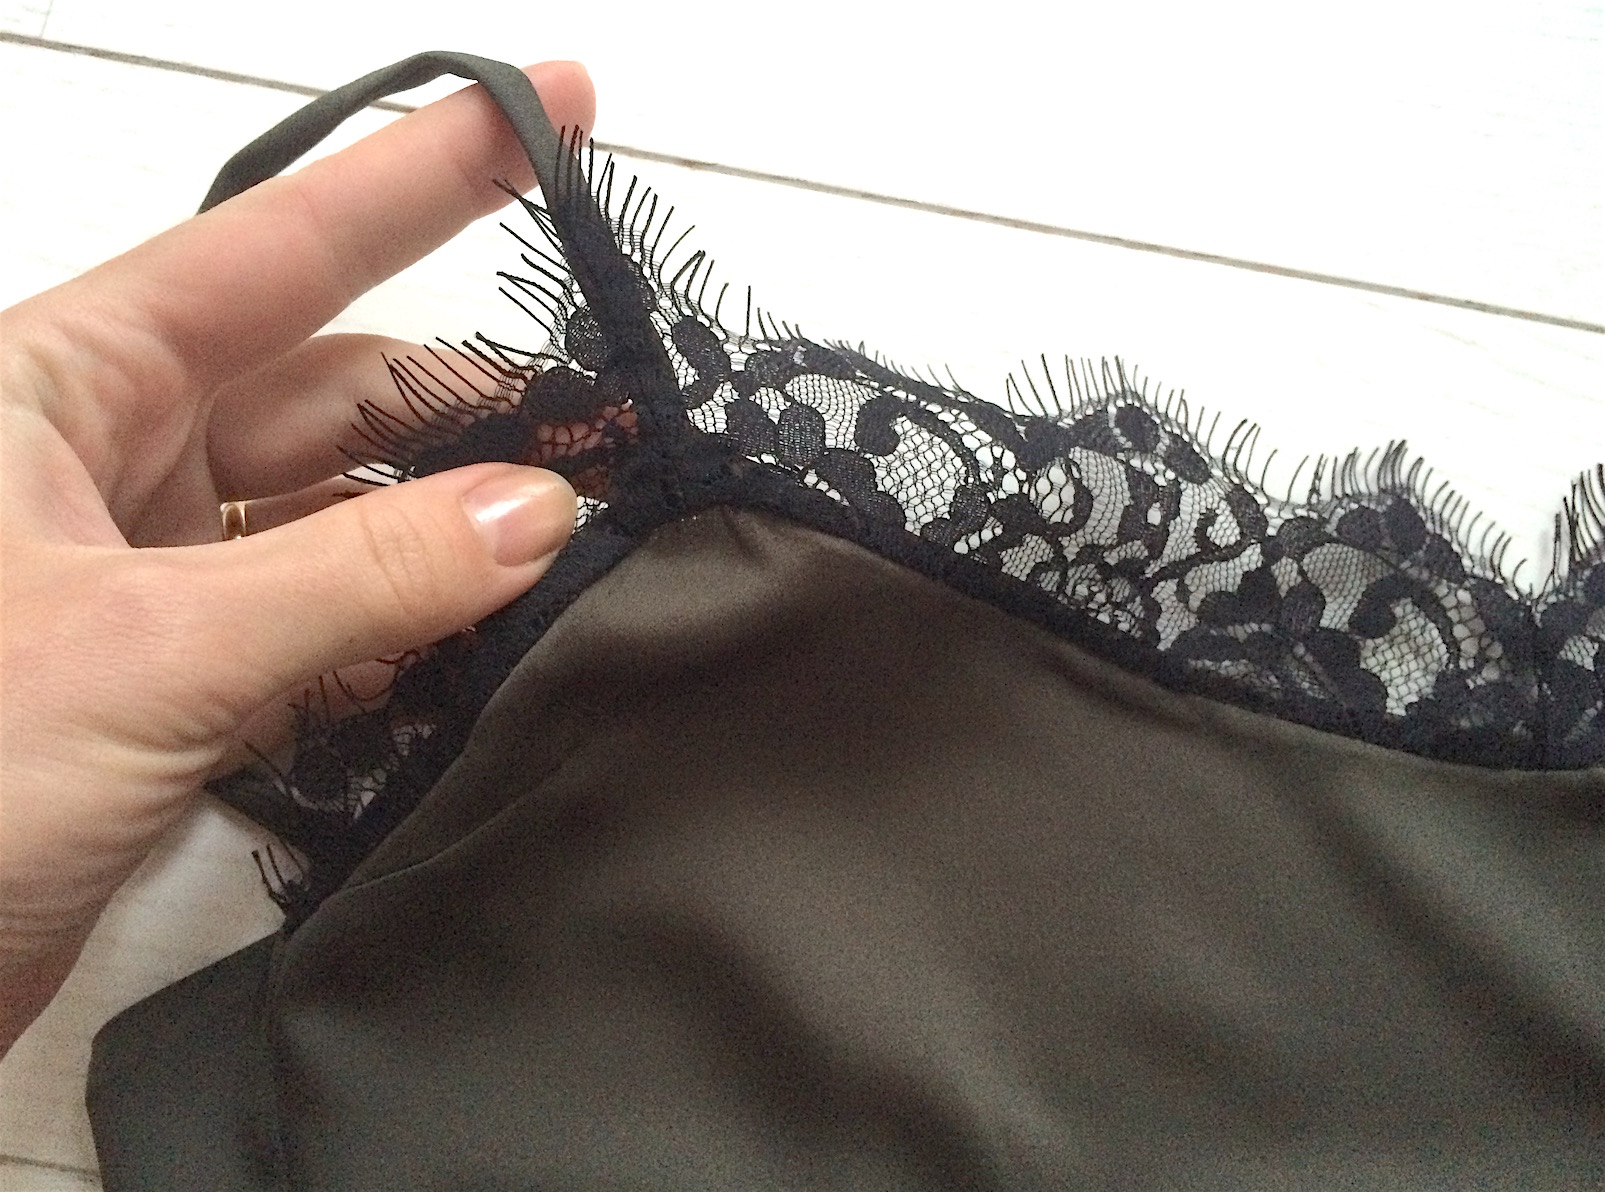
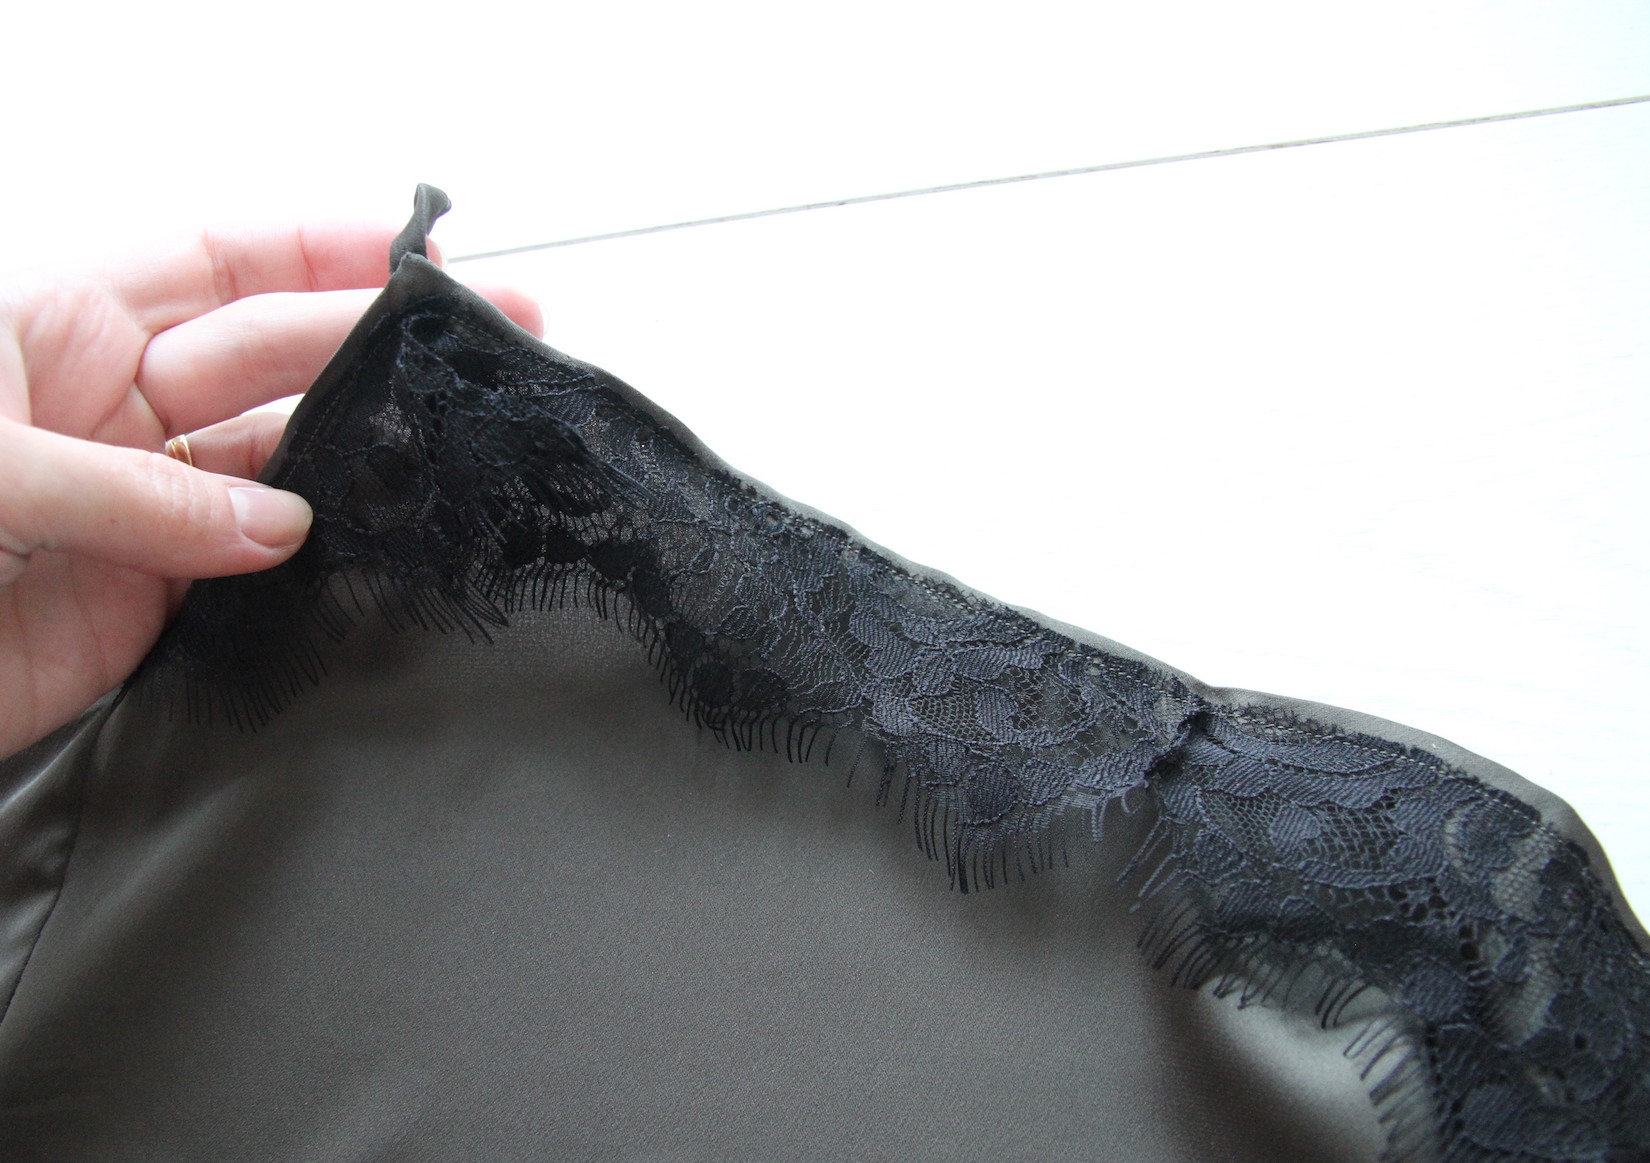
.. Here's a look at the reverse after sewing.
SHORTS
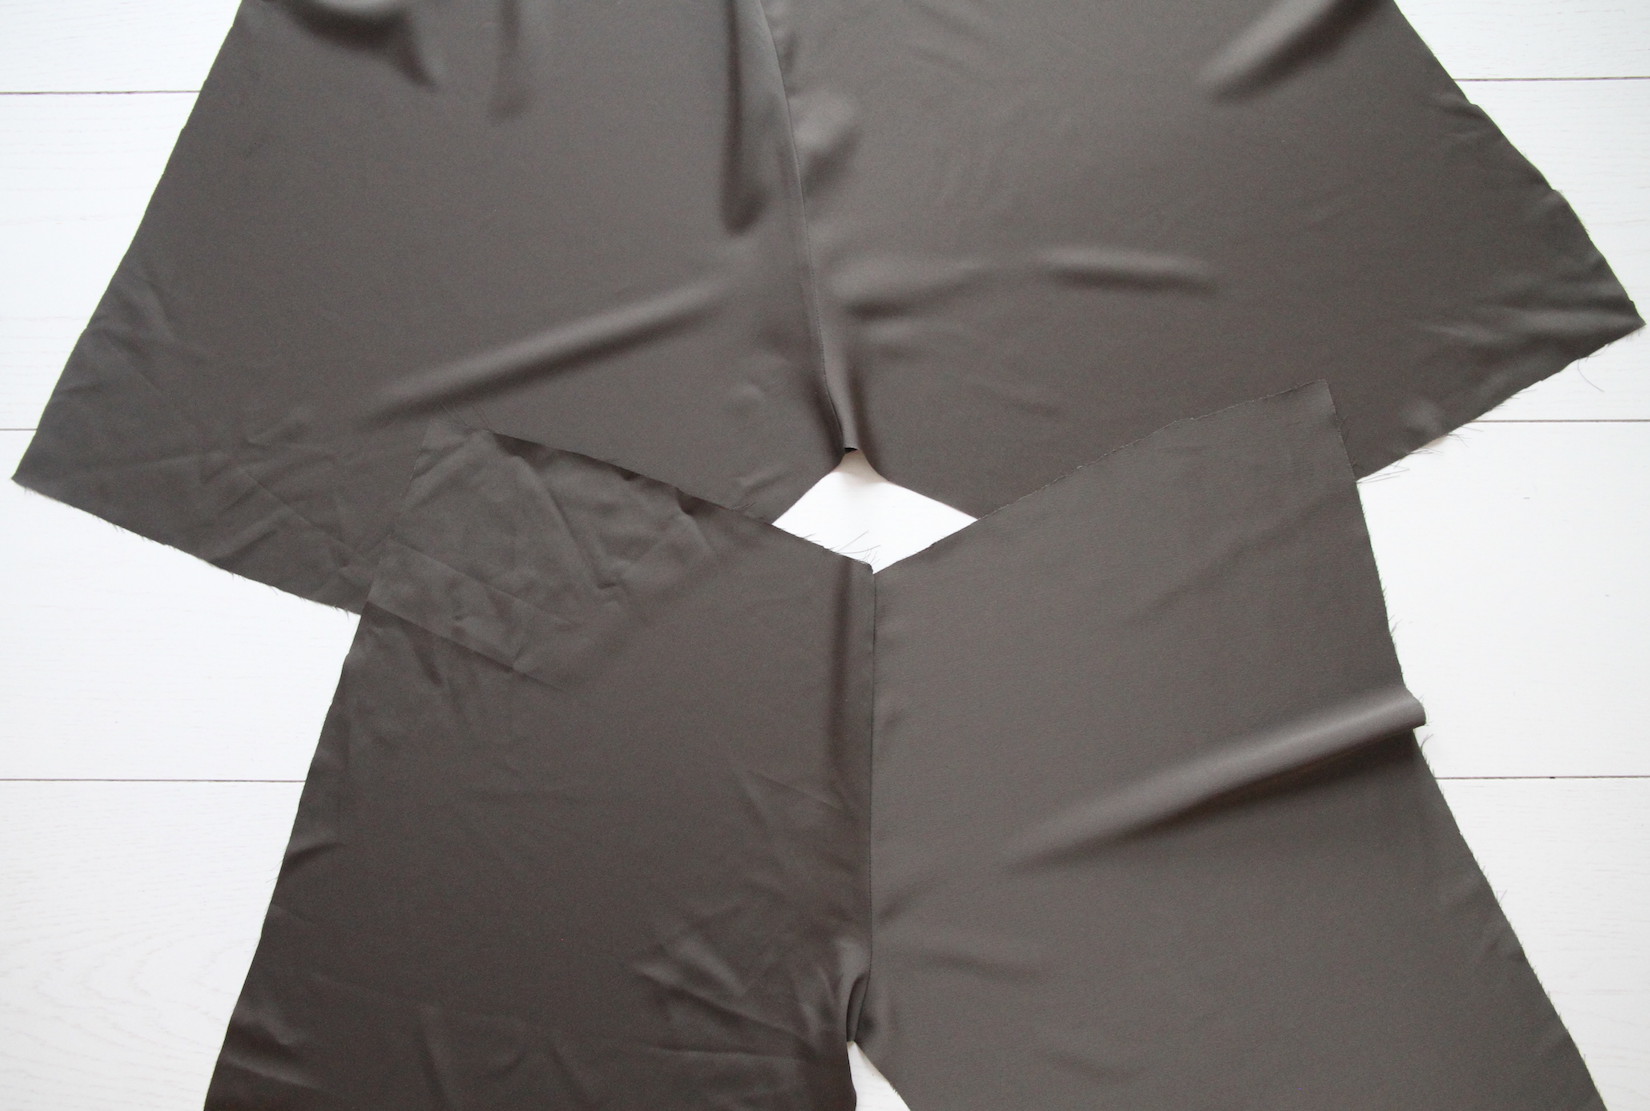
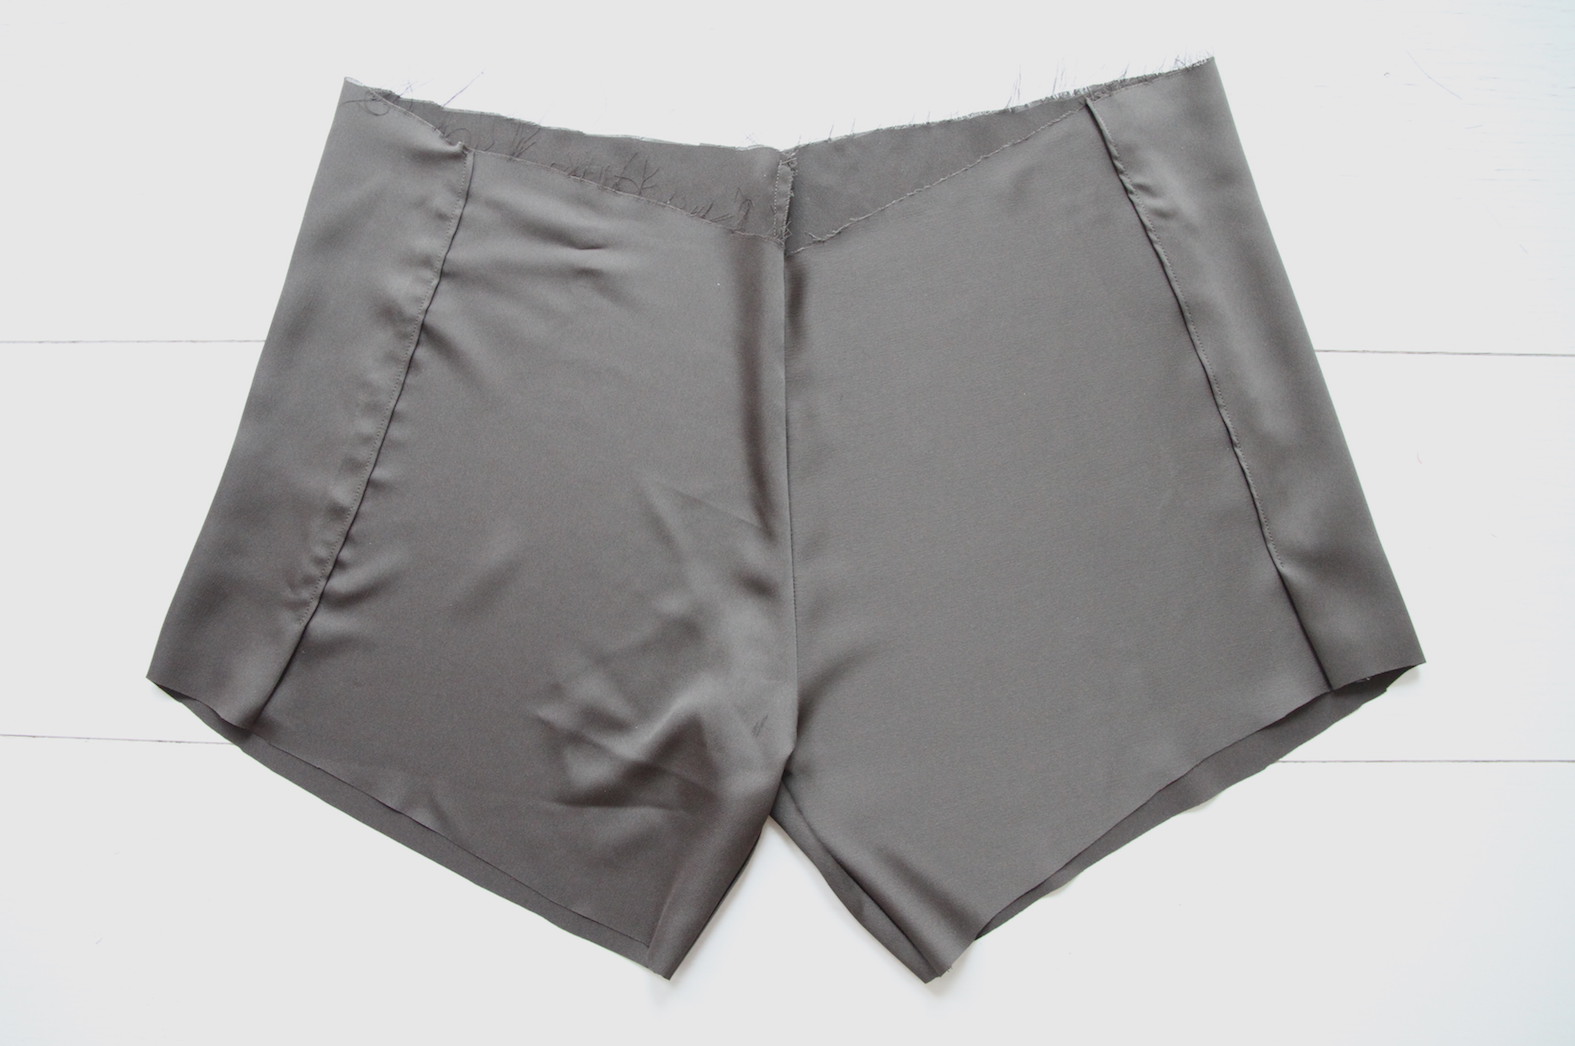
I. Cut pieces look like this (you need two of each of these pieces, and they should be mirror images of each other. Easiest to cut with the fabric folded over right sides facing before you trace the shape). These cut pieces were much larger than what I actually needed, but I wasn't sure about the fit I wanted going into this. I ended up trimming quite a bit of fabric as I fixed the side seams; these measurements allow to easily make shorts up to size EU40/US10.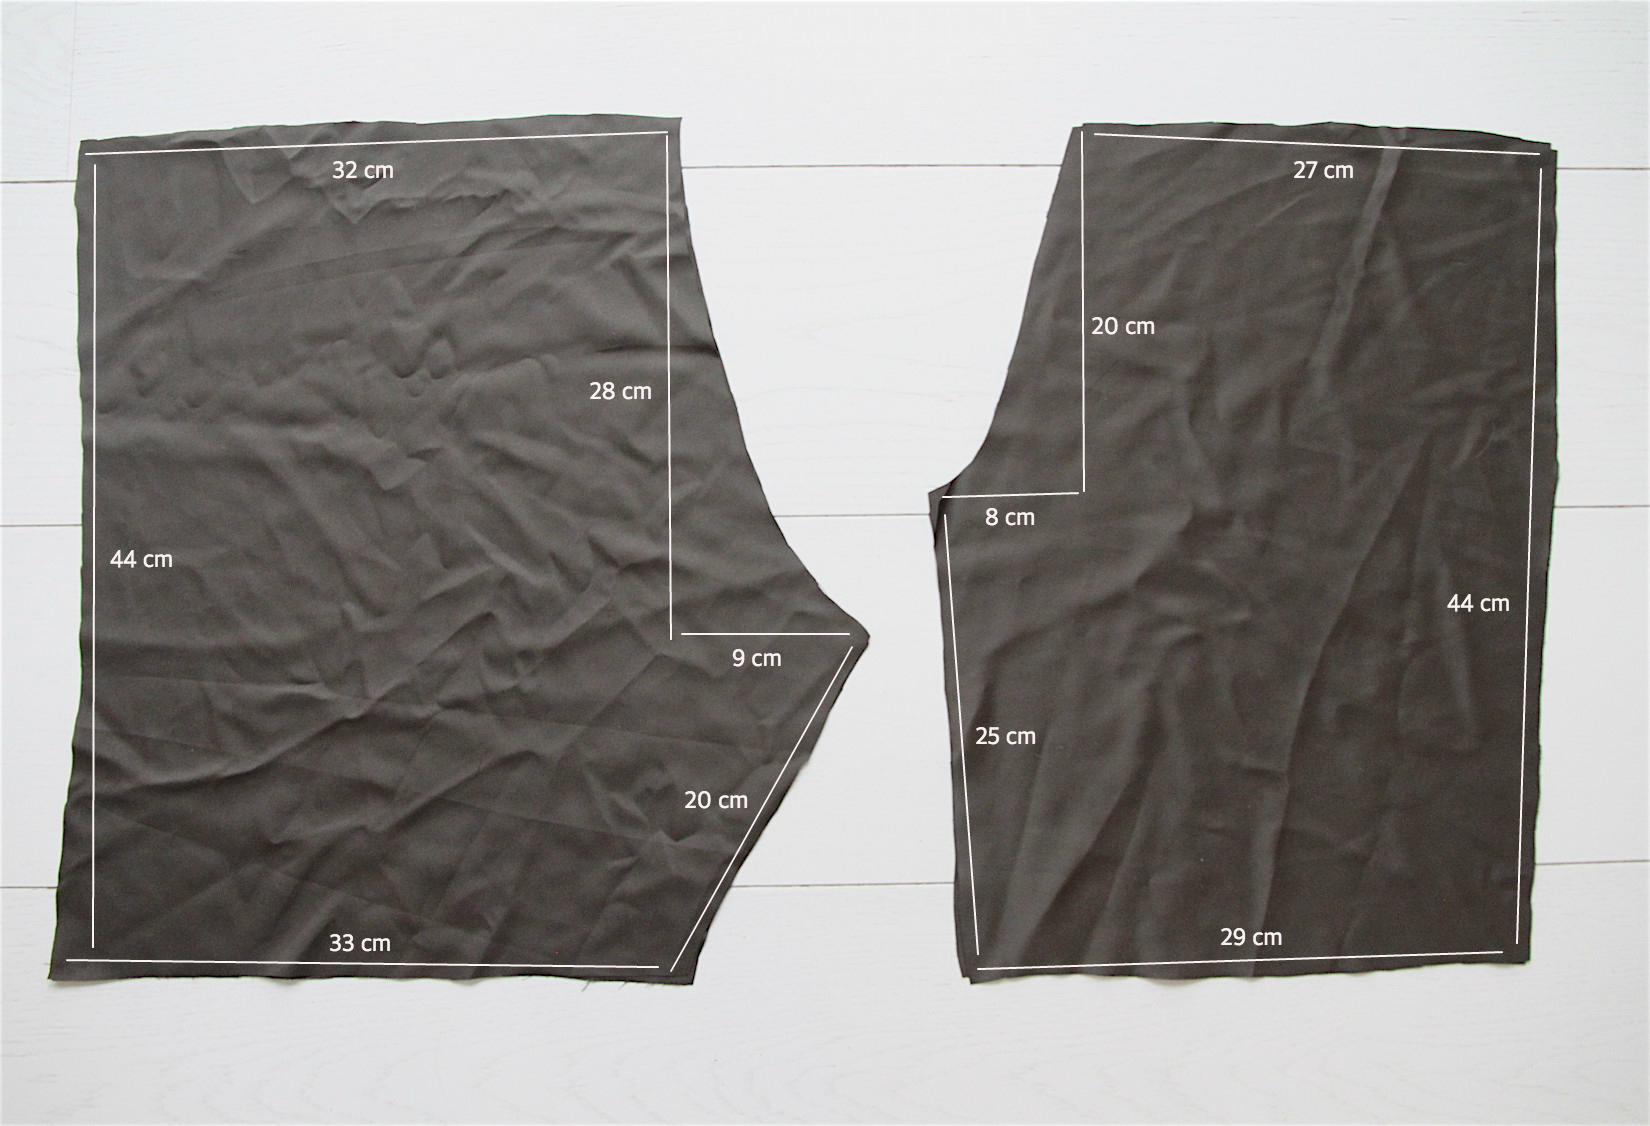
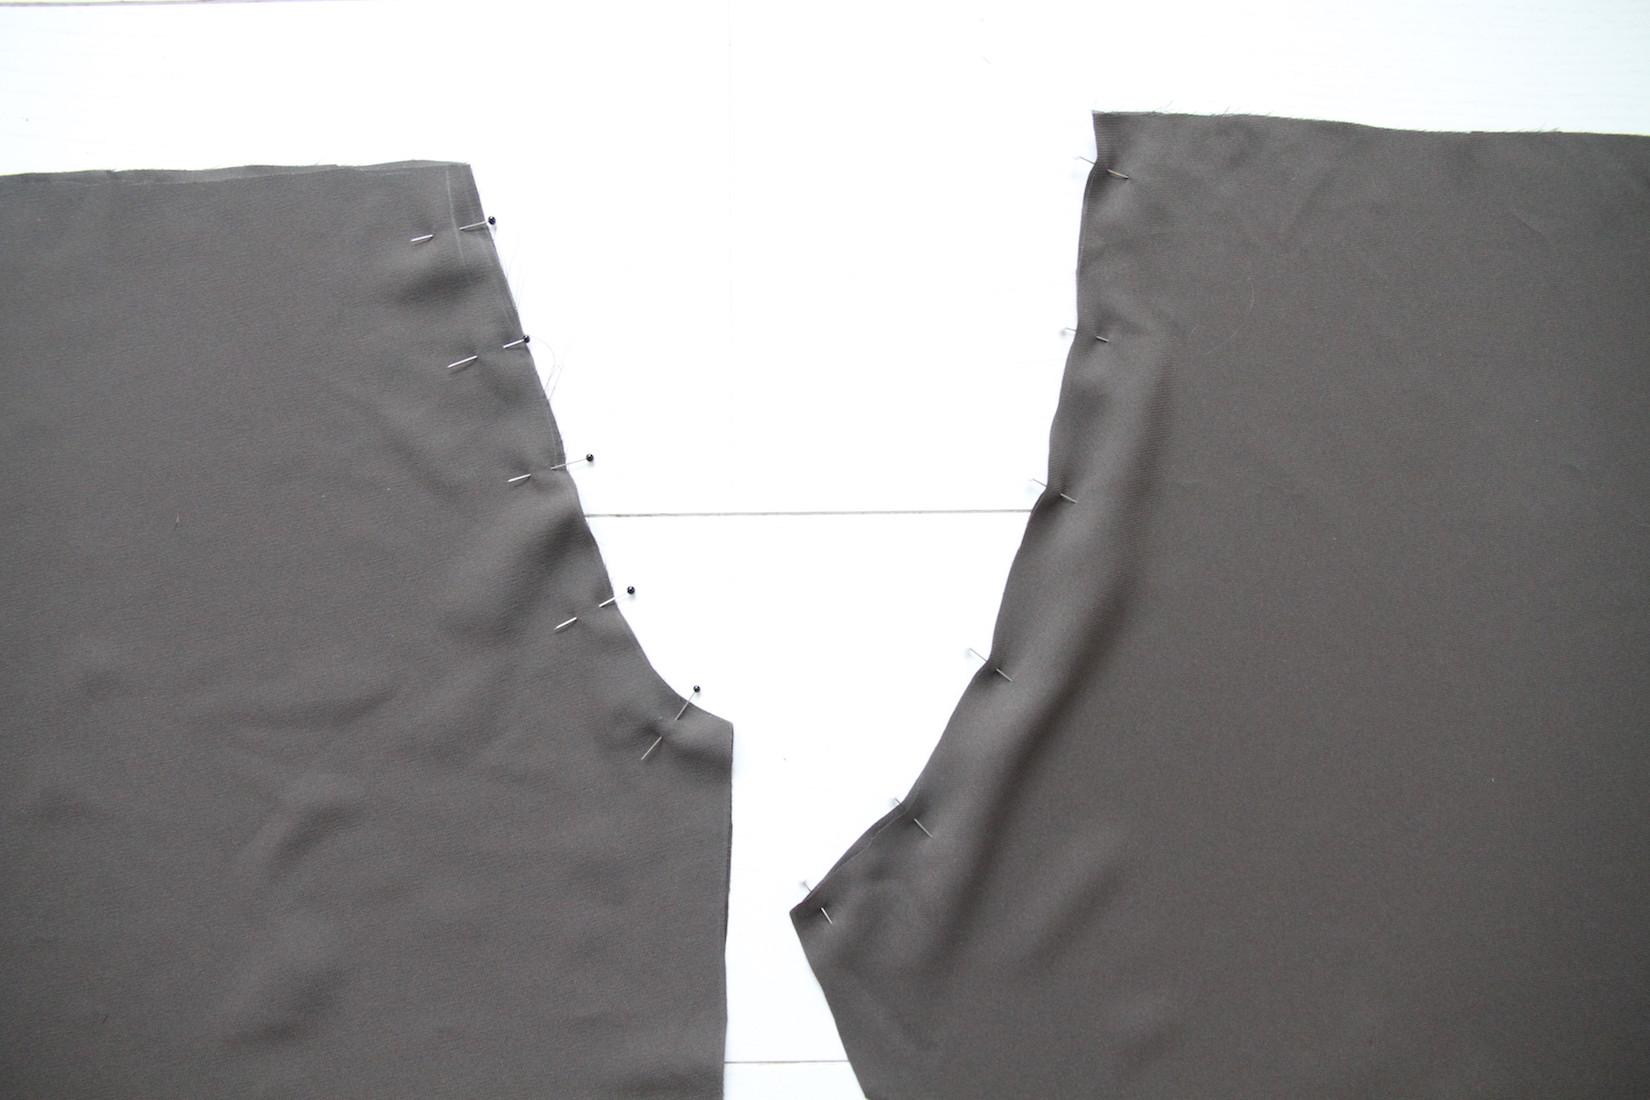
II. Pin the curved sides of each two pieces together, right sides facing:
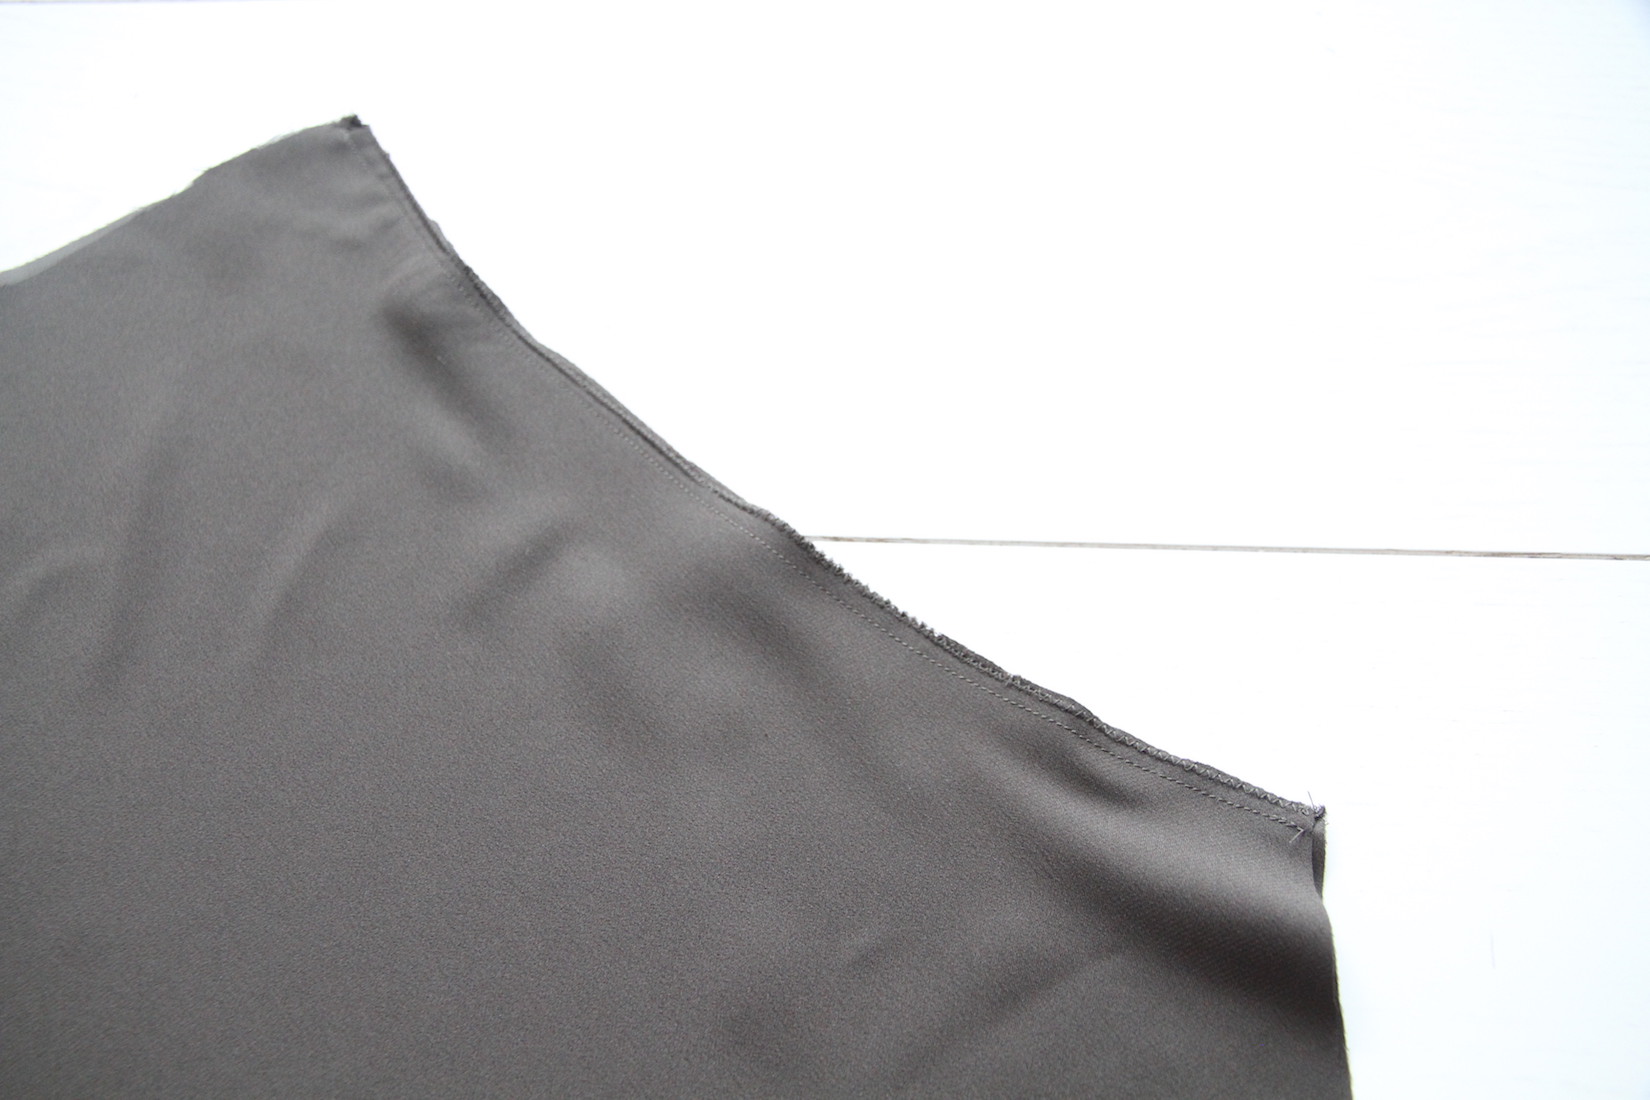
.. And sew along the edge, finishing with a zig-zag. Press the seams open..
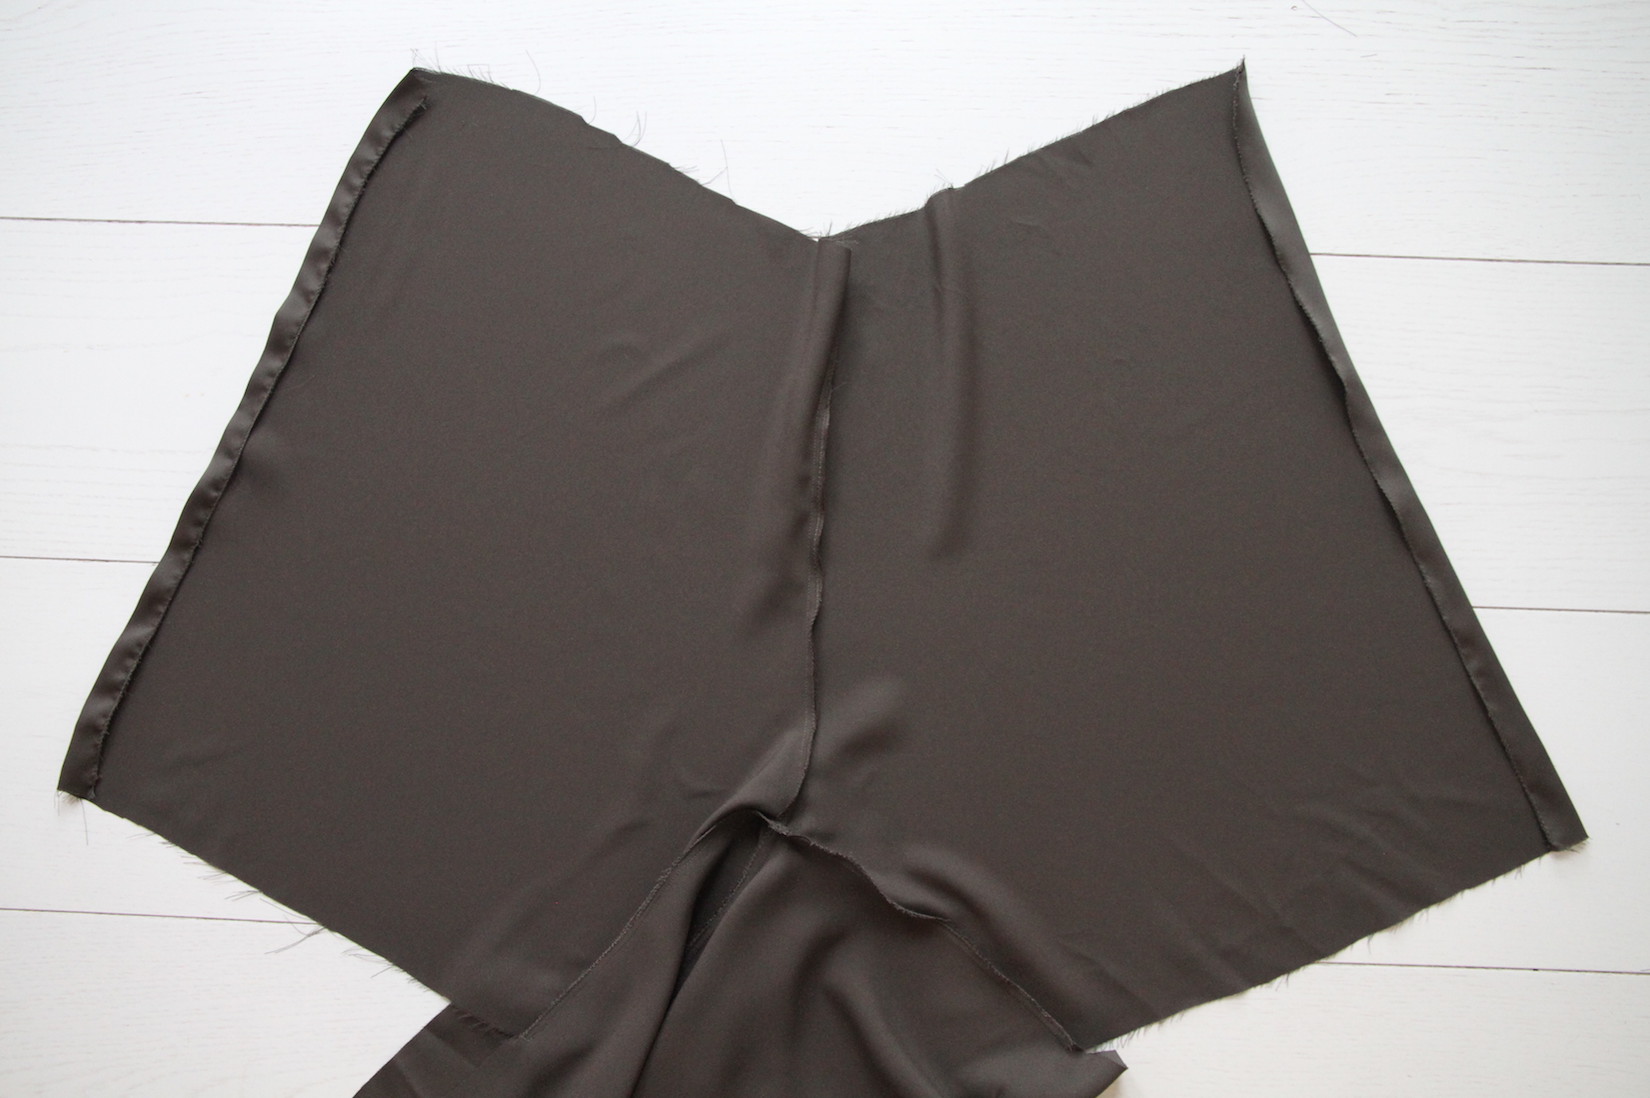
.. And you should have the completed front and back piece, looking like this.
II. Pin the leg under-seams together, right sides facing, and sew like you did the crotch seam. Press open, and we're at this point. Also zig-zag the sides of the back piece, and press a couple of cm fold on them like shown below.
III. This is where you get to adjust the size. I just pinned the folded sides of the back piece to the front piece with the shorts on myself, to confirm a loose fit. The shorts should still slide easily over your hips when this is done. Also, my pieces were excessively long as I didn't know how short I wanted the shorts to be starting out..
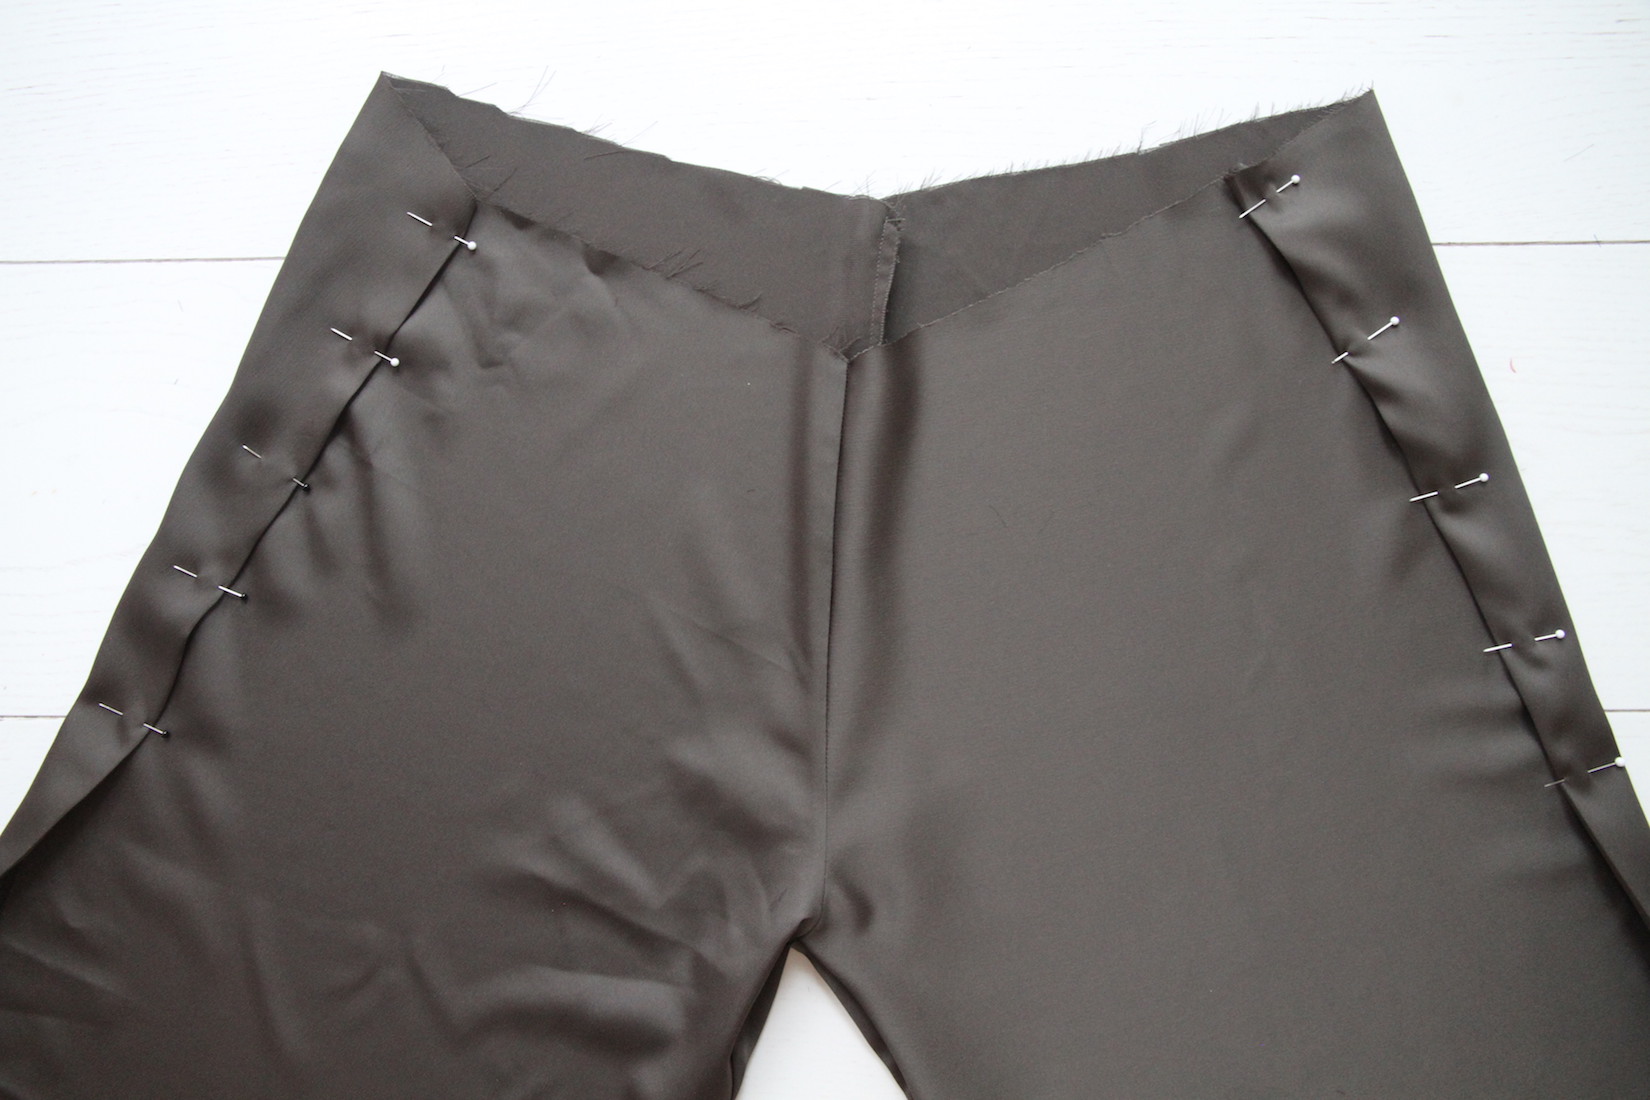
.. So when sewing my side seams, I didn't go all the way down since I wanted to do a curved finish at the sides. That's why I marked the spot where I wanted the leg hem to be with a pin (30 cm down from the top), and stopped my stitch about 5 cm above that point. You'll see later how this makes sense for the shape of the hem.
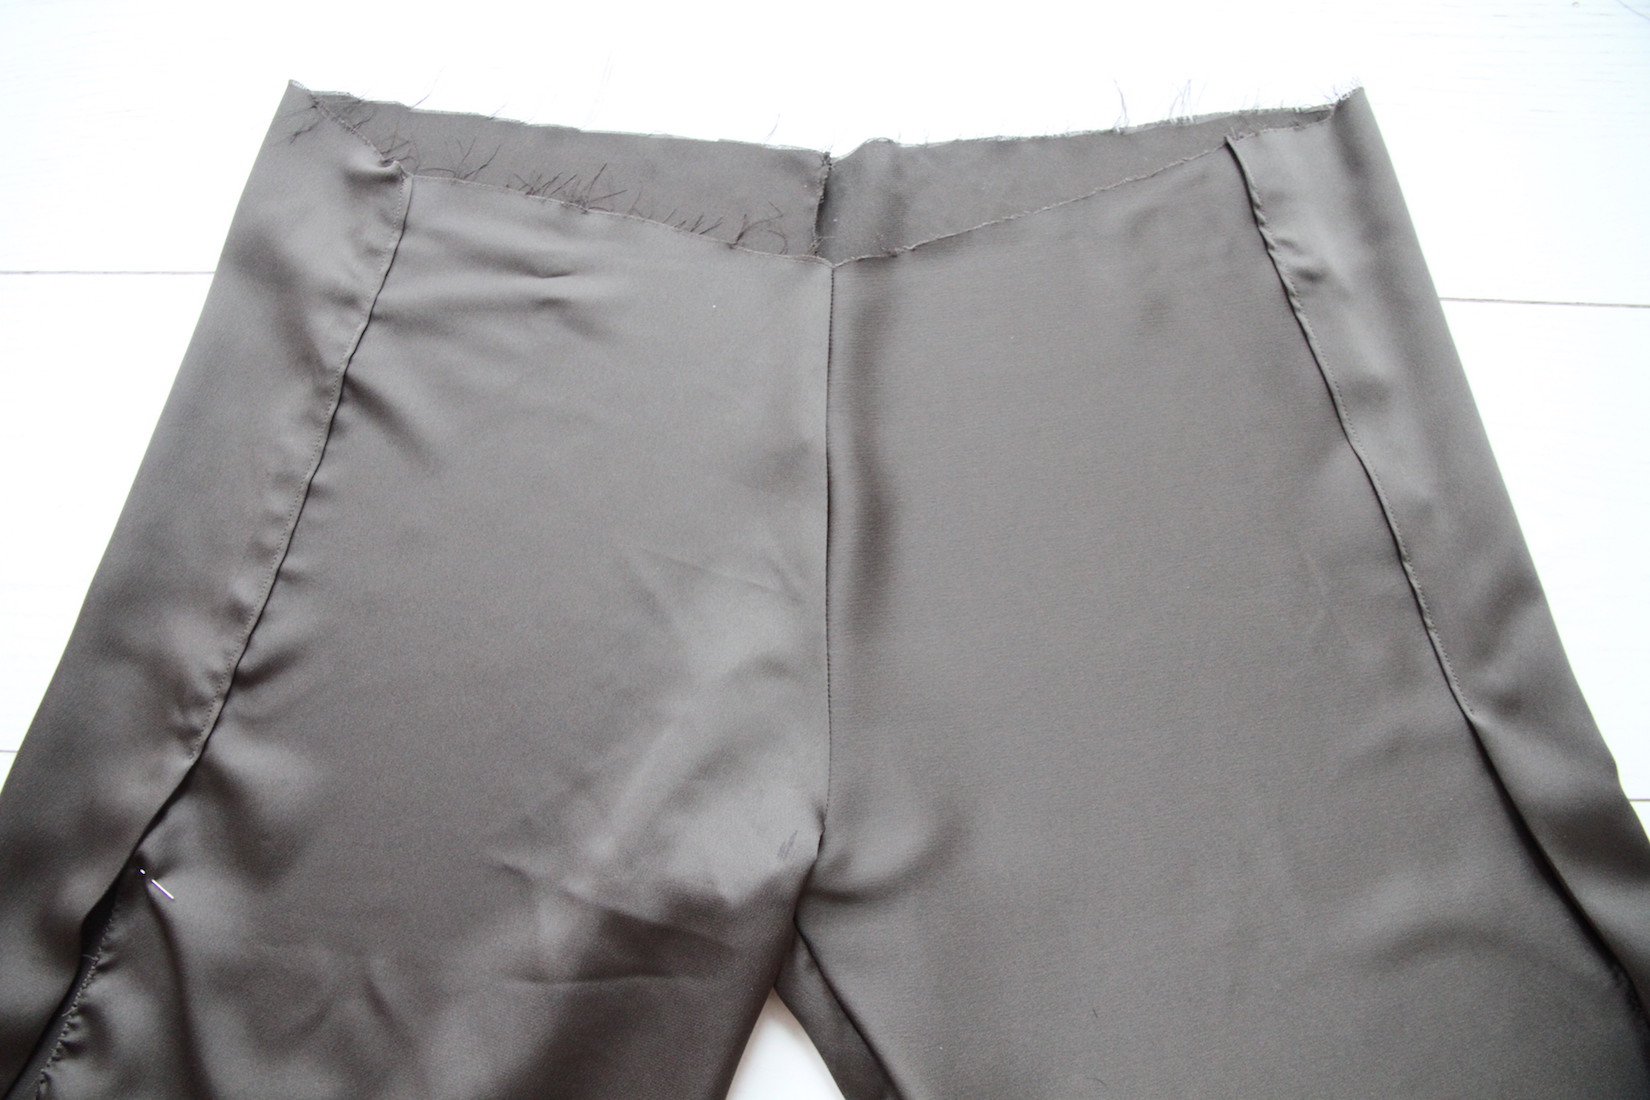
I also trimmed the length of the legs to that marked spot at this point.
IV. Next up is the waist band. I made mine out of 4 pieces - one that's half the circumference of the shorts' waist, two that are each the other half minus 10 cm, and the third that missing 10 cm, plus 0,7 cm seam allowances on each. The width of my pieces was 6,5 cm, which made for an approx. 2,5 cm wide waist band in the finished shorts.

I then sewed the two identical pieces to each end of the longest piece and pressed..
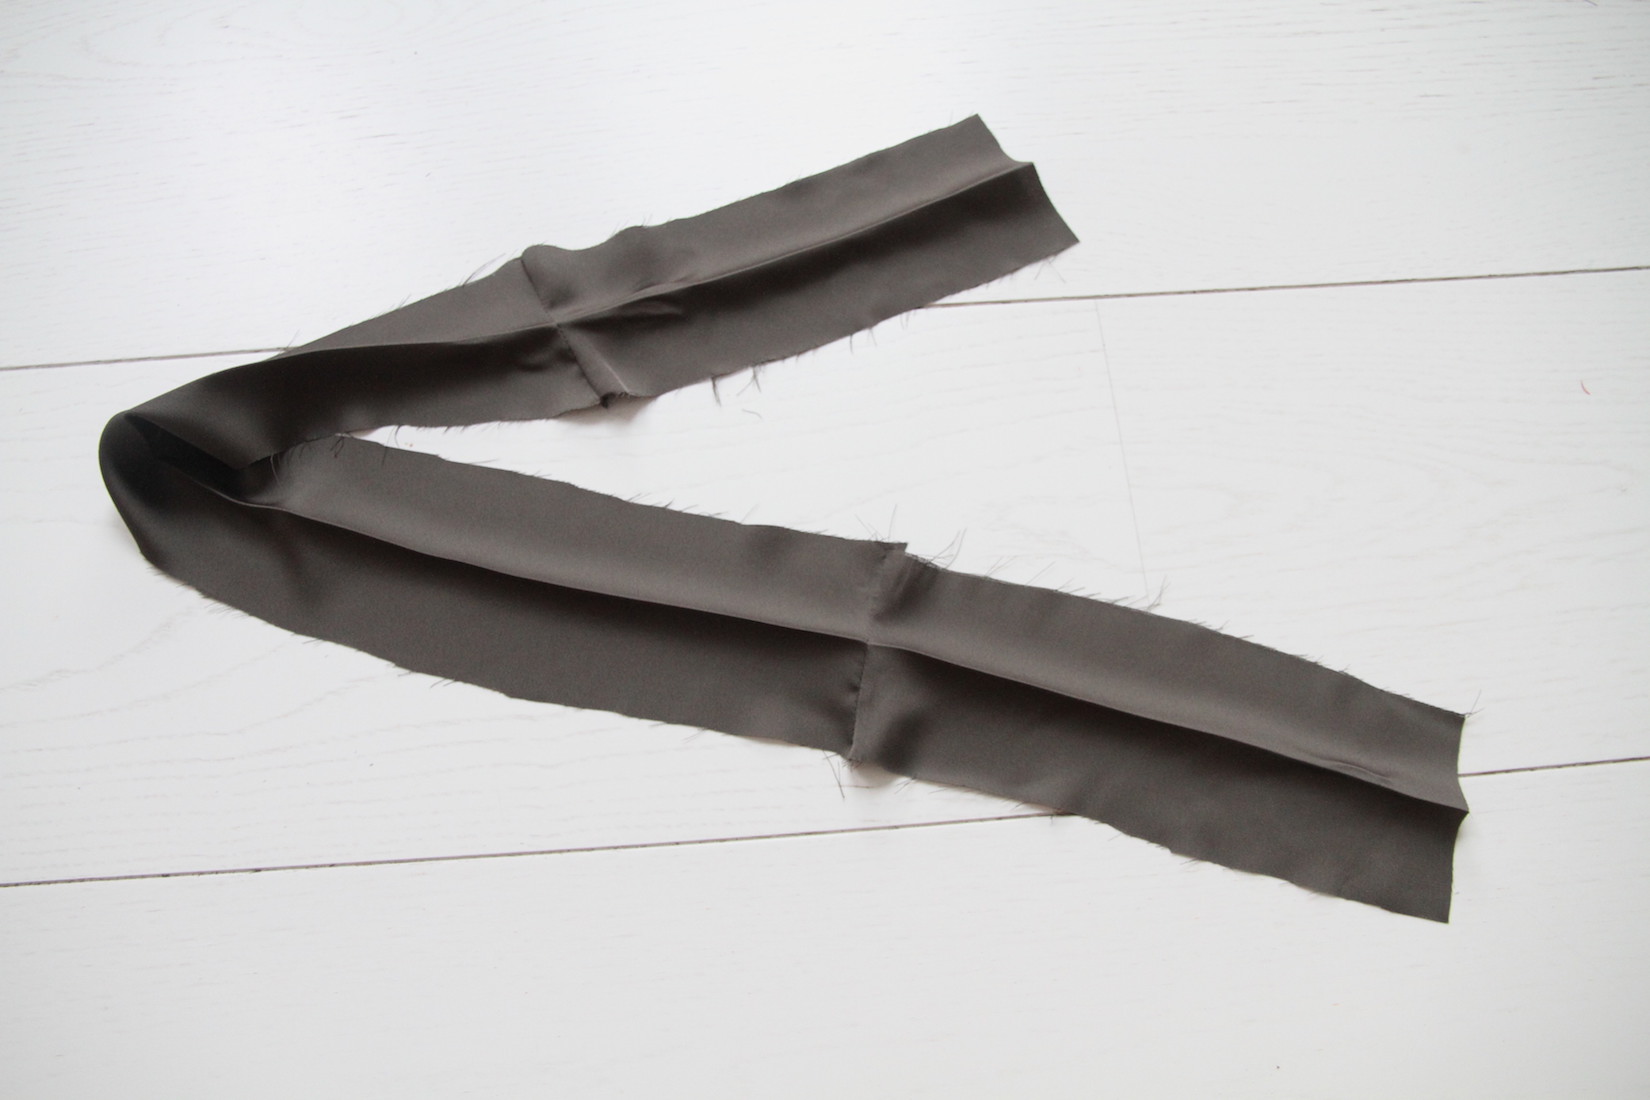
., And sewed the shortest, 10-cm piece in the middle to complete the circle. When doing this I left a gap in the stitch so that if you fold the fabric in half width-wise, the gap is in the middle, taking into account a 0,7 cm seam allowance. That gap is marked in the below image.
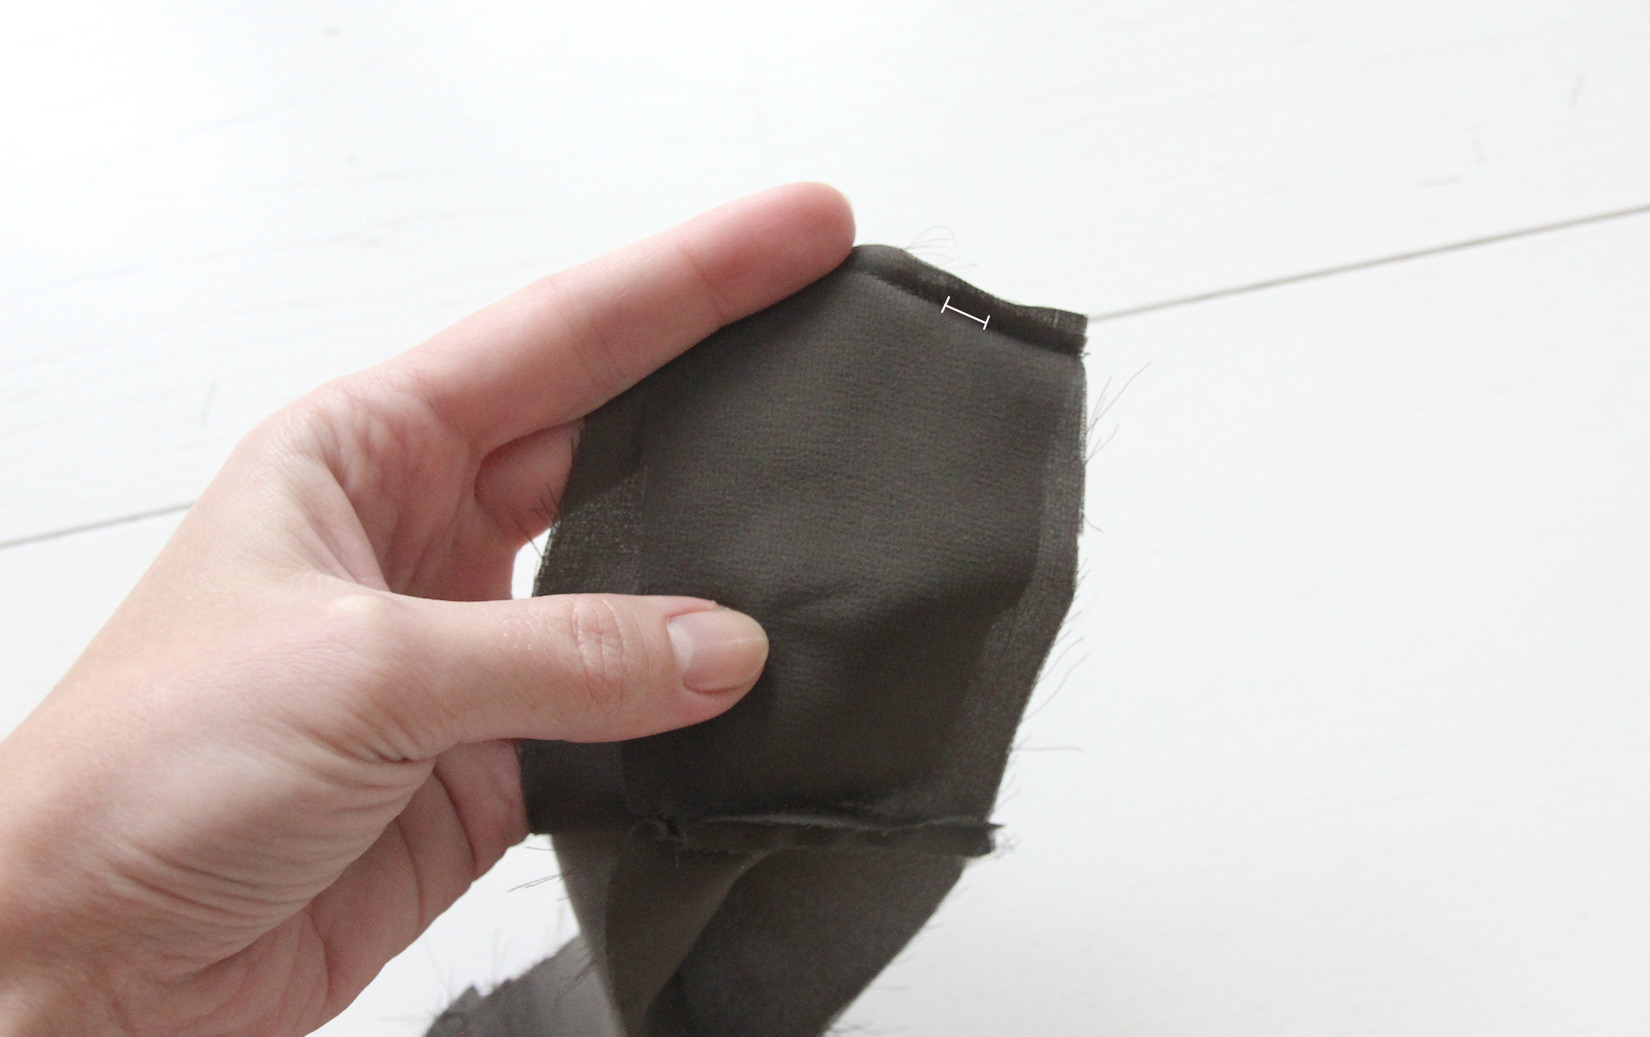 This is what I mean. When the halfway point fold is pressed onto the waist band, you can see that the small gap in the stitch is in the middle of the front side of the waist band. This is where the string will go through.
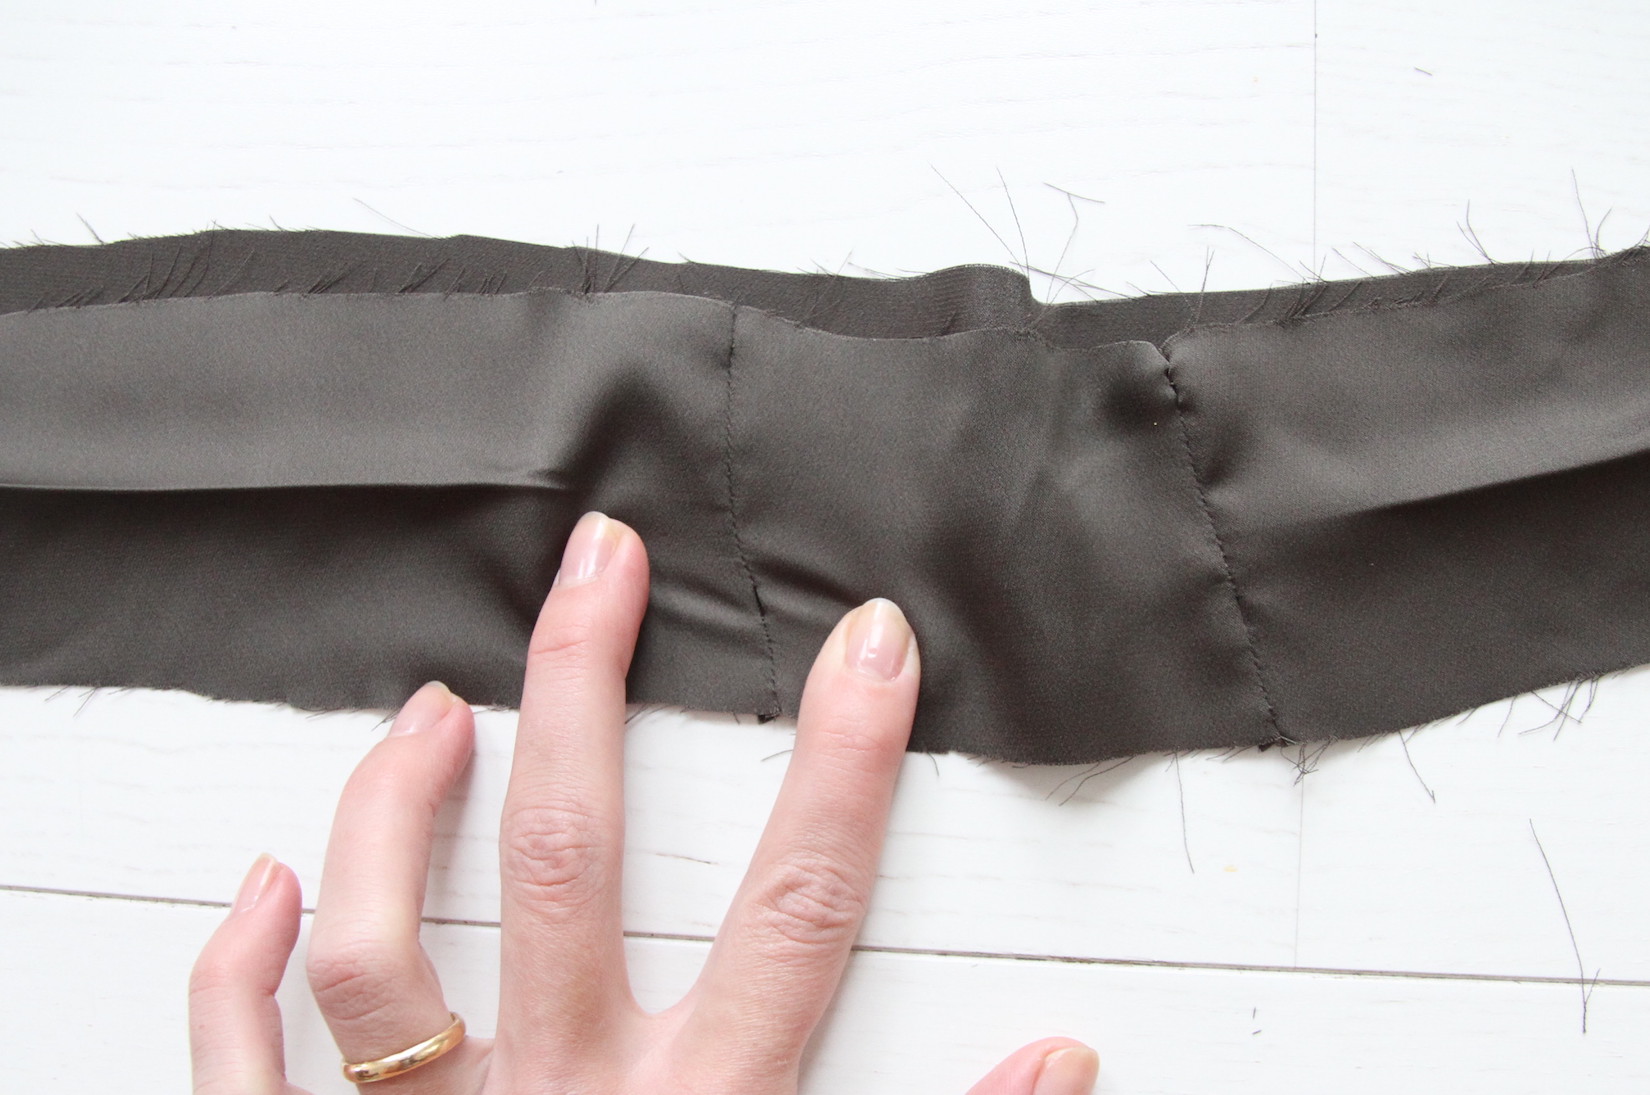
V. Then I pinned the waist band onto the shorts, so that the short piece with the holes on either side sits right at the middle in the front, right side facing right side of shorts, and sewed around.
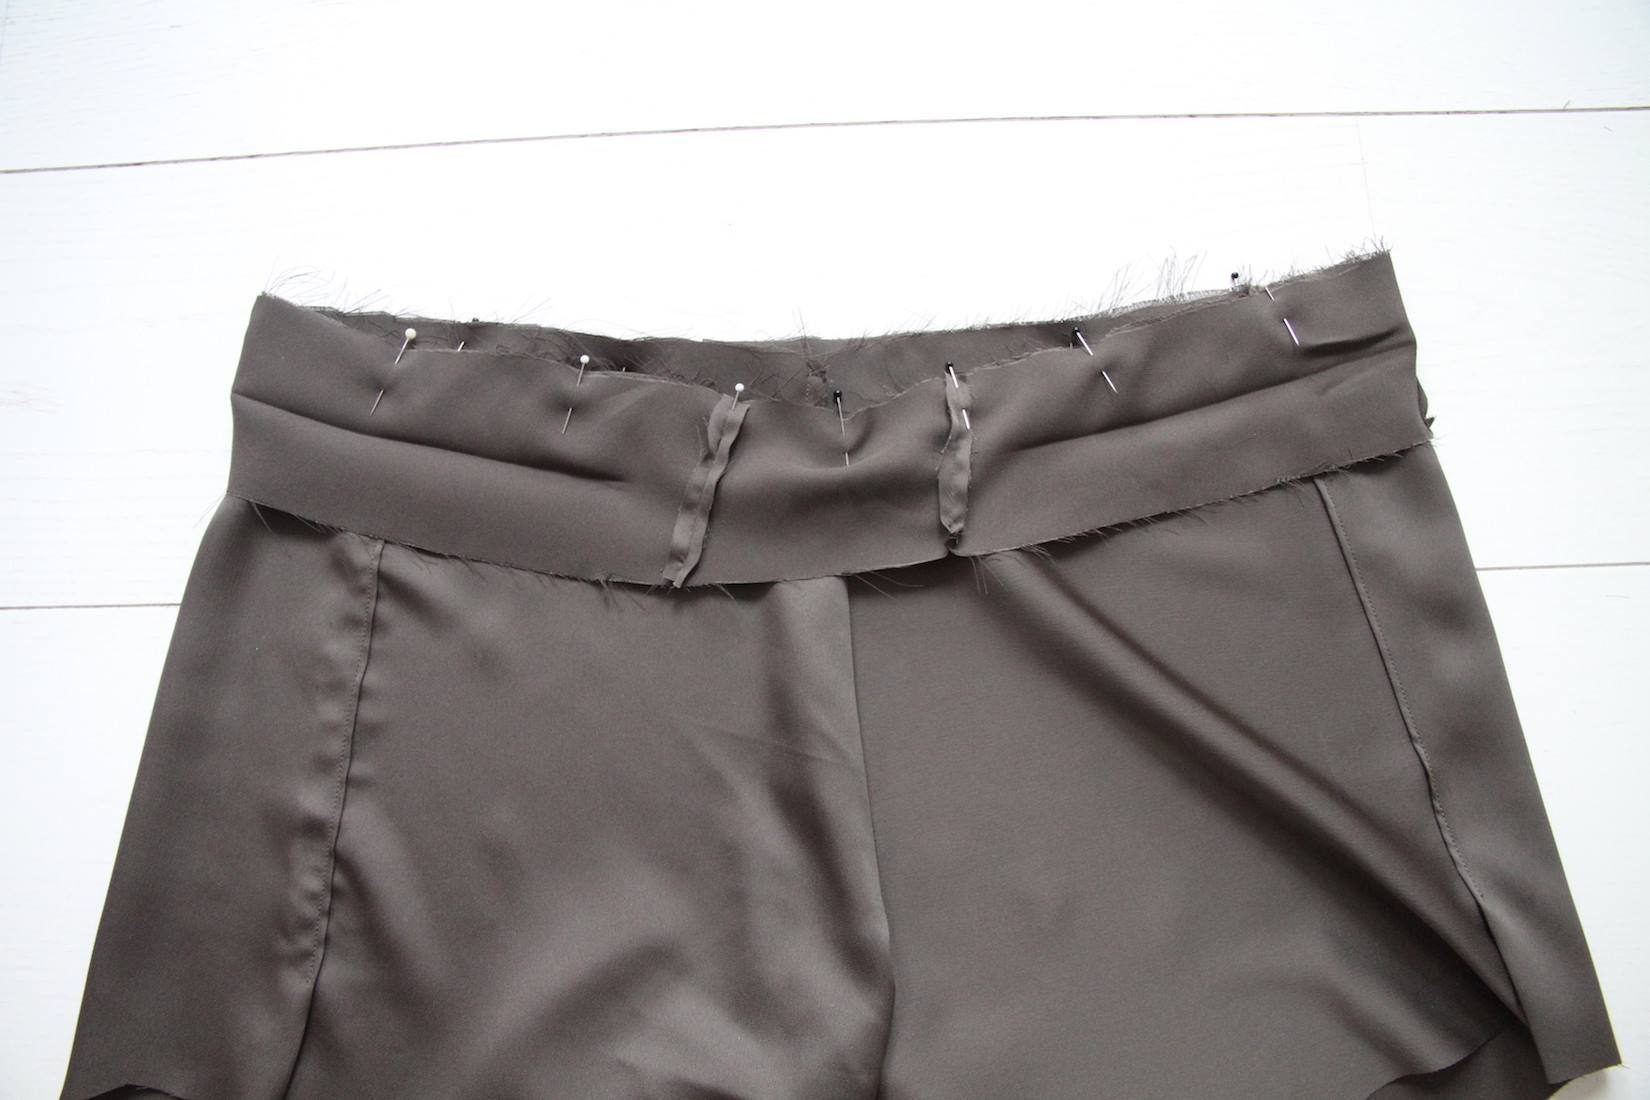
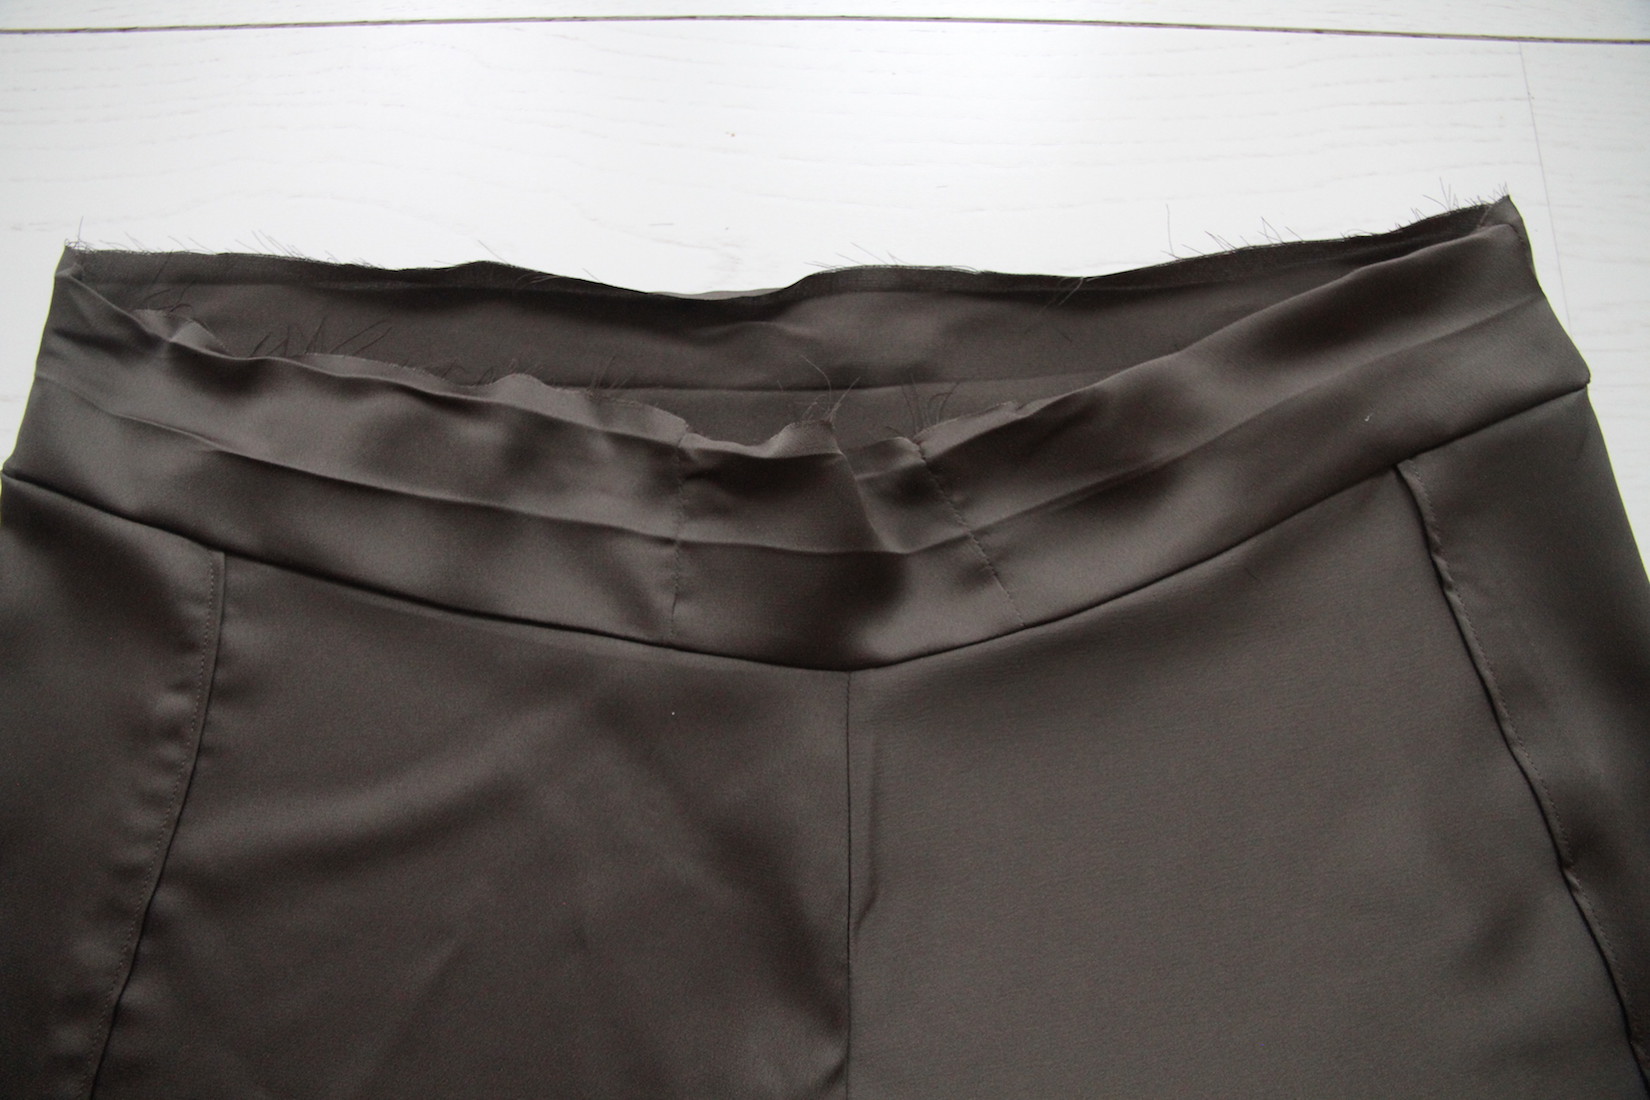
This is how it looked after pressing.
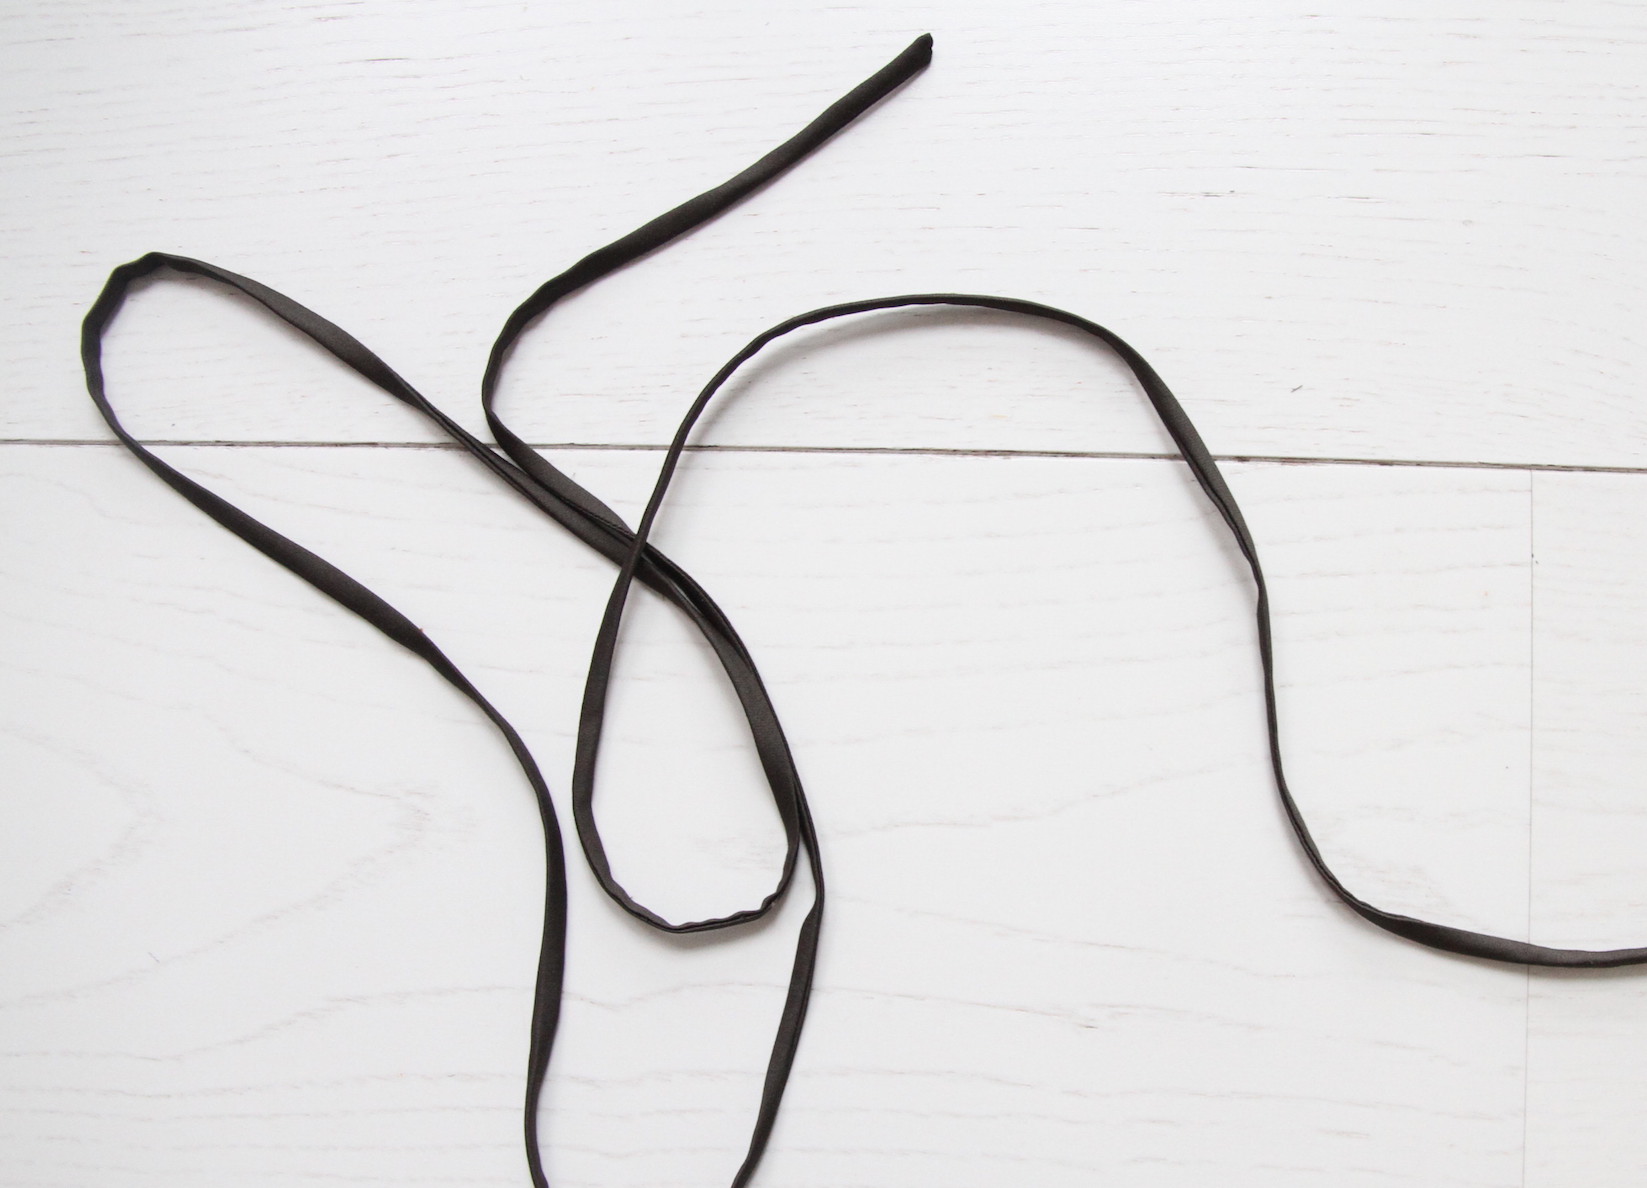
VI. I then made my string like I did for the straps of the top.
.. And figured it would be easier to slip it through the holes at this point rather than use the safety pin method later.
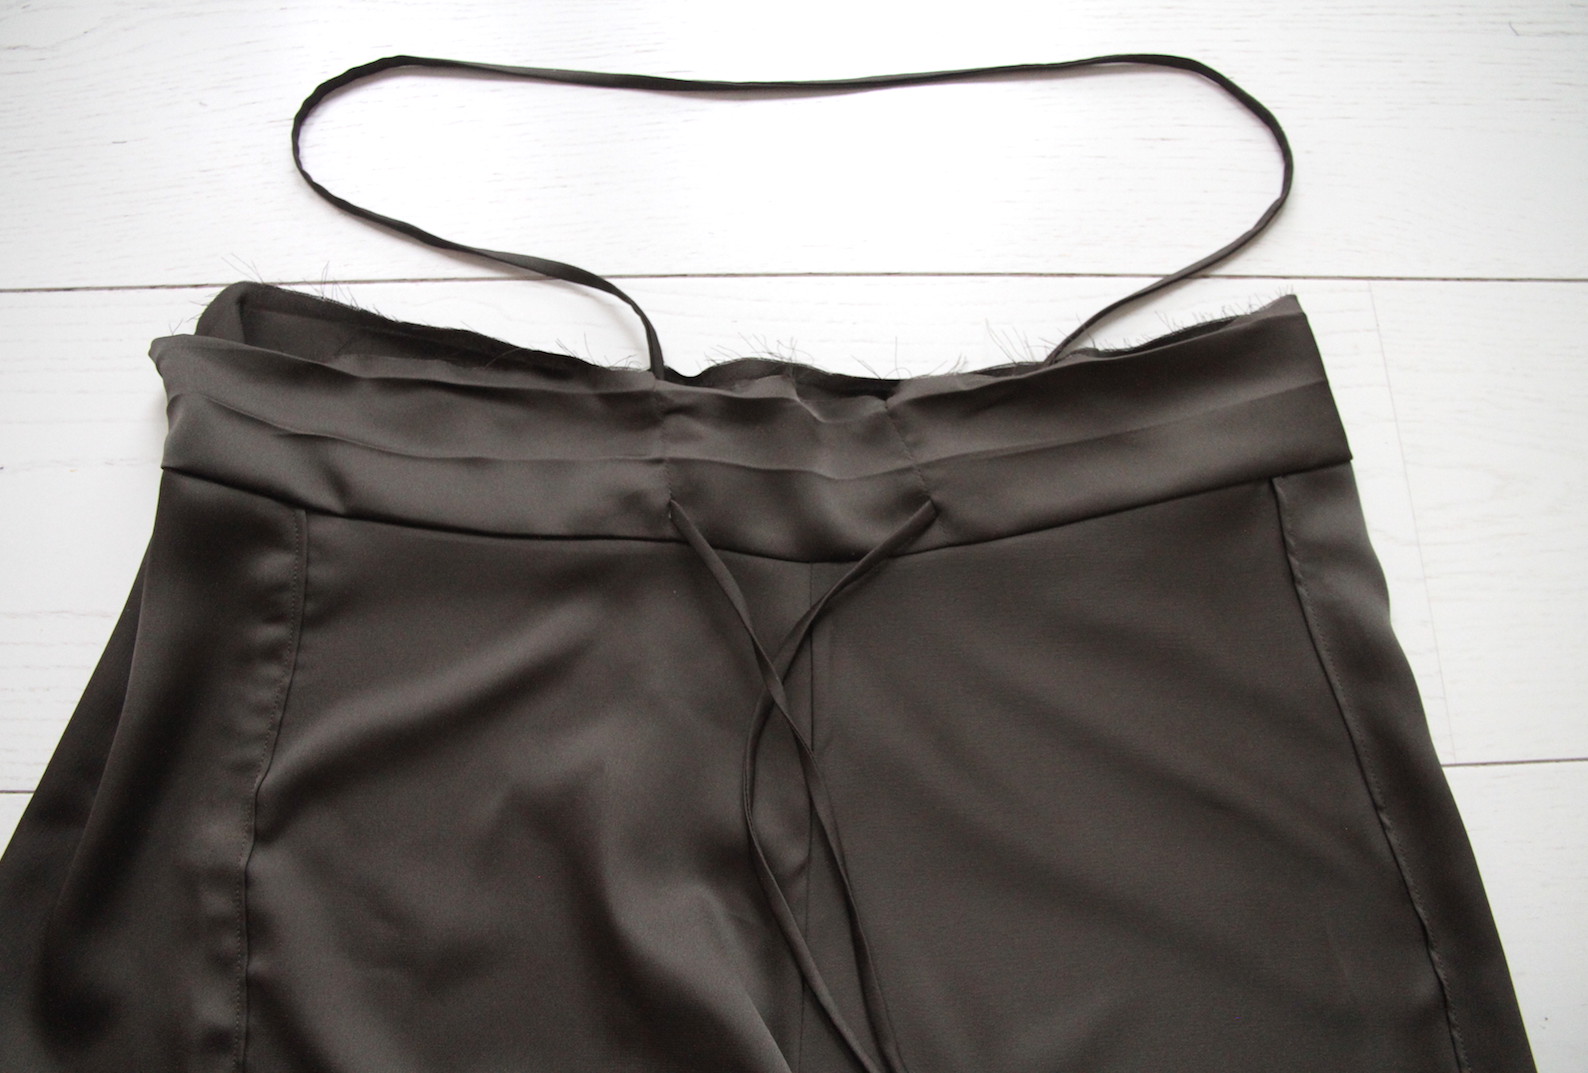
VII. Then just folded the waist band over and pinned it in place on the reverse side, making sure the string was inside the fold all the way. At this point I realized I had forgotten the elastic, but who cares, I just sewed around on the right side creating the tunnel where the string sits and left a small gap in the stitch..
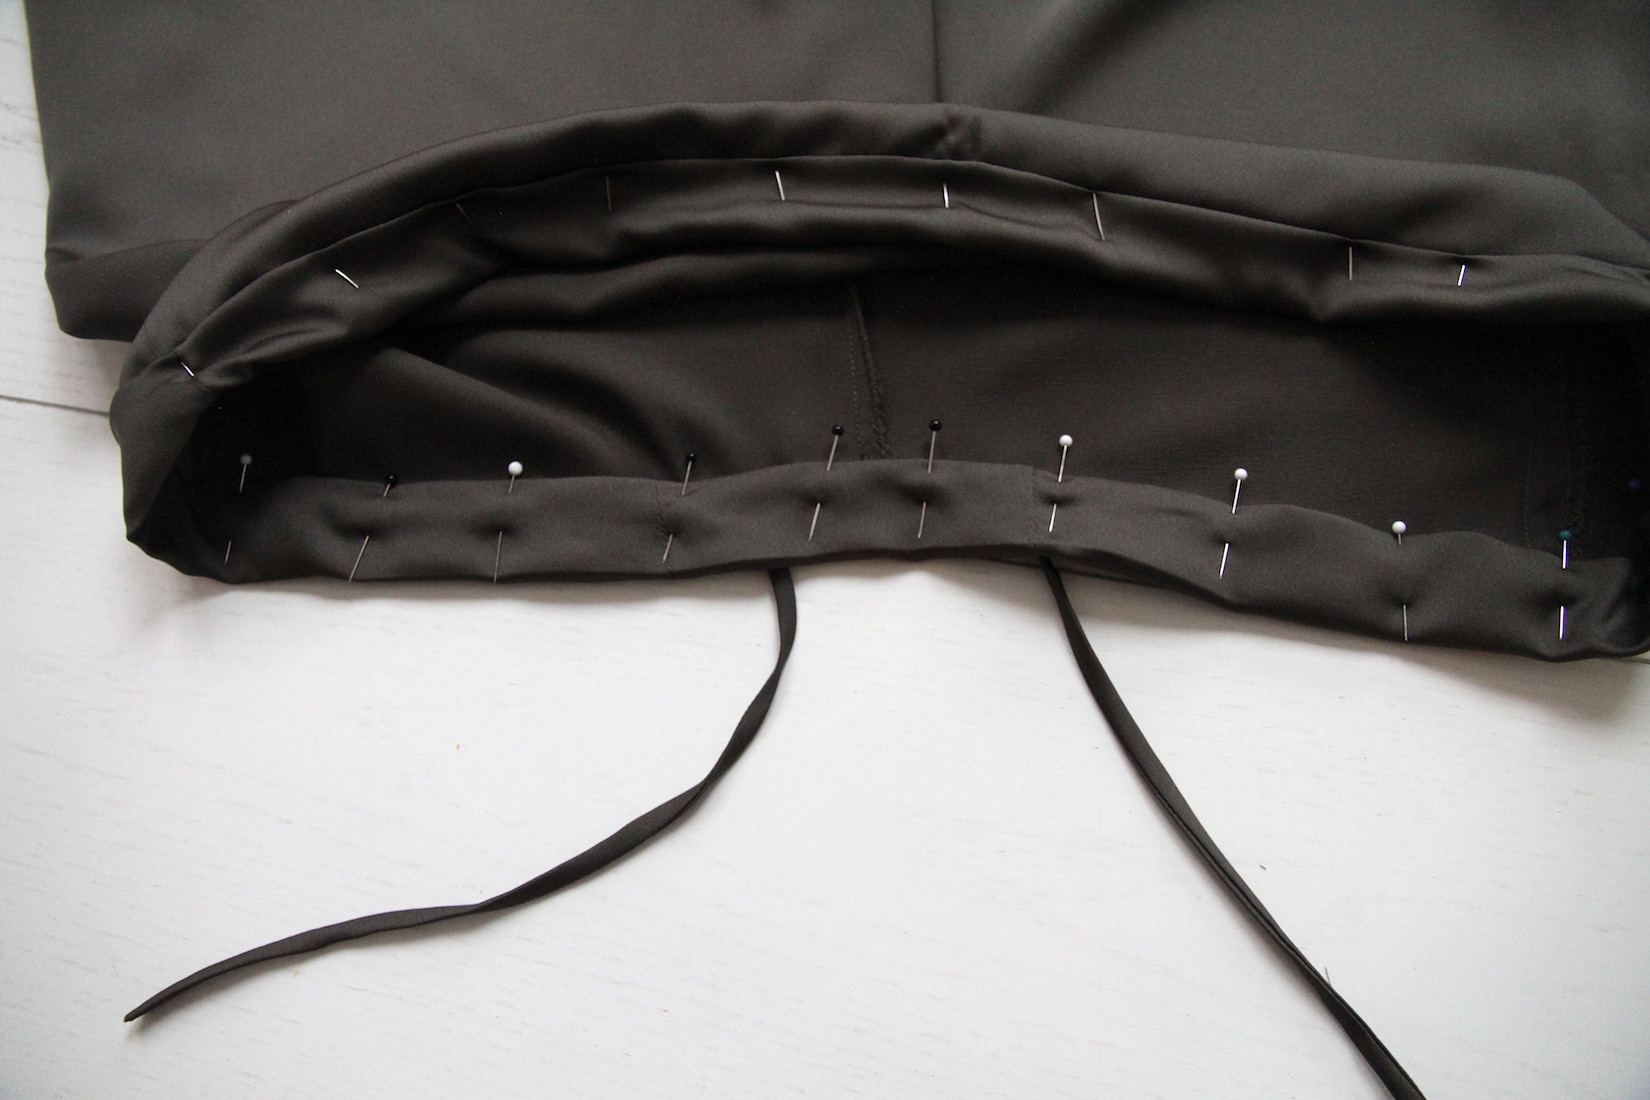
.. So I could insert my elastic through it, use the damned safety pin method I had just tried to avoid to get it all around, sew the elastic ends together, and then complete the stitch.

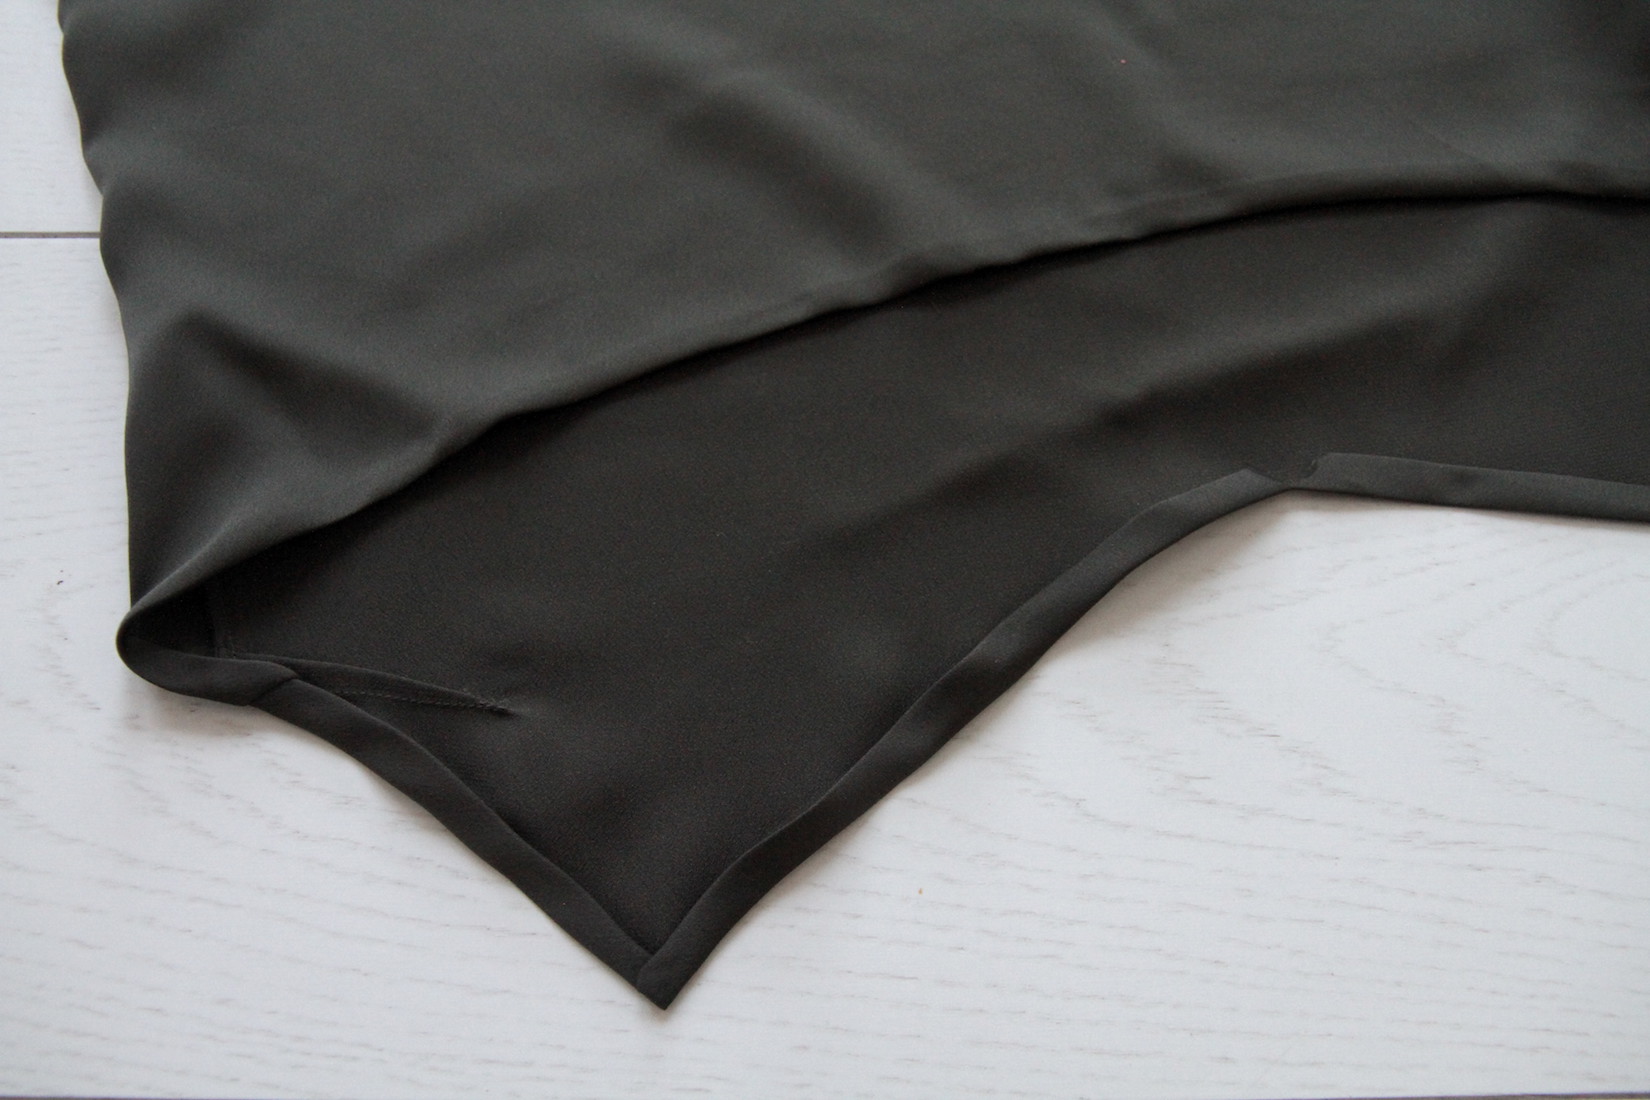
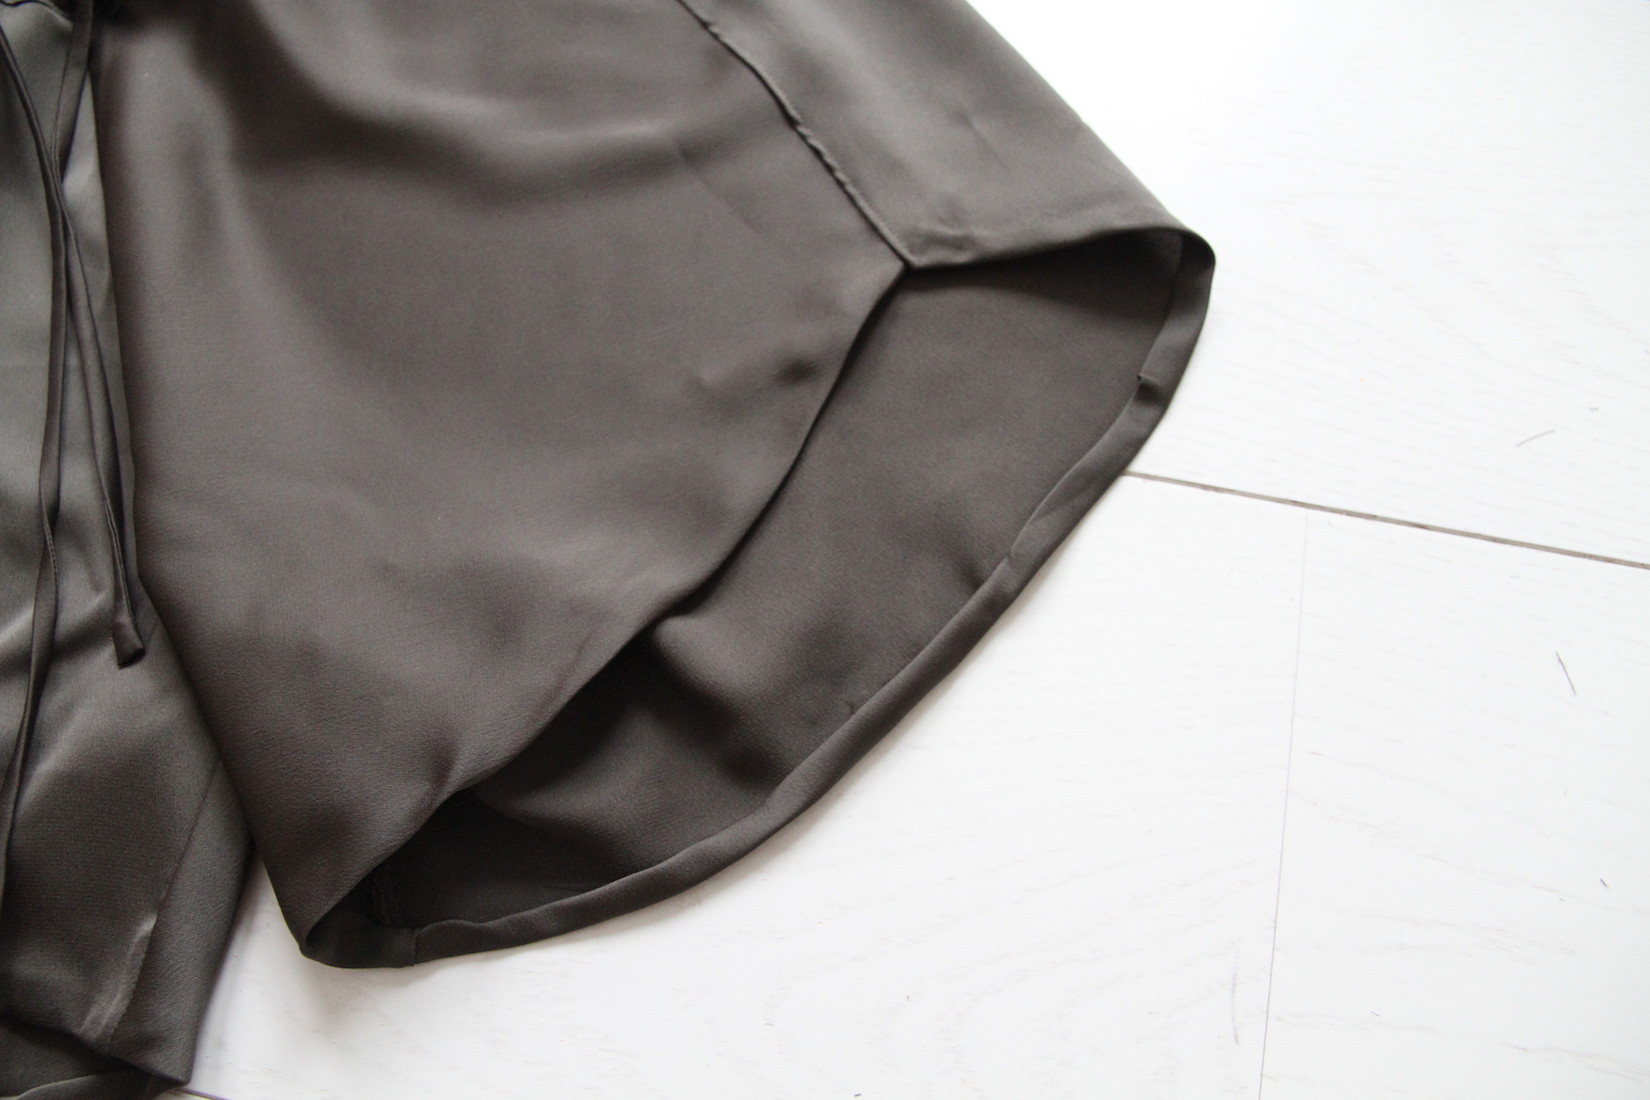
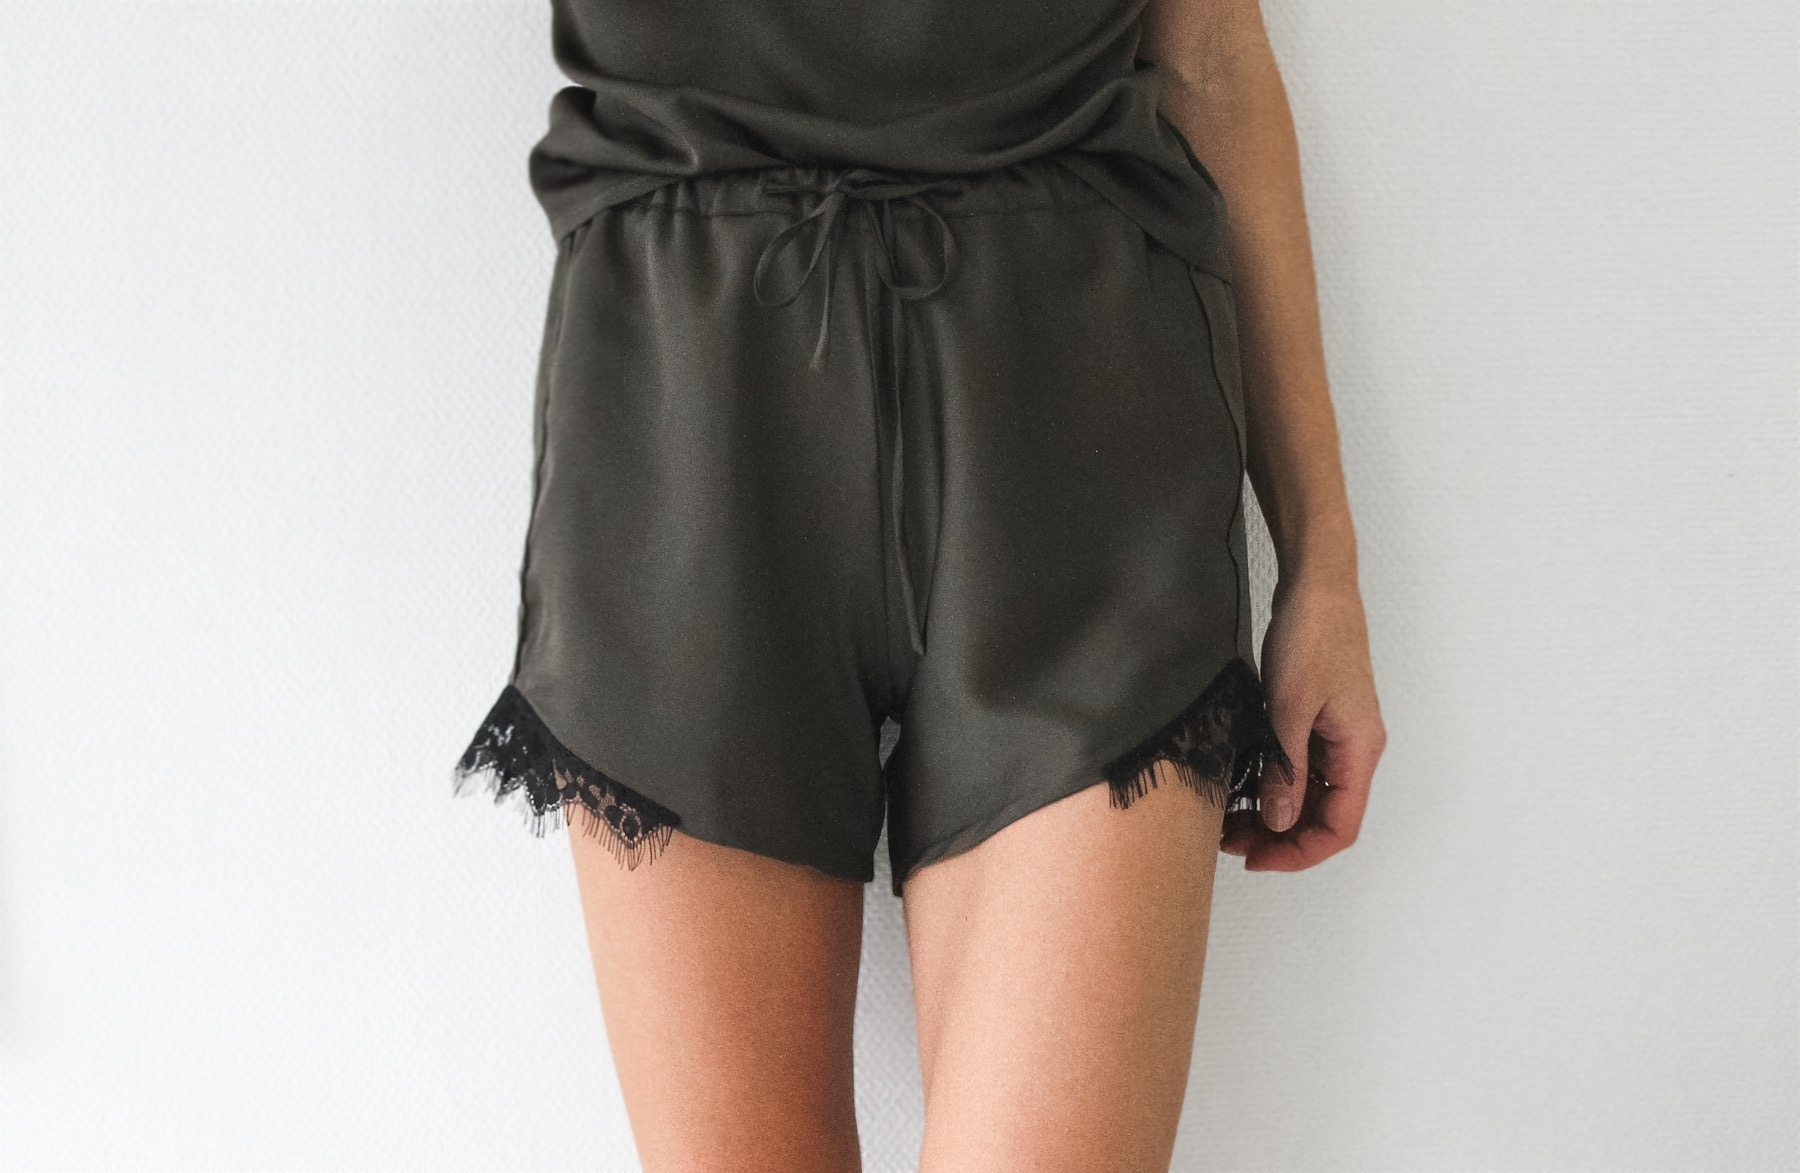
VIII. Then the legs. I trimmed them a bit more to achieve the curved shape at the sides:
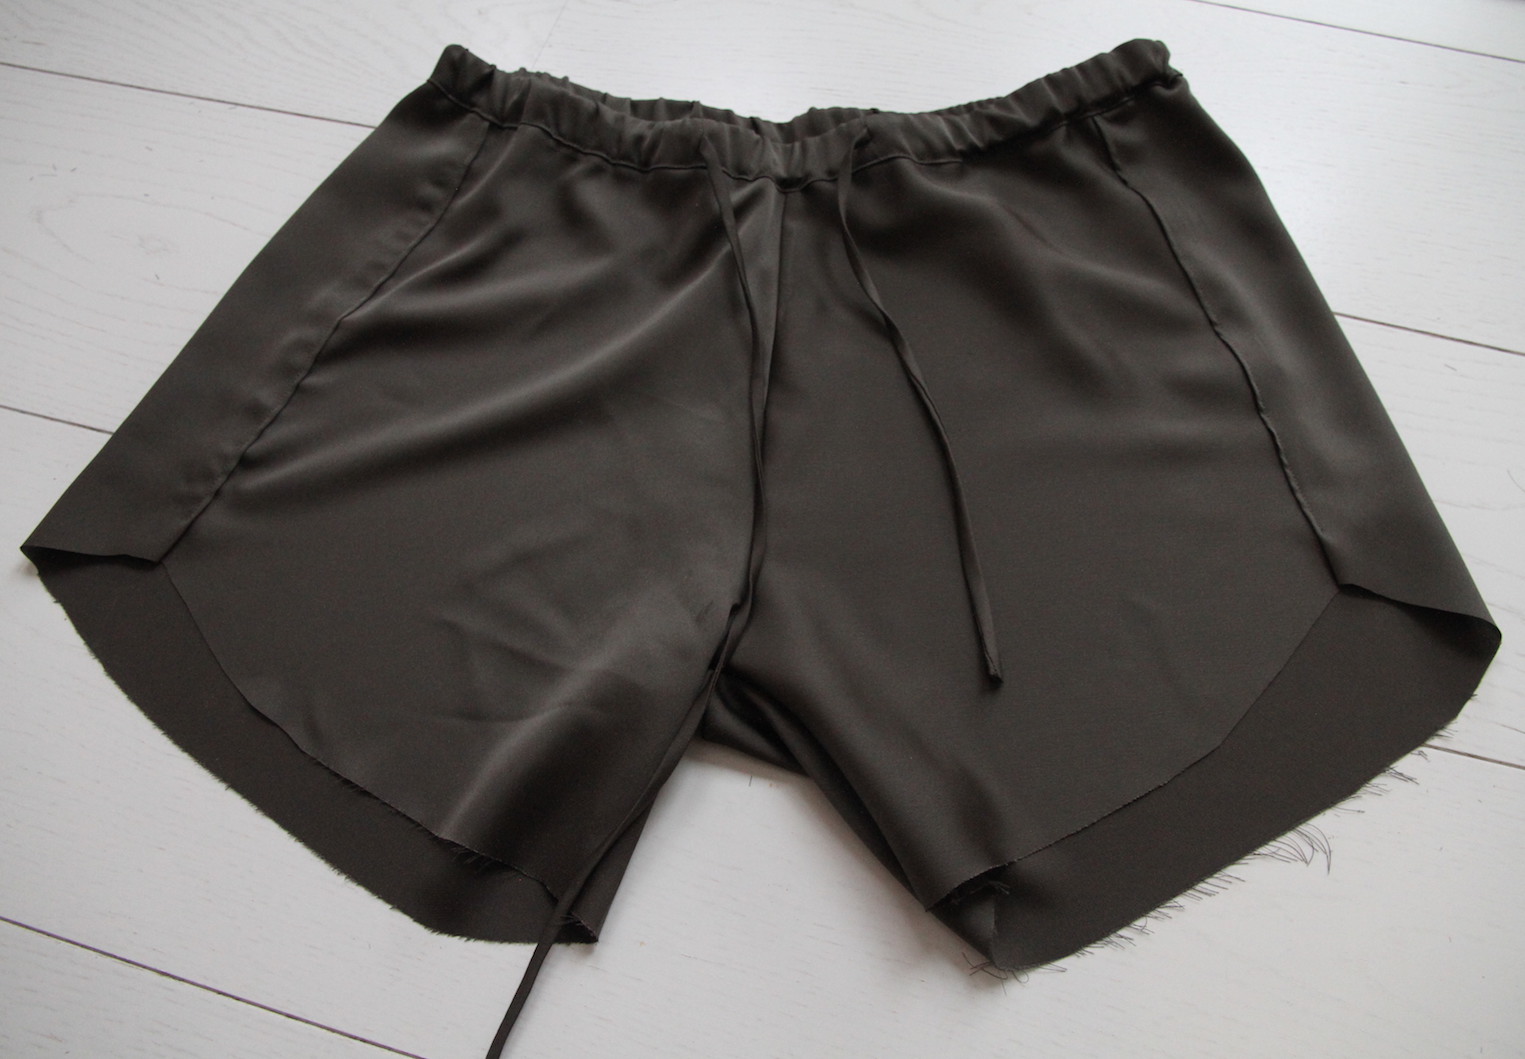
.. And pressed a double-fold at the hem, hand-stitching to finish.
IX. These last couple photos are terrible, but it was really dark. And when you got to finish a project you got to finish a project. Just like with the top, I pinned the lace in place, right side facing right side of shorts.
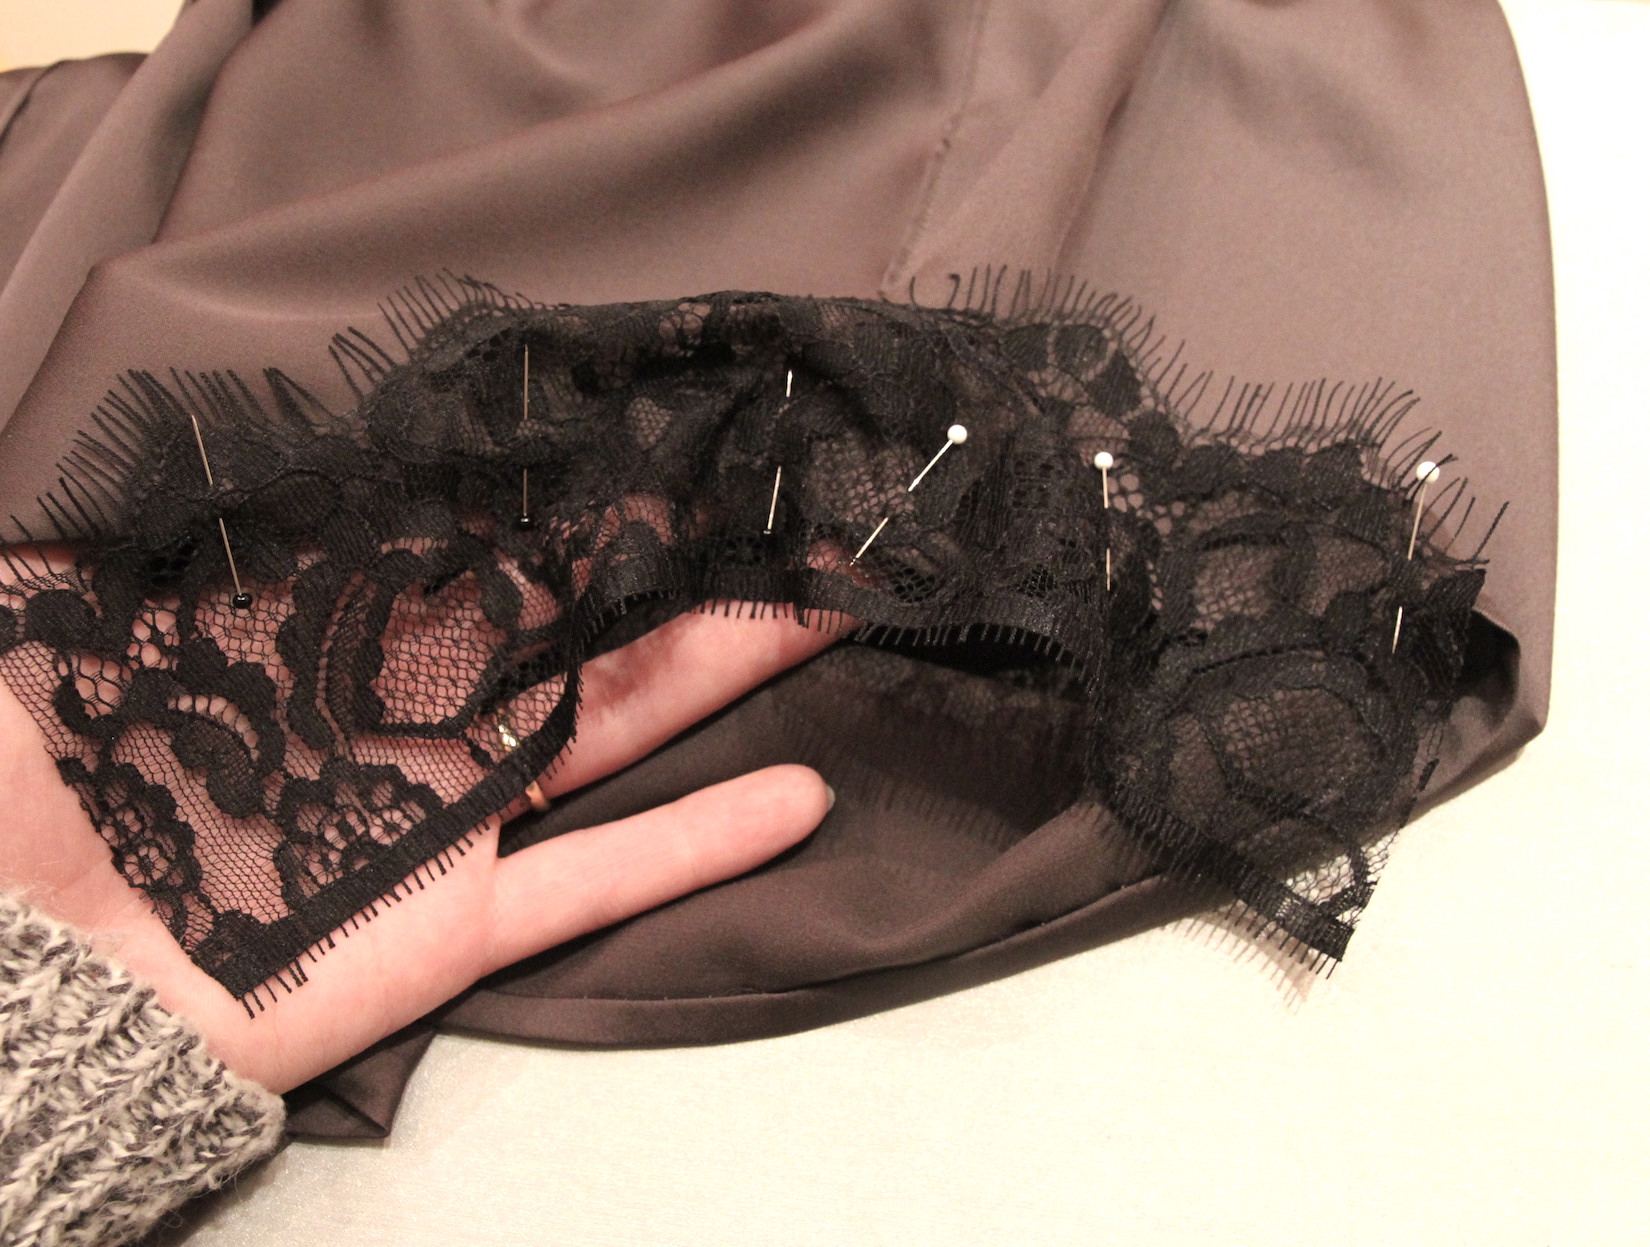
Sew along the hem, and trim the excess just like with the top neckline. Then just flip the lace down and press with your iron.
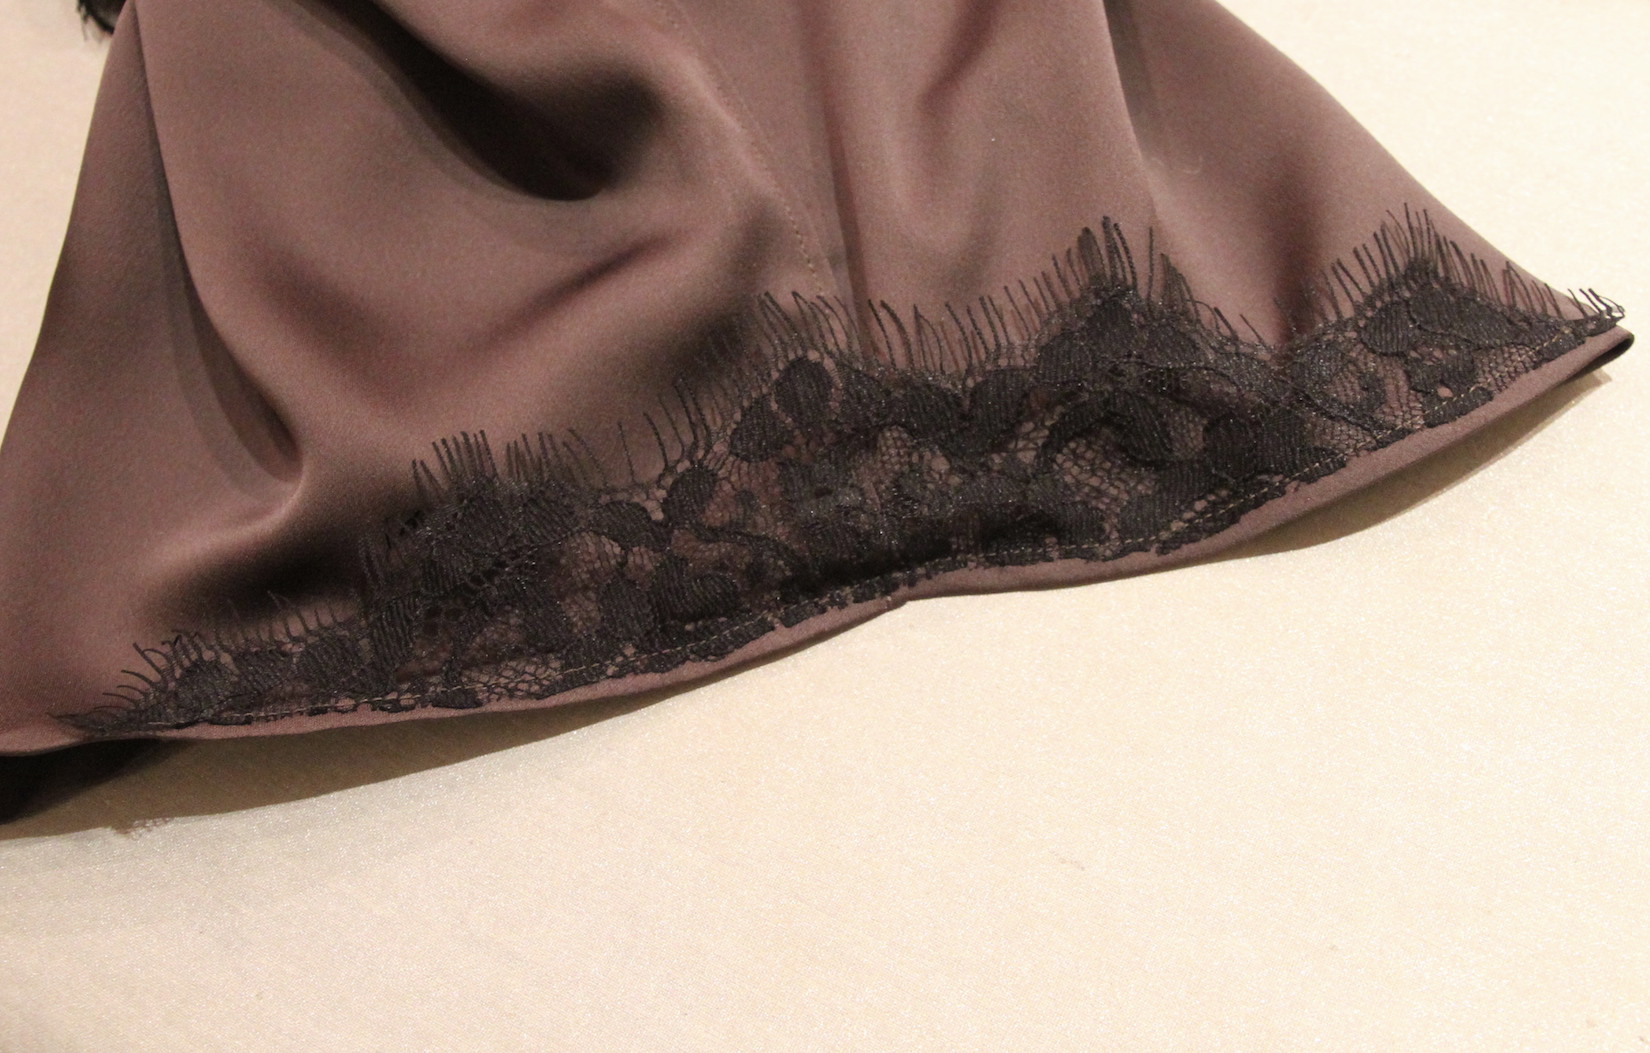
And hand-stitch with a thread that matches your lace so it sits in place nicely.
Pheww that was long..! But worth it:)

xo,
Julia


0 comments:
Post a Comment
I would love to hear what you think and learn about your DIY adventures! If you use one of my tutorials, tag me on social @contour_affair, I'd love to see!