

My favourite spectrum of emotions is falling in love with something at an expensive store, the let-down of seeing the price tag, the quick and bitter realism about my budget for the month.. And the glorious realization that I can totally make that myself. I have big love for Joseph, but $500 for a wrap skirt? A girl's got to eat and buy flights to see the world.
Tutorials take a lot of time & effort to create, and I choose to make mine available for free. If you enjoy this guide, you can support me with a donation that feels right for you, here.
TOOLS:
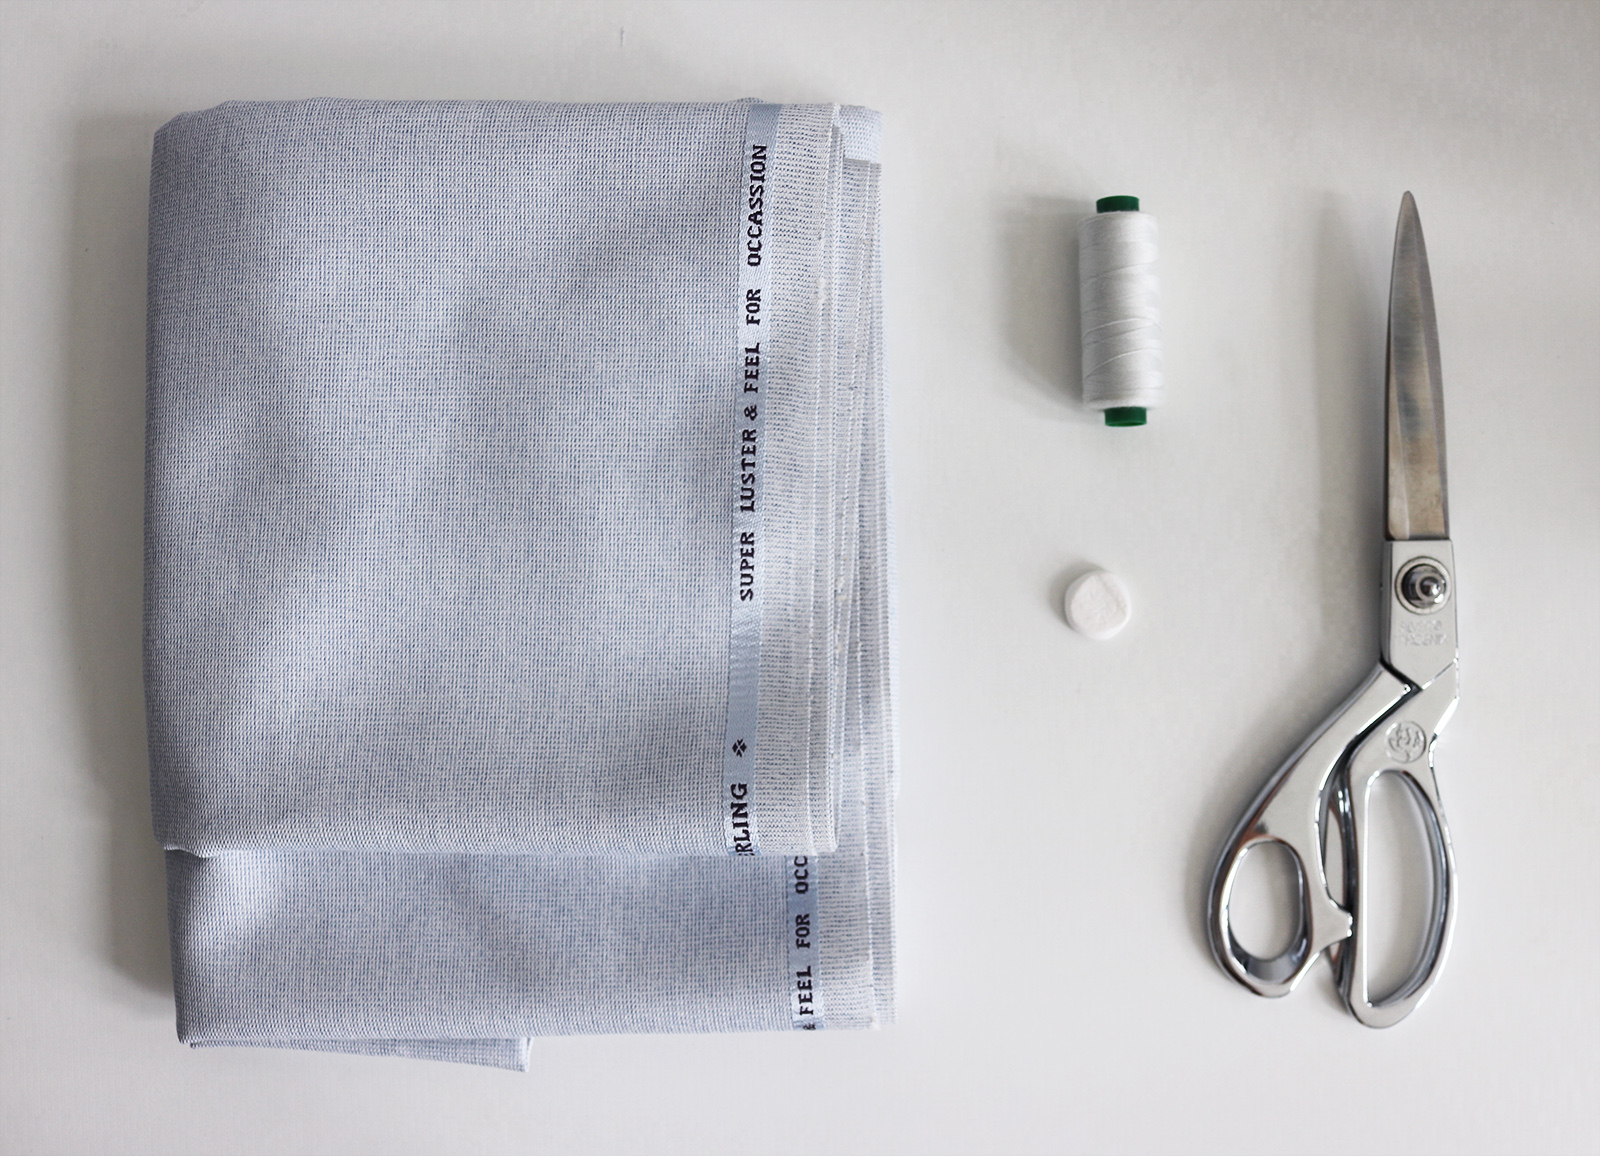
Fabric, 1.5m (I used 100% cotton with super luster & feel, as you can see) | Scissors | Fabric marker | Thread, sewing machine, needle | Pins | Bias tape for the seams (optional)
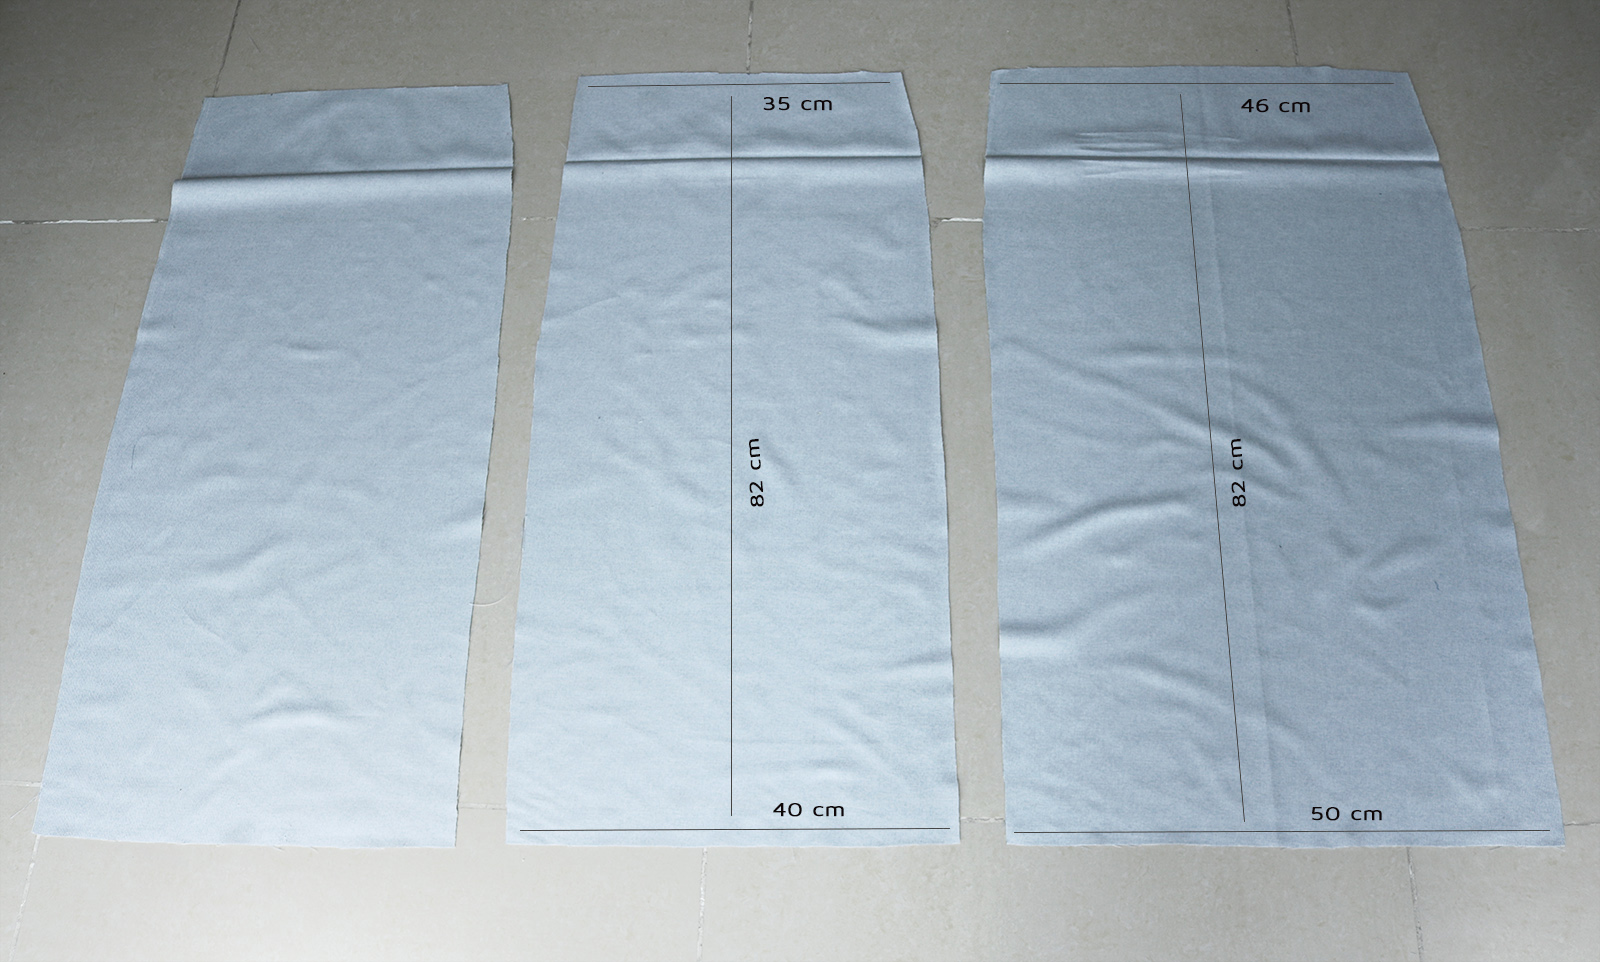
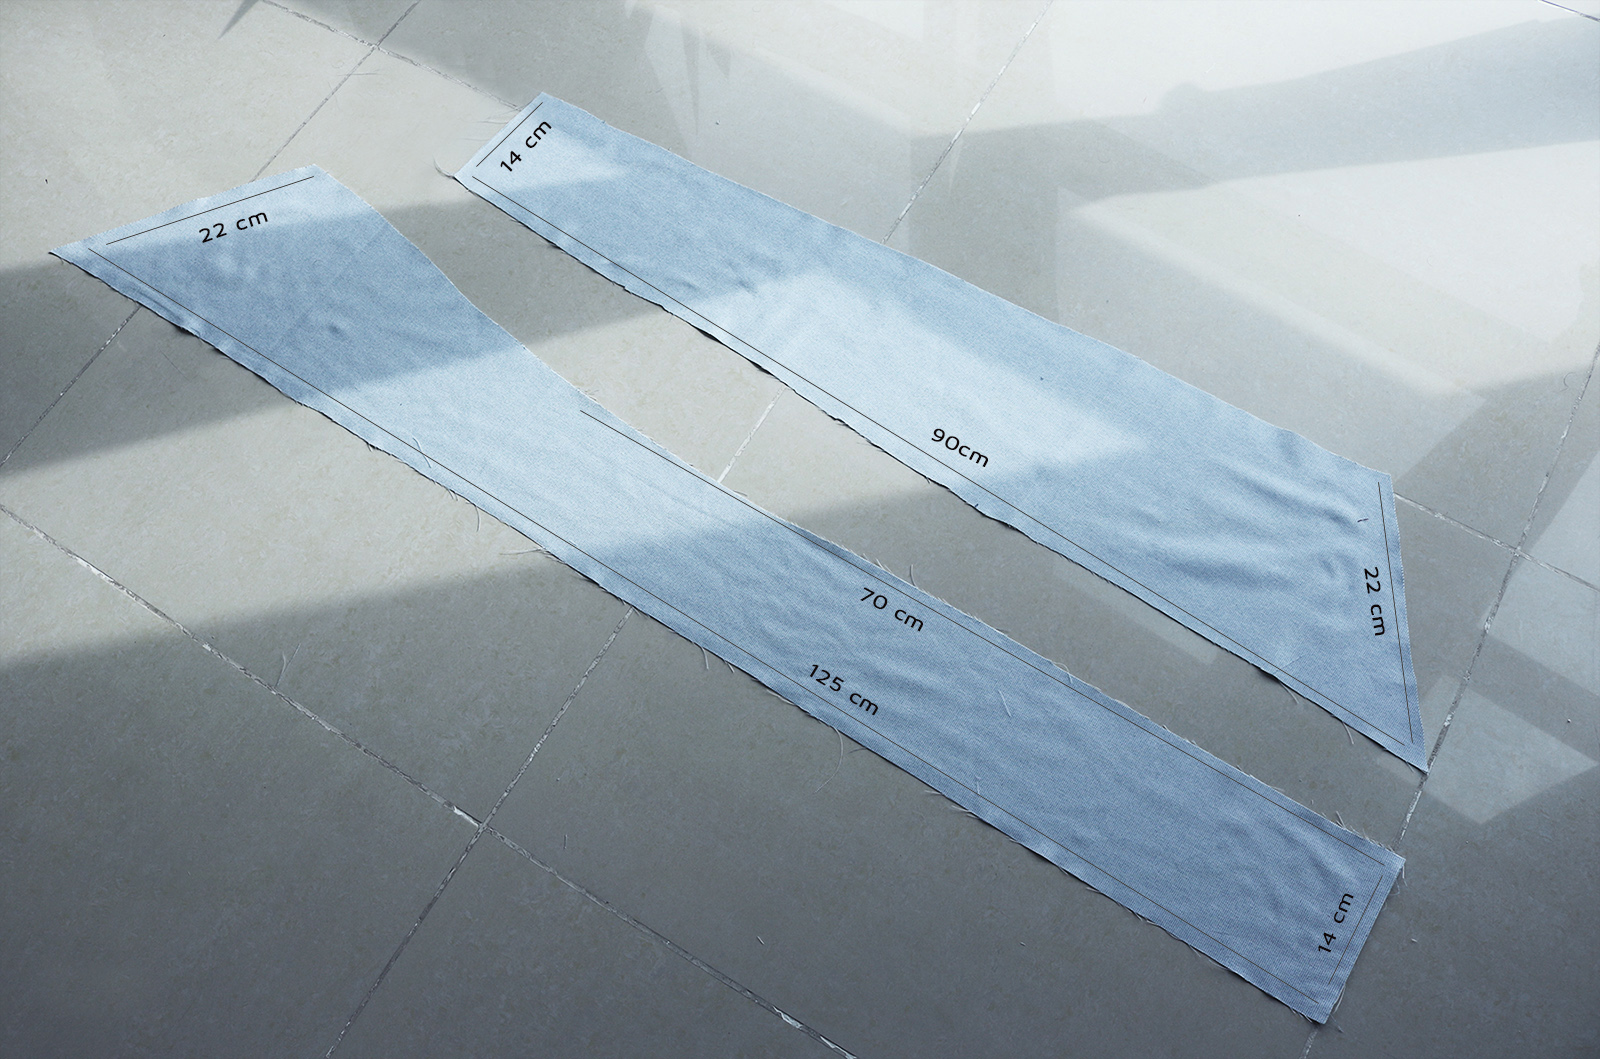
I. You need three panels, measurements below.
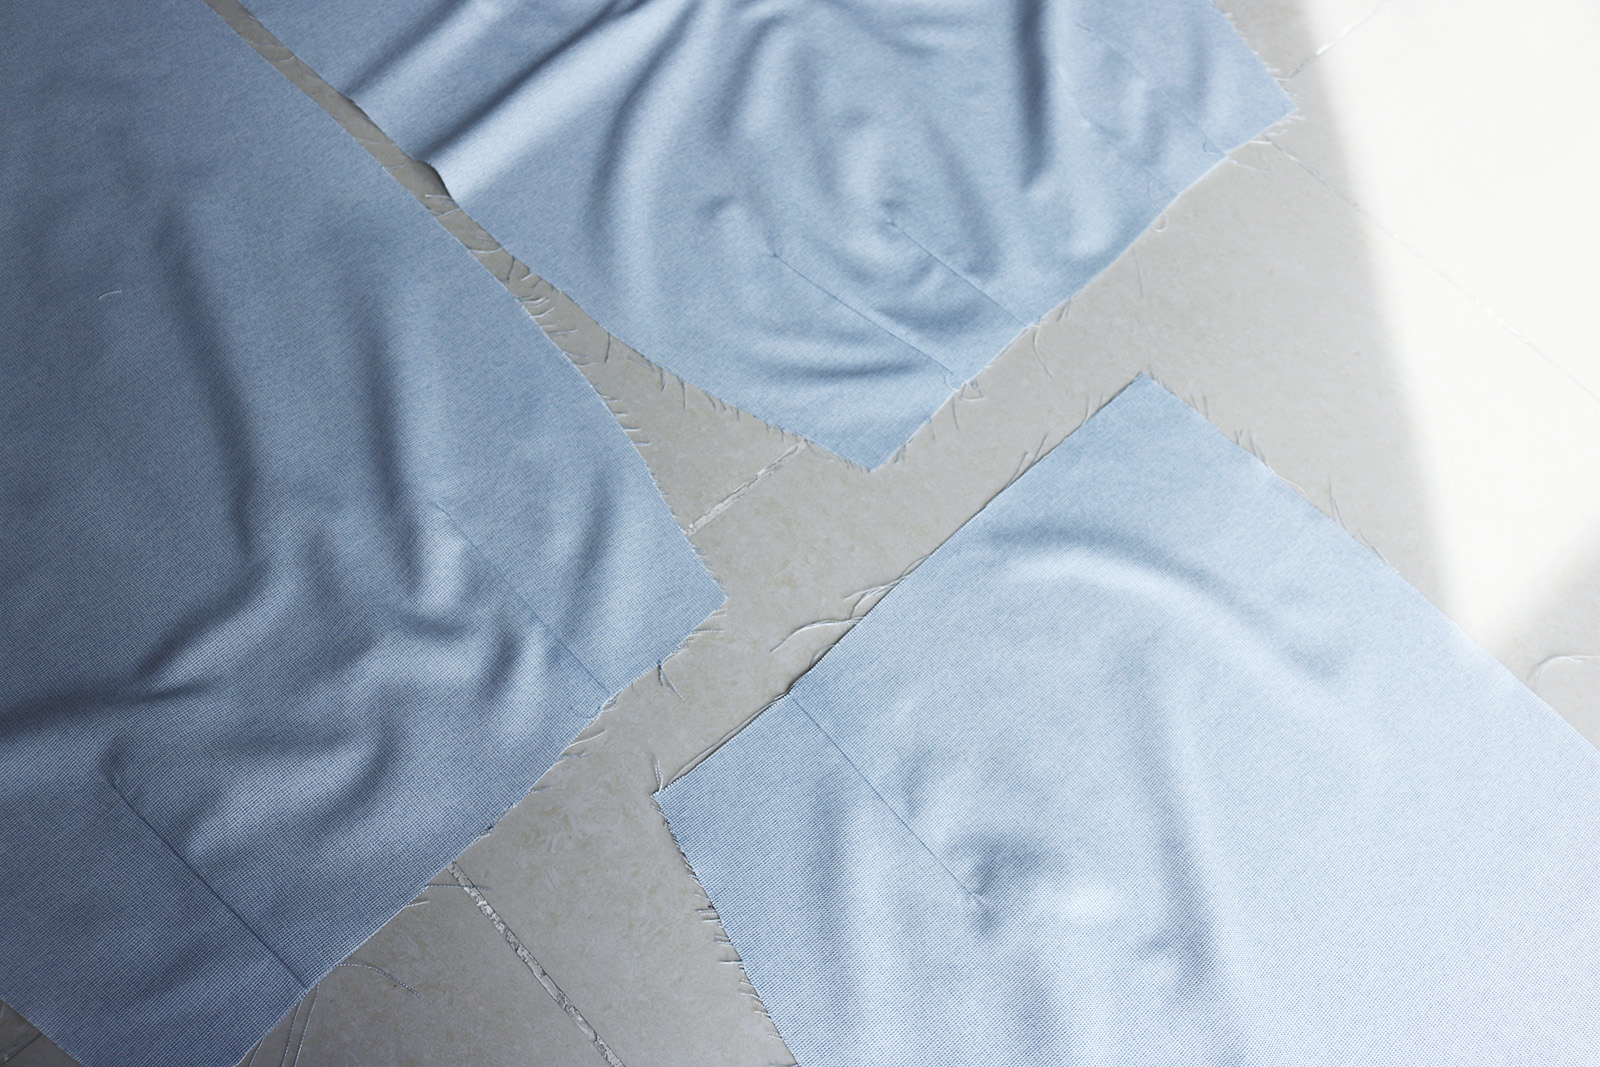
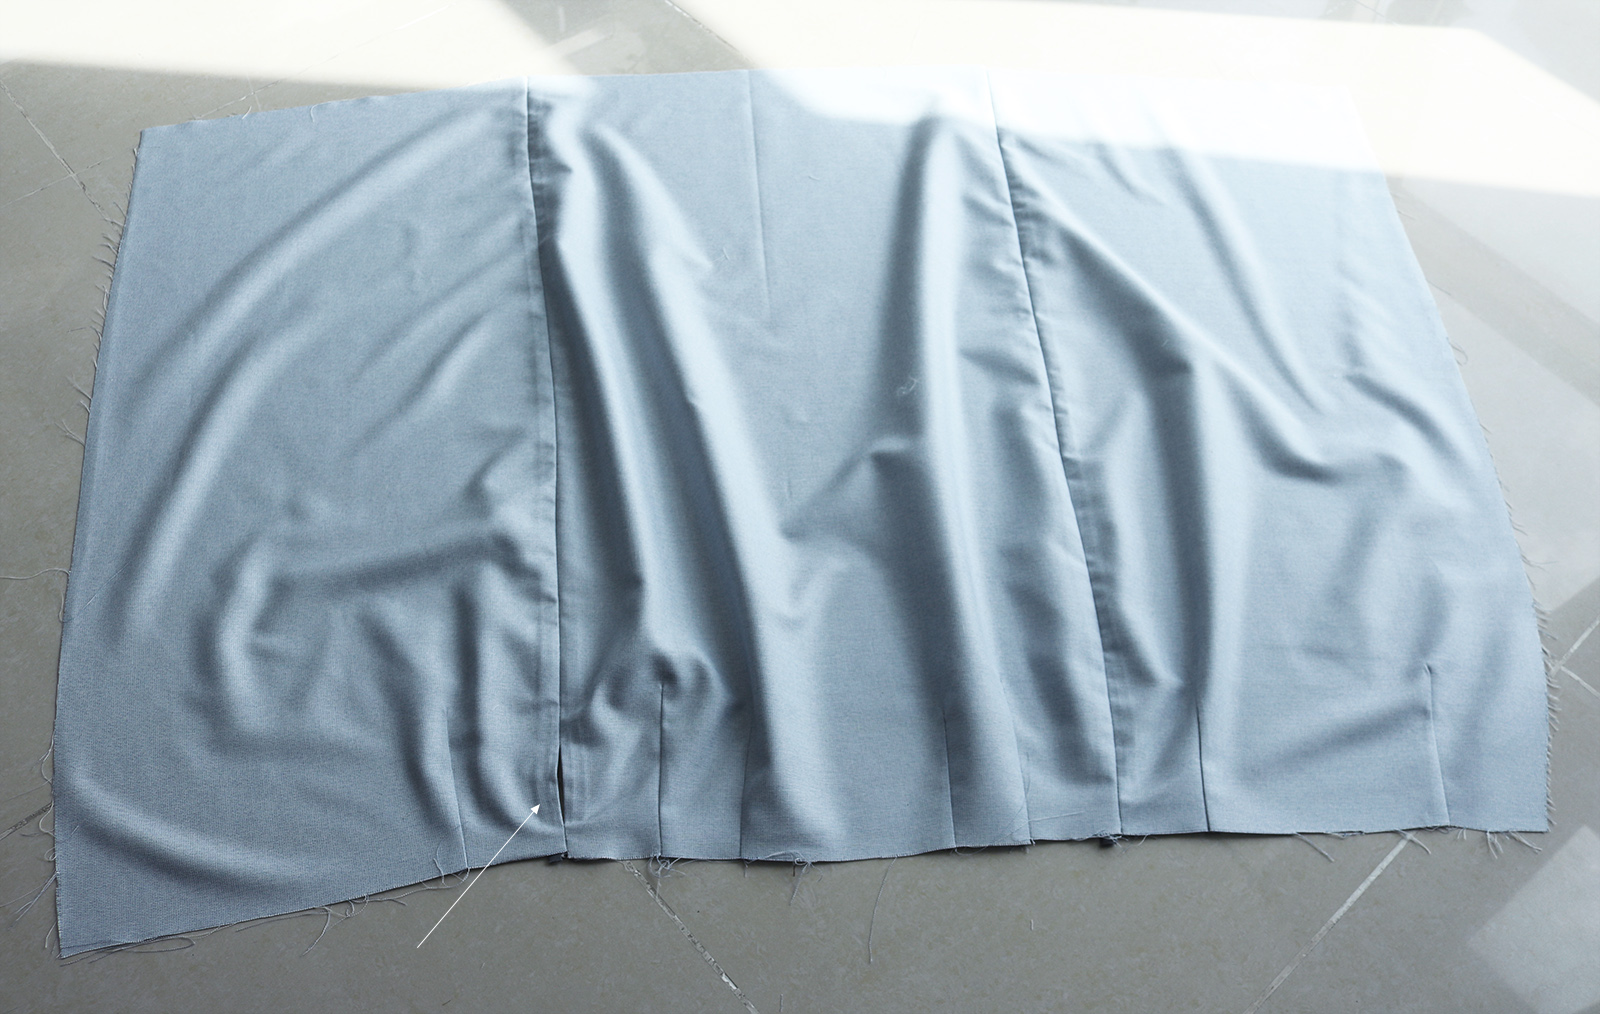
II. I added darts as follows: four on the widest back piece, two on the one that will be underneath in the front, and one on the front piece that will wrap on top of the other front piece.
III. Then pinned the parts together, right sides facing, the widest, back piece in the middle. Can you believe I did bias-bound seams? Me neither. When sewing the seams make sure you leave a gap in the seam that attaches the back piece to the front piece that will wrap on top, about 7 cm long and starting about 4 cm down from the raw waistline.
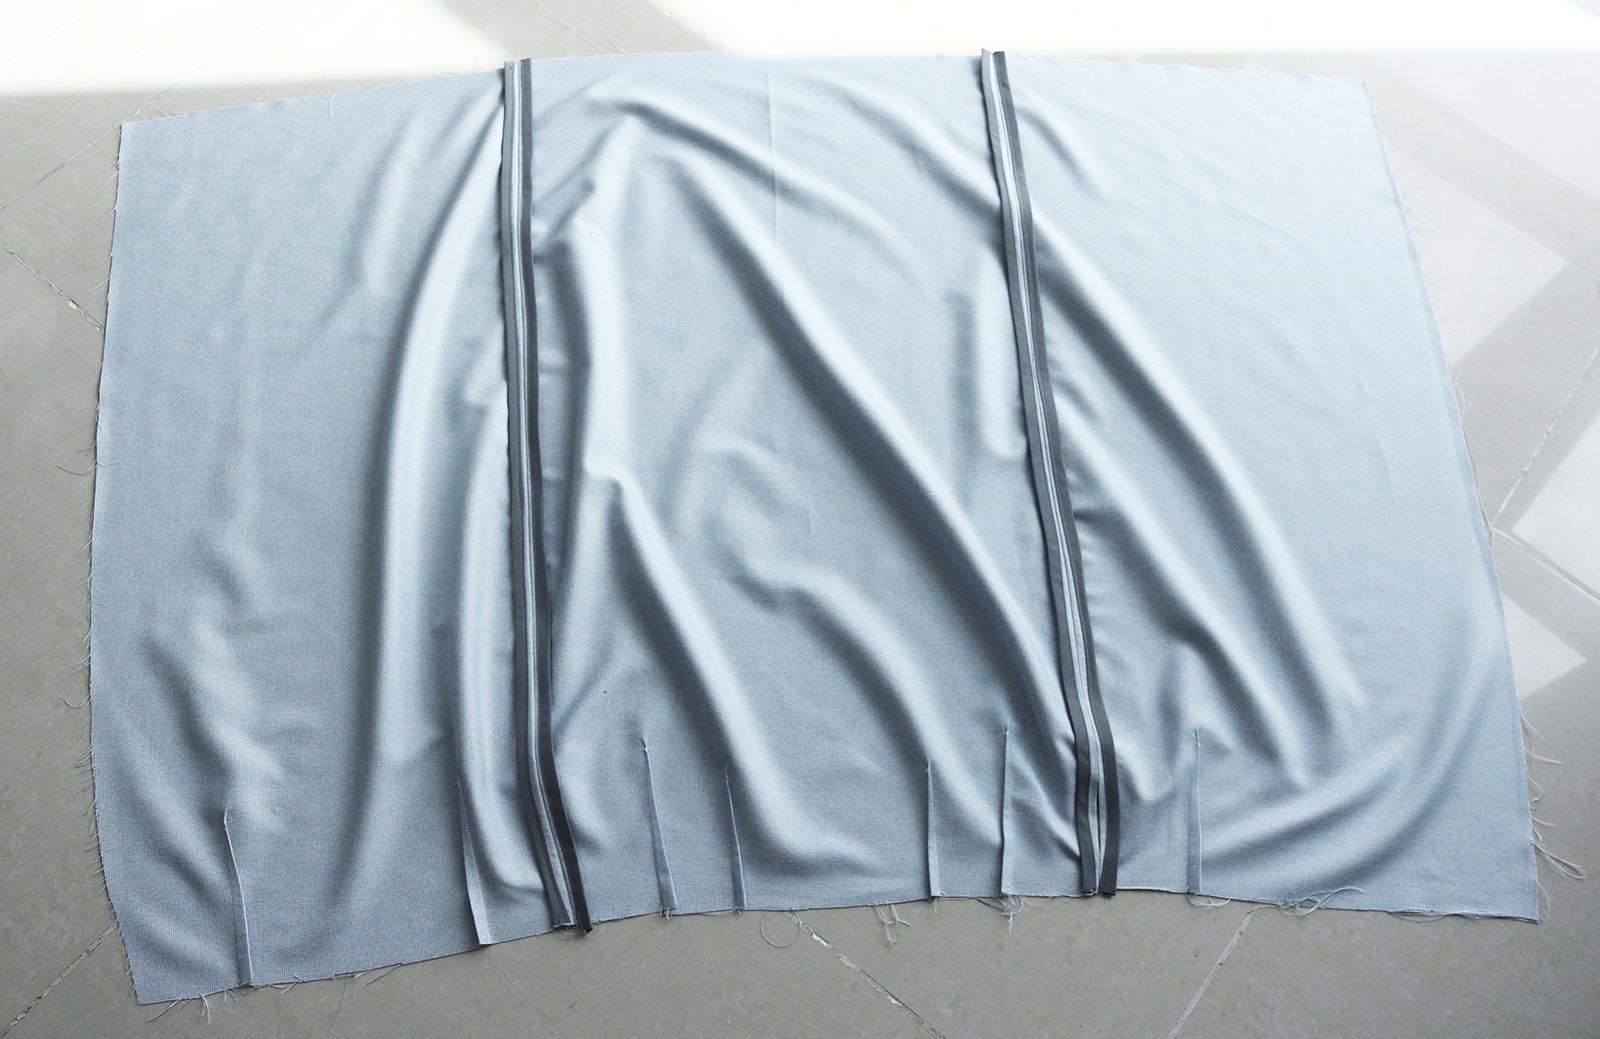
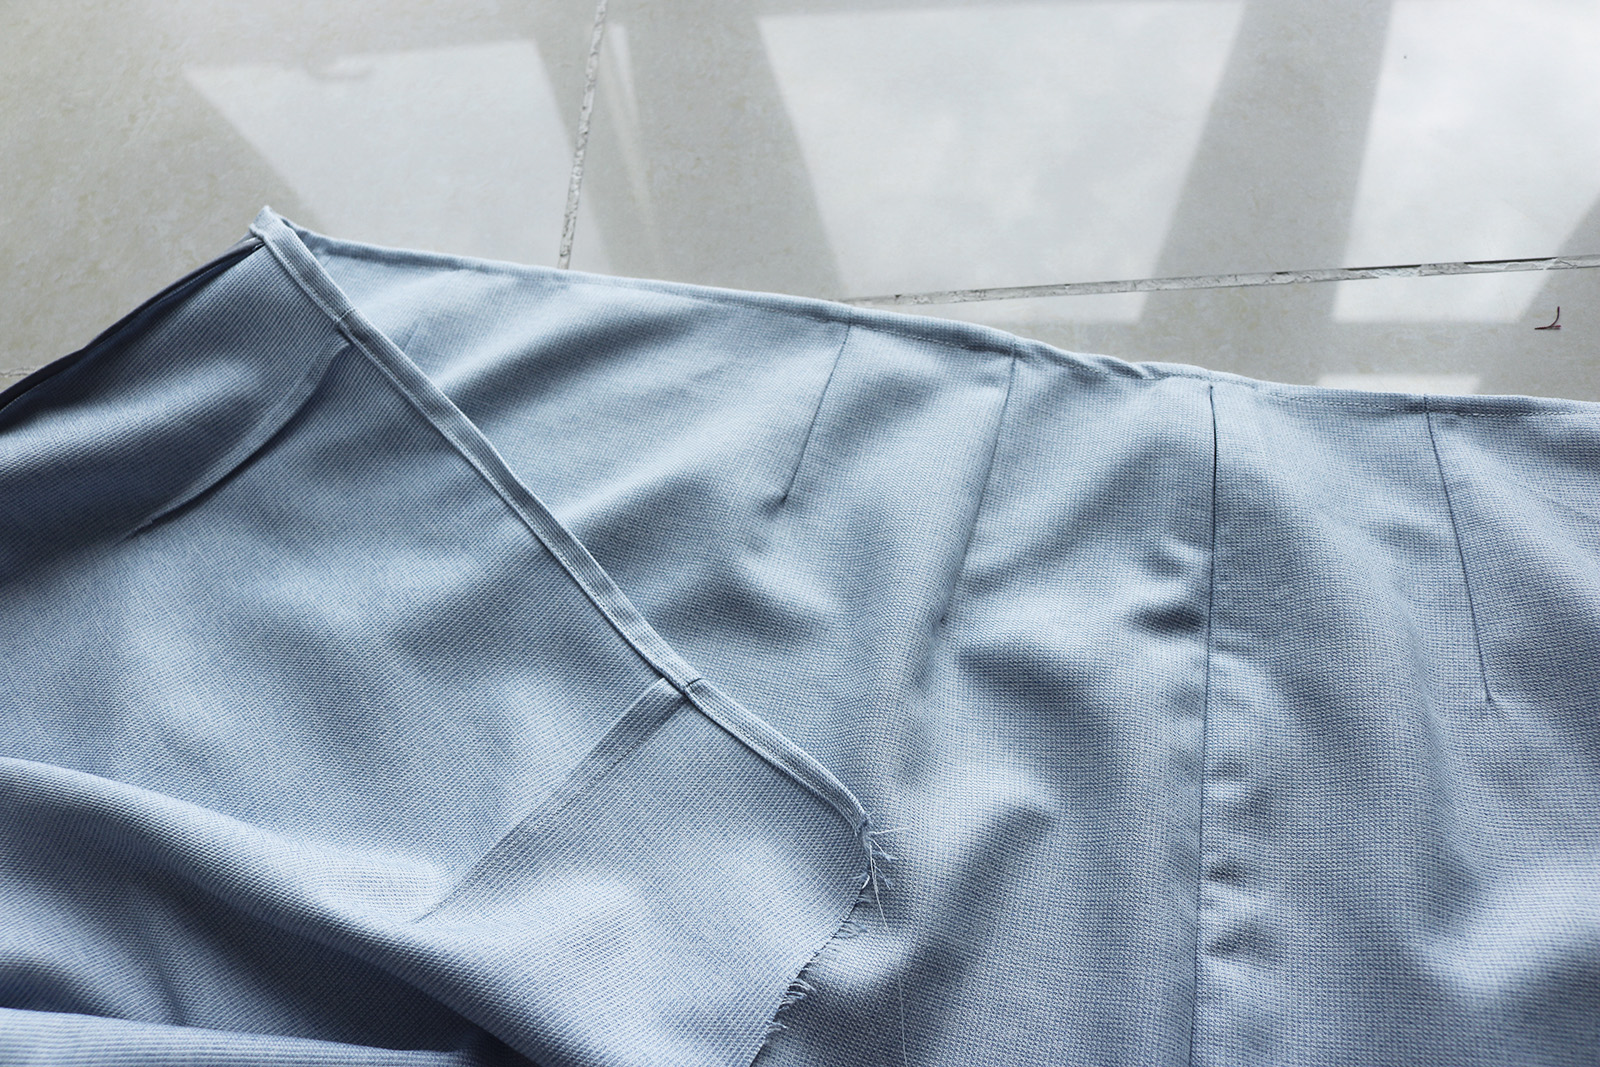
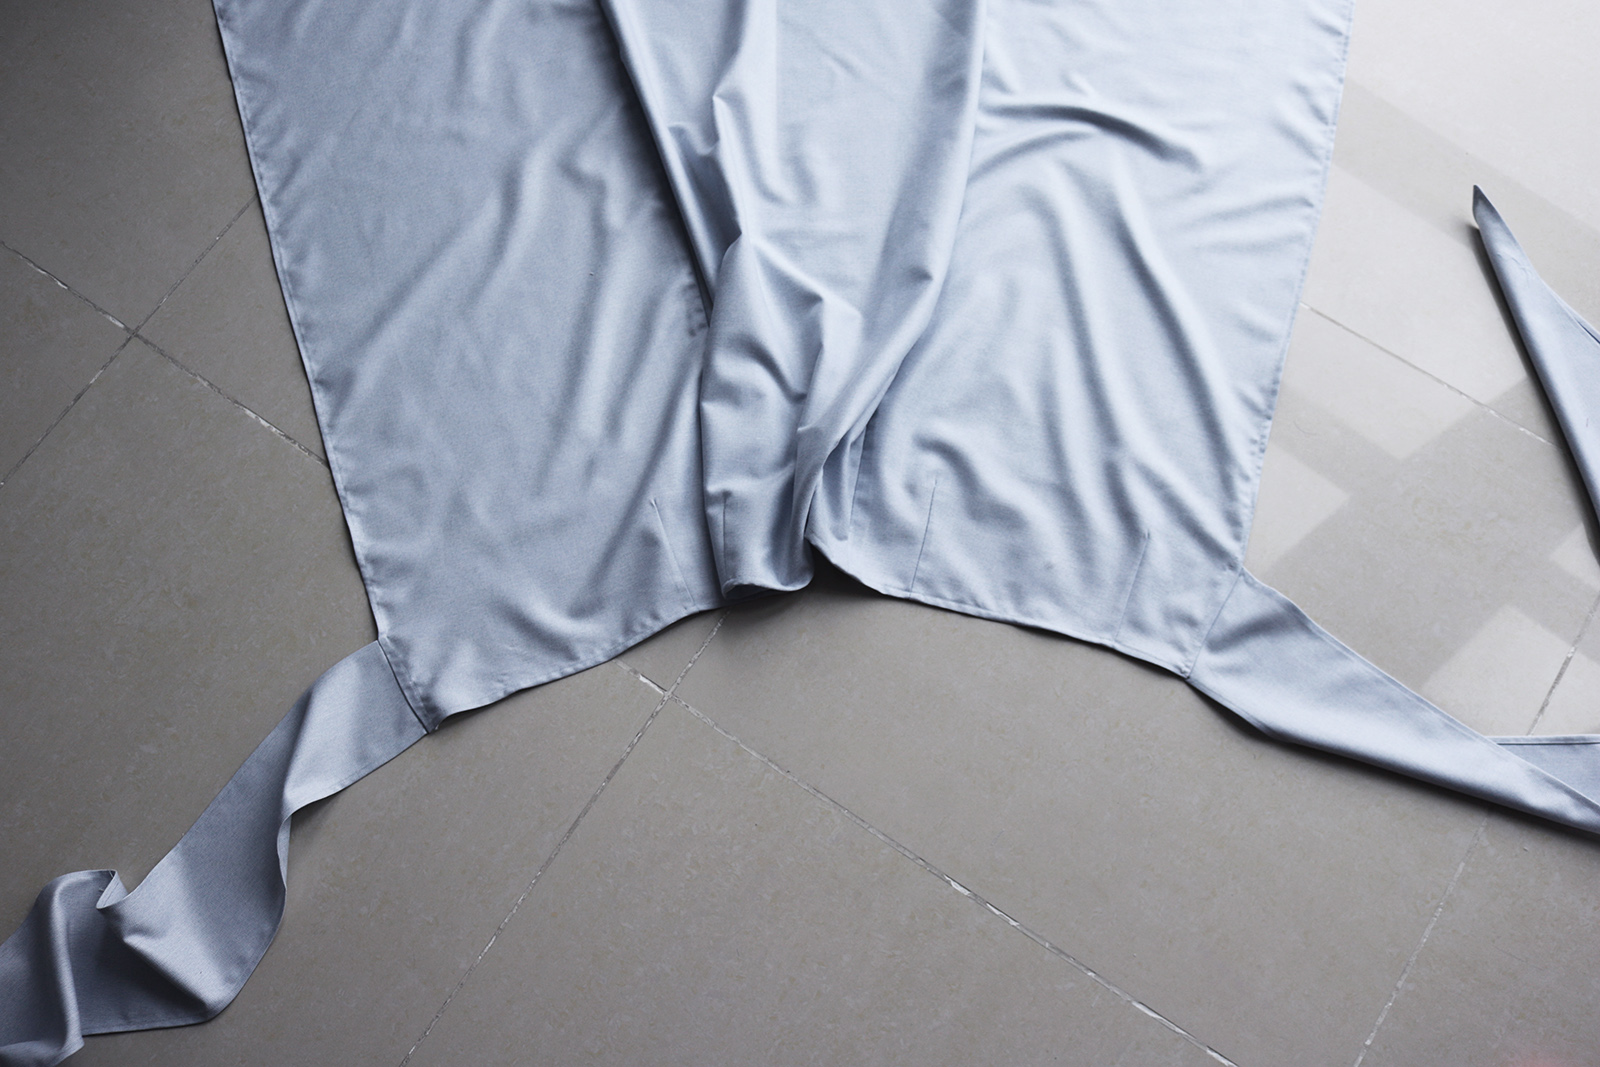
On the right side it will look like this:
IV. Finish the waistline with a double fold (I did 1 cm, and then 1 cm again). Do the same thing to the vertical raw edges.
V. Then cut the belt pieces, depending on how long you want the loose ends to be, something like this. Note the other piece needs to be longer as that one will wrap around your waist.
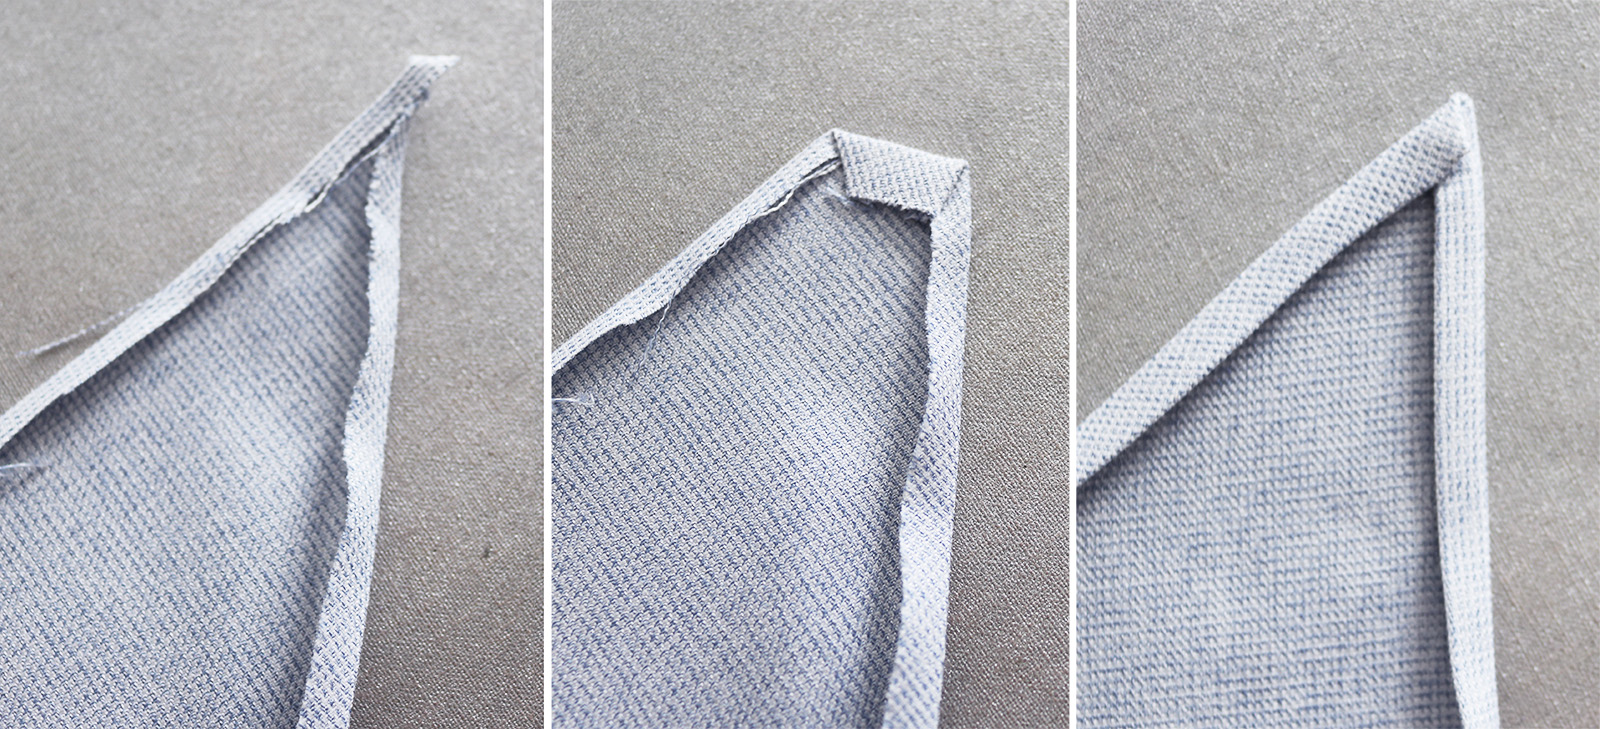
VI. Finish the edges of the belt pieces with a double fold. Here's how to do a clean finish at the sharp corner.
VII. Then just sew the belt pieces onto the skirt at both sides. Note that the longer belt piece needs to be attached to the opposite side from where you left the gap in the stitch.
VIII. Last step is hemming - you could just keep it straight as is, I did an asymmetrical hem by cutting triangular pieces off on each side. Then just did a double fold as with all the other edges.

When wearing the longer belt piece will just slip through the gap in the side seam, and get tied with the other belt half in the front.


xo,
Julia


This is amazing! I think it's better than the original, and it's not made of gross polyester (seriously, $500 for a polyester wrap skirt?!). Well done!
ReplyDeletehaha:D I know!! Thank you:)
DeleteOMG so perfect Julia! Found you on Twitter ! I have a sewing machine that I haven't even opened and this tutorial is tempting! I don't even know how Id begin to put my singer machine together lol!
ReplyDeleteAnwho, thanks for sharing love it, Ill let you know if I ever open that machine!
Black&WhiteDIYBlog
ON PINTEREST
Thanks Kristina! Go break out that Singer, your DIY will soar to the next level!!! Love your blog xx
Delete