

A bit of duplication here on top of this post on a basic button-down, but I feel this version might be a bit clearer with the non-stripy fabric.
Tutorials take a lot of time & effort to create, and I choose to make mine available for free. If you enjoy this guide, you can support me with a donation that feels right for you, here.
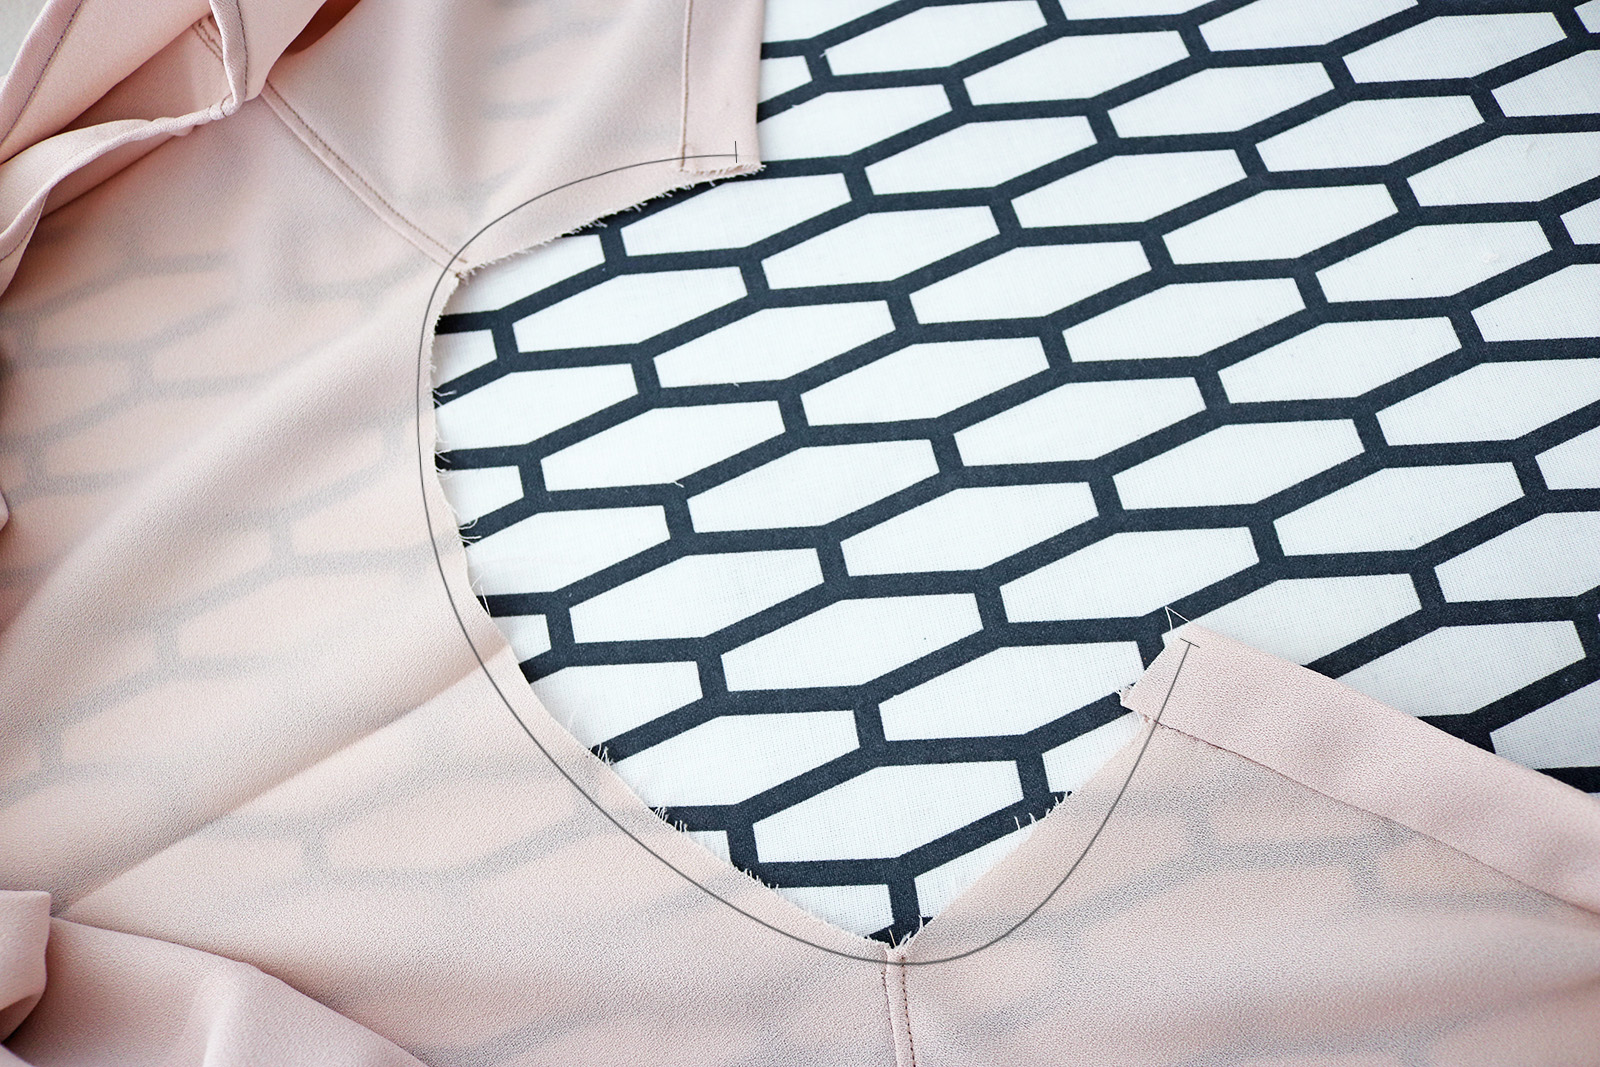
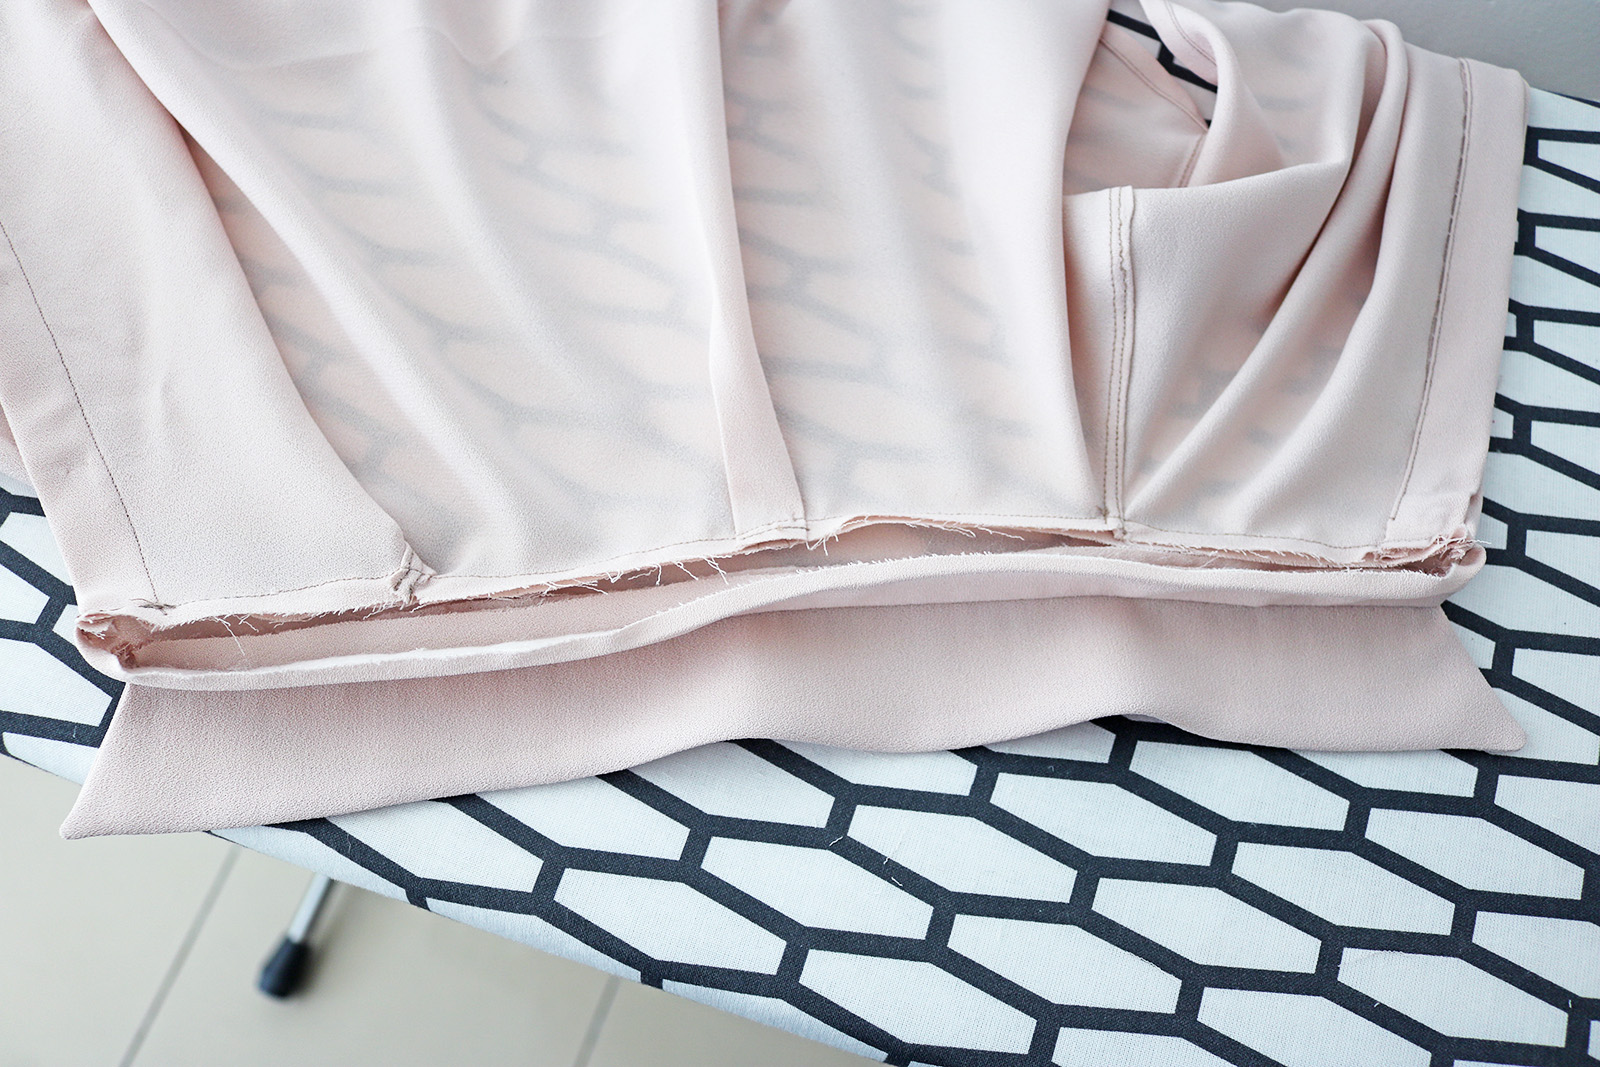
I. Start by measuring the distance the collar will sit in:
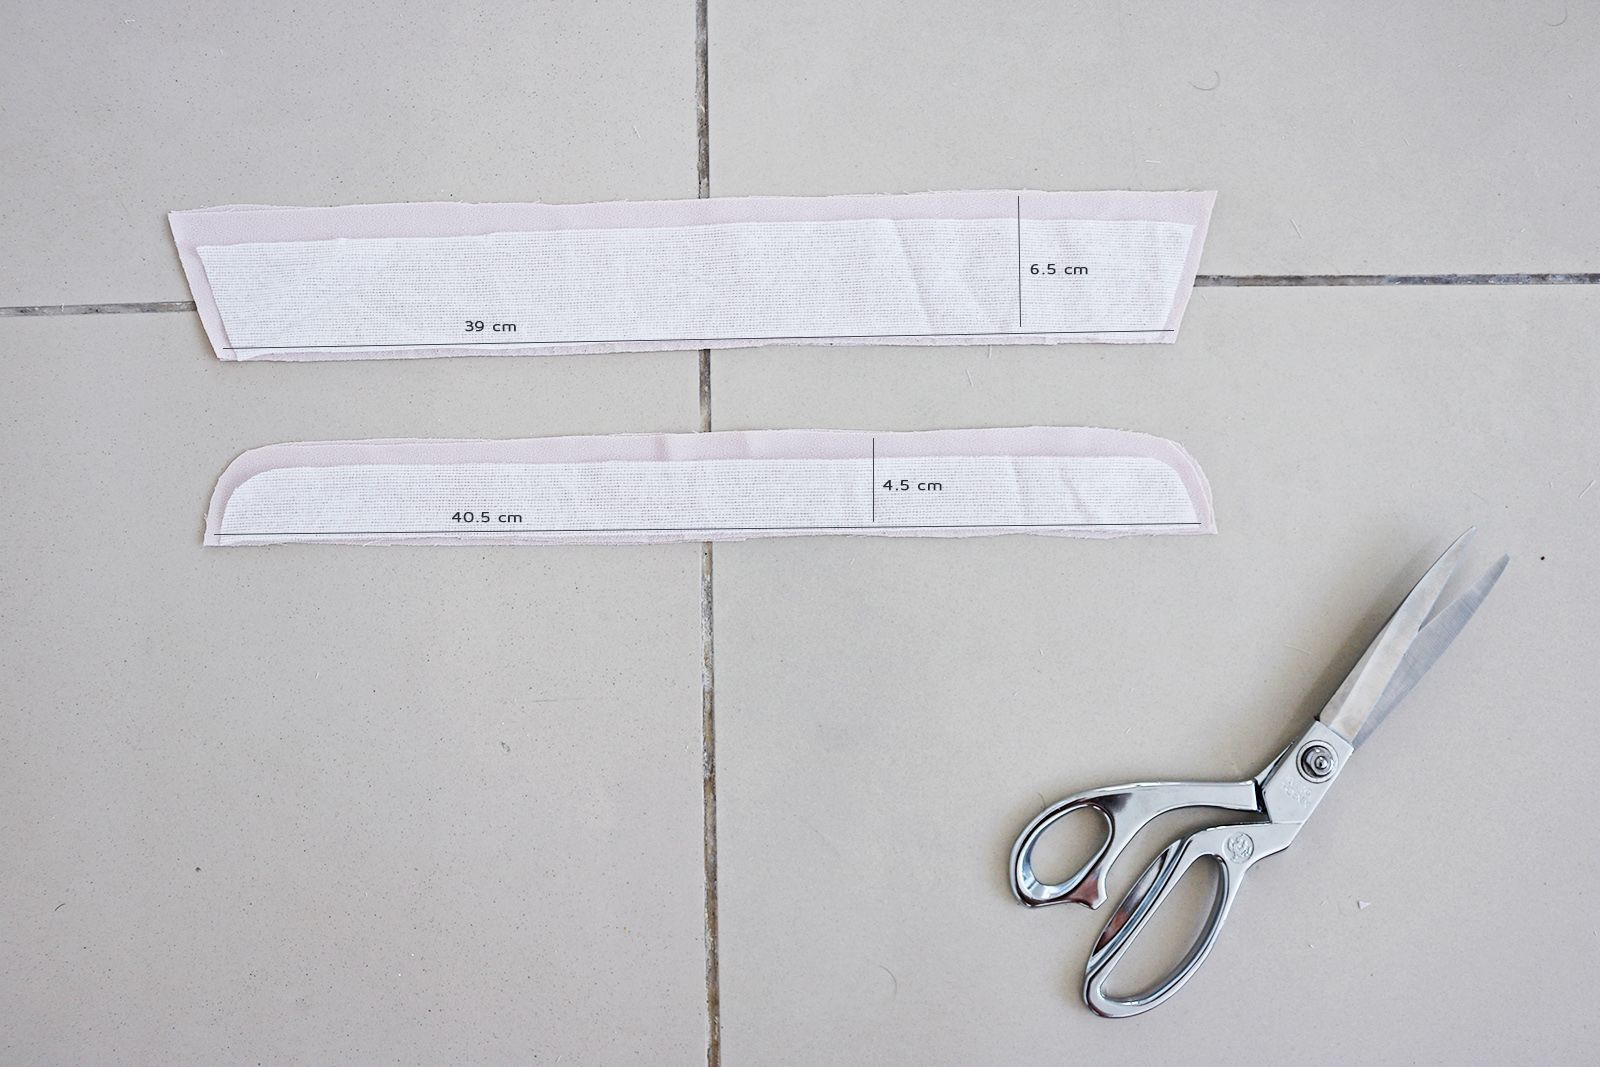
II. .. So you can cut your pieces. My measurement from the image above was 39 cm (after I added a box pleat at the center of the back piece (see the full post of this dress to see what I mean). So the length of my collar band (the bottom piece in the image below) needed to be that 39 cm plus 2 x 0.7 cm or so seam allowance = about 40.5 cm. The width of both of these pieces will depend on how prominent you want the collar to be - I prefer the modern, rather slim look, but if you wanted a bigger collar you'd just make the collar piece wider. Here's some inspiration!
You need two of each piece shown below in your fabric, and two pieces of interfacing, corresponding to the shape of the pieces, just your seam allowance smaller in measurements. For example, for the collar the length of my piece was 39 cm, so my interfacing was that minus seam allowances on both sides; approx. 37.5 cm.
II. Next you'll add the interfacing to the reverse side of one collar piece and one collar band piece like this:

.. And pin the collar pieces together, right sides facing:
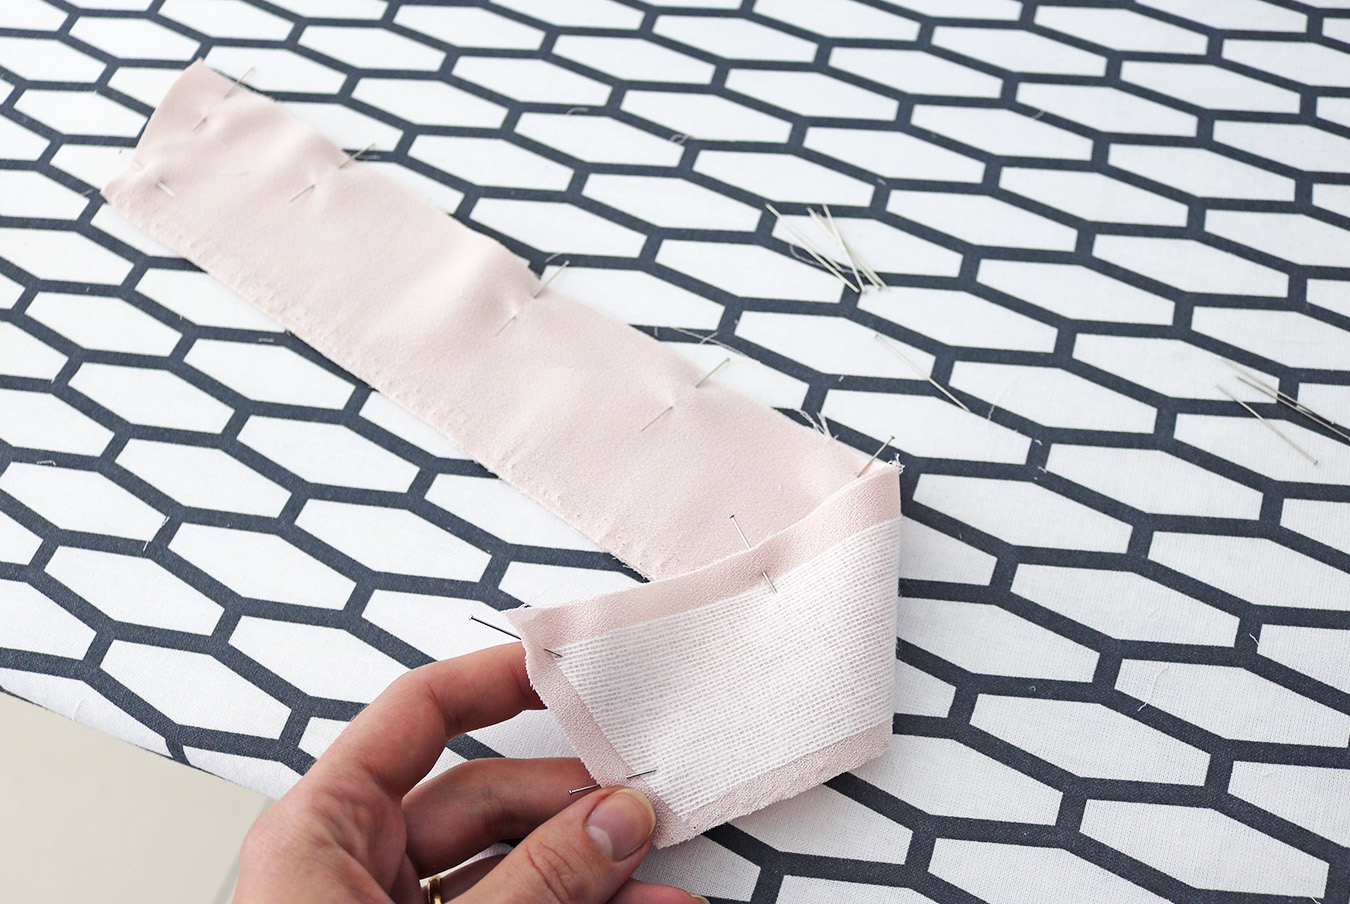
.. So you can sew around the interfacing (this is why it makes sense to cut the interfacing exactly the size of the collar minus seam allowance - it becomes a handy guide for your stitch). Trim the excess around the corners.
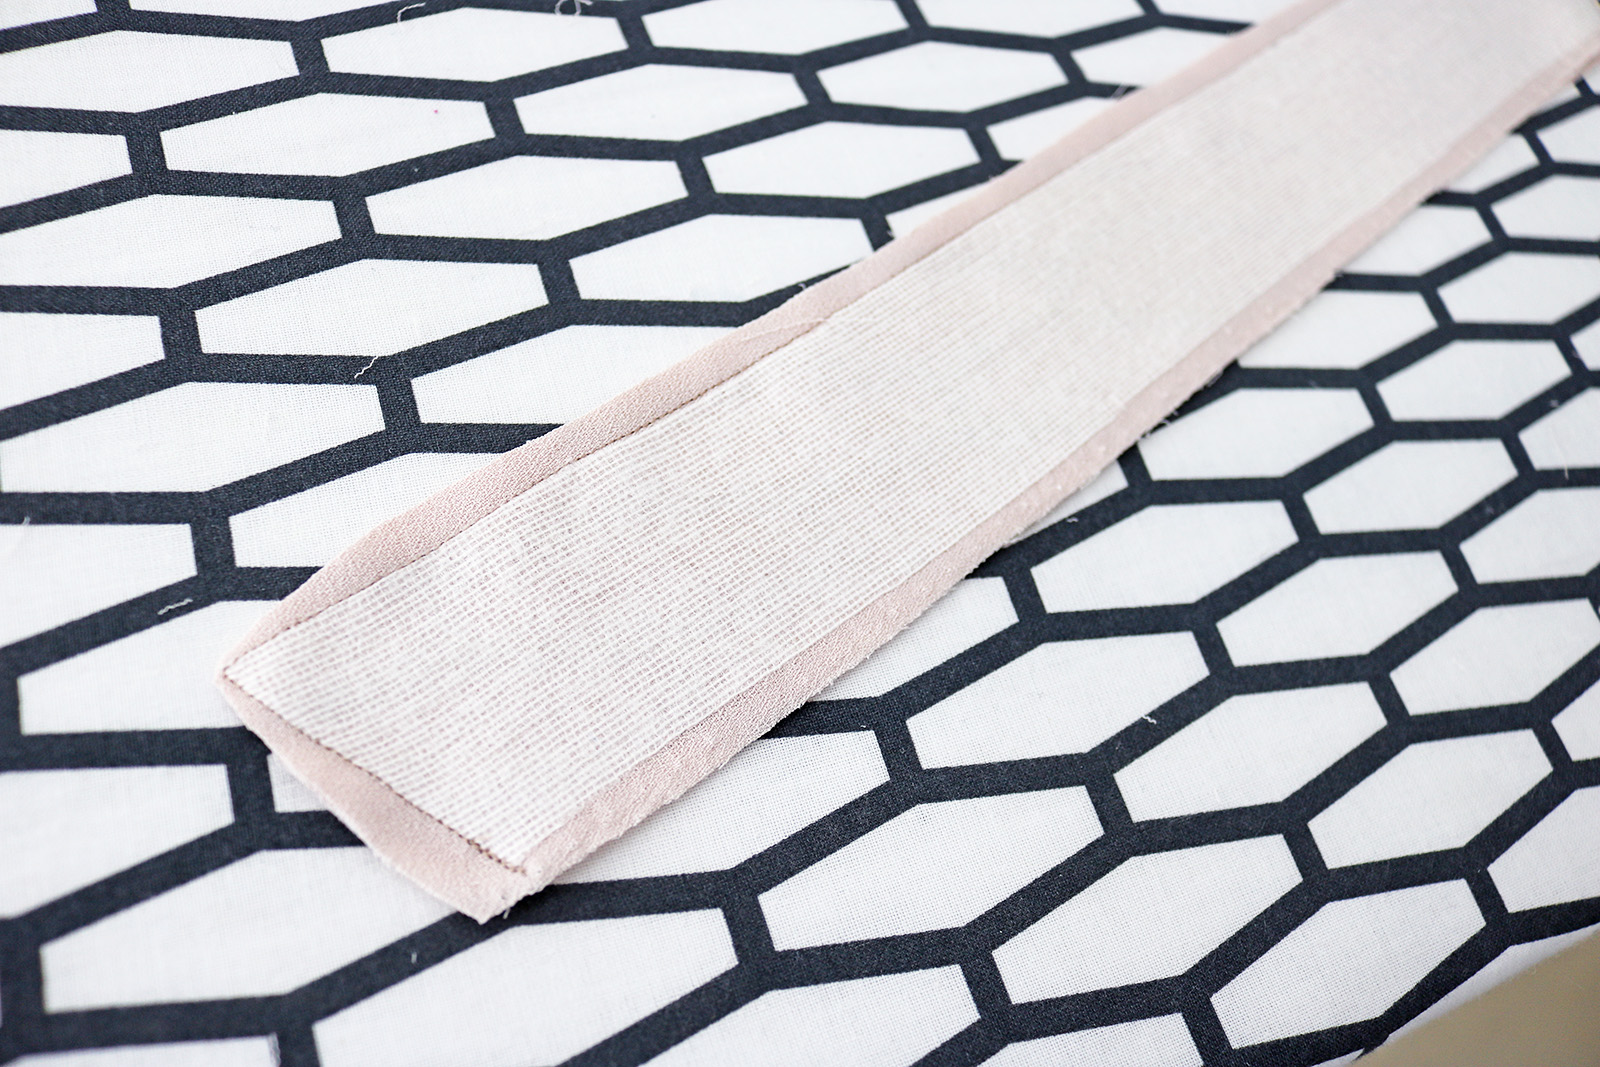
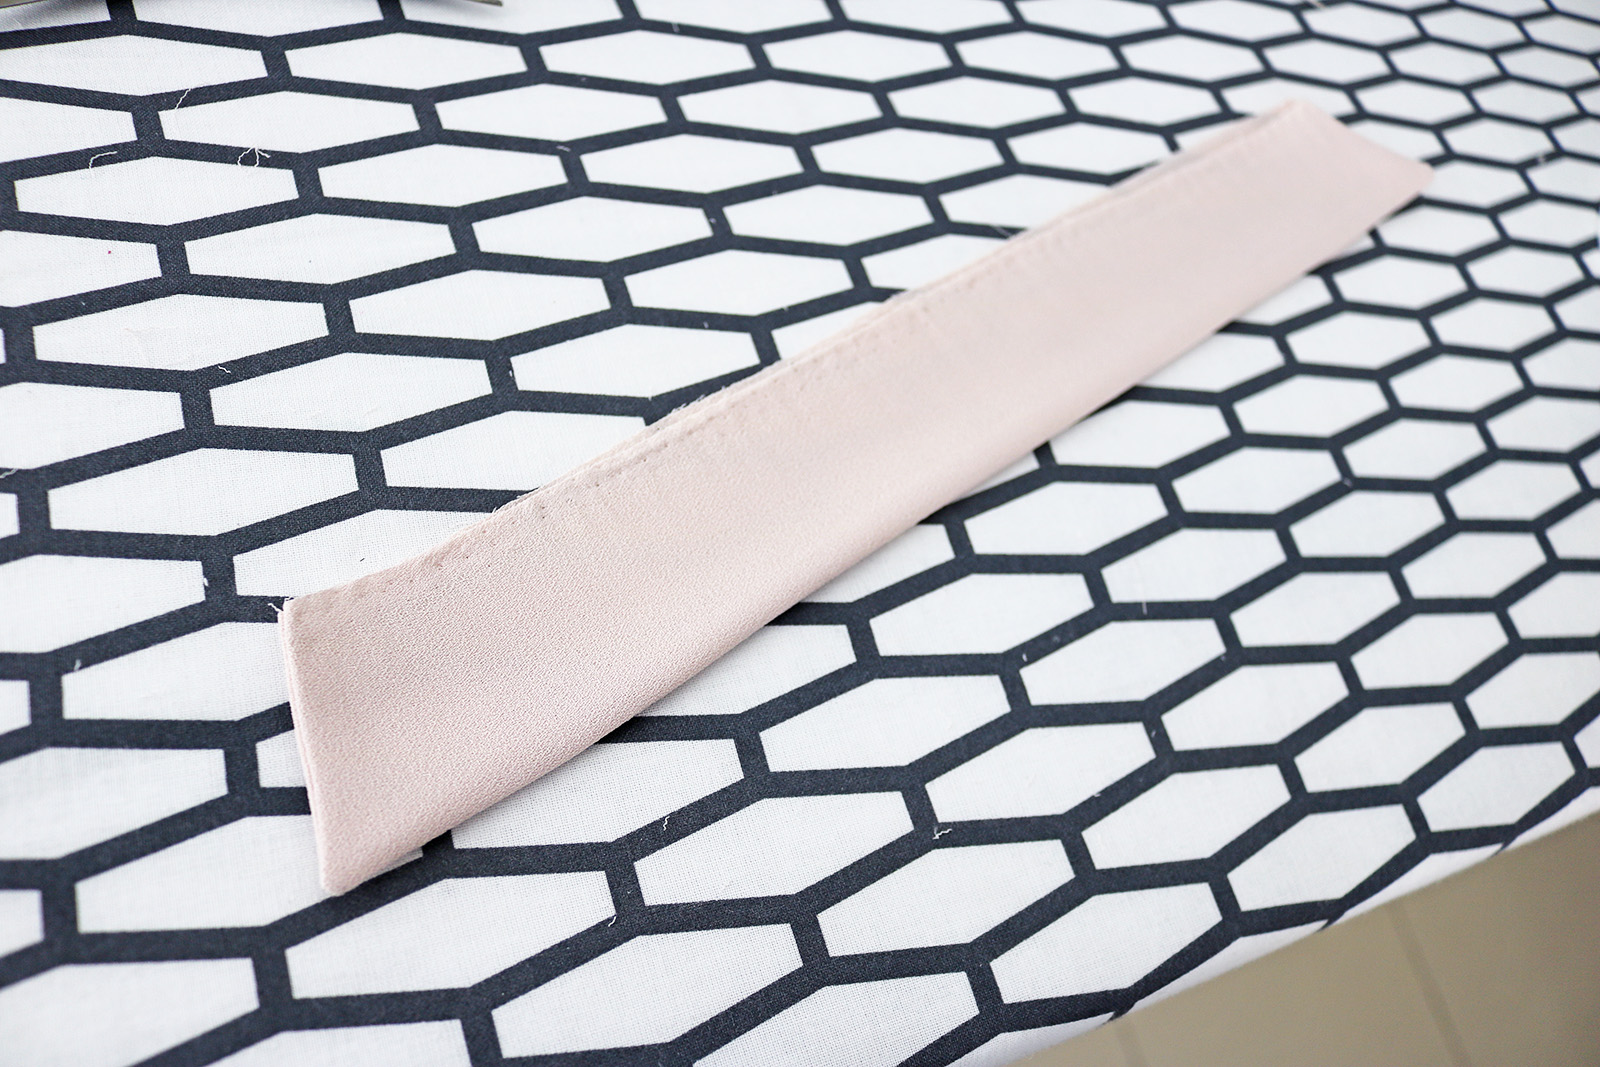
III. Then you're ready to turn the collar right side out, and gently use the ends of your scissors/something else pointy to push out the corners. Careful not to push too hard and break your stitch. Press well.
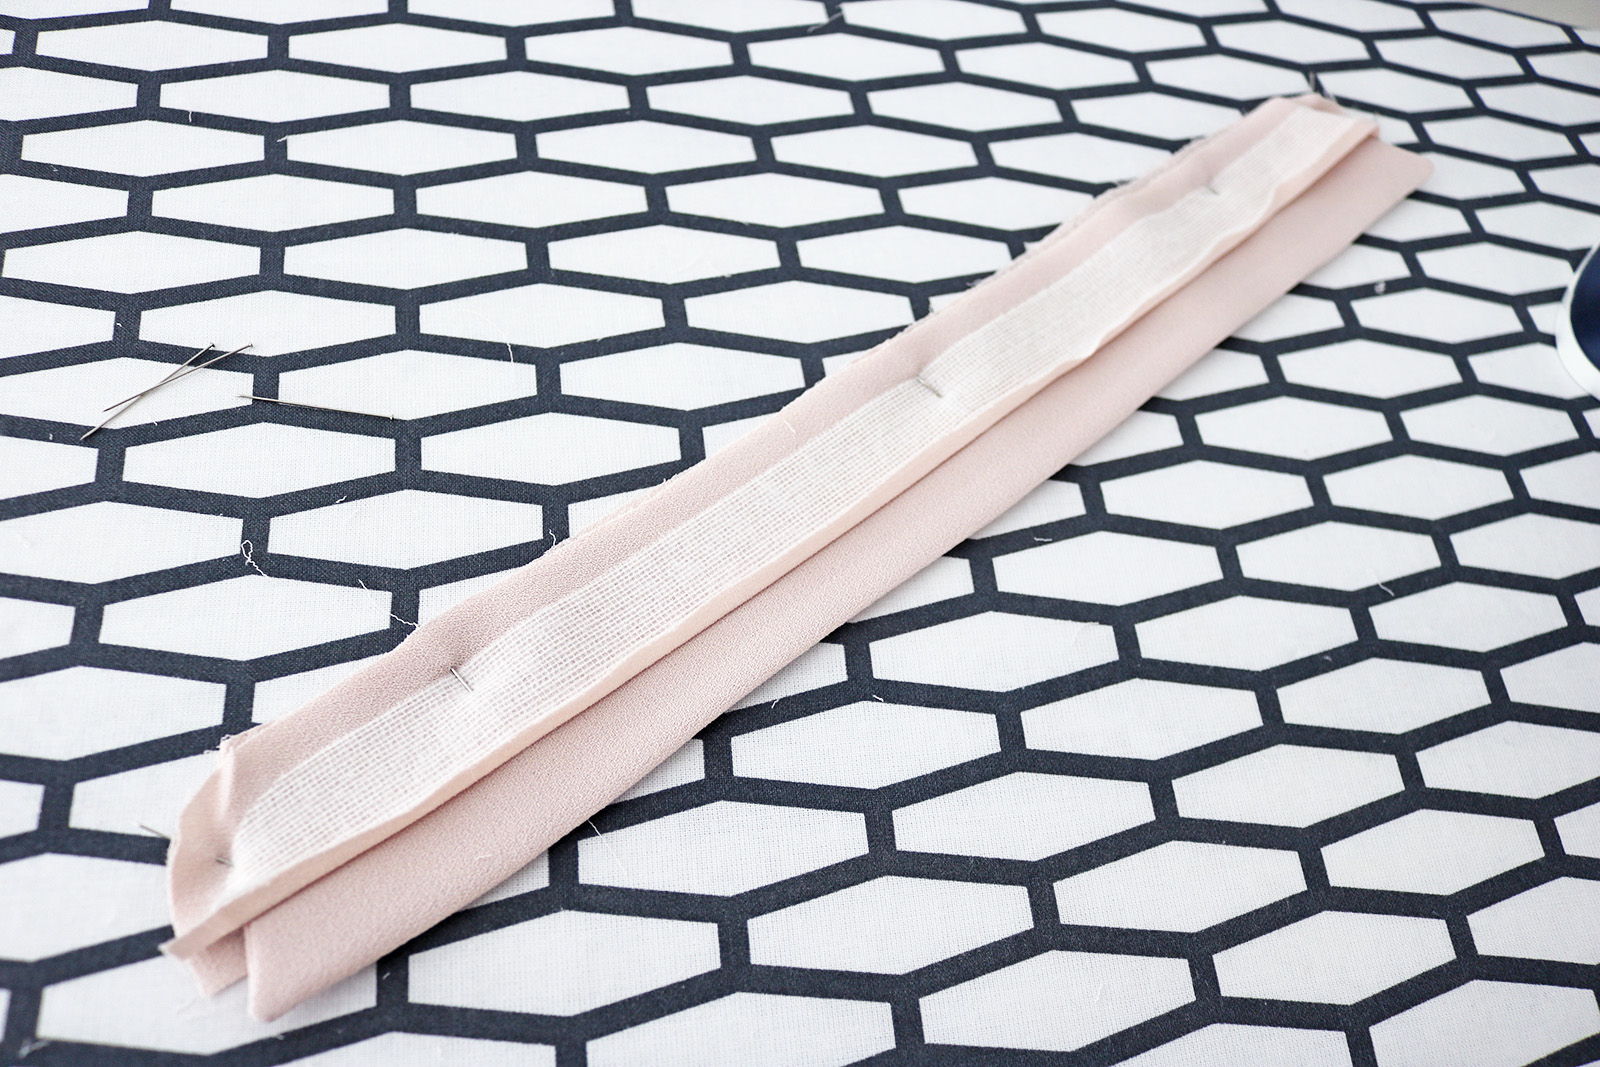
IV. To attach the collar to the collar band, you'll first press a fold the width of your seam allowance (for me about 0.7 cm) on the collar band piece with the interfacing. Then sandwich the collar piece between the two collar band pieces like this, making sure the bottom edge of the collar and the top edge of the collar band align.
.. After which you are ready to sew around the collar band piece's interfacing.

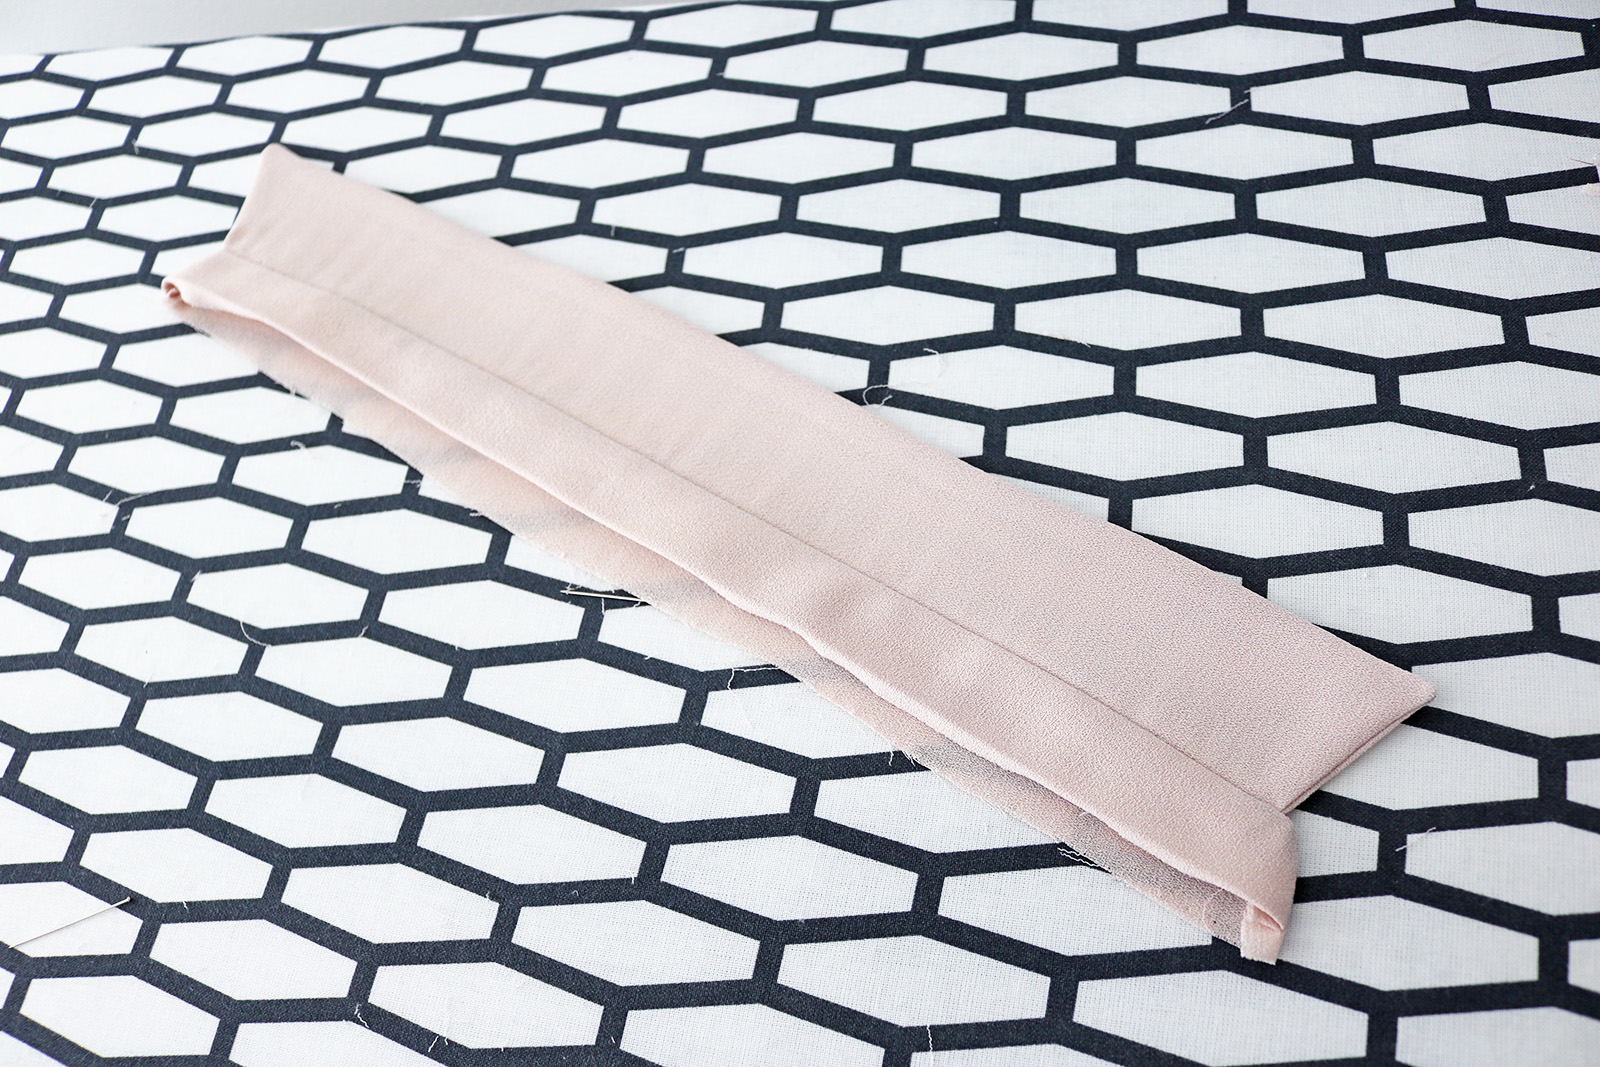
And then, just turn right side out, gently push the curved edges of the collar band open, and press well.
V. To attach the collar to your shirt, take the non-folded side of the collar band and pin it to the shirt's neckline, right sides facing:
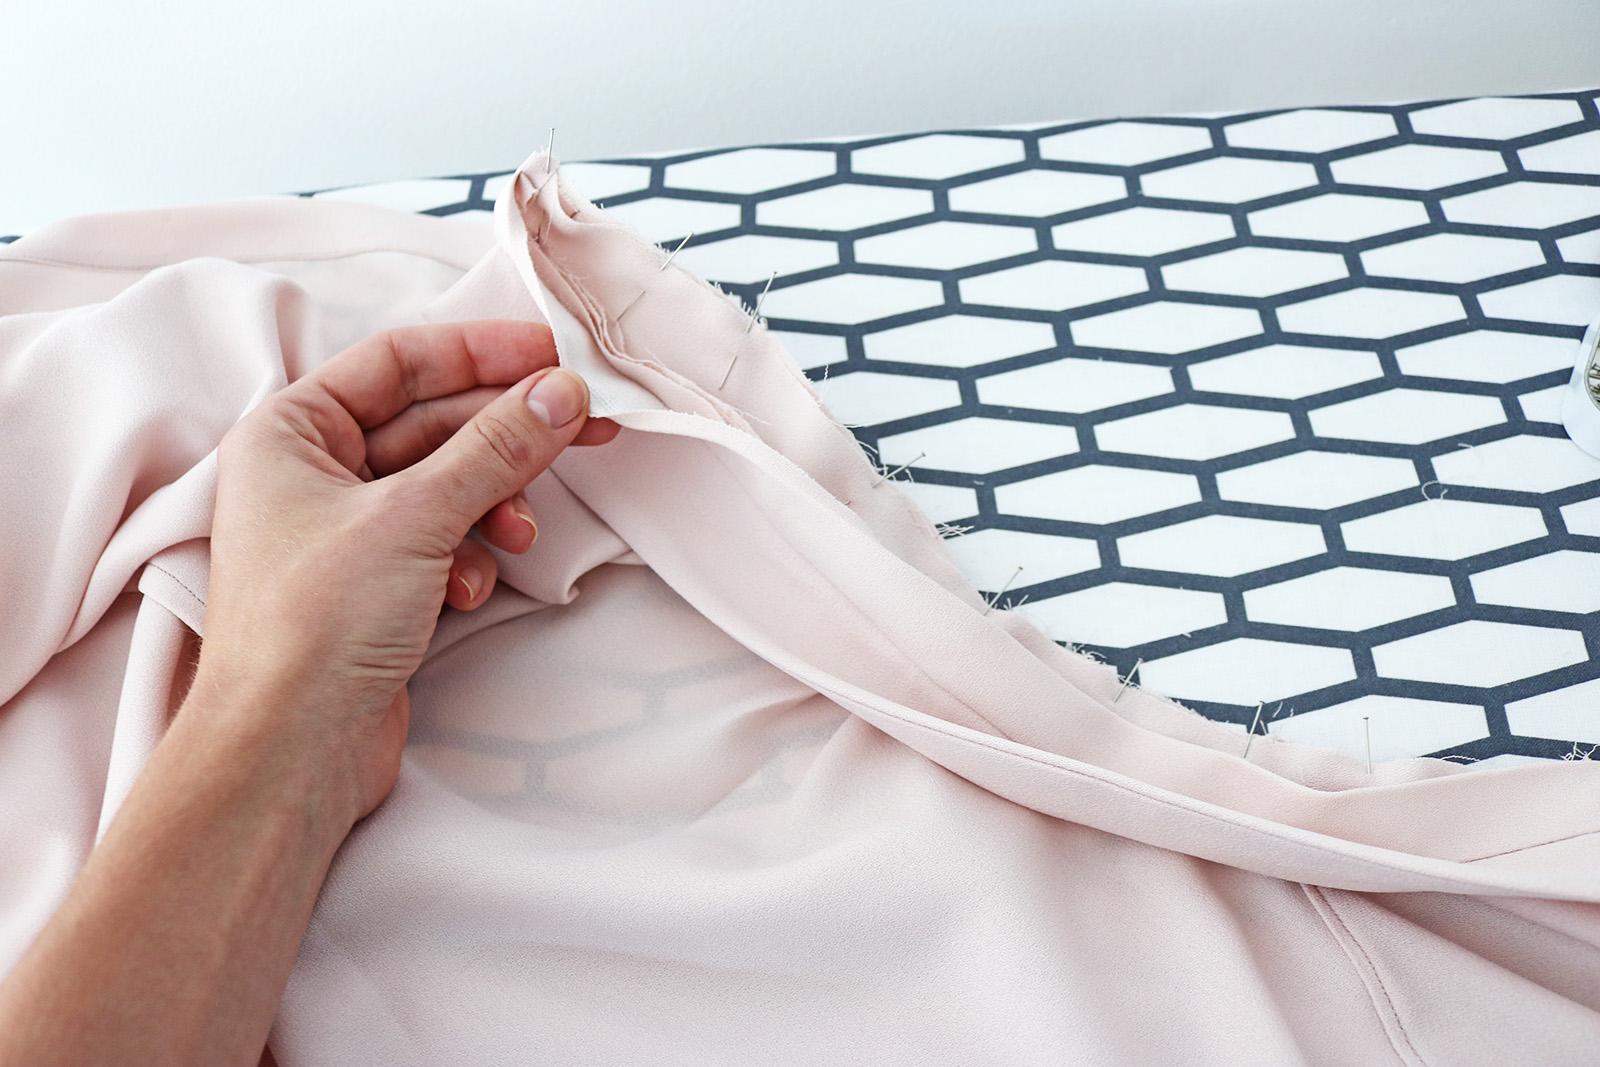
.. And sew at your seam allowance all across. Press the seam allowance upwards towards the collar, away from the shirt.
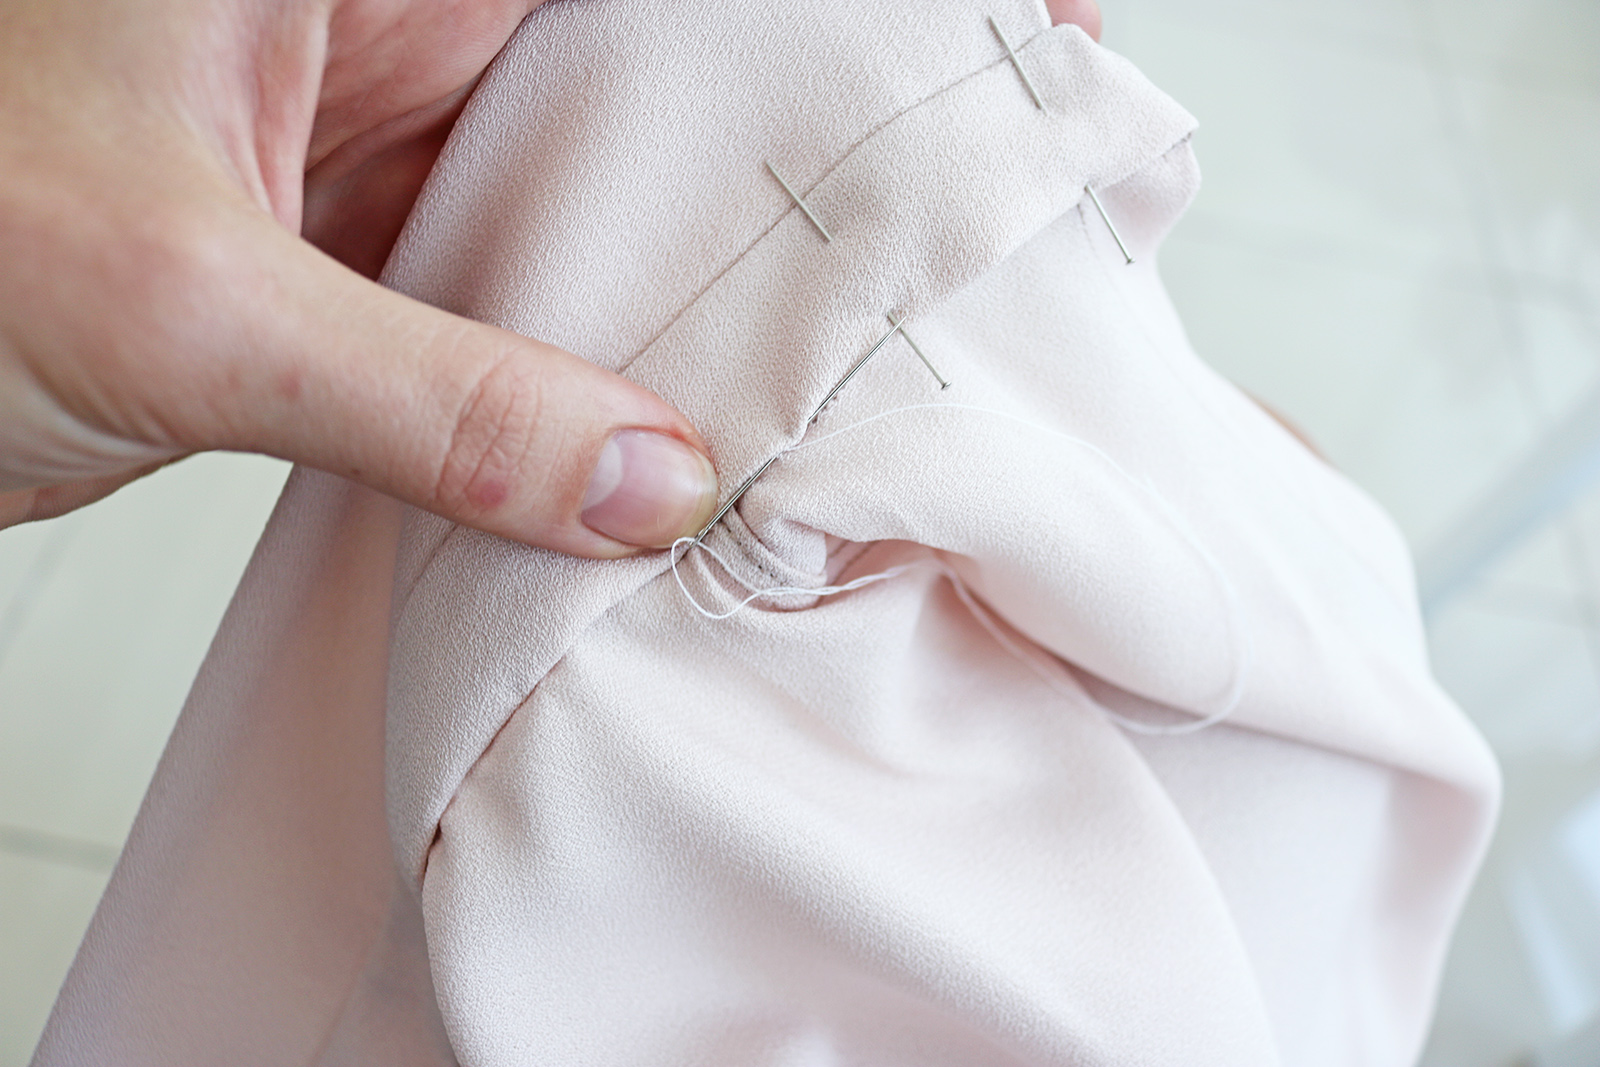
VI. And finally, bring the folded edge of the collar band down and pin it in place..

.. And finish with a neat slip stitch on the reverse side, securing the whole thing in place!
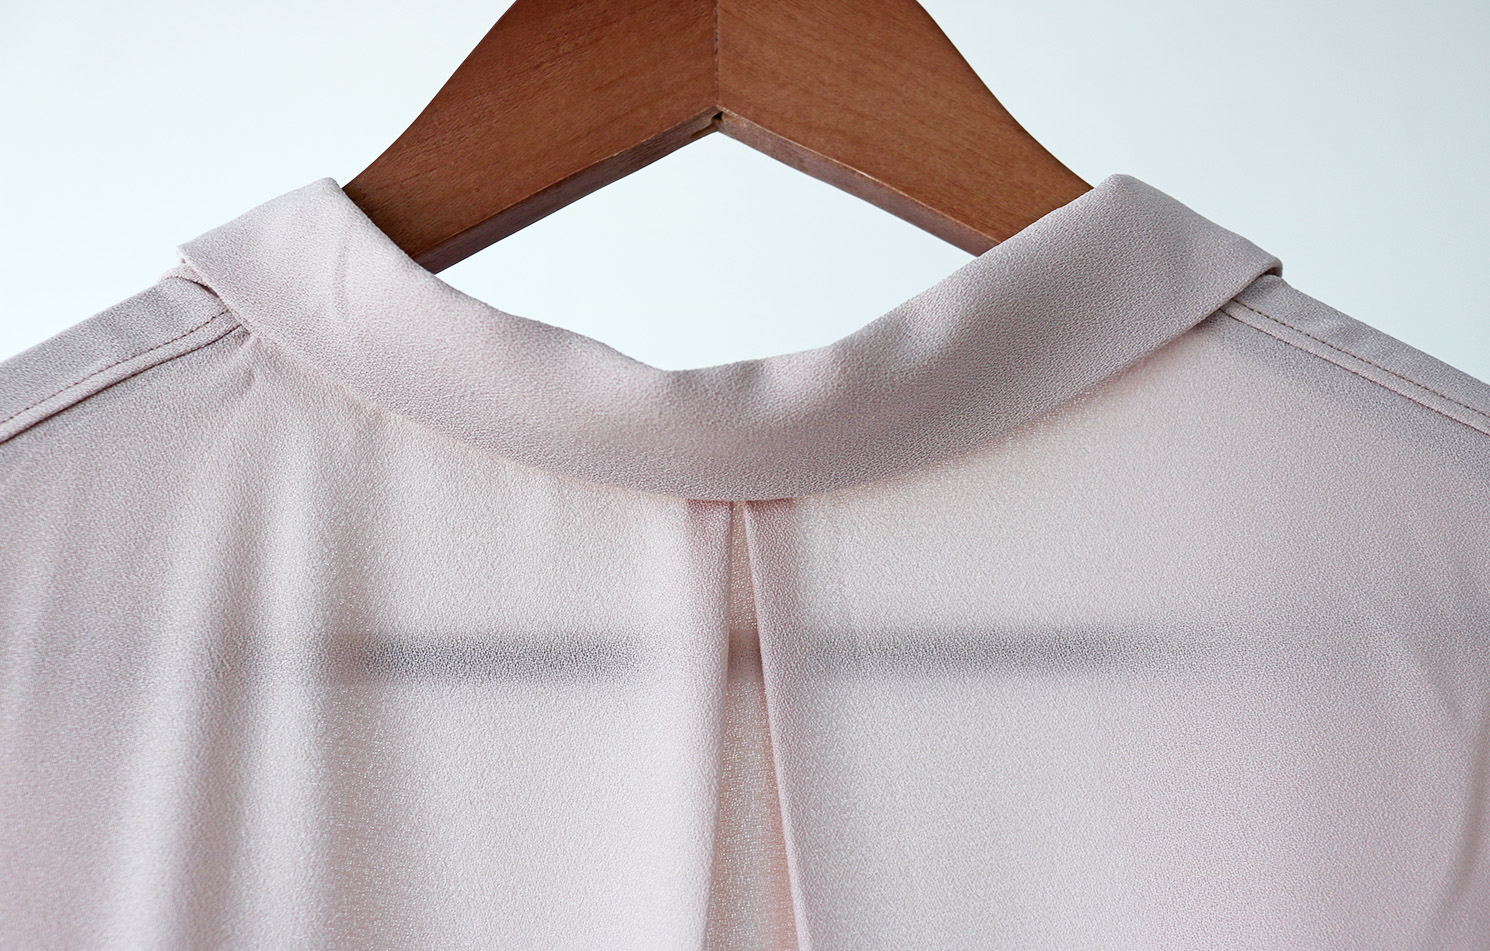
Here's a look at the back of my ready collar, with the box pleat detail.
xo,
Julia


0 comments:
Post a Comment
I would love to hear what you think and learn about your DIY adventures! If you use one of my tutorials, tag me on social @contour_affair, I'd love to see!