

I do almost all of my shoulder seams flat felled, so I figured I'd just add a separate look at how it's done and link back to this whenever I need to. It's a simple and easy technique and leaves your seams looking super fresh & clean.
Tutorials take a lot of time & effort to create, and I choose to make mine available for free. If you enjoy this guide, you can support me with a donation that feels right for you, here.
I. Start by pinning your shoulder lines together, right sides facing, with either the back piece or the front piece just a bit higher. I think the 'proper' way to do this is for the front piece to have the longer seam allowance, so that the seam falls towards the back of the garment, but I'm not too fussy about that and will switch this around on every other project.
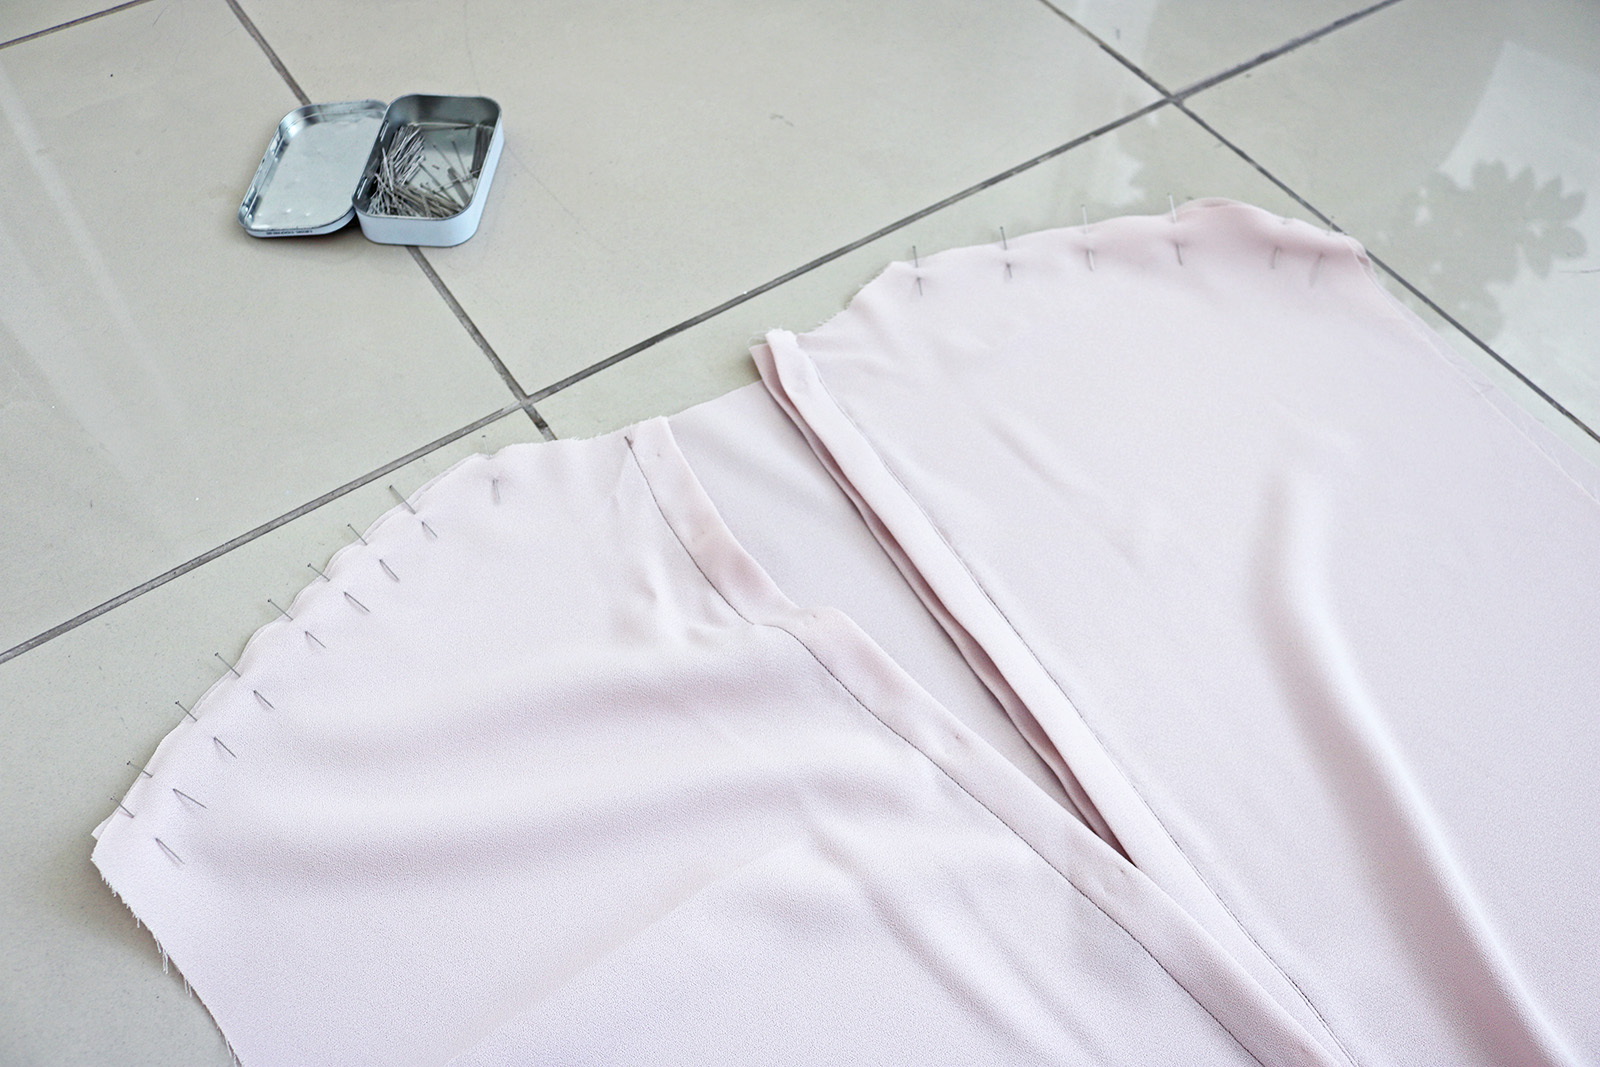
II. Stitch through. I like to do pretty slim seams so I keep the seam allowance at 0.5 cm for the shorter edge and 1 cm for the longer one. You could do more.
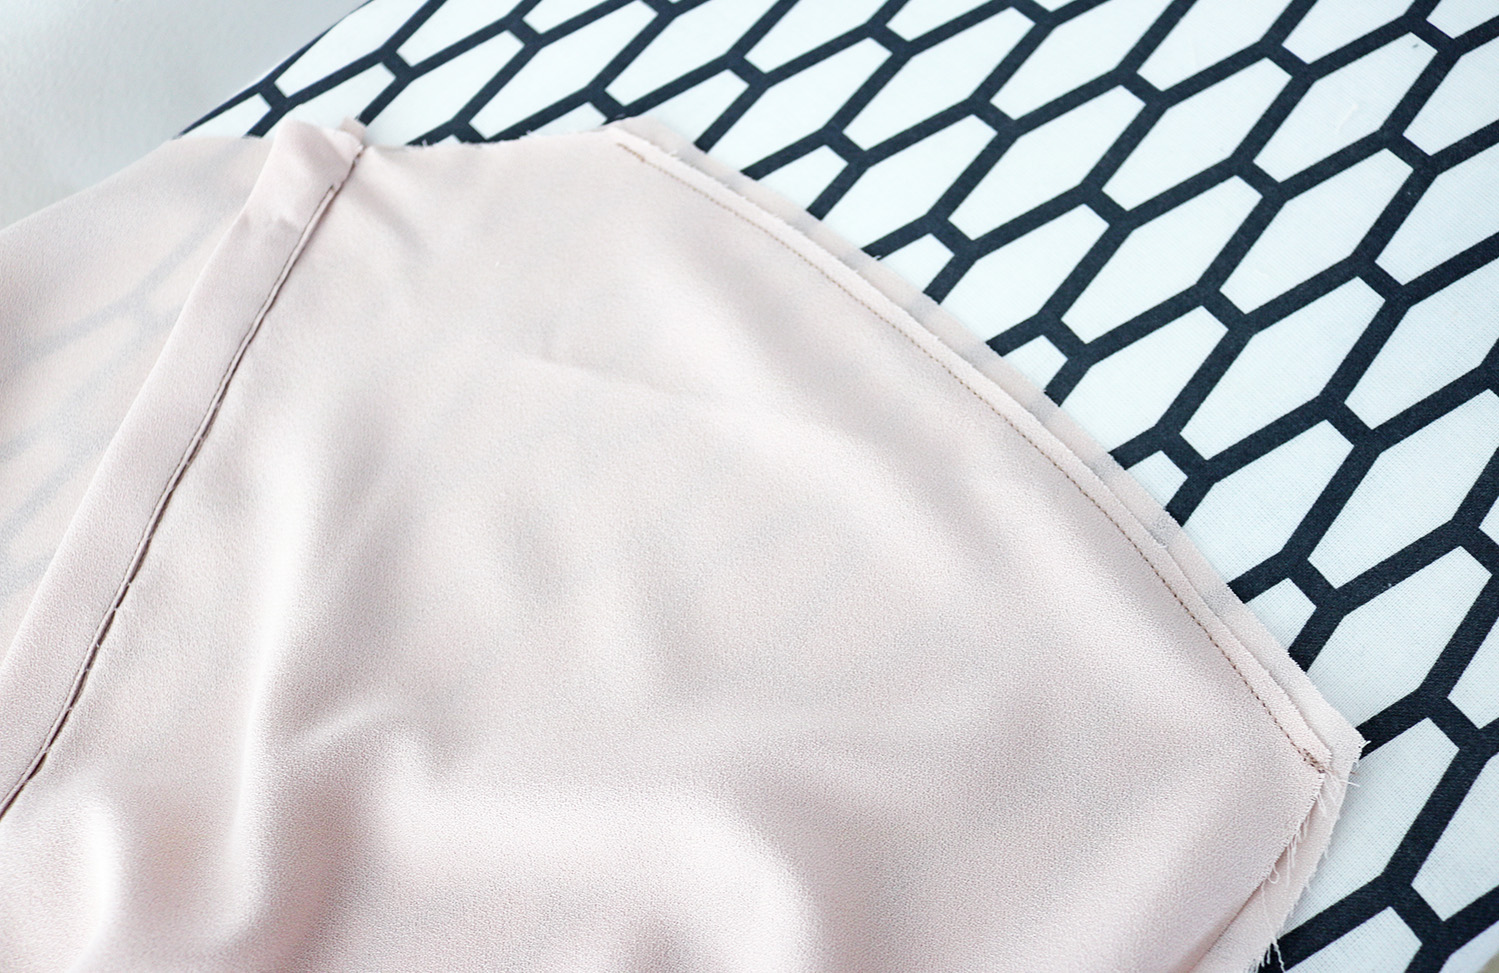
III. With the help of your iron, fold the longer seam allowance over the shorter one like this.
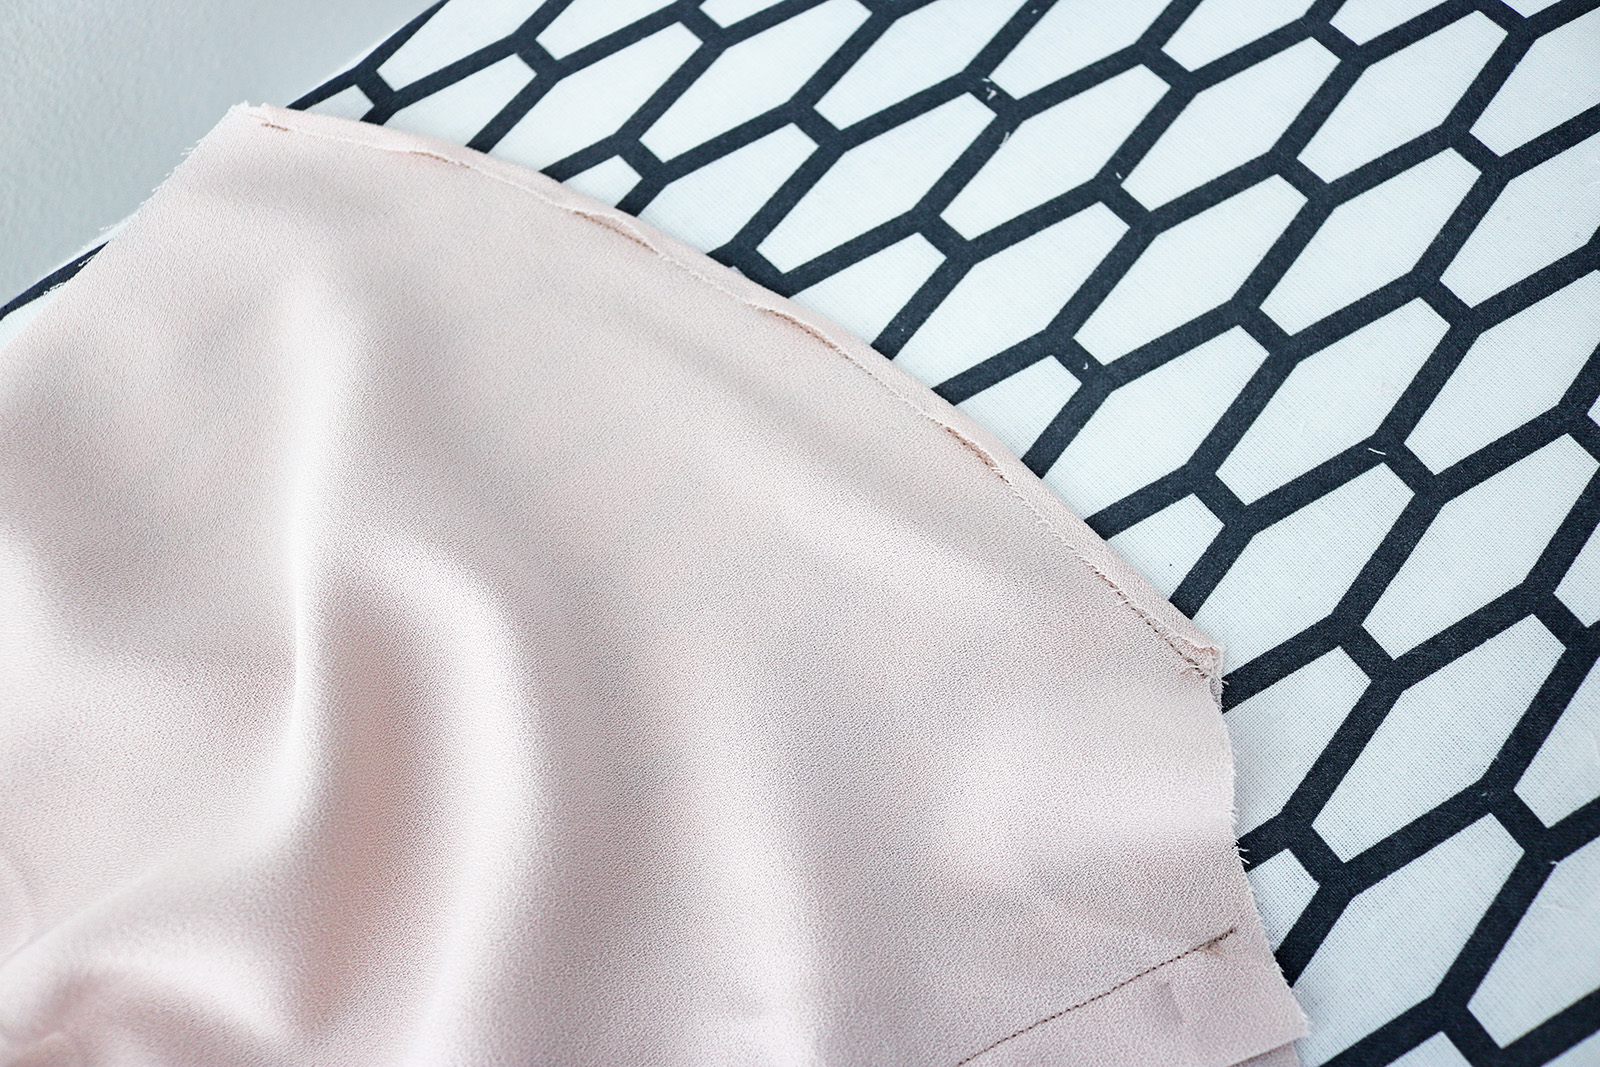
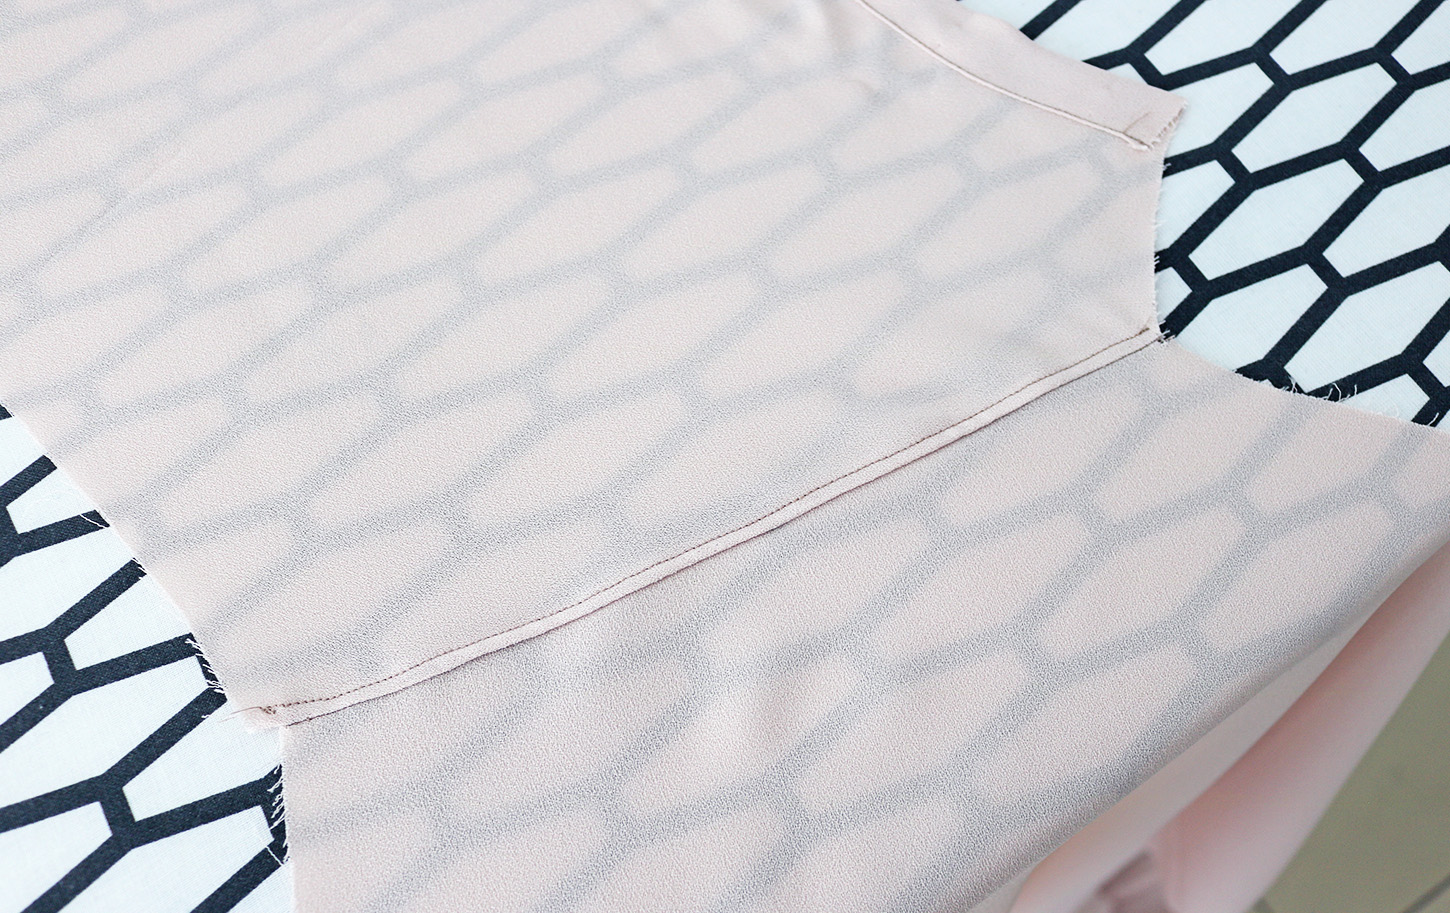
IV. Then flip the whole thing flat and press the folded allowances again. Depending on your fabric, this is sometimes enough to be ready to sew the last stitch (some cottons stay nicely in place and I don't even end up pinning them, others I pin thoroughly before sewing. You could also use fusible hemming tape to secure the fold in place).
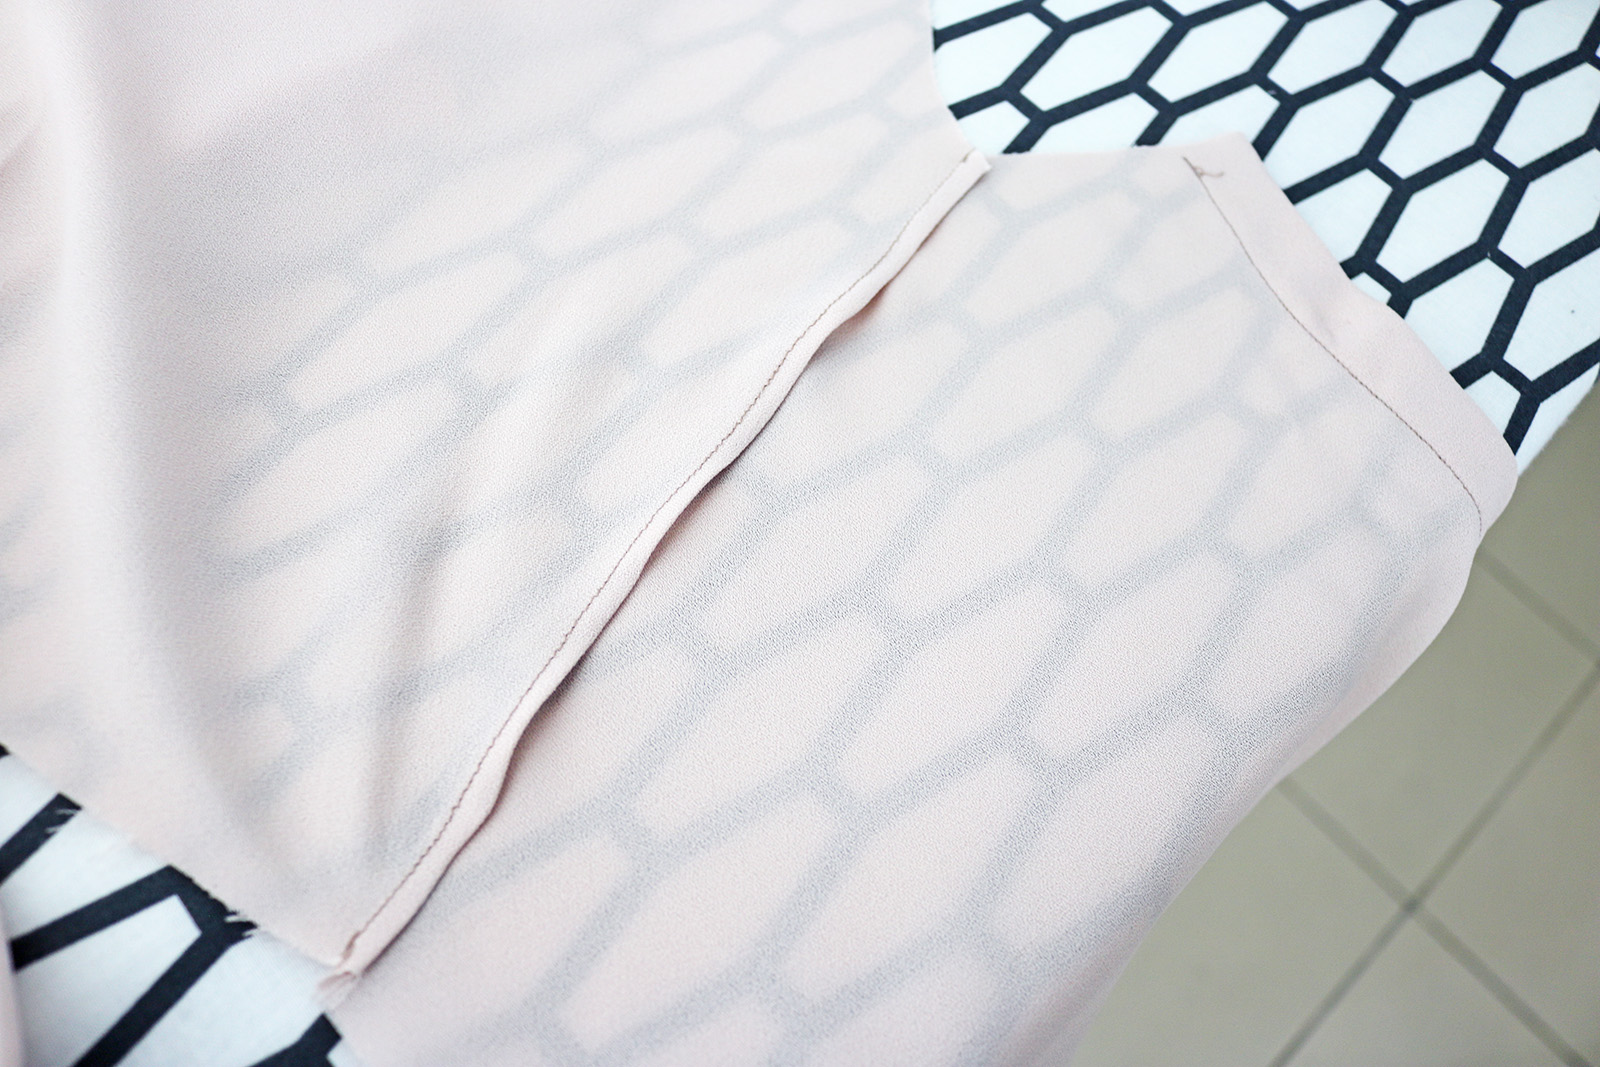
V. Finally, on the right side, sew a straight stitch on the side where the seam allowances are folded on the reverse. If you have a guiding foot it helps to align this seam with the first one. That's all!
xo,
Julia


This was very helpful. Your blog is incredibly inspirational.
ReplyDelete