

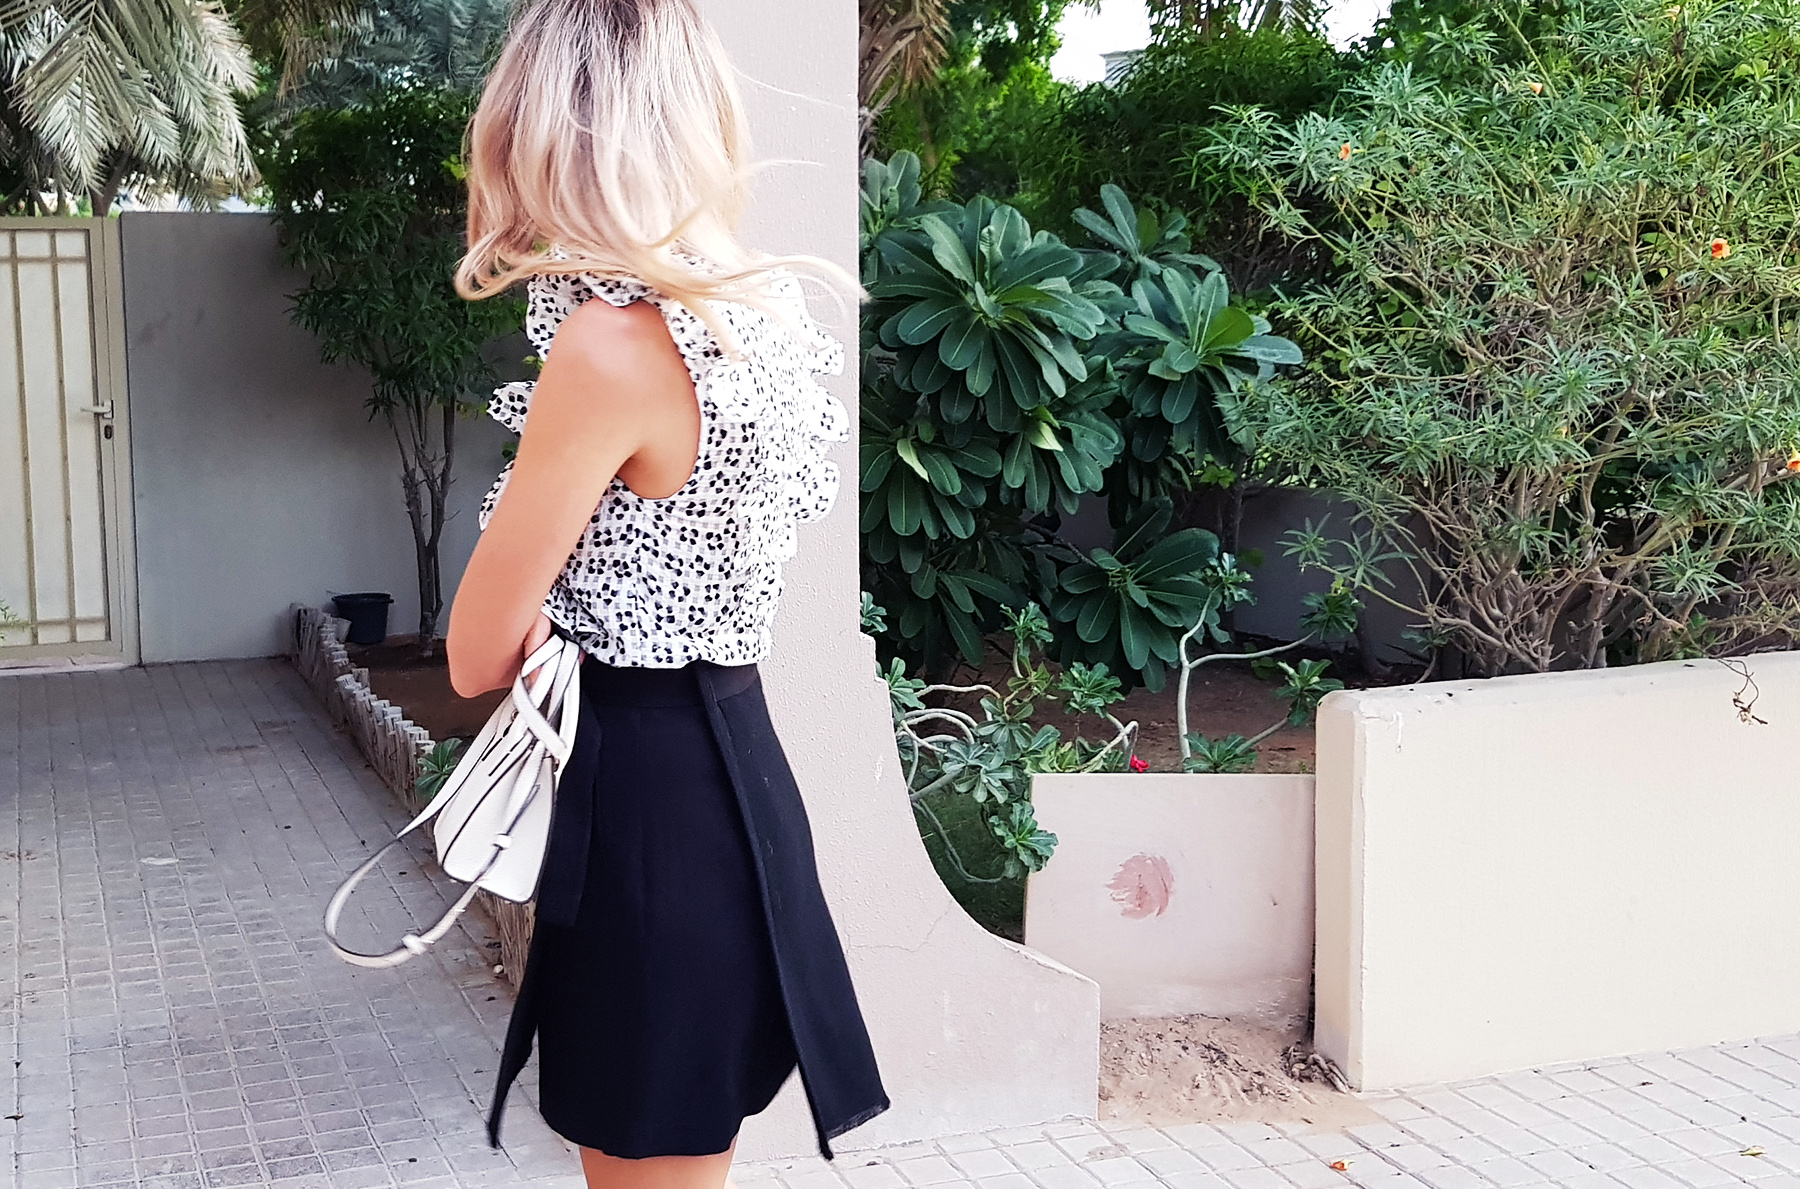
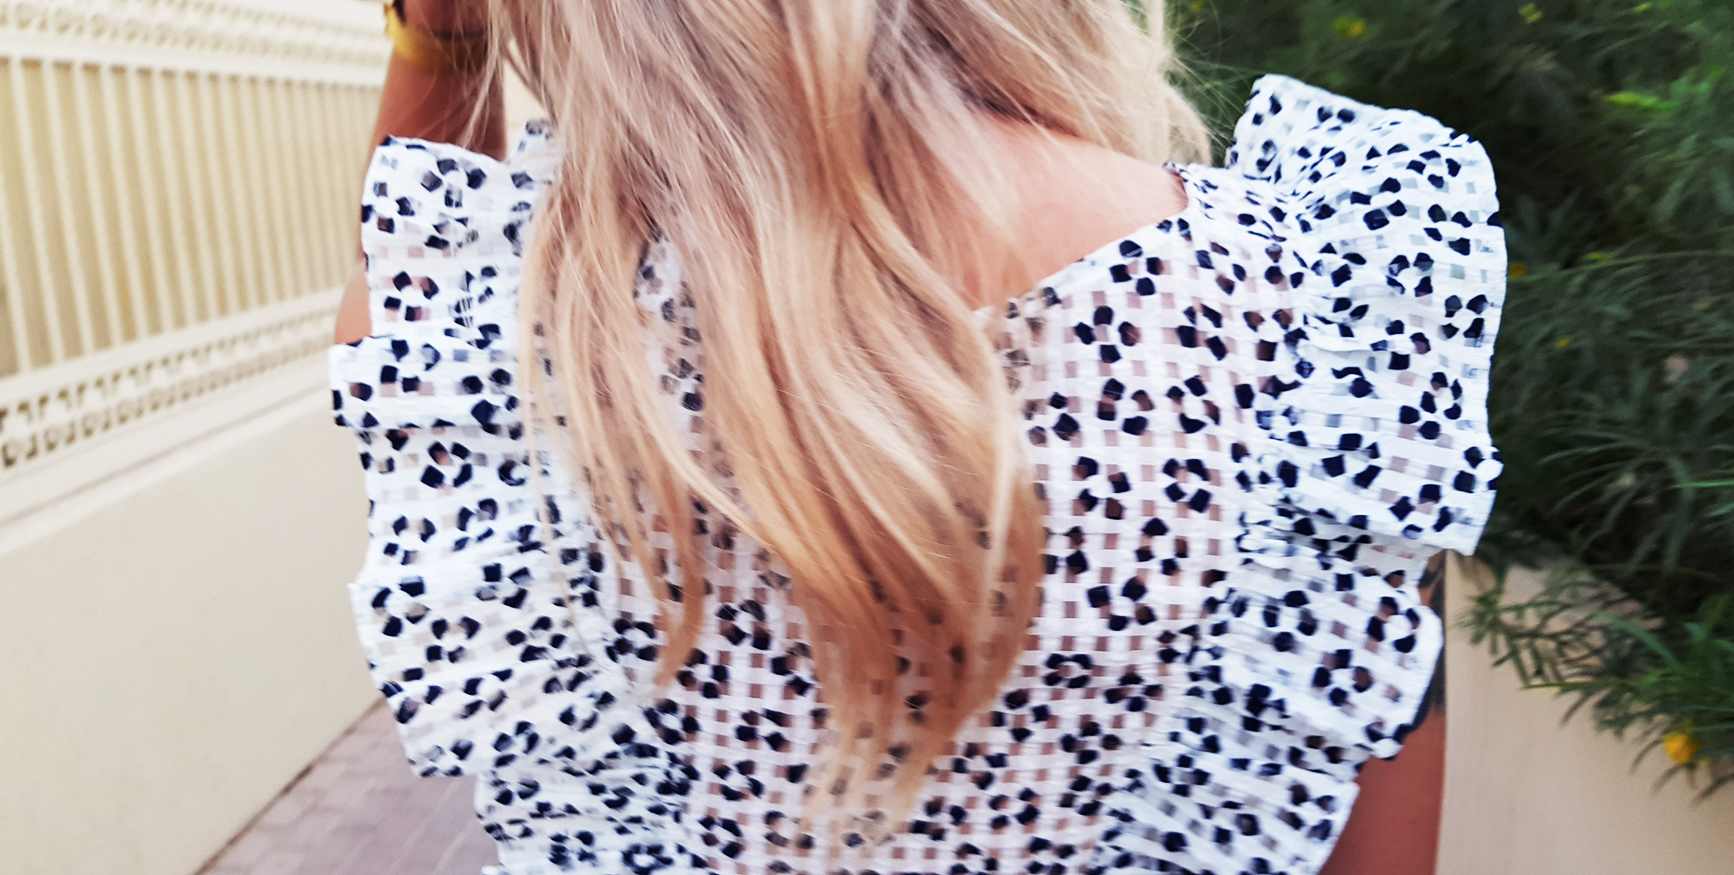
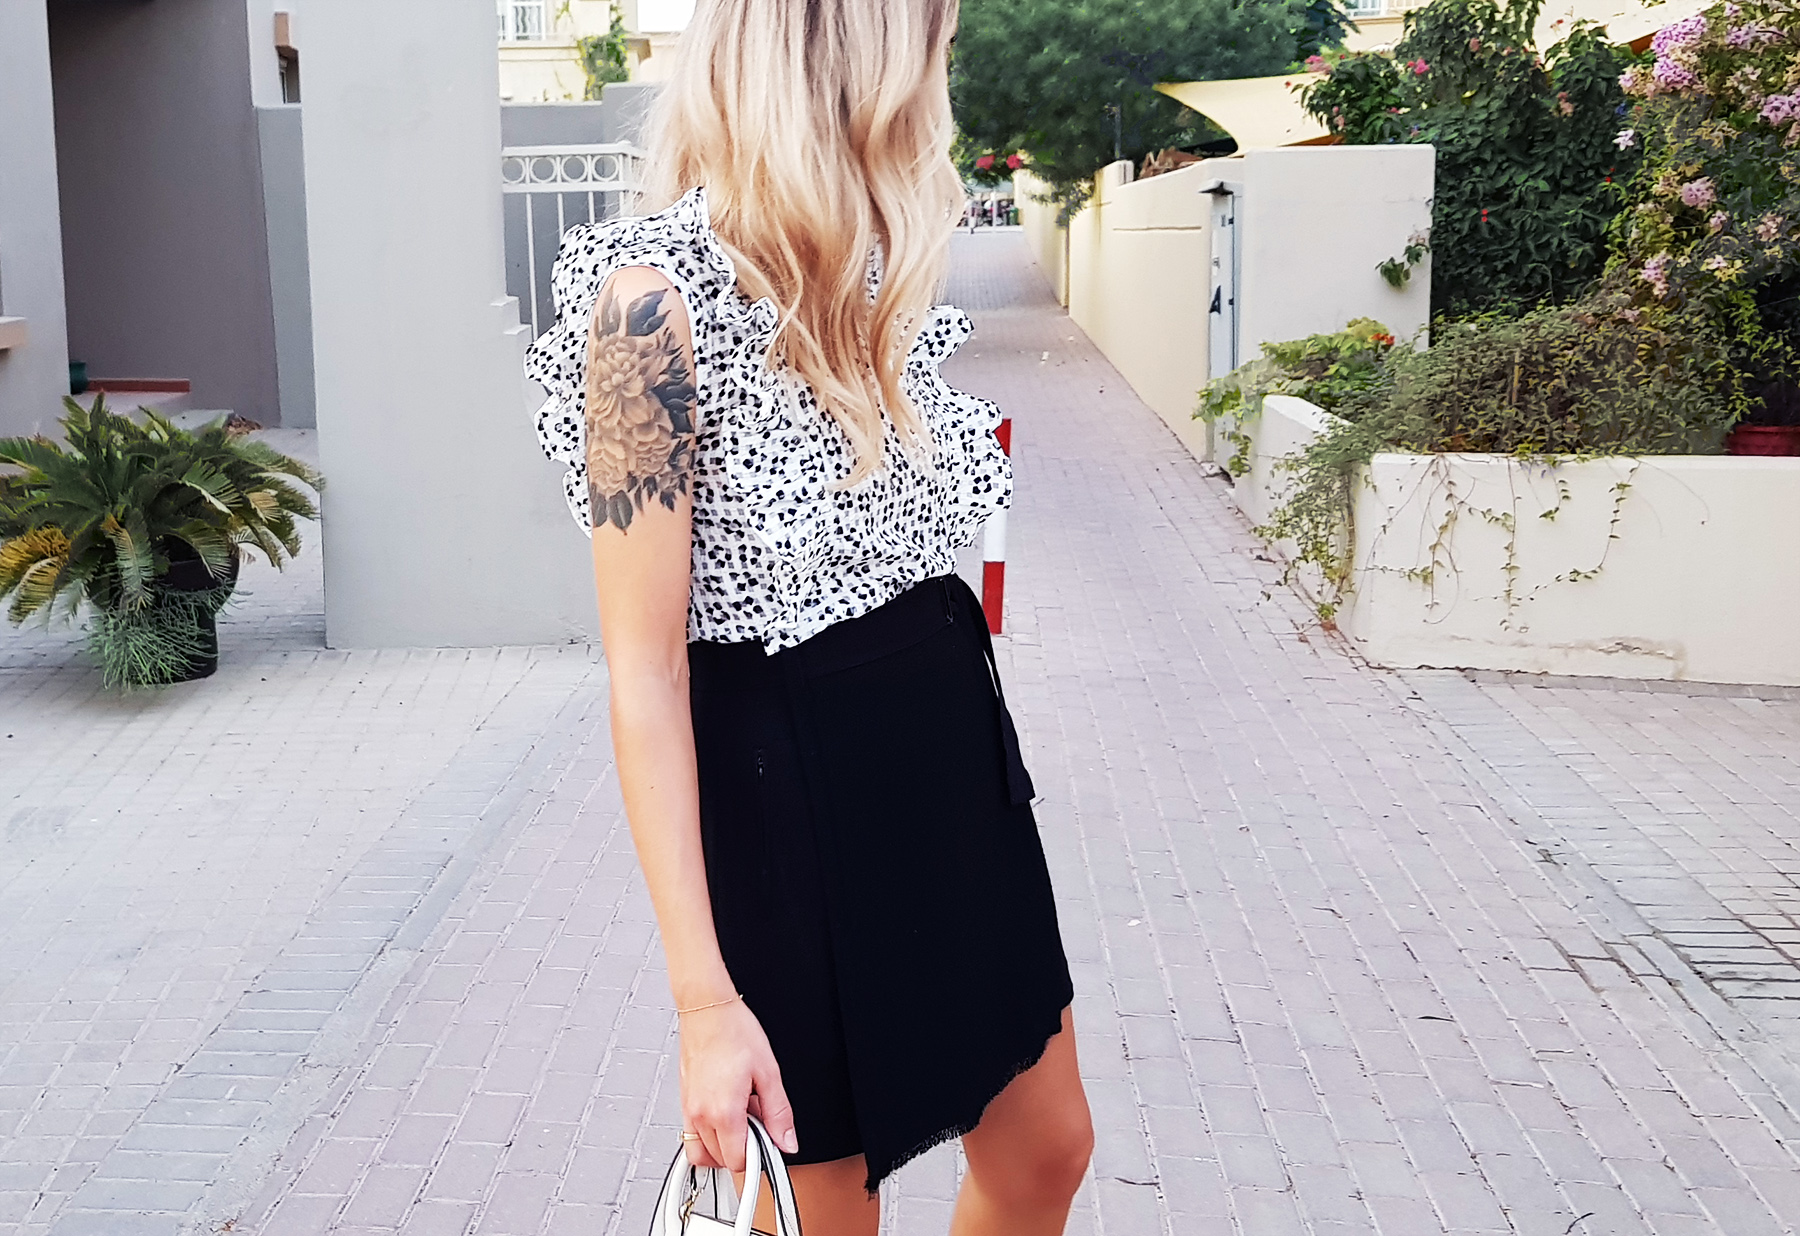
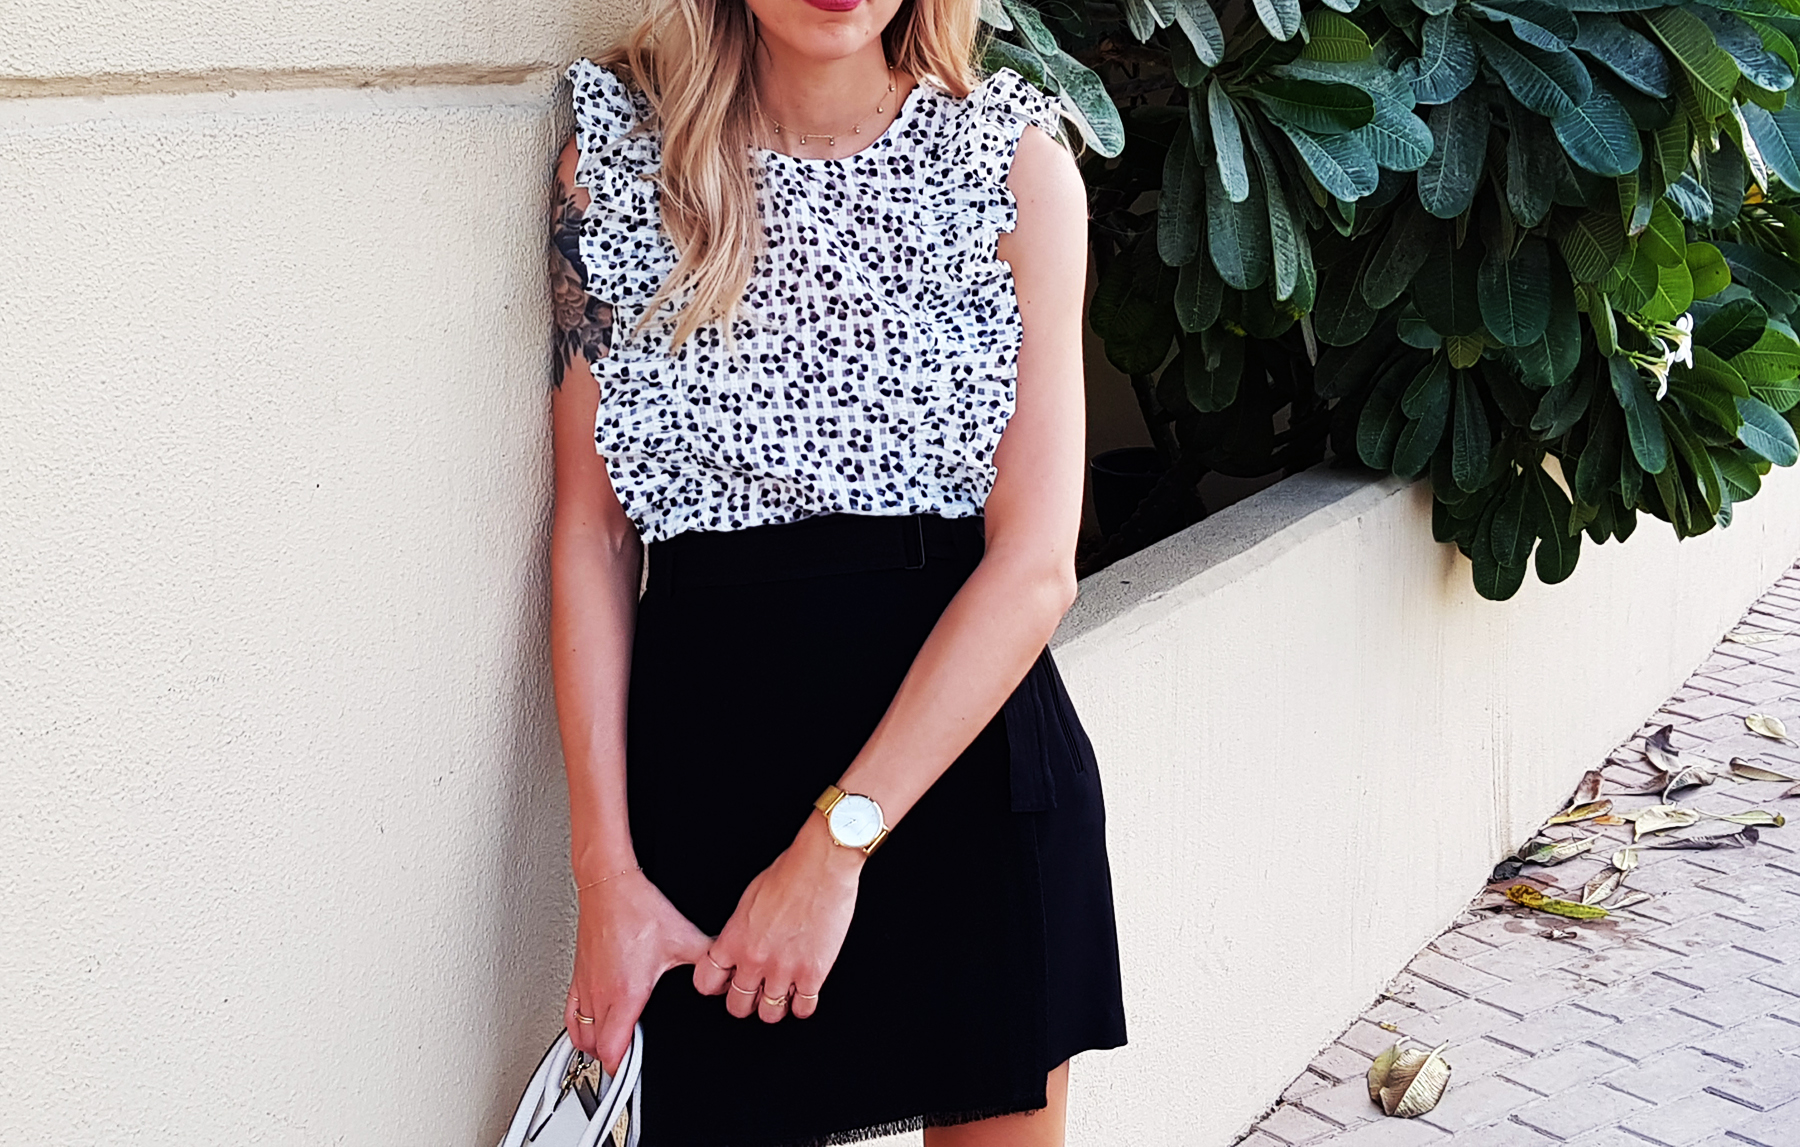
For the ruffles to stand up nicely, I used an organza-type fabric - you need something pretty stiff. Grab your material 10 cm from the edge and if it stands up, you'll have a nice and full ruffle.
Tutorials take a lot of time & effort to create, and I choose to make mine available for free. If you enjoy this guide, you can support me with a donation that feels right for you, here.
I first completed the step of making the top - basic sleeveless style:


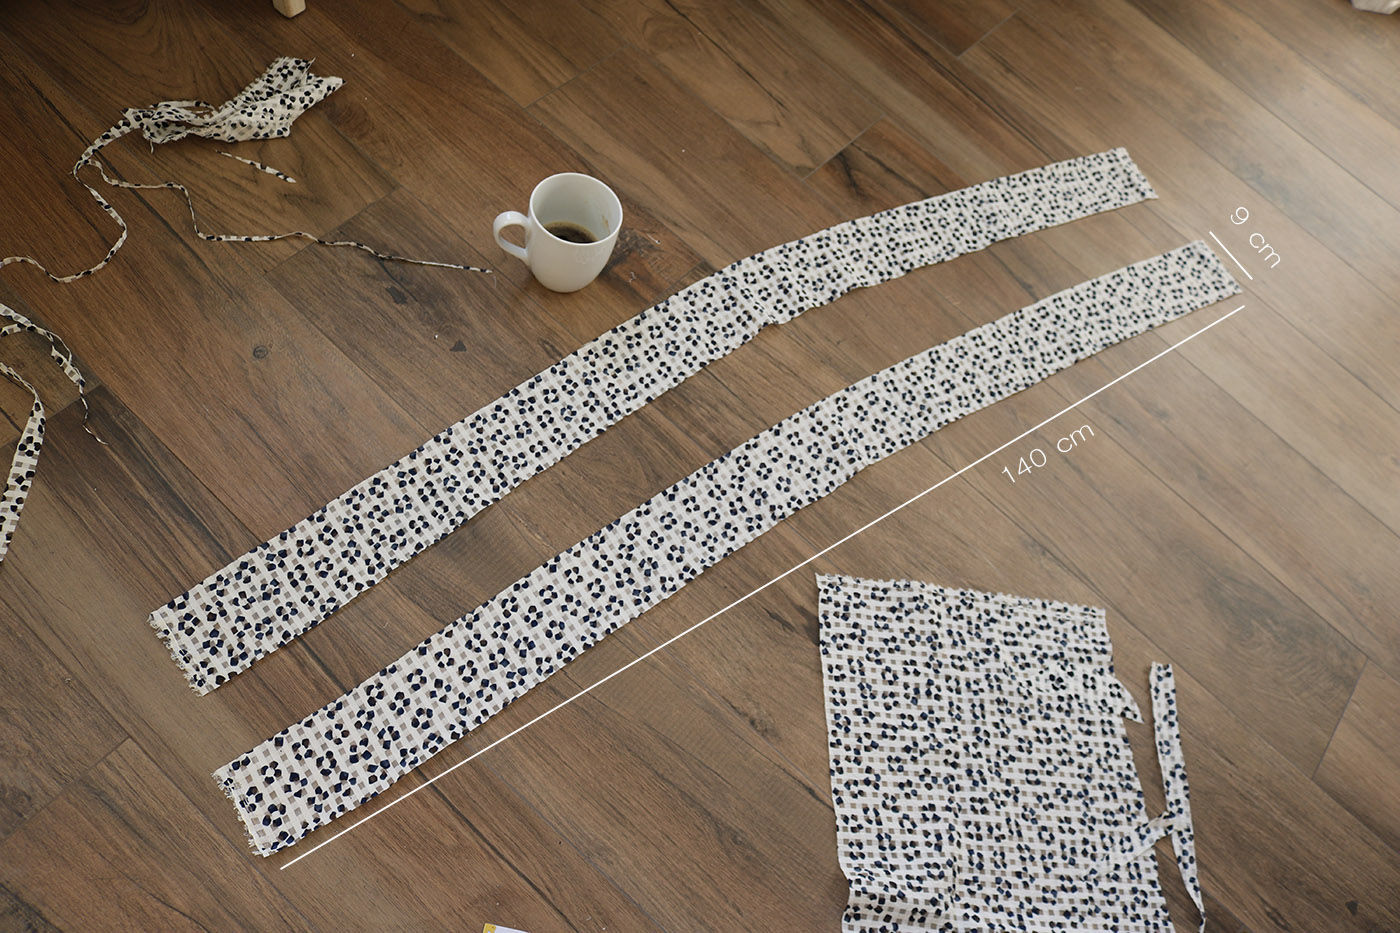
Then I cut the strips of fabric for the ruffles. I wanted my ruffles to come down 40 cm the front and the back from the shoulder line (80 cm in total), and I usually multiply the distance the ruffle needs to cover by 1.5-1.7 to get a nice degree of fullness. The full width of my fabric was 140 cm, so that was perfect (1.75 multiplier). I cut the pieces 9 cm wide (1.5 cm seam allowances and 7.5 cm ruffle).
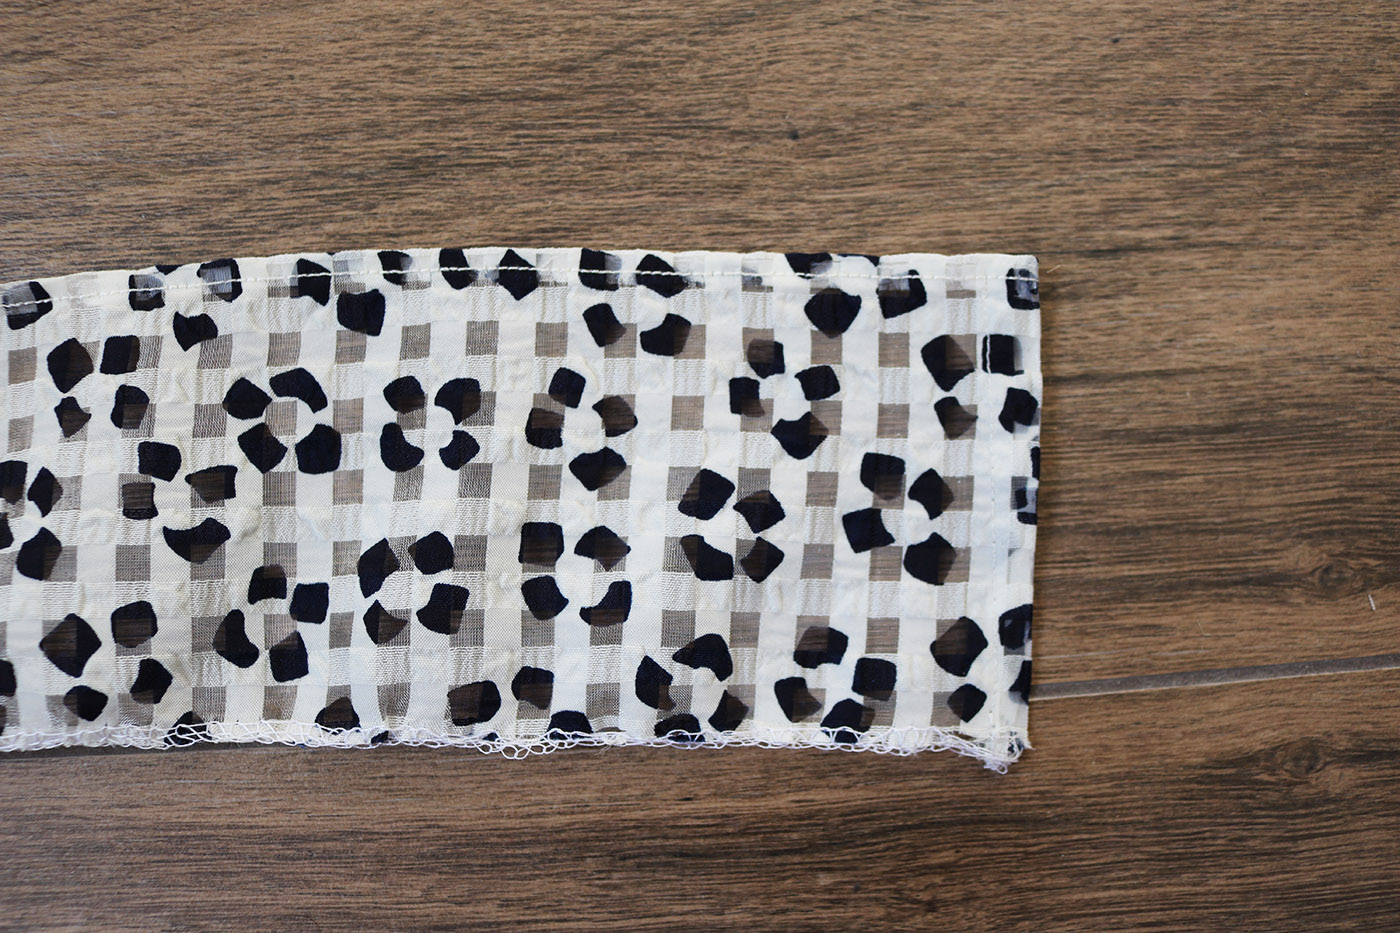
Then I finished one long edge and the short edges with a double fold (very narrow one, about 0.5 cm) and the other long edge with my serger, then added a basting stitch along the edge finished with serger, and gathered the ruffle until it was 80 cm long.
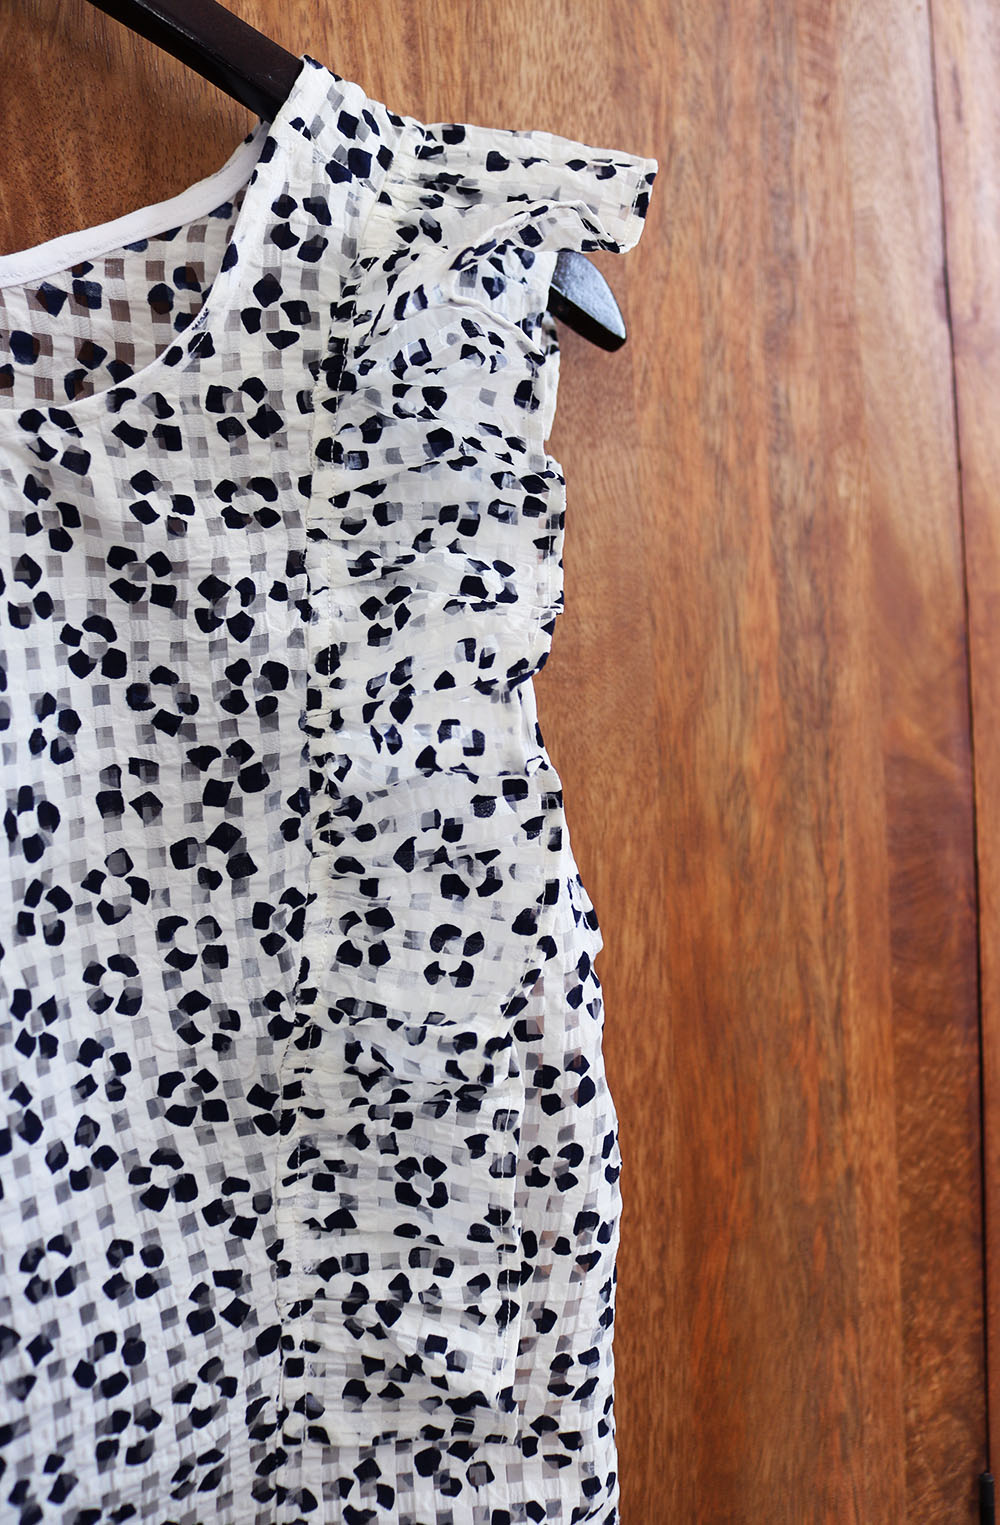
Last step was to pin the ruffles onto the top, right sides facing, and sew in place. Then you'll just flip them right side out, press the seam so they point in the right direction..
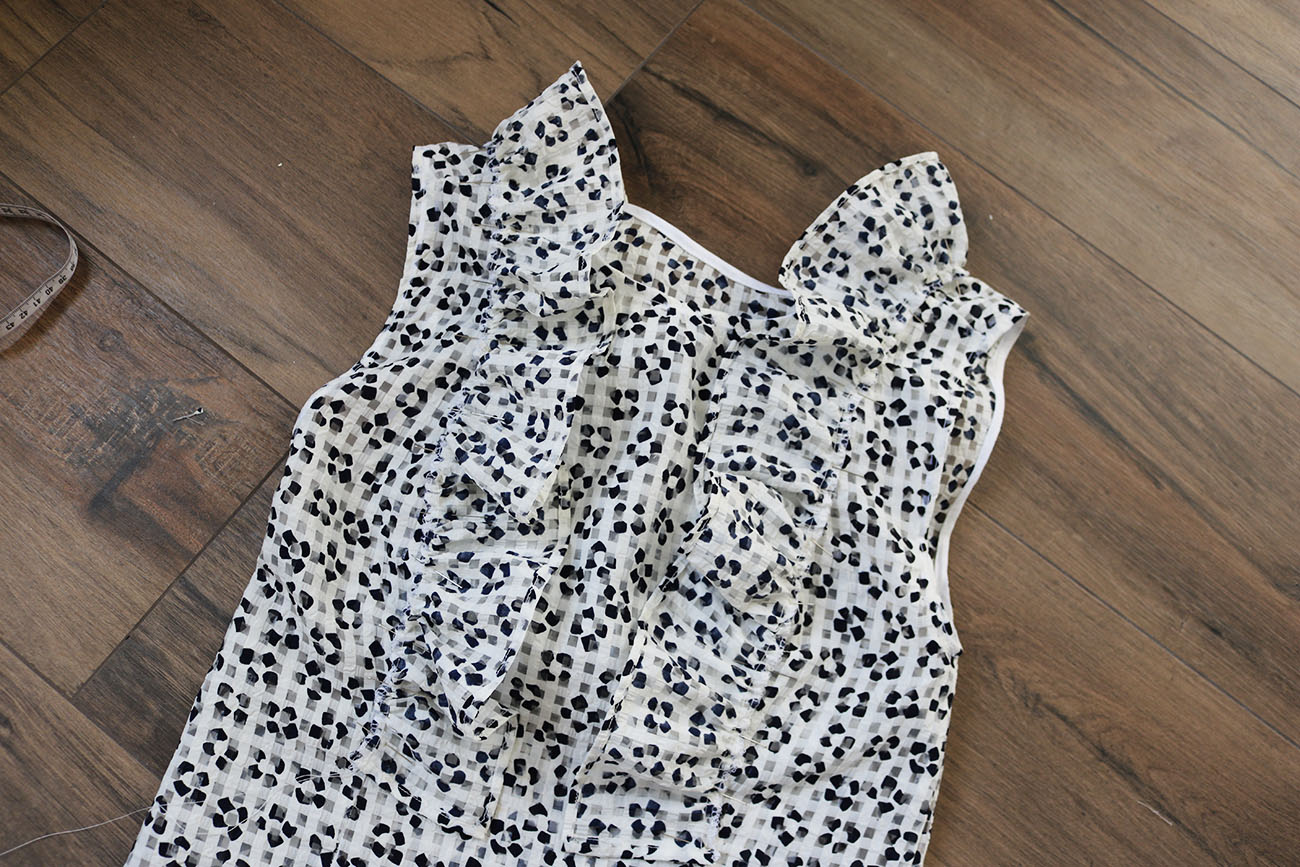
.. And finally I top-stitched on the right side about 0.7 cm from the initial stitch/fold to make sure the ruffle doesn't flip over when worn.
Instant gratification sewing:)
xo,
Julia


Looks so good!
ReplyDelete