TOOLS:
Fabric (I used 100% cotton and got away with 1 meter, 1.3 m would be more comfortable) | Scissors | Elastic | Thread & Sewing machine
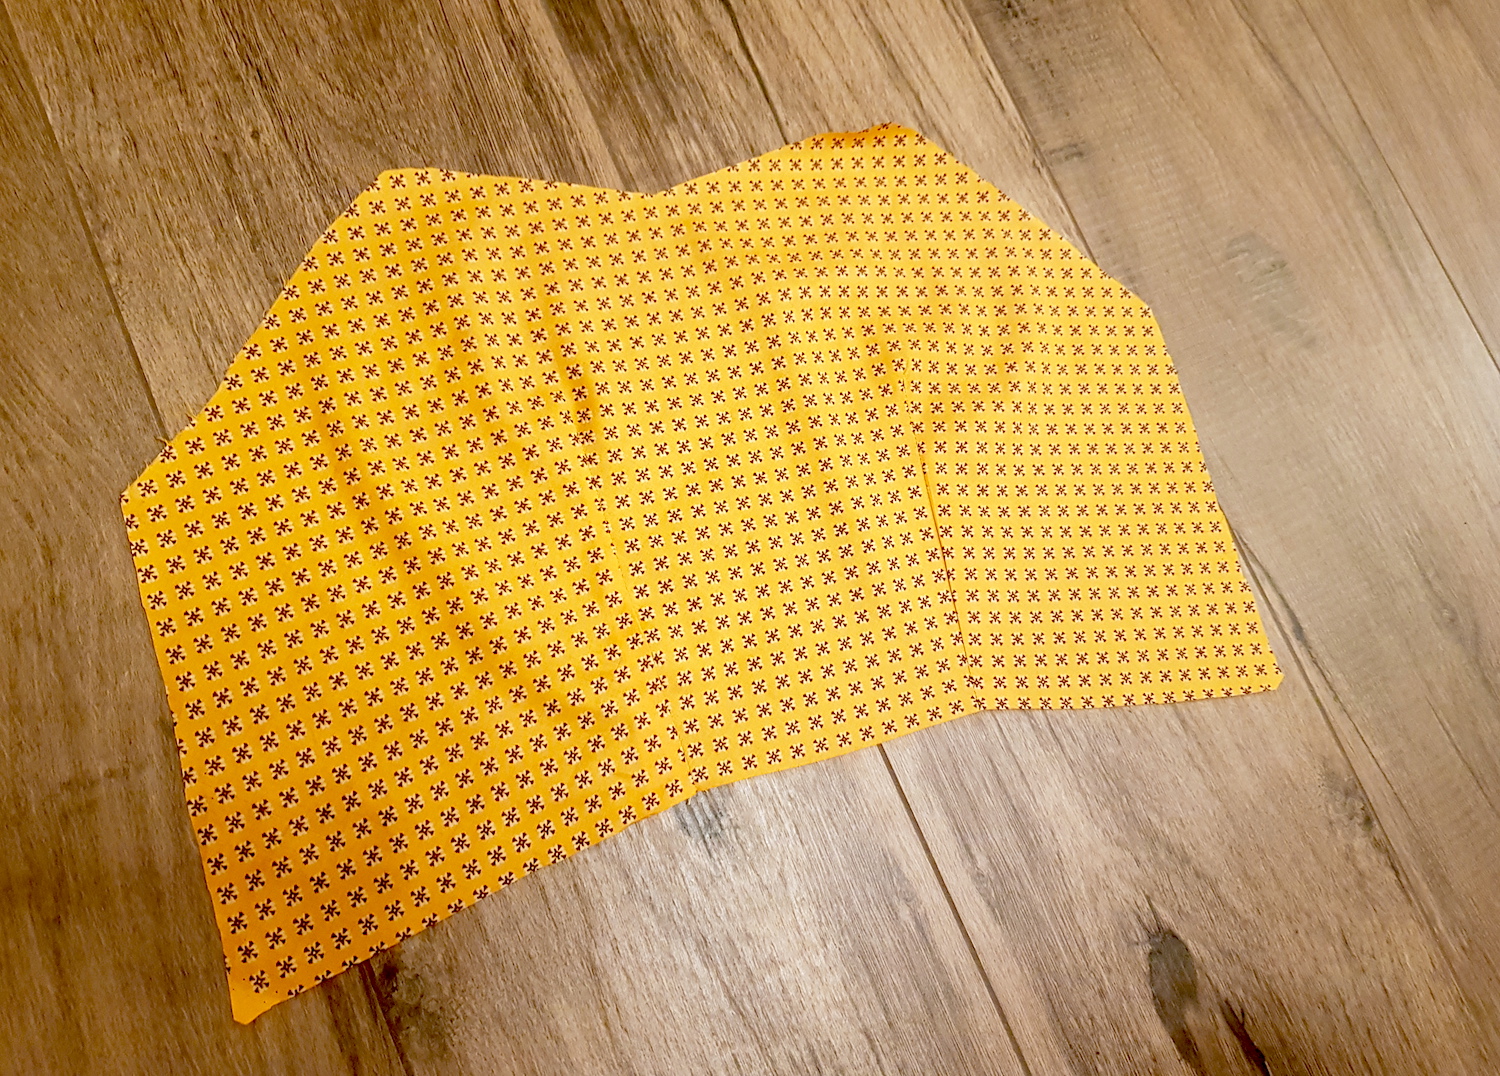
I. First I cut my main pieces (I used up pretty much every square inch of my 1 meter piece of fabric, so I first wanted to make sure I had enough for these. Im a EU36/US4. Identical 2 front pieces and two rectangles to create the tied-up bow part.
II. I started by sewing darts on the front pieces, about 17 cm up from the hem:
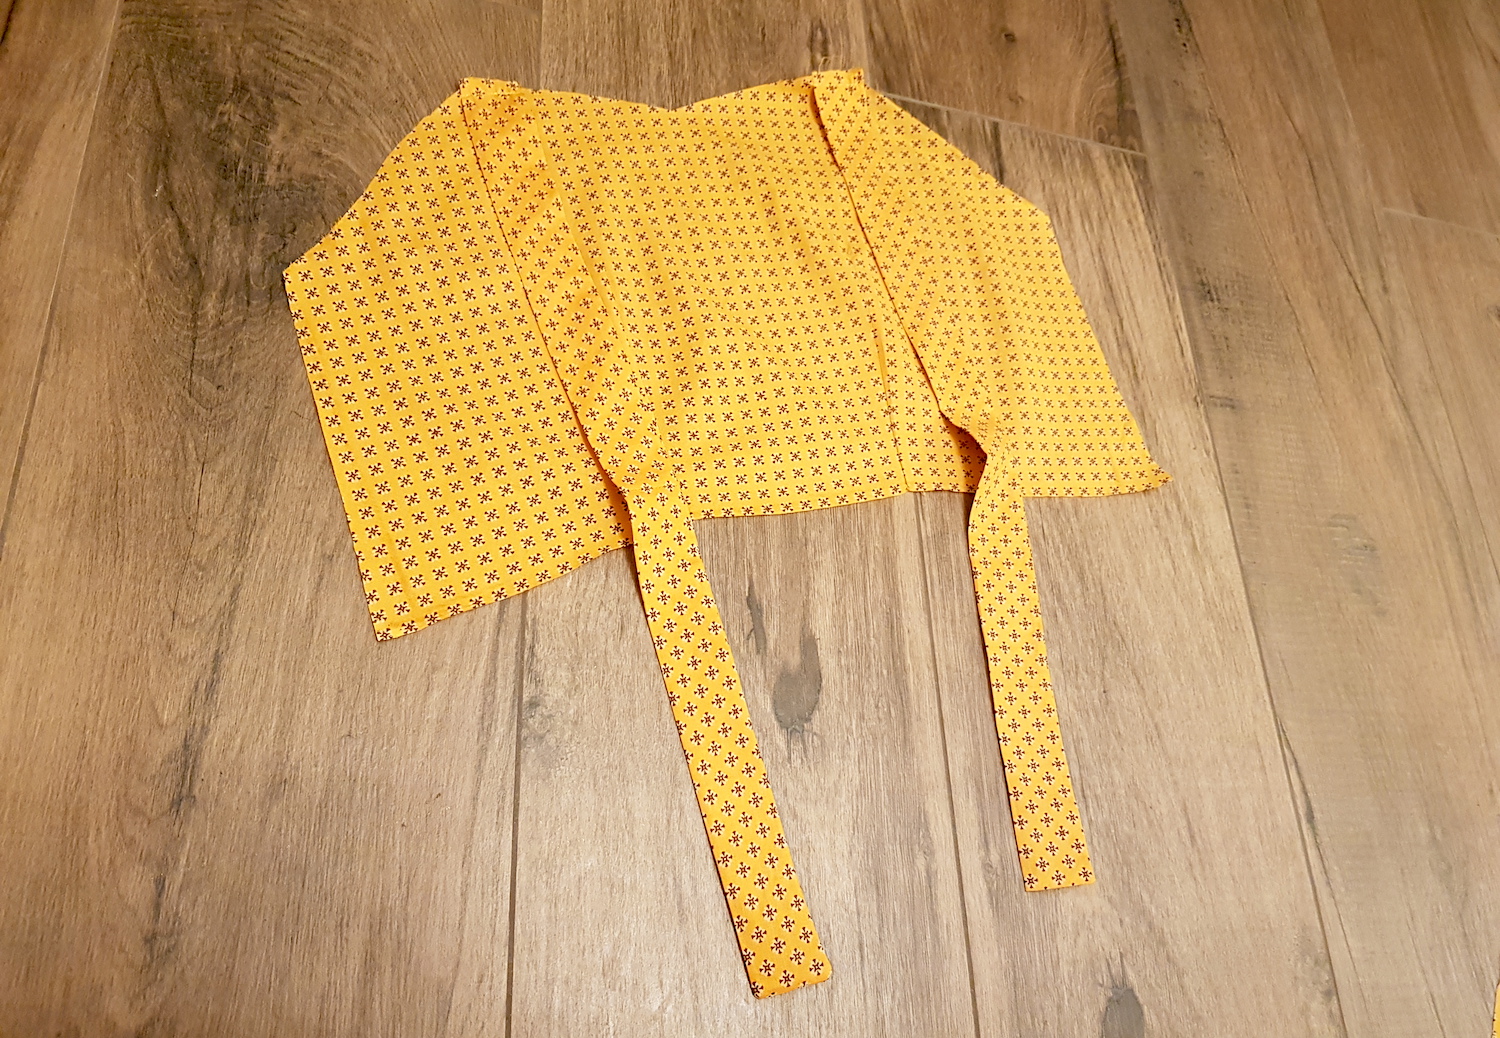
III. Then I made two shoulder straps (which I had to make out of 2 pieces each, since at this point I was working with scraps), and attached them to one of my front pieces.
IV. I prepped my two tie-up pieces by folding them in half width-wise and sewing around the long and short edge, turning right side out and pressing, to create two rectangles:
.. And pinned them to the sides of my top piece, making some irregular gathers:
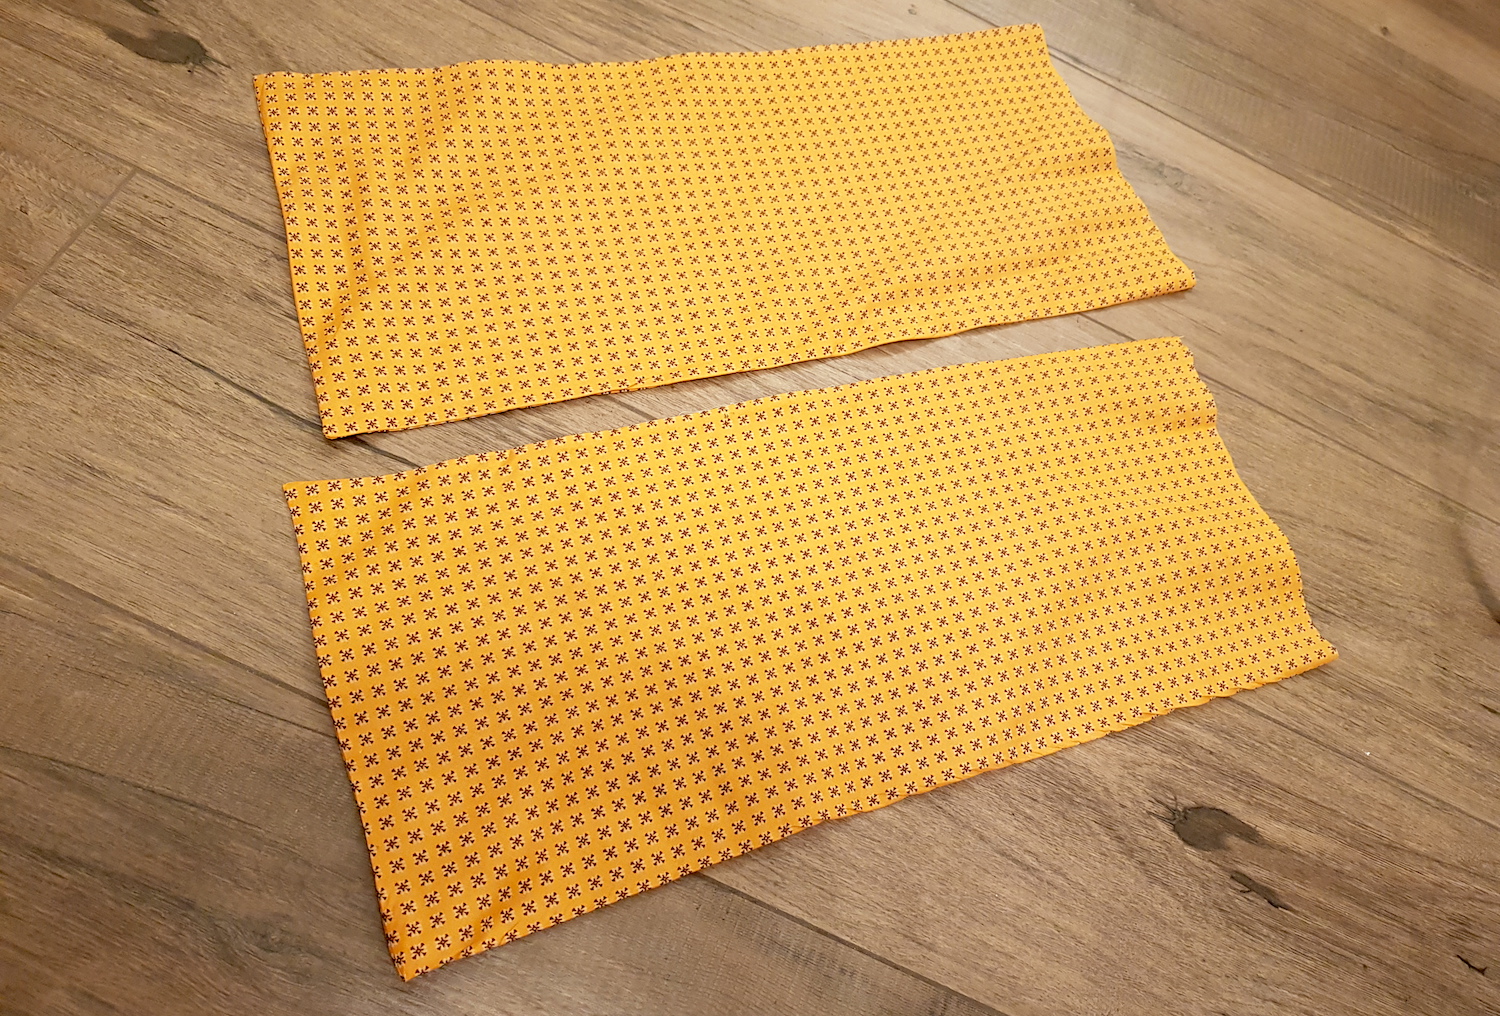
V. Then I cut 4 little rectangles, about 8 cm wide each, to attach extension pieces to the sides of each front piece.
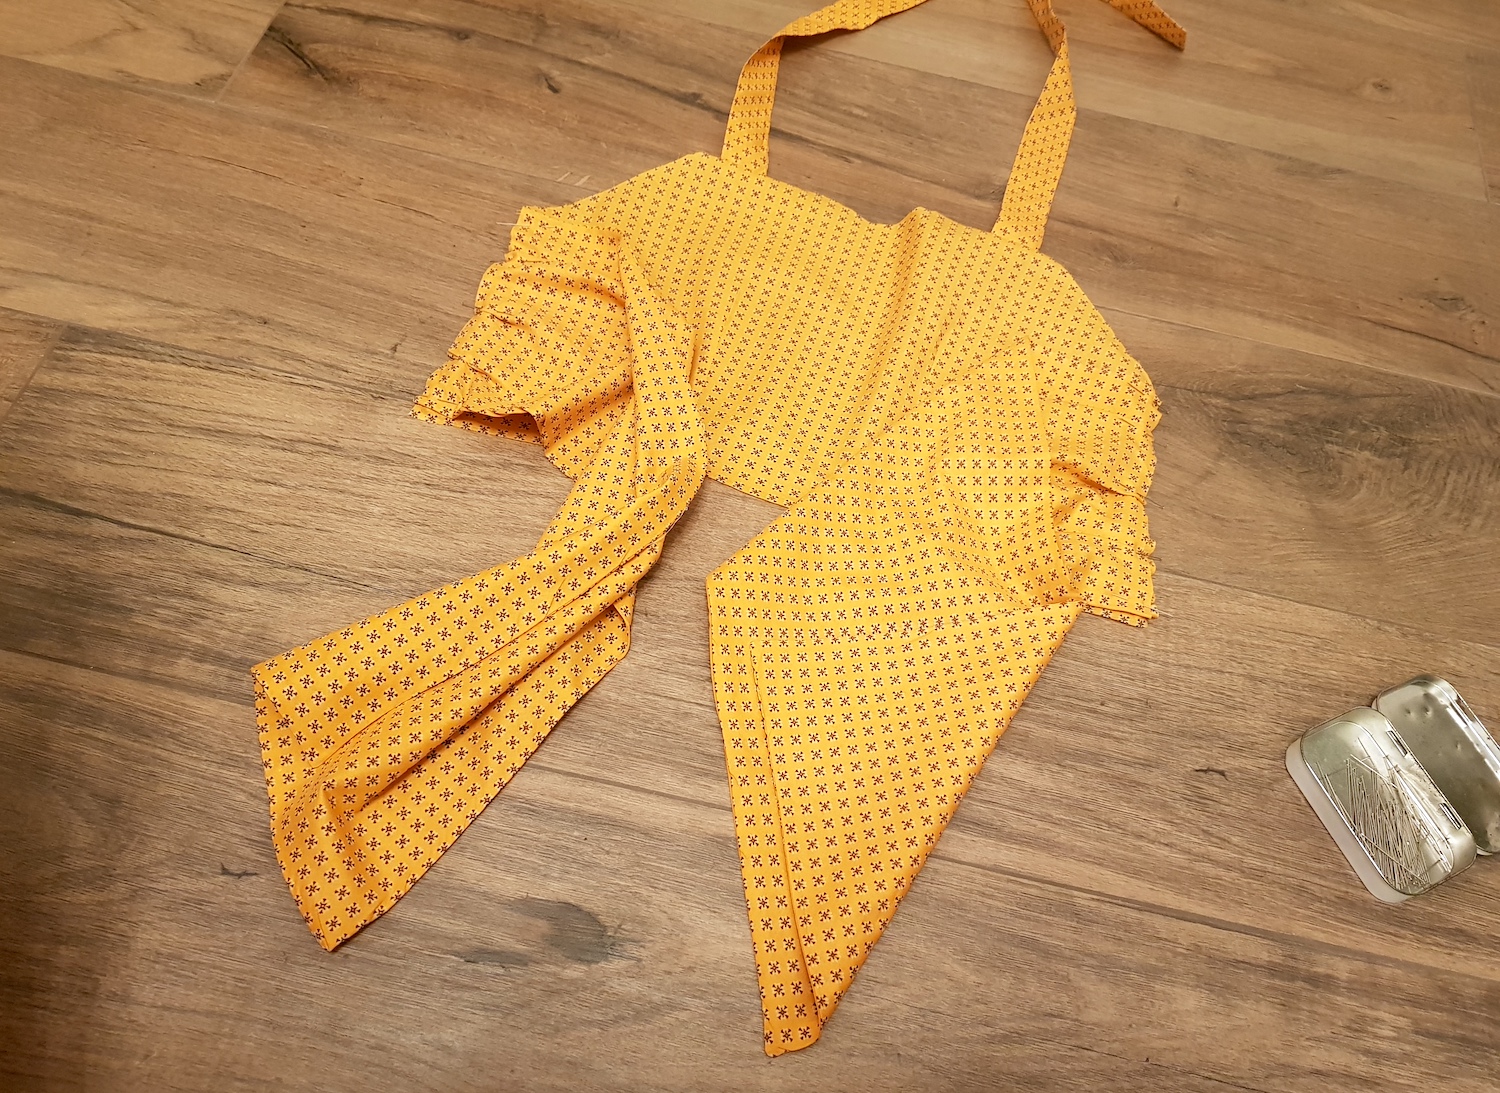
And placed the completed front pieces right sides facing, pinning the neckline, and sewing. I sewed the neckline V twice, adjusting it a bit deeper than I had originally cut it. I also always sew over the shoulder straps a couple times to reinforce them. Then just clipped the bottom of the V and all corners, and turned right side out.
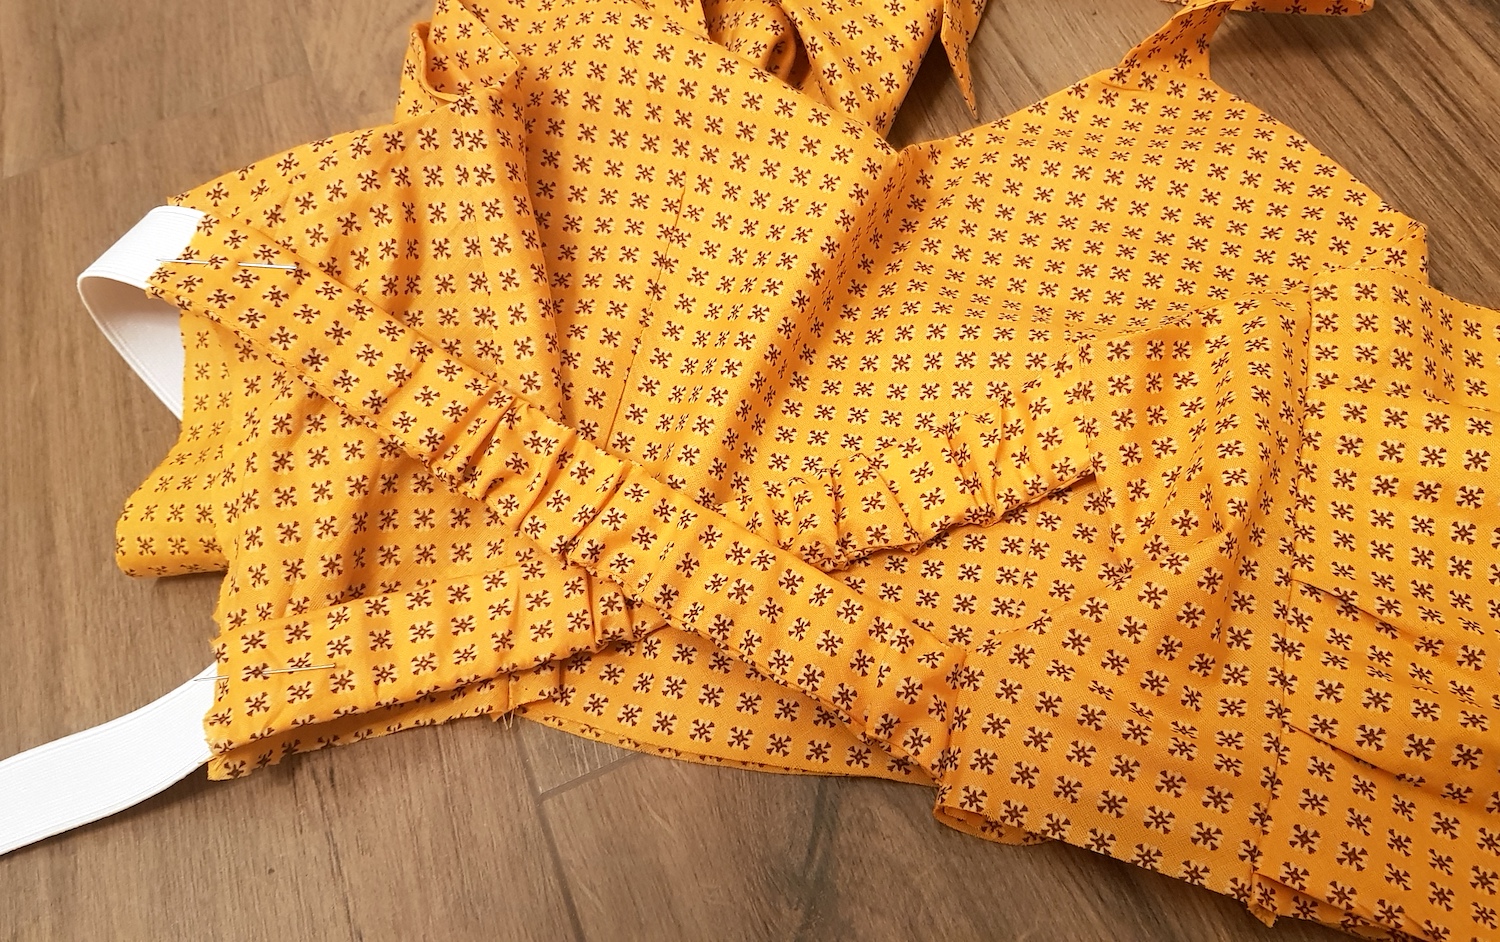
VI. Last bit was the back. I took my elastic and measured how wide I'd need to sew the casing. Sewed two of them (for my size, for an about 30 cm long piece of elastic). And slipped my elastic pieces in their casings.
Then I pinned the ends of the elastics to the edge of one side of the back of the top. If you want the criss-cross style I did, you need to pin them at an angle. Sewed in place, and then folded the lining side of the front piece over, sandwiching the straps in between.
After sewing and turning right side out, I had this - straps attached on one side, loose on the other:
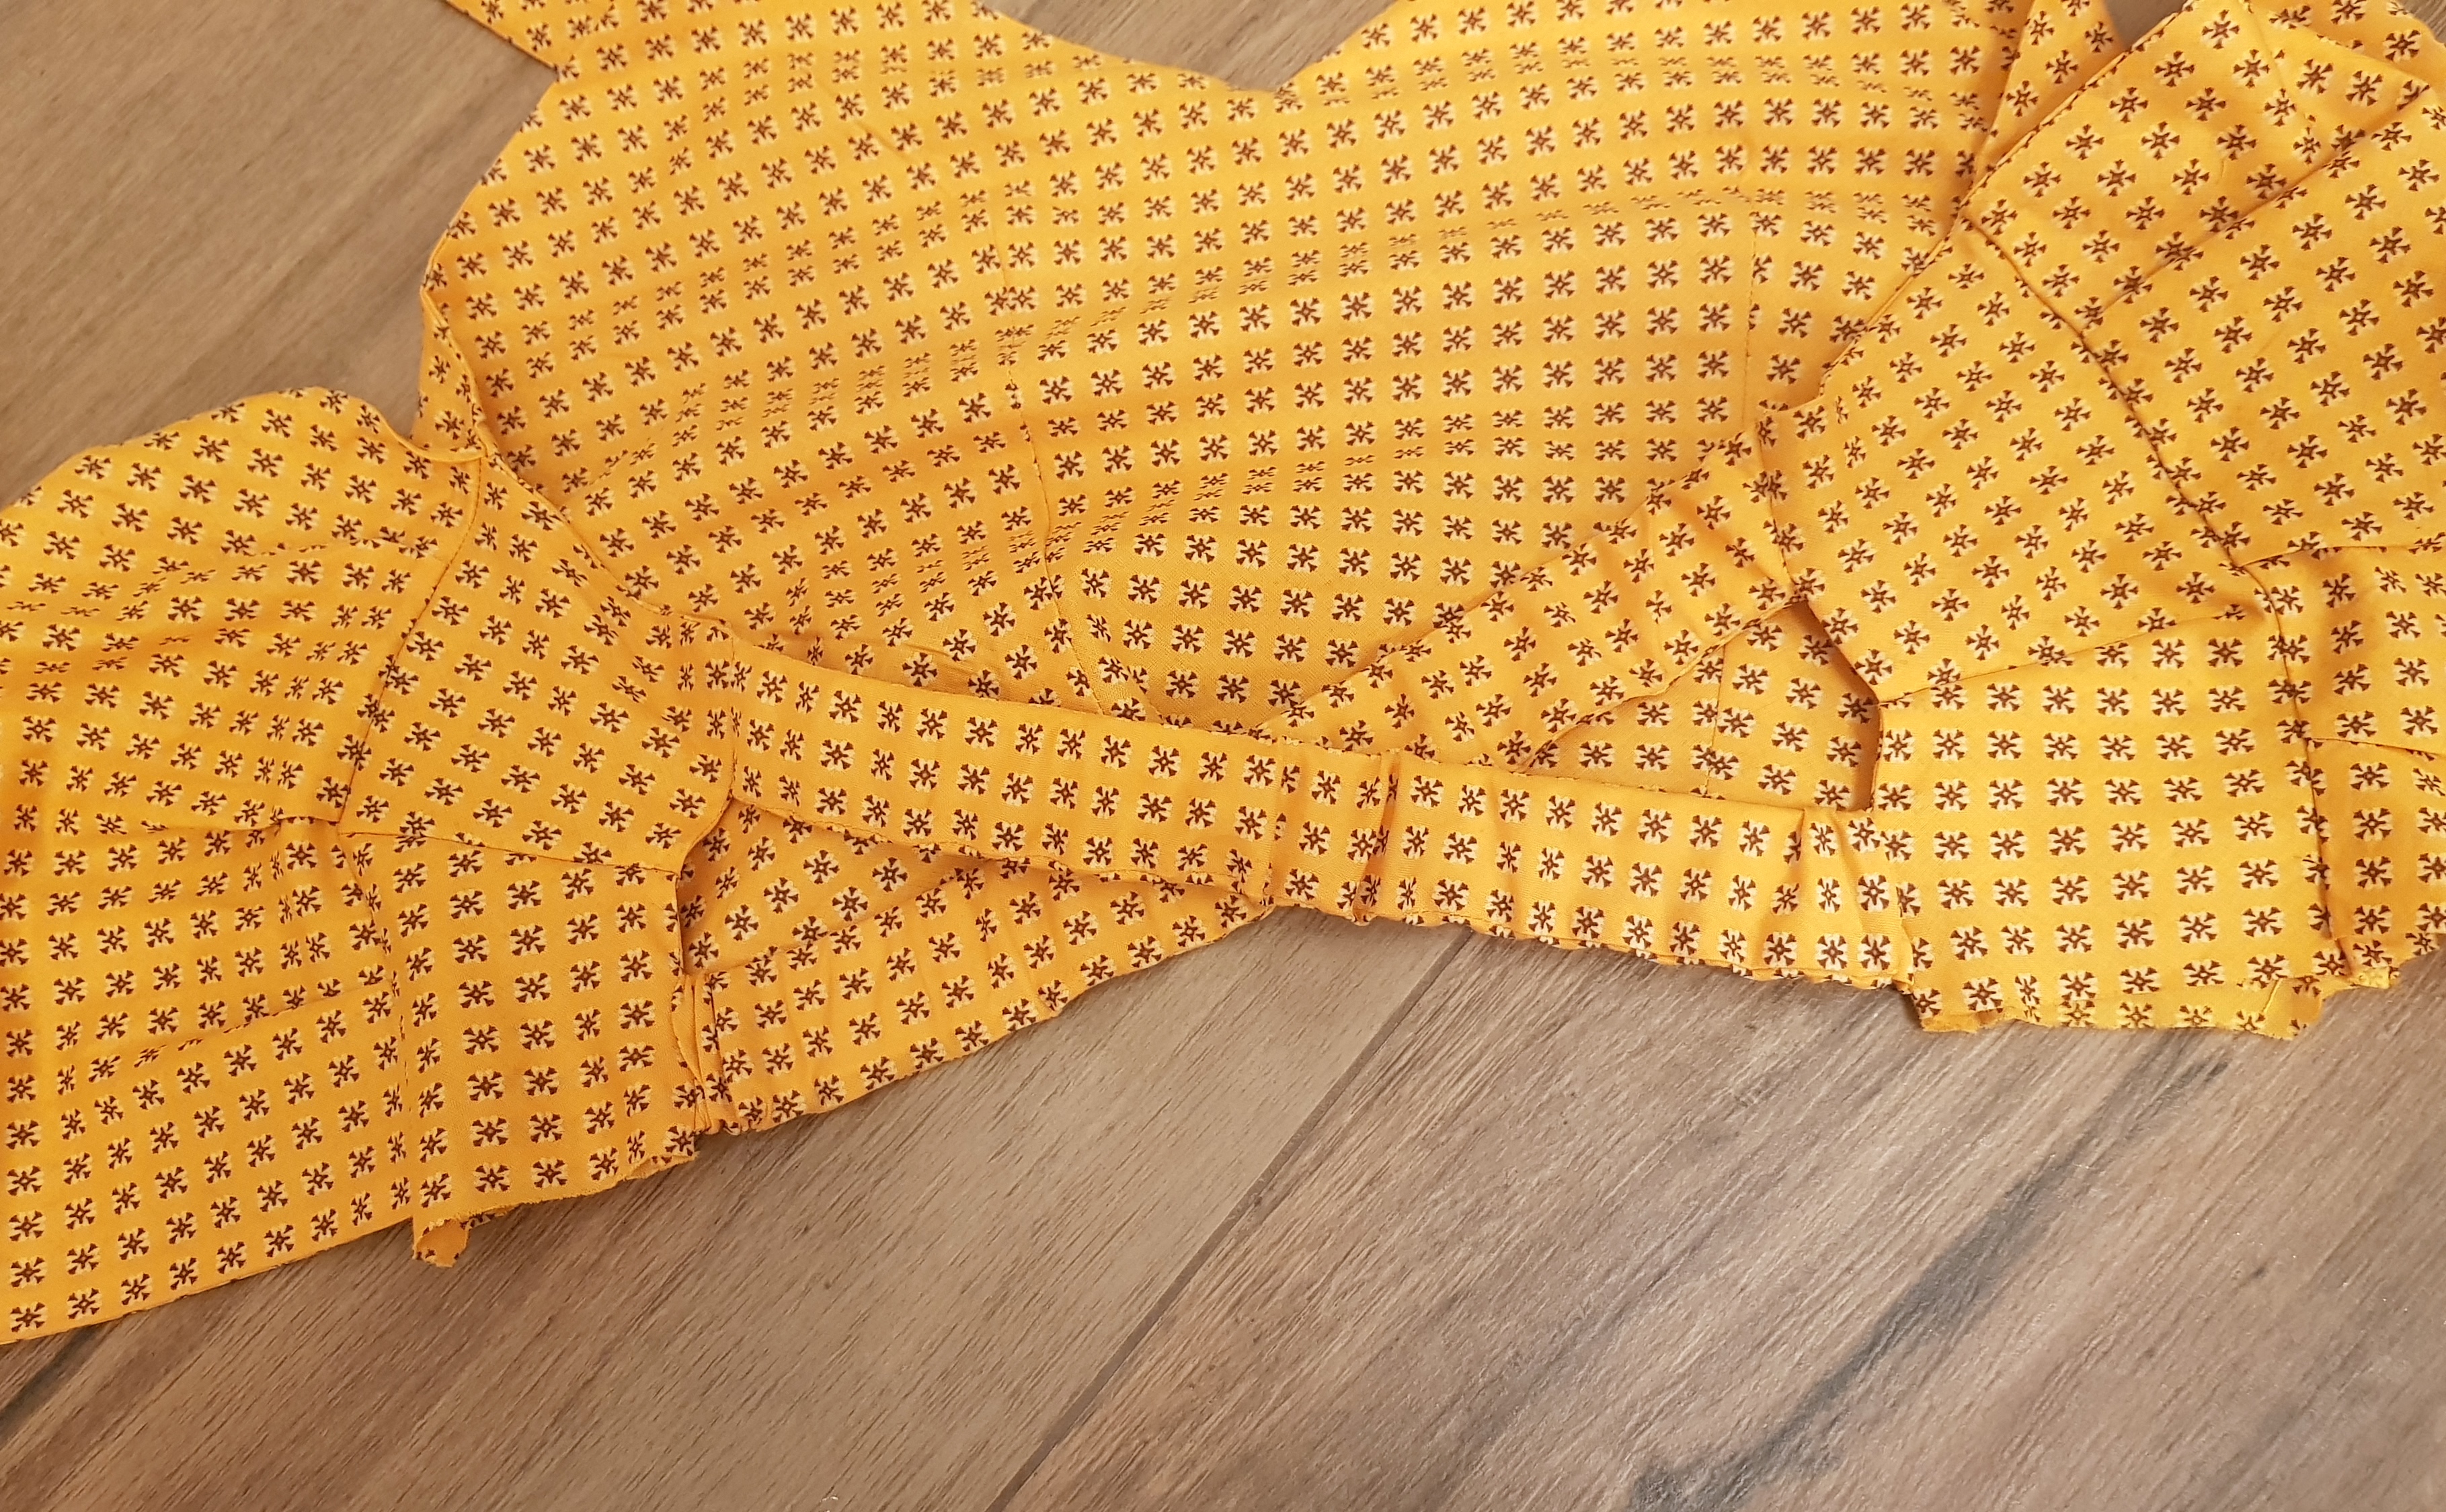
I tried the top on to confirm how long the back straps needed to be, and then attached them to the other side. After that, I knew it was coming - the fit wasn't good due to the elastic crumpling the sides. I contemplated for a while putting something in to act as bones and keep things flat, but then I realized I could just do darts.
That fixed it:)
xo,
Julia


0 comments:
Post a Comment
I would love to hear what you think and learn about your DIY adventures! If you use one of my tutorials, tag me on social @contour_affair, I'd love to see!