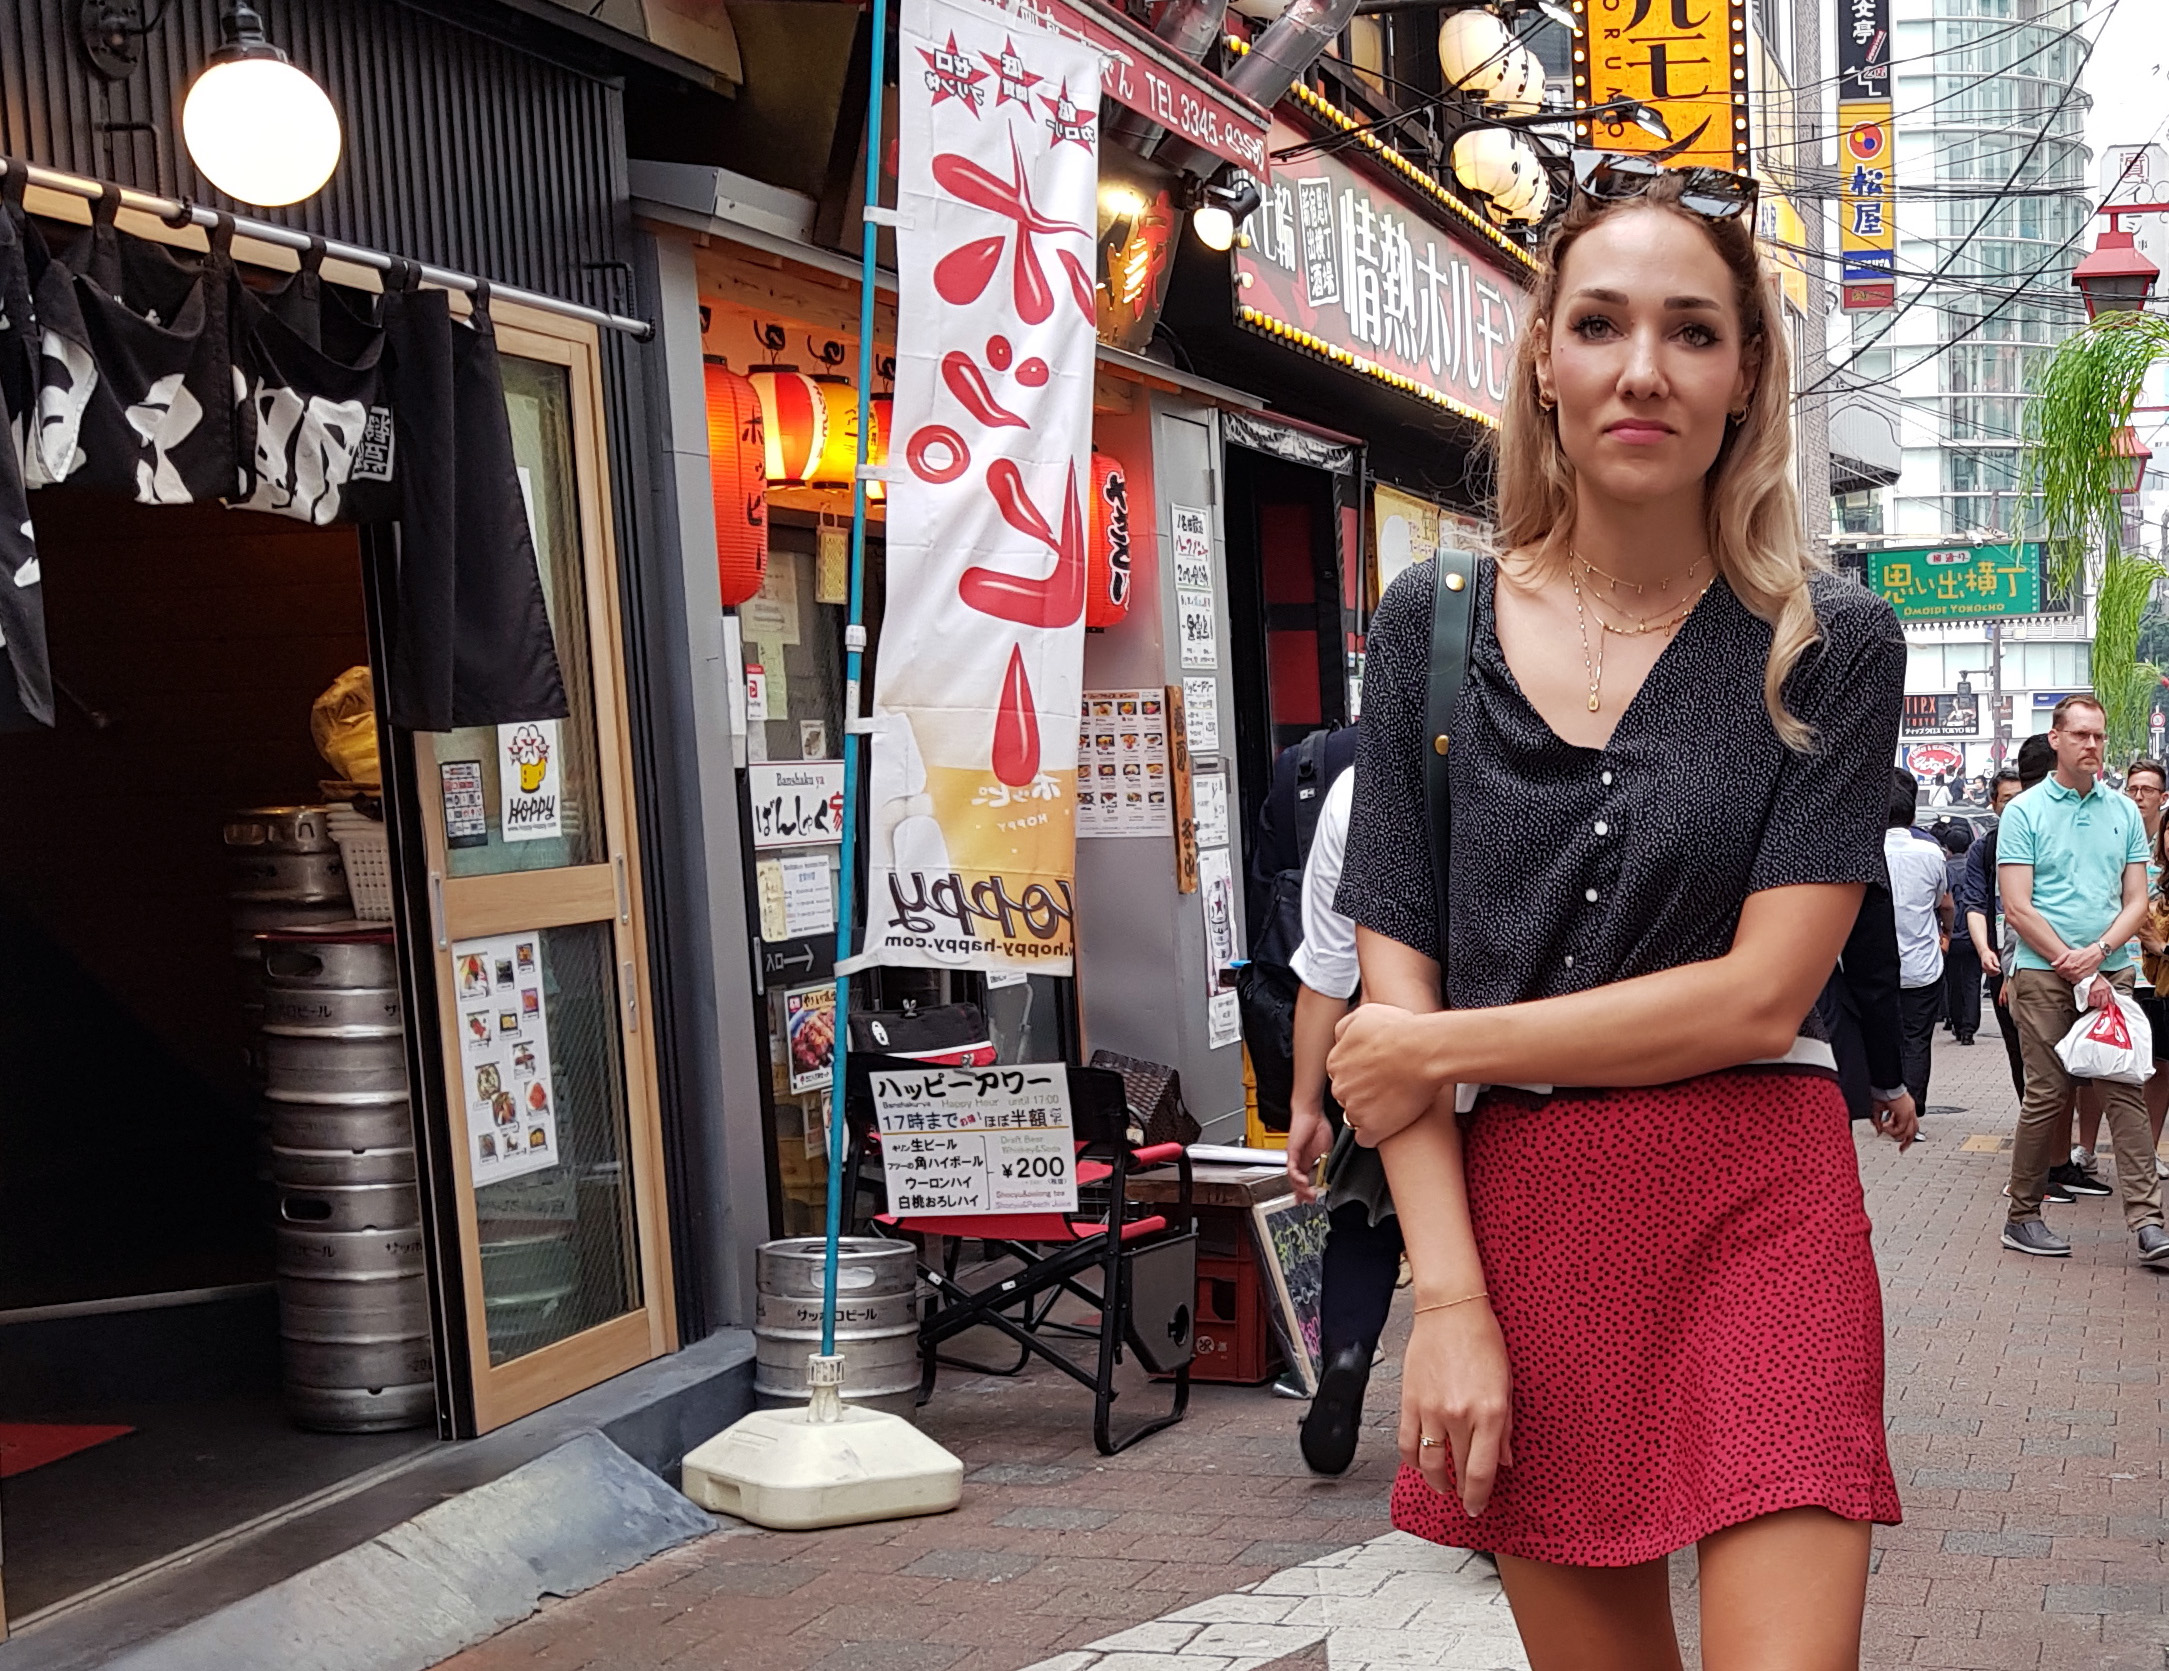
One of my most favourite sets for a while!! I found this scarf print viscose in Paris on May 23. The week after I obsessed on the verge of panic for 2 days about what to make of it, because I really wanted to wear whatever it was in Japan. I made it! There I am on June 1 in Tokyo. I wish that was the actual definition of fast fashion.
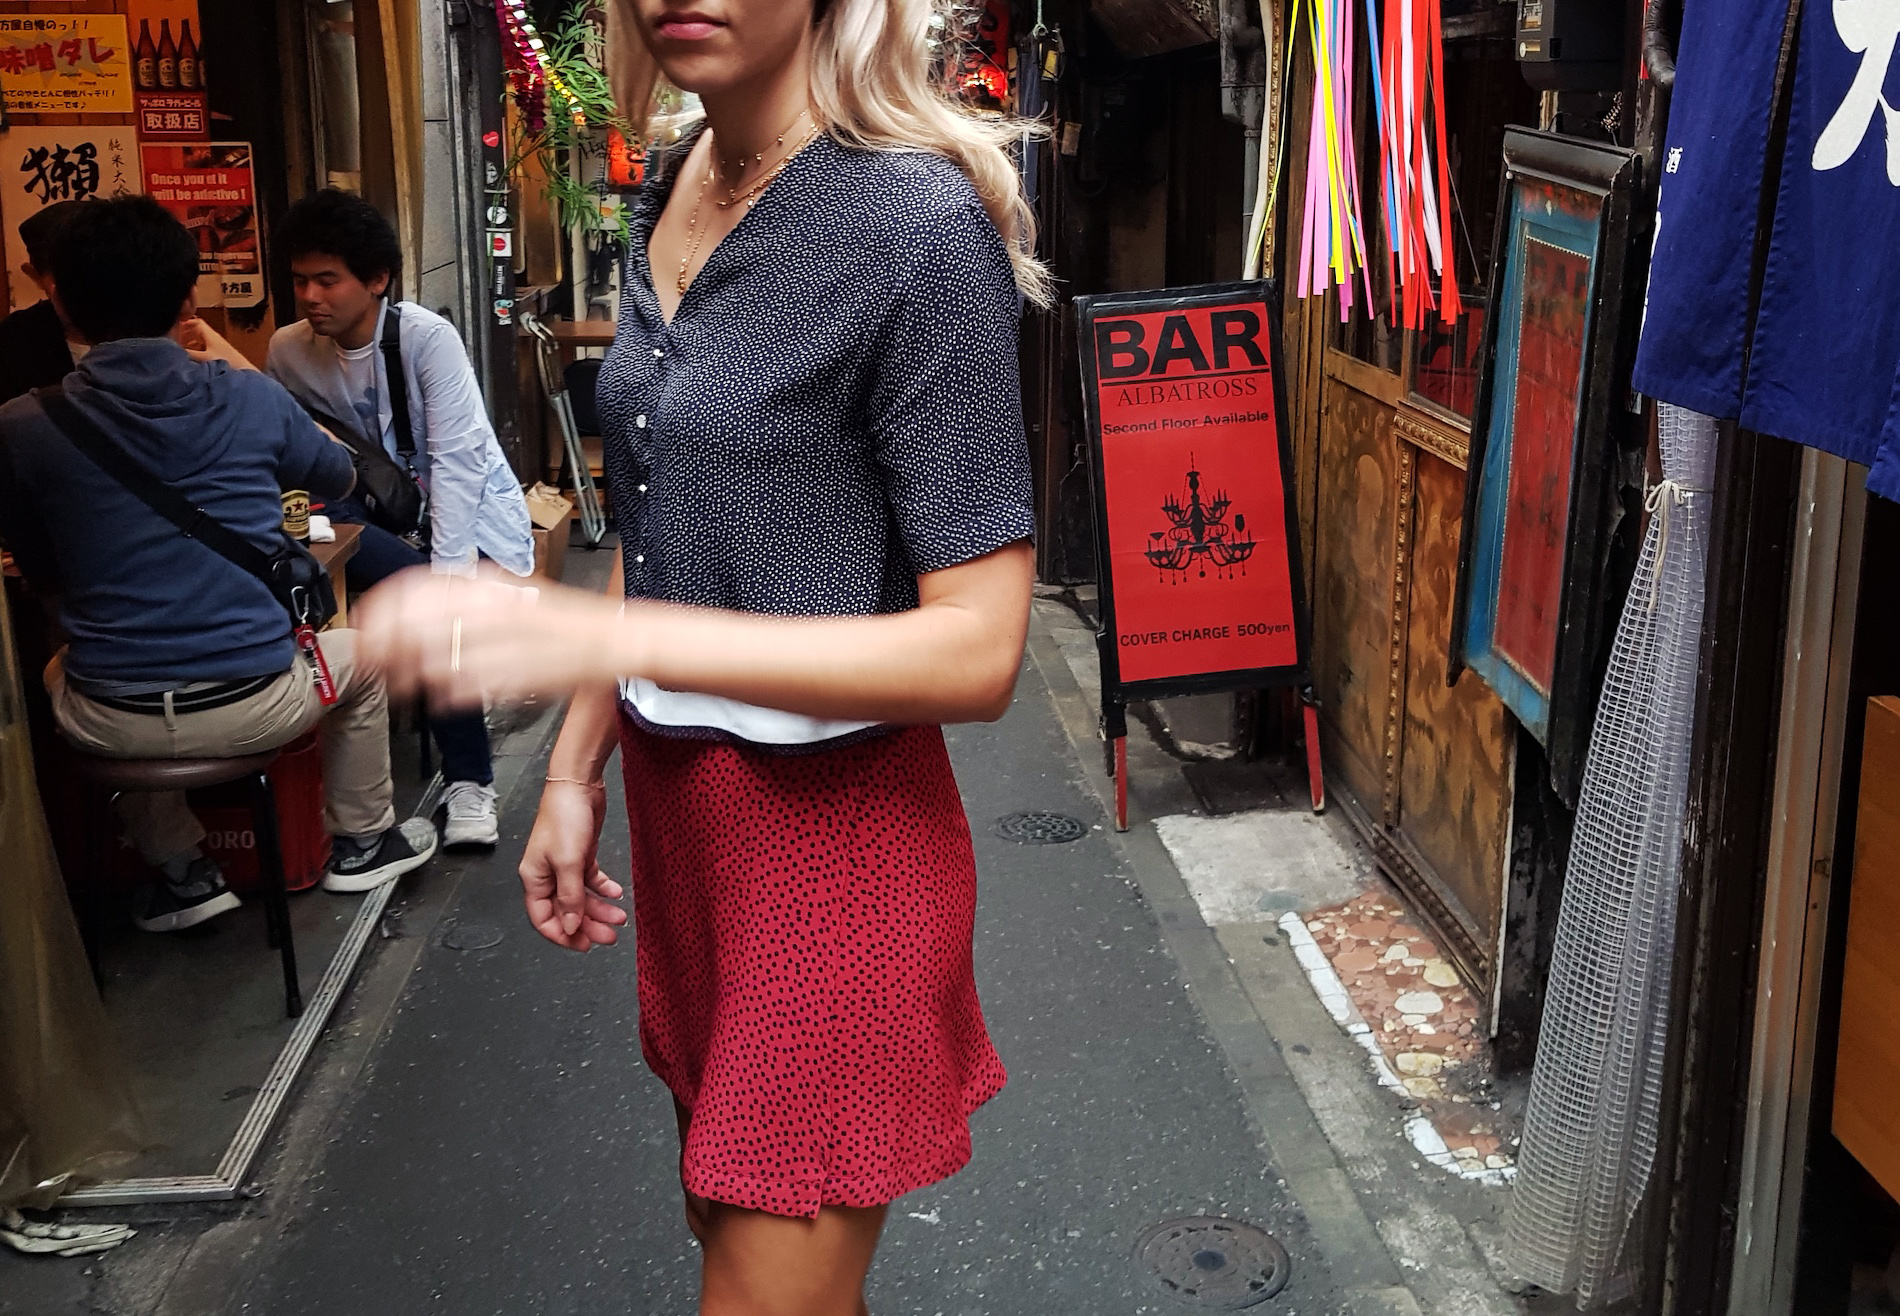
Below is the tutorial for the super simple wrap mini. The top was just a remake of
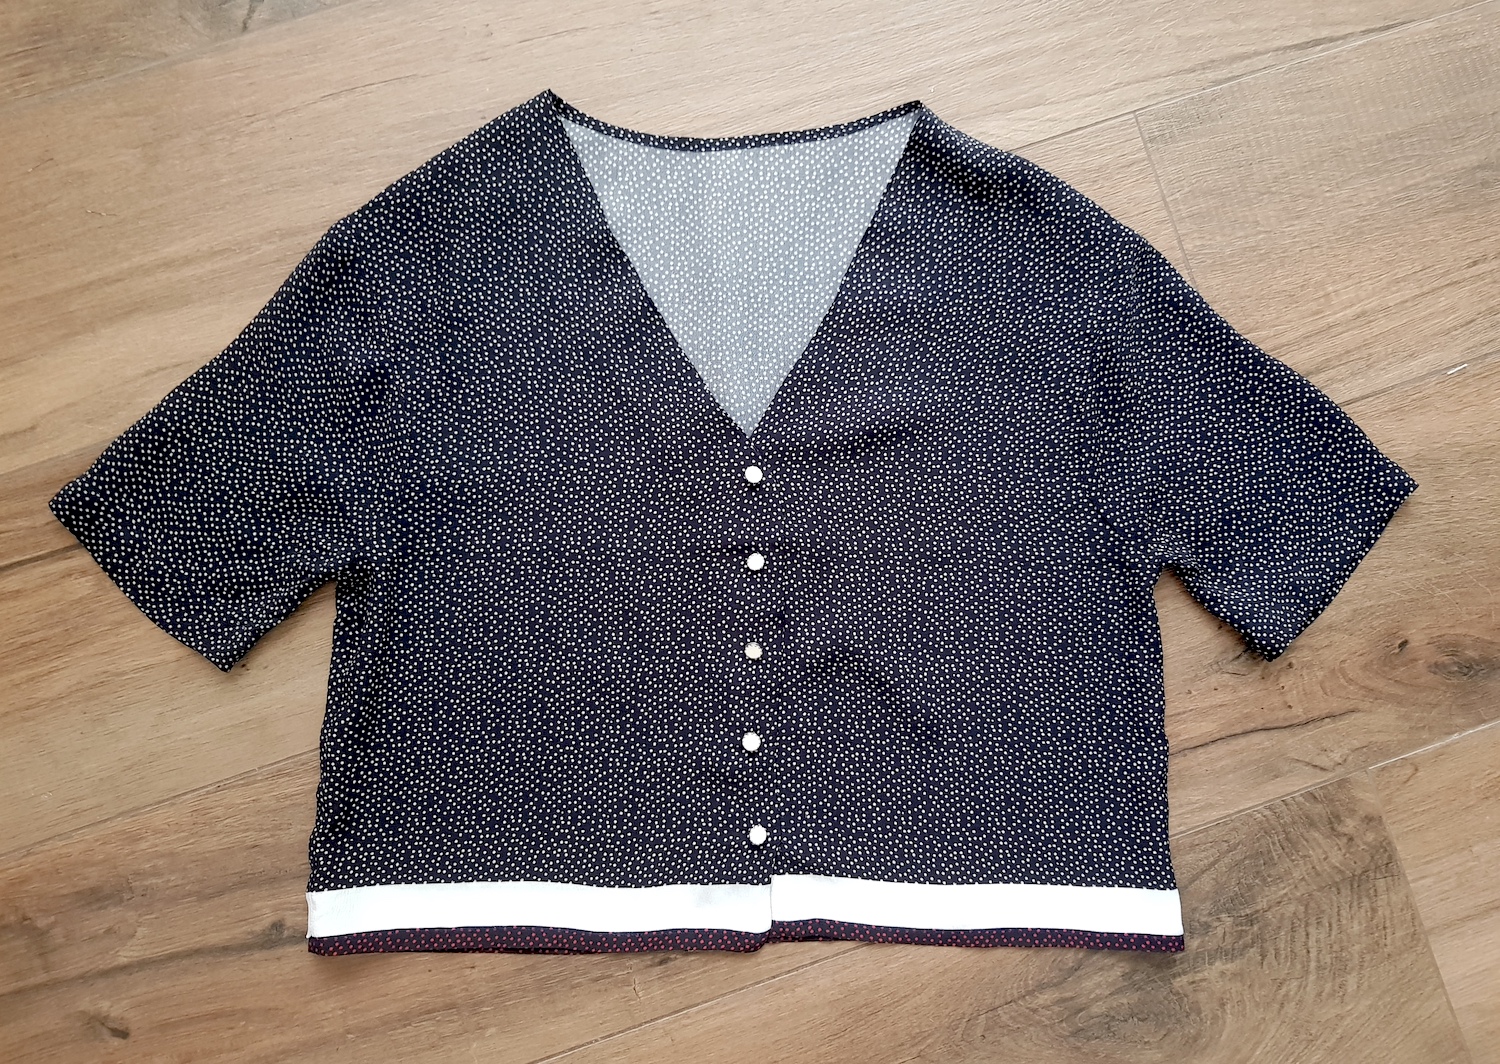
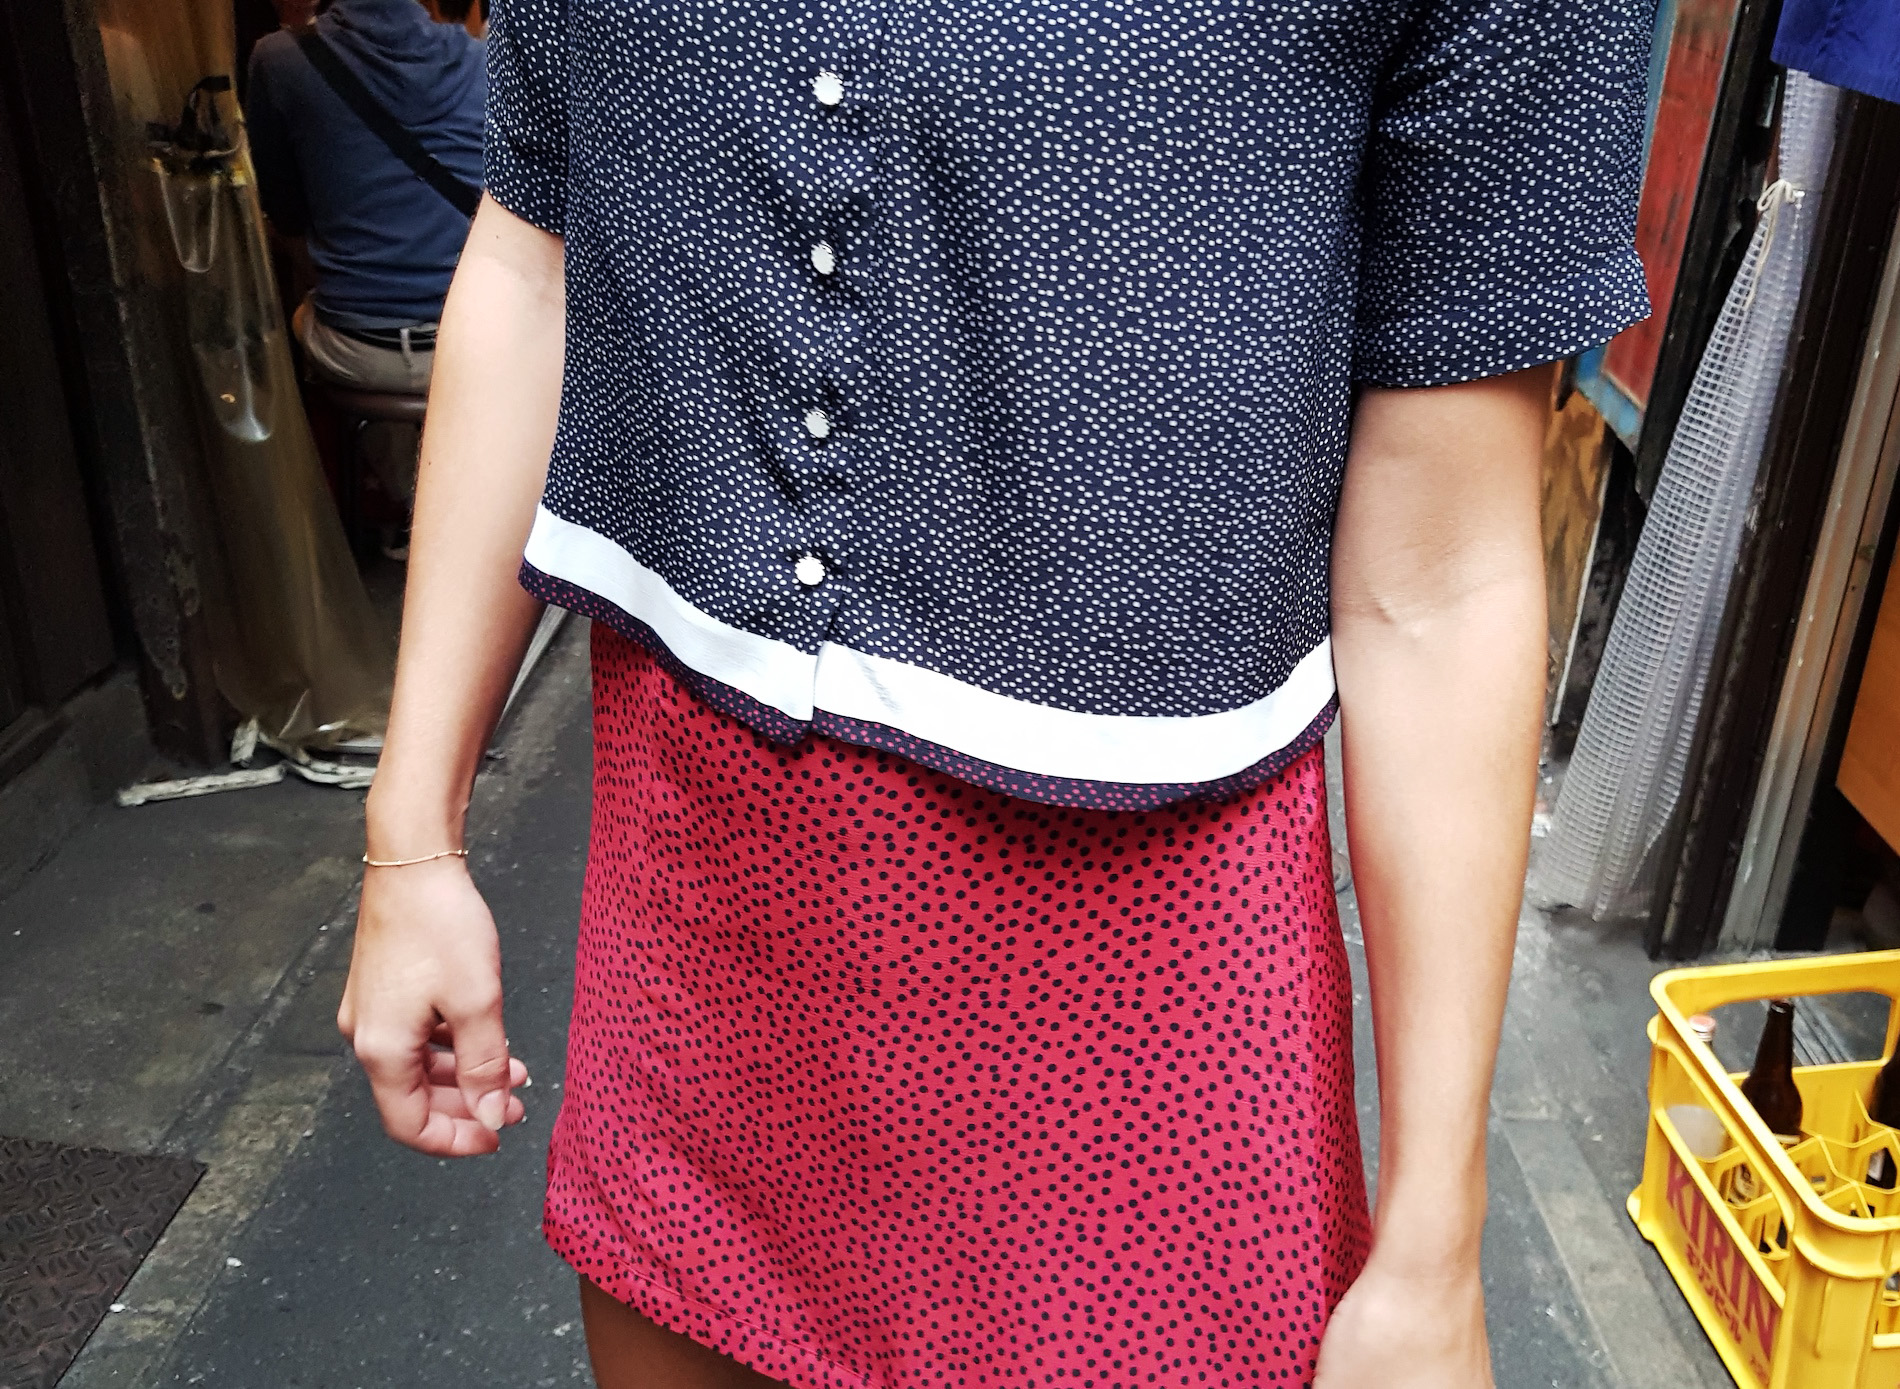
this one from 2017, with 2 simplifications: no slits at the sides, and I didn't have the patience to do button holes so I did a faux button-up instead.
Tutorials take a lot of time & effort to create, and I choose to make mine available for free. If you enjoy this guide, you can support me with a donation that feels right for you, here.
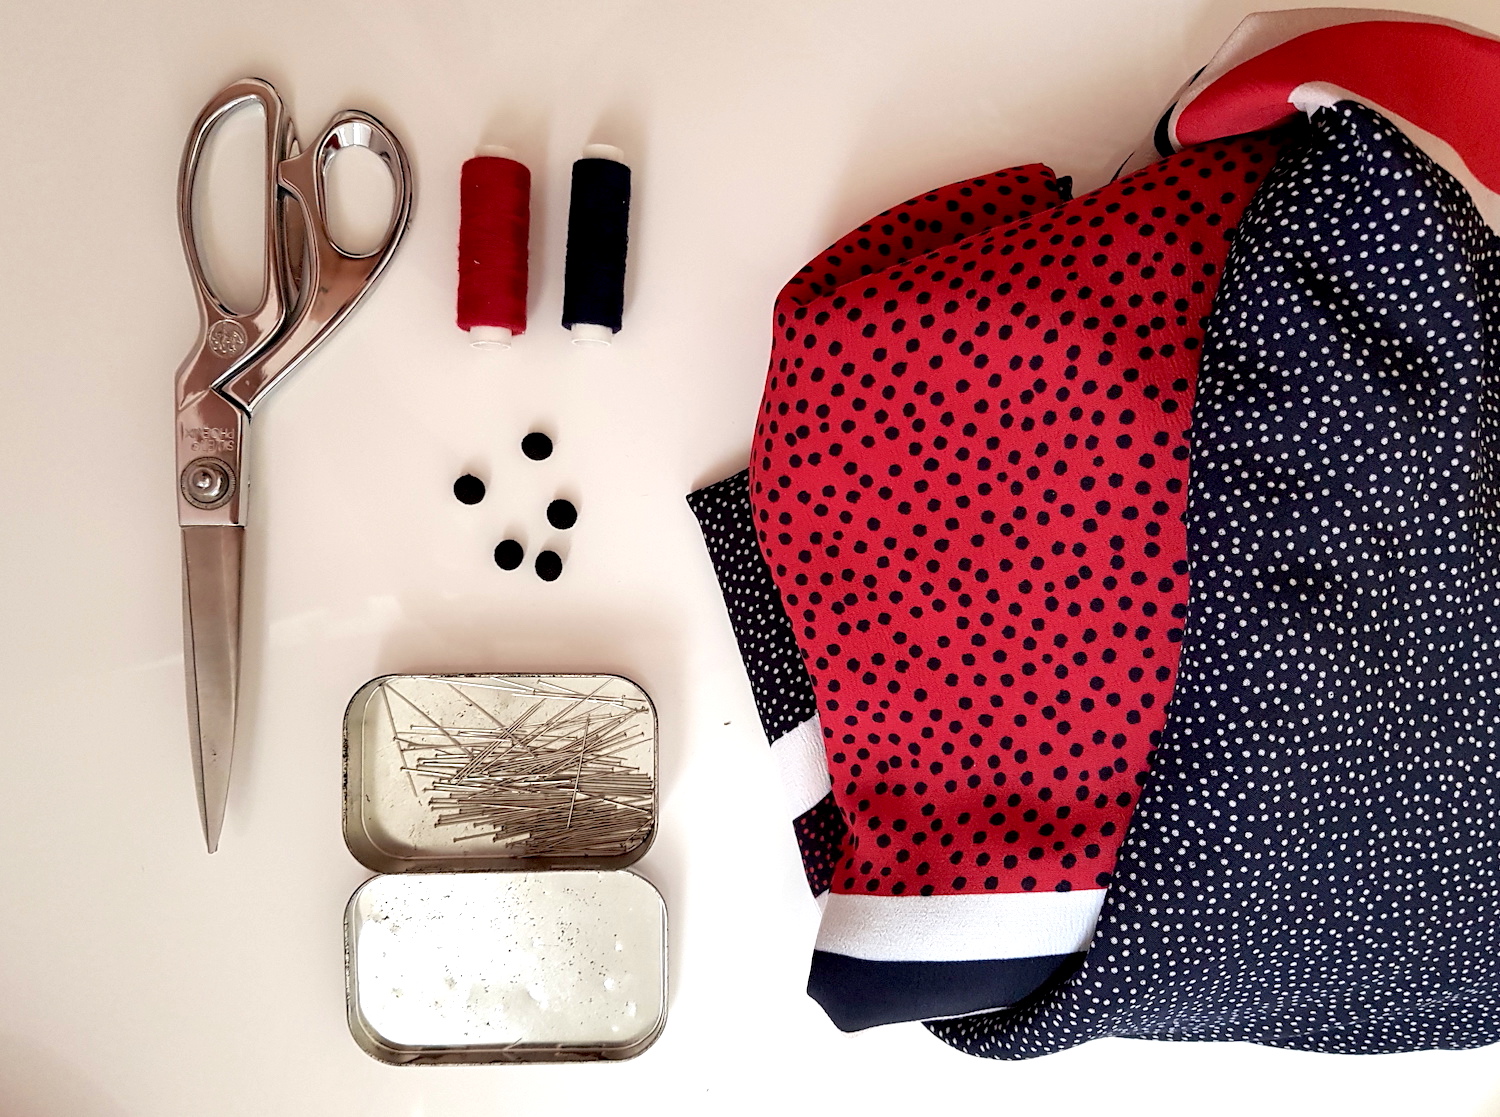
TOOLS:
Flowy fabric (I used a scarf print viscose where I cut the skirt from red only, and the top with a stripe at the bottom) | Thread & Sewing machine | Pins | Scissors | Buttons (for the top, I ended up using white ones instead of the black in the photo)
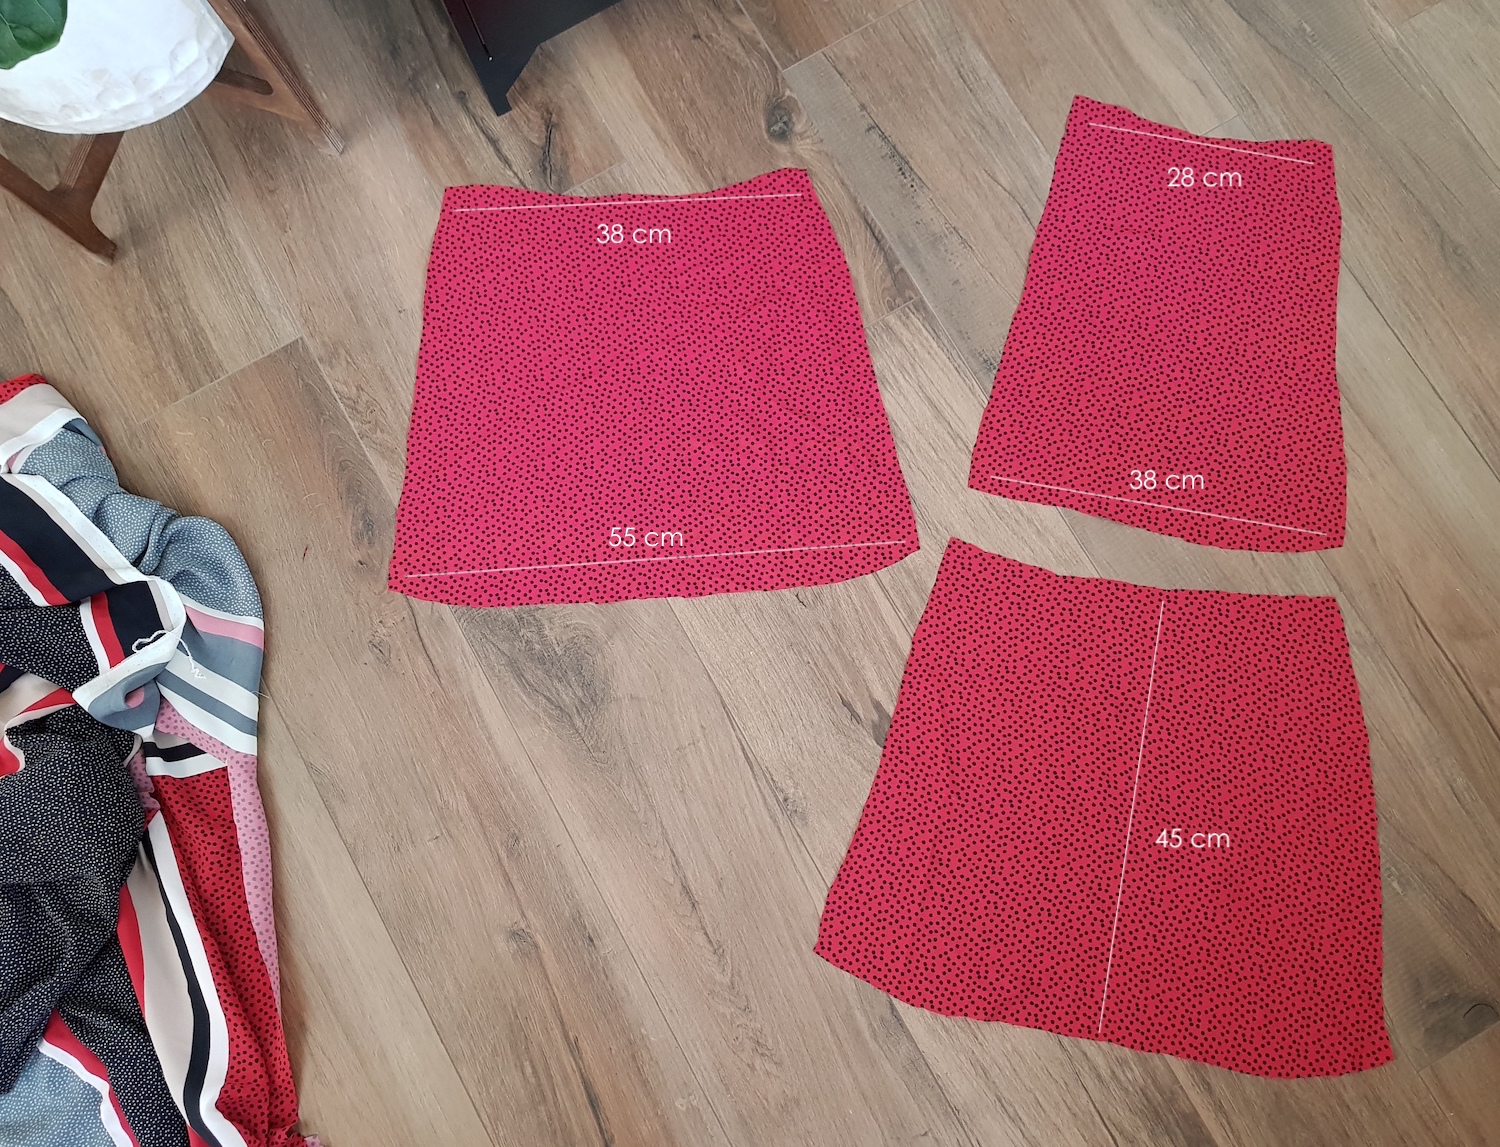
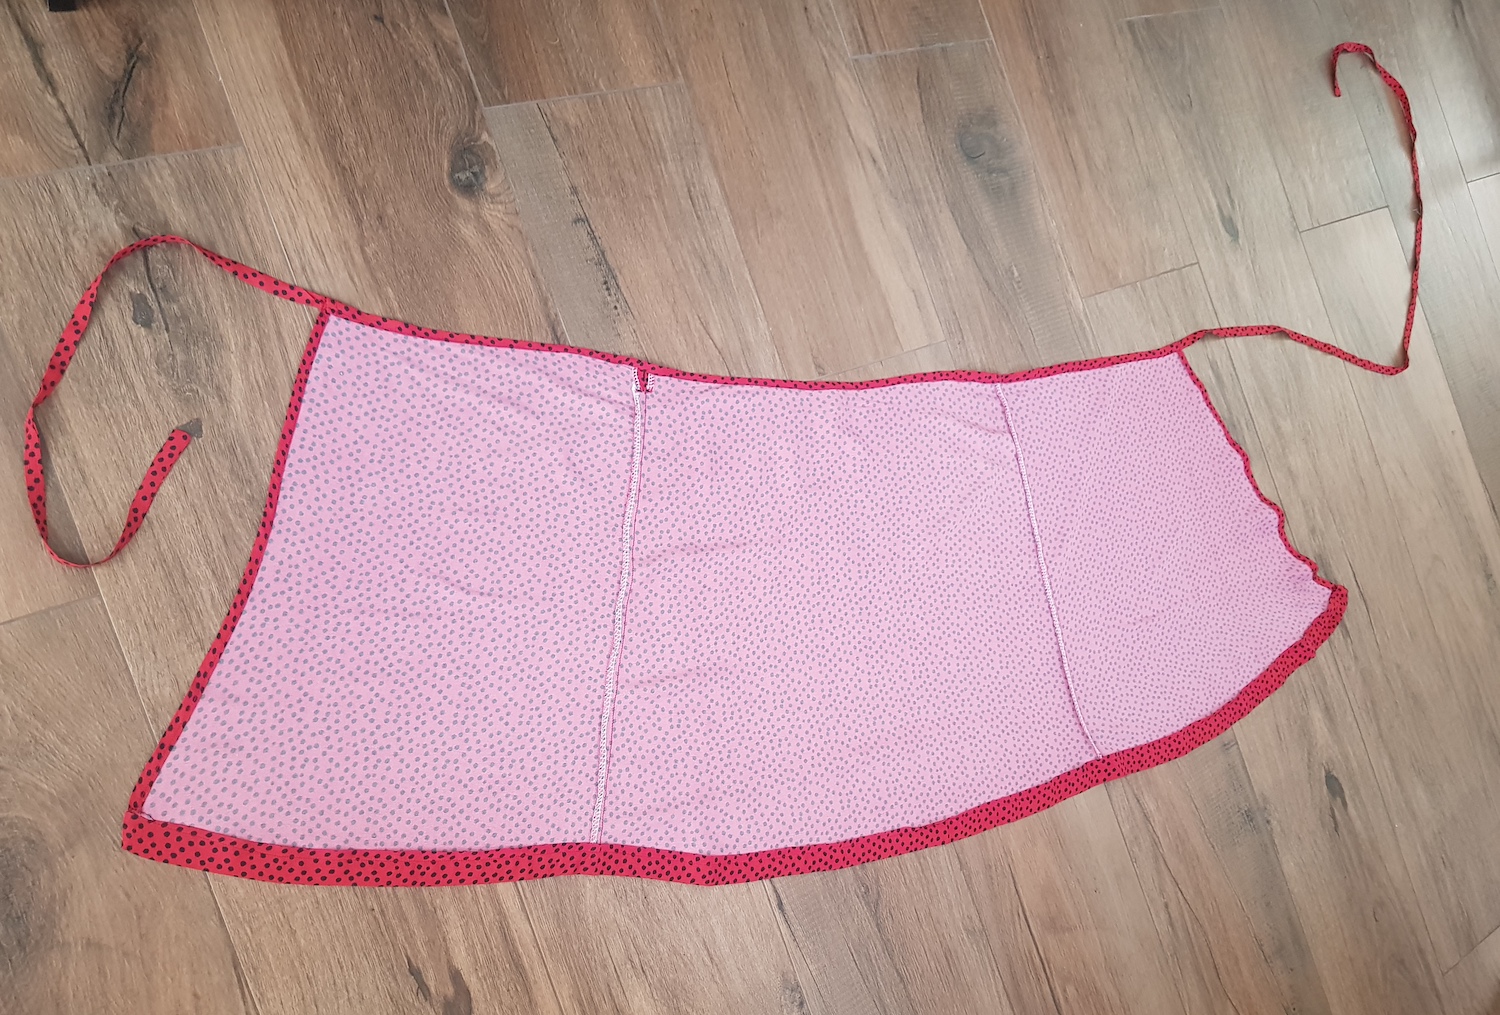
I. Cut pieces with measurements below (these will make a skirt that fits S-M, or US4-8/EU36-40 (of course adjusting the length as require). I adjusted the size at step (btw the pieces look all squiggly but it's because of the viscose being impossible to lay down symmetrically after cutting).
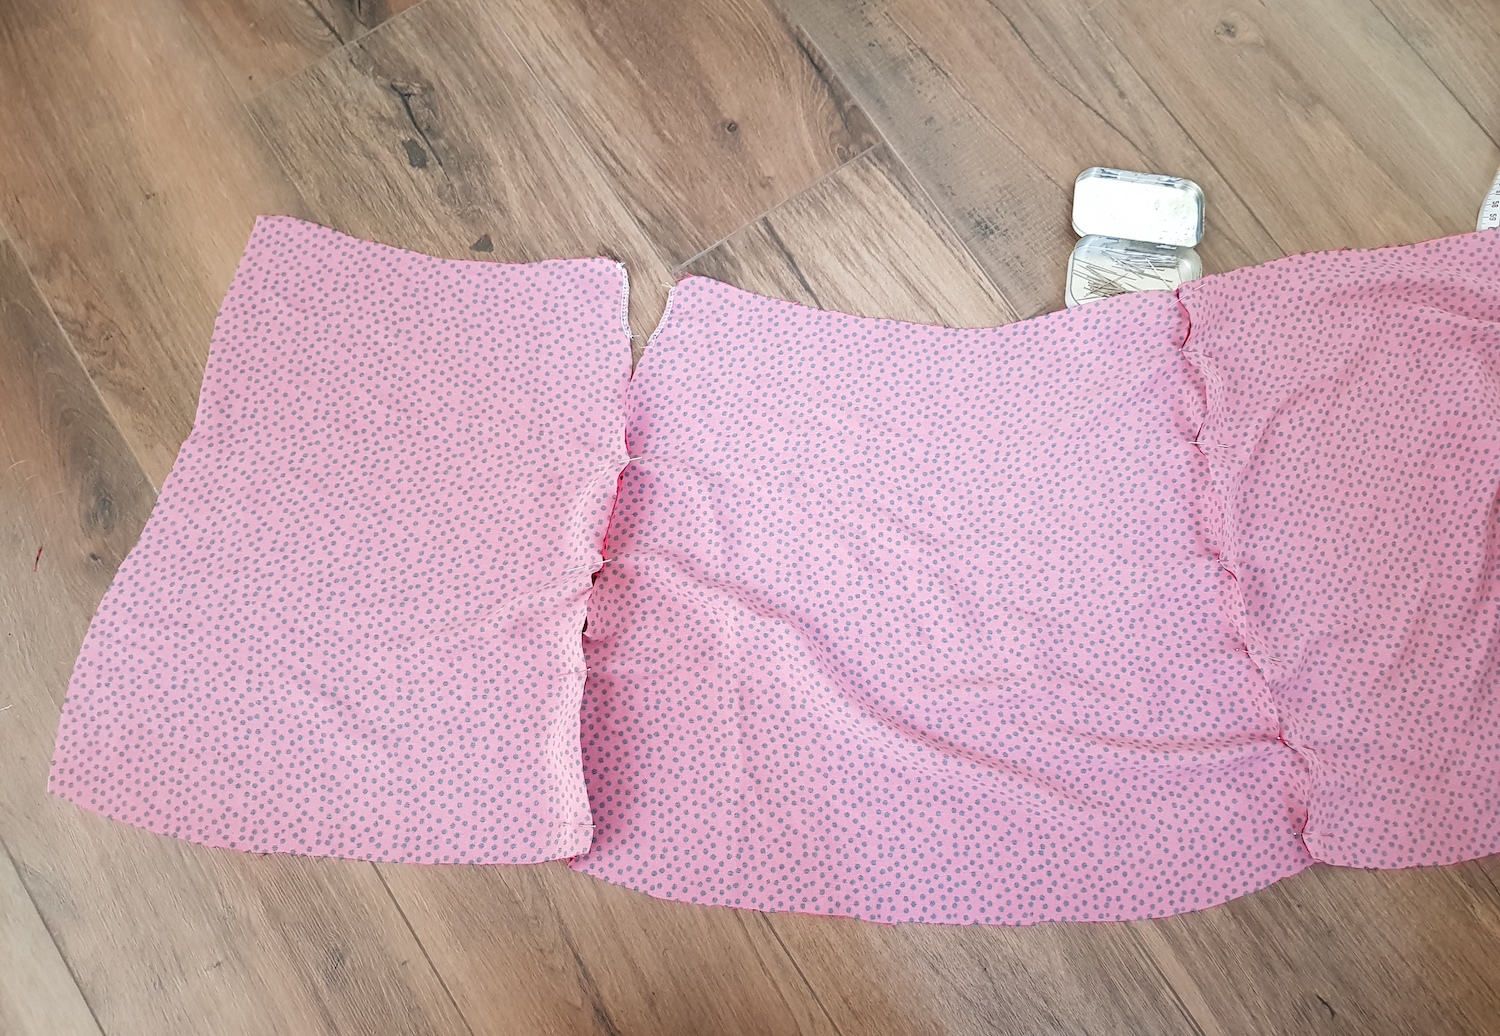
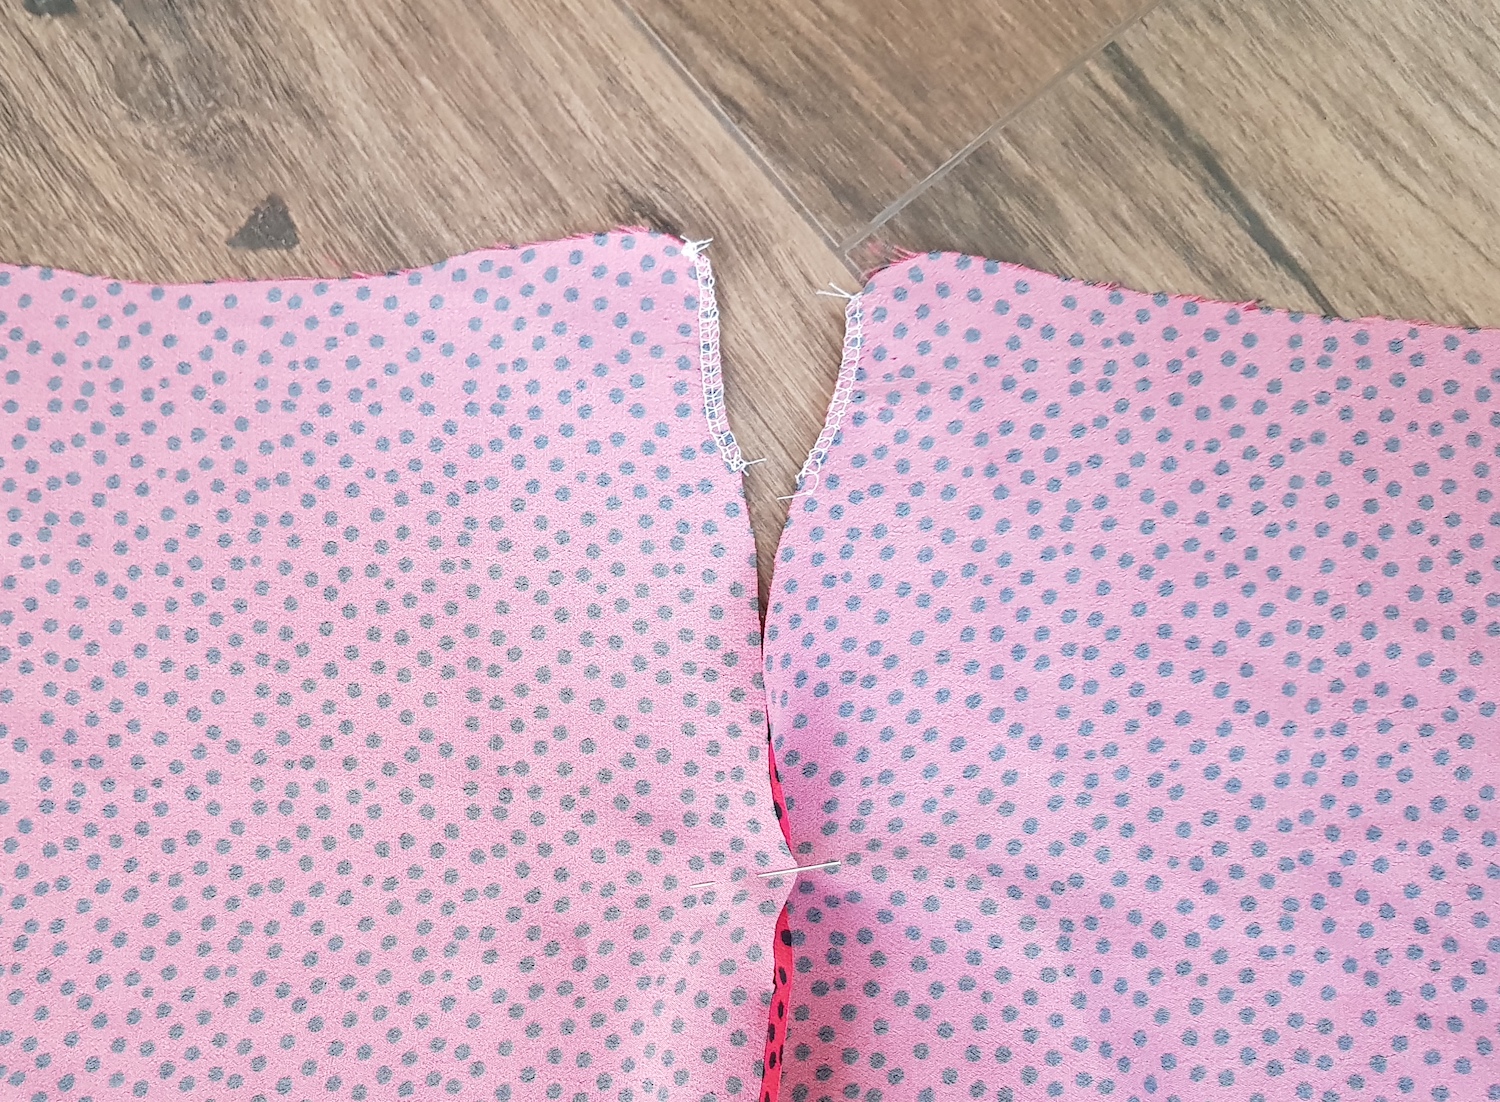
II. I pinned all the pieces together, after overlocking the edges of the narrow piece and the middle piece a few cm from the top down.
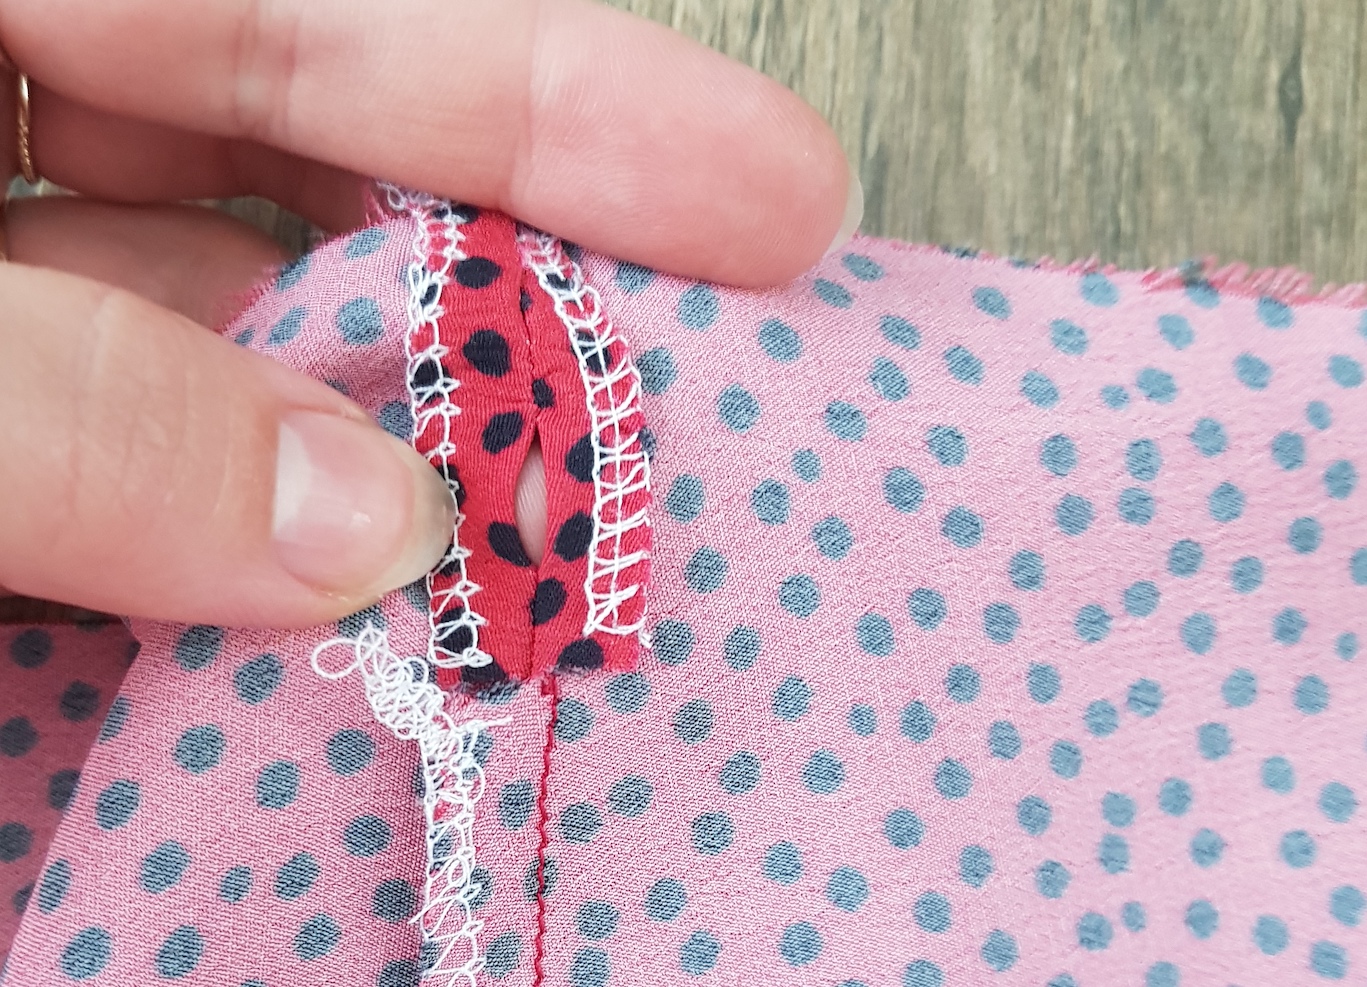
Here's a close up of that spot:
When sewing I only stitched a couple cm down from the waistline, left a 1.5 cm gap, and then continued the stitch down. Then I had this. I wrapped the skirt around myself and clipped off the excess:
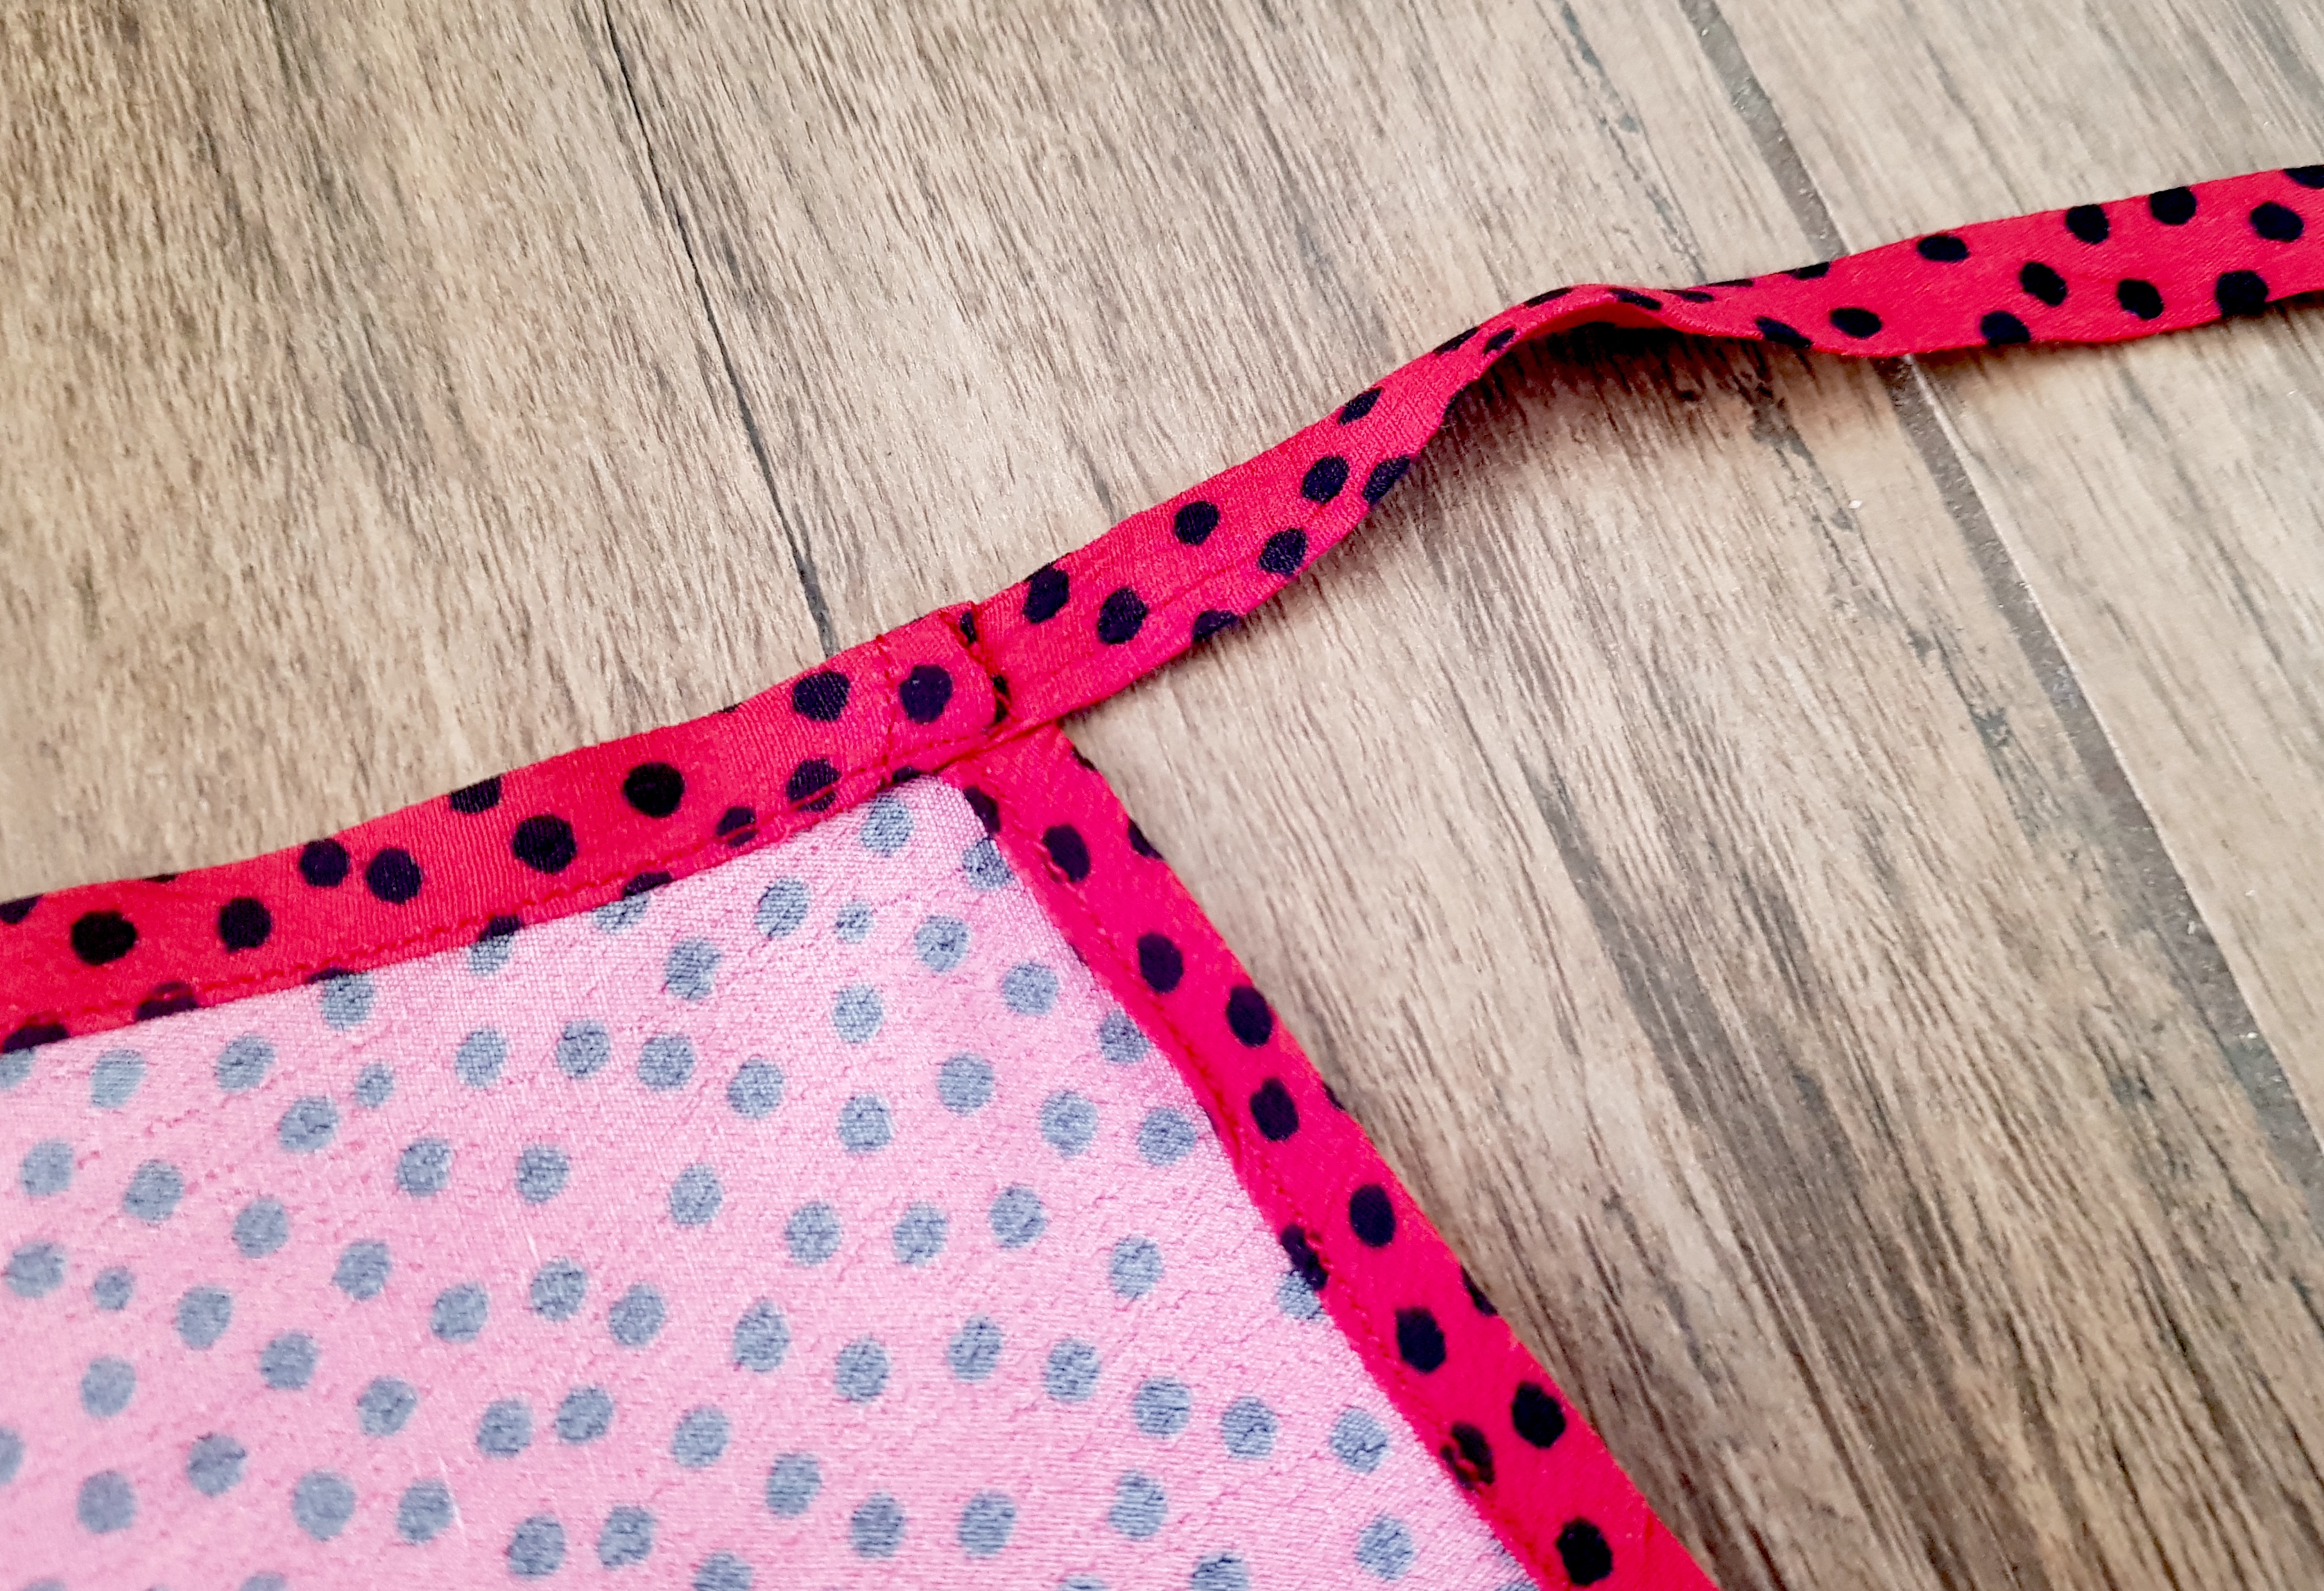
III. I finished the seam allowances with my serger, and pressed the bit with the gap in the stitch open, hand-sewing the sides down so they don't get in the way:
IV. Then I made two straps for the belt. One about 55 cm long, and another double that.
Here's how I made straps.
V. .. And attached the to the skirt, under a double fold I did at to finish the waistline.
Note that the short strap needs to be at the end closer to the side seam with the gap, that way the skirt wraps and closes properly.
And here's a photo of the finished top - I blind stitched the button bands together and then sewed on the buttons. And I swear you can't tell they aren't real buttons.
Last photos before that evening turned into a Japanese whisky rampage... :)
xo,
Julia


such a cute set! i've loved following along with your makes. would you consider doing a hand-sewing how-to post, or sharing any other tutorials that you have used to figure that out? mine always looks so scrappy :(
ReplyDeleteHi!! thank you:) I definitely can post a tutorial on that, I'll remember to document properly in an upcoming project!
Delete