

I cut the top pieces big for me to start with to be safe, since I knew I was doing a shirred back and wasn't sure how intensely this fabric would get smocked. So you could use my measurements to make a top between EU36/US4 (my size) up to EU38/US6, or maybe even EU40/US8 (as long as you're not super curvy). For a larger bust, I would adjust by making the tied up part of the top taller, and with a deeper dart.
For this project I used this incredible stretch crepe from Minerva (I don't usually work with poly-mix materials but I loved the texture on this so much that I made an exception).
Tutorials take a lot of time & effort to create, and I choose to make mine available for free. If you enjoy this guide, you can support me with a donation that feels right for you, here.
TOOLS:
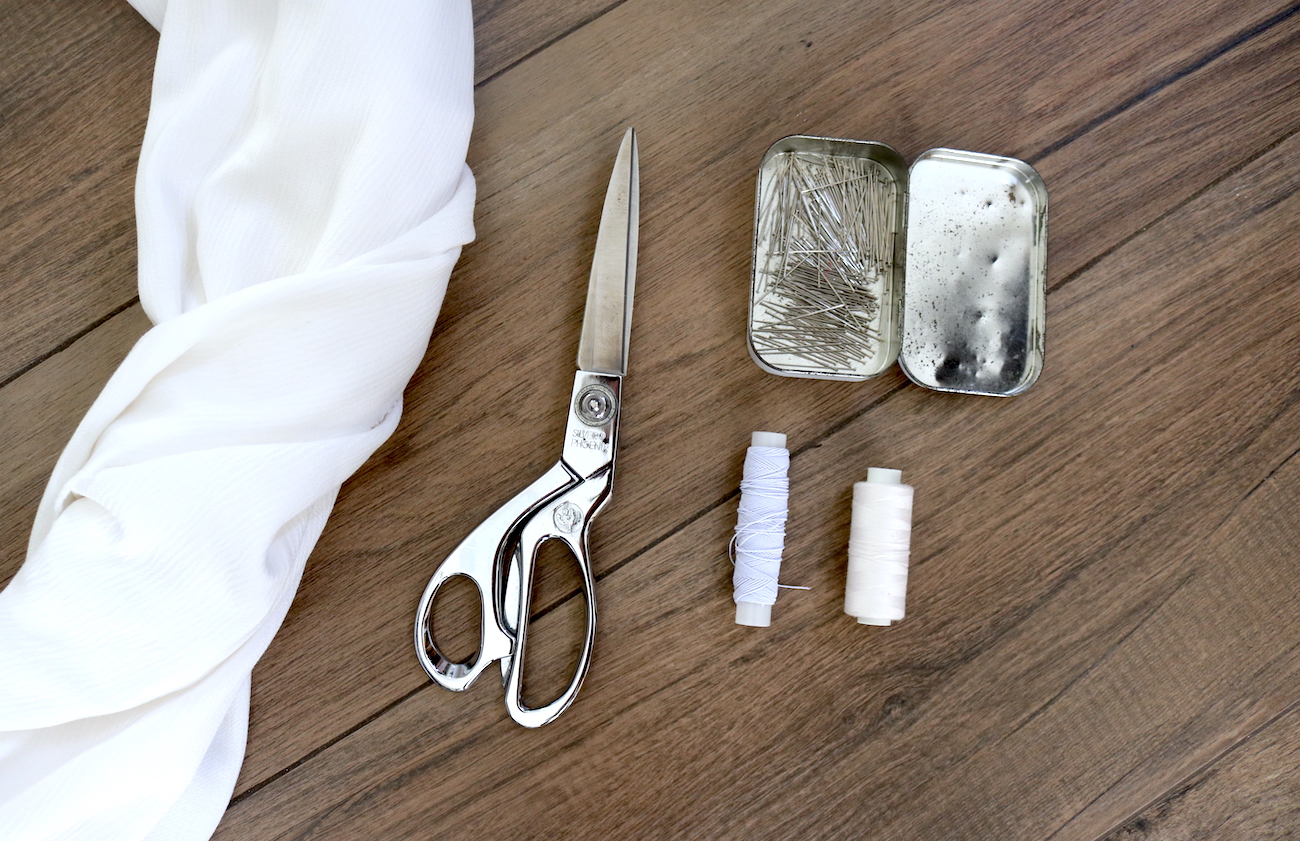
Fabric, 2 m (150 cm width) - or more if you want a full skirt | Scissors | Regular thread & elastic shirring thread | Pins | Sewing machine (& serger if you have)
I. Here are the very bizarre-looking top pieces I cut. You need:
- Four of the bird head-shaped pieces (one for each side of the top, cut in mirror images + their linings)
- Two each (total 4) of the small rectangles on the second row
- One larger rectangle from second row
- 2 of the long rectangle on bottom row

II. First I did my back piece, starting with the large rectangle piece. I did a double fold at one long edge, and then shirred the whole piece. Here's a quick video on shirring if you've never tried it before. No need to mark the fabric to sew it, just sew the first line aligning your presser foot with the fabric edge, and continue going down, each time alining the presser foot edge with the previous stitch.


At this point you could stop and you'd have a cute top!


Here was my assembled skirt:

VI. .. Which I pinned onto the top, right sides facing, sewed & finished the seam with my serger.

VII. Here's my favourite way of attaching straps: First sew the strap so its end points upwards on the reverse (and making sure the strap is not twisted), then fold the strap up over itself, and secure either with a machine stitch or by hand sewing. Especially in this case with the shirring, I could hide the lower stitch in the smocking stitch neatly.

After that all that was left was hemming the skirt!

Oh yeah I did add a stitch on the right side on the side pieces, to keep the seam allowance pointing upwards (since I didn't line the skirt part, I didn't want it showing through).

This material is so unbelievably comfortable, I wish you could touch it. Pure joy to wear.


xo,
Julia


0 comments:
Post a Comment
I would love to hear what you think and learn about your DIY adventures! If you use one of my tutorials, tag me on social @contour_affair, I'd love to see!