

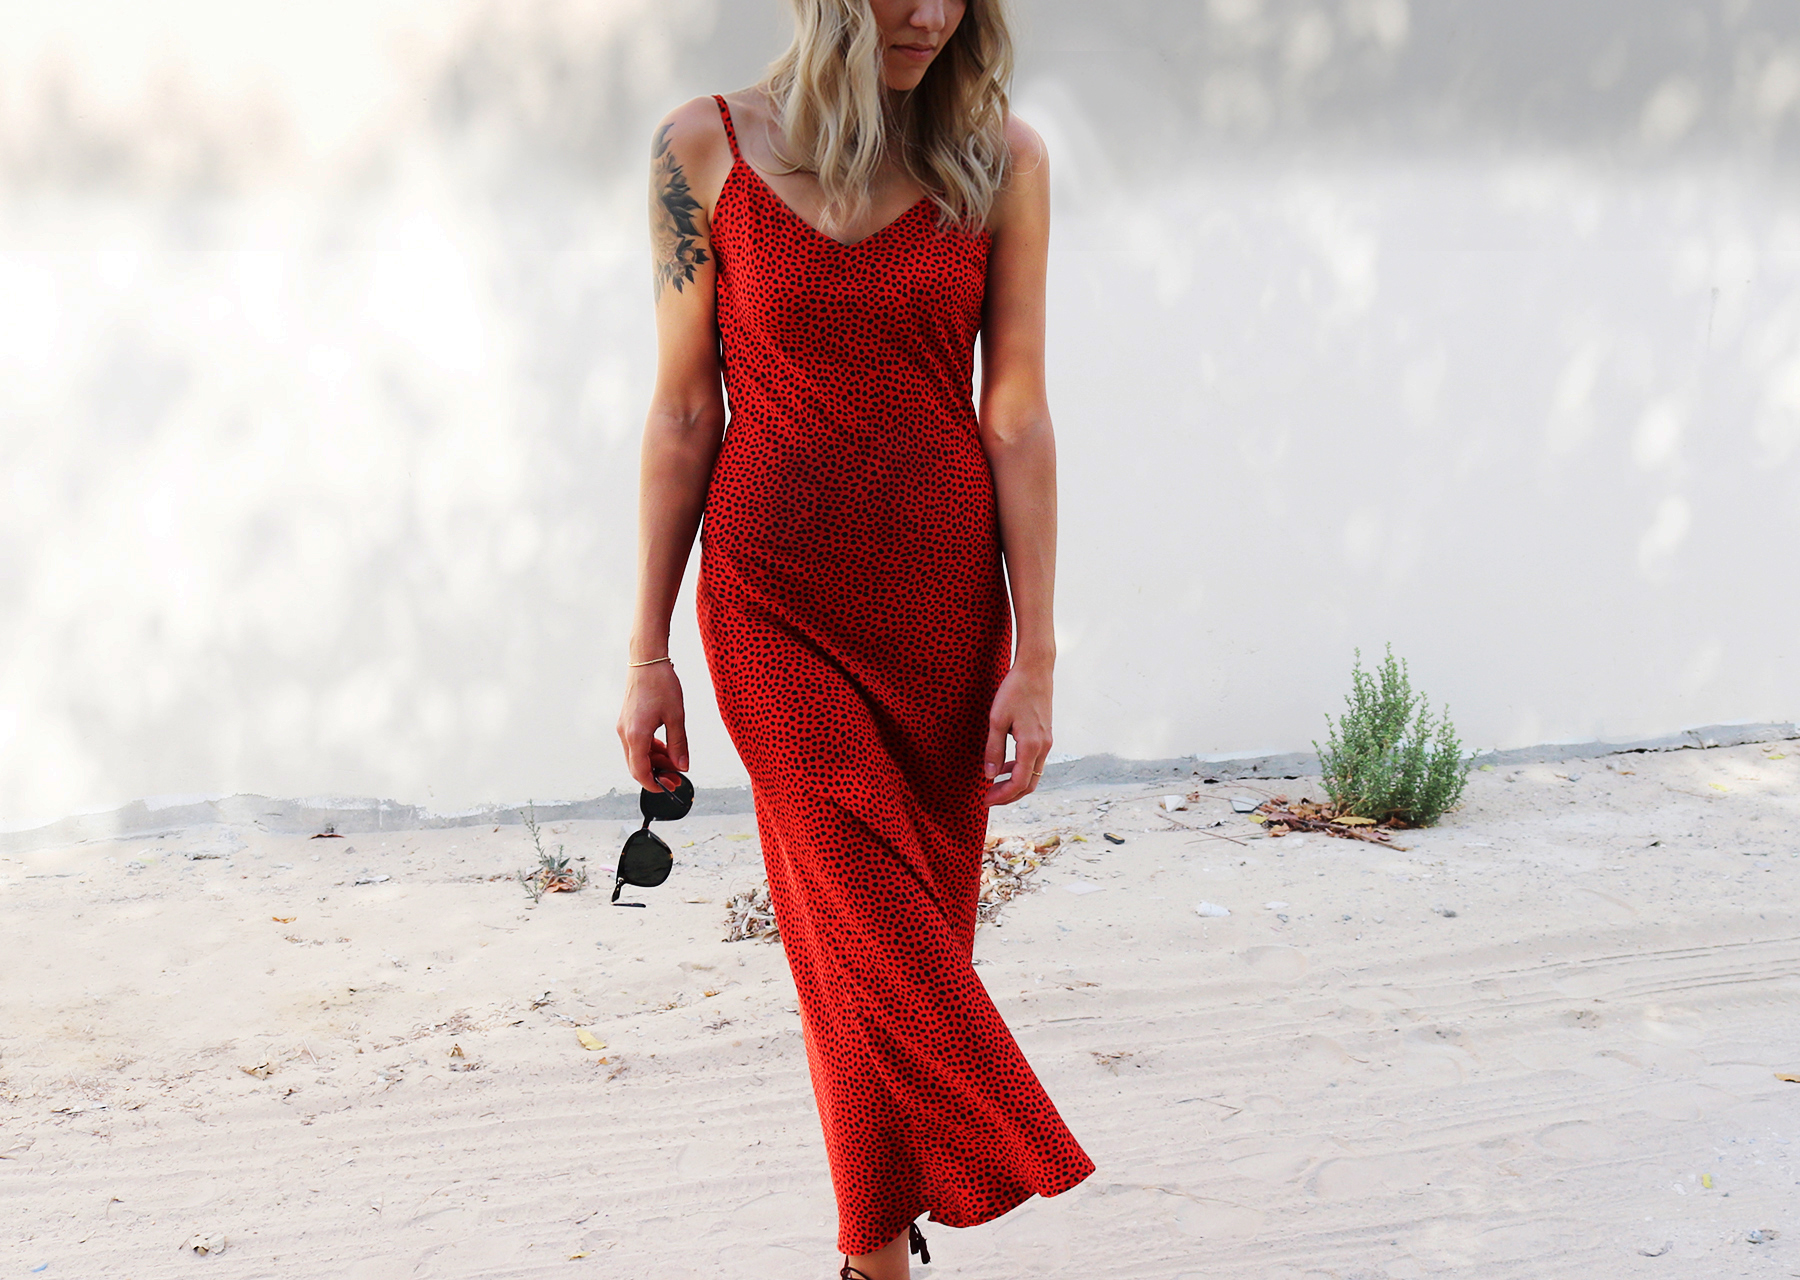
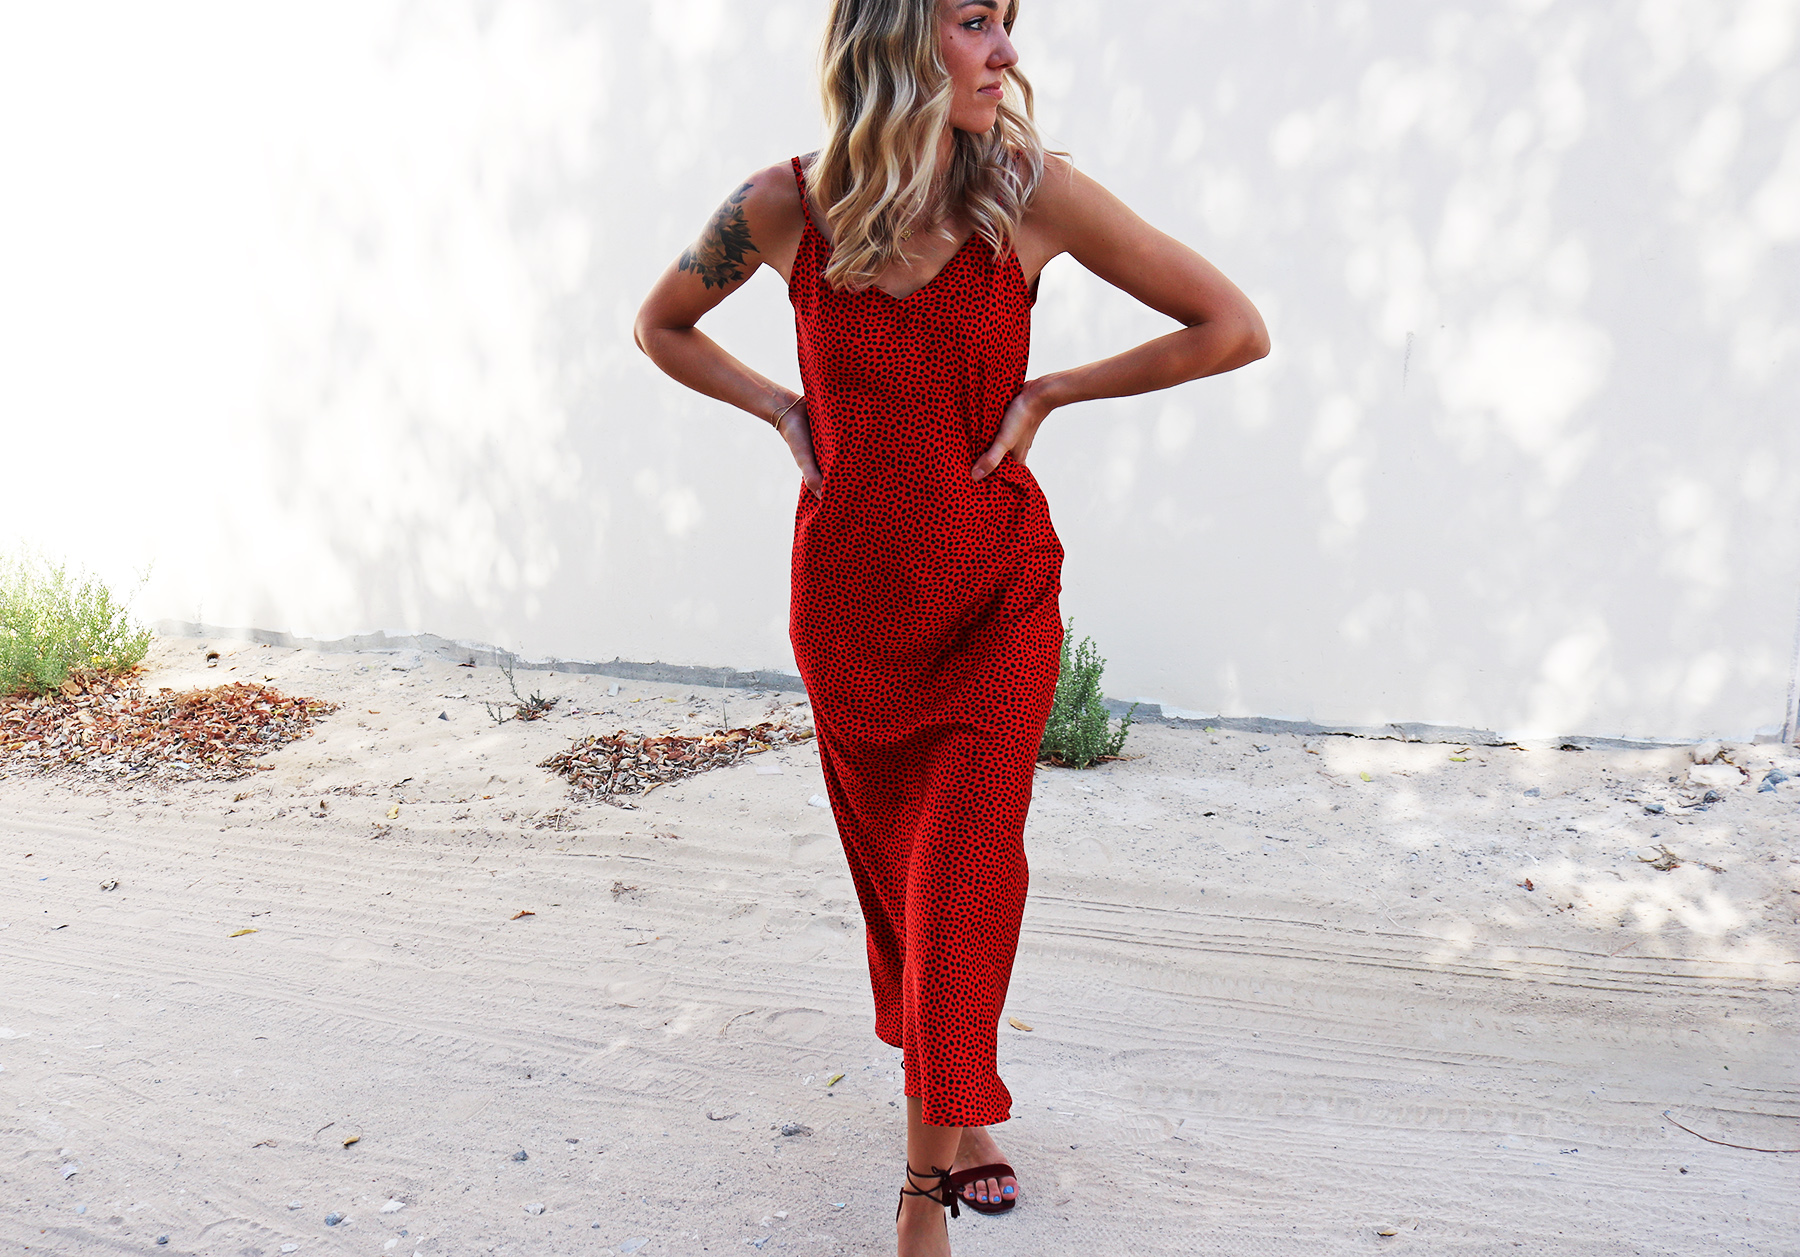
This is pt. II to the silk slip skirt from last year. Over lockdowns/lots of home time I've come to realize slip dresses are among my most worn pieces of clothing. I found this delicious red silky fabric from a last chance bin at a fabric store in Finland, composition unknown but it has a nice drape to it, and was just enough to get a dress out of.
Tutorials take a lot of time & effort to create, and I choose to make mine available for free. If you enjoy this guide, you can support me with a donation that feels right for you, here.
TOOLS:
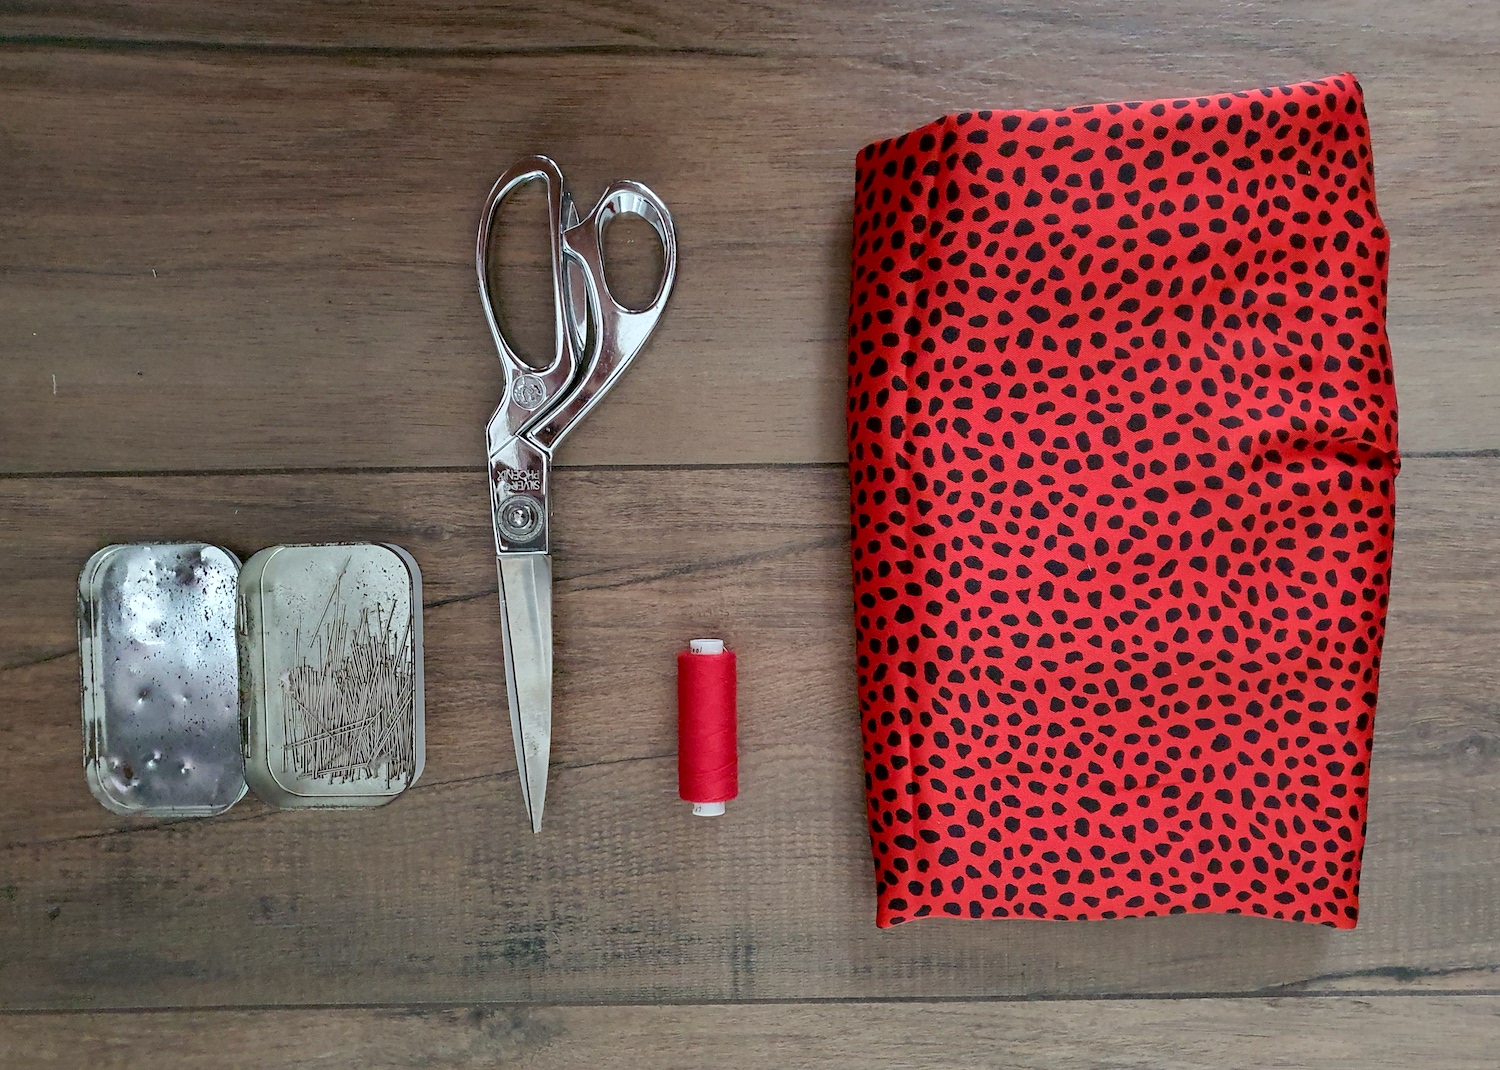
Fabric (silk, or similar flowy material) | Scissors | Pins | Thread & Sewing machine | If you have, bias tape maker
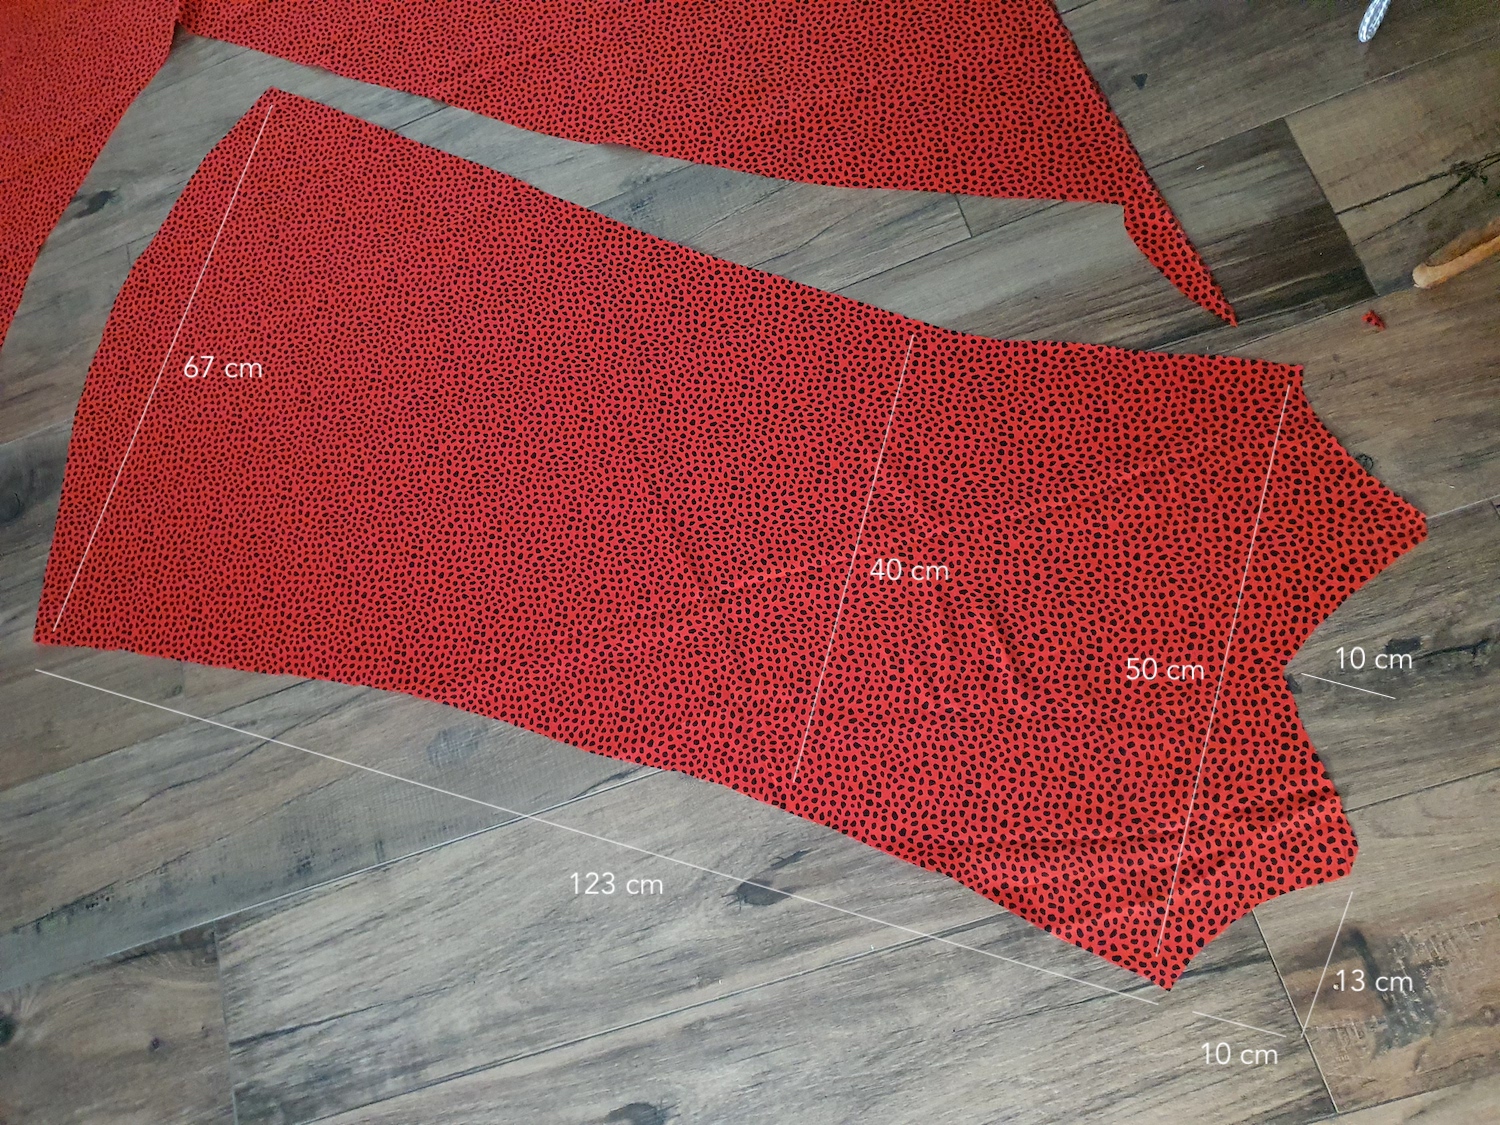
I. Here's my cut front piece, back piece was identical except I cut a deeper V at the neckline there (about 17 cm down from the shoulder strap point). These measurements got me very close to a perfect fit for my EU36/US4 size (with above ankle length, I'm 174 cm tall).
II. First I pinned the sides together, wrong sides of fabric facing (as I was dong a French seam).

.. Then tried the dress on, and I was quite close to perfect fit. Just needed to take in a couple cm at both sides at the waist. NOTE: if you are doing a French seam, remember that you will still do another stitch which takes the dress in slightly further. So you want to go a bit loose at this stage. The pattern makes it a bit tricky, but if you zoom in you can see the second stitch I did to make the dress follow my waistline.
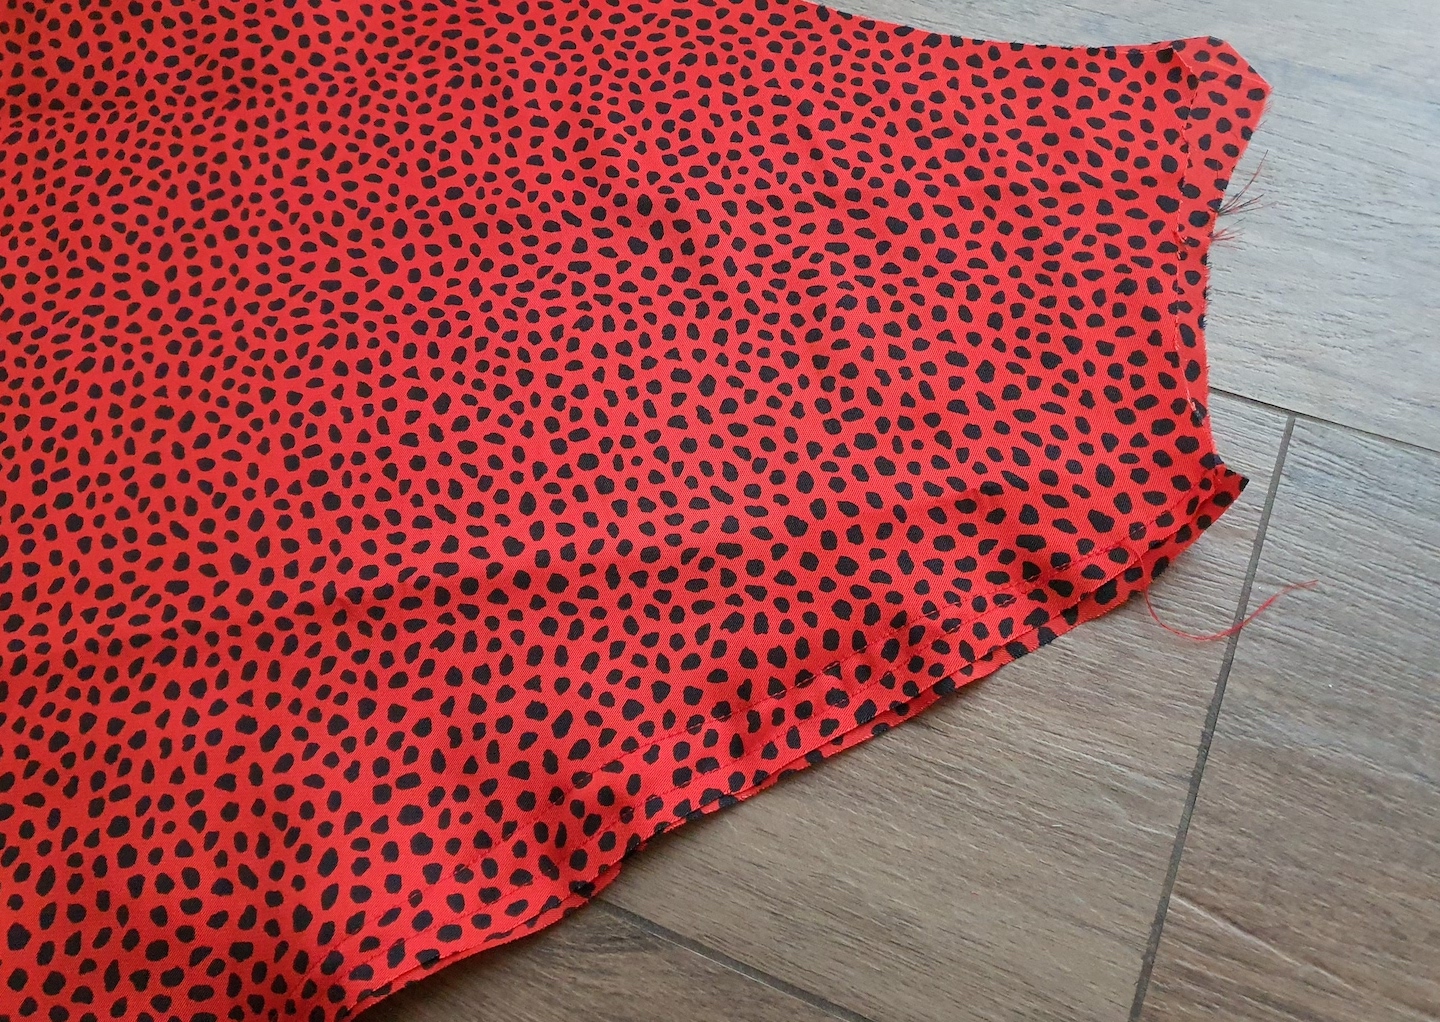
III. Next I trimmed the seam allowance to about 4 mm...

.. And then turned the dress right sides facing, pressed the seams with my iron, and sewed again to create the finished French seam. Make sure your allowance when sewing this second stitch is a couple mm more than how wide you trimmed the first one.
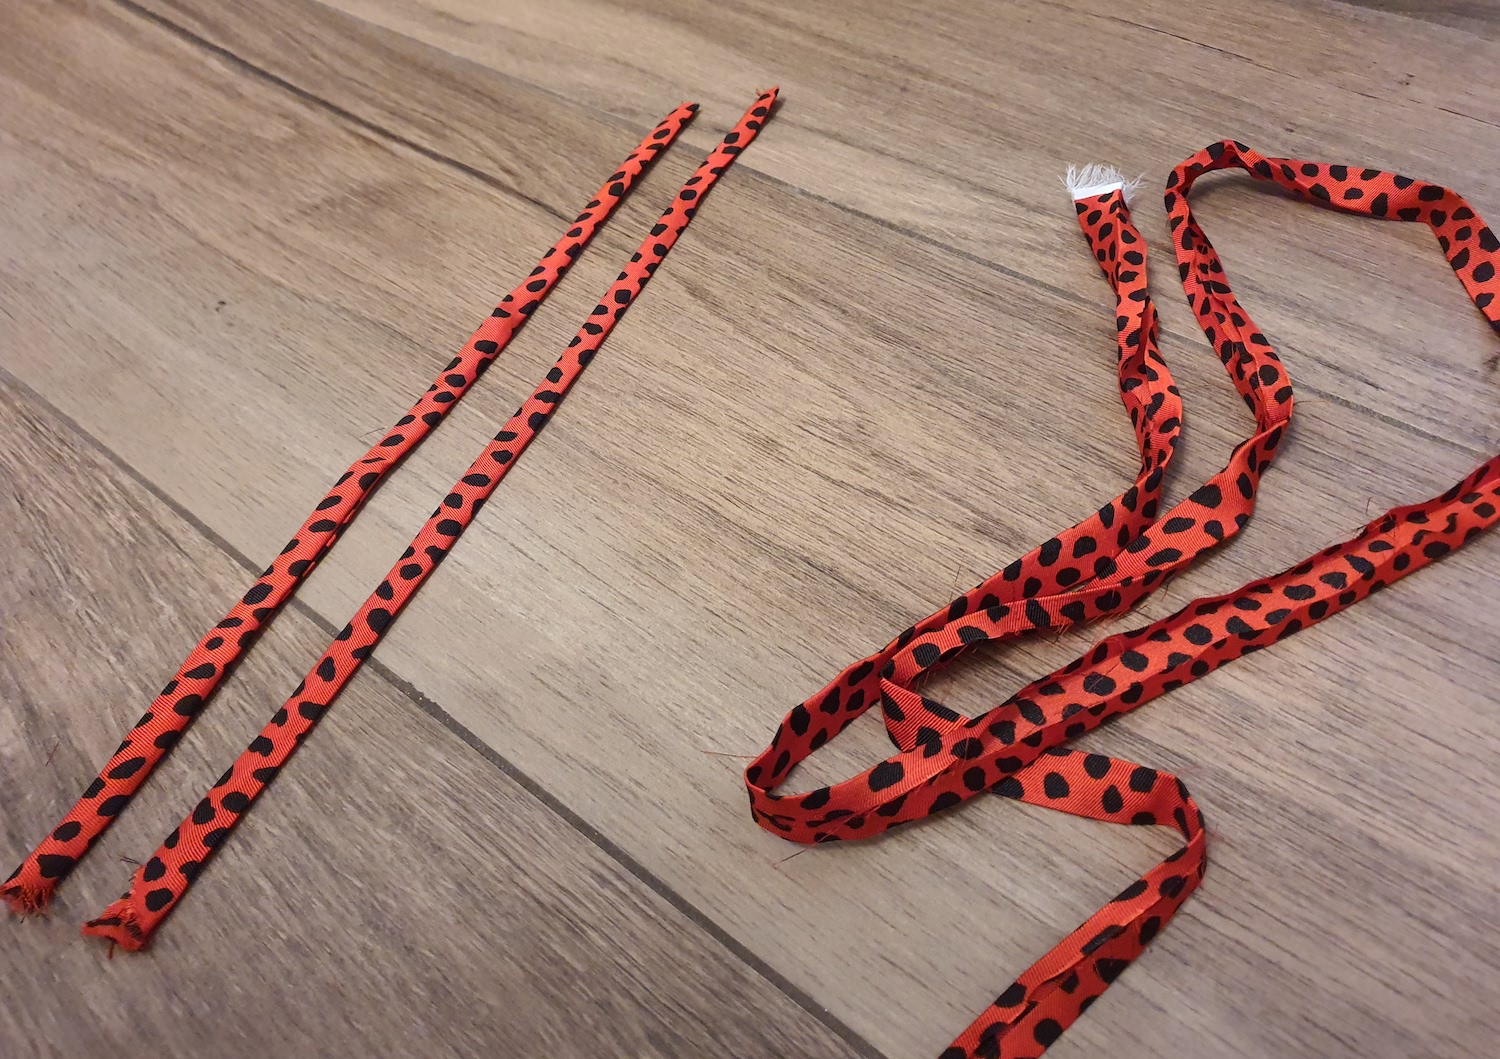
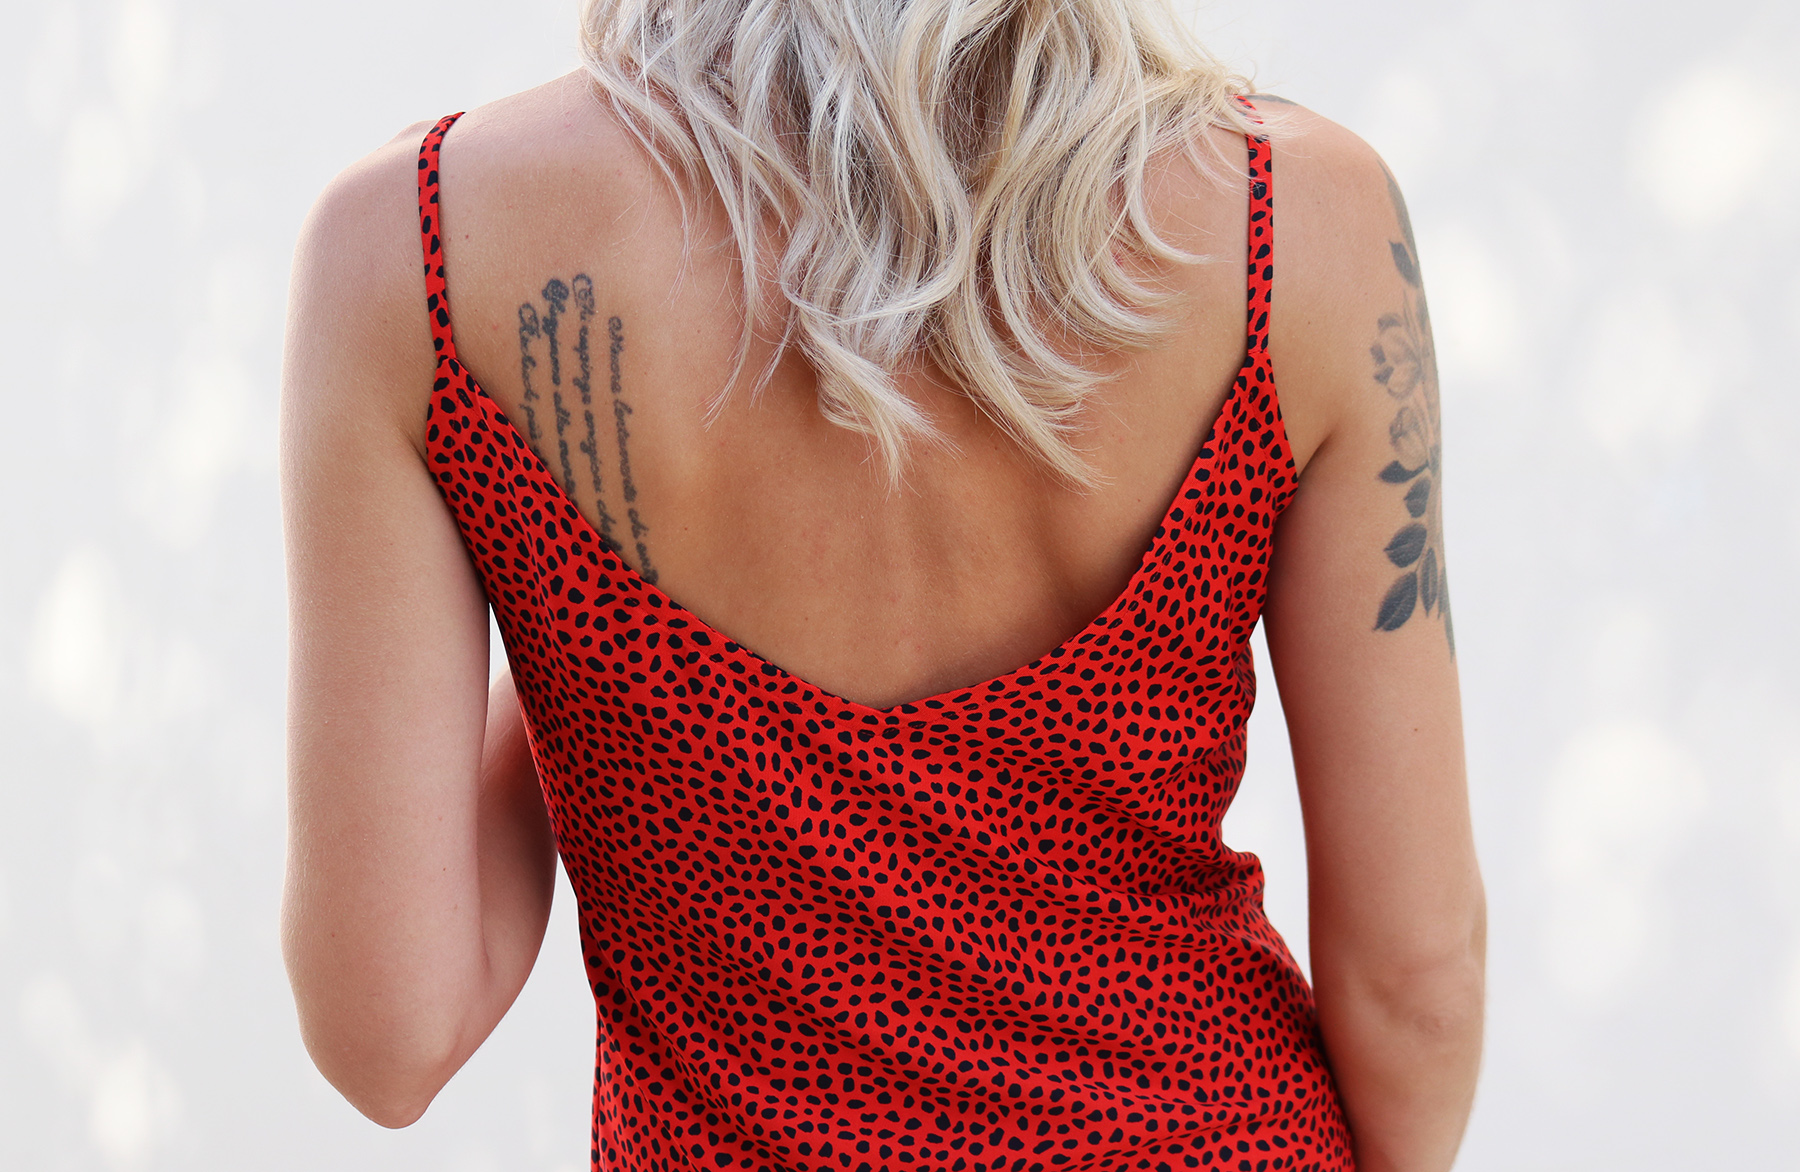
IV. On to the neckline. First I made two spaghetti straps, 30 cm each (using the good old string trick), and also made bias tape for the neckline using my bias tape maker (here's how). I needed 2 bias straps, 65 cm for the front and 75 cm for the back neckline. You could of course cut just one continuous piece, for me it was more economical to cut in 2 out of my leftover fabric.
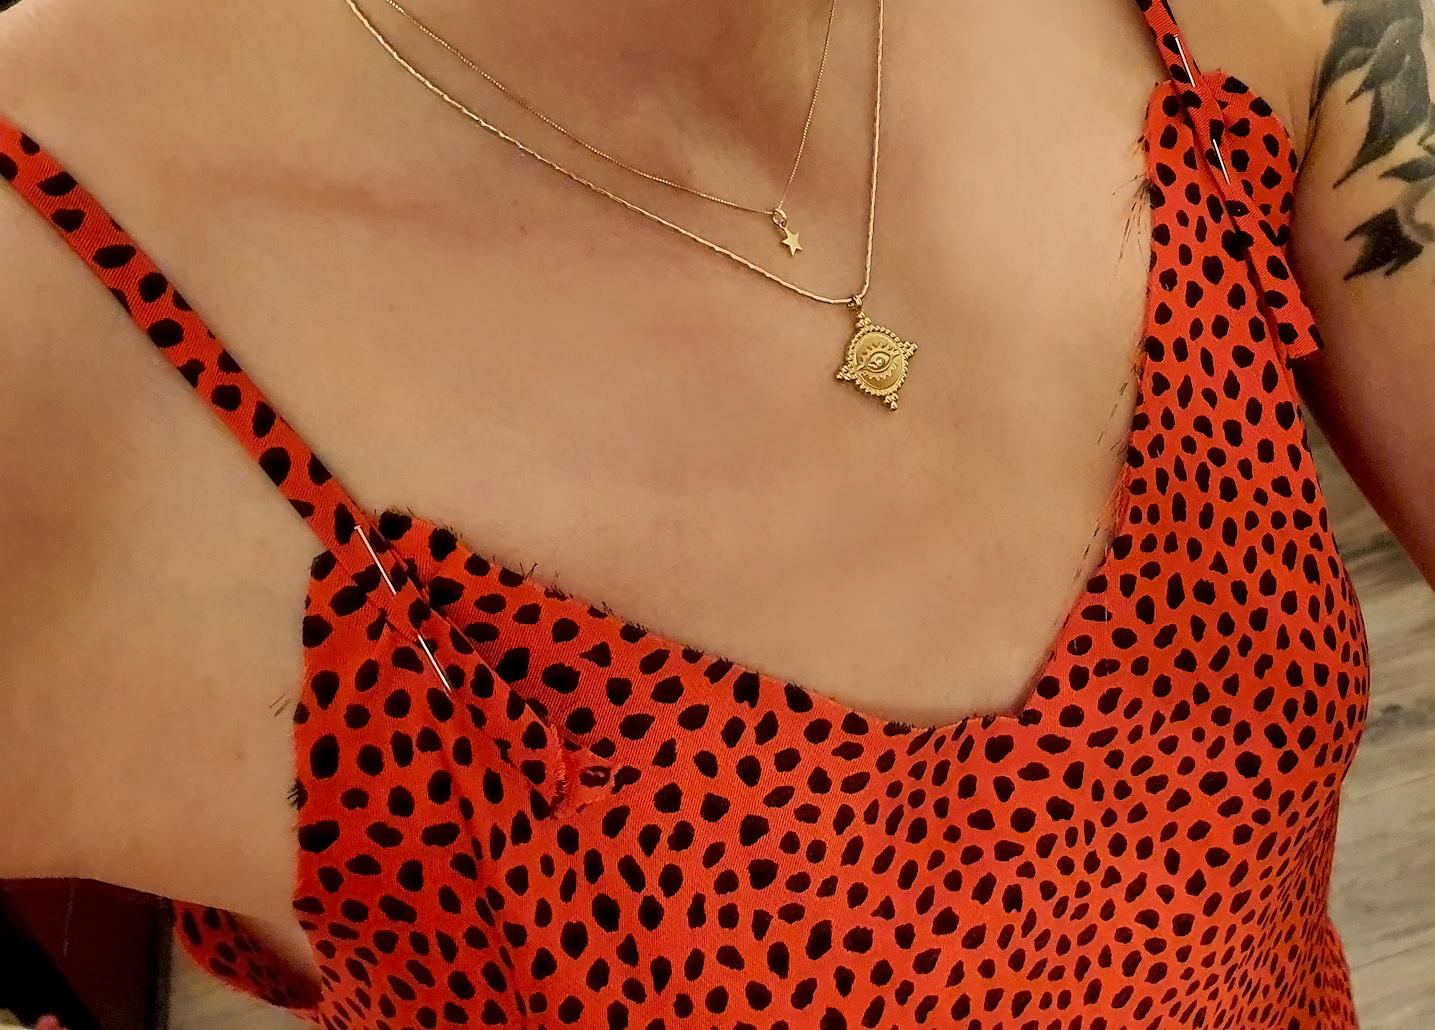
And then sewed them in place, the end of the strap pointing upwards on front and back piece:
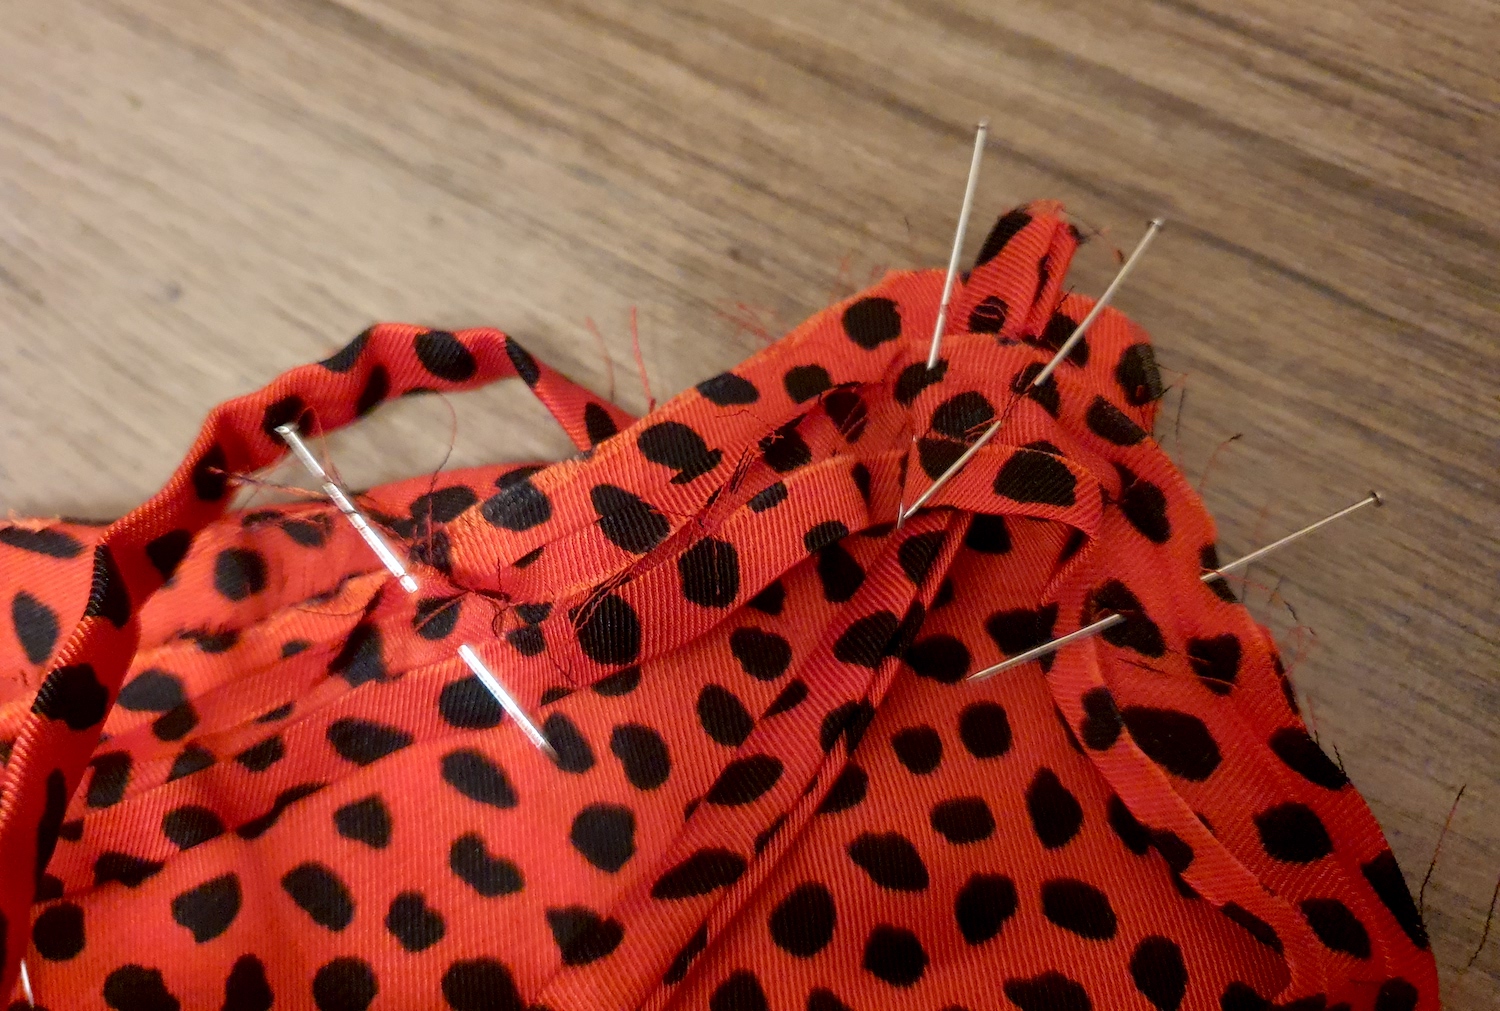
VI. As a first step to finish the neckline with the bias tape I pinned it in place. I started at the side seam, folded the bias tape over itself by 1 cm or so, and started pinning along the front piece neckline.. Until I reached the other side seam, where I folded it again onto itself. Then I took my other bias tape strip, overlapped it with the first one by 1 cm, and repeated the process to pin it to the back piece neckline.
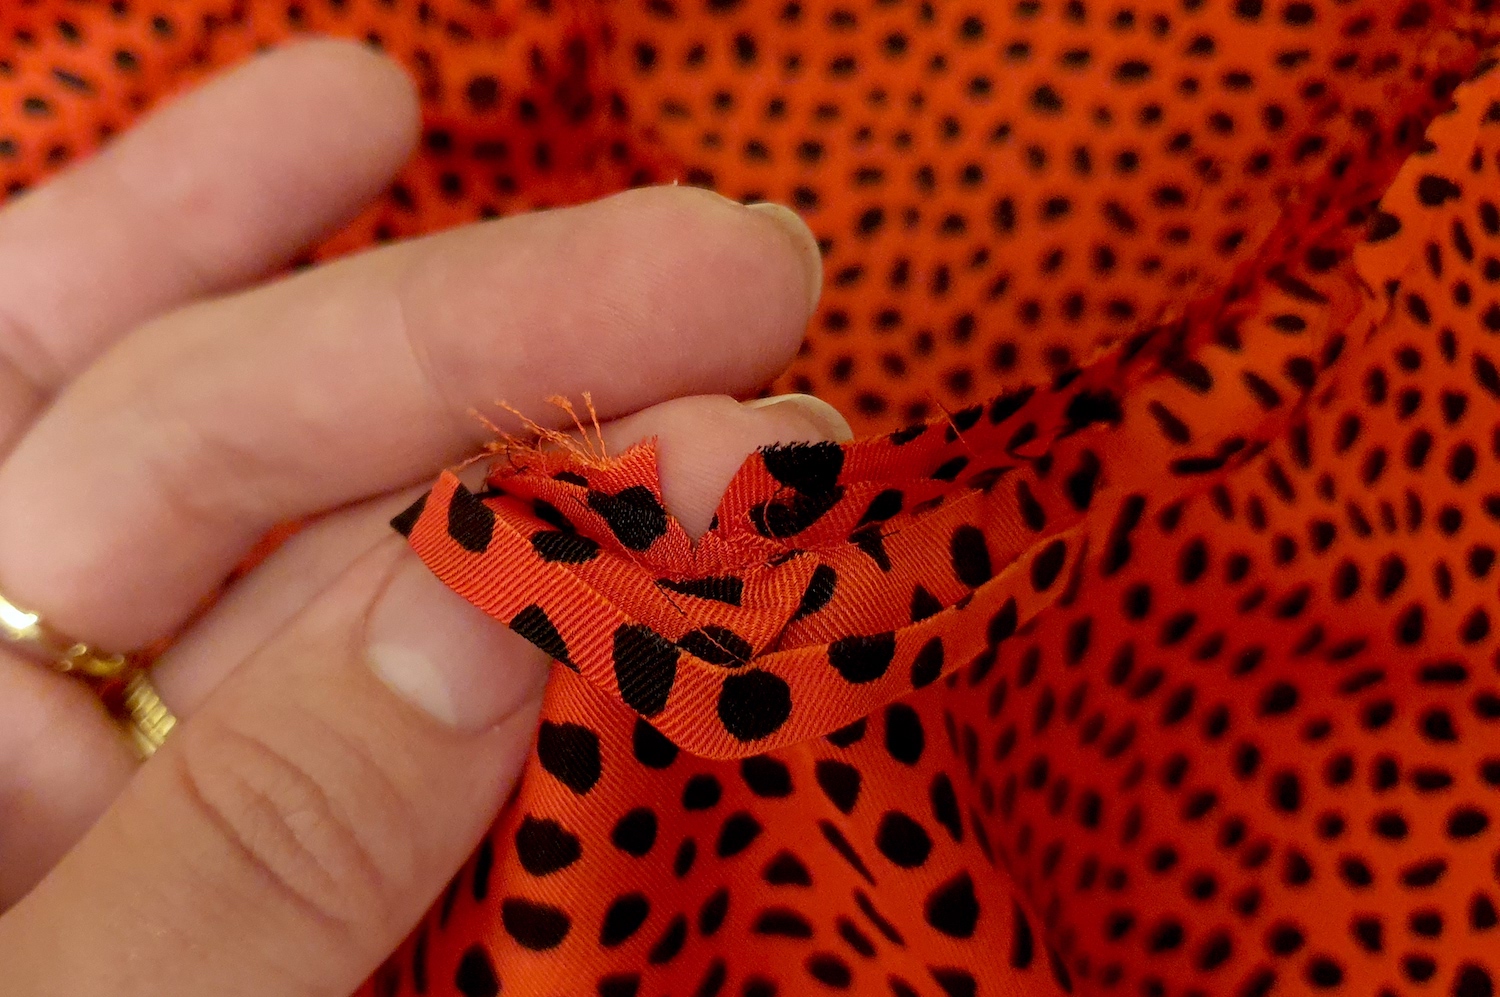
It's important to make sure at every turn (where the shoulder straps are and at the bottom of the neckline) you fold/gather the bias tape to give it an allowance to make the turn. Here are a couple of closeups of the bias tape over the shoulder strap:
With the material it was impossible to get very clear photos - here I have more detail on how to fold the bias tape at the bottom of the neckline over itself, and generally how to finish a neckline using this technique.
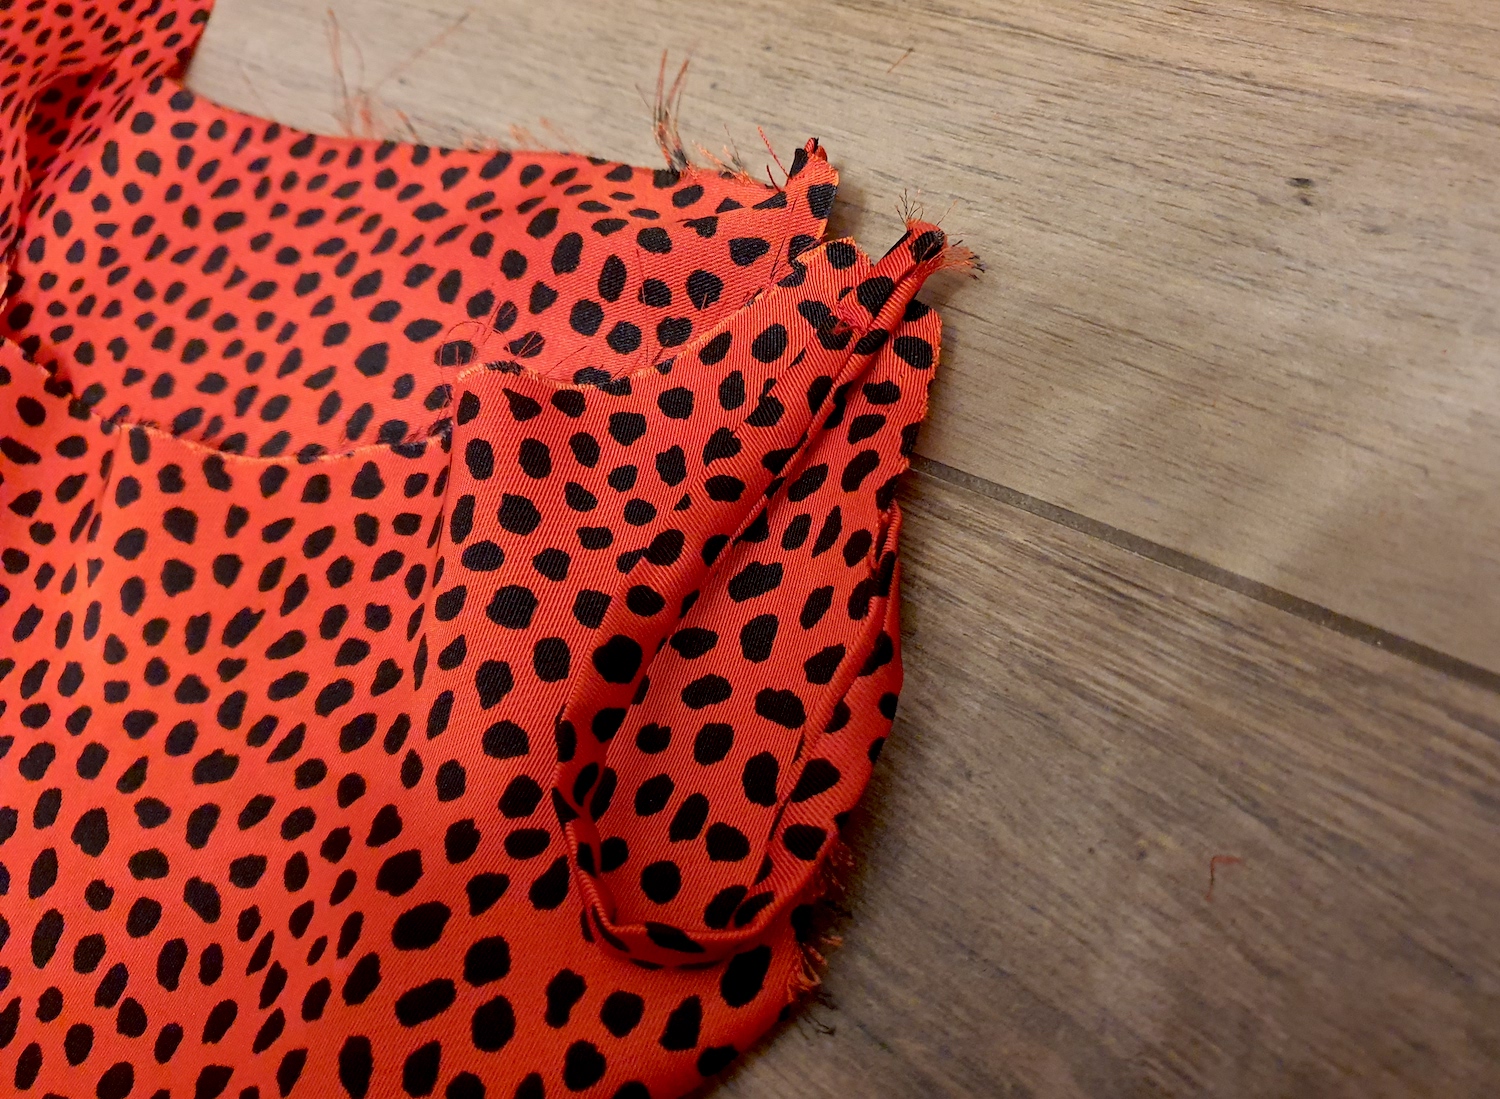
VII. Before turning the bias tape onto the reverse, I clipped the bottom of the V at the front and the back to remove tension:
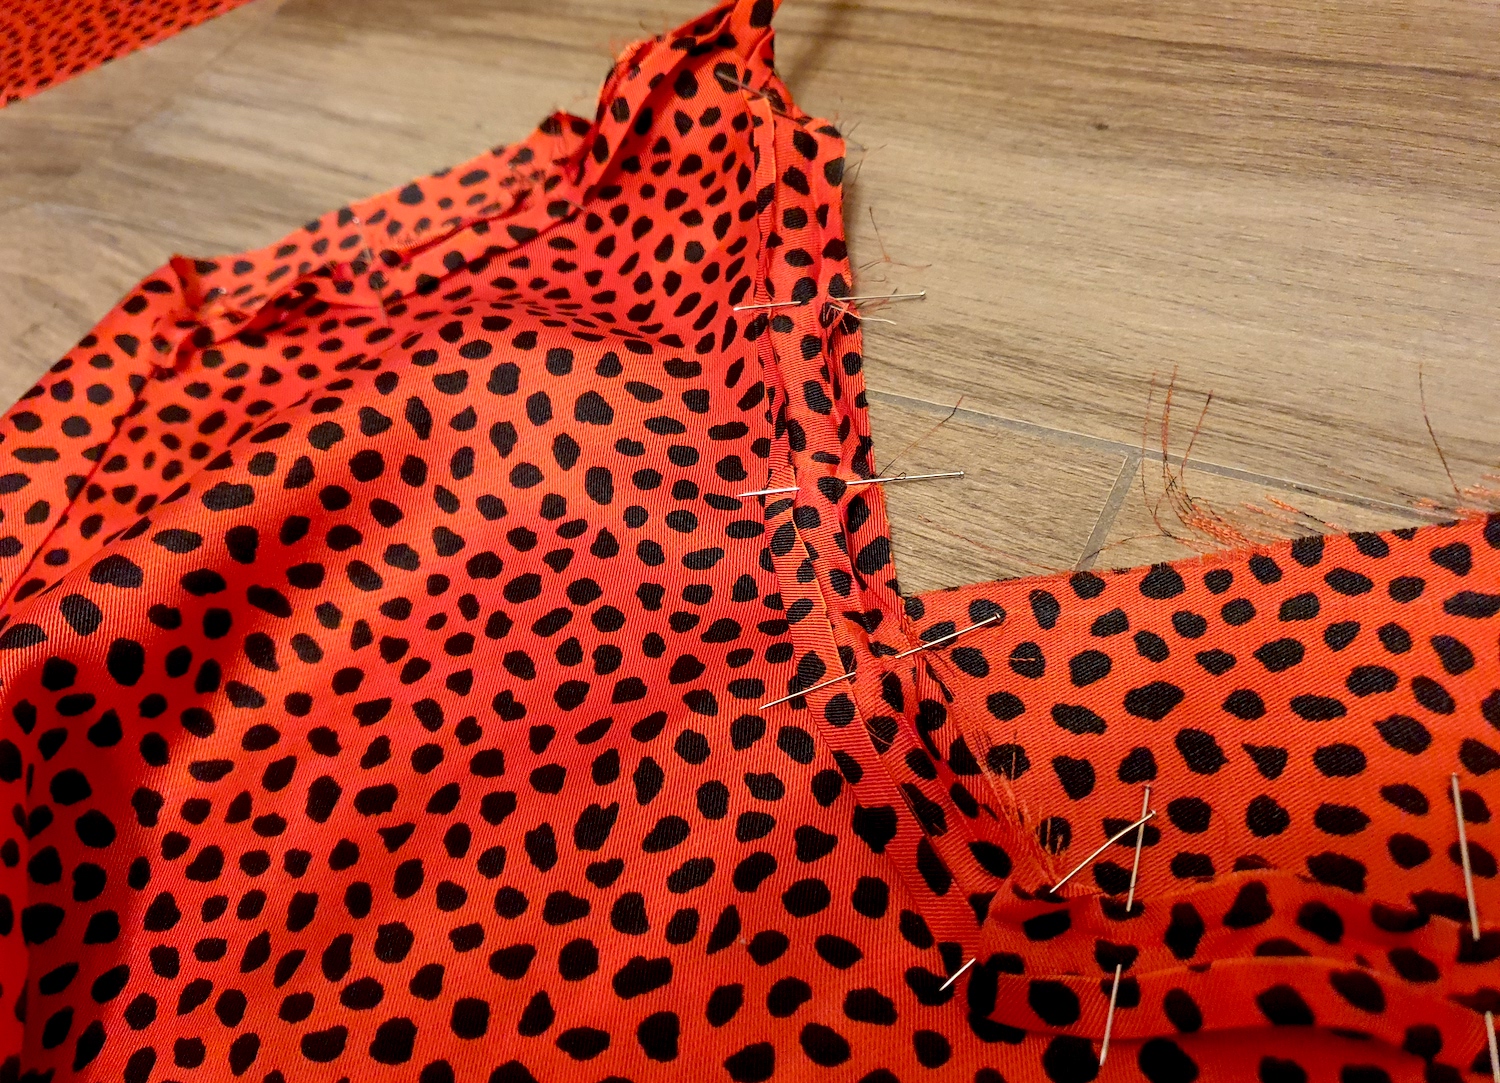
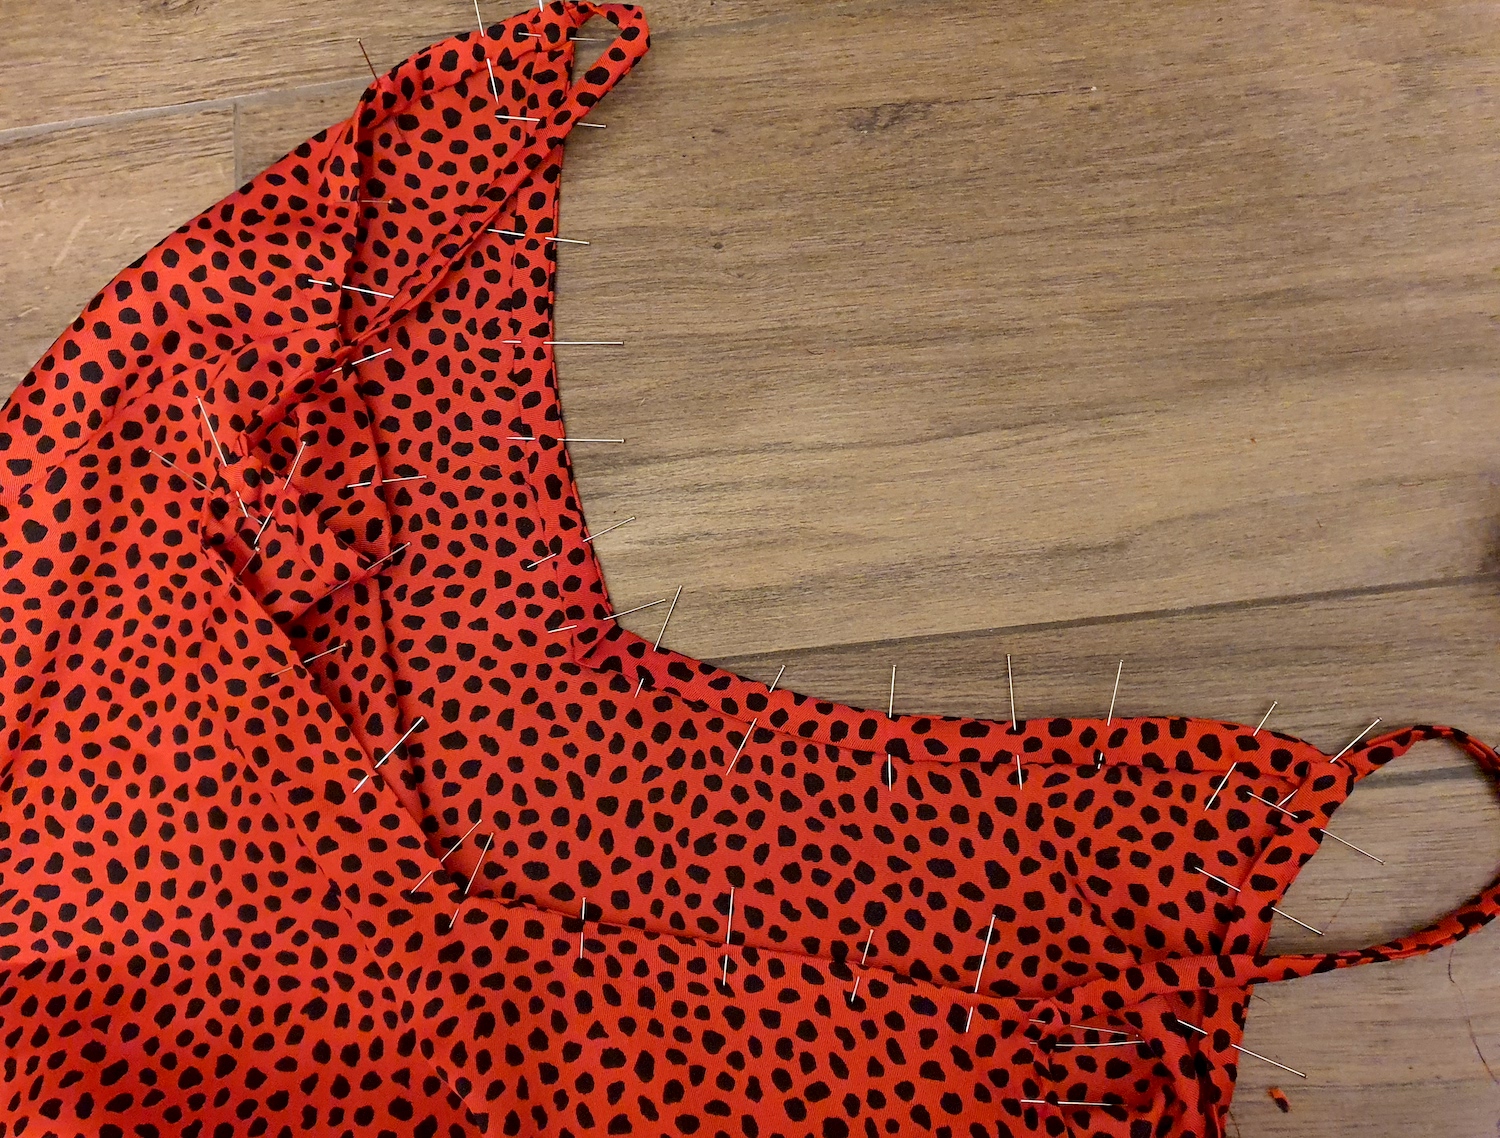
VIII. Then flipped the bias tape onto the reverse, pinning down and folding flat at the turns:

Getting the bottom of the V nice and neat as well:

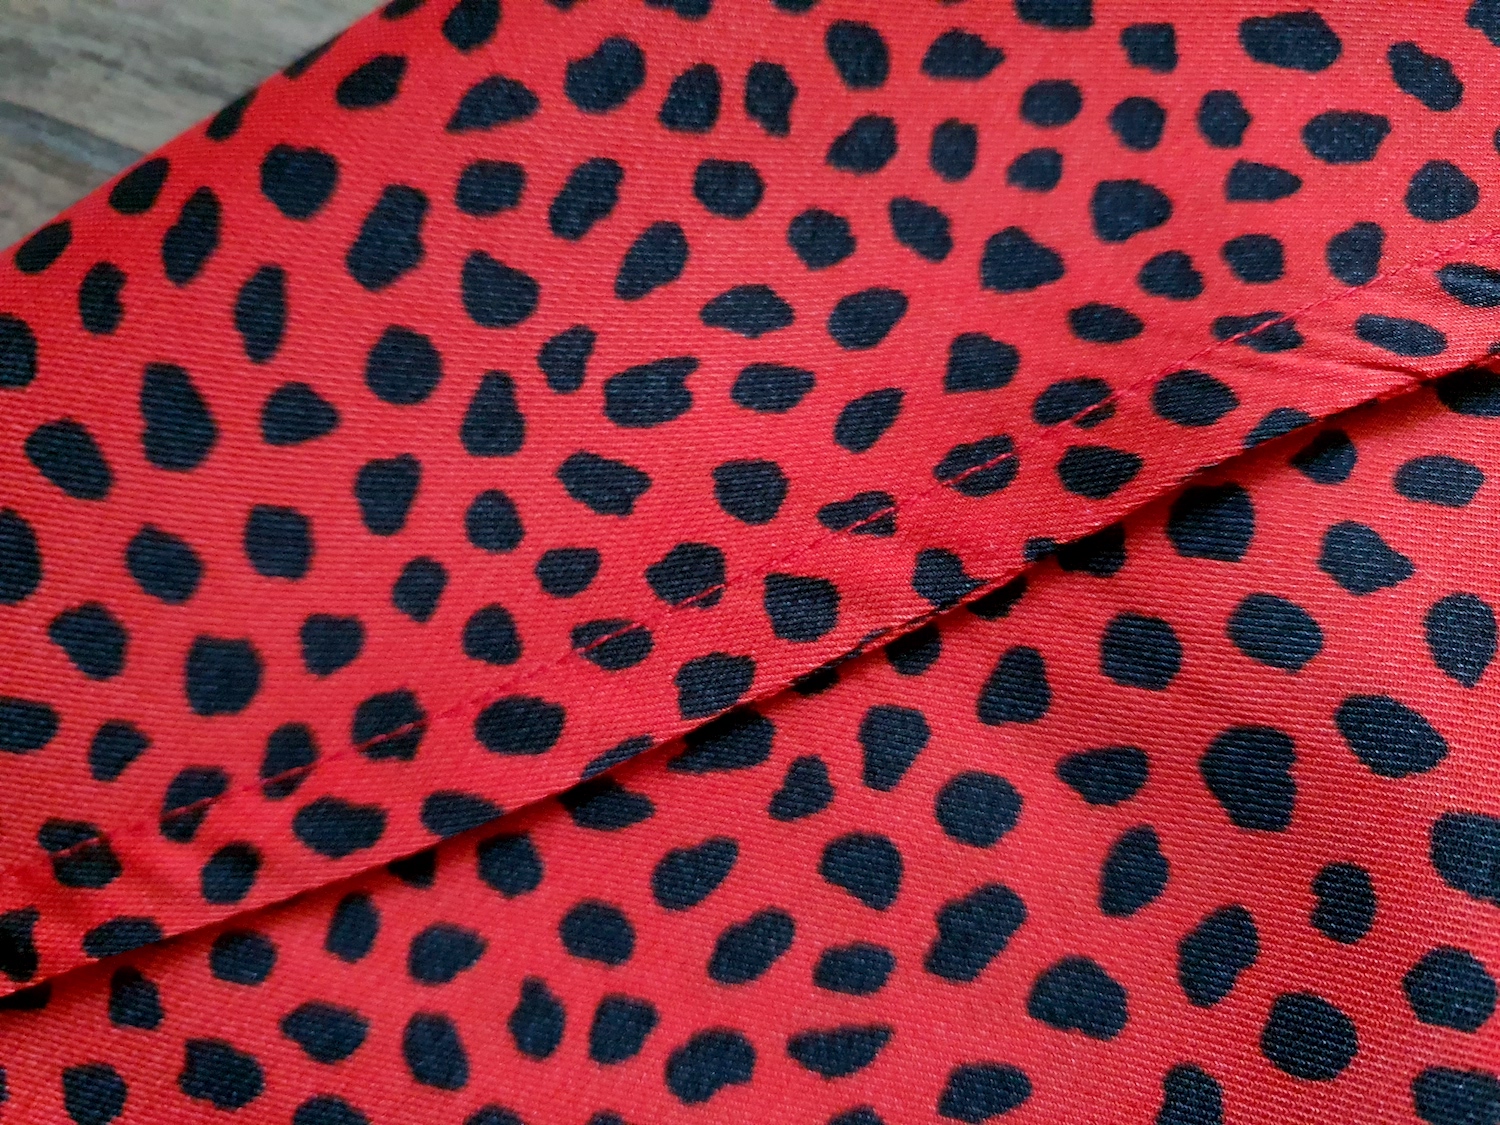
Once all pinned, I sewed around at the edge of the bias tape. Be sure to pivot your stitch at the same point below to the shoulder straps, to have a symmetrical seam on the right side.
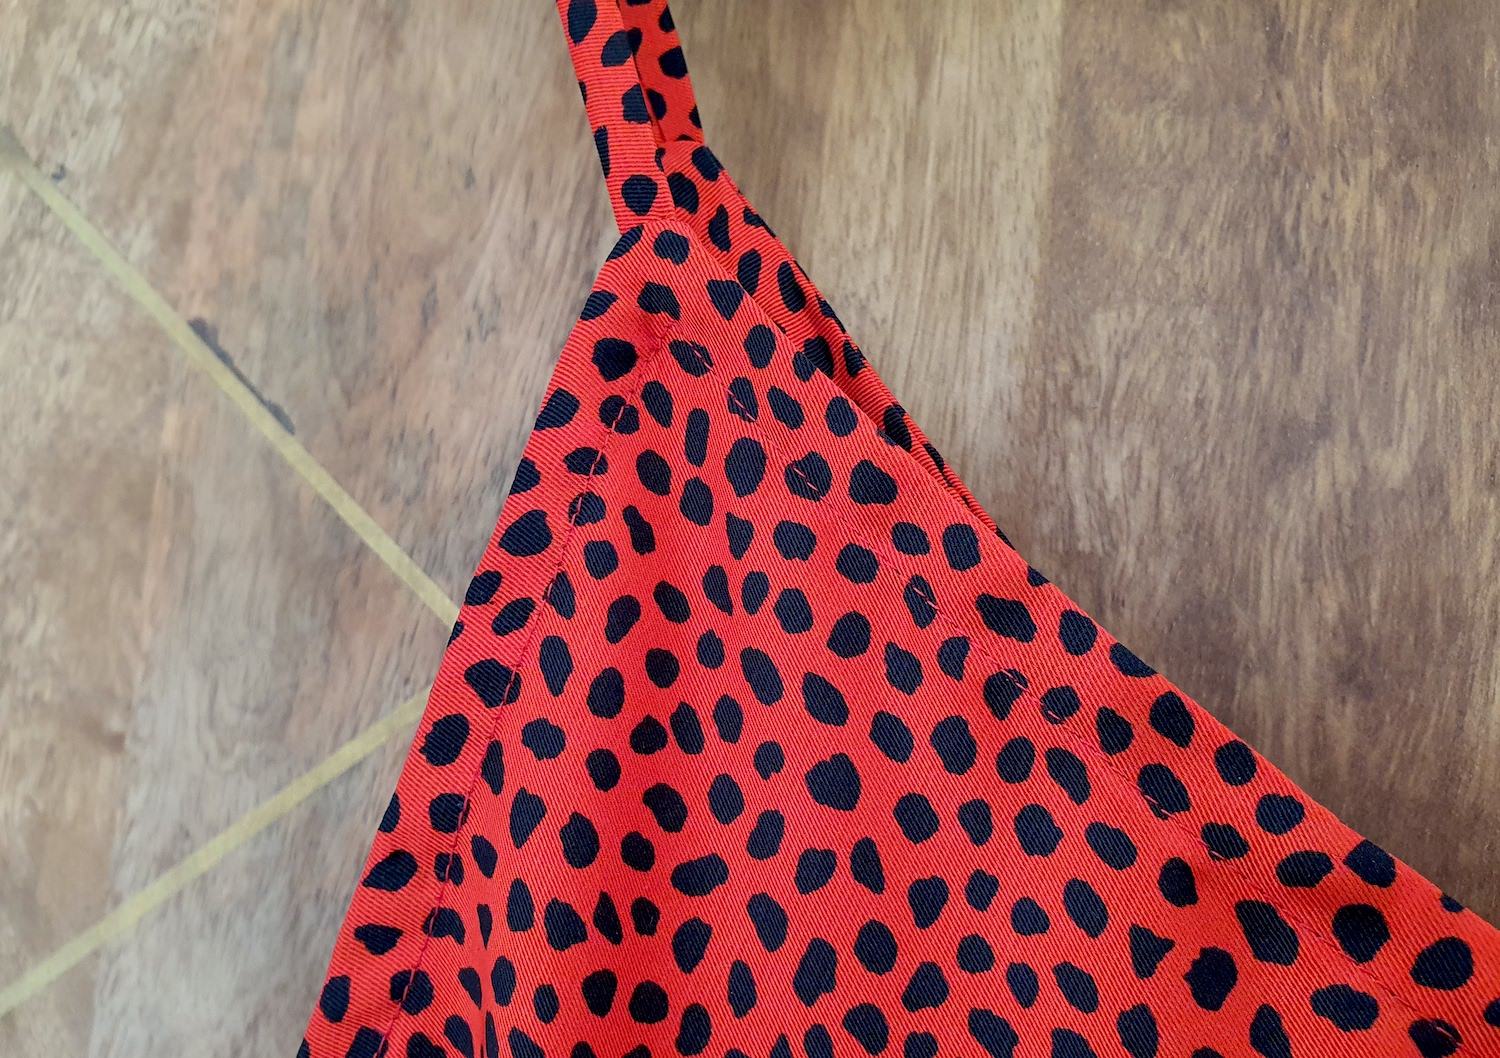
Clean finish on the inside..

And outside.
IX. Last bit was hemming. First let the dress hand for 24 hours for the bias to relax, them trim to the desired length + hemming seam allowance.
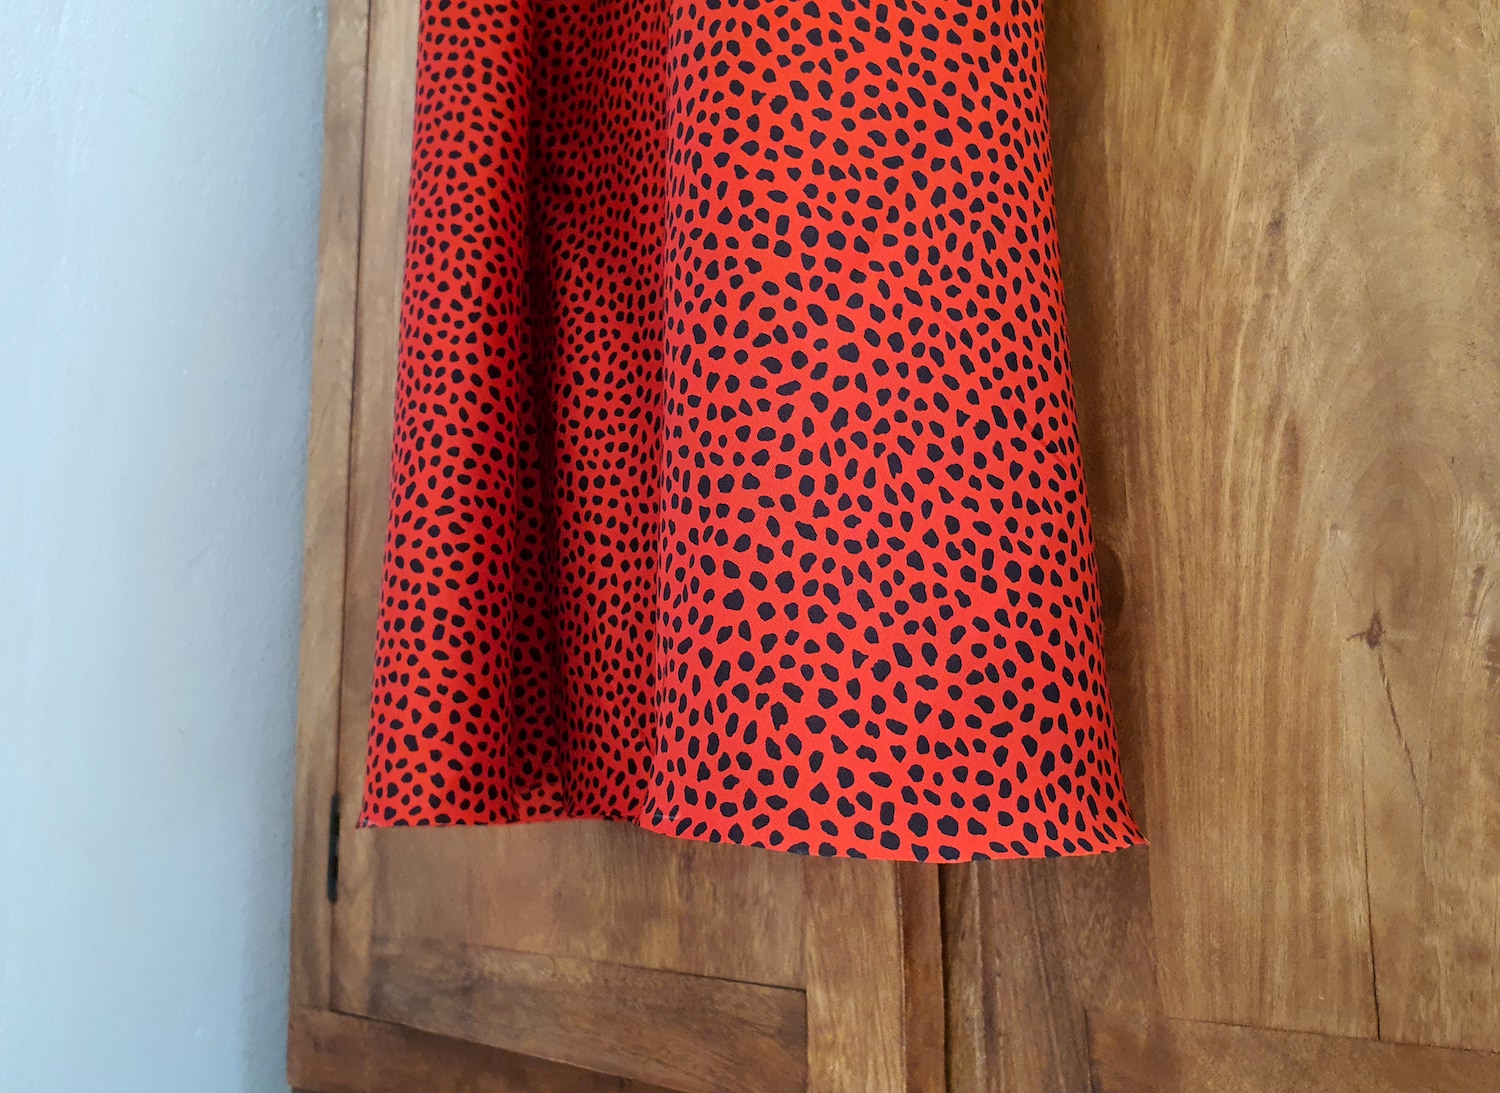
I finished my hem with a basic double fold of just about 1 cm.

I love it so, so much. Please rest assured I don't bring a change of accessories when I take photos of my projects, these were 2 different days.. It's been 4 days since I made this and I've already worn it three times❤️


xo,
Julia


Thank you for sharing this beautiful dress pattern. I would love to make it as a slip under a couple of Zara dresses that gape at the bust and between the knees (I love the pattern of the material so much, which is why I kept the dresses which should have fitted better!) but I kind of like the idea of an underslip showing at the top and bottom, sexy but smart! I’m 60, so have to wrap up a bit! I’ll support once I’ve made the dress. Thanks again.
ReplyDeleteI'm delighted you liked it Lisa! And I agree I love the concept of a layered hem!!
DeleteLove this!! Going to make my own this weekend but have 1 quick question - is the 67 cm at the bottom hem the same as your hip measurement or something different? Thanks so much!!
ReplyDeleteThat is just the fullness of hem I chose to go for - you can grade your cut to be more flared if you want more volume in the hem. You can see my body measurements on the about & sizing (found in the menu at the top of the page)
Delete