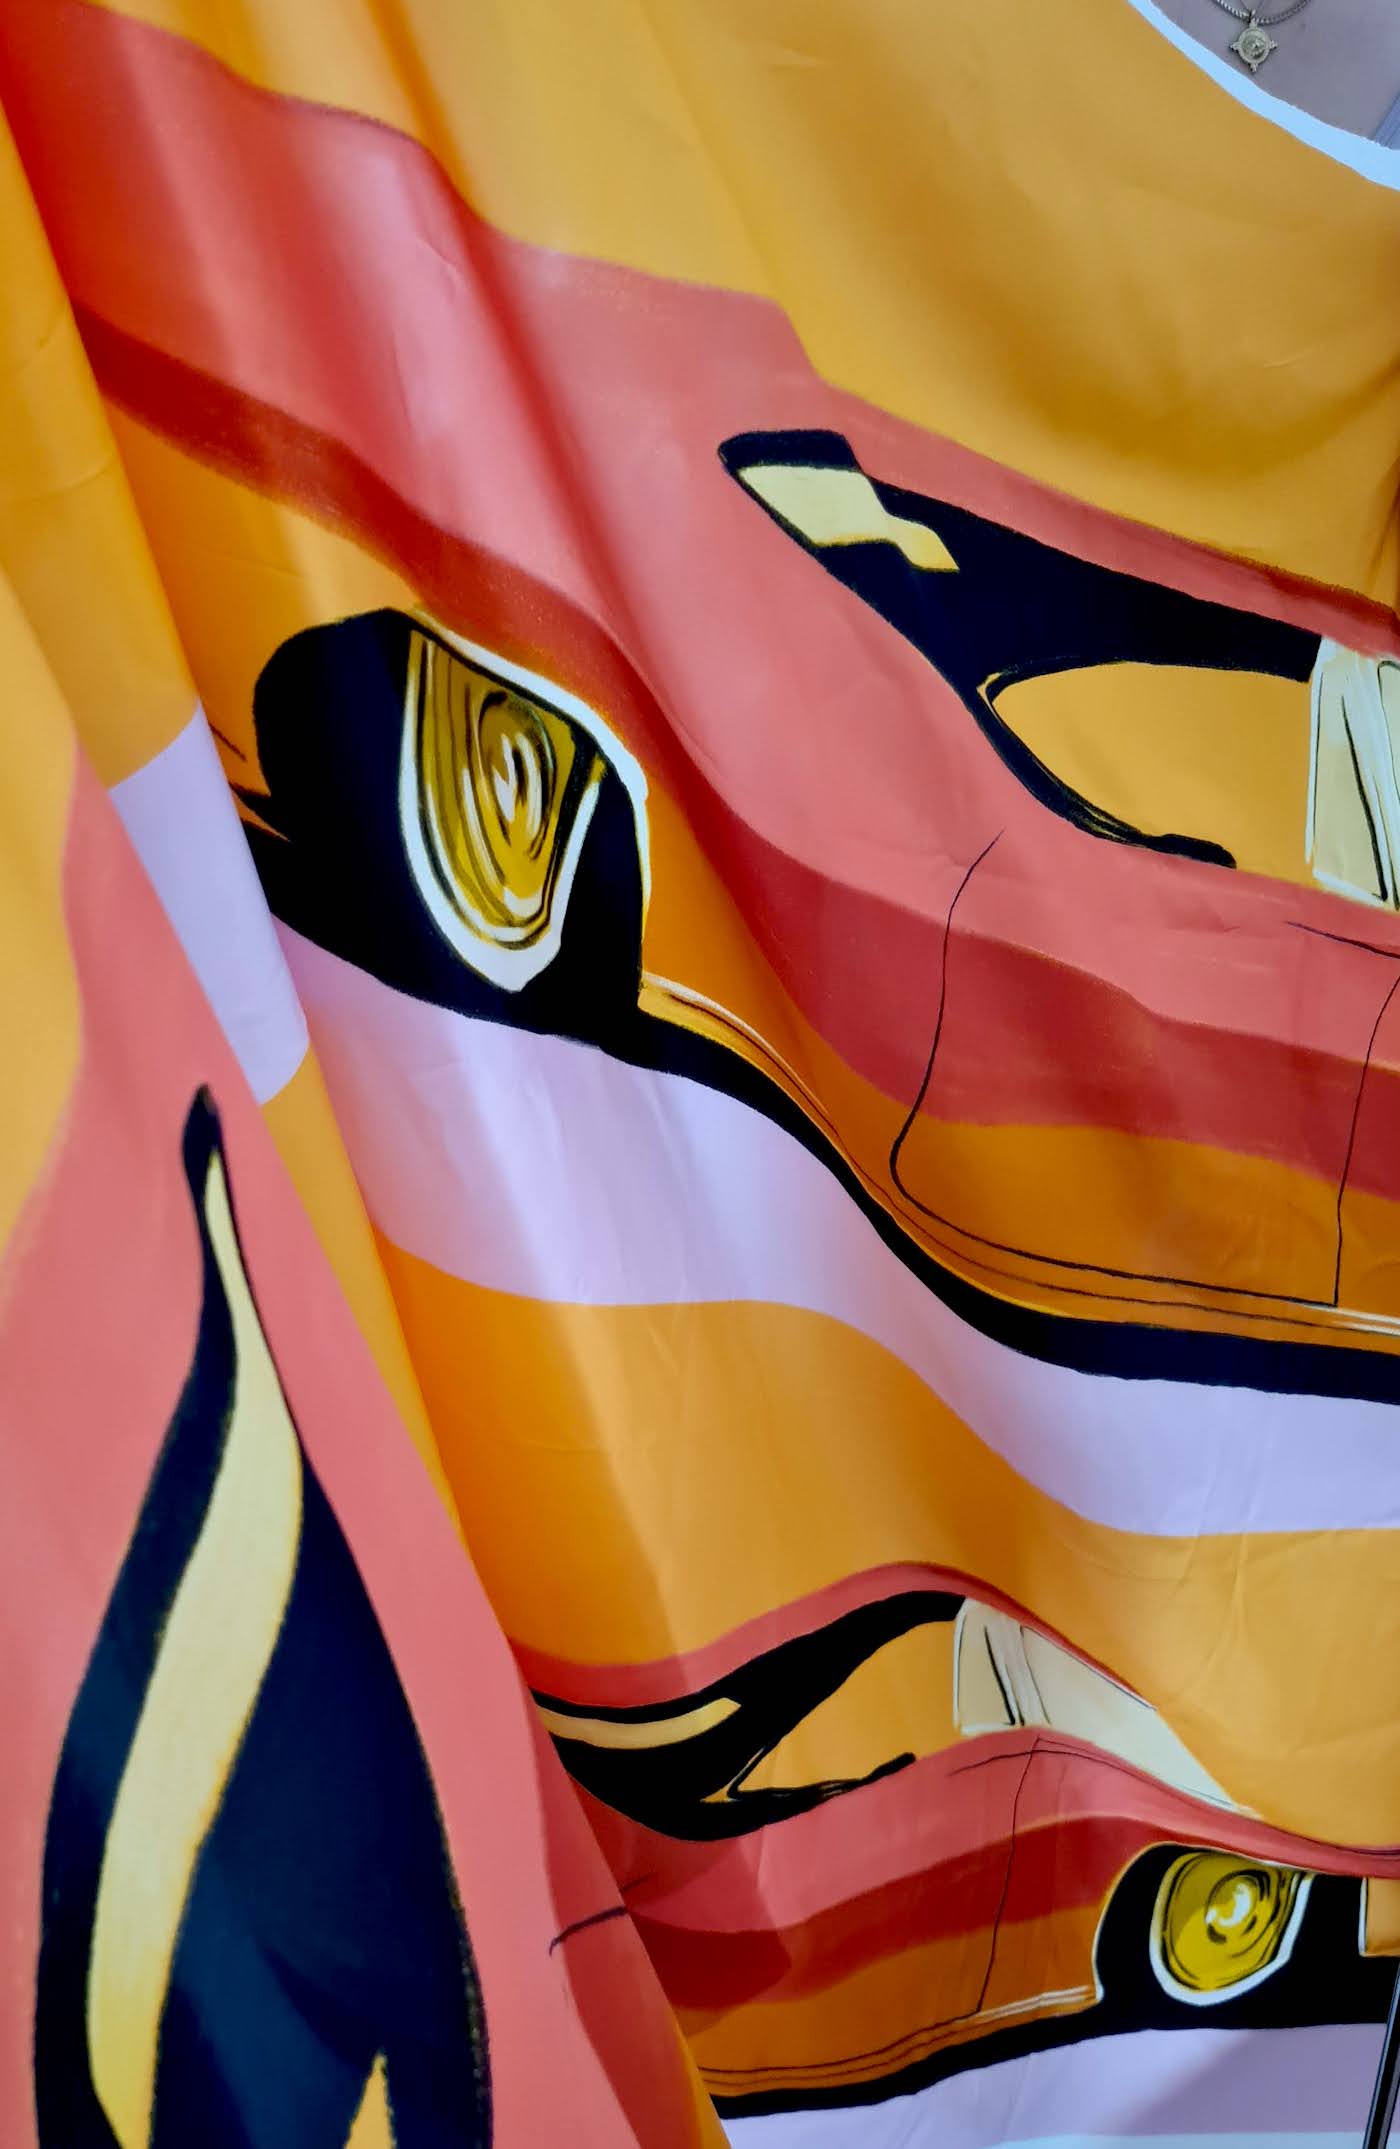
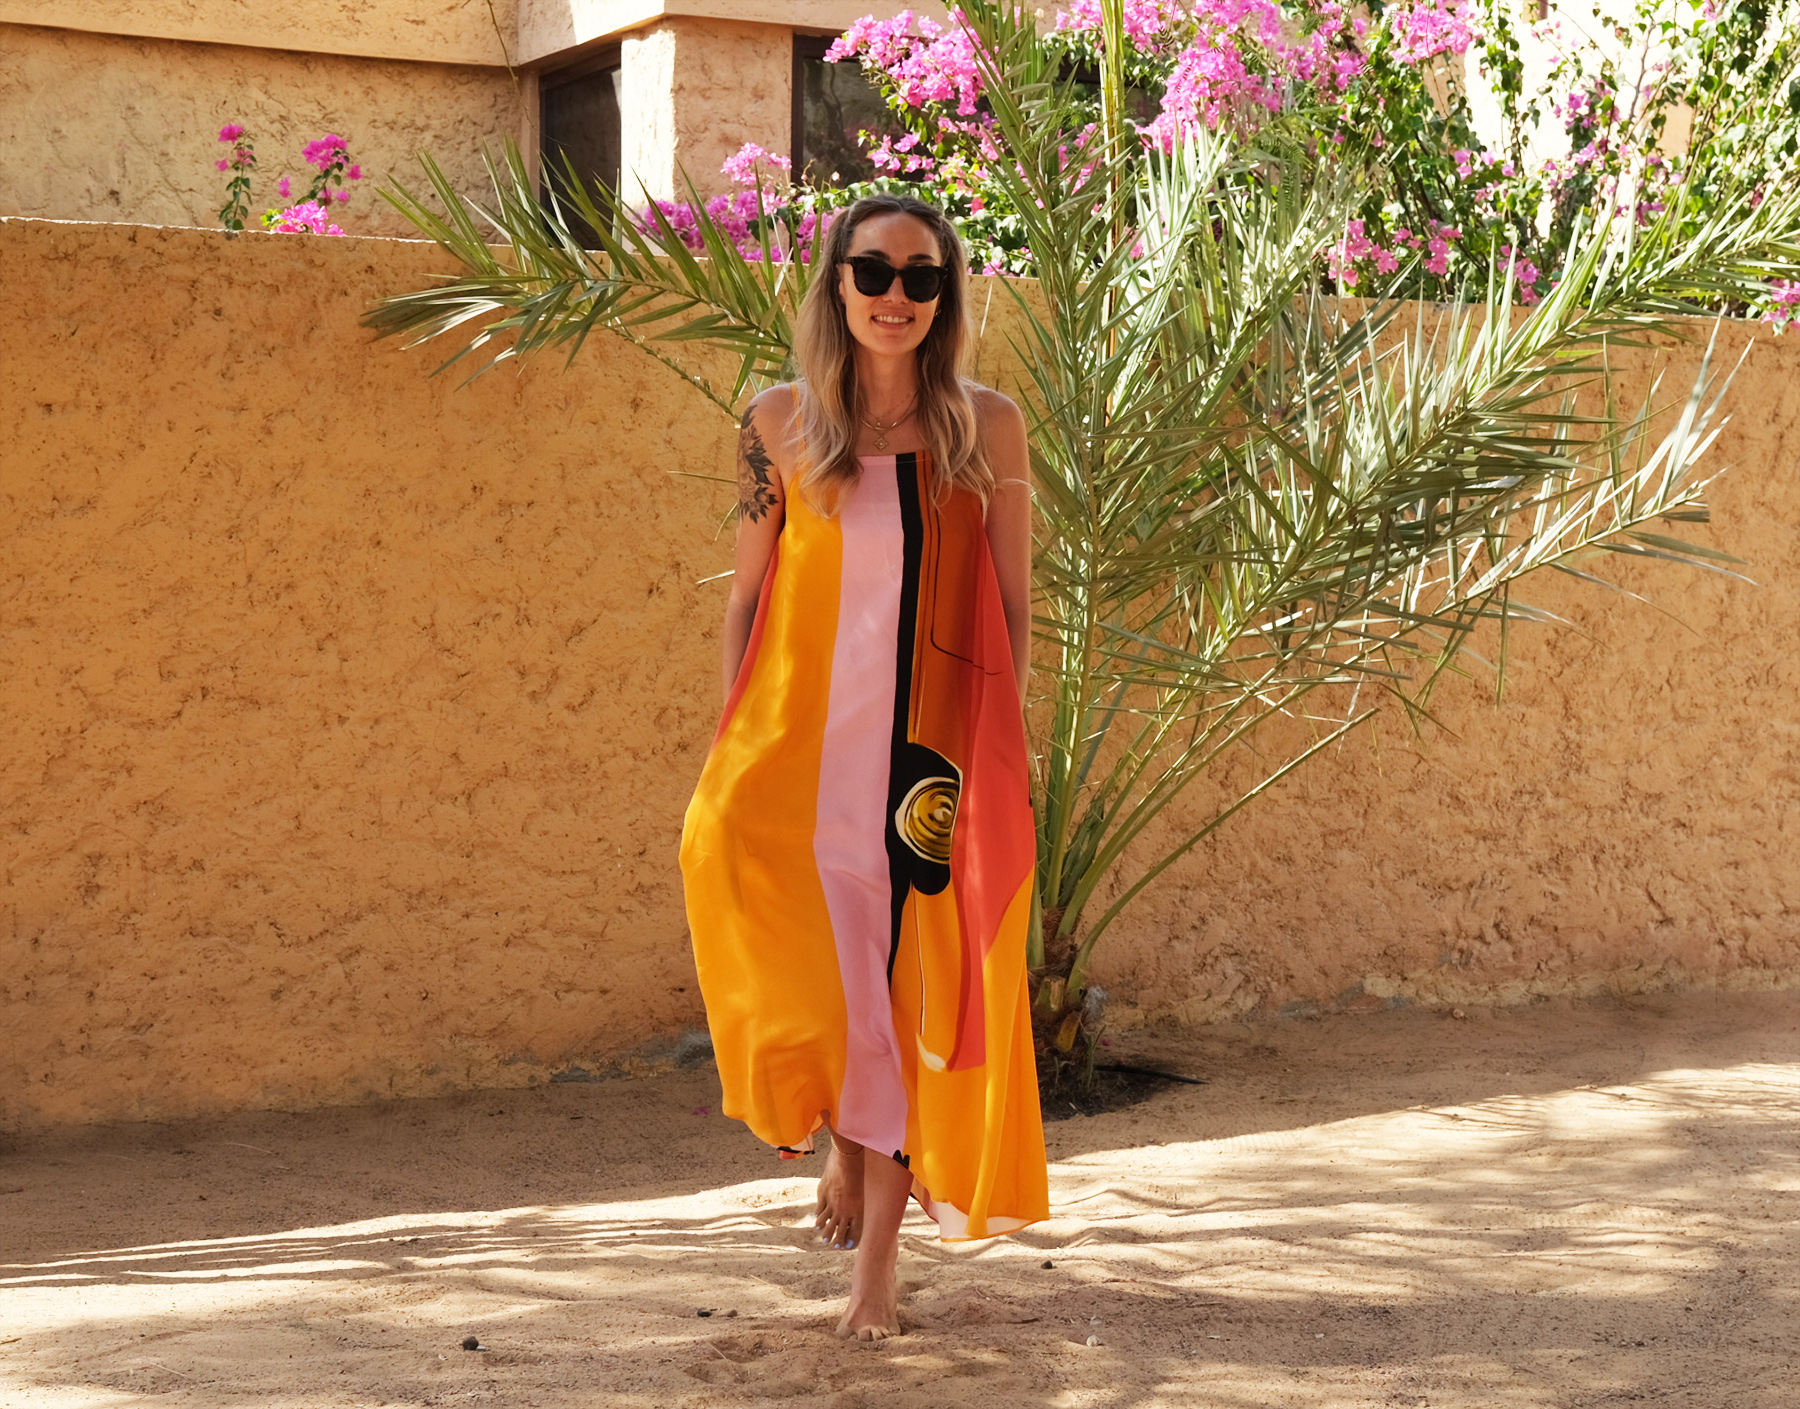
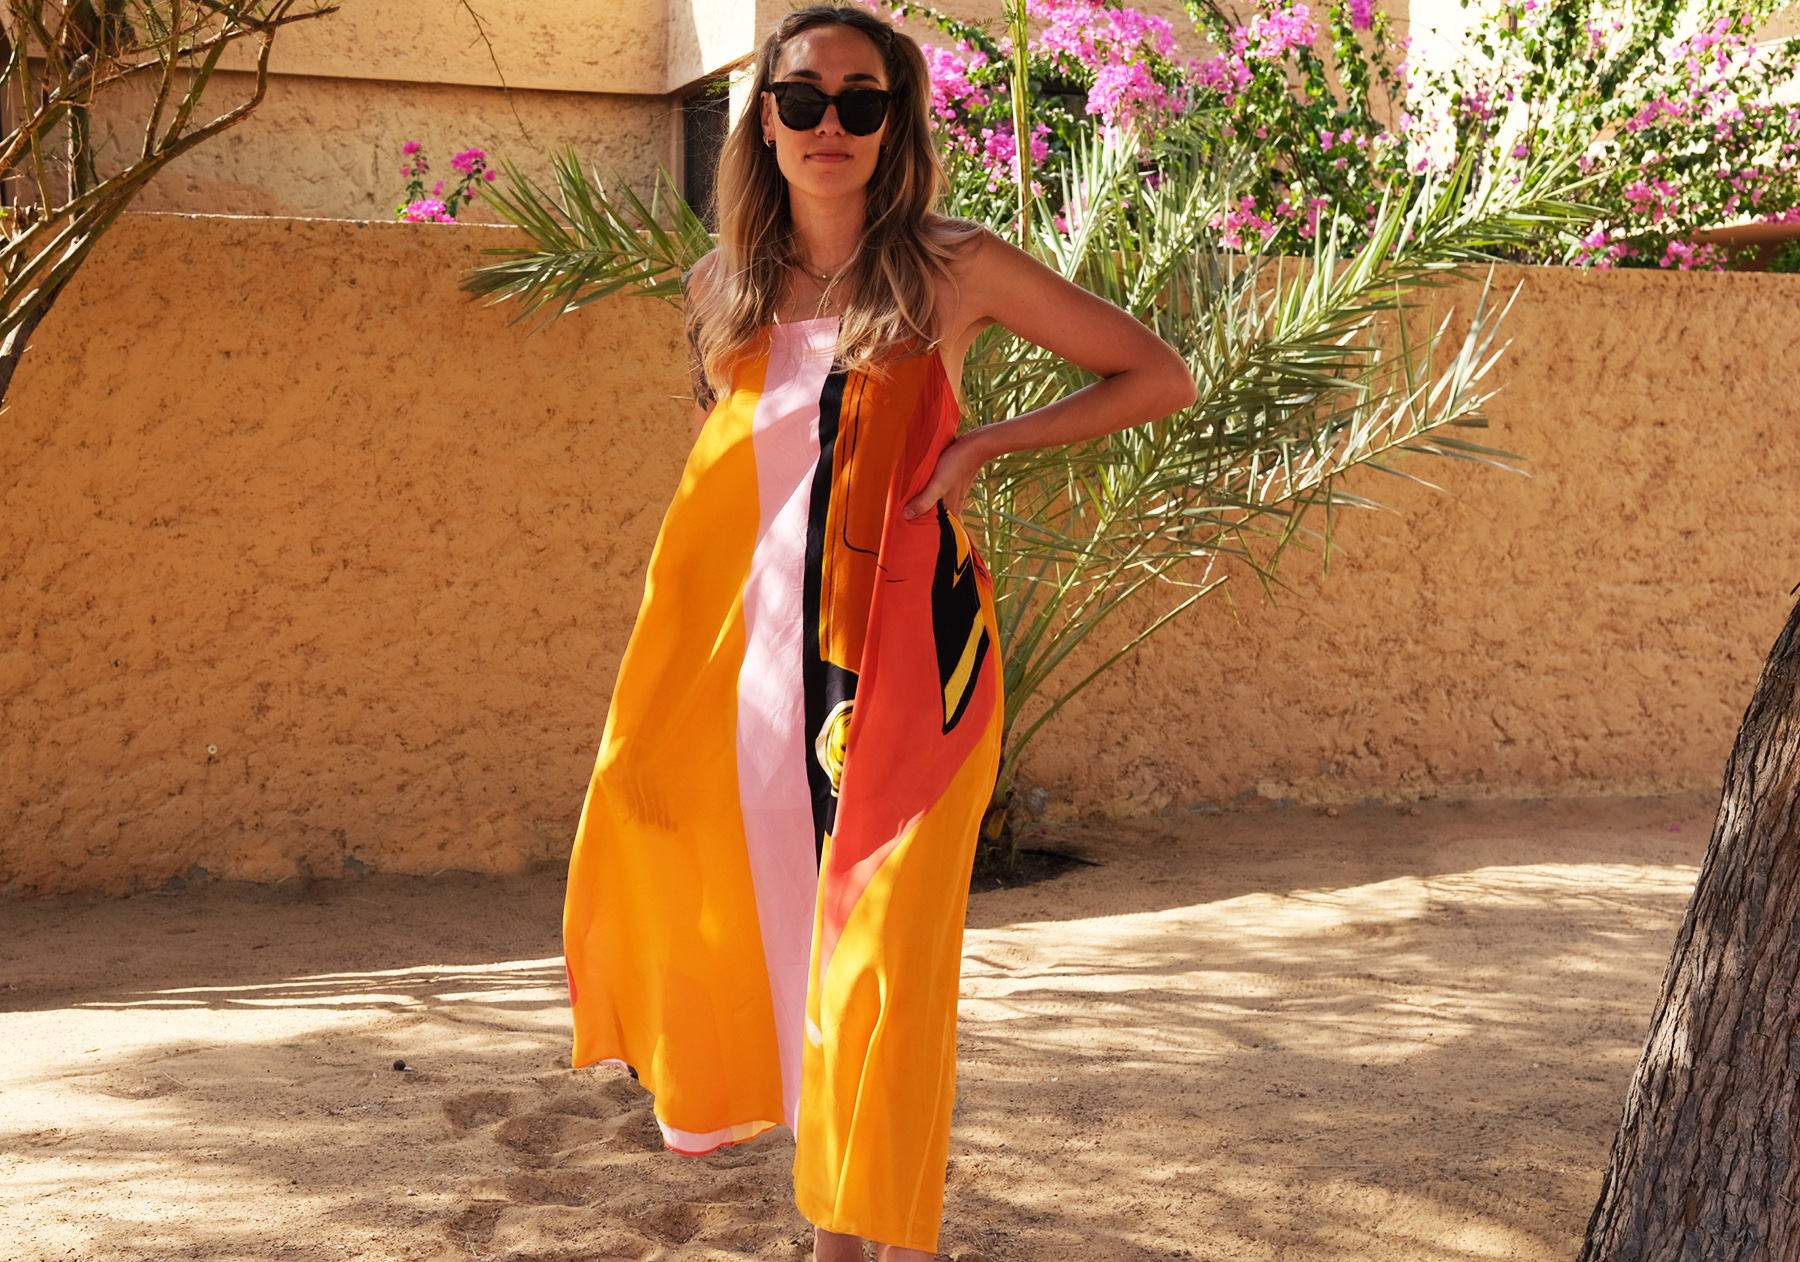
A special thank you to my wonderful friend Marleena who gave me this absolutely incredible fabric. I must have played around with it for half an hour, trying to decide what kind of garment would give the print the best kind of stage. Cars? The pink/orange combo? Does it get any better than this?? I absolutely love a large scale print, which can come out in so many different ways in a piece of clothing - If you're not paying attention, you might not even notice the cars on the finished dress, but most importantly.. I know they're there.
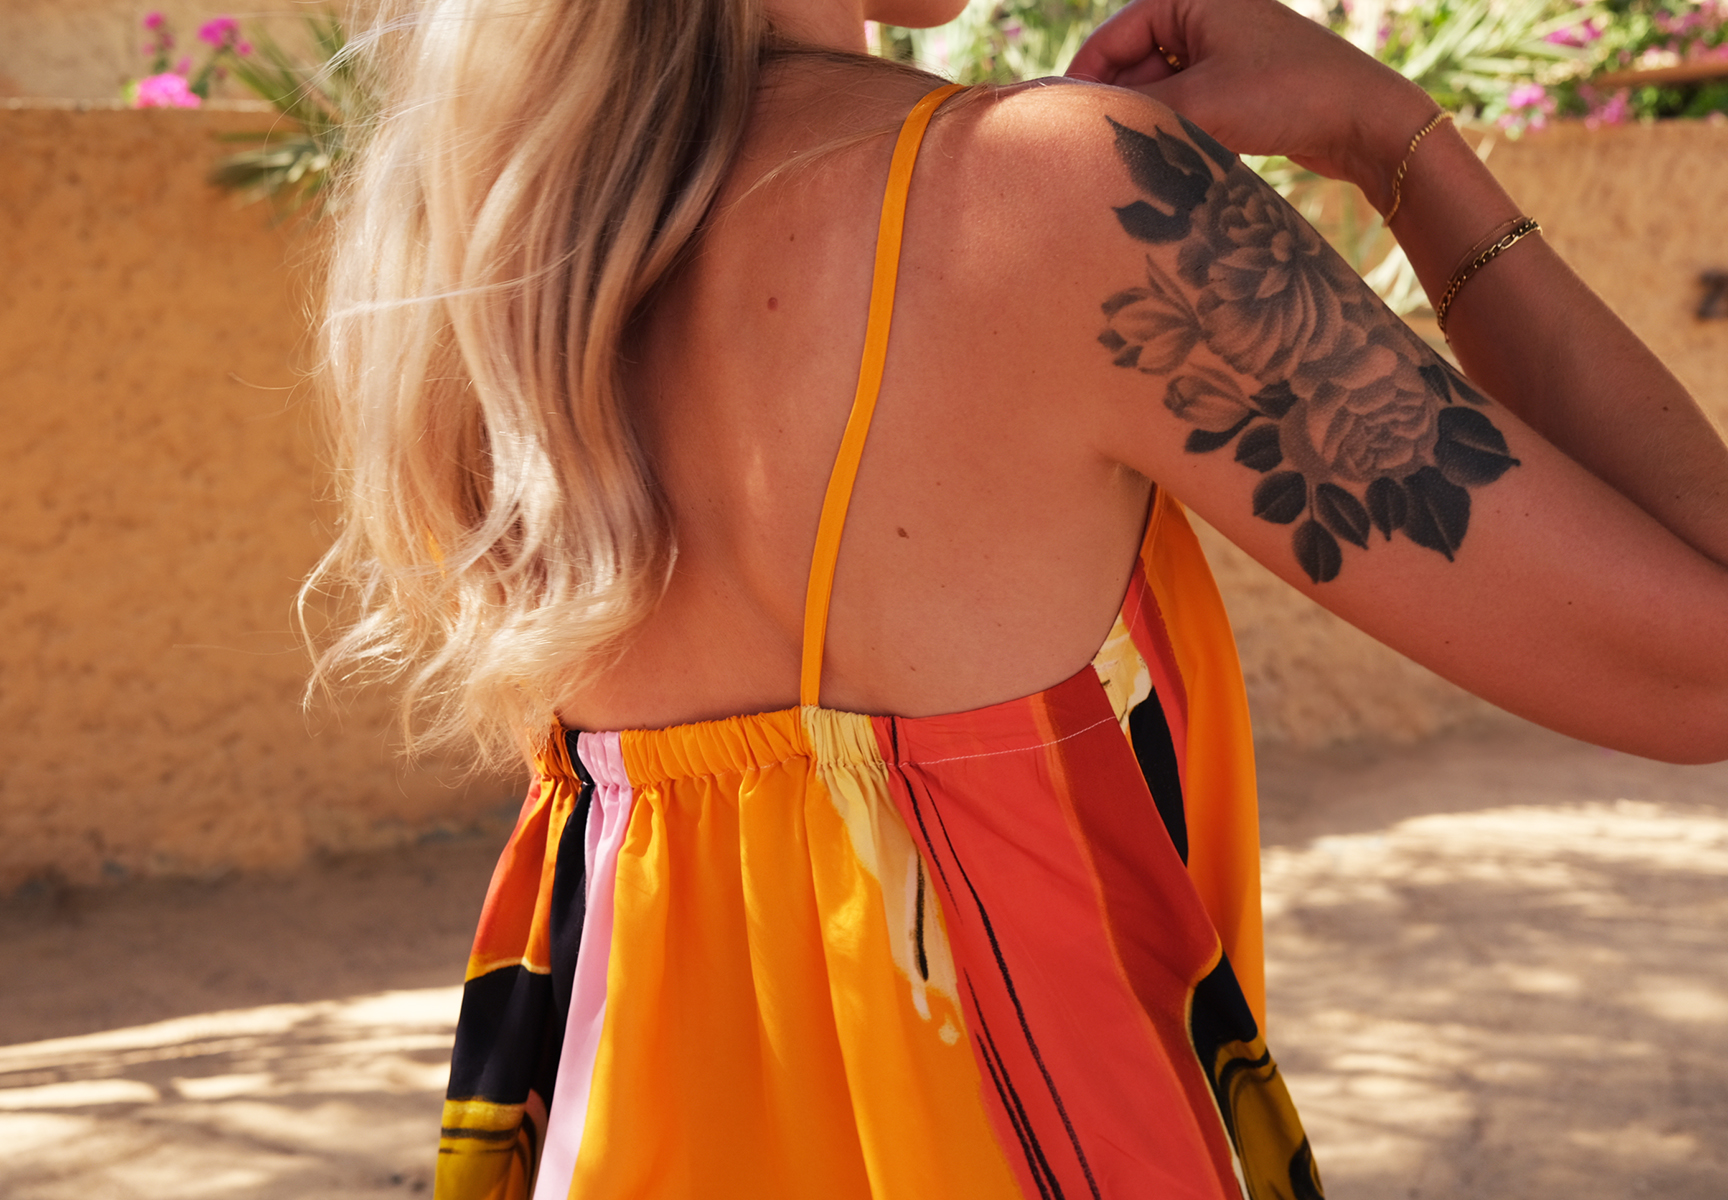
At the same time I had to address my current #1 constraint - everything I make must be breastfeeding friendly. I didn't feel like interrupting the glorious print with some kind of front opening, so instead did an elasticated back, which allows the top to be pulled down easily.
Tutorials take a lot of time & effort to create, and I choose to make mine available for free. If you enjoy this guide, you can support me with a donation that feels right for you, here.
TOOLS:
Fabric, 2.5 m full-width (150 cm) - I used a silk-viscose blend, but you could do any lightweight flowy fabric (crepe, light cotton, etc.. A firmer fabric like cotton shirting is also possible, and would create a more structured look/stronger A line) | Bias tape (about 65 cm) | Elastic (about 25 cm) | Scissors | Pins | Thread & Sewing machine (+serger if you have)
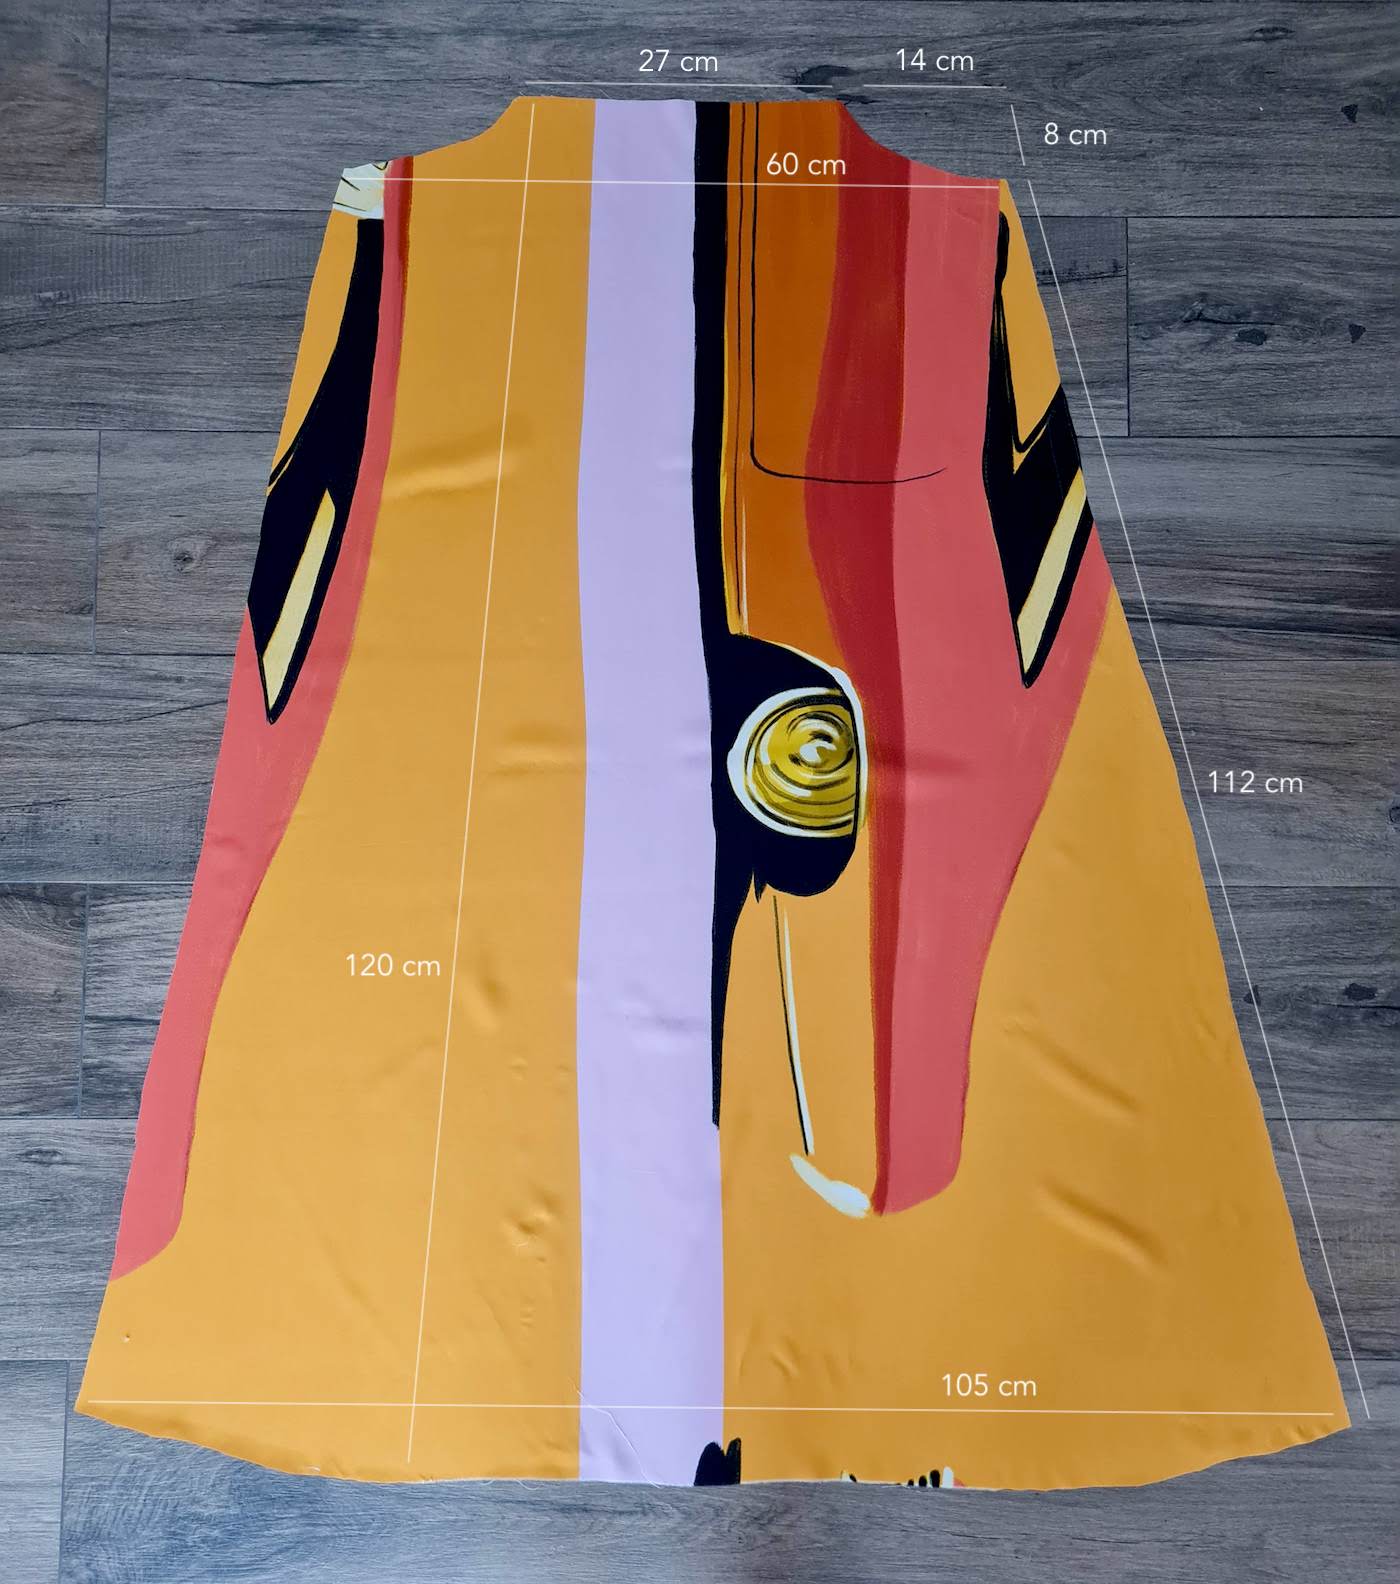
I. Cut pieces with measurements below. I'm pretty much back to my post-pregnancy size EU36/US4 for the top of my body (hips still couple sizes up, which makes no difference in this dress since super loose). Thanks to the elasticated back, the fit is pretty flexible a size or two up from me. My above-chest measurement (over boobs), taken from underarm to underarm (sideseam to sideseam) is 50 cm.
Front piece:
Back:
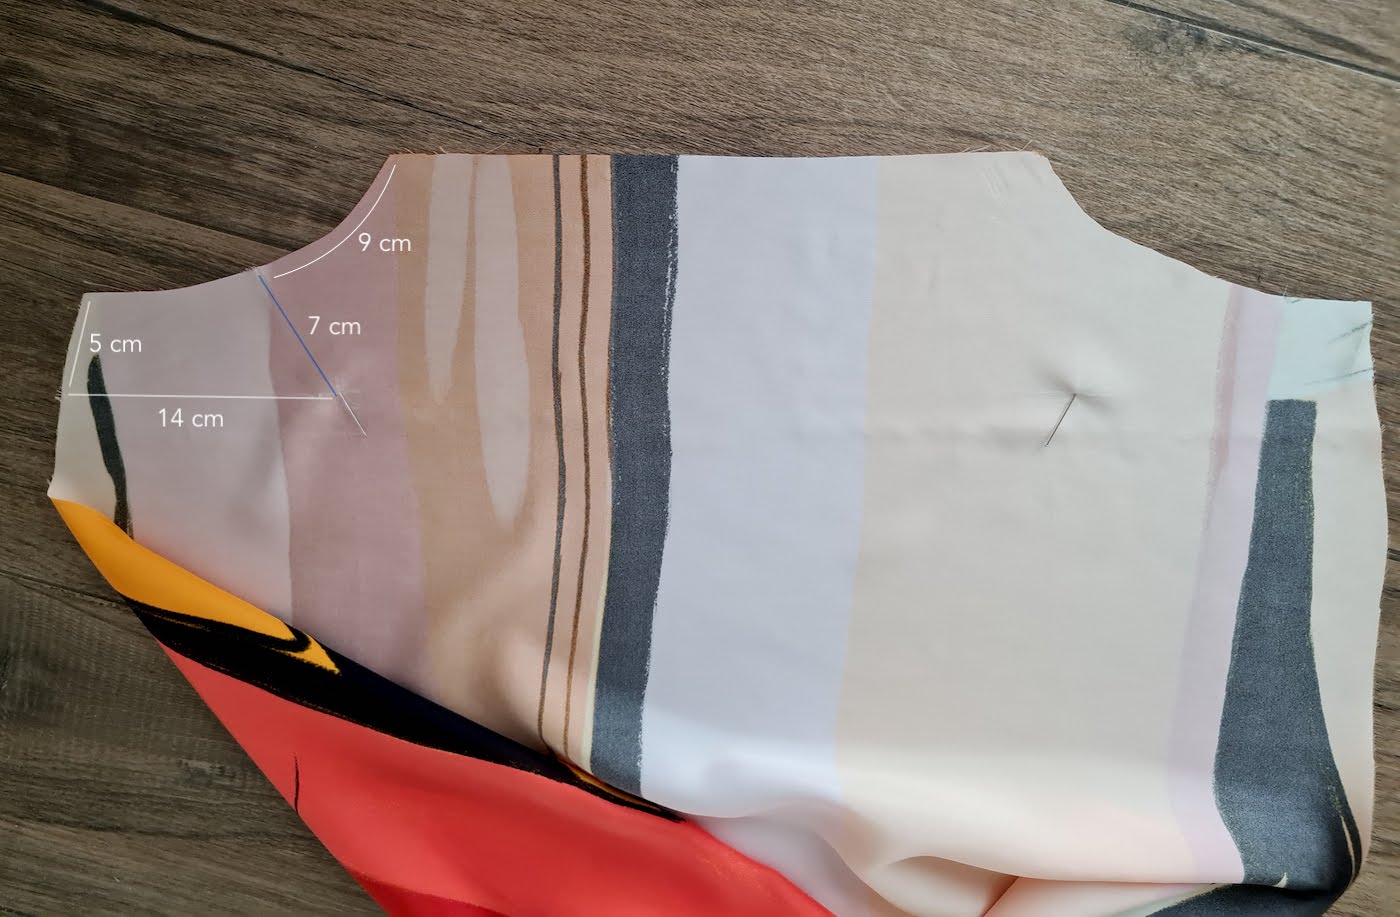
II. I started by adding darts to my front piece. Below are some guiding measurements for how I placed them, the blue line indicates where I put the dart. Ended up needing to elongate it a bit as you'll see in the next photo.
After sewing my dart, I pressed it, and to make it sit flatter, re-sewed the end to make it a bit longer.
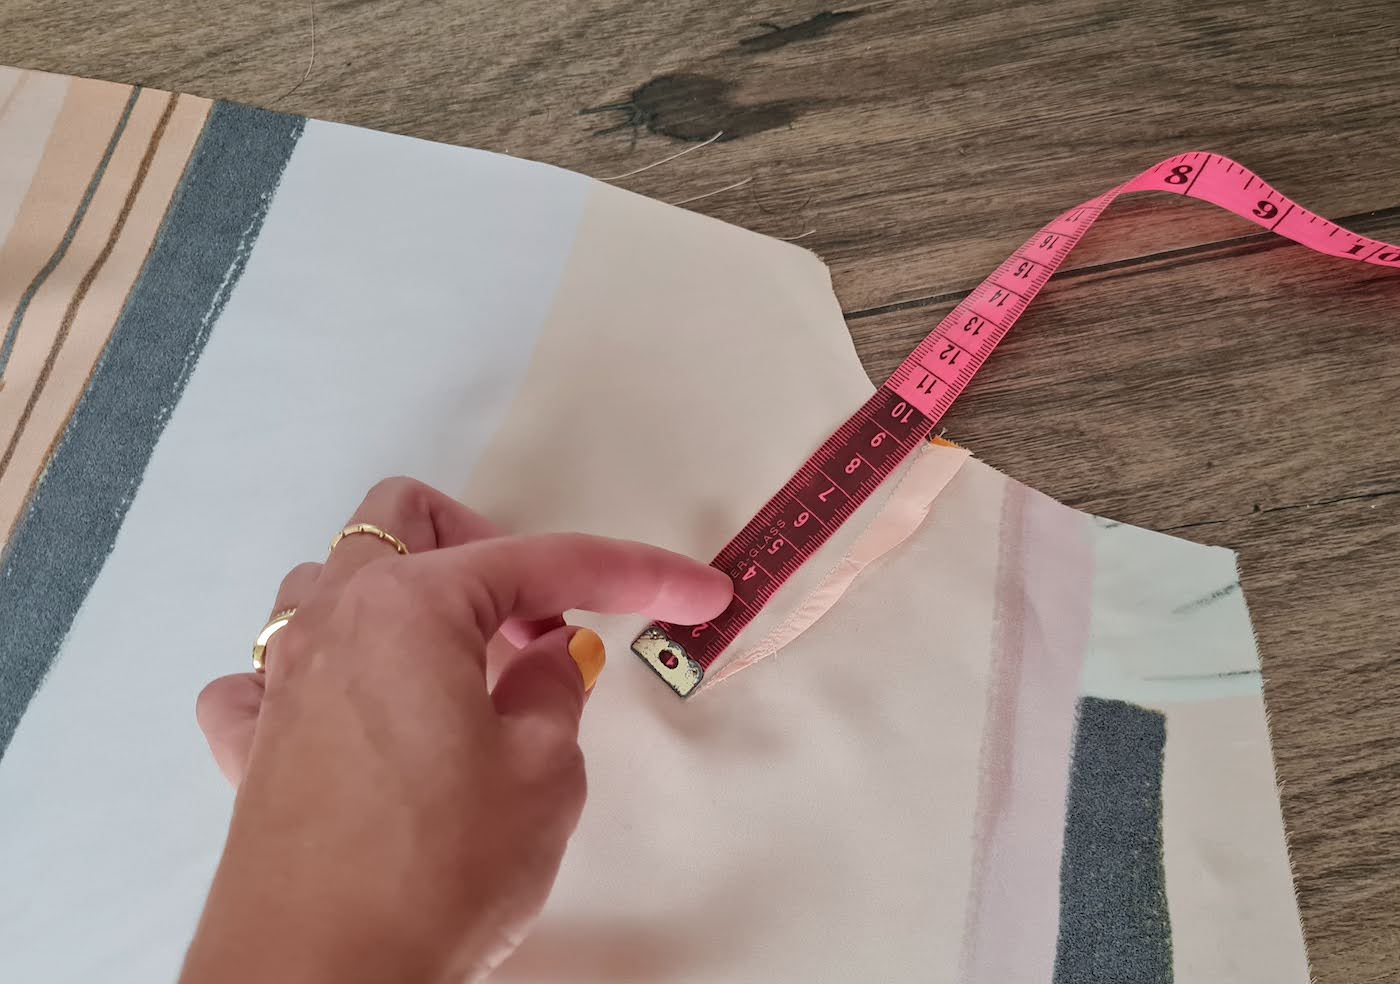
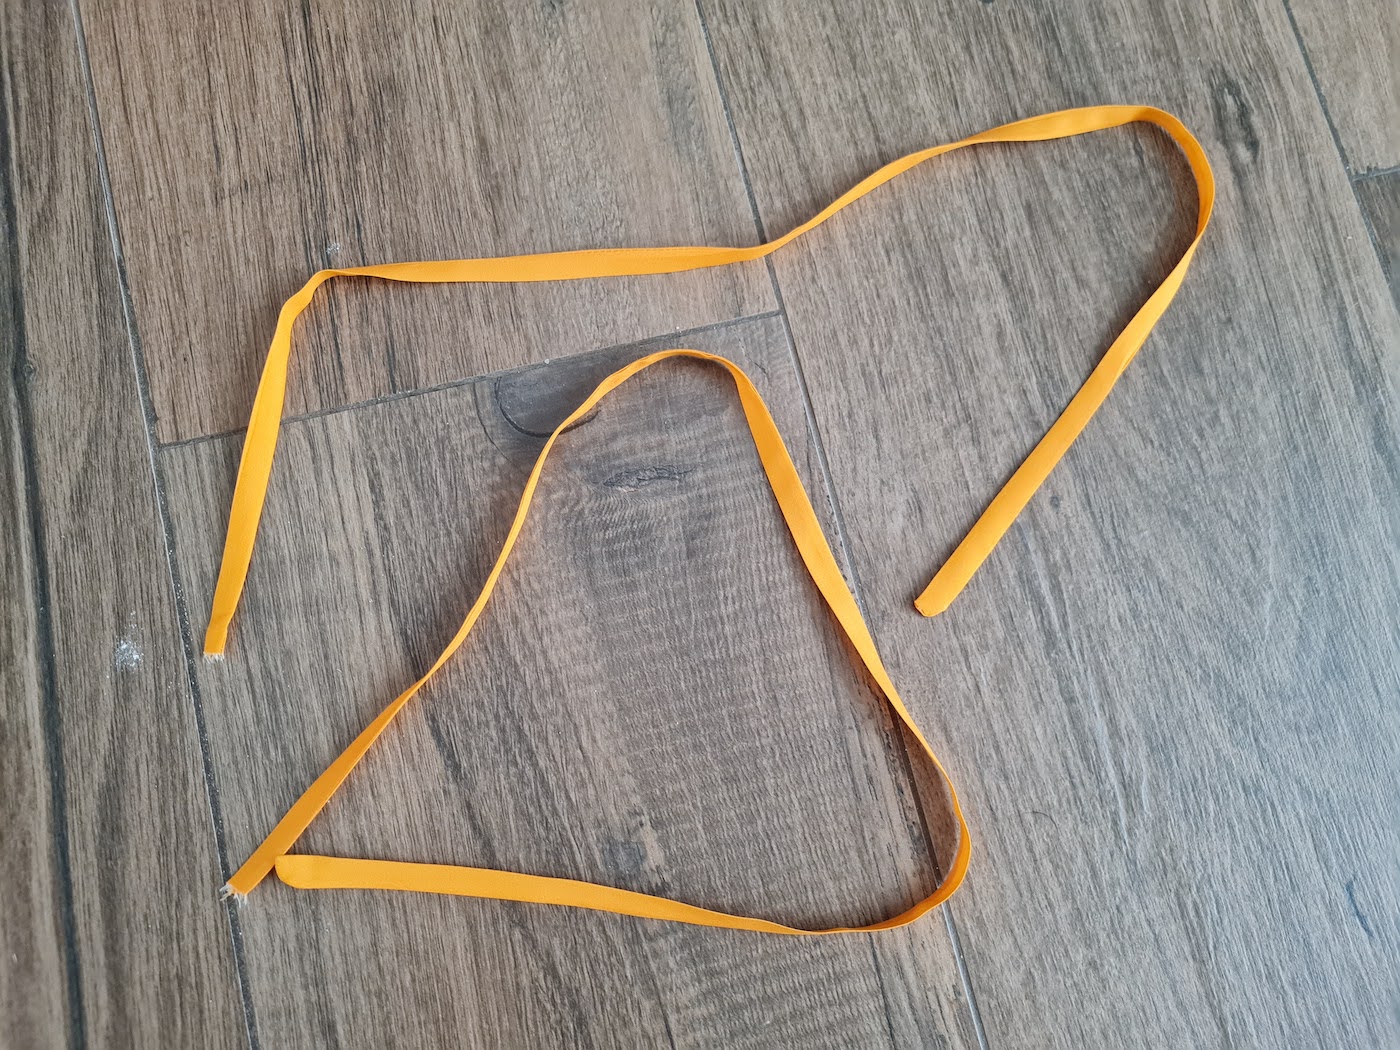
III. Next I made my spaghetti straps using
this method. Made them 50 cm long each, but only ended up needing just a bit over 40 cm.
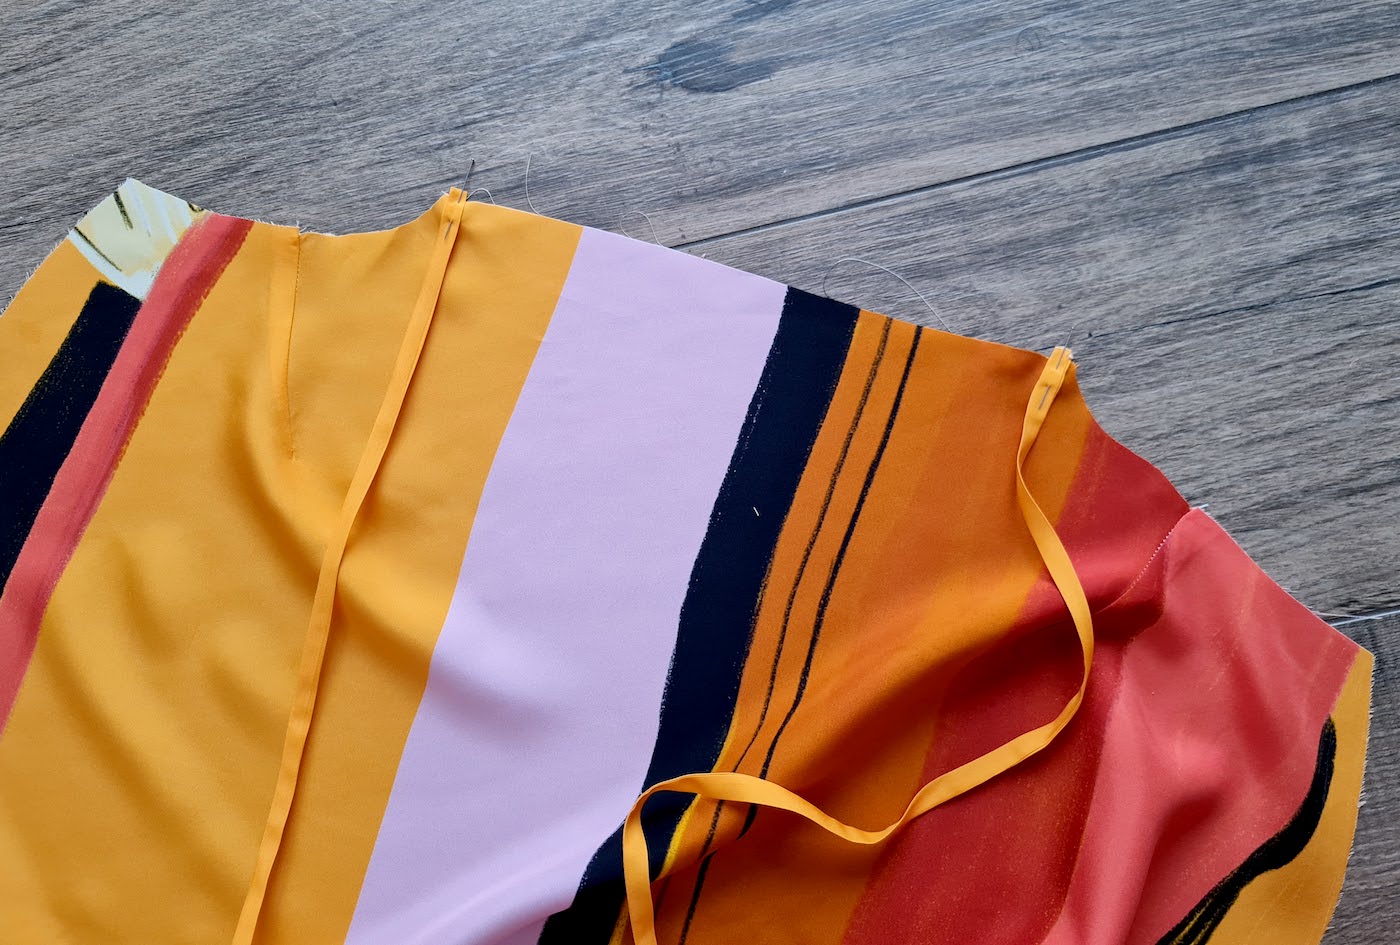
Then took the straps and pinned them on the front piece, secure the ends in place with a few back and forth stitches.
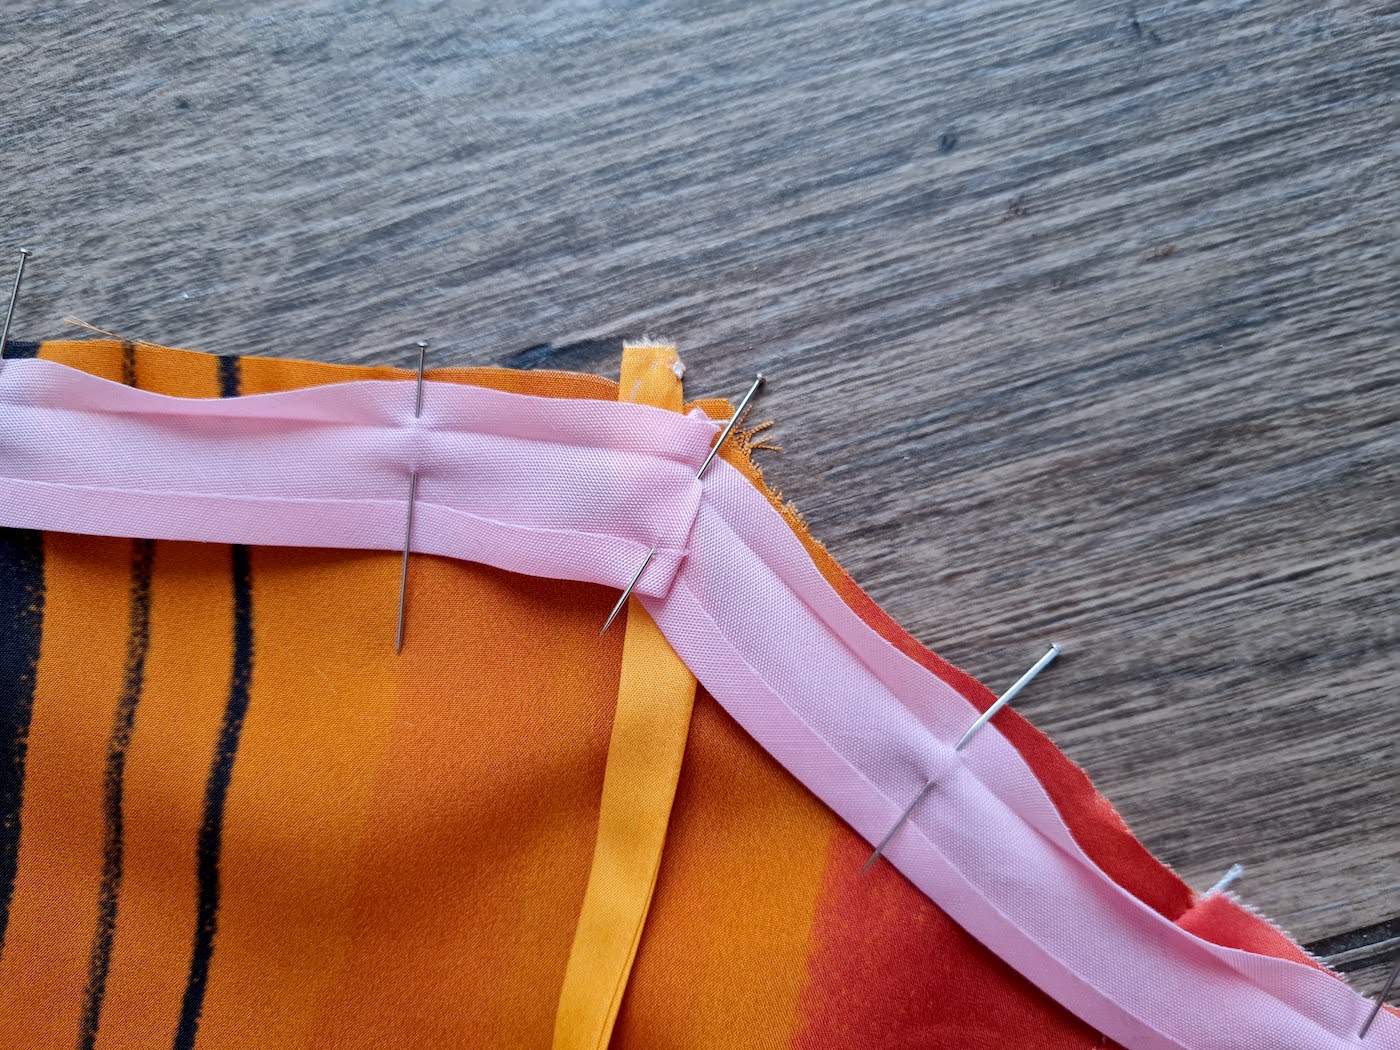
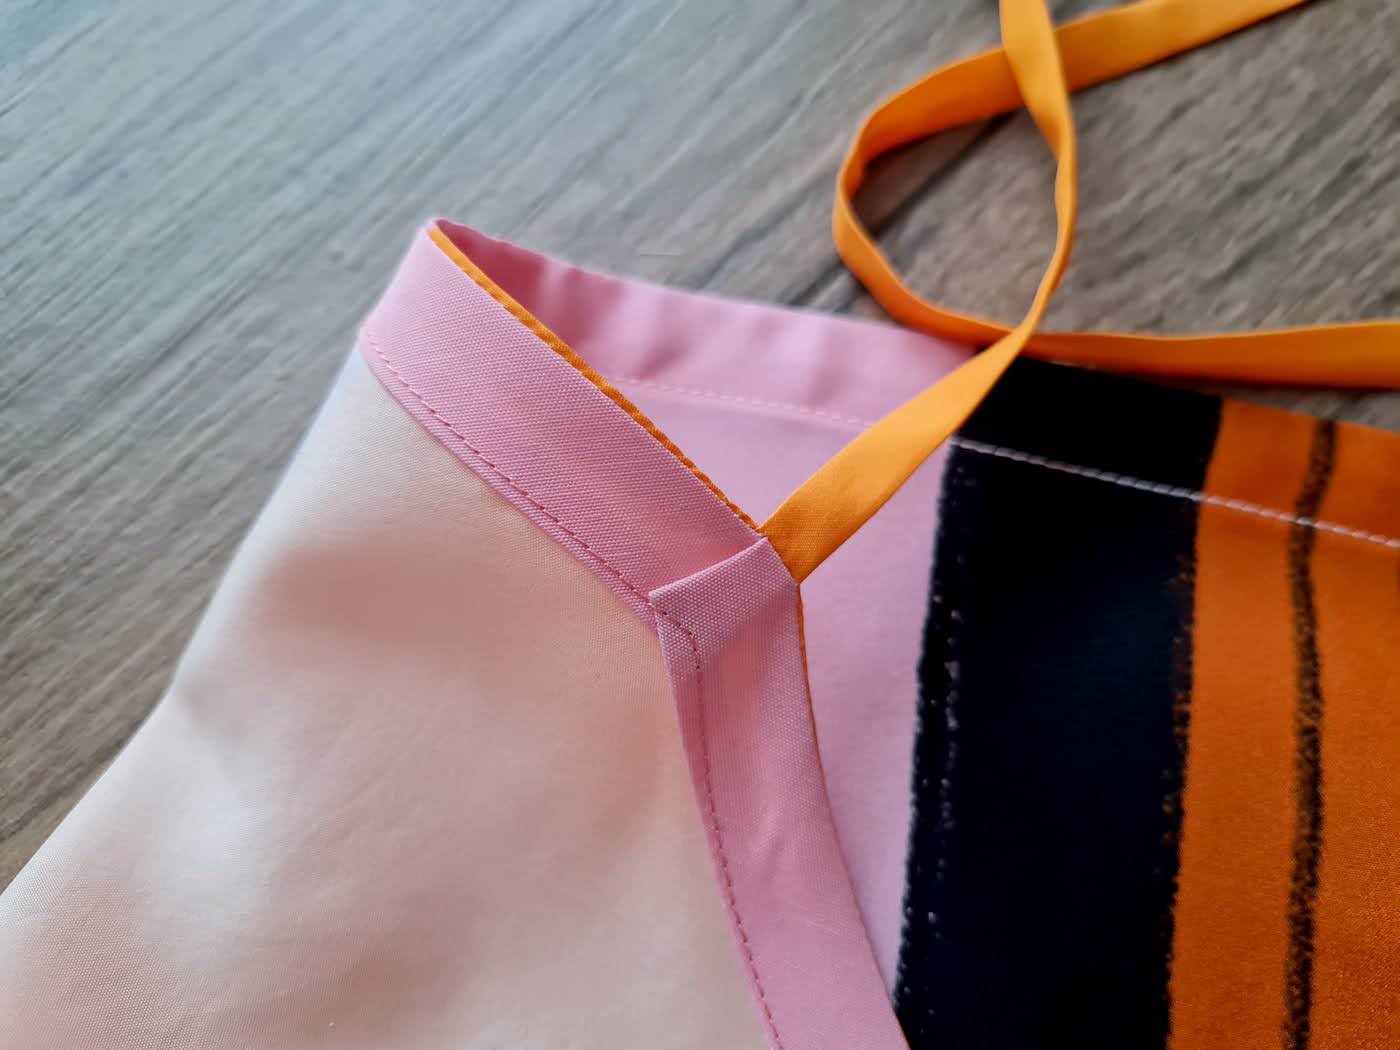
Took my bias tape and pinned it along the neckline on the right side, over the straps like so:
Closeup of how I folded the bias tape at the corner where the neckline becomes the arm curve:
Then sewed along the bias tape opened fold. I always like to stitch over the shoulder straps a few times with a very short stitch, to make sure they stay securely attached with wear. Once done, trimmed the bulk of the folded bias tape away.
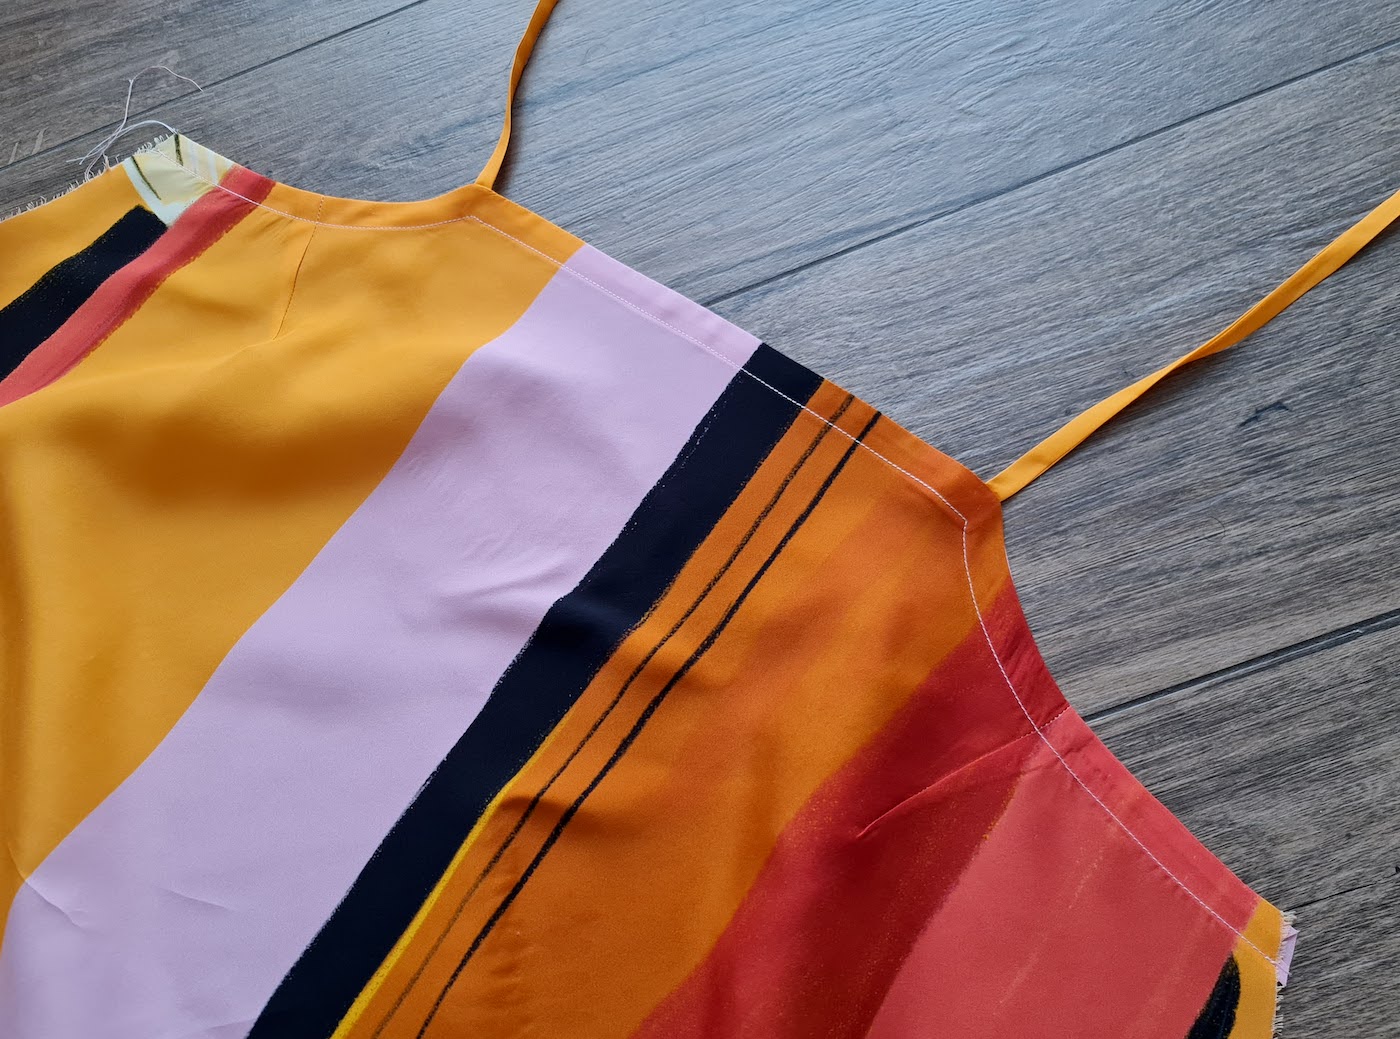
And so I was ready to flip the bias tape onto the reverse, press, and topstitch. Pretty damn pleased with how neat it turned out.
On the reverse:
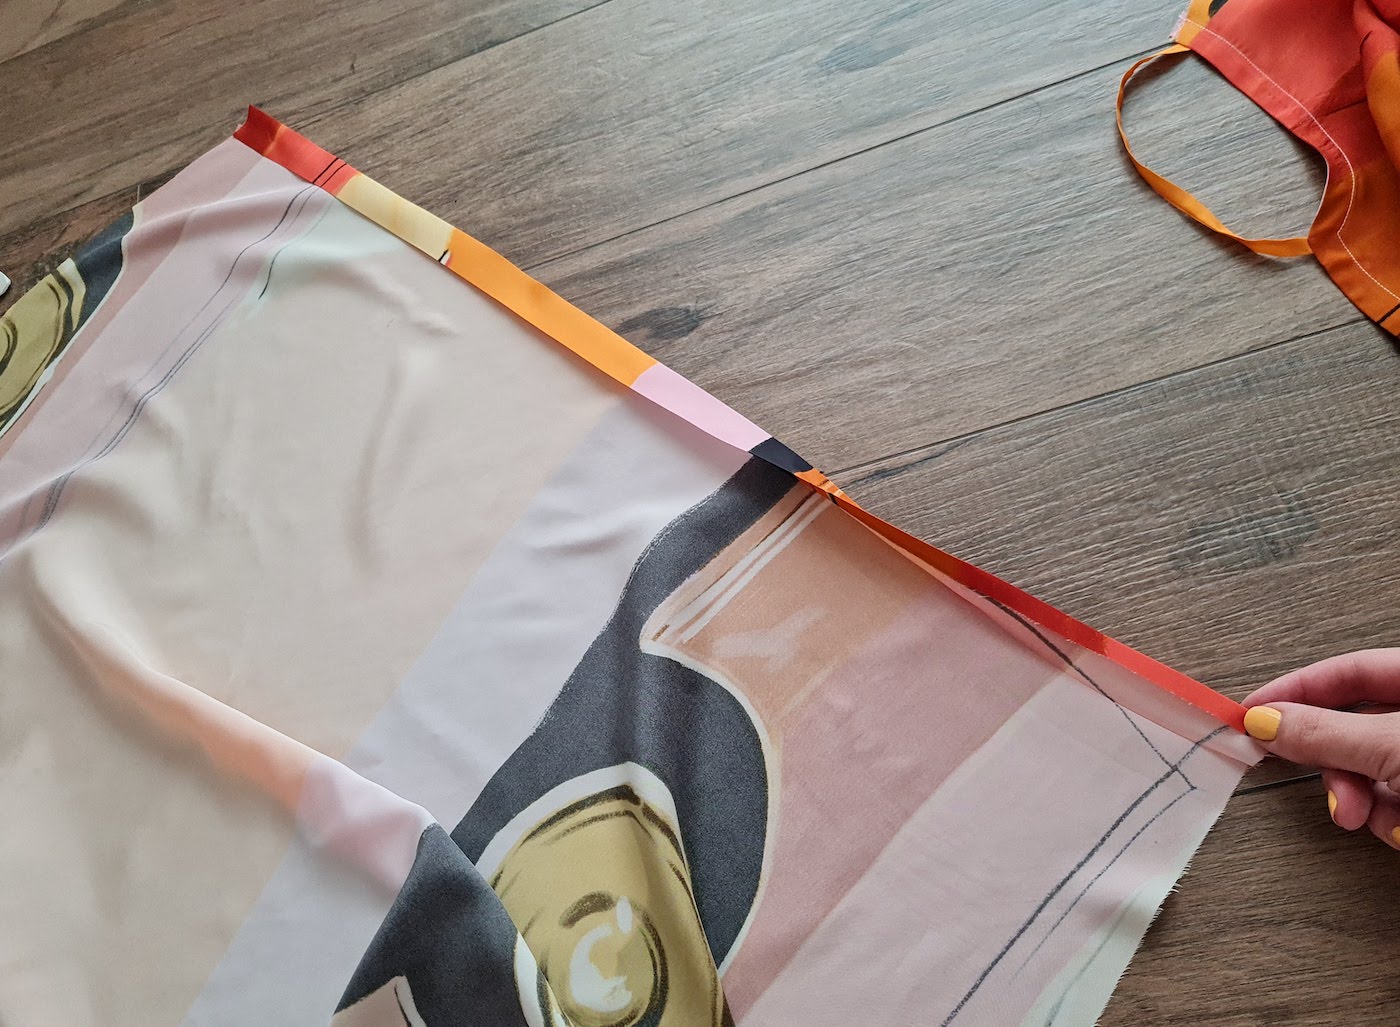
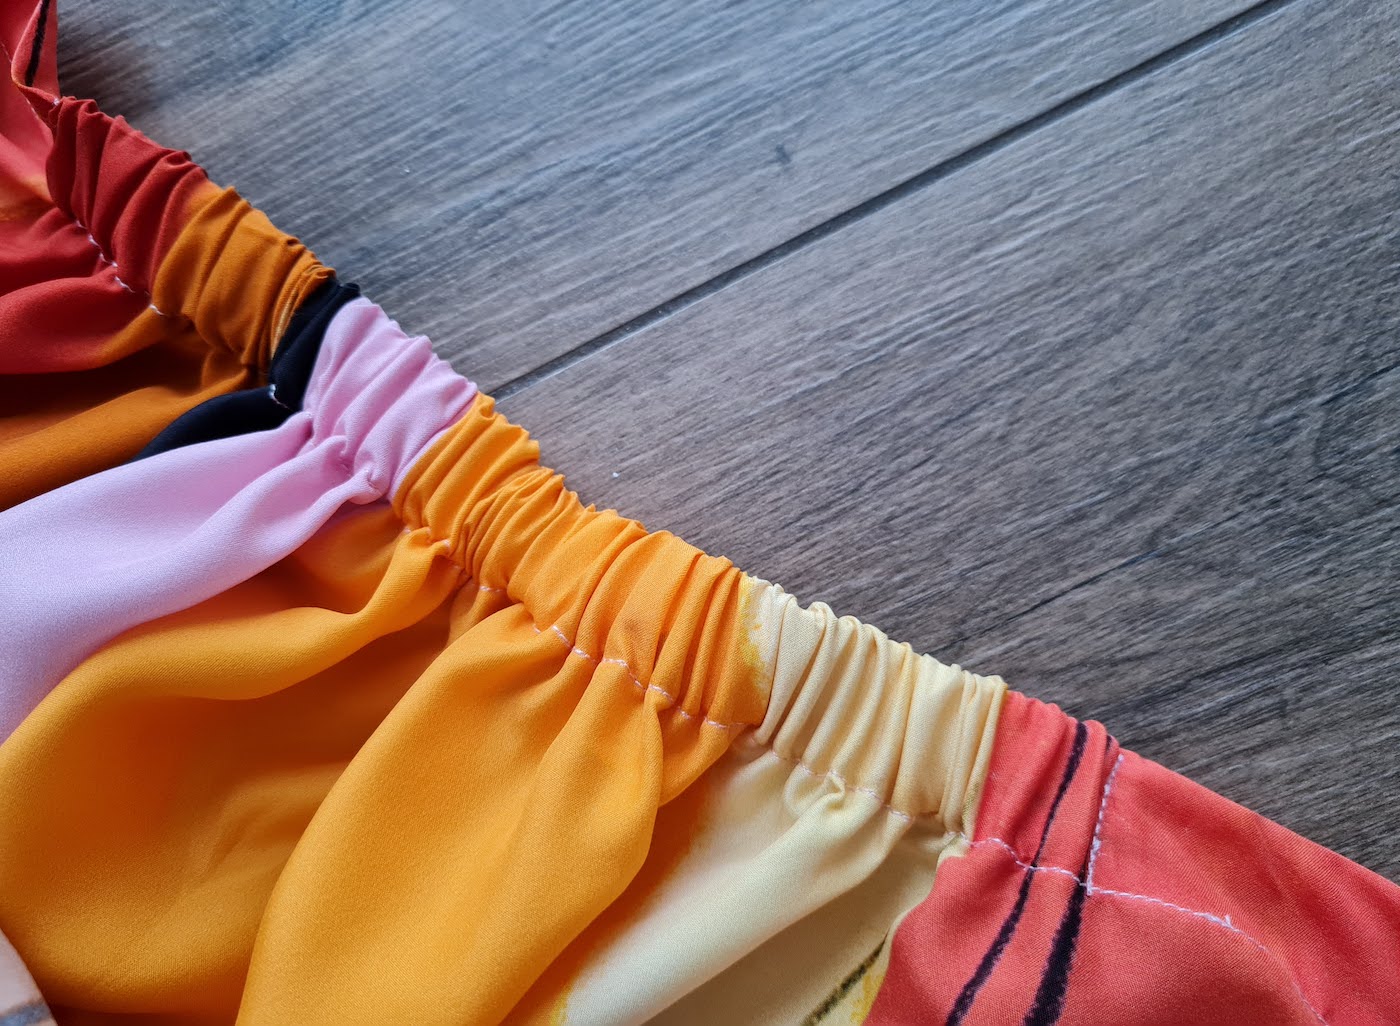
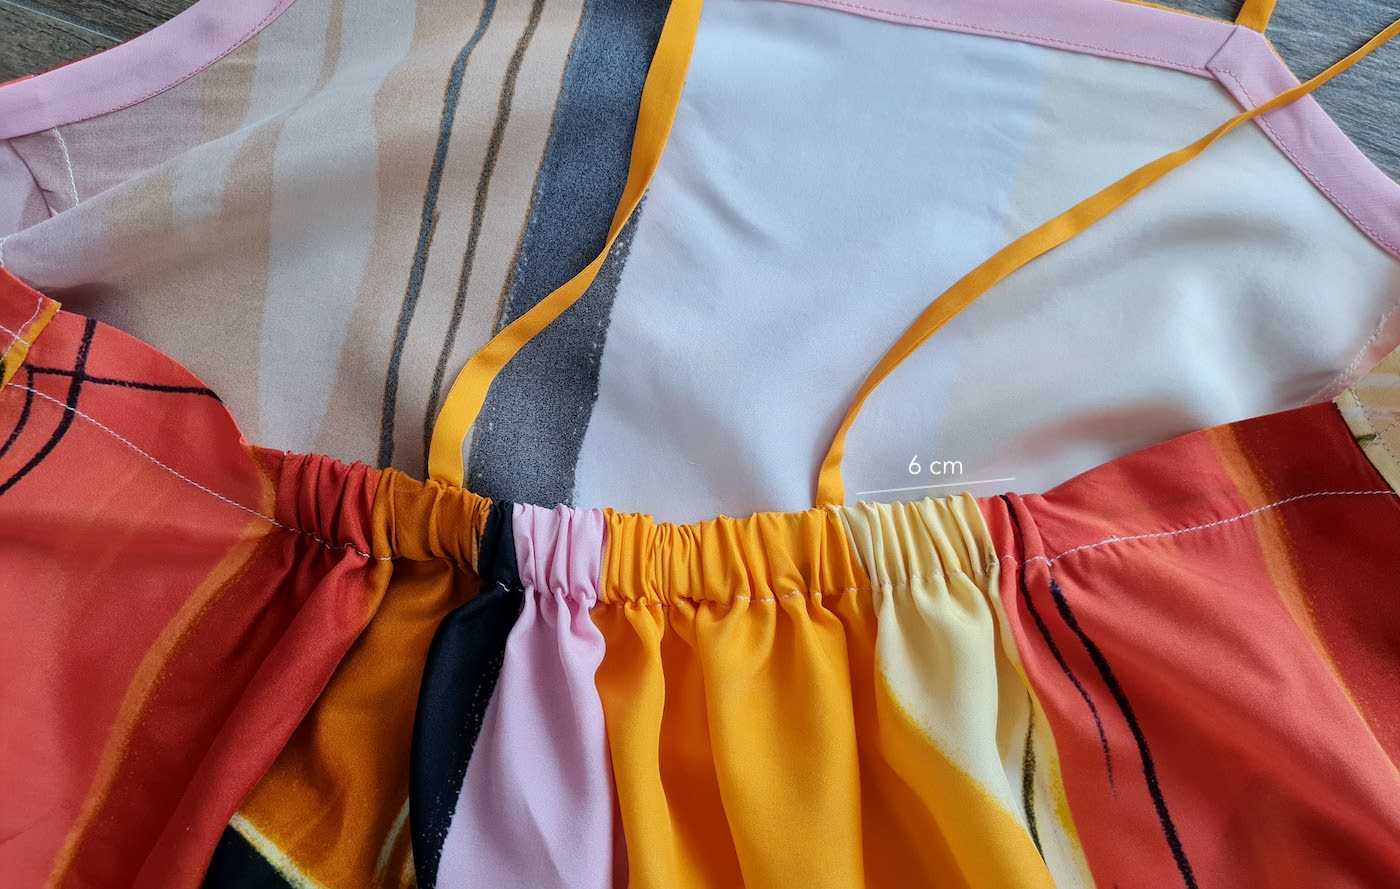
IV. Next I finished the back piece, by first pressing a double fold just a bit wider than your elastic along the top edge:
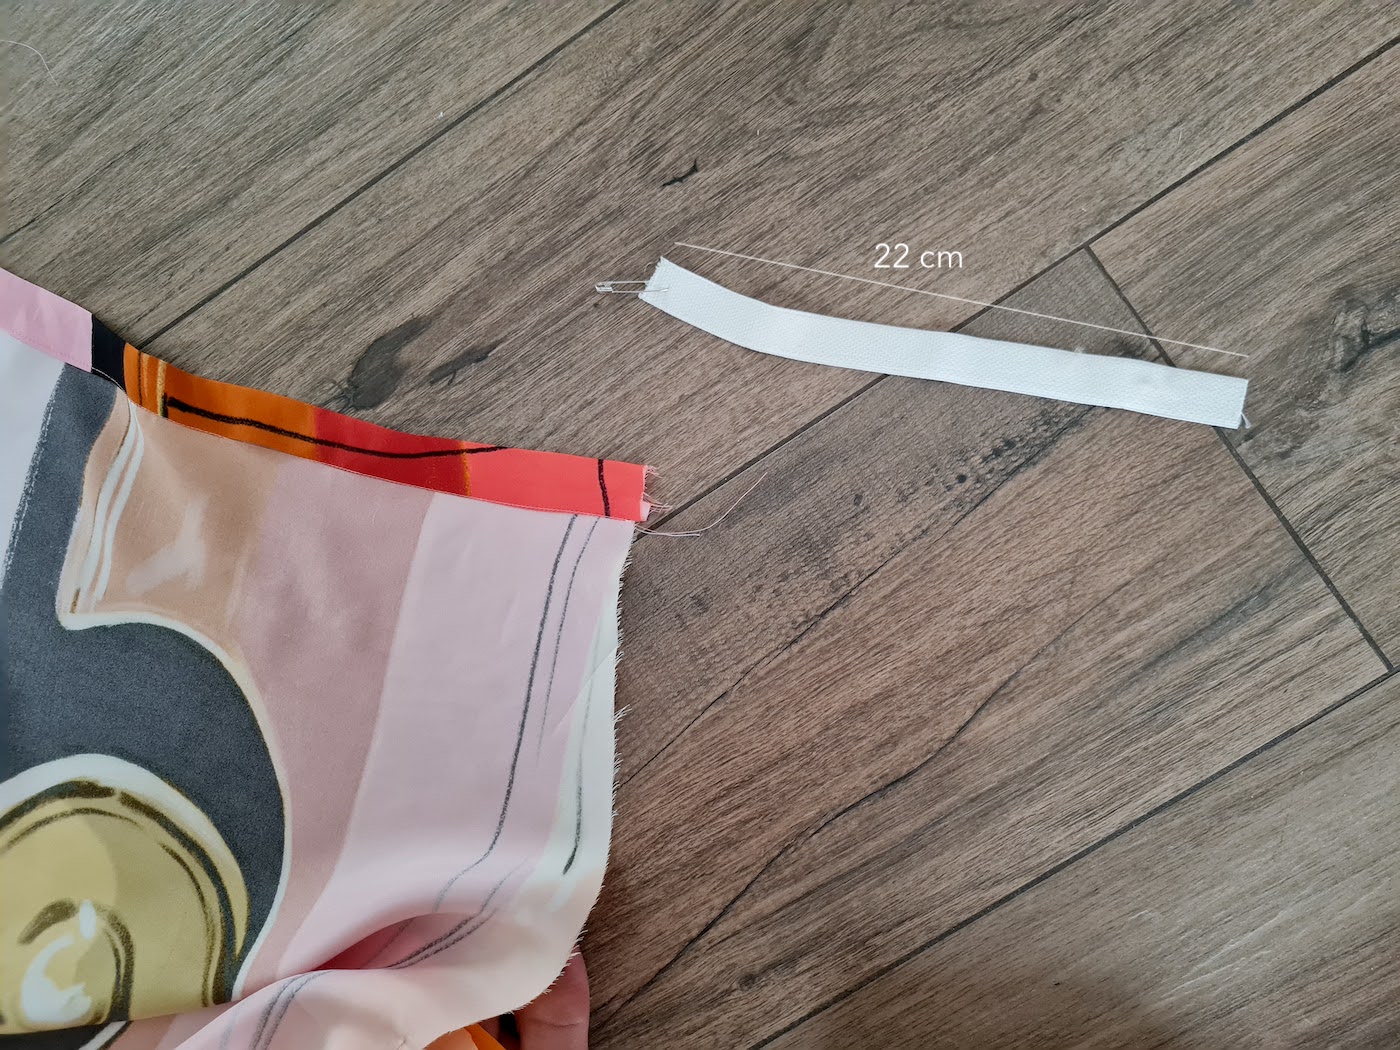
Sewed the fold in place, and took my elastic with a safety pin..
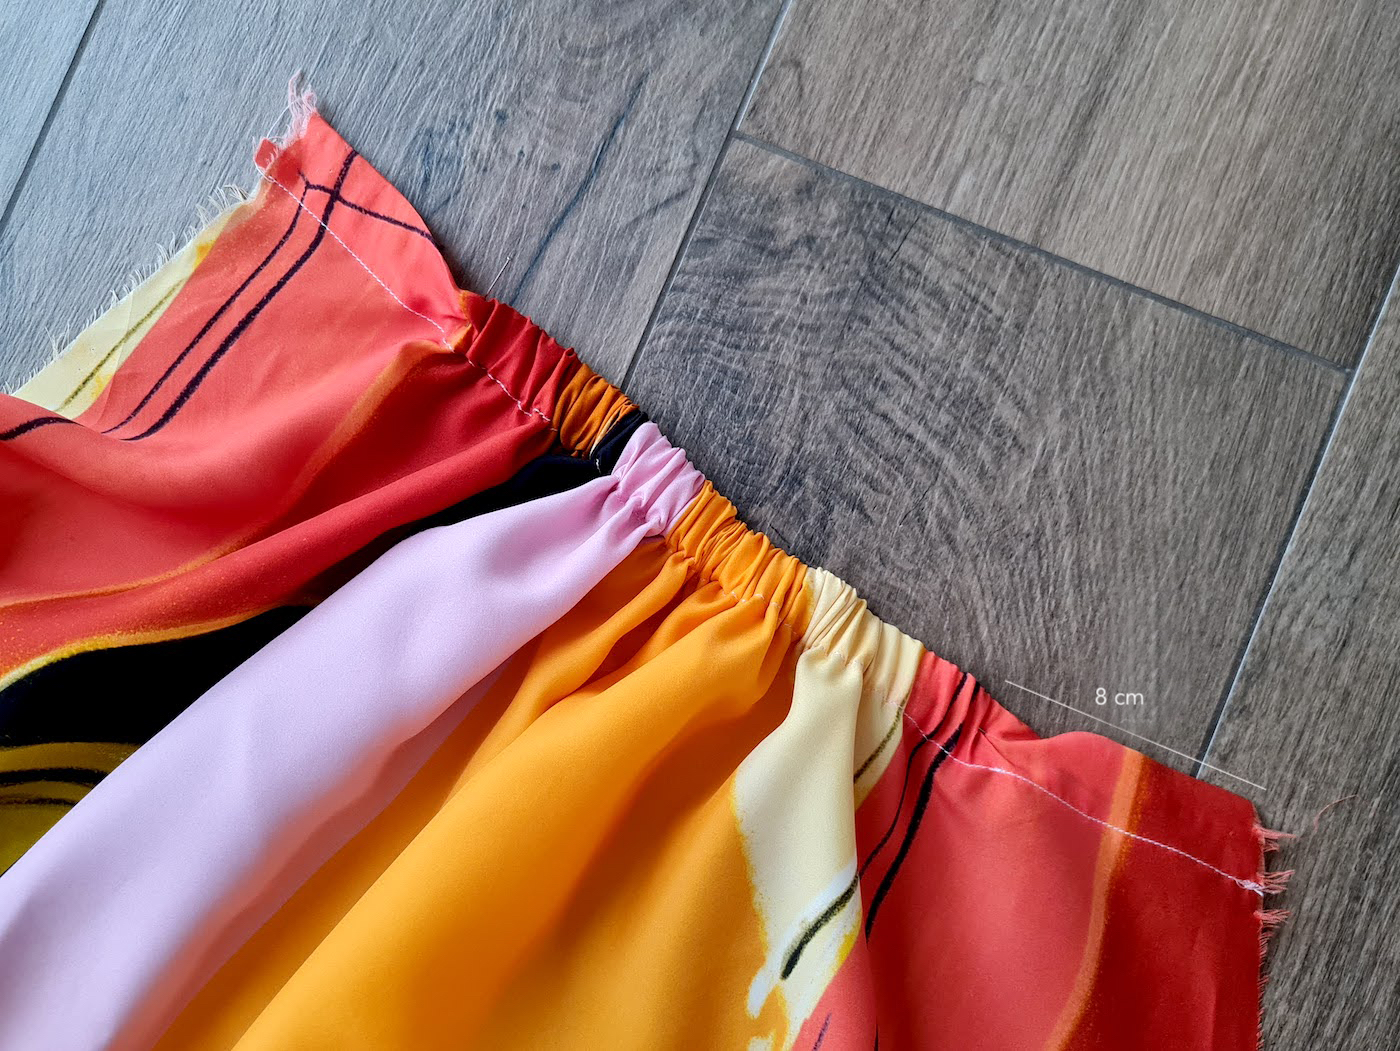
.. And inserted inside the casing. I wanted a detail where only the center area of the back would be elasticated, so I pulled the elastic through until its end was about 8 cm inside, measured from the side. Secured the end there with a pin, and continued to pull the elastic all the way through (so I could get the safety pin off). Then let the safety pin-removed end slide back inside the casing, until it was that same 8 cm from the edge, secured with pin, and sewed both ends in place..
.. With a vertical stitch, like this.
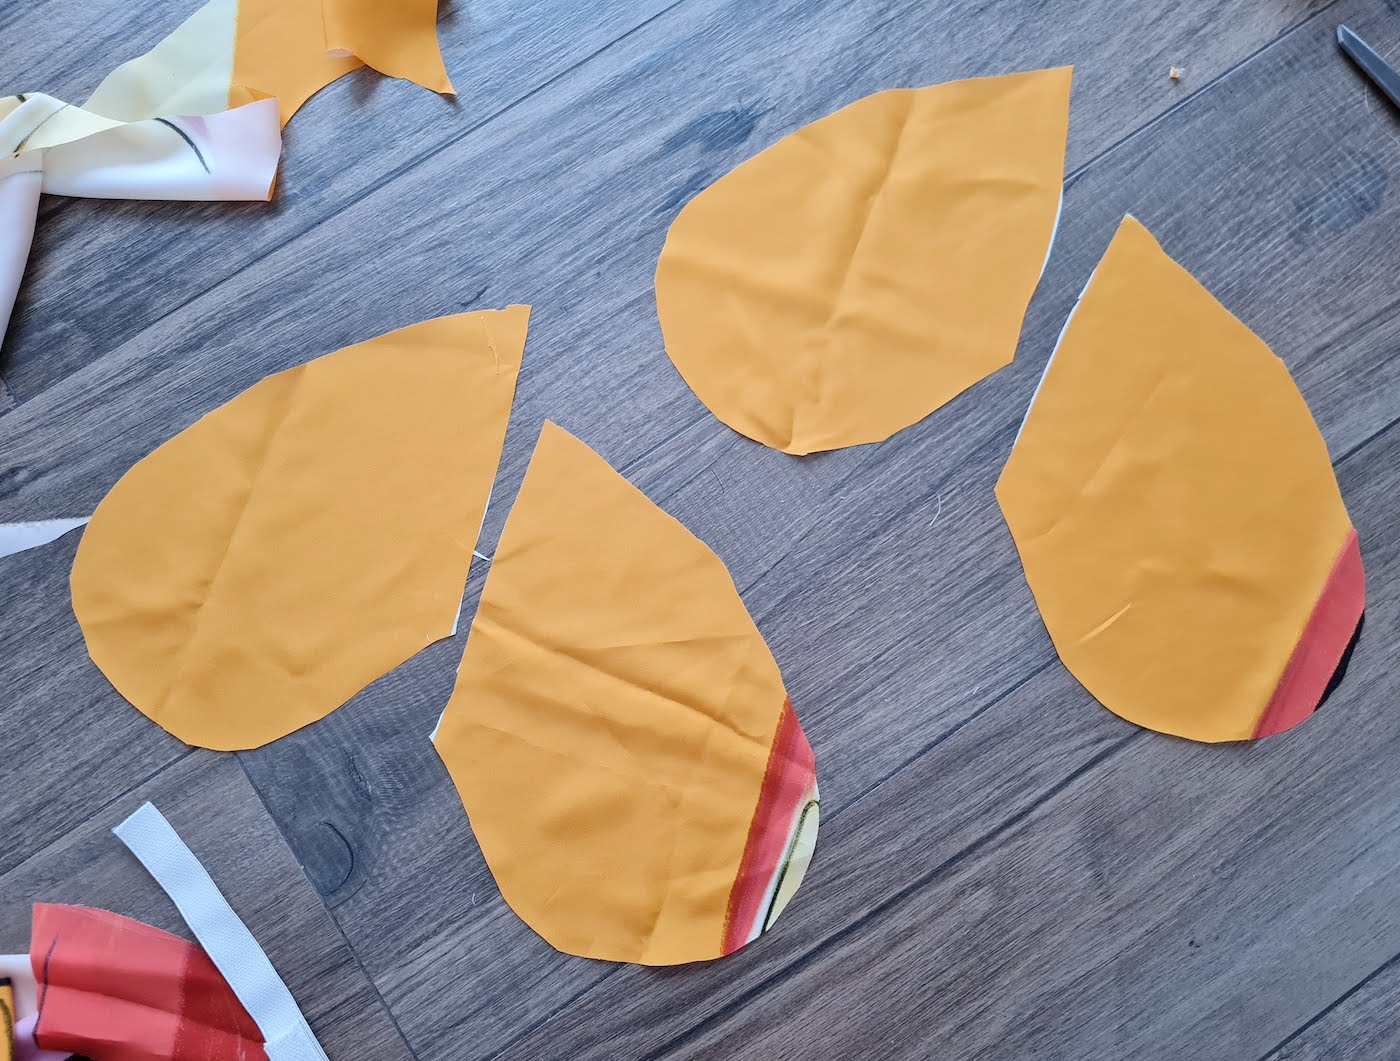
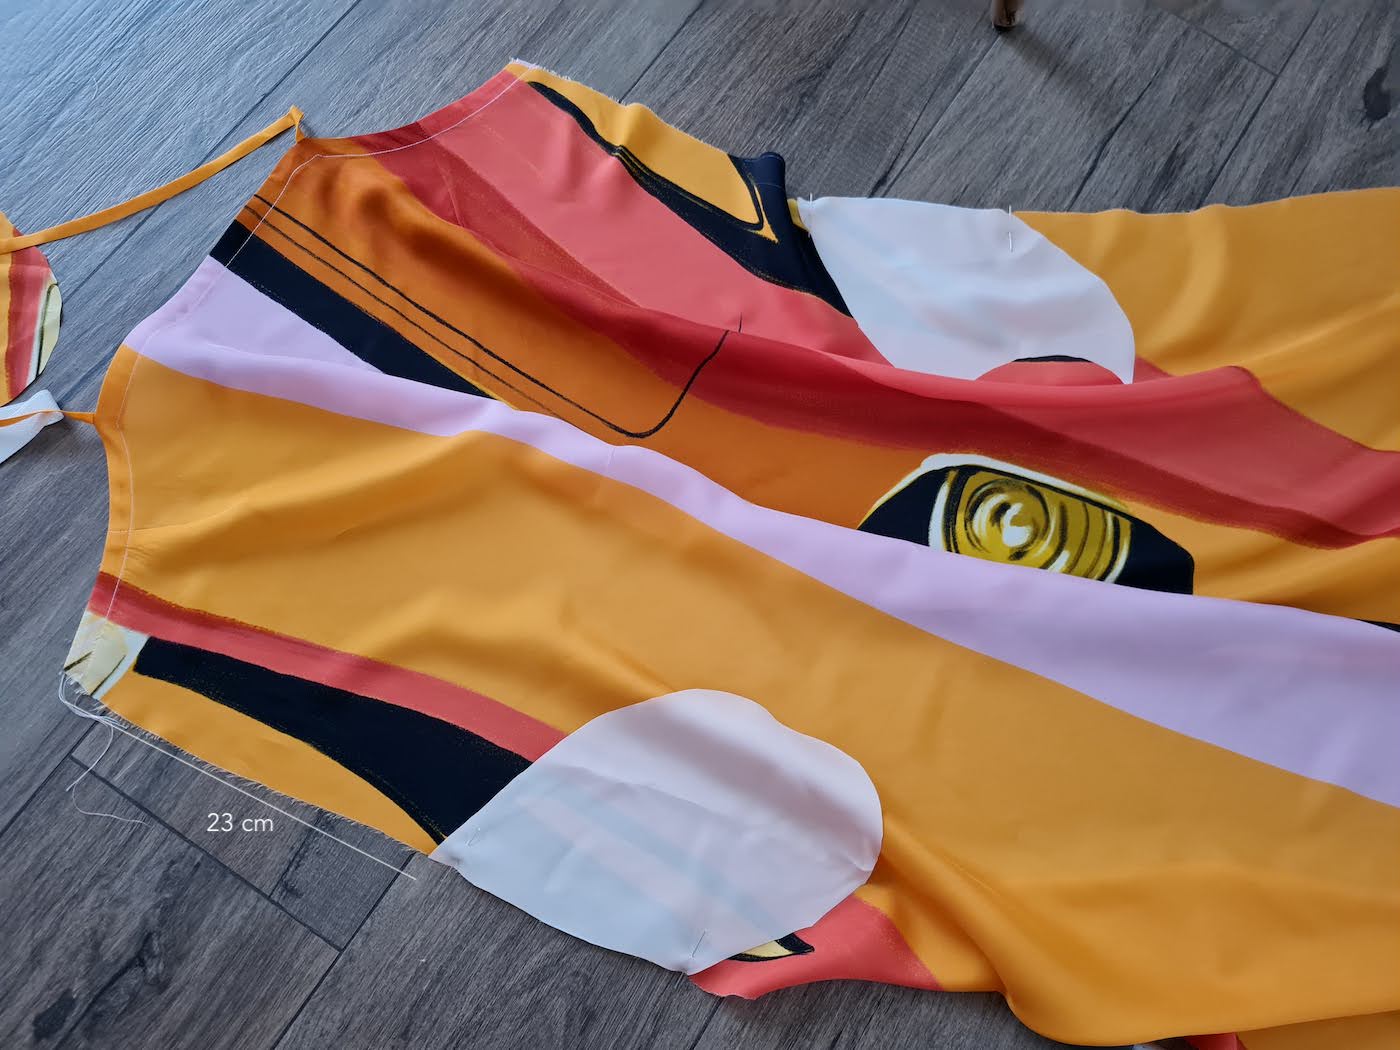
V. That's both front and back pieces done, so I got ready to attach them together by cutting my pockets:
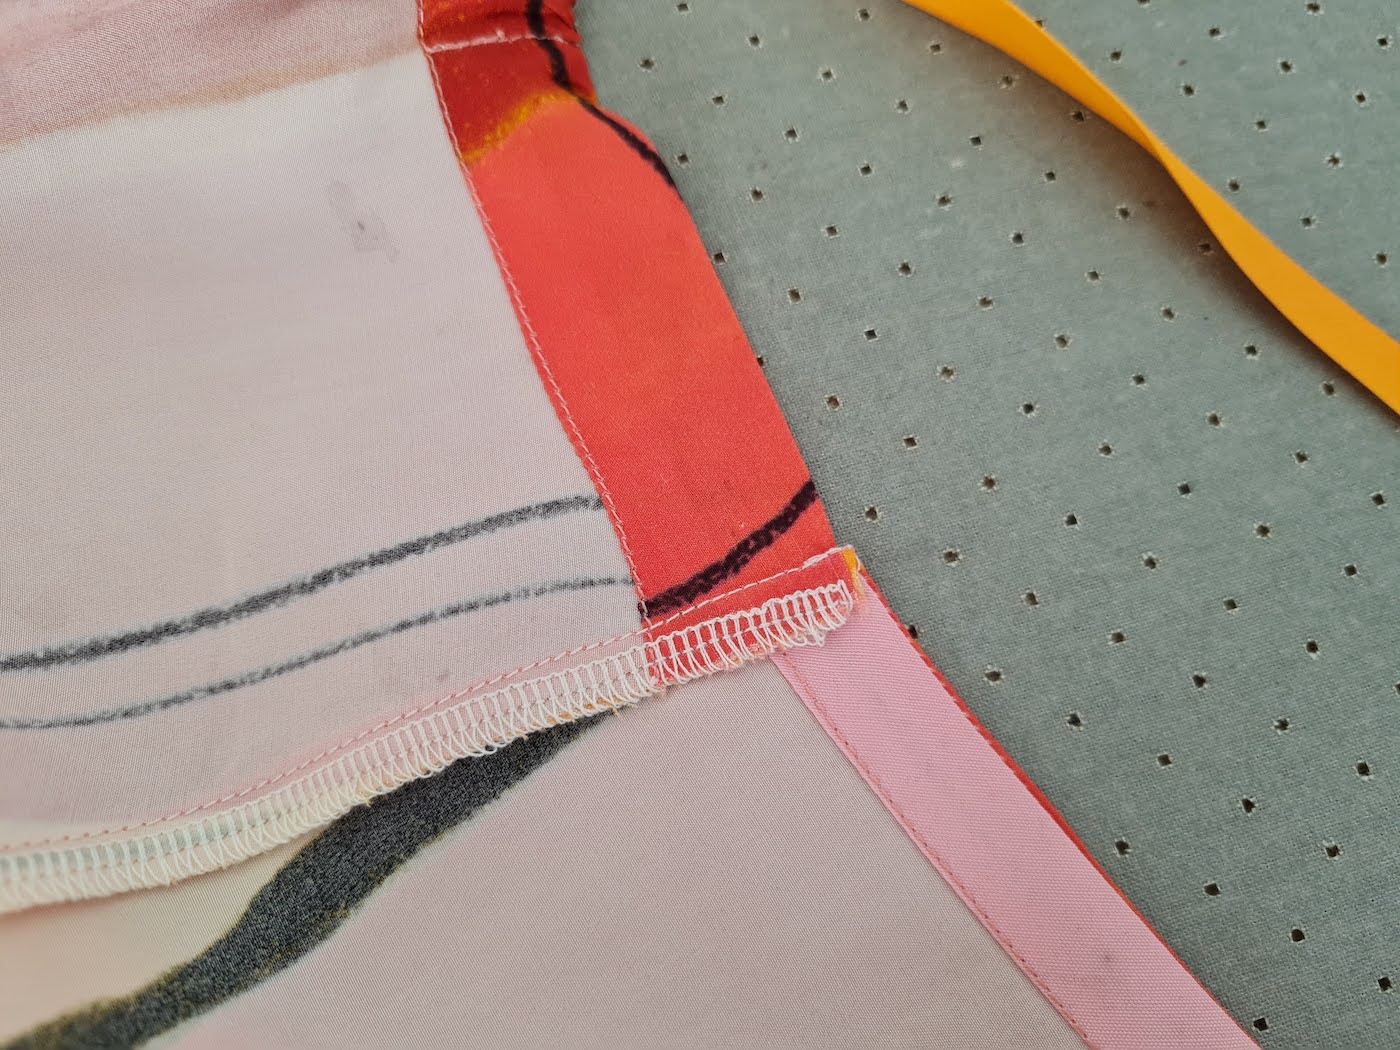
.. Which I pinned on both front and back pieces, right sides facing, equal distance from the top down (I did 23 cm). Sewed the pockets on and finished the seam allowances with my serger (could also do zigzag).
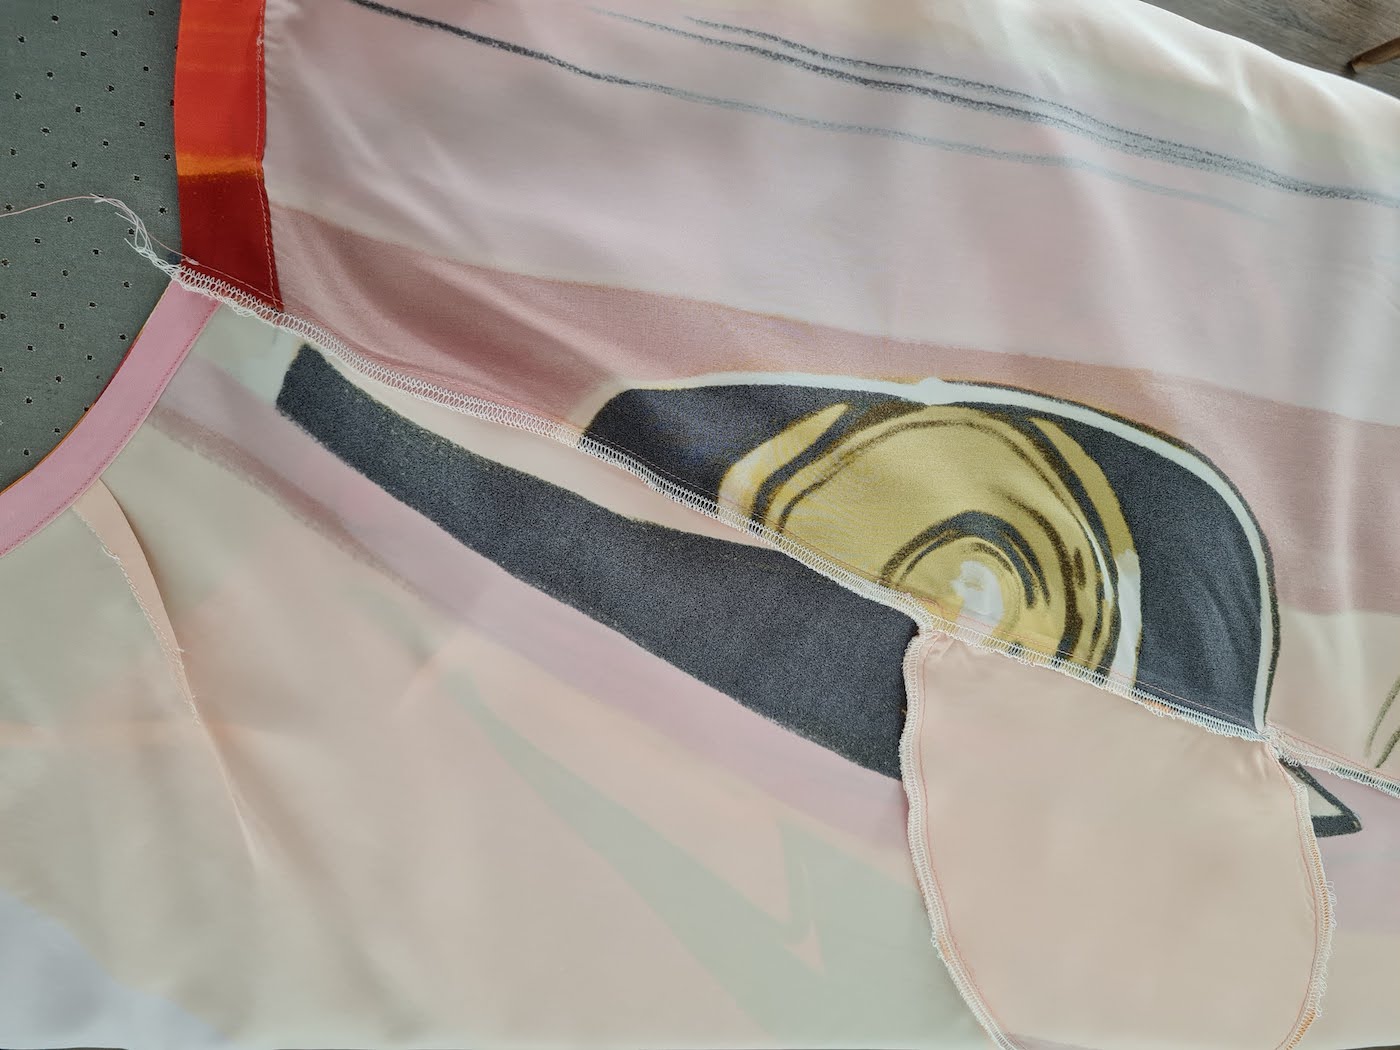
VI. To finish the sides, pinned the front and back together at the sides, pockets pulled out, and sewed down (of course going around the pocket, not through). I left the serger & straight stitch thread ends untrimmed:
.. And then pressed the seam allowance towards the front piece, and tucked the thread ends under the fold.
.. And finally, reinforced my side seams by top-stitching on the right side (again, not sewing your pocket shut:)
VII. Last 2 steps: Trying on to confirm shoulder strap length (I did 40 cm) & attaching the straps onto the back piece (I hand-sewed mine 6 cm from the start of the elasticated area)..
.. And hemming the dress, where I did a tiny double fold not to sacrifice any of the length of the dress.
So flowy!!
xo,
Julia


0 comments:
Post a Comment
I would love to hear what you think and learn about your DIY adventures! If you use one of my tutorials, tag me on social @contour_affair, I'd love to see!