I. The prepared crotch-area should look like this - your two front pieces of the pants right sides facing, cut in a U-shape as shown below, edges zig-zagged. Notice how the length of the zipper corresponds to the length of the straight part before the U starts.
II. Mark that end point with a pin and start sewing from the bottom of the crotch, regular (about 2-mm) stitch, until you reach the pin, back up to reinforce. From there, change the stitch setting to the longest you have on your machine and sew all the way to the edge. Don't back up at the end. This part is just there as a holder, and will be removed at the end. You may want to snip some cuts in the long stitch to make it easier to remove later.
III. Open the pants and press with iron.
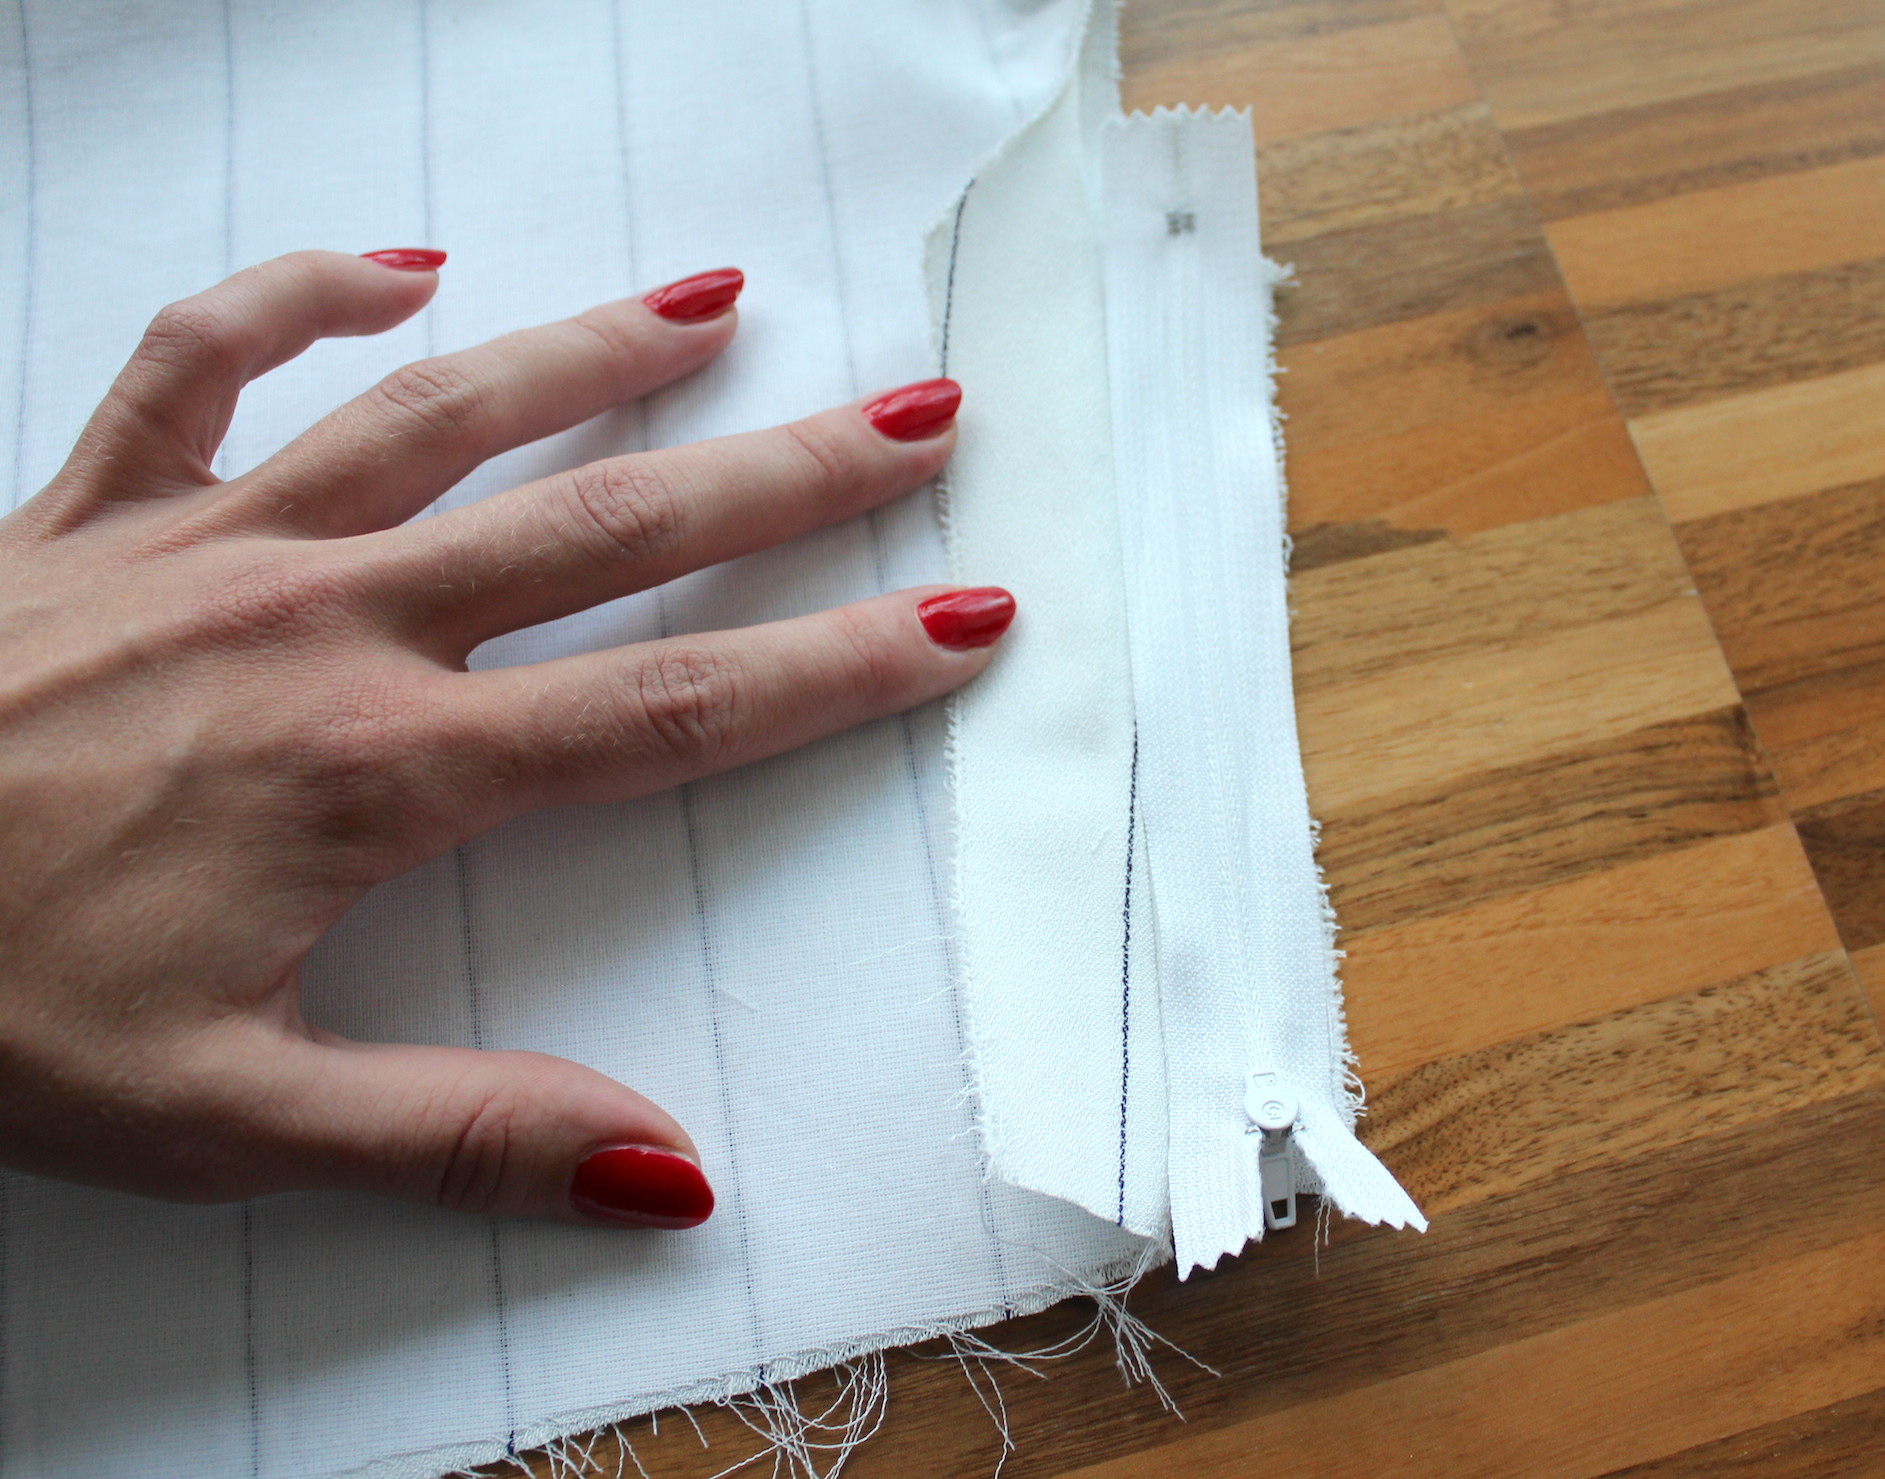
IV. Place the zipper on the right side, face down.
V. Flip all the layers except for the piece the zipper is sitting on, to the other side.
VI. To sew the first stitch, push the zipper against the seam (you don't need to pin it down unless you want to, the layers of the fabric will act as a stopper). the zipper tape should go over the seam, with the actual zipper snuggly pressed right against the seam. Sew a straight stitch a couple mm from the right edge of the zipper tape (I've lost my zipper foot so keep using a regular foot for zippers, and have had no problem). At the end, you'll want to open the zipper past the foot to get all the way and keep the stitch straight.
VII. You should now have this.
VIII. Flip the zipper over as shown below, and top-stitch right at the edge of the fold, on the zipper tape.
IX. The result should look like this.
X. Flip all the zipper to the other side, making sure the right-most piece doesn't come with (if you sew this with the other layers, you won't be able to open the zipper). You may want to pin the piece down to make sure it stays clear.
XI. Again, gather all the other layers to the other side, with just the un-sewn side of the fly and the zipper in your hand. Sew a straight stitch along the un-sewn edge of the zipper tape, attaching it to the un-sewn side of the fly.
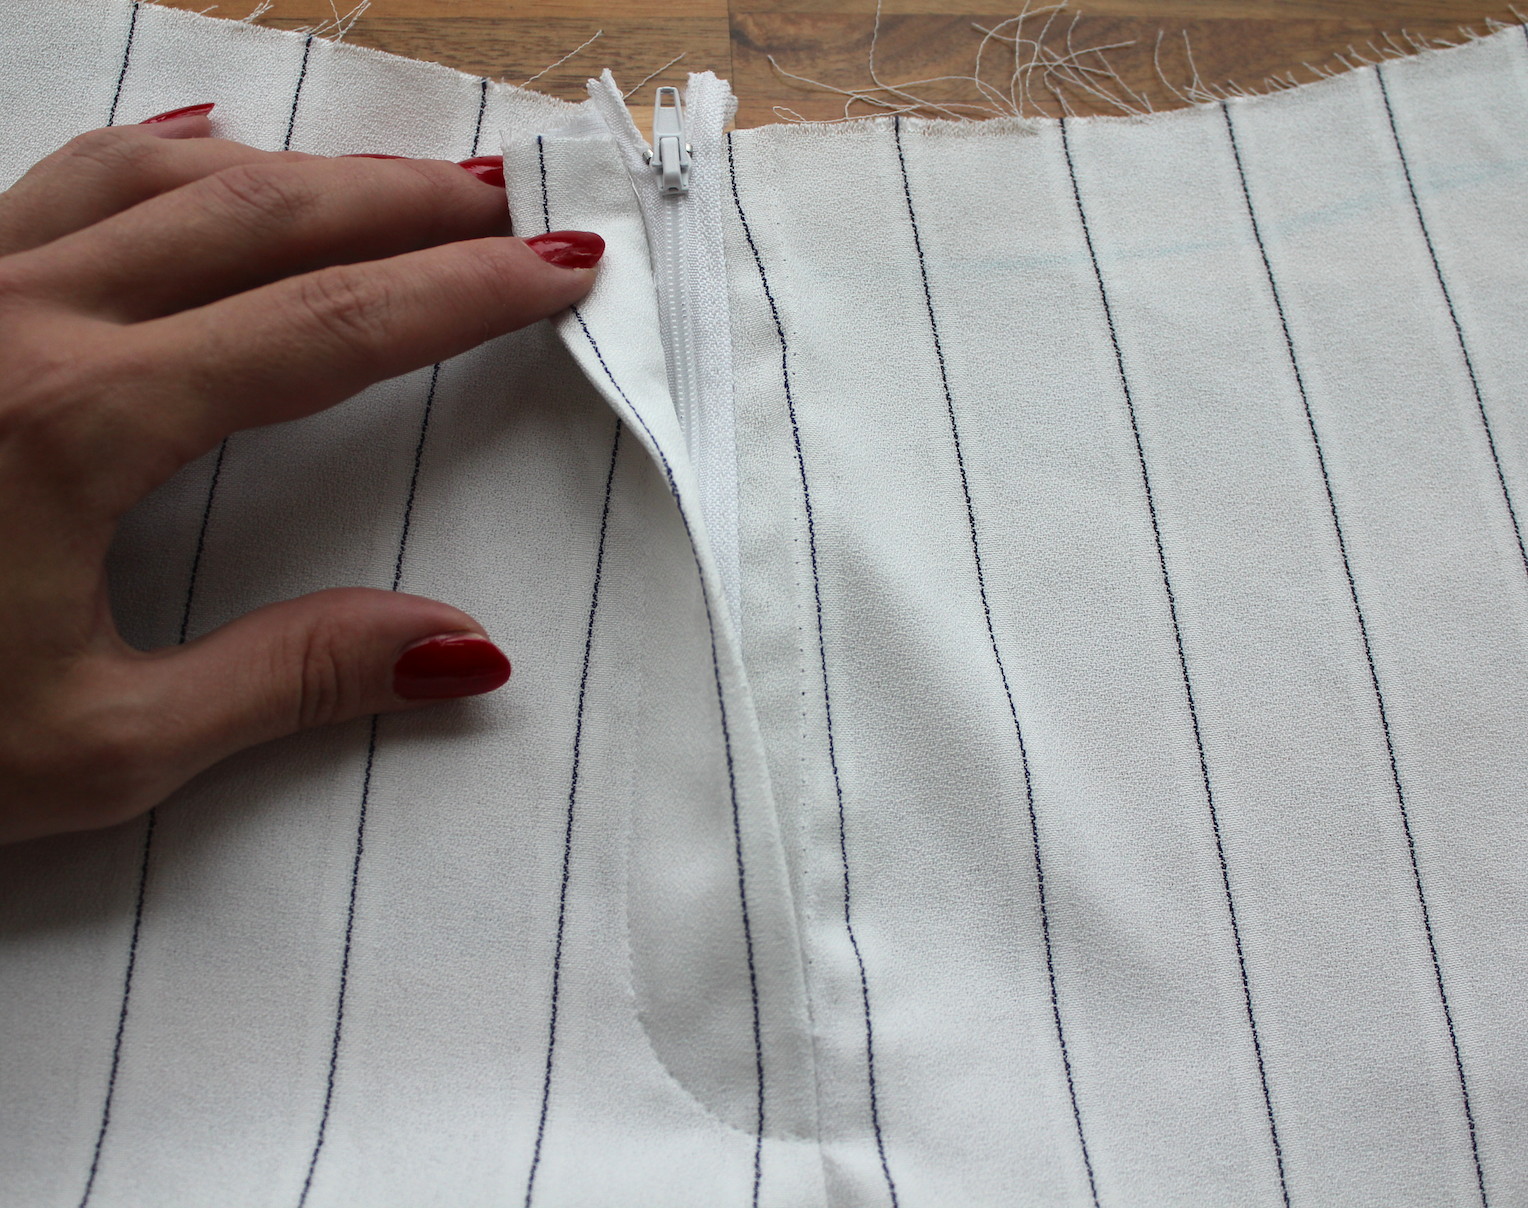
Your fly will now look like this; the zipper is trapped inside. At this point, check where your zipper ends and mark that spot with a pin on the right side, and you're ready to sew the final stitch.
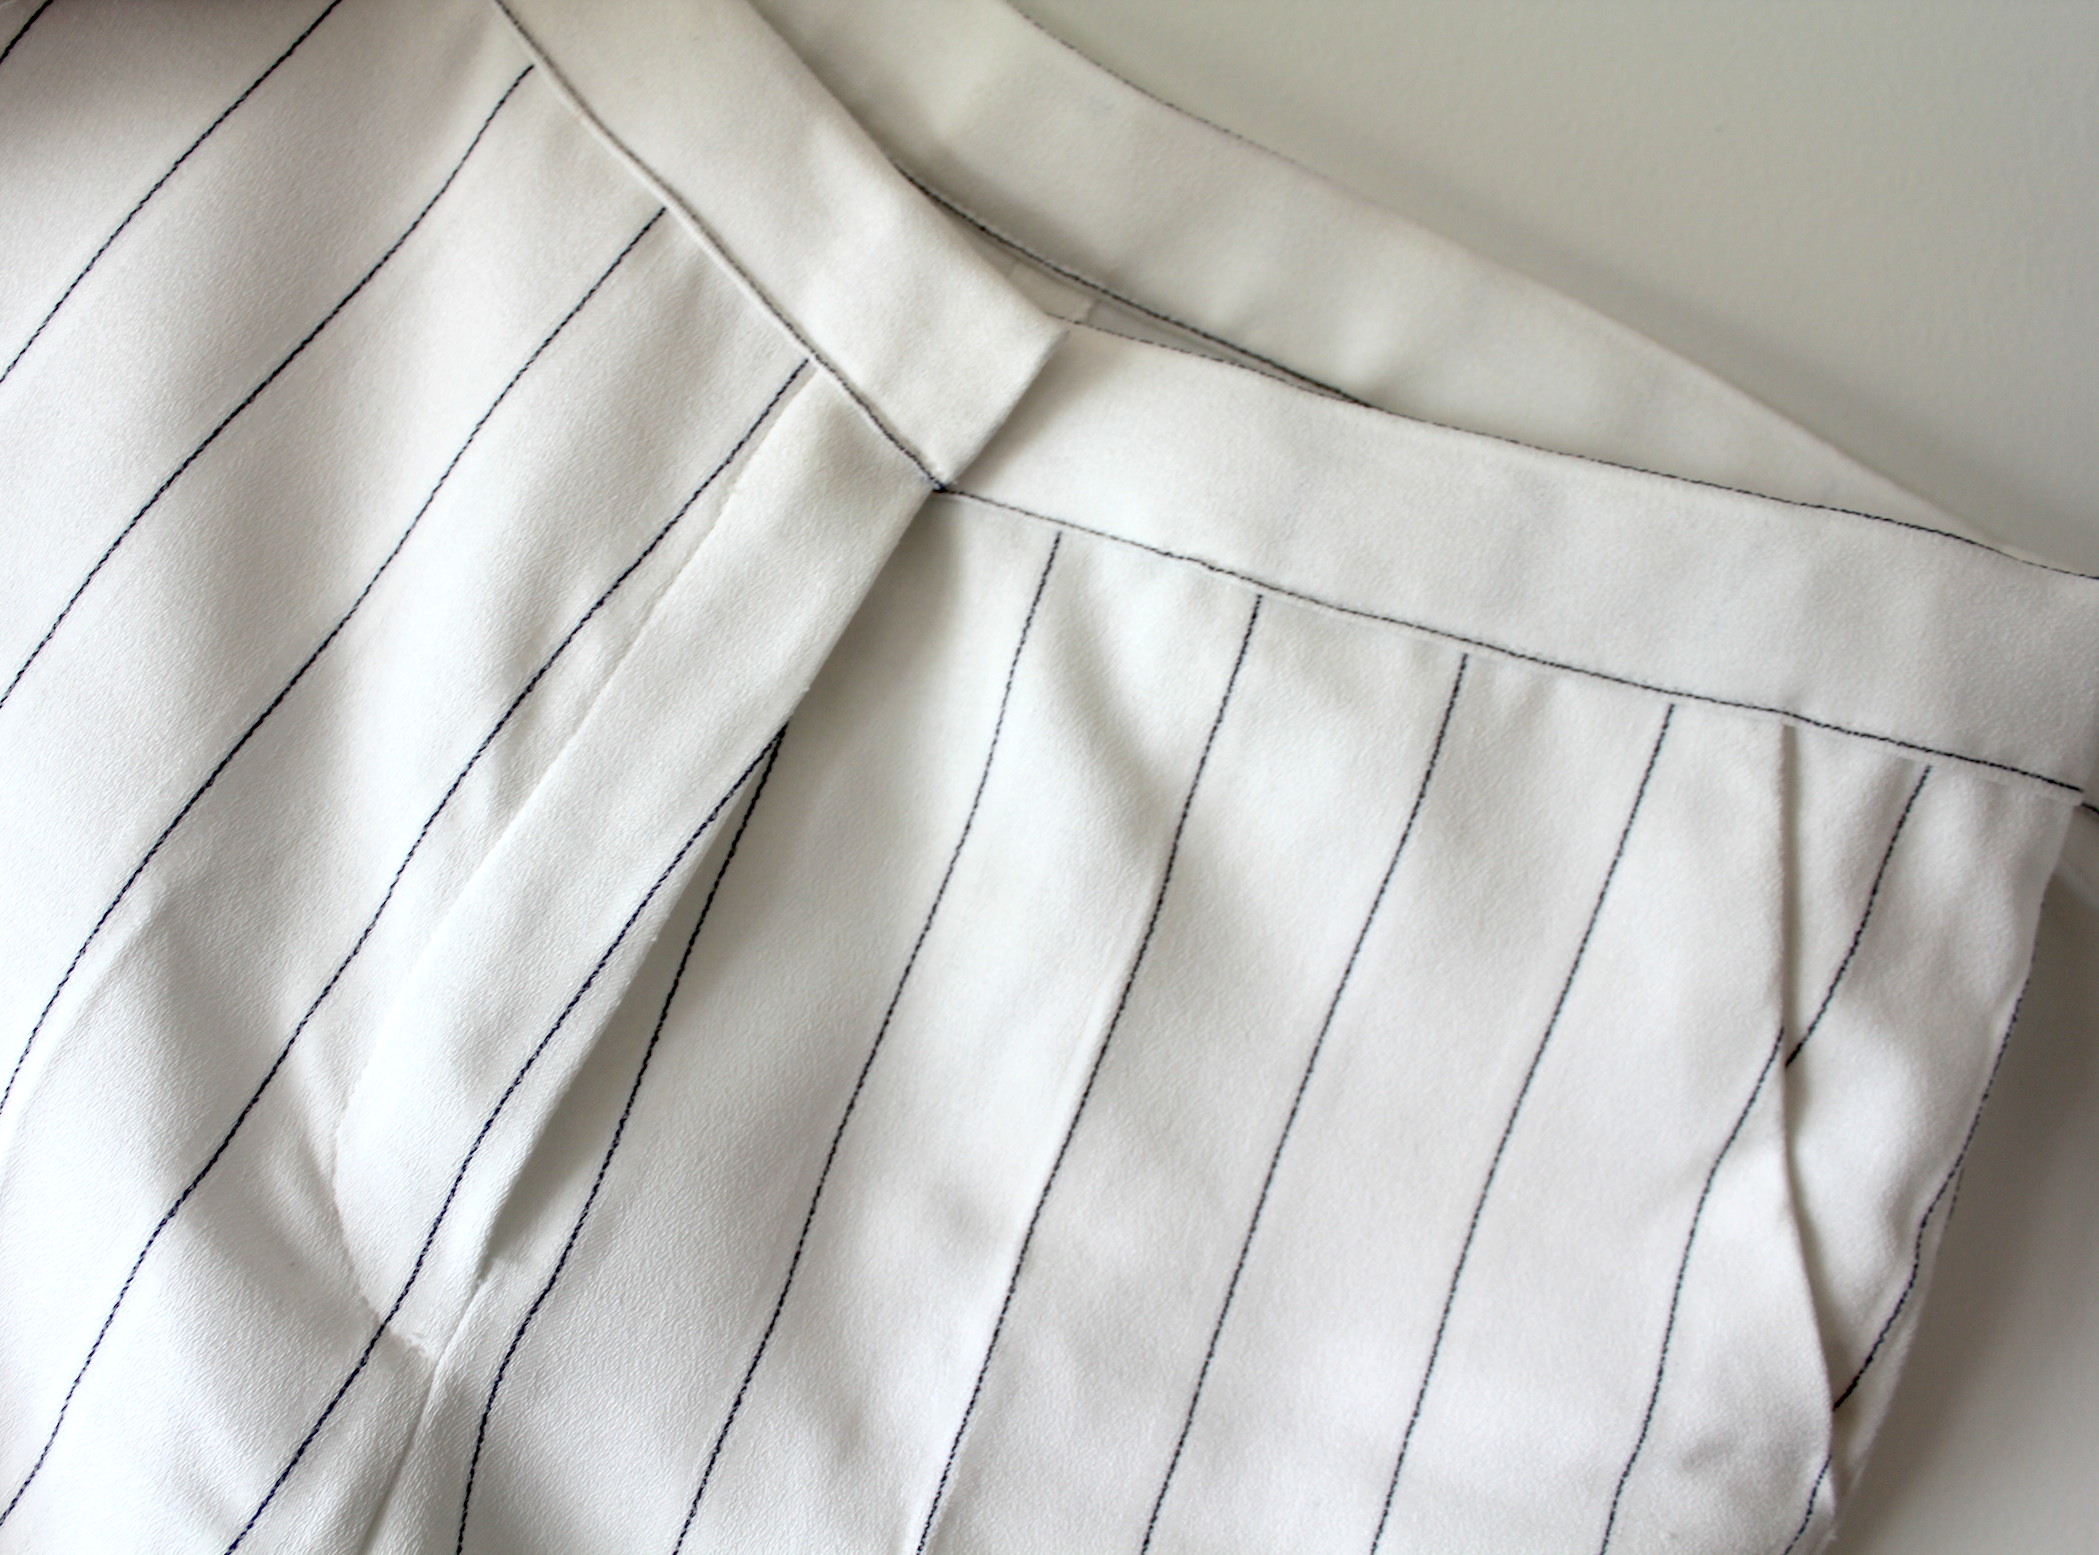
XII. For the last stitch, lay the pants flat with the fly on the left side (in the image, the zipper is in between the foot and the centre seam). Check where the edge of the fly is and sew a couple mm right from that, straight stitch, until you arrive at the pin marking the end of the zipper.
XIII. At the pin, start curving your stitch, until you arrive at the centre seam. reverse and stop there.
XIV. The last step is to remove the long stitch you did at step II. Your zipper should then be ready.
xo,
Julia


0 comments:
Post a Comment
I would love to hear what you think and learn about your DIY adventures! If you use one of my tutorials, tag me on social @contour_affair, I'd love to see!