

Part II of DIY planters ensues. The Zanzibar Gem we got from Ikea a few weeks back has been sprouting new leaves like there's no tomorrow, and when Walid told me they actually grow very quickly in as much space as you give them (since when did he become a botanist??), I started feeling terrible guilt over suffocating the poor thing in its tiny pot. Then we had to go for a visa run to Oman, and on the way there was a guy selling these awesome clay vases on the side of the road. I saw potential.
This is a super simple, and in my opinion beautiful-looking DIY, especially for a tall planter like mine. If you've ever tried making gradient nails with a makeup sponge, you're already a pro - this is way easier.
TOOLS:
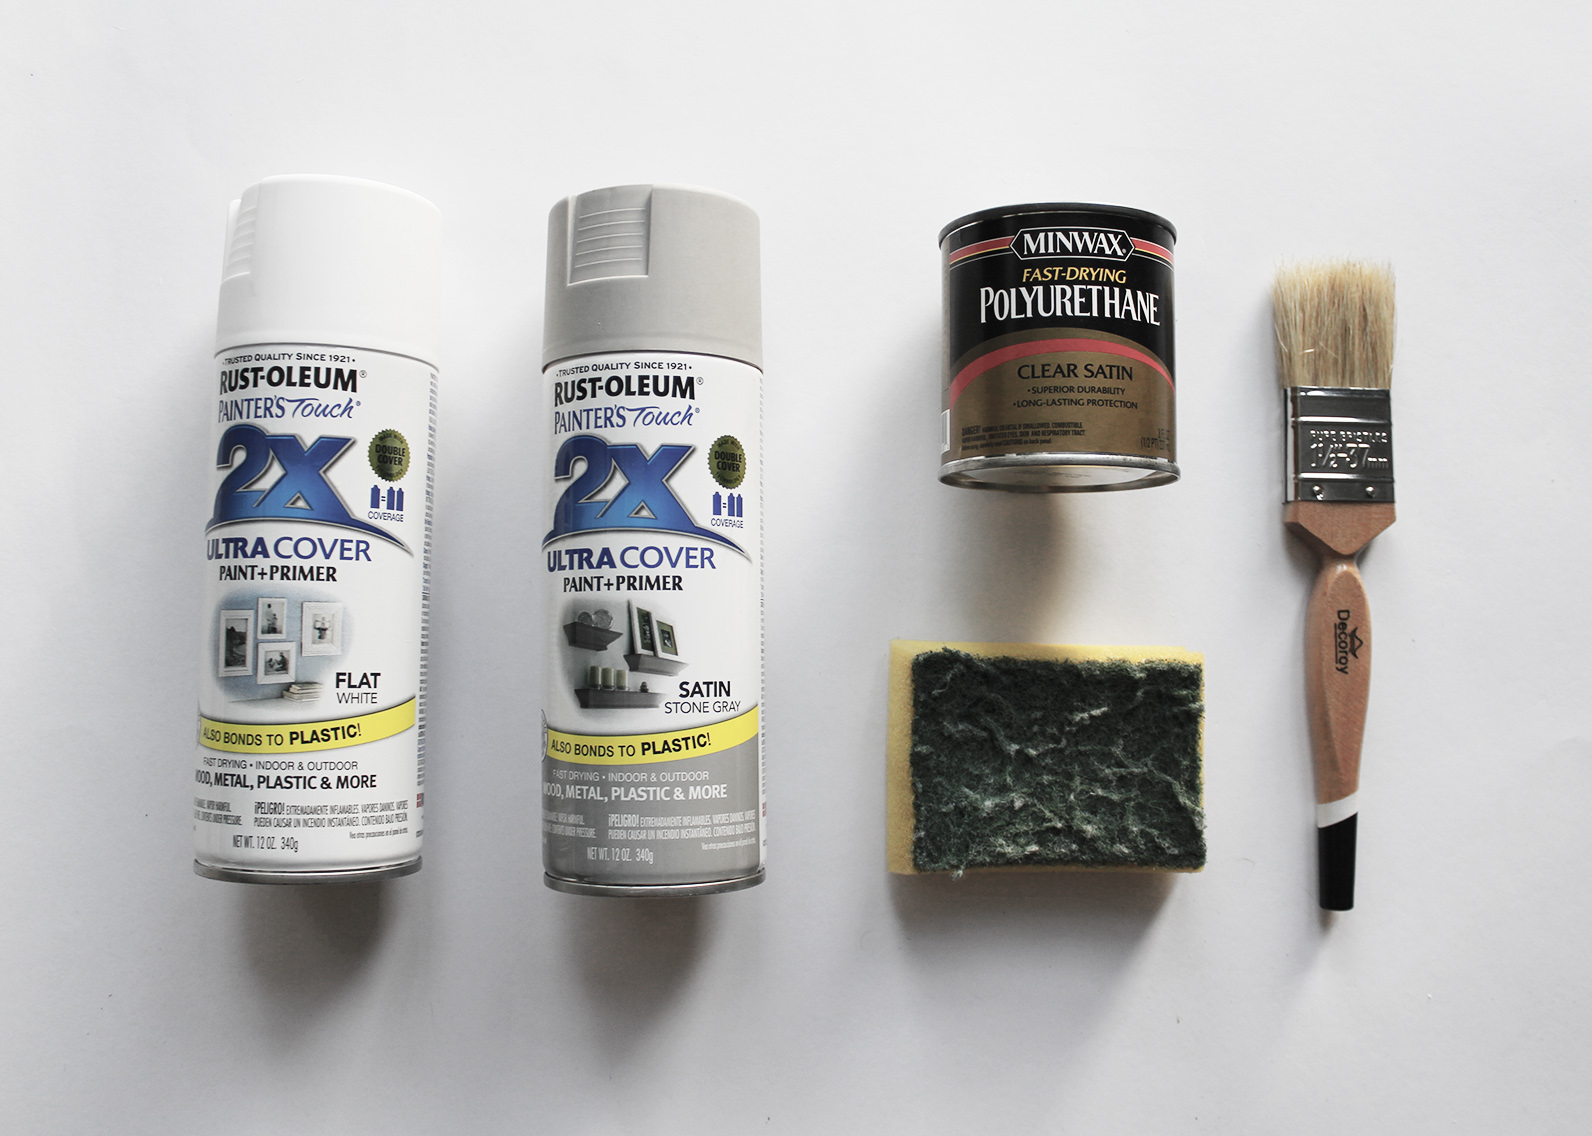
Two spray paints in the tones of your choosing (or non-spray works as well I'm sure, I used this because I had leftover from this project, and it has a primer included) | A sealer - I used a regular polyurethane coat | Brush | Sponge (as you can see mine was a beaten up dish washing one) | A container for mixing the paints (like a crappy takeaway container ready to be discarded after)
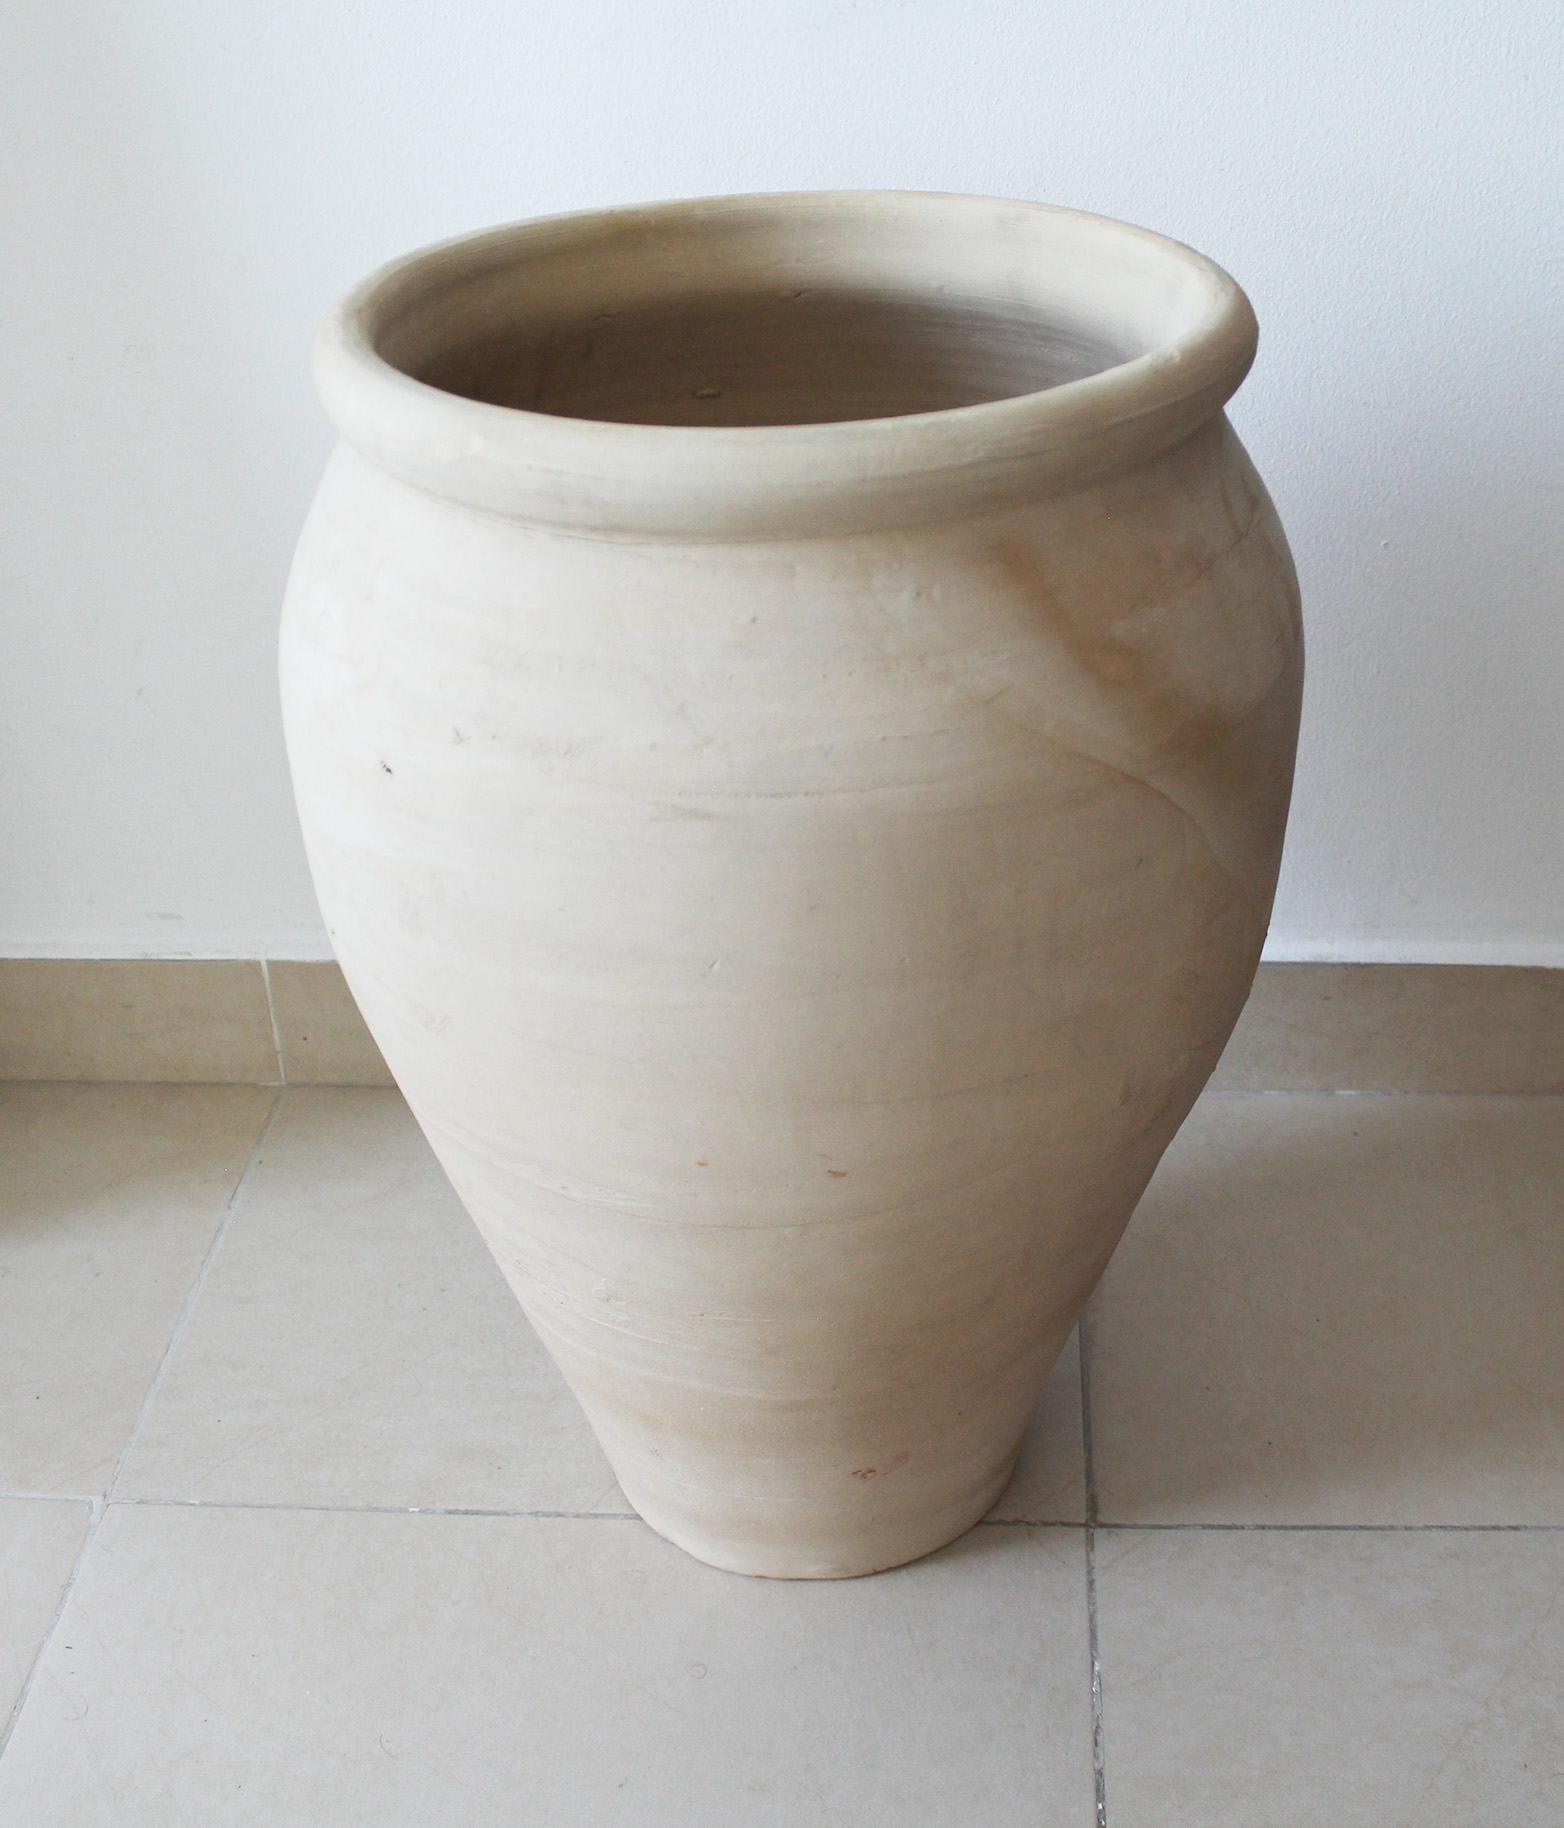
This is what my vase looked like before I started. I prepped it by washing and allowing to fully dry. Especially if you're working with clay or terracotta it's important to let it dry properly before starting to work on it.
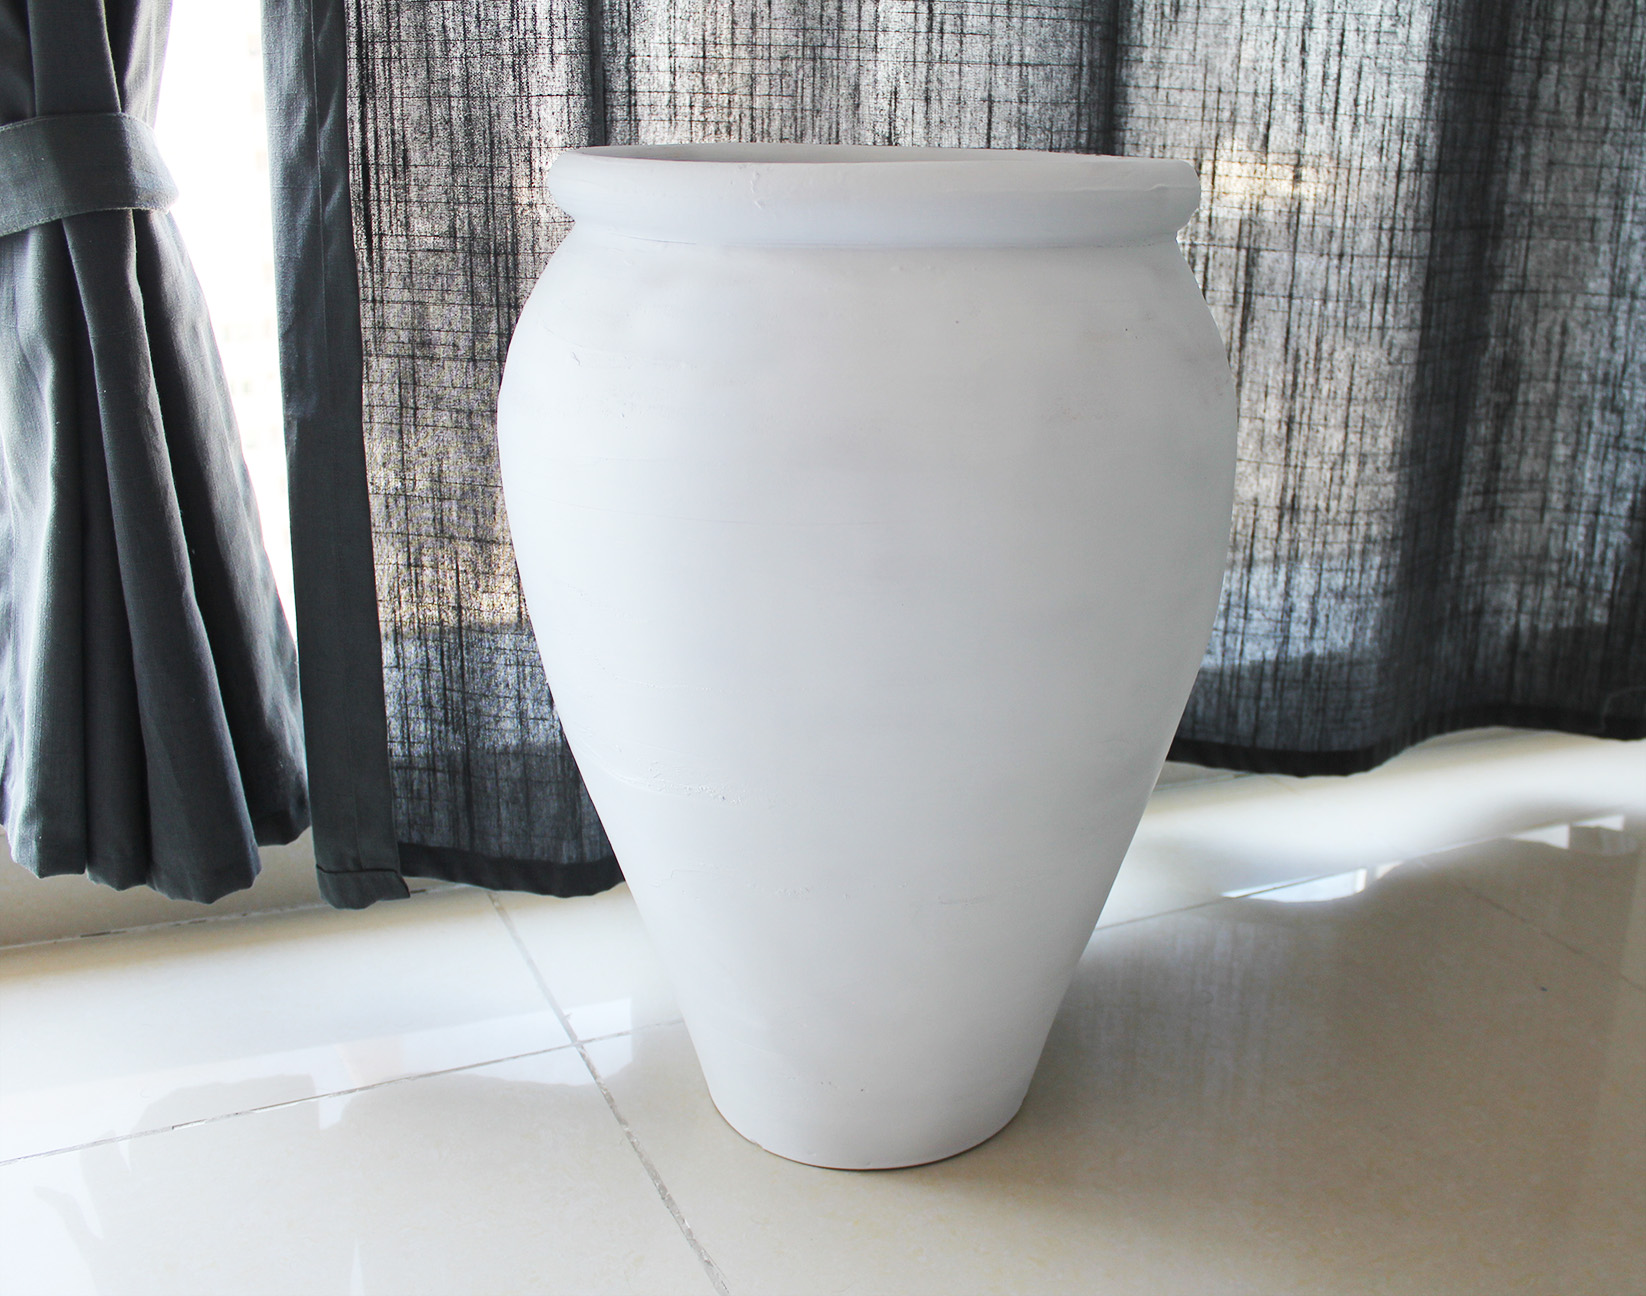
I. First off I applied a couple of coats of just the white paint (which has the primer included).
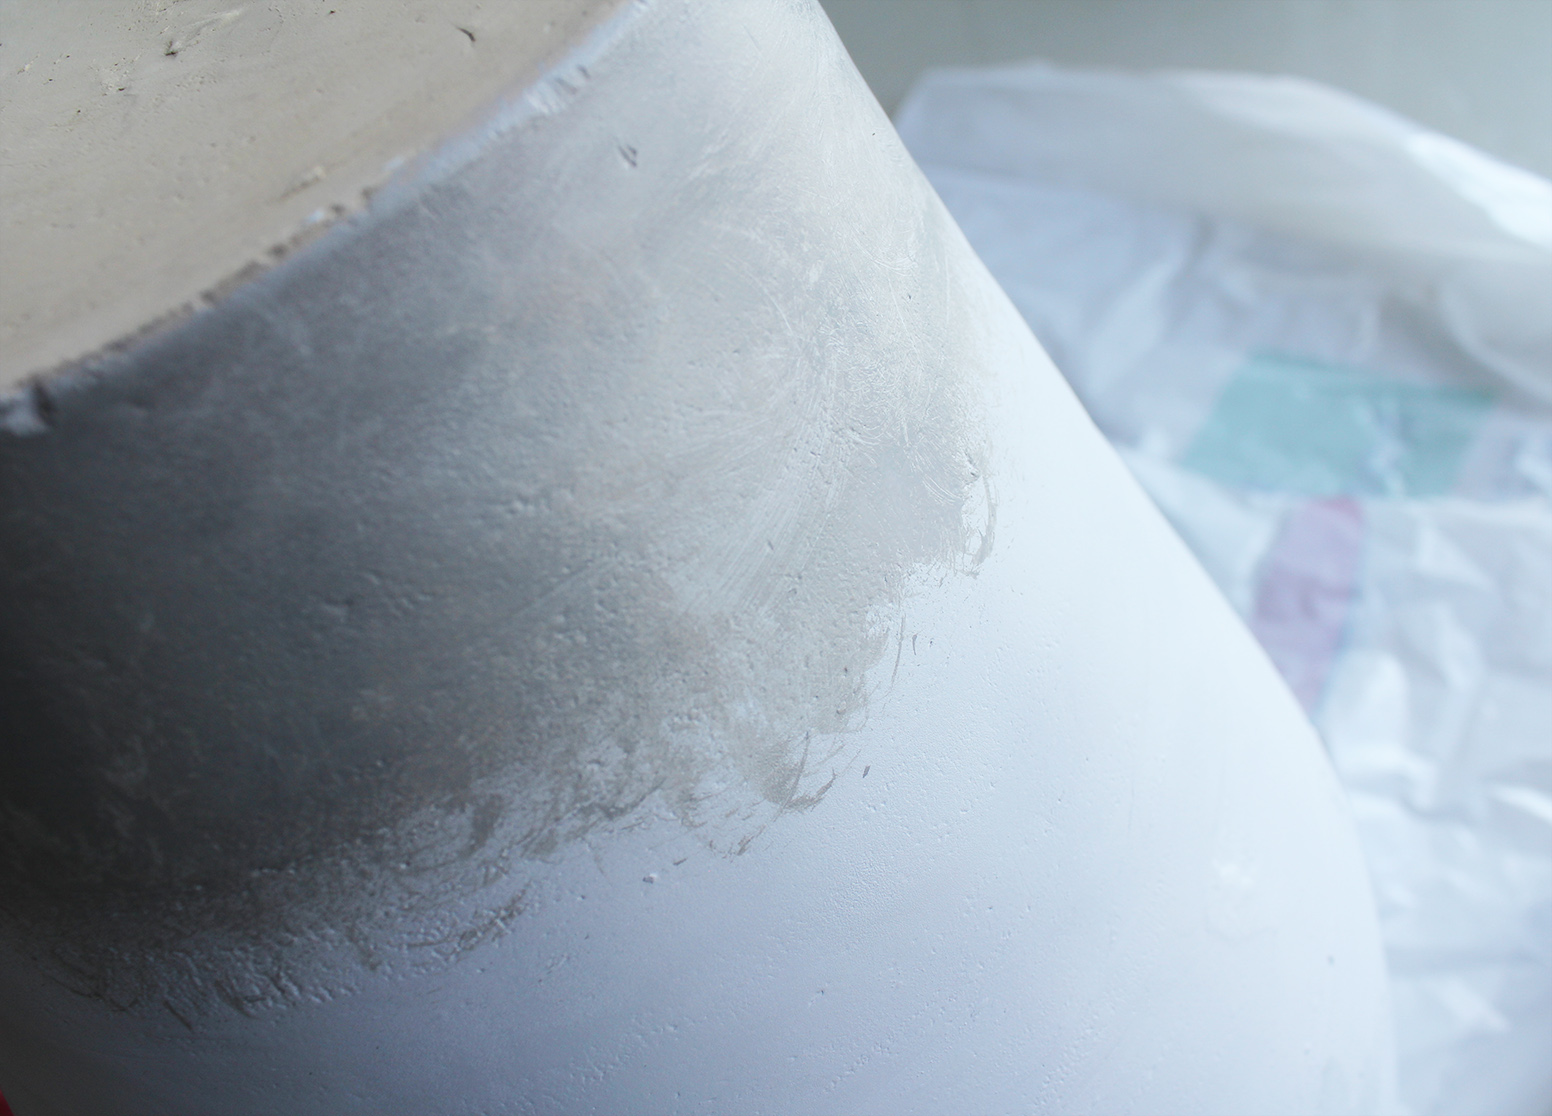
II. To start creating the gradient, I sprayed the grey to an area about 8-10 cm from the bottom of the planter. As you can see, you're already starting to get a bit of a transition of the colour just from using spray paint.

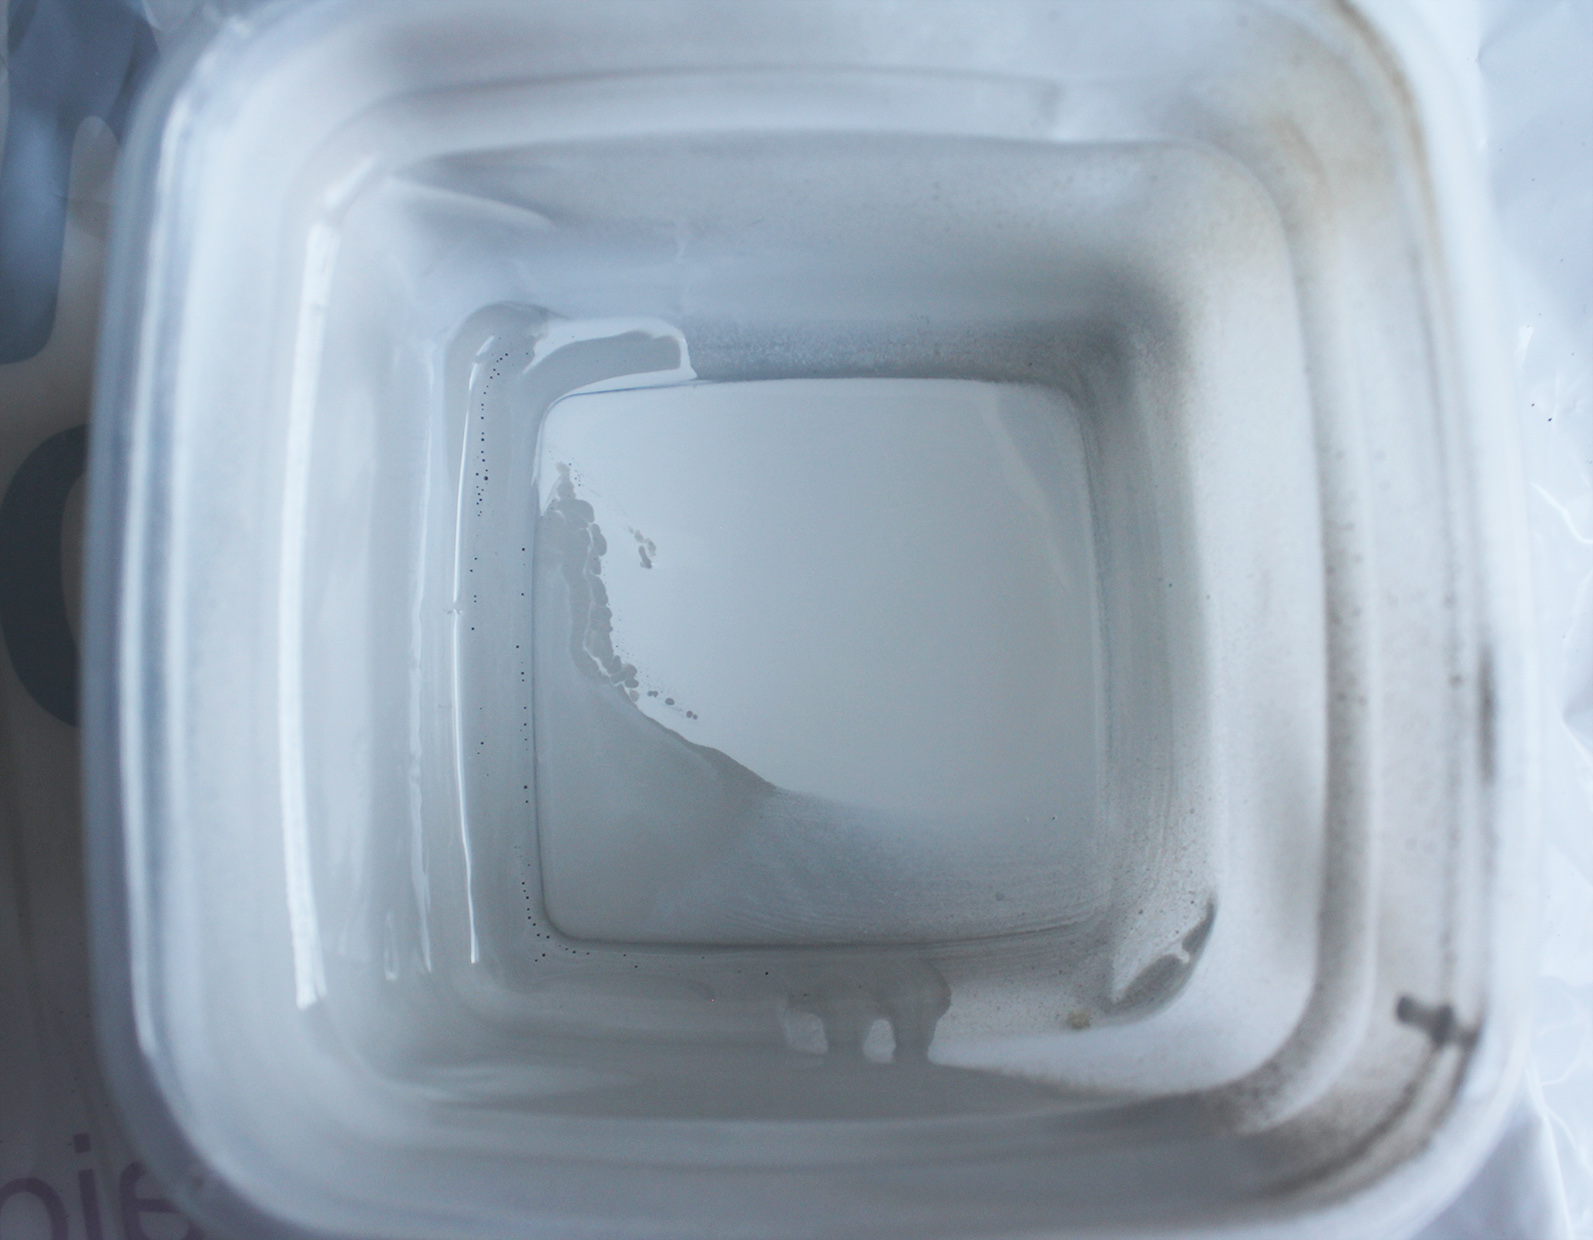
III. Next take your container and spray the two paints in it to create a lighter grey for the gradient. If working with white and a darker colour, spray the white first, and add just a tiny bit of the second colour, mix and see the results. You typically only need a little bit of the second colour, otherwise the result will be too dark.
IV. Dip your sponge into the mix and start extending the grey towards the middle of the planter. If you want a subtle effect like I did, be careful not to go too high (though you can always fix the excess by adding more white onto it). I experimented with both the soft and the rough side of my sponge to add texture to the surface.
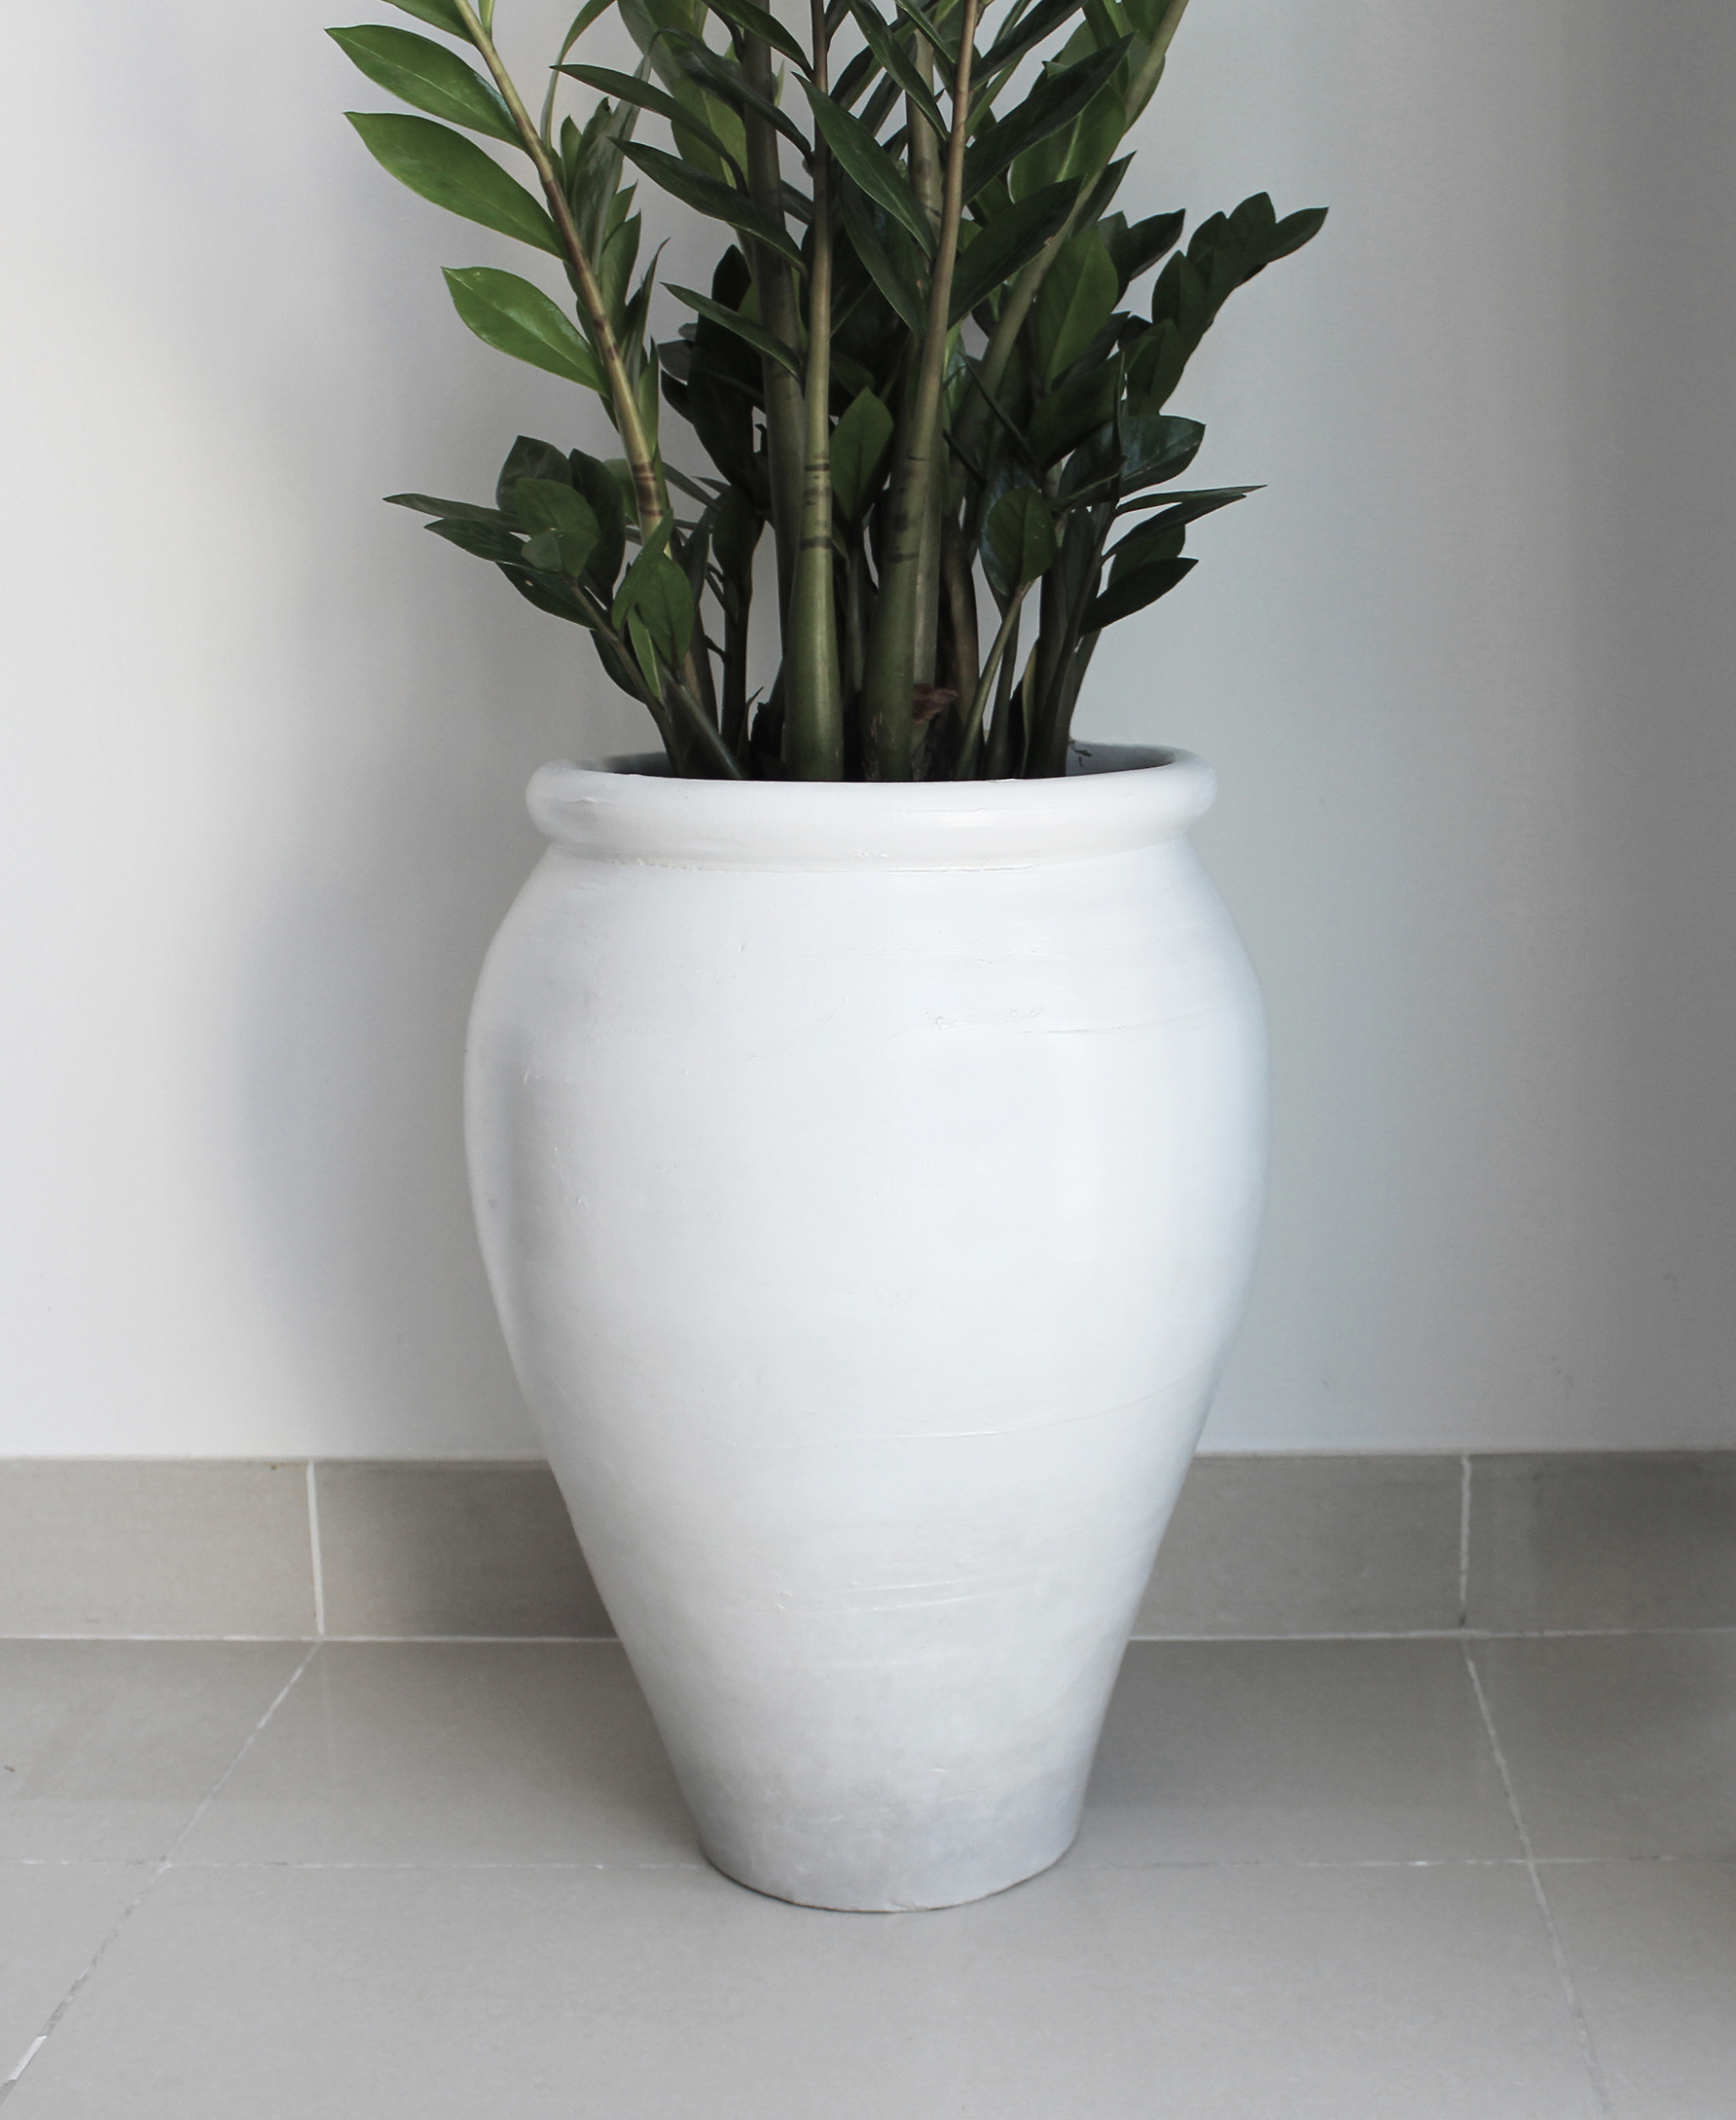
V. Then just repeat the same process with a slightly lighter, almost white shade of grey, and finally smooth the transition with pure white from the other direction. Once done, let dry fully (for me this took a couple hours), and finish off with a couple coats of the sealer based on the instructions on the package (usually they say, apply to a clean, sanded surface, let dry for a day, repeat. I didn't sand my surface as it was already silky smooth).

And there you have it, super easy!
xo,
Julia


0 comments:
Post a Comment
I would love to hear what you think and learn about your DIY adventures! If you use one of my tutorials, tag me on social @contour_affair, I'd love to see!