

The other day I had a plan of sewing a basic pleated skirt... When suddenly an image of a half-way pleated mini floated into my mind. I went through all my Pinterest inspiration files and sure enough, there, at the very bottom of one of them, I found it. I figured I’d do a practice round before getting some really high quality cotton for a navy version, and turned out I had this lilac thing lying around (I accidentally bought it when shopping post-daylight, could have sworn it was a light blue. I despise lilac.) But it served its purpose as a test for this project!
TOOLS:

1 m of fabric (I used 100% cotton) | Scissors | Pins | Thread, sewing machine & needle | 15- cm invisible zipper | Ruler/measuring tape | Button in case you want to add extra hold to the waist, I didn't end up using mine
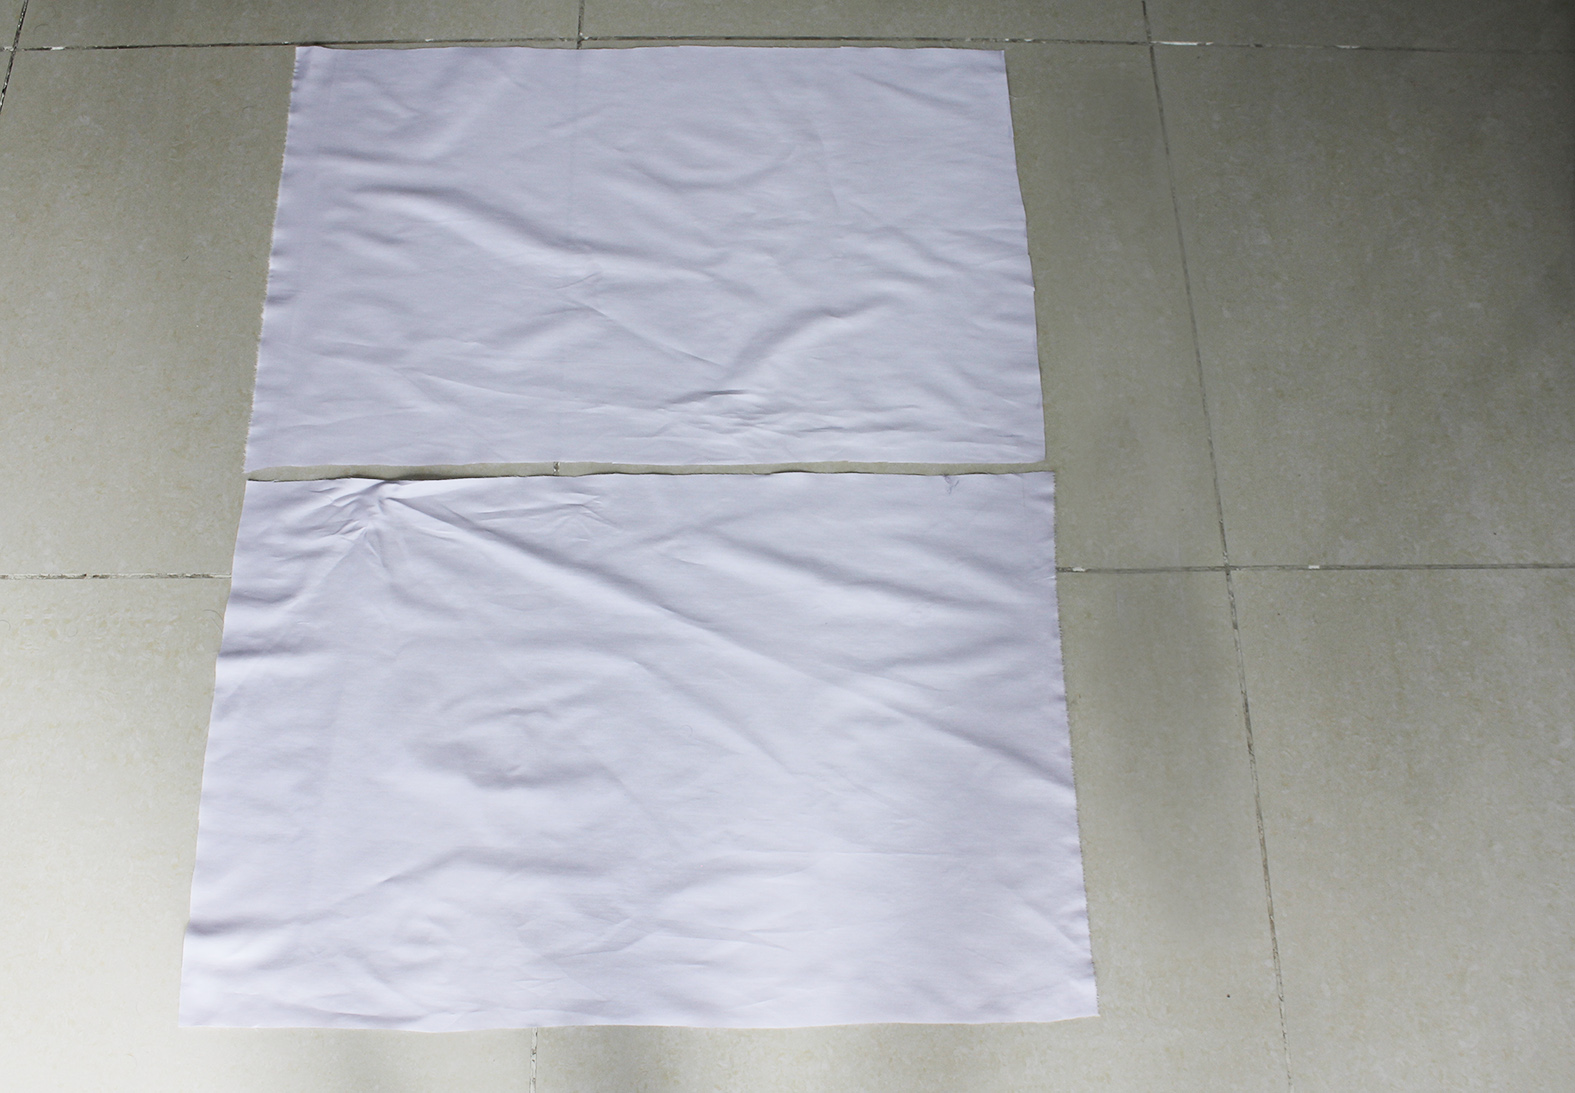
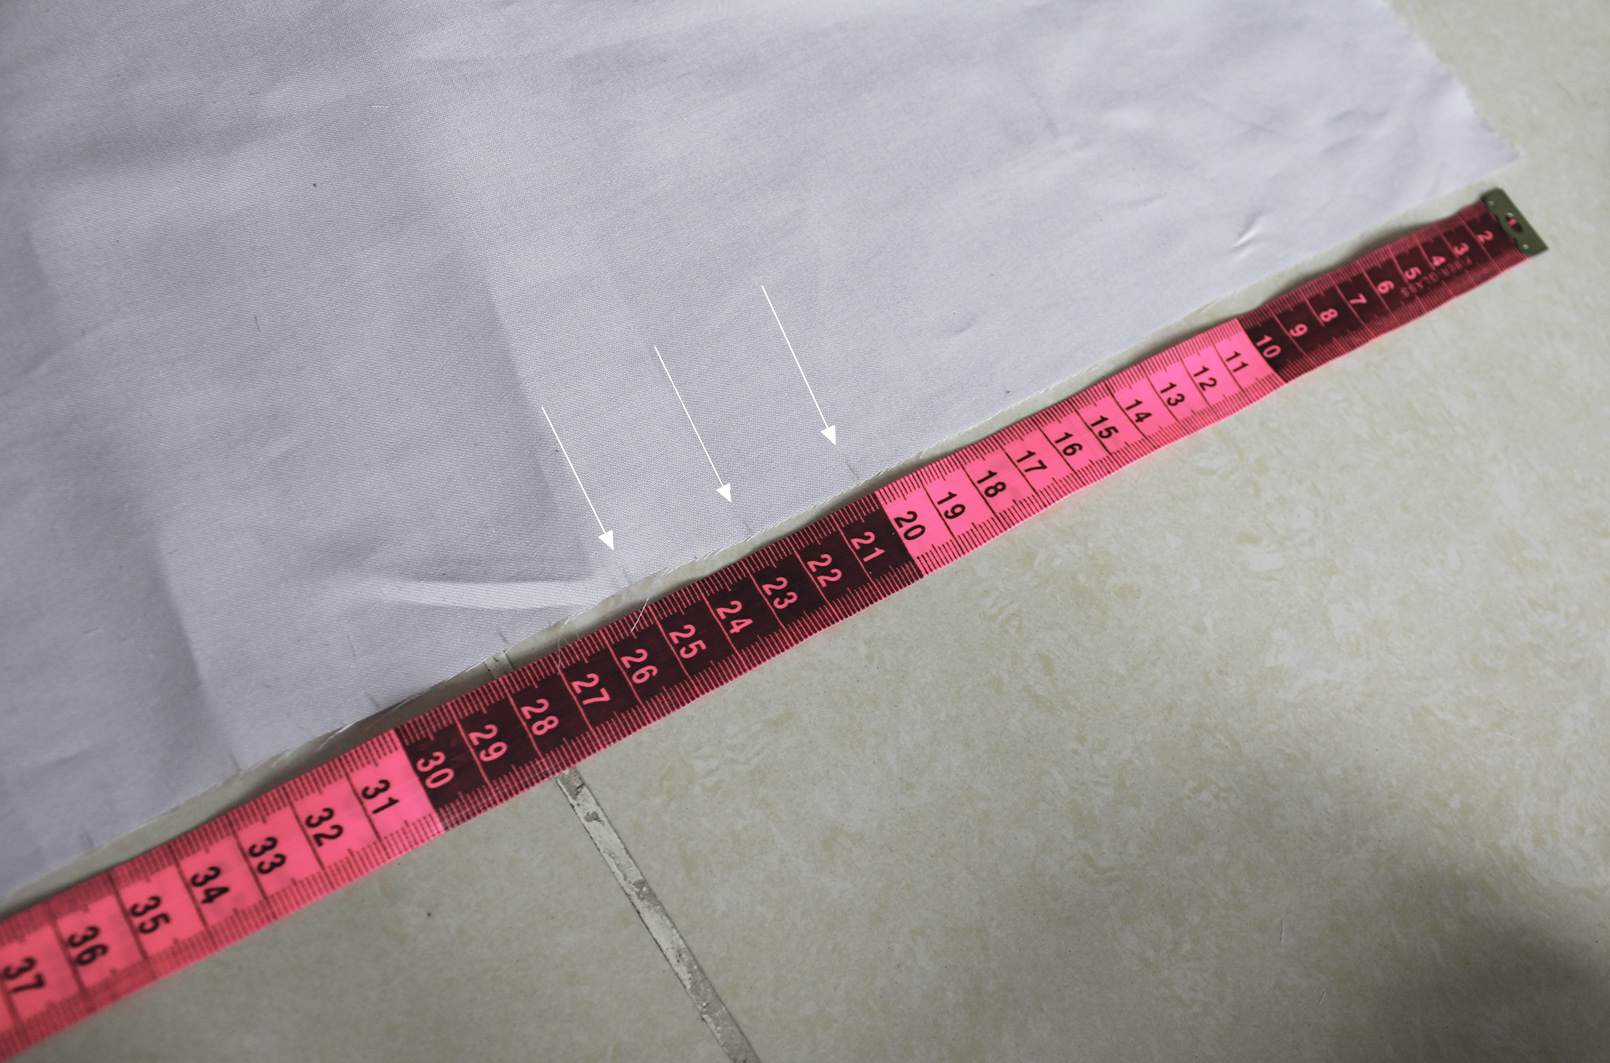
I. Cut your fabric into two identical rectangles, whose size will depend on your size and how many pleats you want. The width of one, once pleated, should be half of your hip circumference (or if you want the skirt to sit on the waist, your waist measurement) + 3 cm for seam allowances. If doing 2-cm wide pleats like I did, one pleat will require 2 + 2 + 2 = 6 cm of fabric. The length of the waistline I left without pleats was 20 cm. So, width of one rectangle should be: (# of pleats x 6cm) + non-pleated waistline length + 3 cm. The length is determined by how mini you want to go.
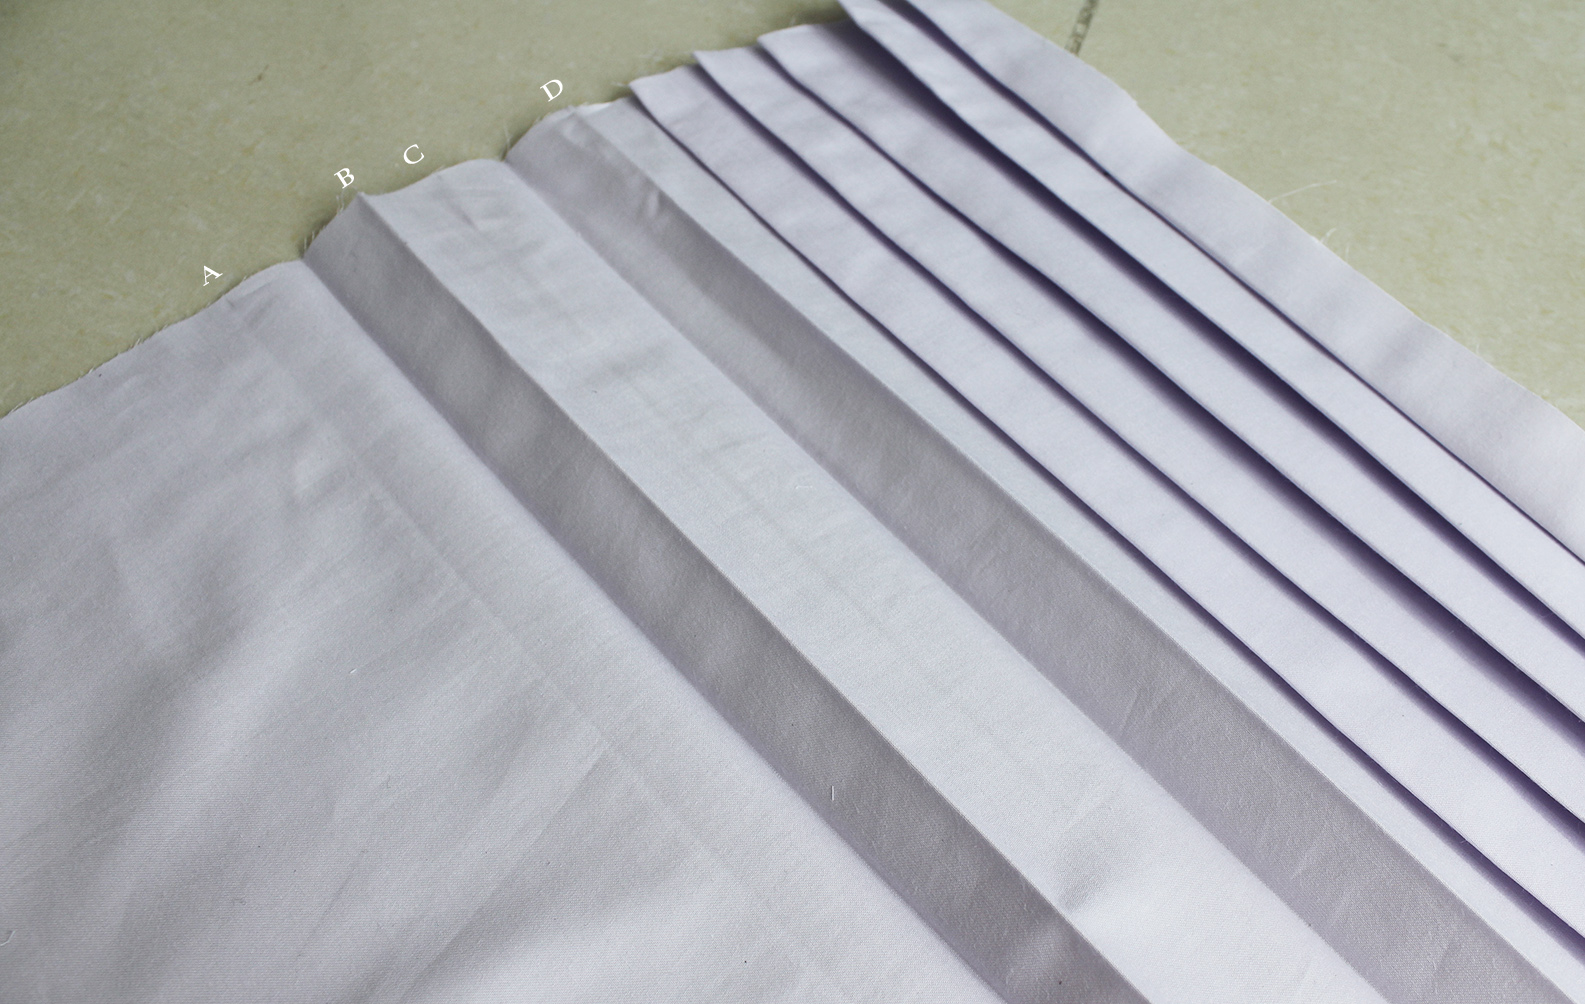
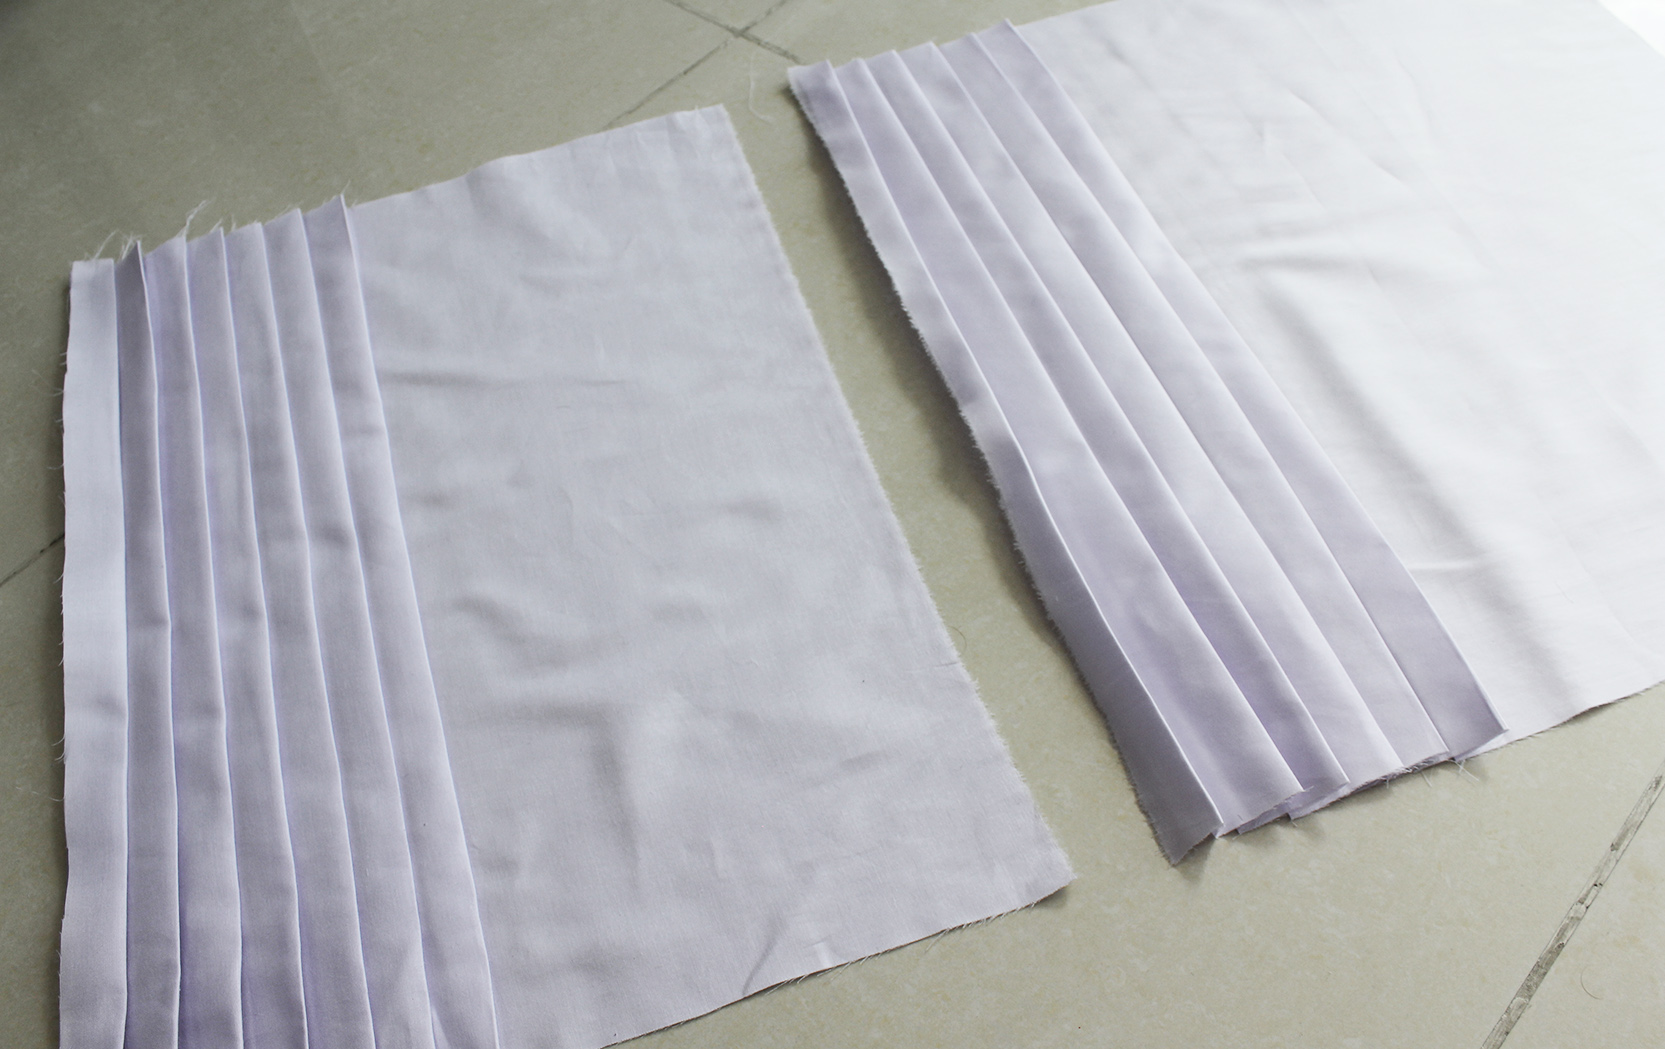
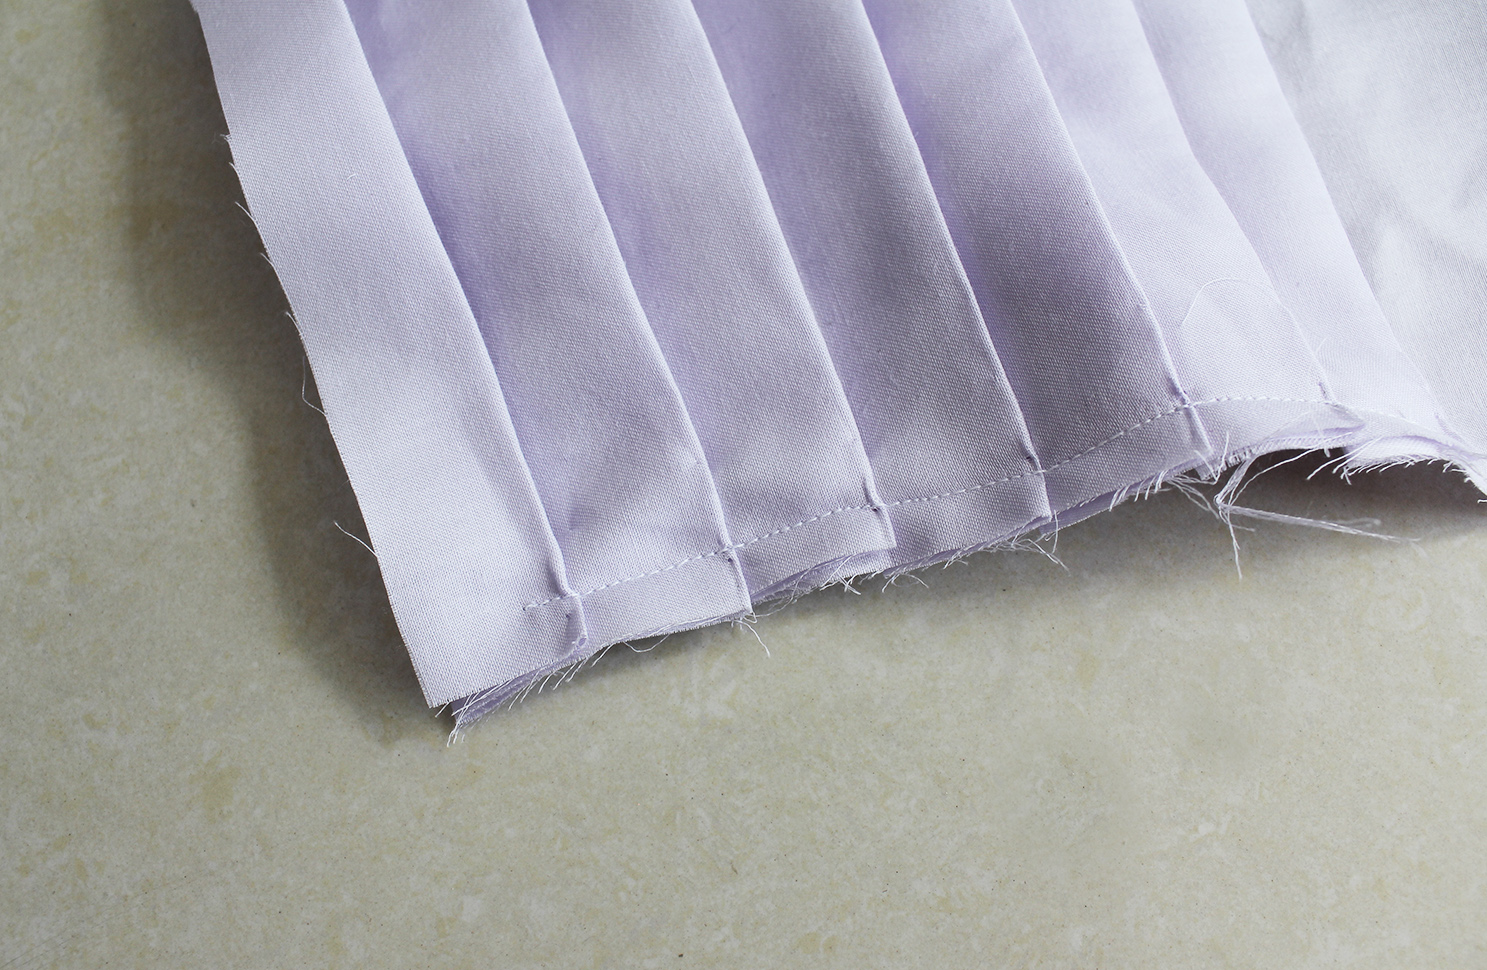
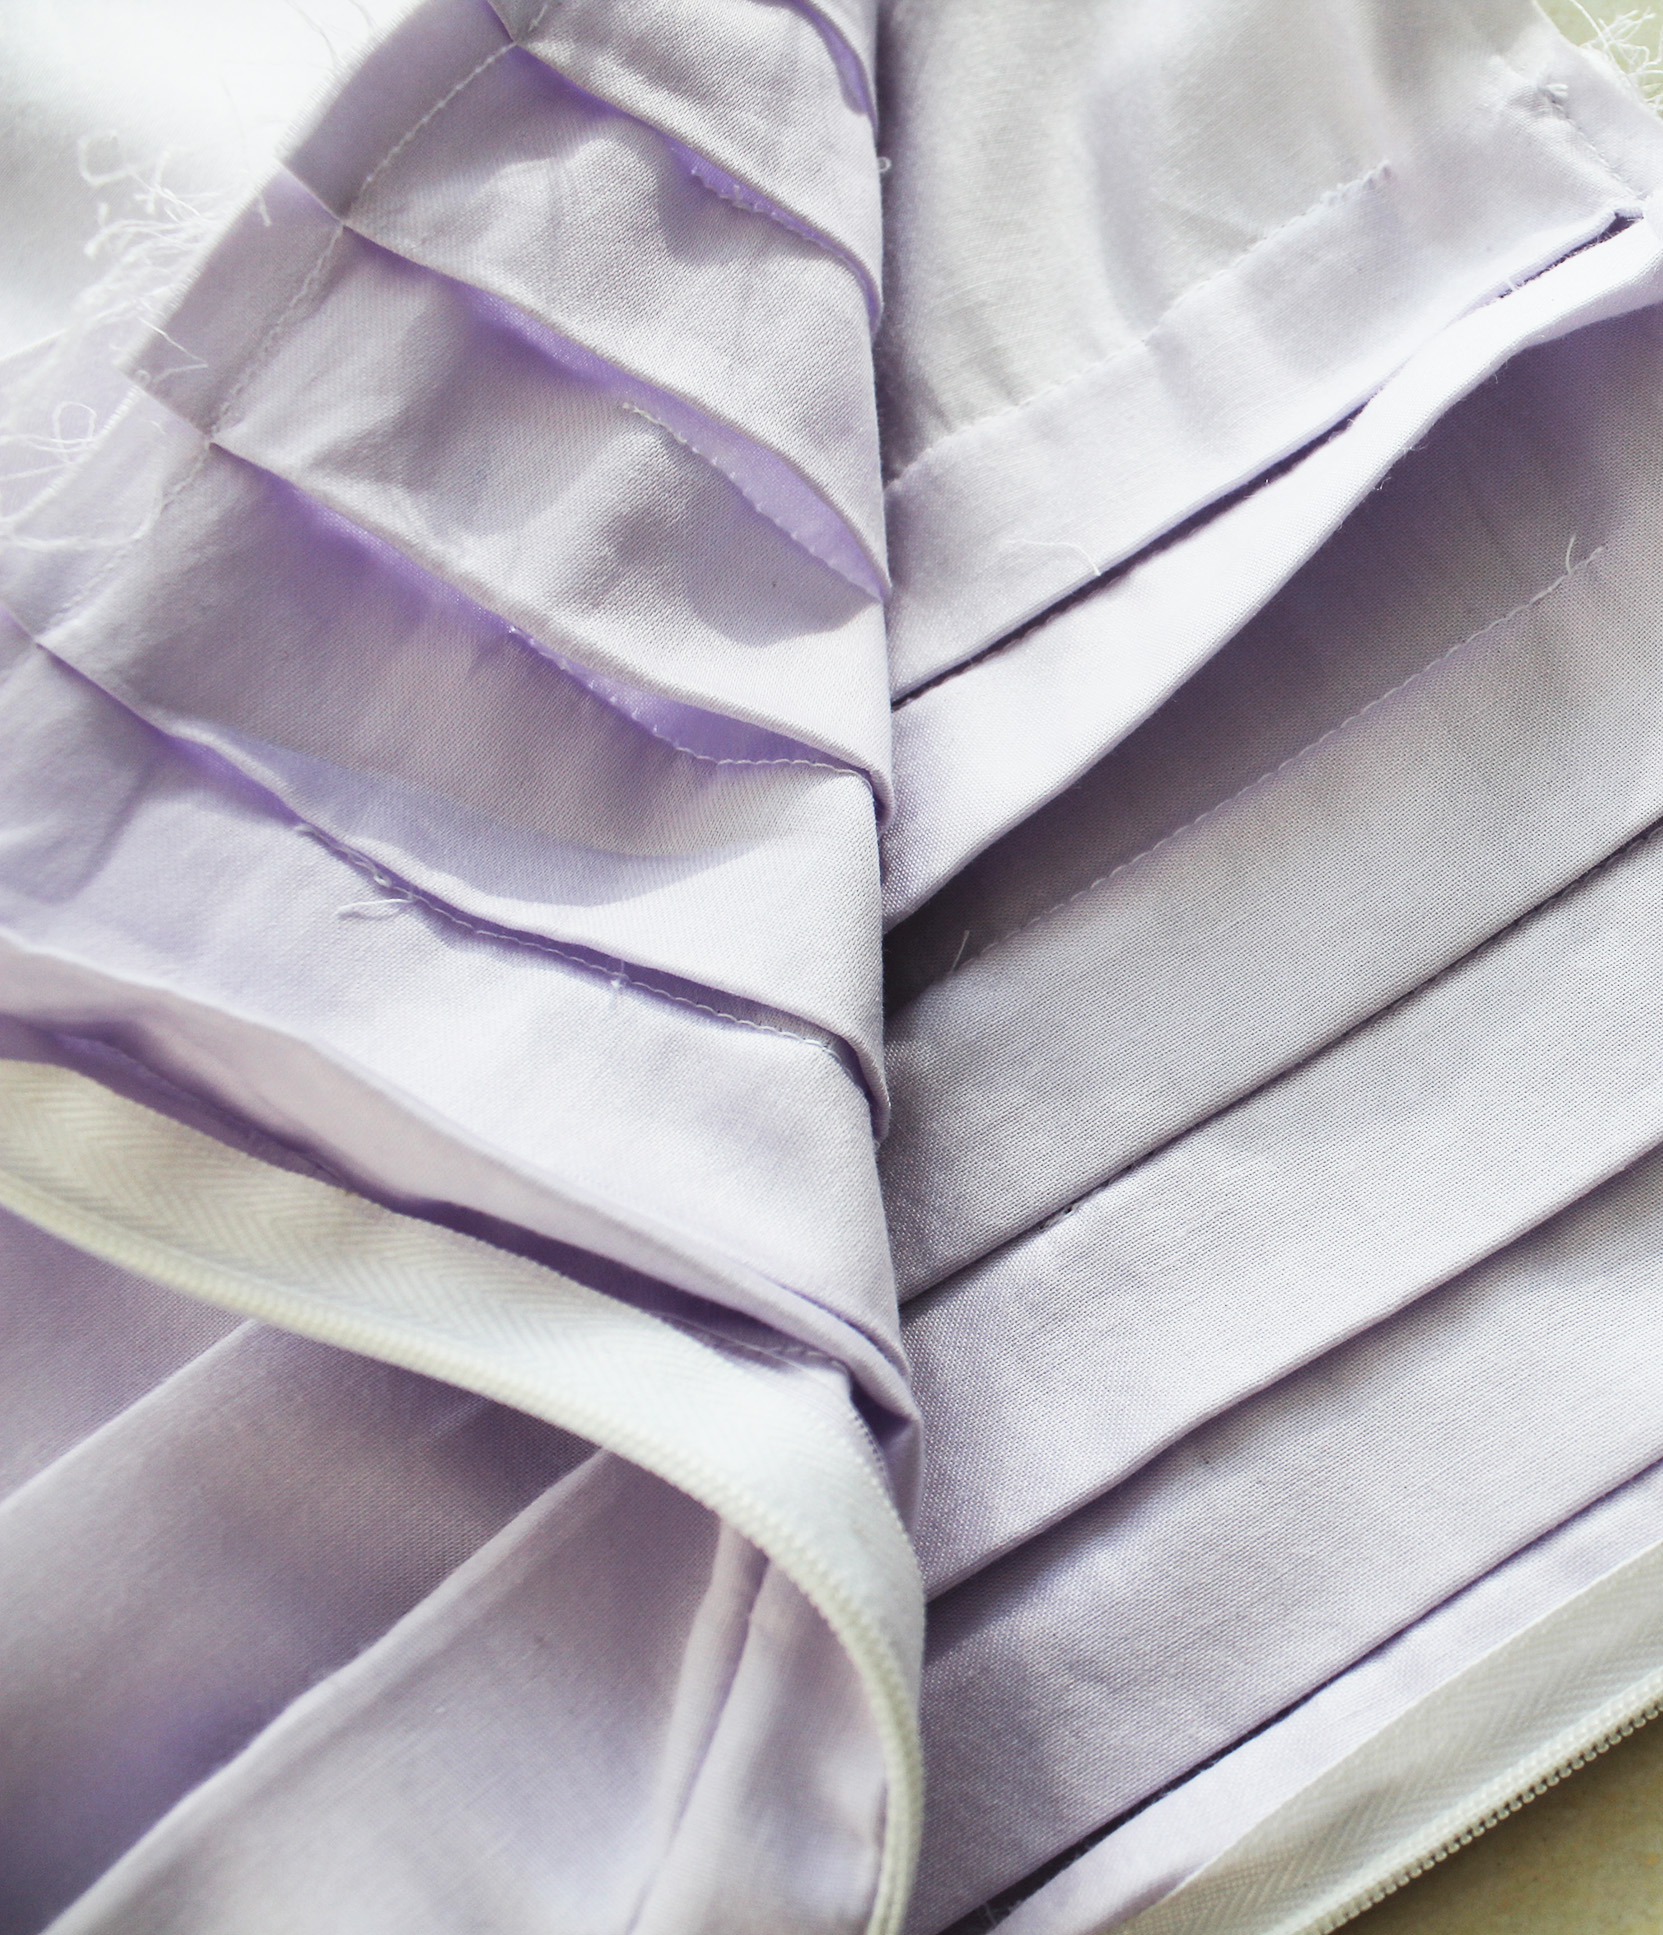
Repeat the process so you have both the back and the front piece nicely pleated and well-pressed. You may notice I did one pleat more for my back piece since there's more ground for the skirt to cover on that side:) At this stage, you can also add some more structure to the pleats by sewing a straight stitch either on the right side at the edge of each pleat, about 5 cm down from the top, or inside the pleat fold on the reverse side. I wish I did that at this point - I underestimated the power of my hips in opening up the pleats when the skirt is worn, so had to come back to add these stitches later on.
To secure your pleats, pin them in place:
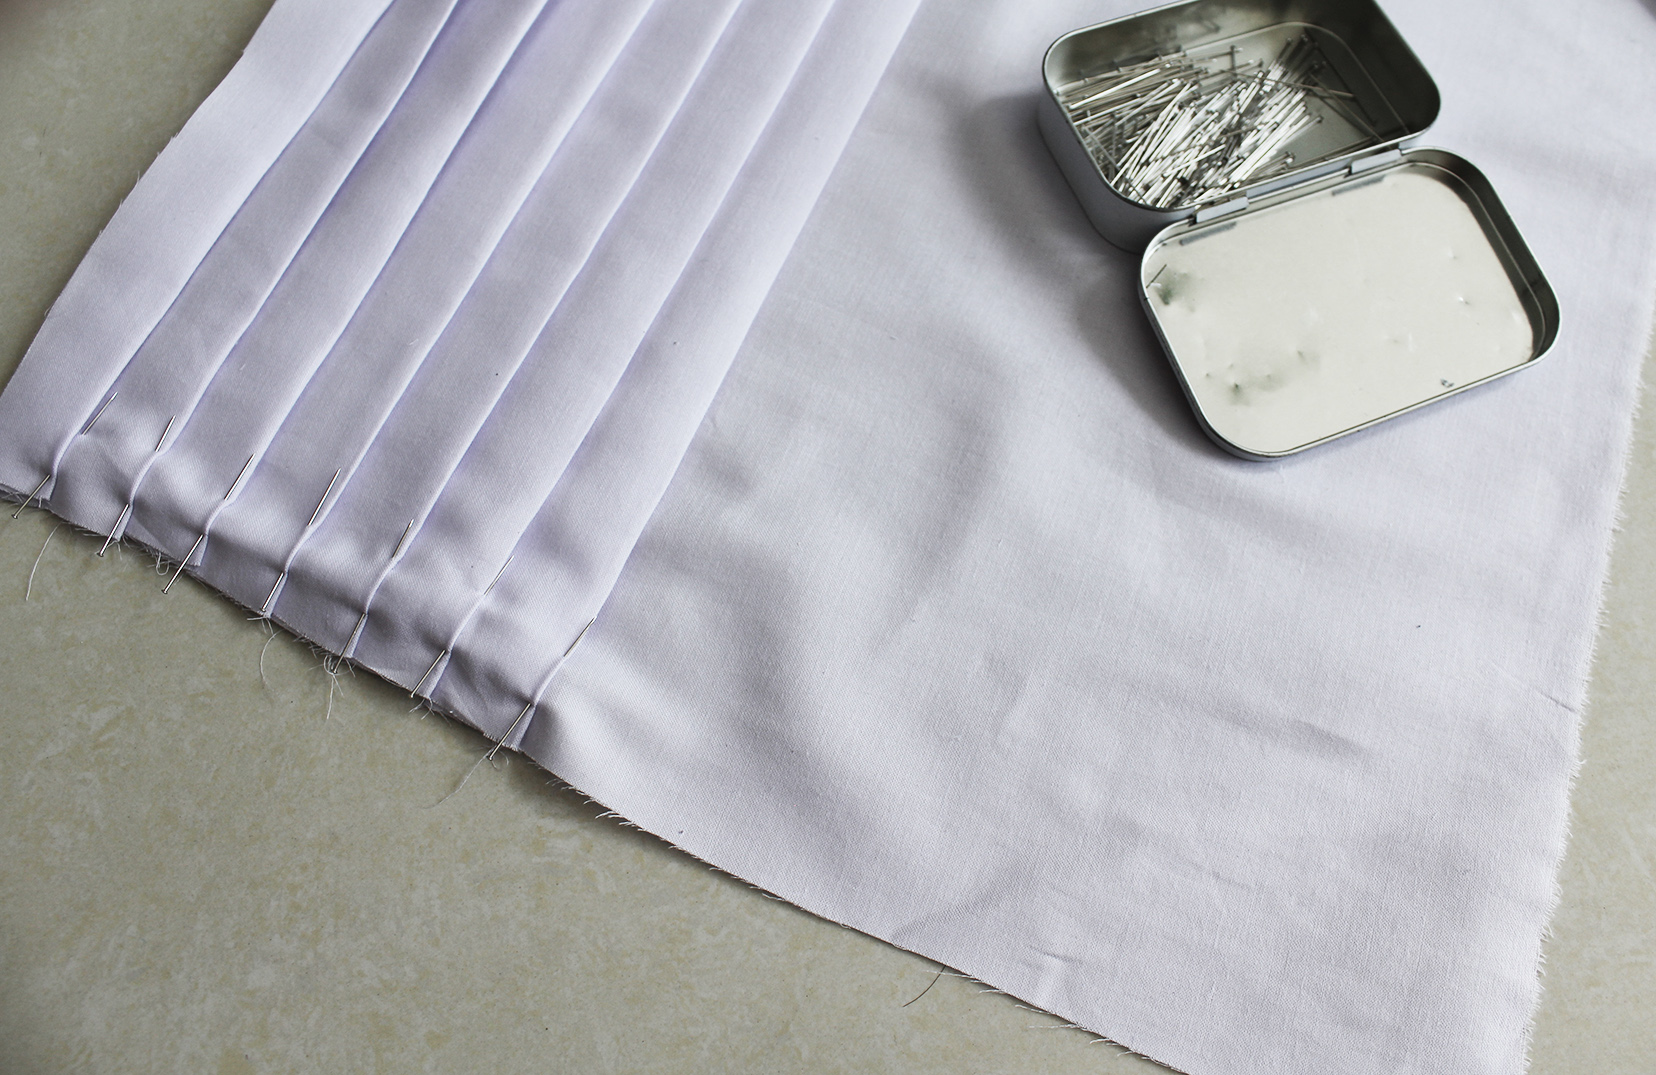
.. And sew a straight stitch through at the top.
Next pin your invisible zipper on one side of the skirt, so it starts 2 cm from the top edge. Sew in place. Continue the stitch all the way down to complete the side seam.
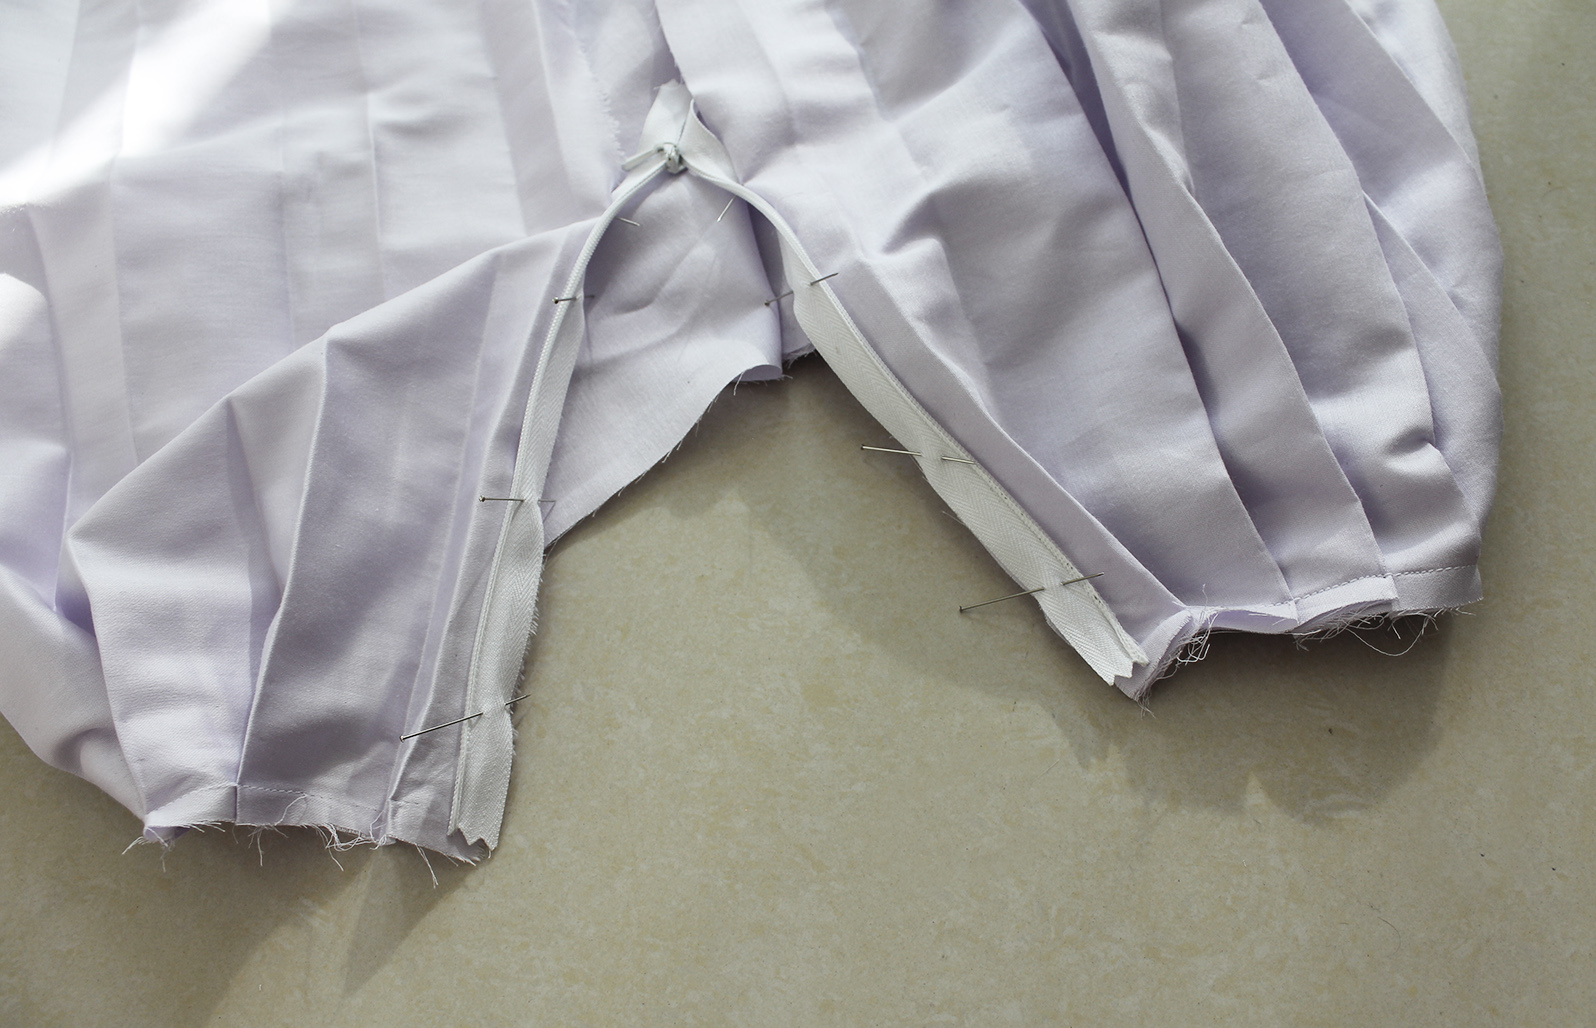
Then finish the other side seam - place the pieces right sides facing, pin, sew, and press the seam open.
[Here's the added fun I had to do - since I didn't sew the pleat tops in place earlier, I had to squeeze my presser foot in there at this stage. Because obviously that was easier than taking 1 minute to pick the stitch holding the pleats together at the top... Here's what it looked like on the reverse:
.. And on the right side. I made the stitch right next to the zipper slightly longer on purpose since that area usually has the most movement.]

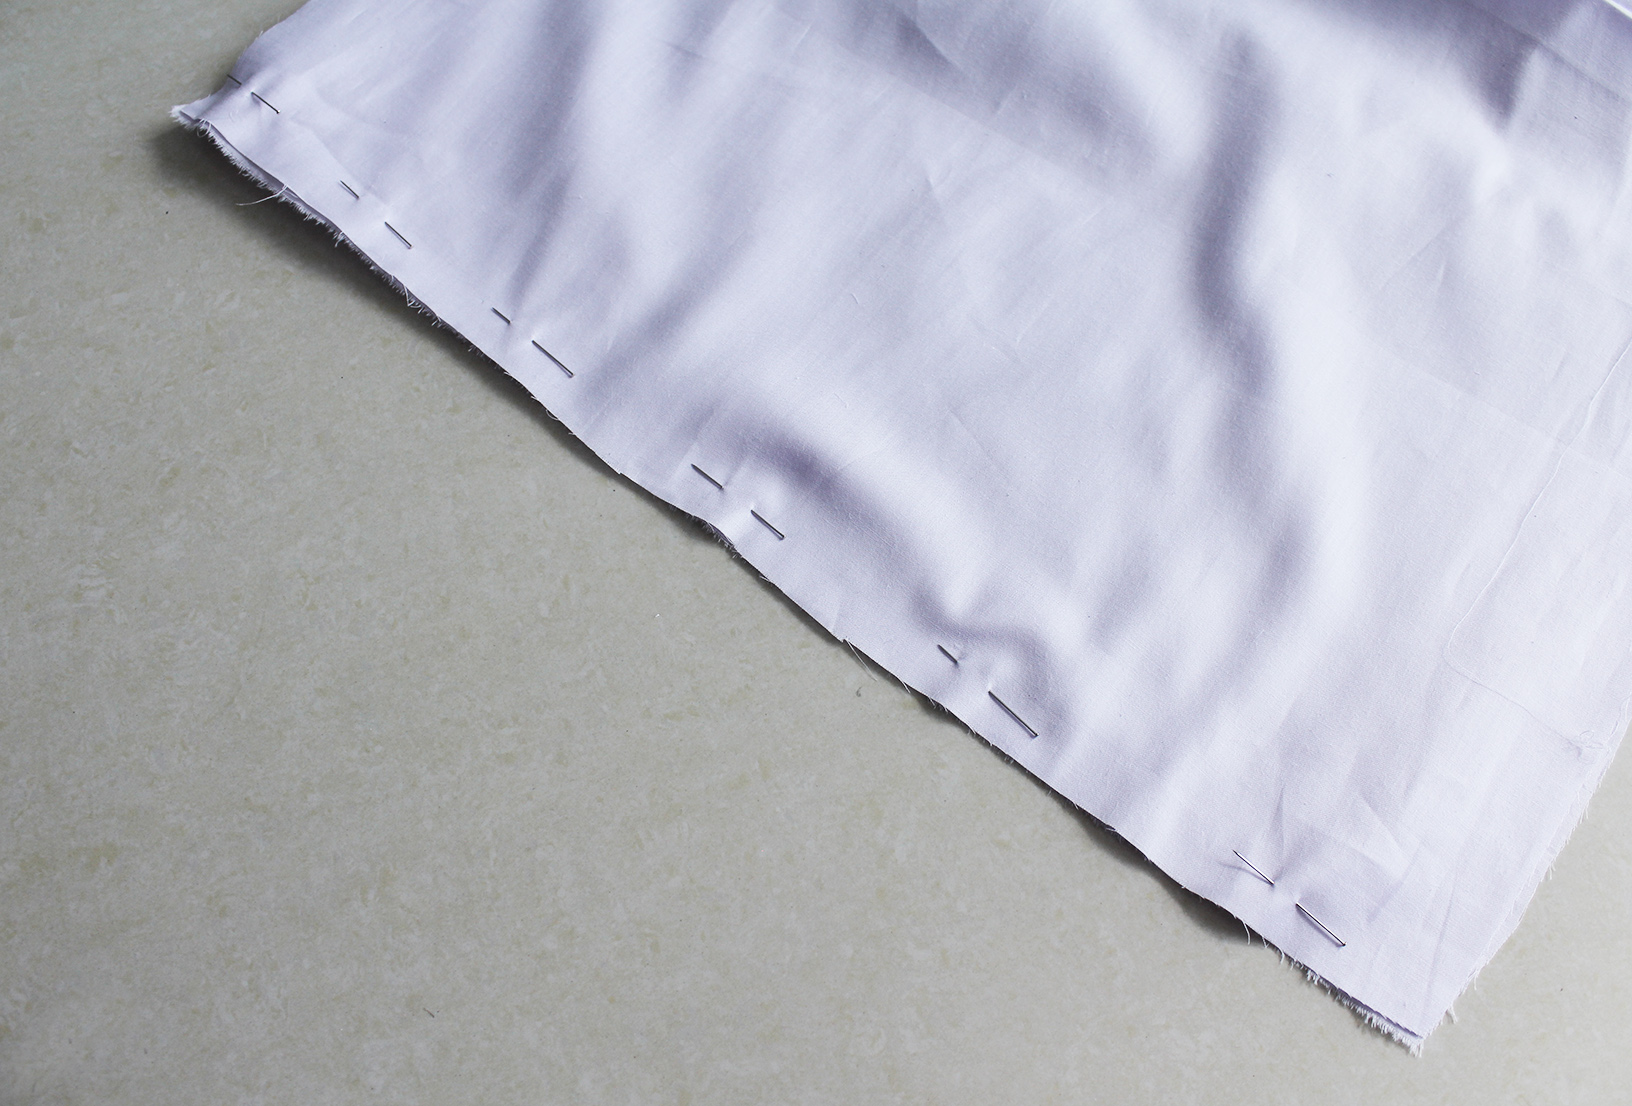
After all the hassle I finally got to the end. To finish the waist band I just did a double fold with the extra I left above the zipper end, and sewed in in place by hand. Finally, I repeated the same procedure for the hem.
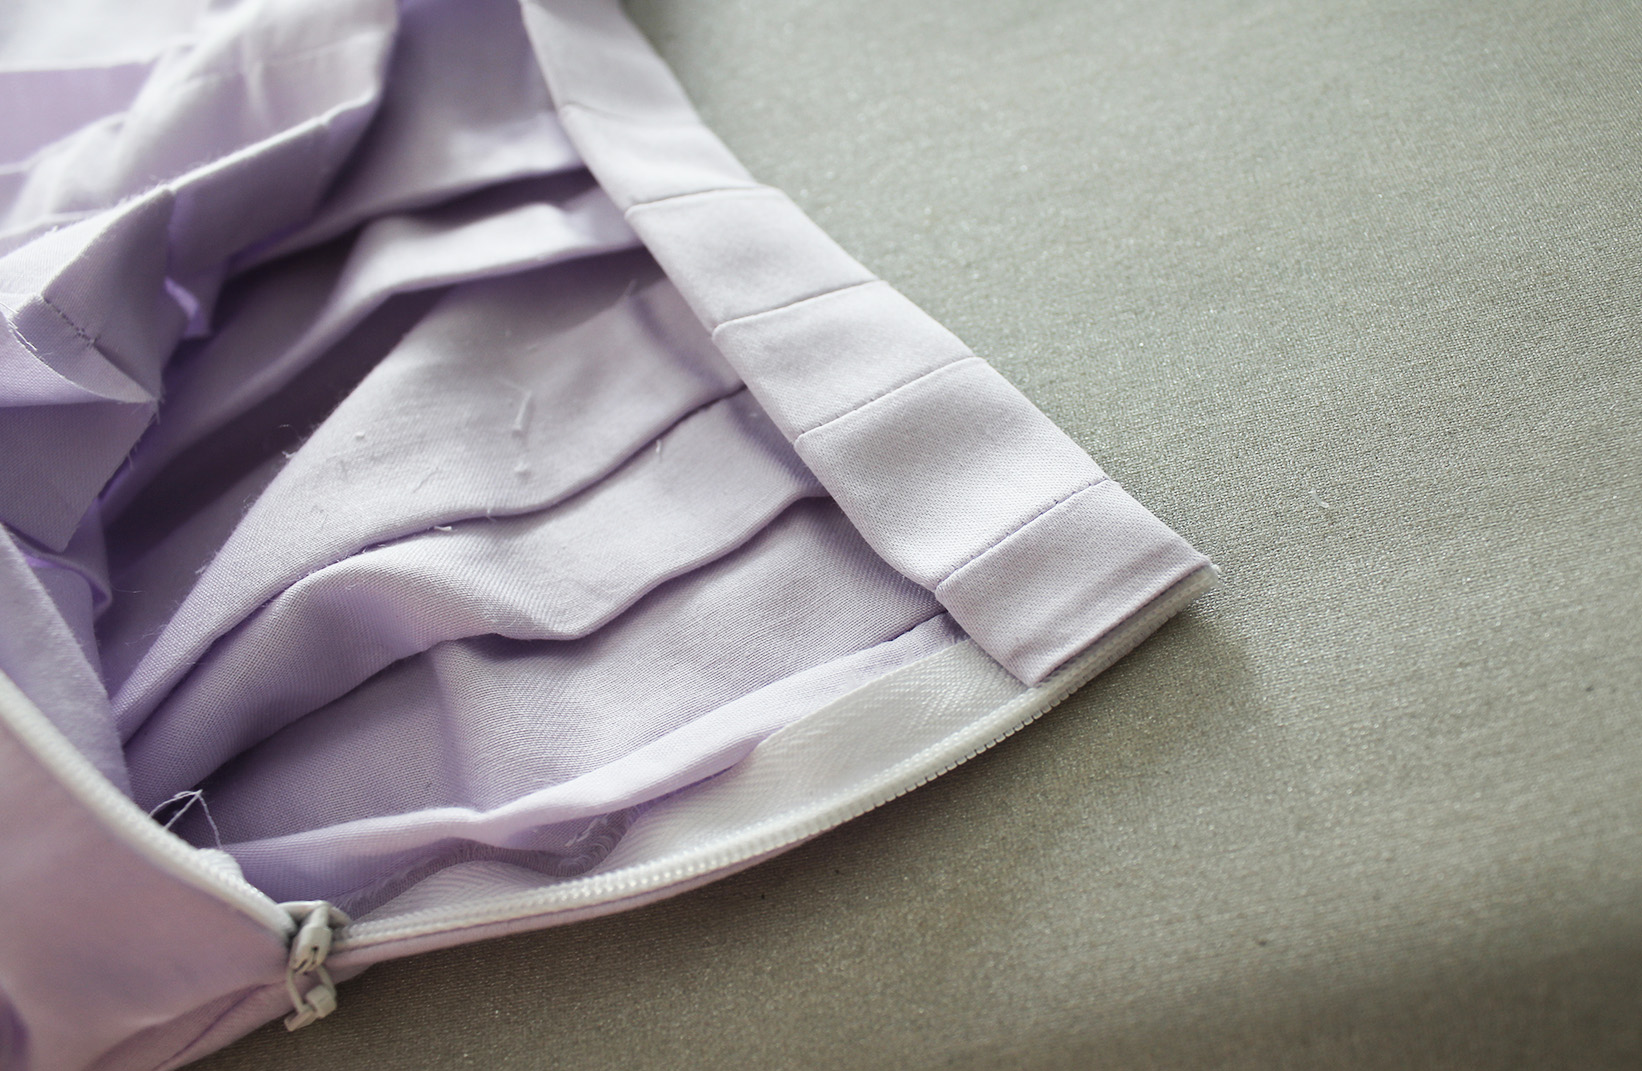
When done you'll definitely want to press the pleats once more to give them a crisp look.
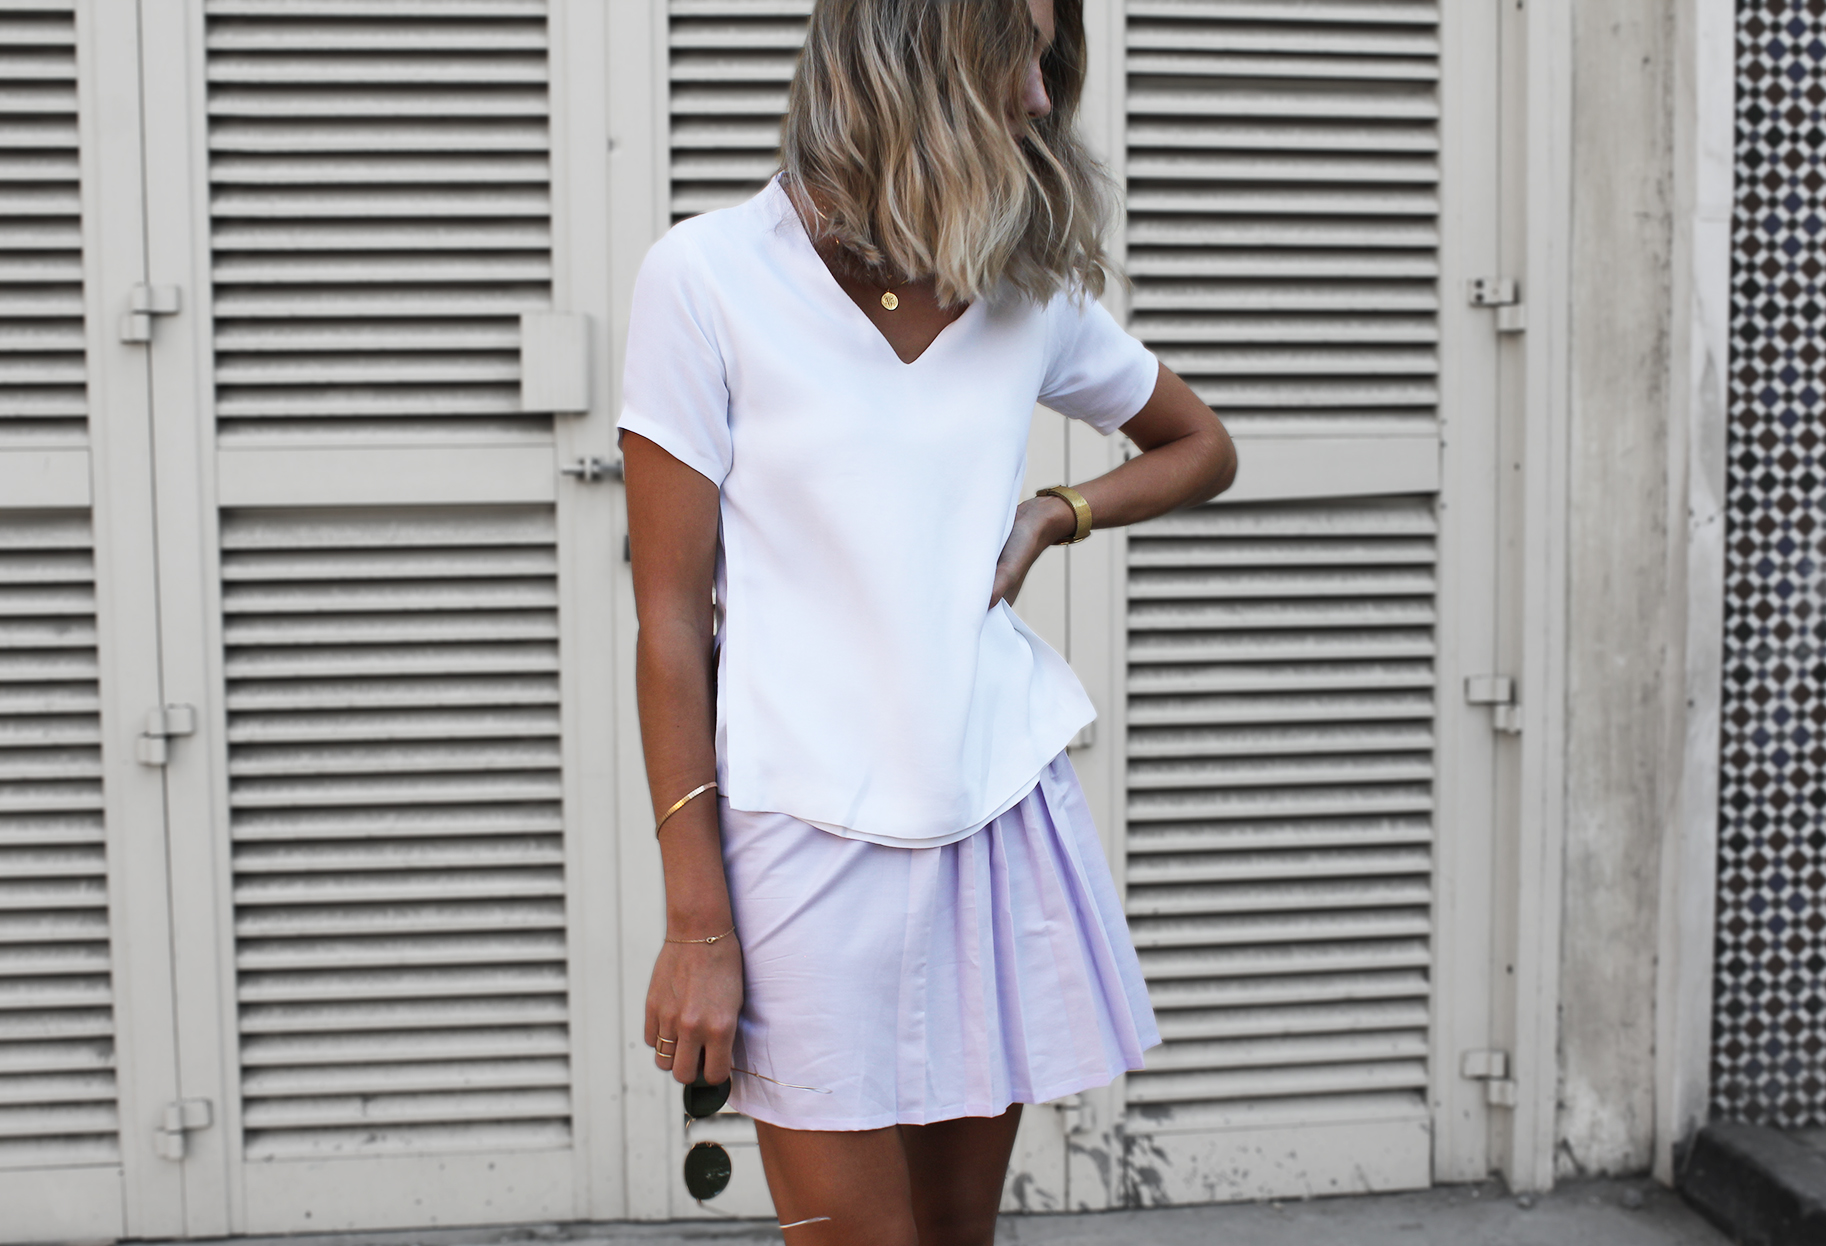

The tutorial for the layered top I'm wearing is <a href="http://contouraffair.blogspot.ca/2015/04/how-to-layered-v-neck-t-shirt.html" target="_blank">here</a>.<br />
<br />
xo,<br />
<br />
Julia<br />
<br /></div>
<br />
xo,<br />
<br />
Julia<br />
<br /></div>


This is such a cute DIY adventure and I am totally in love with the mini pleated skirt. Sewing is a very great craft and not all people know how to sew beautifully. Love it.
ReplyDeleteThis post is really informative and well-written, I enjoyed reading it. Many students can benefit from connecting with professional nursing essay writers to improve their academic performance.
ReplyDeleteIt provides fascinating information on how to make a partially pleated mini skirt. It beautifully explains the design process, fitting techniques, and fashion trends, making it beneficial for beginners. Just as students today need dissertation writing services in Dubai, fashion learners need guides that make the learning process easy and effective.
ReplyDelete