

Tutorials take a lot of time & effort to create, and I choose to make mine available for free. If you enjoy this guide, you can support me with a donation that feels right for you, here.
I. Here's what you'll start with - the front piece of the shirt that will have the button holes on it. In women's shirts, this is typically the right side of the shirt, with buttons on the left, so don't be confused by the fact that I put my button holes on the men's side (I'm trying to add little exercises of left-handedness to my life).
Fun fact: the reason why men's shirts and women's shirts have buttons on opposite sides, is that through history women had dressers who'd help them put on their clothes. So the buttons were designed for them to be easier for another, right-handed person to button up. Men on the other hand tended to dress themselves, so in their shirts, the buttons are on the right. Lefties obviously lose in this equation.
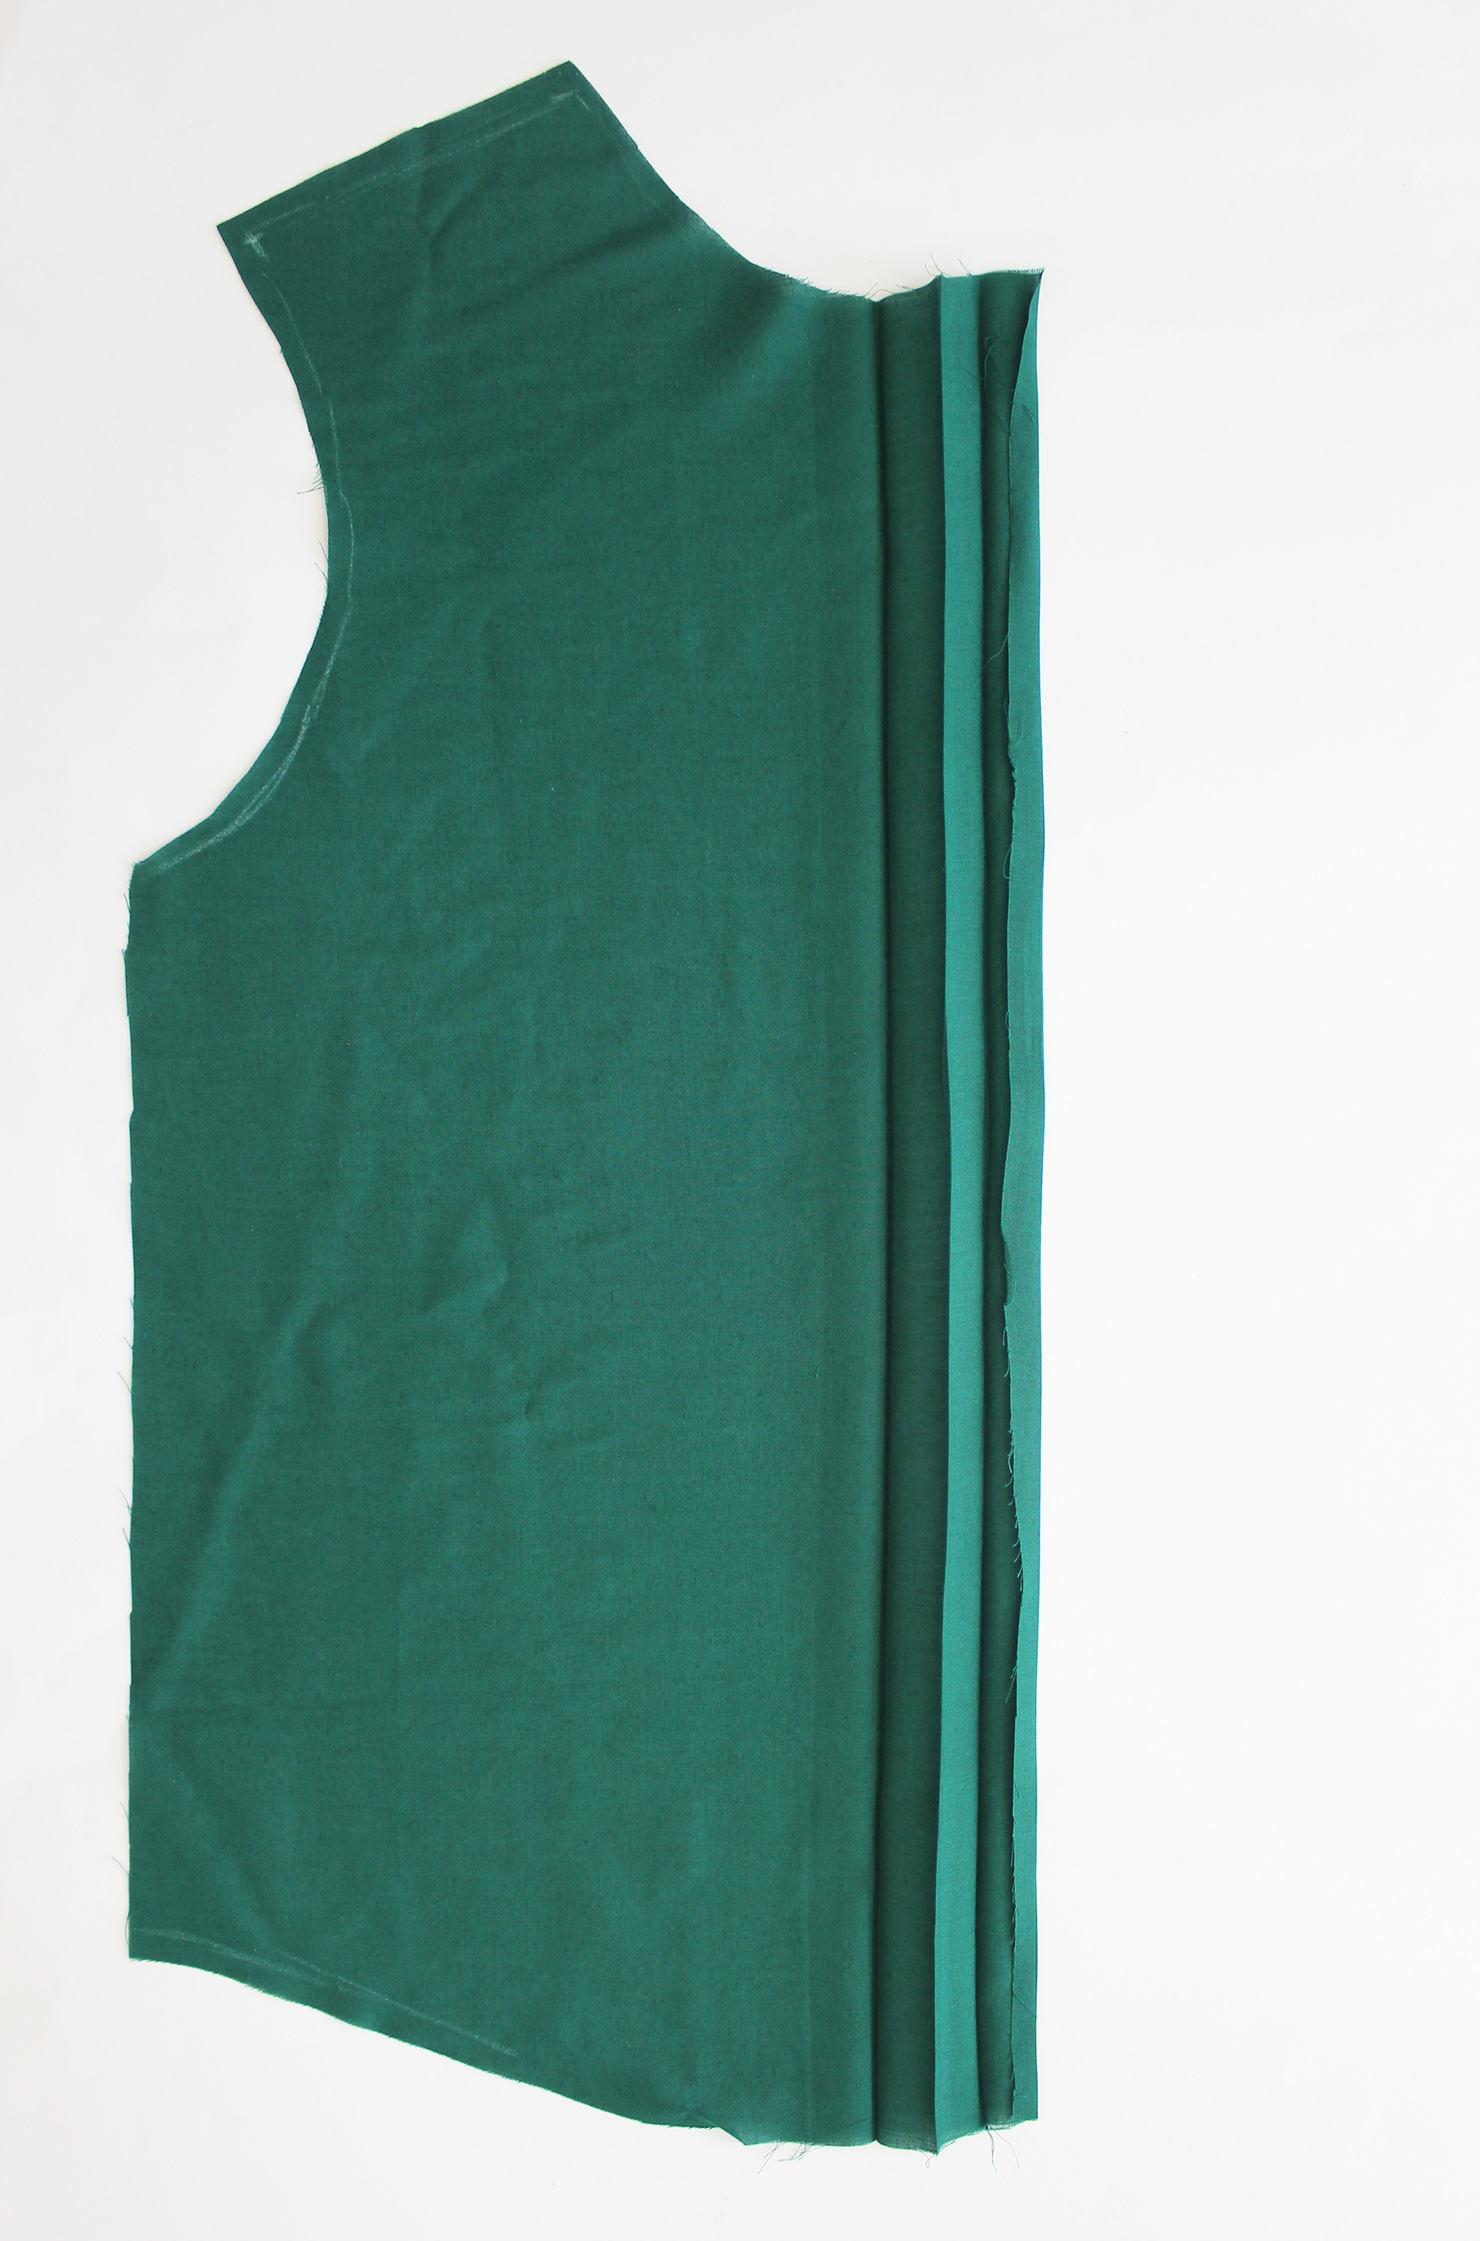
When cutting out the front piece with the button band, you'll want to add width to the front center seam for the folds of the button band. The band requires (2 x the desired button band width) + 2 x (desired button band width - 2 mm) + 1 cm. The second fold needs to be less wide so it's fully hidden underneath the top fold. As you see below, I went for a 2 cm-wide band. Press the folds on the reverse side, as shown in the image.
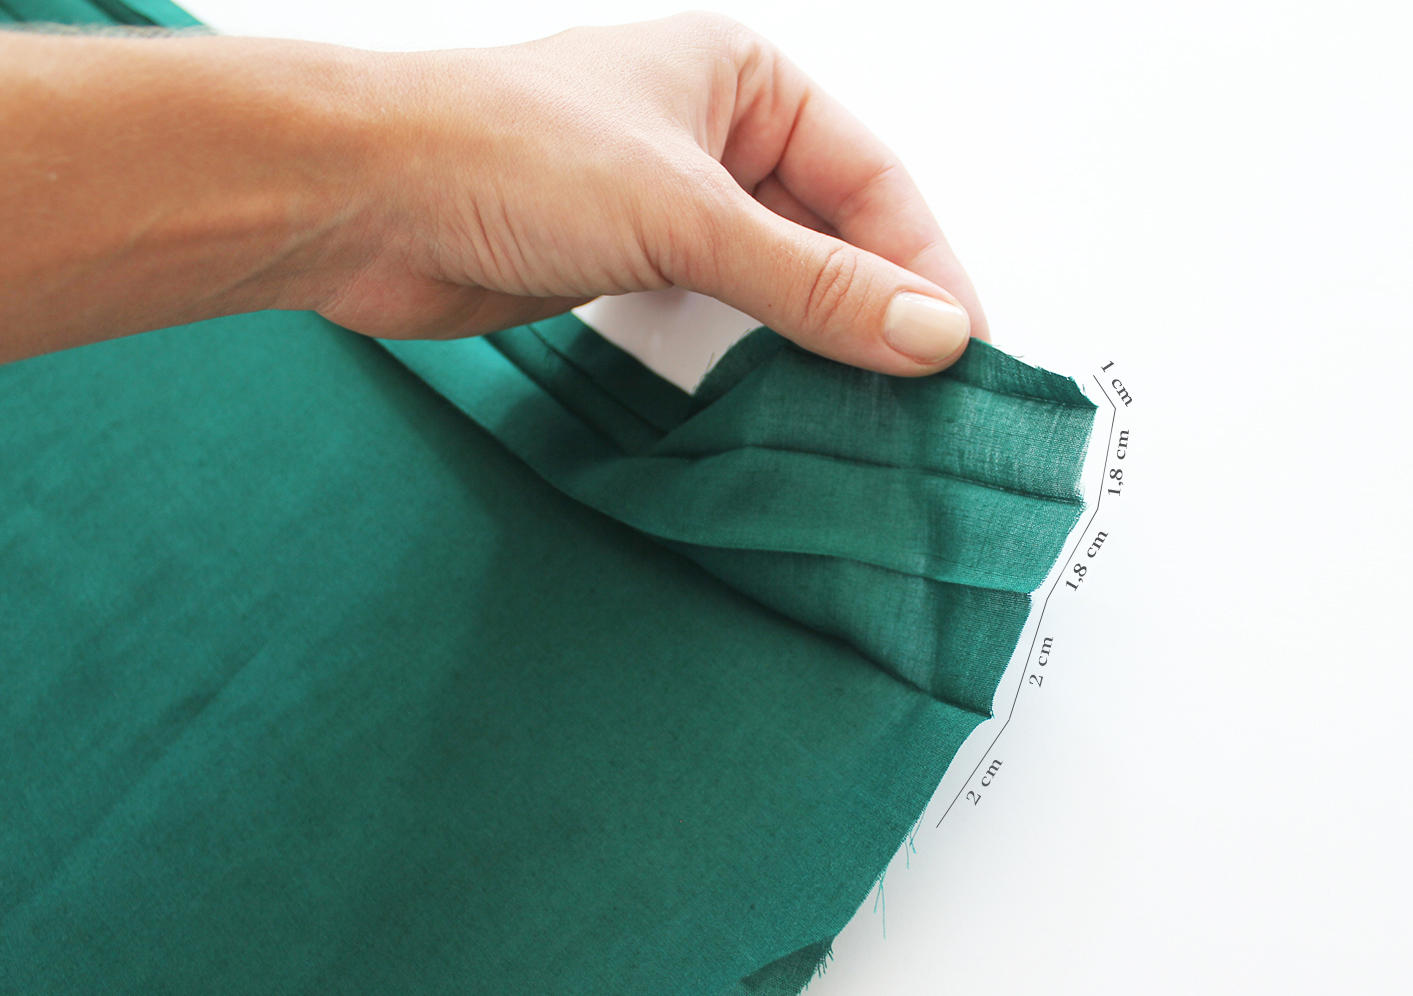 .. And they should look like this when folded once:
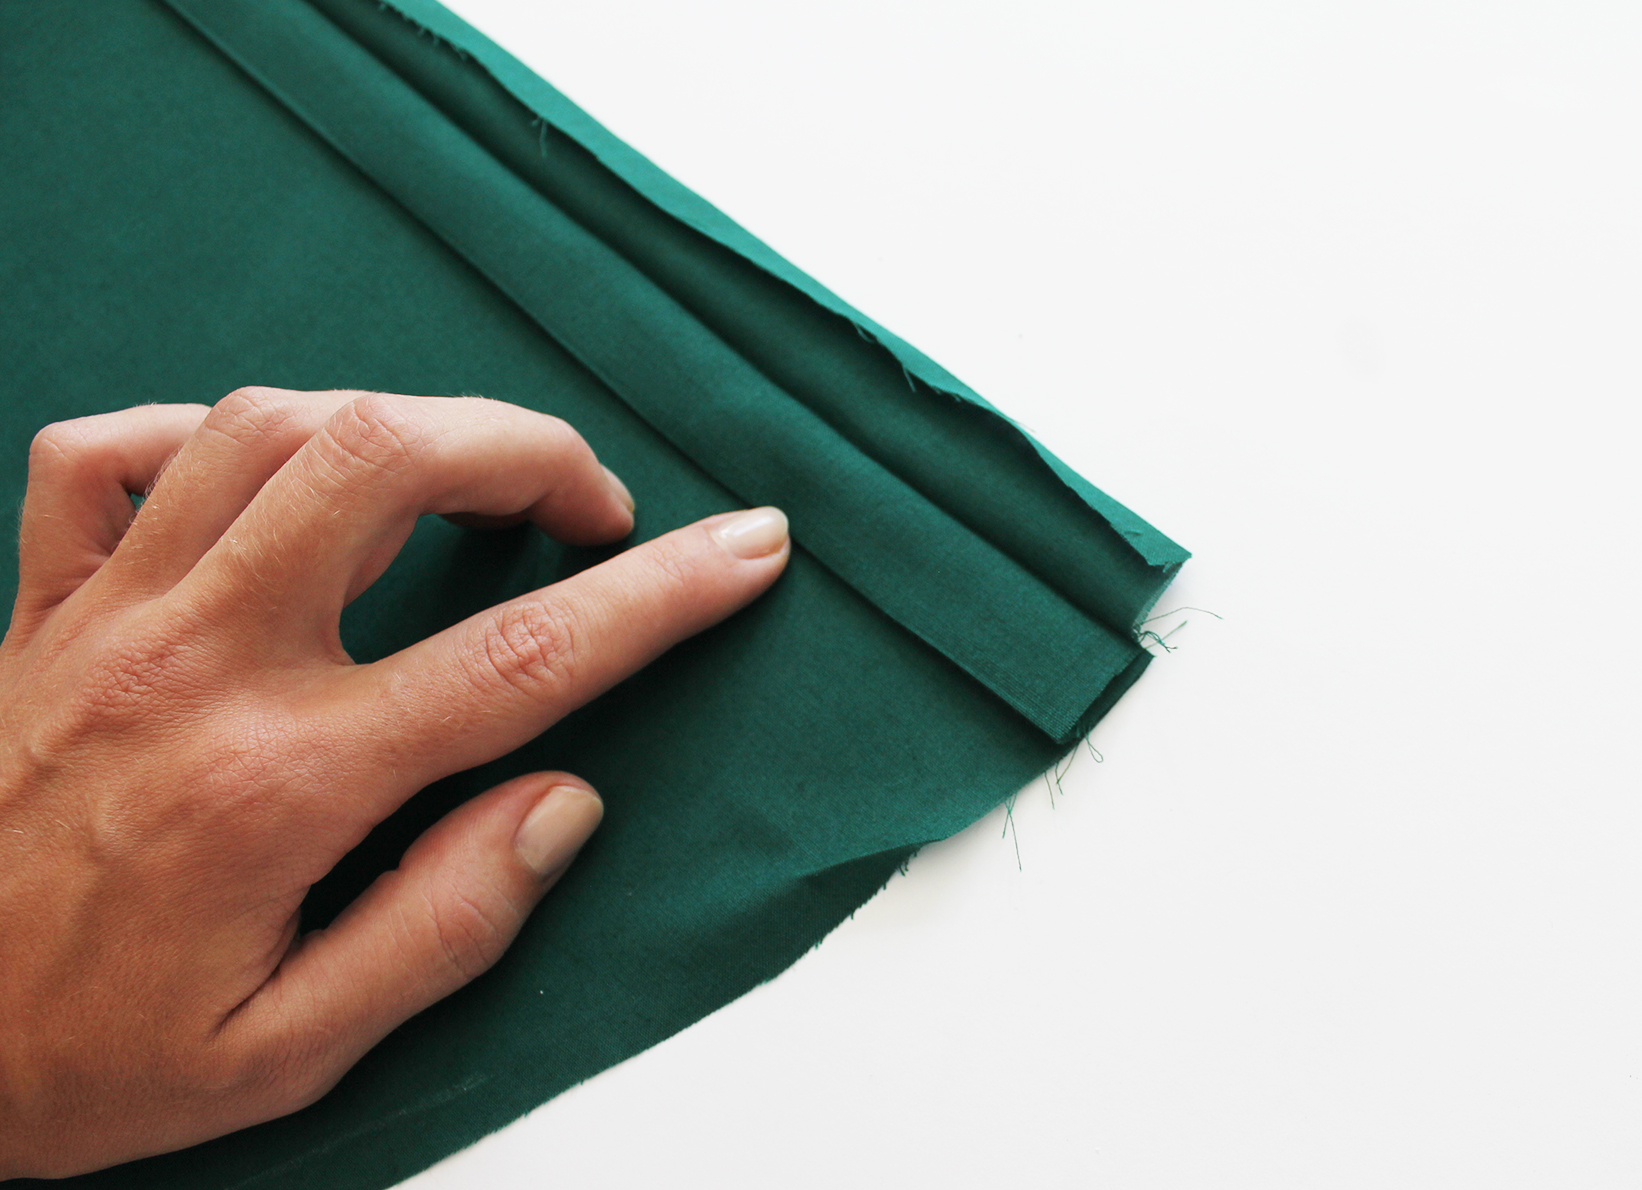
.. And like this when folded twice. The 1 cm seam allowance will be folded under the top layer.
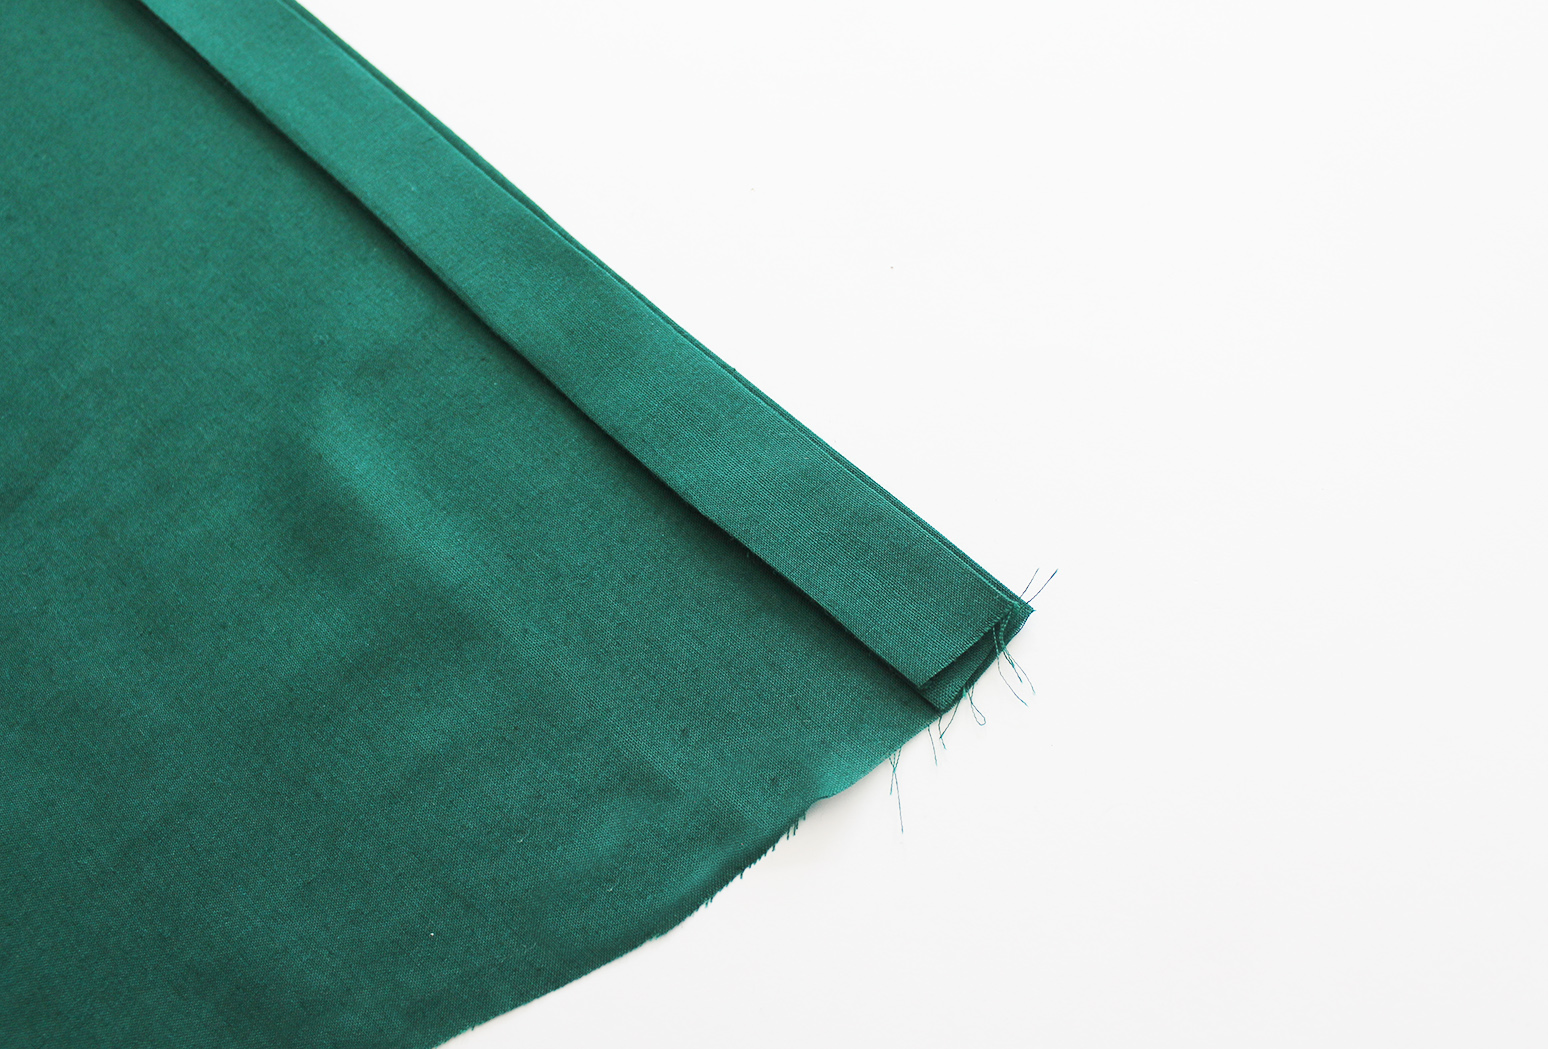
II. Then simply pin the folds down and sew a straight stitch just a couple mm from the edge of the folds:
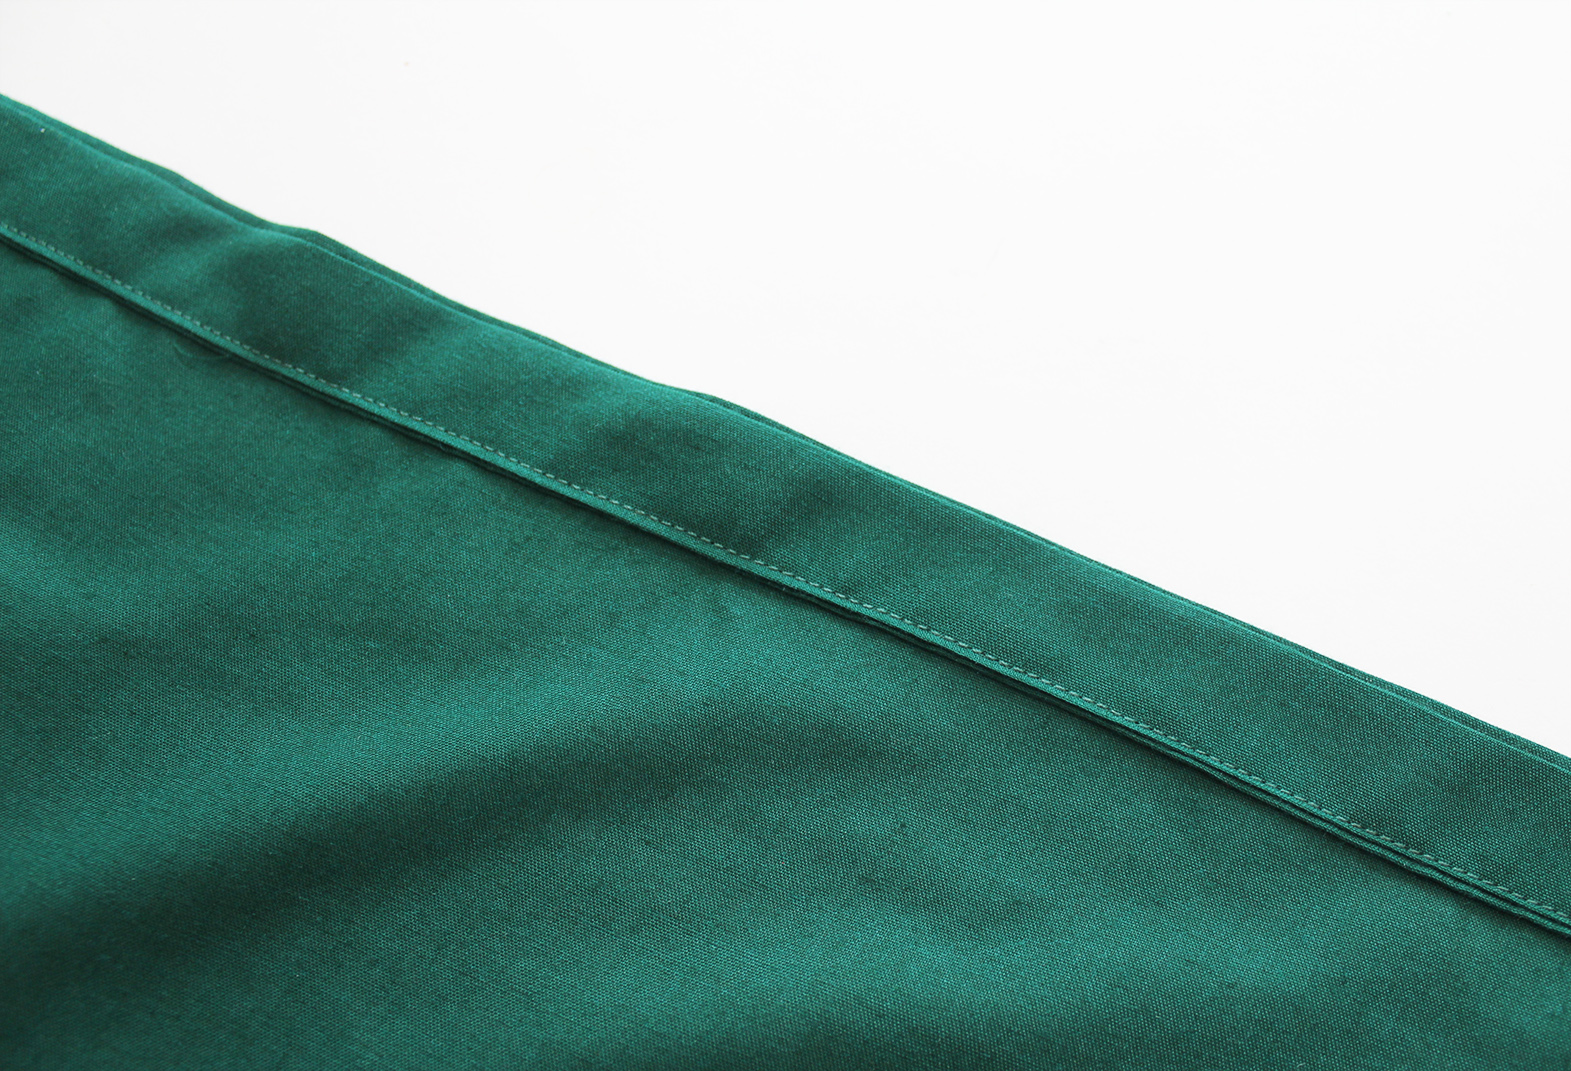
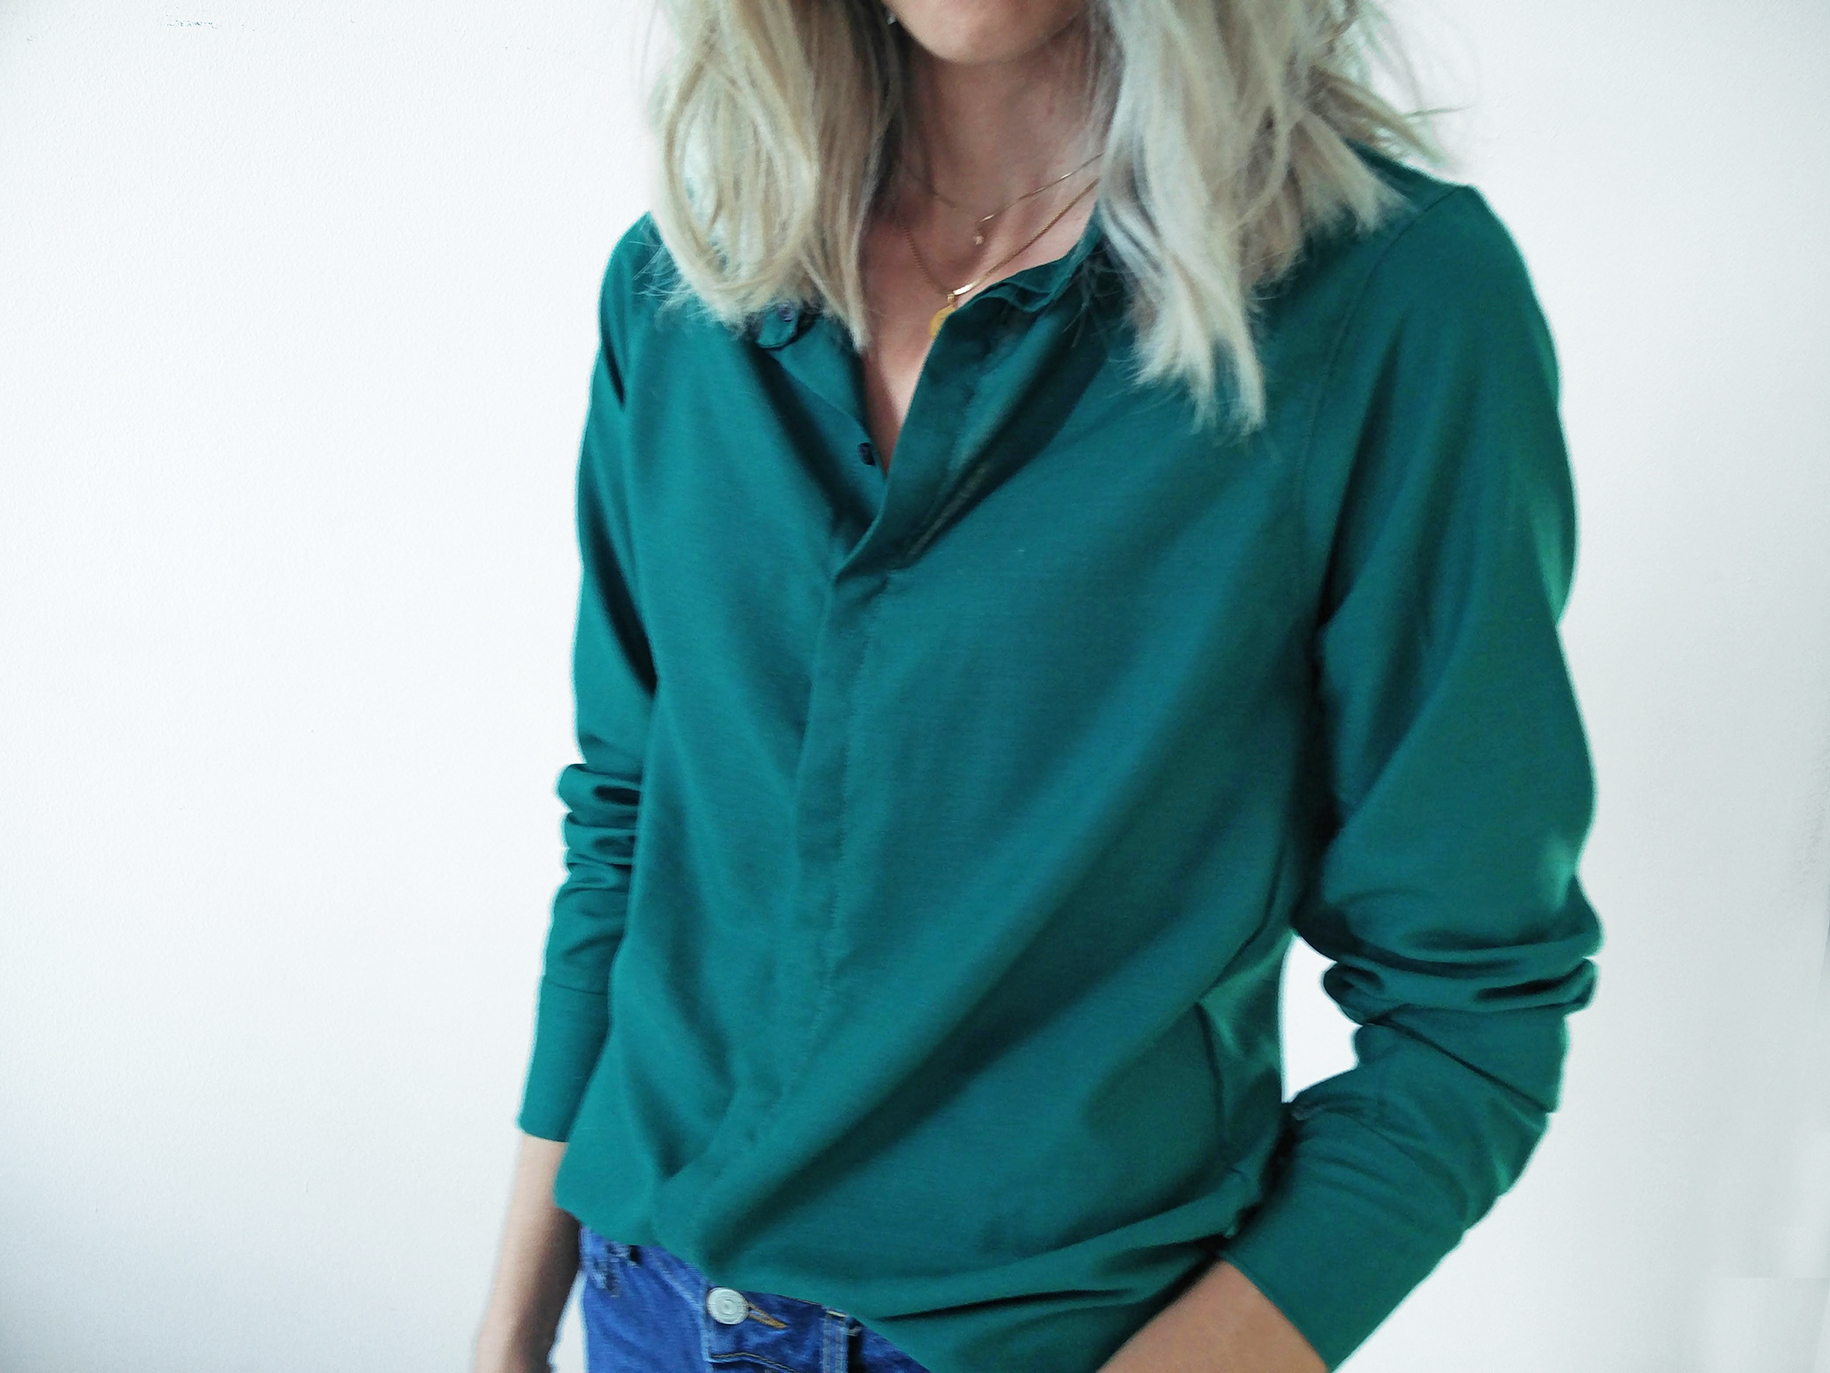
And you're all done! Just add your button holes as usual to the lower fold.

.. And they will be nice and hidden. Maybe Santa will bring me a new camera with a focus that actually works.
xo,
Julia


Hello Julia! I really like everything you do, it seems so easy to do the way you explain it! Greetings from Argentina!
ReplyDeleteHi Luz, thank you so much, you made my day!!!! So glad you like it. And I LOVE your country, absolutely stunning place!
DeleteThere's a pattern in the March Burda that I want to sew but it has a concealed button band and no way was I going to attempt to follow Burda's instructions so THANK YOU! :) This is very clear and straightforward.
ReplyDeleteSooo happy you found it useful!!! Happy sewing:)!
DeleteWe have repayment your place, This is rather useful AND ALSO personally. we envy your very helpful particulars anyone offer Just as location of your post. many thanks relating to putting up the idea..
ReplyDeletehttps://patch.com/new-york/patchogue/choosing-quilting-sewing-machine-thats-right-you