

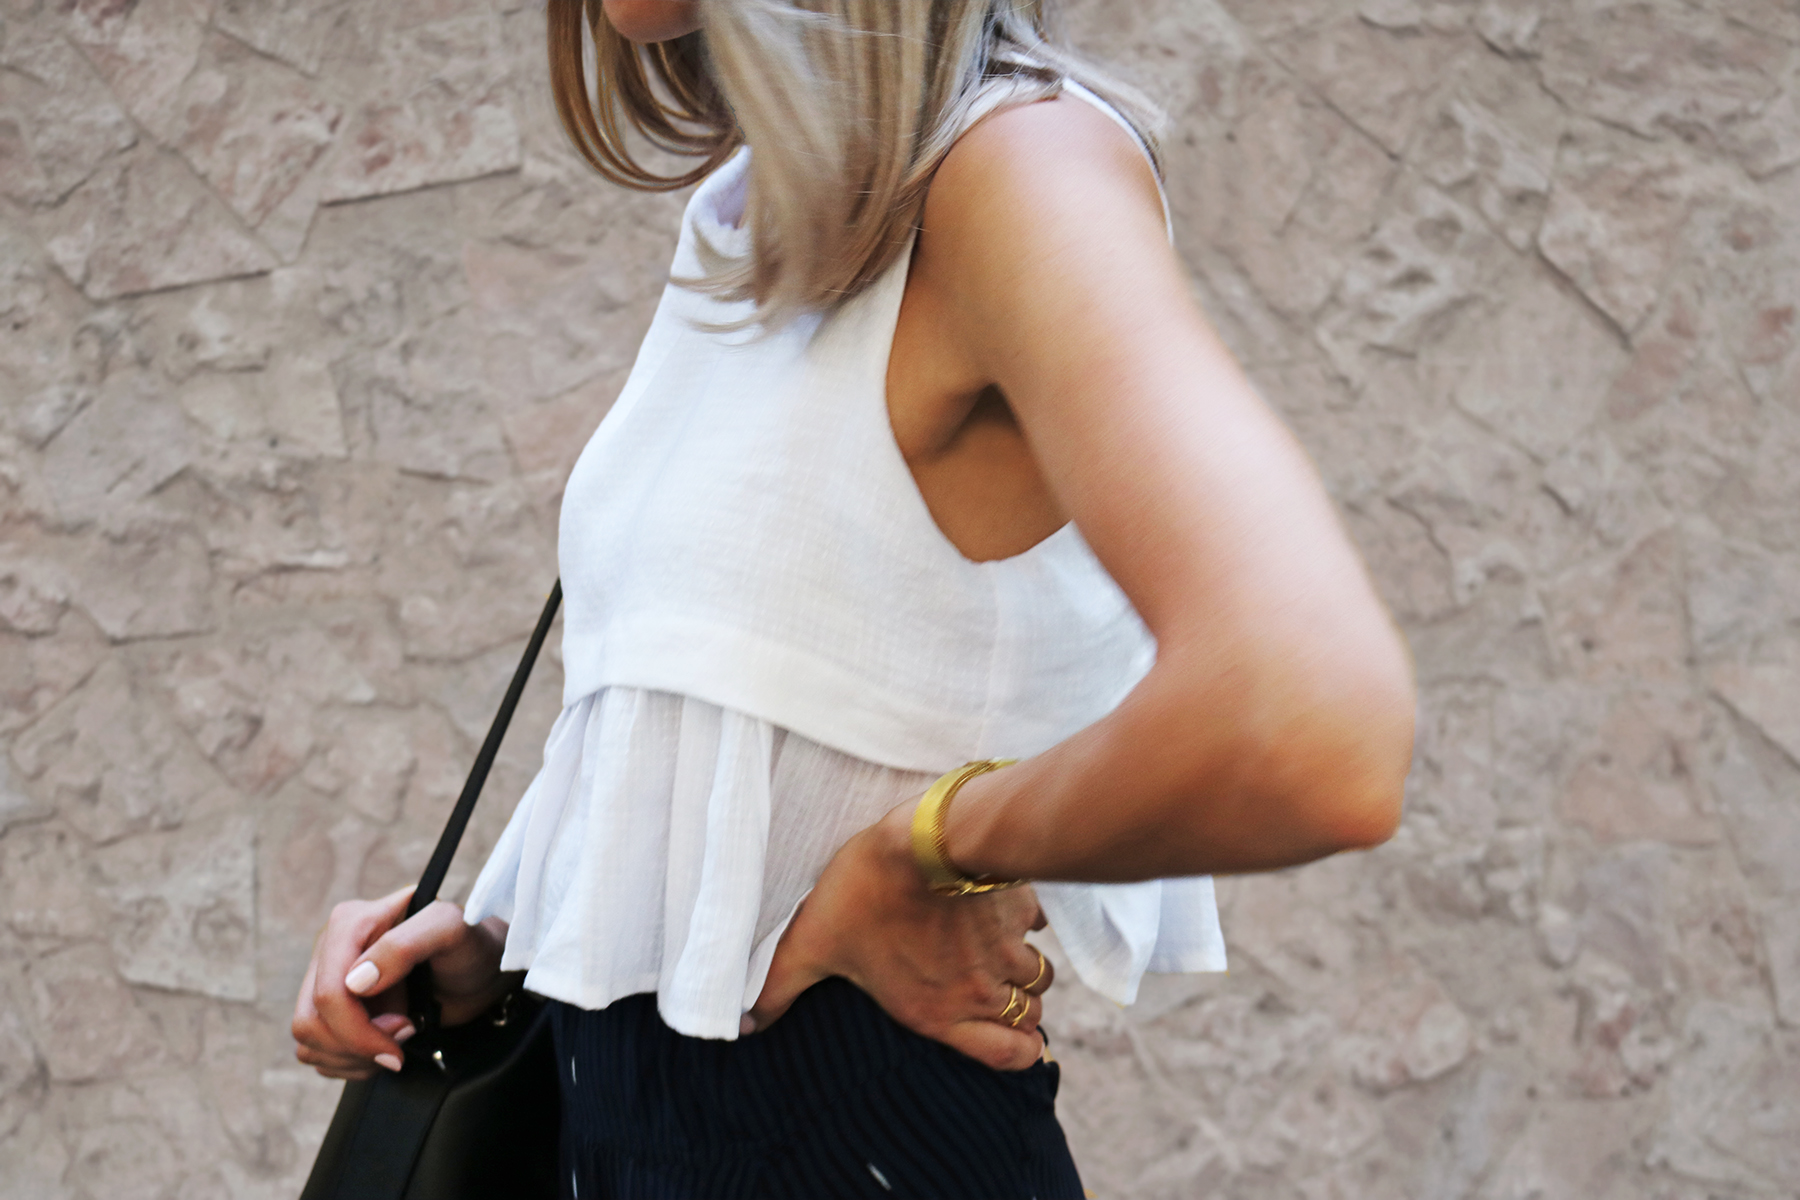
If the good people at Elizabeth & James ask, imitation is the sincerest form of flattery. They've recently come out with a bunch of amazing layered/pleated pieces like the Dane top, which I've been wearing as much as my dry-cleaning budget allows.. If you're just taking up sewing, here's a pro tip: a brilliant way to know you're making something you'll actually wear is to copy an existing deeply-loved item from your wardrobe. The only adjustment I made was to gather the peplum in a ruffle instead of the pleats.
Tutorials take a lot of time & effort to create, and I choose to make mine available for free. If you enjoy this guide, you can support me with a donation that feels right for you, here.
TOOLS:
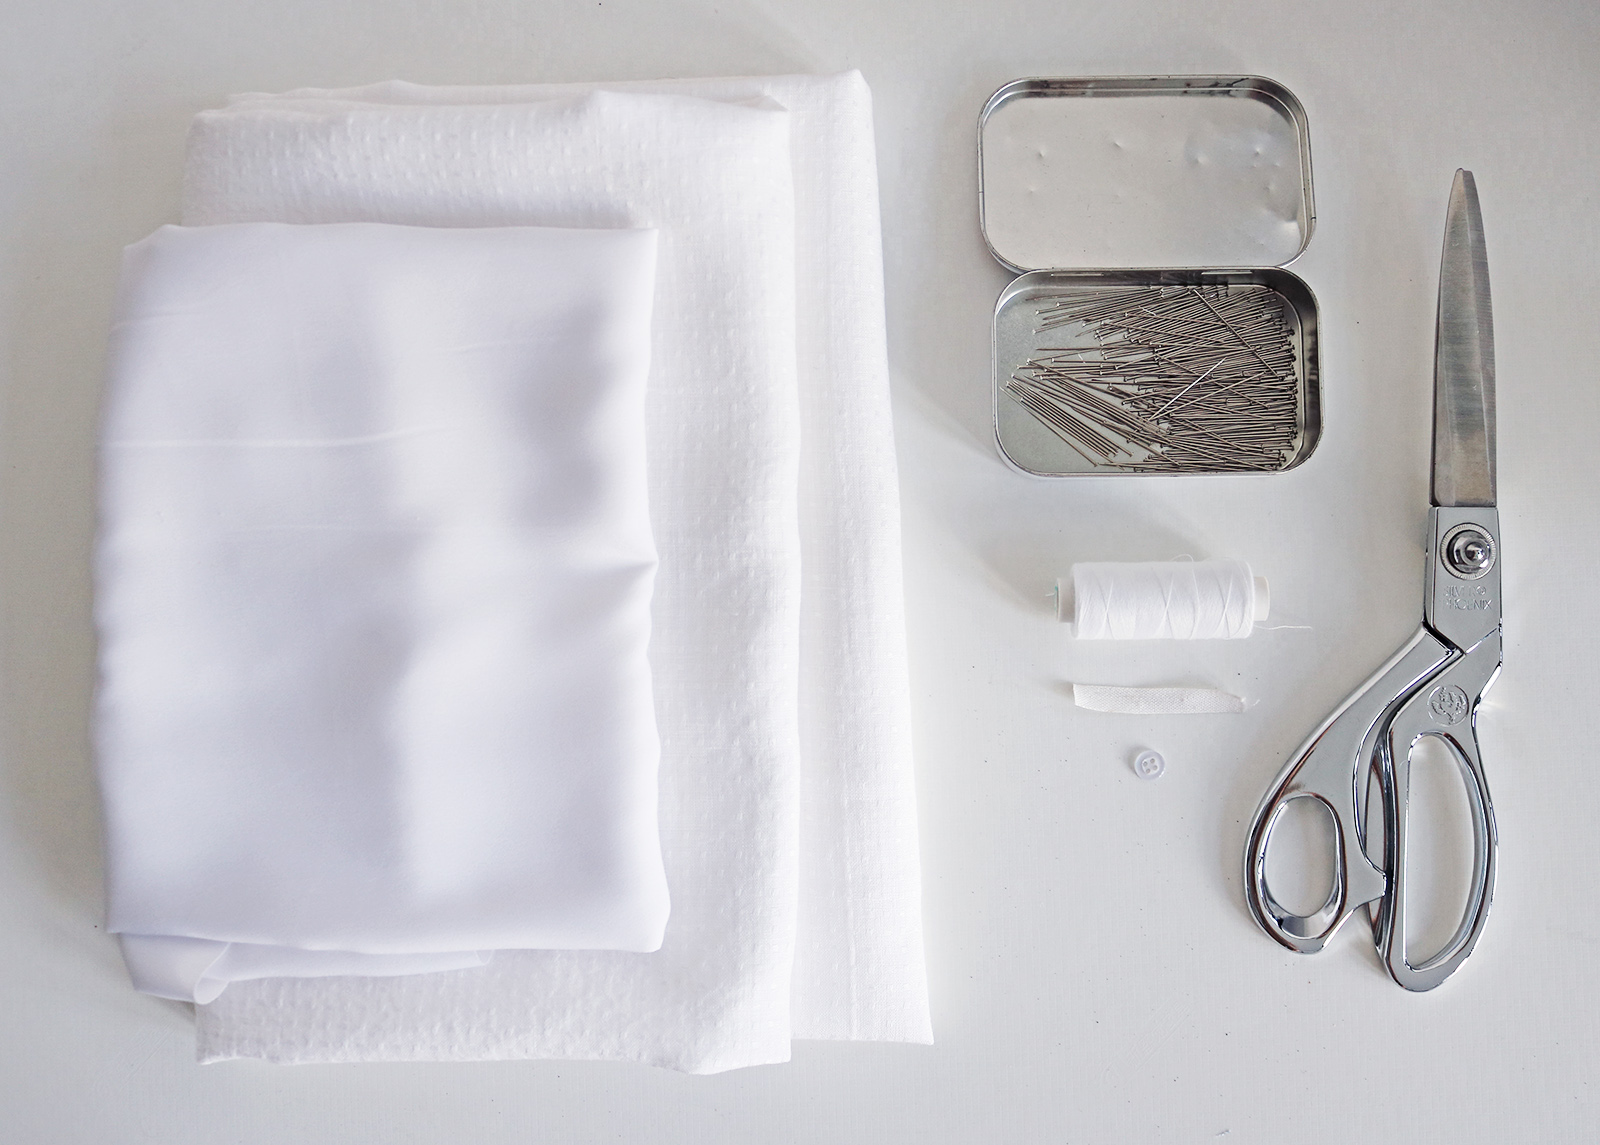
1.5 m of main fabric, 0.5 m of lining (I used 100% linen and crepe for inside) | Scissors | Thread, sewing machine, needle | Pins | Button | Small piece of ribbon (for the button loop)
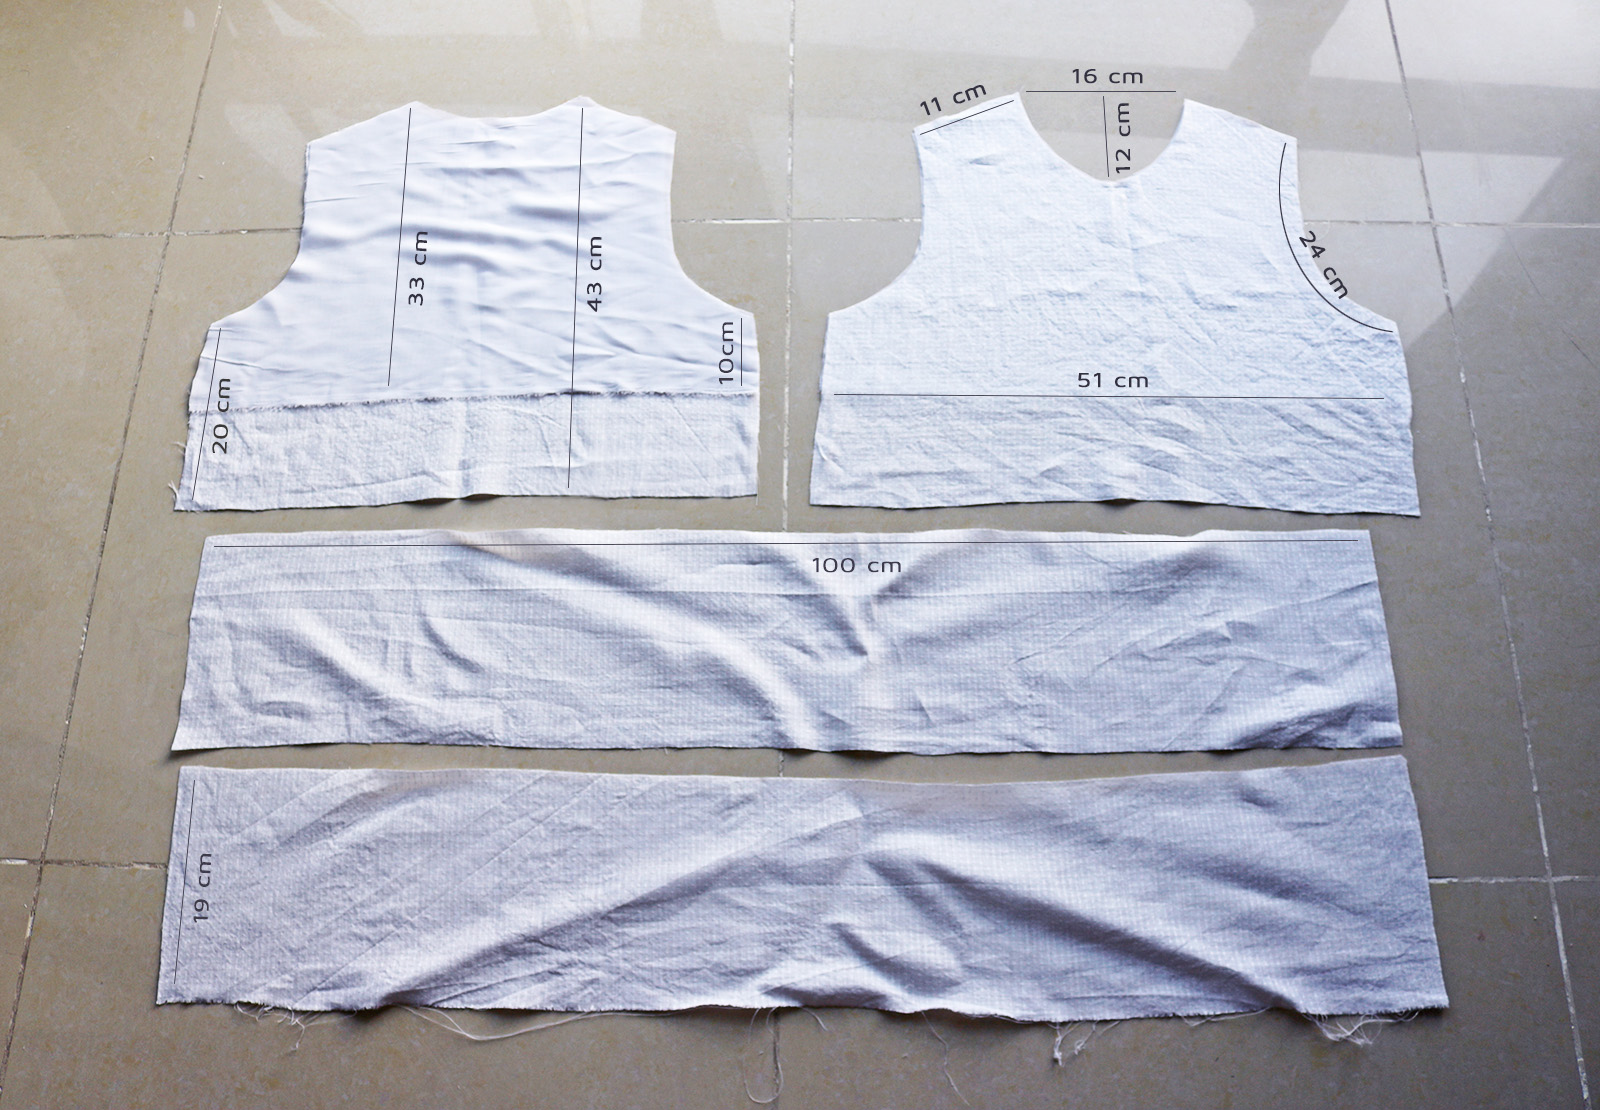
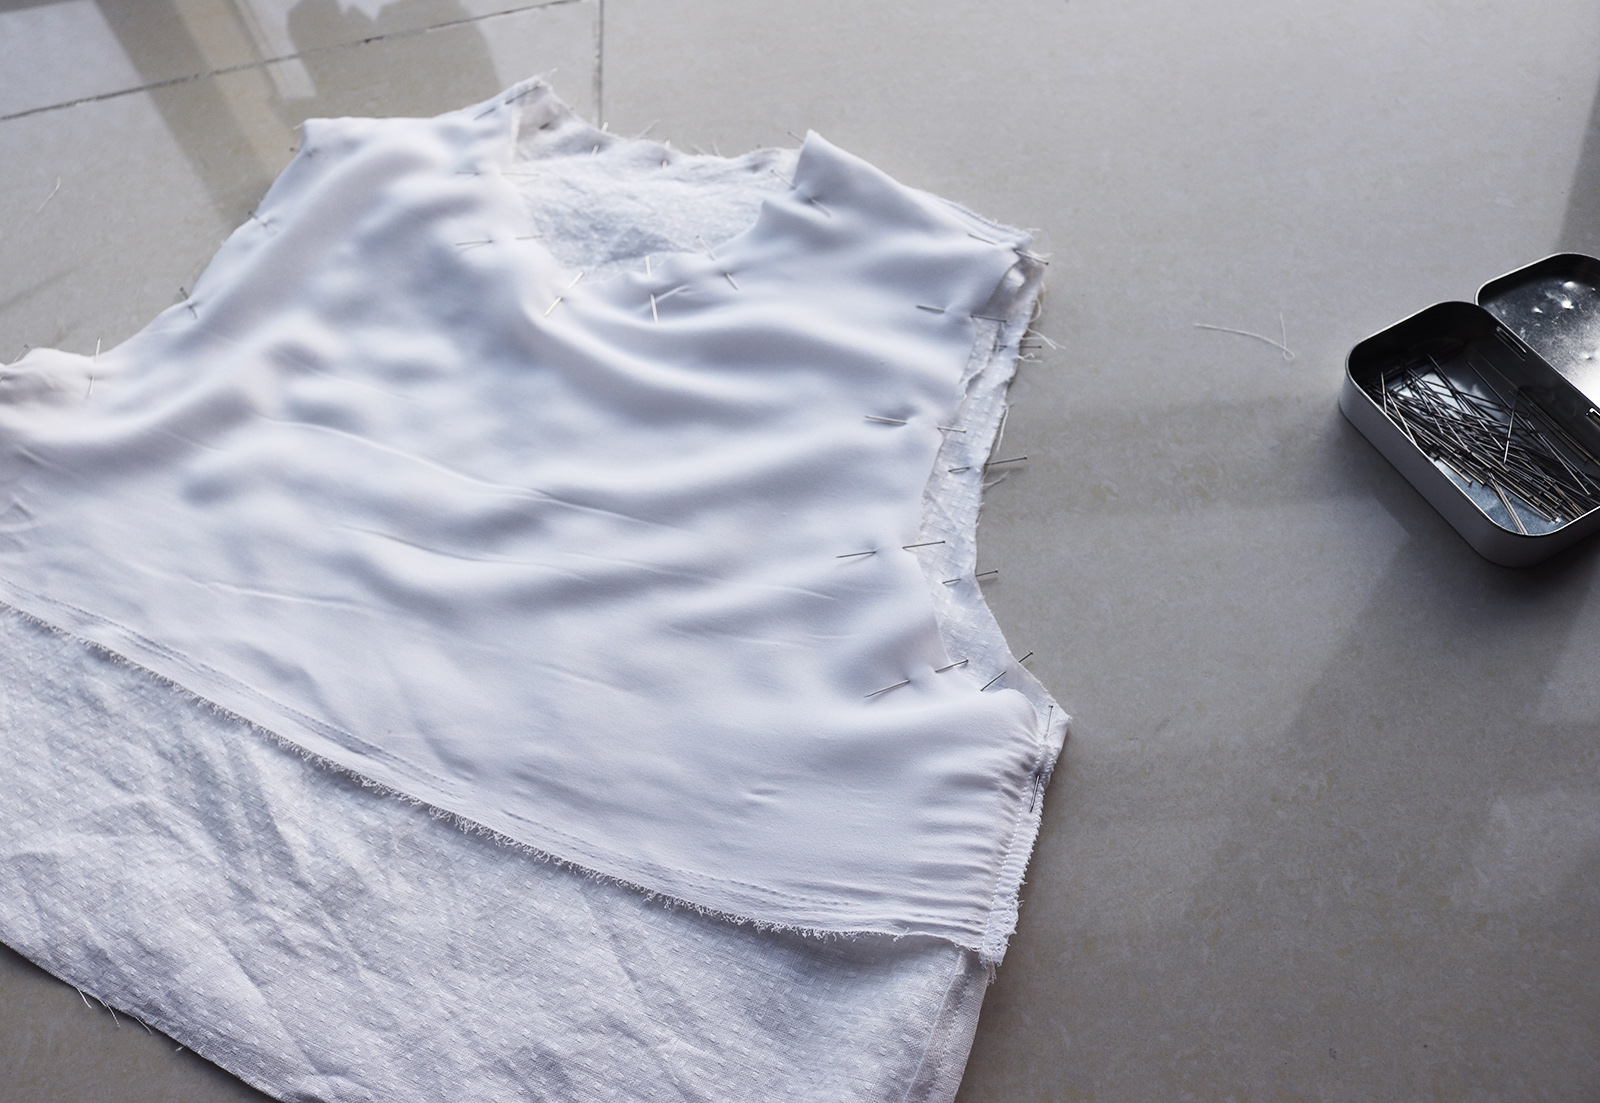
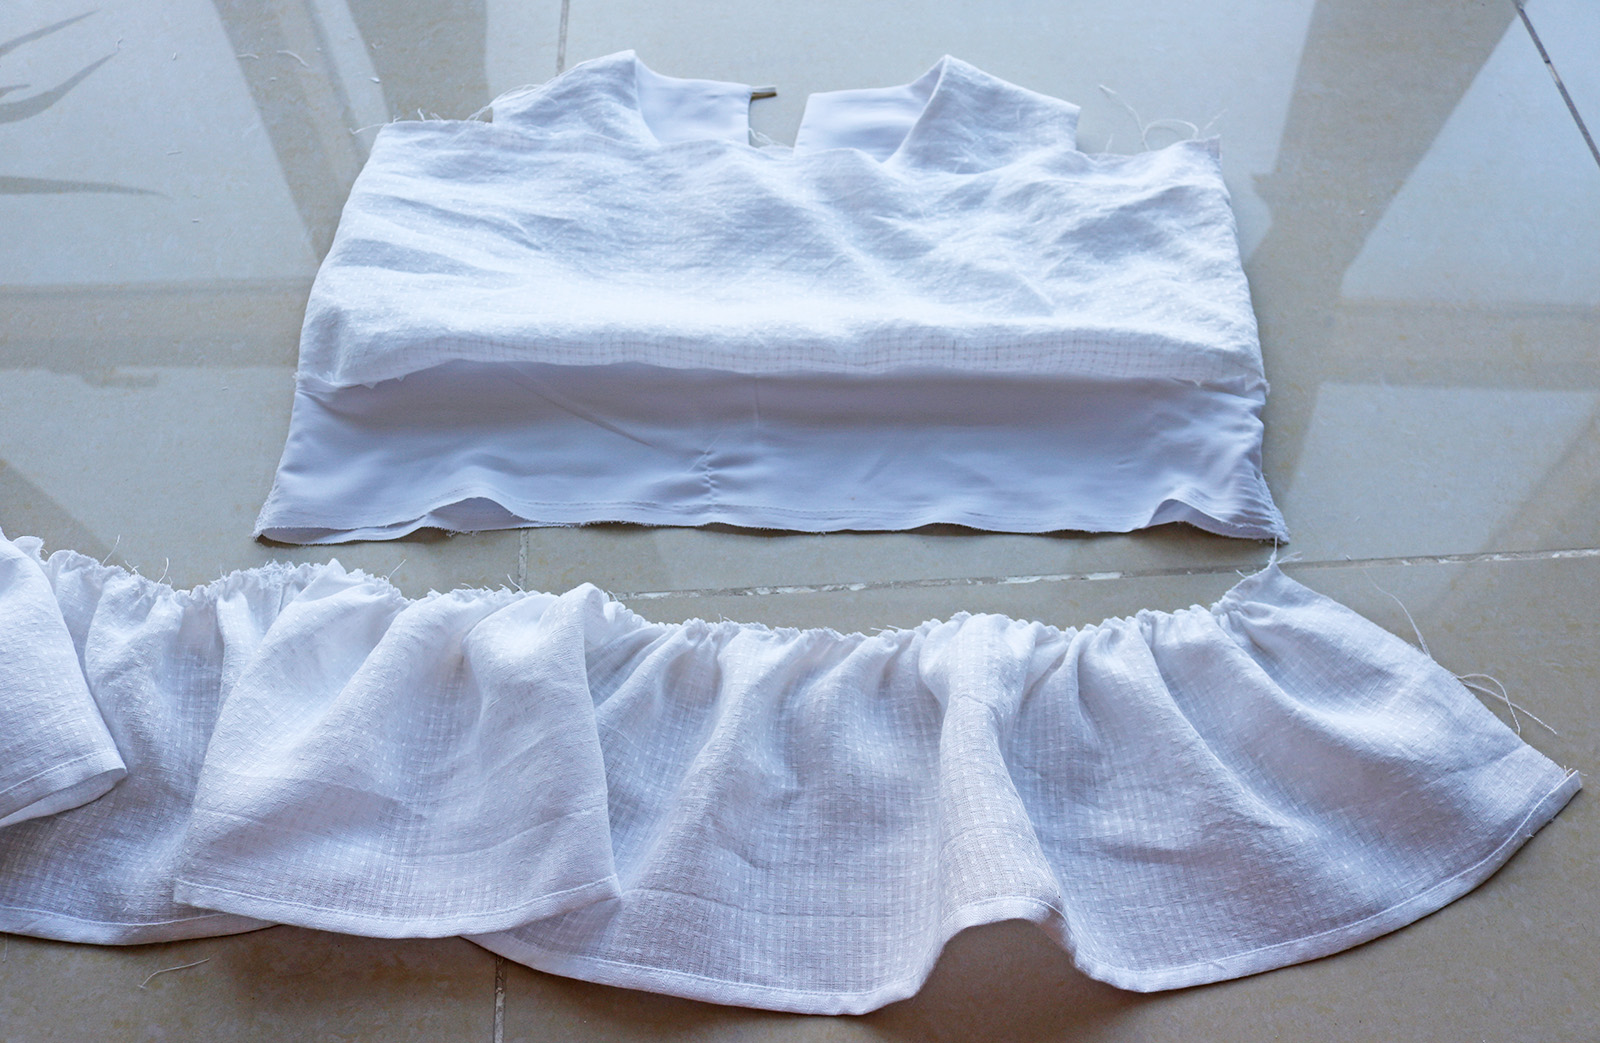
I. Here are the measurements for the pieces I cut for a size S/M. Note that in the image I'm showing the lining piece on top of the main back piece of the top. You essentially need two almost identical pieces for the front, and two for back, of lining fabric and main fabric, only difference being the lining piece should be about 10 cm shorter. The legth of the two long rectangles for the peplum will depend on how full you want it to be, you can see that with a ruffle 3x the width of the top the result was the fullness in the images of the ready top.
II. First pin the main top pieces and the lining together at the shoulders, right sides facing, and sew those seams. I did a flat-felled seam.
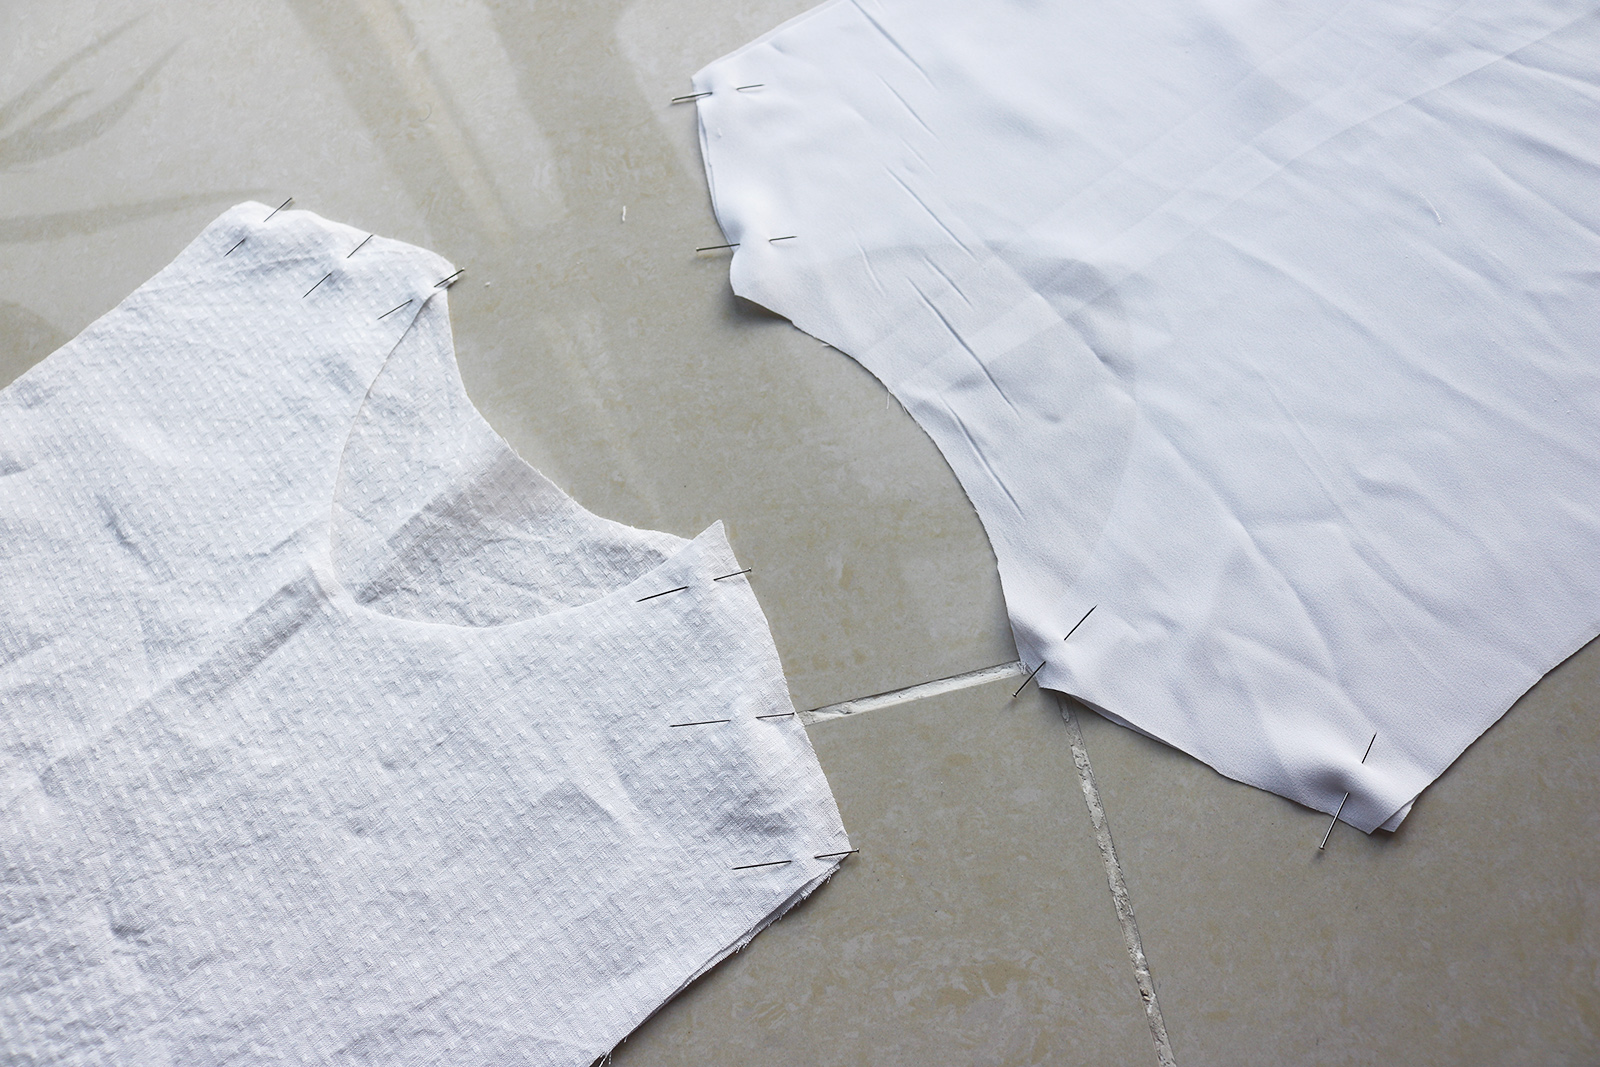
Repeat for the side seams of both the top and the lining.
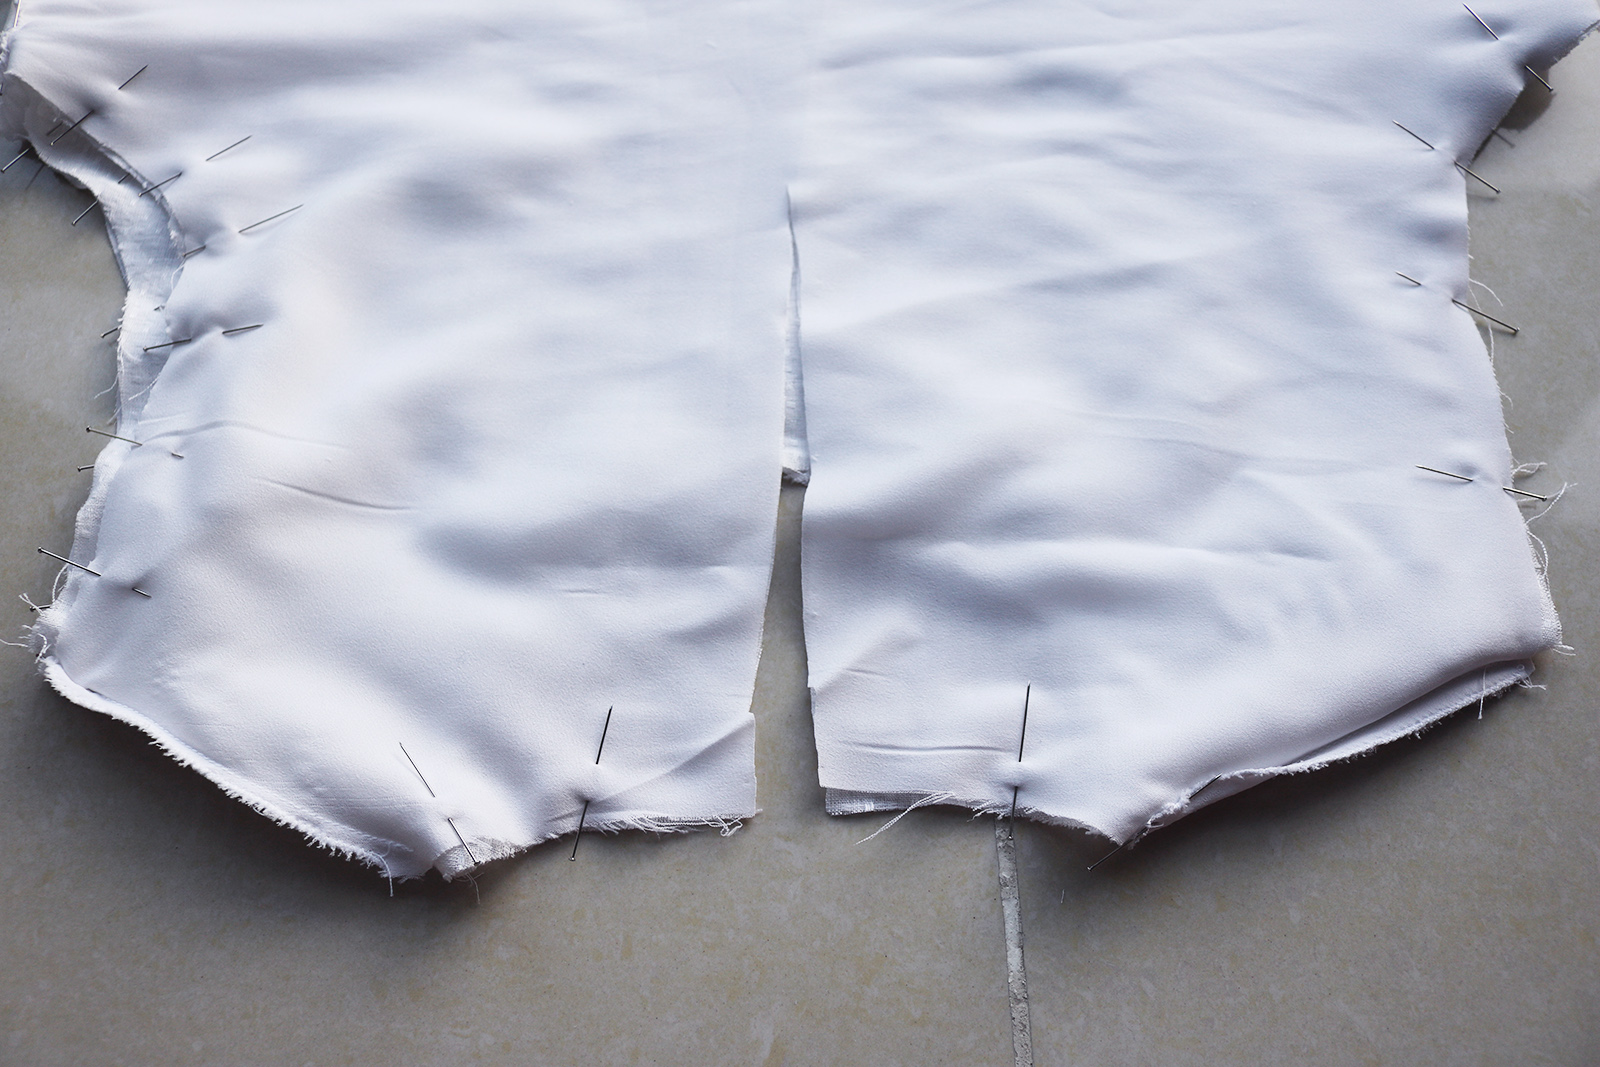
III. Next insert the top inside the lining, right sides facing. Pin the neckline and the arm holes (the latter aren't sewed at this stage yet, but pinning them helps make sure everything stays nice and straight as you're working).
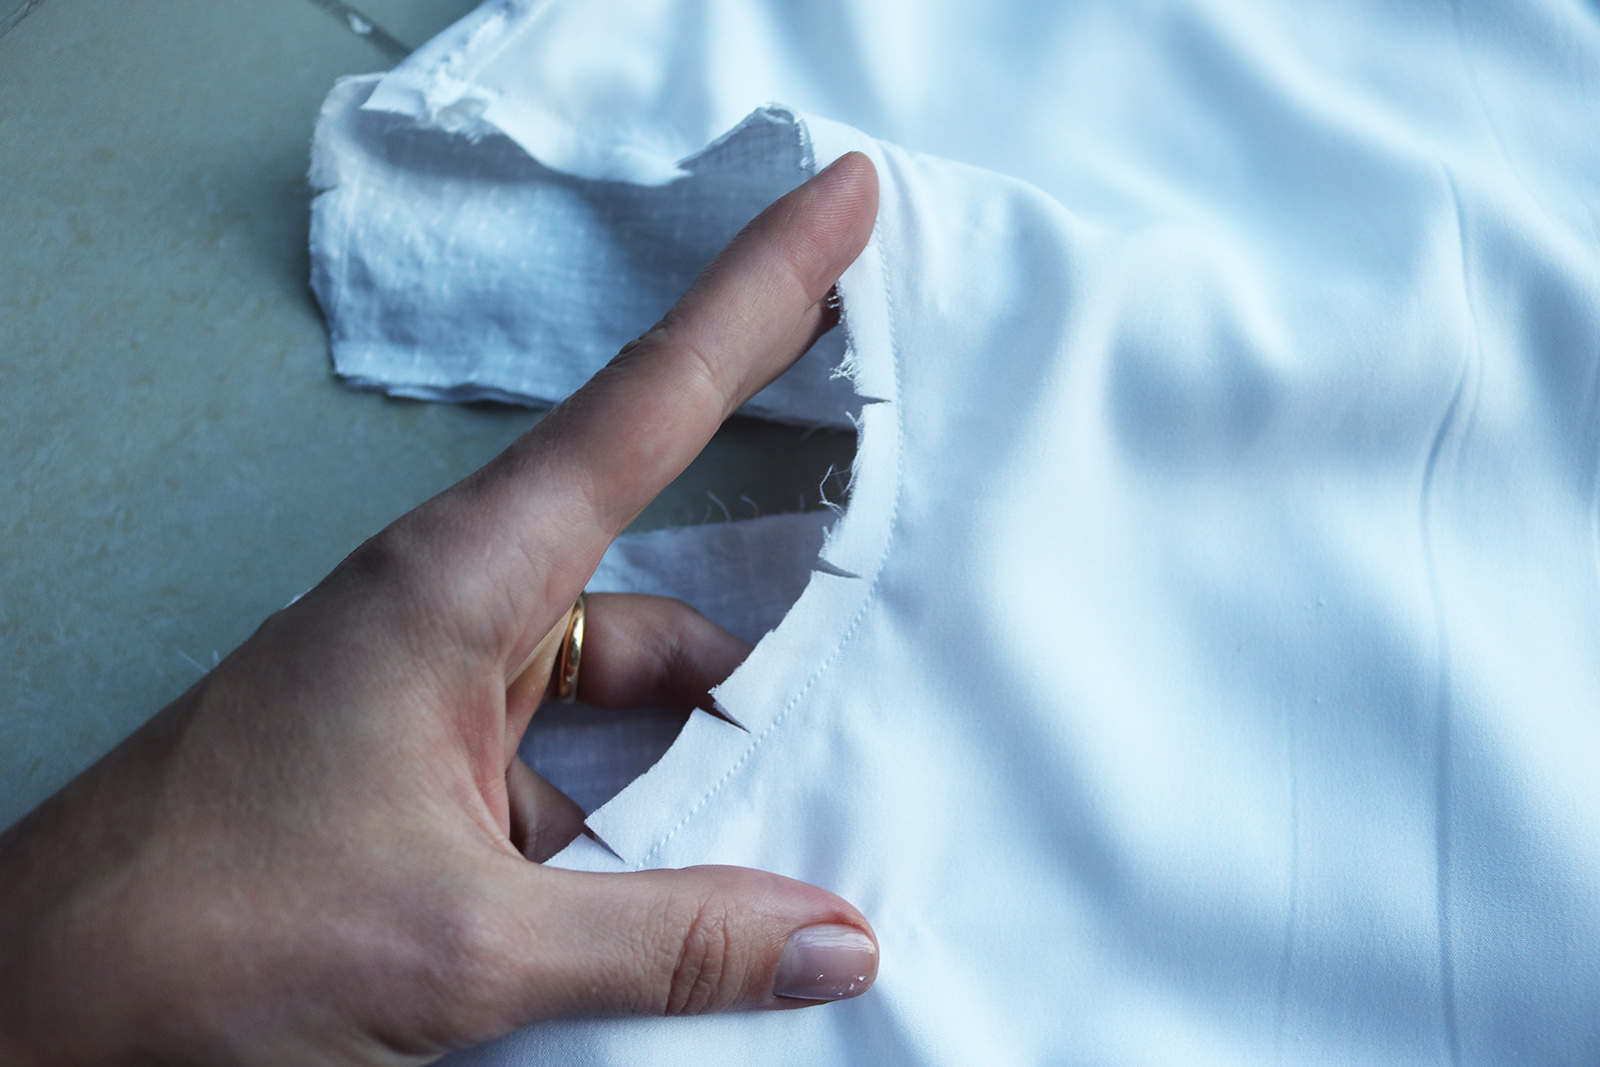
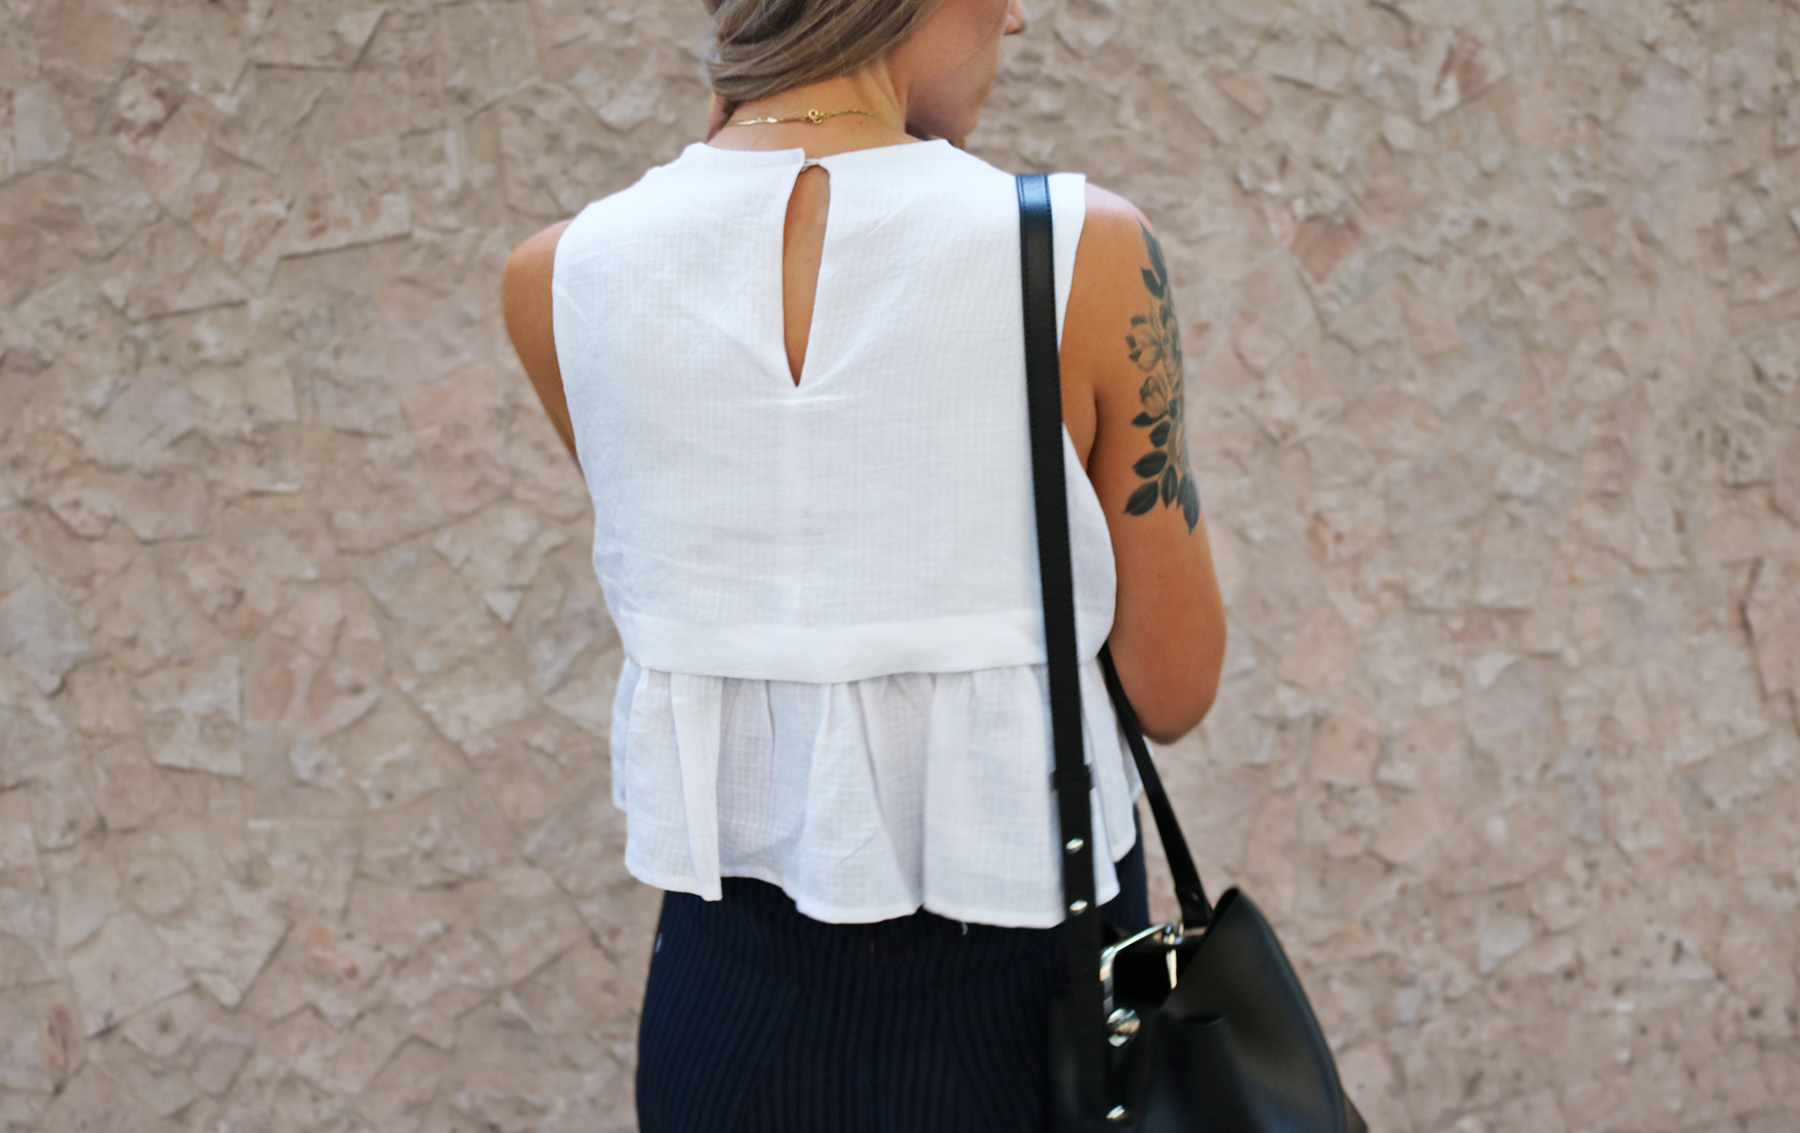
Flip the top back side up and cut a slit straight down the middle, from the center of the back. This will form the key hole. I cut mine abut 23 cm down.
Then take the little piece of ribbon (I folded it in half width-wise and secured the fold with a straight stitch so the thing was about 3 mm wide and 3.5 cm long..
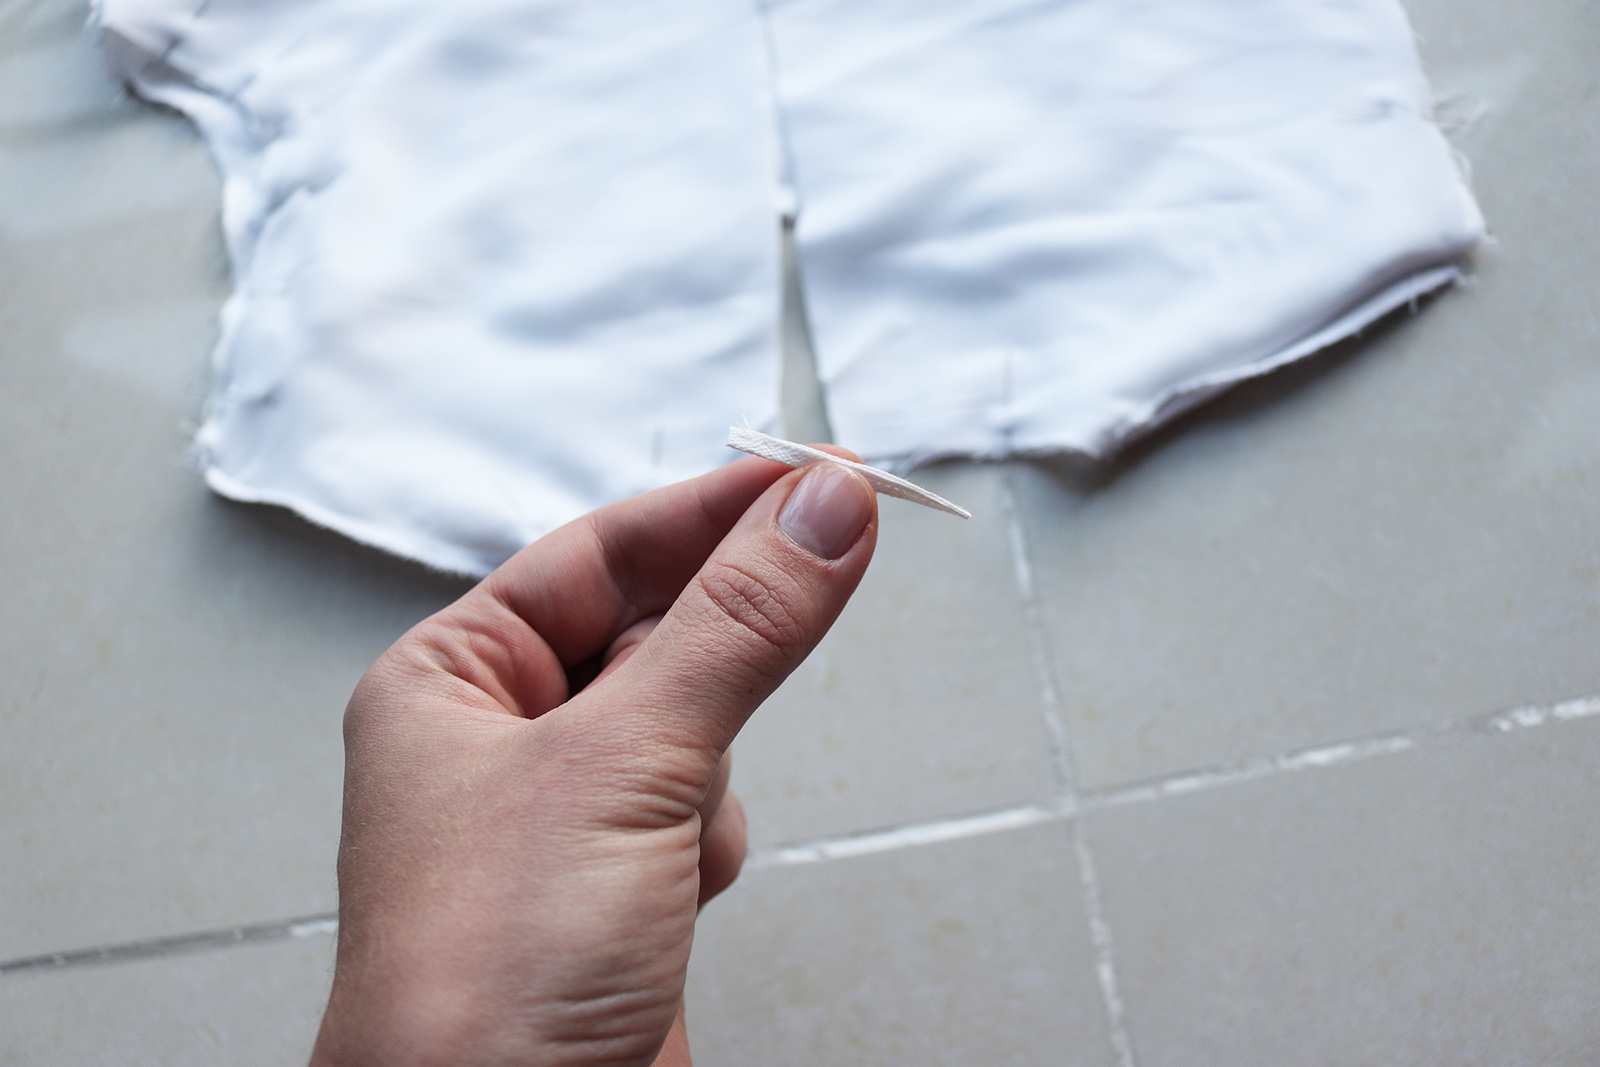
.. Then folded it in half and pinned about 1 cm down from the start of the slit I had just cut, on the right side of the top..
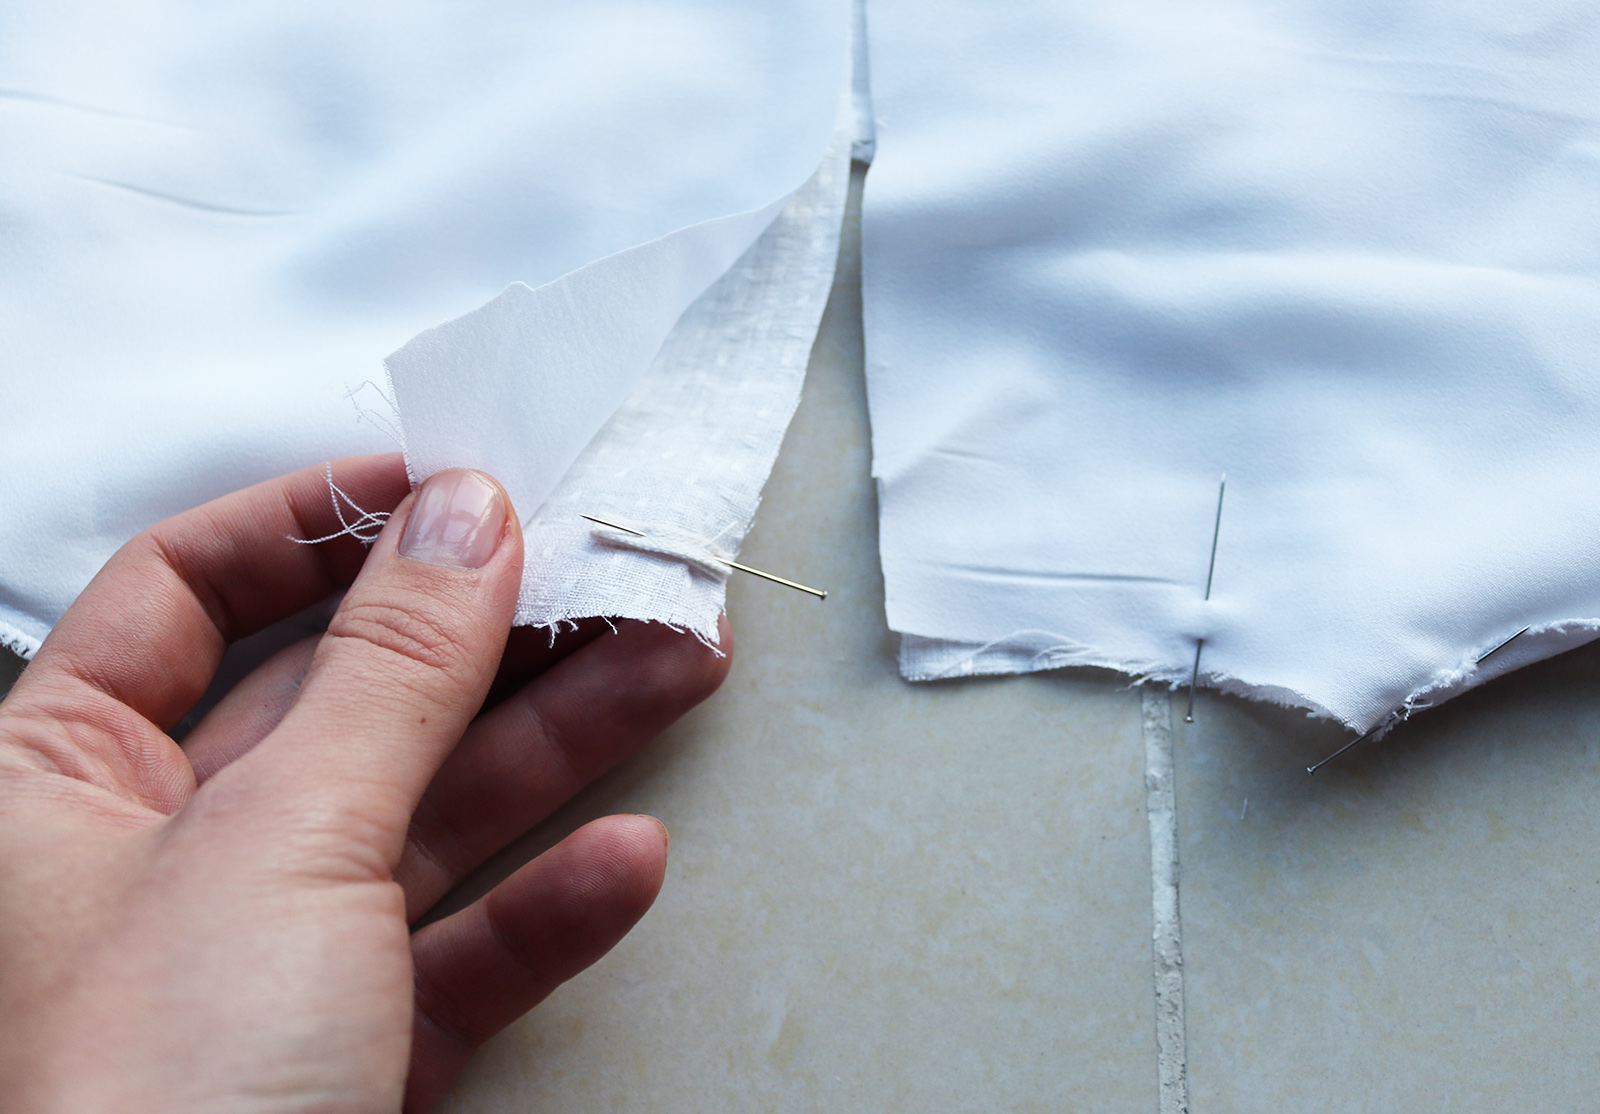
.. And finally pinned the lining to the top along the edges of the slit, leaving the little button loop in between the two layers. Then just sewed a straight stitch about 0.5 cm from the edge, along the curved edge of the neckline in the front, and all around the back, doing a sharp V with the stitch at the bottom of the key hole. Remember do not sew the arm holes at this point.

IV. After sewing, you'll want to notch the critical areas to get rid of any tension. Cut little slits along the neckline:
Also trim the corners on both sides of the key hole:
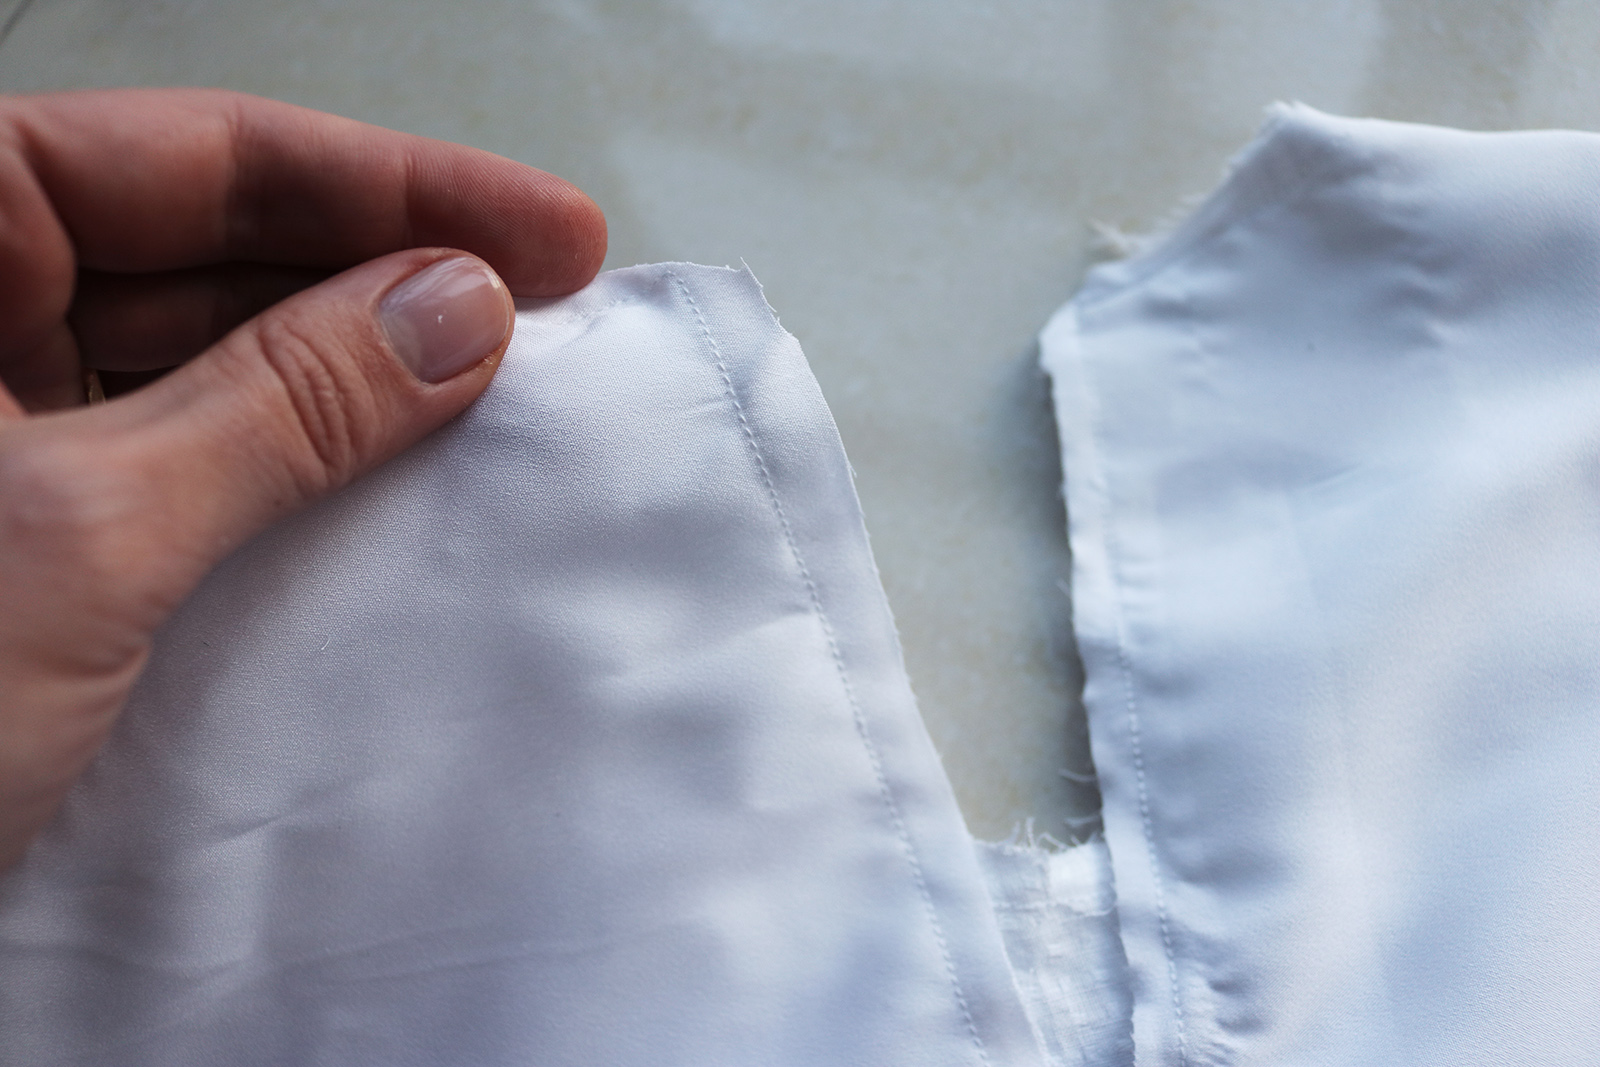
And also cut a nothc at the bottom of the keyhole:

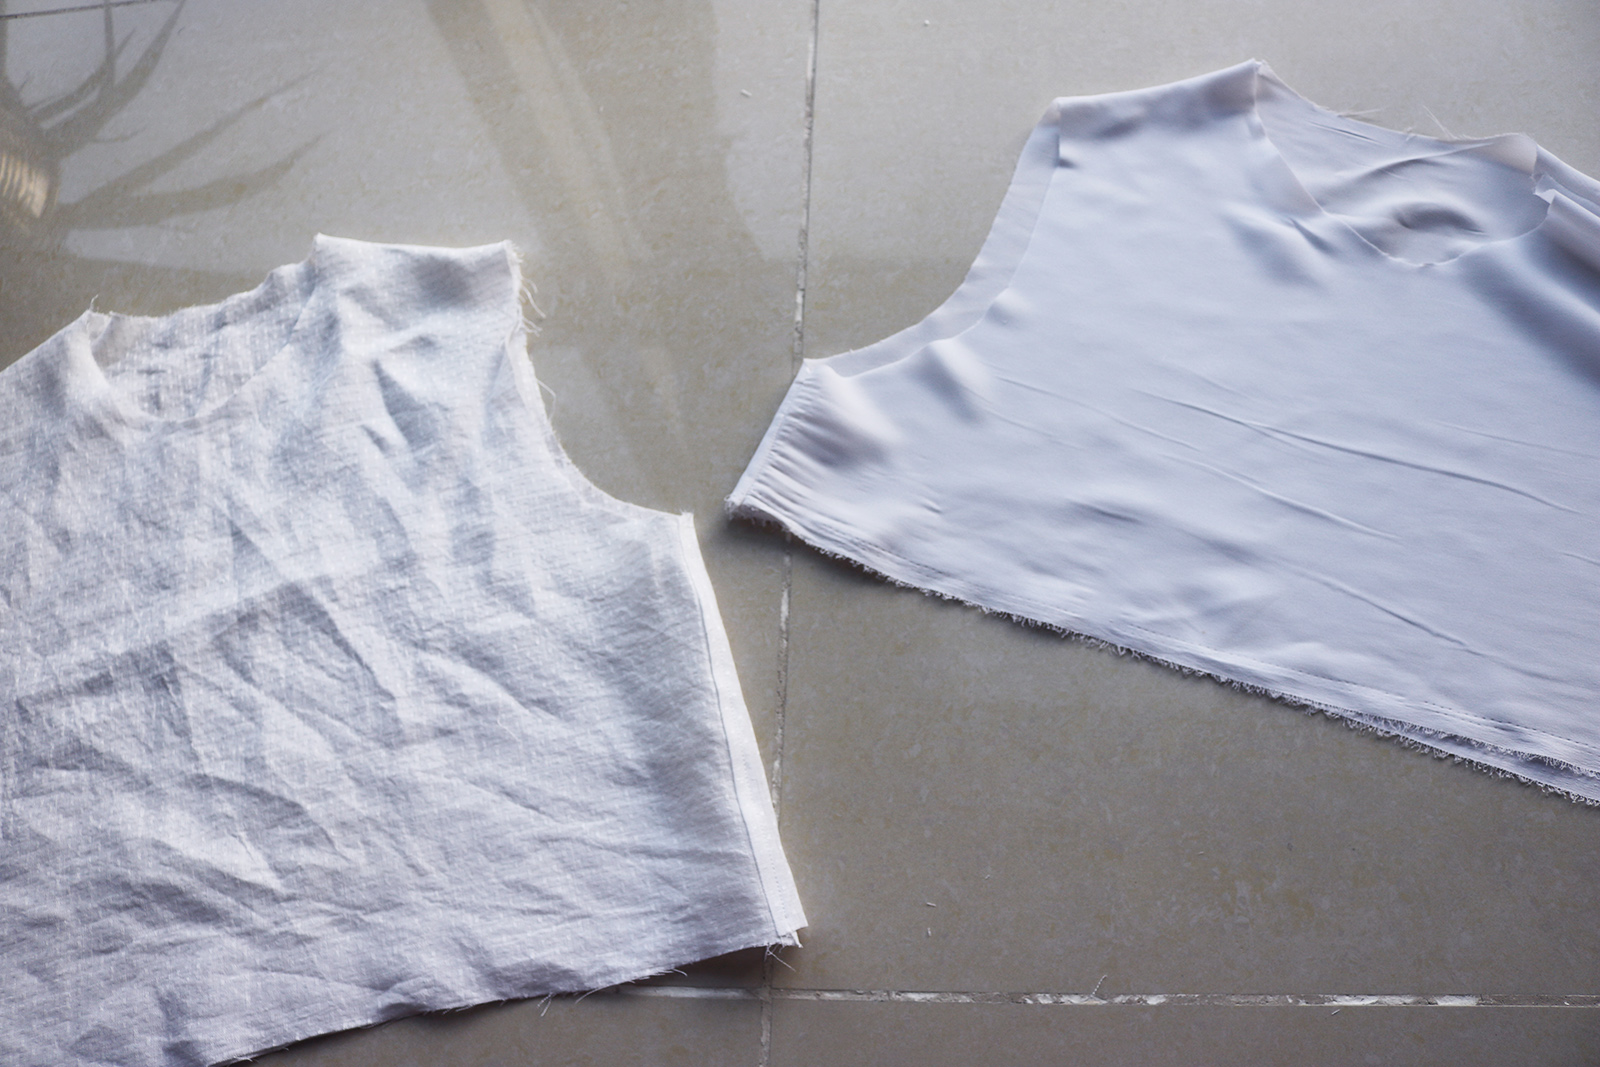
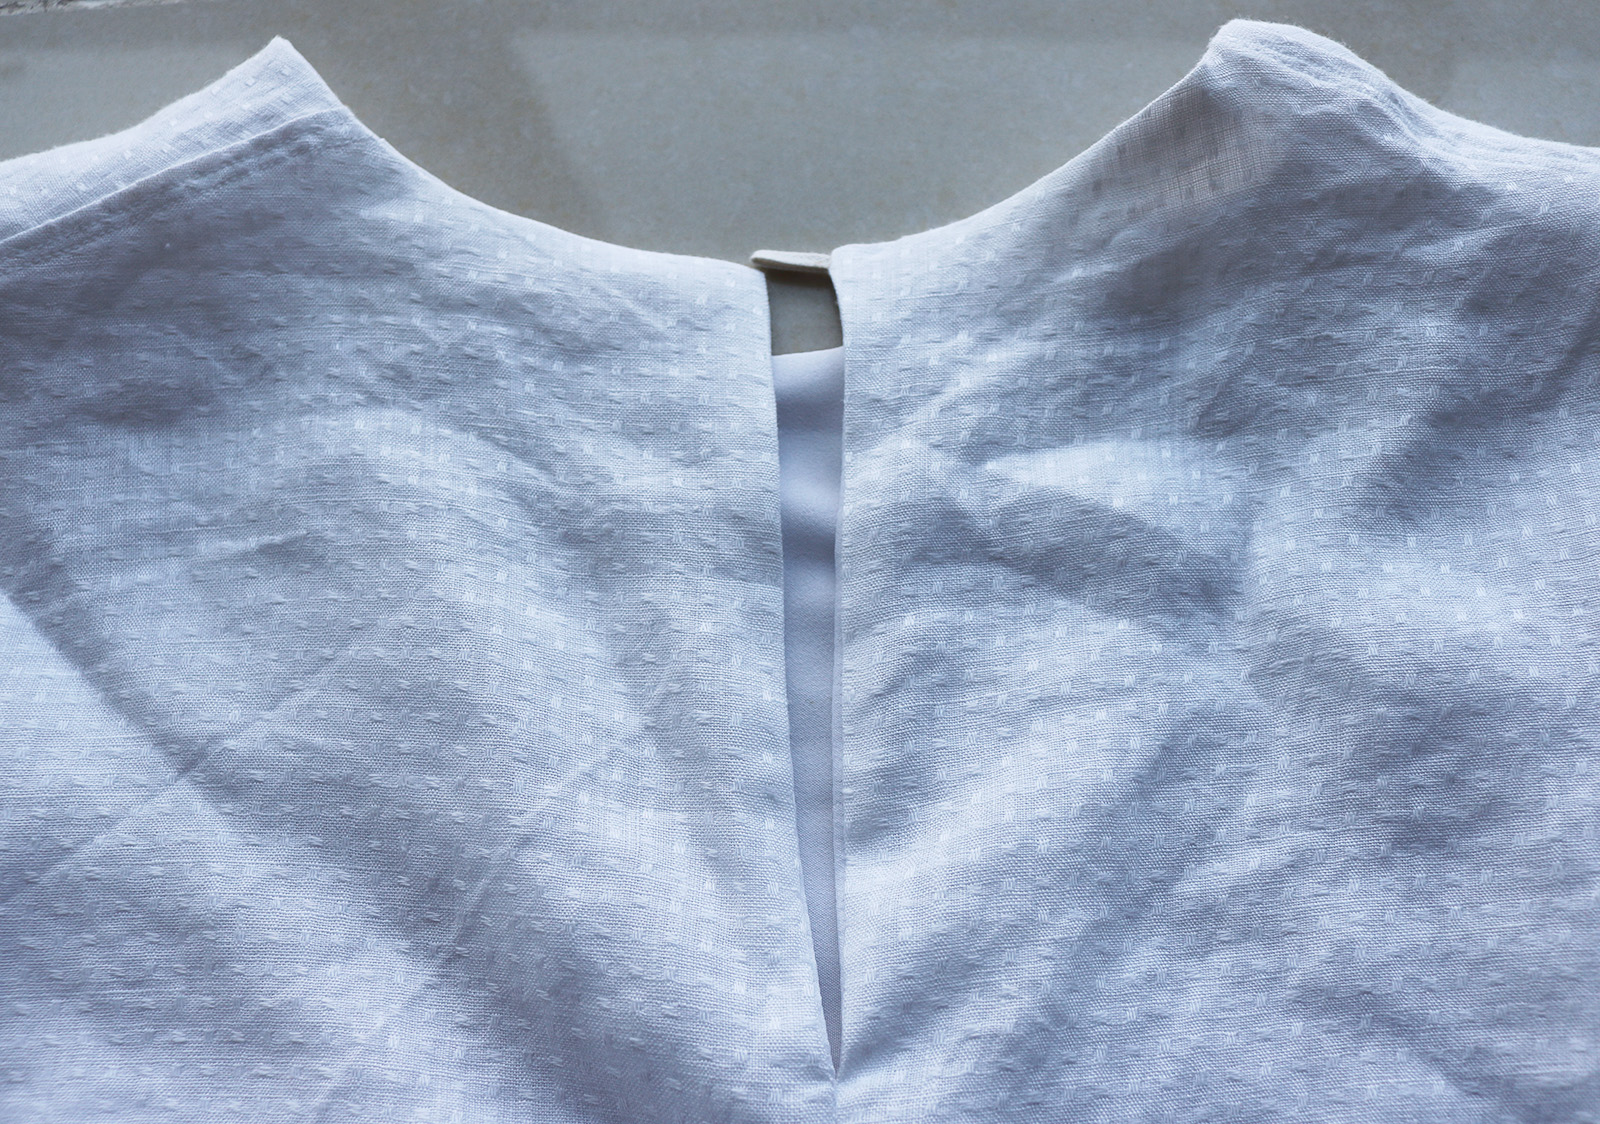
.. After that you're good to go to turn the top right side out and press, and you should have a nice & clean neckline, with key hole in the back and the button loop attached:
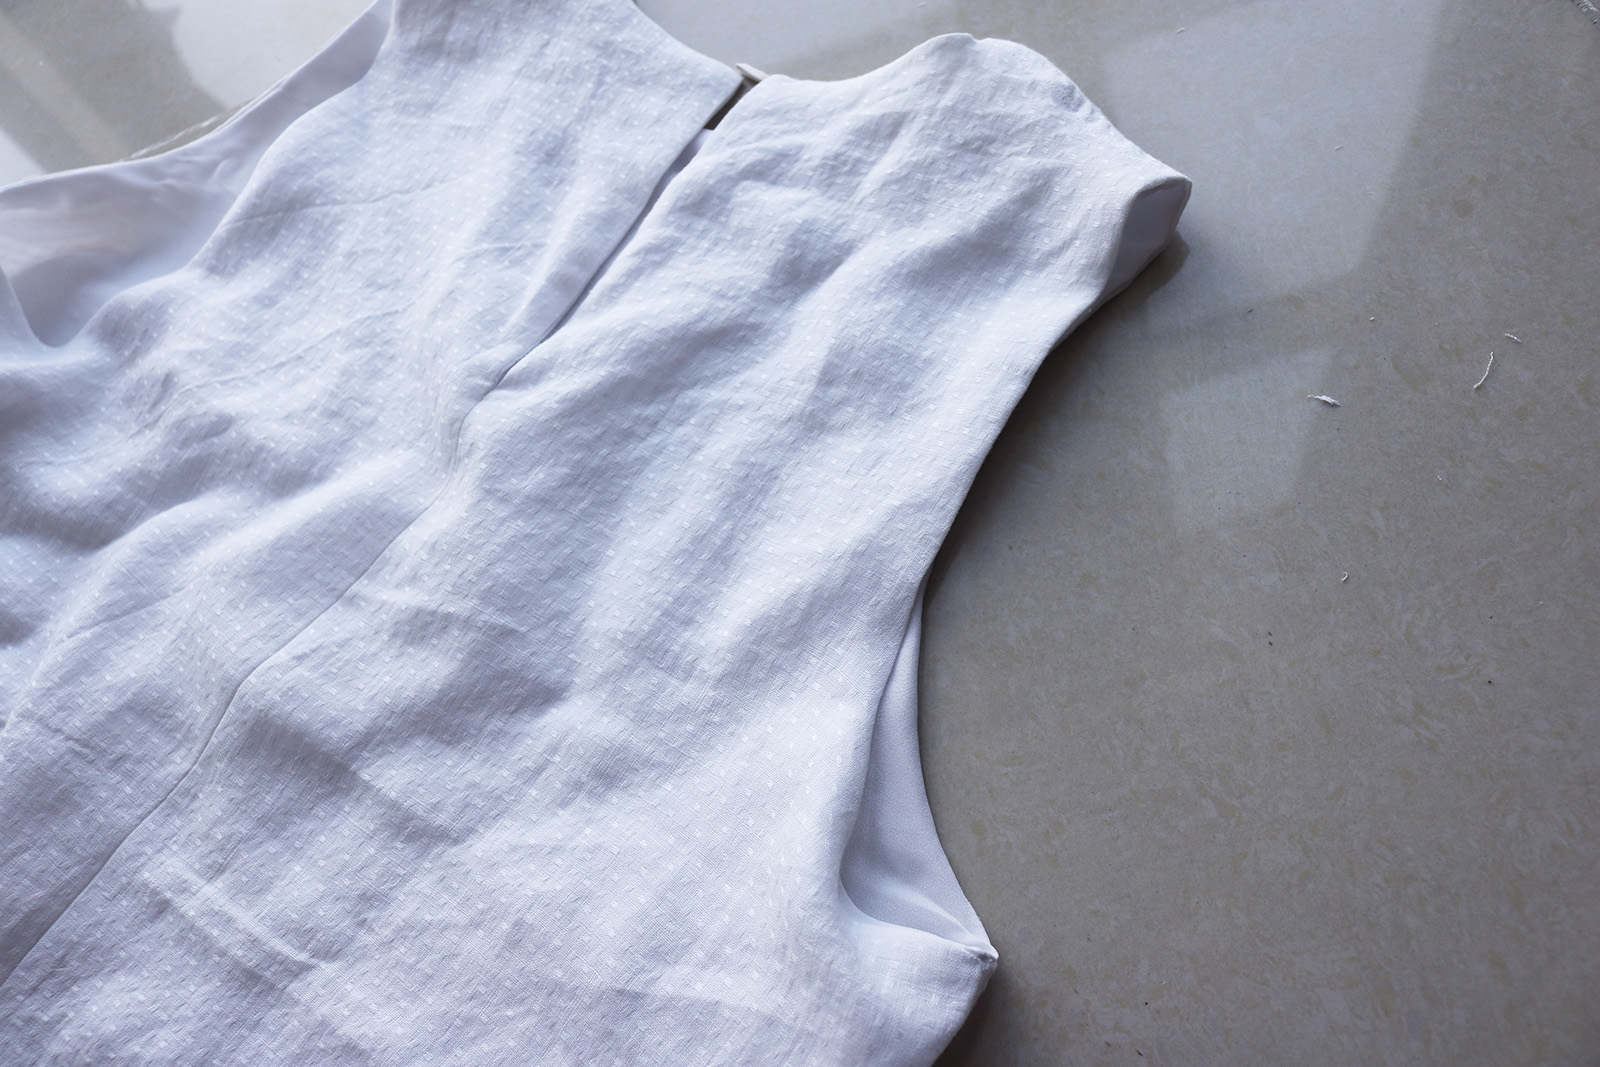
V. I swear I tried to photograph the next bit but it was impossible to get an image where it was clear what was happening.. So I'll try to explain. Now that the top is flipped so the lining is inside, I did the same thing as with the neckline to the arm holes - attached the lining to the top. I went inside between the two layers and pinned the arm holes together, right sides facing. There is enough room in there to get around to sew the full circle. You could of course also use the burrito method, which I've explained here. Once done and pressed, your arm holes should look like this:
VI. Next for the peplum/ruffle. I started by prepping the piece by sewing the two rectangles together to form one long one, and doing an approx. 0.7 cm double fold on the reverse of one of the long edges (the hem). Then added a basting stitch to the other long edge (a straight stitch on the longest setting on your machine).

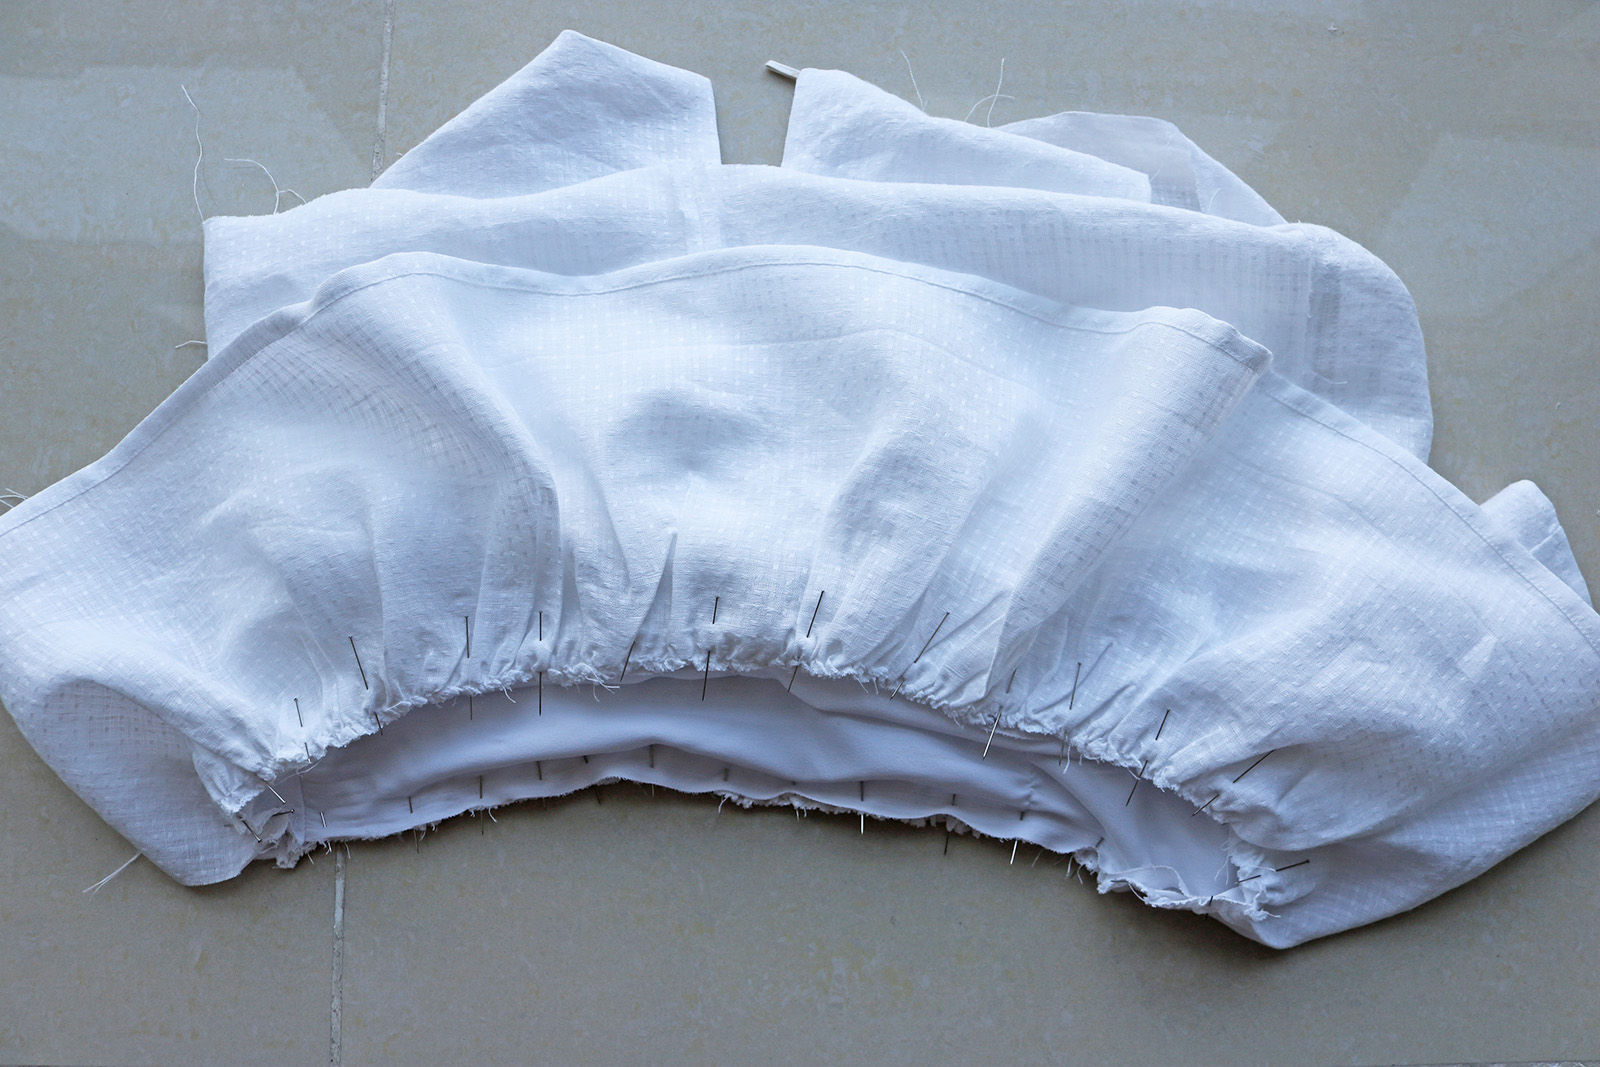
.. Then start pulling on the bobbin thread of your basting stitch to gather the ruffle. It helps to lay it down next to the hem of the lining so you see how much you need to gather until the width of half the ruffle is the same as the width of the top. Before you pin the ruffle to the top, it helps to press it really well with plenty of steam.
Then just pin the ruffle to the lining, right sides facing, and sew in place. Lastly just sew the ends of the peplum piece together, and hem the main top layer (I did a semi-wide double fold of about 3 cm).
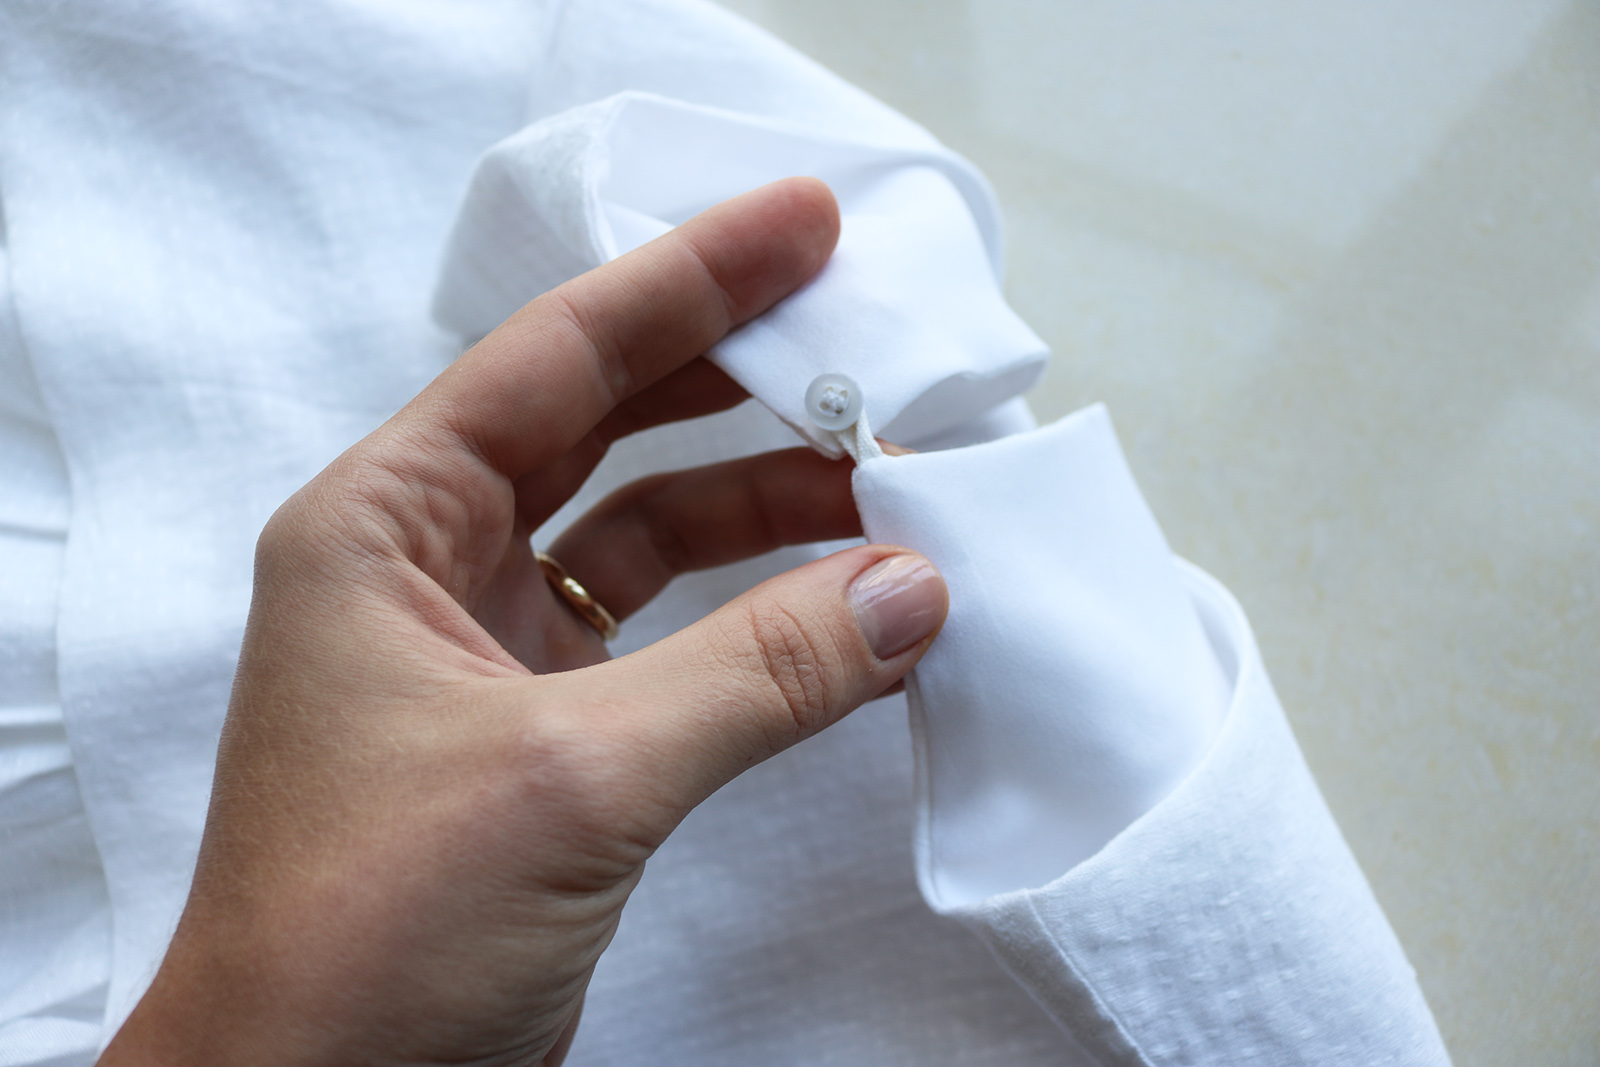
VII. The last step was to hand-sew the button onto the other side of the key hole opening at the back.
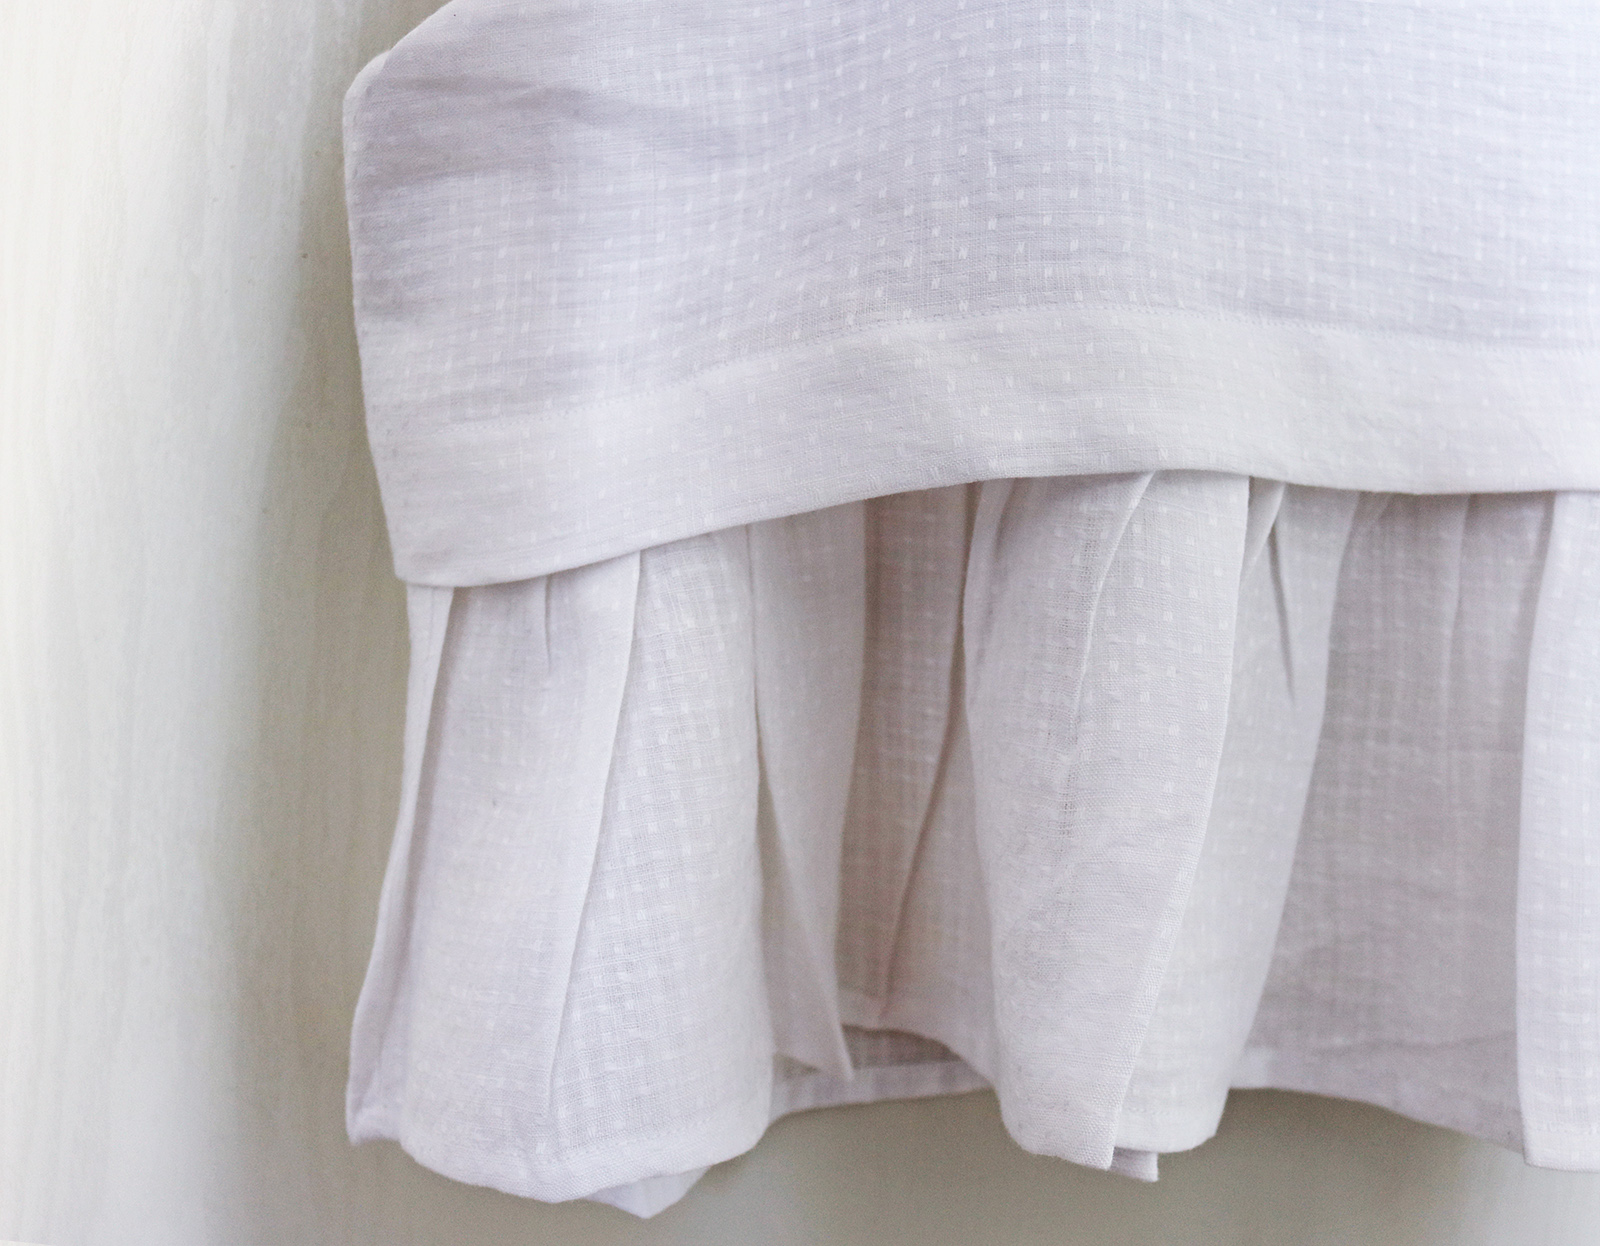
If you wanted the peplum really full, you could leave it as is. I pressed mine all around so the gathers formed irregular pleats.


xo,
Julia


this top is gorgeous! Im getting my first sewing machine soon, any tips for a sewing noob thats barely getting into it?
ReplyDeleteThank you!! Awesome to hear you're getting into sewing! I promise it will be a very rewarding hobby:) I've summarized my learnings from a lot of trial and error in this post: http://contouraffair.blogspot.ae/2015/10/the-5-essentials-of-building-self-made.html - maybe you'll find something in there that's useful..:) My top 3 tips for someone starting out would be 1) Go for easy to work with fabrics - more on that in the post I linked, 2) Start with easy wins, like circle skirts, also some of the off-the-shoulder projects I've posted tutorials for are super simple yet the result doesn't look DIY, and 3) Be patient.. practice more advanced stuff on scrap fabric first (zippers etc.).. You'll get into it faster than you think!
DeleteI don't know if you've ever heard of the "burrito roll" method to make a fully lined bodice but it makes sewing armholes a breeze! Here's a video tutorial from another blog:
ReplyDeletehttp://lilluxecollection.com/2015/06/video-tutorial-sewing-a-fully-lined-bodice-burrito-method/
Thanks Alex! Since making this I did experience the enlightenment of this method, it's genius!! thanks for the tip:)
Delete