

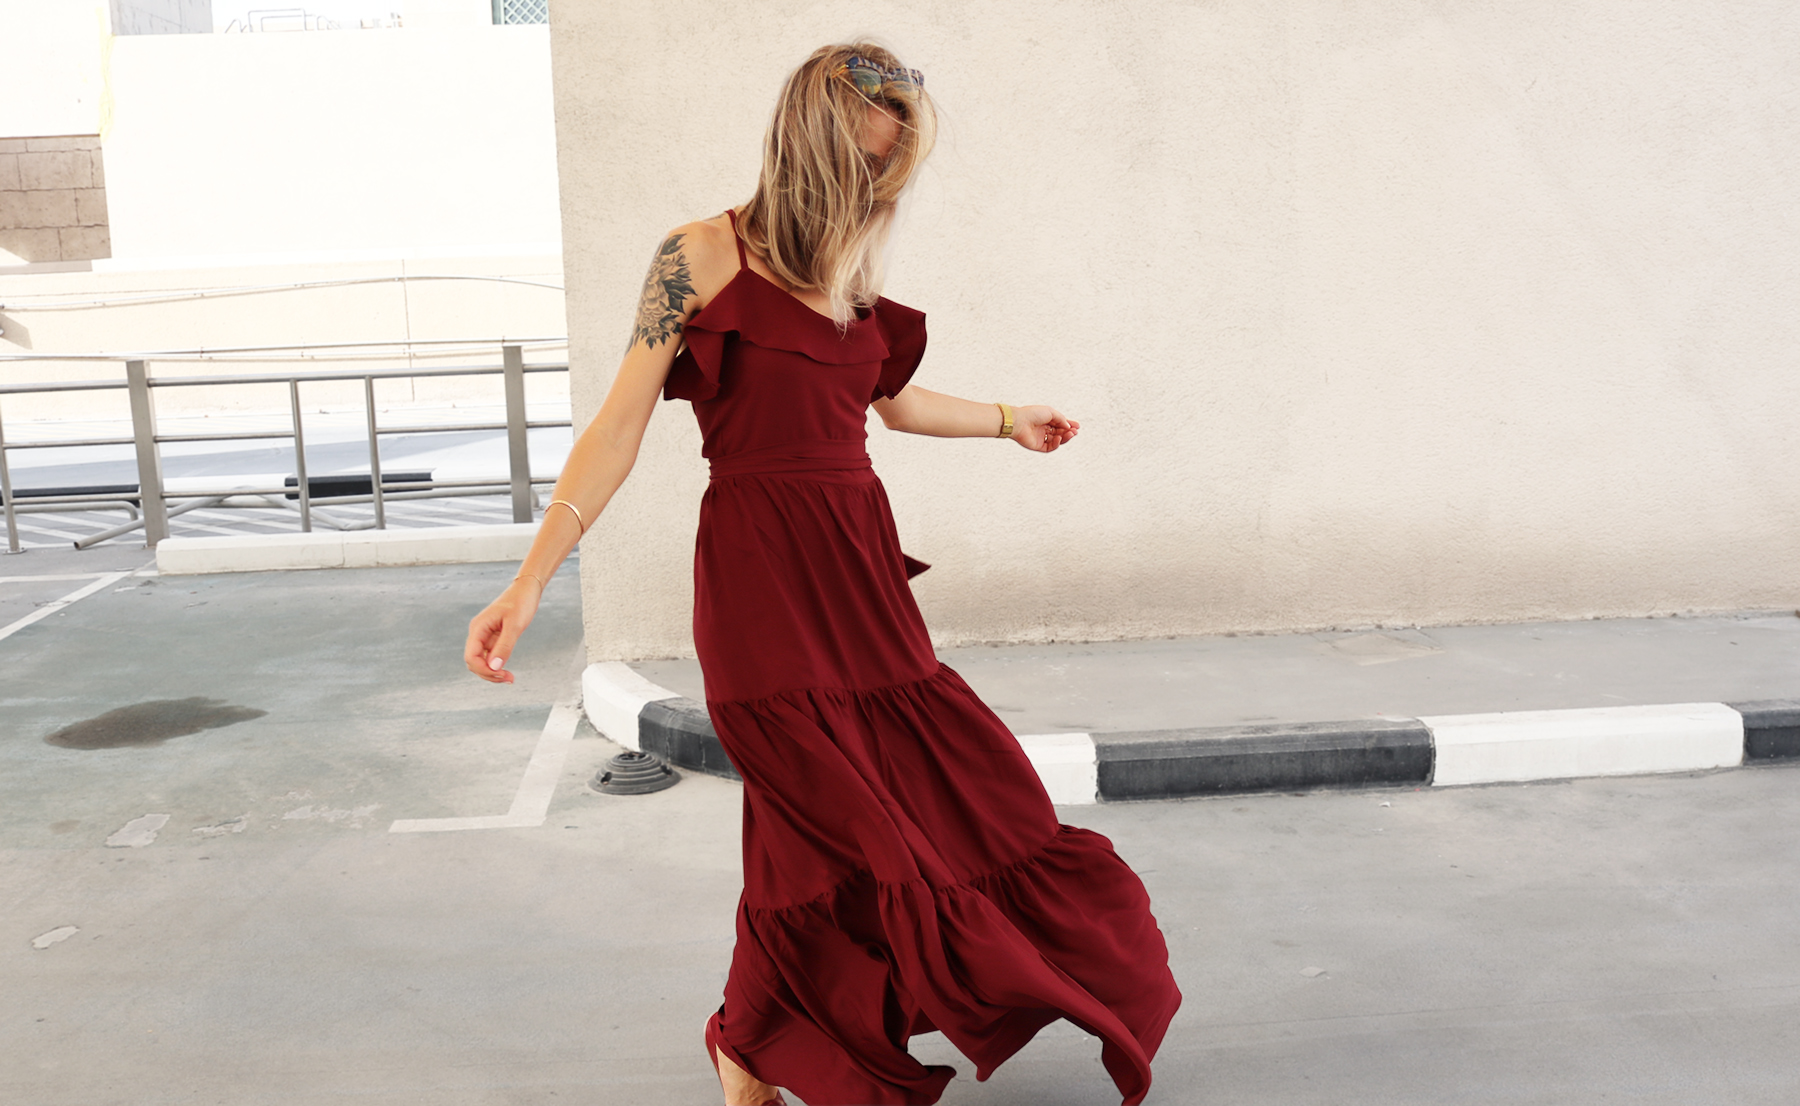
Something weird is going on, this is the second red piece I've made in the past 8 months. The story is, I was in India on a work trip, and had dreamt up magnificent excursions to miles and miles of fabric markets.. Until I heard they are all in Delhi, not Mumbai where I had landed. I swallowed my disappointment - BUT one evening, looking for a restaurant I stumbled upon a single hole-in-the-wall store (other places have hole-in-the-wall bars, India has hole-in-the-wall fabric shops). Obviously I had to buy something, and I have no clue why that something ended up being 5 meters of this oxblood crêpe. I figured I might as well experiment with some Zac Posen/Rachel Zoe -ish ruffled hemming.
Tutorials take a lot of time & effort to create, and I choose to make mine available for free. If you enjoy this guide, you can support me with a donation that feels right for you, here.
TOOLS:
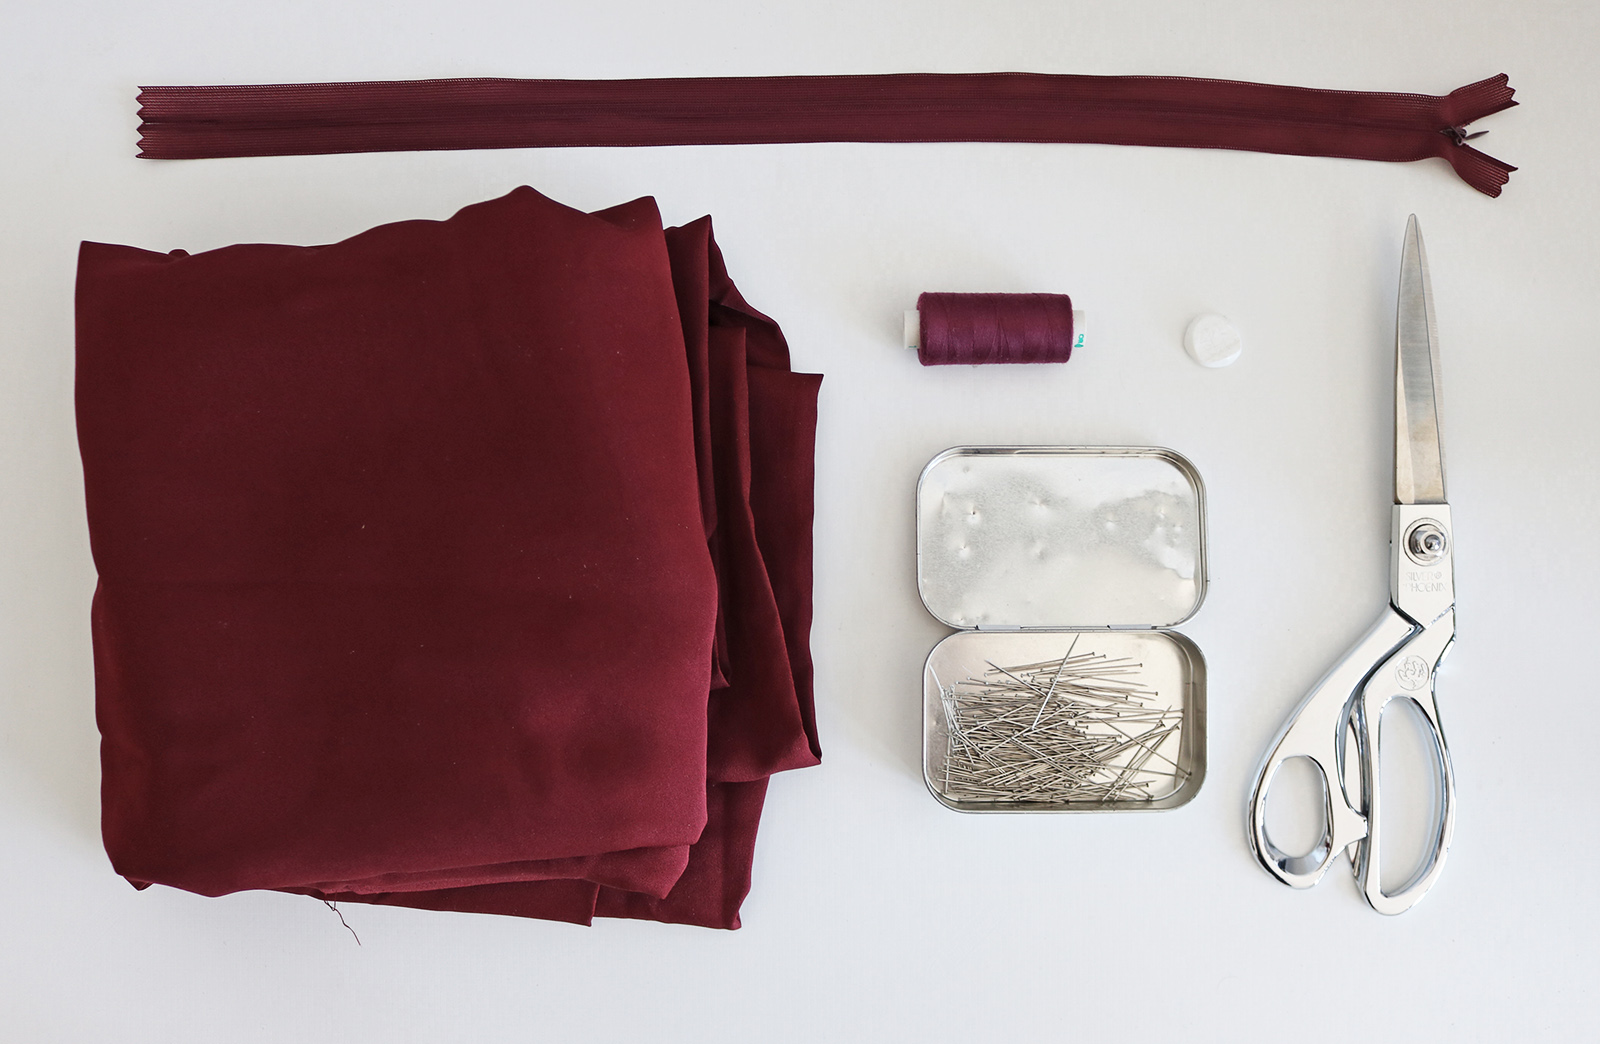
Fabric (so many kinds would work, cotton, batiste.. Depending on how much drape you want. I used crêpe), about 5 | Pins | Fabric marker | Scissors | Thread, sewing machine | Invisible zipper (about 40 cm) | Ribbon for the straps or a long piece of string to help make them
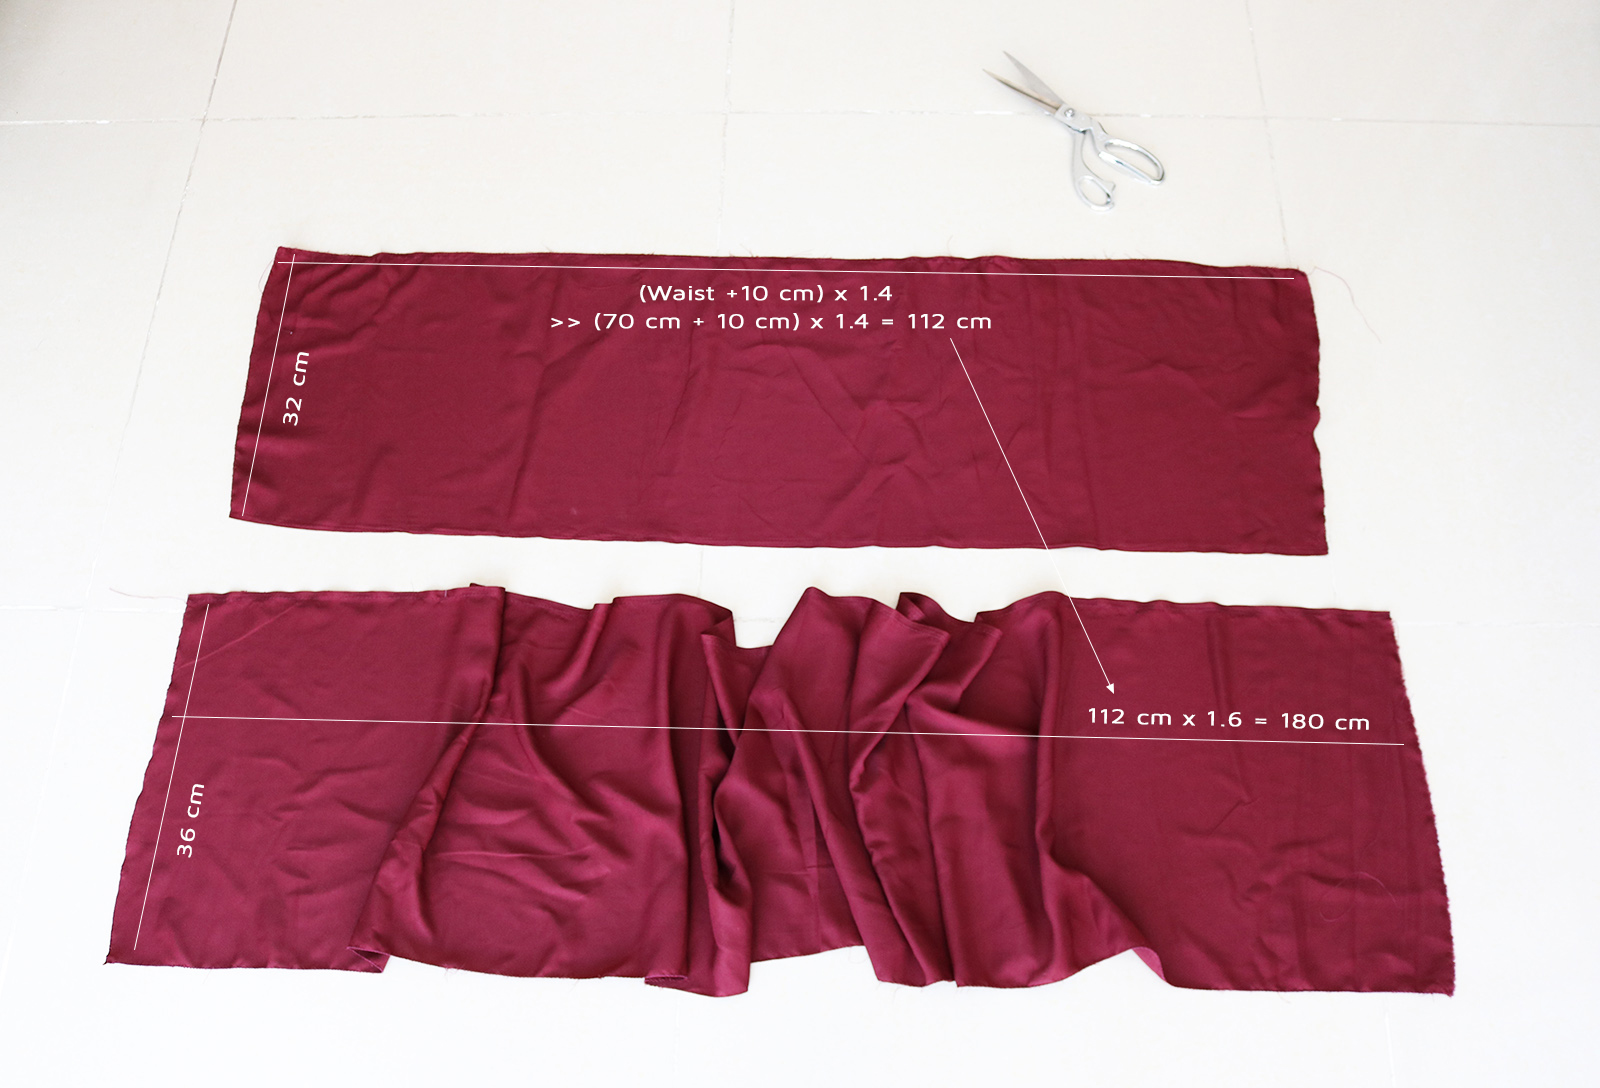
I. I started with the skirt, but cutting the first two tiers for the ruffles. Here's how I did my math: I wanted the first tier that starts from the waist to be less gathered. So I took my waist measurement, added 10 cm (did't want the dress to fit too snuggly at the waist), and multiplied that by 1.4. The result was 112 cm. I took that number, and to get the length of the next tier of ruffle, multiplied it by 1.6 (since I wanted more fullness in the ruffle there). Result was 180 cm. Later down the road I cut the final third tier of ruffle based on the same logic; 180 cm x 1.6 = 288 cm in length. The width of these pieces will depend on how long the dress should be, for me they were 32 cm + 36 cm + 47 cm, minus an approx. 1 cm seam allowance for each piece, got me the total skirt length of 109 cm.
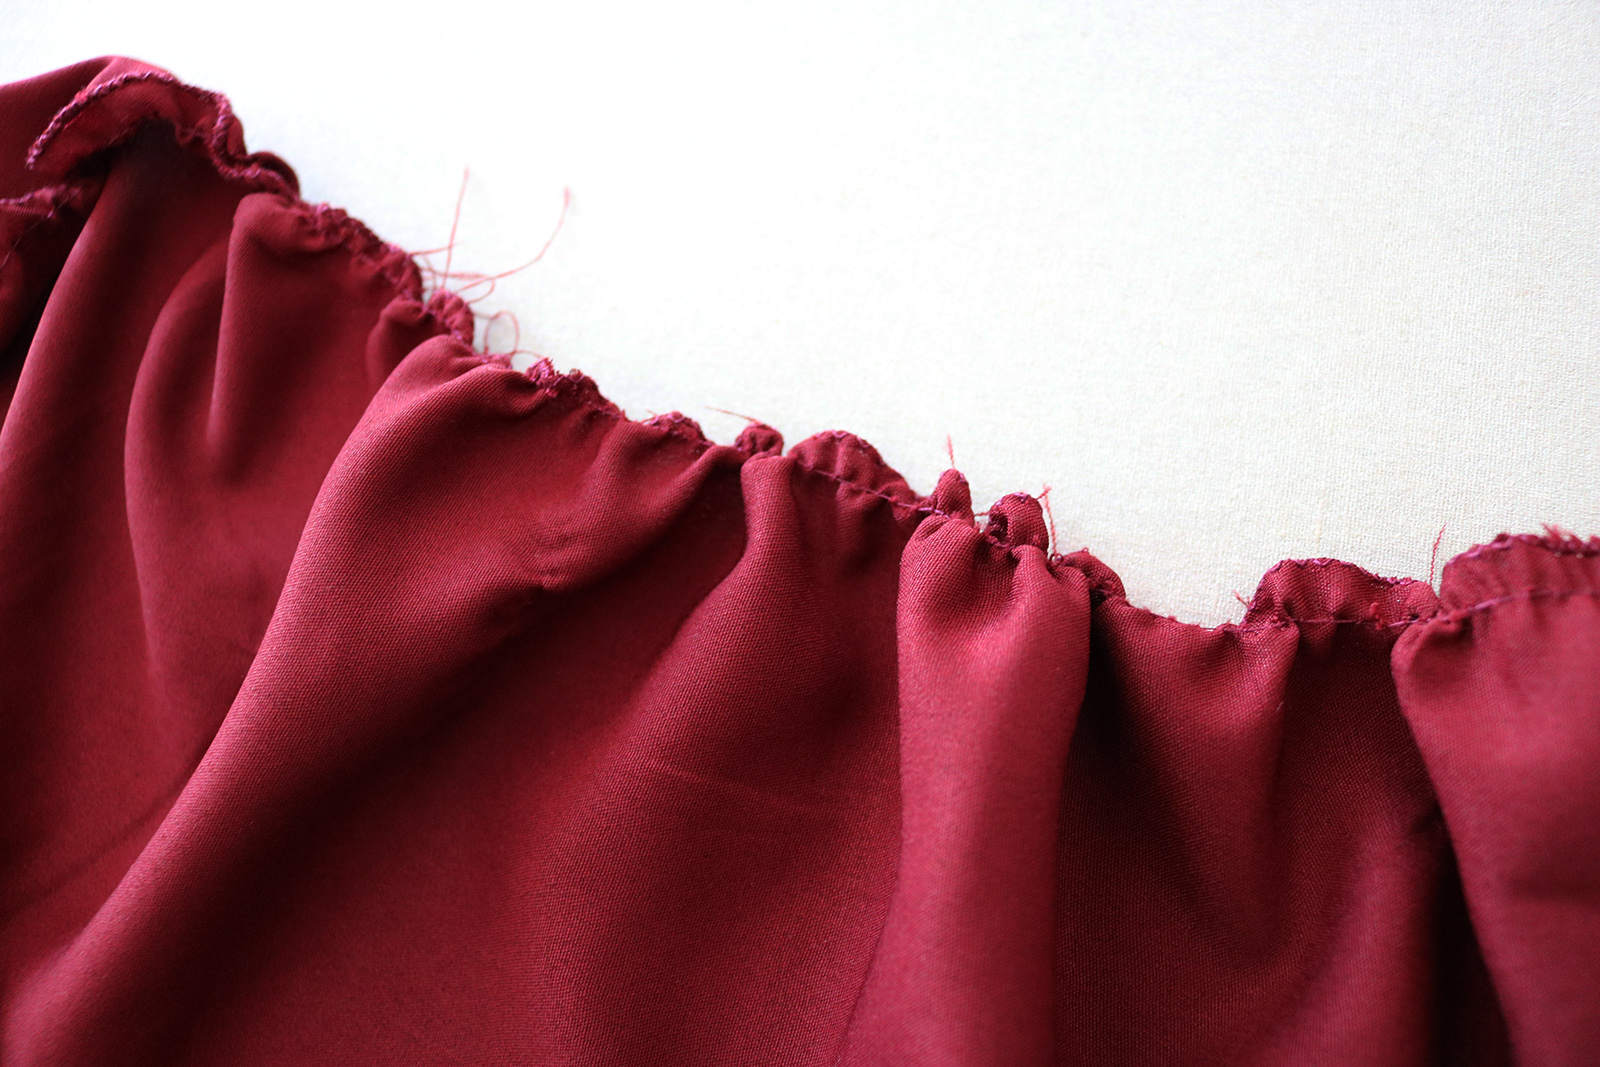
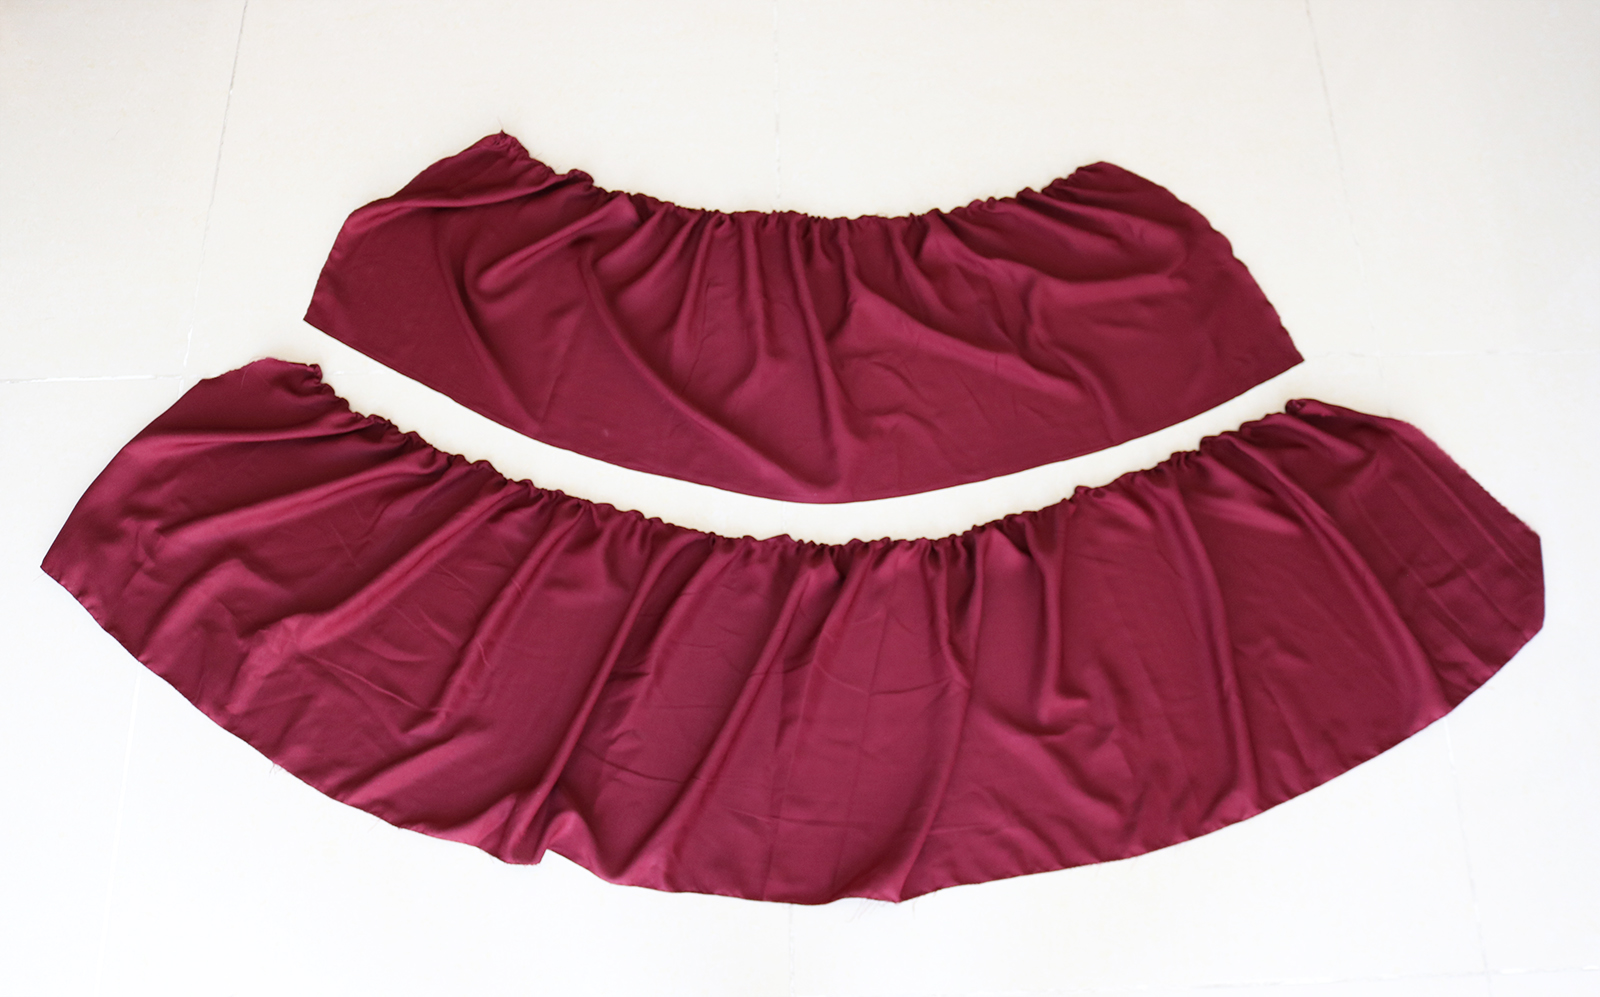
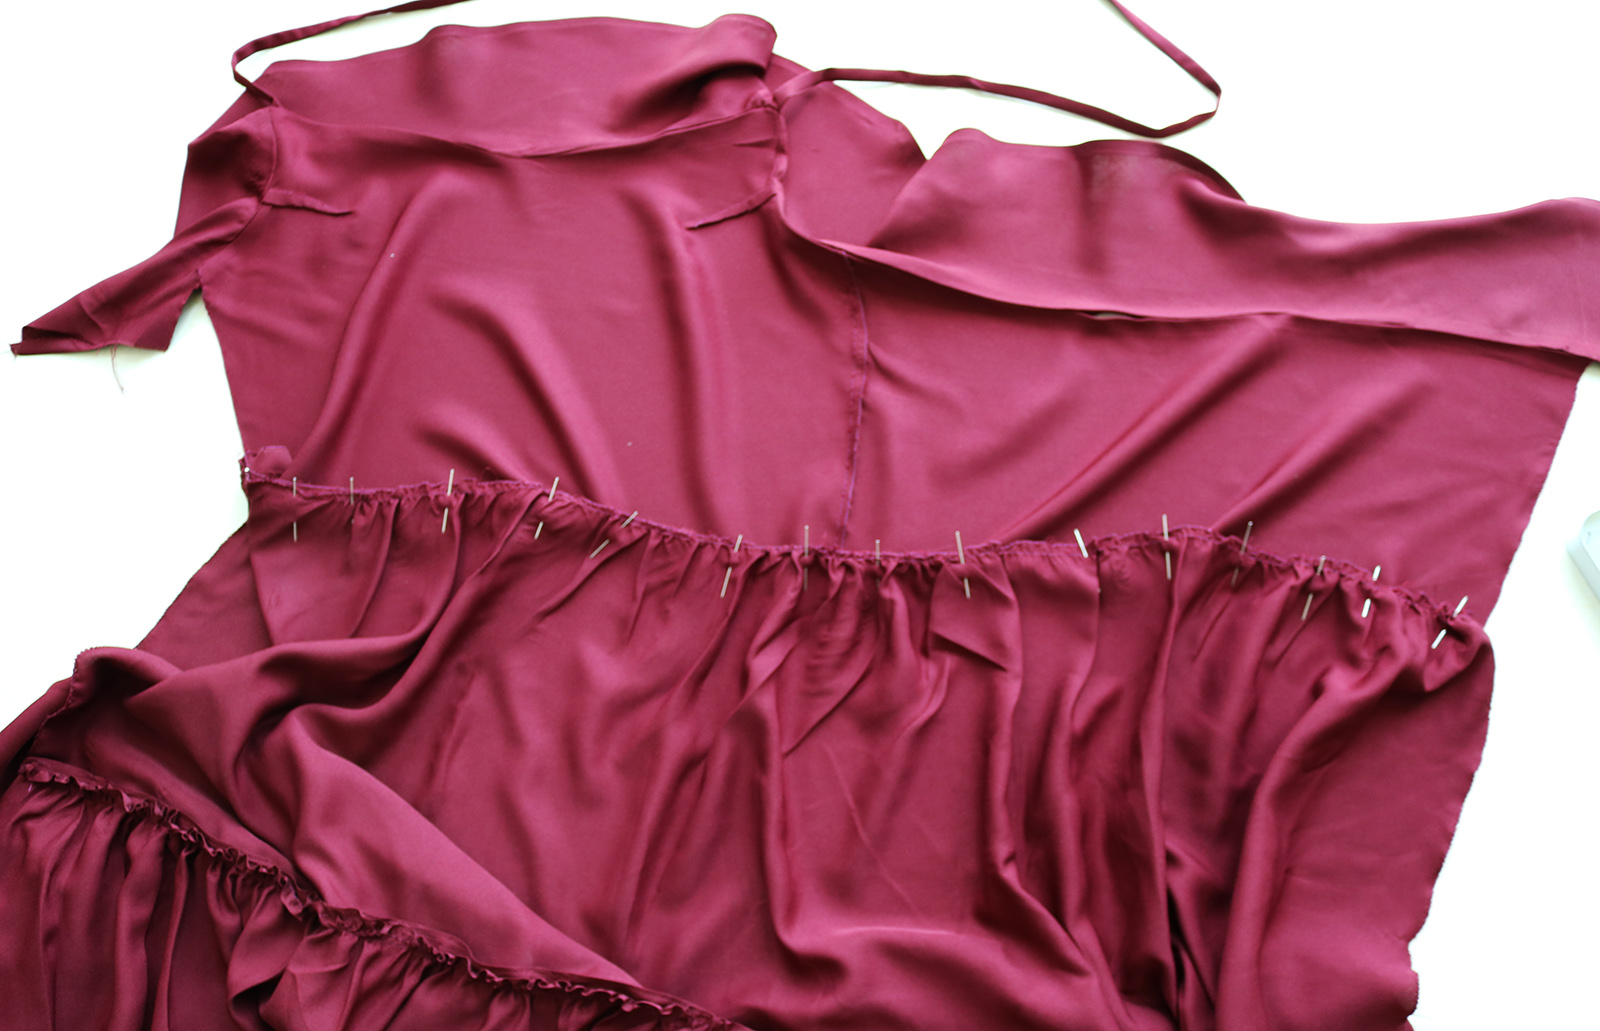
II. After zig-zagging the edges of the rectangles, I added my basting stitch (longest stitch on your machine) to one long edge of the first ruffle. Then pulling on the bobbin thread, gathered it until it corresponded to the desired waist circumference + a couple cm for seam allowances. When gathered it looked like this:
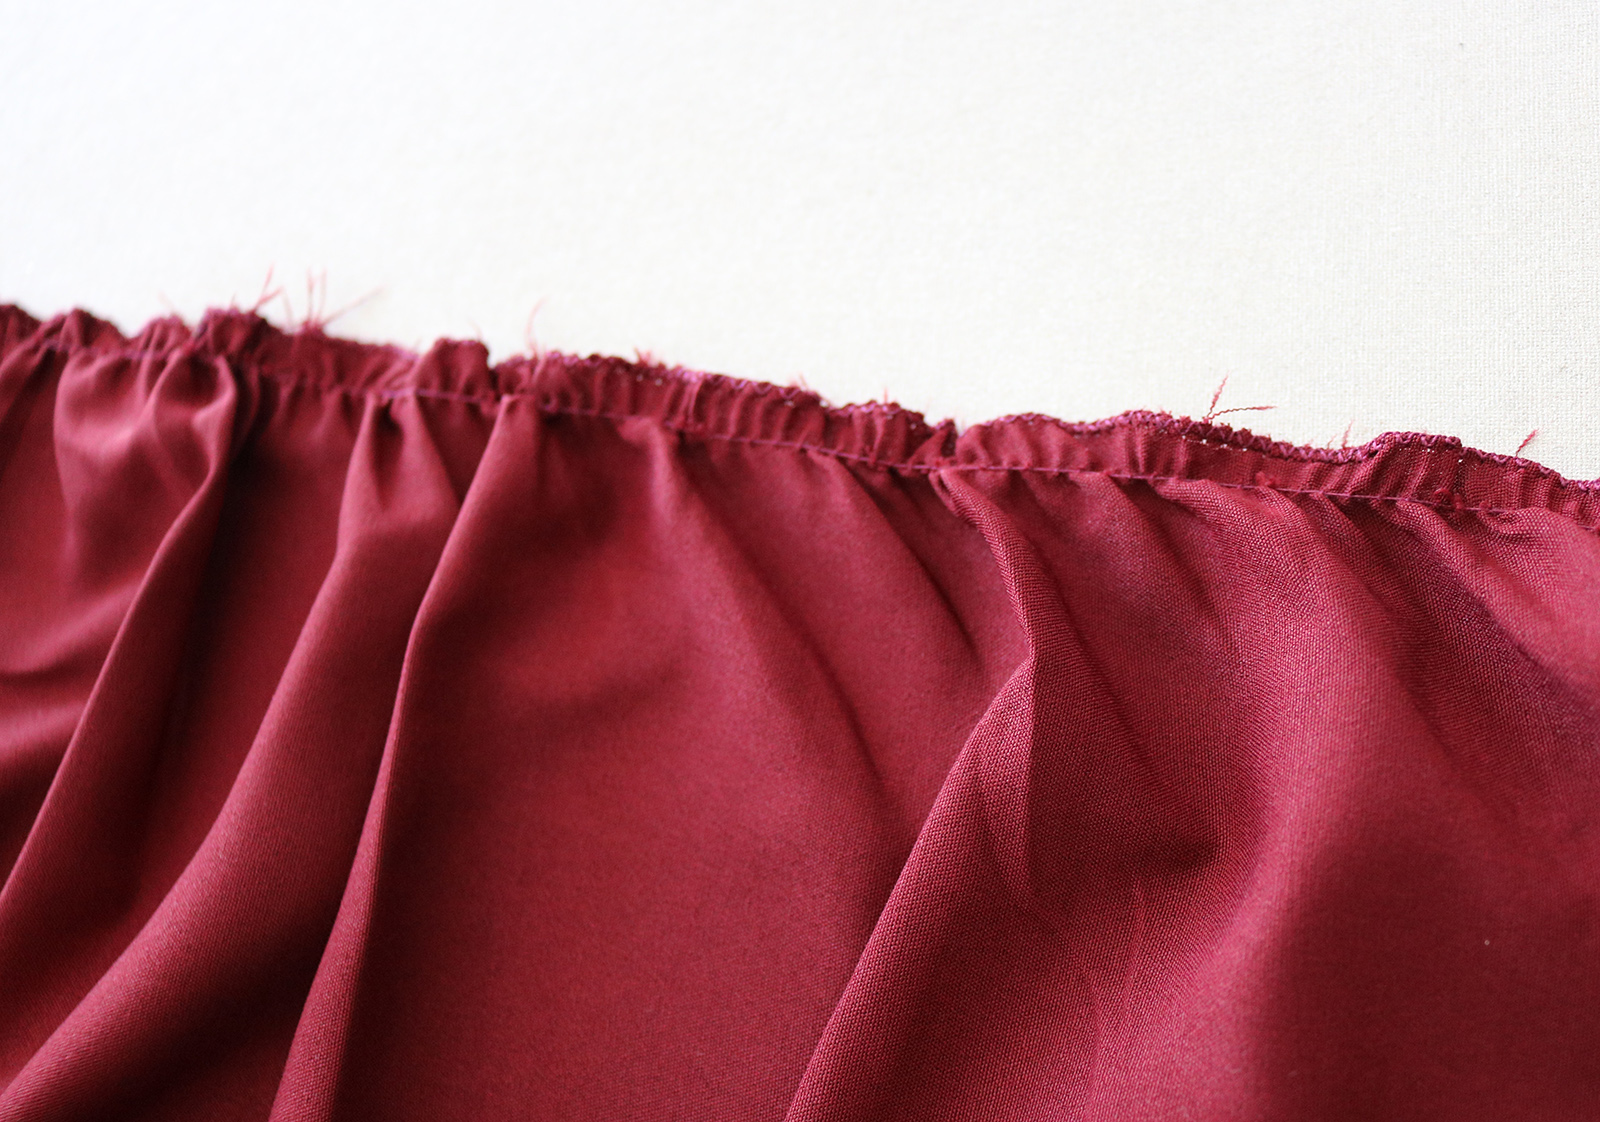
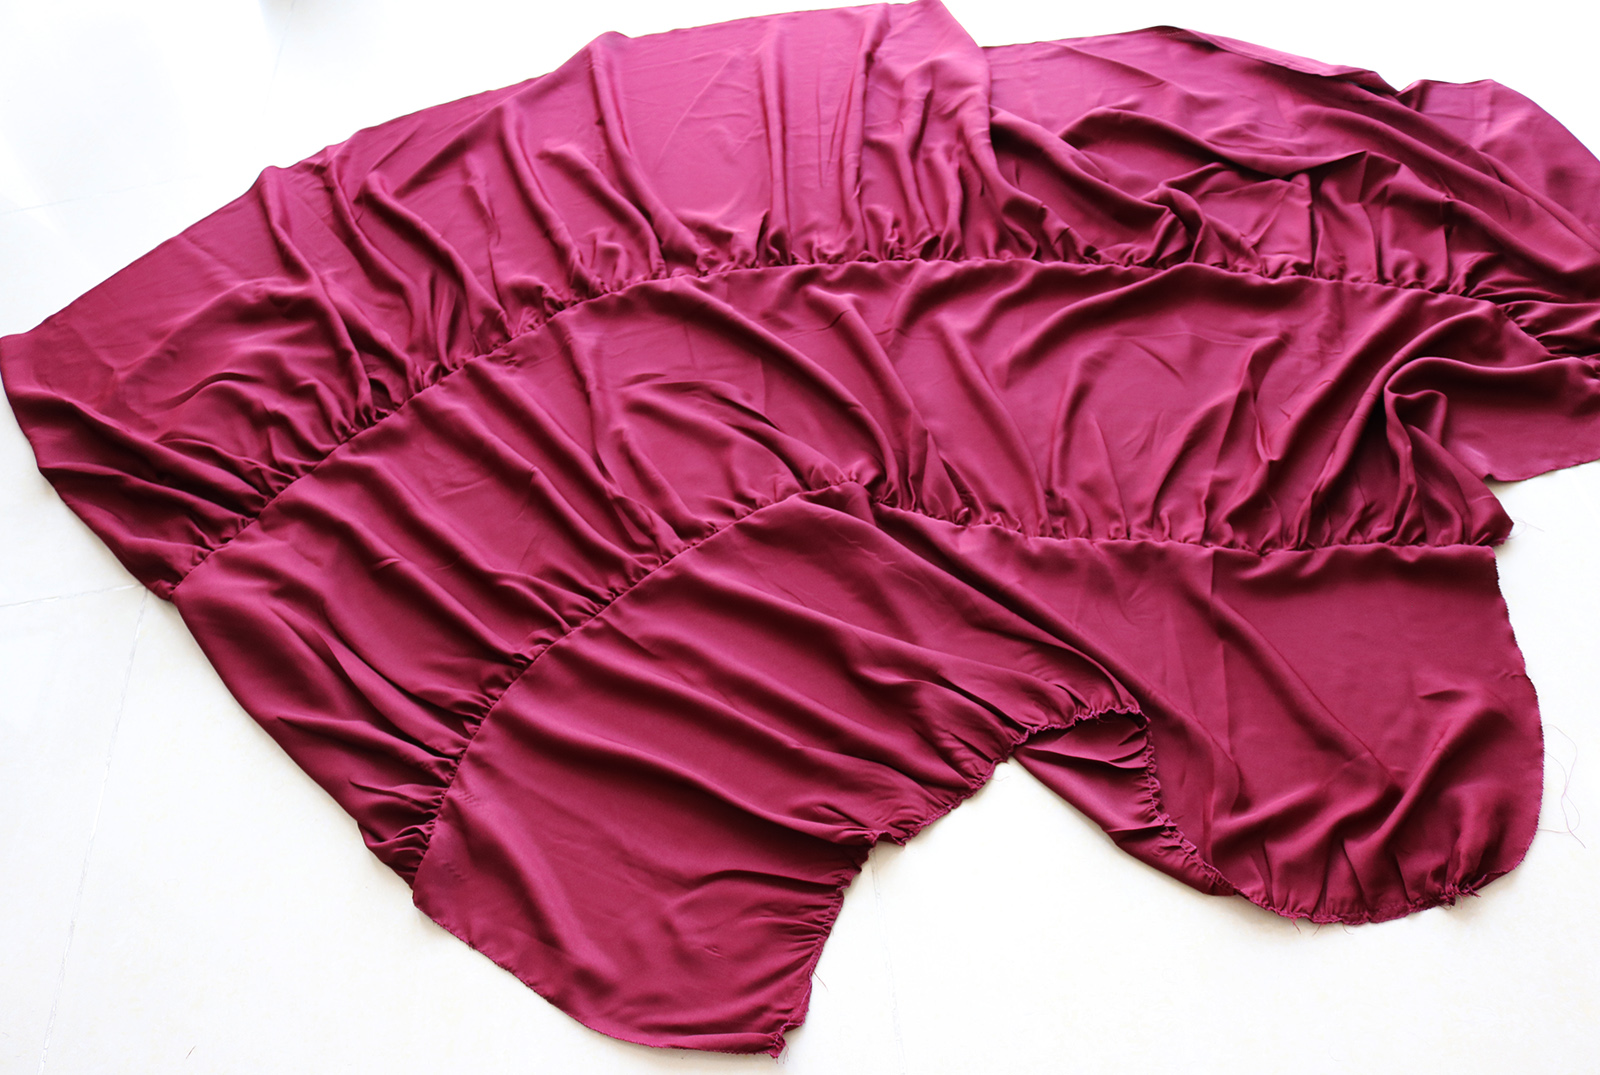
.. And once I pressed the gathers with my iron, the situation was much better to work with:
III. I repeated that for the second piece, gathering just enough to match the un-gathered lower edge of the first ruffle. Pinned those right sides facing and sewed together.
IV. Then I repeated the same process for the third tier of ruffle. See step I for the measurements. That's the skirt part done, minus hemming which you could do now or at the end.
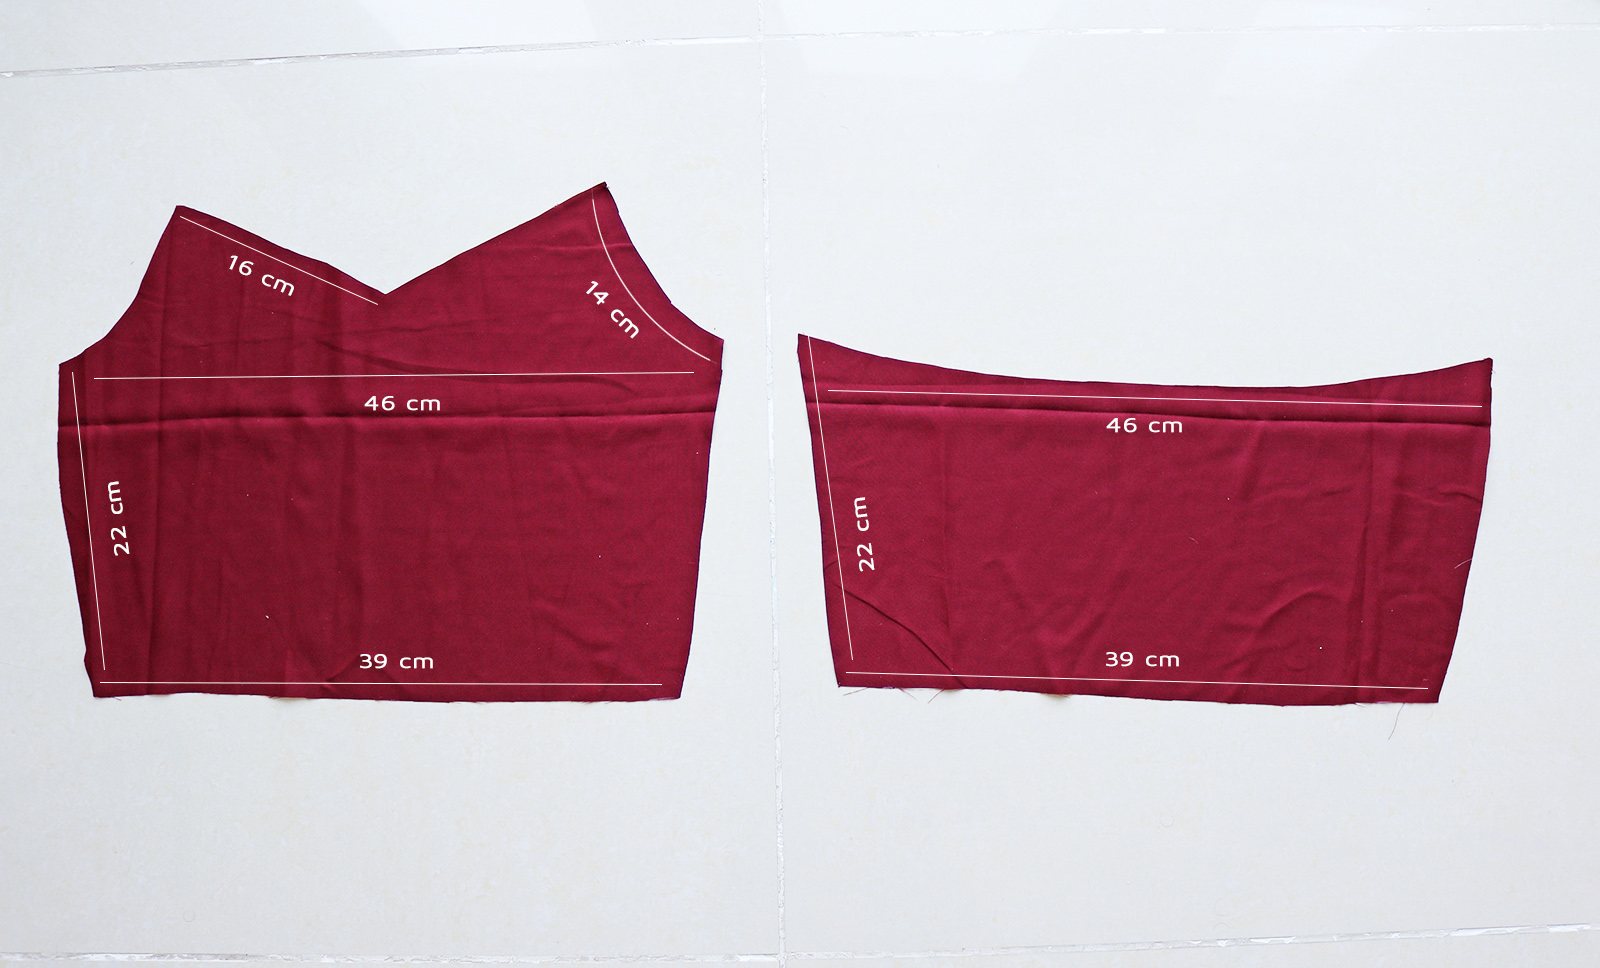
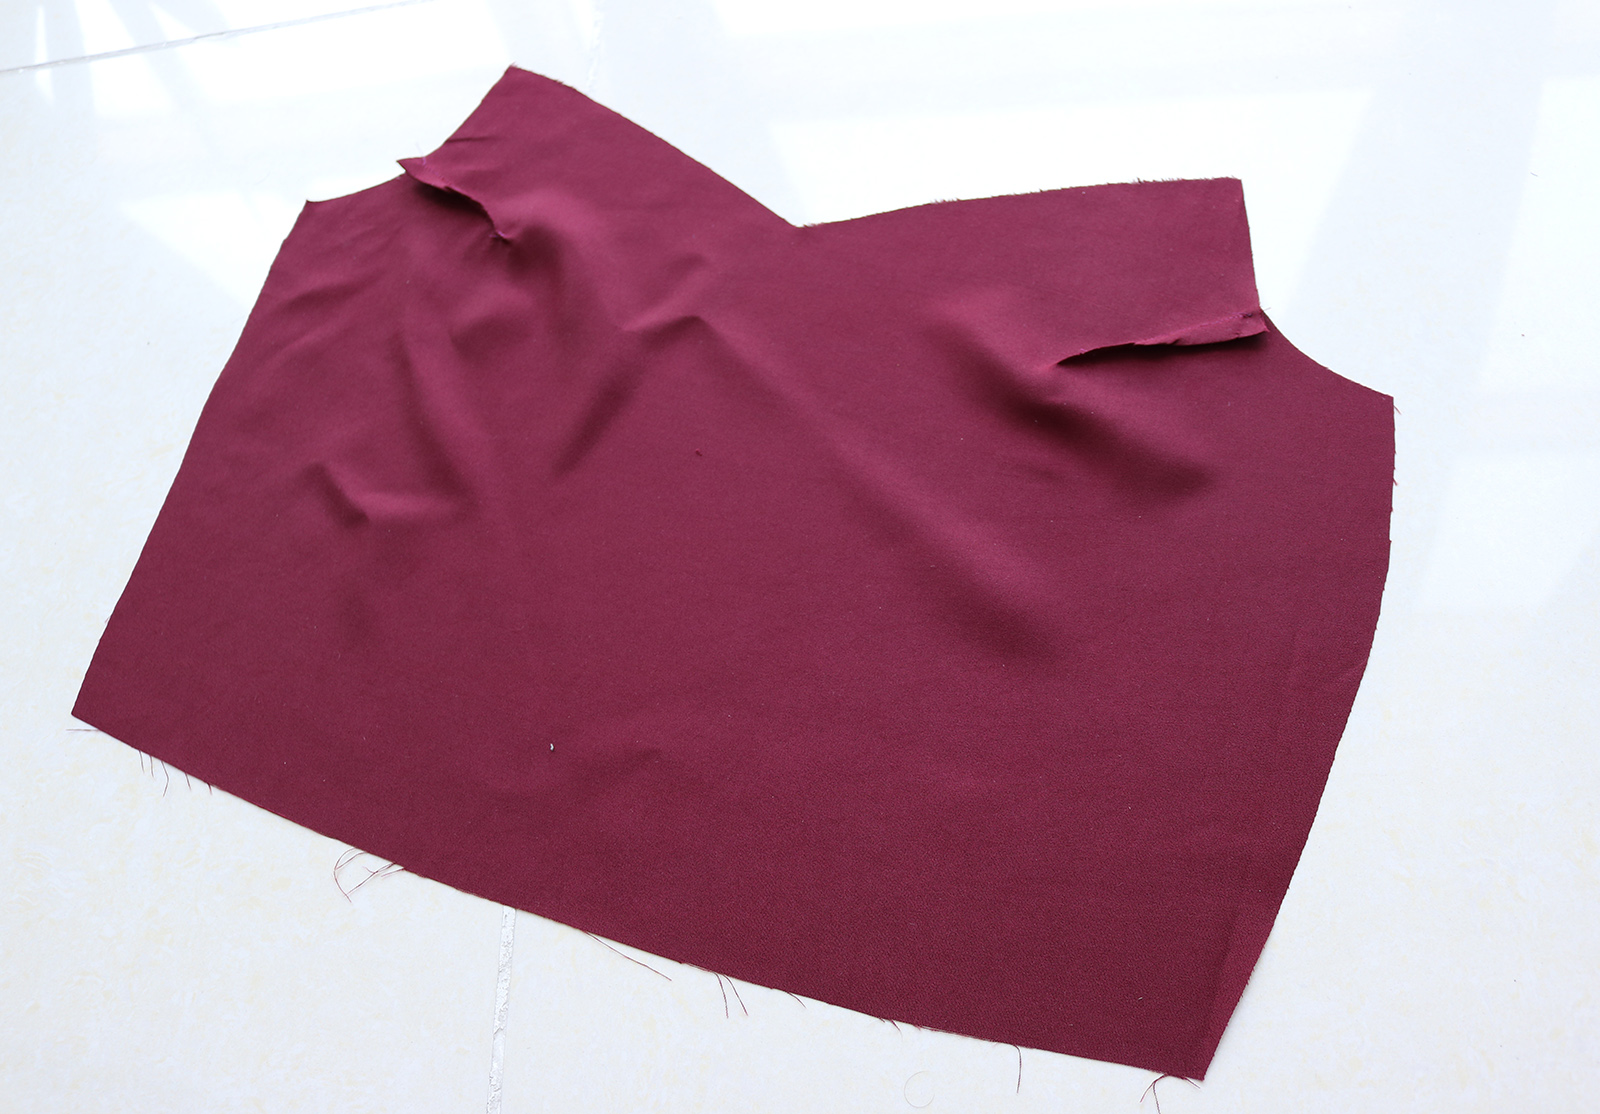
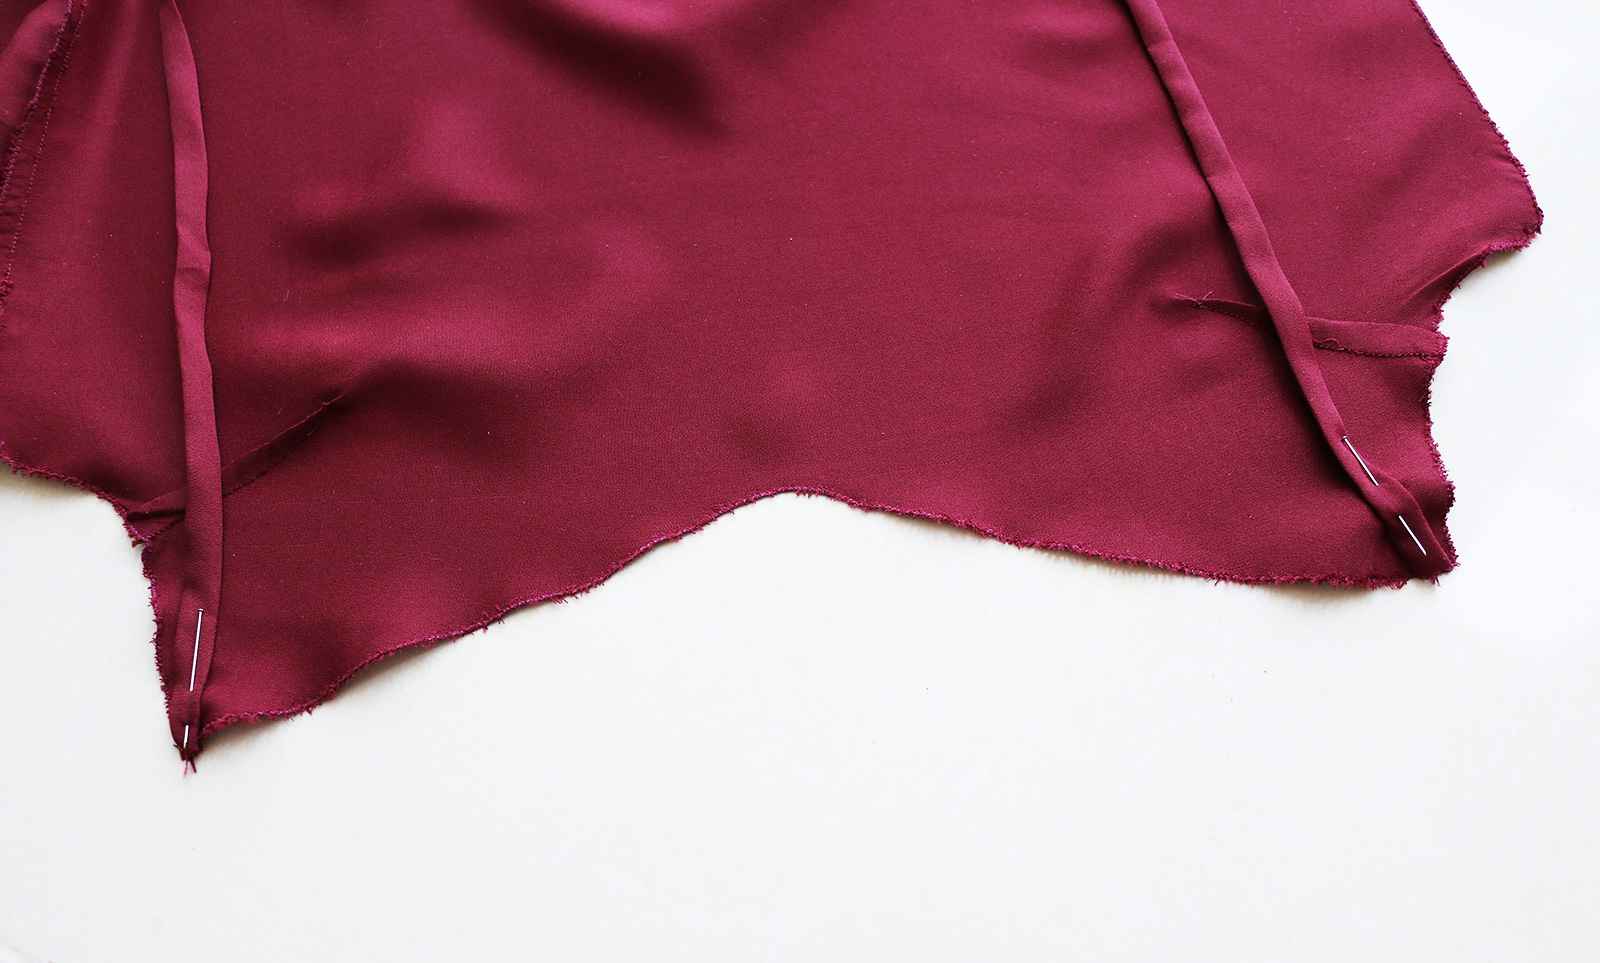
V. Next up was the top. I cut the pieces out as follows..
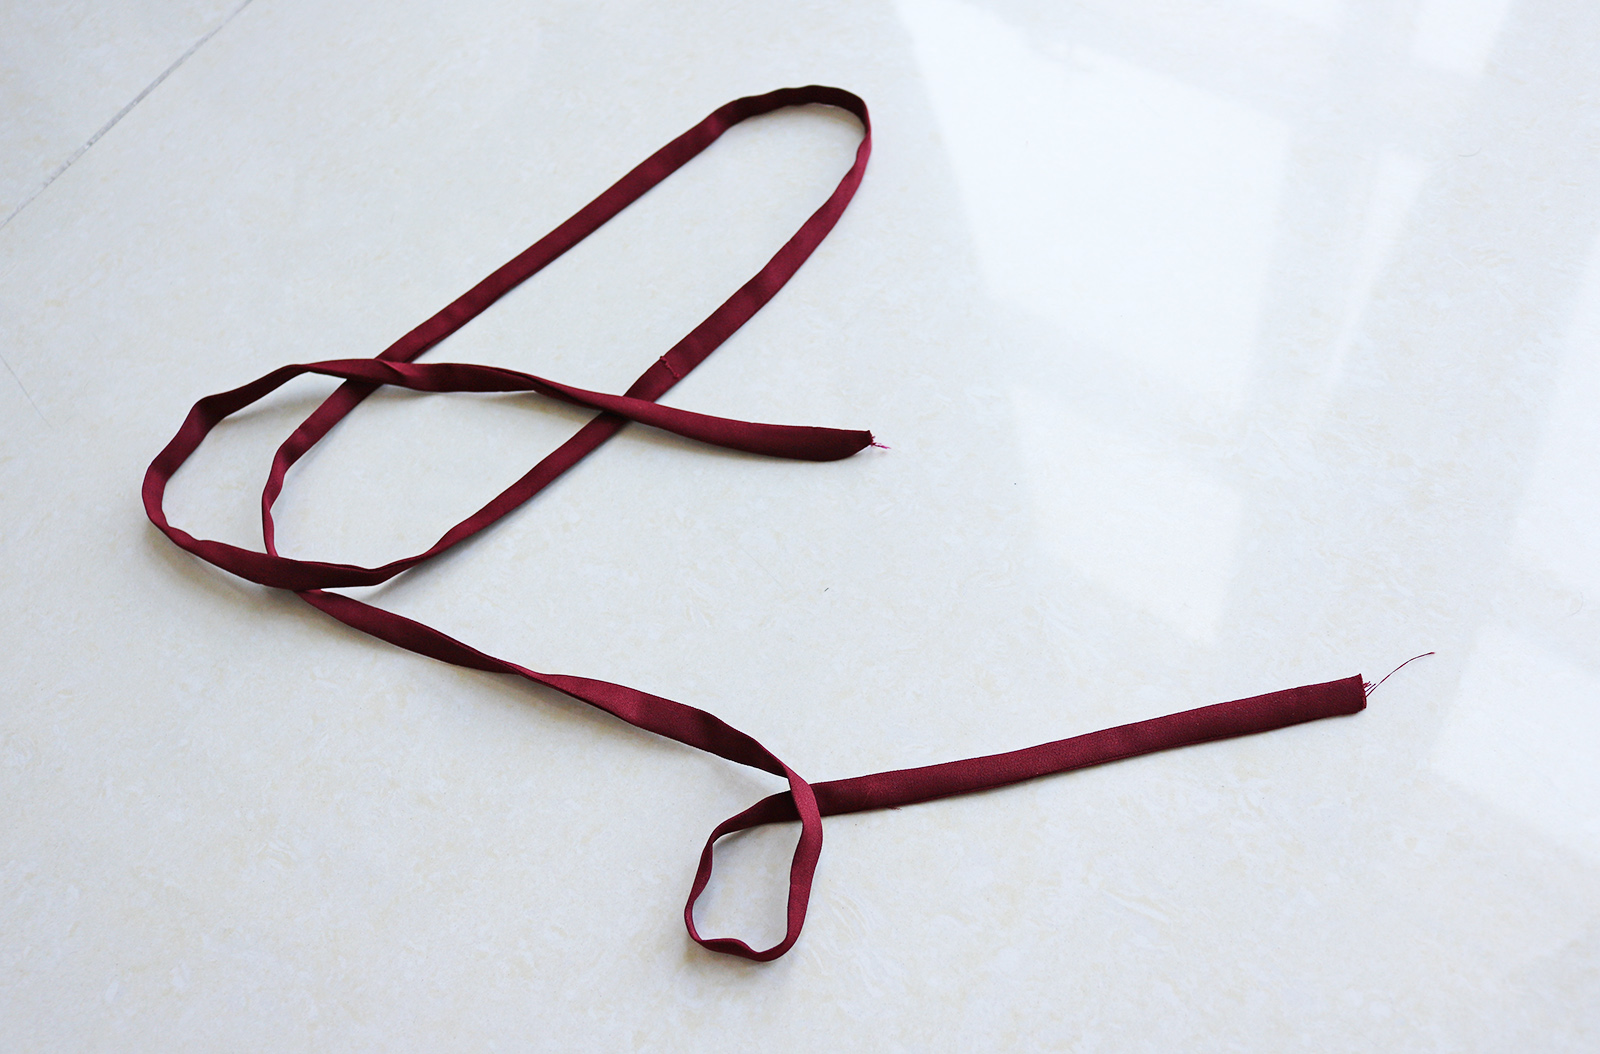
.. And made some string for the straps like this (if you need a video on this method, this one's pretty good). I made 1 m of strap.
VI. Added some darts to the top for shape:
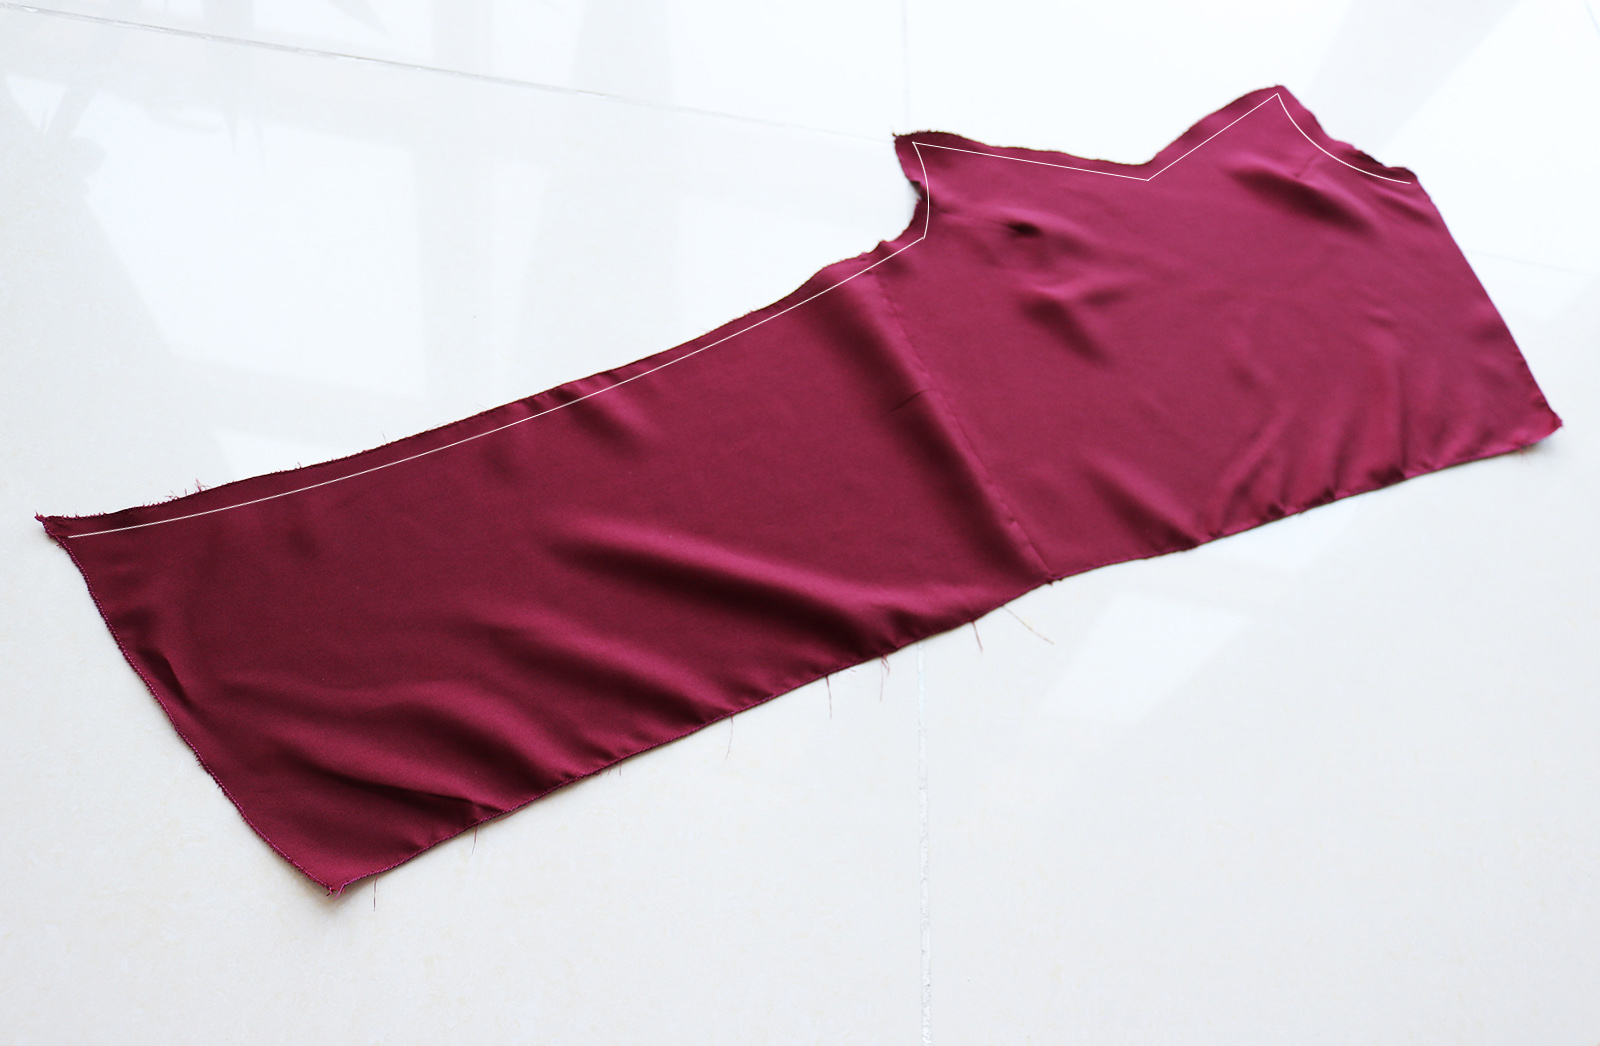
VII. Then pinned the top front and back pieces along one side, right sides facing, and sewed down. Then zig-zagged all the raw edges.

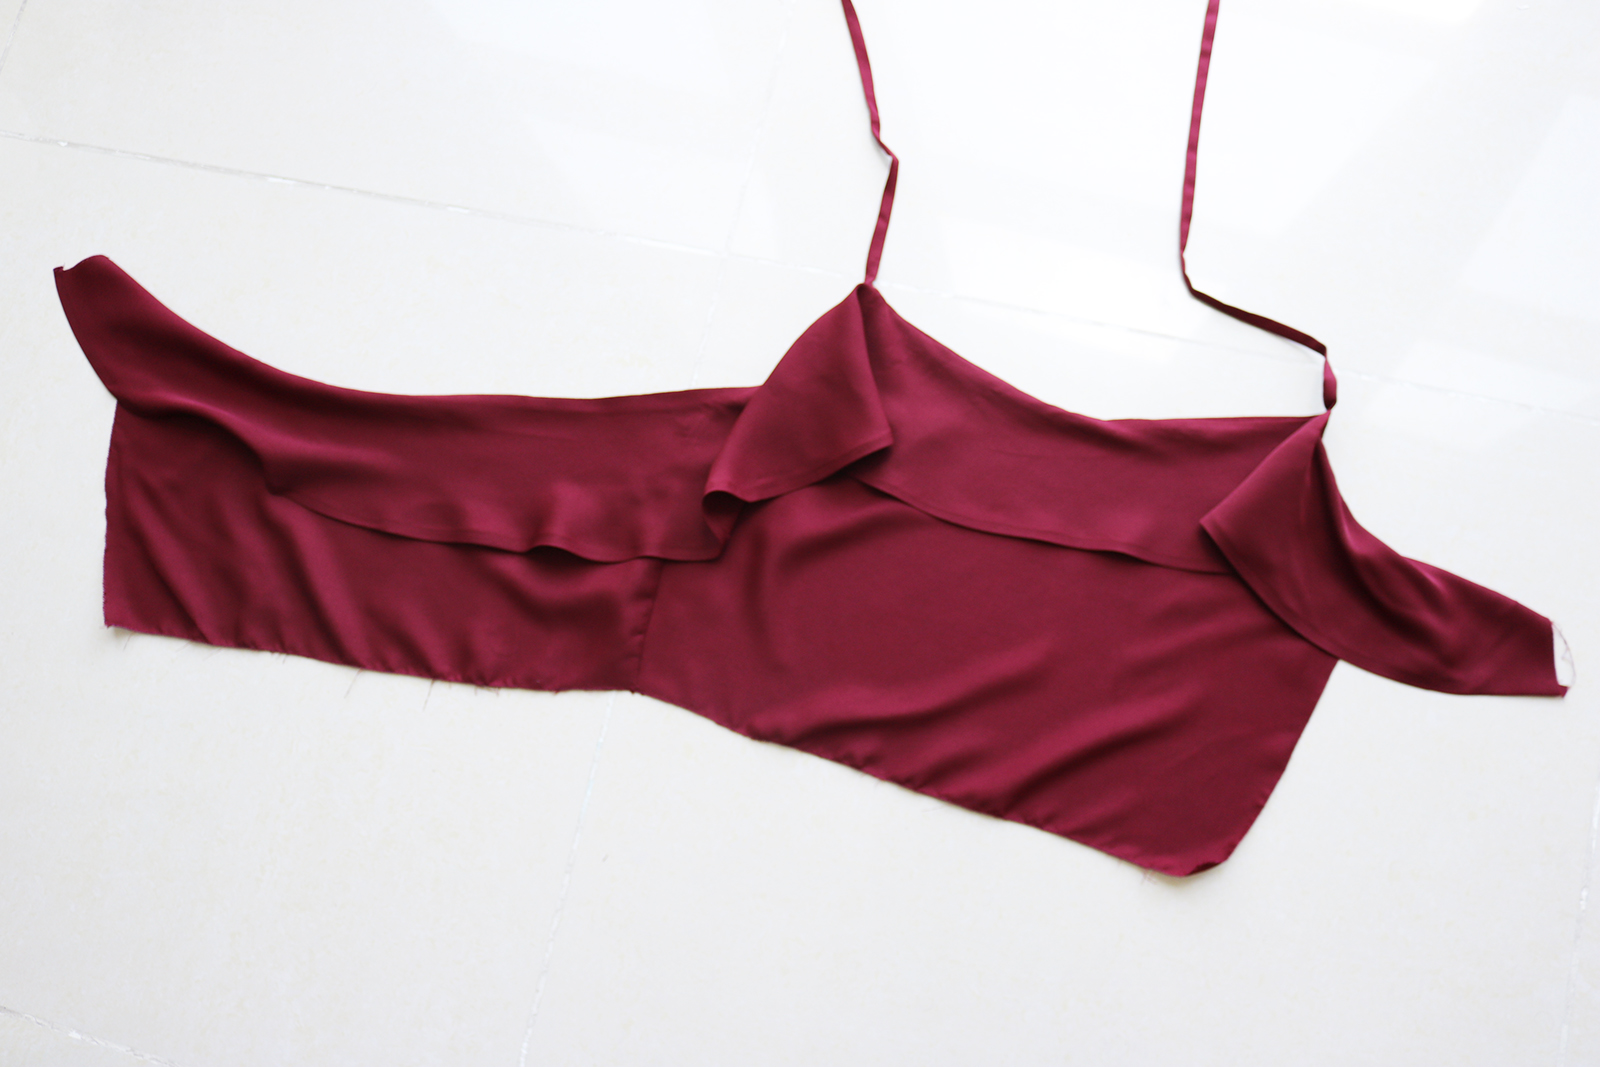
VIII. To make the little ruffle for the top, I measured the length of the distance it had to cover (shown below with white line)..
.. And plugged that into the circle skirt calculator as if I were making a half-circle skirt. I then folded the remaining fabric to mark the radius + another line to mark the length of the ruffle (mine was about 15 cm).
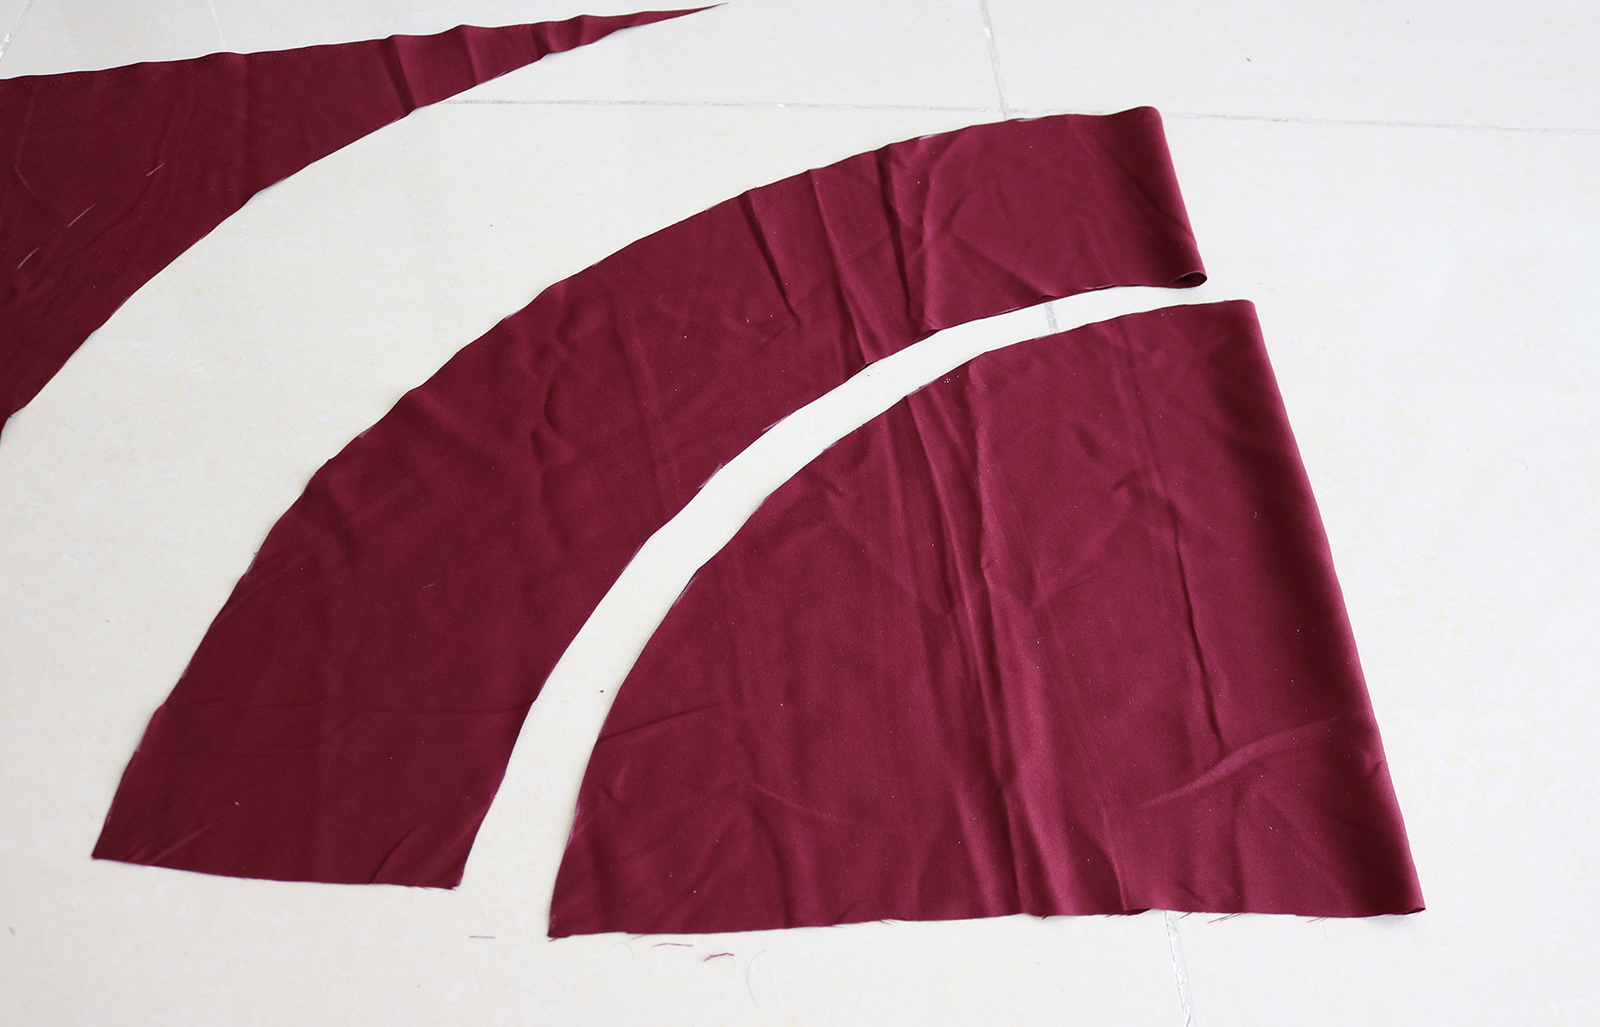
Once cut out, I zig-zagged all the raw edges and hemmed the longer one with a single fold, which I hand-stitched in place. Looking back I should've done a double fold - when worn, I noticed that the ruffle tends to fly around in the wind a lot, so a double-folded hem would have been cleaner..
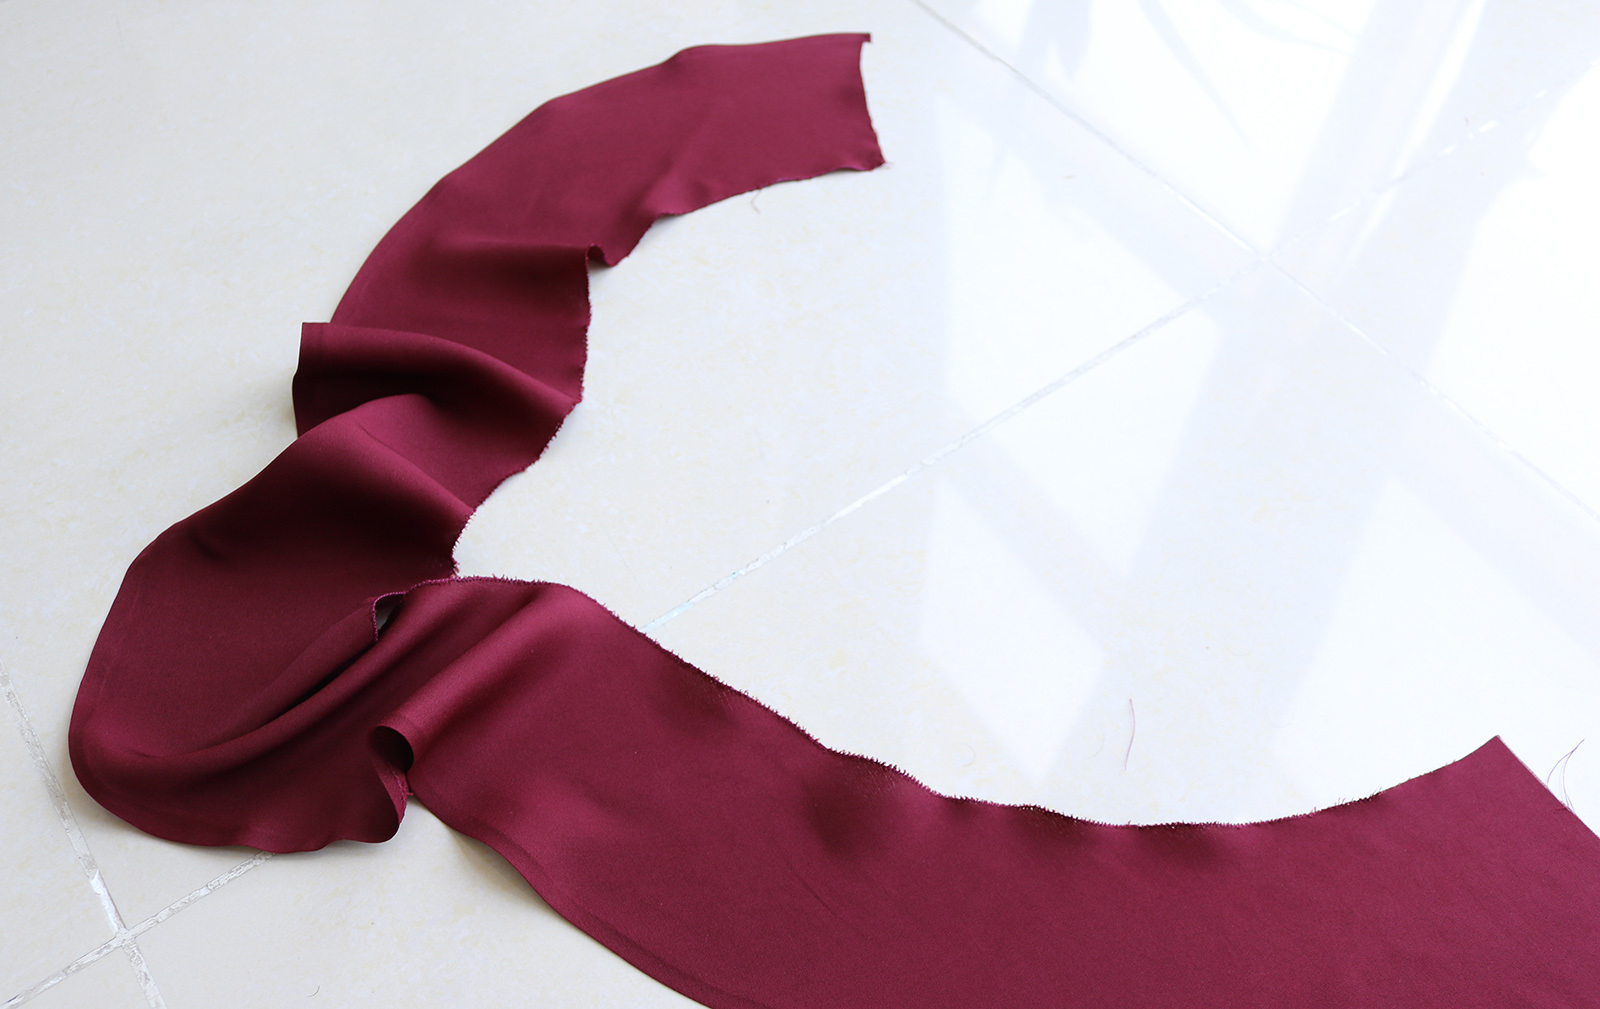
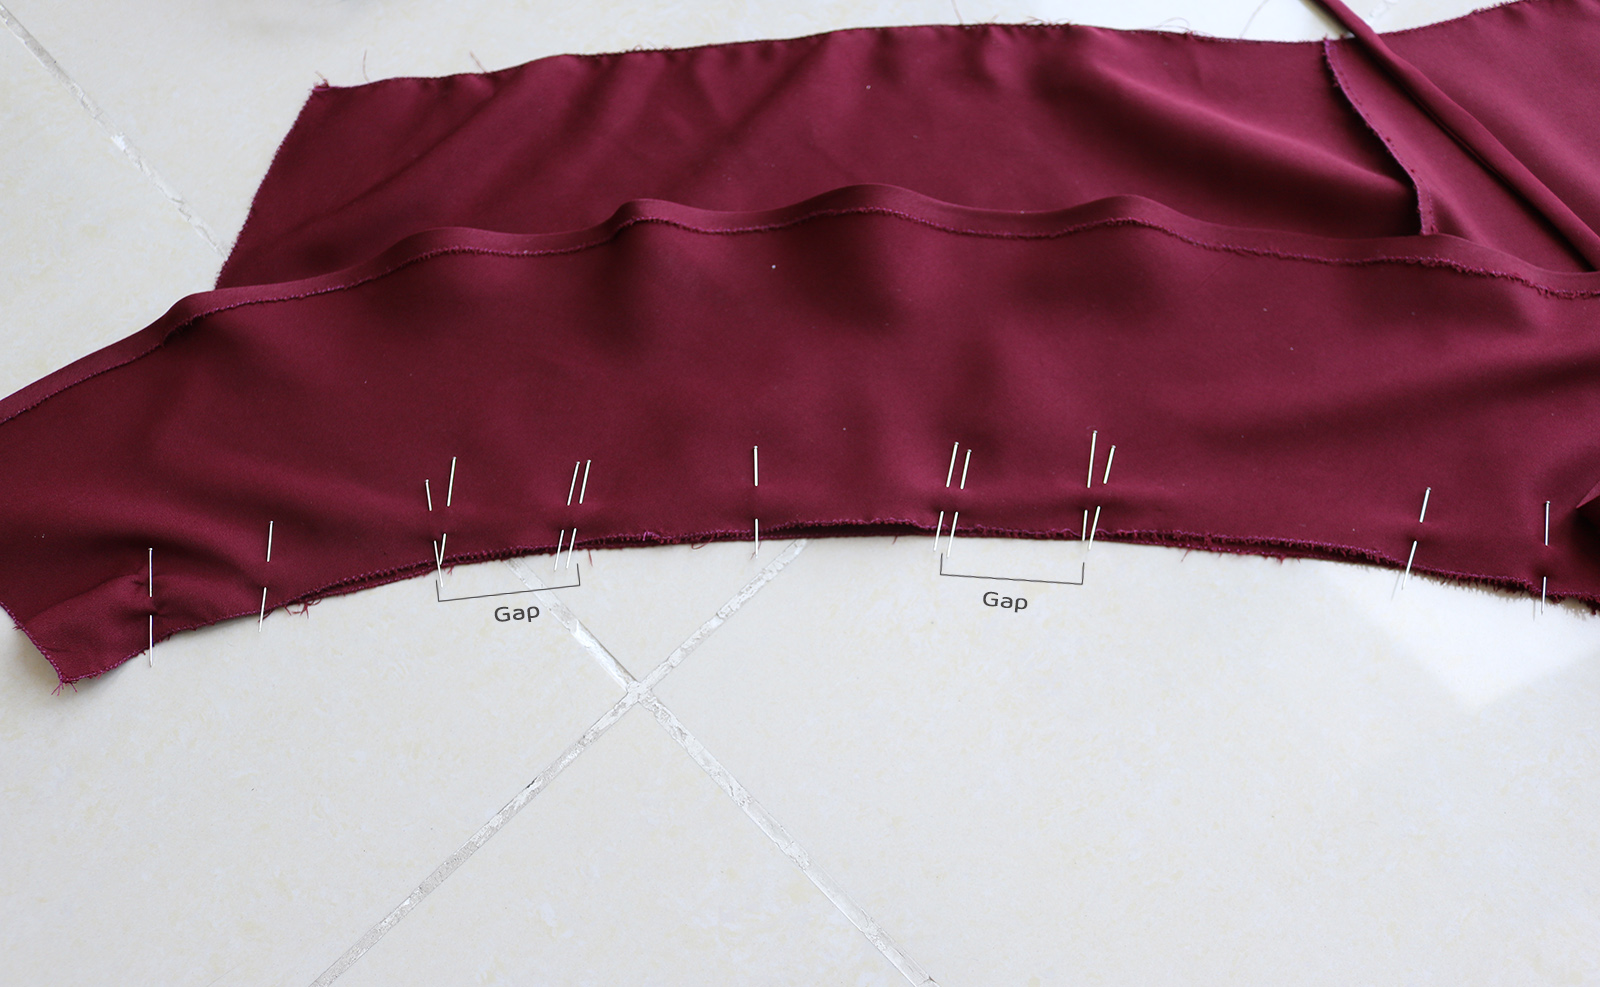
IX. To attach the straps, I pinned them in their spots on the reverse side of the front piece of the top..
.. And then proceeded to pin the ruffle in place, right side of the ruffle to the reverse side of the top.

I never know how long I want the straps to be until I try on the almost-ready garment, so I like to mark two spots on the back piece with double pins, to leave gaps in the stitch for where the straps will eventually go.
Then just sewed the ruffle in place, flipped it onto the right side, and pressed.
X. So close! Pinned the top to the skirt, right sides facing, and sewed those together.
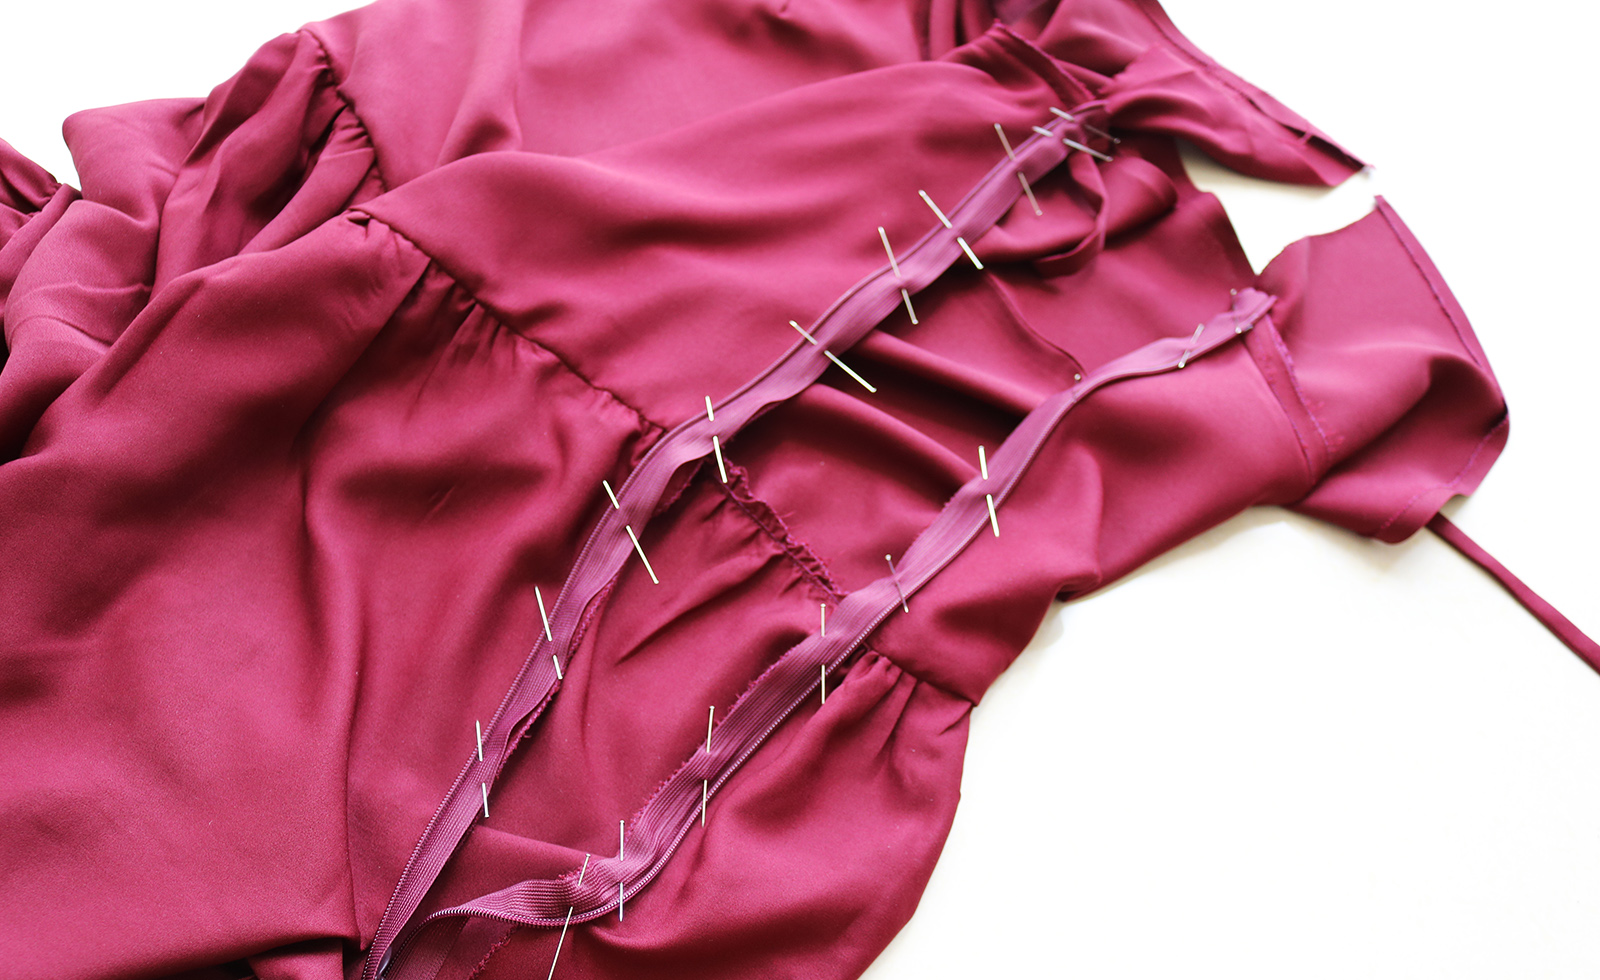
XI. And finally added my invisible zipper to the open side. This lady does a good job explaining how to do this if you don't have an invisible zipper foot handy.
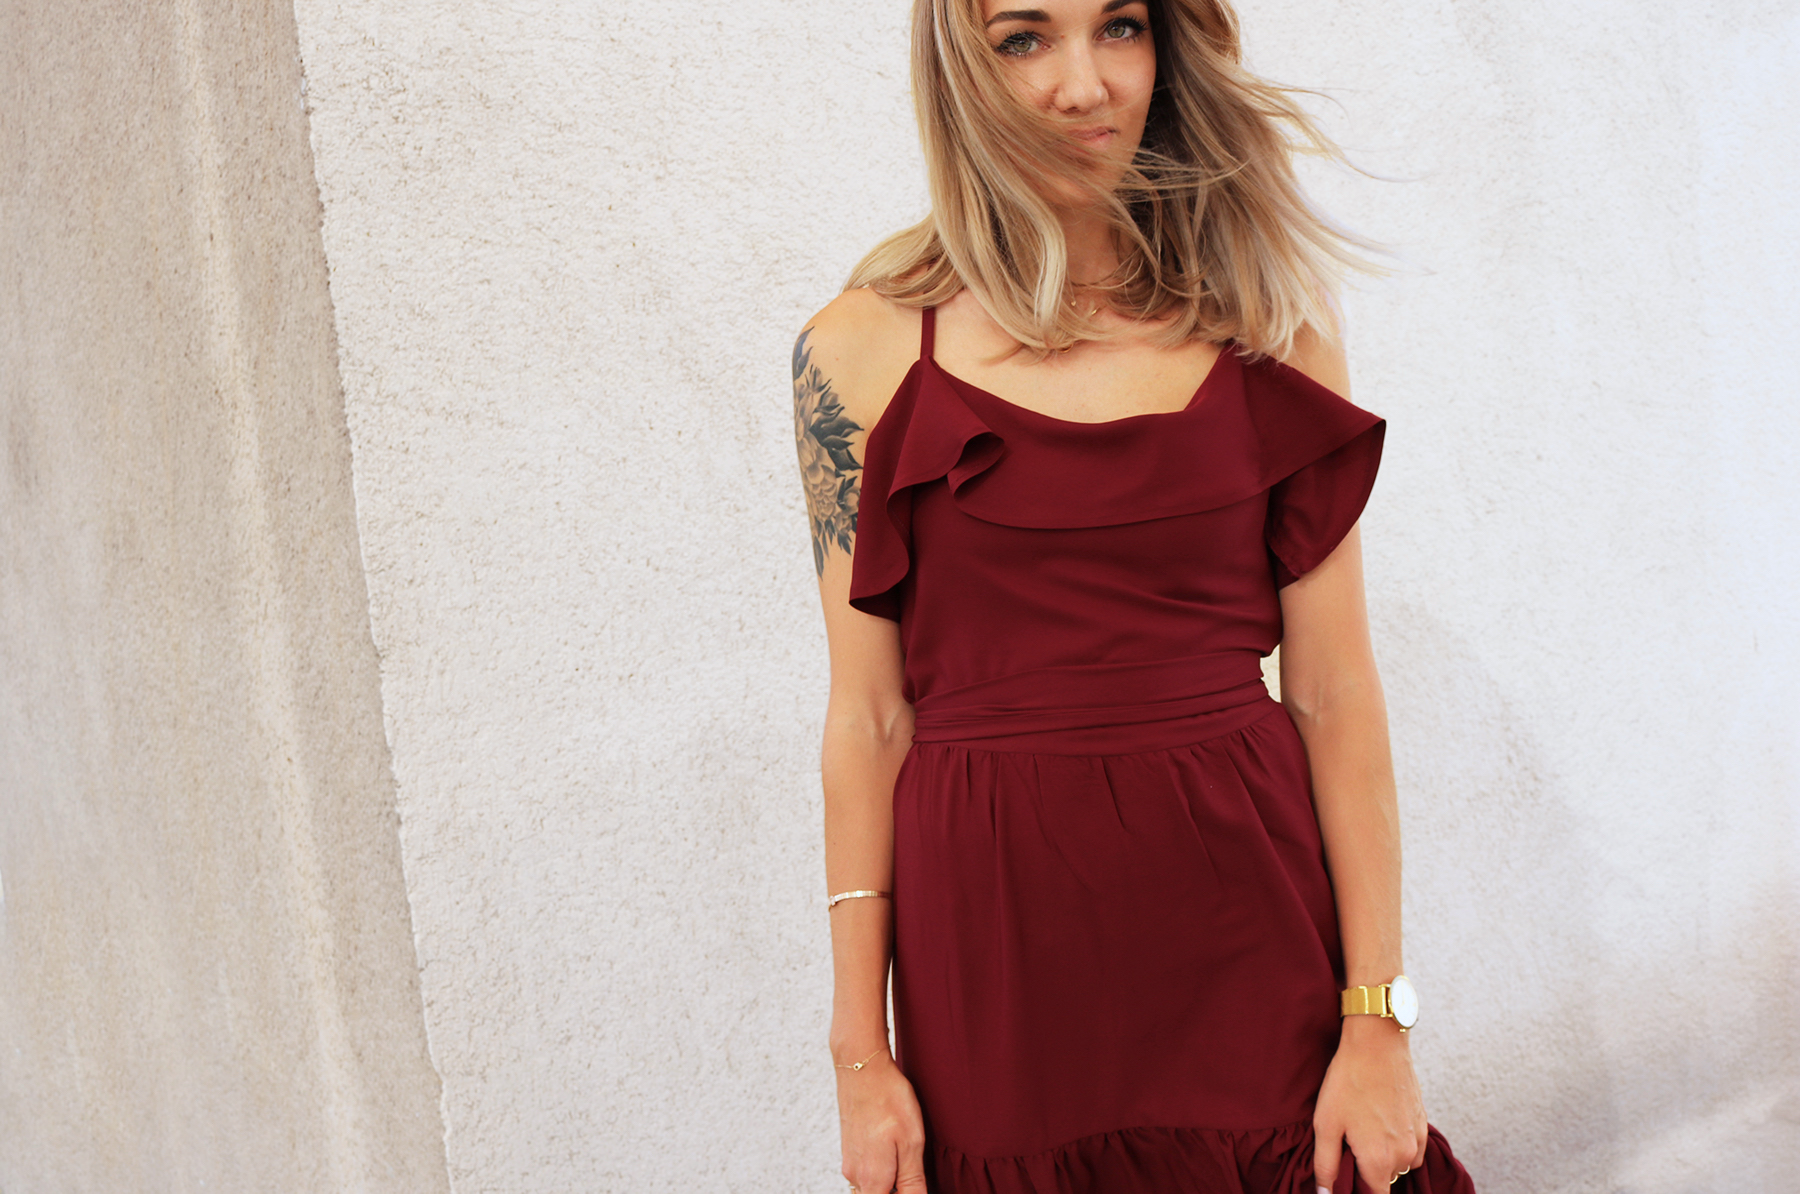
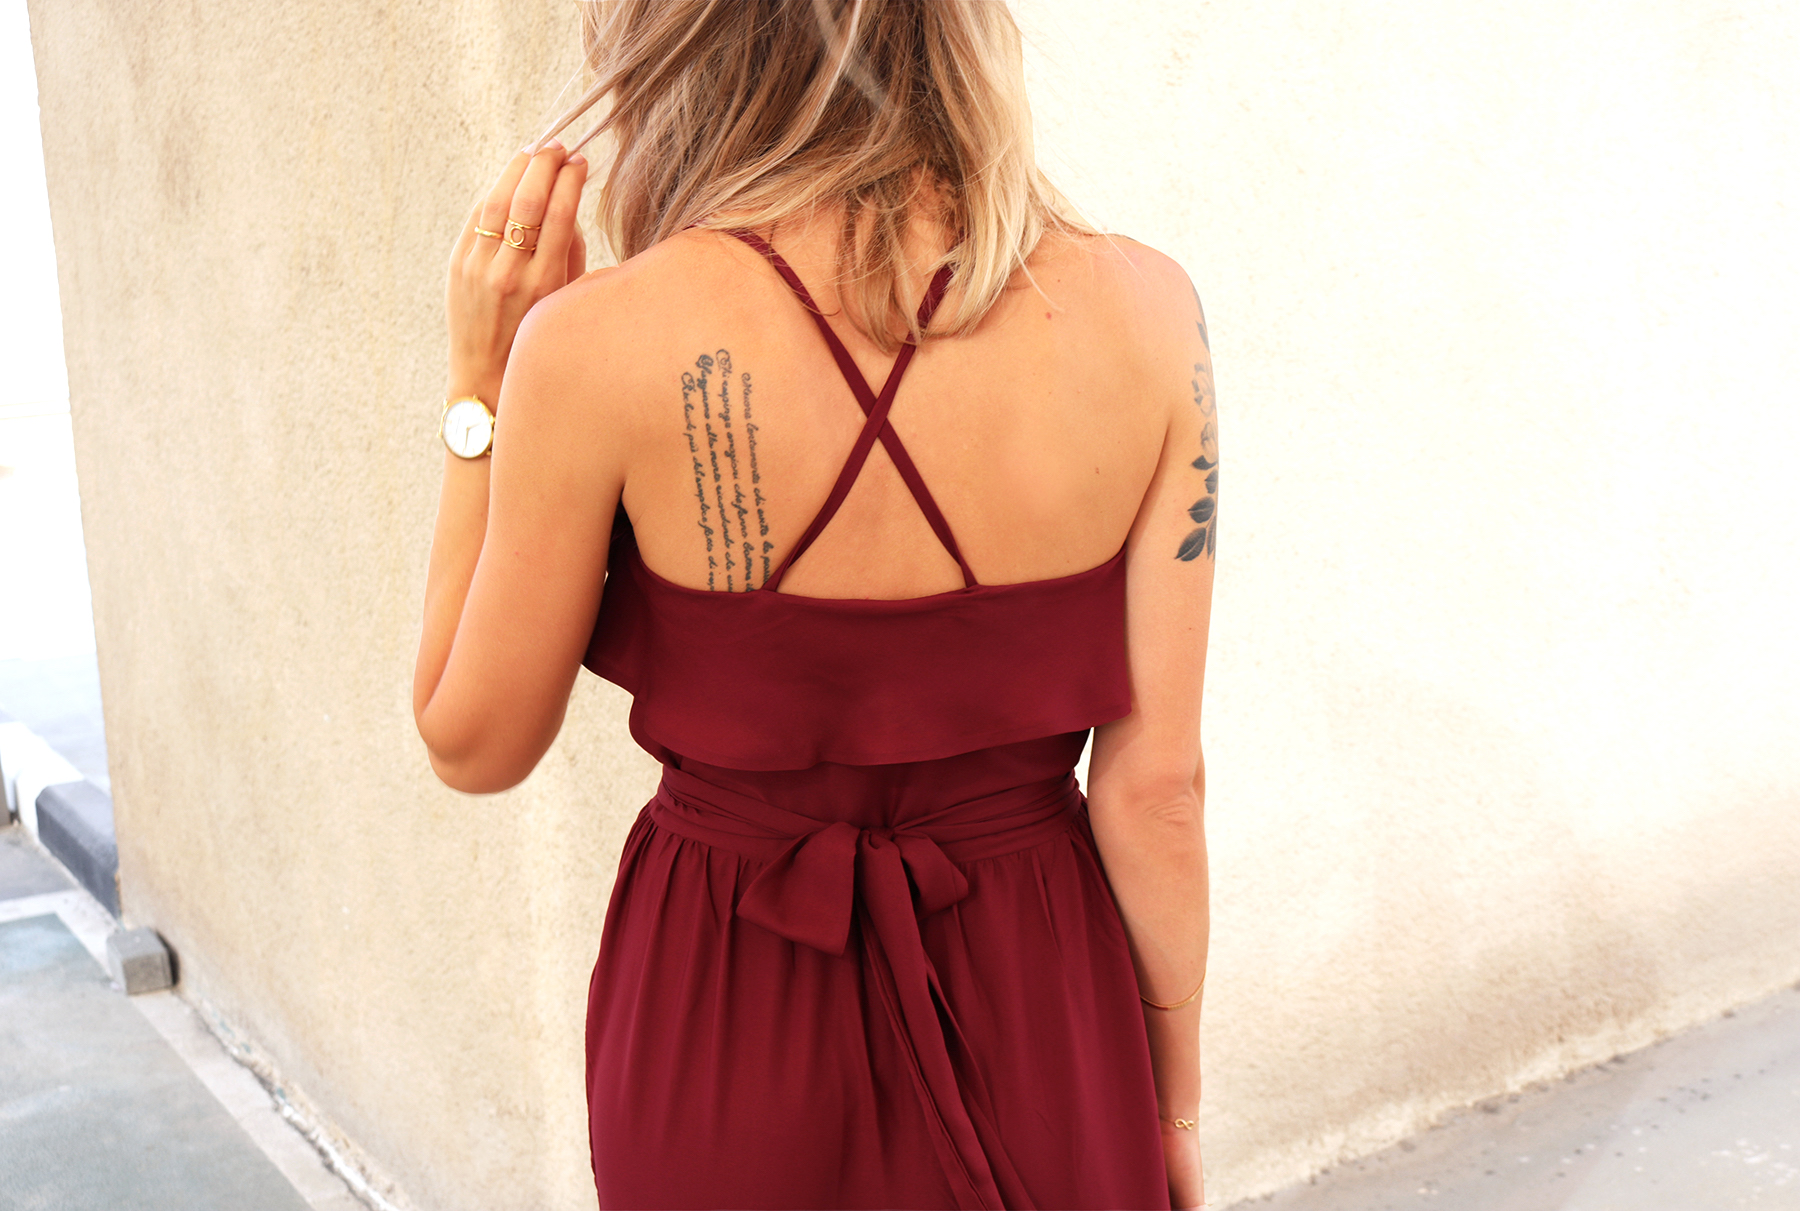
XII. Lastly I sewed the edges of the neckline ruffle together, and tried the dress on to confirm the length of the straps (I made them cross at the back - 45 cm each), slipped them through the gaps I had left when sewing the ruffle, and closed the gaps in the stitch. Since I had fabric leftover, I made a matching belt to tie around the waist.
xo,
Julia


You did a great job. I may have to try this once the weather in the States gets warmer. :)
ReplyDeleteYou did a great job. I may have to try this once the weather in the States gets warmer. :)
ReplyDeleteThanks Brittany!! tag me on IG if you make one, I'd love to see:)! @contour_affair
DeleteHot damn! You are amazing. This is so gorgeous. I've been feeling weirdly drawn to red lately too. This is such a beautiful red, oxblood is the perfect description.
ReplyDeletethanks Sophie:)
Delete