

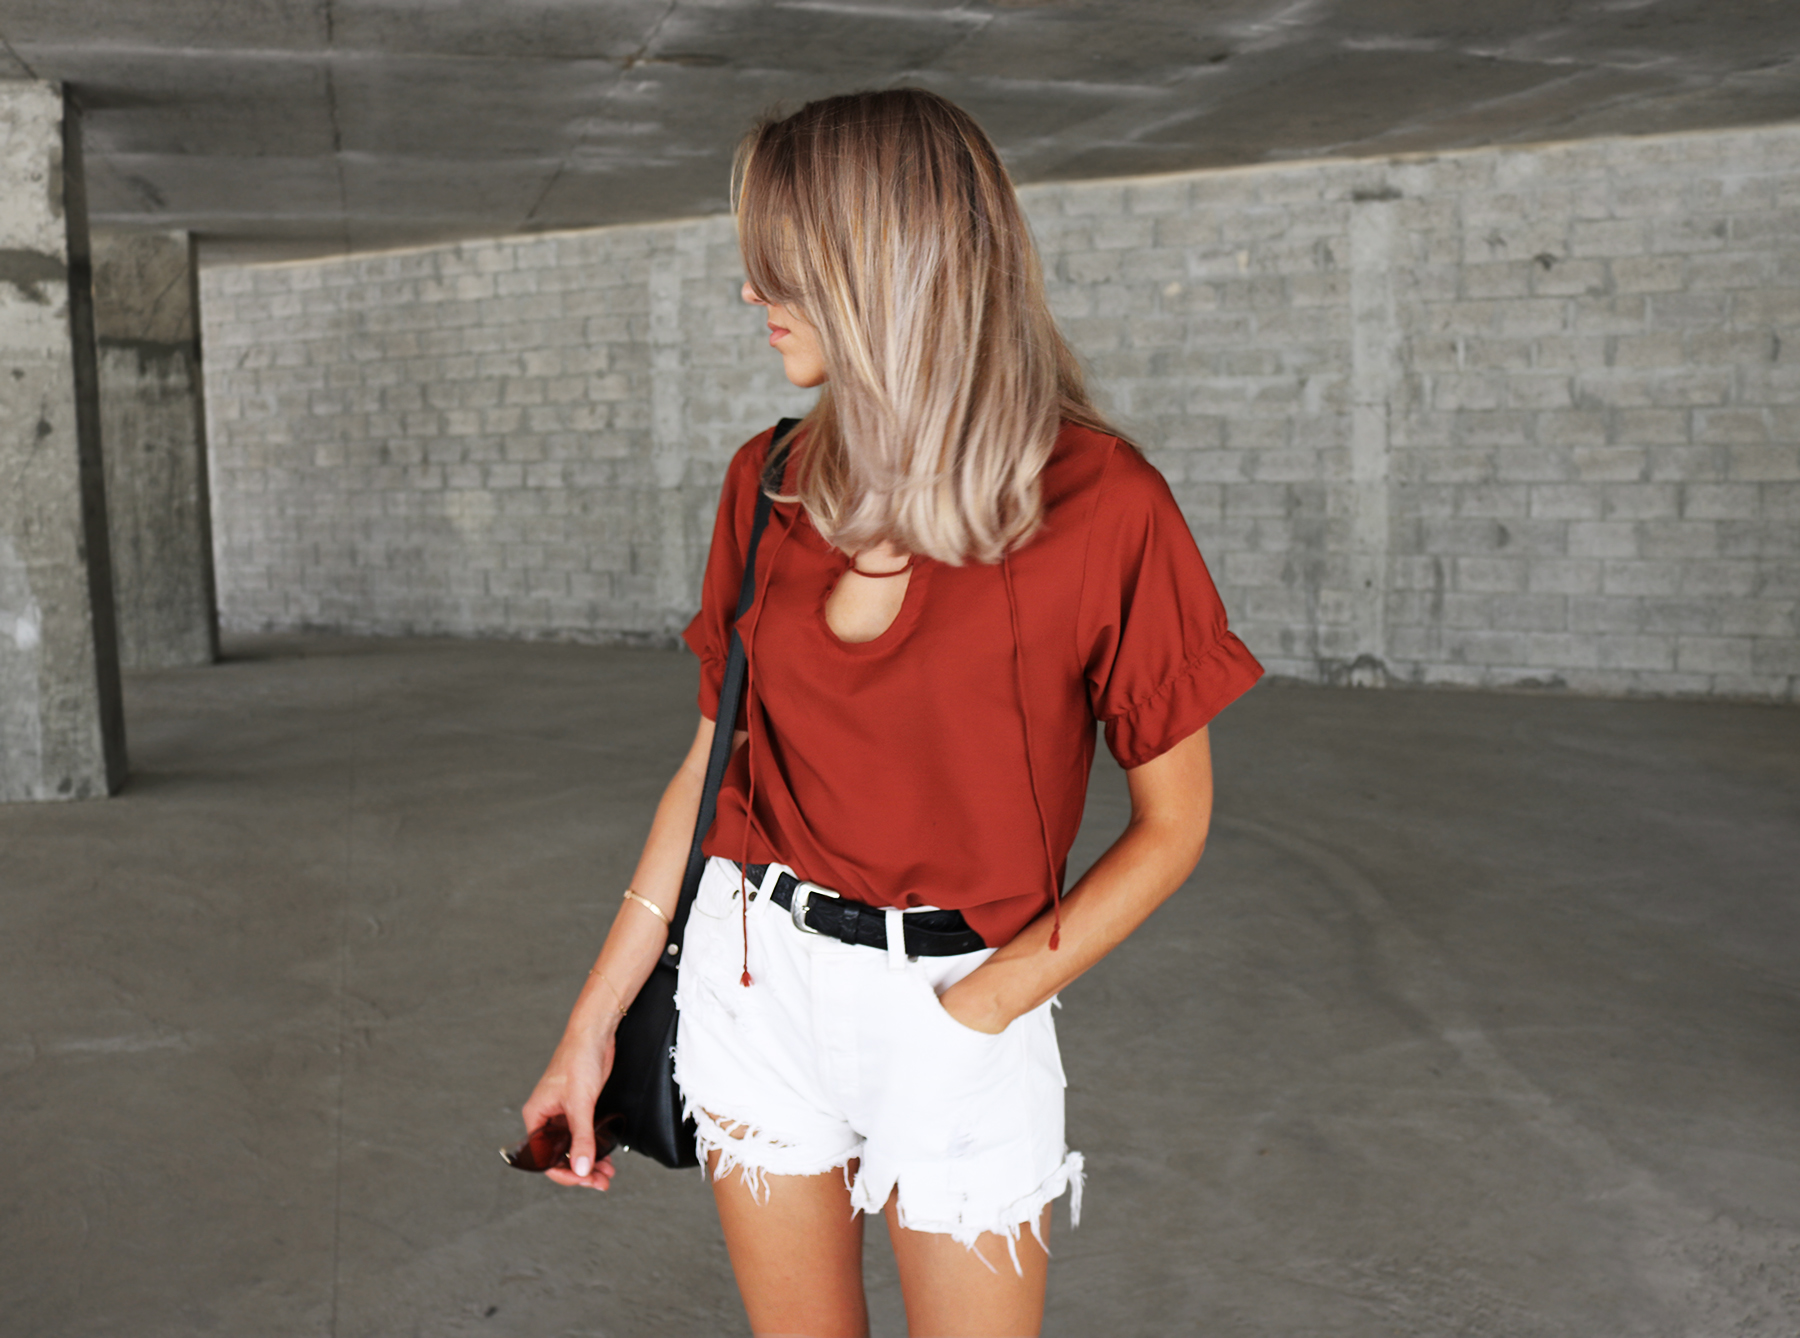
Recently I’ve been strongly drawn to tones of rust. Everyone knows the authority on earthy hues is The Row, and with every new collection
they release I've sworn to make something in a burnt sienna/cinnamon tone (Spring2014 and 2015 forever on my mind). This is one of two rusty tops I'm adding to the closet this week, some loose
bishop-sleeved boho vibes to follow… (Inspiration source: Tularosa Phoebe top)
Tutorials take a lot of time & effort to create, and I choose to make mine available for free. If you enjoy this guide, you can support me with a donation that feels right for you, here.
TOOLS:
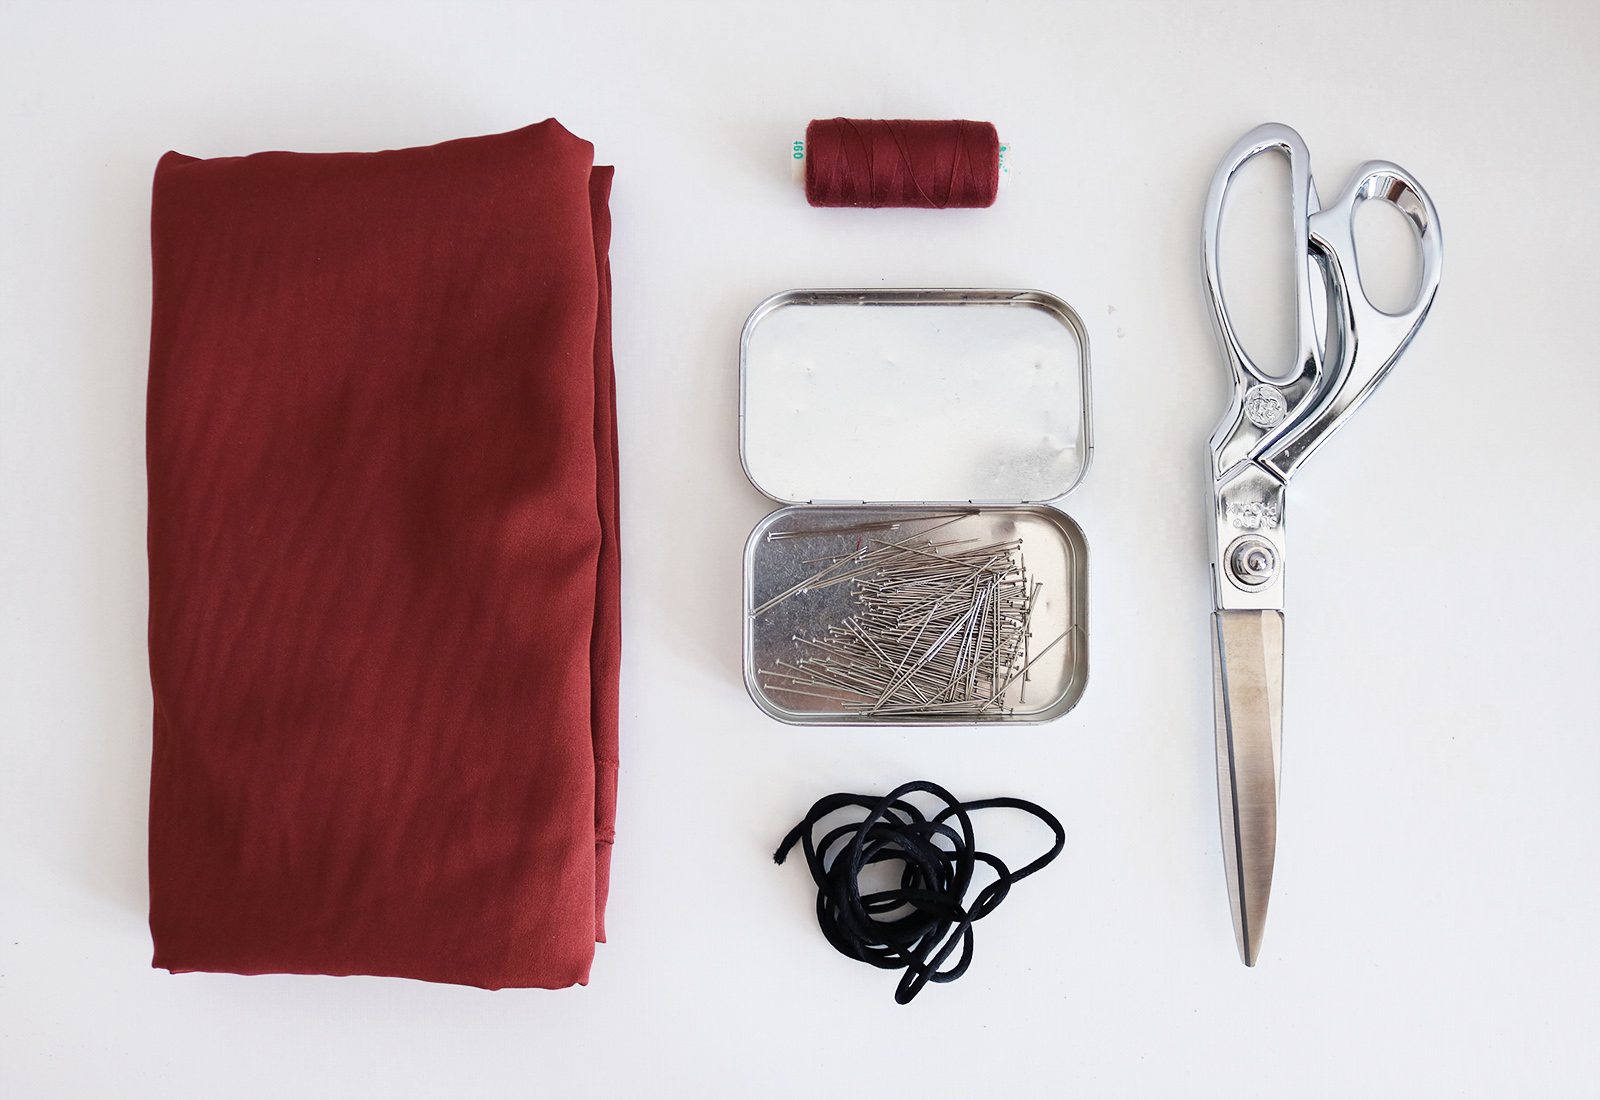
1-1.5 m fabric depending on sleeve and top length | Scissors | Fabric marker | Pins | Thread, needle, sewing machine | Ribbon (matching if you want the easy way, just basic tube ribbon in any colour if making your own ribbon) | Forgot from the photo, but elastic (about cm)
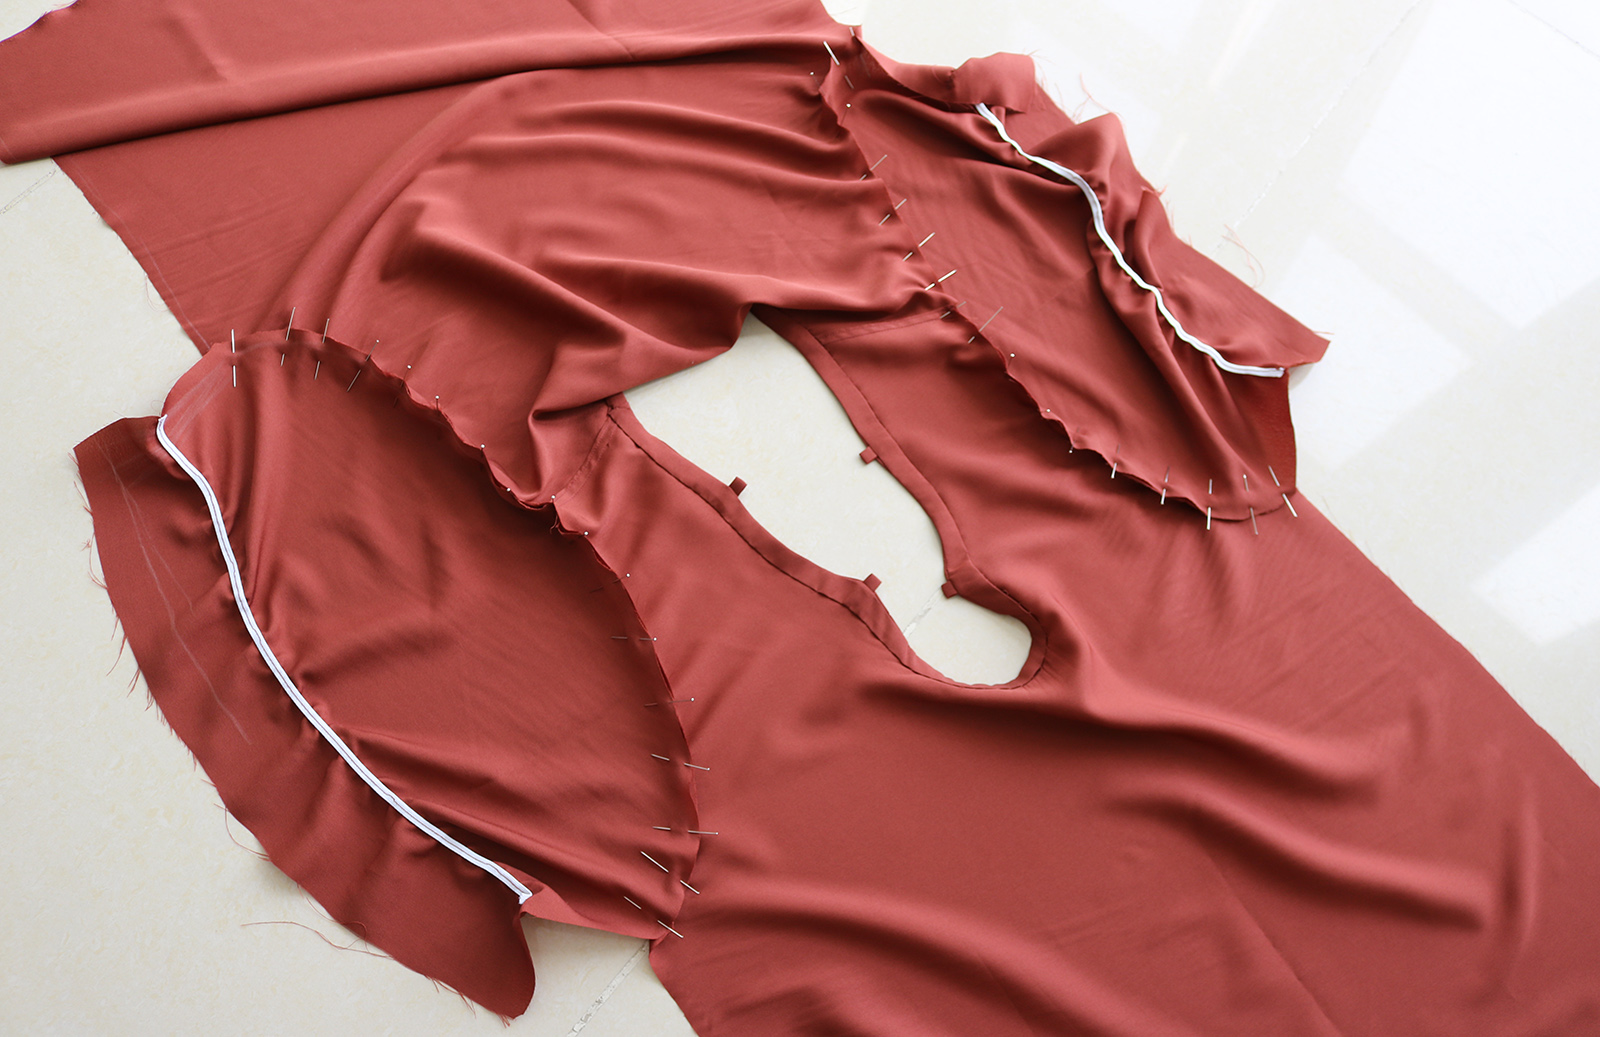
I. My cut pieces. I first cut the back and front identical...
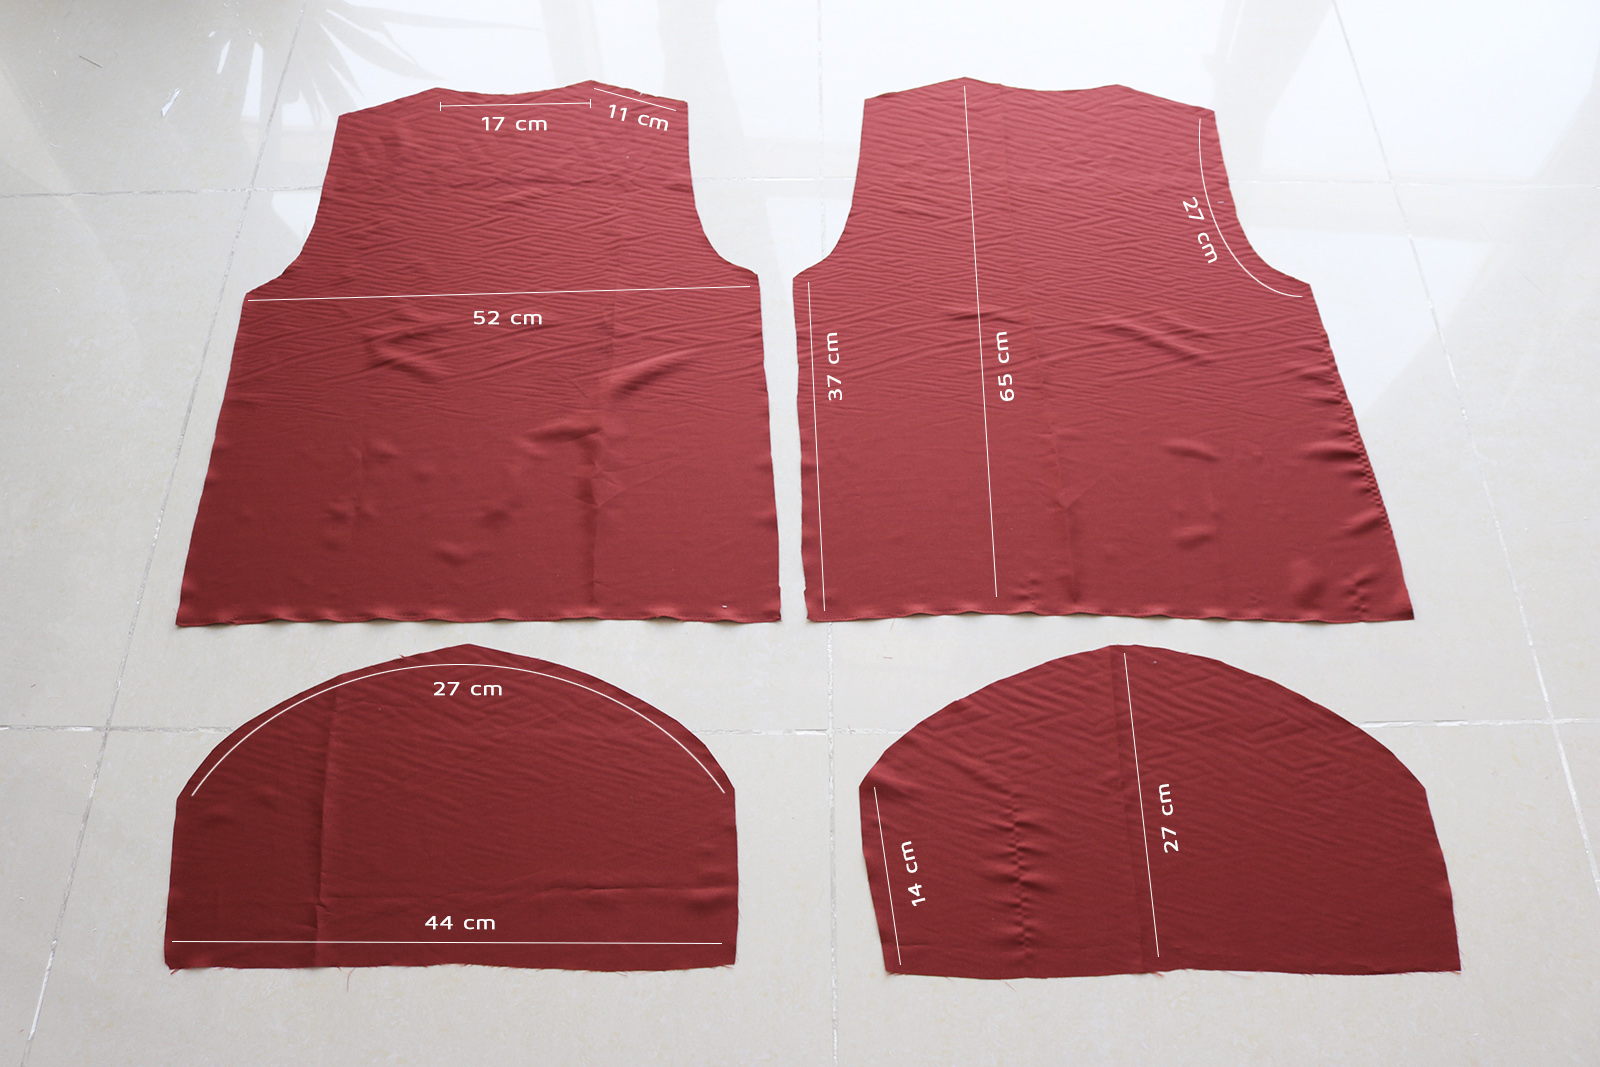 .. And then figured out the neckline shape for the front.
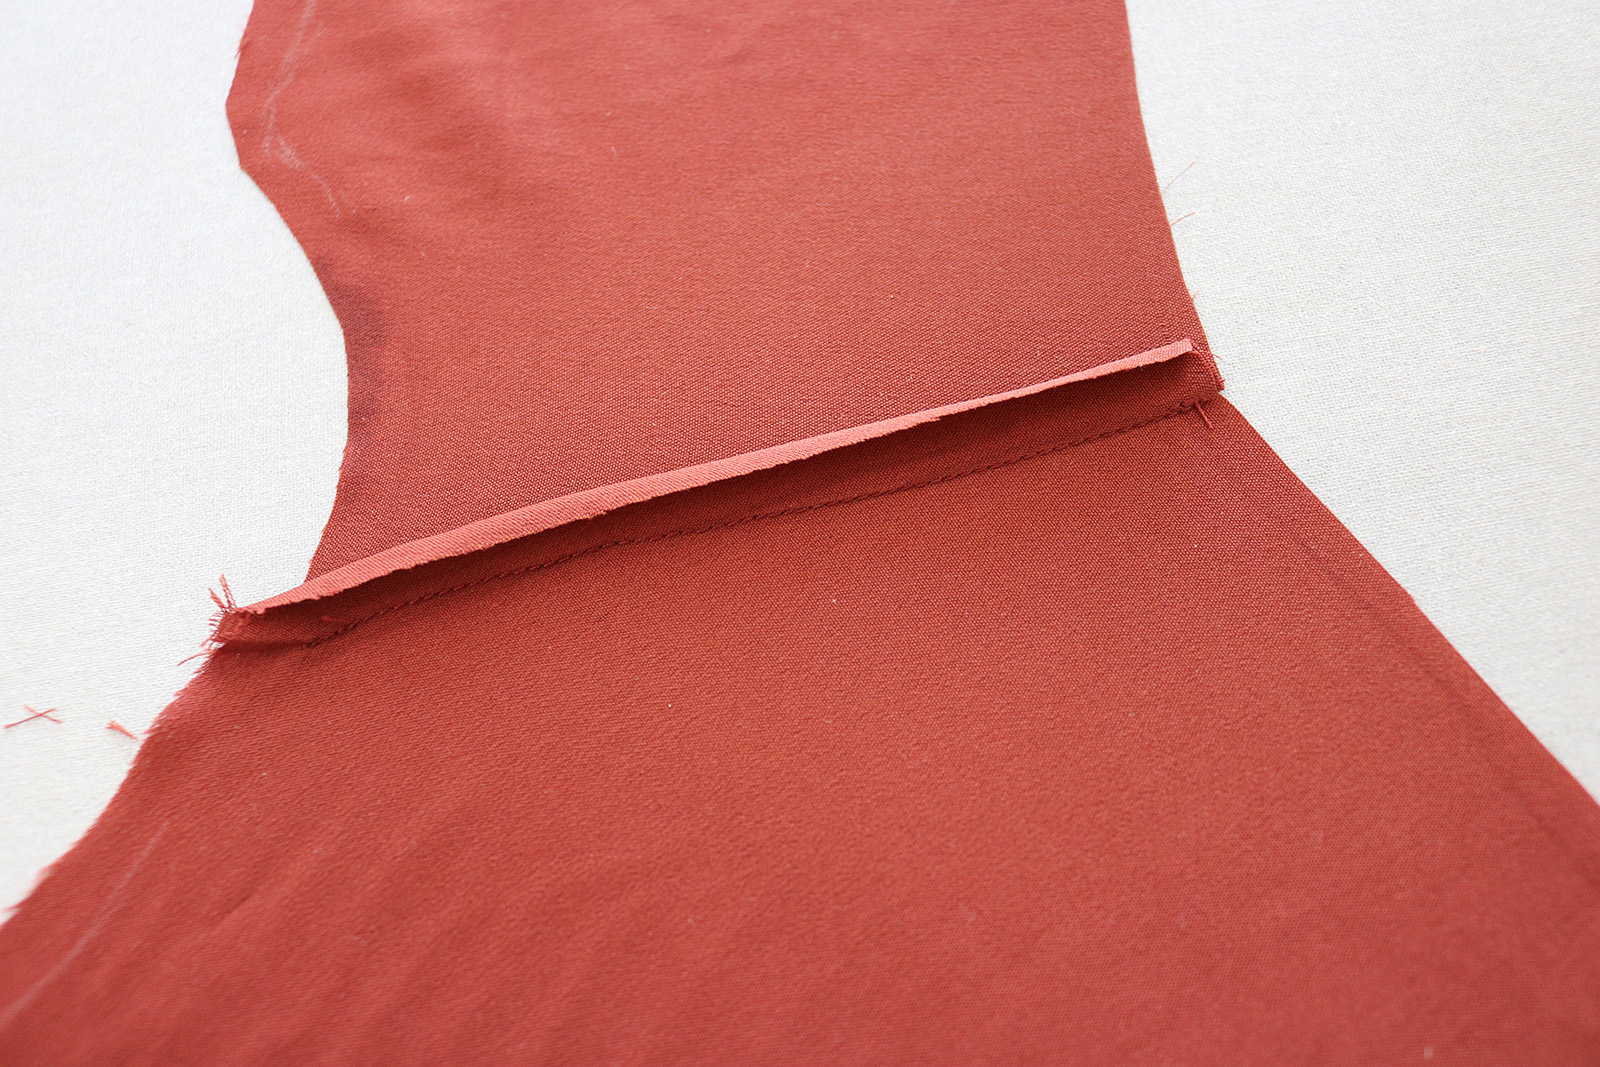
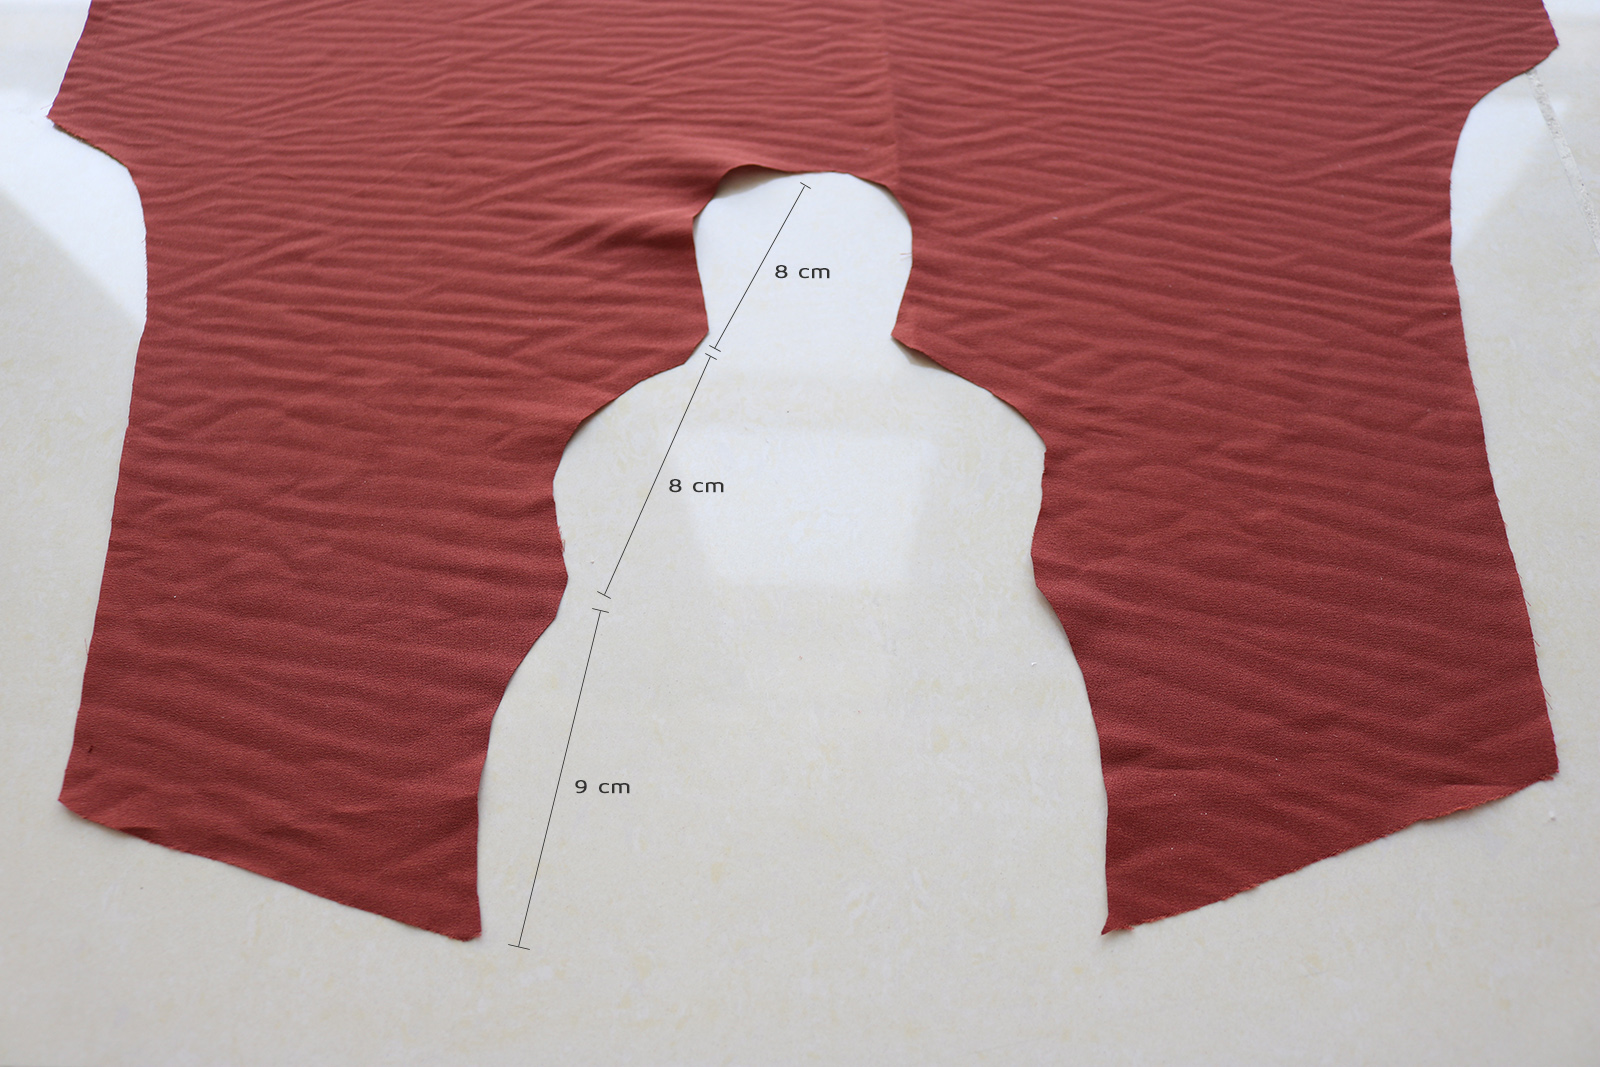 II. First pinned shoulders together right sides facing. I did flat-felled seam which is what I do almost always for shoulder seams; pinned front piece 0.5 cm higher than the back piece:
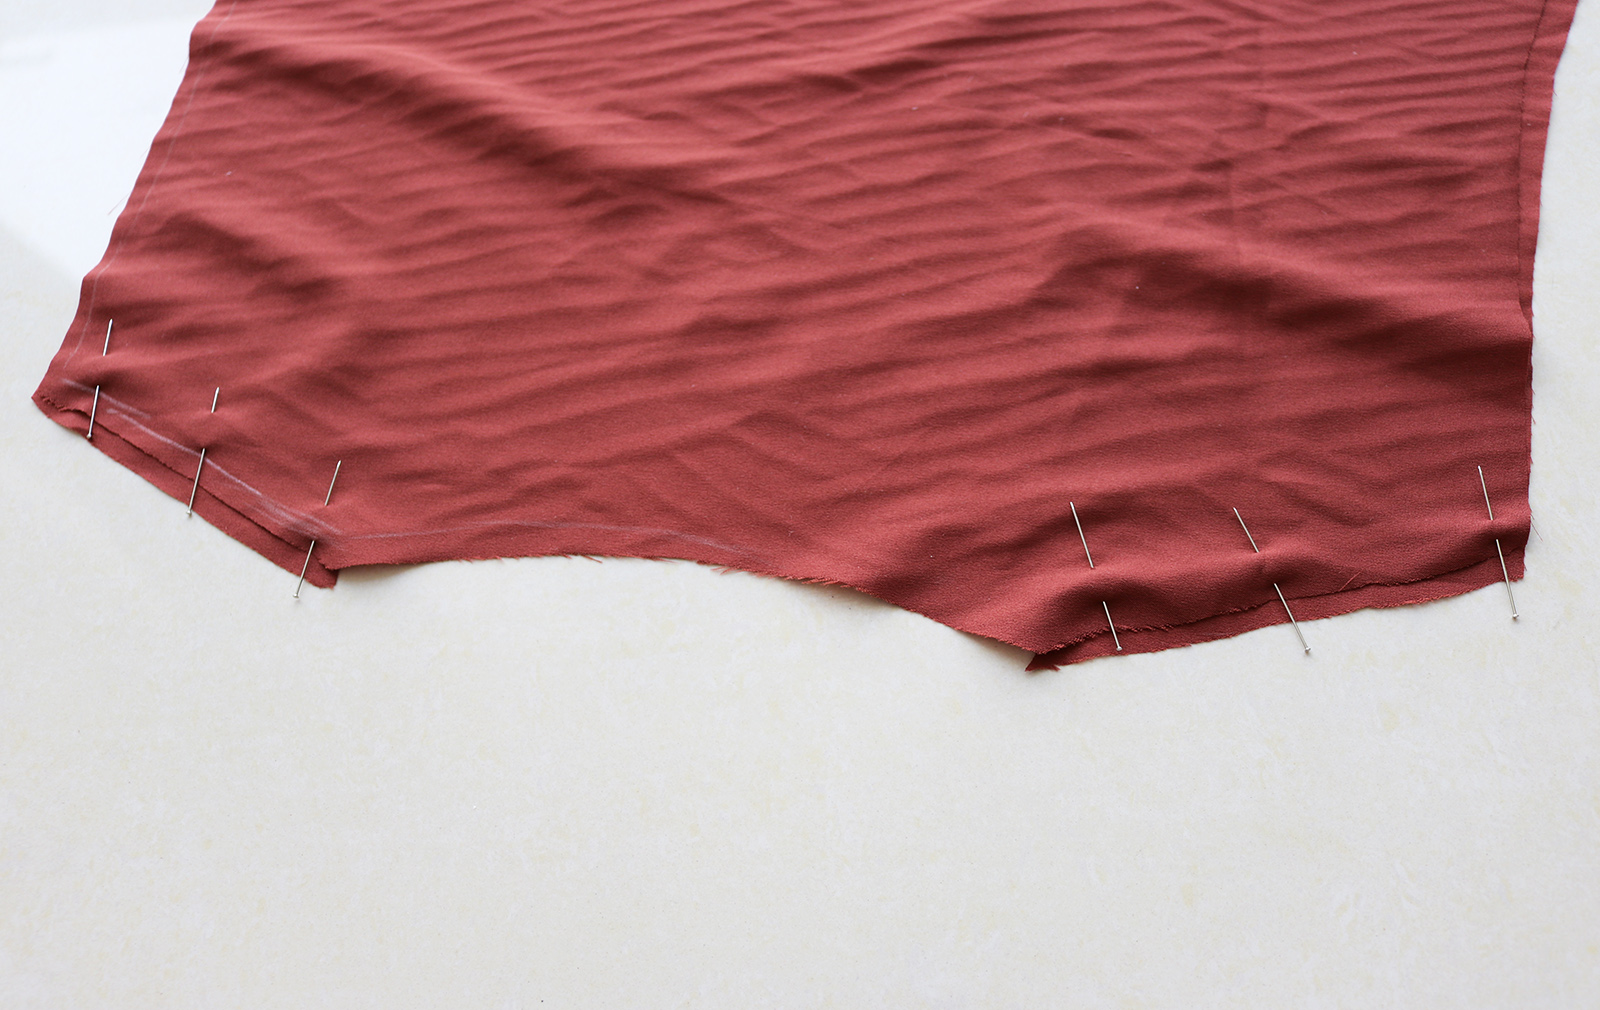
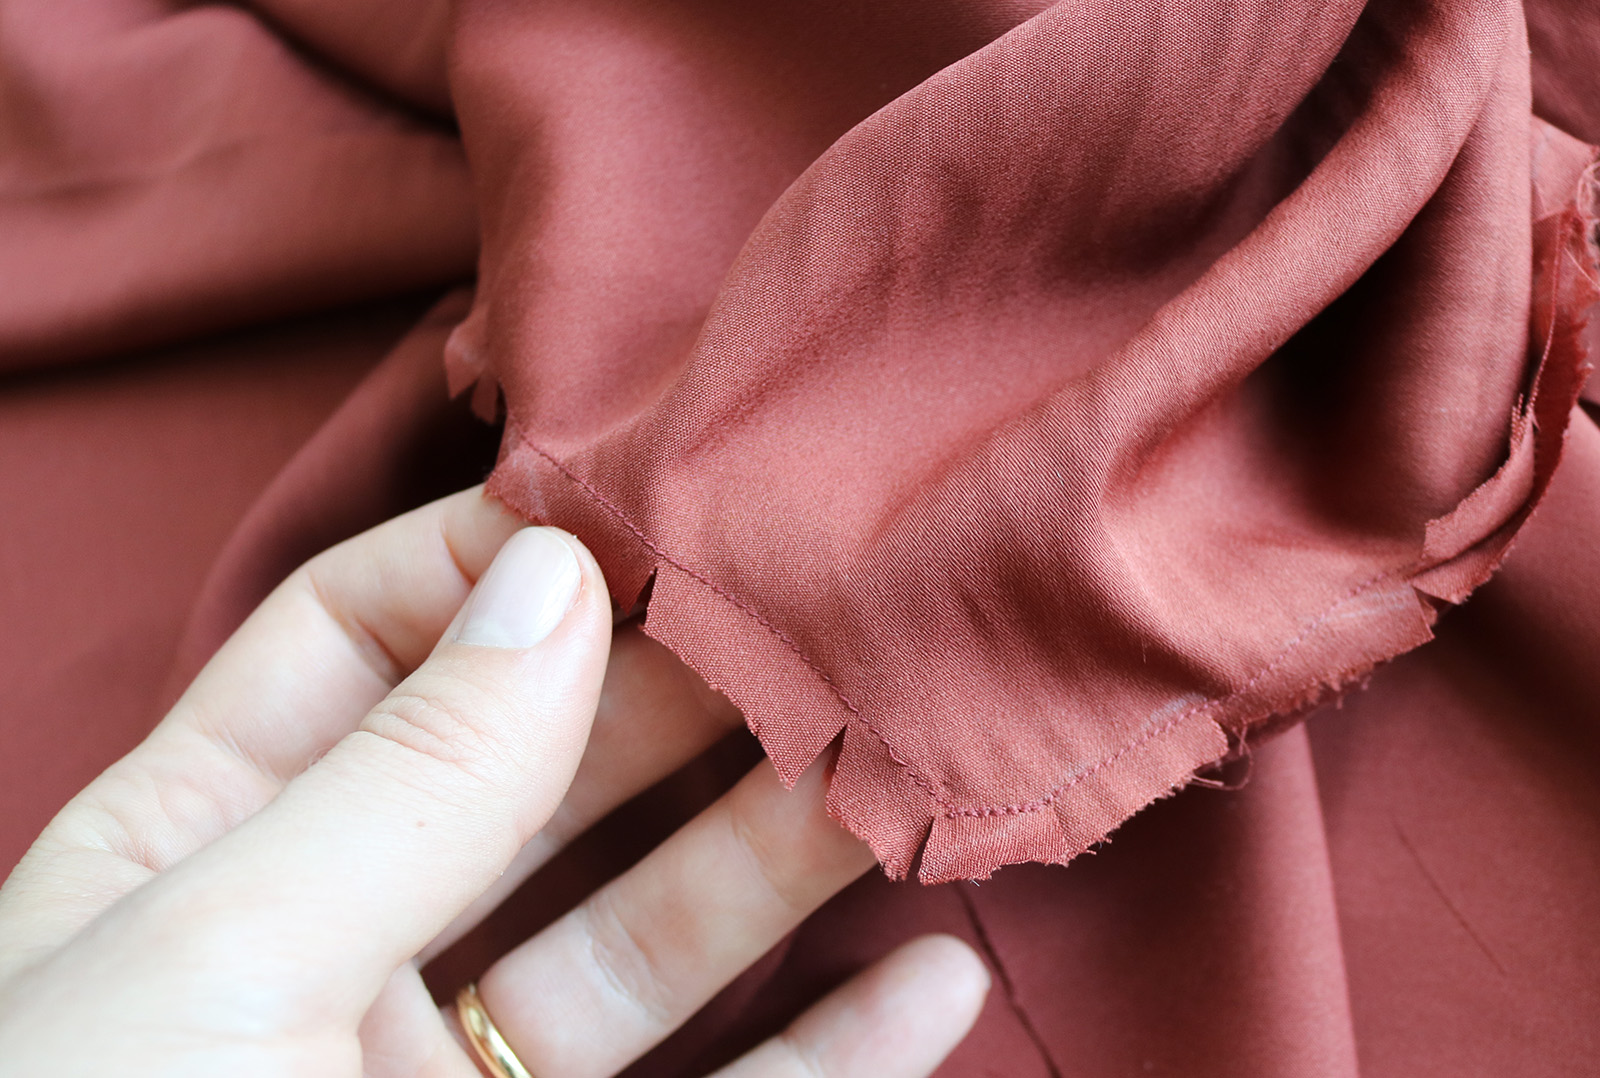
.. With help of iron, folded the longer seam allowance over the shorter one:
And then pressed flat, so the shorter seam allowance is nicely wrapped in the longer one. Pinned this in place.
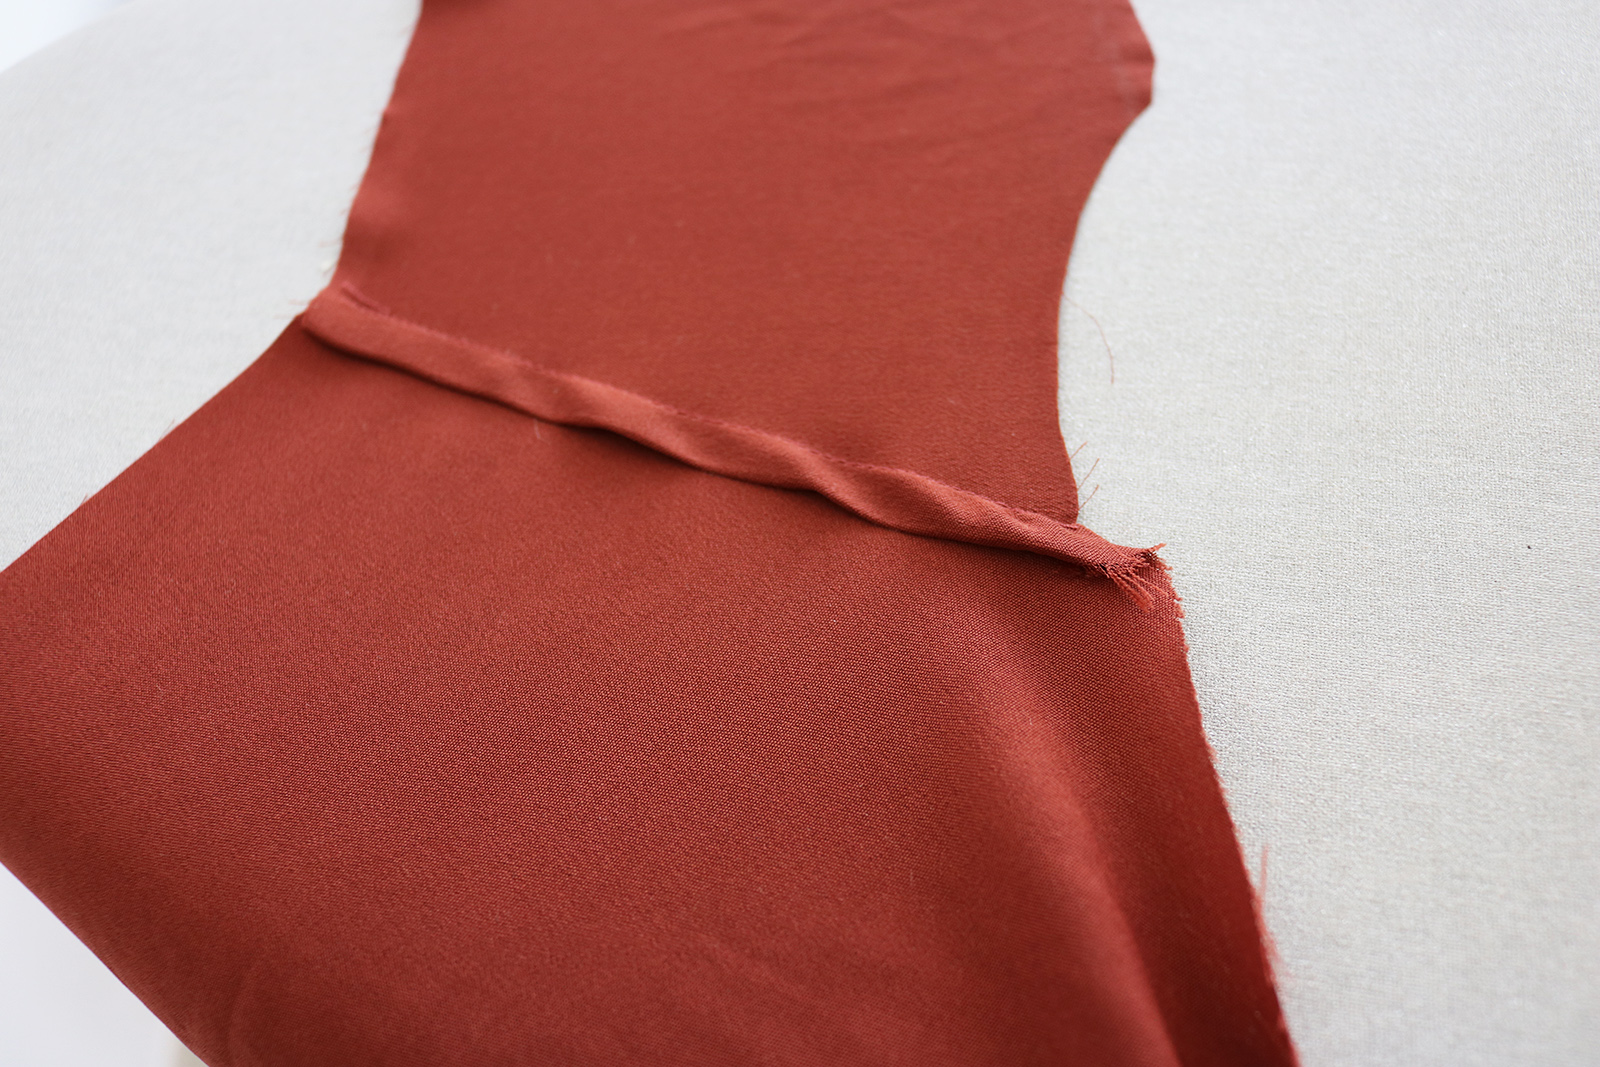
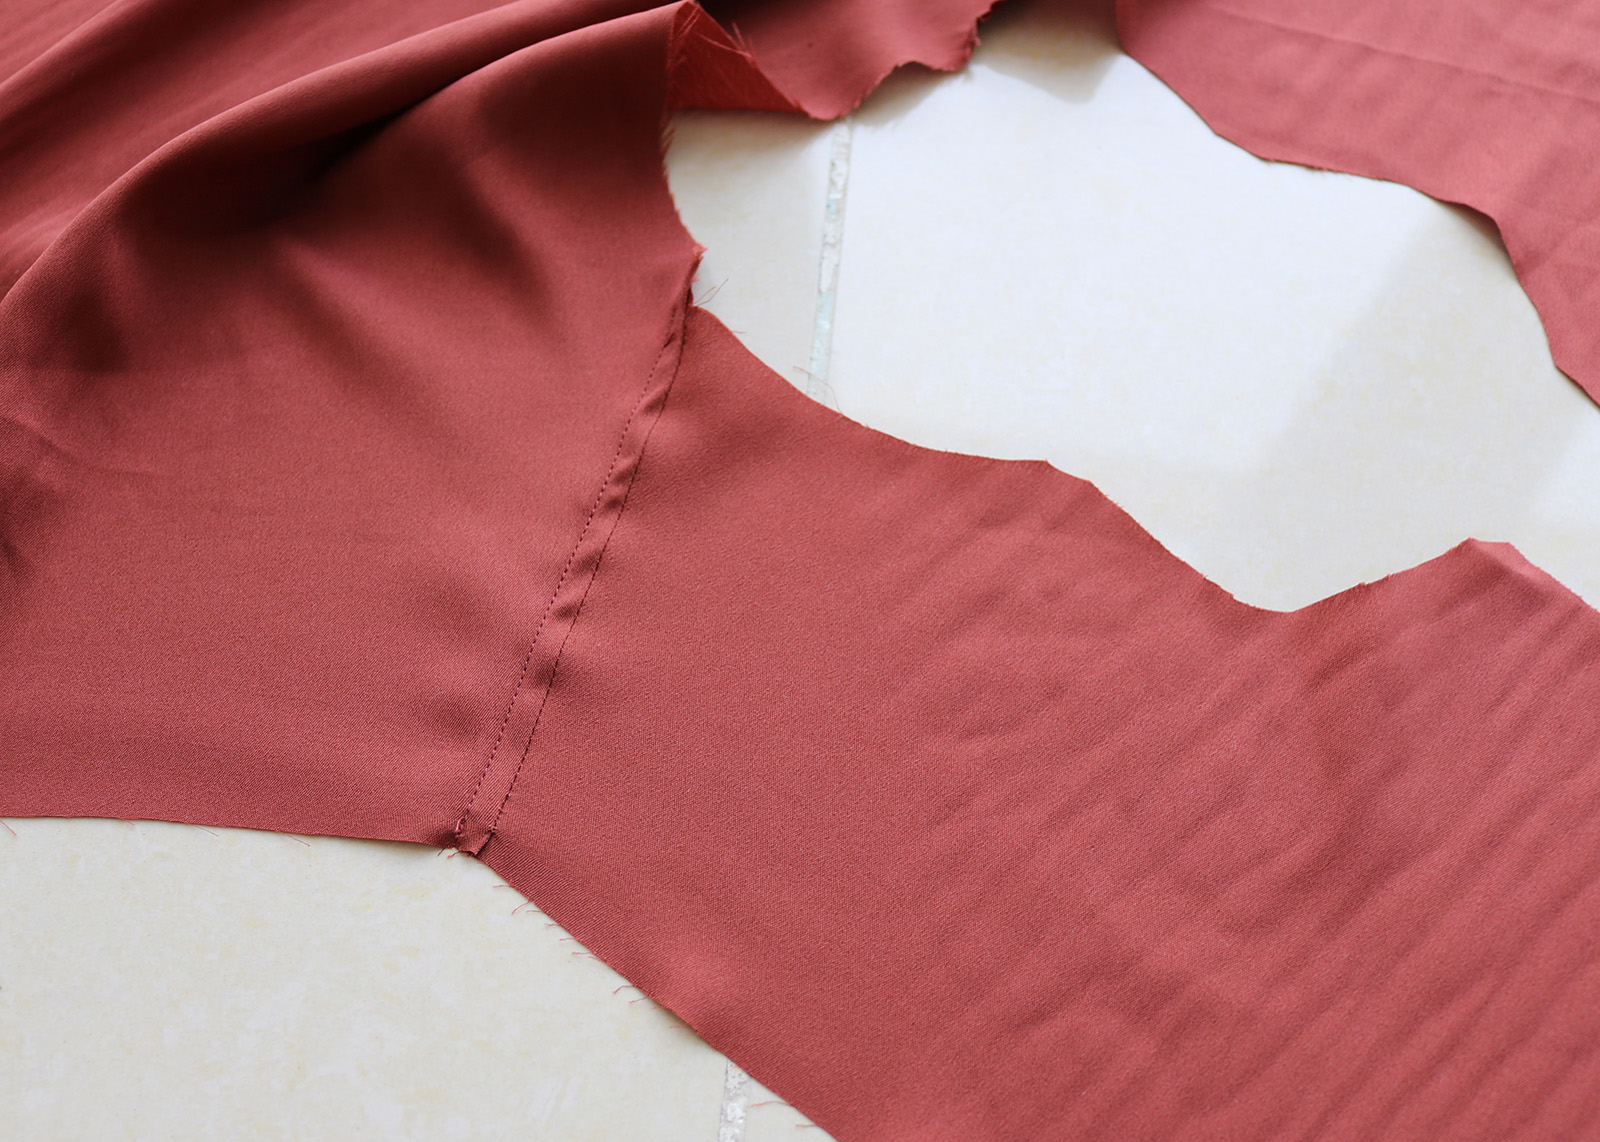
On the right side, sewed another stitch about 0.4 cm from the first seam, securing the fold on the reverse in place.
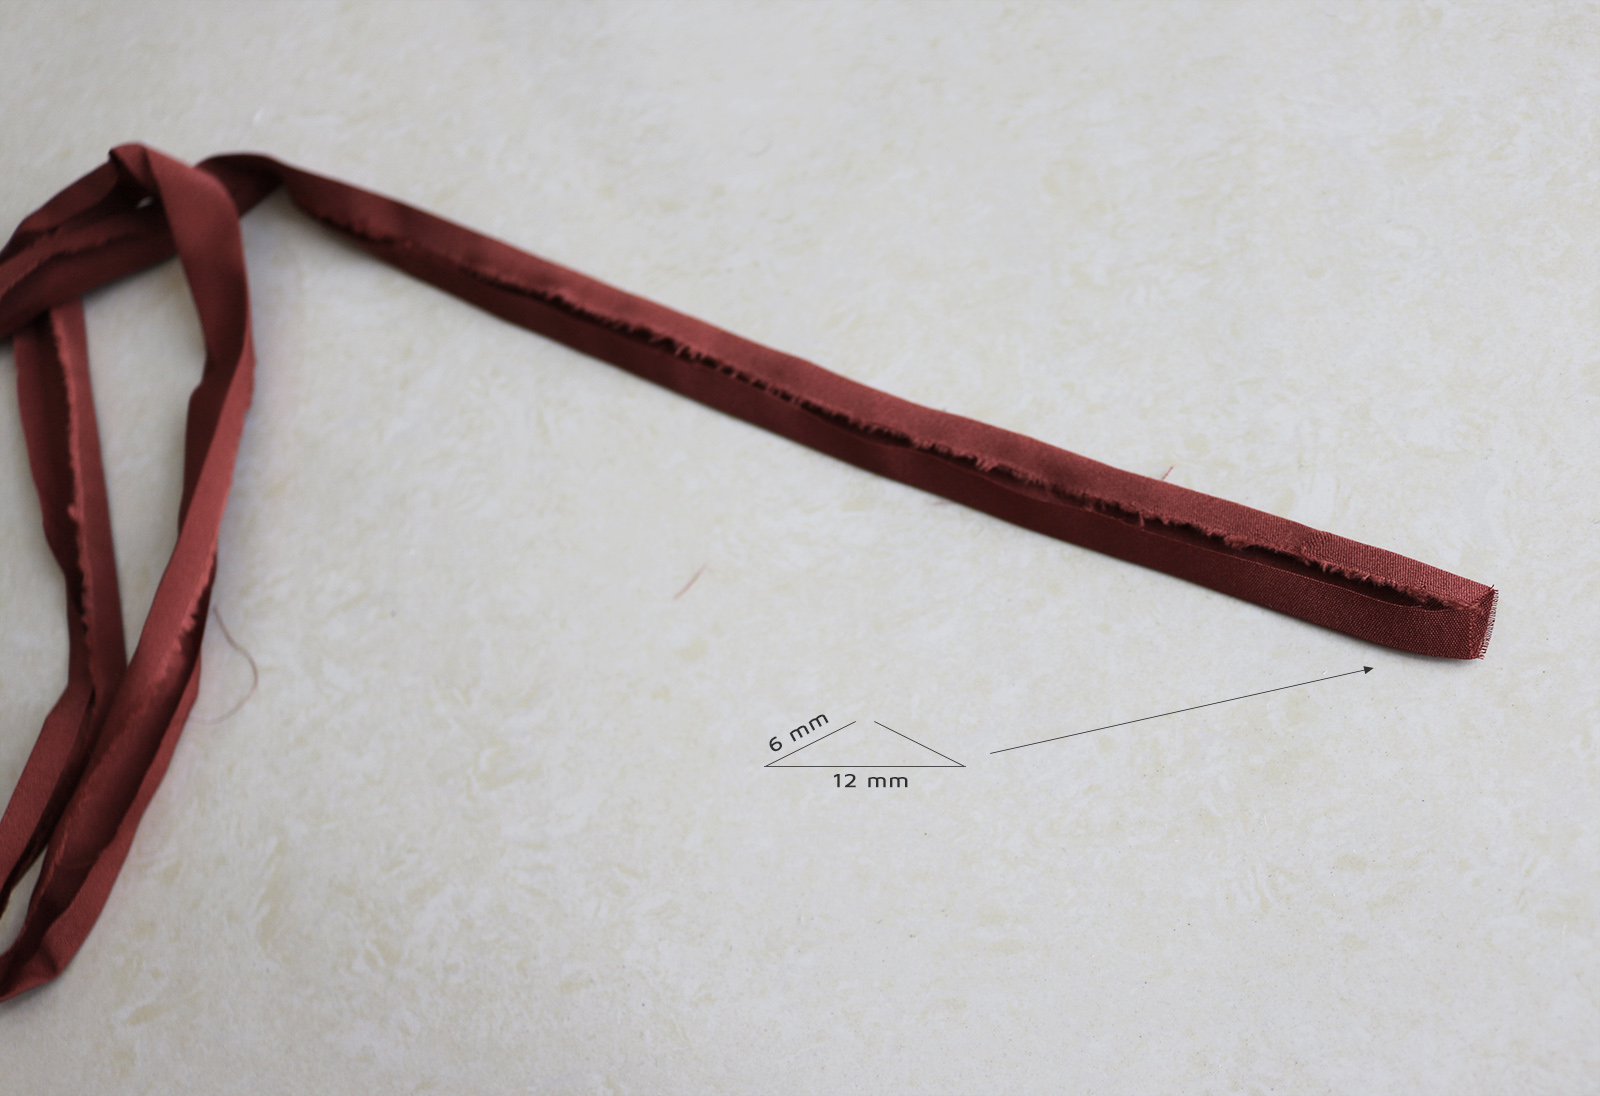
III. Then made my bias tape. Here's more detailed instructions if you're interested. First you'll want to measure the length of tape you need - the entire neckline. For me that was about 85 cm to be safe. To make my bias tape I just cut a 24 mm wide piece of fabric (you need to cut it at a bias = diagonal to the selvege (the factory-finished edge of the fabric that doesn't unravel). There are tools for easily ironing the folds to make bias tape but since I don't have one, and I only needed a small amount, I just folded with my fingers and pressed as I went to create this:
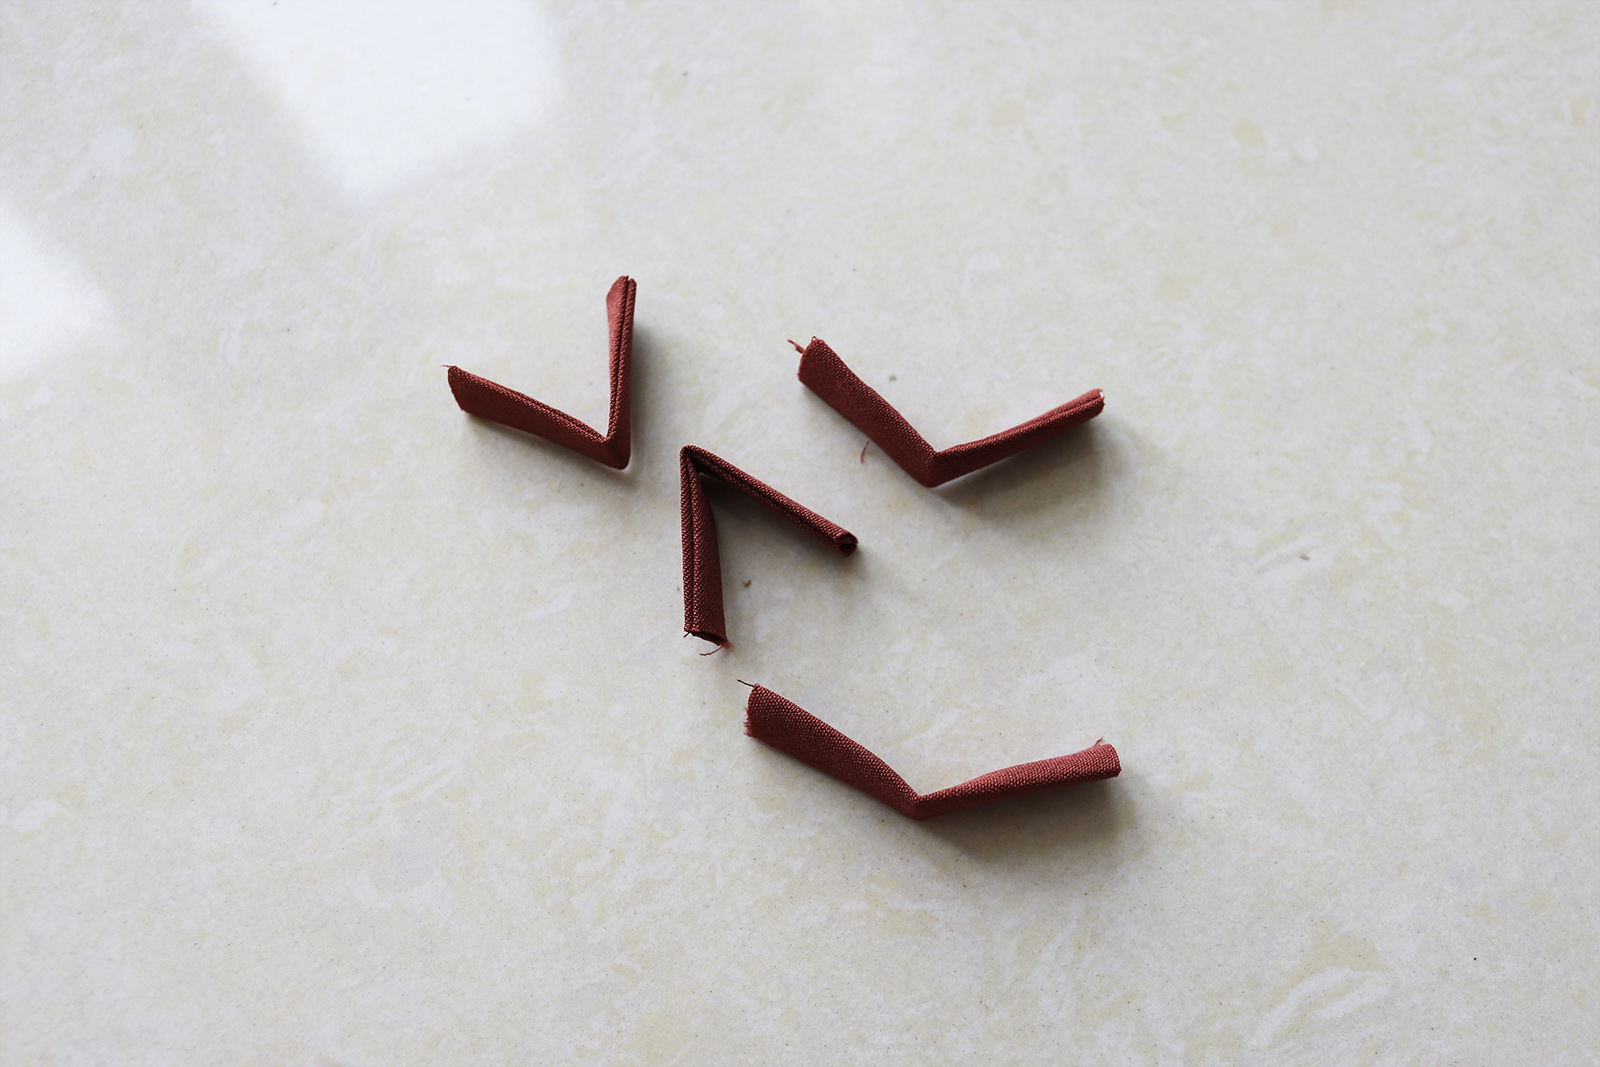
IV. At this point I also made my string (for the loops that hold the neckline lacing, and the lace itself. Here's the method I used. If you're using a ready ribbon/string, great. Either way, you'll need four little pieces of ribbon about 4 cm each. (+ one longer one for lacing it up, about 1 m)
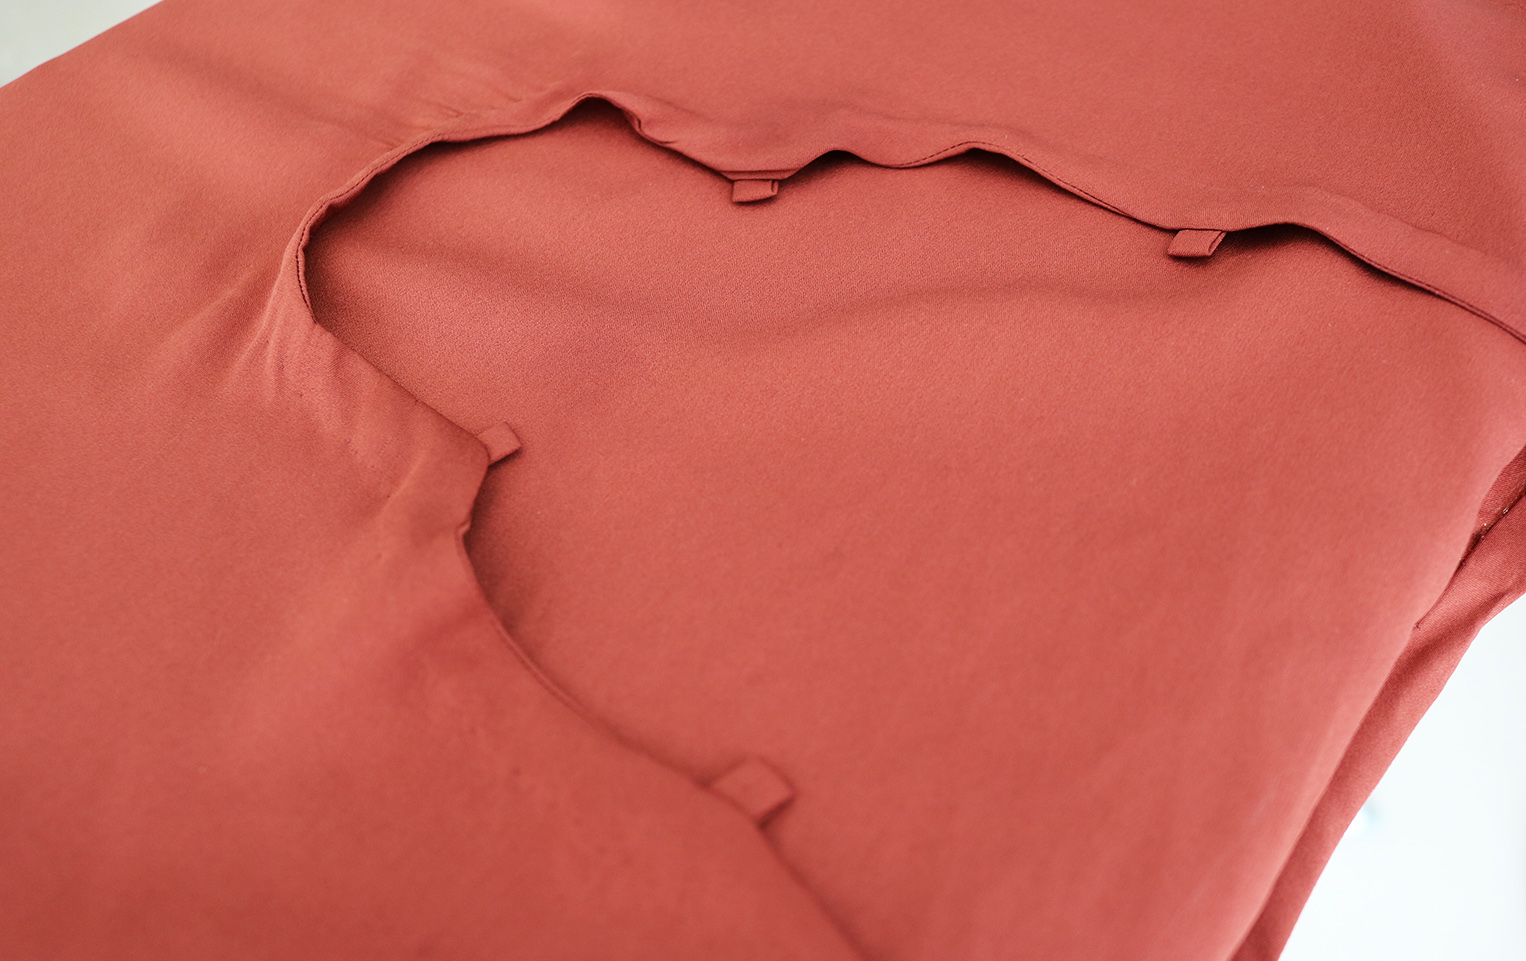
V. I then pinned the little pieces folded in half at the spots where the lacing loops should be, on the right side of the top's front piece.
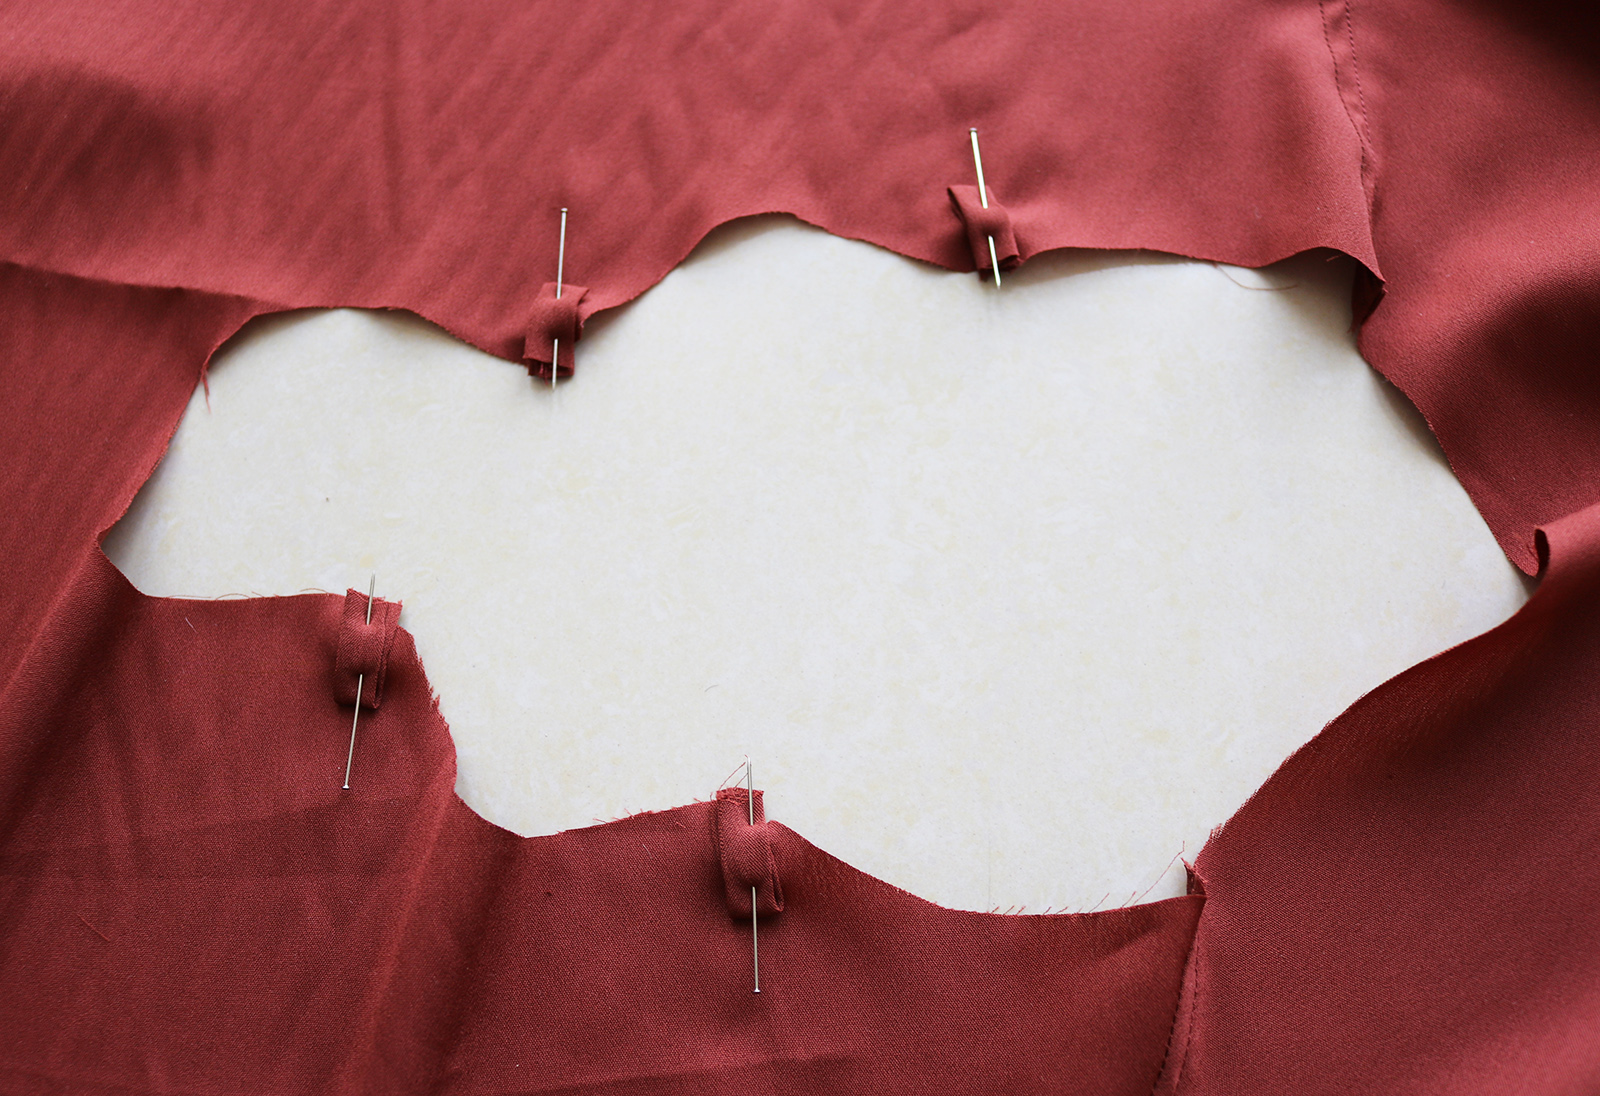
VI. Then took the bias tape, folded one side open and the end down, and started pinning to the neckline (I like to start from the shoulder seam).
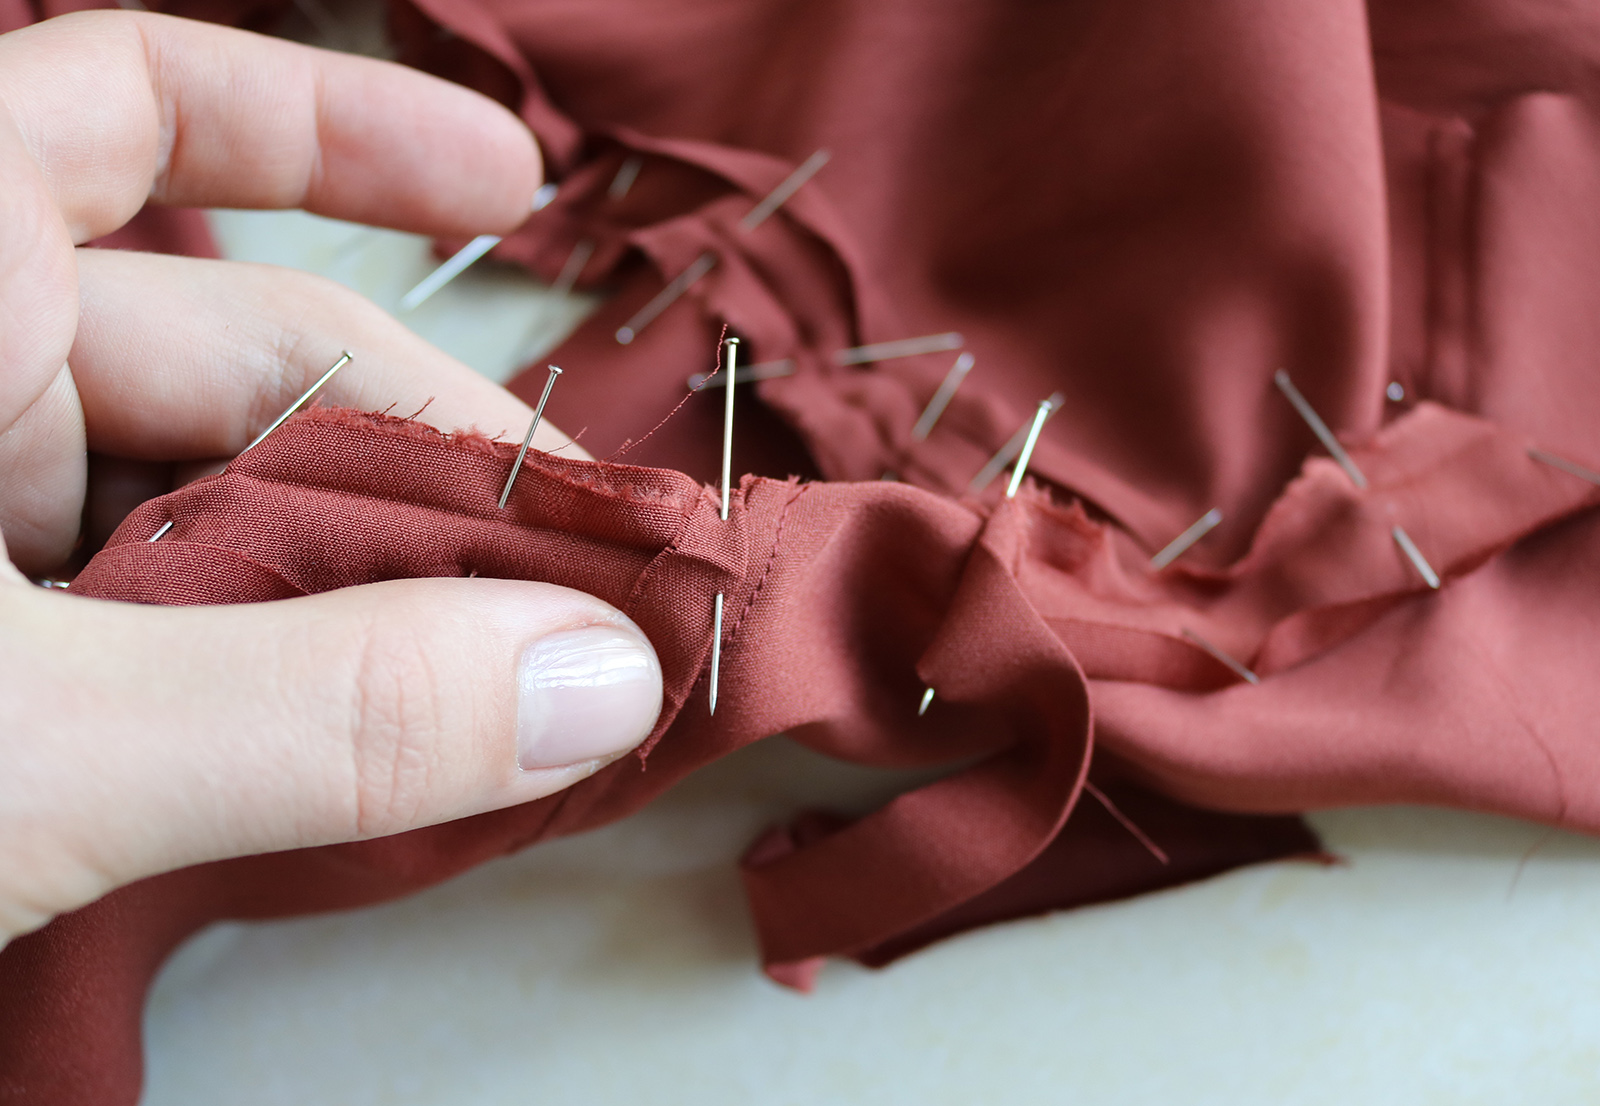
.. When I got all the way around, I overlapped the bias tape with itself by 1 cm or so.

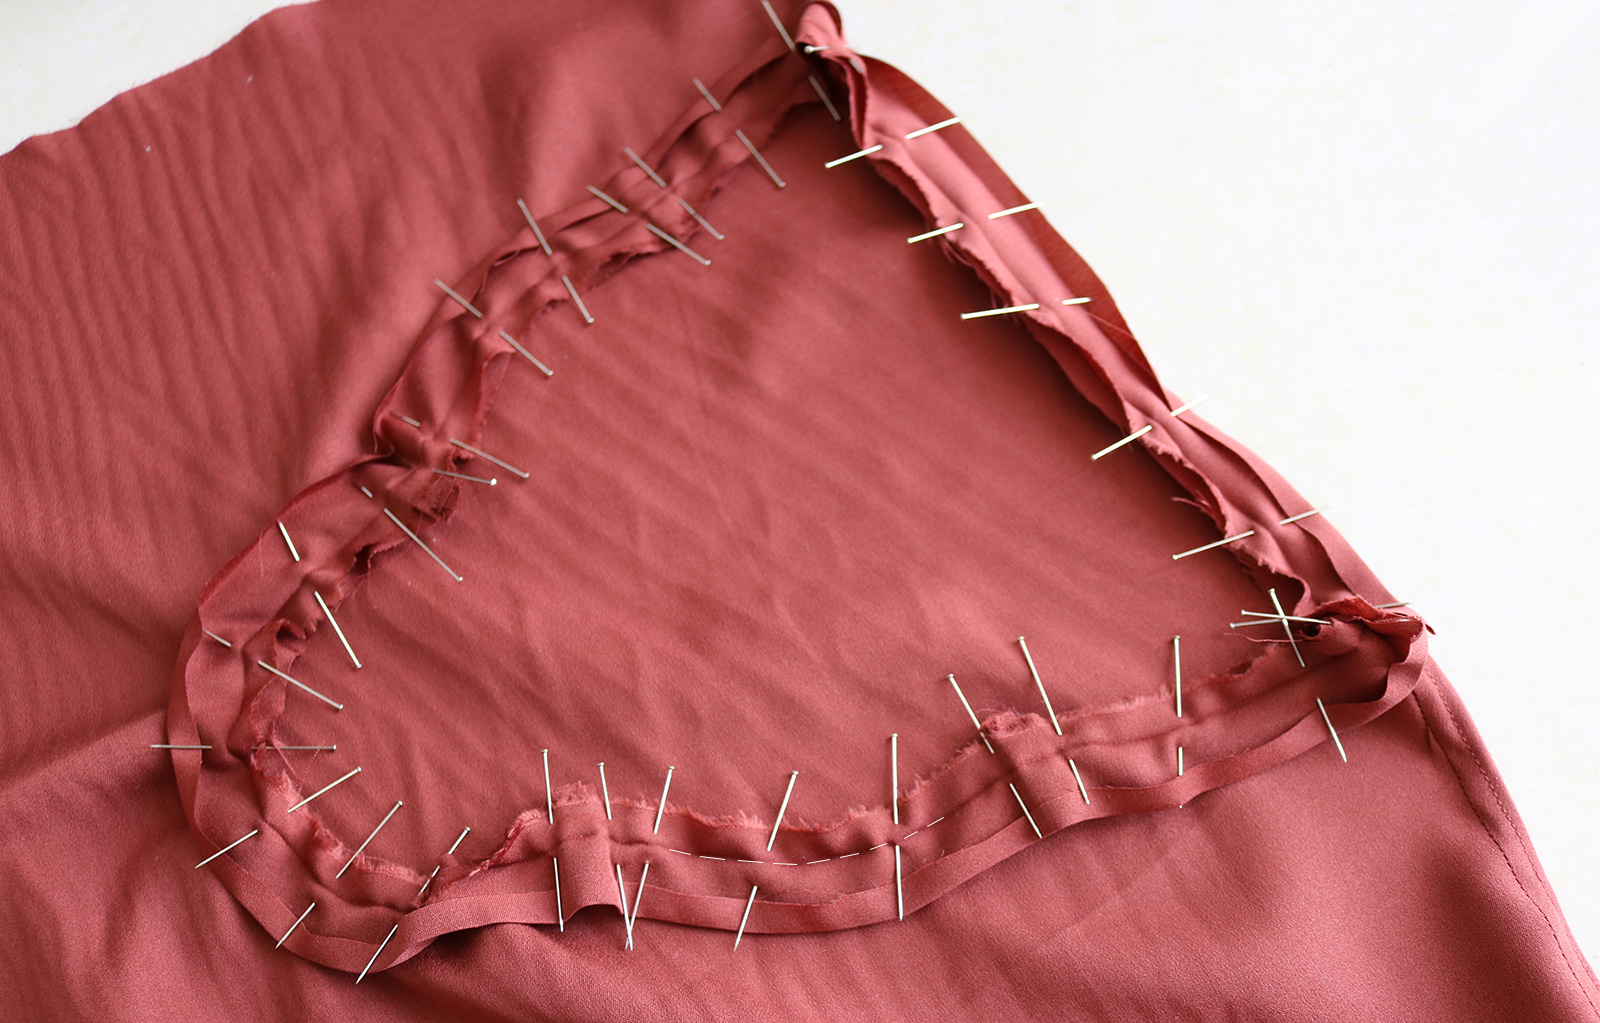
.. This is what it looked like all pinned in place. Note that the loops are in there, pinned in between the bias tape and the top. Next I sewed all around along the fold line (marked with a white dotted line below).
VII. Then just need to trim the extra off the loops, in between the bias tape and the top:
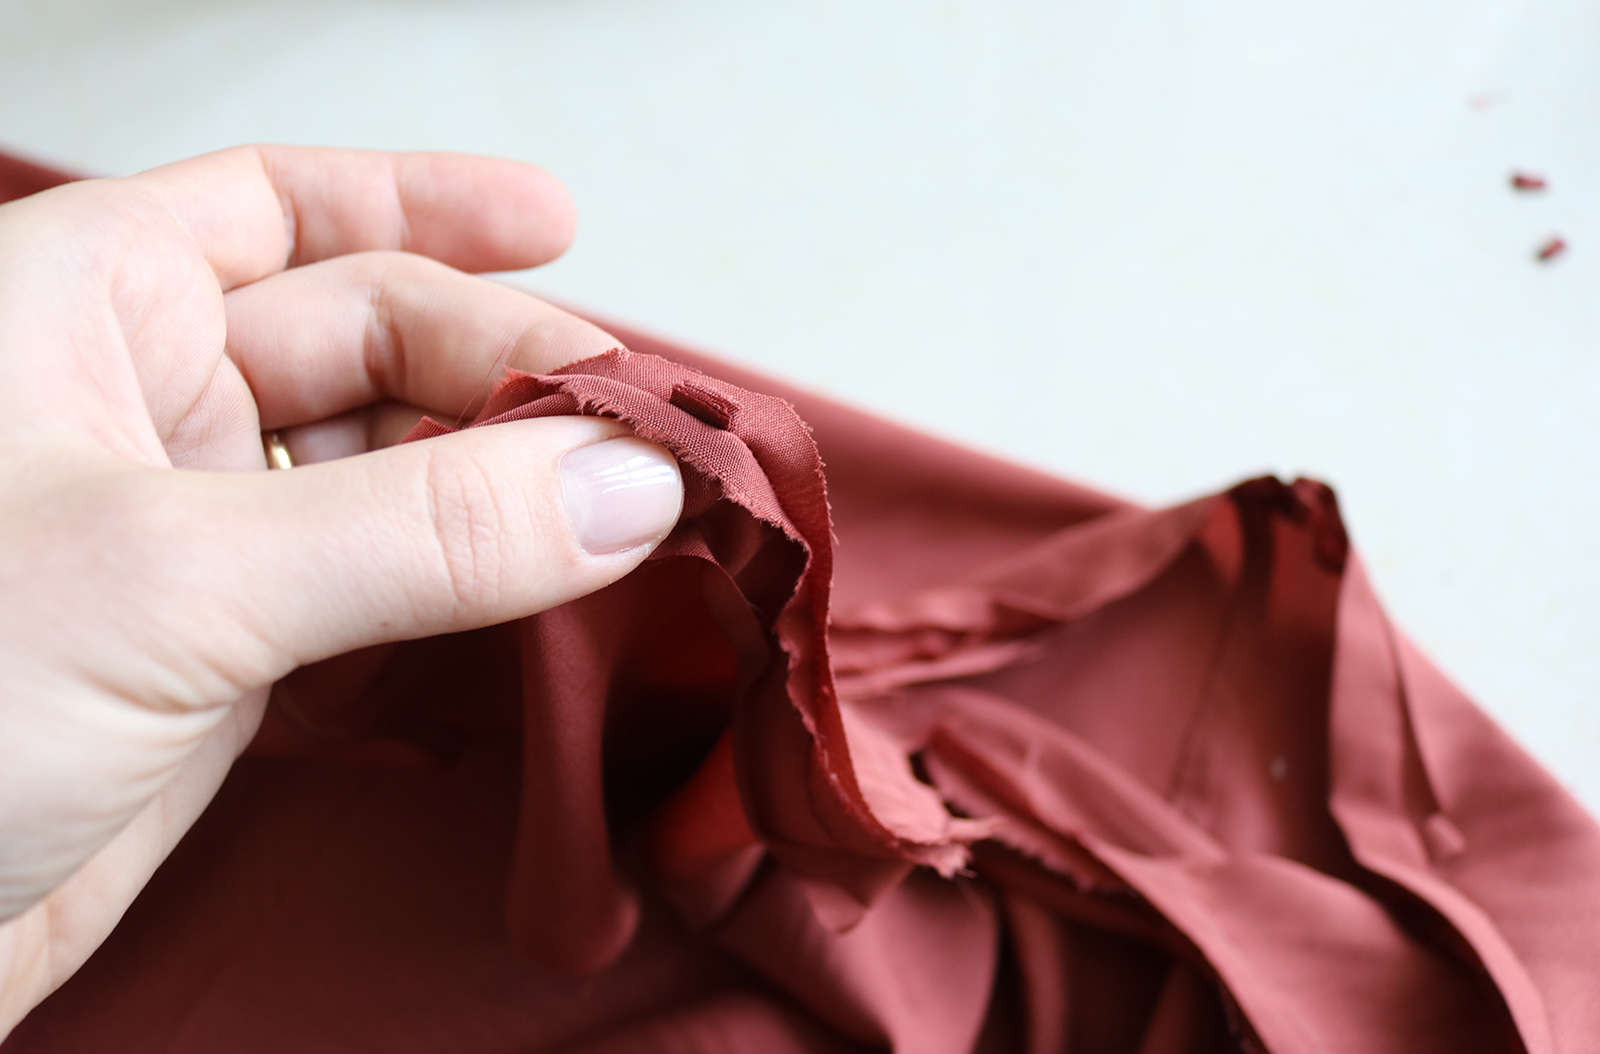
And notch the seam allowance all around the neckline (since there's a lot of curved lines, the more frequent your notches, the less risk of any puckering).
VIII. Then ready to flip the bias tape onto the reverse side, and pin it all around again. I sewed it in place by hand to avoid stitching on the right side.

Here's what it looked like after (and before a proper pressing that got rid of the squiggles.
IX. Up next: sleeves. For the amount of gathering you see on the finished top, I cut an elastic that was just under 3/4 of the width of the sleeve piece. For me that was about 32 cm.
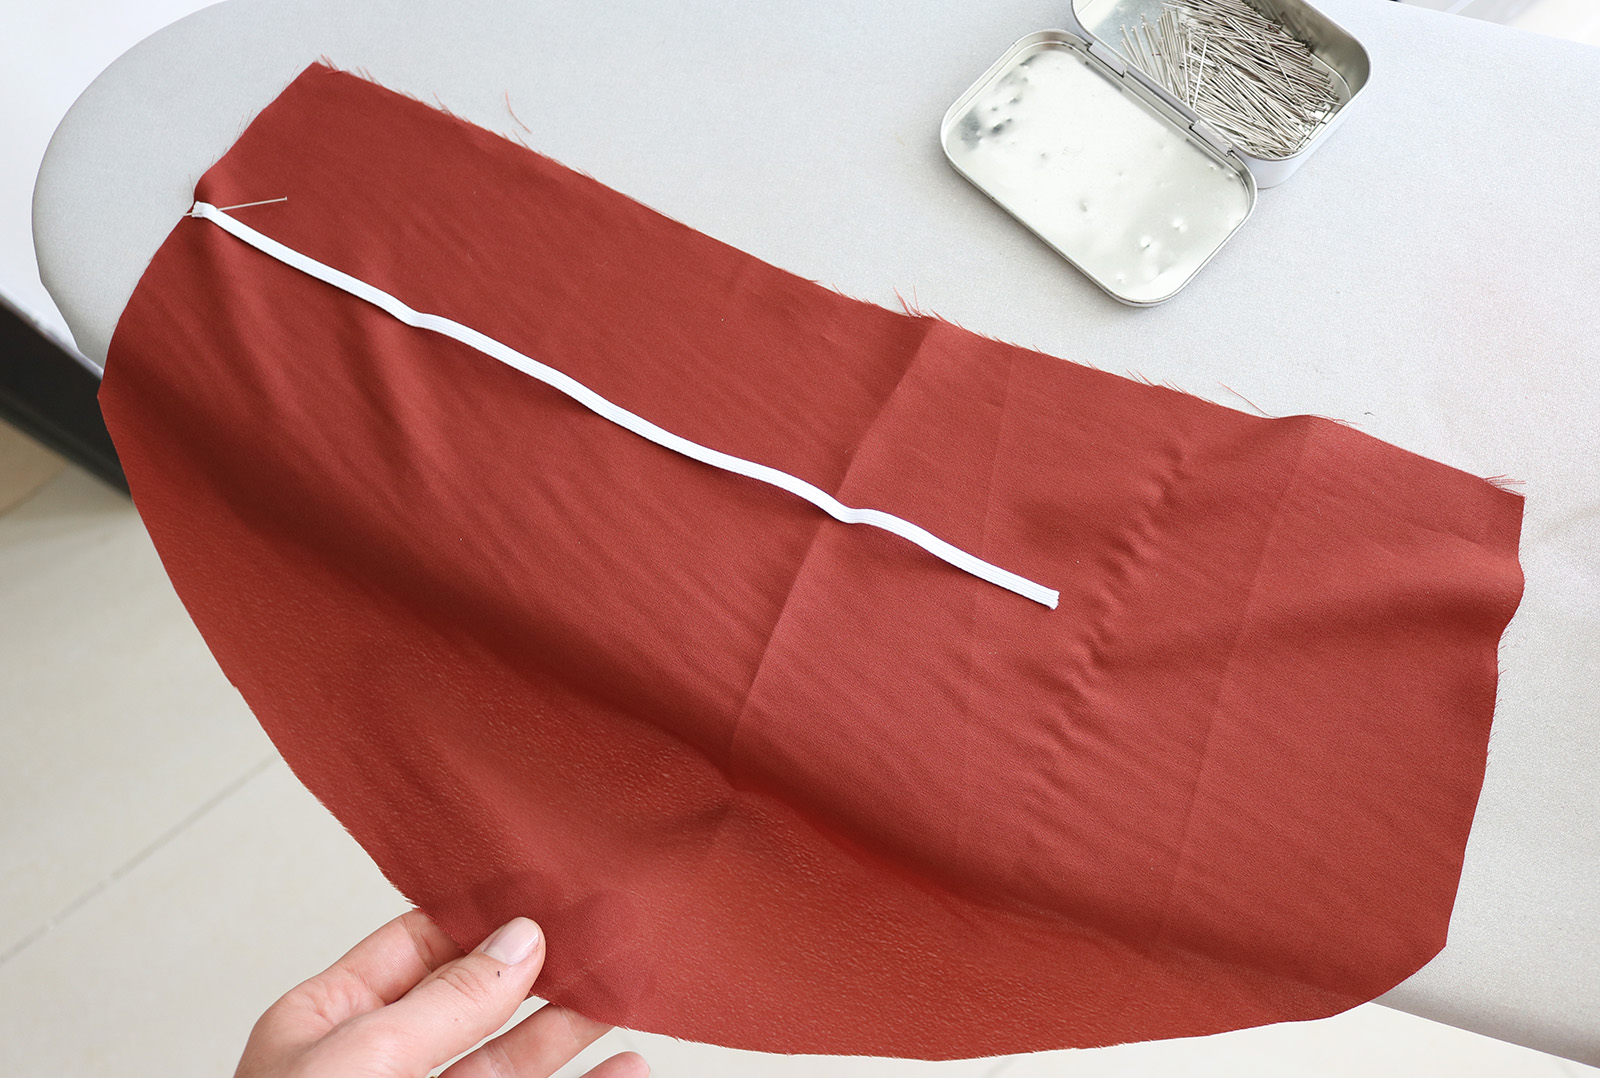
I use this trick all the time to work with elastic: work on your ironing board and pin the elastic on one end of the fabric, then stretch it to the full length of the fabric it needs to cover, and pin that end in place too. Then you can work in peace to pin it all the way. Once pinned, just sew a straight stitch along the middle.

To give you this. Repeat for sleeve number 2.

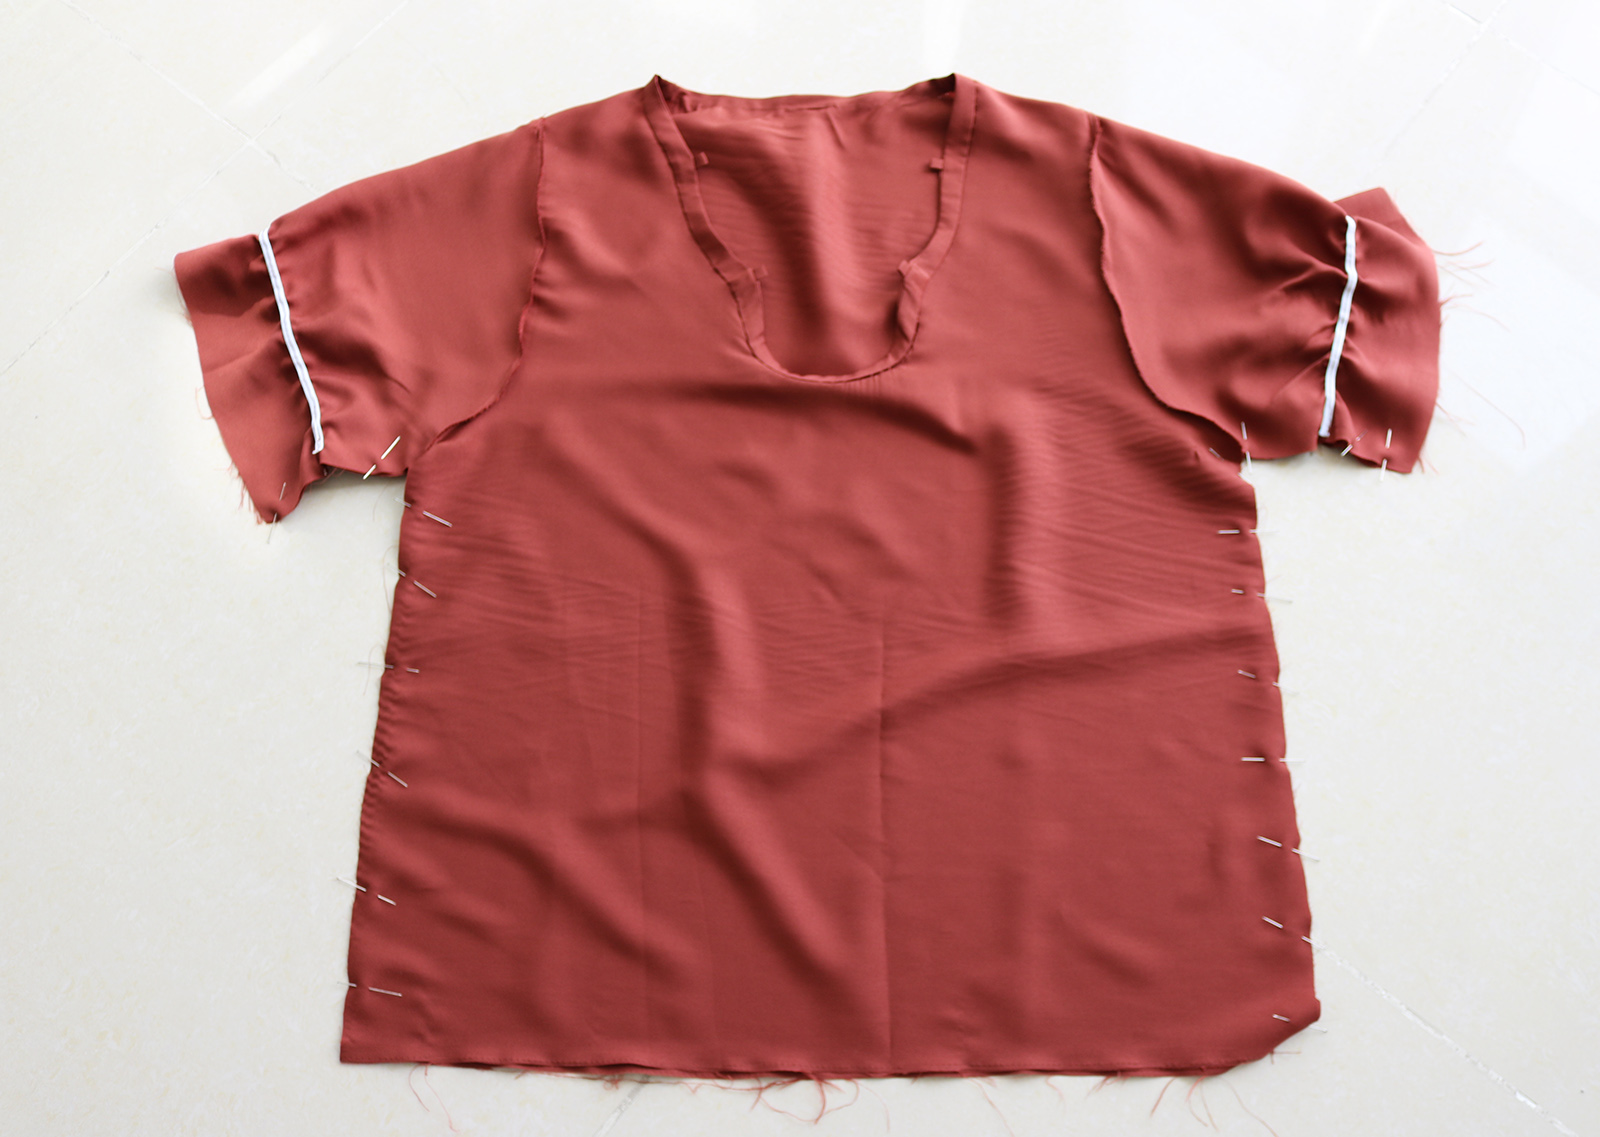
X. Then it's the standard stuff.. Pin the sleeves to the top, right sides facing and sew.
XI. Then pin the sleeve underarms and top sides, sew.
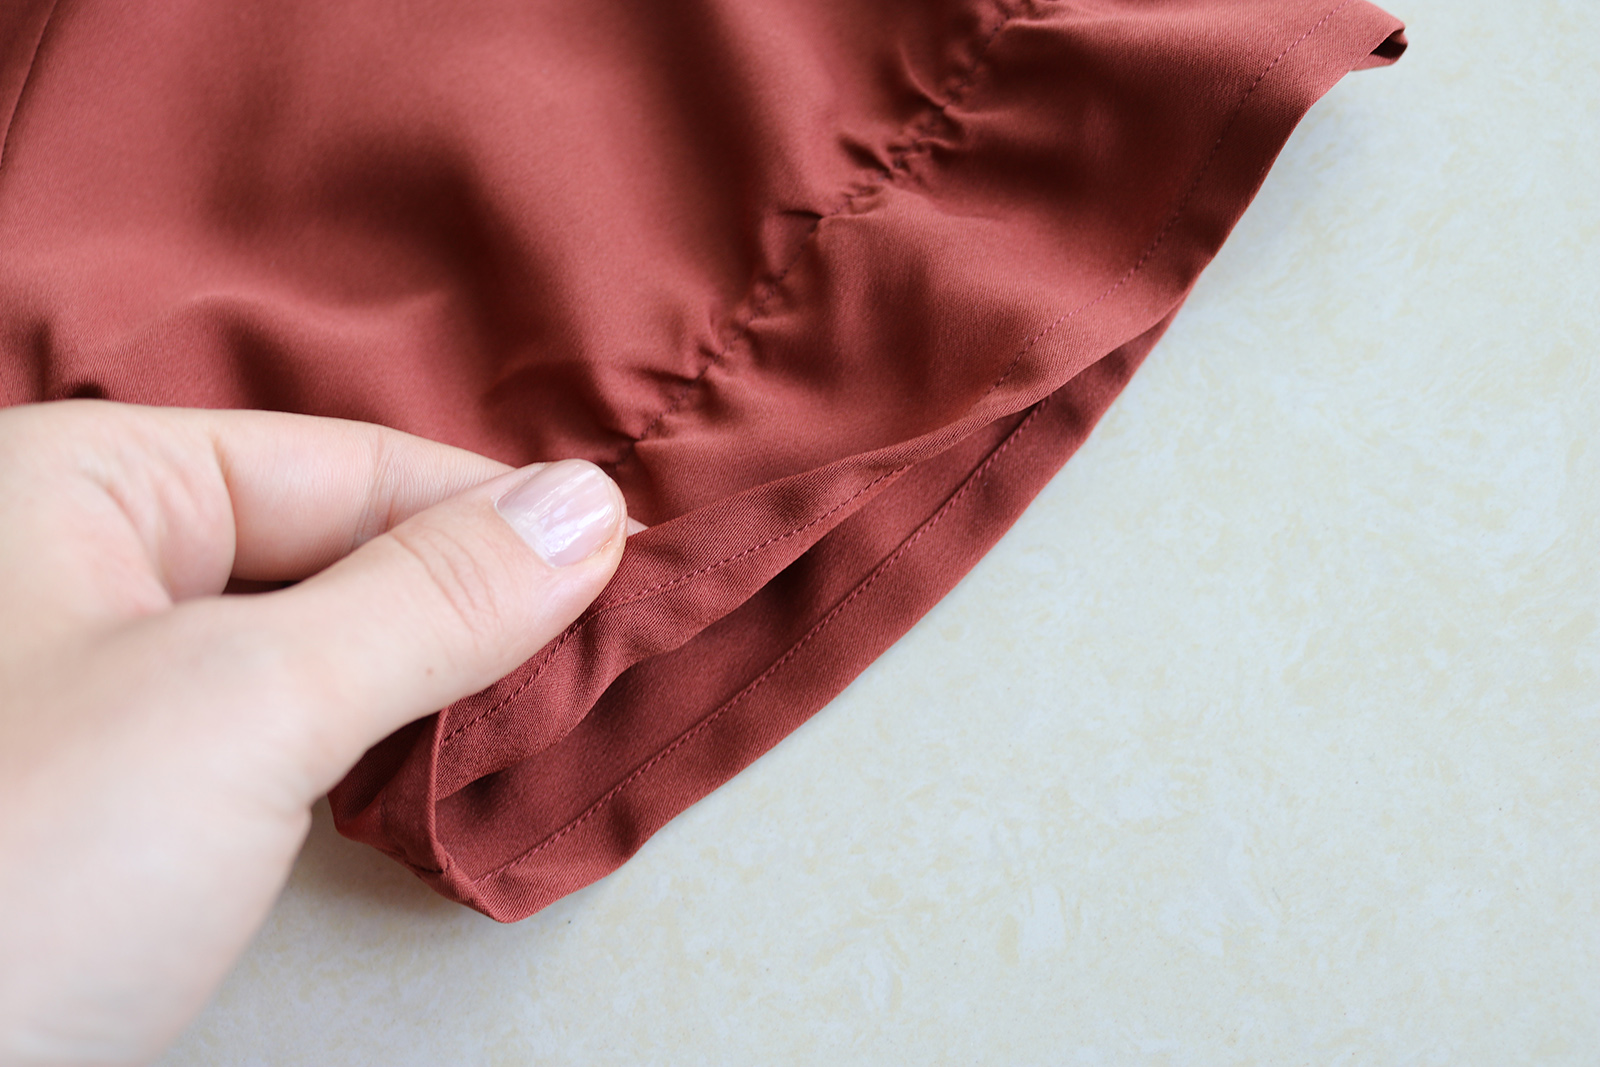
XII. Last step is to hem the sleeves and the top - I did a 0.7 cm double fold.
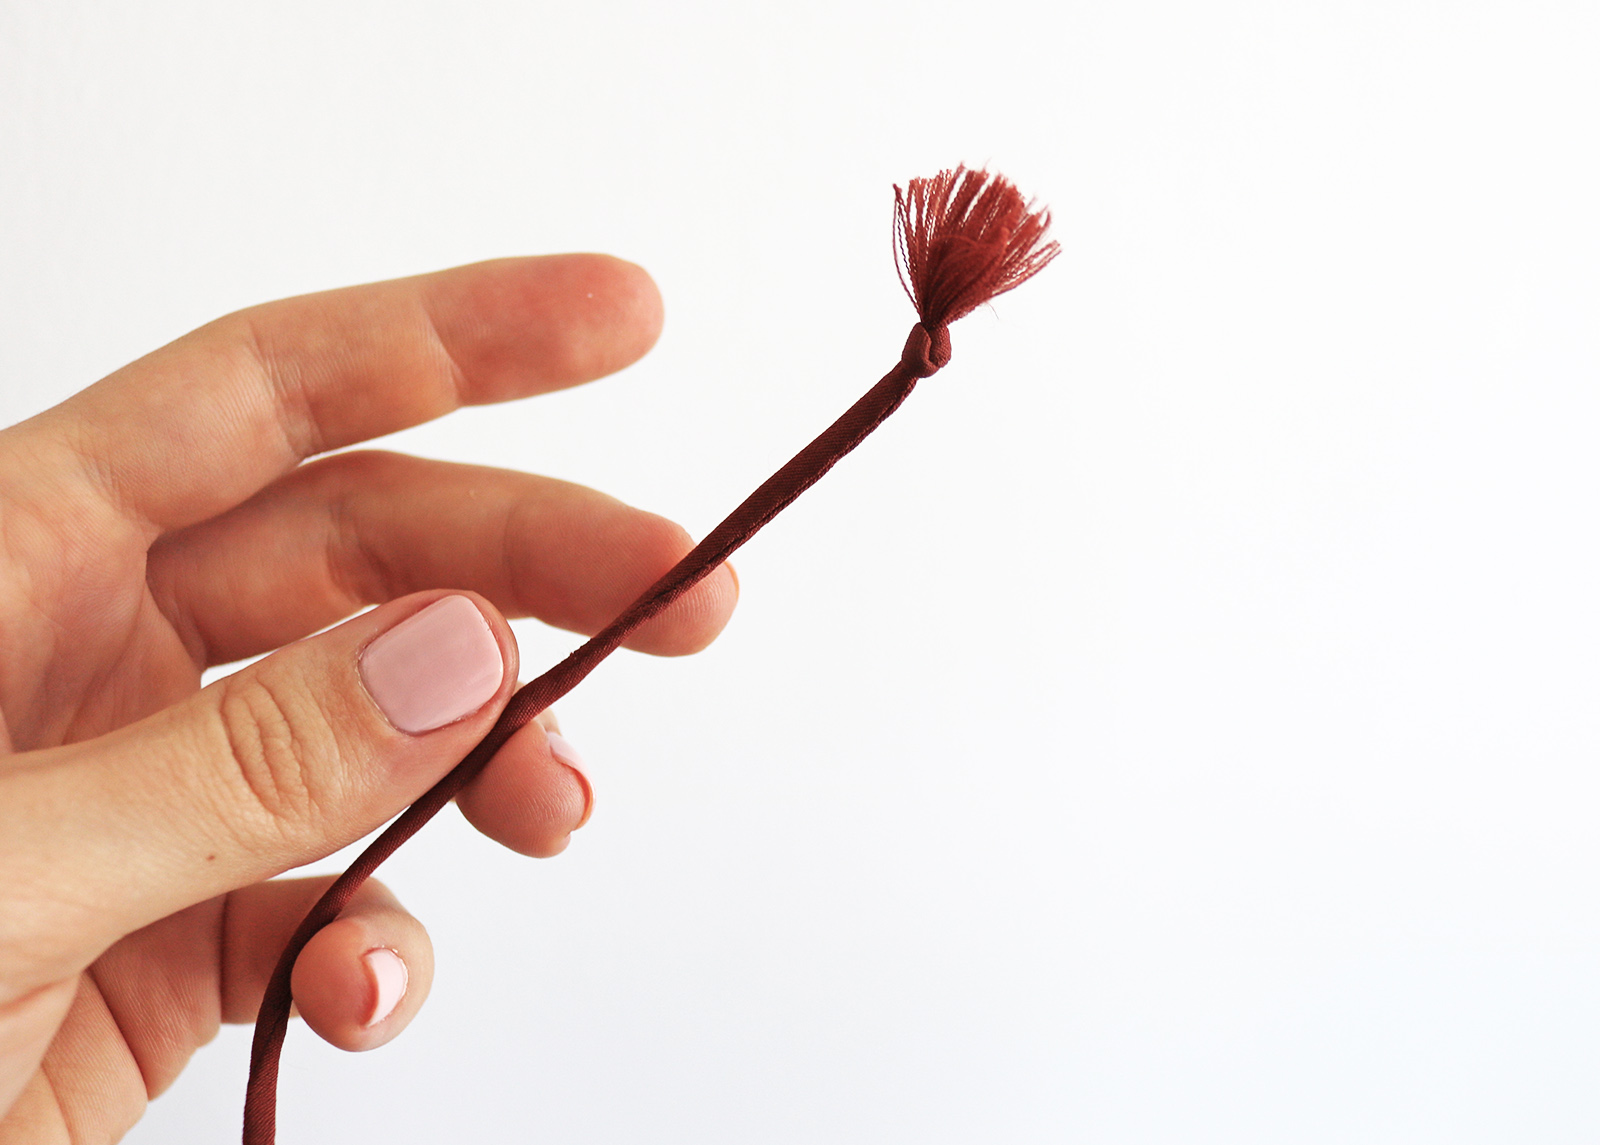
When inserting my string into the loops, I wasn't happy with the ribbon-y feel I got, so I folded it in half and hand-sewed to create more of a tube-ribbon type of thing. I finished the ends by tying into a knot and fraying to get a mini tassel.
 xo,
xo,Julia


I'm curious what type of fabric this is? I love the way it looks & the drape & weight seem to really suit the top.
ReplyDeleteI used silky crêpe:)
DeleteReally pretty! Do you use a block as your starting point for the front and back pieces, or did you trace an existing top? I'm always impressed by sewers who don't use patterns...
ReplyDeleteThank you!! so kind:) I actually don't use anything... I just trace directly on the fabric:) I do sometimes use existing tops for the high level measurements, but by now I pretty much just go with my gut based on the fit I'm looking for..
DeleteI started with the off the shoulder top then I couldn't stop!! I'm in love with all of your posts, everything is so beautiful. Its so inspiring.
ReplyDeleteI will keep looking!
Thanks for the beautiful blog.
Thank you SO MUCH Alejandra!! Made my day, I'm so happy someone out there finds this useful:)!! If you're on instagram do tag me on your finished projects, I'd love to see!
Delete