

Tutorials take a lot of time & effort to create, and I choose to make mine available for free. If you enjoy this guide, you can support me with a donation that feels right for you, here.
TOOLS:
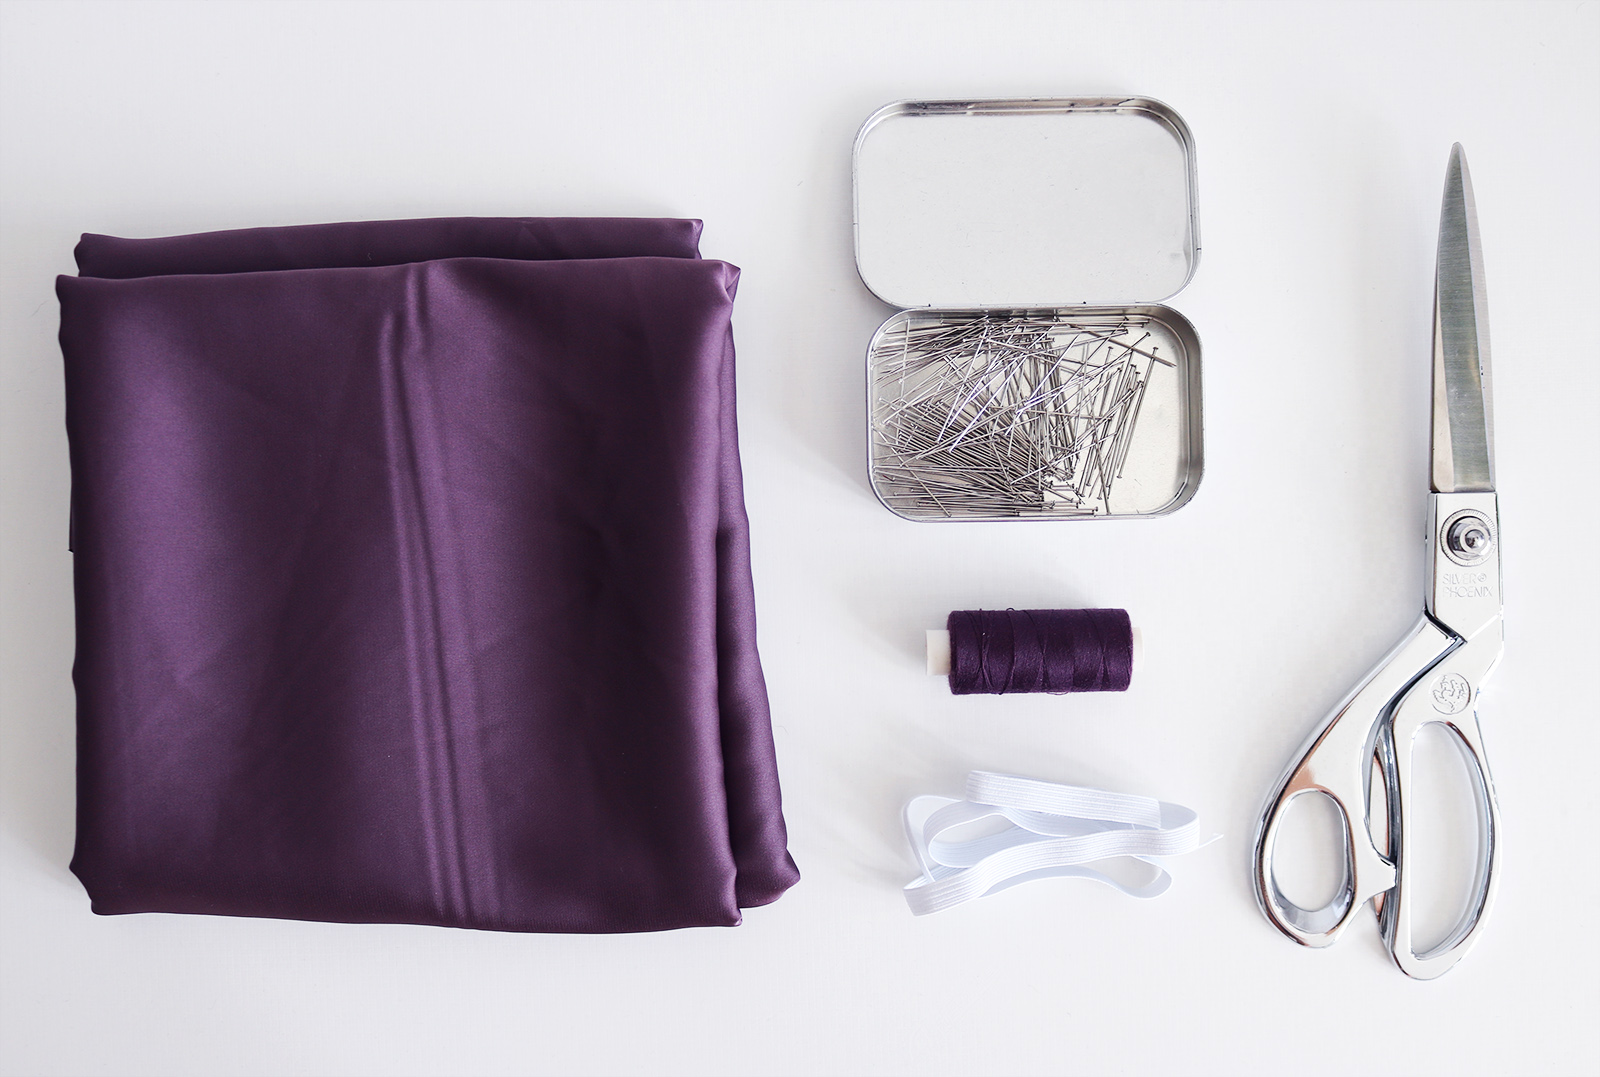
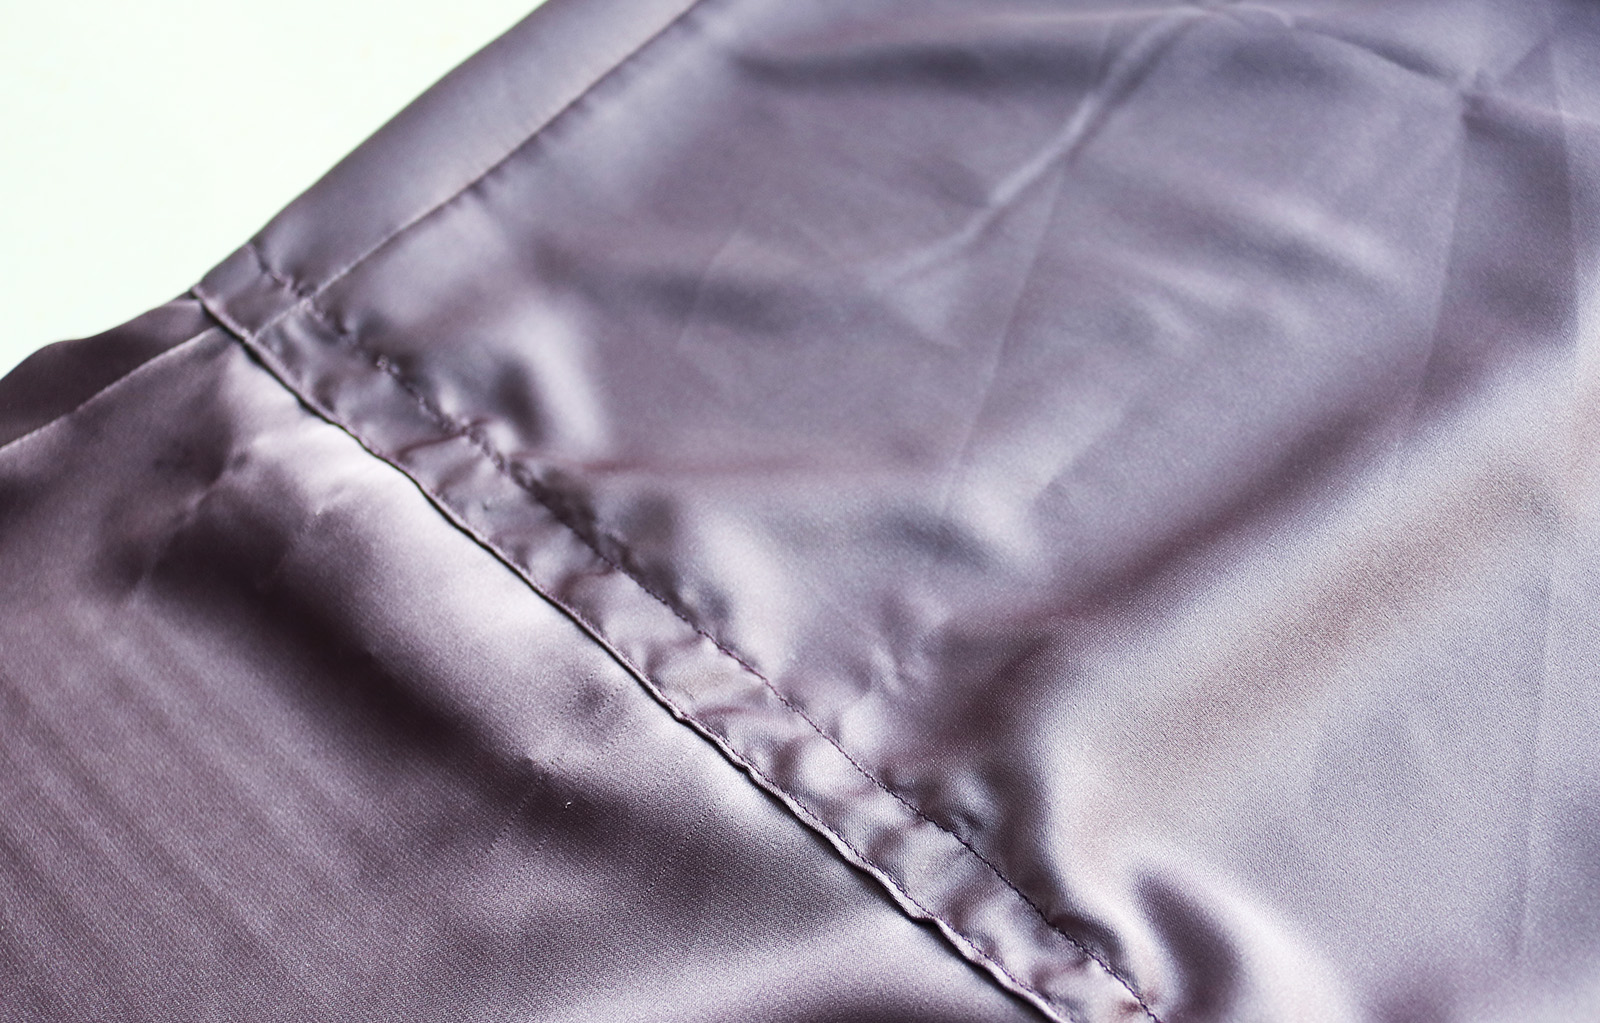
Lightweight, airy fabric, 2 m (my choice silk crepe) | Elastic (enough to go around waist comfortably) | Pins | Thread, sewing machine, needle, safety pin | Scissors
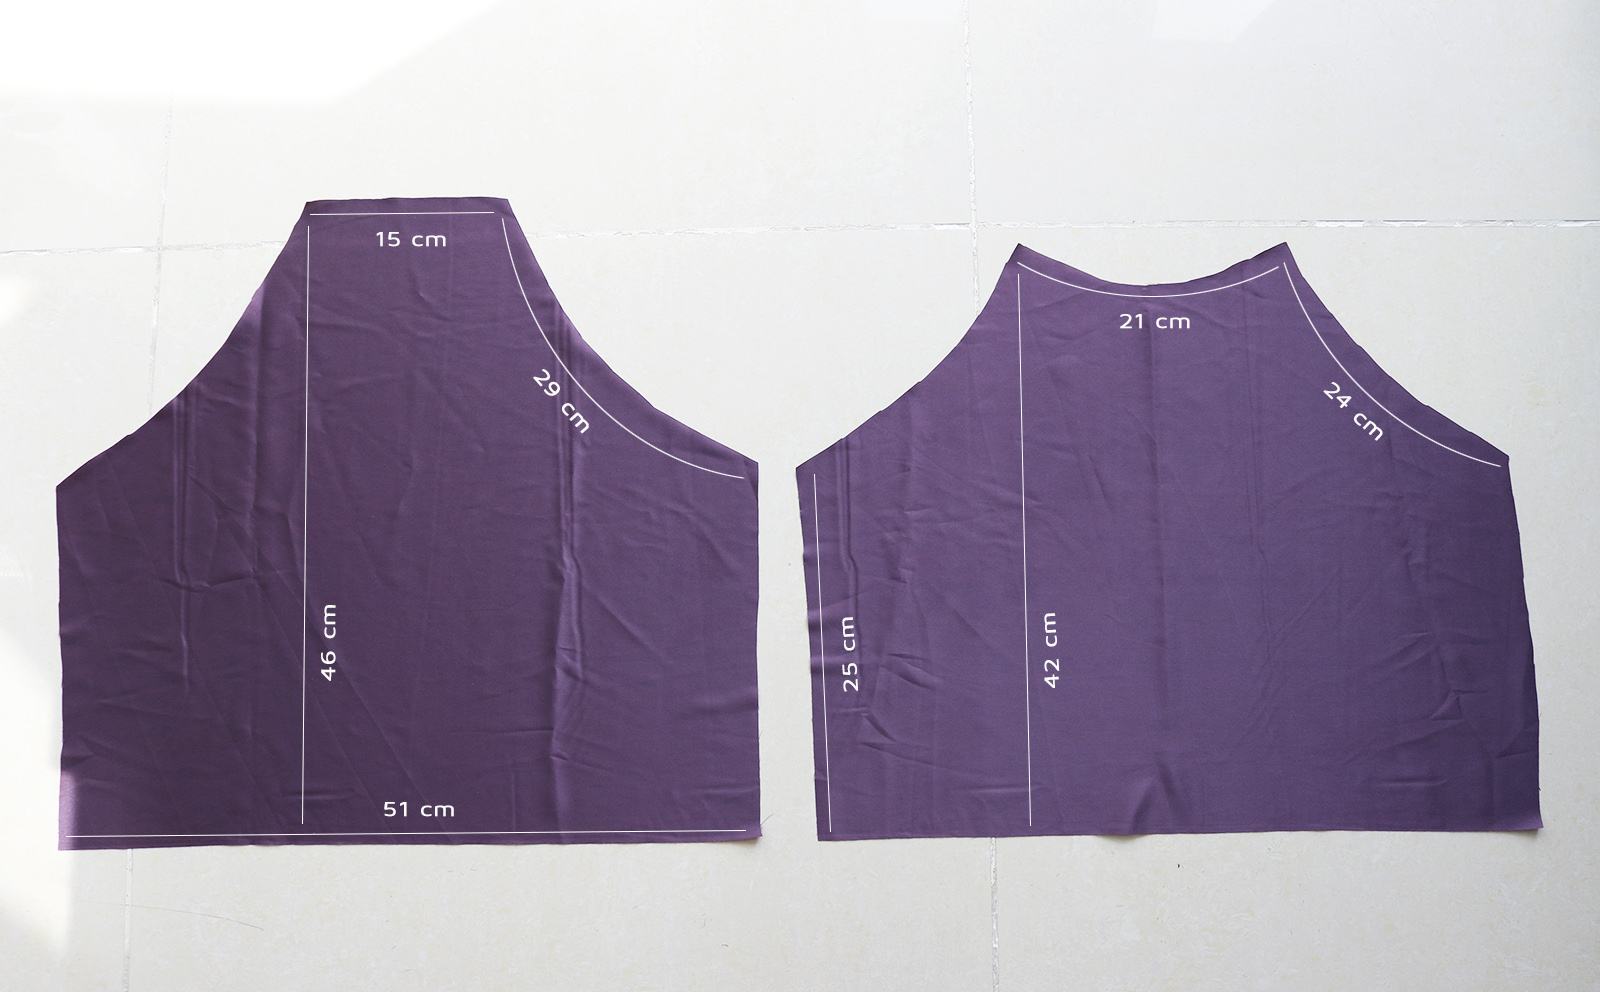
I. Here's some indicative measurements for my piece for the top part..
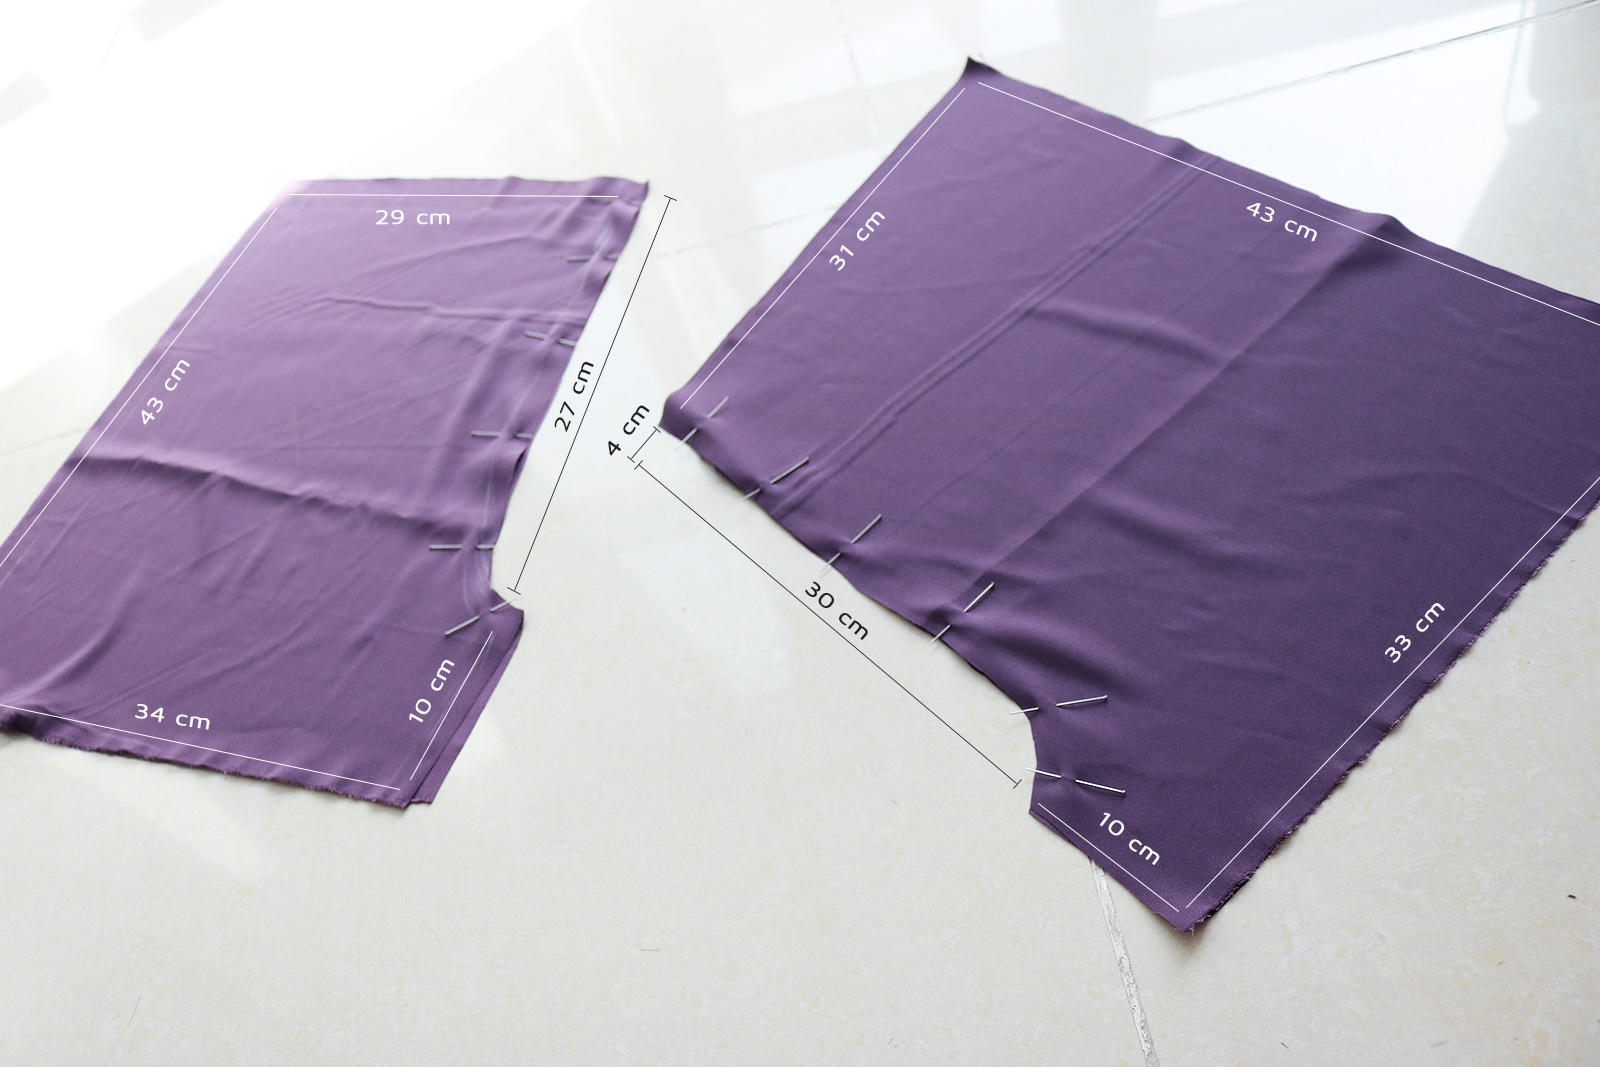
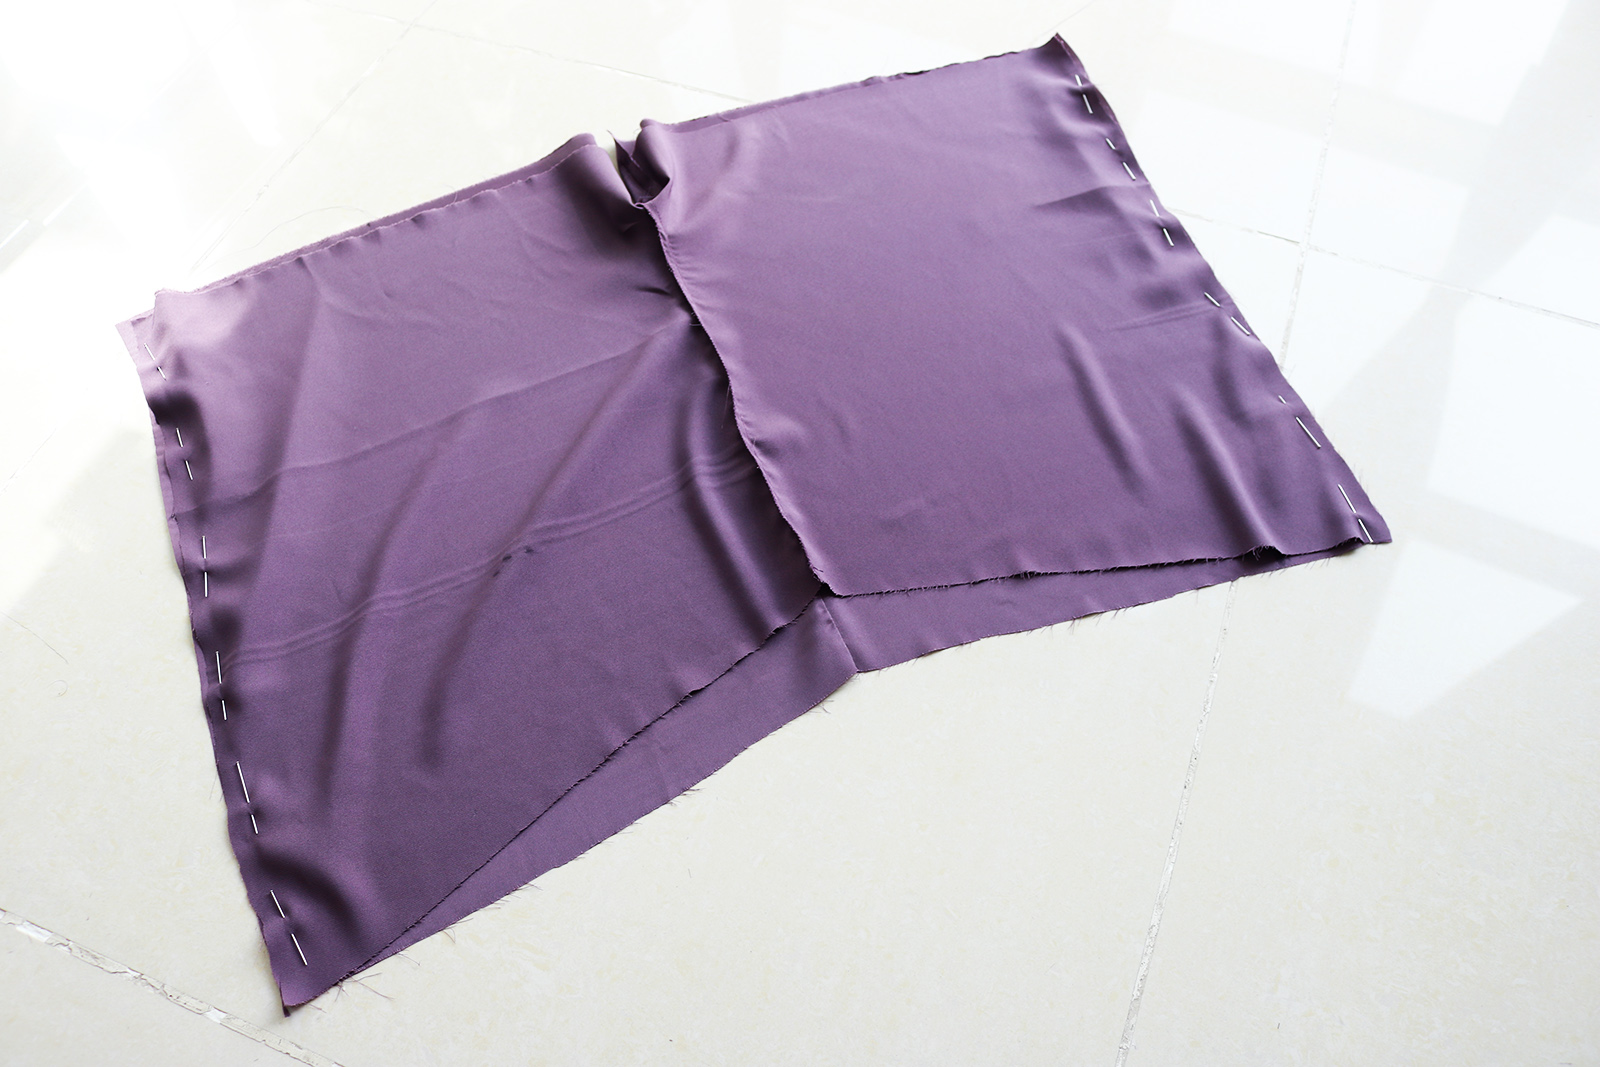
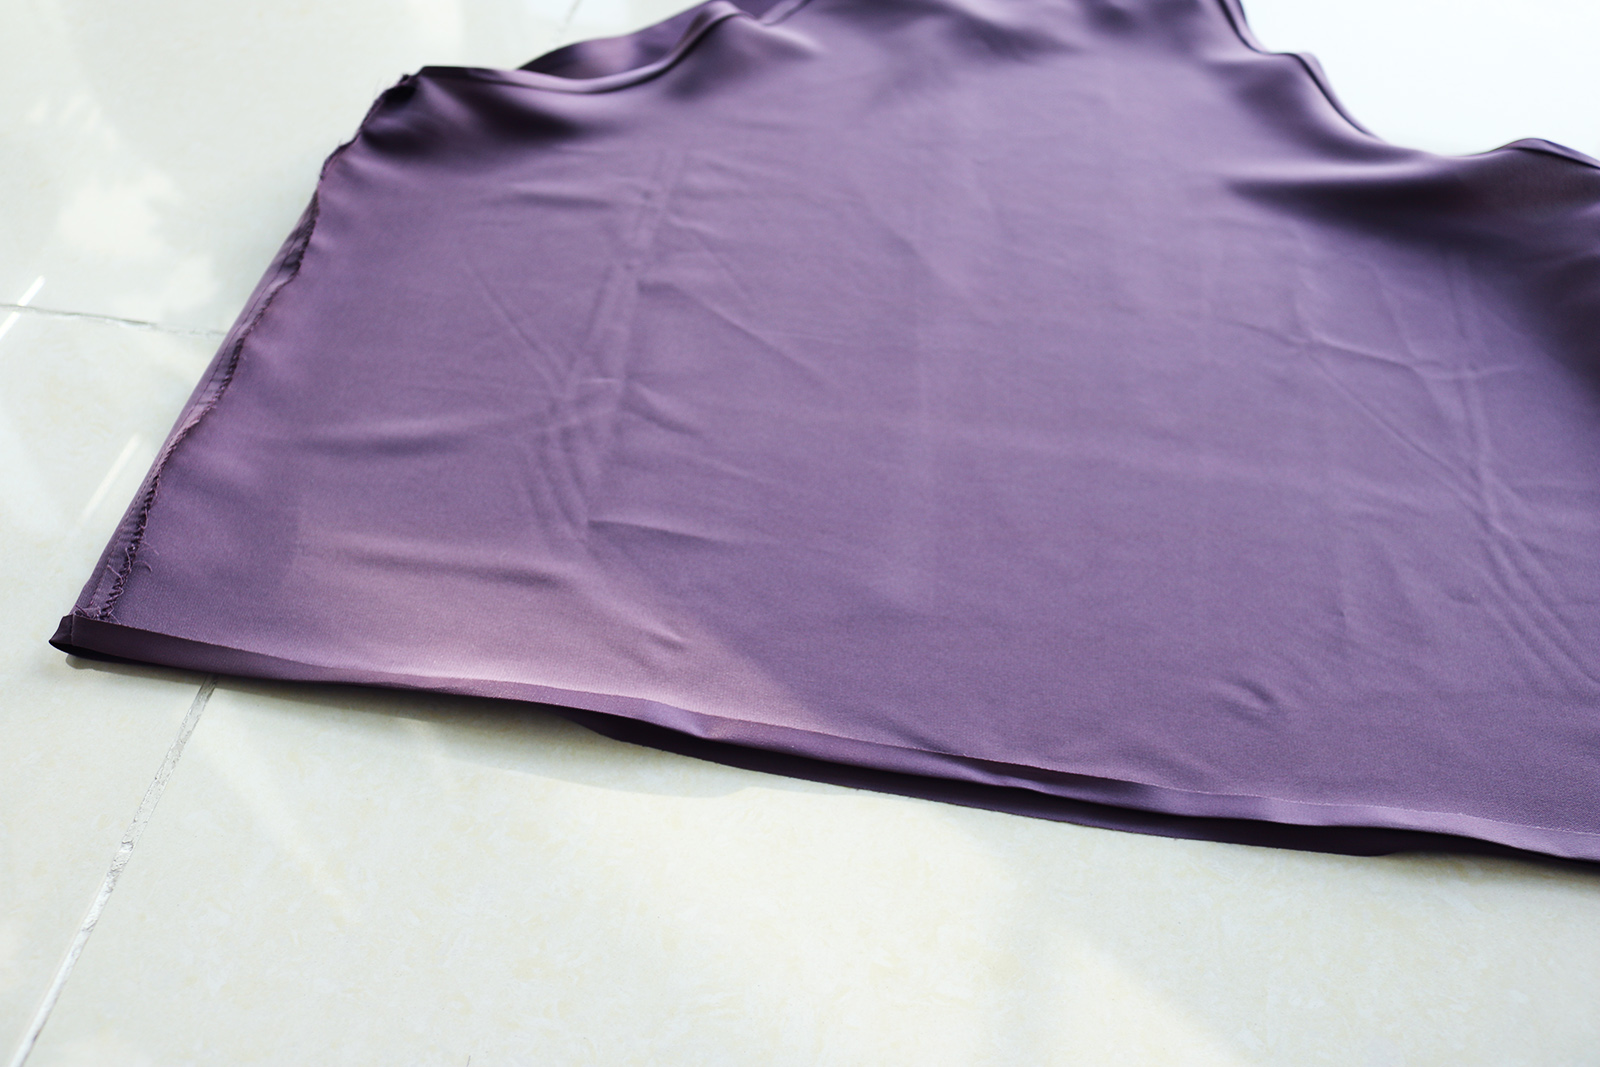
.. And the shorts. I made my shorts a bit big to be able to adjust to the right side later. Note that in the below image there's two layers of fabric - two pieces for the front (on the left) and two for the back (on the right). Started by pinning the curved front and back seams, fabric right sides facing, and sewed those, finishing with a zig-zag and a good press.
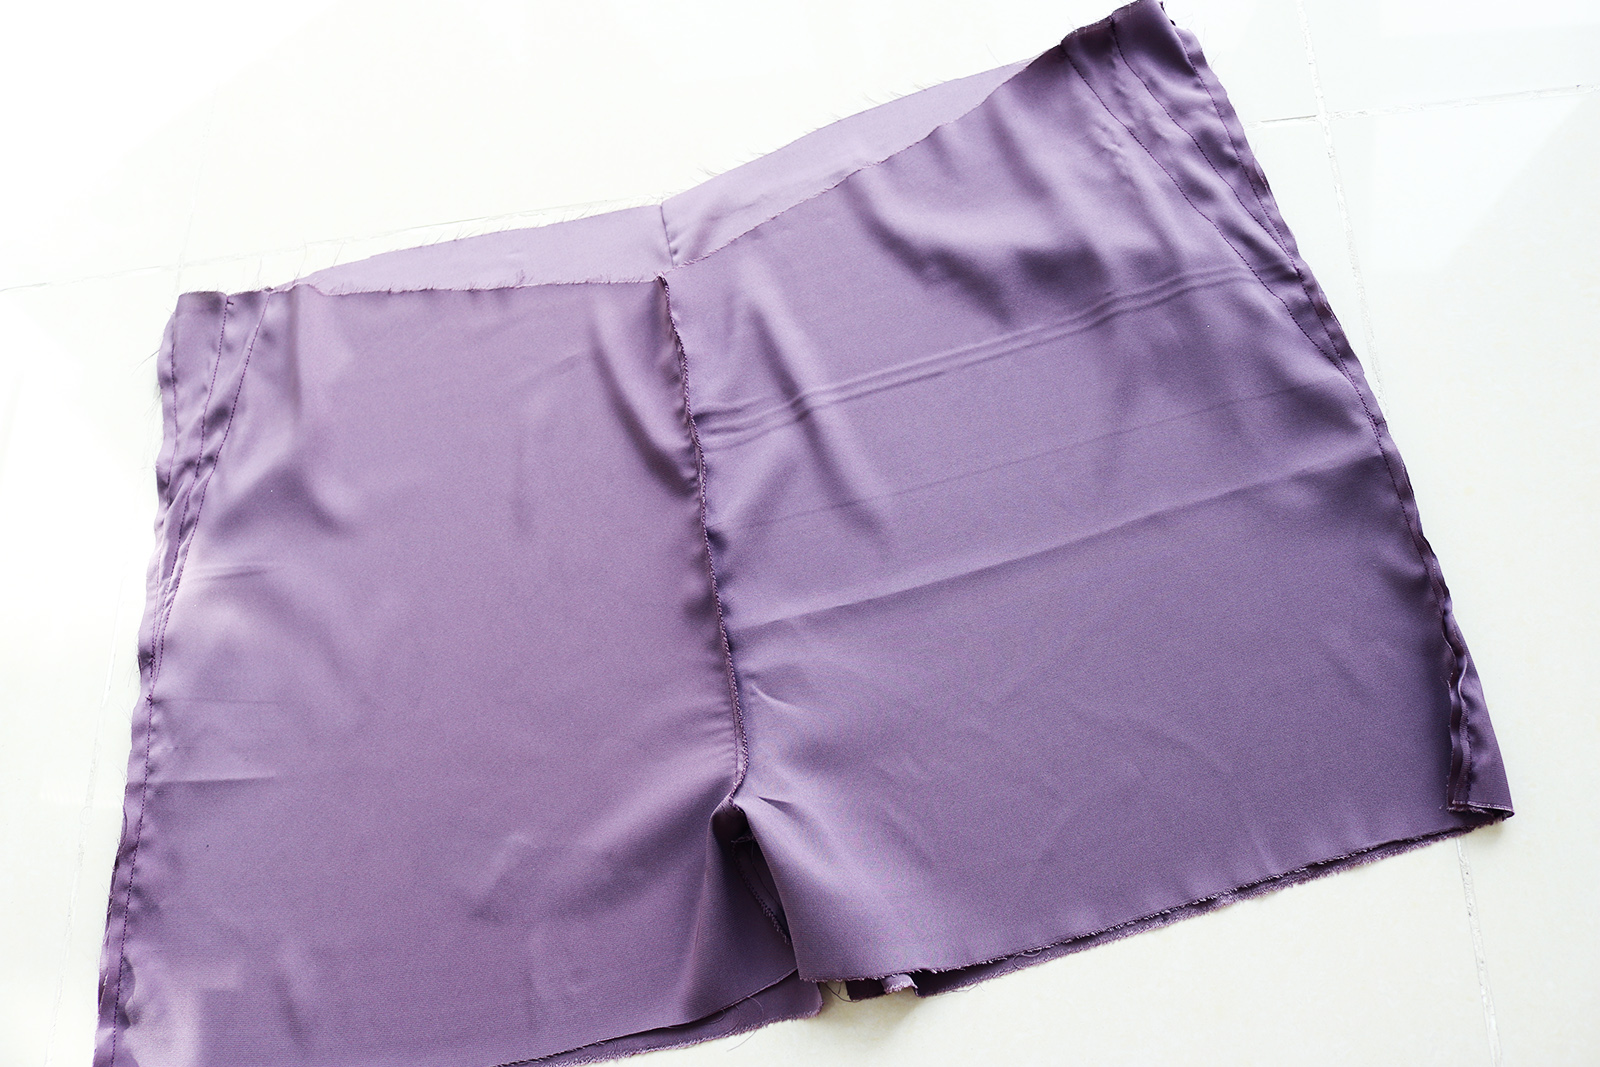
II. Then pinned the crotch together, right sides facing, and sewed that.
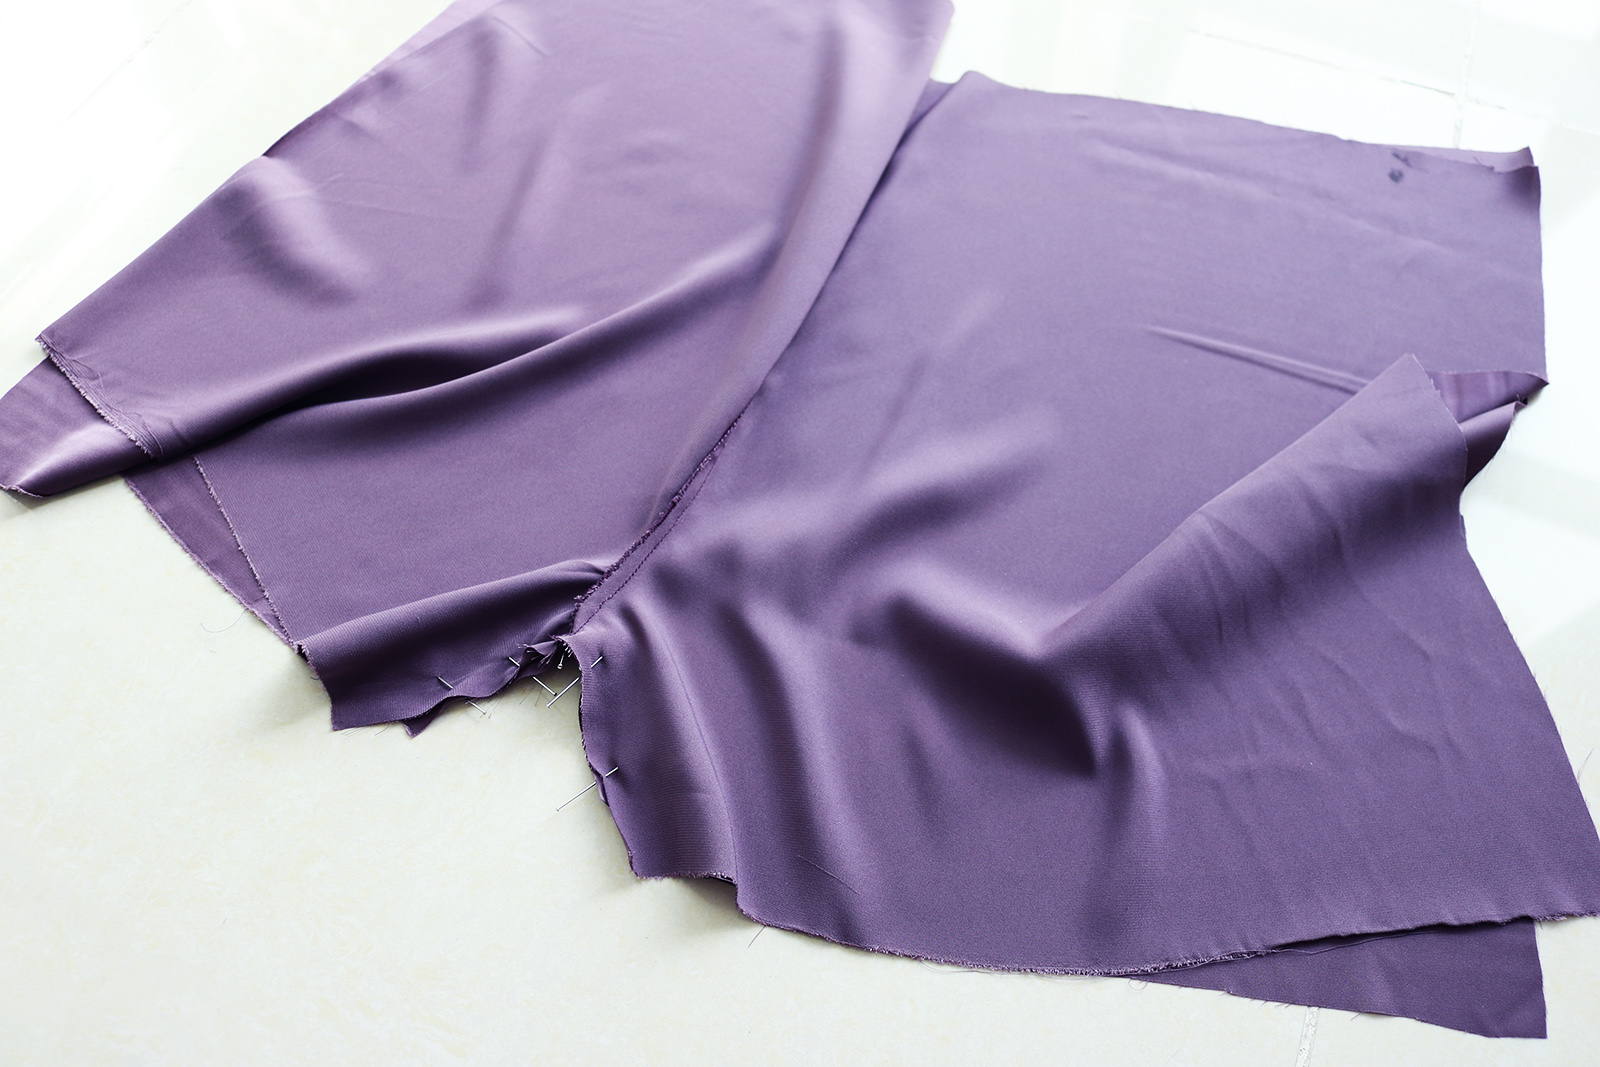
III. Next the sides seams.
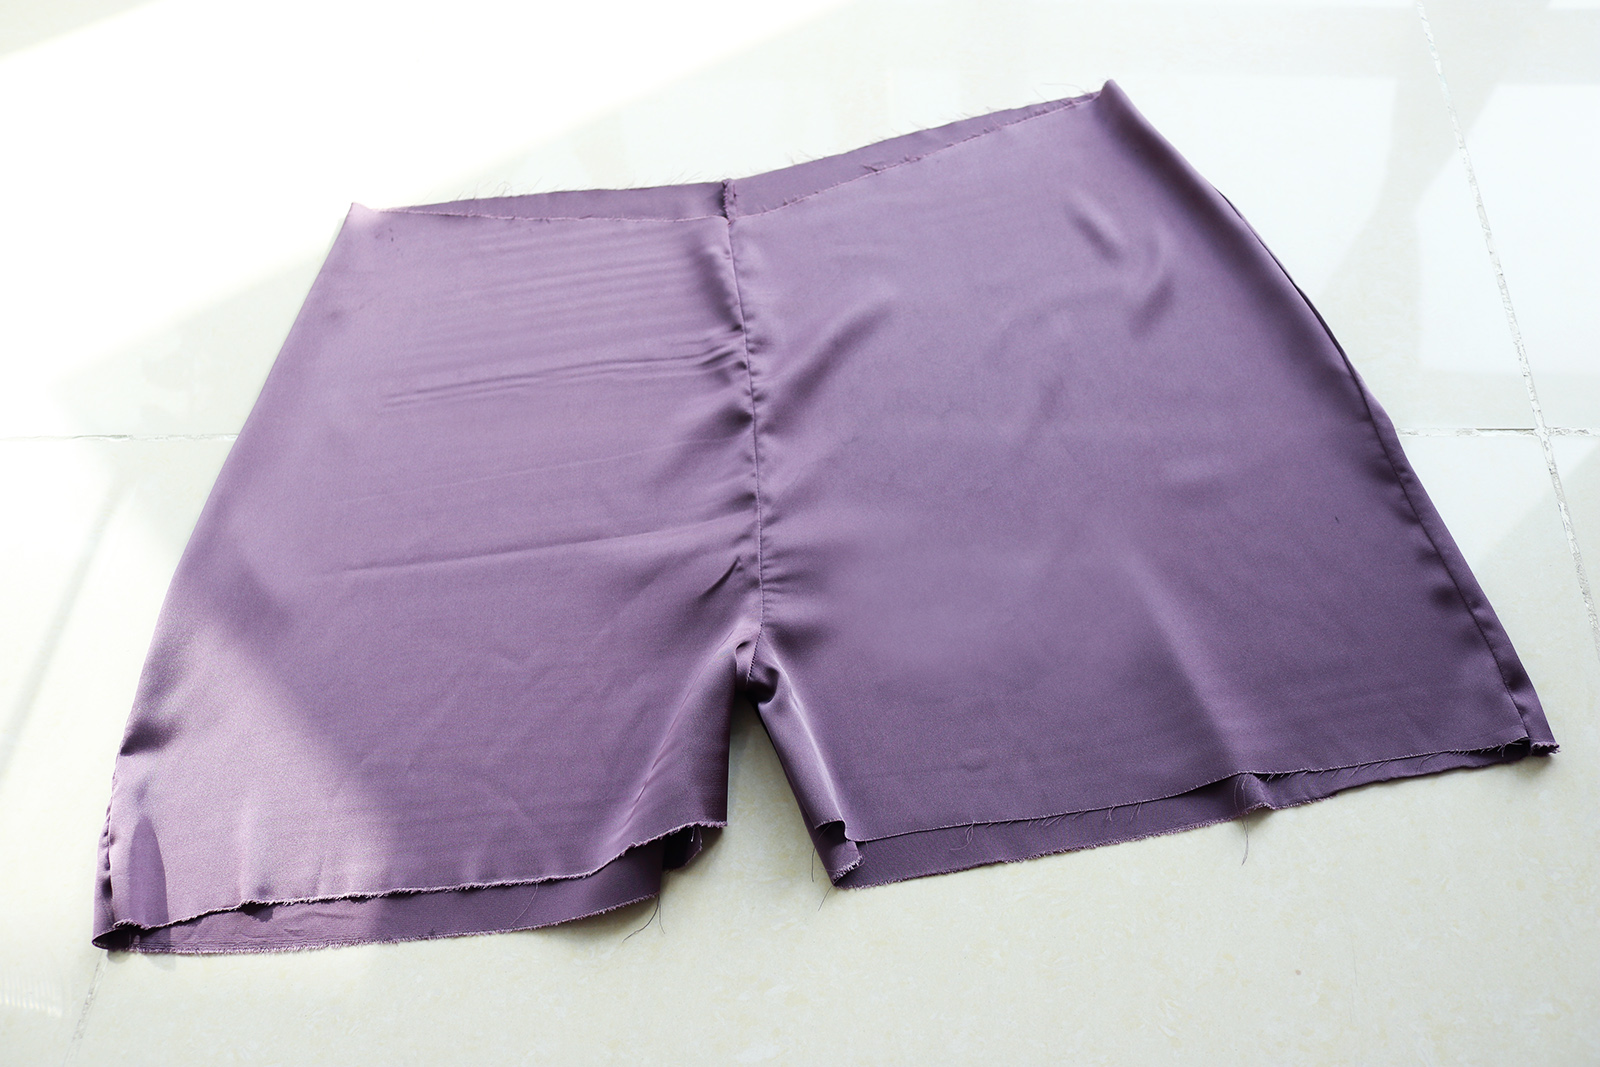
Once I had sewn the sides, I tried the shorts on and adjusted the width at the waist a couple times until I had the right looseness (loose enough to go on but not too much to be all baggy).
Here's what I had at this point.
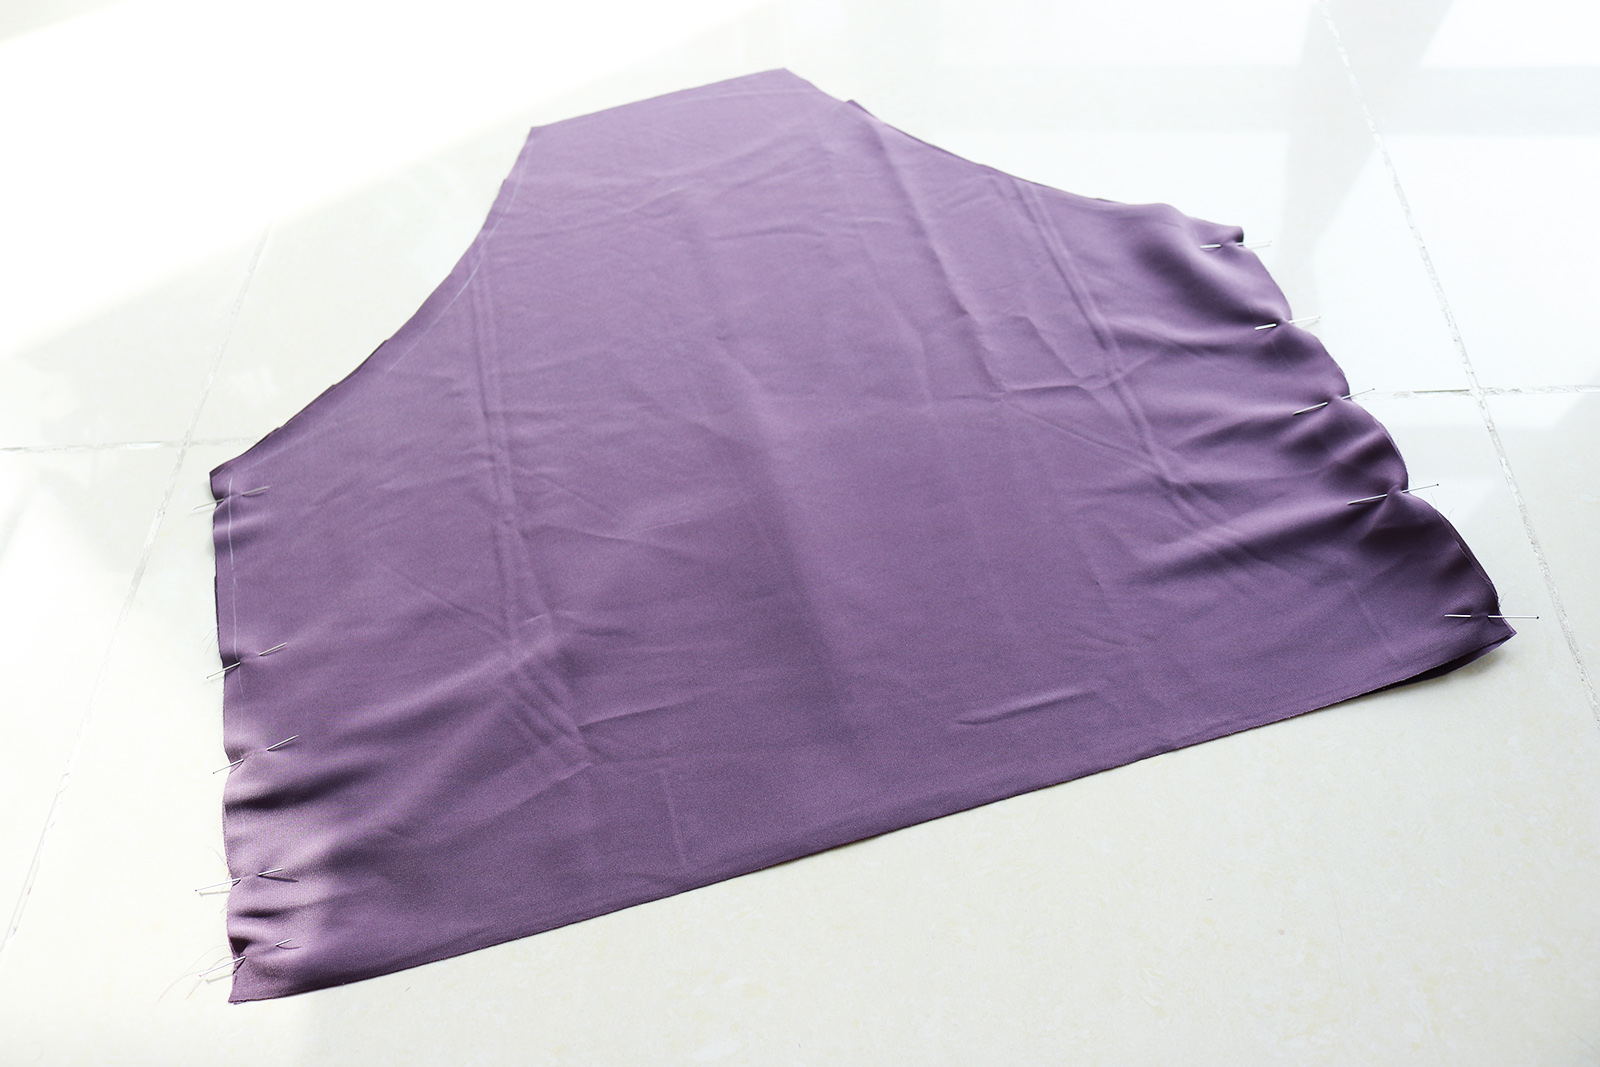
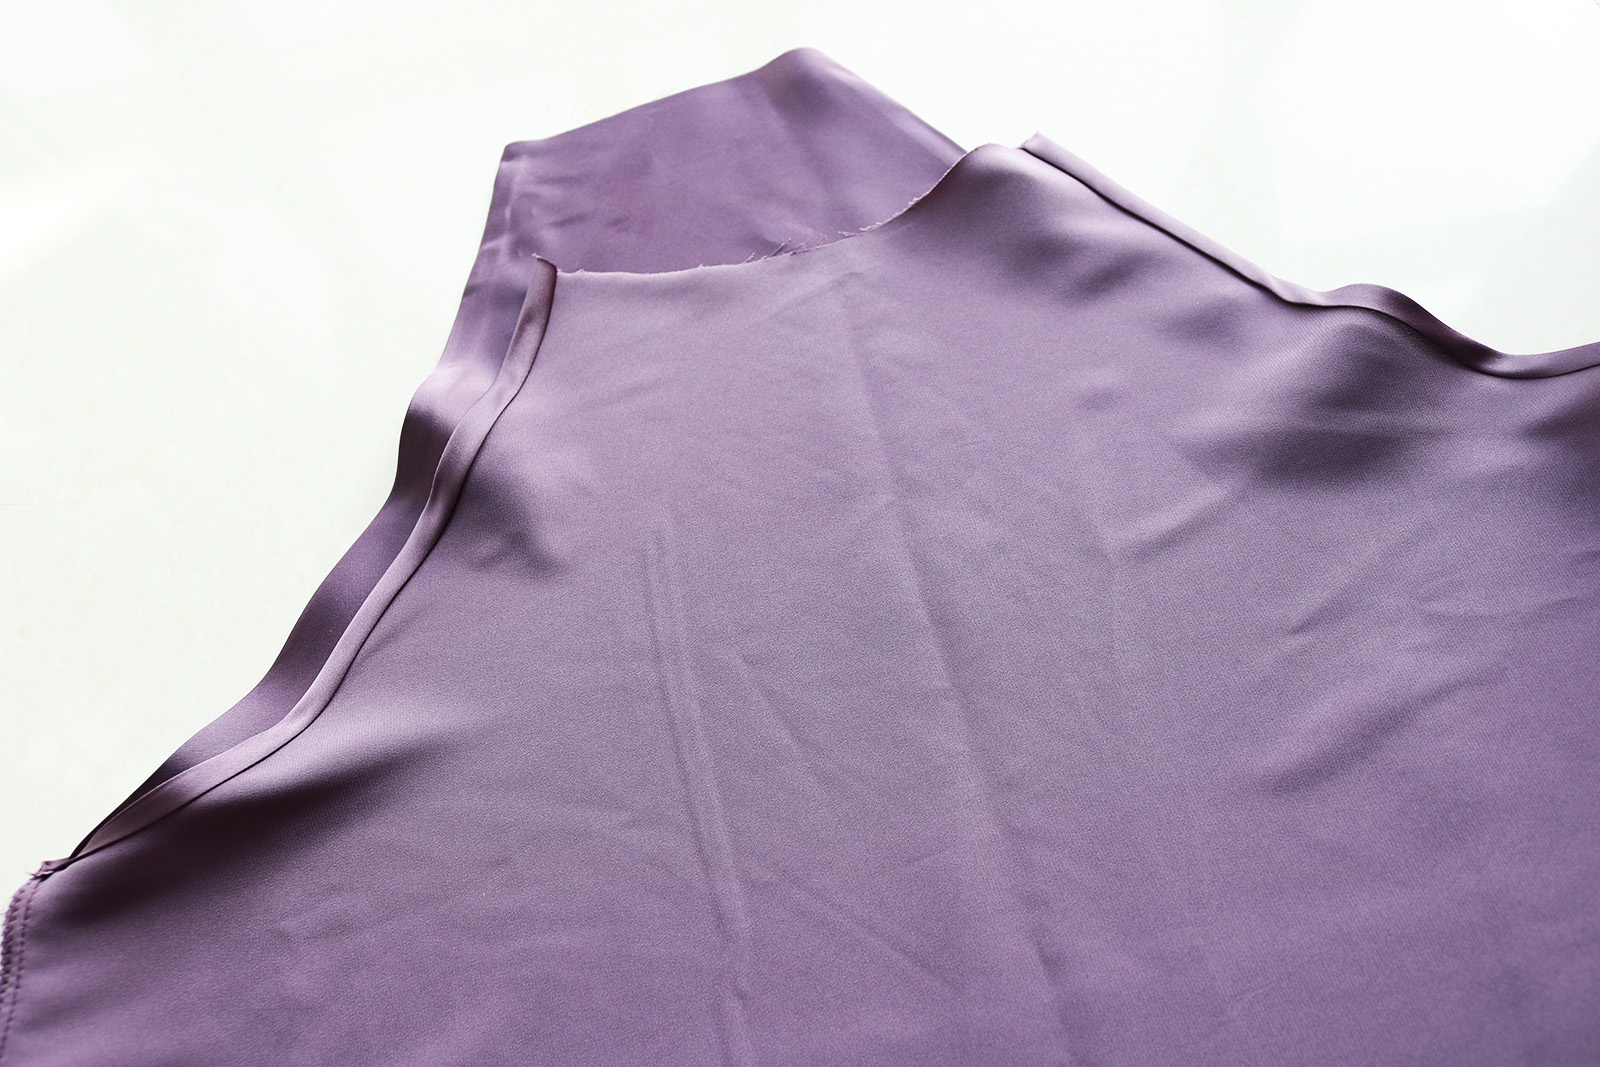
IV. Moving on to the top. Placed the pieces right sides facing, pinned and sewed the sides.
V. Then pressed a double-fold along the arm holes and sewed those by hand (machine sewing would be fine, I didn't want a stitch on the right side).
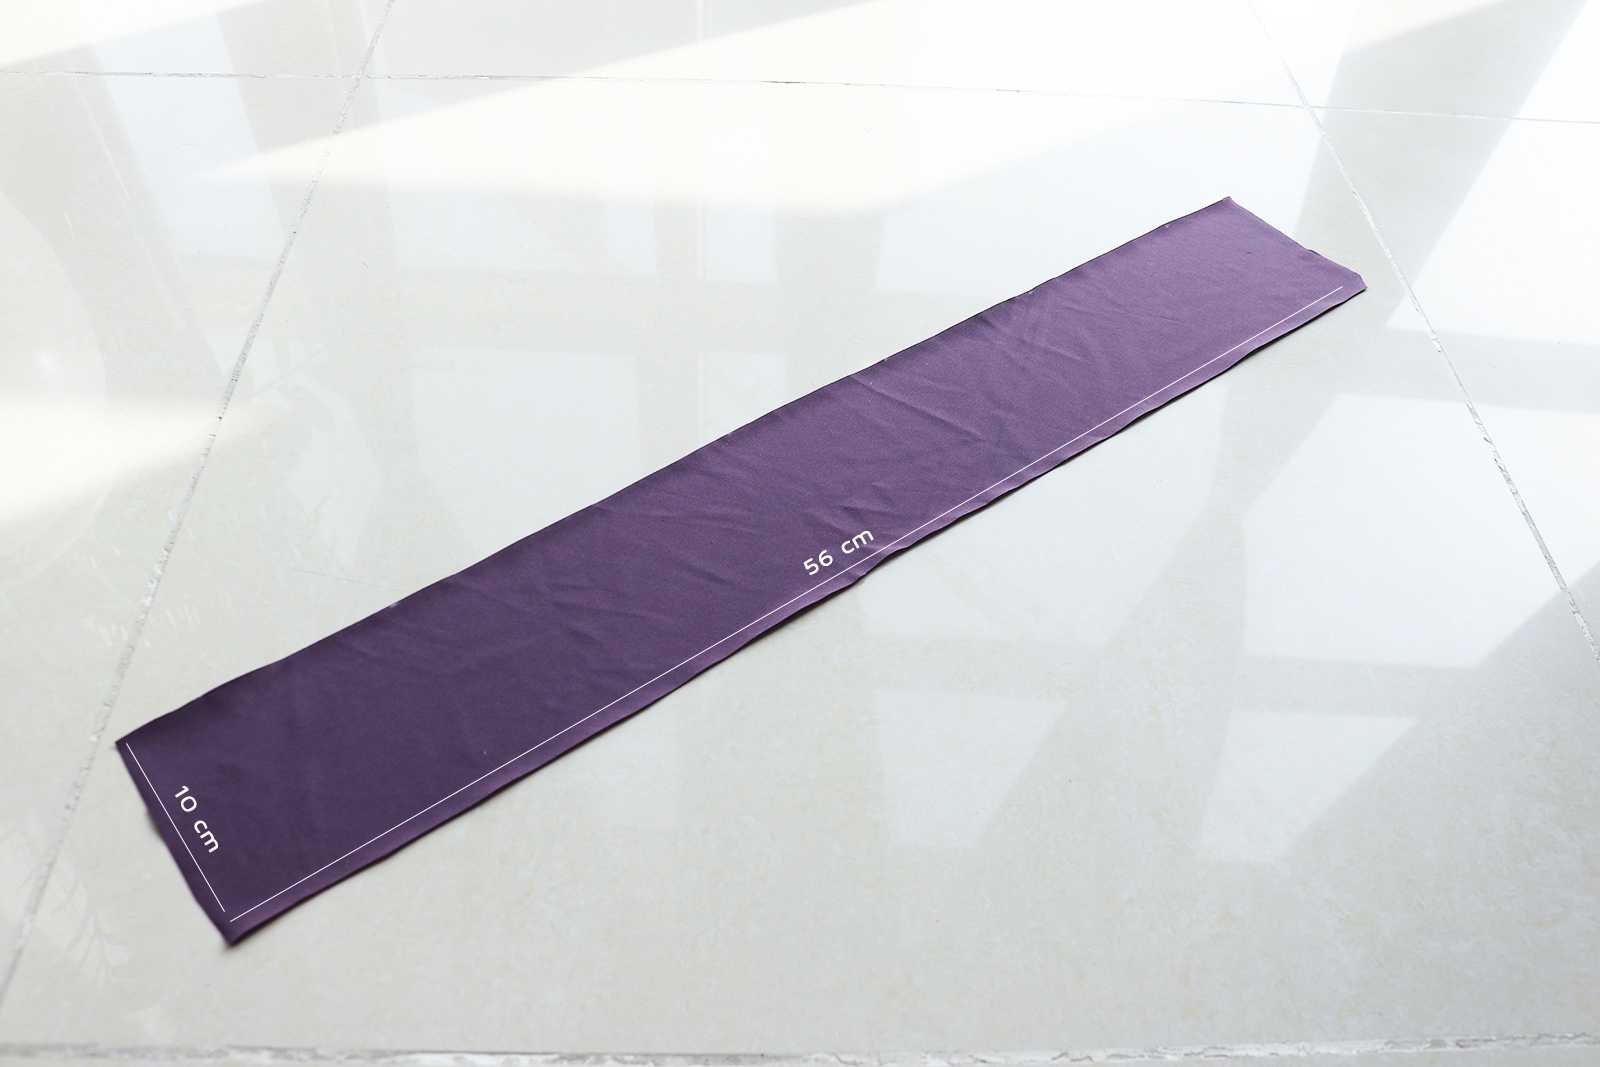
VI. Next I cut a long strip of fabric for the piece that would make up the shoulder straps (I cut this at a bias to make it had the appropriate stretch)..
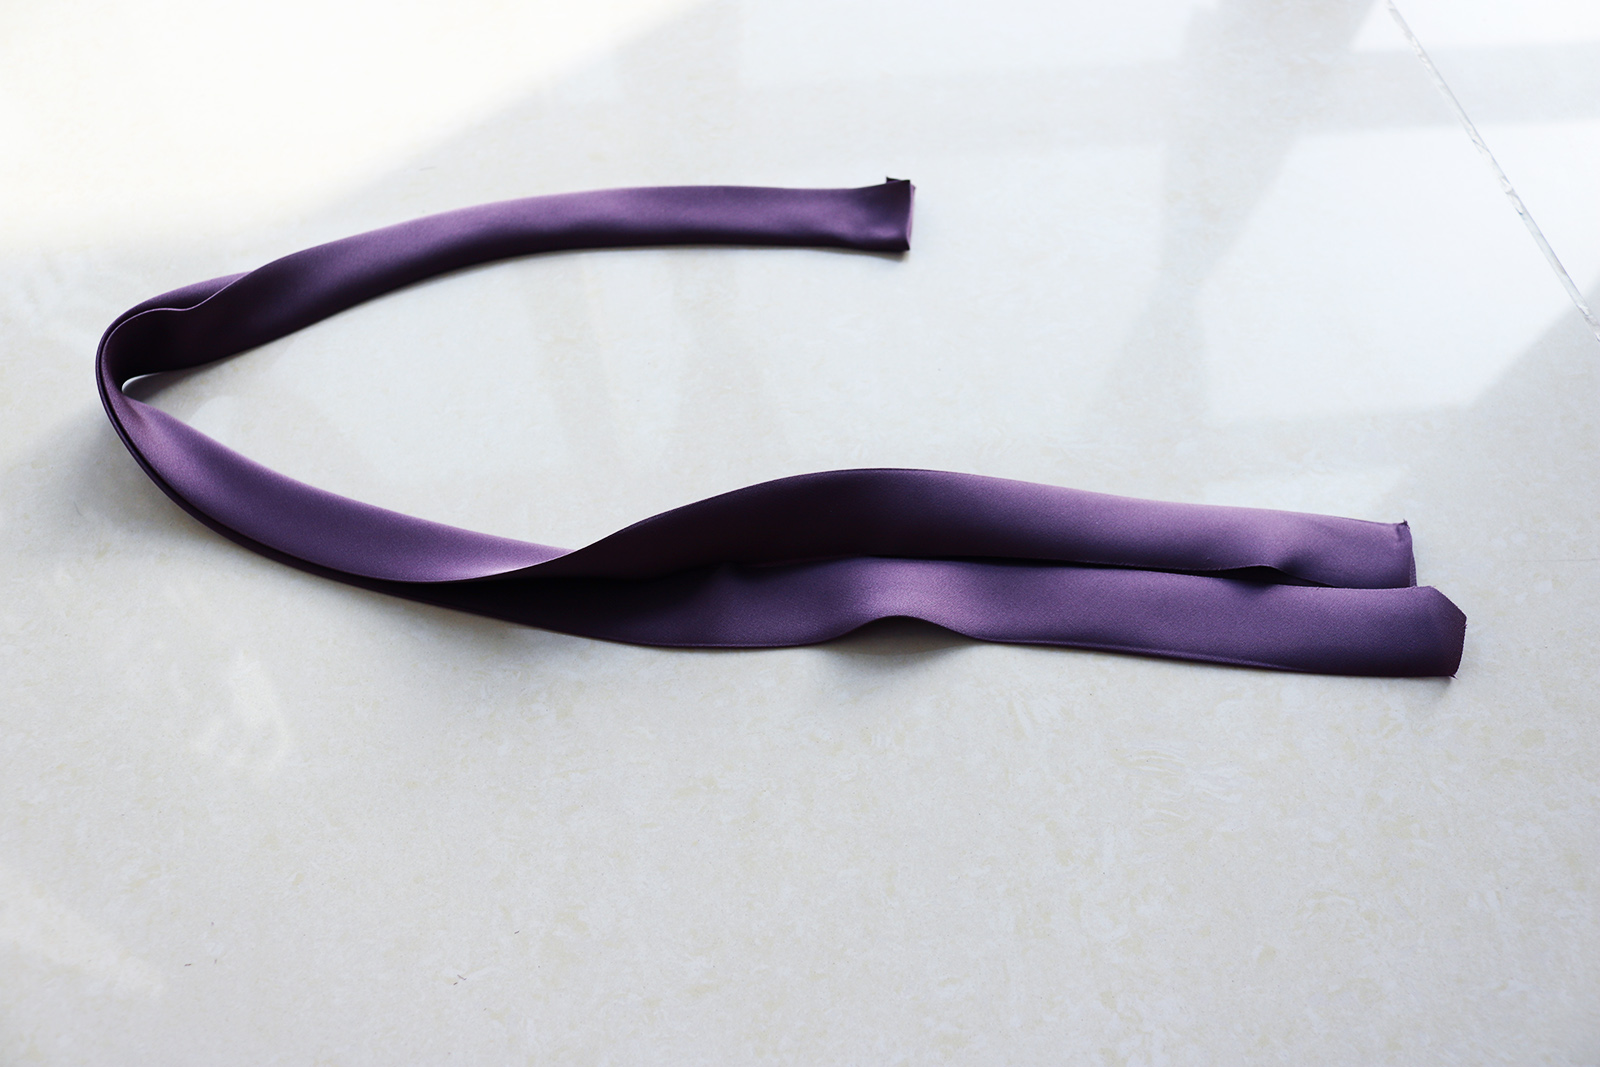
.. And pressed it like this - in half width-wise, and both of those halves again in half..
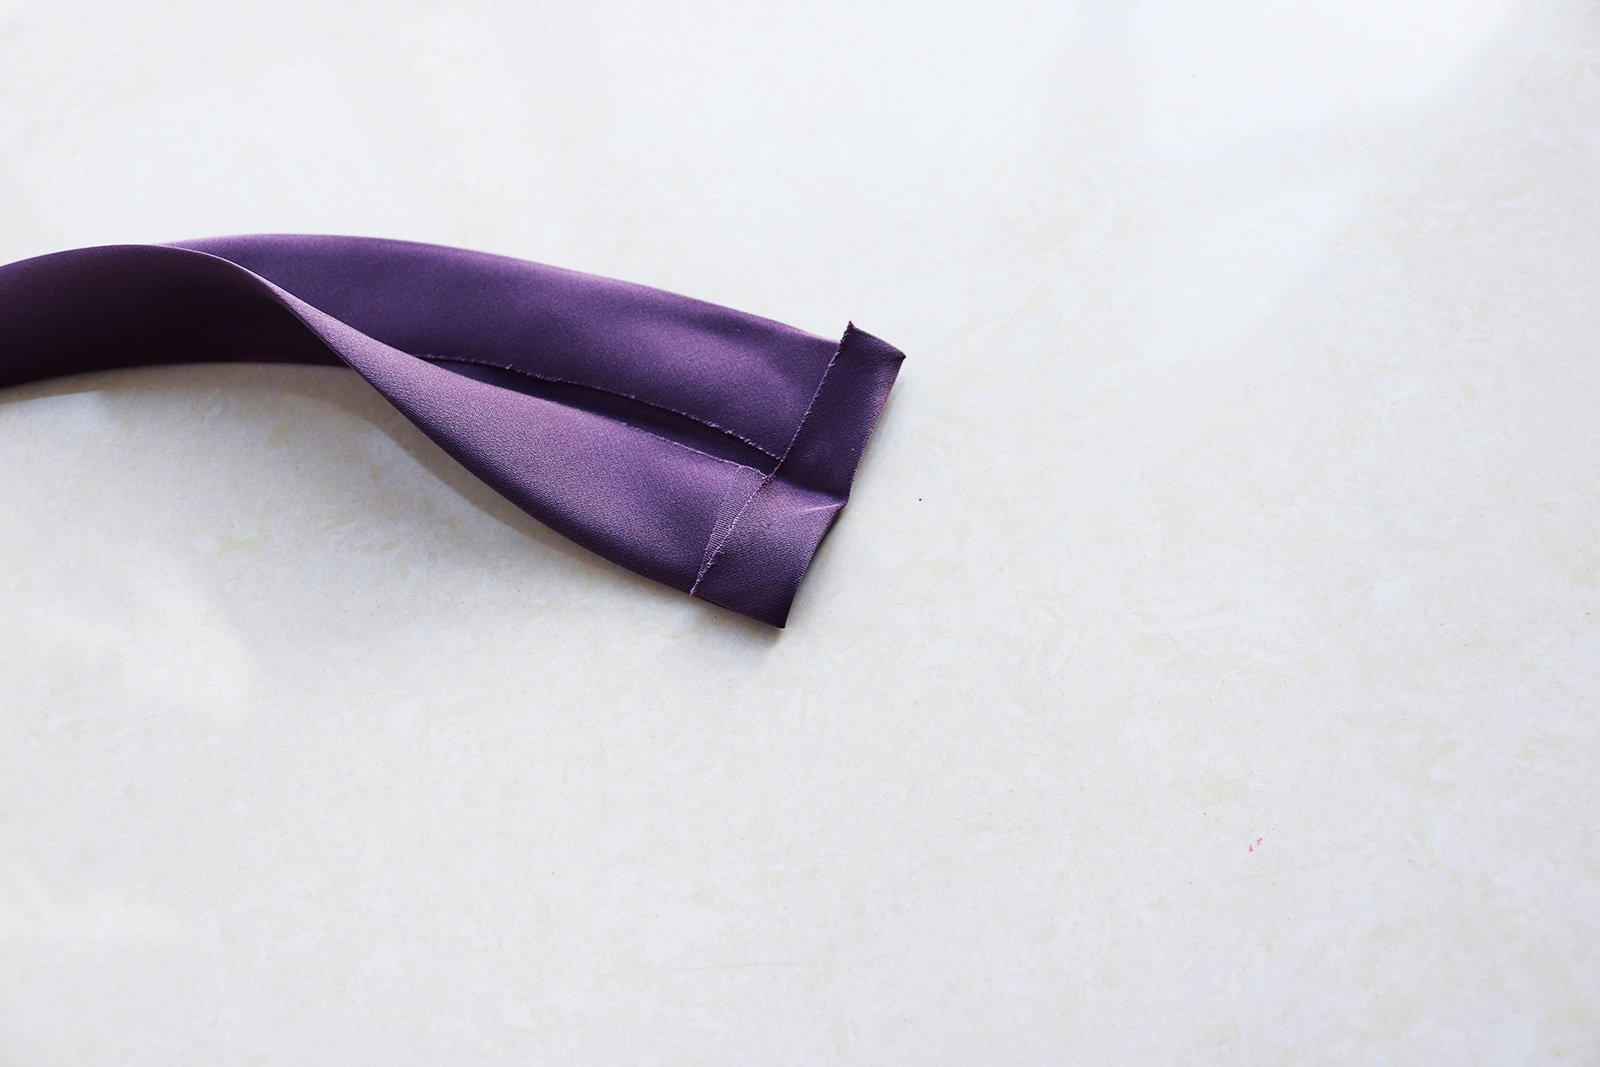
.. With the ends finished like this.
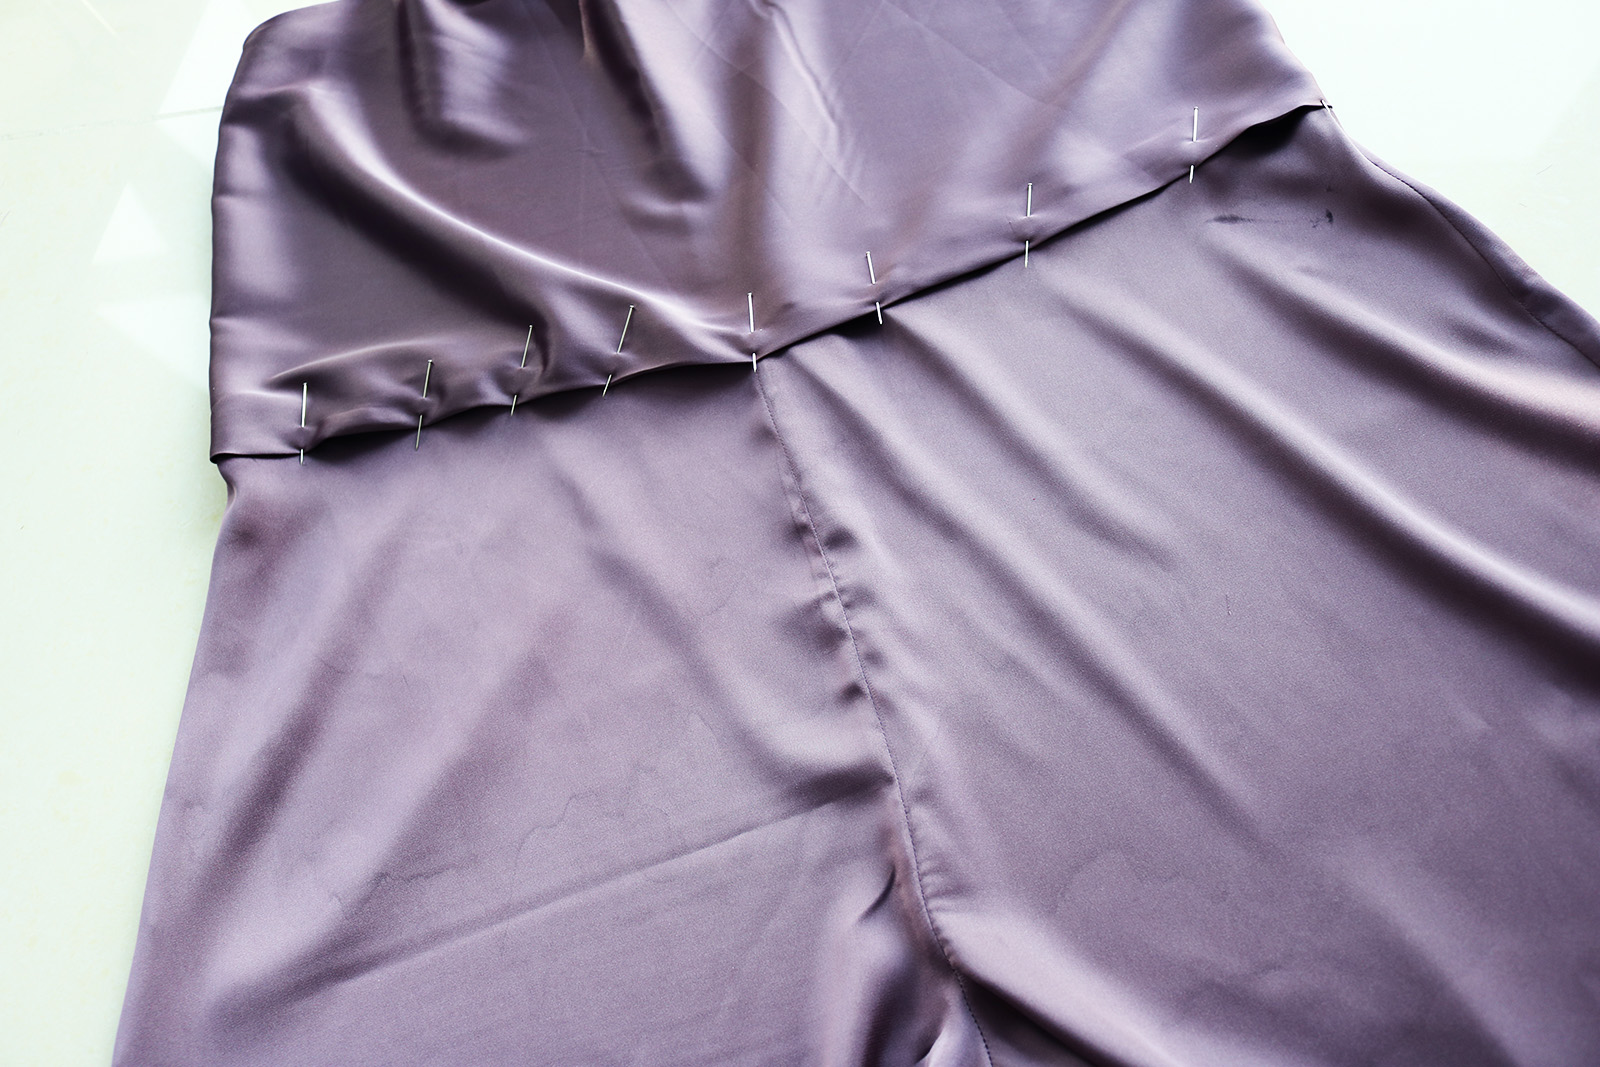
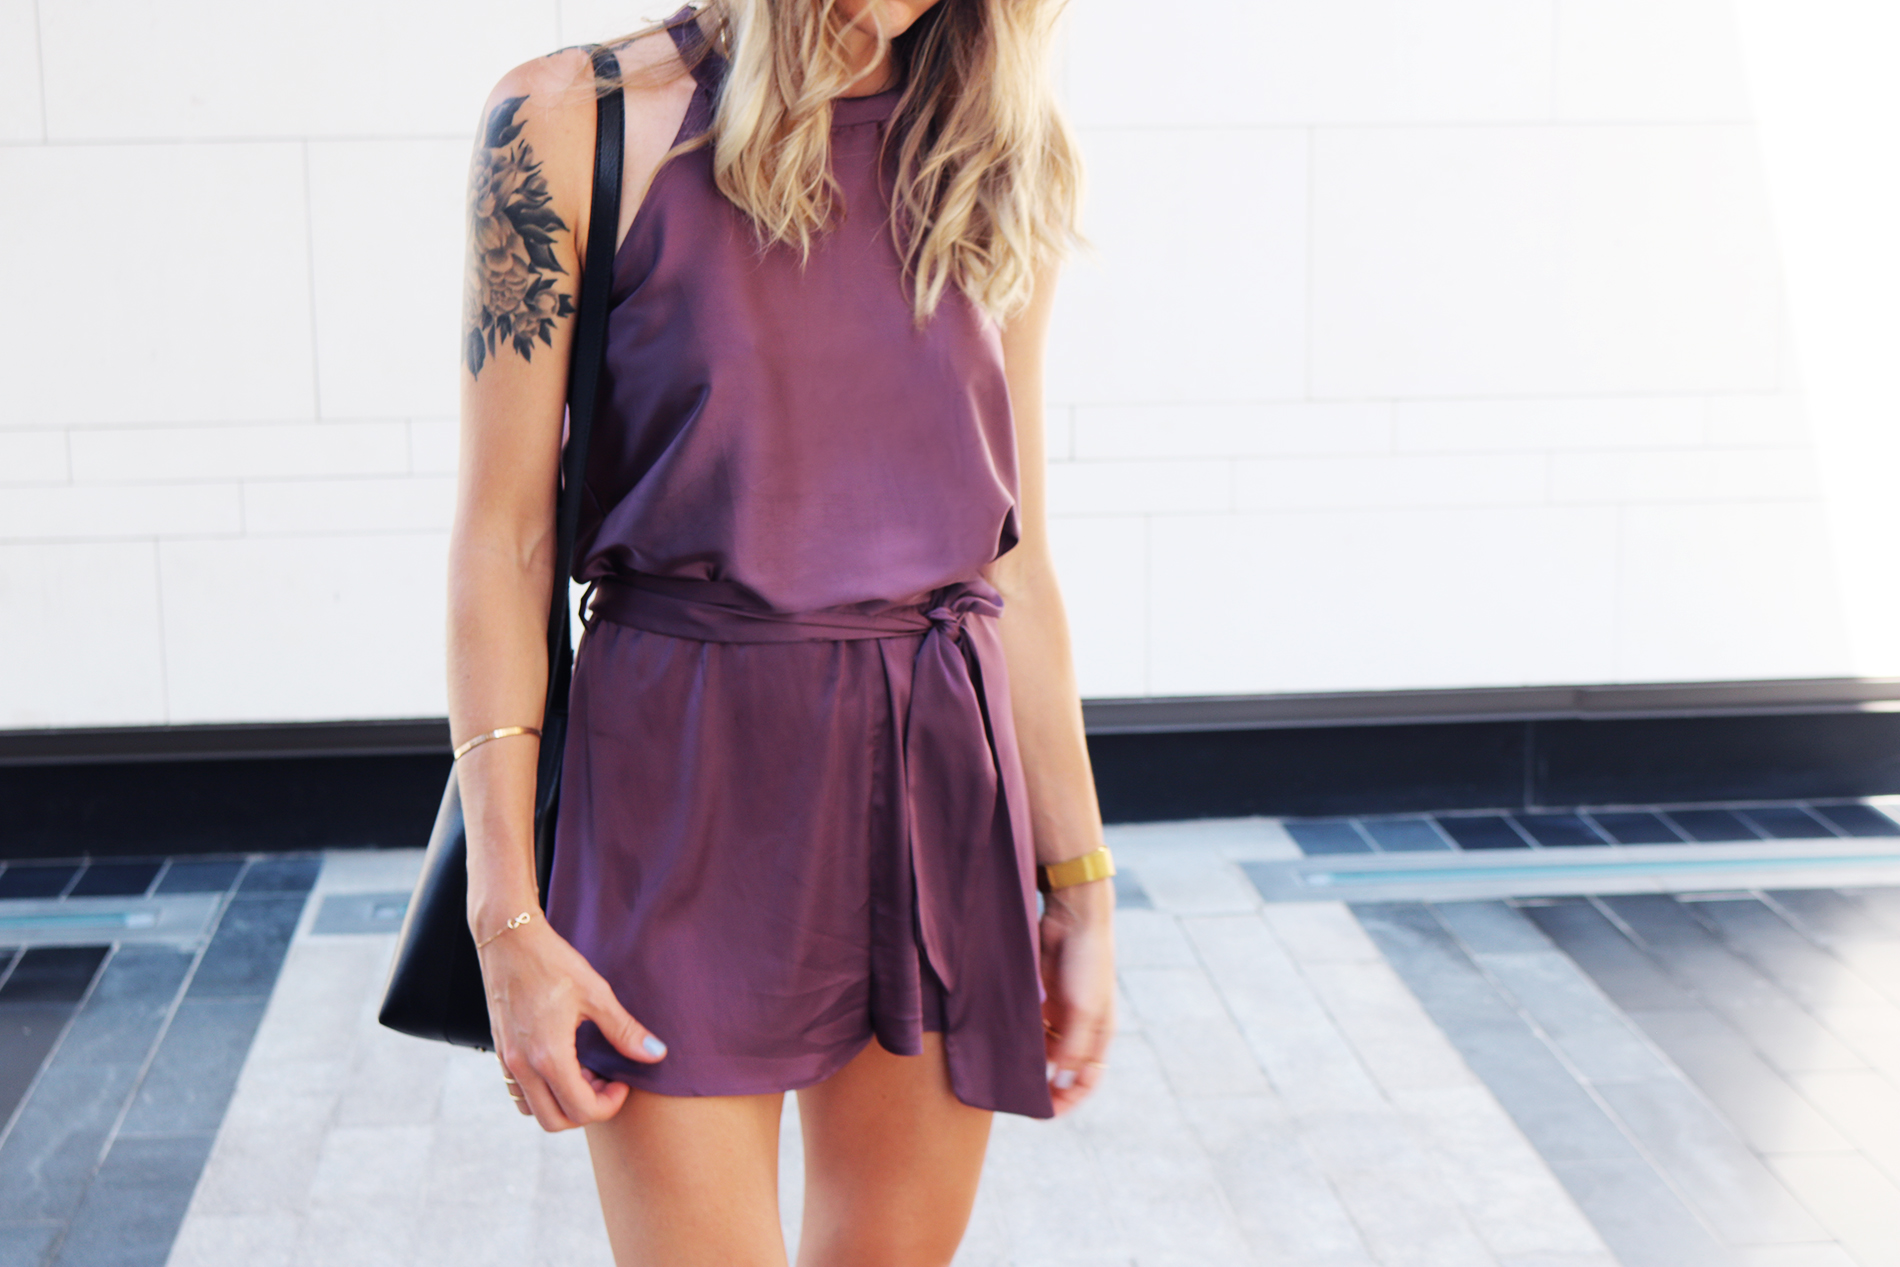
VII. I then pinned the strap to the neckline. Starting from the left end of the back piece neckline, I aligned the top edge of the back piece with the edge of the strap, right sides facing. Then left a 11 cm gap that was not pinned to anything, and after that gap, pinned the strap in the same way to the front neckline. This left me the same 11-ish cm at the end of the strap free (those are the parts that sit on your shoulders). Then sewed along the fold line (where the pins are pointing in the below image) to attach the strap to the front and back pieces.

After that I folded the strap down, so the other folded layers were left nicely tucked in between. Hand-sewed the whole thing in place so no stitches were visible.

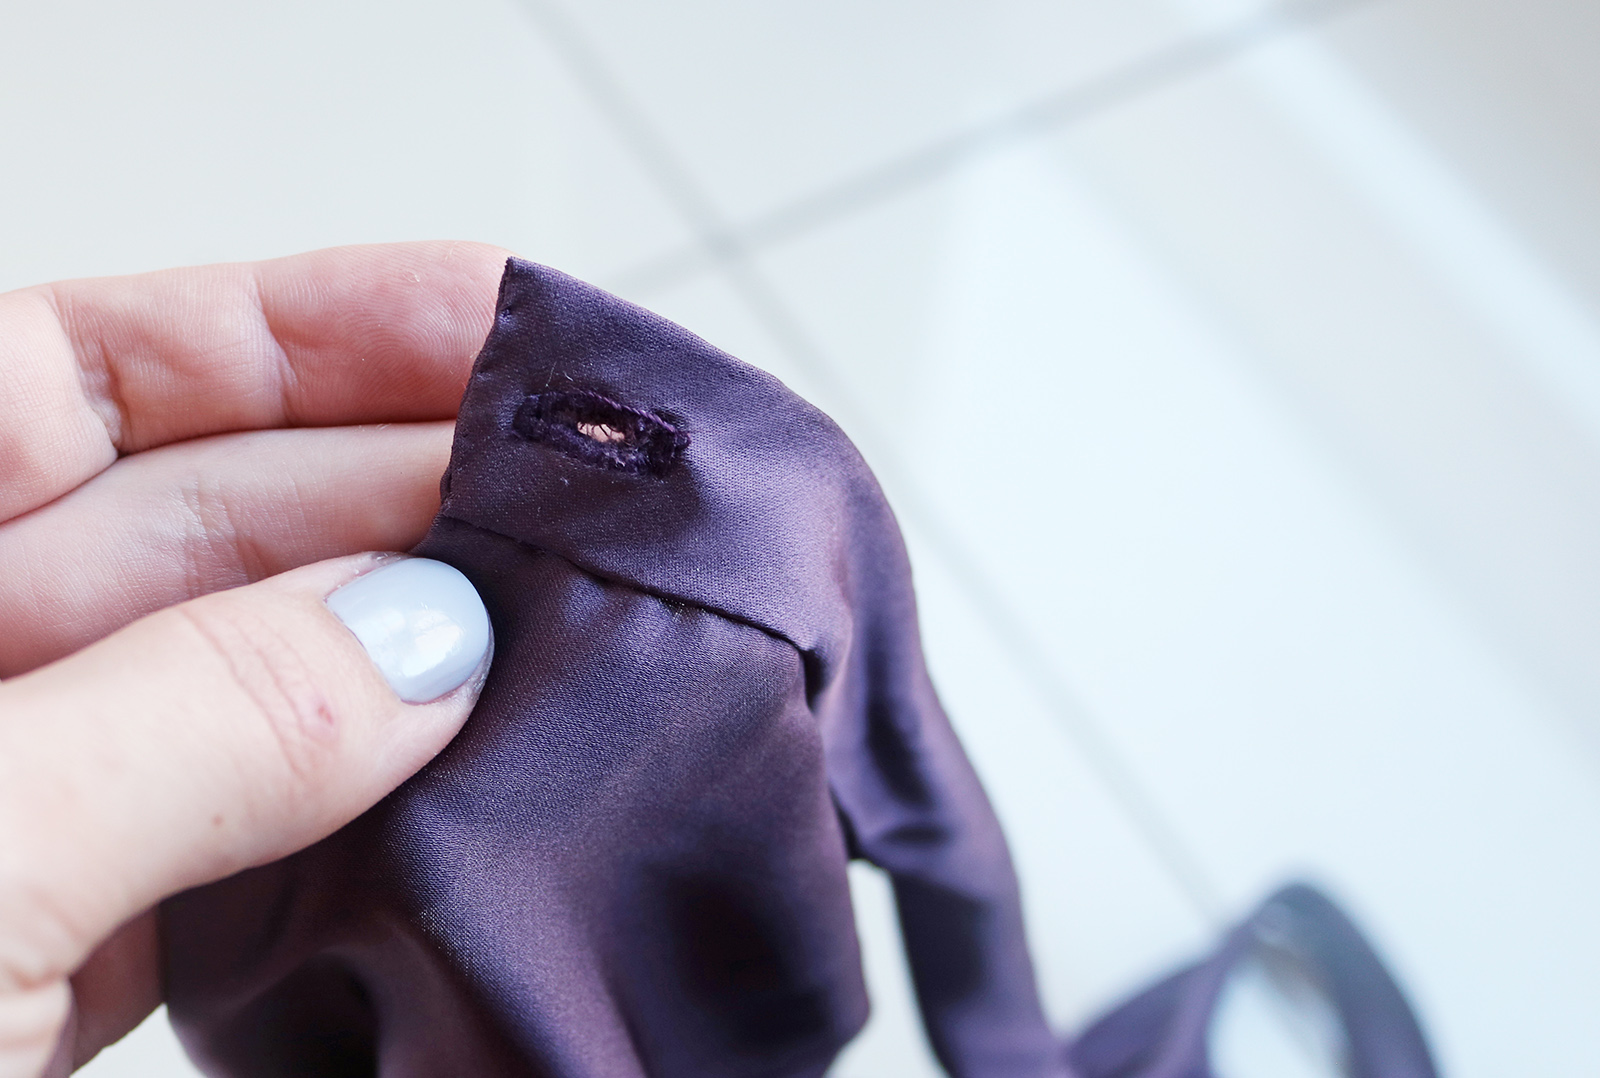
VIII. To finish the neckline, I added a button hole to the left side of the back piece's neckline..
.. And a button on the underside of the end of the strap.
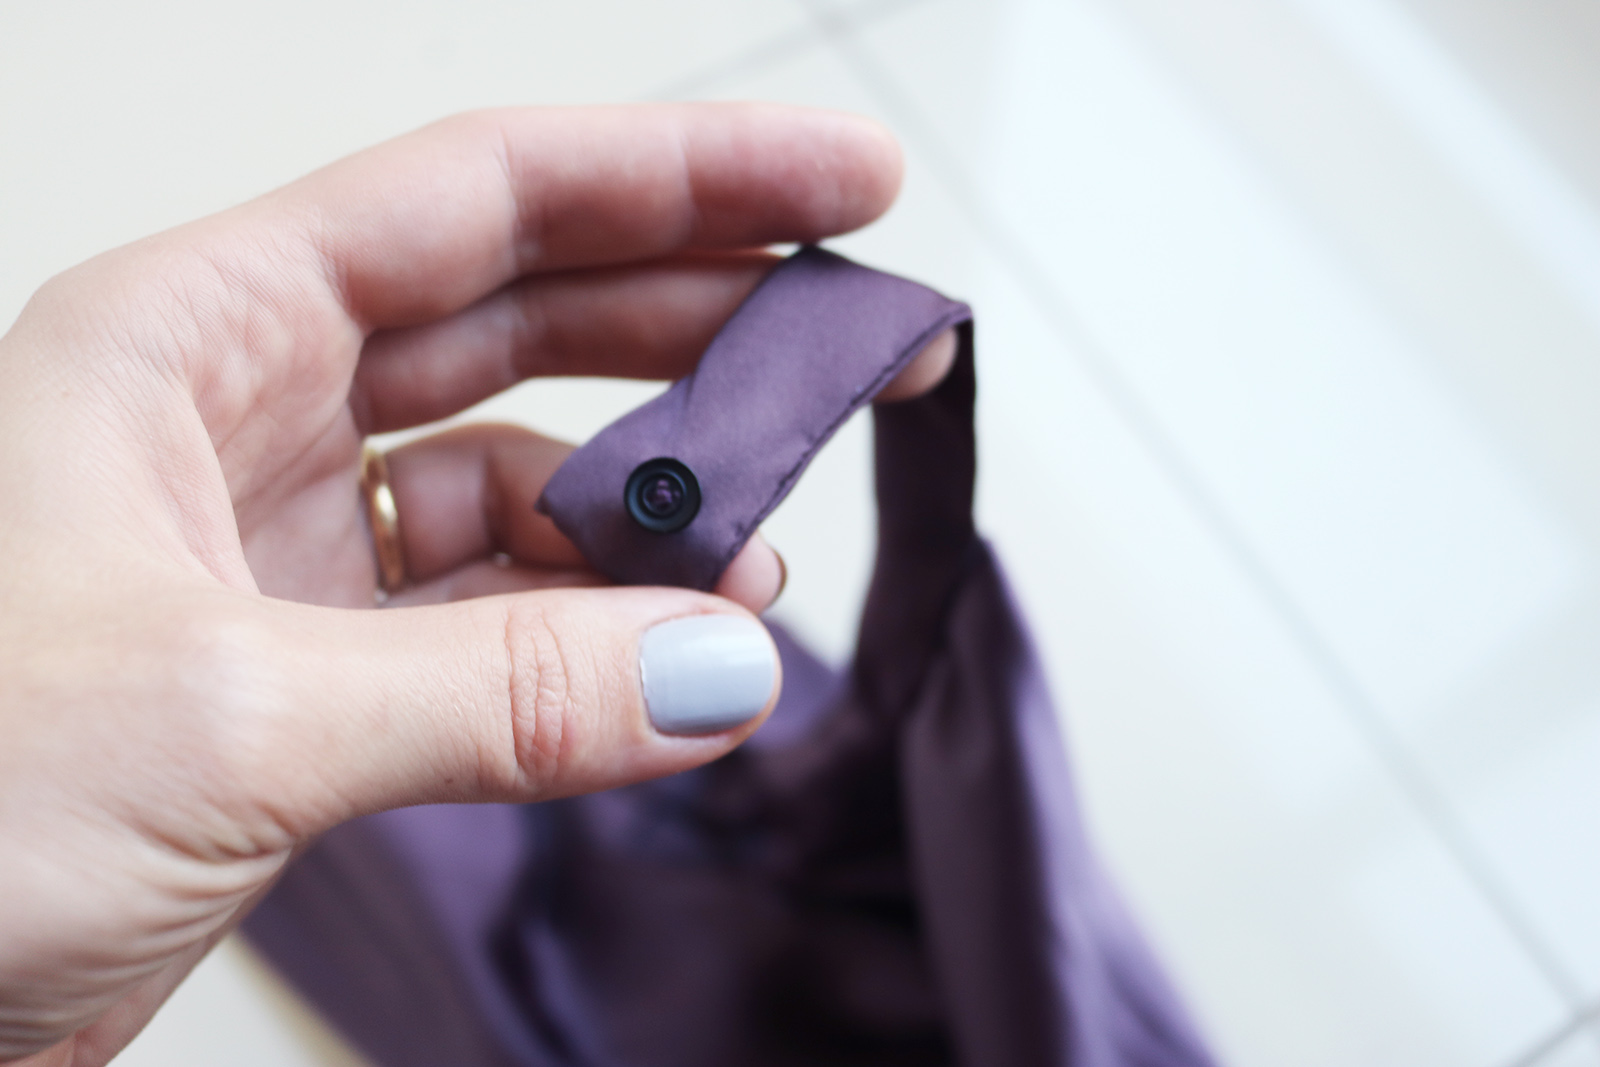
This is what it looked like - the button is on the underside of the end of the strap, so when it's attached, it's not visible.

IX. To attach the top the the shorts, I pressed a 1-cm fold on the reverse of the hem of the top. Also zig-zagged the waistline of the shorts piece.
And then pinned the top to the shorts so they overlapped by 1.5 cm, just a bit more than the width of my elastic.
And finally sewed two straight stitches around the waist - one where the shorts' waistline ended underneath, and another right at the edge of the folded edge of the top. Left a gap in one of these stitches to be able to insert my elastic with the help of a safety pin, sewed the ends together, and done!
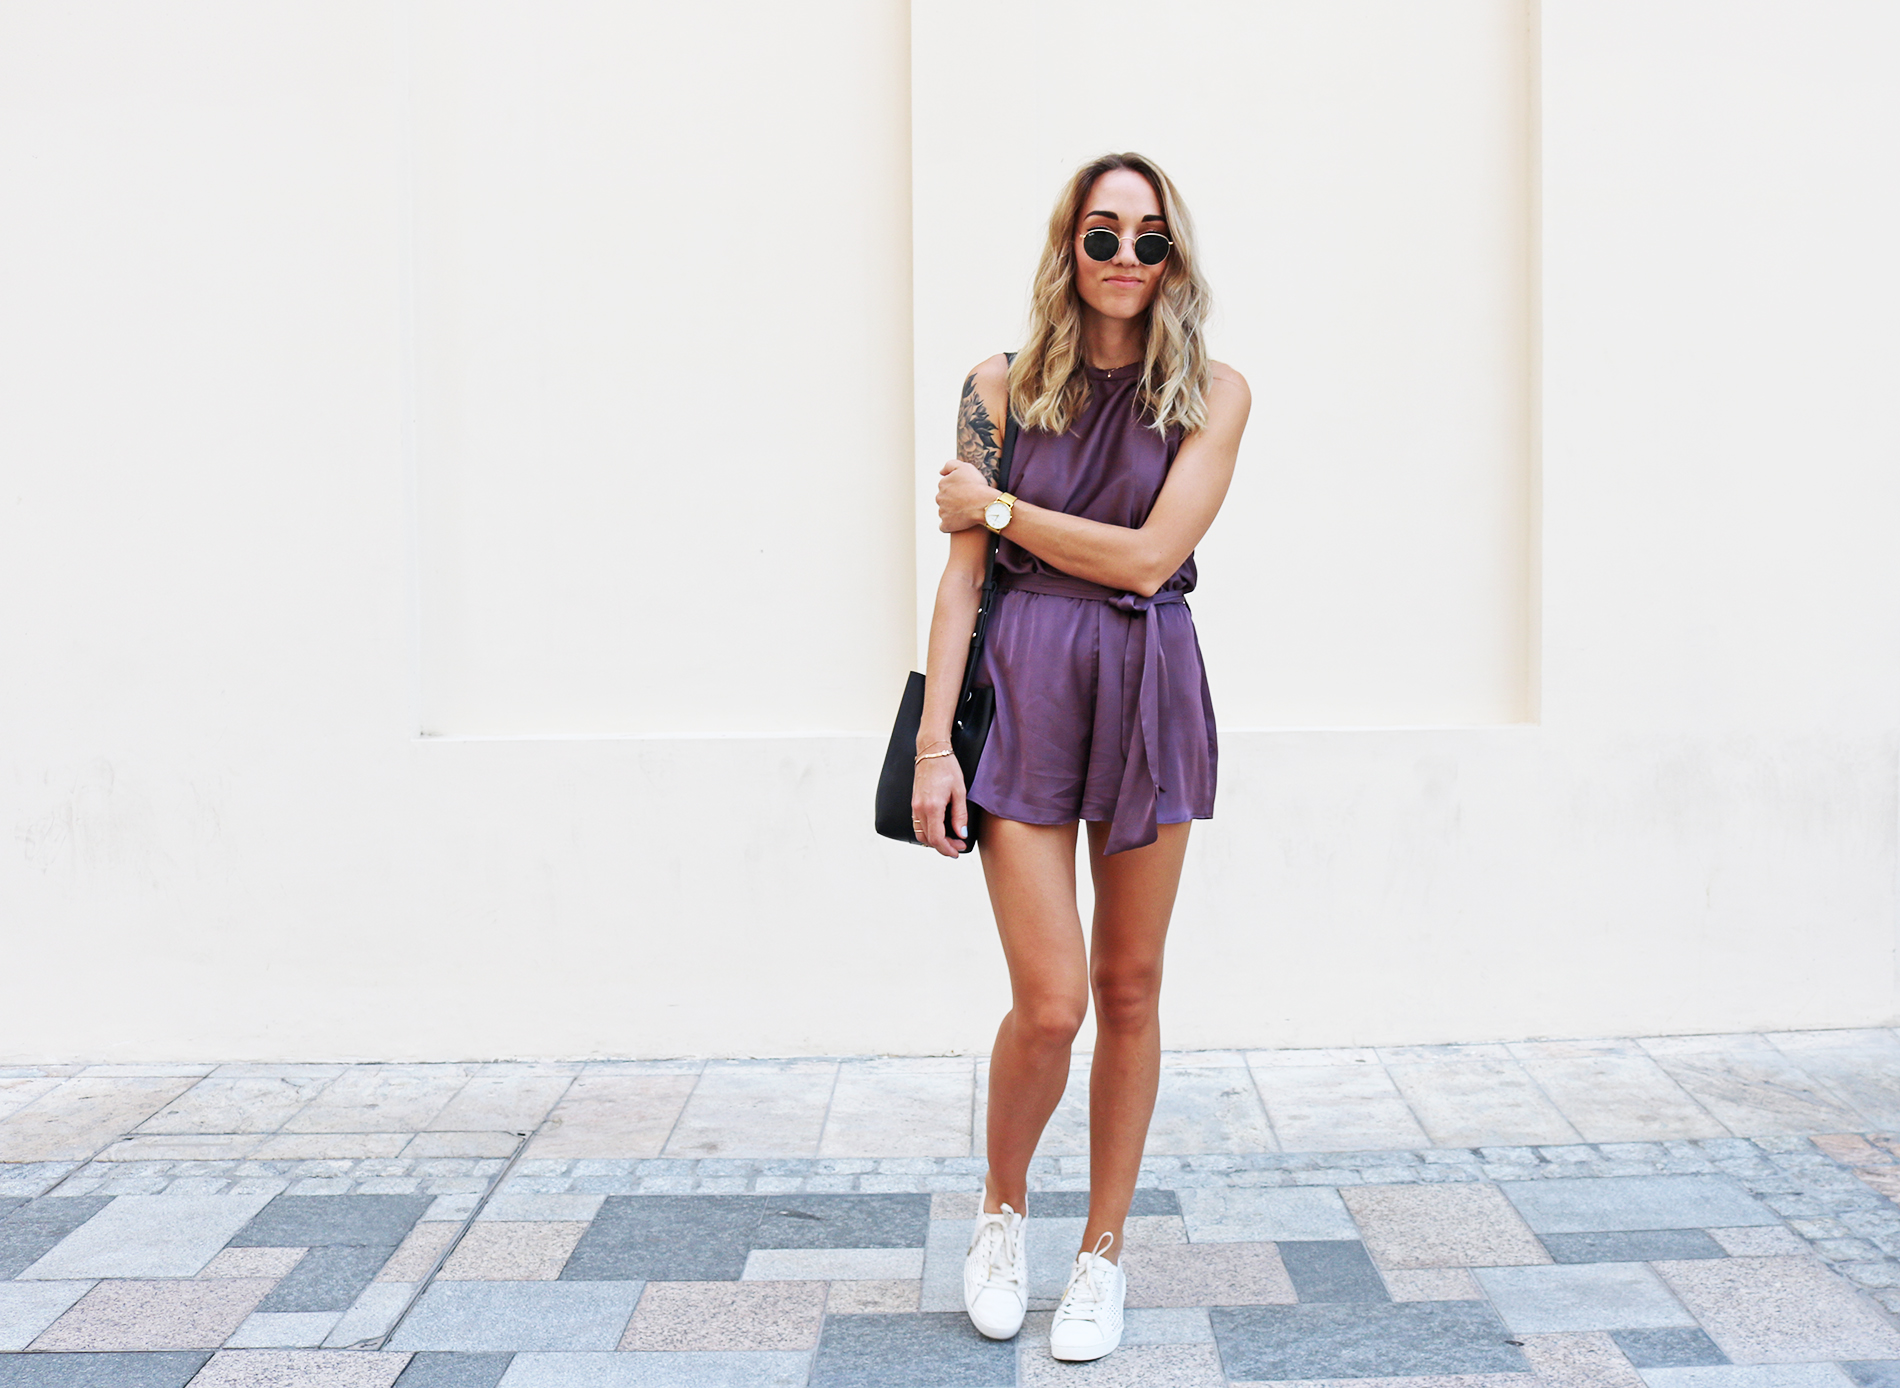
.. Or almost done.. At the end I clipped some length off from the shorts, and hemmed them with a blind-stitched double fold. I did also use my leftover fabric to make a simple belt, which I attached to the playsuit with belt hoops made from the same fabric.
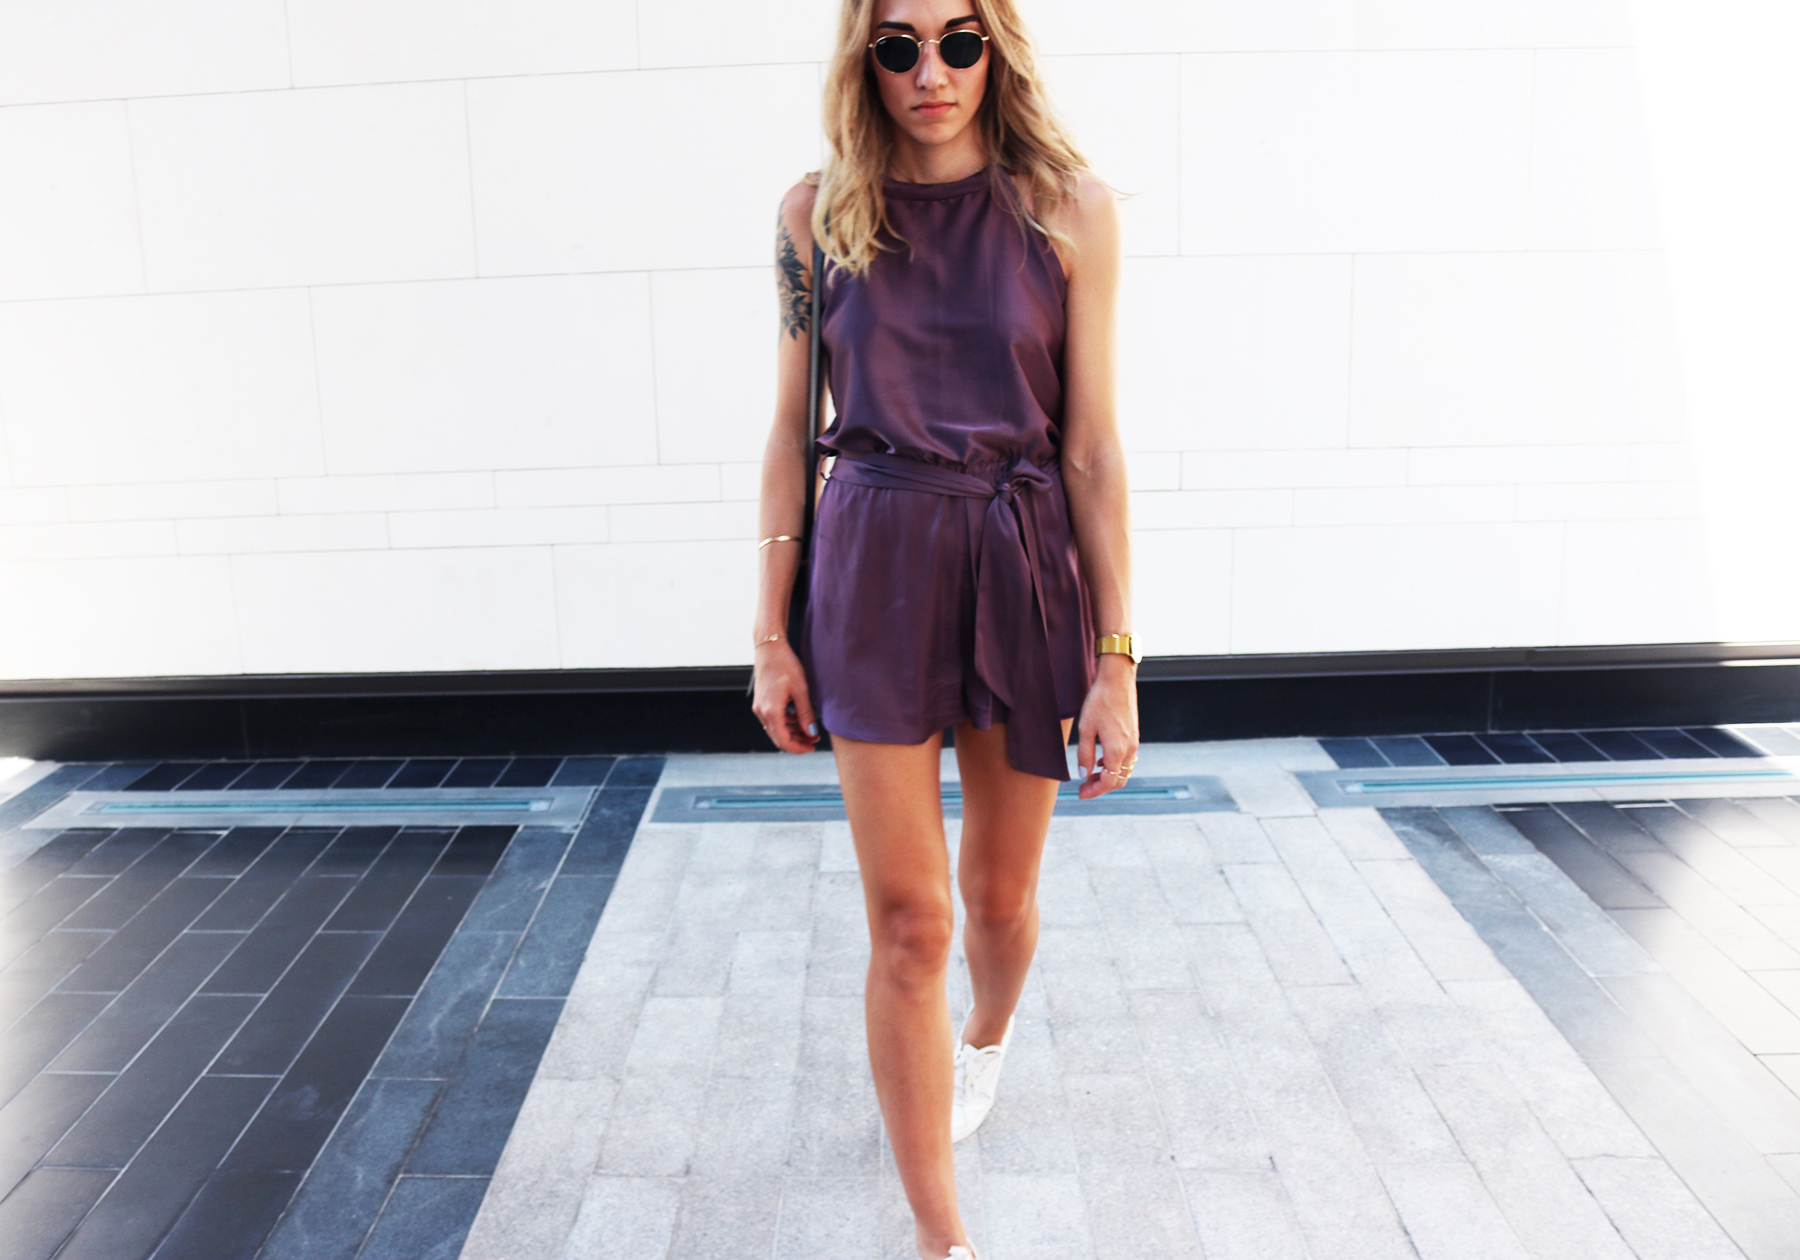
xo,
Julia


So pretty! Love the overall shape of the playsuit, perfect proportions! And the colour of the silk is beautiful...
ReplyDeleteThank you Liliana:)!
DeleteThis is fantastic! I am awed by the fact you don't use patterns. The color is delicious and it looks so lightweight and comfortable for hot weather. Call me inspired!
ReplyDeleteThanks Amy<3 It IS incredibly comfy! And the funny thing is I am actually beyond impressed by people that sew properly with patterns:D
Delete