

Ok, to be perfectly honest this skirt wasn't really inspired by Jill Stuart. I had already made it when Resort 2017 came out.. But when something even remotely similar to a project I'm working on comes down a runway it does make it a bit better to wear.
Tutorials take a lot of time & effort to create, and I choose to make mine available for free. If you enjoy this guide, you can support me with a donation that feels right for you, here.
TOOLS:
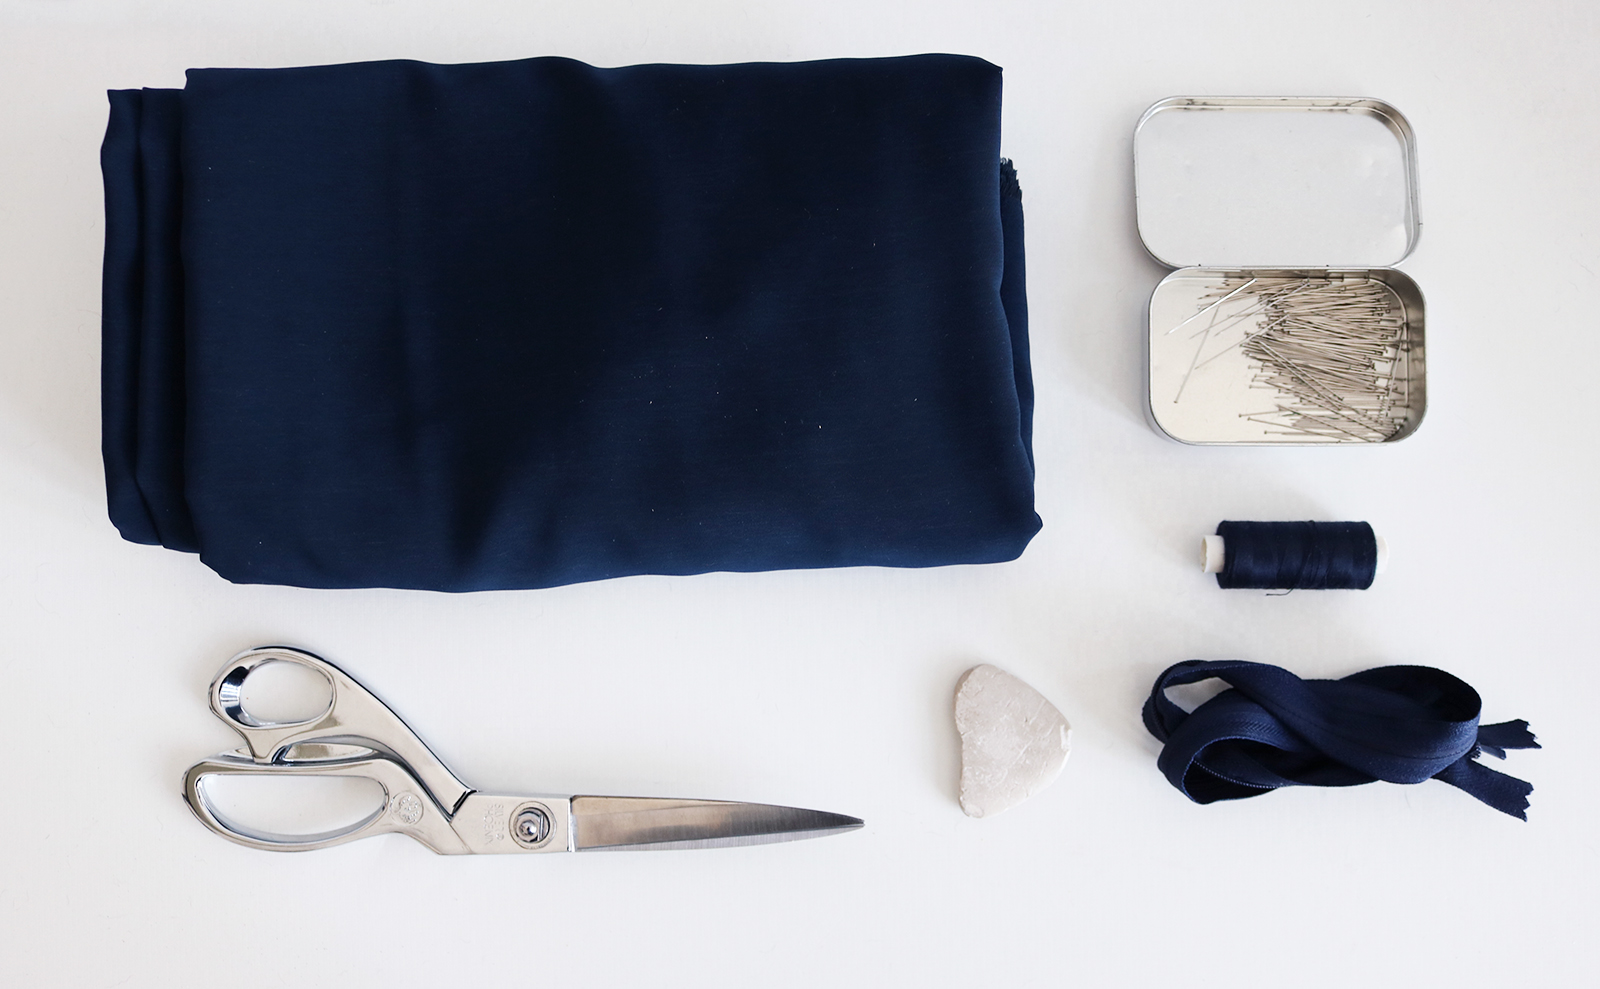
Fabric with a nice drape to it (I used an unknown heavier one meant for curtains, 3.5m) | Scissors | Fabric marker | Pins | Measurement tape | Thread, sewing machine | 2 buttons | (note: the zipper in the image was from where I thought I was making a slightly different skirt. Ignore!)
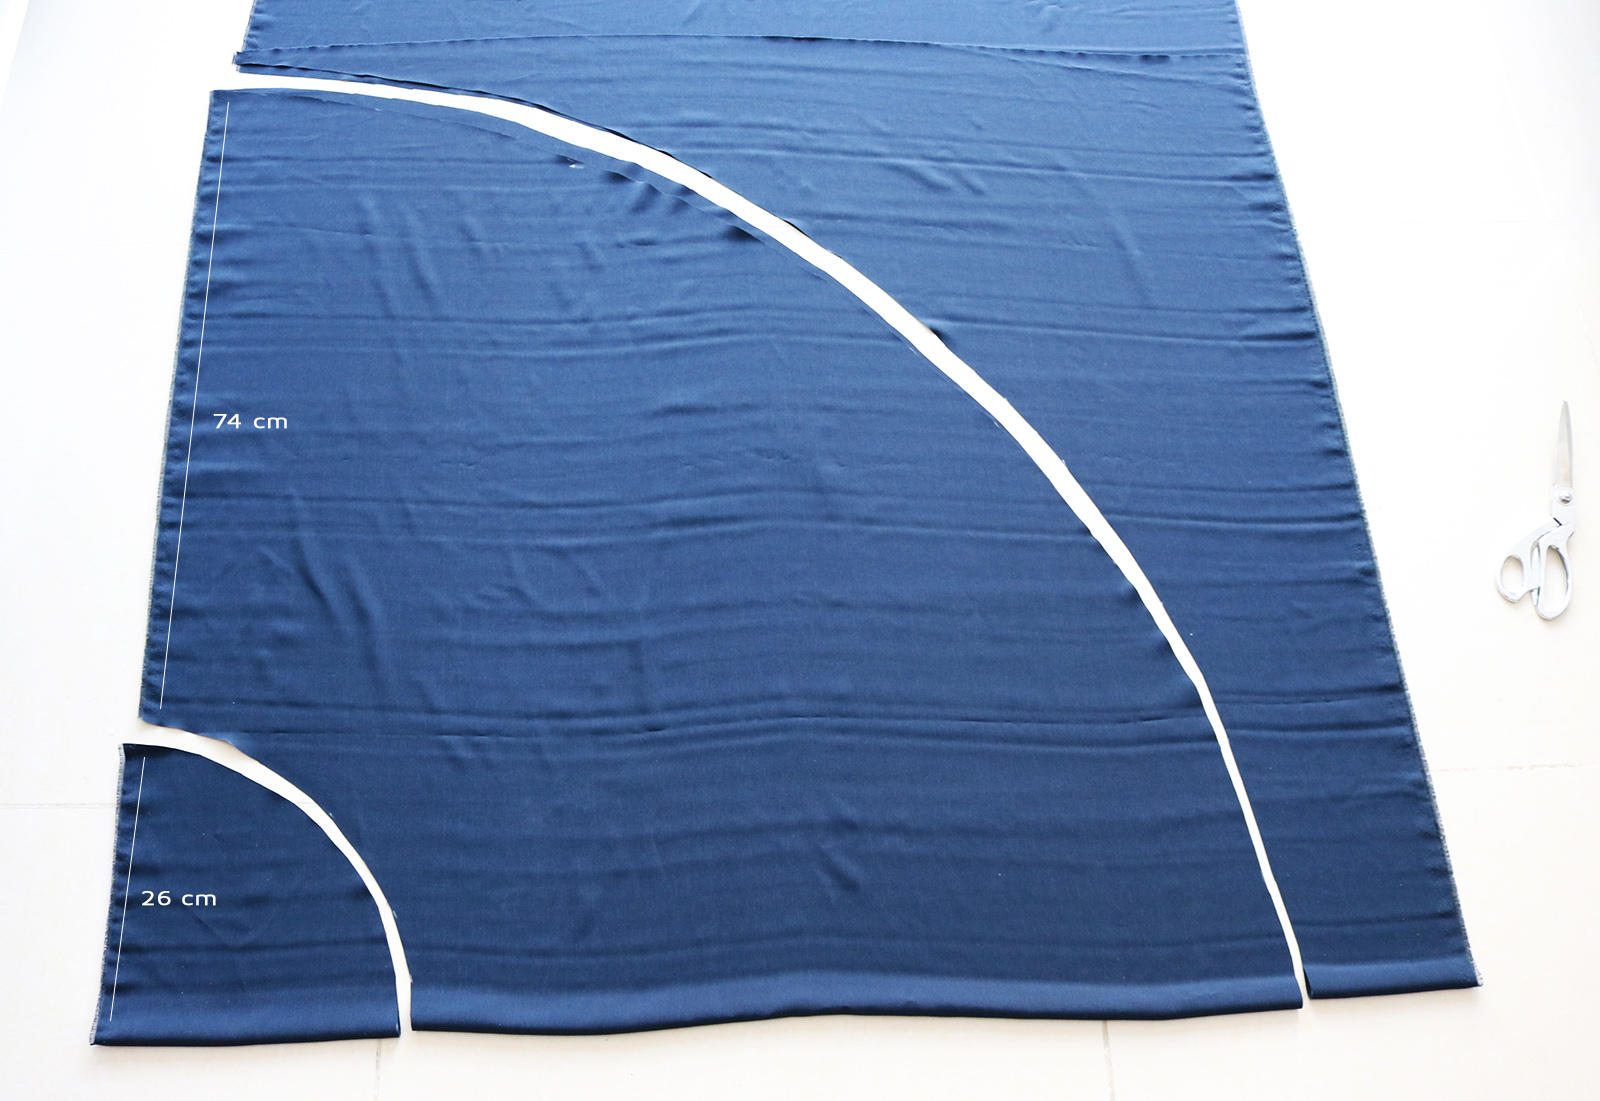
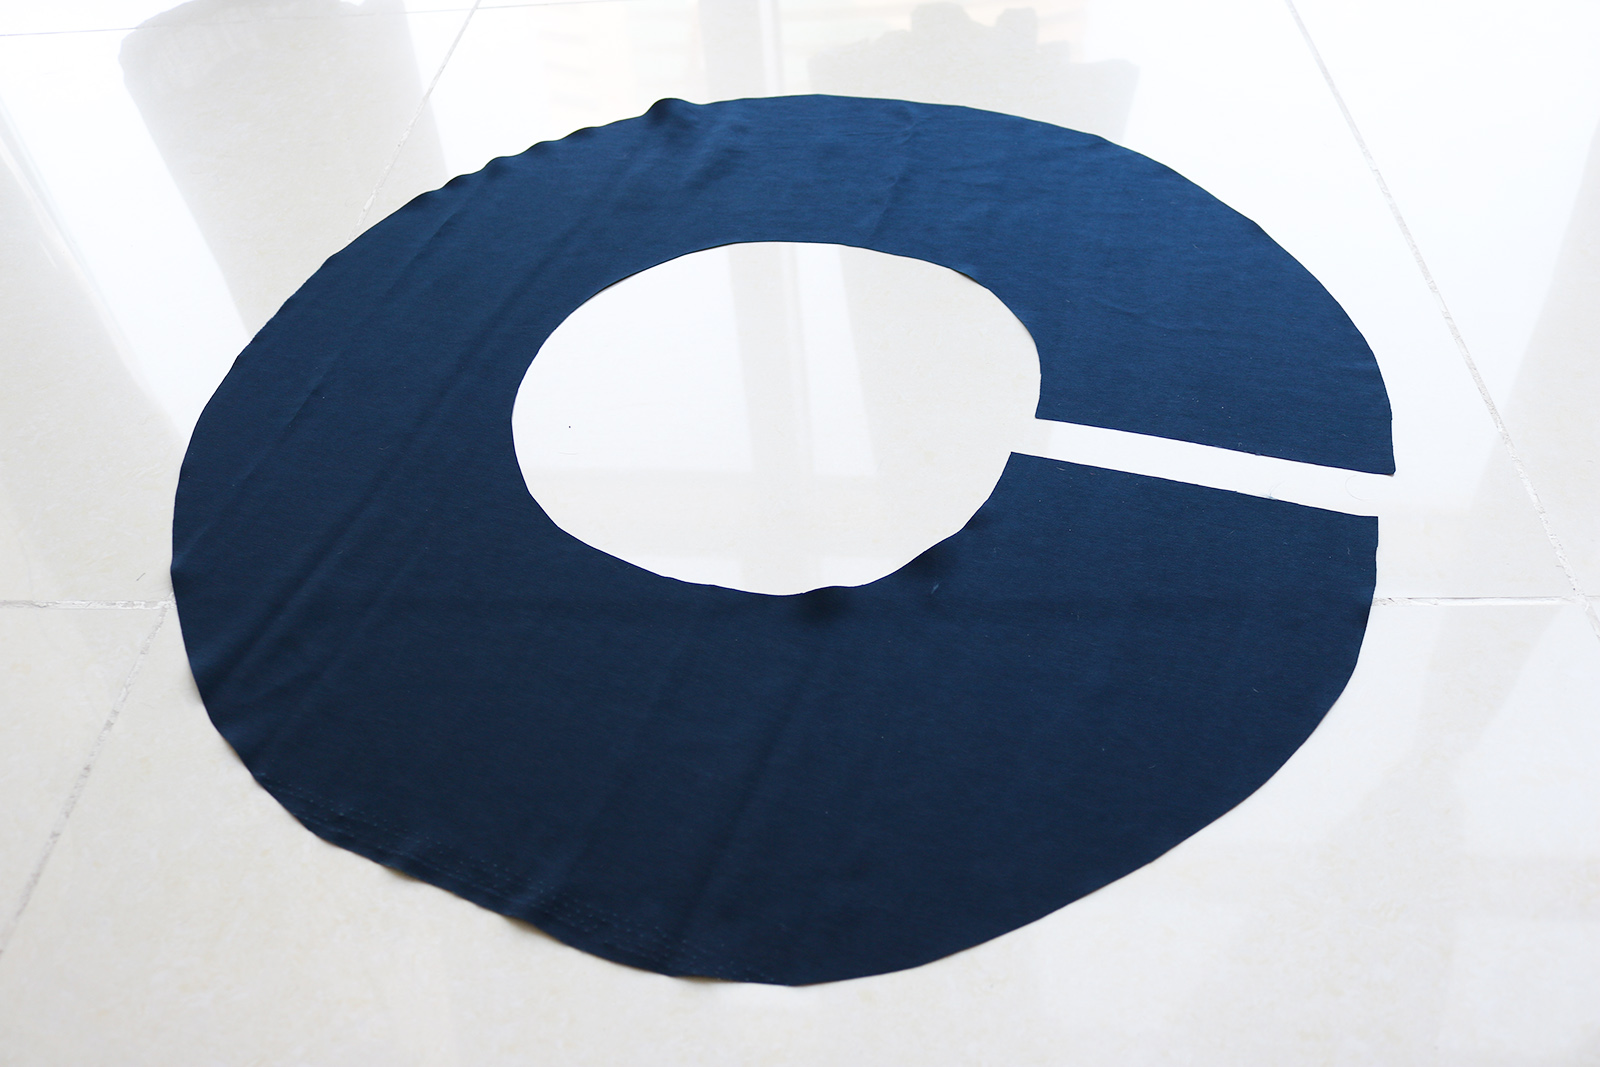
I. First I cut out a basic half-circle skirt: folded the fabric over so I had about 106 cm doubled up (this will depend on how long you want the skirt - desired size of the ruffle). For the waist (mine is 70 cm), I went for an overlap of 15 cm, giving me a total waist circumference of 85 cm. That lead to a radius of 26 cm for a half-circle skirt. Then marked the hem at 74 cm from the first line, and cut the half-circle out.
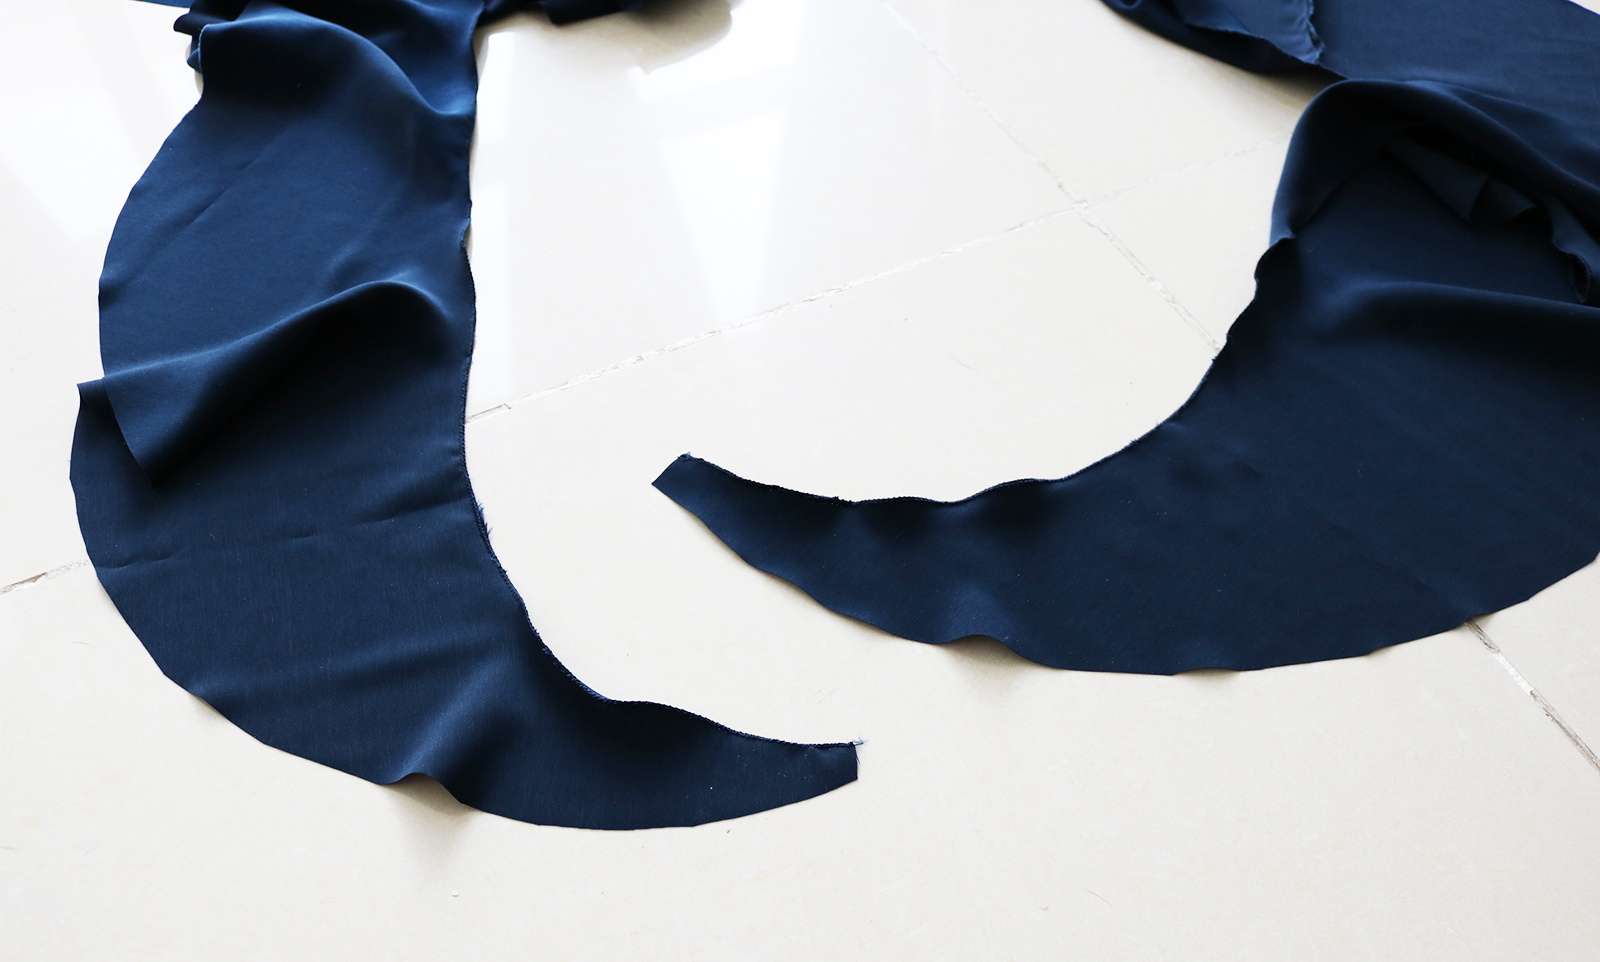
 II. I then re-shaped the edges to be more curved (at the hem, the width of the piece I removed was about 50 cm):
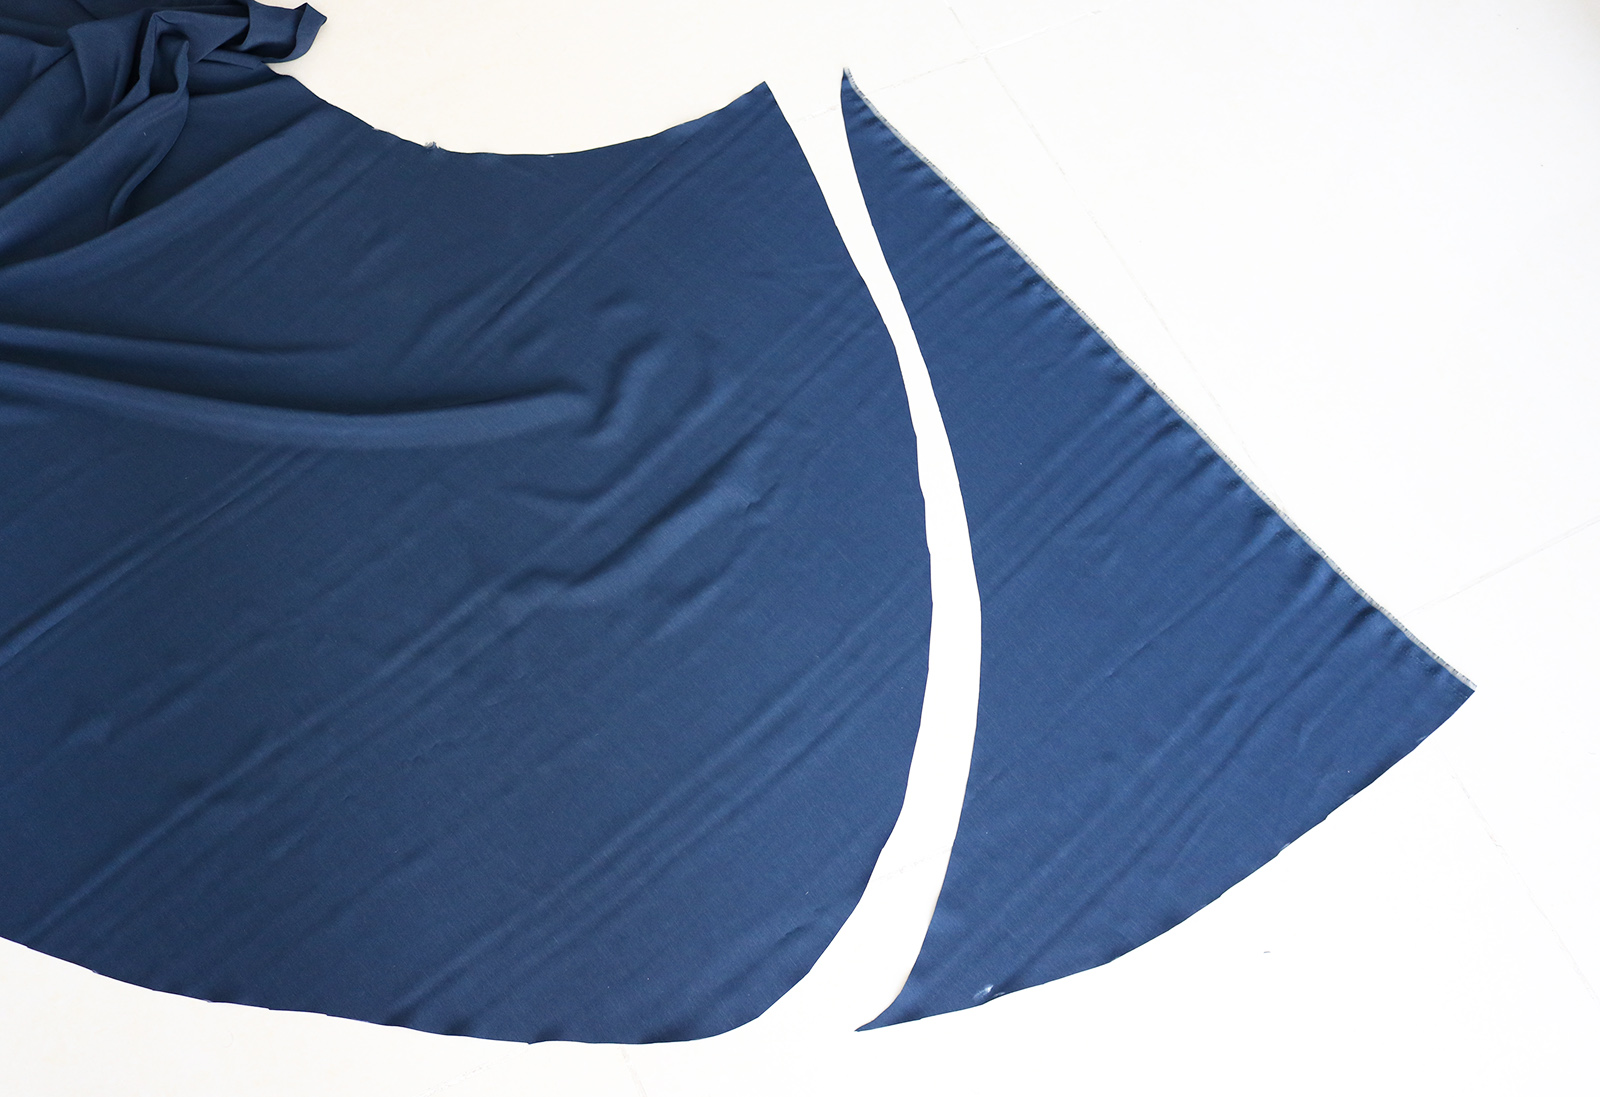
.. Also trimmed the waistline to be more straight:
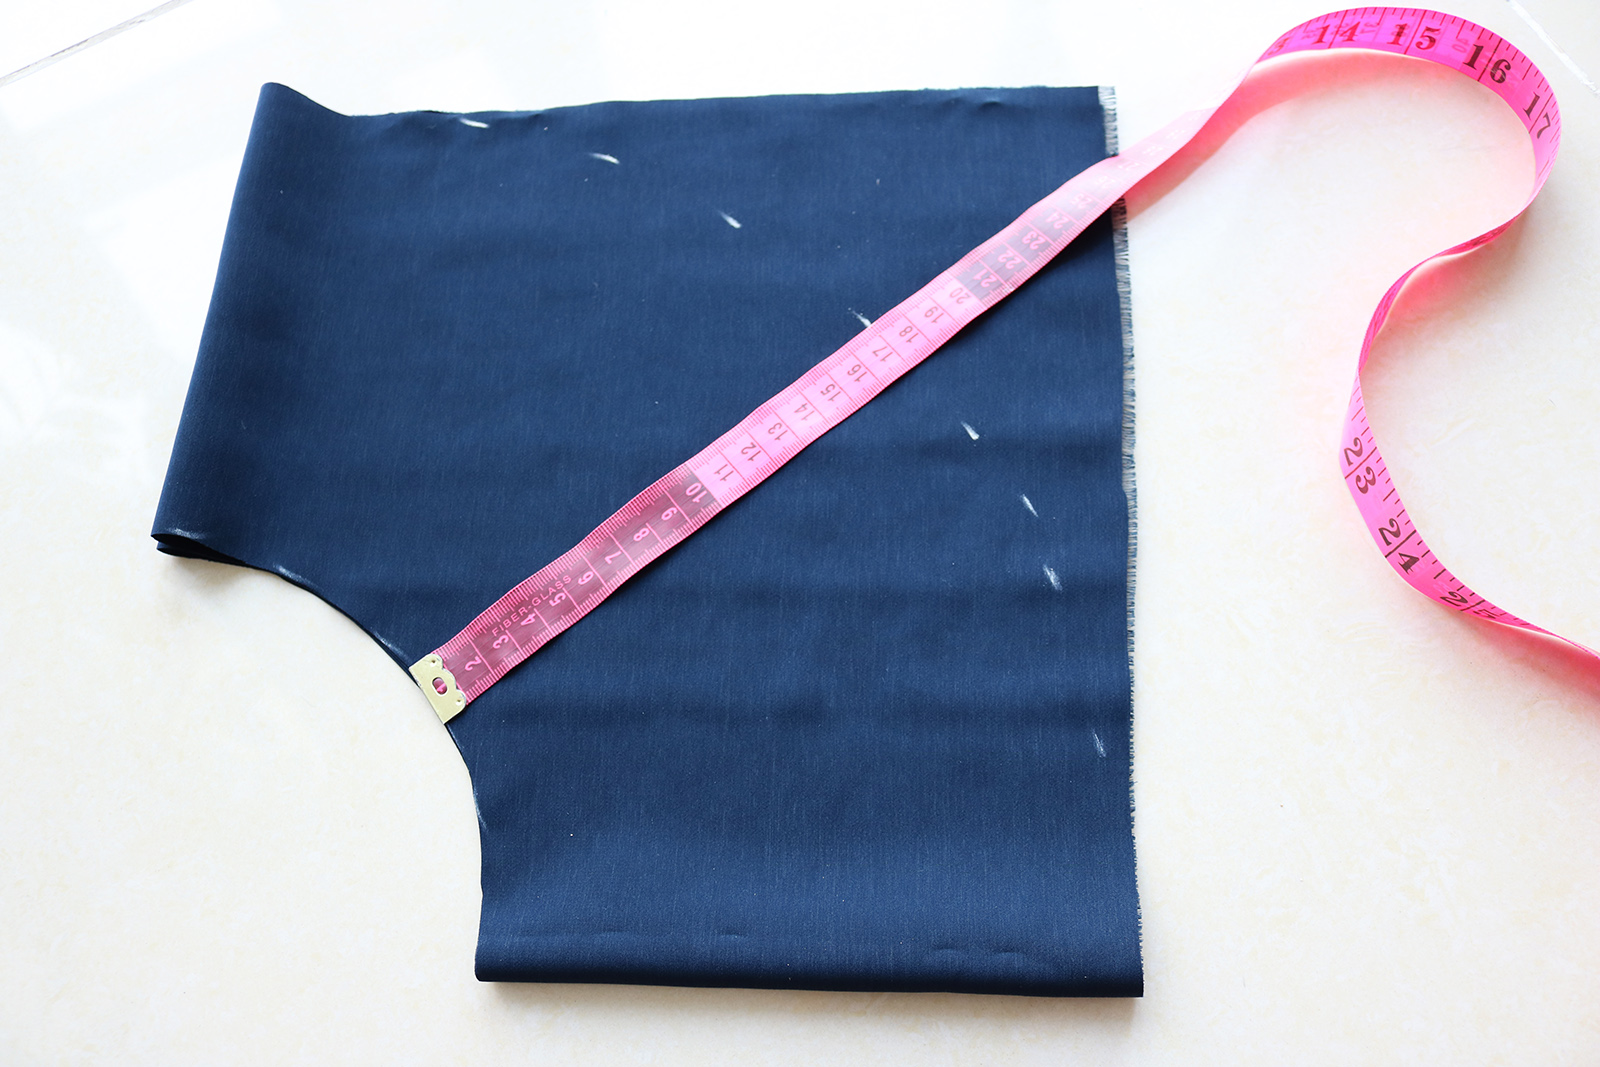
 III. That's the extent of prep for the main skirt piece. I then measured the length of ruffle I needed - marked in the image above (it doesn't need to go all the way to the waistline on the side that will be underneath when worn). My measurement for the distance was 340 cm.
The math ensued. To get 3.4 m of ruffle, I could have made a couple of larger circular ruffle pieces, or several smaller ones. I went with the latter option since I wanted the ruffle to be more.. ruffly. The smaller you make the circles that make up your ruffle, the fuller the ruffle will be. After about 15 minutes of pulling my hair out trying to get the math right, and fitting all the imagined ruffle circles on what was left of my fabric, I finally figured it out - I needed 4 ruffle circles/donuts, with an inner circumference of 340 cm/4 = 85 cm each. Solving that using some circle math (read: googling "circle r from circumference") I got a radius of 13.5 cm for each of my circles.
Considering I wanted an approx. 15 cm ruffle, with the seam allowance to sew it to the skirt and to make a double fold along the hem, my ruffle width needed to be 17 cm. That meant that to make my 4 circles, I needed 4 squares where the side was 17 cm + 13.5 cm = 30.5 cm each. Here are the circles I marked after folding my first square in half and then in half again.

Then cut out my first ruffle and clipped it open. Repeated the process 3 more times.
IV. Then pinned the pieces together to form one extra long ruffle. Sewed together and pressed open the seams.

Next prepped the shorter edge (the one about to be attached to the skirt) with a zigzag, and adjusted the shape by cutting so the ruffle gets narrower towards the ends.
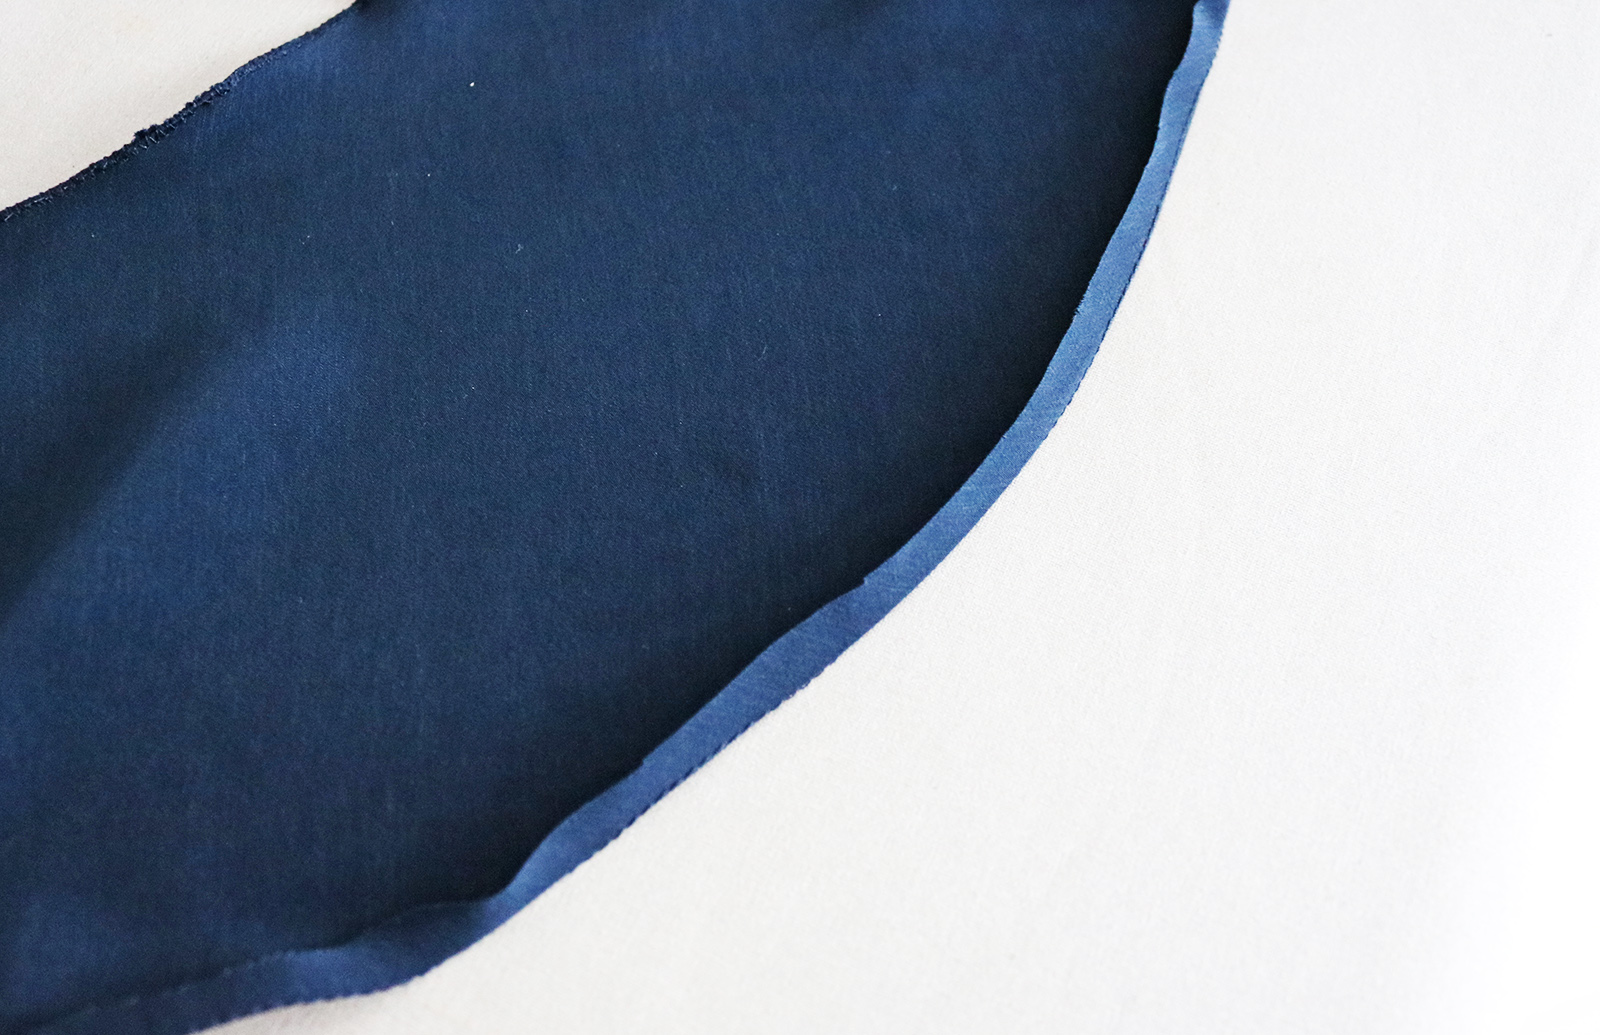
V. To prep for the task I like least in sewing - hemming curved edges with a double fold - I first sewed a straight stitch 0.5 cm from the edge..
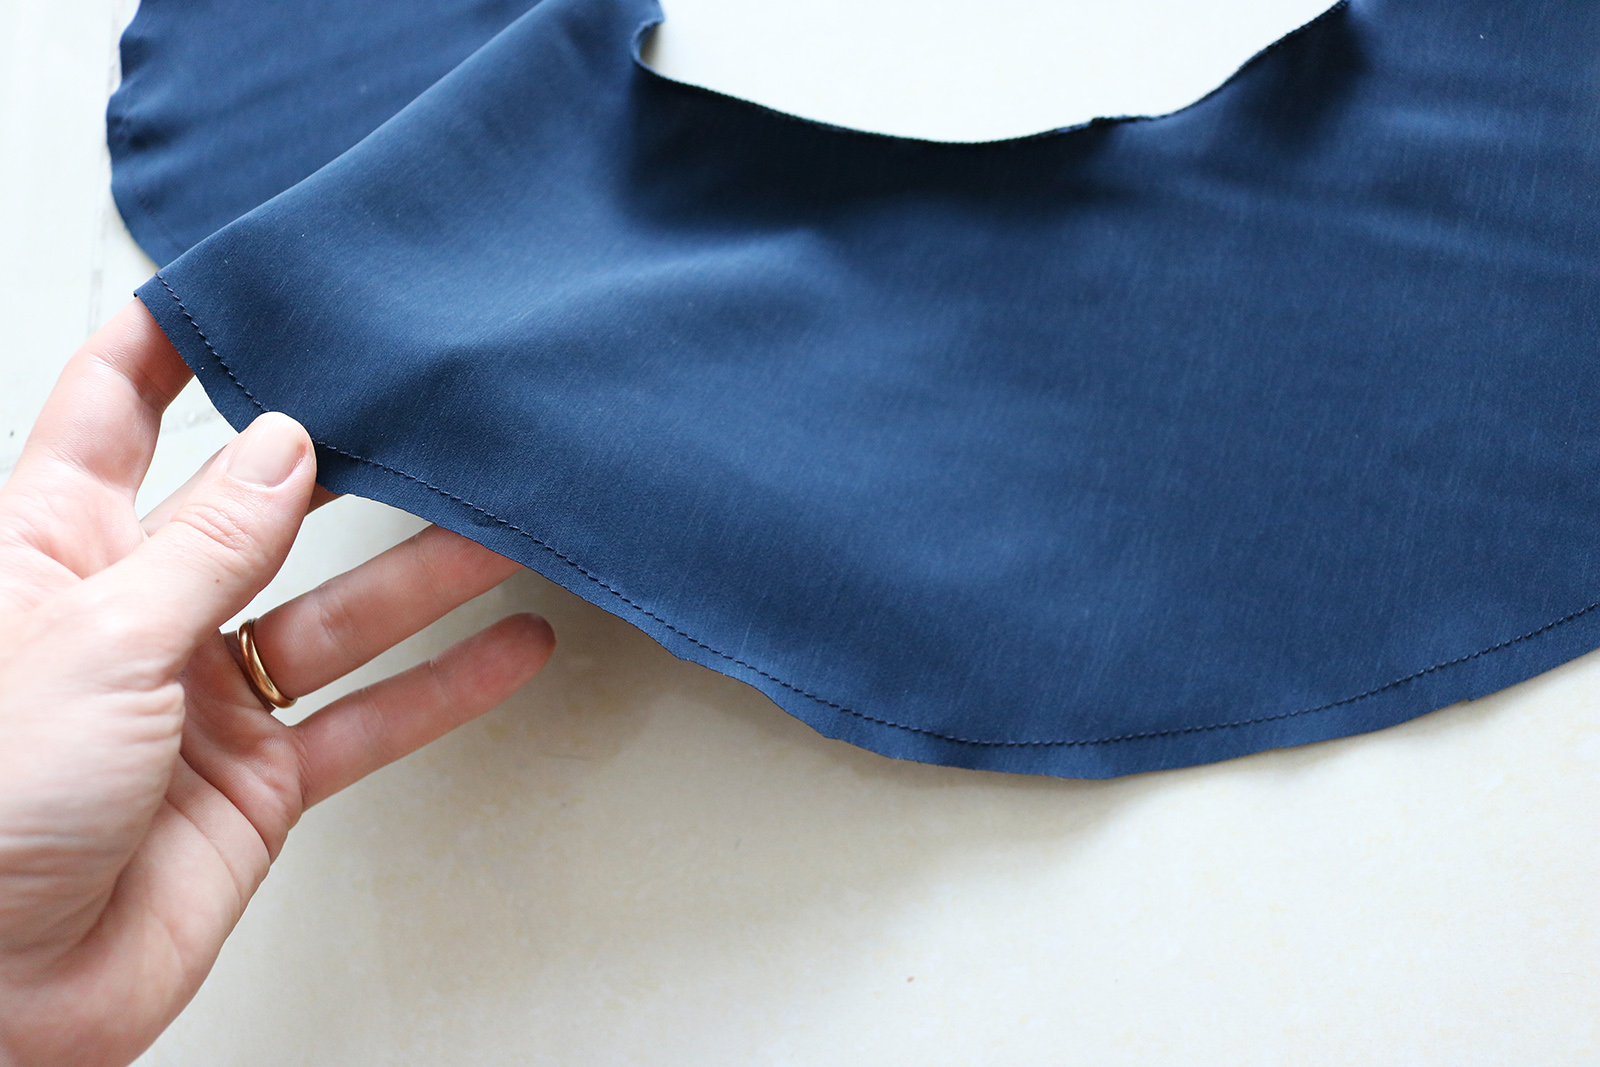
.. And used that to help press the first fold. Then repeated to fold again, pressing with a LOT of steam, pinning as I went, and sewed the fold in place.
VI. Second-last step; just did a double-fold at the waist, and this is what I had.

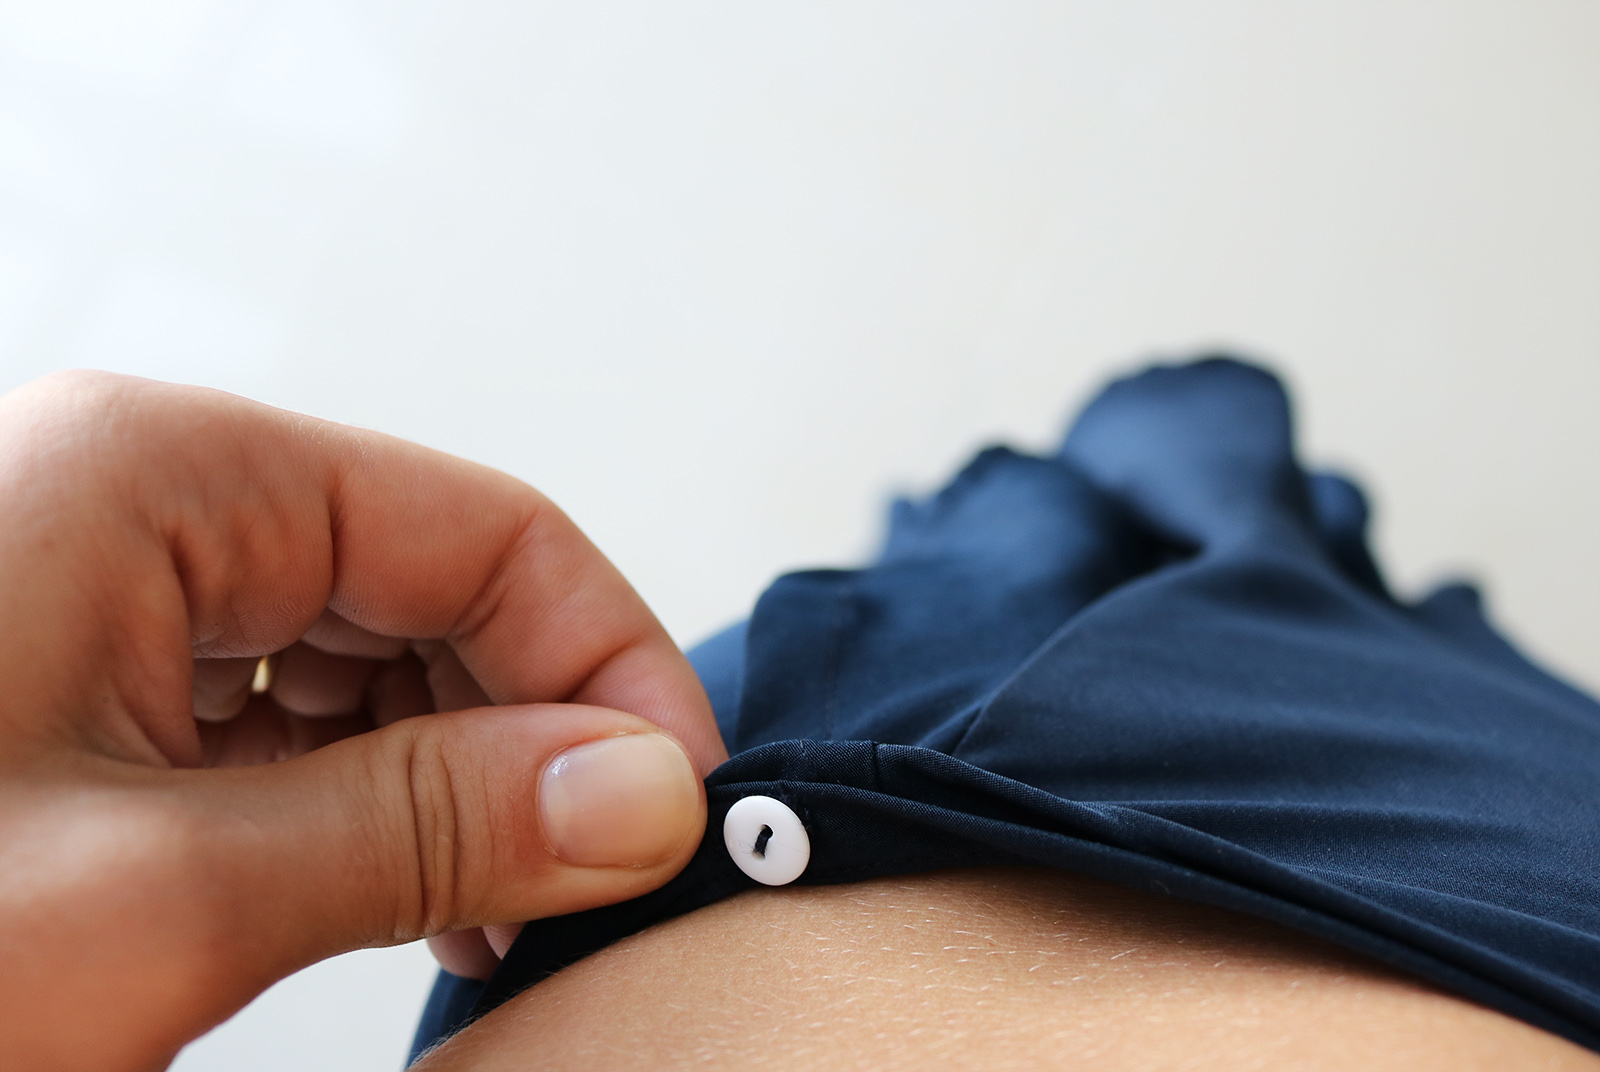
VII. Finally, wrapped the skirt around my waist to mark where the buttons needed to go. Added buttons on the side that goes on top, and button holes to the side against the skin.
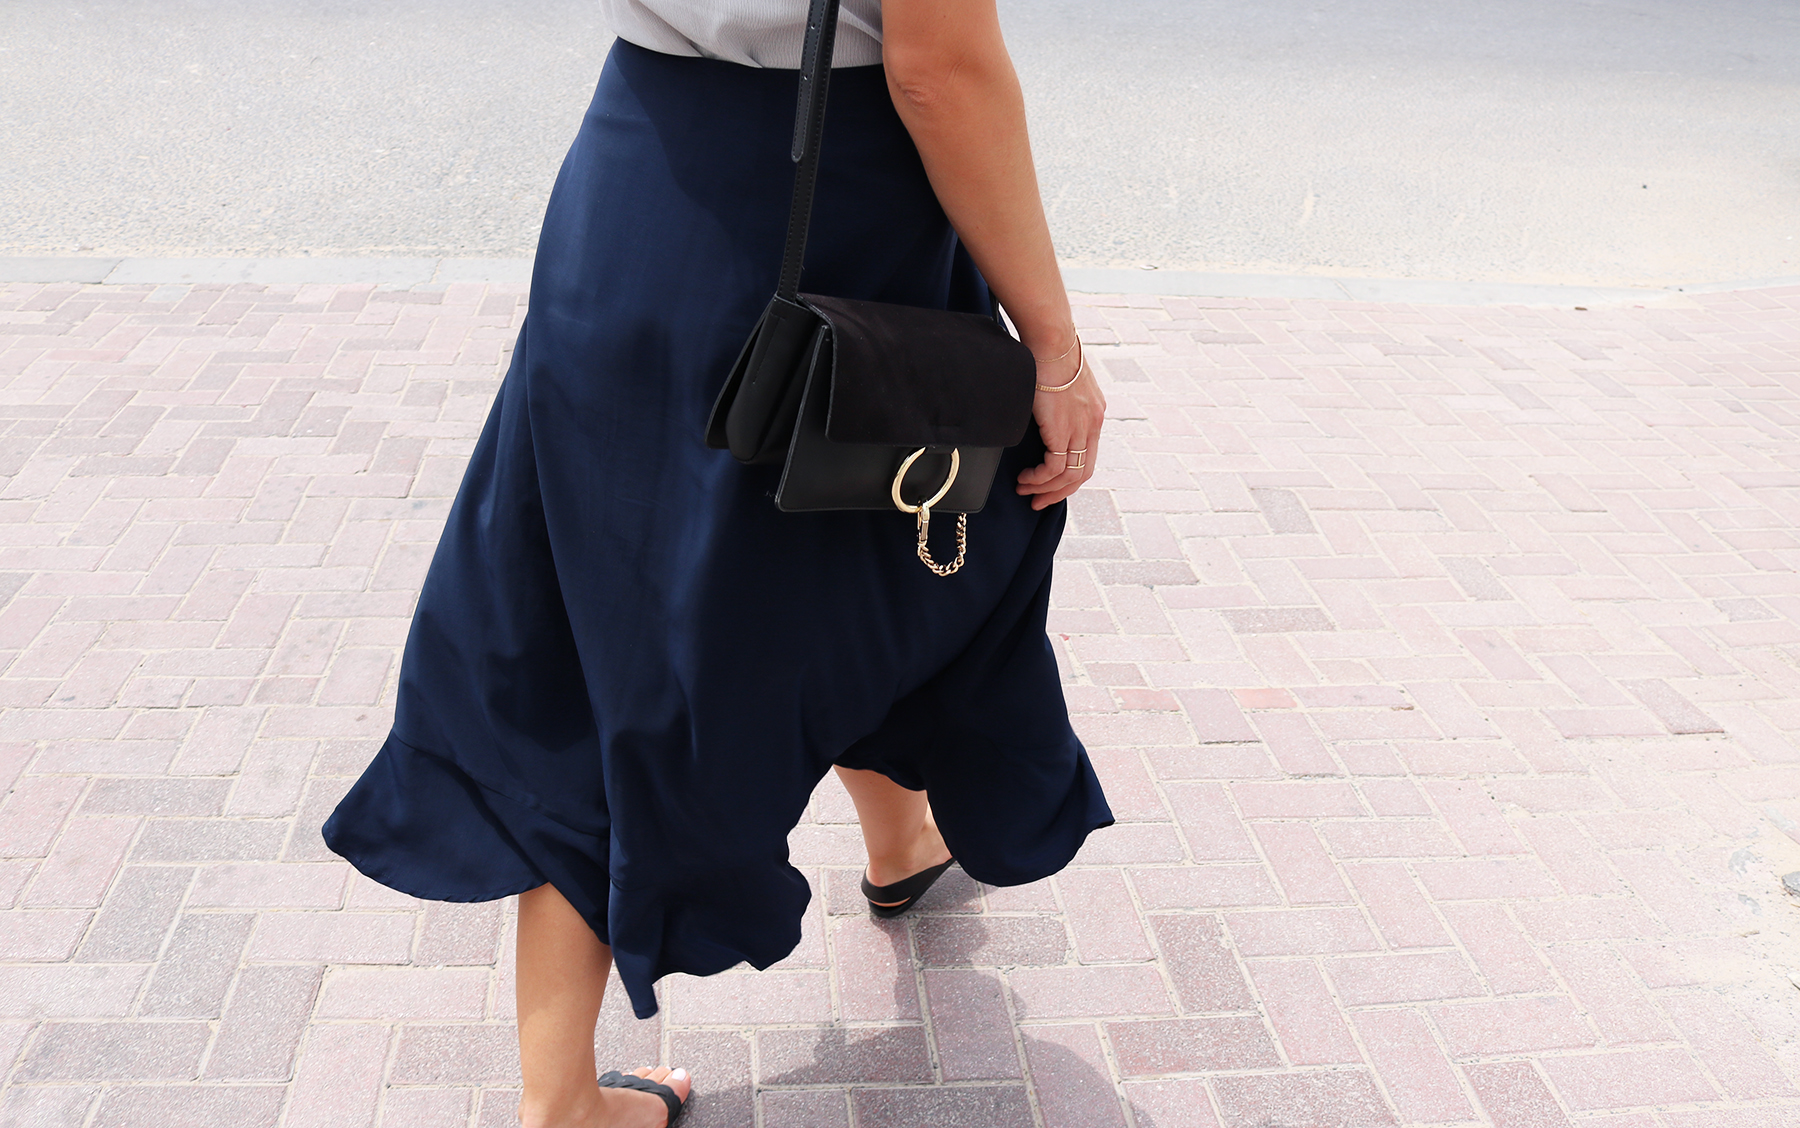
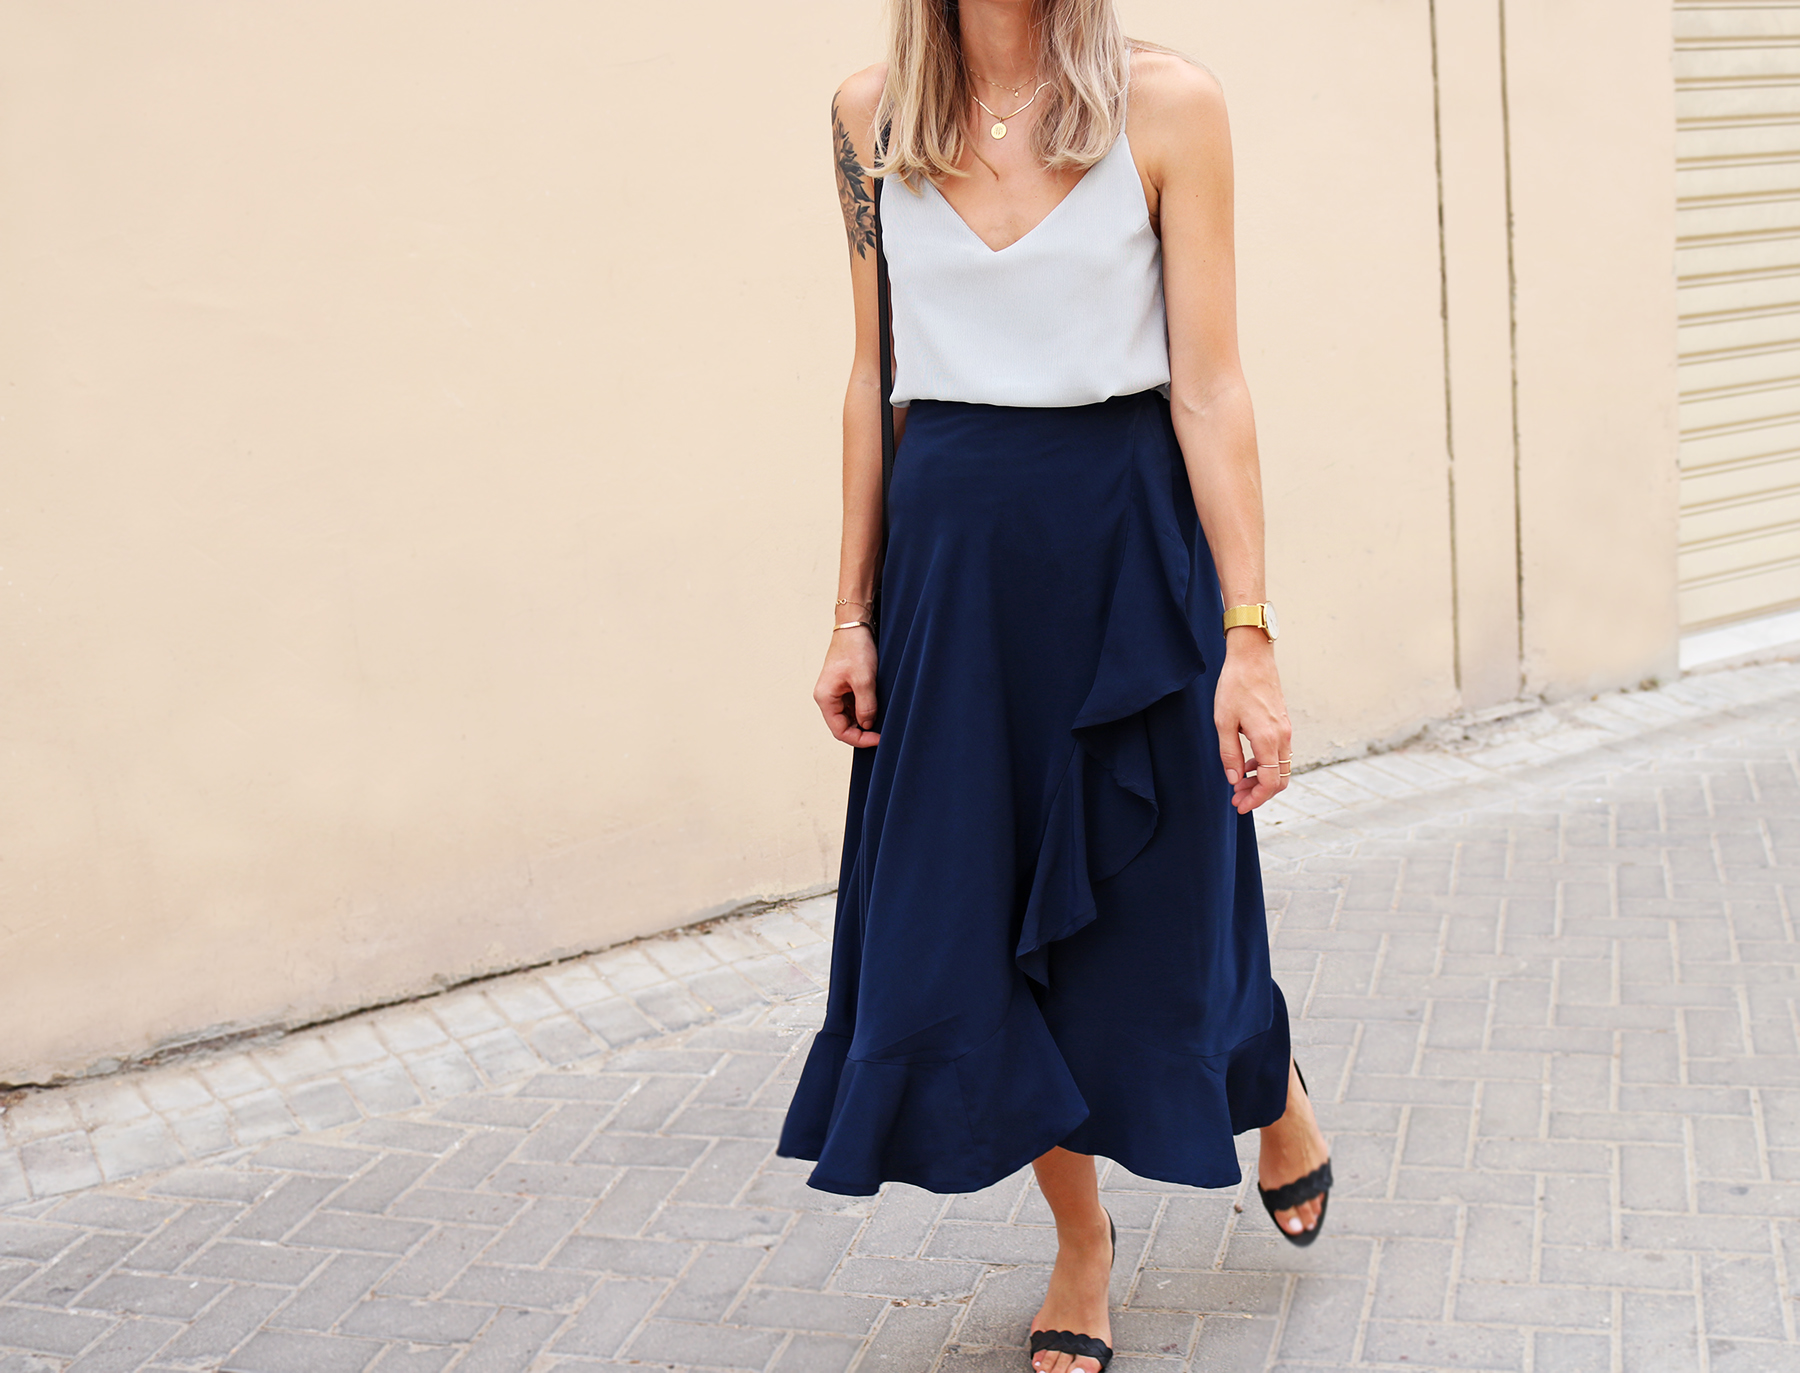
C'est tout!

xo,
Julia


Wow that's a gorgeous skirt. Good job and thank you for the tutorial!
ReplyDeleteThank you Carmen!
DeleteOh my. Now I have to try this at home. You made it look so easy - and that skirt looks so comfortable, flattering (on a number of body types, I'd wager), and plain old pretty. Great job!
ReplyDeleteThanks Rachel!! Very kind:)! I highly recommend making one - also super comfy!
DeleteReally pretty skirt! it looks simple but I love all the different curves that flow around. Great job!
ReplyDeleteThank you, glad you liked it!!
DeleteI absolutely adore this! Might have to have a go...
ReplyDeletedo it:)
Delete