

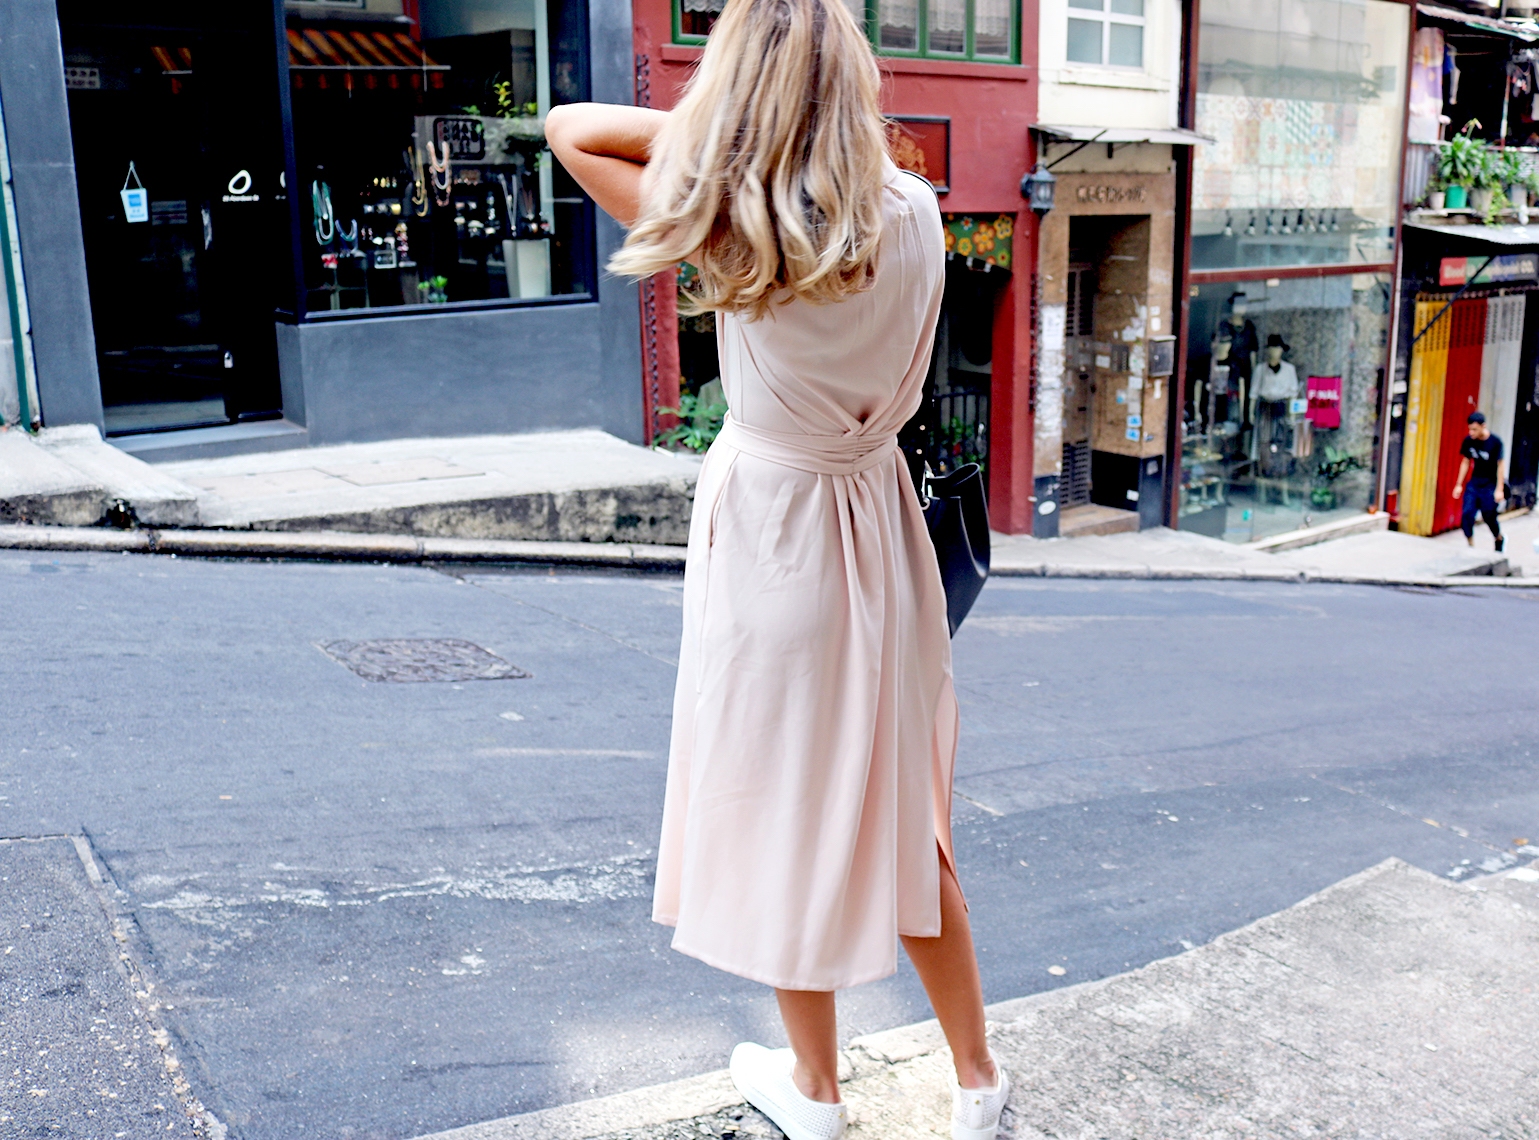
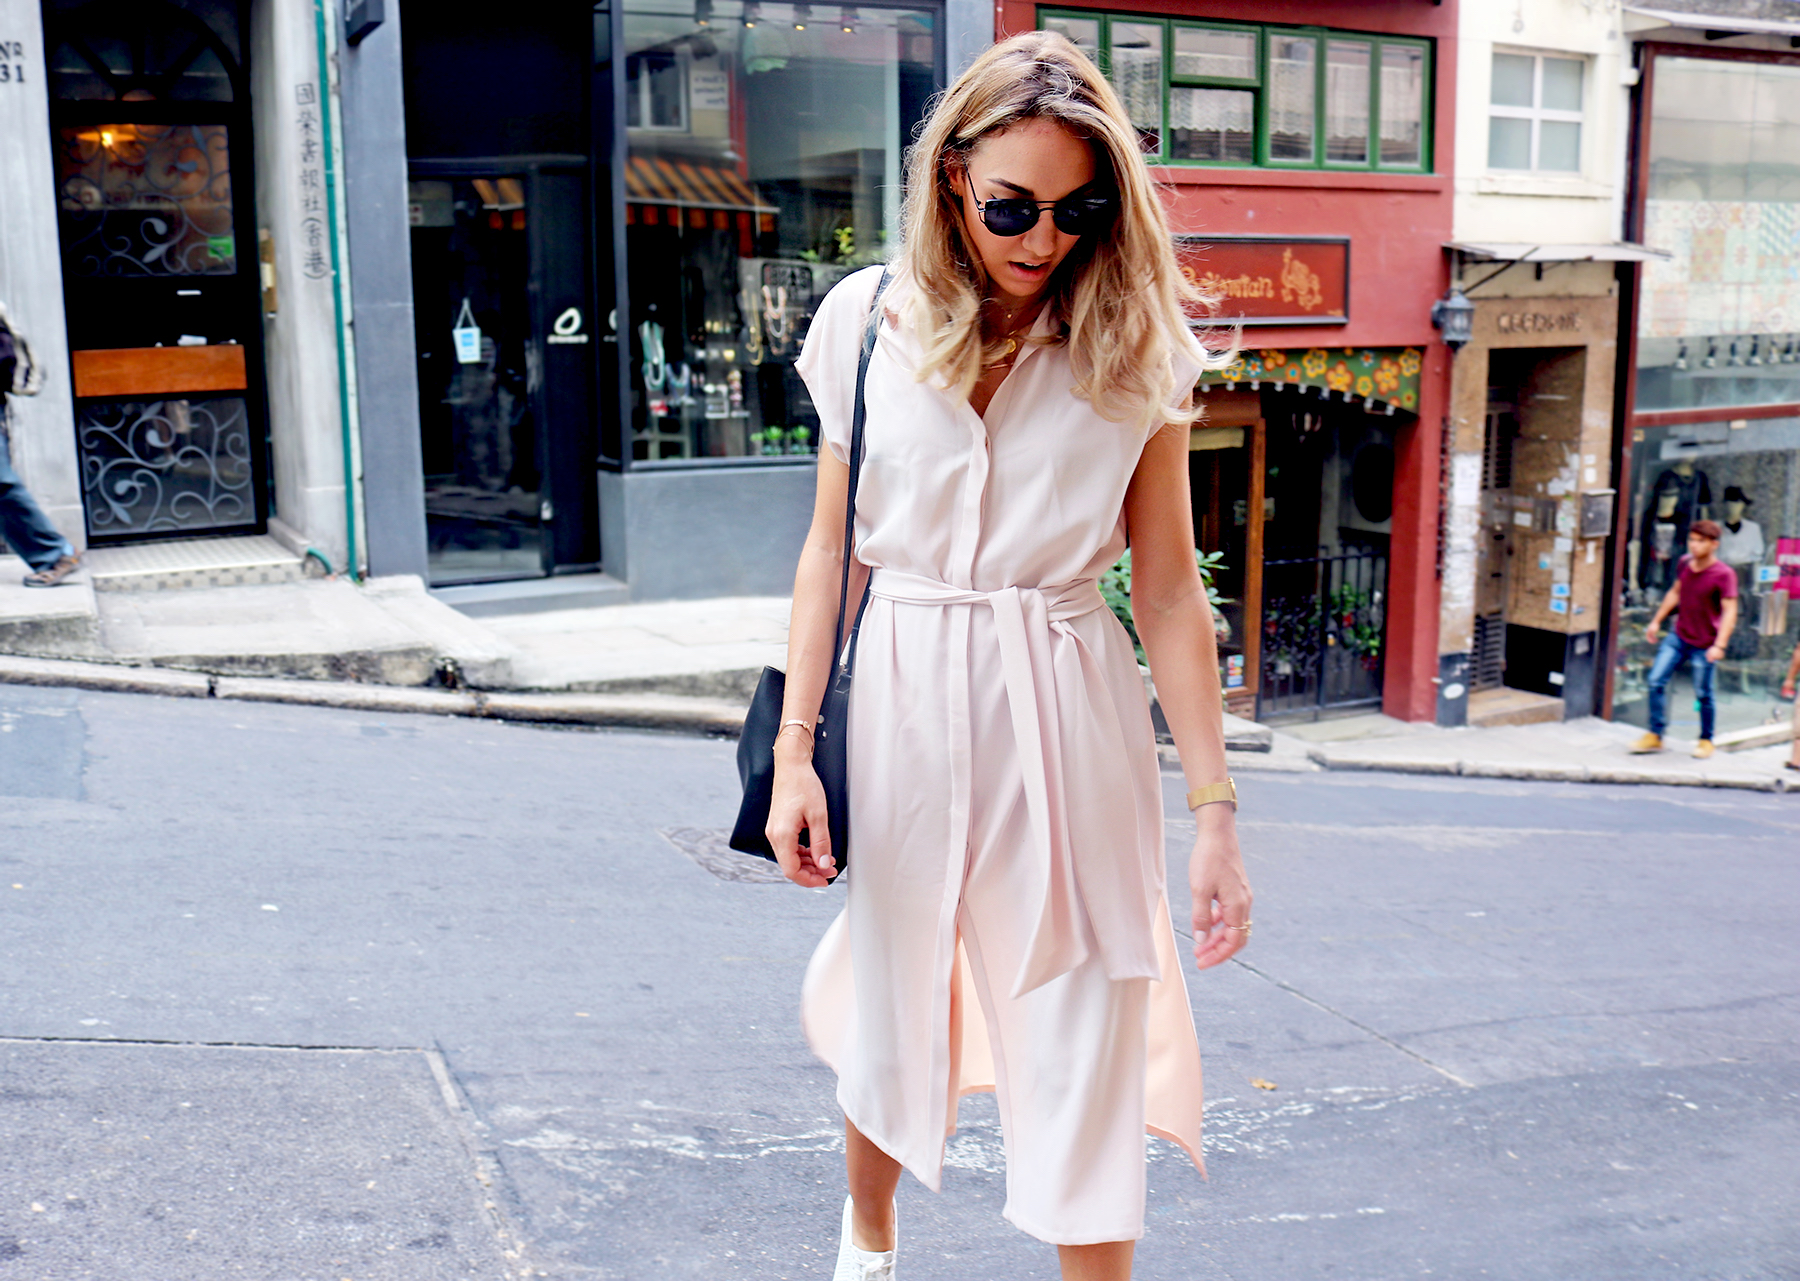
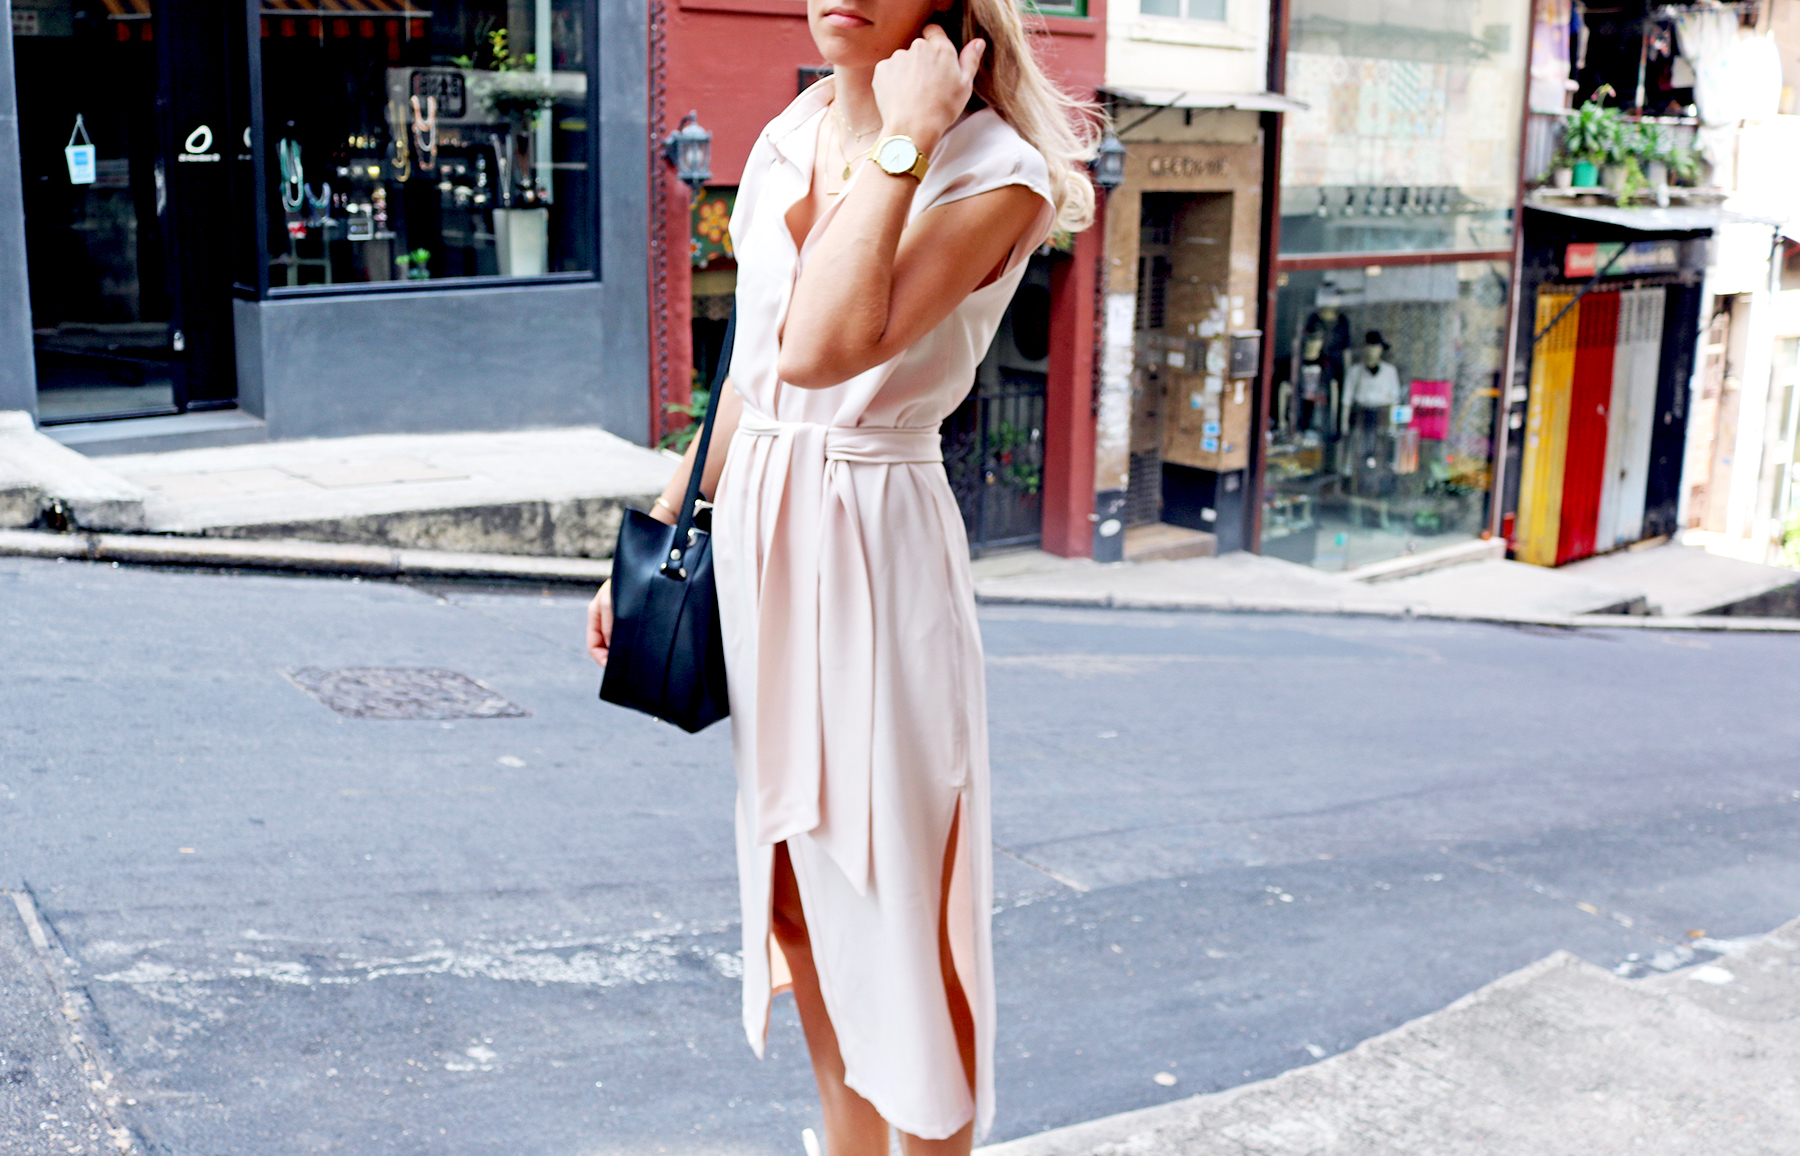
Got to be one of my favourite DIYs of all time. This post was getting completely out of control in terms of length so I broke it up into 3 separate ones - the steps for sewing the collar are here, and for the flat felled shoulder seams head here. The wrinkly status of the ready dress courtesy of a day of roaming around Hong Kong.
Tutorials take a lot of time & effort to create, and I choose to make mine available for free. If you enjoy this guide, you can support me with a donation that feels right for you, here.
TOOLS:
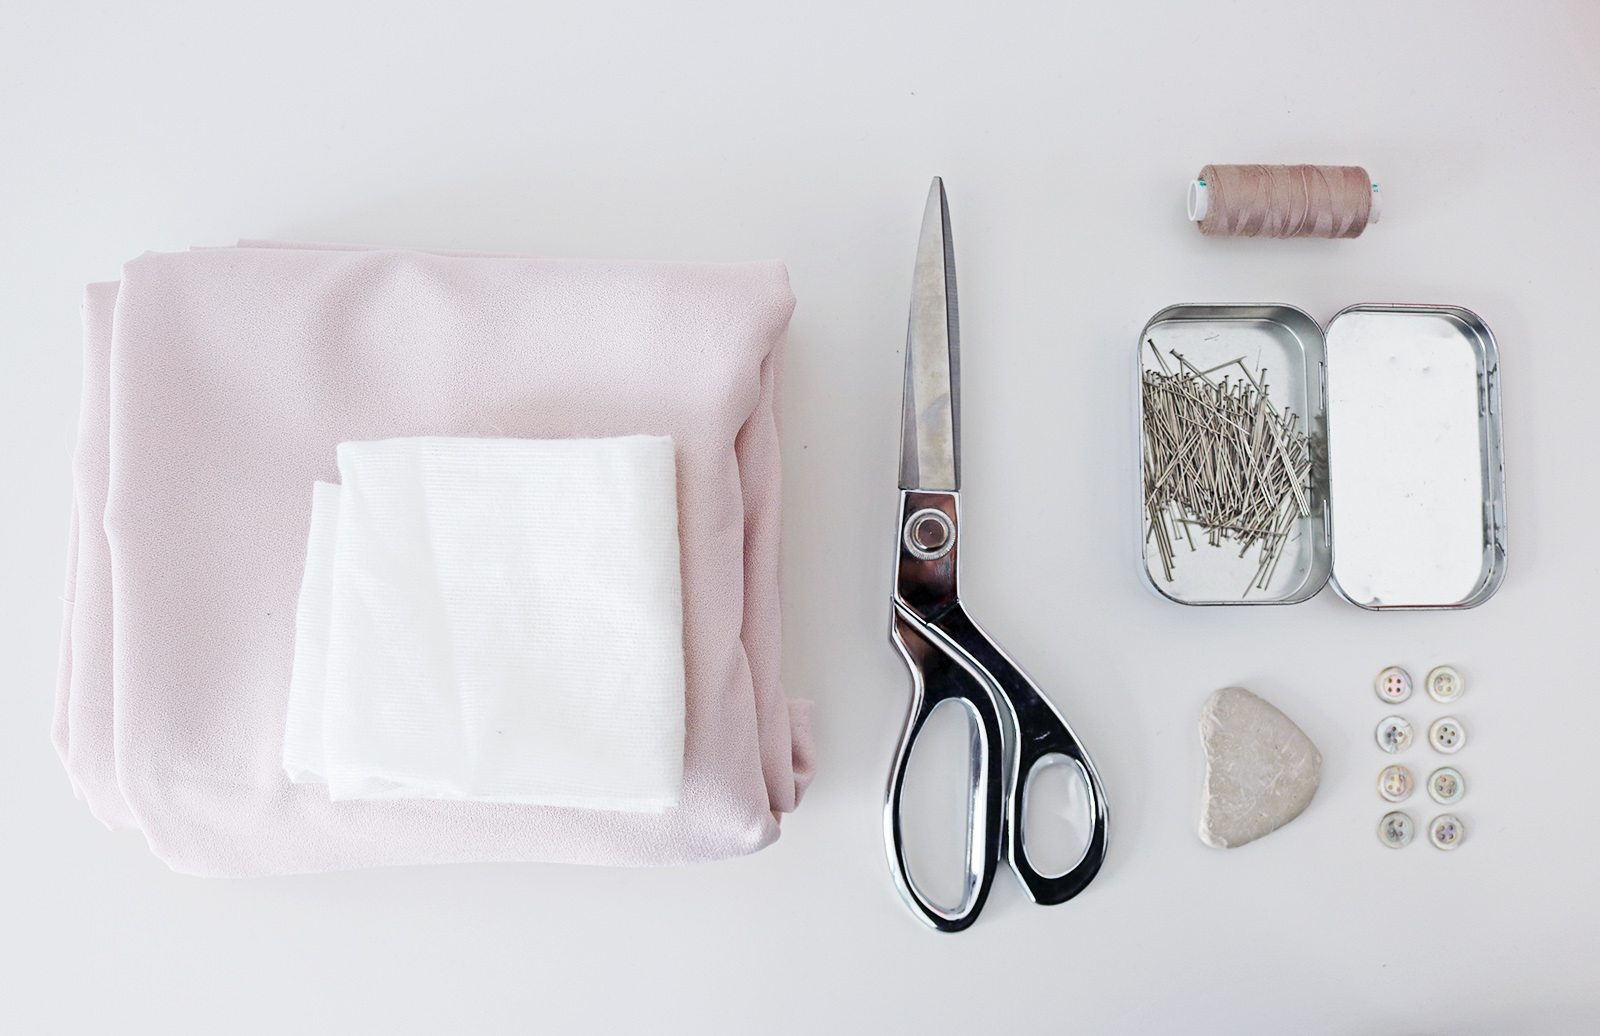
Fabric, 3-3.5 m depending on your size and length of dress | Small piece of interfacing for the collar | Scissors | Fabric marker | Pins | Thread & sewing machine, needle | 8 buttons
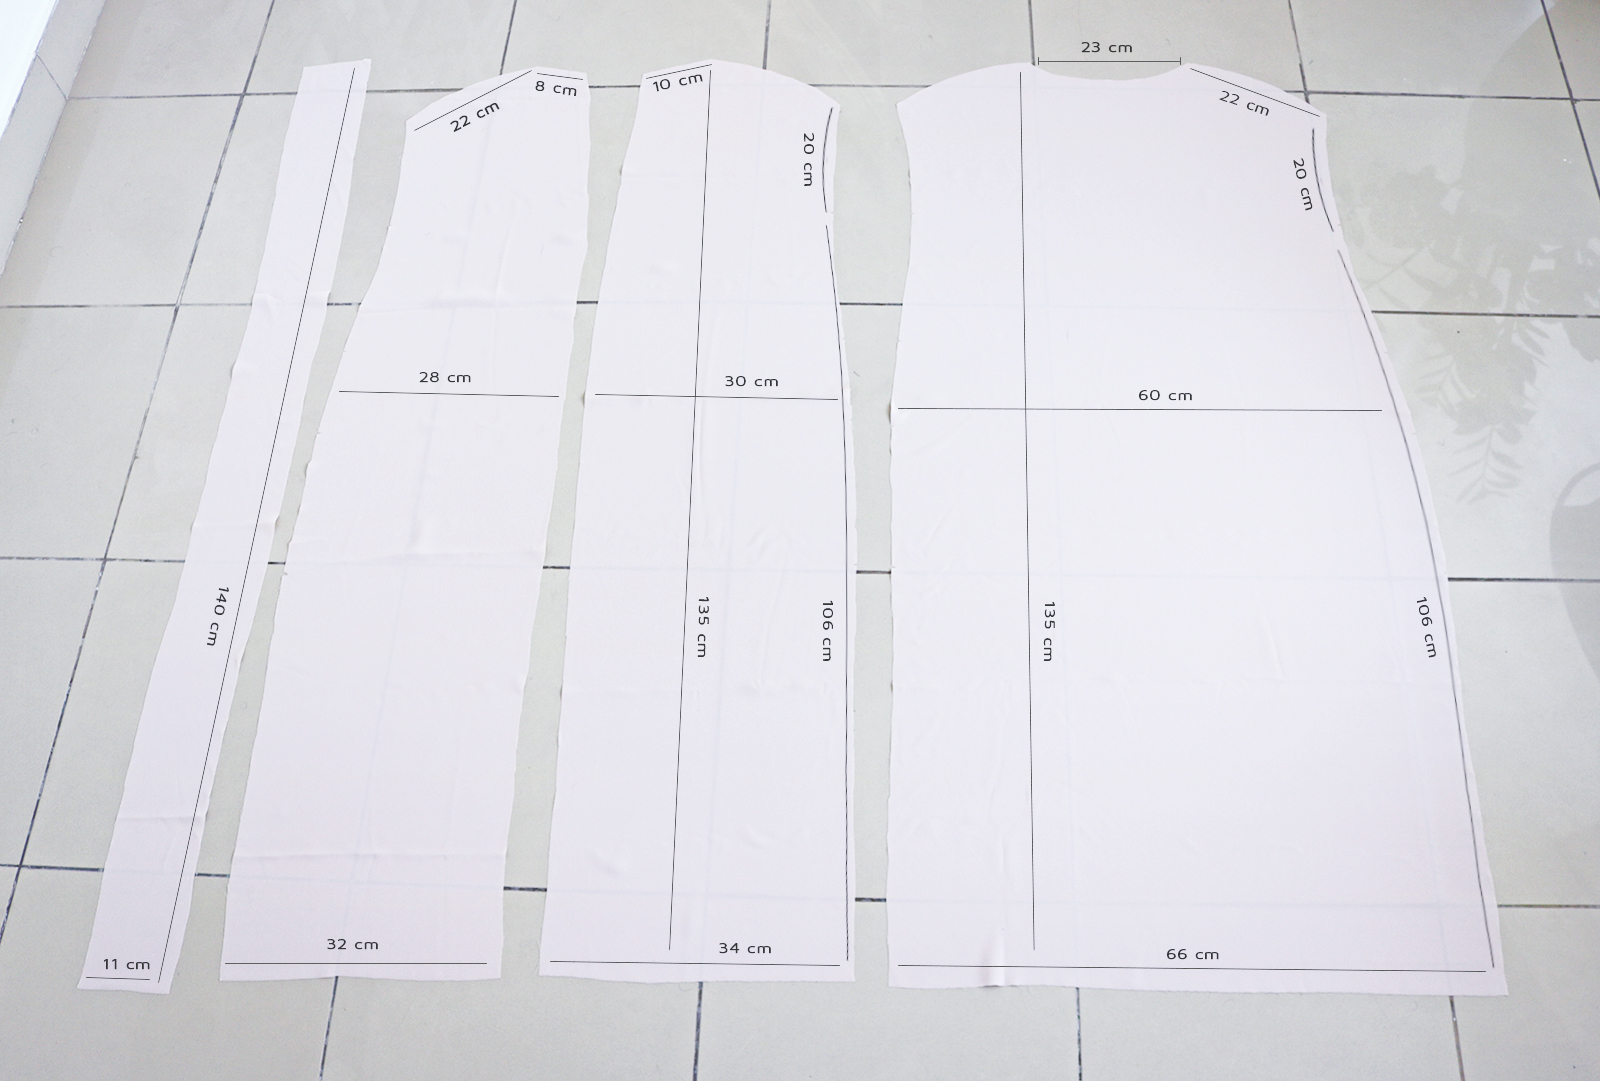
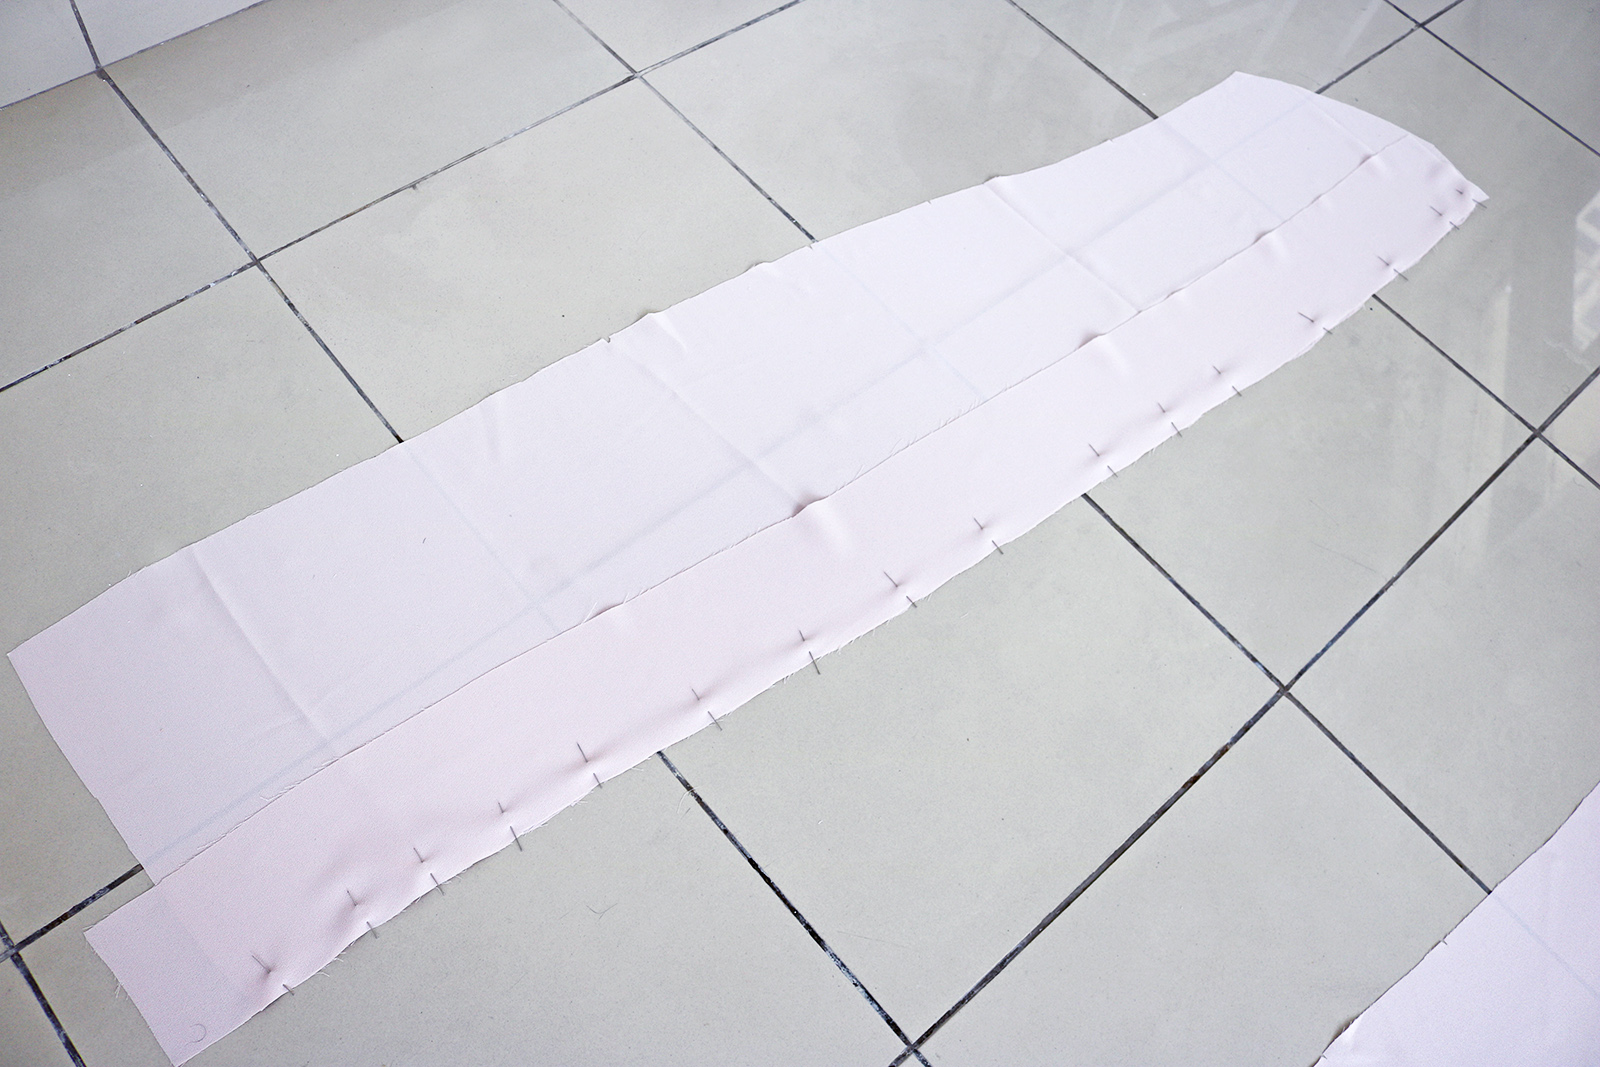
I. Here are the measurements of my cut pieces (I'm a EU36/US4 however this loose fit would be good for a EU40 as well). The two front pieces are essentially copies of each other, the only difference being that the left side is about 2 cm less wide than the right side - this is for the button band business to work. Note that there's a bit of a V-neck in the front pieces - the front center edges are cut at a slight angle for about 30 cm from the top, thereafter they go down straight.
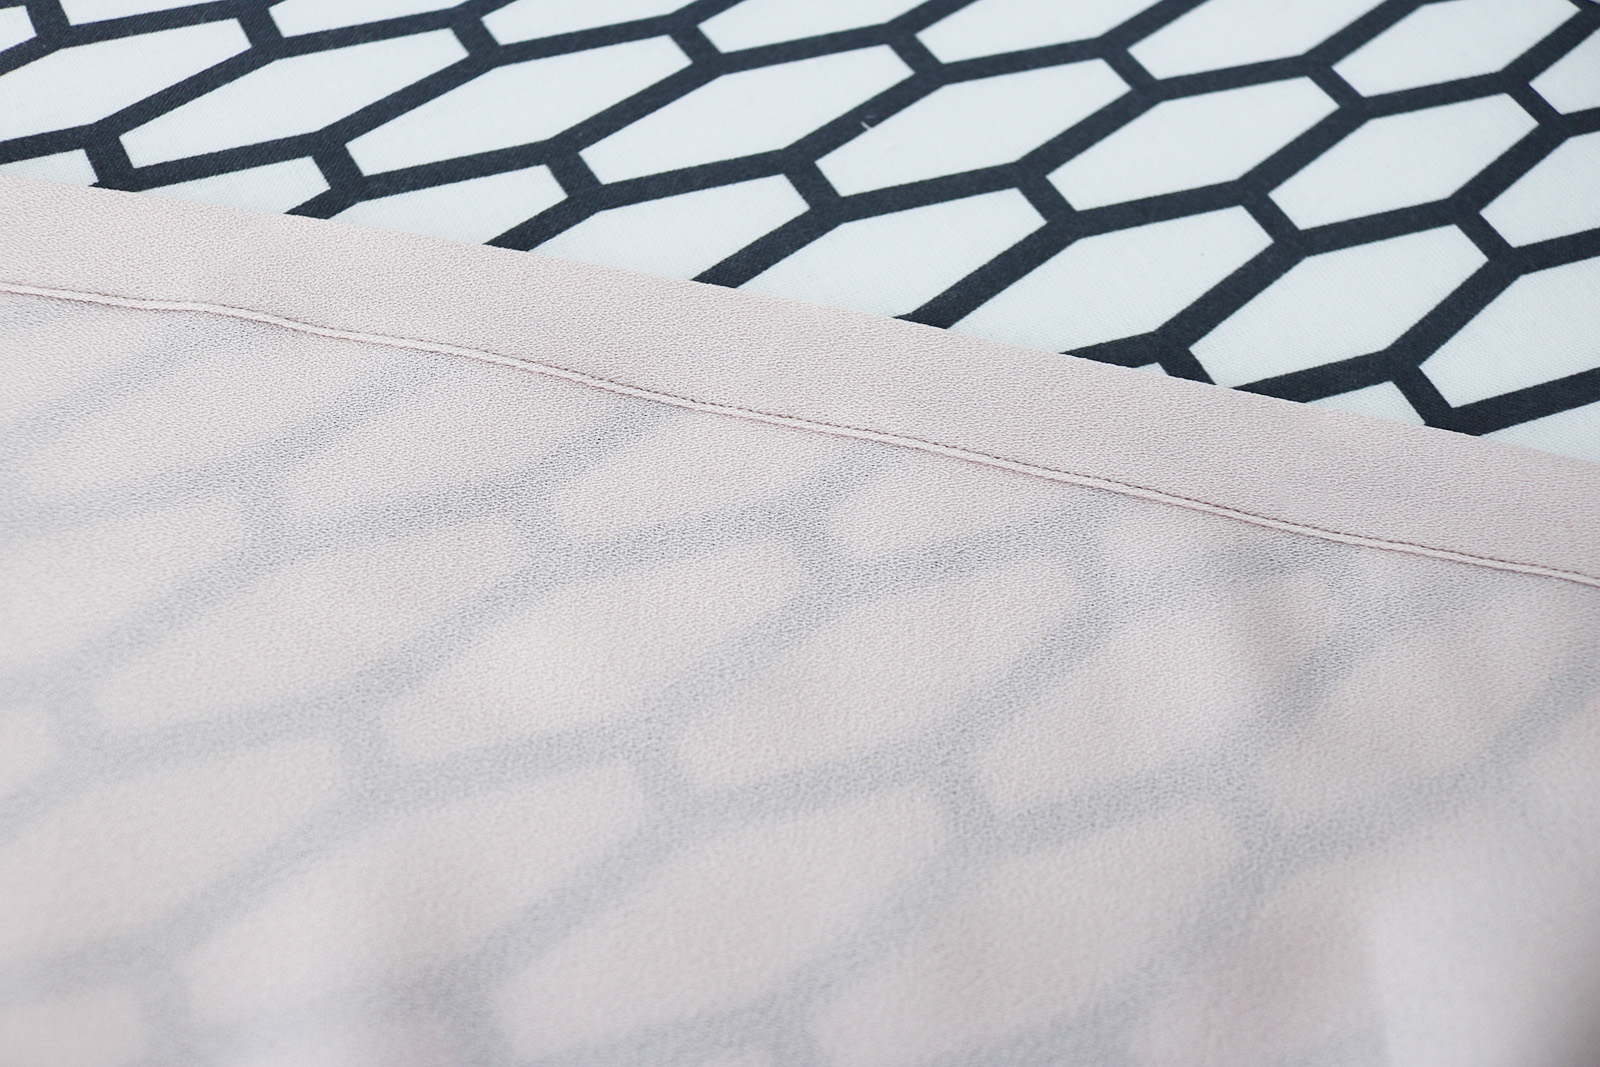
II. Started with the button band of the left side front piece (the more narrow one, where the actual buttons will be attached). First press a 0.5 cm fold along the full distance of the front center raw edge.
Then fold again, so the second fold ends up being 2 cm wide. Pin down and sew right next the the edge.
.. And you'll have this. That's it for the left front piece.
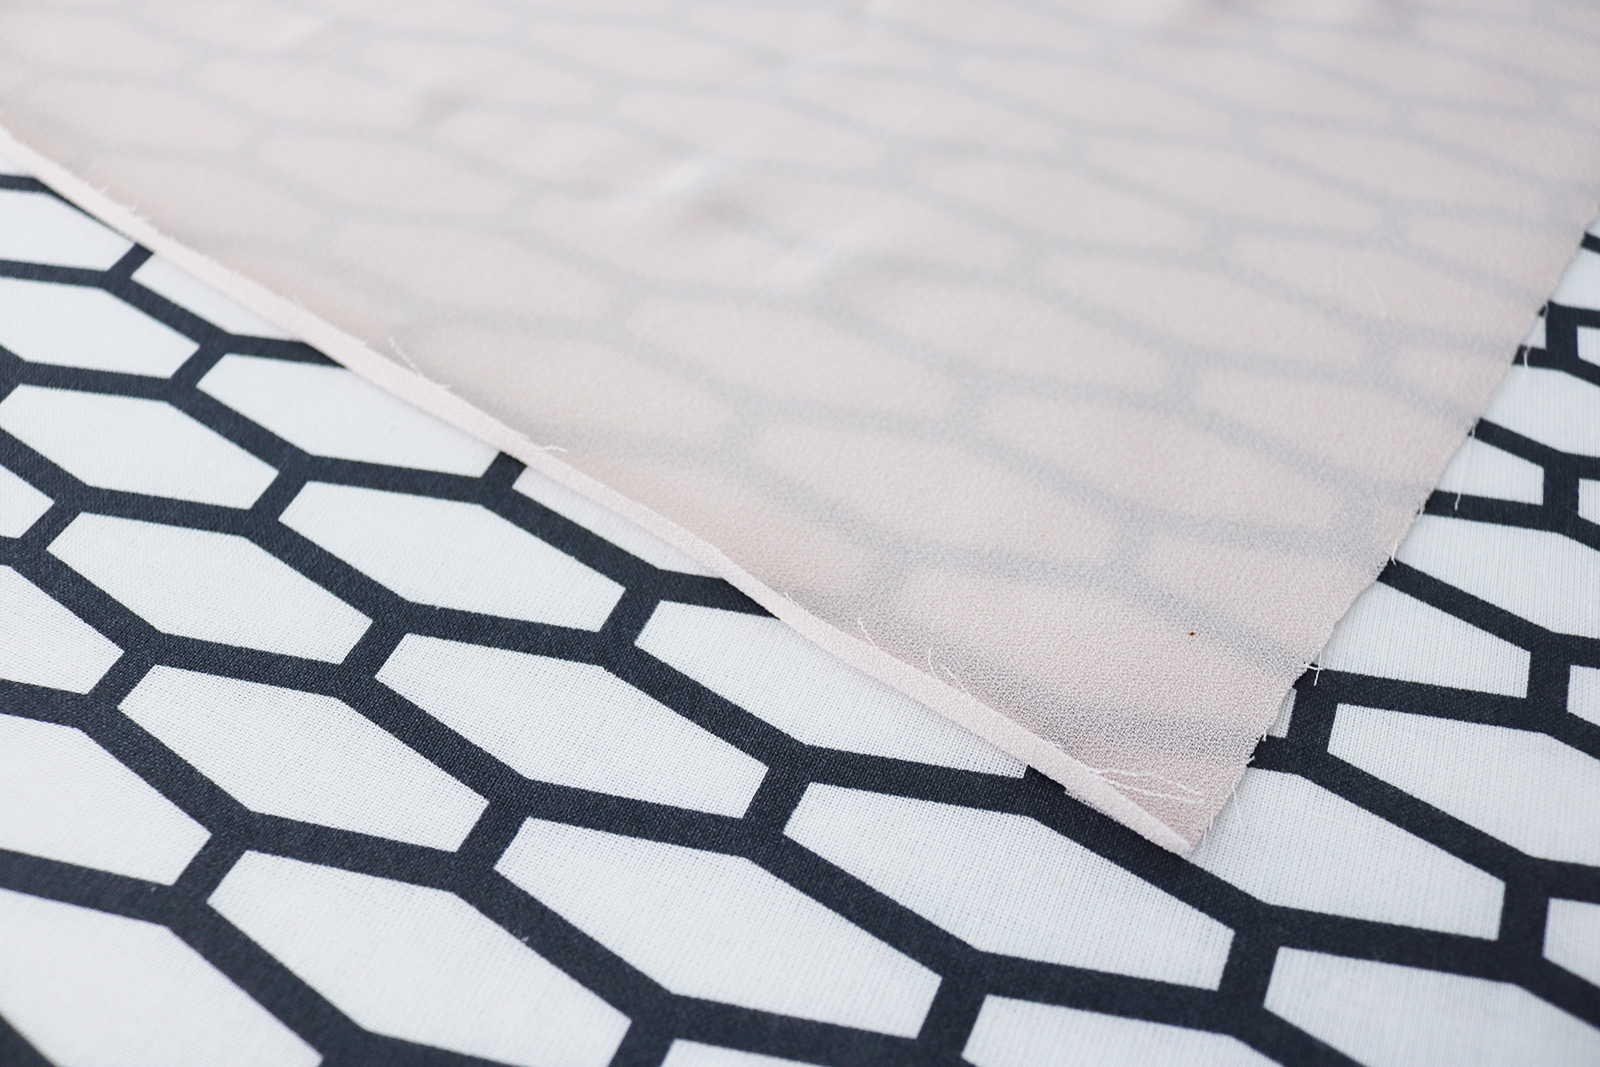
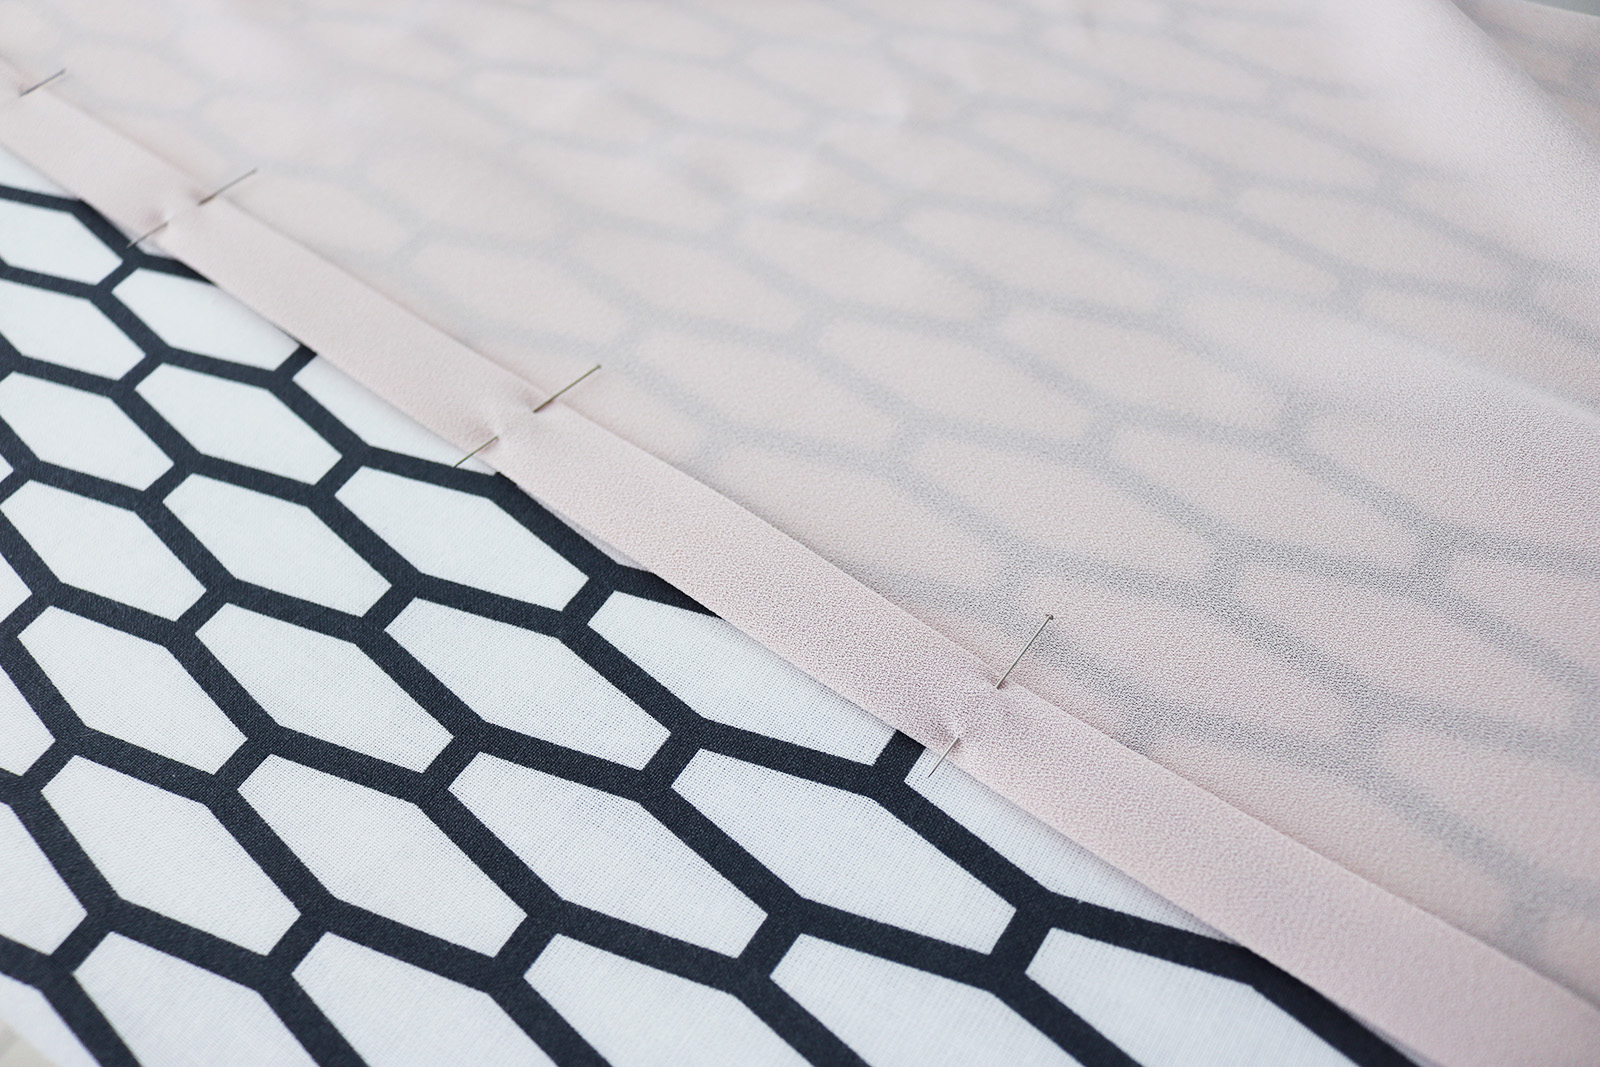
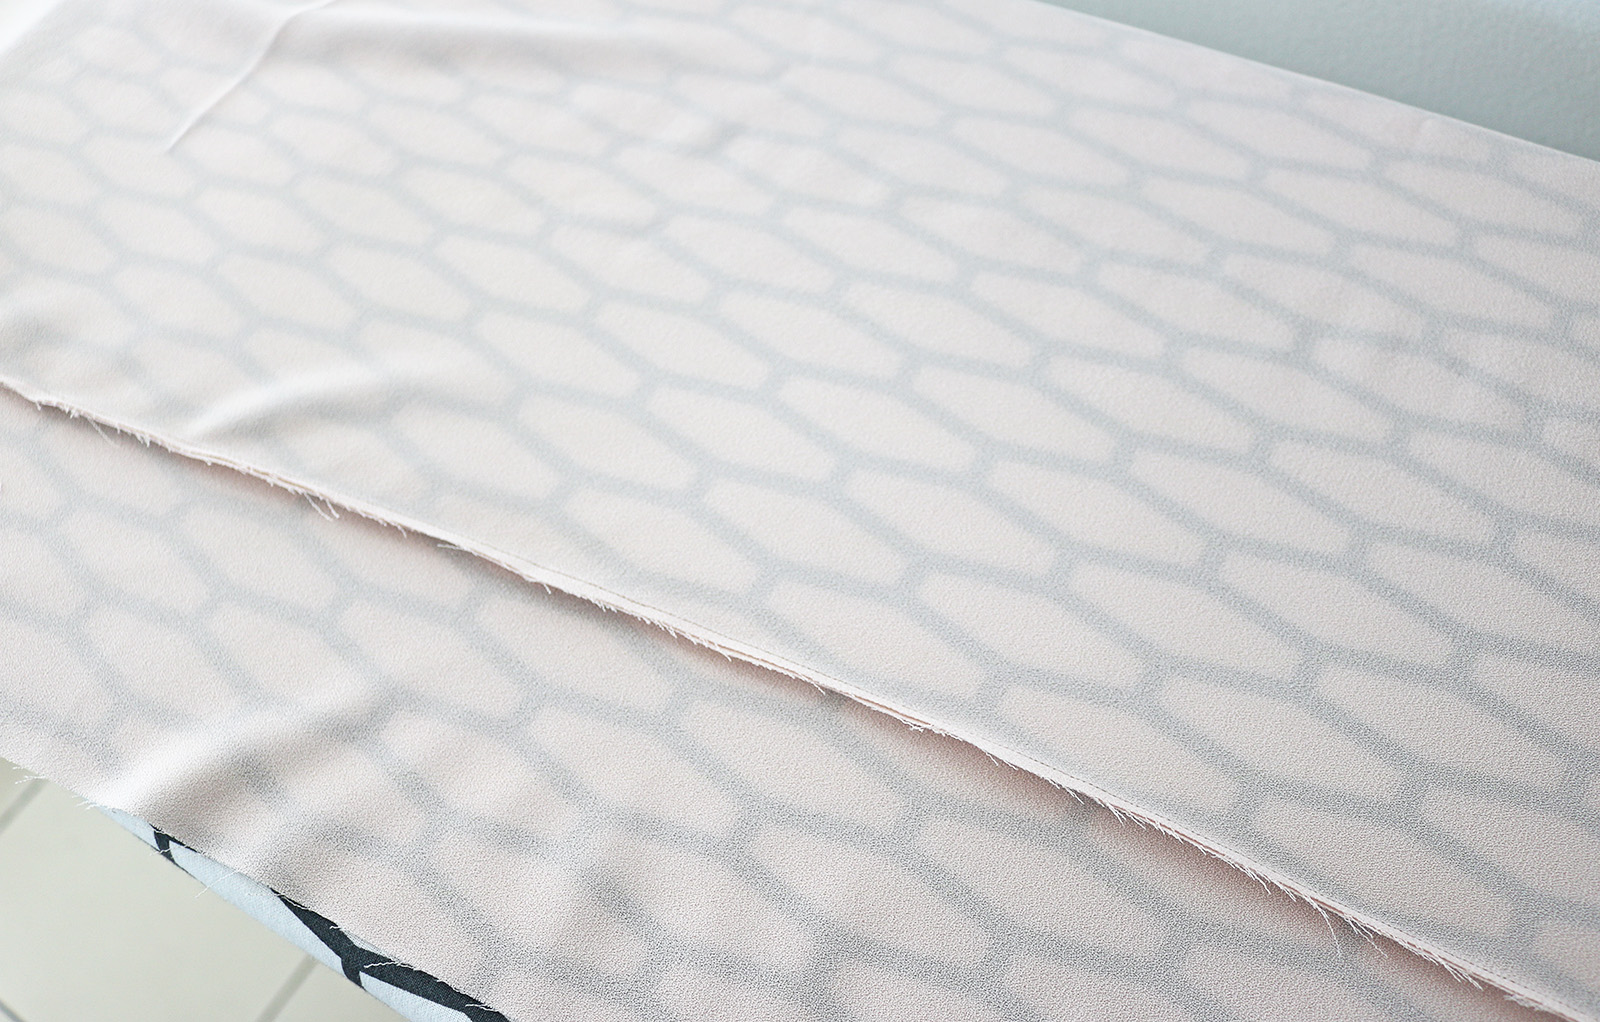
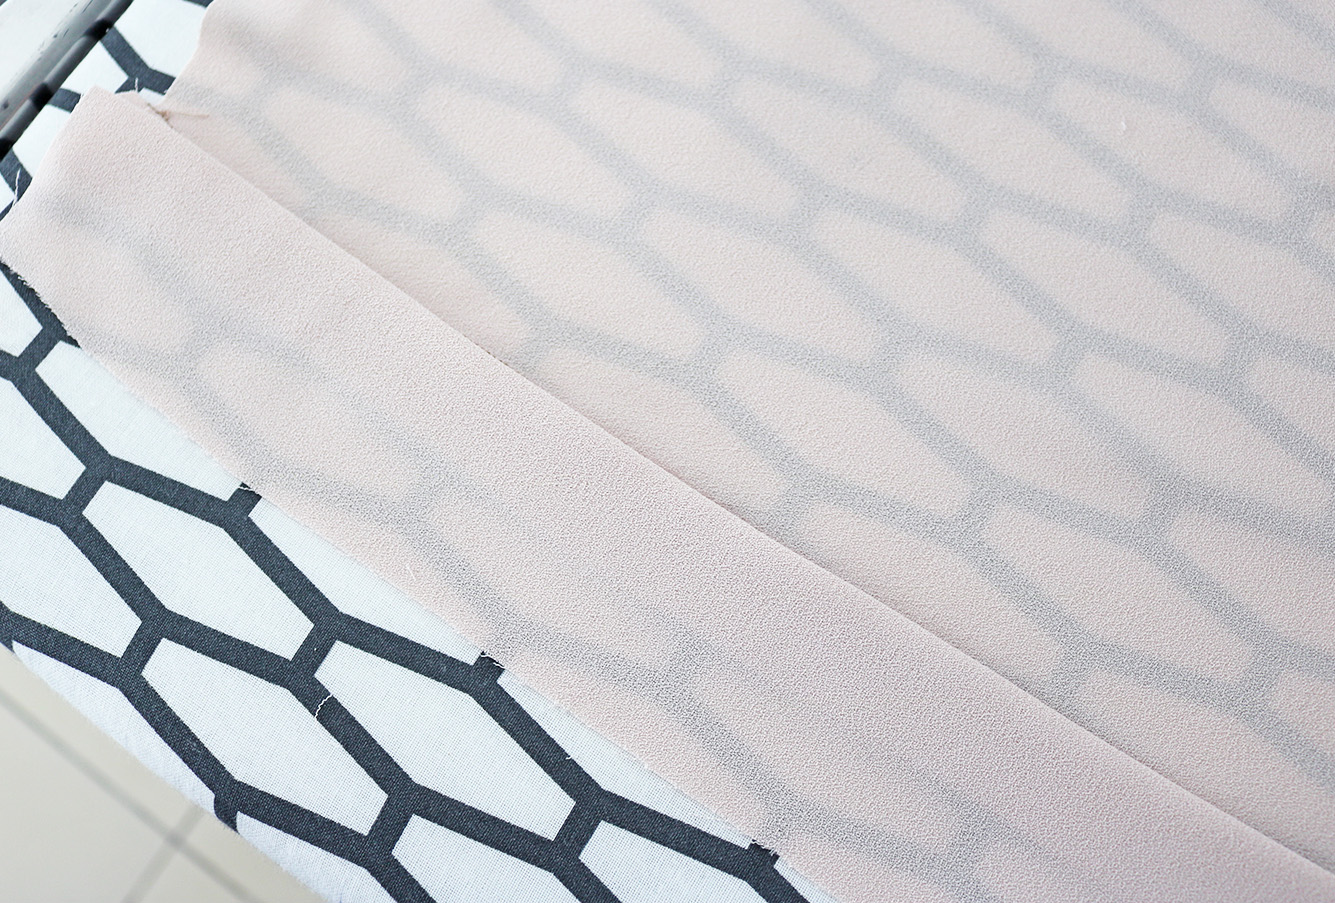
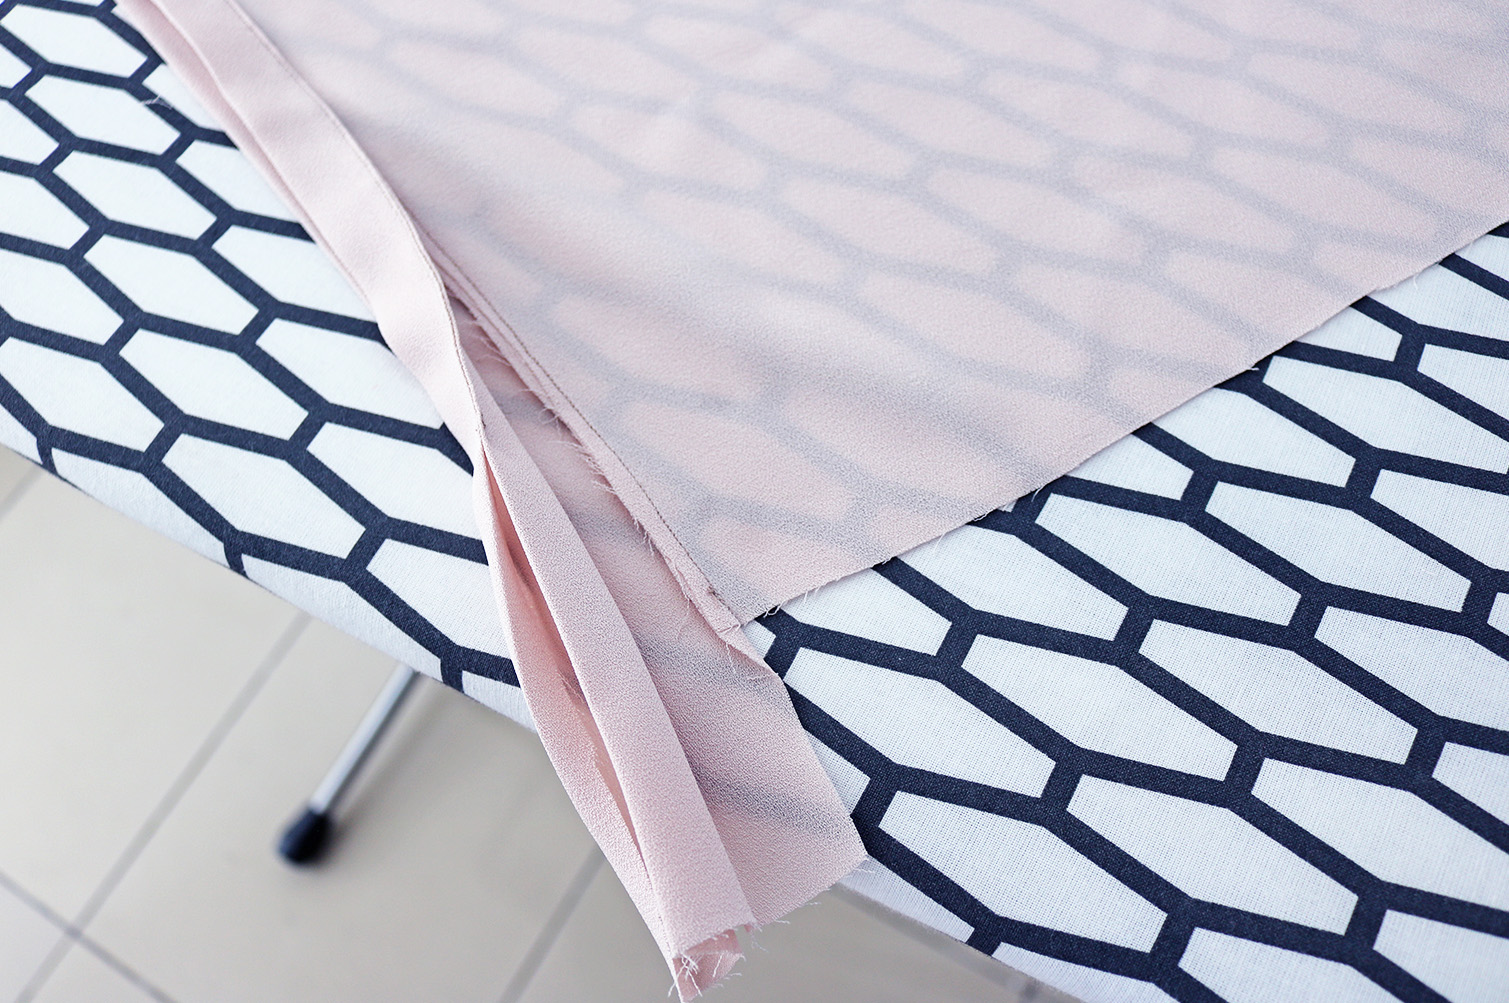
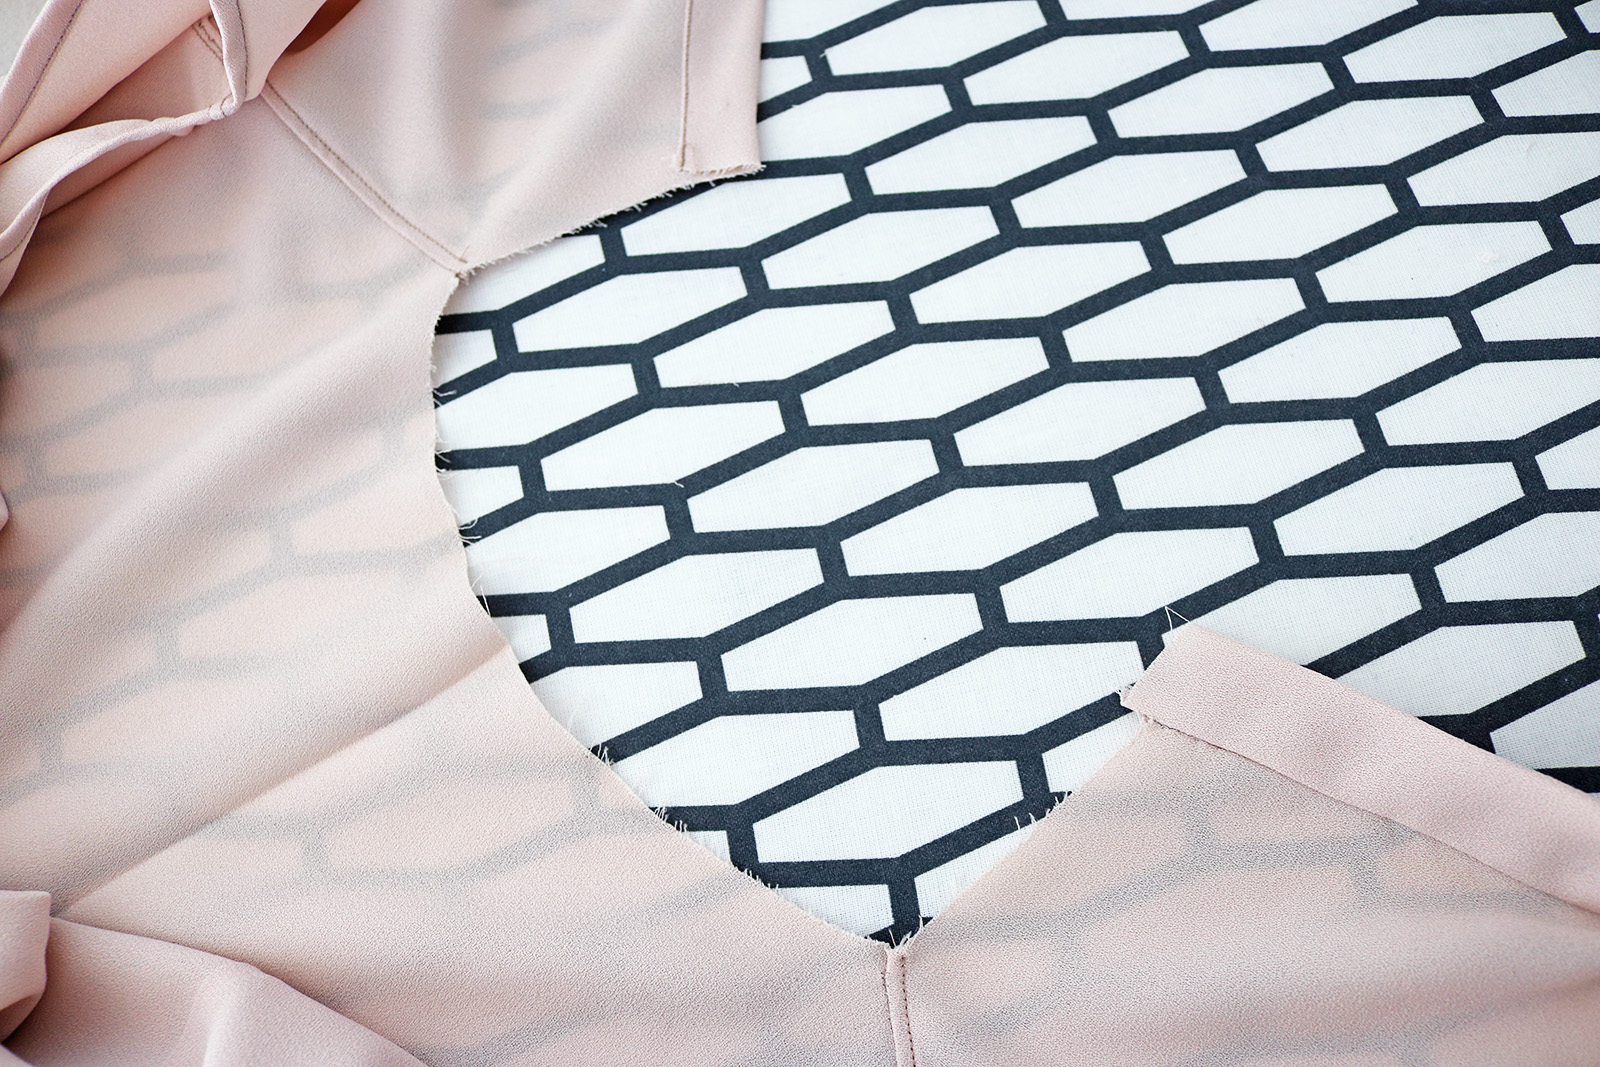
III. For the right front piece, we'll make the concealed button band that will eventually have the button holes in it. First take the long strip of fabric about 11 cm wide, and pin right sides facing onto the main front part, along the front center line (as you can see I'm always paranoid when cutting my button bands because I once cut one too short, and was out of fabric to fix it. So I rather go long and then trim..)
After stitching those two together at 0.5 cm from the edge, press the seam allowance towards the button band, away from the shirt.
Then make your first fold so the forming band from the front is 2 cm wide.

Make a second fold so the fold line matches the first stitch you did..
.. Which will leave you with this type of situation.
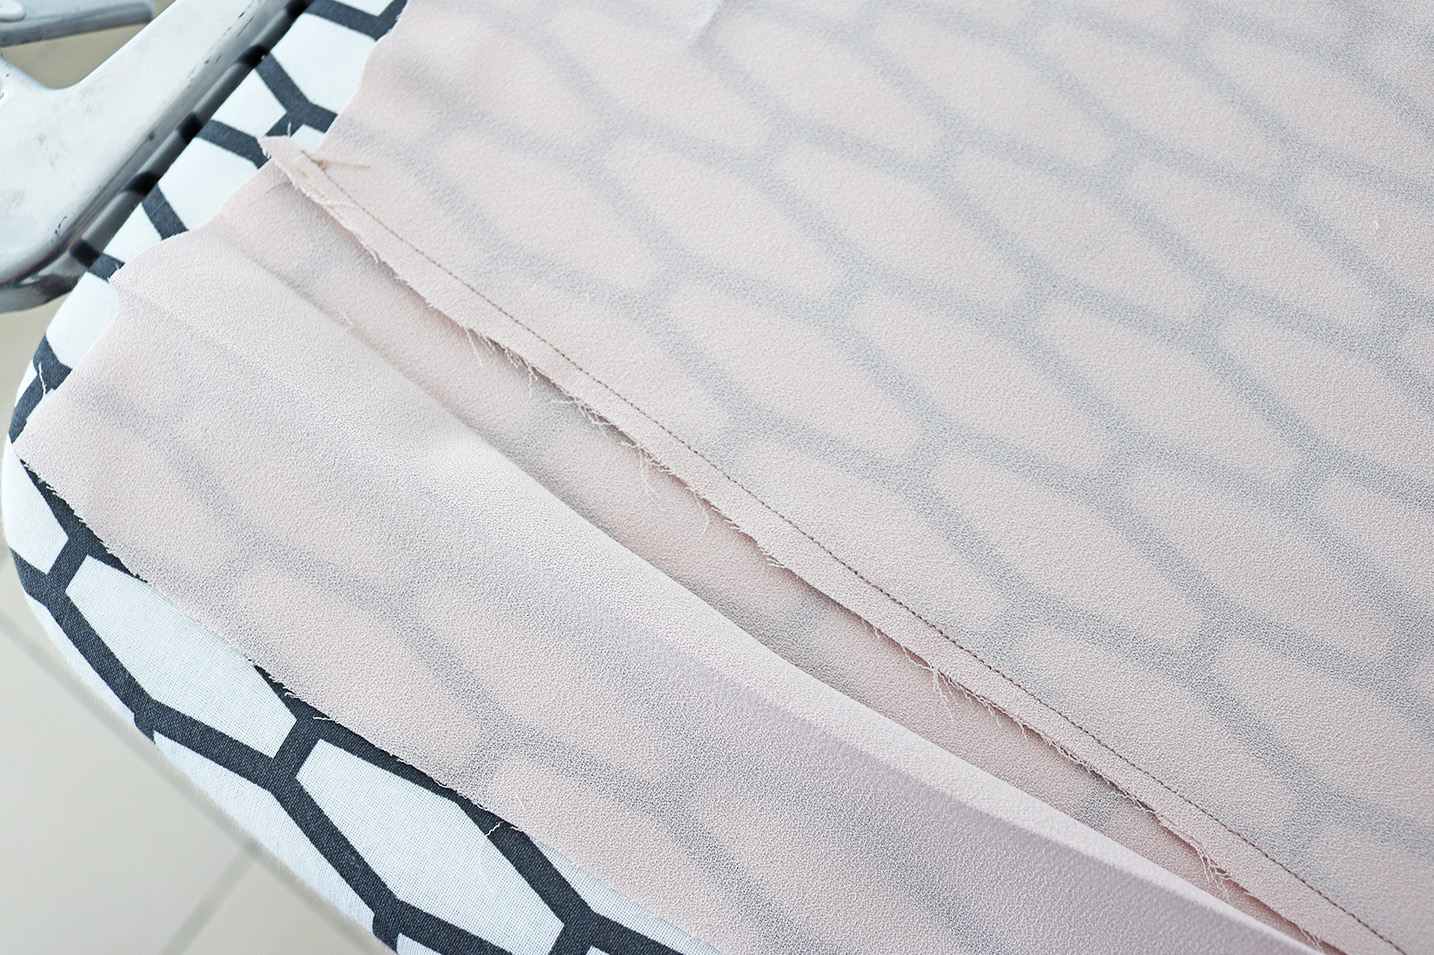
Then press a third fold, so the third fold line is just a couple mm from the first one. This way it will be fully concealed looking from the right side.
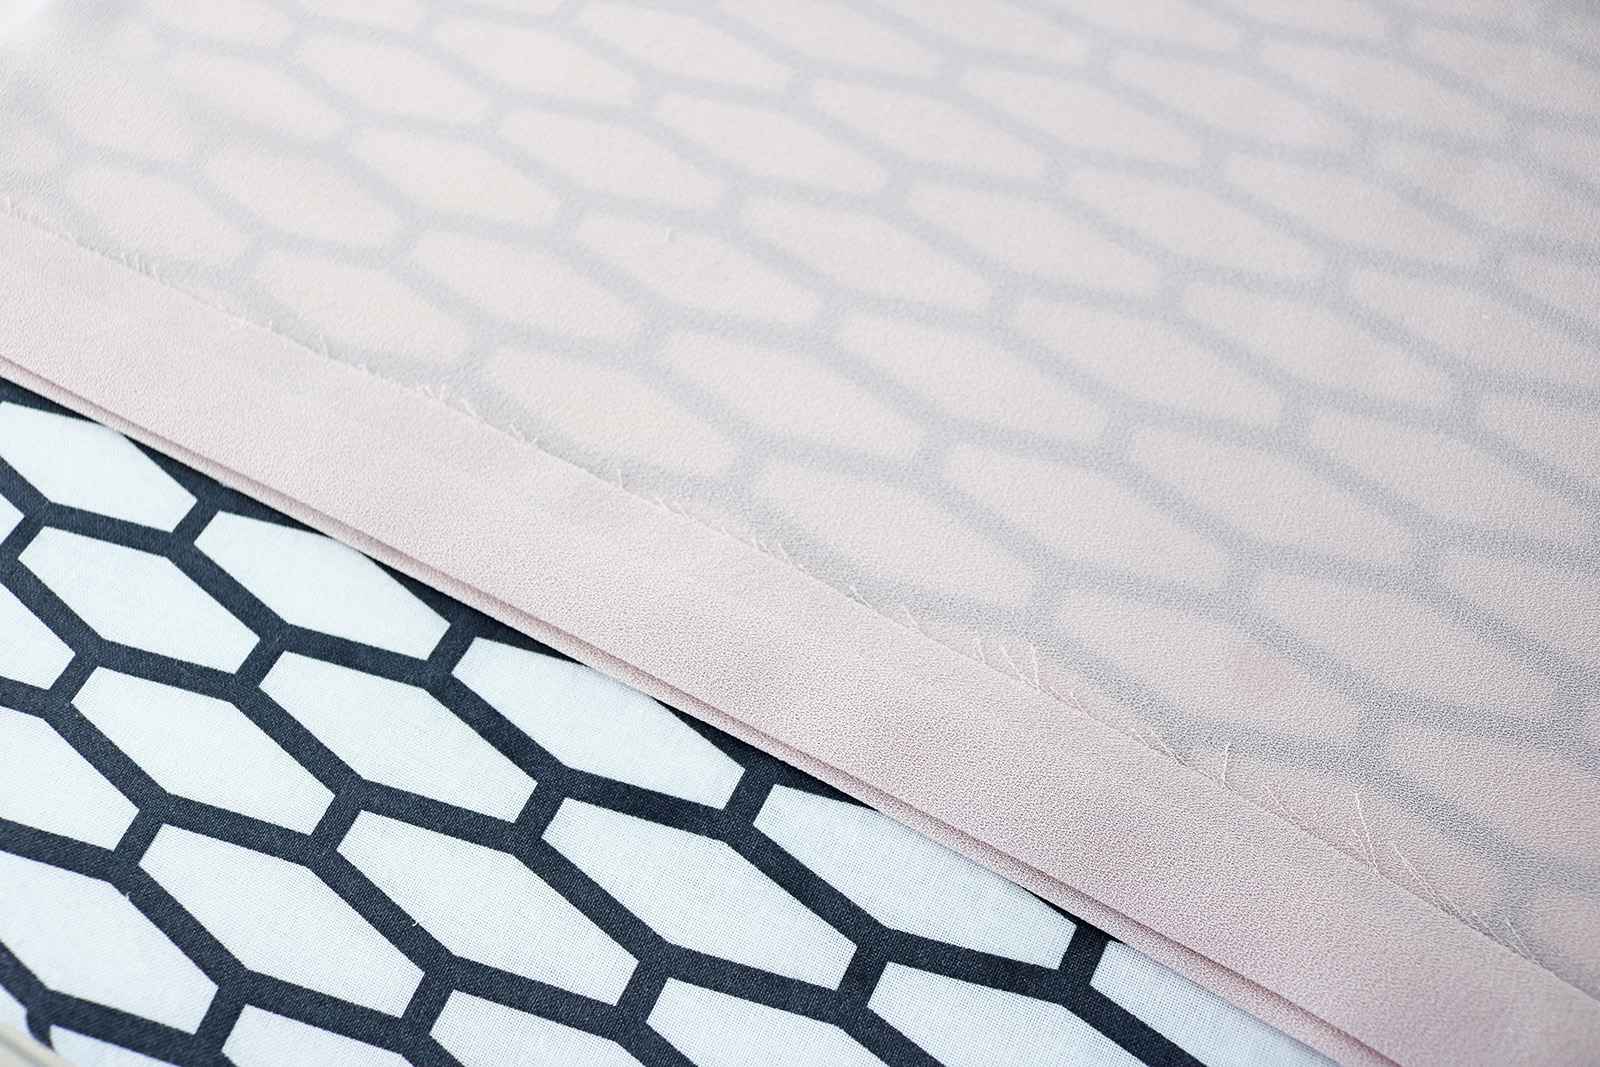
And finally, press the last fold so once again, it aligns with the stitching. Opened up it should now looks like this.
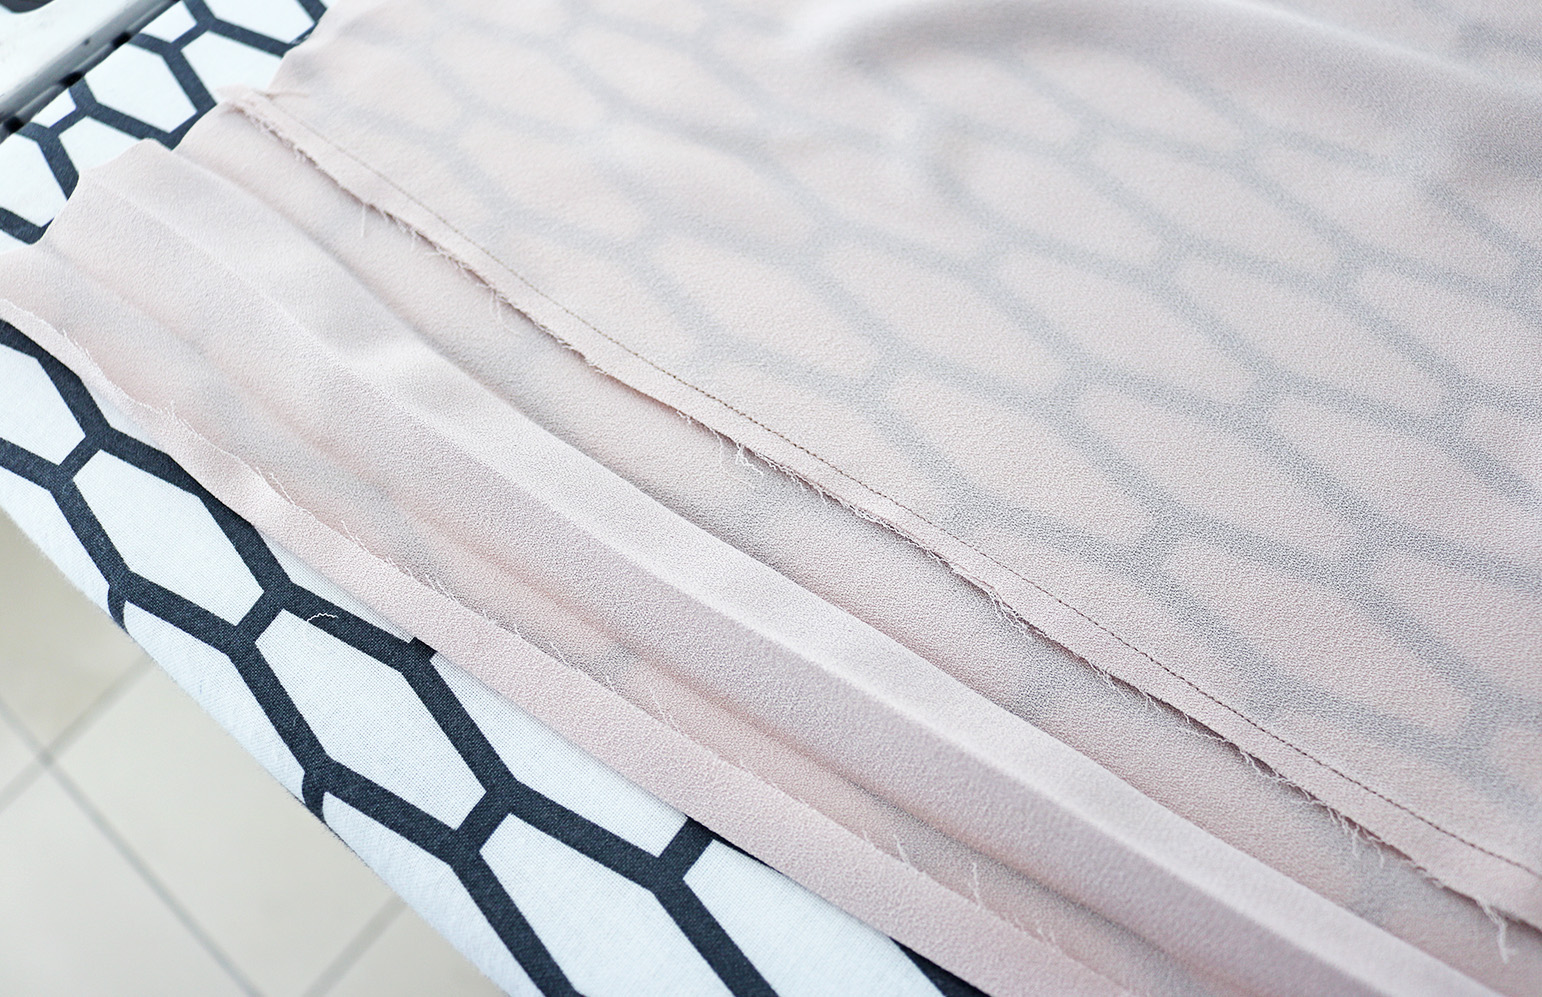
IV. Then take the layers not attached to the shirt, and pin them together..
.. To sew a straight stitch right at the edge. Note that I stopped stitching about 10 cm before the hem, cause I didn't yet know what I wanted to do there/the exact length of the dress.
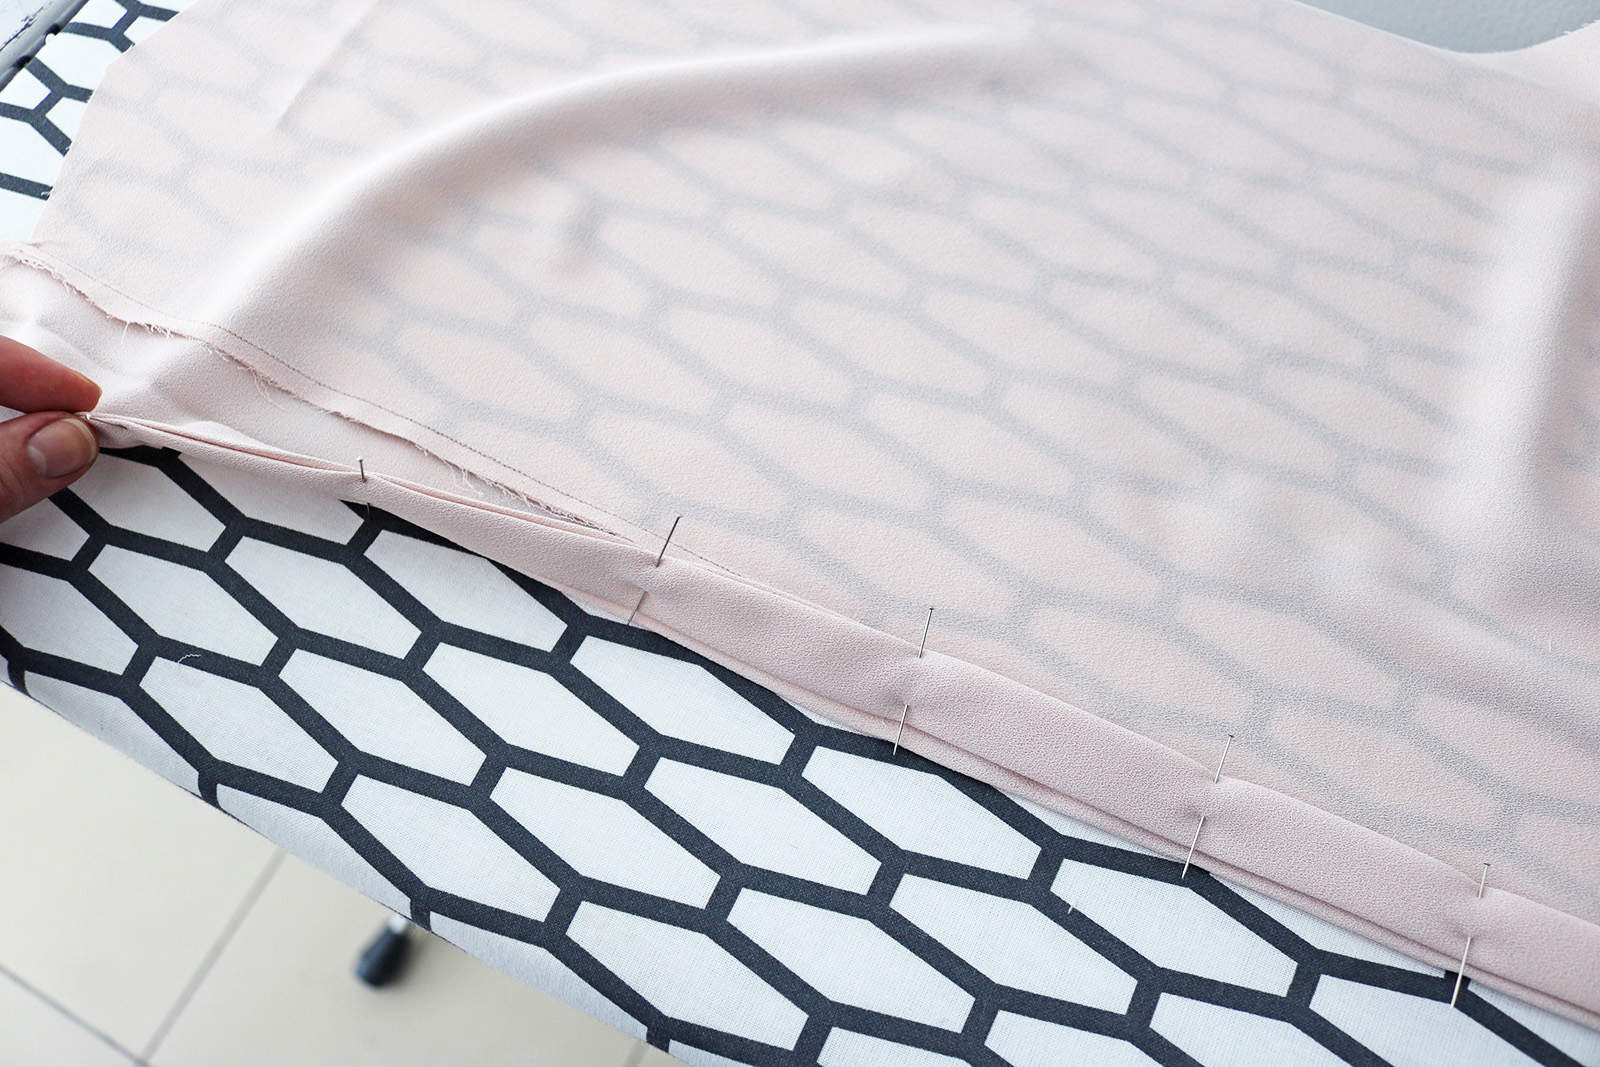
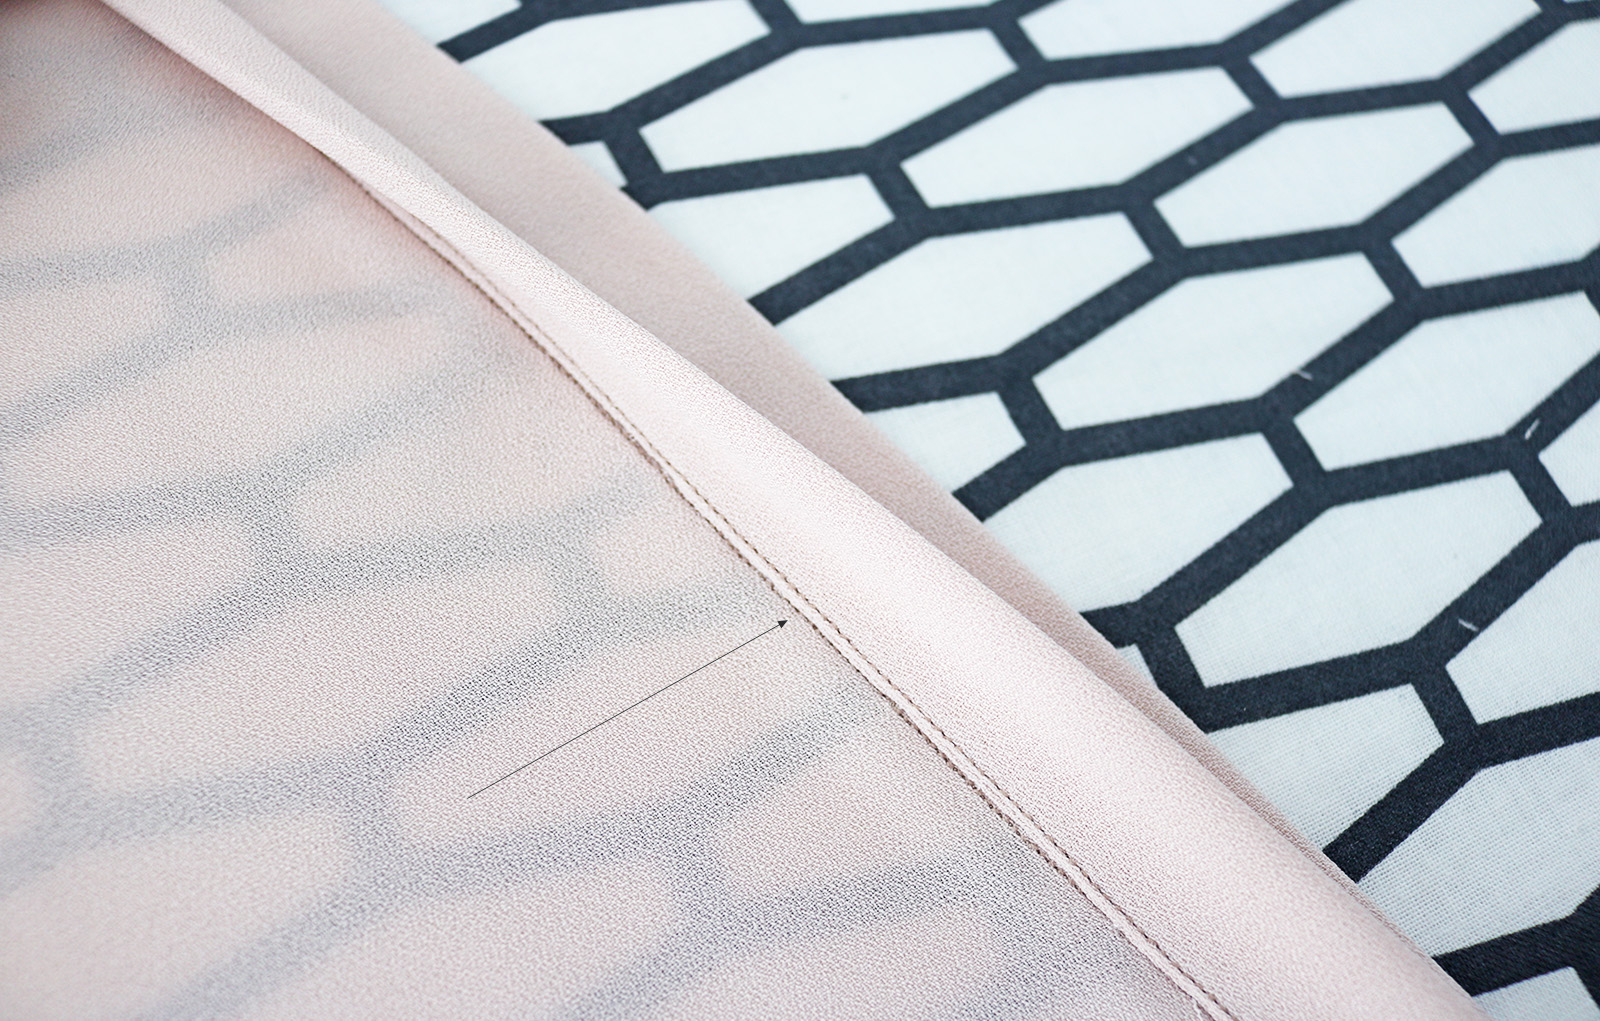
V. Finally, blind stitch the button band folds in place on the reverse side, in the ditch indicated by the arrow below. Button bands done!
VI. Next I did the shoulder seams, which is detailed in this post.
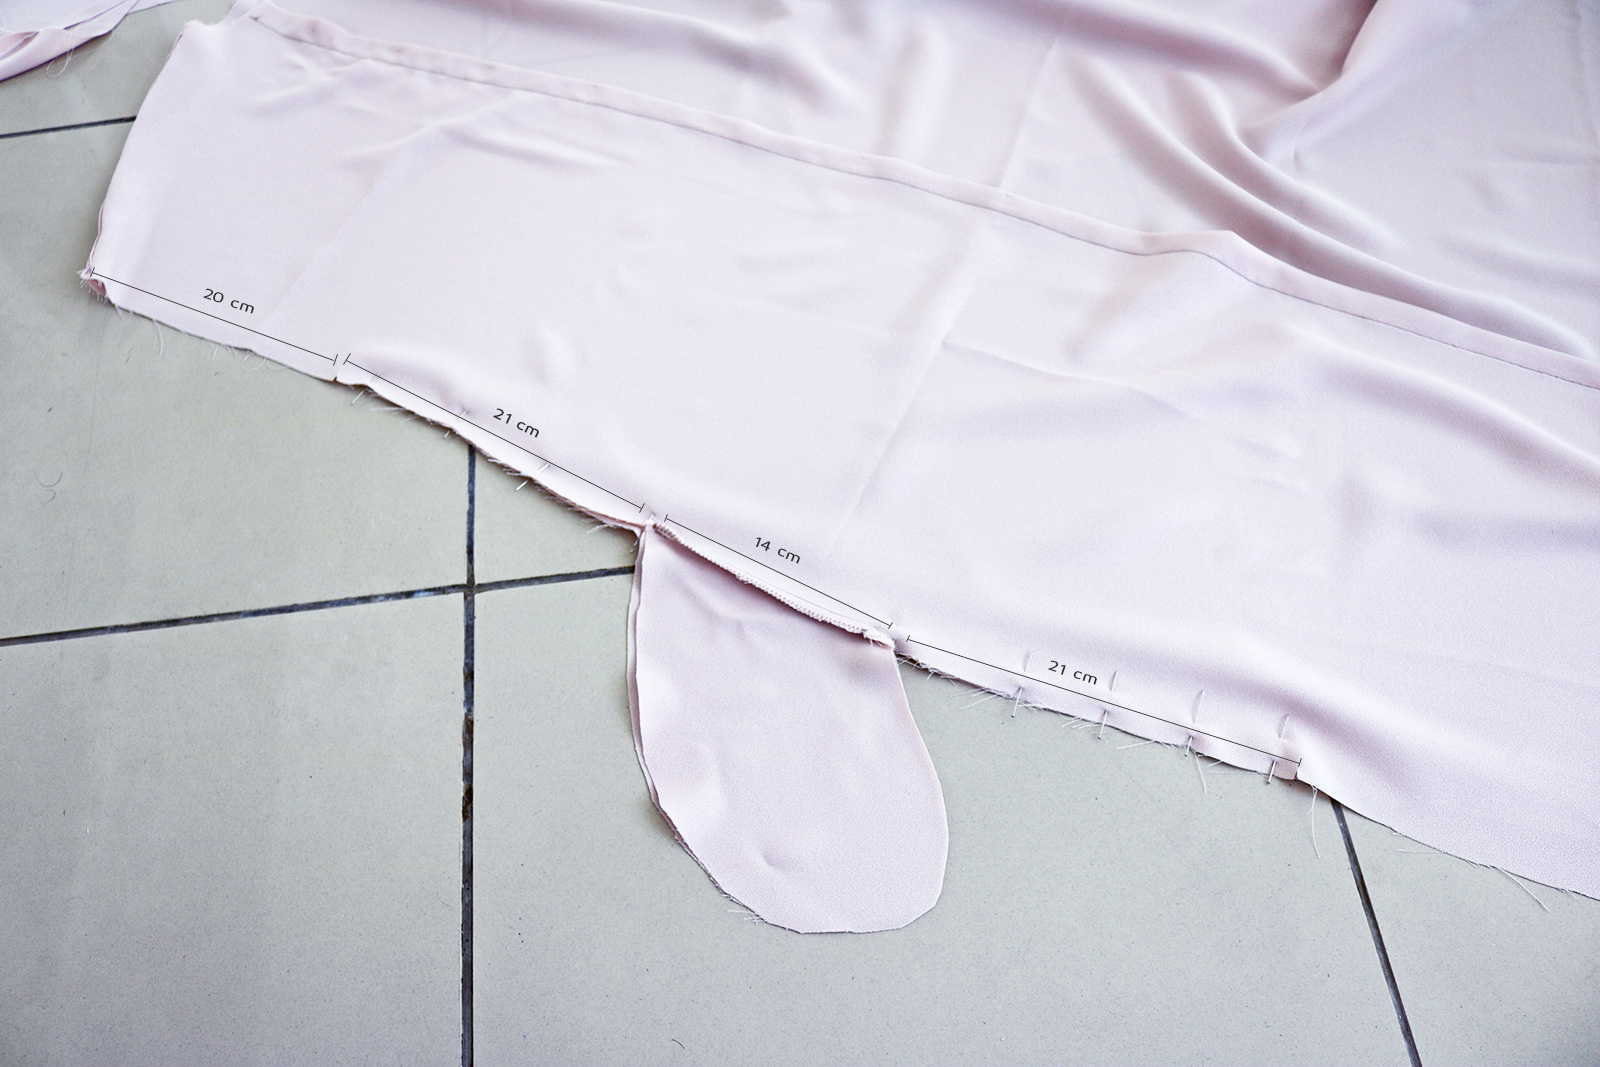
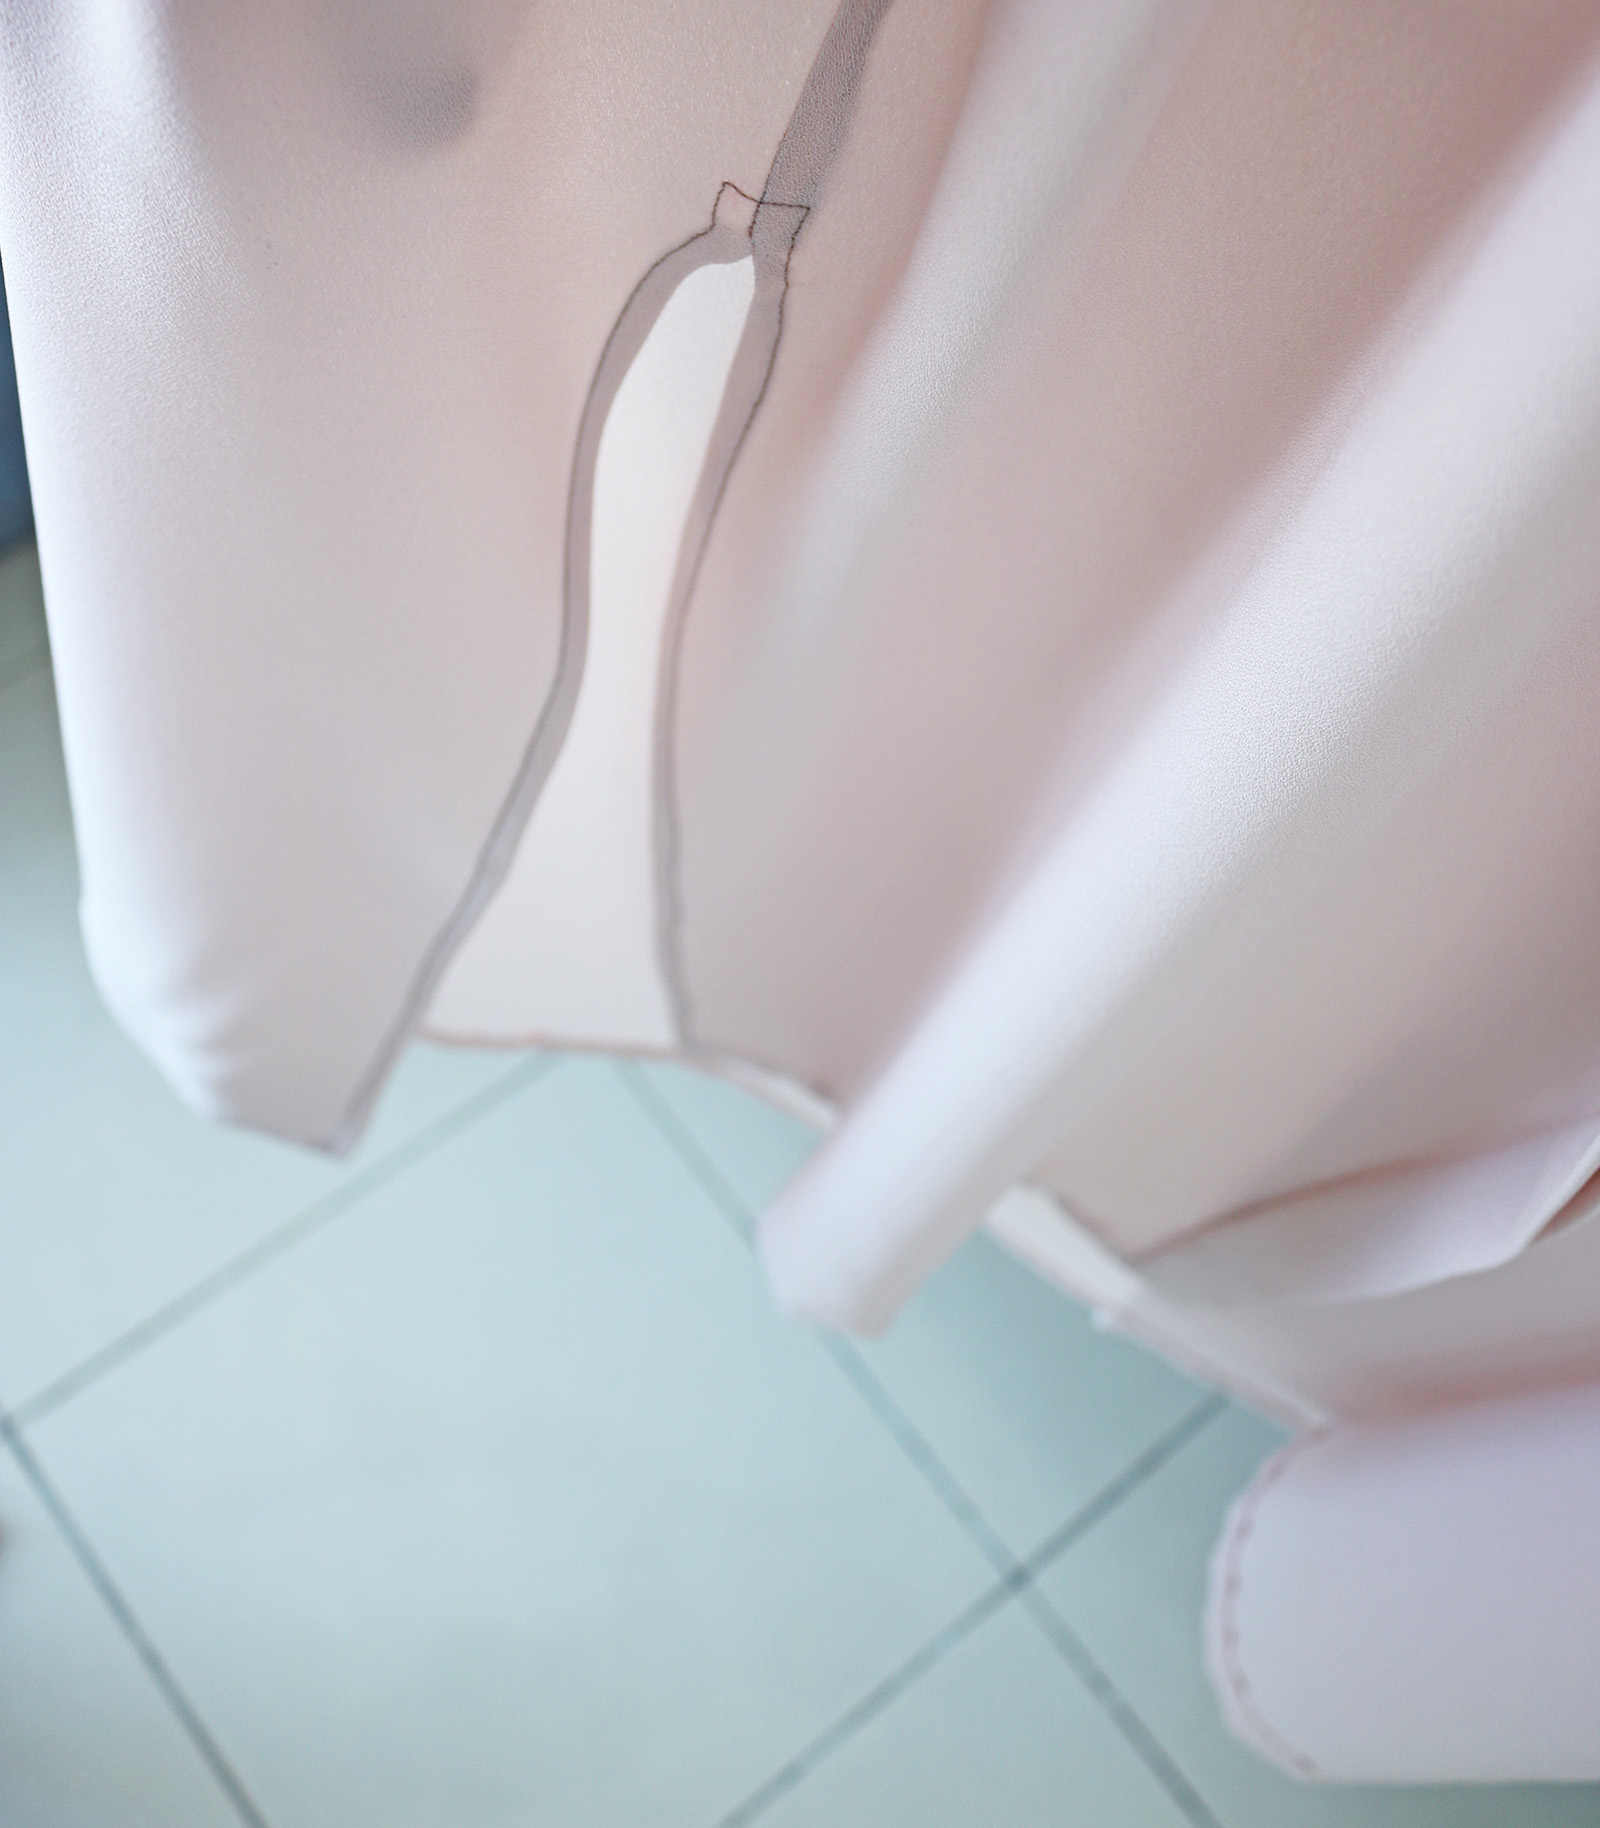
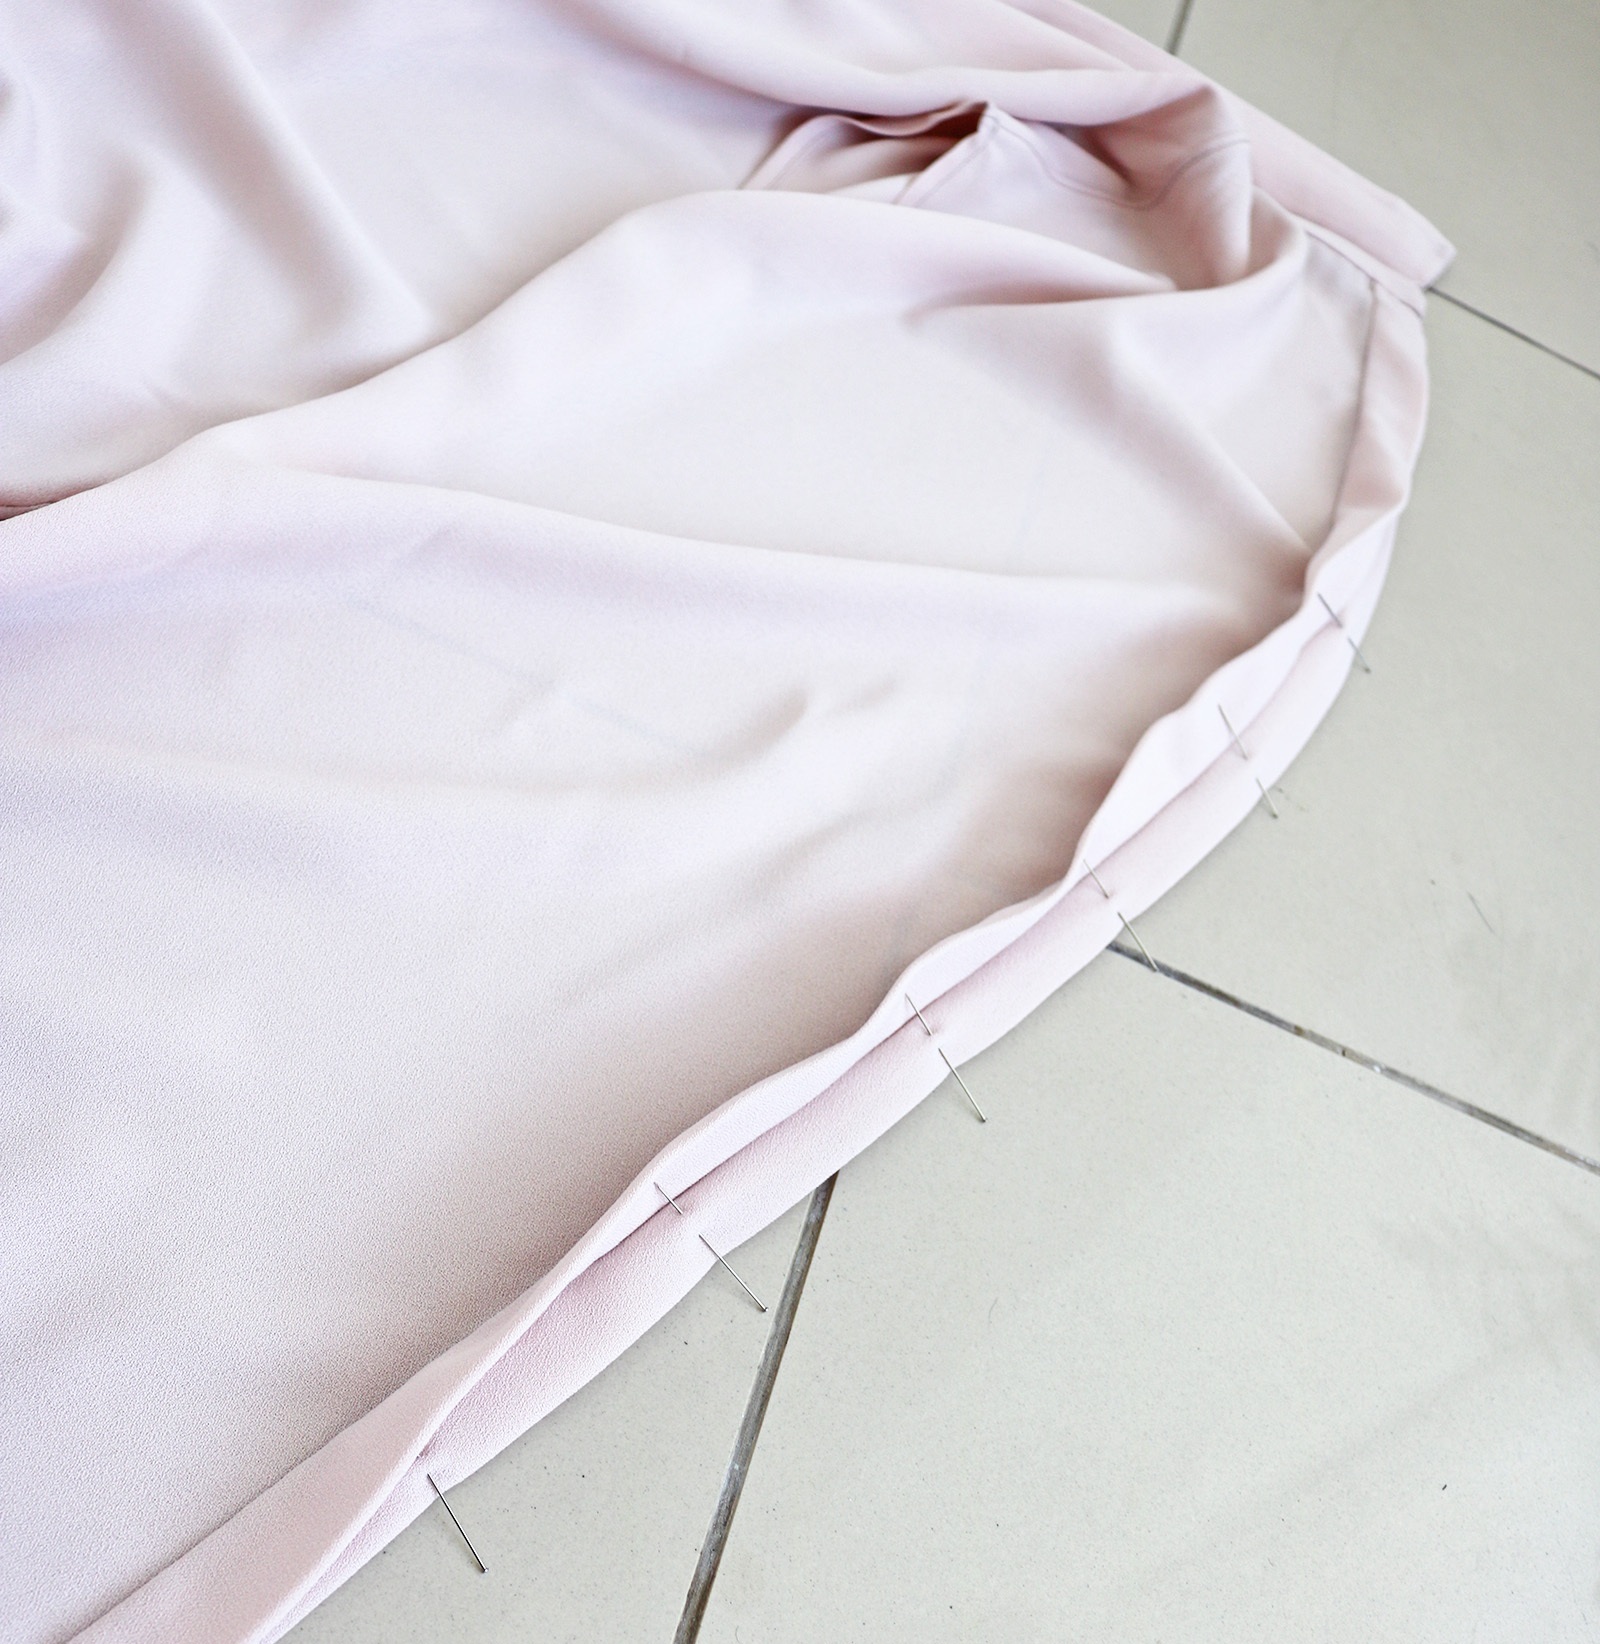
VII. I also added pockets to the dress (obviously) but won't go through all that in detail here (another post with the specific steps is here). But here are the measurements for where I placed them; started the first part of the side seam 20 cm down from the shoulder seam, and started the pocket 21 cm down from that spot. After the pocket I continued the side seam another 21 cm, ending there to start the side slit.
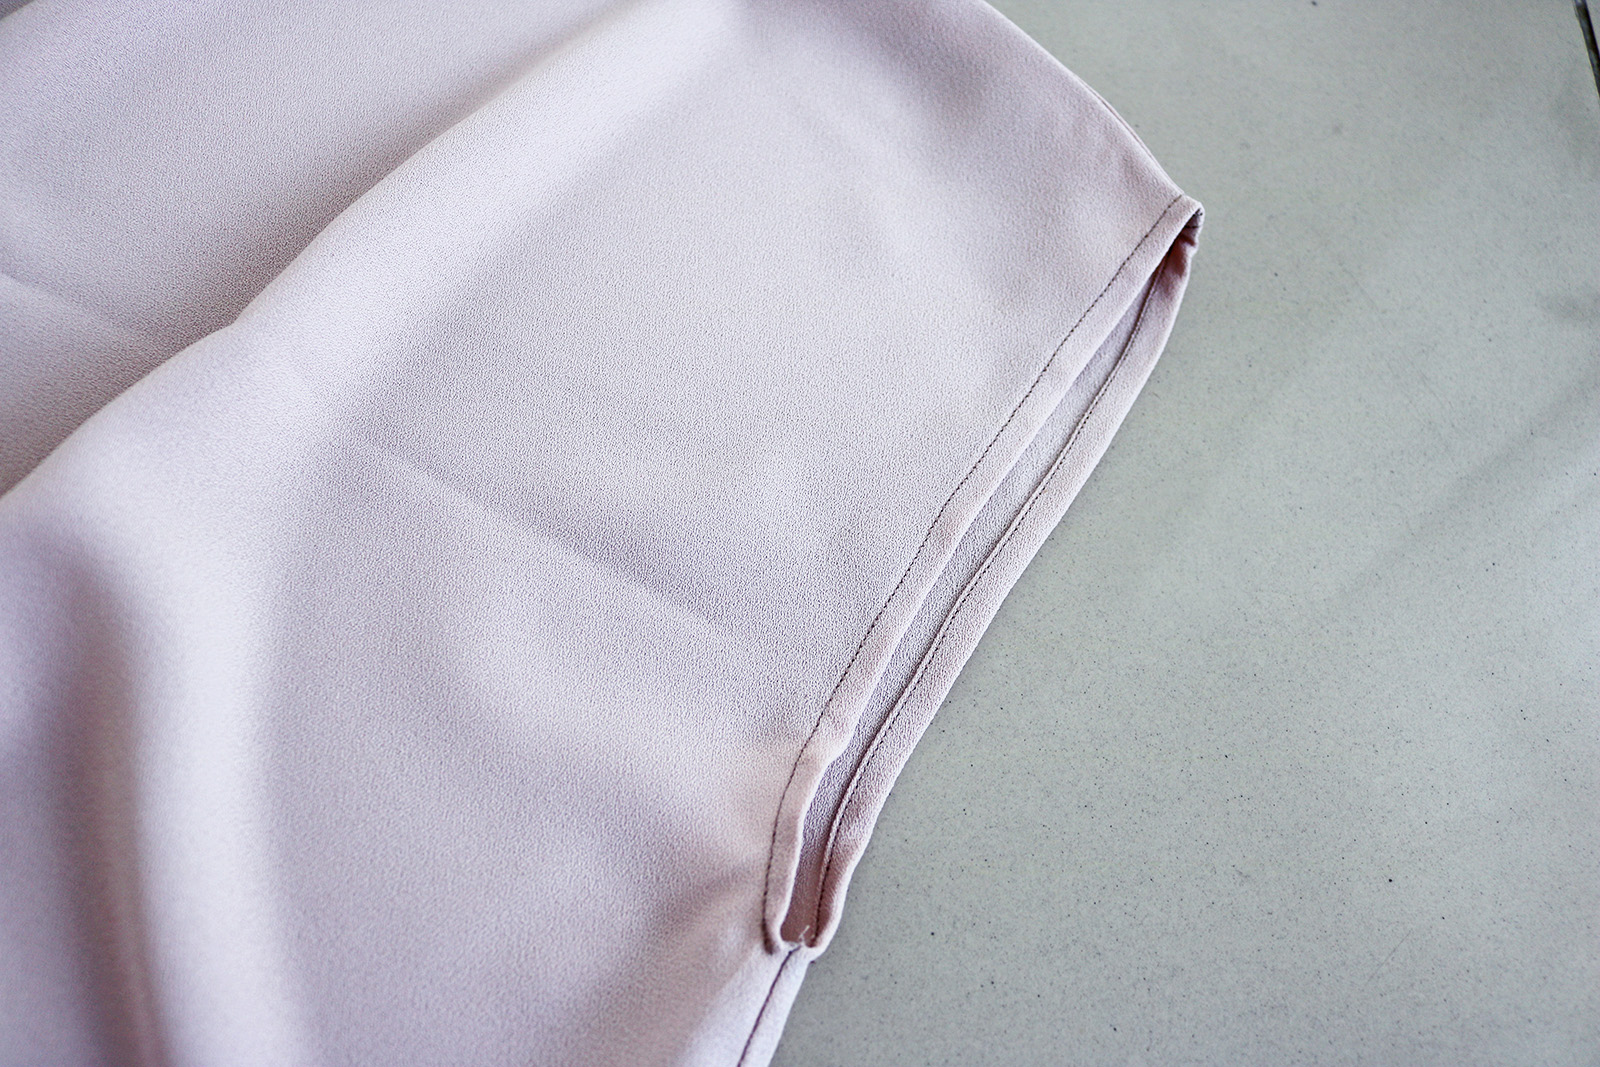
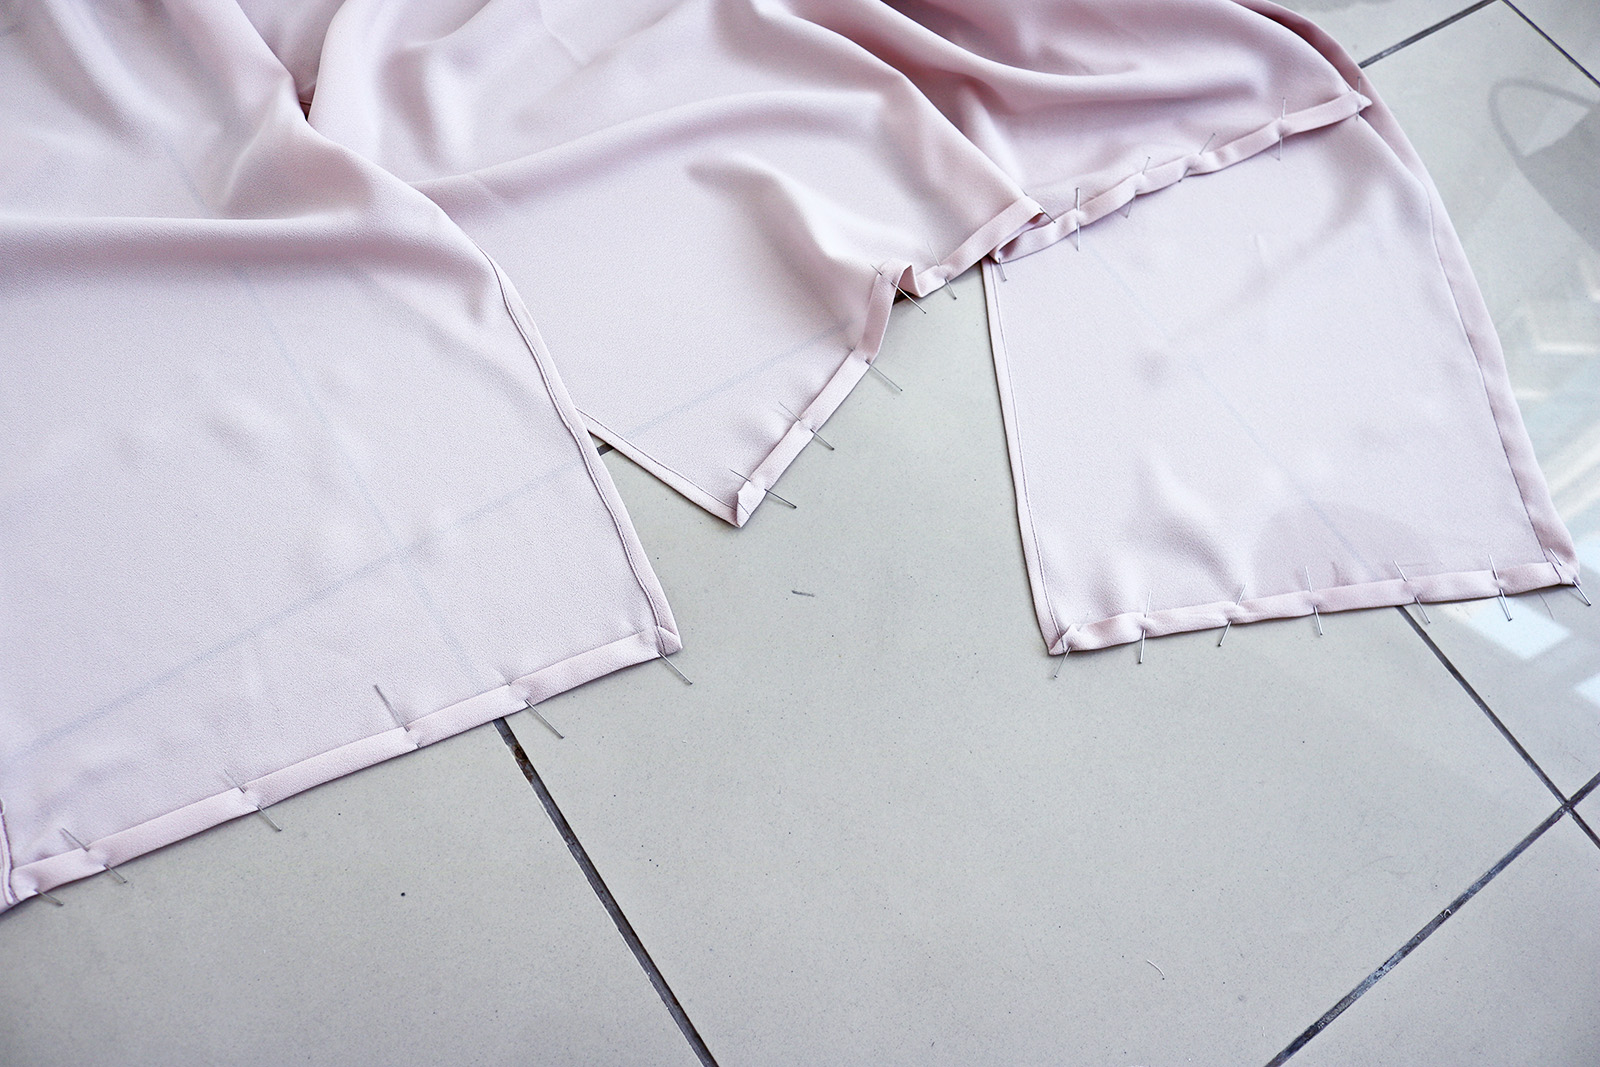
VIII. Then finished the sides of the slits with a double fold and a stitch on the right side:
Same deal for the arm holes.
IX. Next up was the collar prep! I wanted a little box pleat detail at the back of the neck, so I first marked the center point there.
Then with the help of my iron, pressed my box pleat in place and stitched over it to secure.
X. Next up was the collar construction. For that part head over here.
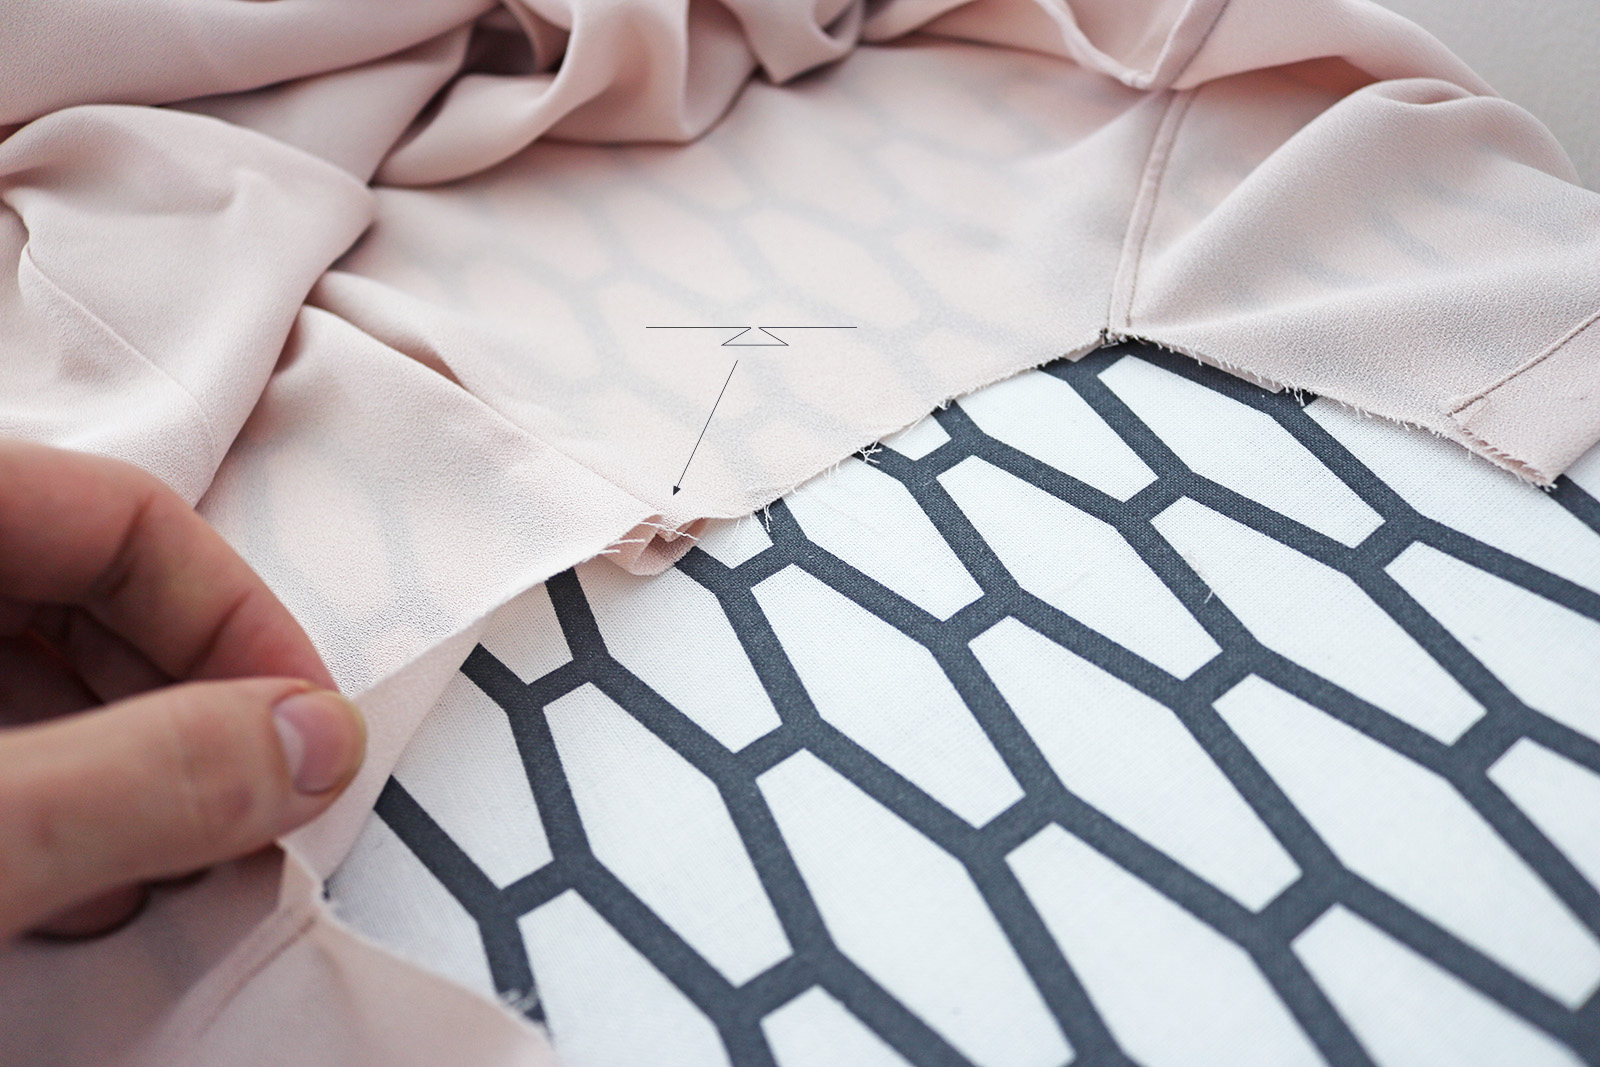
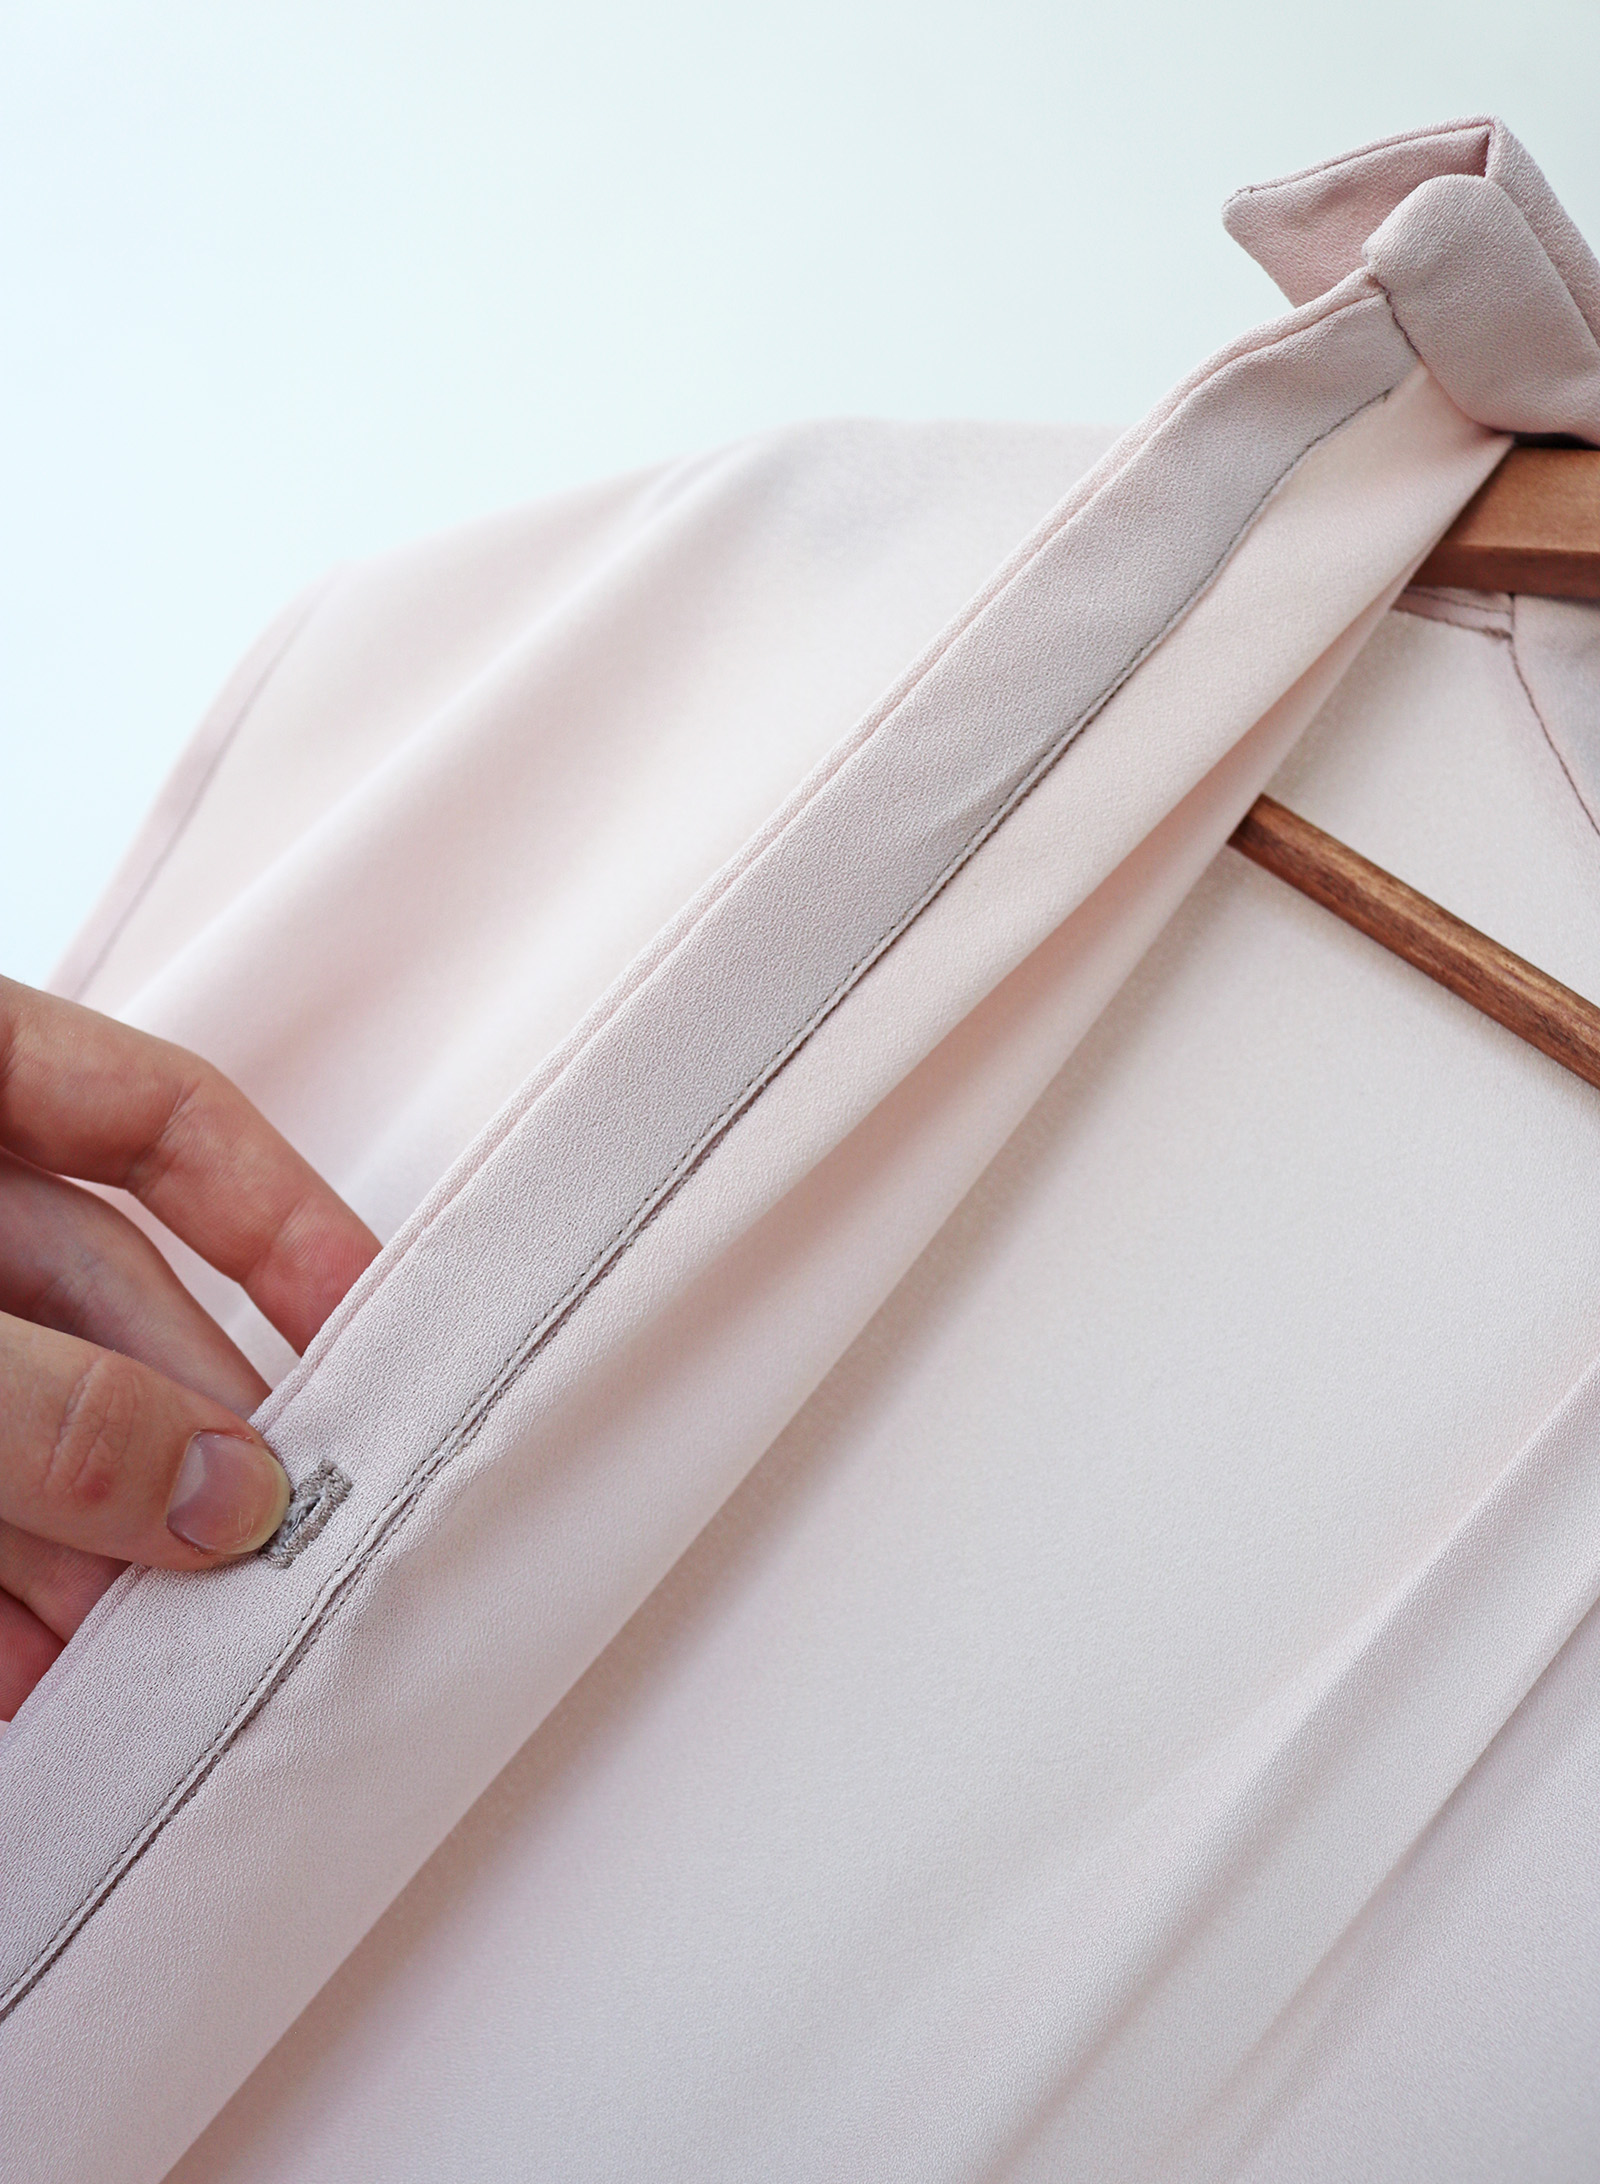
XI. The light at the end of the tunnel is showing! At this point I tried on the dress to confirm the length and chopped of a few cm. Then finished the concealed side of the button band..

.. By first taking the folds stitched together and folding them around, to align that edge with the first stitch done in the button band process, on the right side.
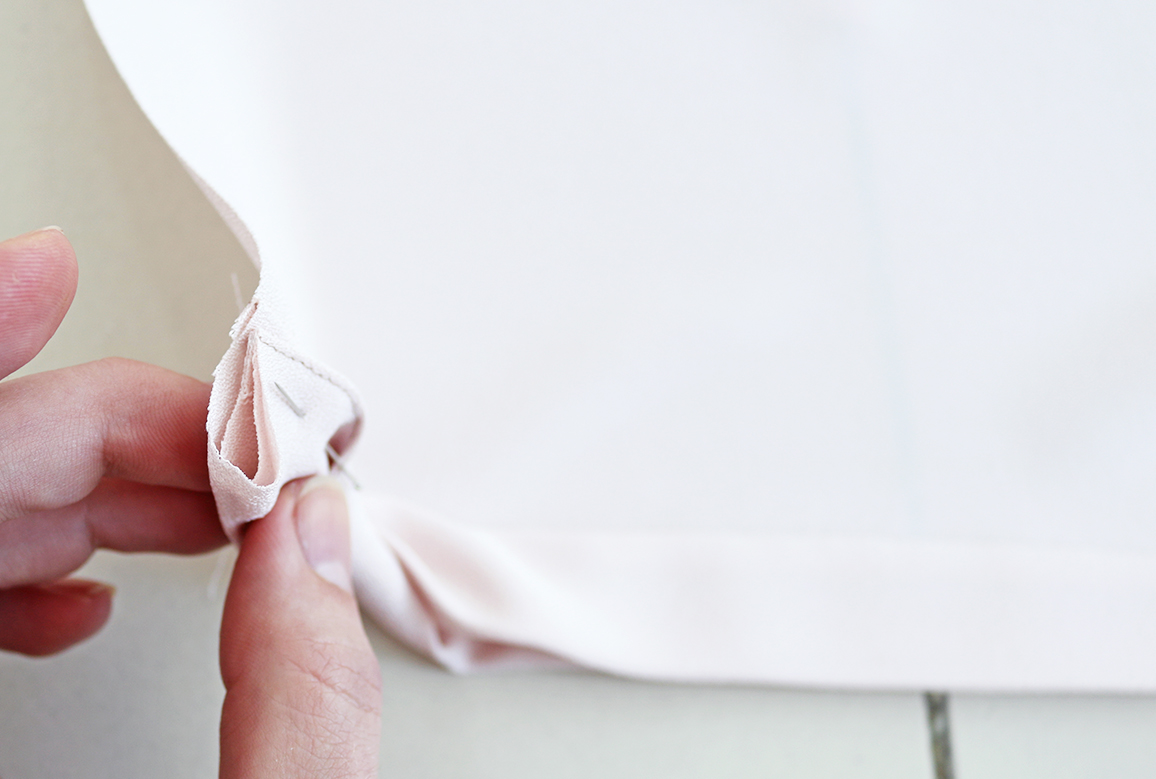
Sewed a straight stitch across, and trimmed off the excess:
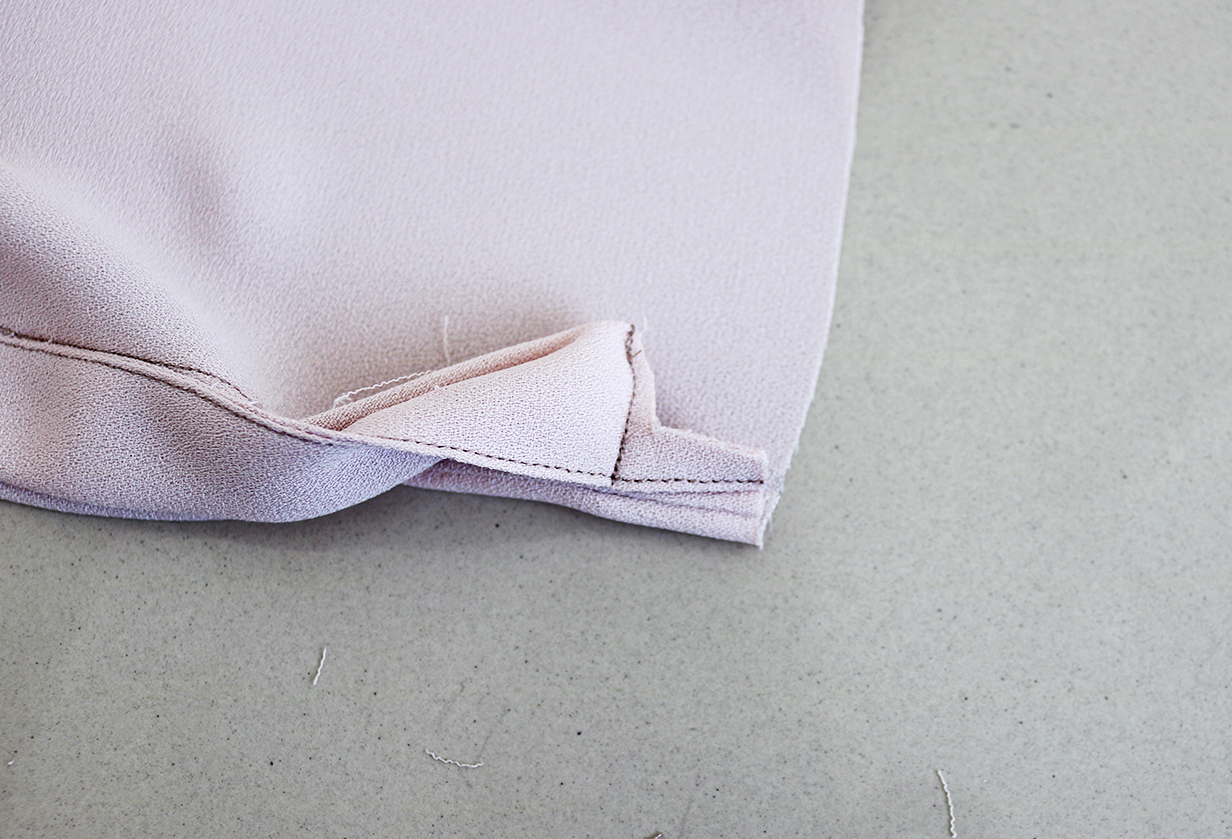
.. To turn back right side out, pushing to get a sharp corner.
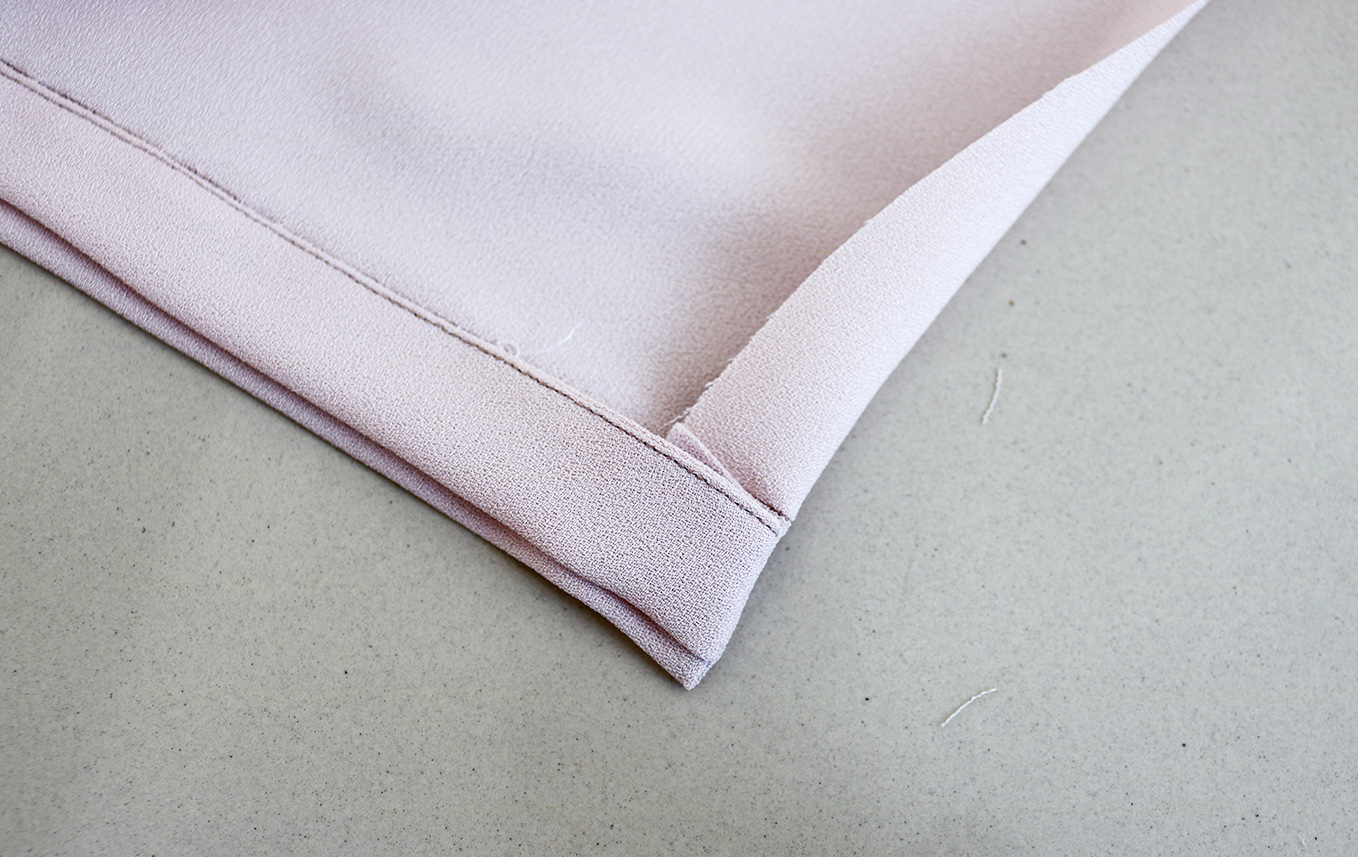
XII. The hems I just finished with a double-fold which I hand-stitched.
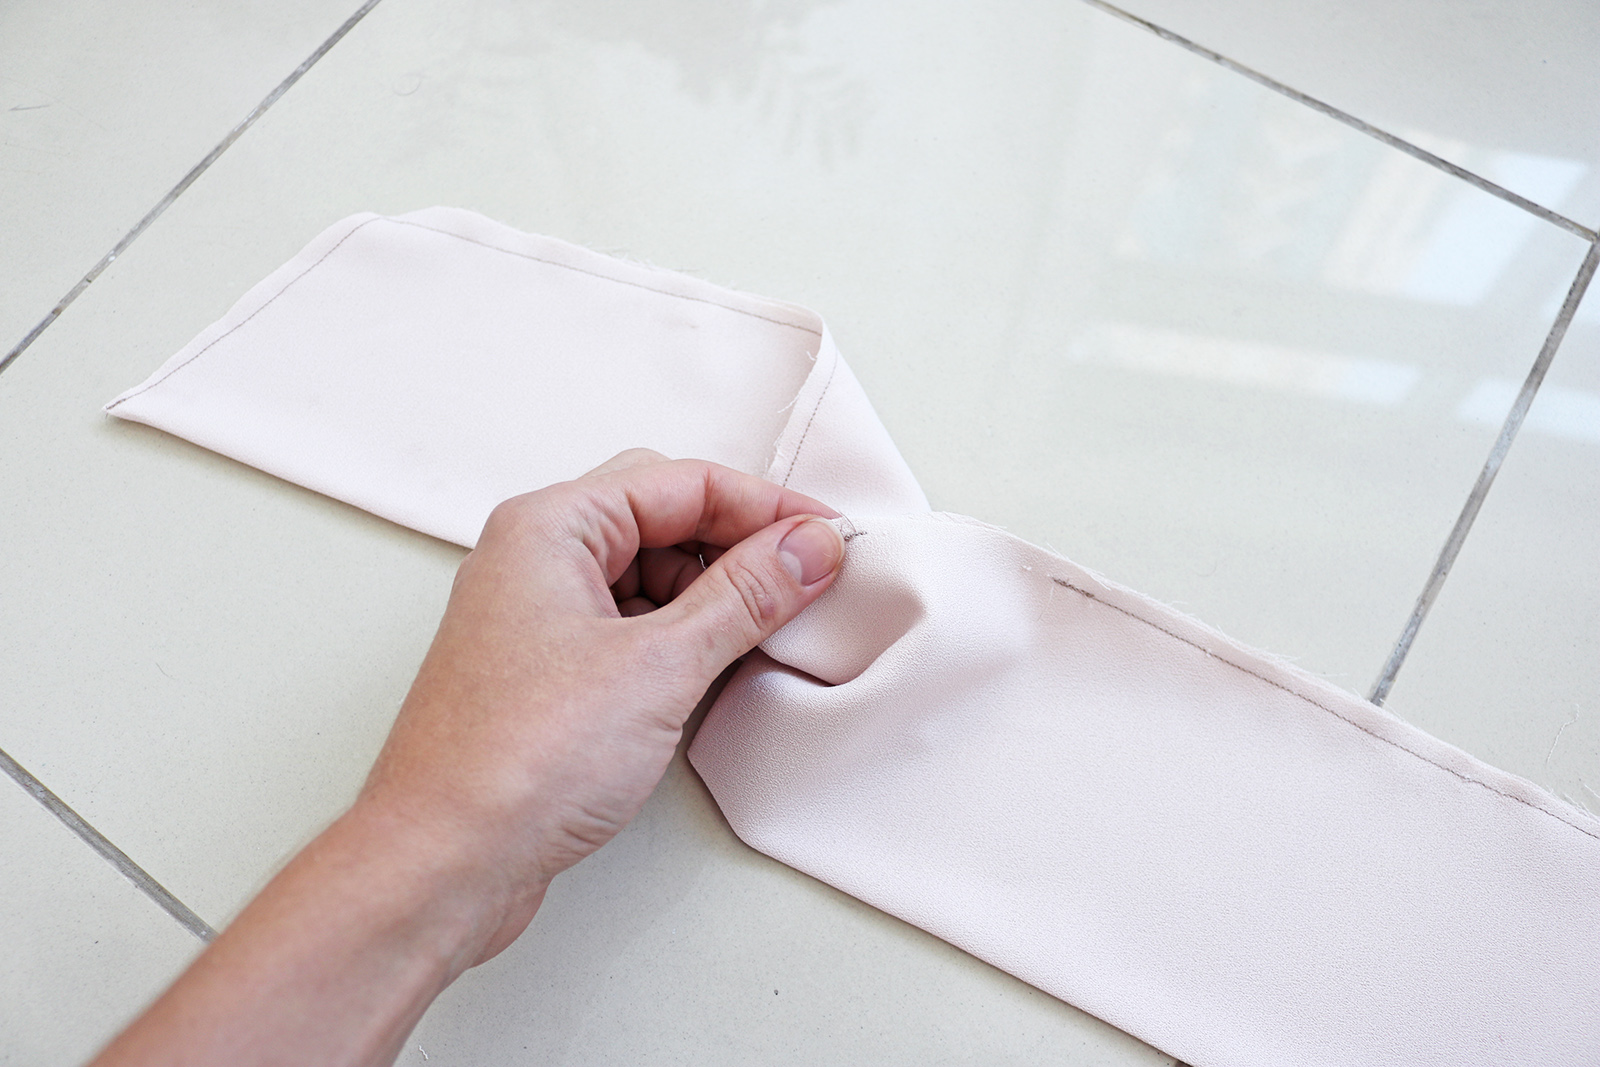
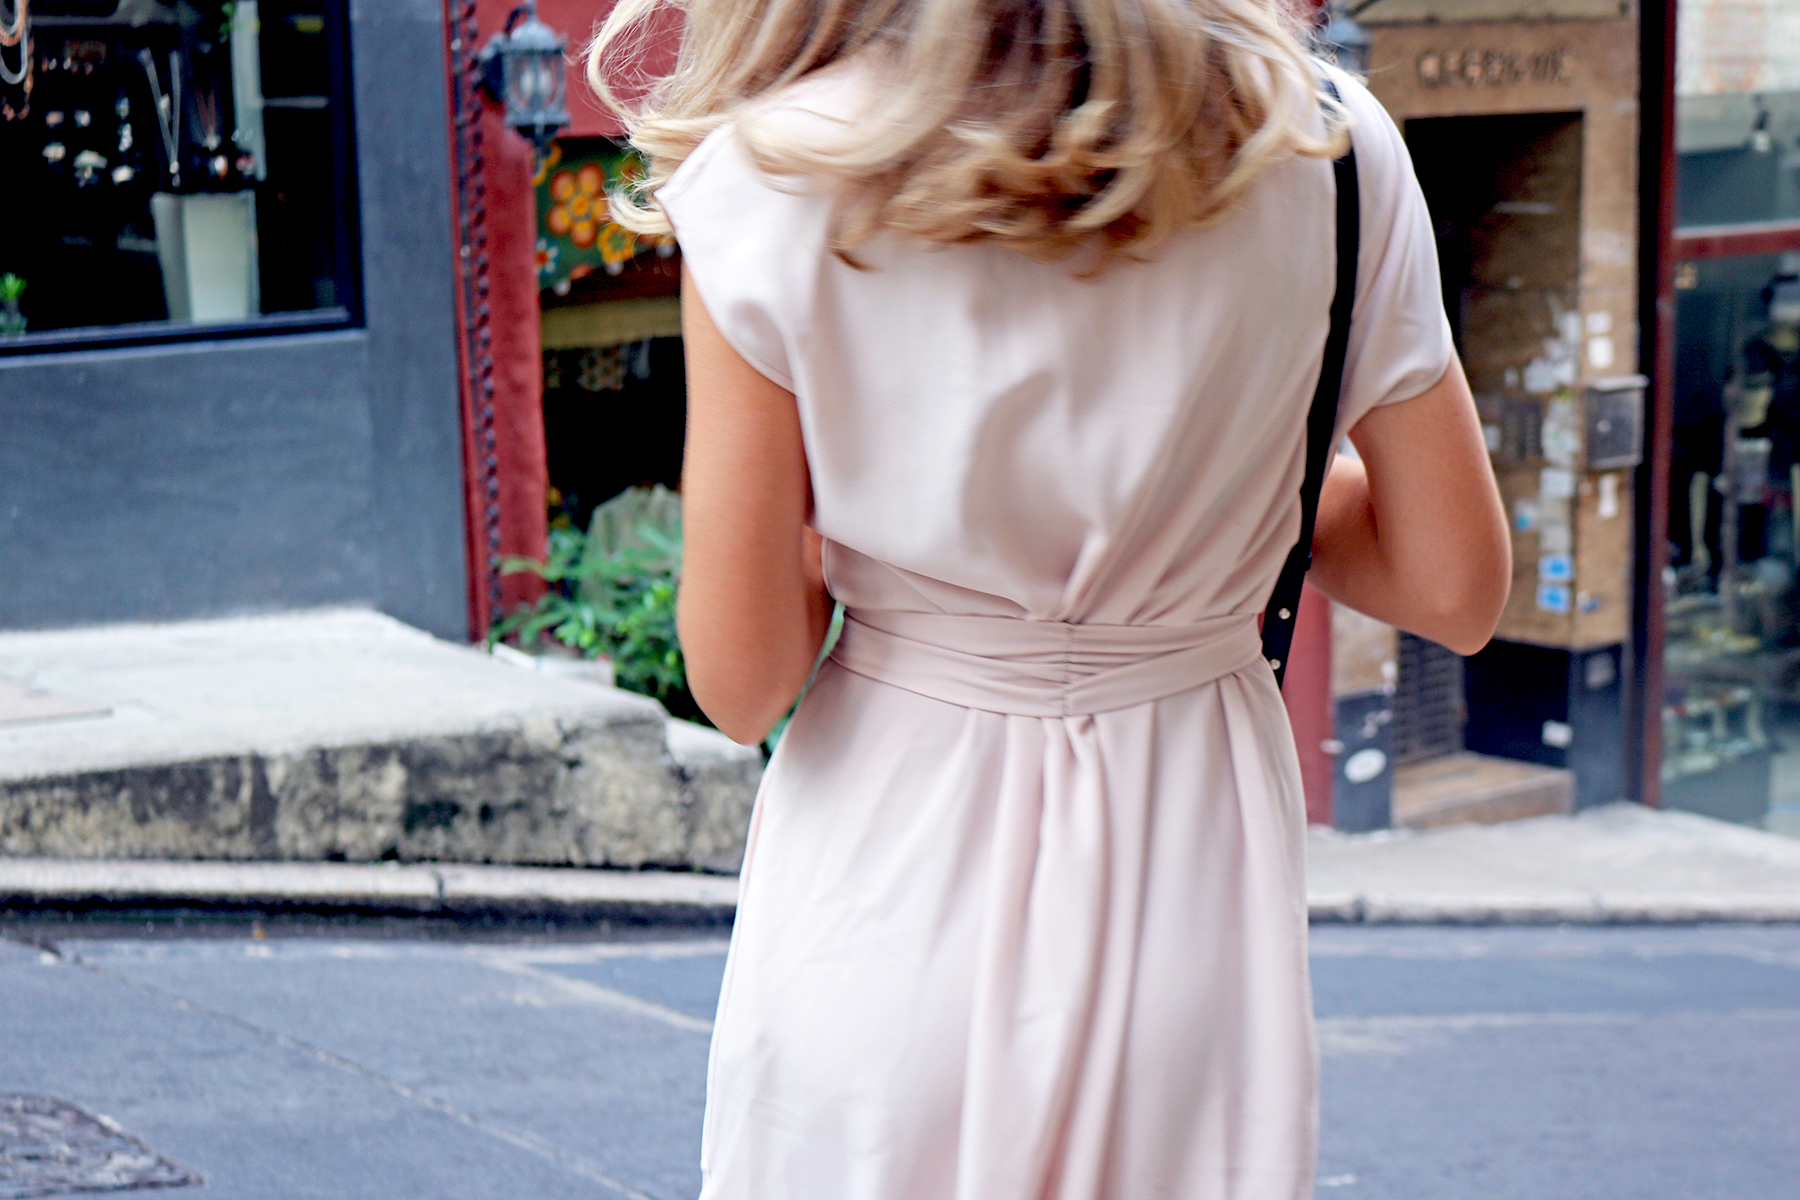
XIII. Last bit! The belt. I cut out a long piece (180 cm long, 20 cm wide, which I actually had to make out of two pieces 90 cm long each). Folded in half width-wise and pinned to sew along the edges.
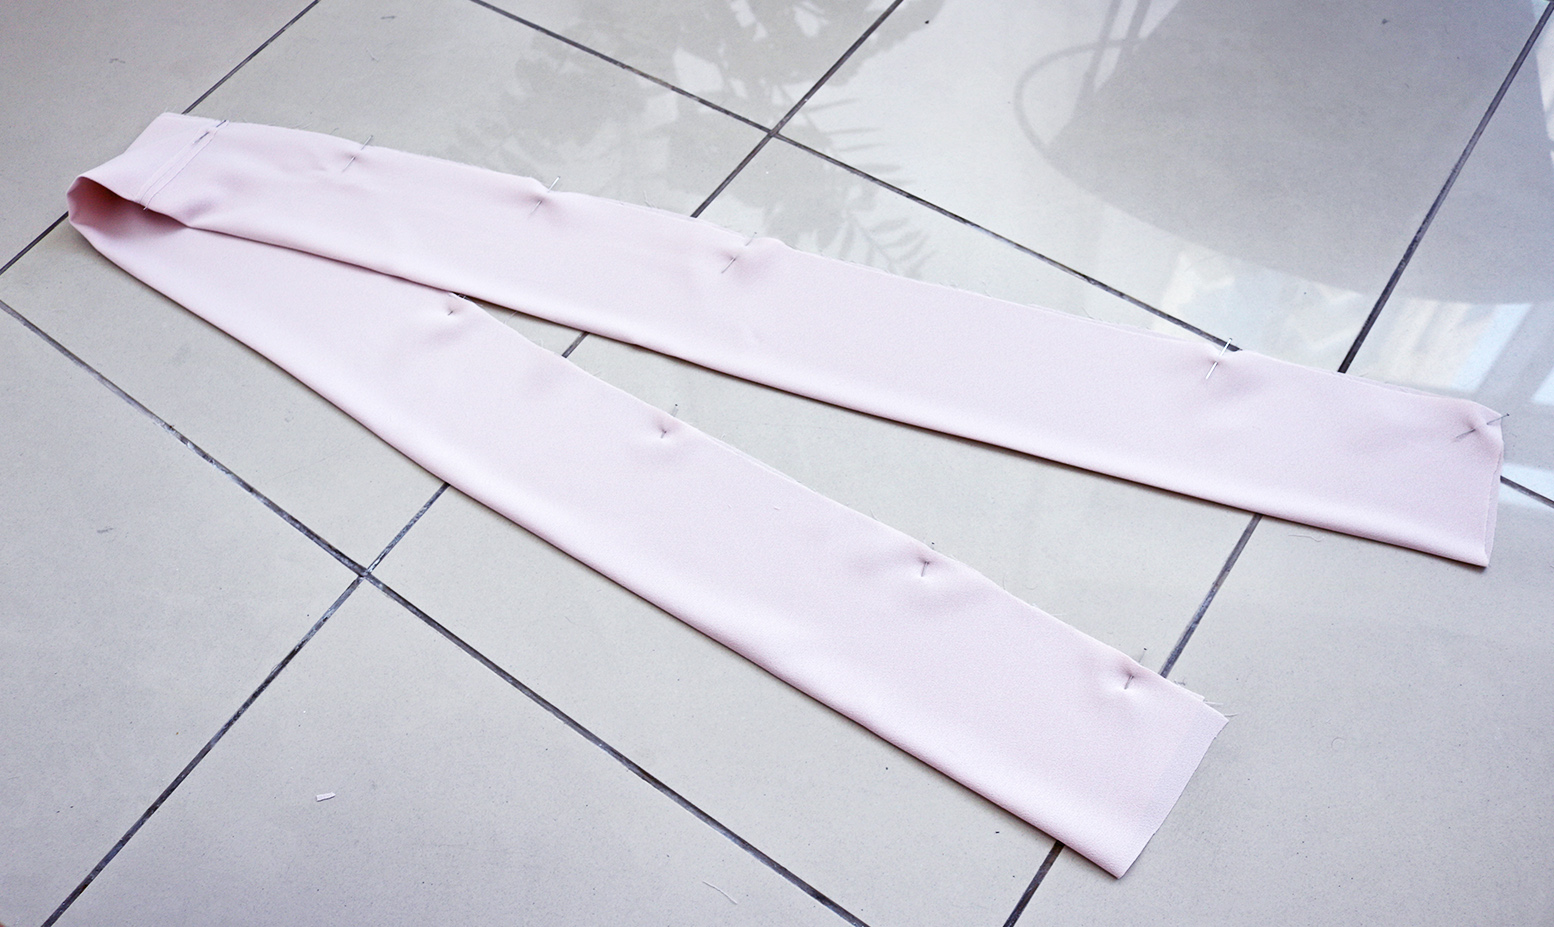
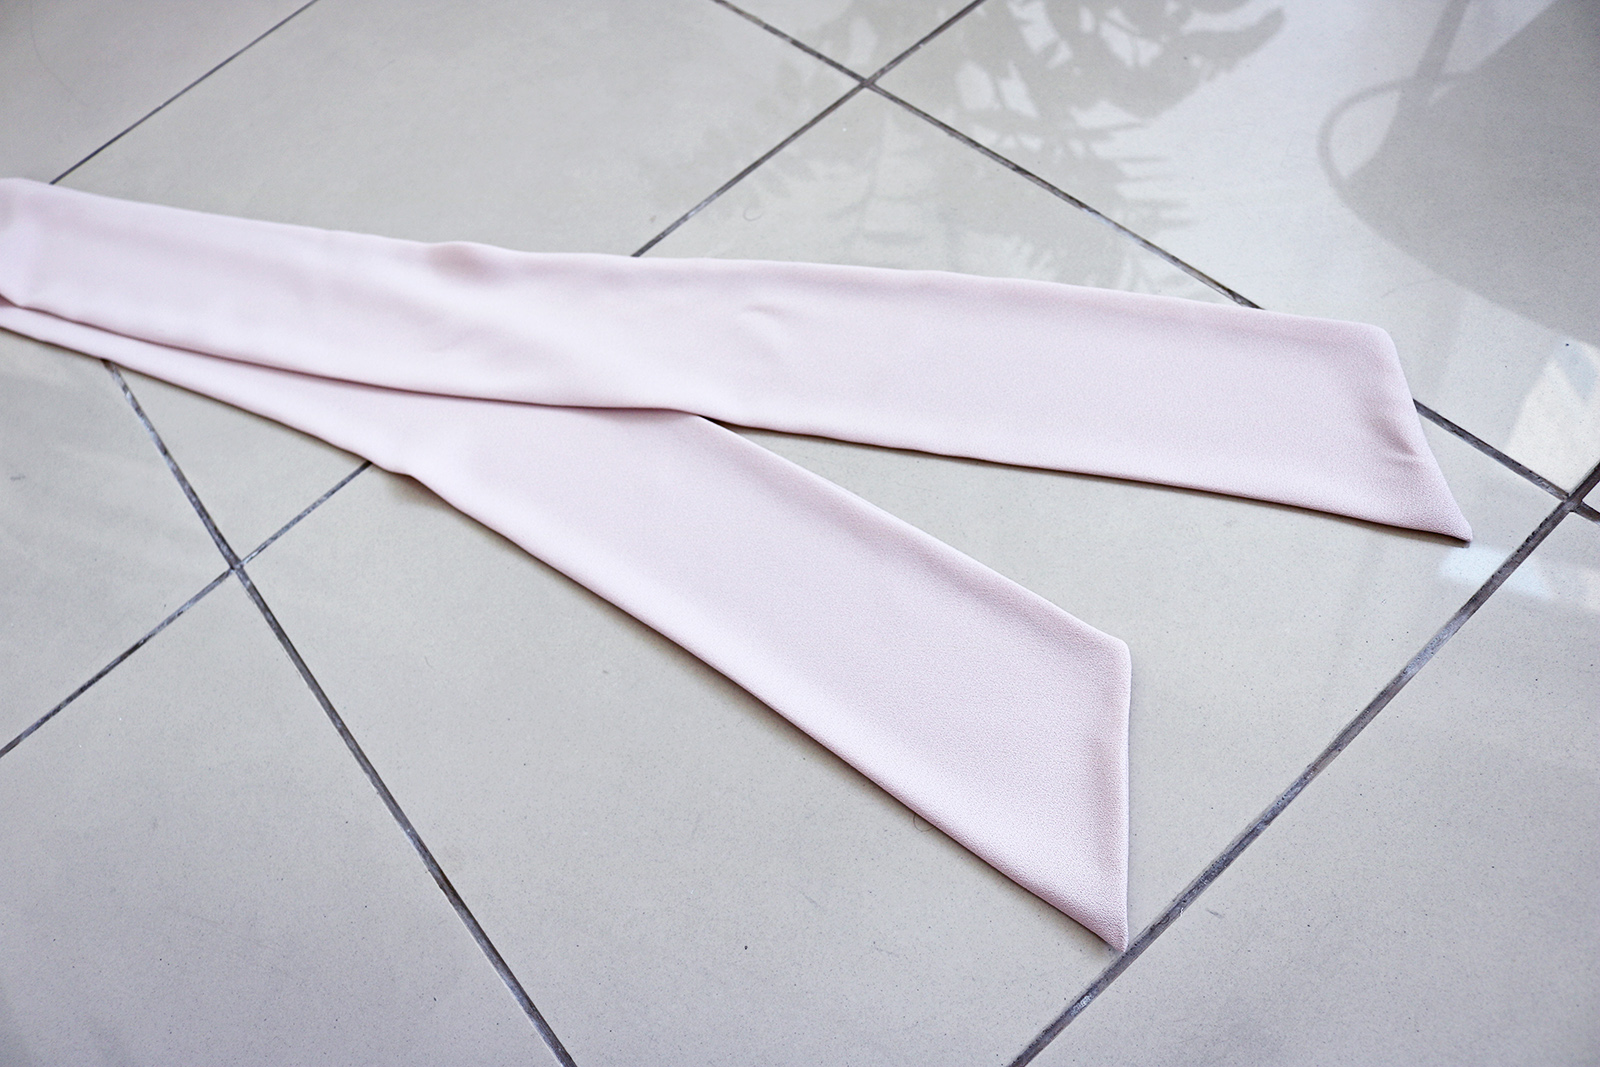
I did an triangular finish at the ends, and left a few cm gap in the stitch. Them trimmed the excess around the corners, and used the gap in the stitch to pull the belt right side out.
Pressed, and closed the gap in the stitch by hand-stitching.
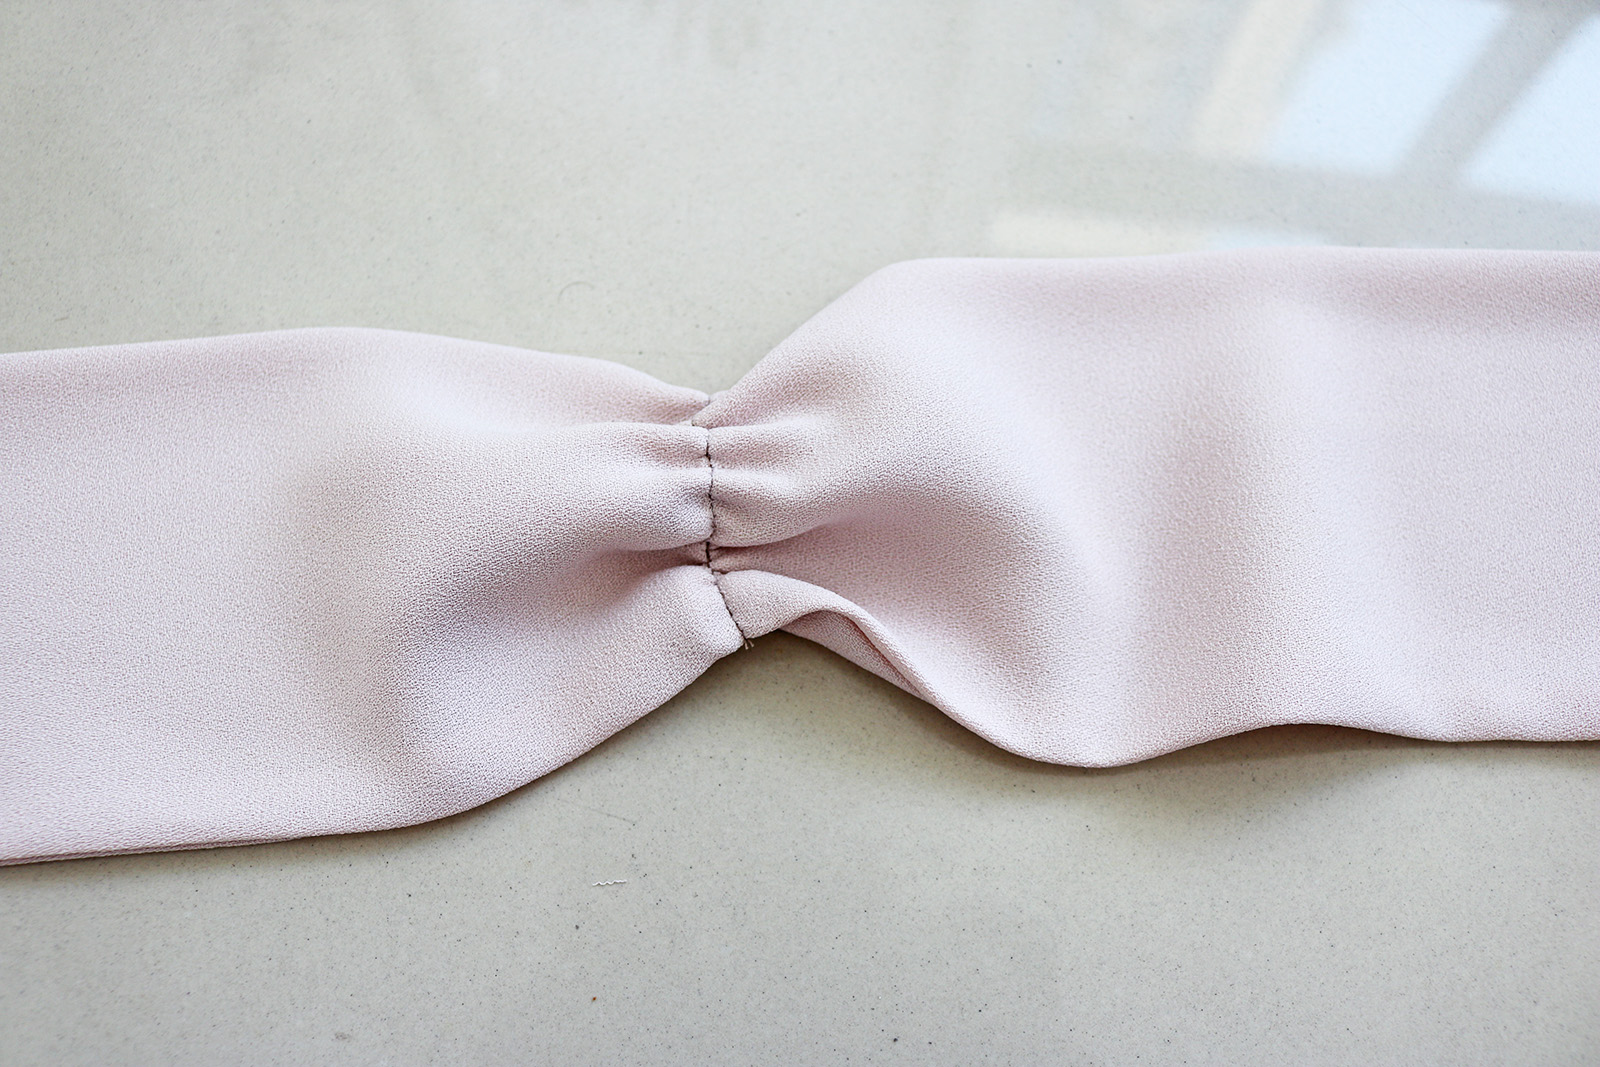
Then, I added a basting stitch to the center of the belt, and gathered it like this.
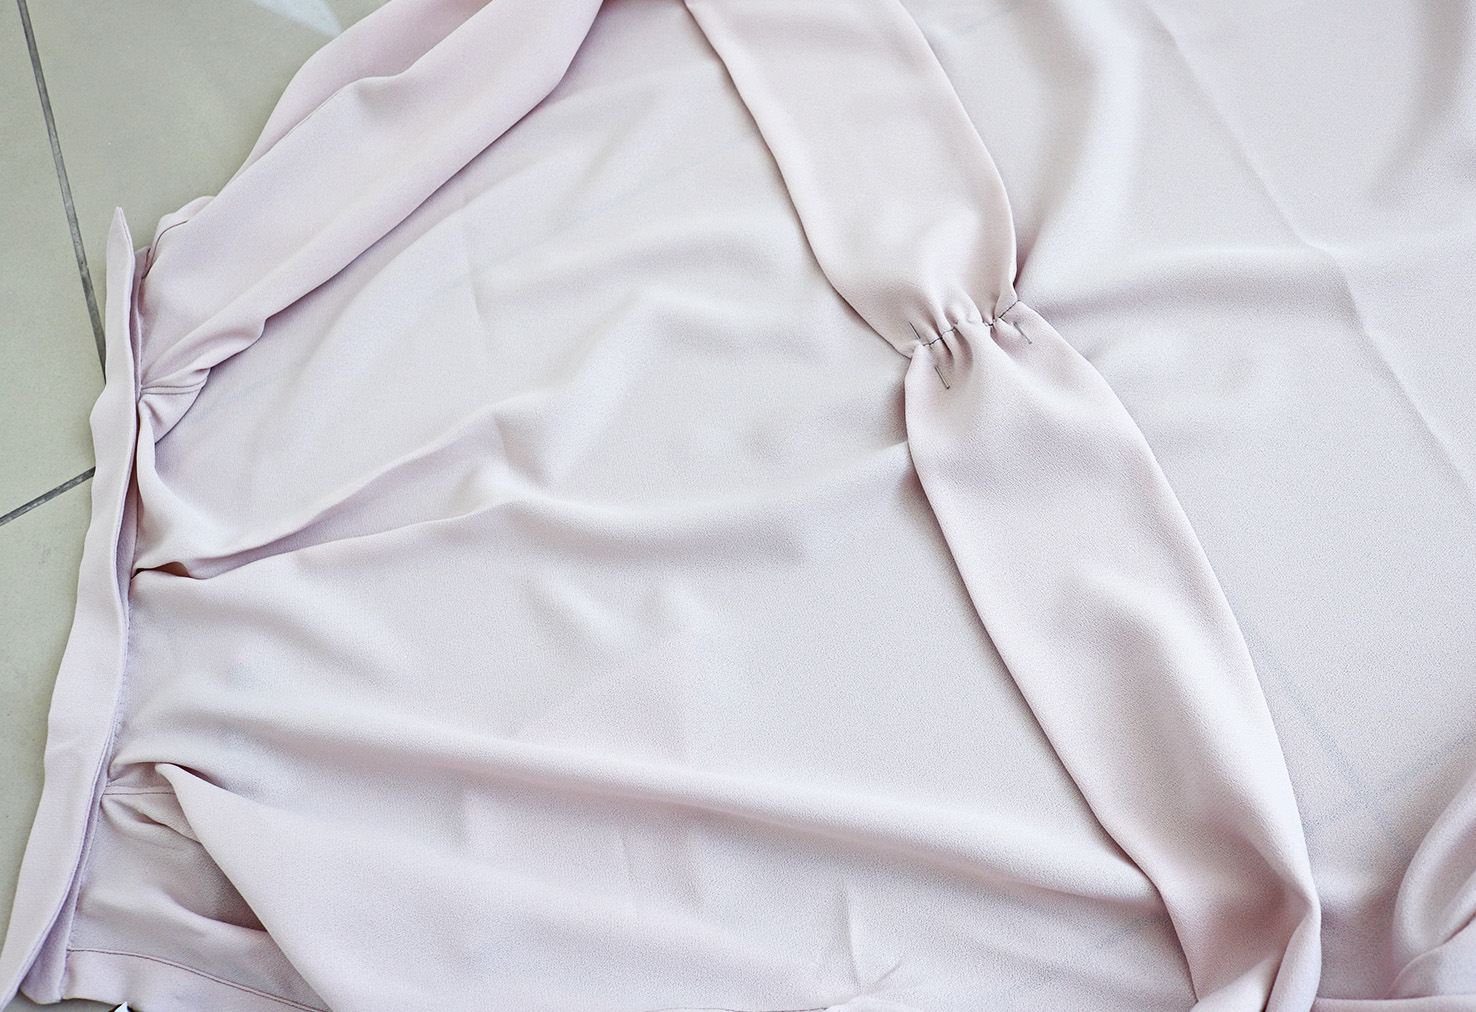
Pinned to the center of the back (after confirming where it should comfortably be wrapped). Sewed in place right on top of the basting stitch.
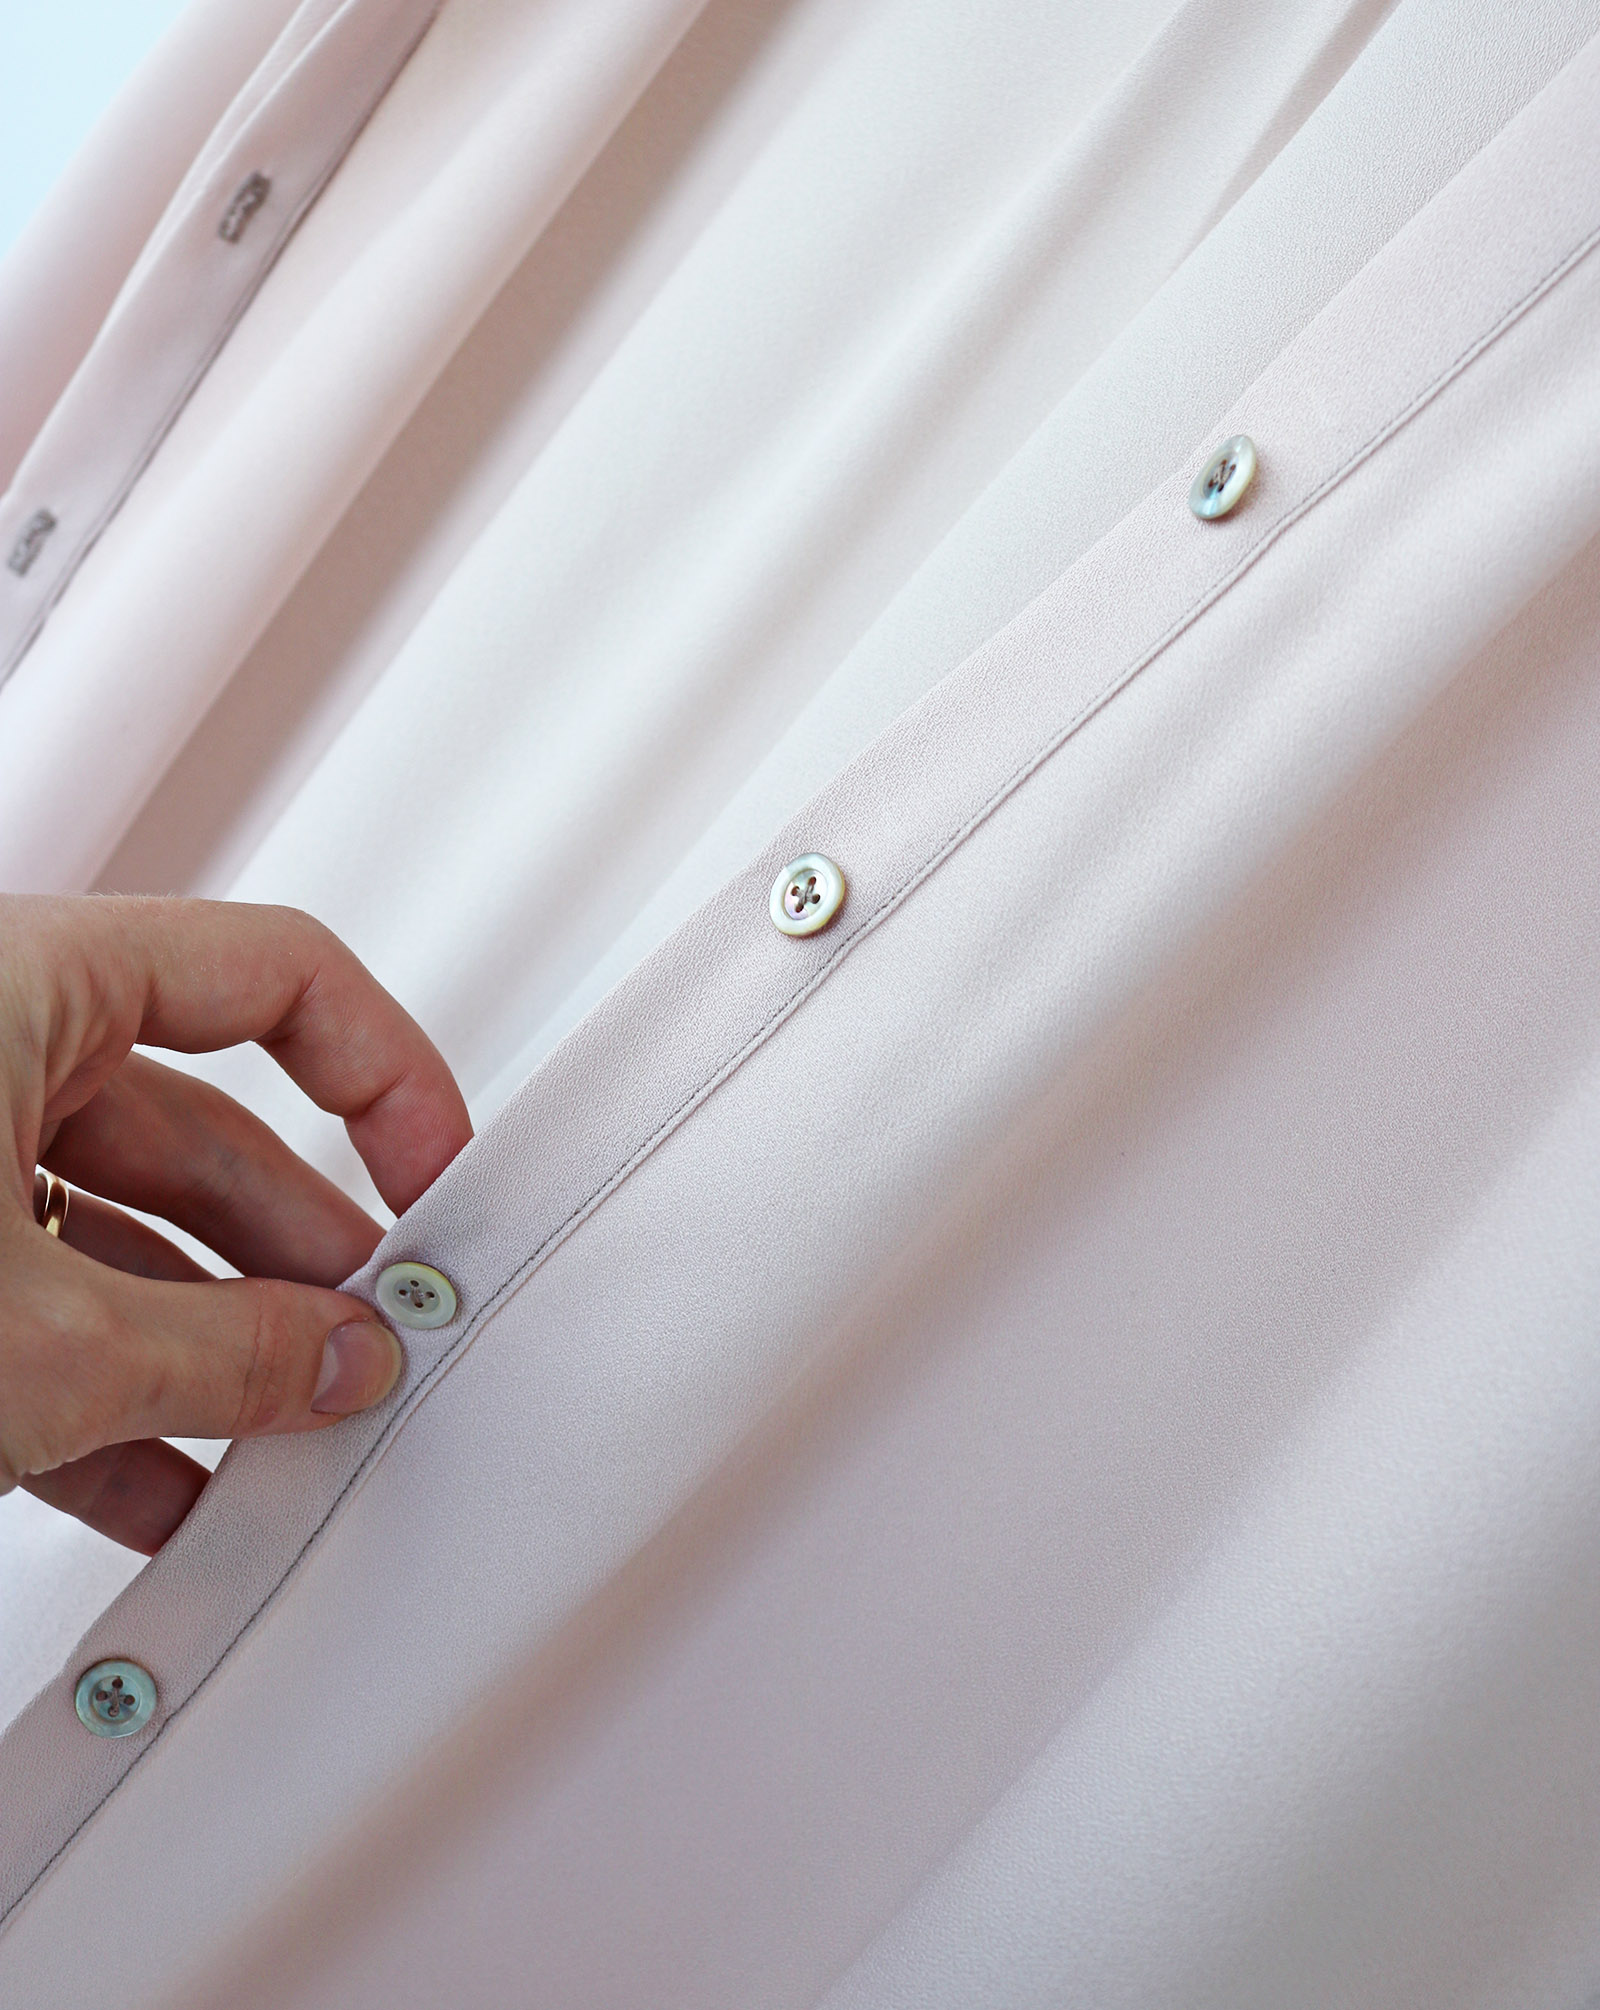
XIV. Longest. Project. Ever. Lastly just marked the button hole spots on the concealed part of the button band (do NOT get this confused. I have once happily sewn my button holes on the layer that sits on top. No one had fun that day.) Won't go into button hole instructions, youtube and sewing machine manuals are out there!
Here's a couple final shots of the finishes.. I did do one more thing, which was to blind stitch the two layers of the button band together from the collar down to a couple cm from the first button hole.
And finally, with buttons attached!
A bit of work, but I'm so happy with the result! This one will be a long-time favourite for sure.
xo,
Julia


0 comments:
Post a Comment
I would love to hear what you think and learn about your DIY adventures! If you use one of my tutorials, tag me on social @contour_affair, I'd love to see!