Sunday 3 March 2019

How To: U-Shaped Wrap Skirt with Ruffle Hem

Considering re-naming my blog to The Rufflenator, if you really look all I do is make different kinds of ruffles, that I attach some kind of clothing to. Which is really odd since I've never seen my style as very feminine, yet ruffles are definitely one of the most romantic accessories out there.. WELL.

Tutorials take a lot of time & effort to create, and I choose to make mine available for free. If you enjoy this guide, you can support me with a donation that feels right for you, here.


TOOLS:
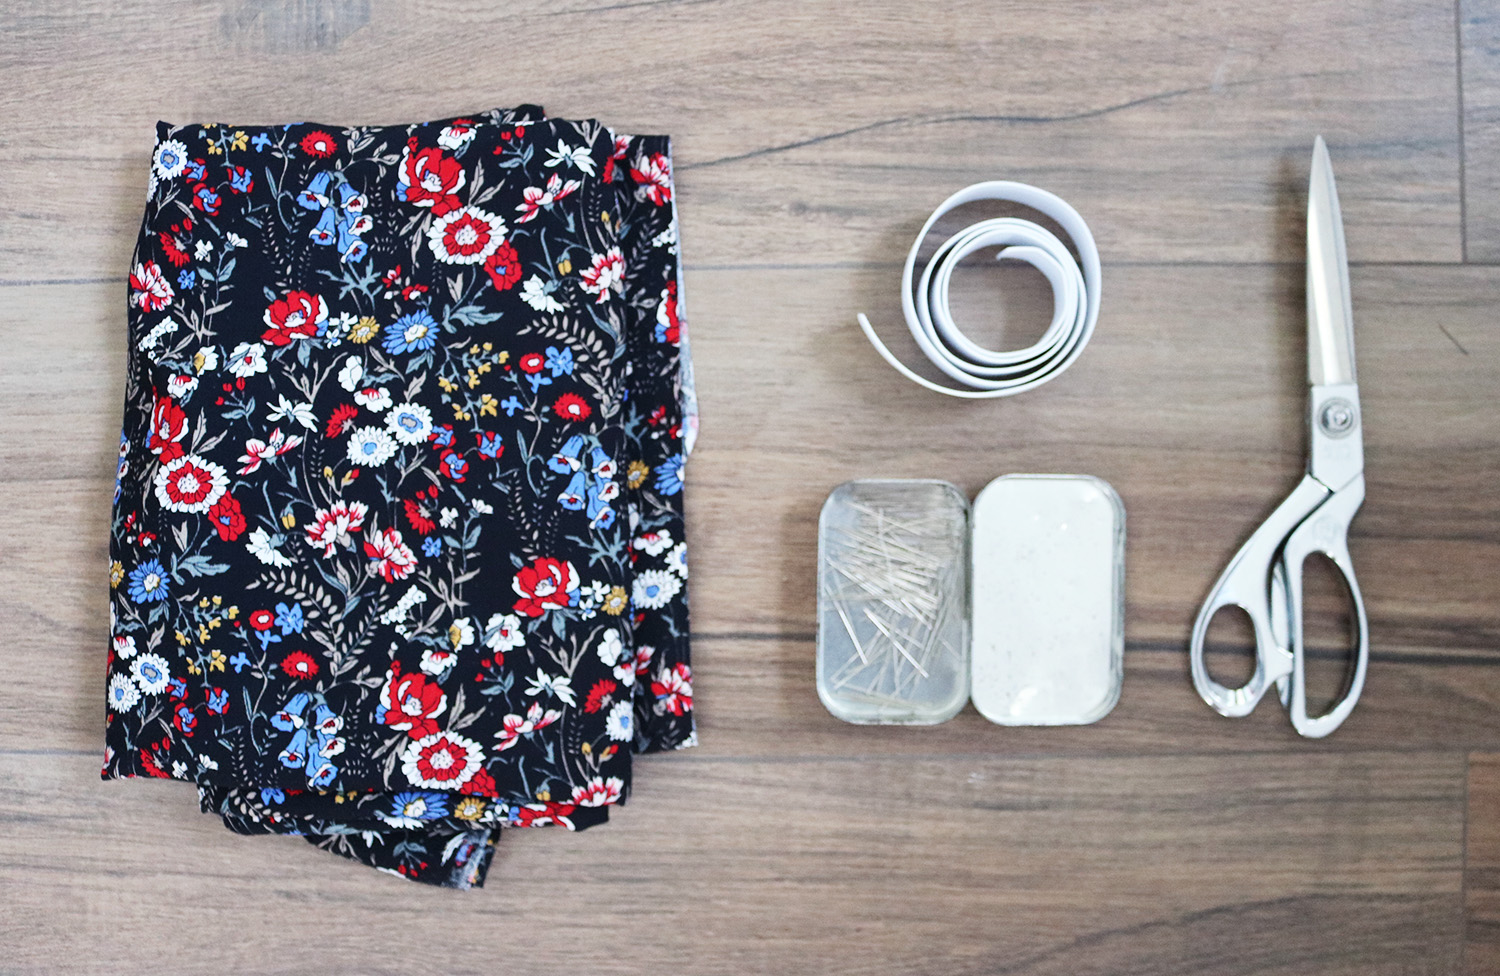
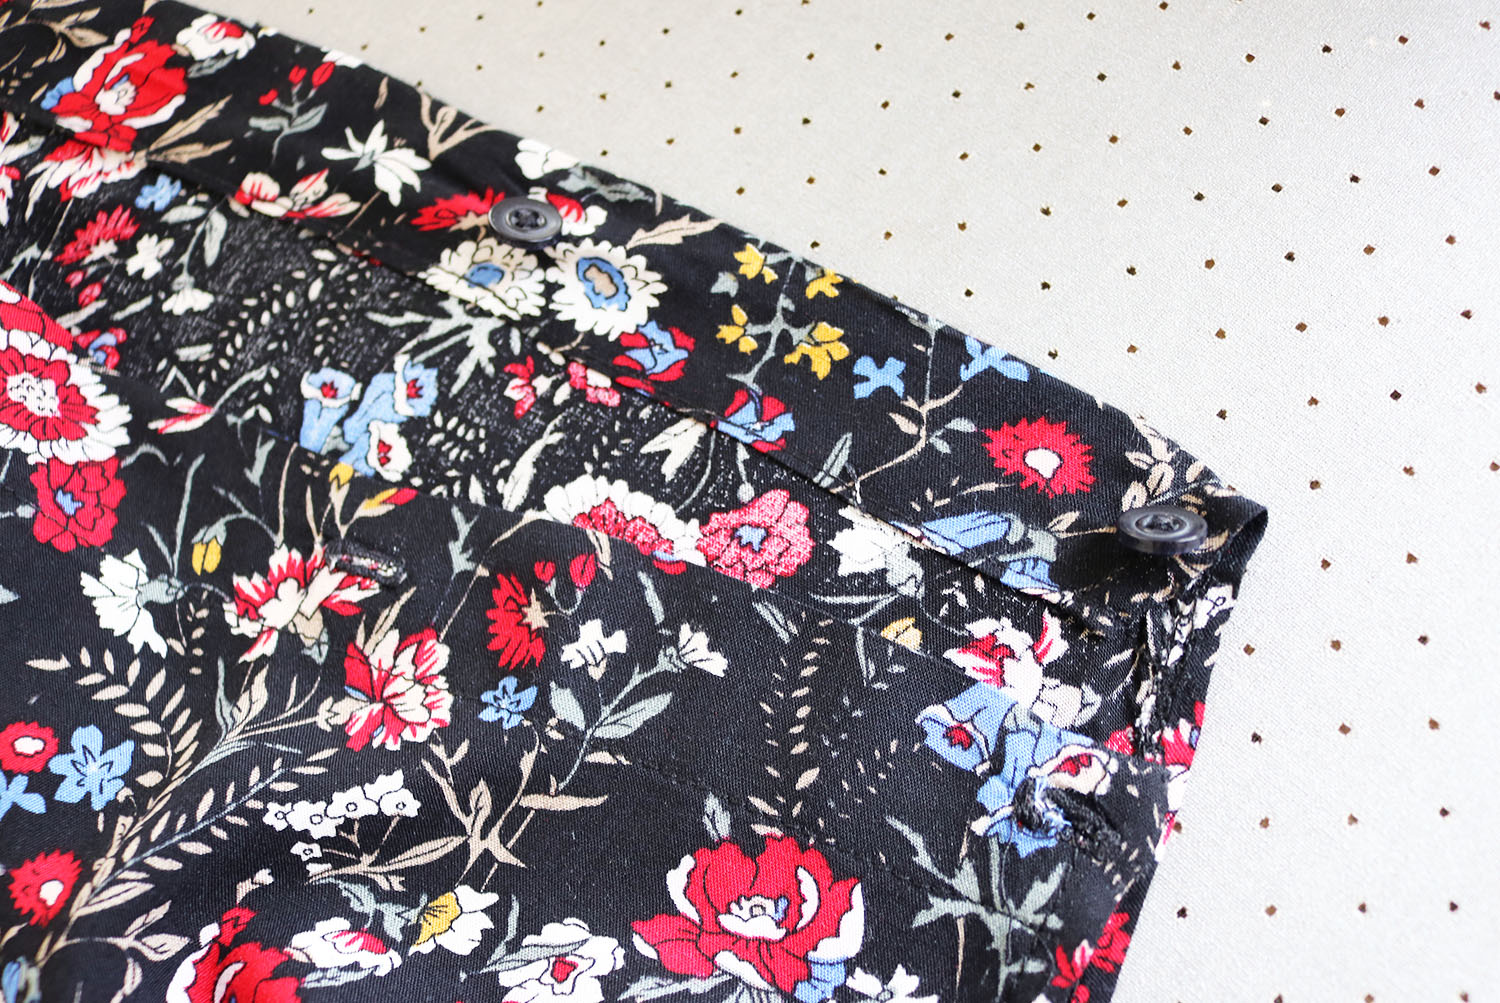
Fabric (I used 100% cotton) 2 m full 150 cm width  |  Scissors  |  Pins  Thread & sewing machine + also used my serger  |  Instead of the elastic, I ended up doing a wrap waist so I used 2 buttons for fastening

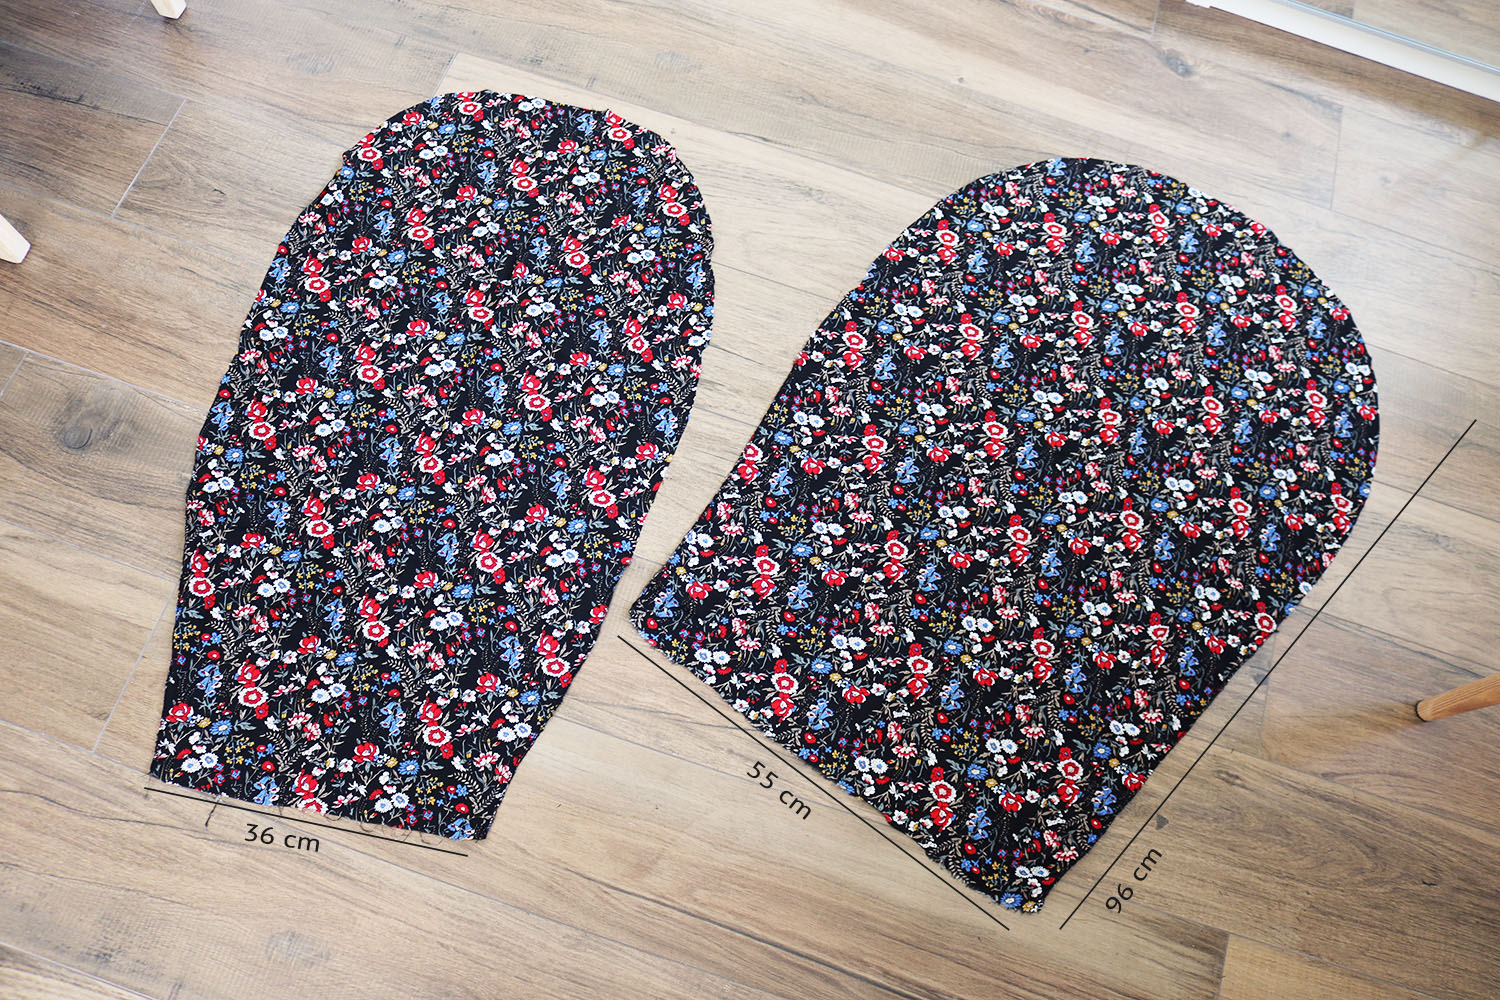
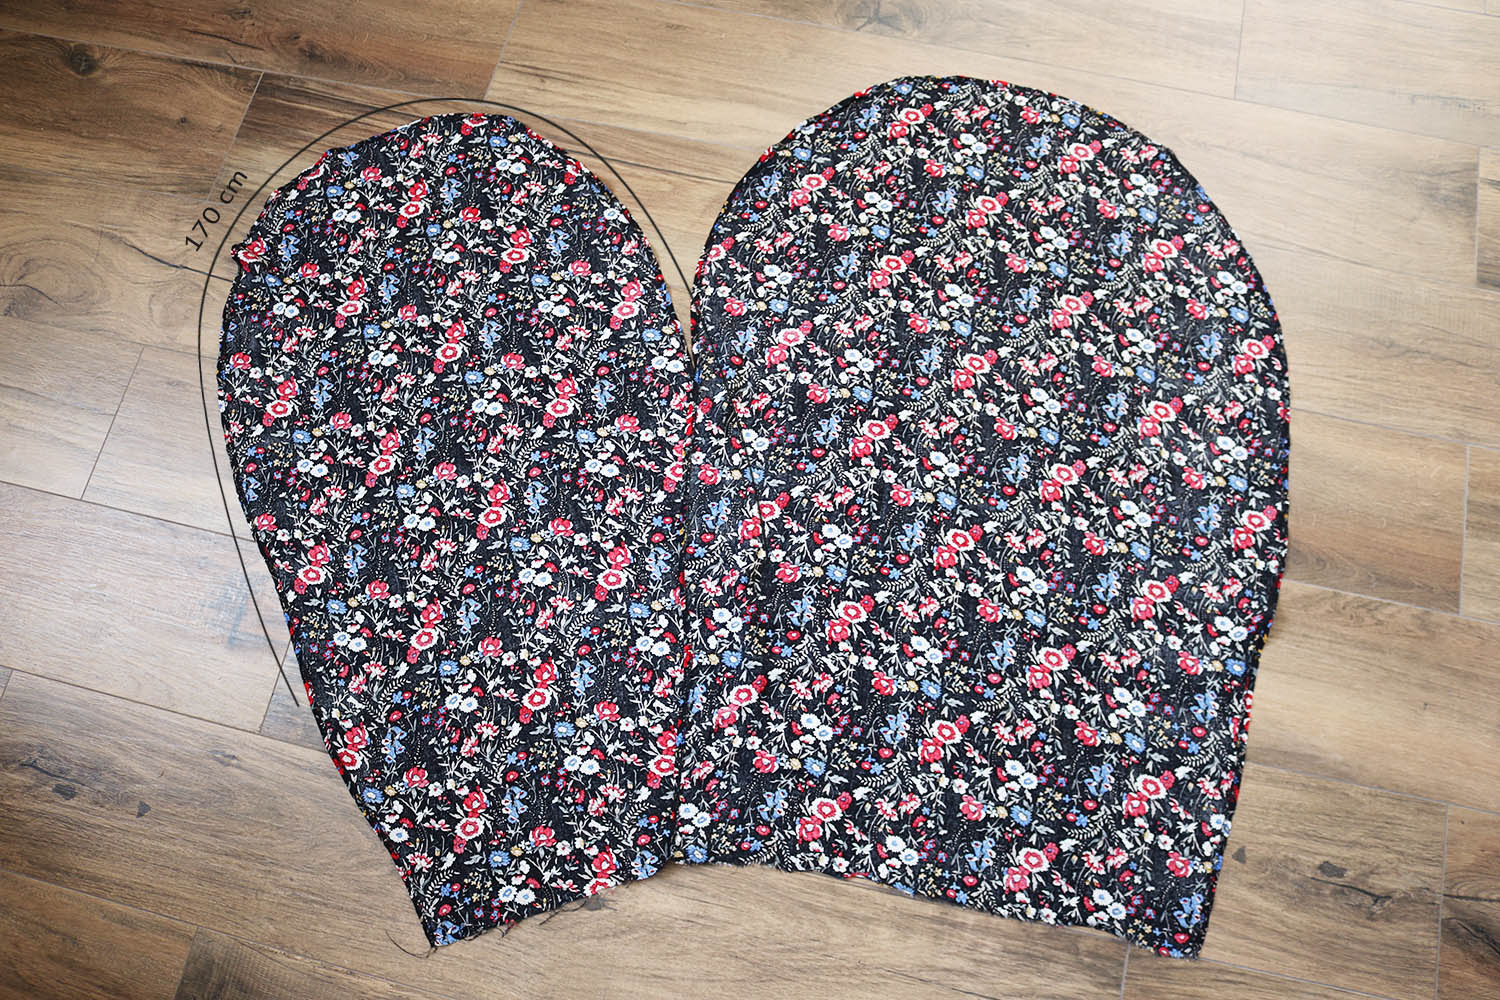
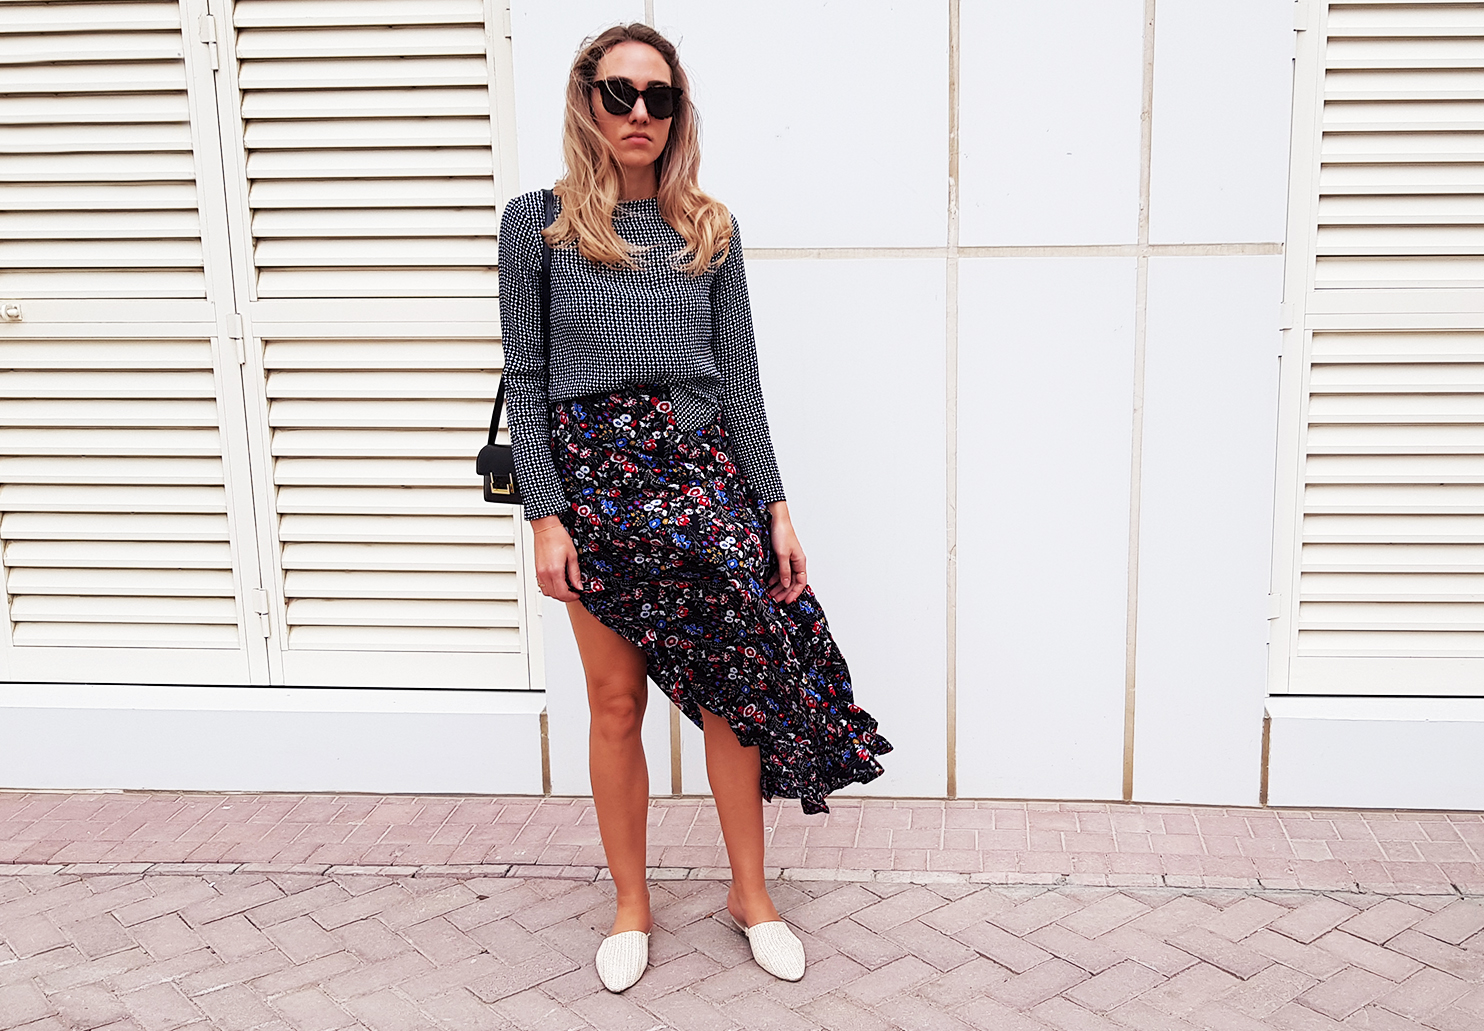
I. Here's how I cut my front and back pieces. I'm a EU36/US 4, waist 70 cm but since this is a wrap style those same measurements would work for size up or down easily.
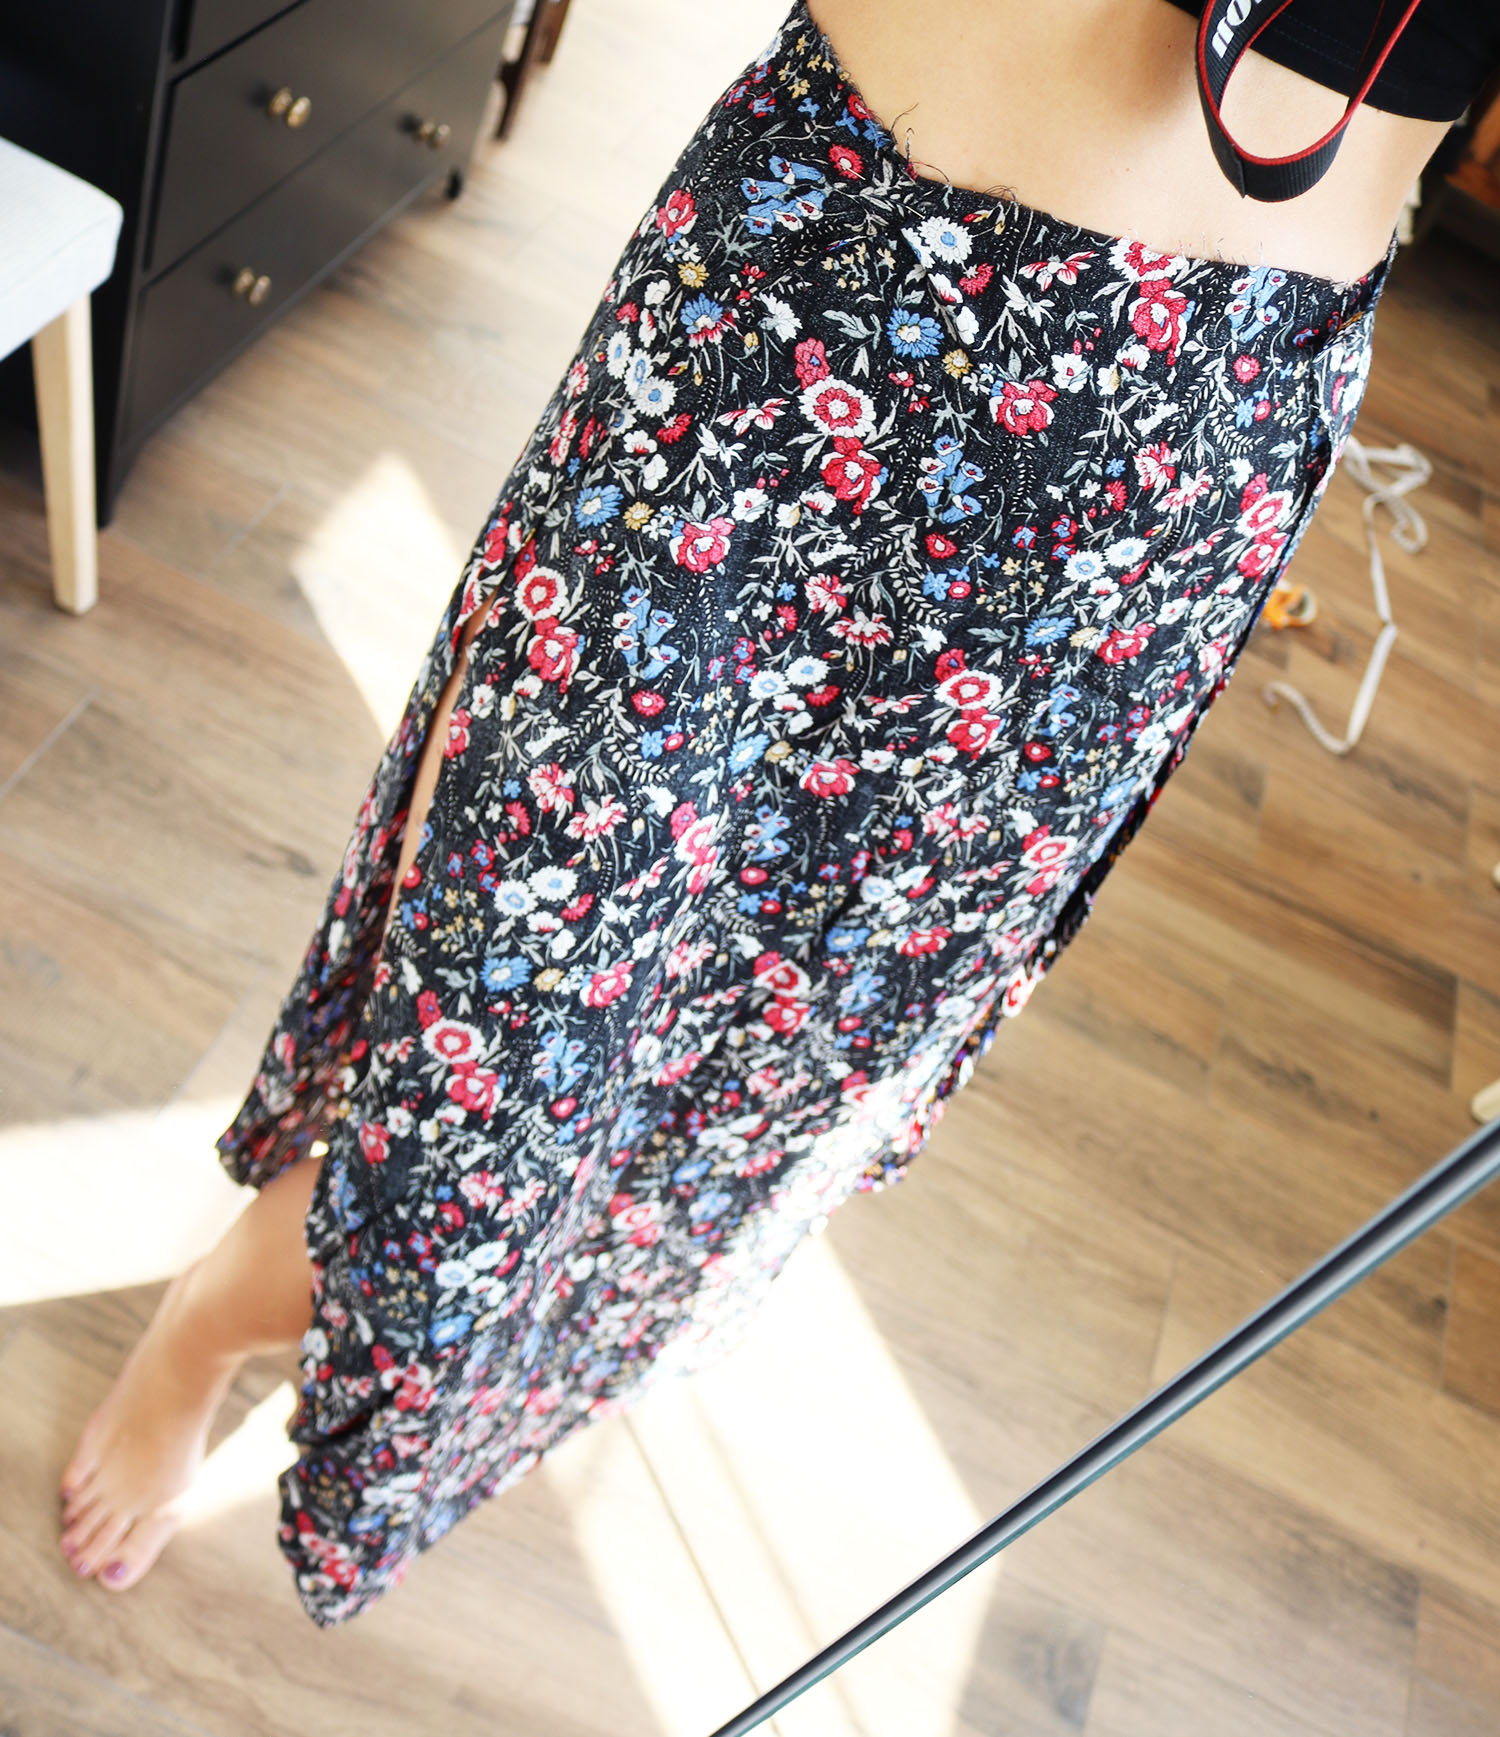
.. I pinned the parts on myself just to check for size, and it was all good (I wanted about 10 cm of overlap on both sides:
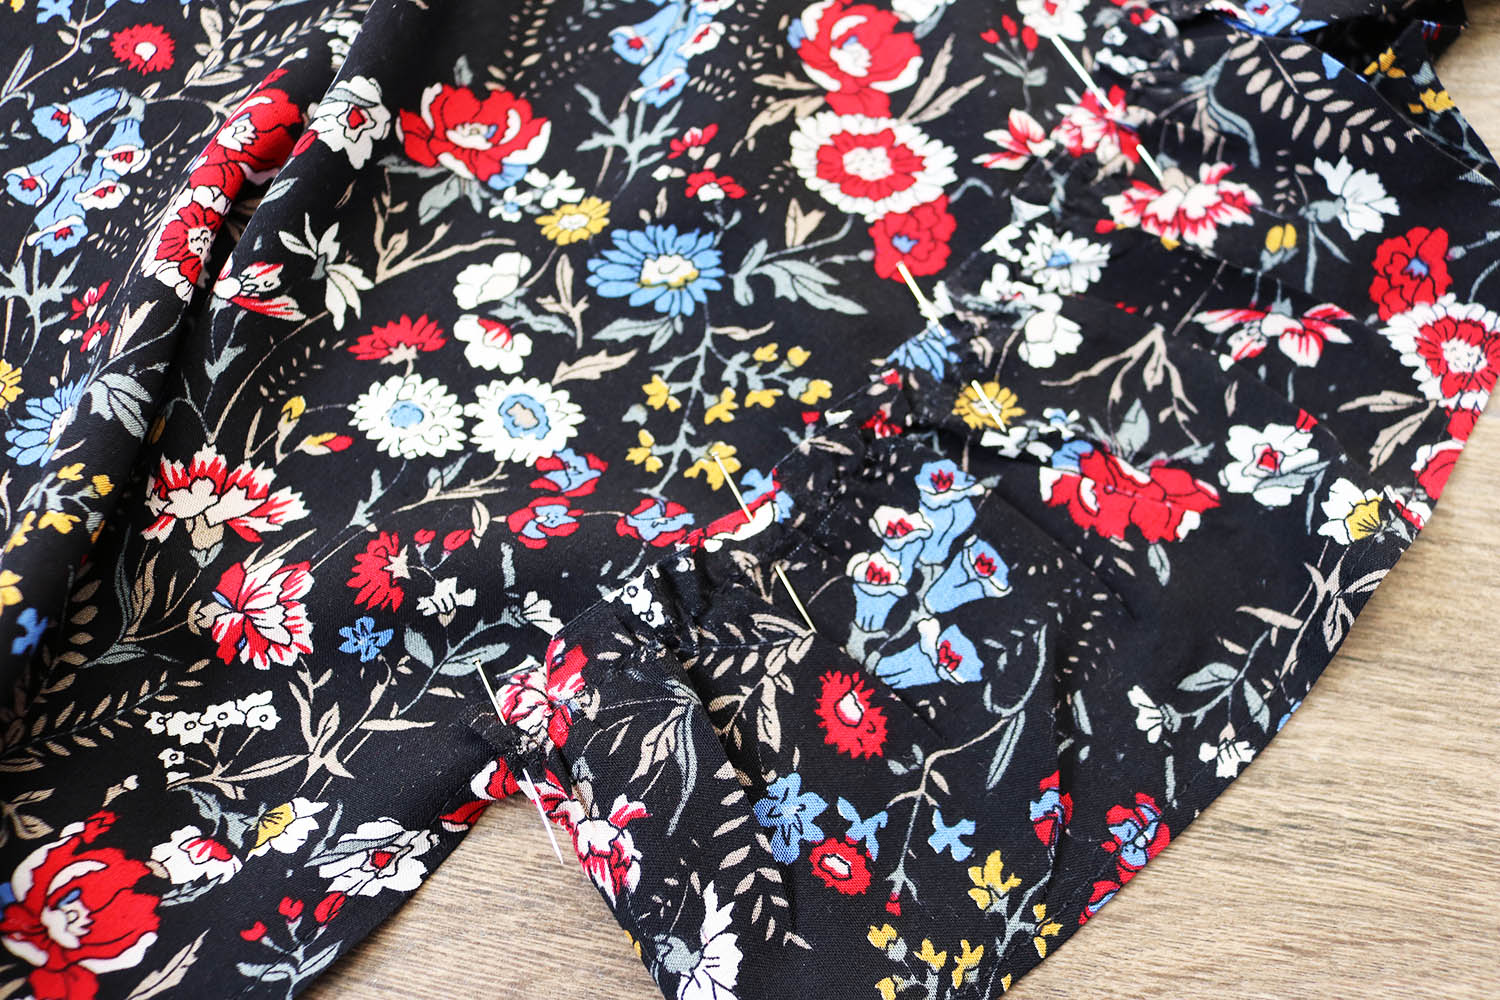
II. Then I placed the narrower front piece against the back piece, right sides facing, alining the center middle of the waistline, and sewed on one side about 30 cm down from the top.
It's kind of hard to tell with the pattern of the fabric, but turning right side up and pressing, I had this - the two pieces attached on one side:
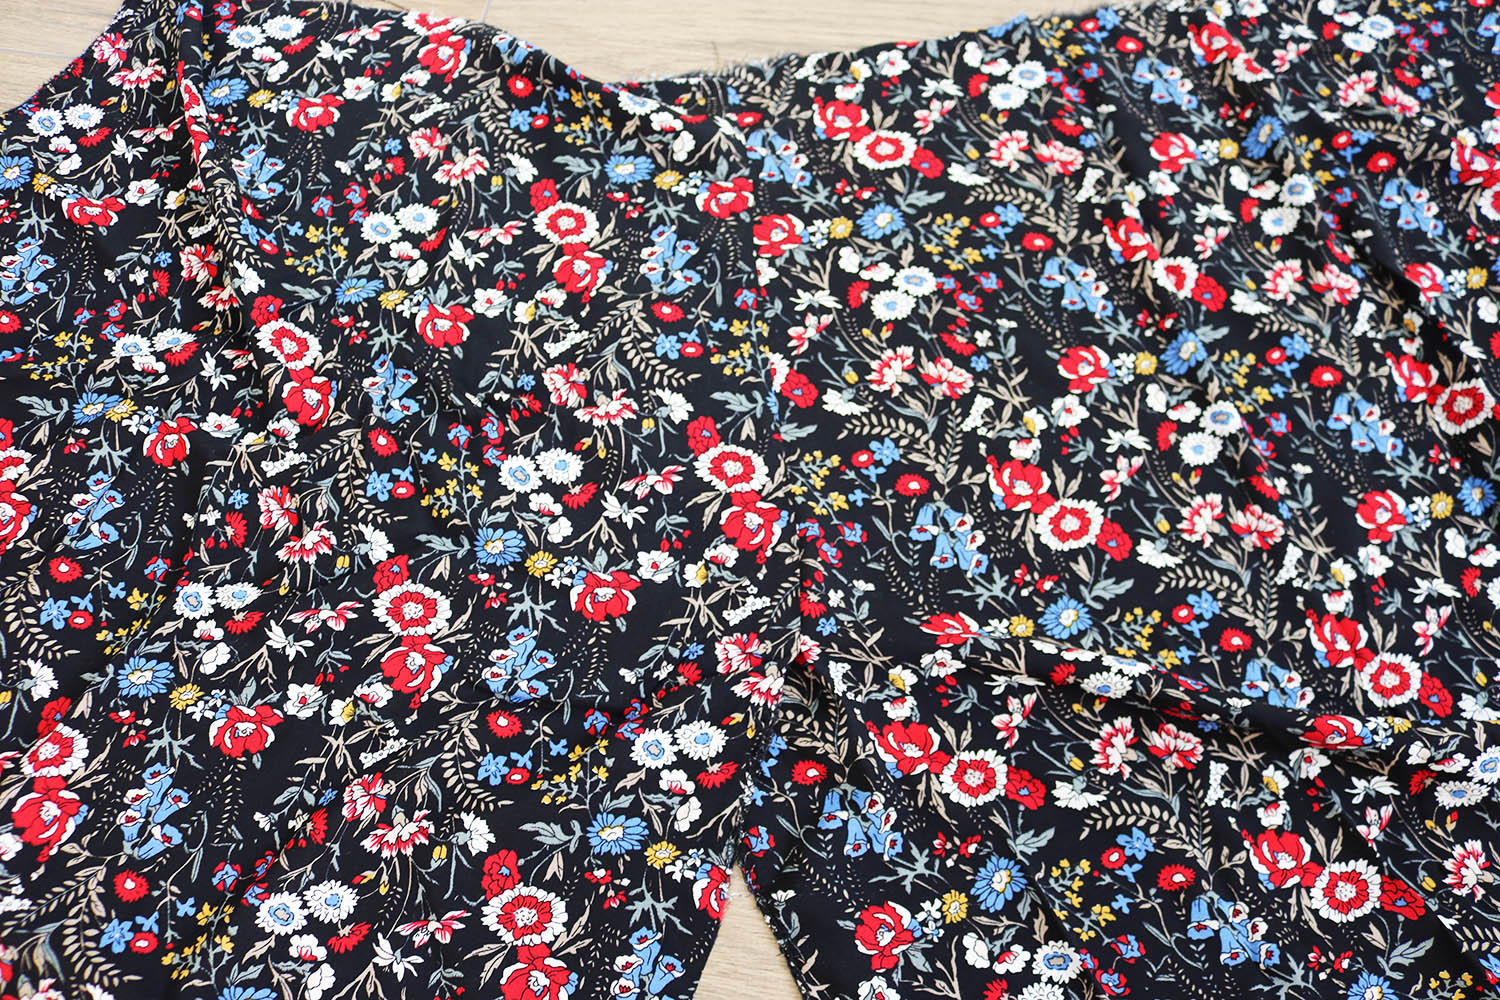
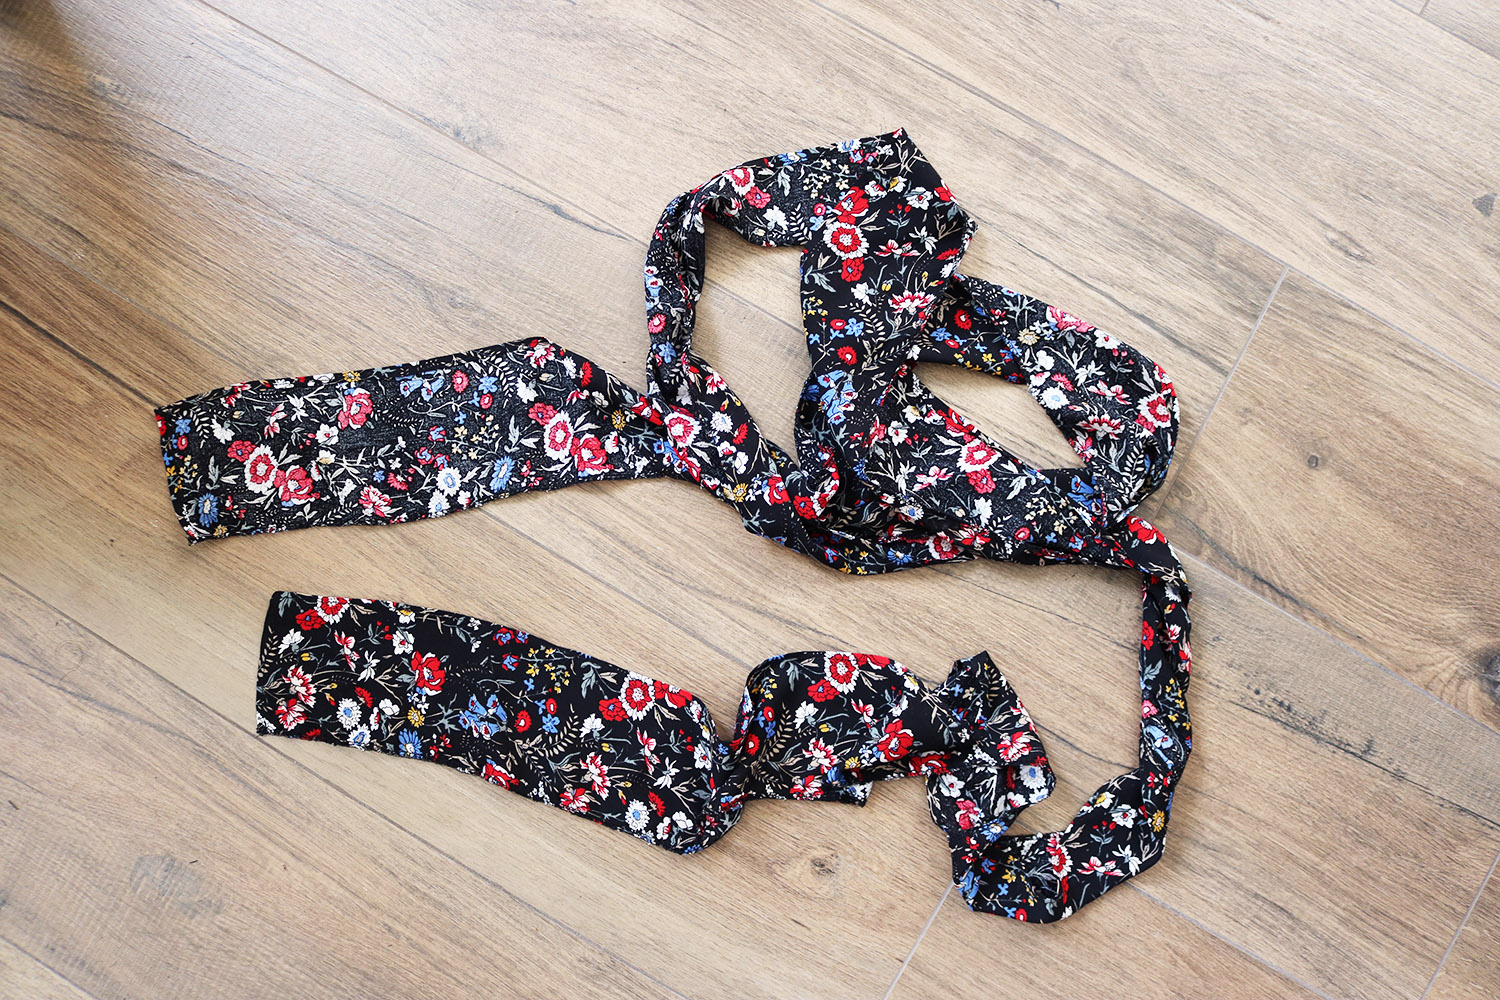
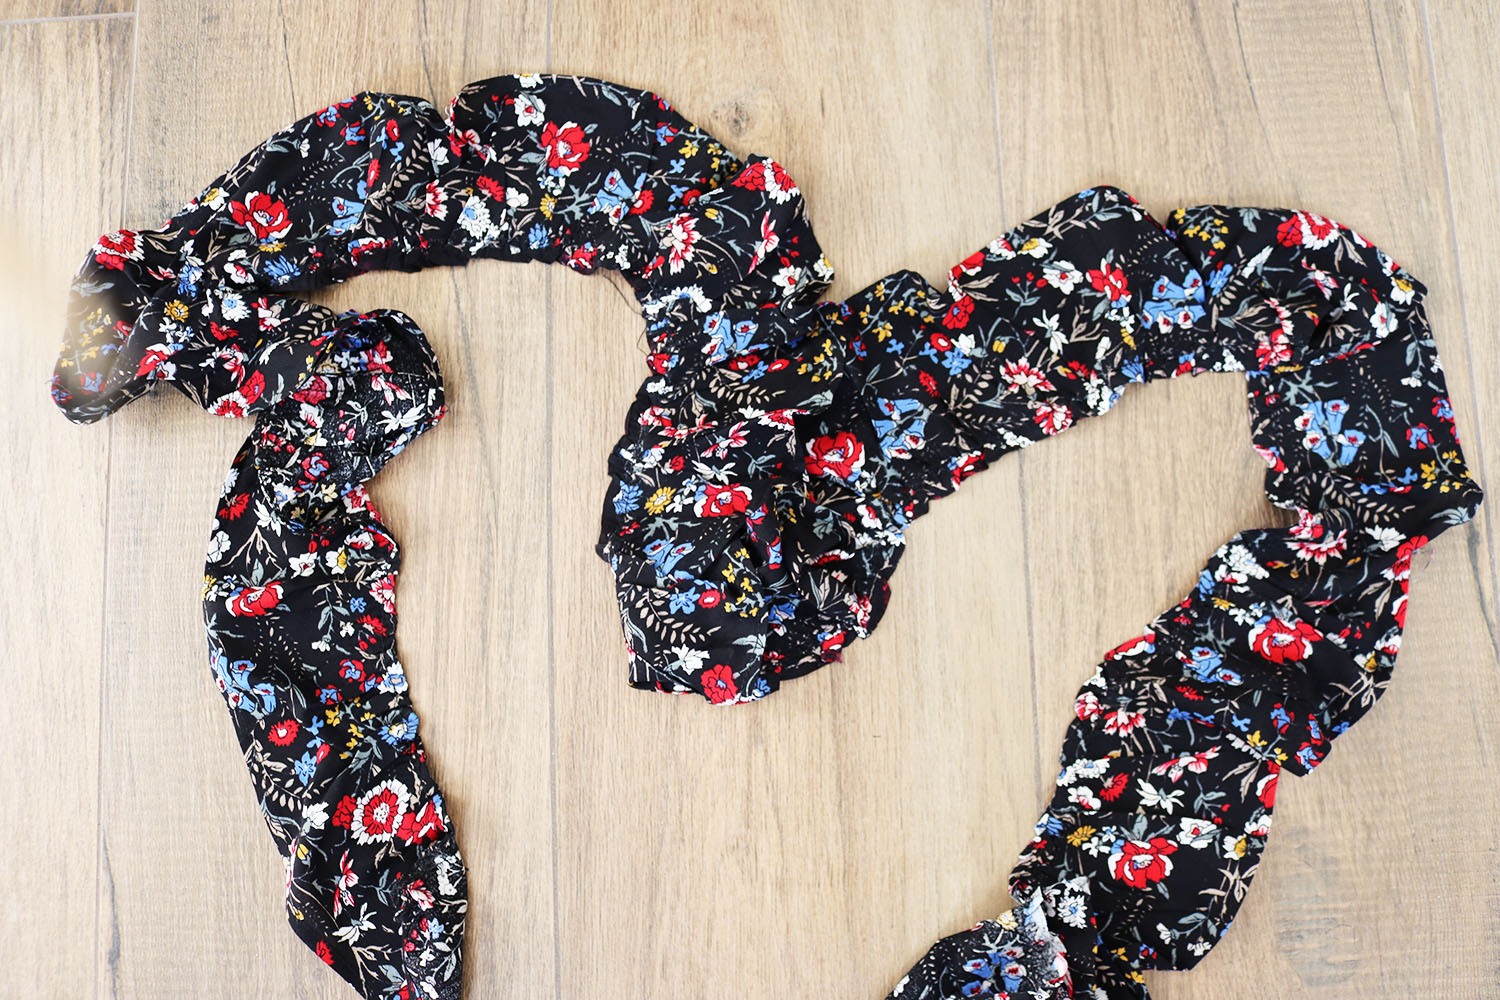
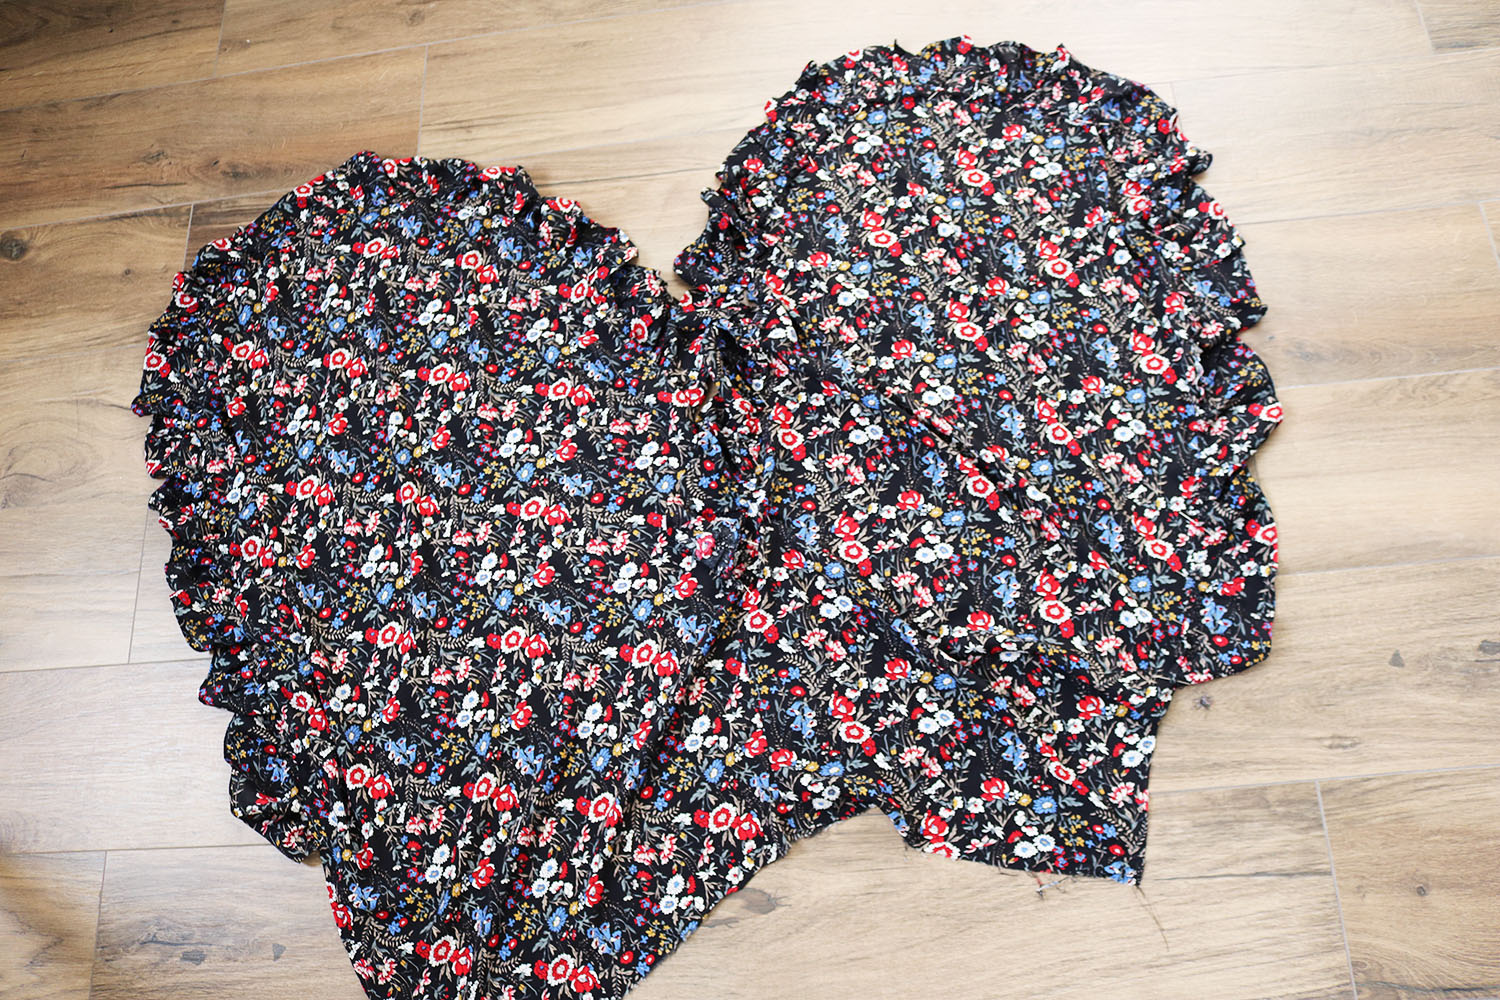
And on the reverse it looked like this. I then finished both U shaped edges with my serger and single fold + stitch. Then I measured the distance I wanted to add ruffle to. It was about 170 cm on both the back and the front piece. 
III. I did an approx. 1.8 multiplier for the ruffle, so I cut two 310 cm long straps of fabric (I made them 9 cm wide, and needed to make both out of 2 pieces to get to that length). One of the straps I was able to cut from the factory-finished edge, so I only needed to finish the other long edge with my serger. For the other one I added a single fold on one long edge + on both, the short edges.
Then I did my basting stitch on both straps and gathered them down to 170 cm long or so.
And pinned onto the hem of the front & back piece.
Since I had been able to use the factory-finished edge, on the front piece I pinned my ruffle on top of the hem:
And on the back piece, I pinned it behind. Sewed both in place.
IV. To finish the waistline, I just did a double-fold, and added two buttons + two button holes to attach the skirt to itself when worn. I didn't attach the side with the button fastening in any other way, I decided in the city I can just clip the side together with a safety pin (I wanted to keep it breezy for when I want to wear this to more tropical/liberal places 😜)
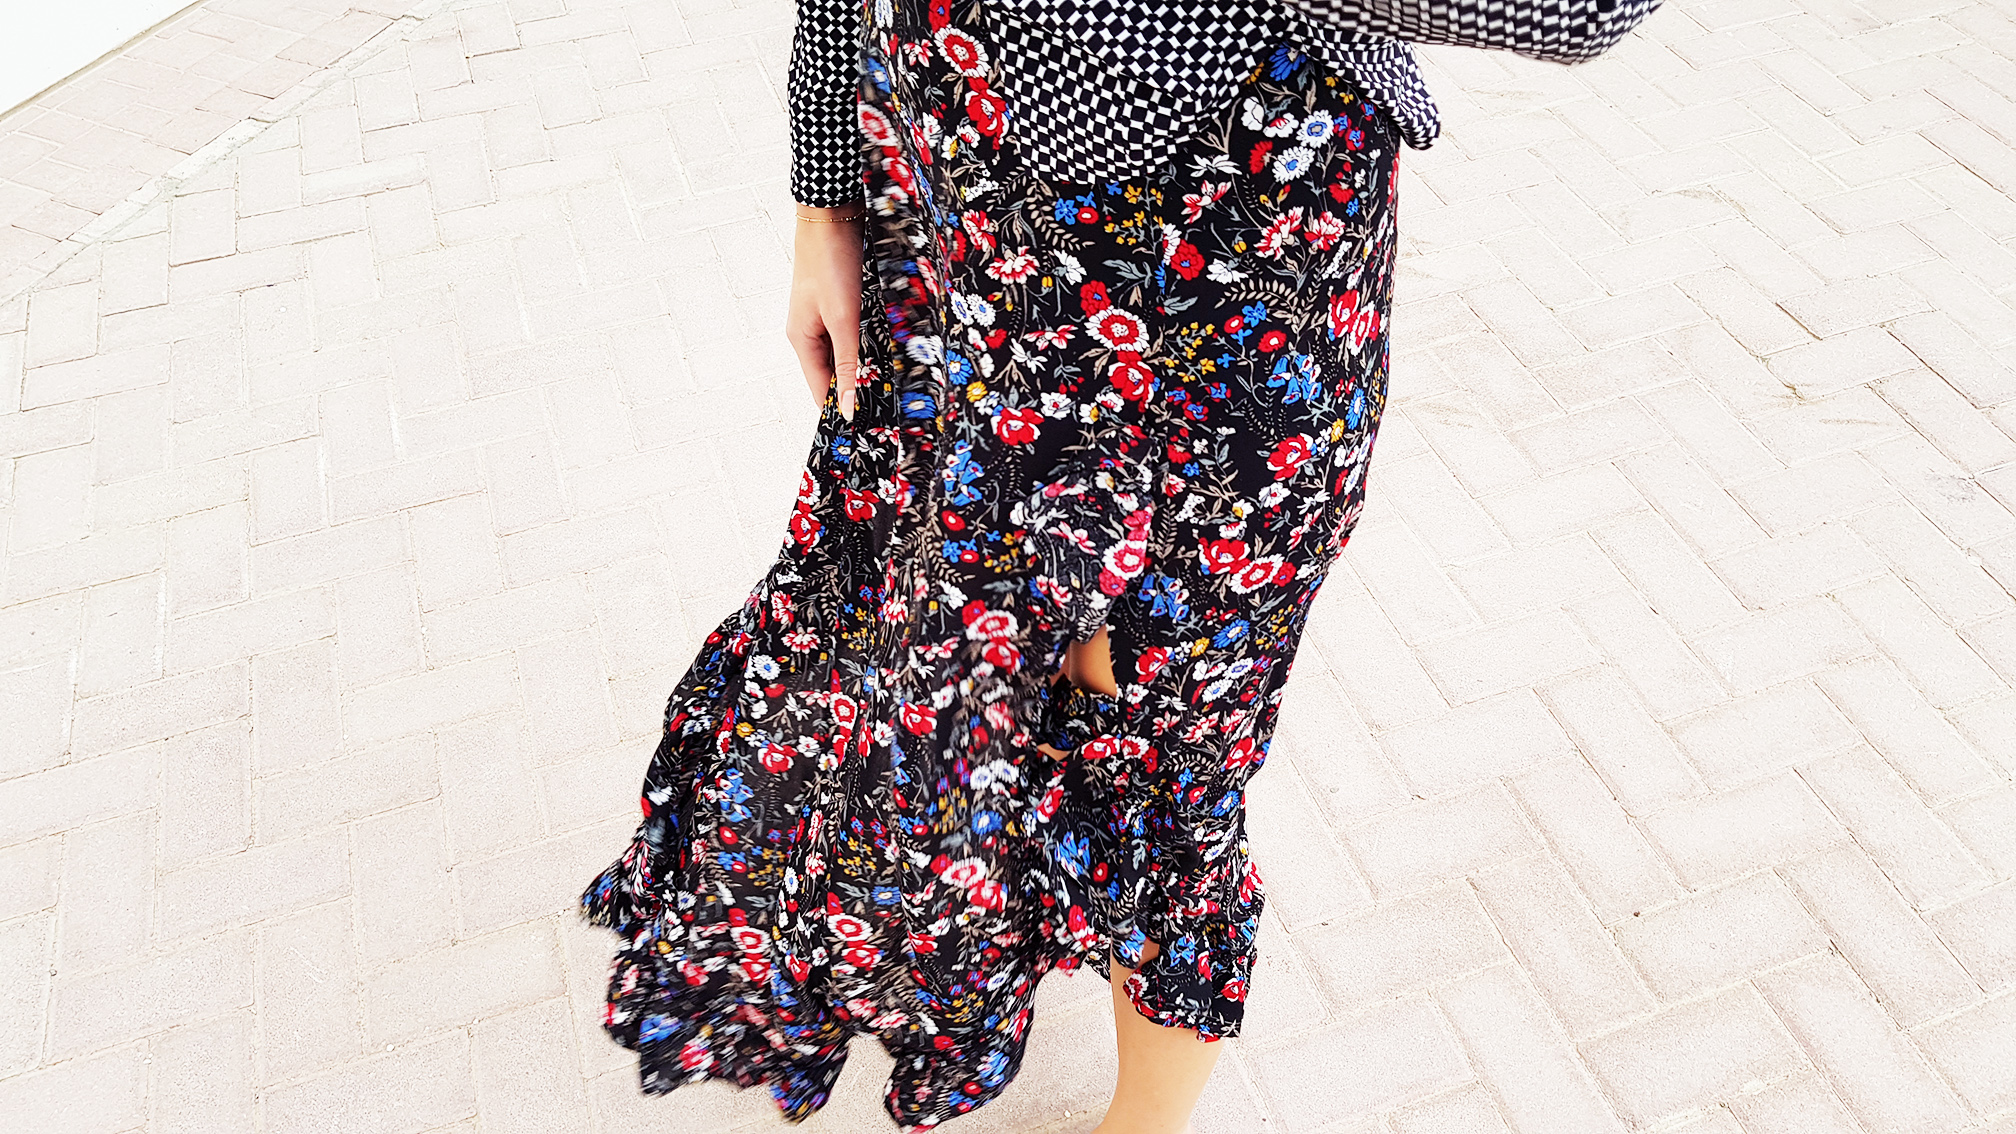
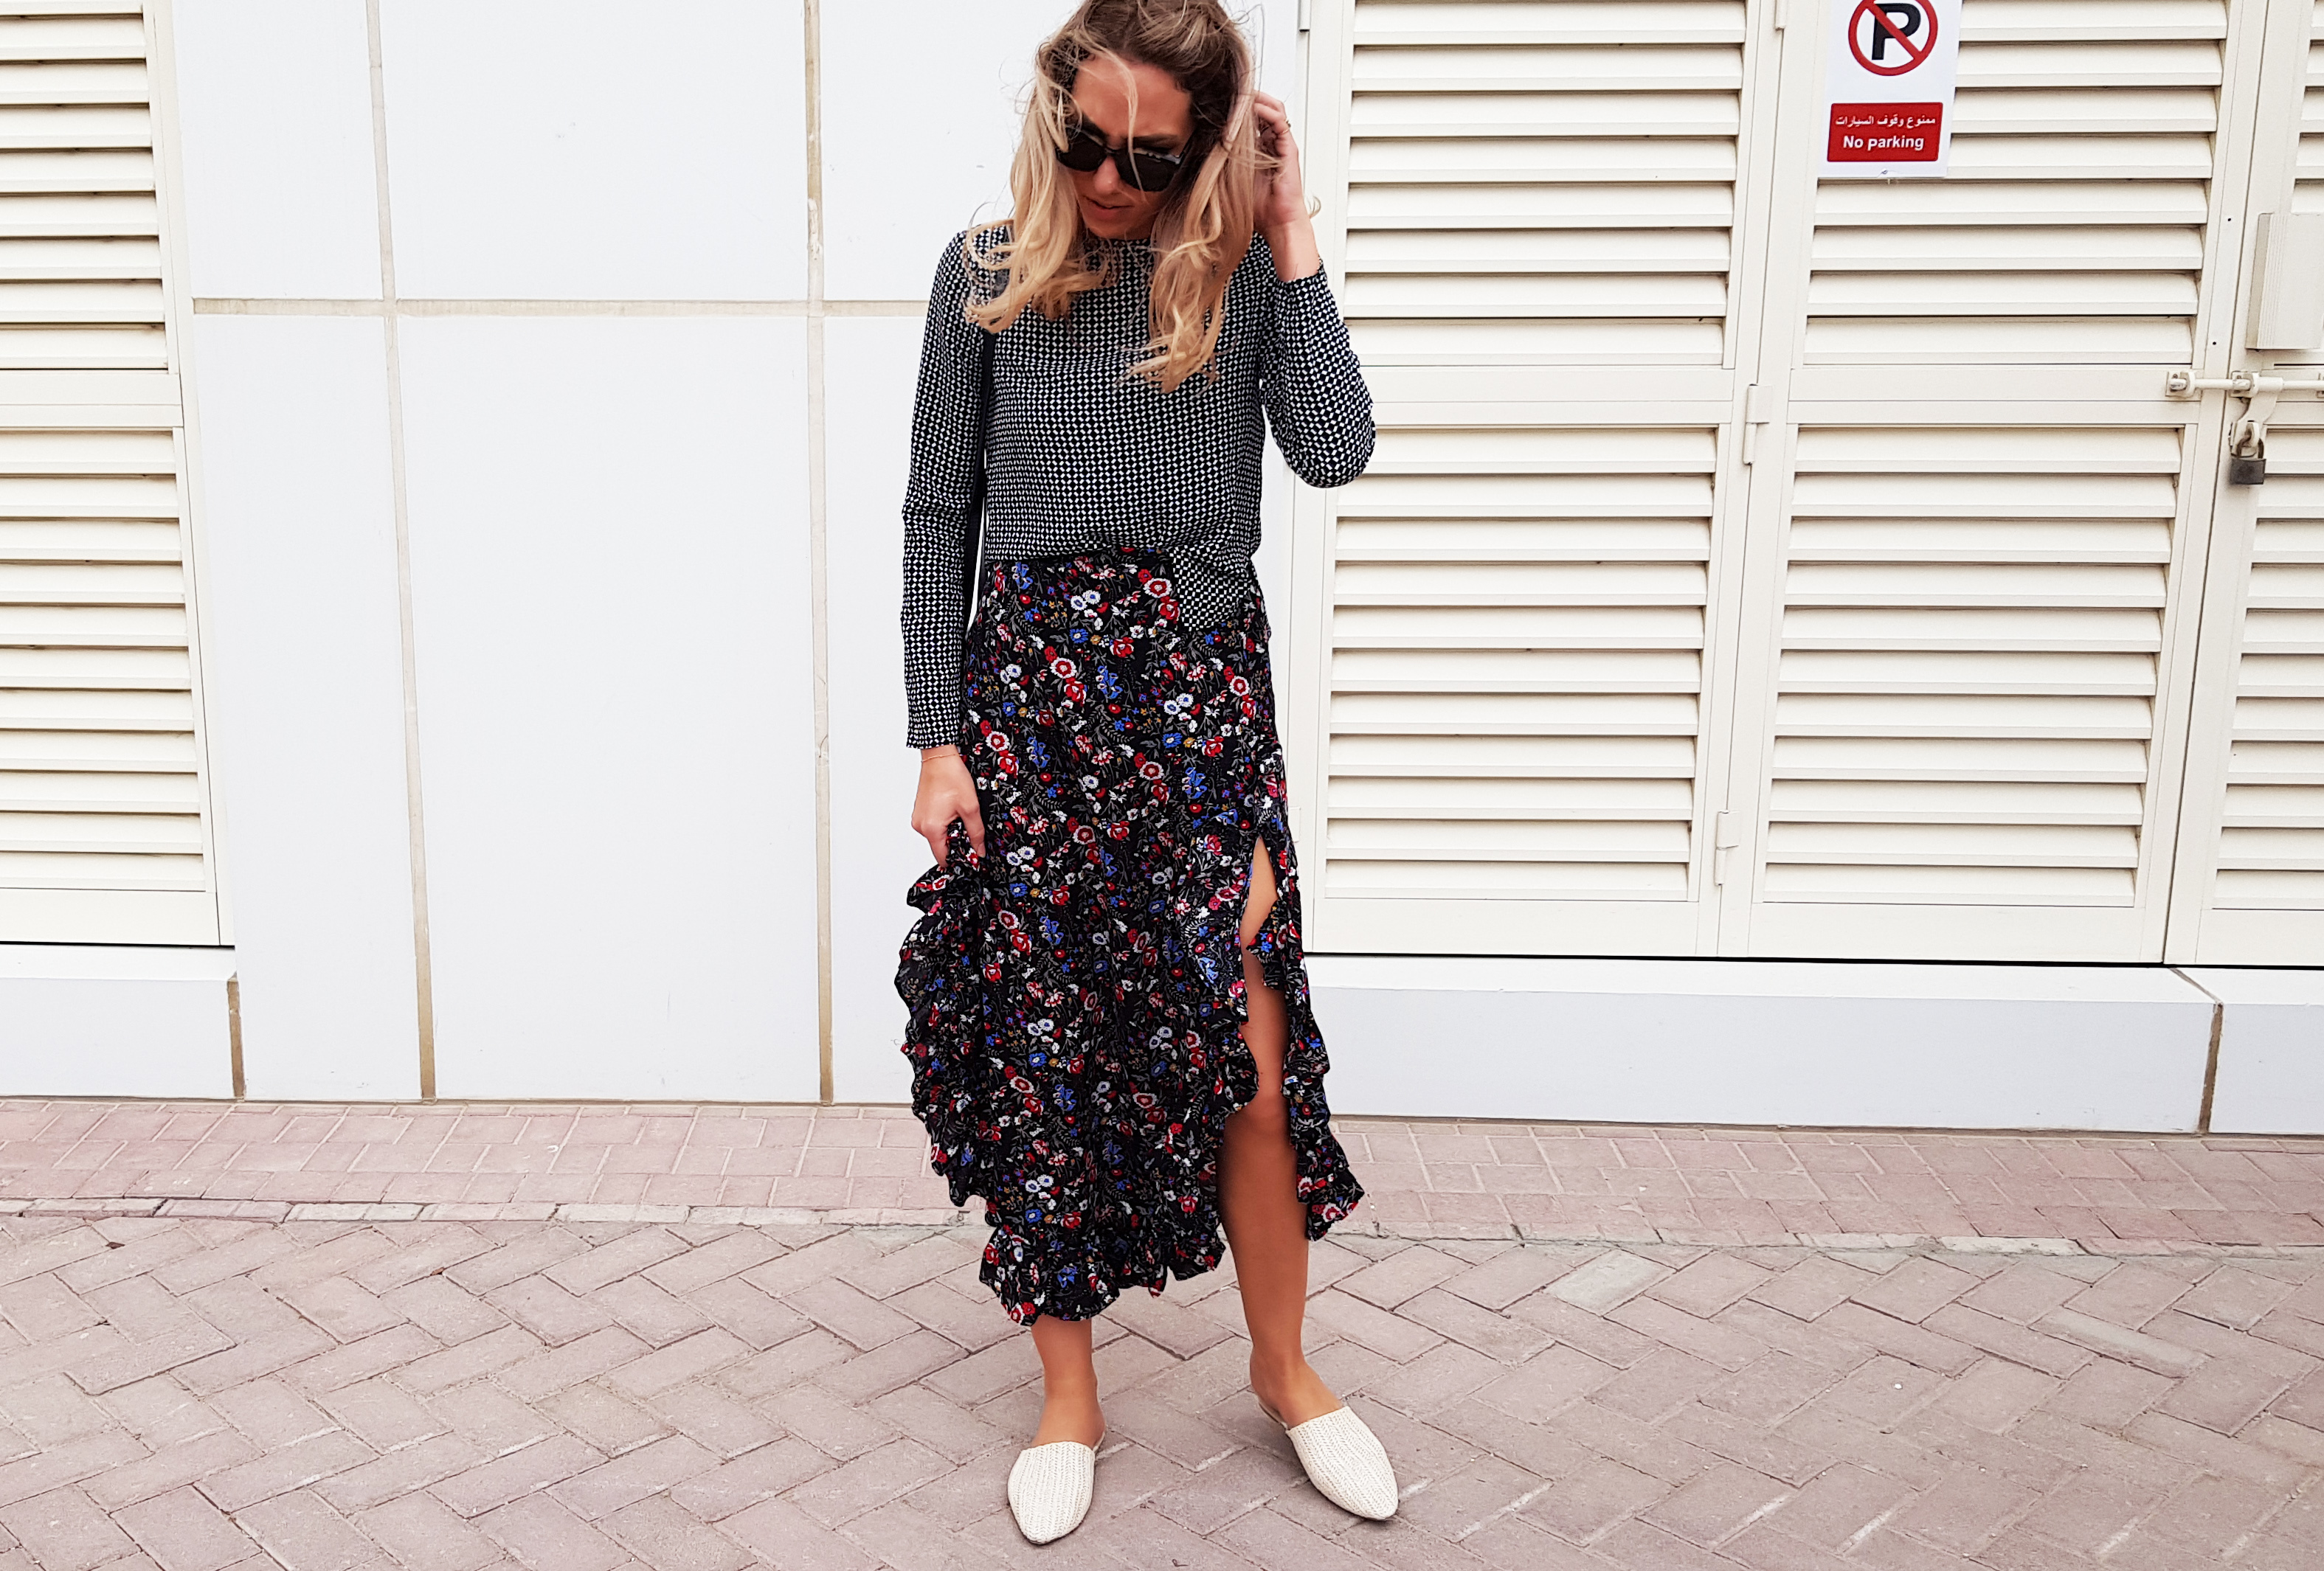
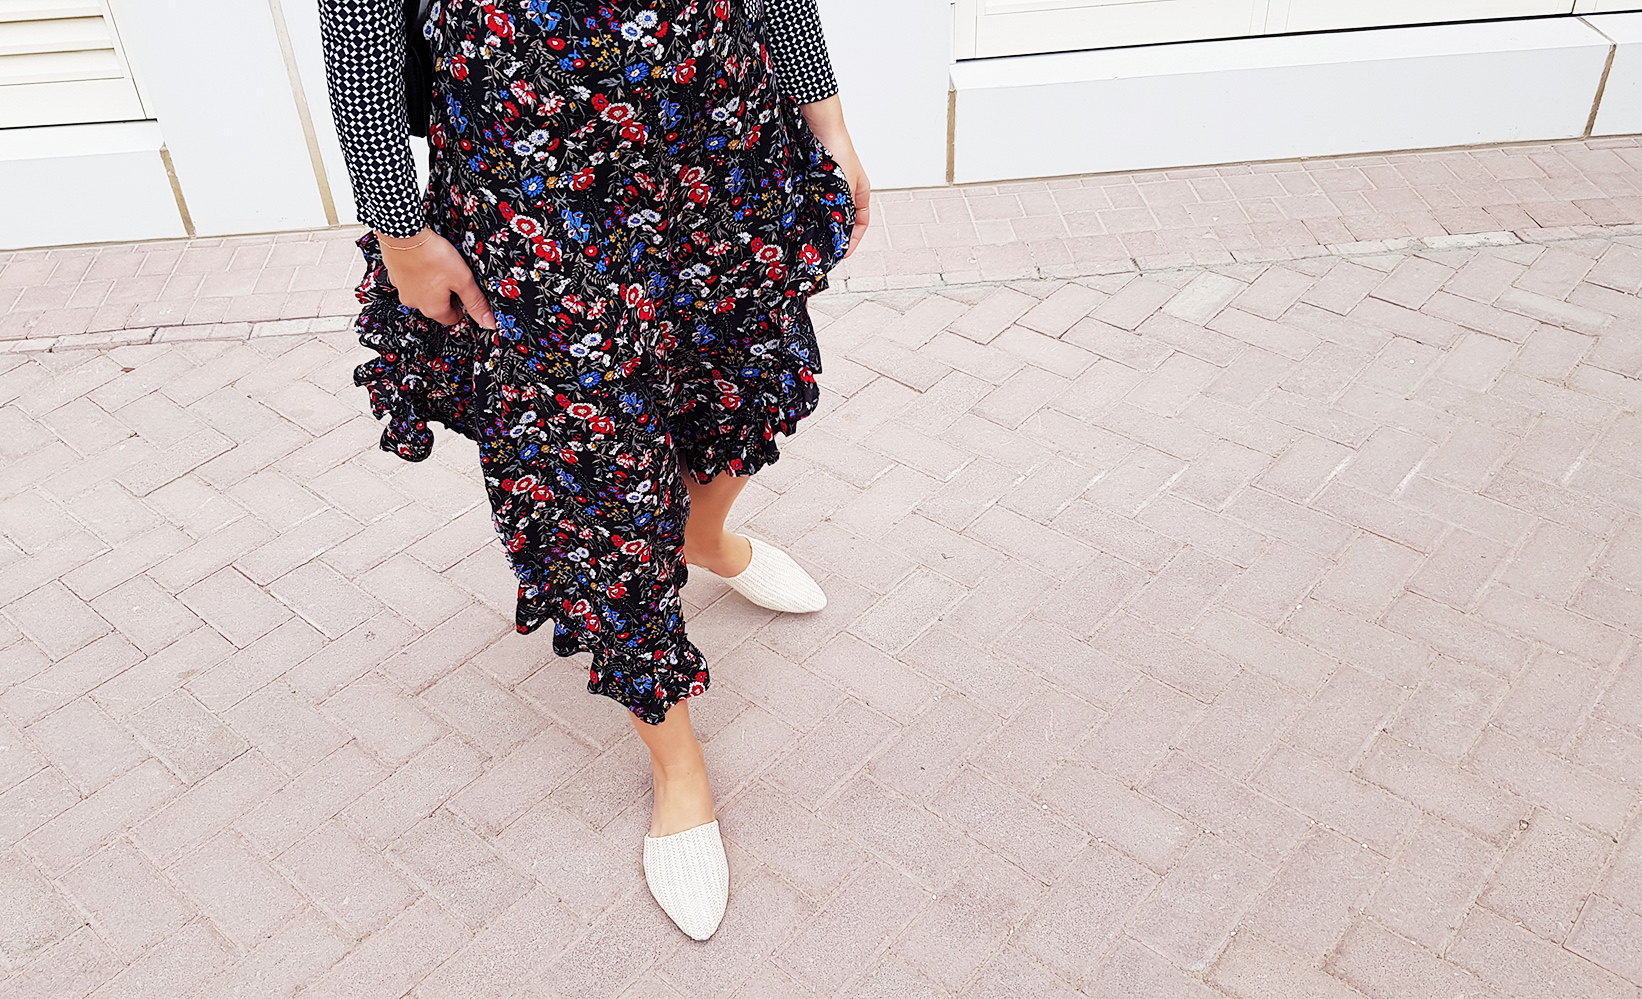
Can you tell it was windy?
xo,

Julia

0 comments:

Post a Comment

I would love to hear what you think and learn about your DIY adventures! If you use one of my tutorials, tag me on social @contour_affair, I'd love to see!


Contour Affair Copyright © 2011 -- Template created by O Pregador -- Powered by Blogger