

Tutorials take a lot of time & effort to create, and I choose to make mine available for free. If you enjoy this guide, you can support me with a donation that feels right for you, here.
TOOLS:

Fabric with a bit of stretch for comfort (I used cotton) 3 m (150cm width) | Thin elastic | Pins | Scissors | Forgot from photo: long invisible zipper | Thread & Sewing machine
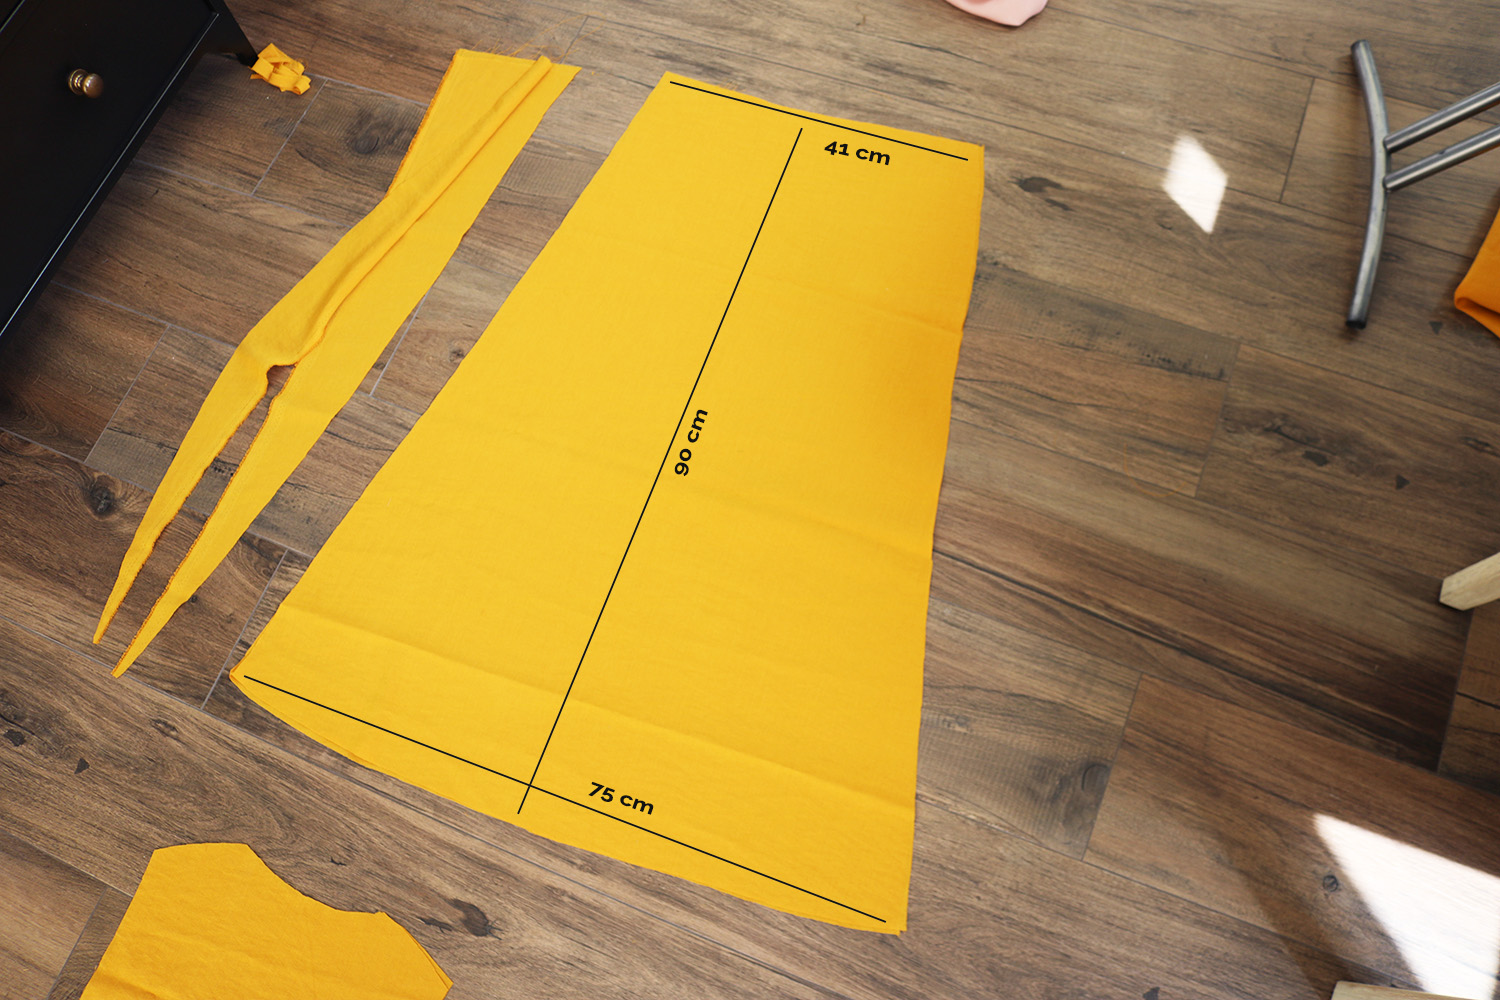
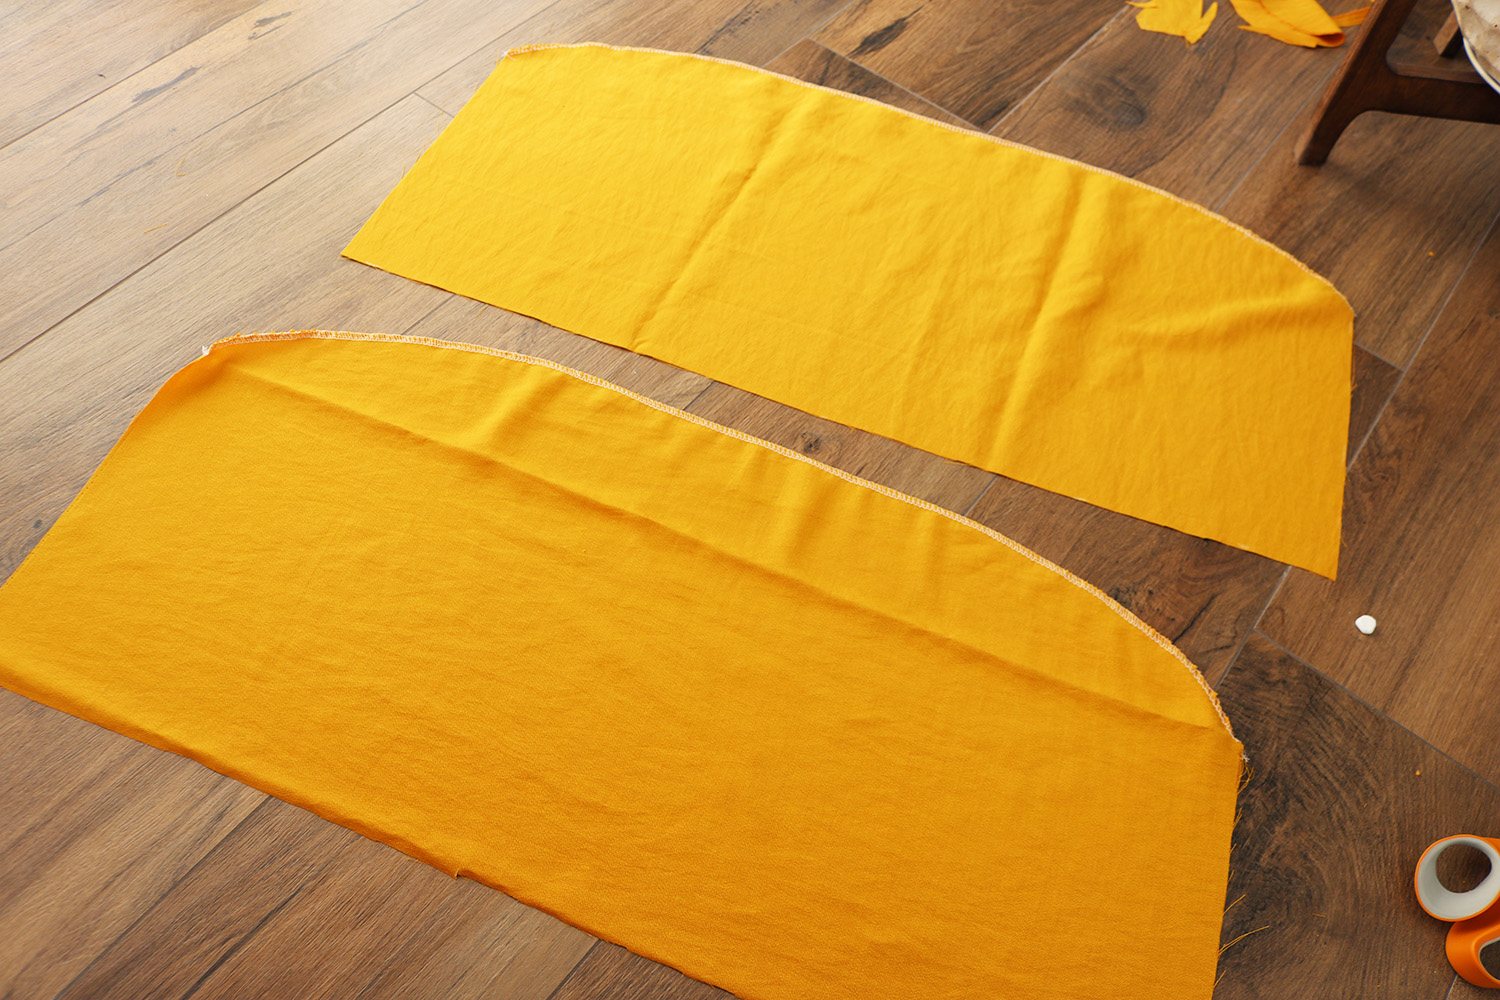
I. My cut skirt pieces (two identical):
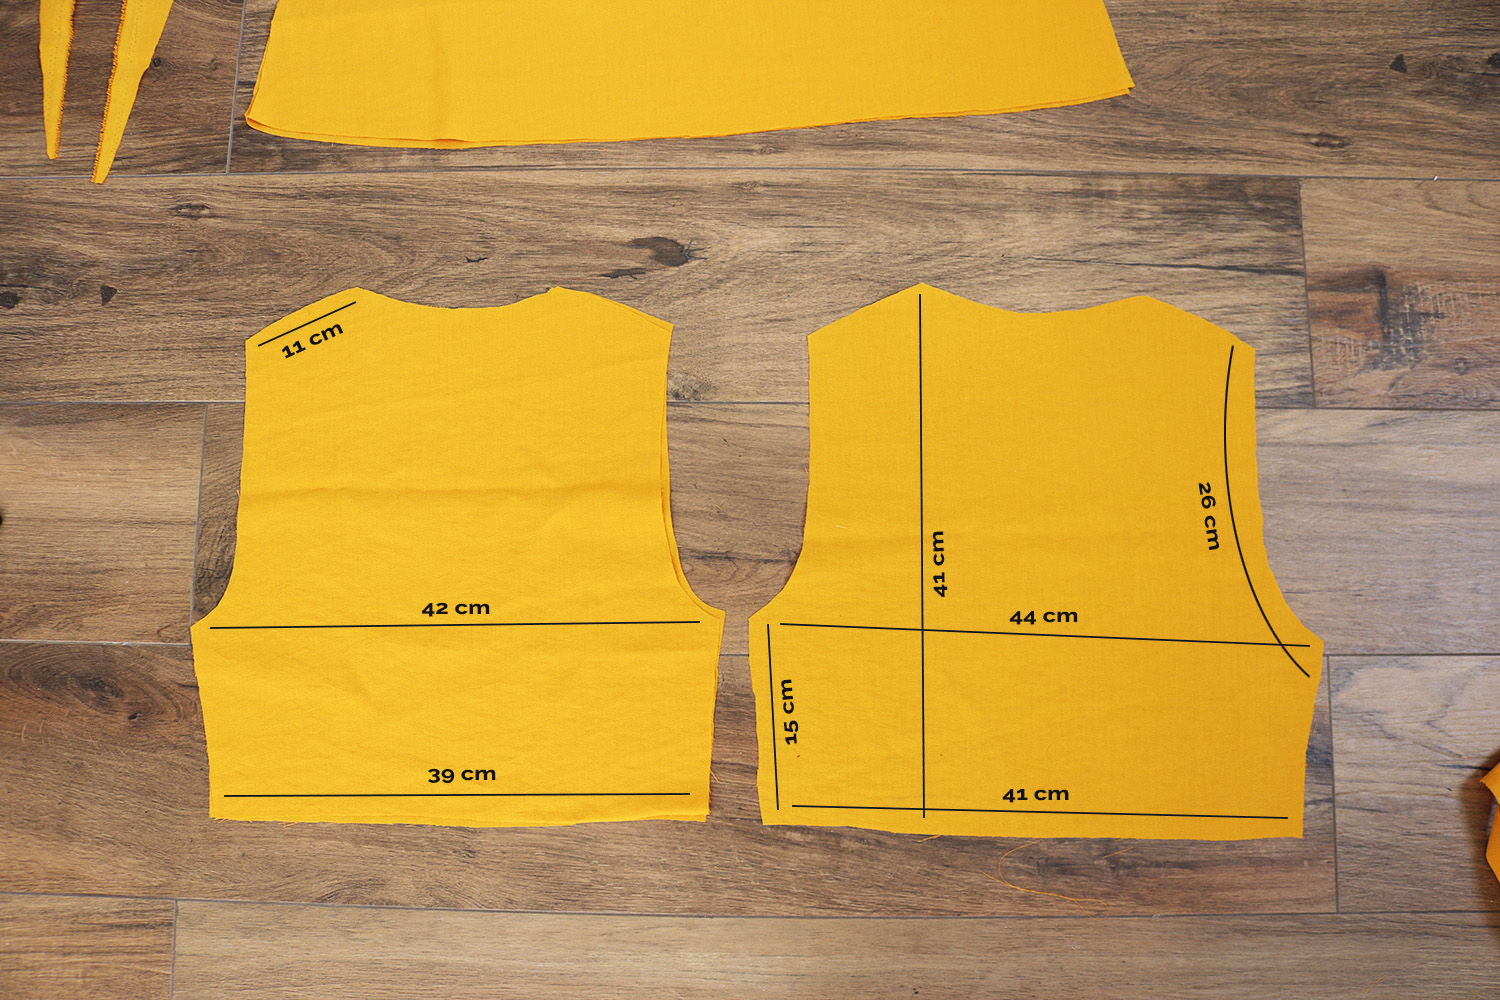
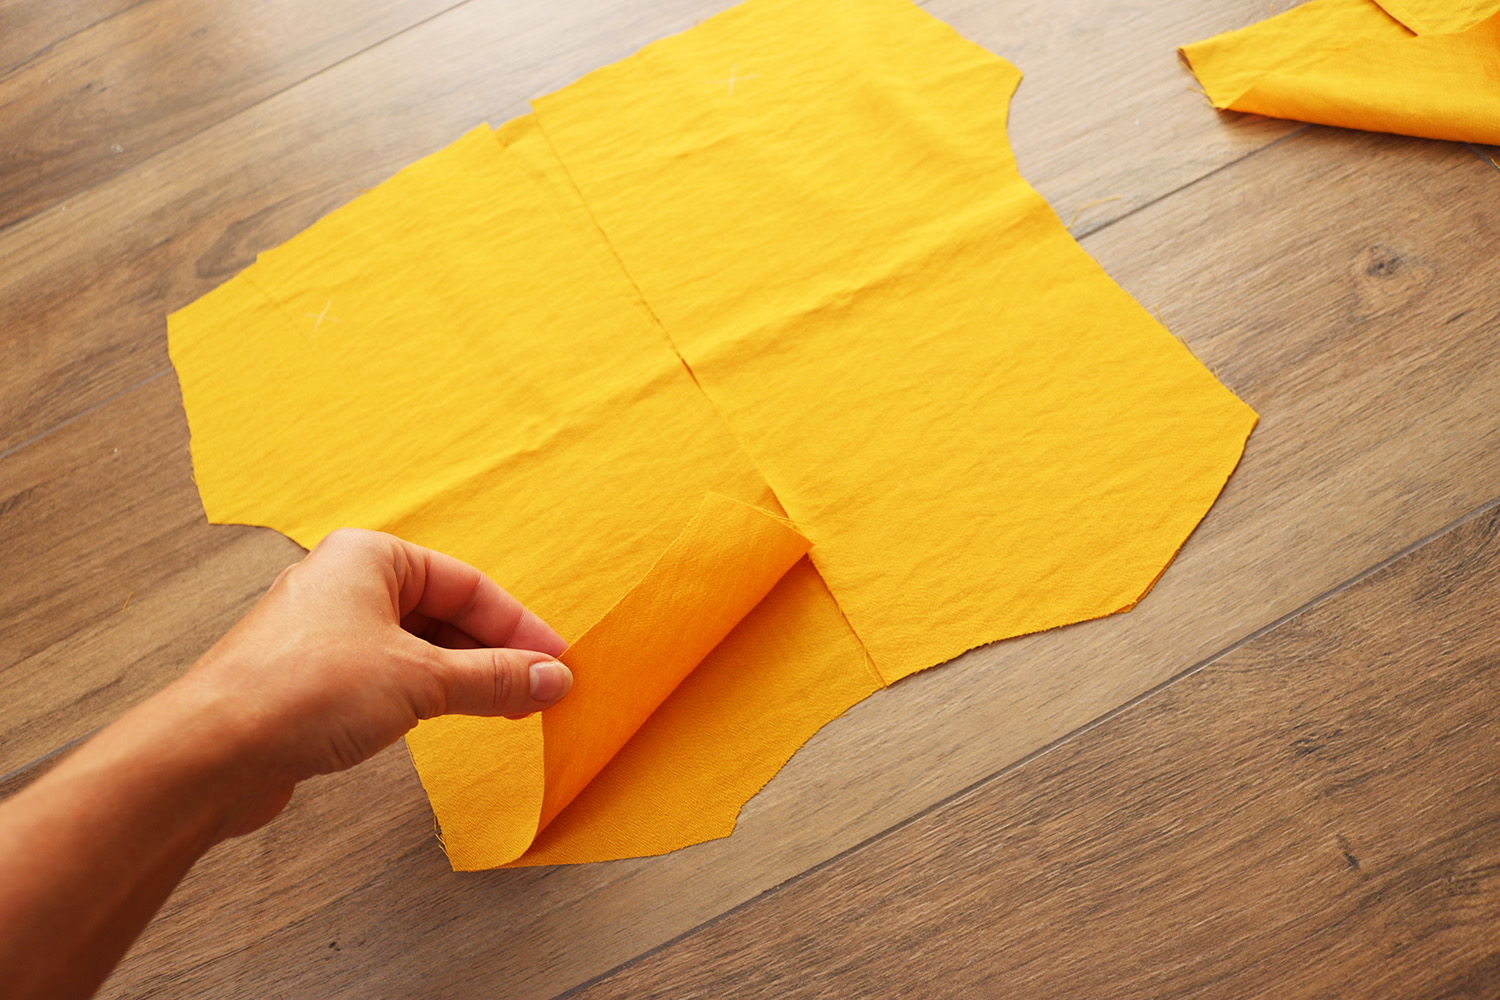
II. And top pieces. Two of the slightly smaller front one on the left - I made it lined, and one of the wider back piece on the right - for seam allowance since I cut in in half to insert zipper later):
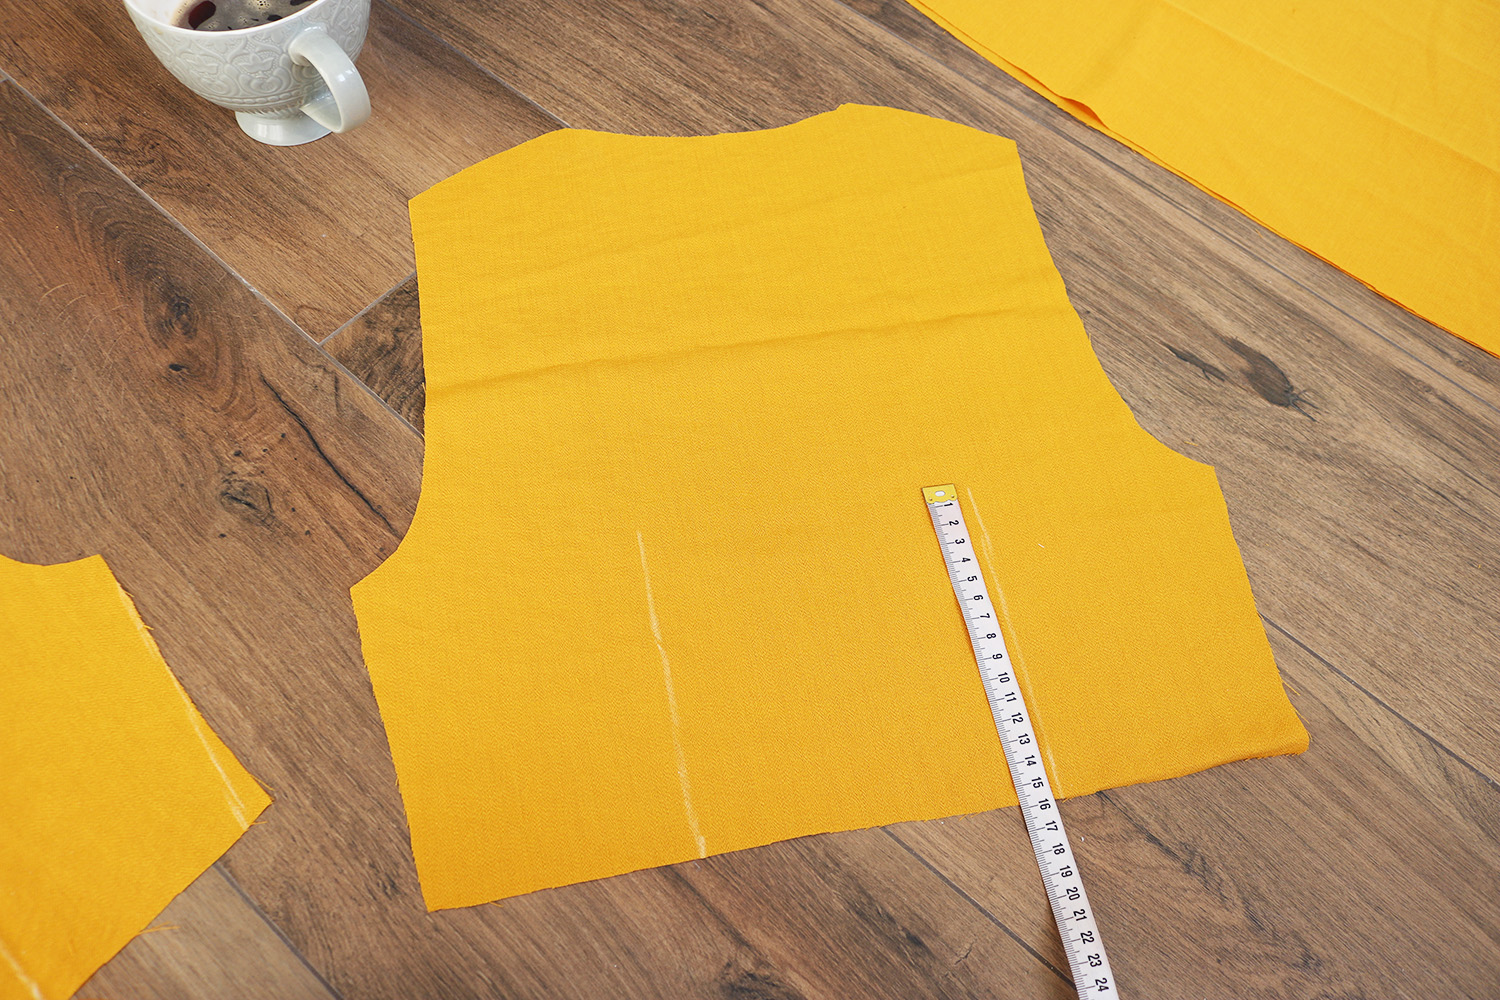
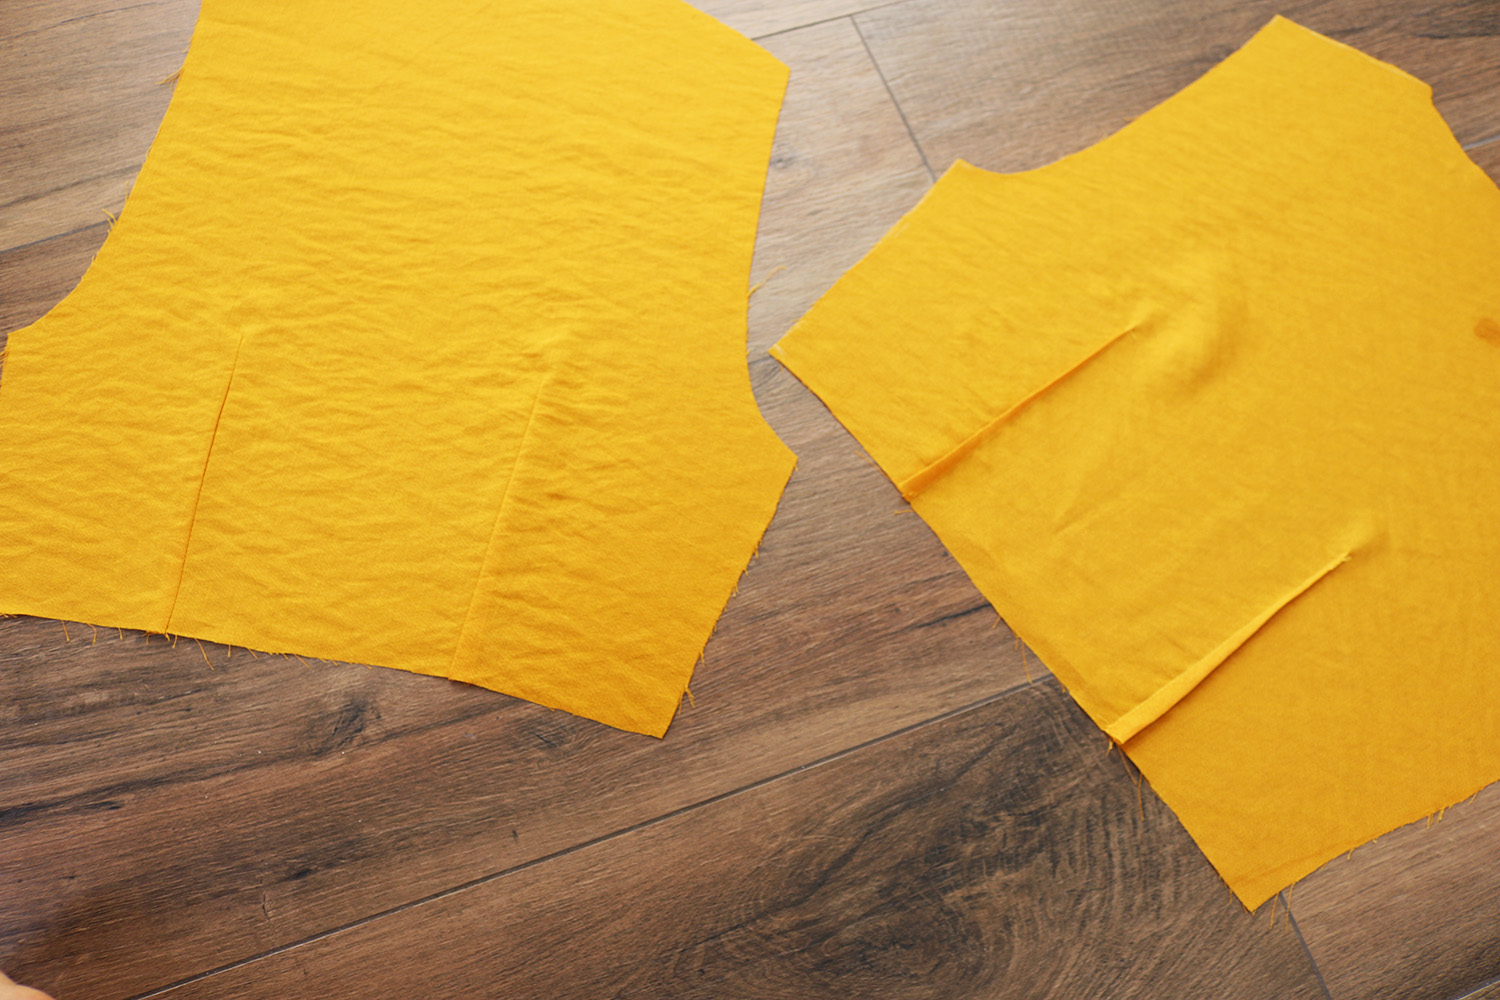
III. First constructed the top. Started by adding darts on both front pieces to create the bust shape.
.. Then I cut the back piece in half, placed it over the front piece, shoulders aligned, right sides facing..
.. And added on top the other front piece, right side facing down. Pinned the shoulders and sewed the three layers together..
.. So when I flipped the front sides together, the back piece was sandwiched in between and I had a clean shoulder seam:

Lastly I cut the front piece neckline round just for the purposes of trying on. I didn't know at this point what shape neckline I wanted, so I left it high for now.

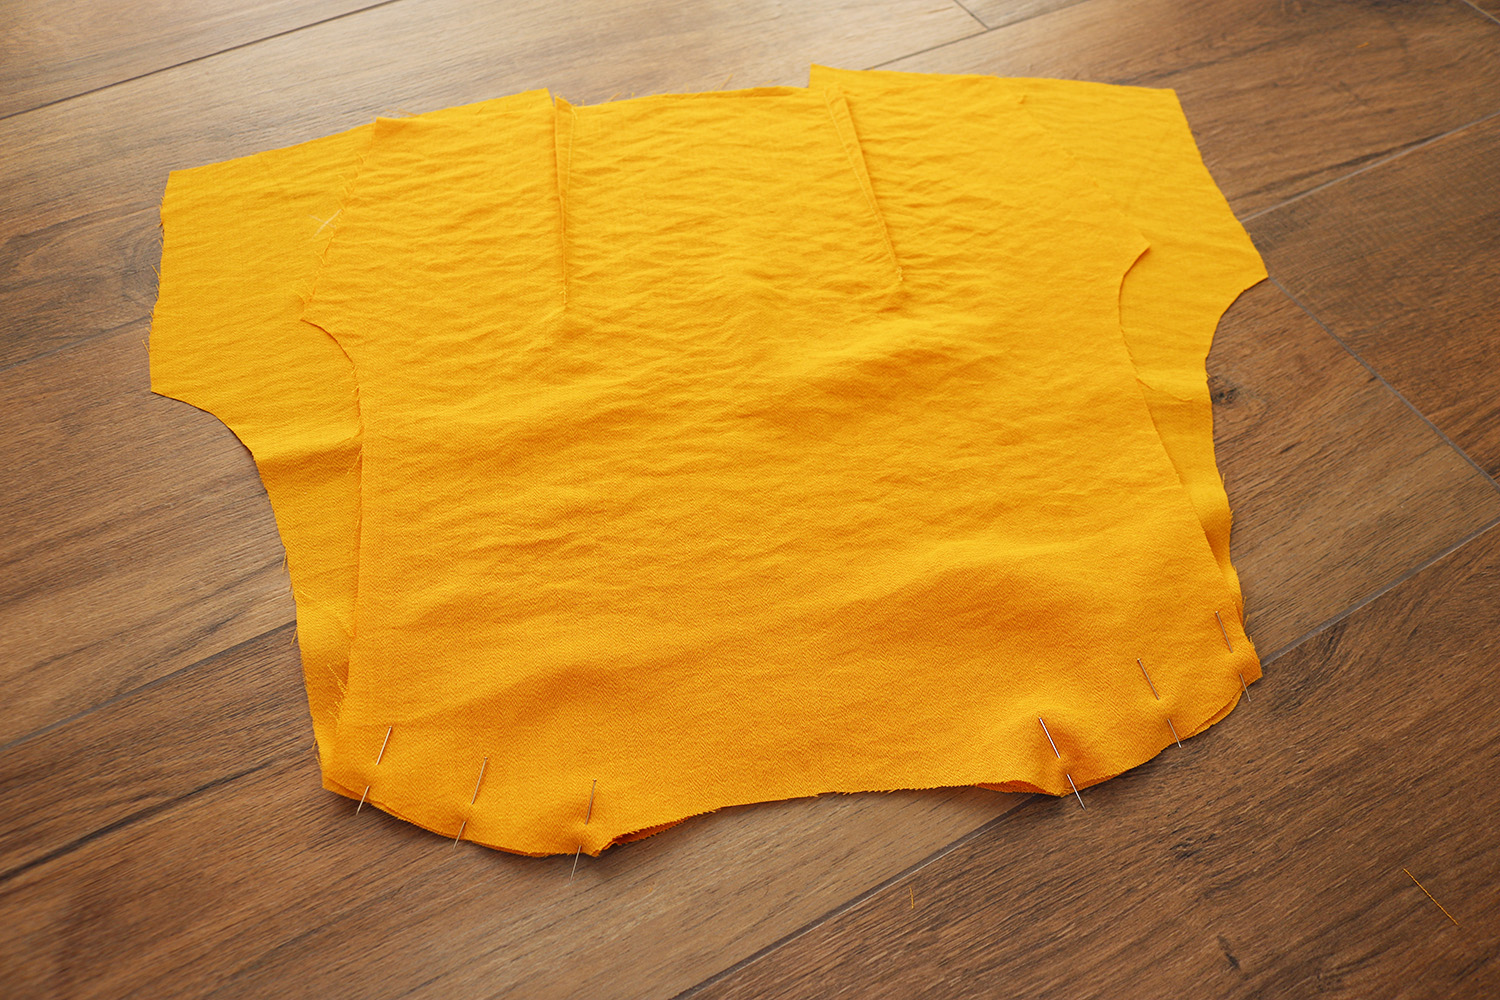
I checked the size by pinning the back center seam together, put the top on, and pinned the sides. Looked all good:

IV. Then onto the sleeves. I first sewed my two front piece layers together along the arm curve, just to make it easier to work with, and to make sure the darts of the front pieces would stay aligned.

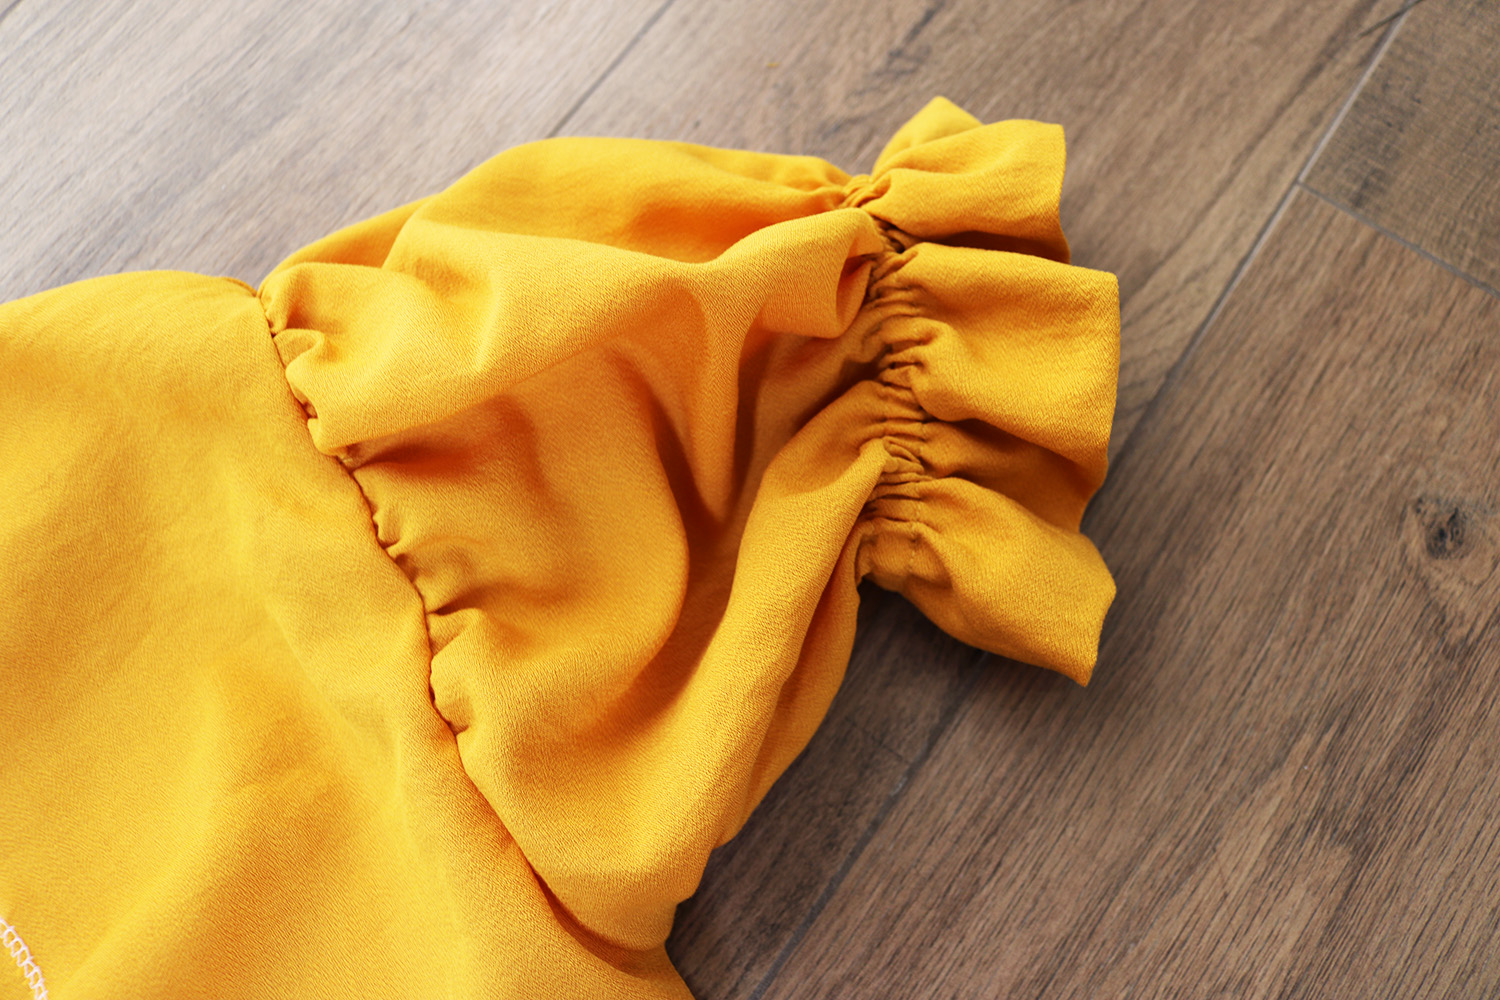
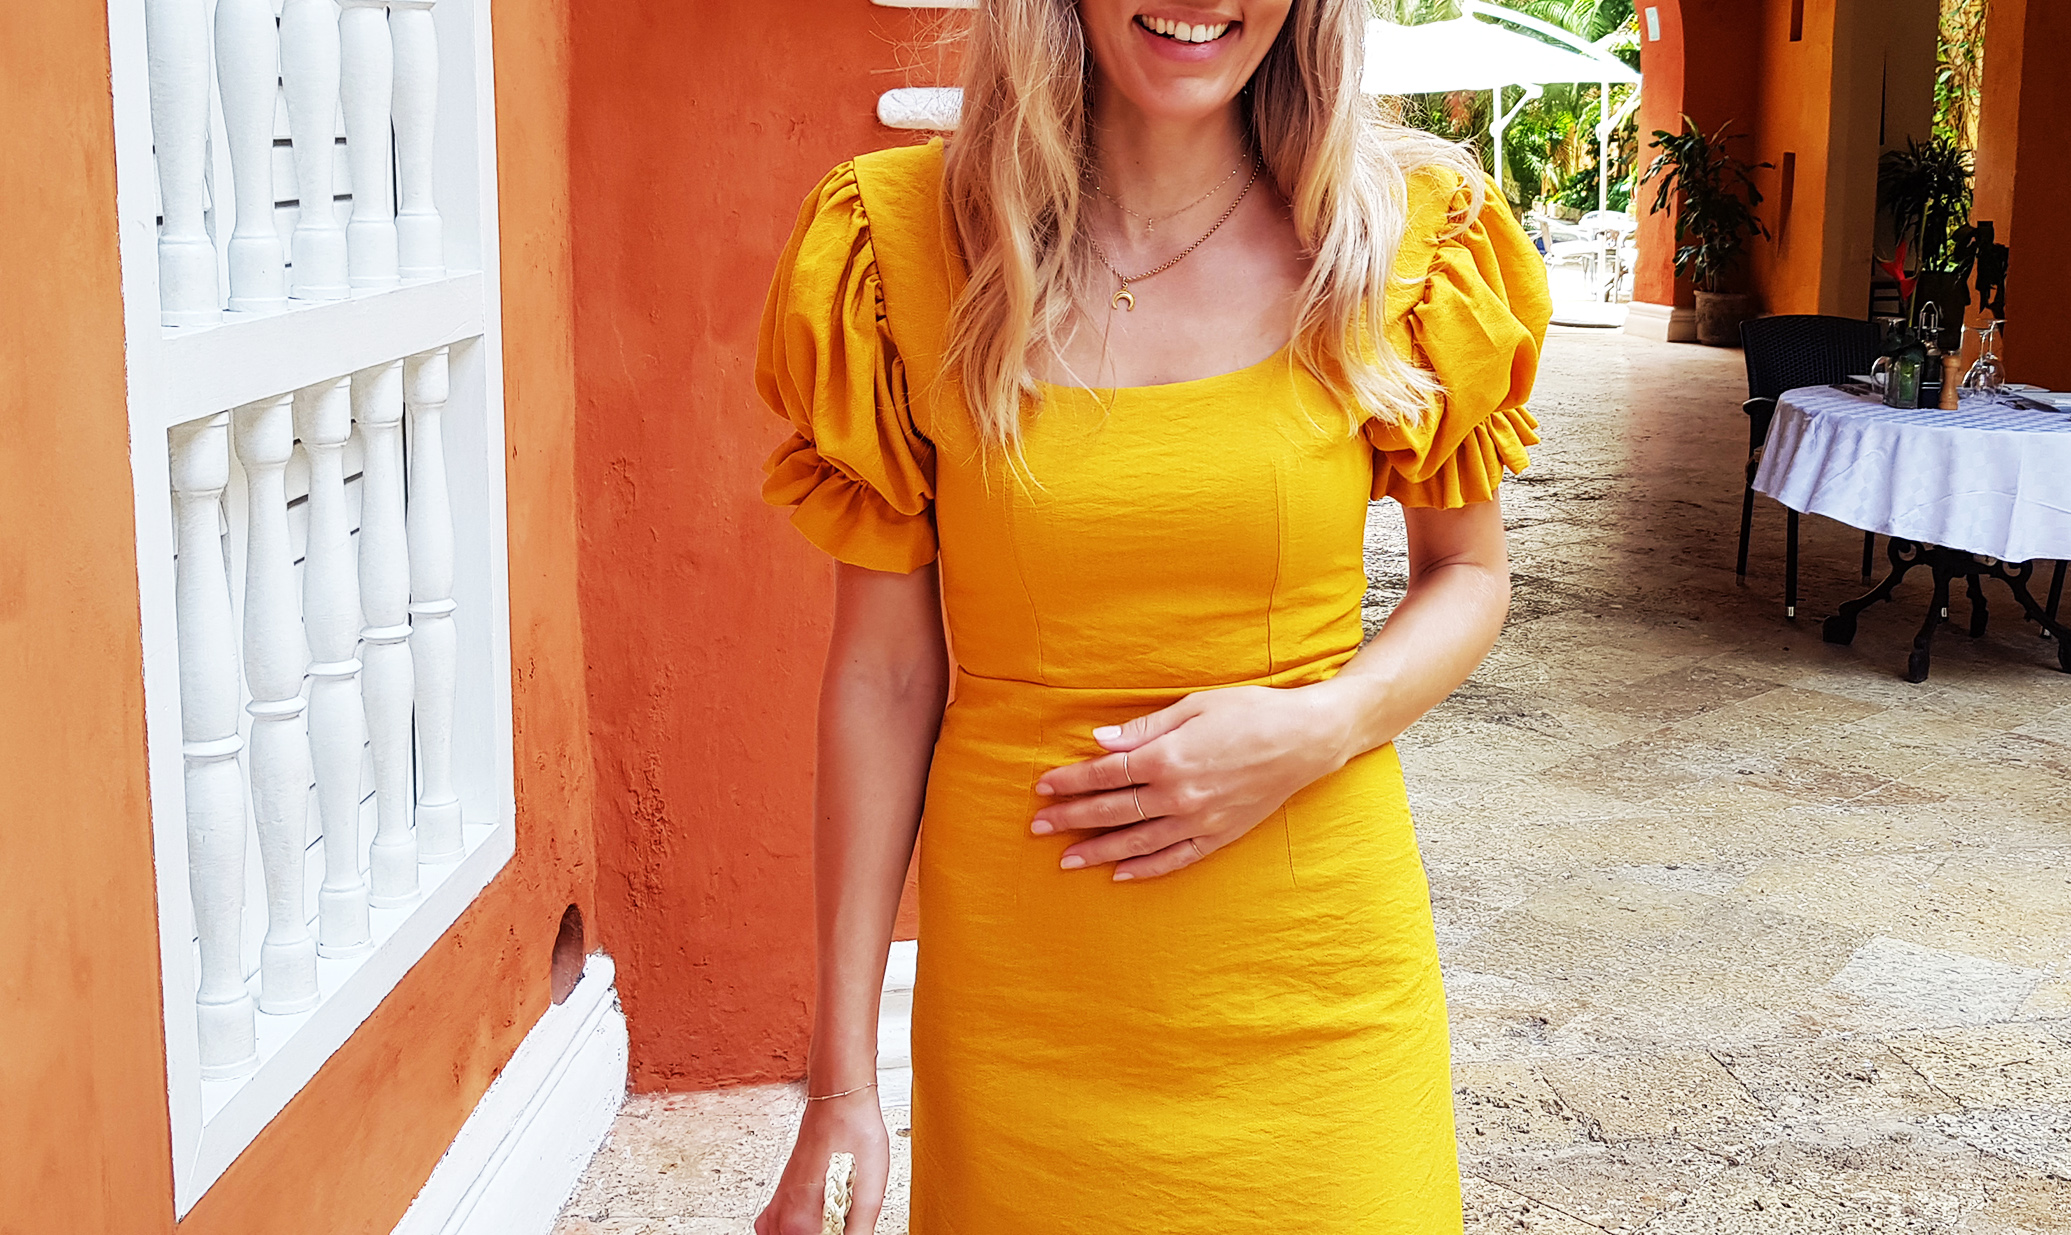
Then I cut my sleeve pieces. I did this exactly the same way as in this project, same measurements as well. This is a great example of what a drastic difference material can make, in that top, my fabric was quite flimsy, so the sleeves didn't end up being so pronounced. This dress has the exact same amount of gather in the sleeves, but they're much more puffy since my fabric here is cotton and more stiff.
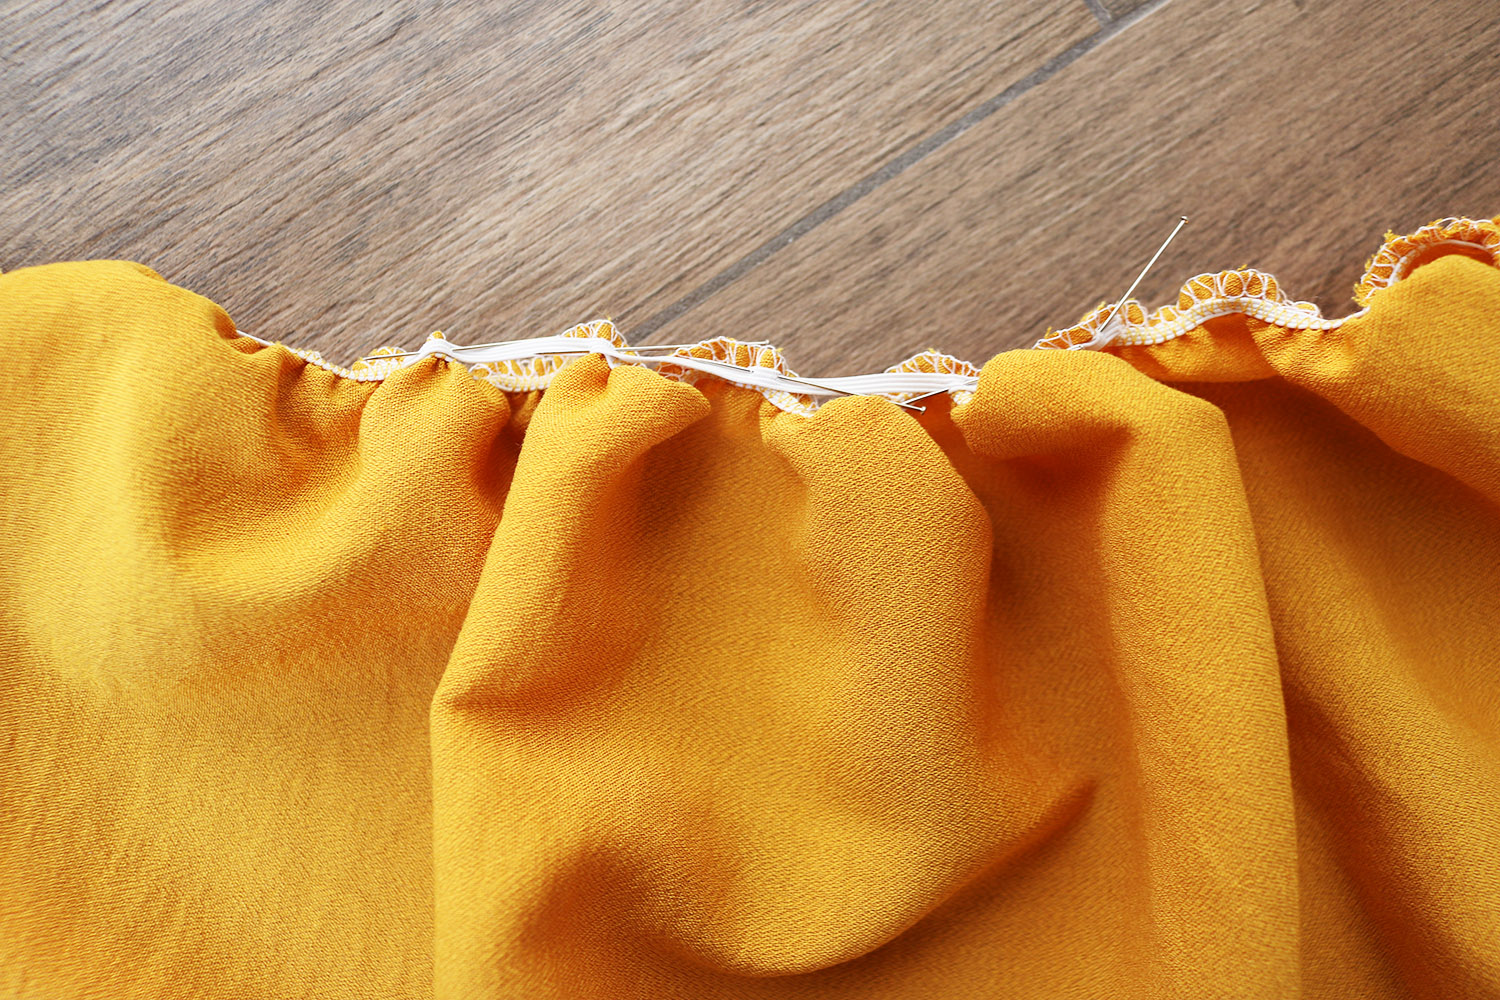
The thing I did differently was gathering the sleeves. I first cut a piece of elastic that measured the distance I wanted the gather to cover (no point to gather in the armpit):
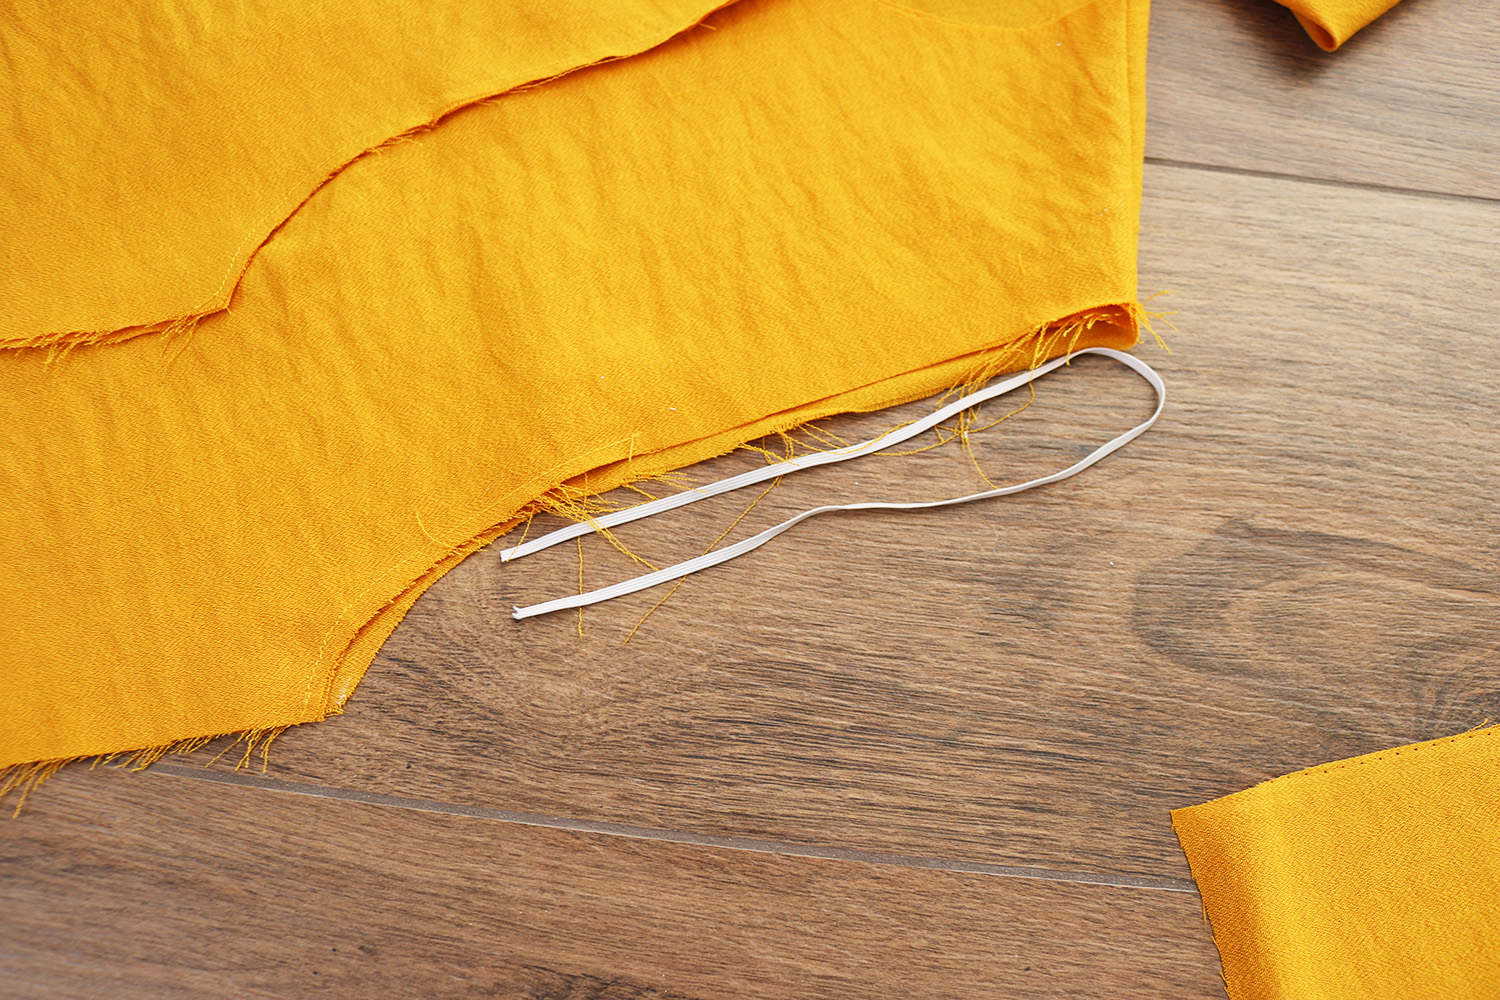
Then I took the elastic and pinned it first at either end of the sleeve piece curve, same distance from the edges as the elastic was short on the arm curve of the top. Then pinned the center of the elastic to the center of the sleeve piece, and continued grabbing the center of each half until I had the elastic evenly pinned:
I sewed it in place with a zigzag and checked for length compared to the arm curve. Turned out my elastic was a bit weak, it didn't quite keep the gather together enough, so the sleeve was still a bit big for its place.
So I added another short piece of elastic to the middle of the gather, essentially re-gathering the gather.
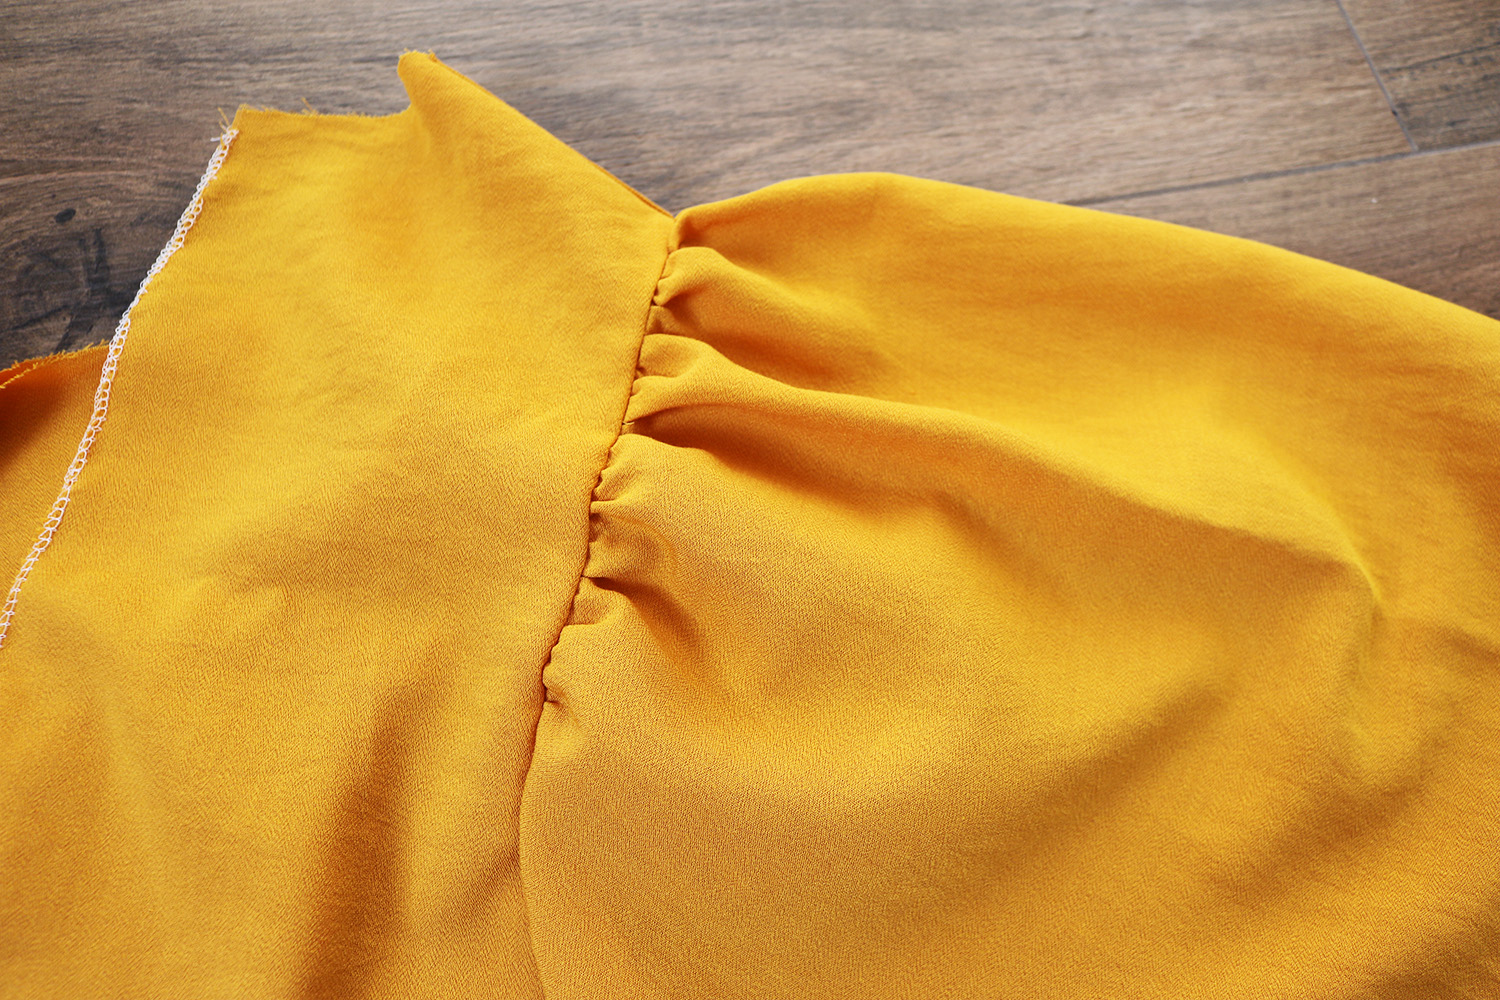
That did the trick. I finished the edge with my serger, pinned the sleeve in its place..

.. And sewed it. Repeated for sleeve number 2. Based on this I'm definitely now a fan of gathering with the help of elastic instead of a basting stitch, it requires a bit more prep when pinning the elastic, but the result is much more consistent.
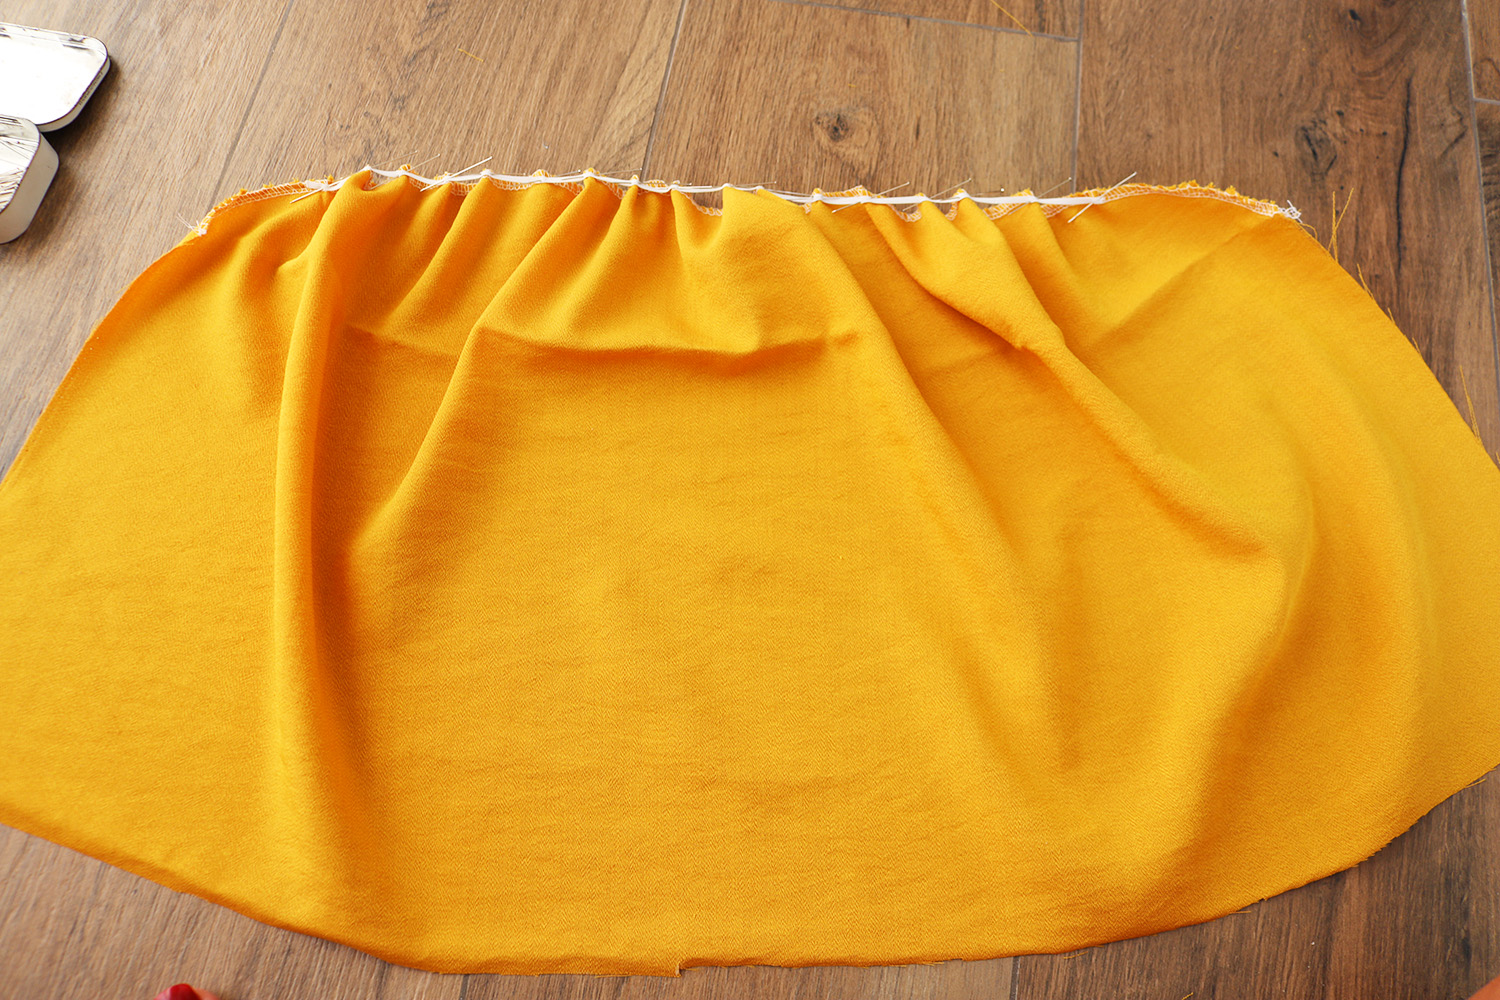
For the hem, I did a wide fold (about 3.4 cm) and sewed two stitches to create a casing (leaving a gap in the stitch closer to the top to feed in my elastic from).

Inserted my elastic and closed the gap in the stitch. Power puff!!!
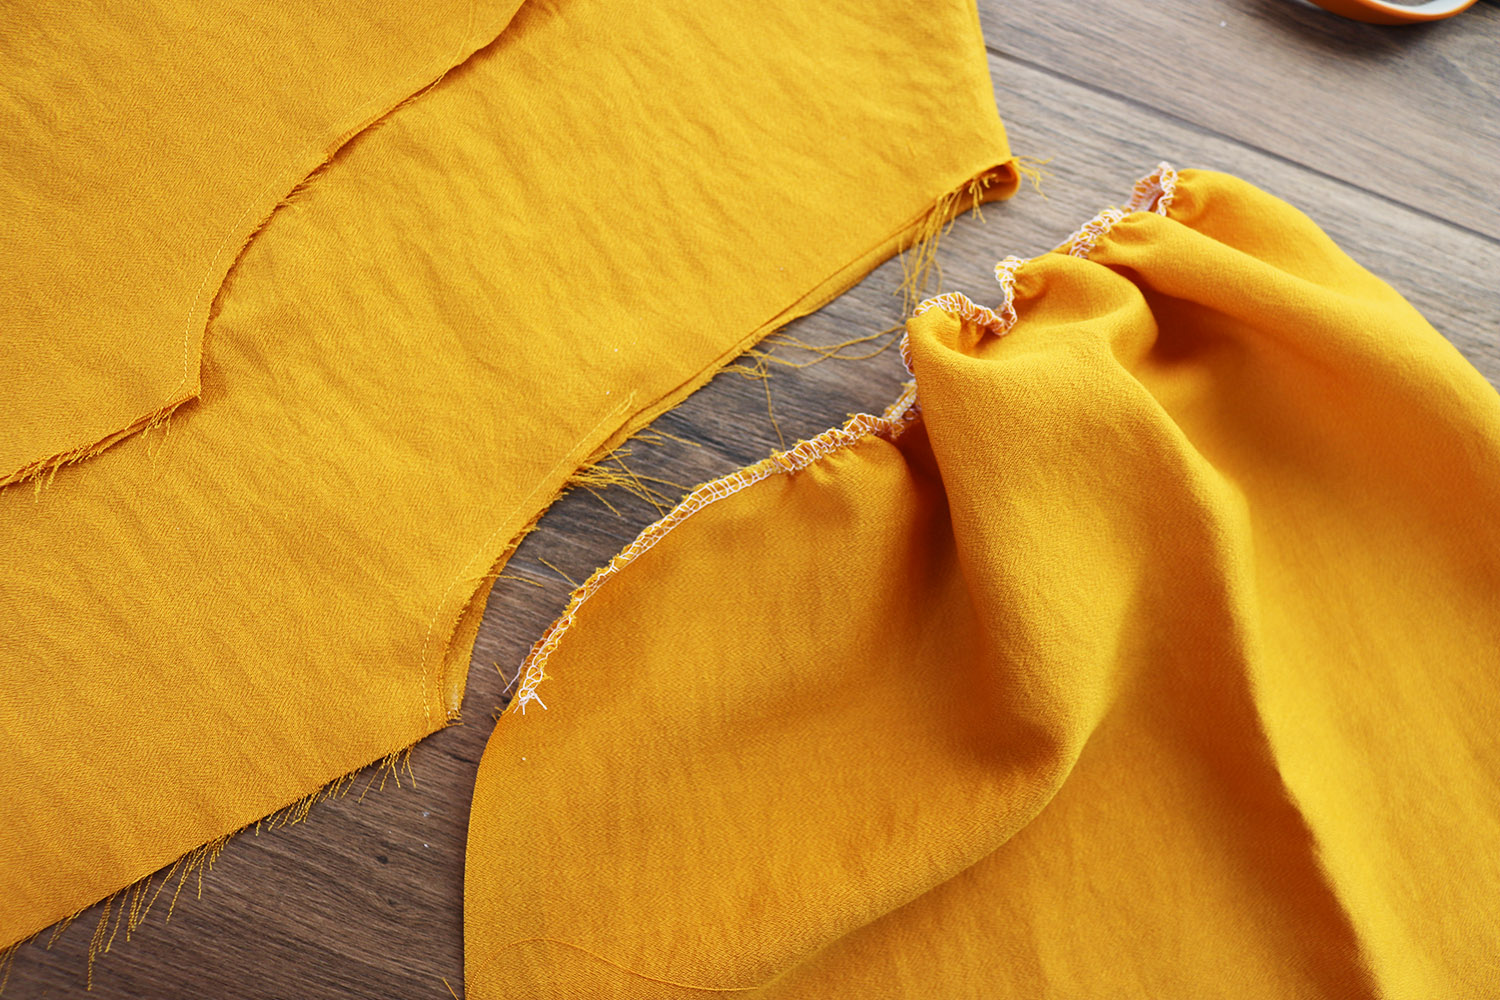
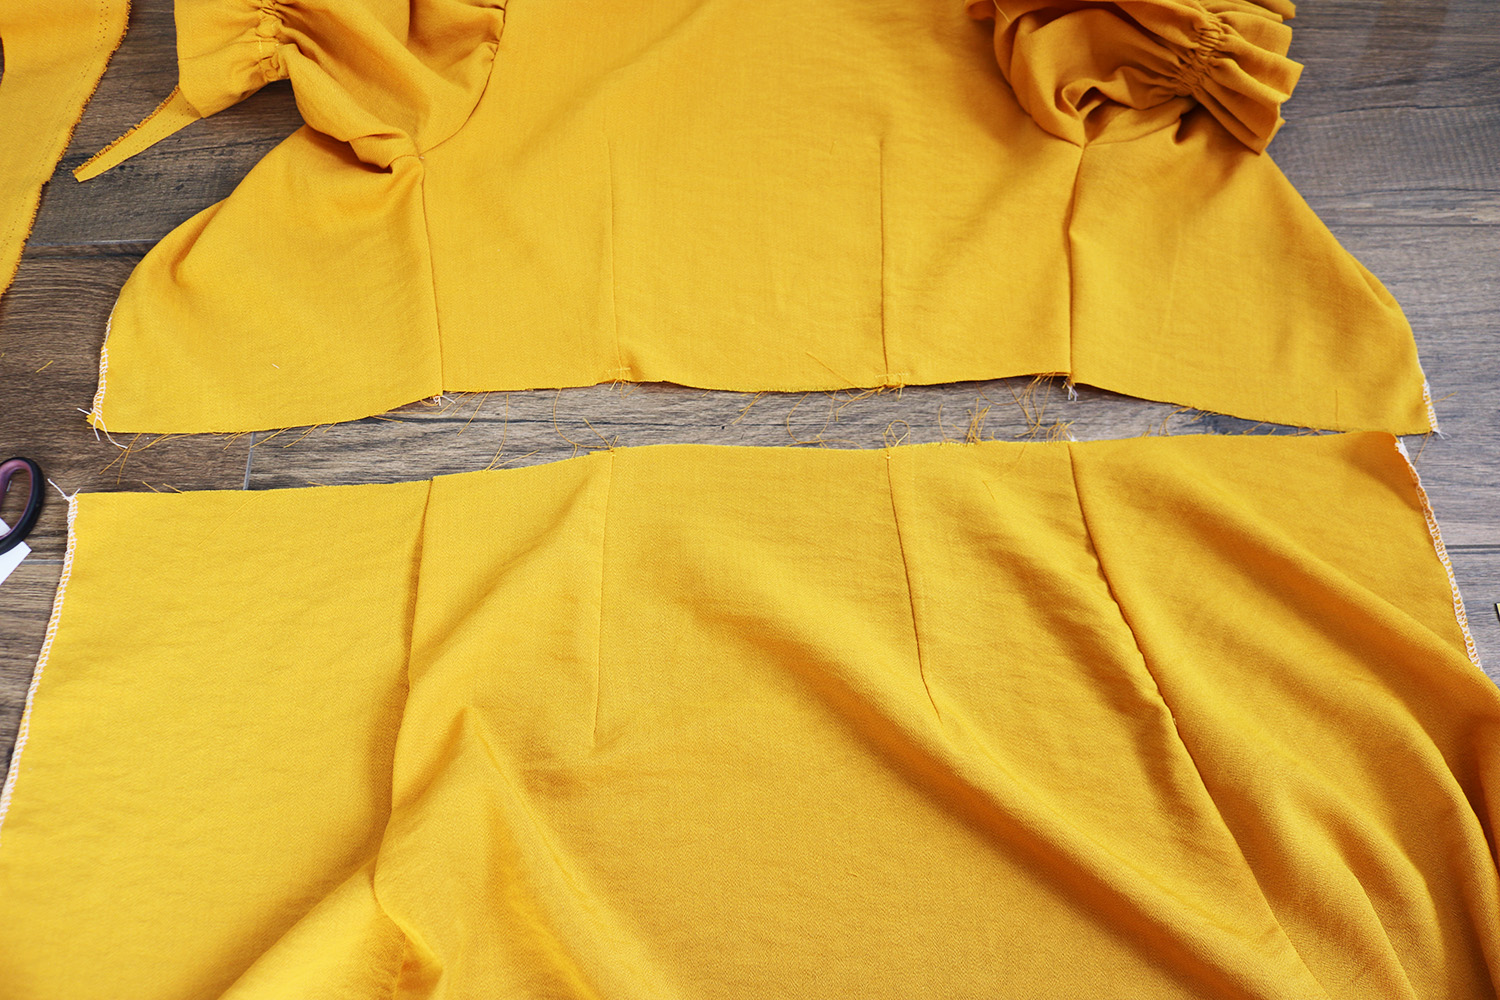
V. Onto the skirt. I cut one of my pieces in half and then did the seams to create one piece:

I aligned it with the top, checked where the darts were, and added darts on the skirt at the same spots, then sewed the skirt onto the top.
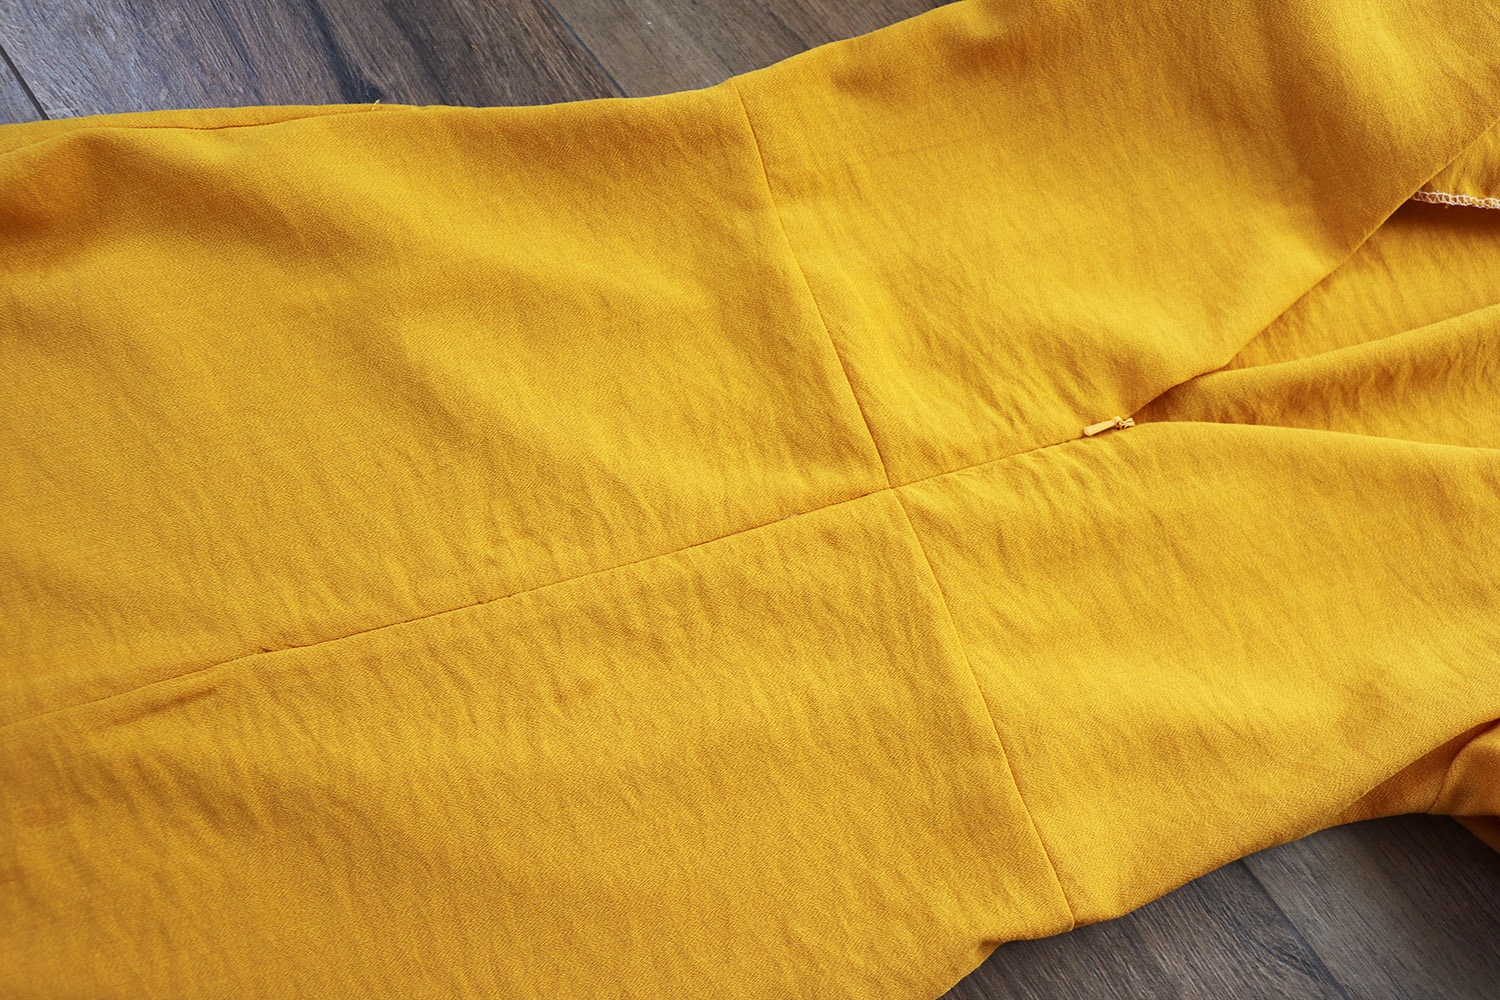
VI. Second-last bit was to add an invisible zipper, which I started about 10 cm up from the waist seam:
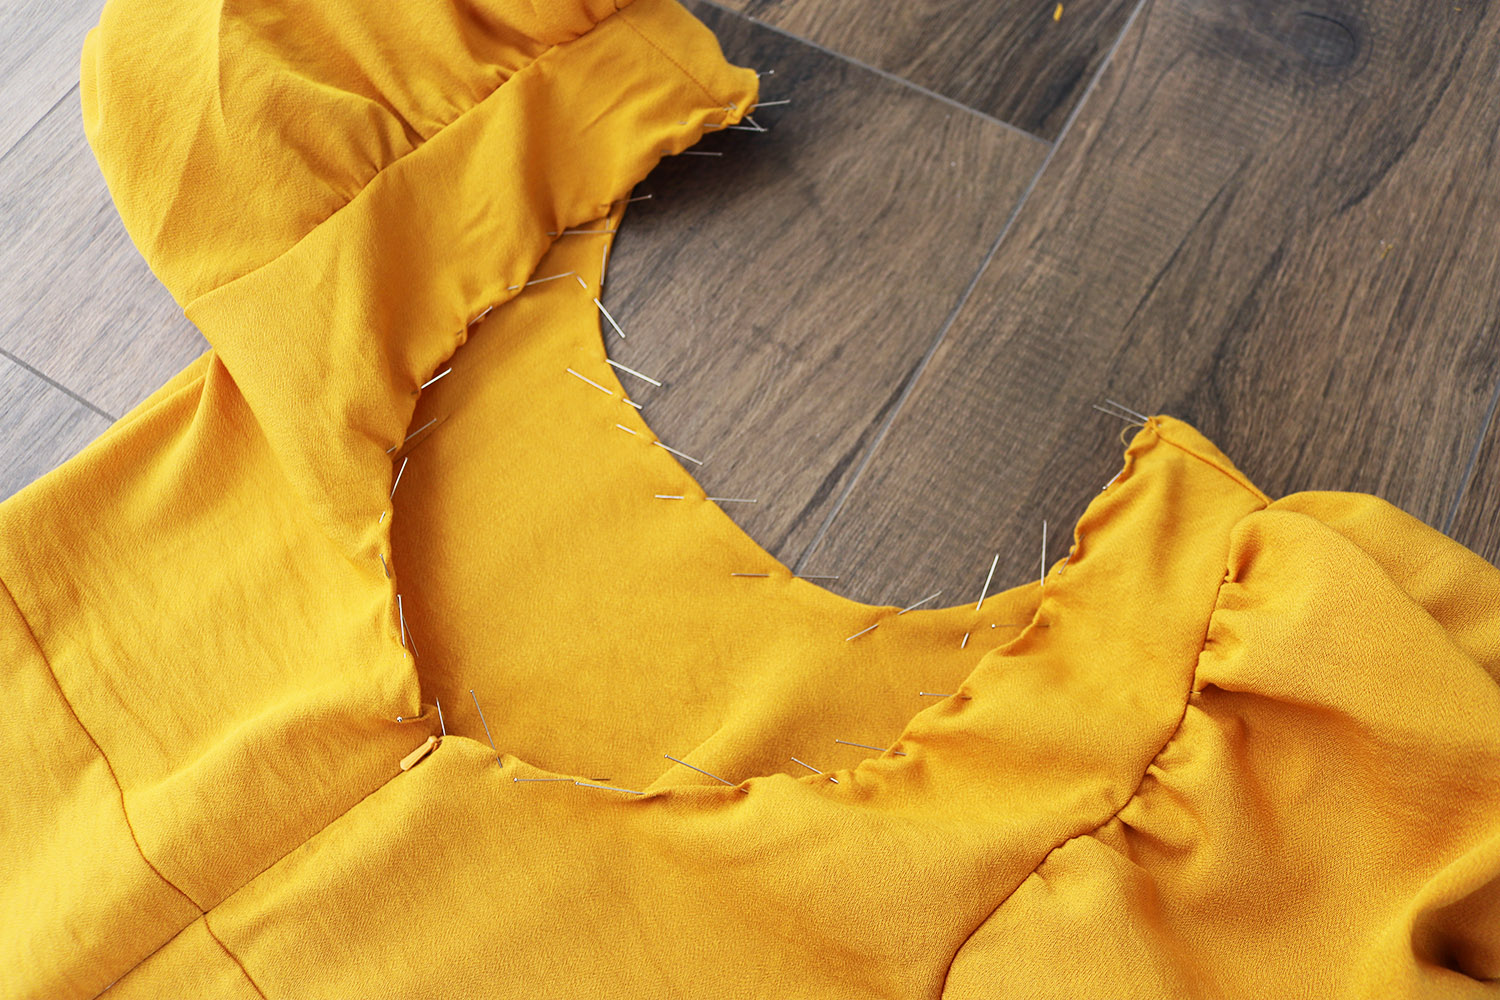
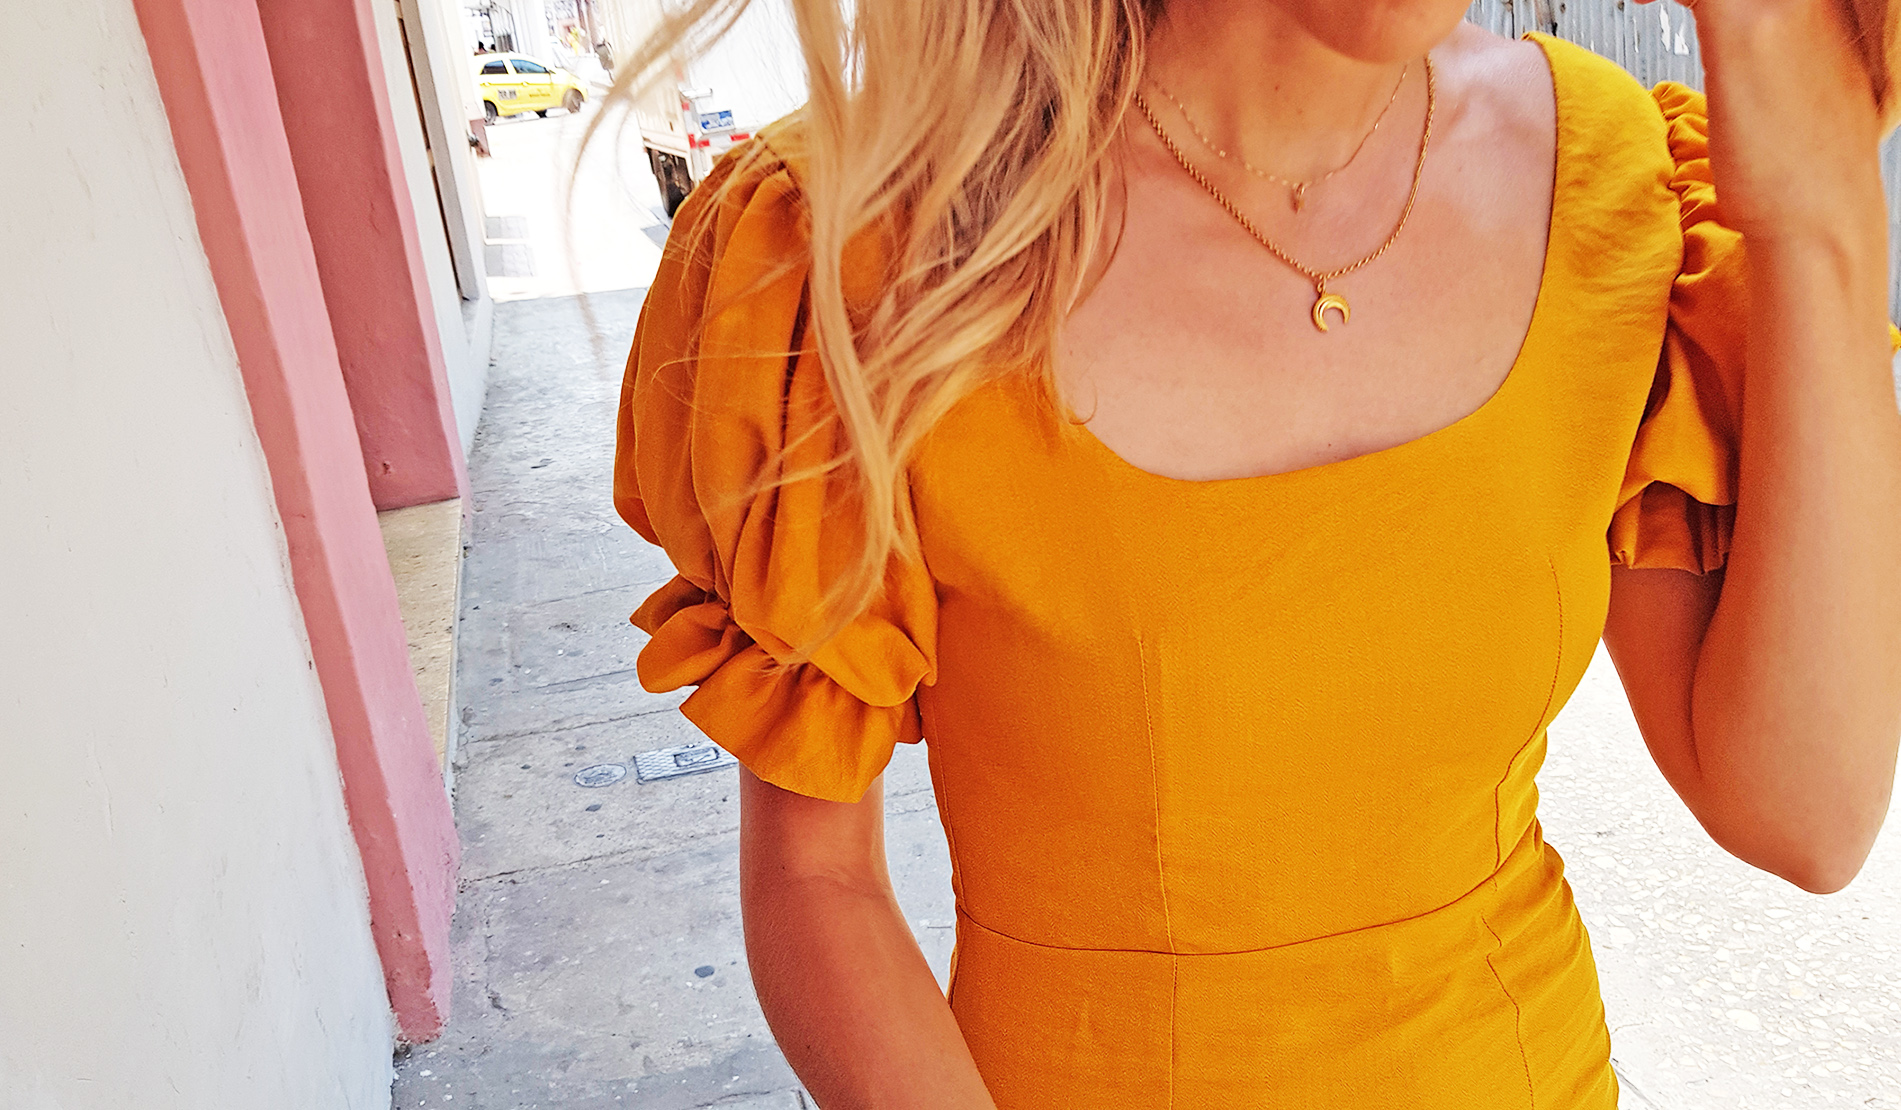
VII. Finally the neckline. I decided I wanted a moderate scoop on the front and quite a low back, so first cut the shape:
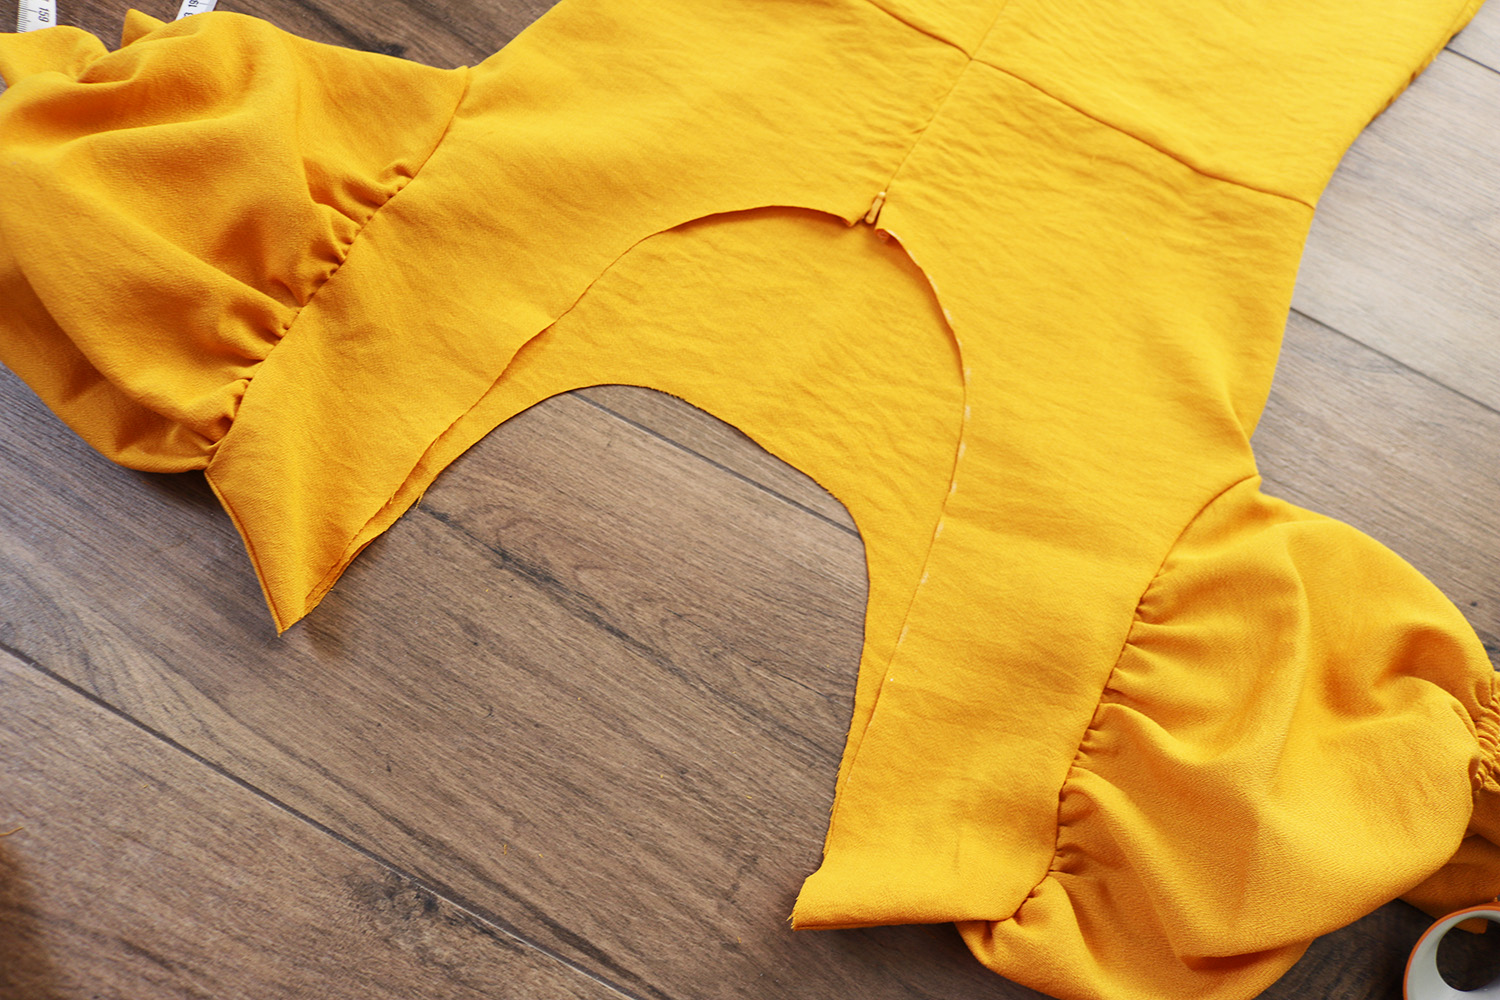
Given my material, I foresaw a risk of the shoulders falling off when worn, so I added elastic along the back. First just pinned it in place along the edge and zigzagged to attach:

Then I folded the back once and pinned the fold down. For the front. I picked the shoulder seams open a bit so I could fold both the front piece and the front lining piece inwards, and pinned the front neckline that way. I finished the whole neckline with a blind stitch.
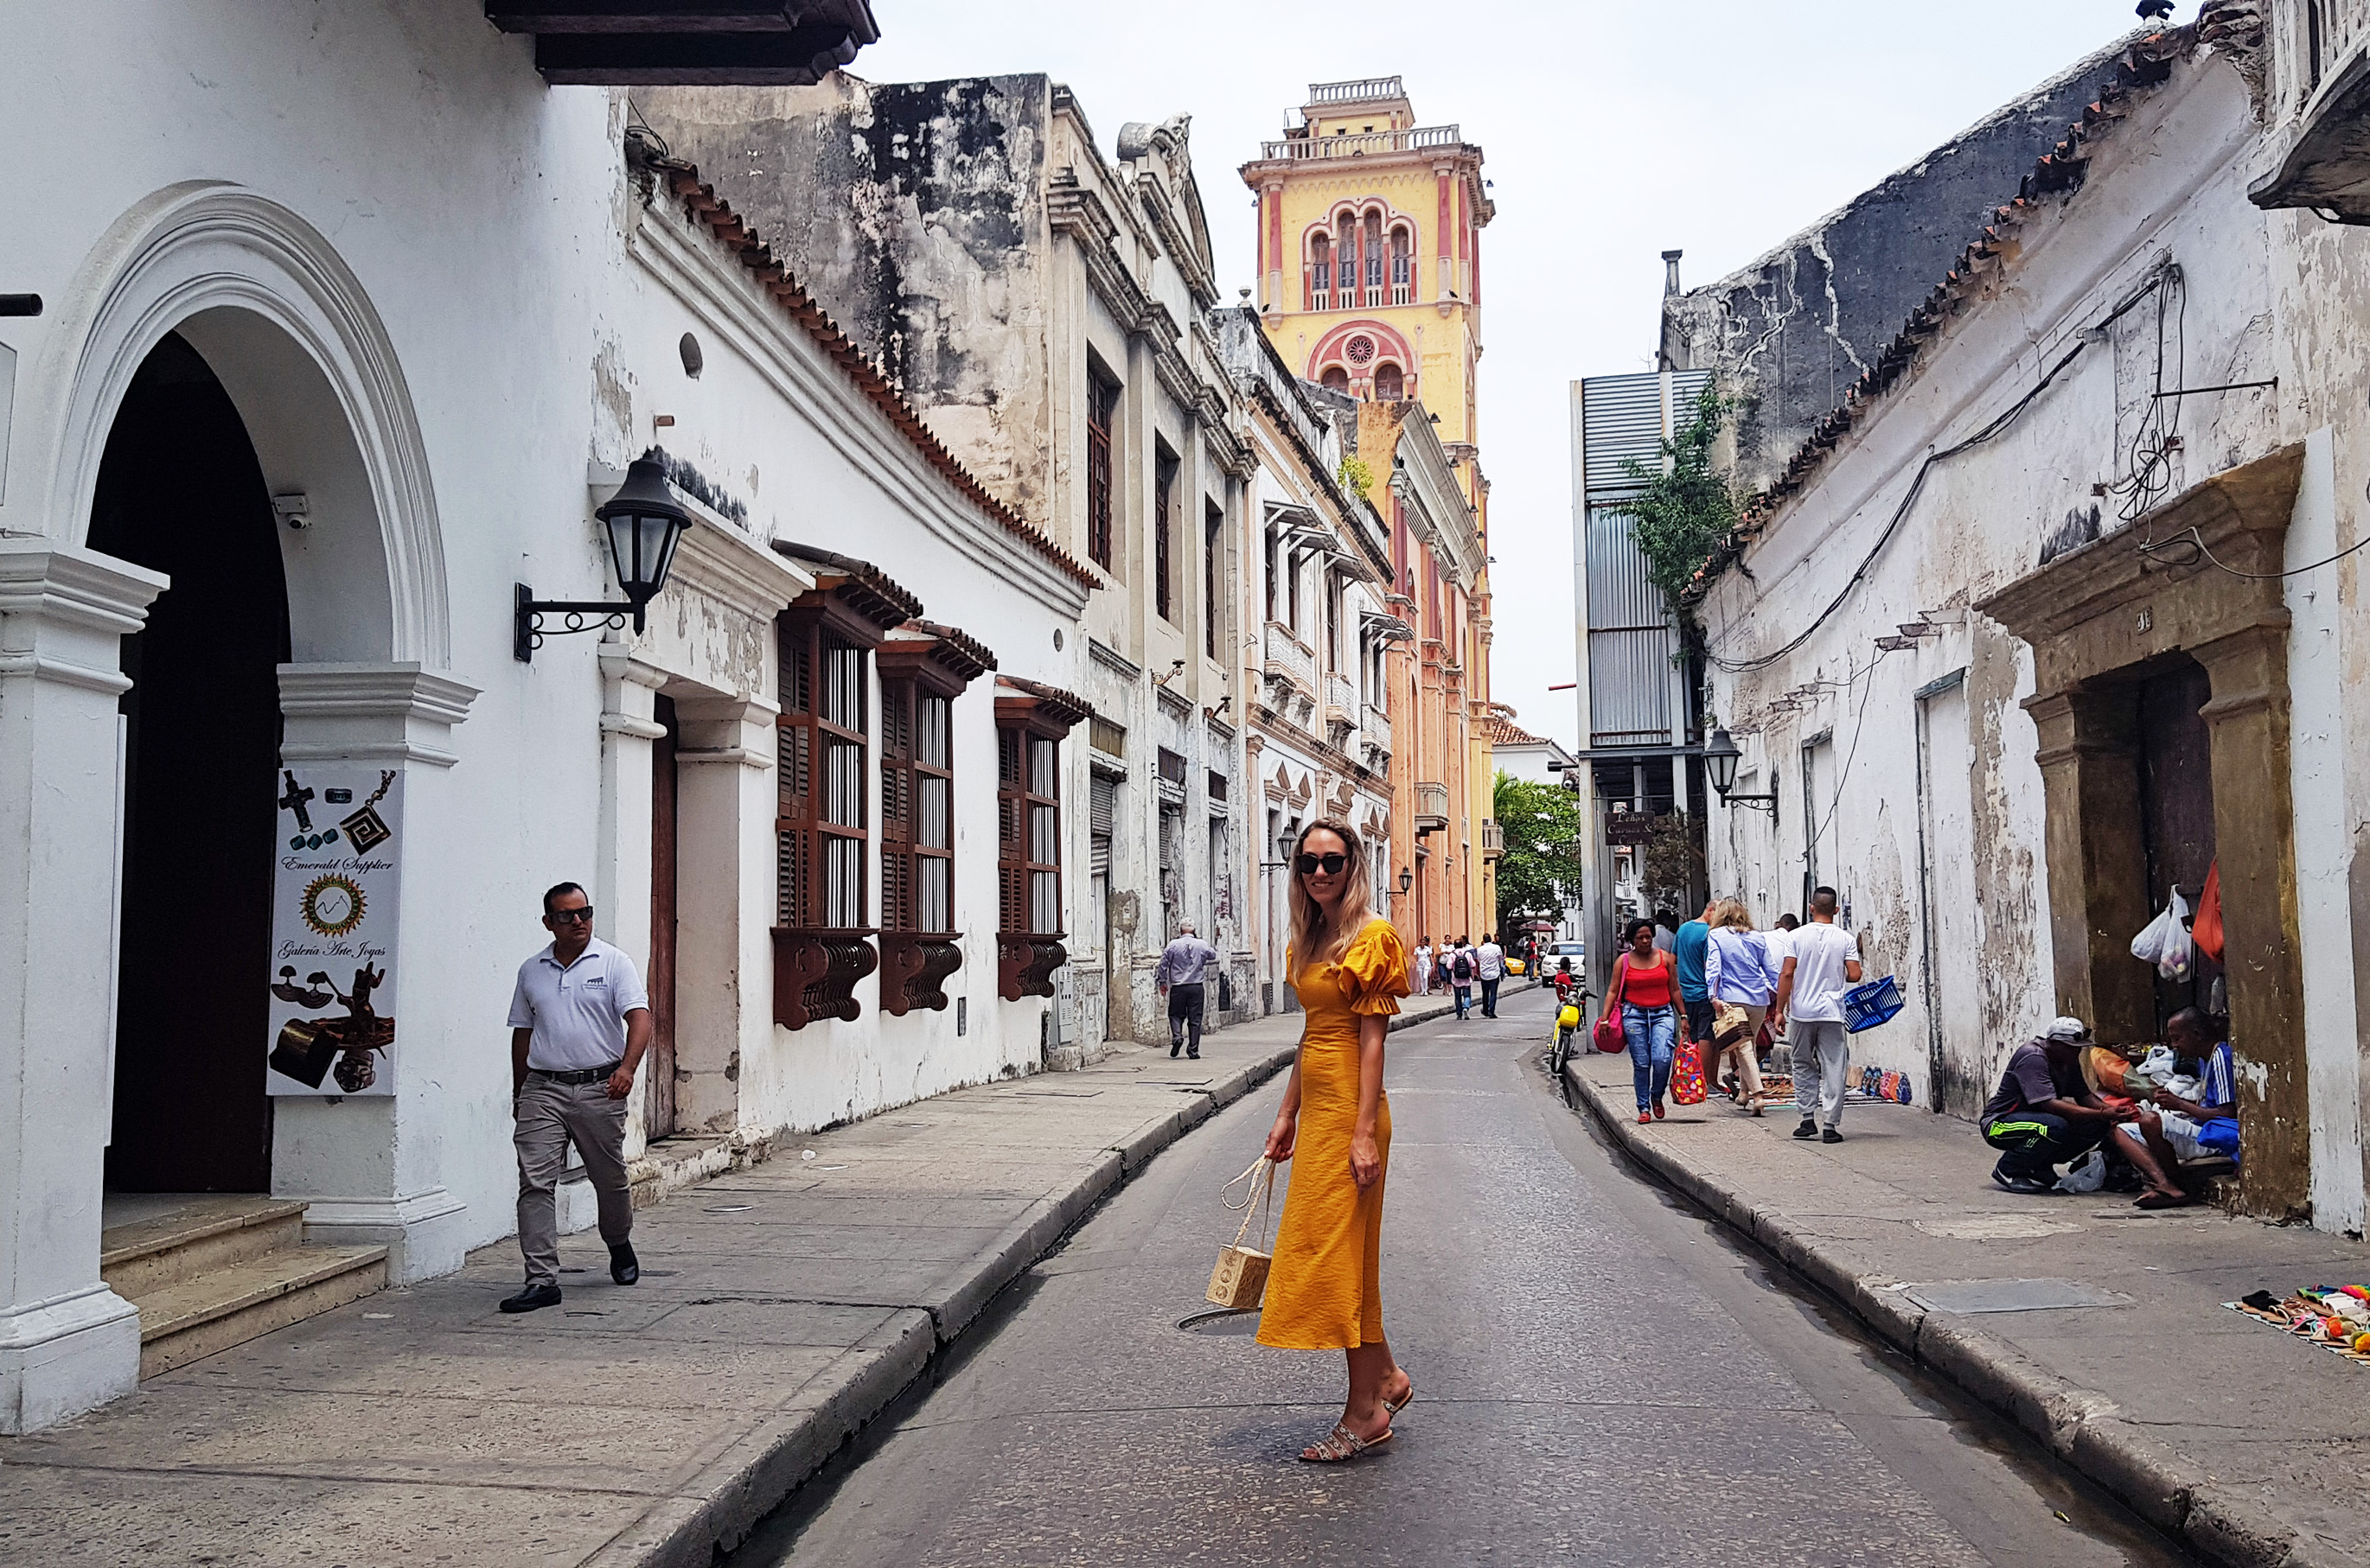
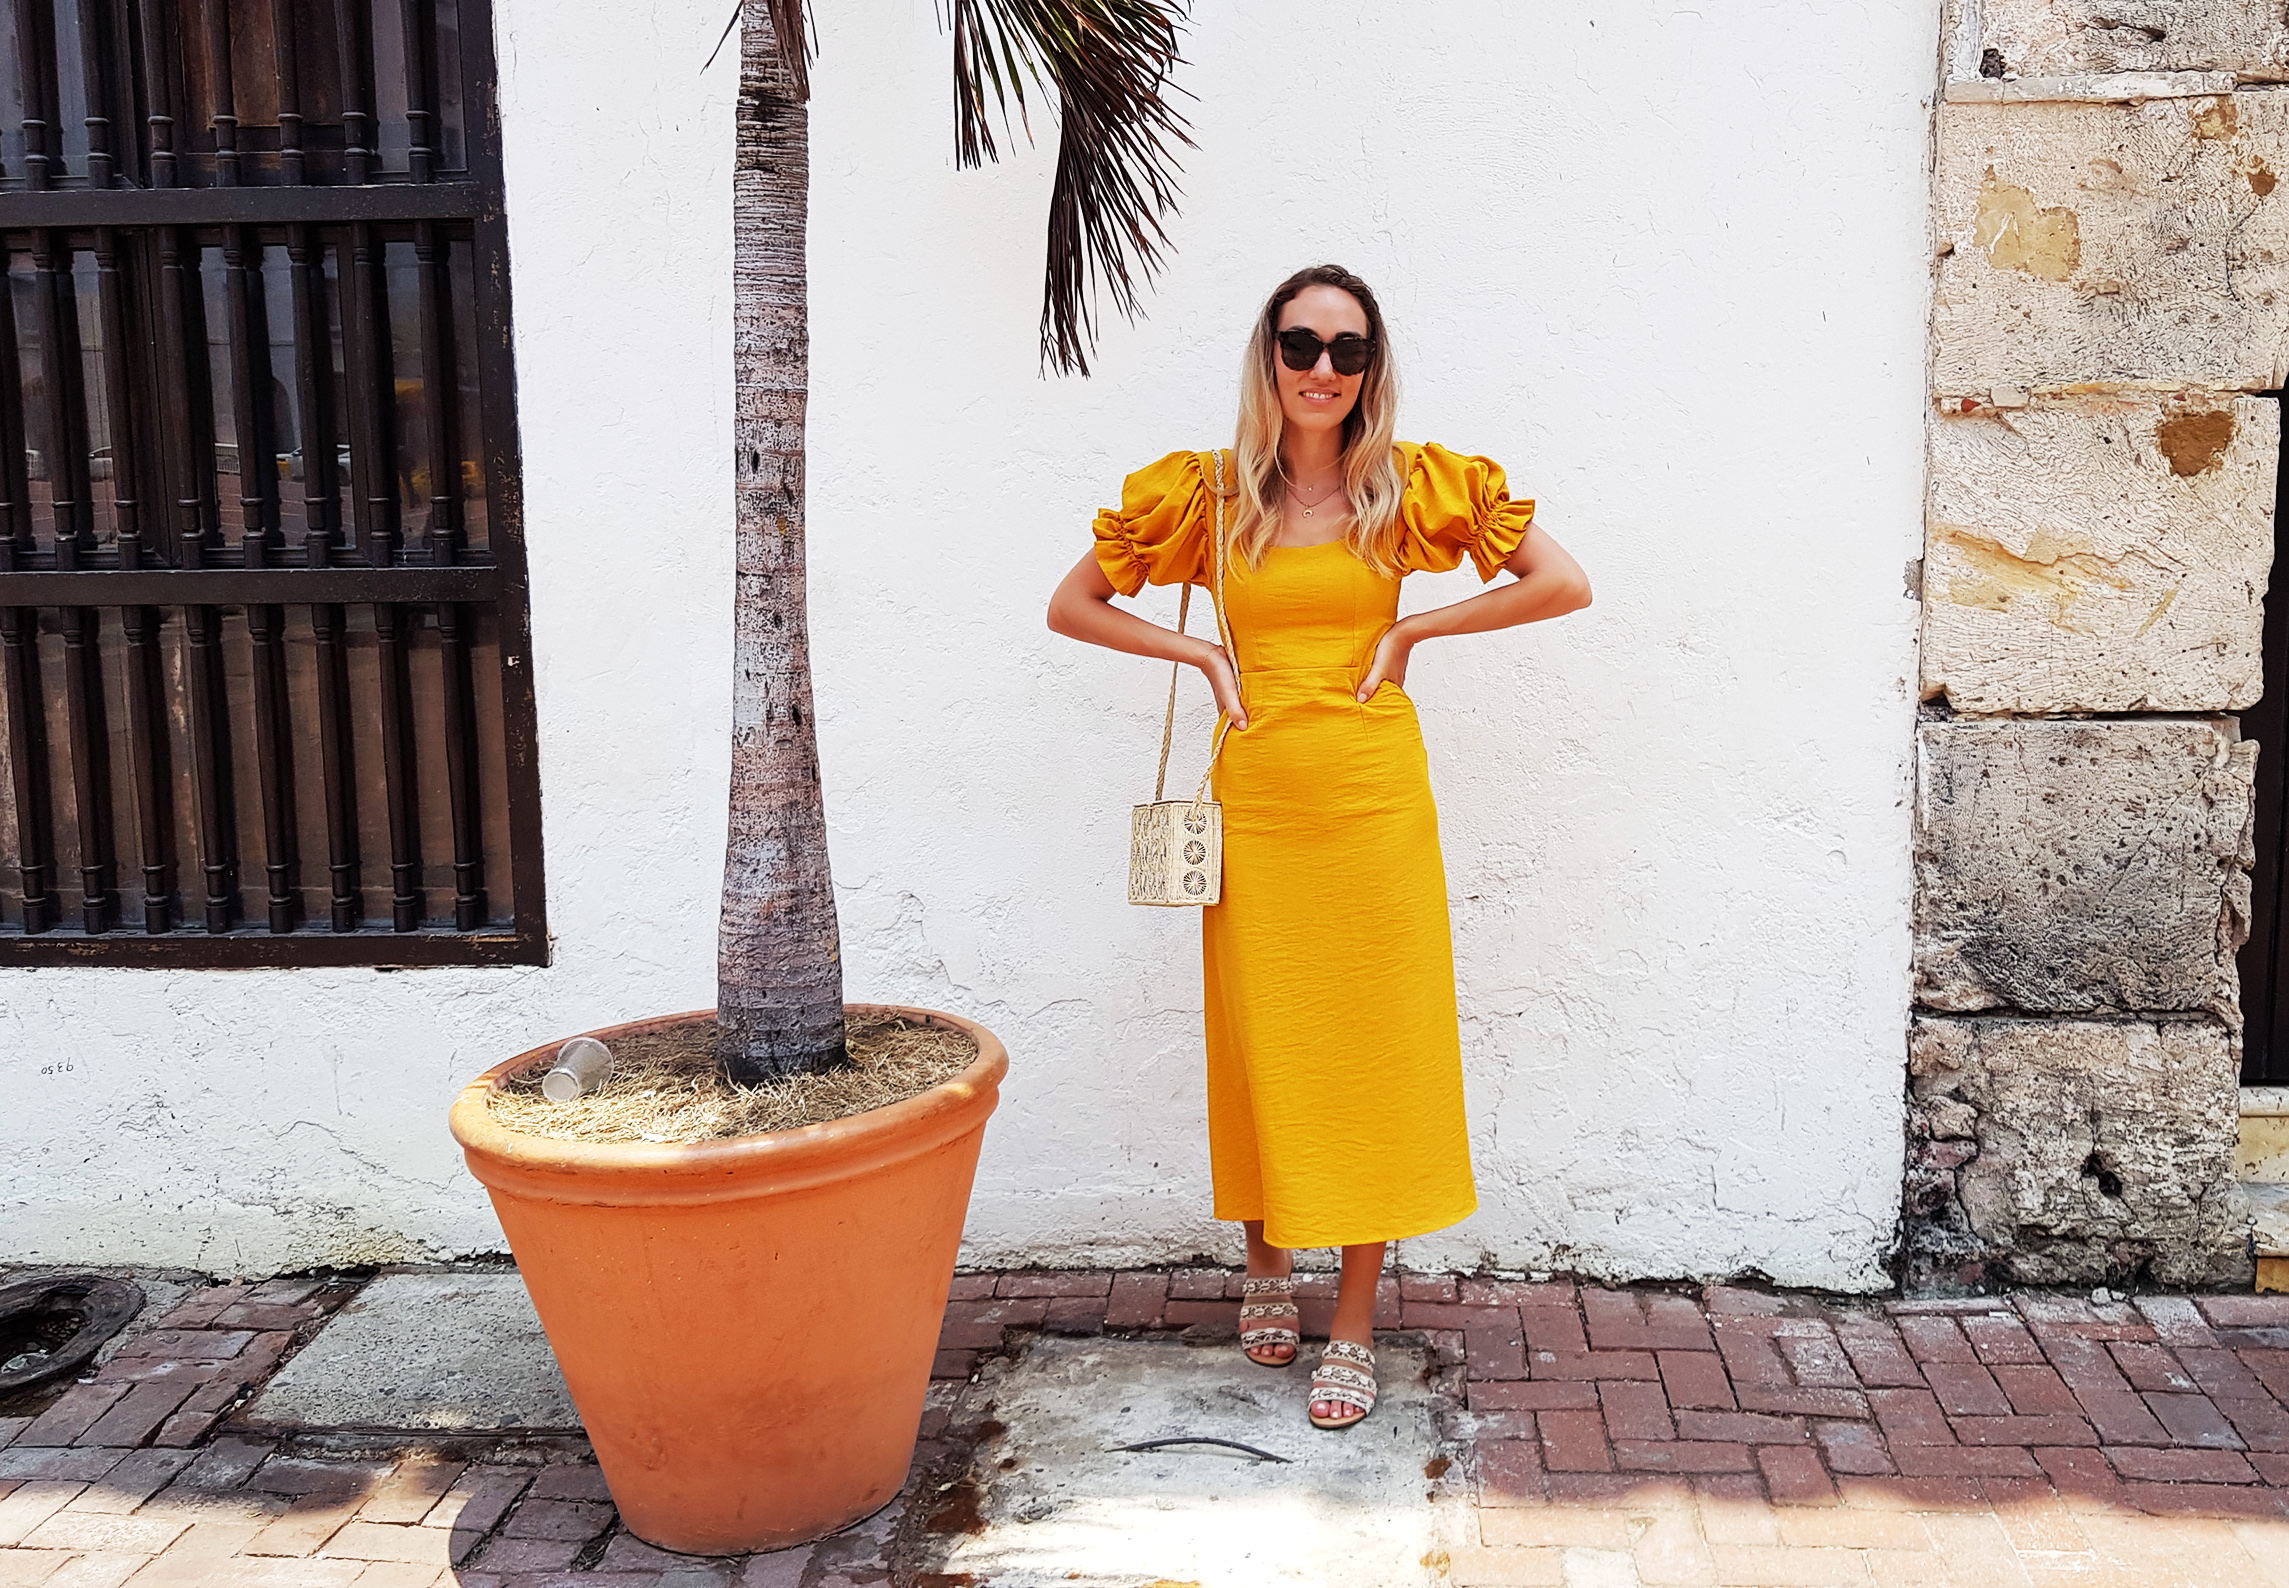
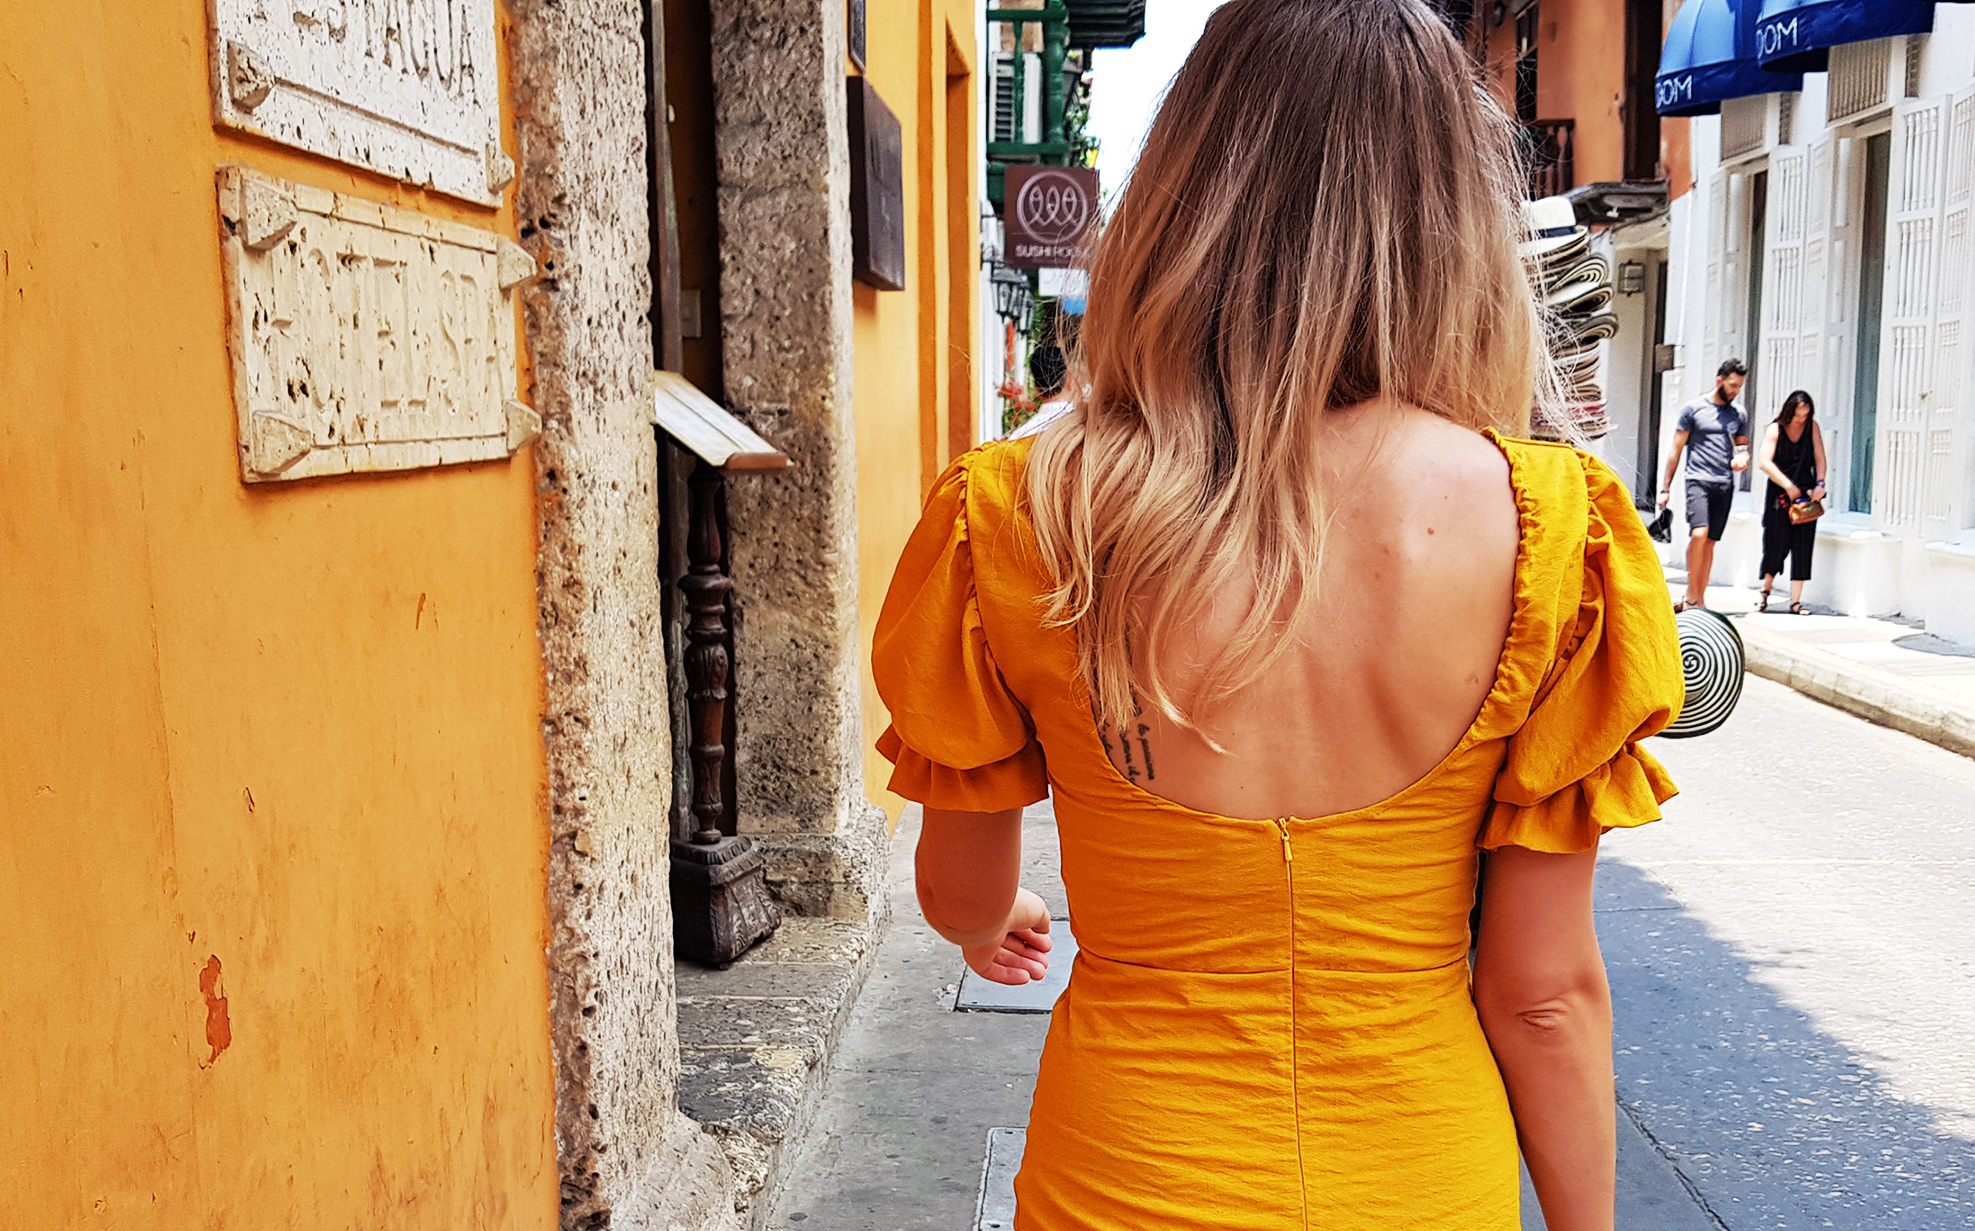
Here I am strolling around Cartagena. If the dress looks a bit wrinkly and sweaty in some of the pics, it's because it was 38 degrees warm with 80% humidity.. We lasted about 20 minutes before retreating back to the hotel pool.. But you can tell from the colours of the city that my vision of blending in was spot on.
xo,
Julia


0 comments:
Post a Comment
I would love to hear what you think and learn about your DIY adventures! If you use one of my tutorials, tag me on social @contour_affair, I'd love to see!