

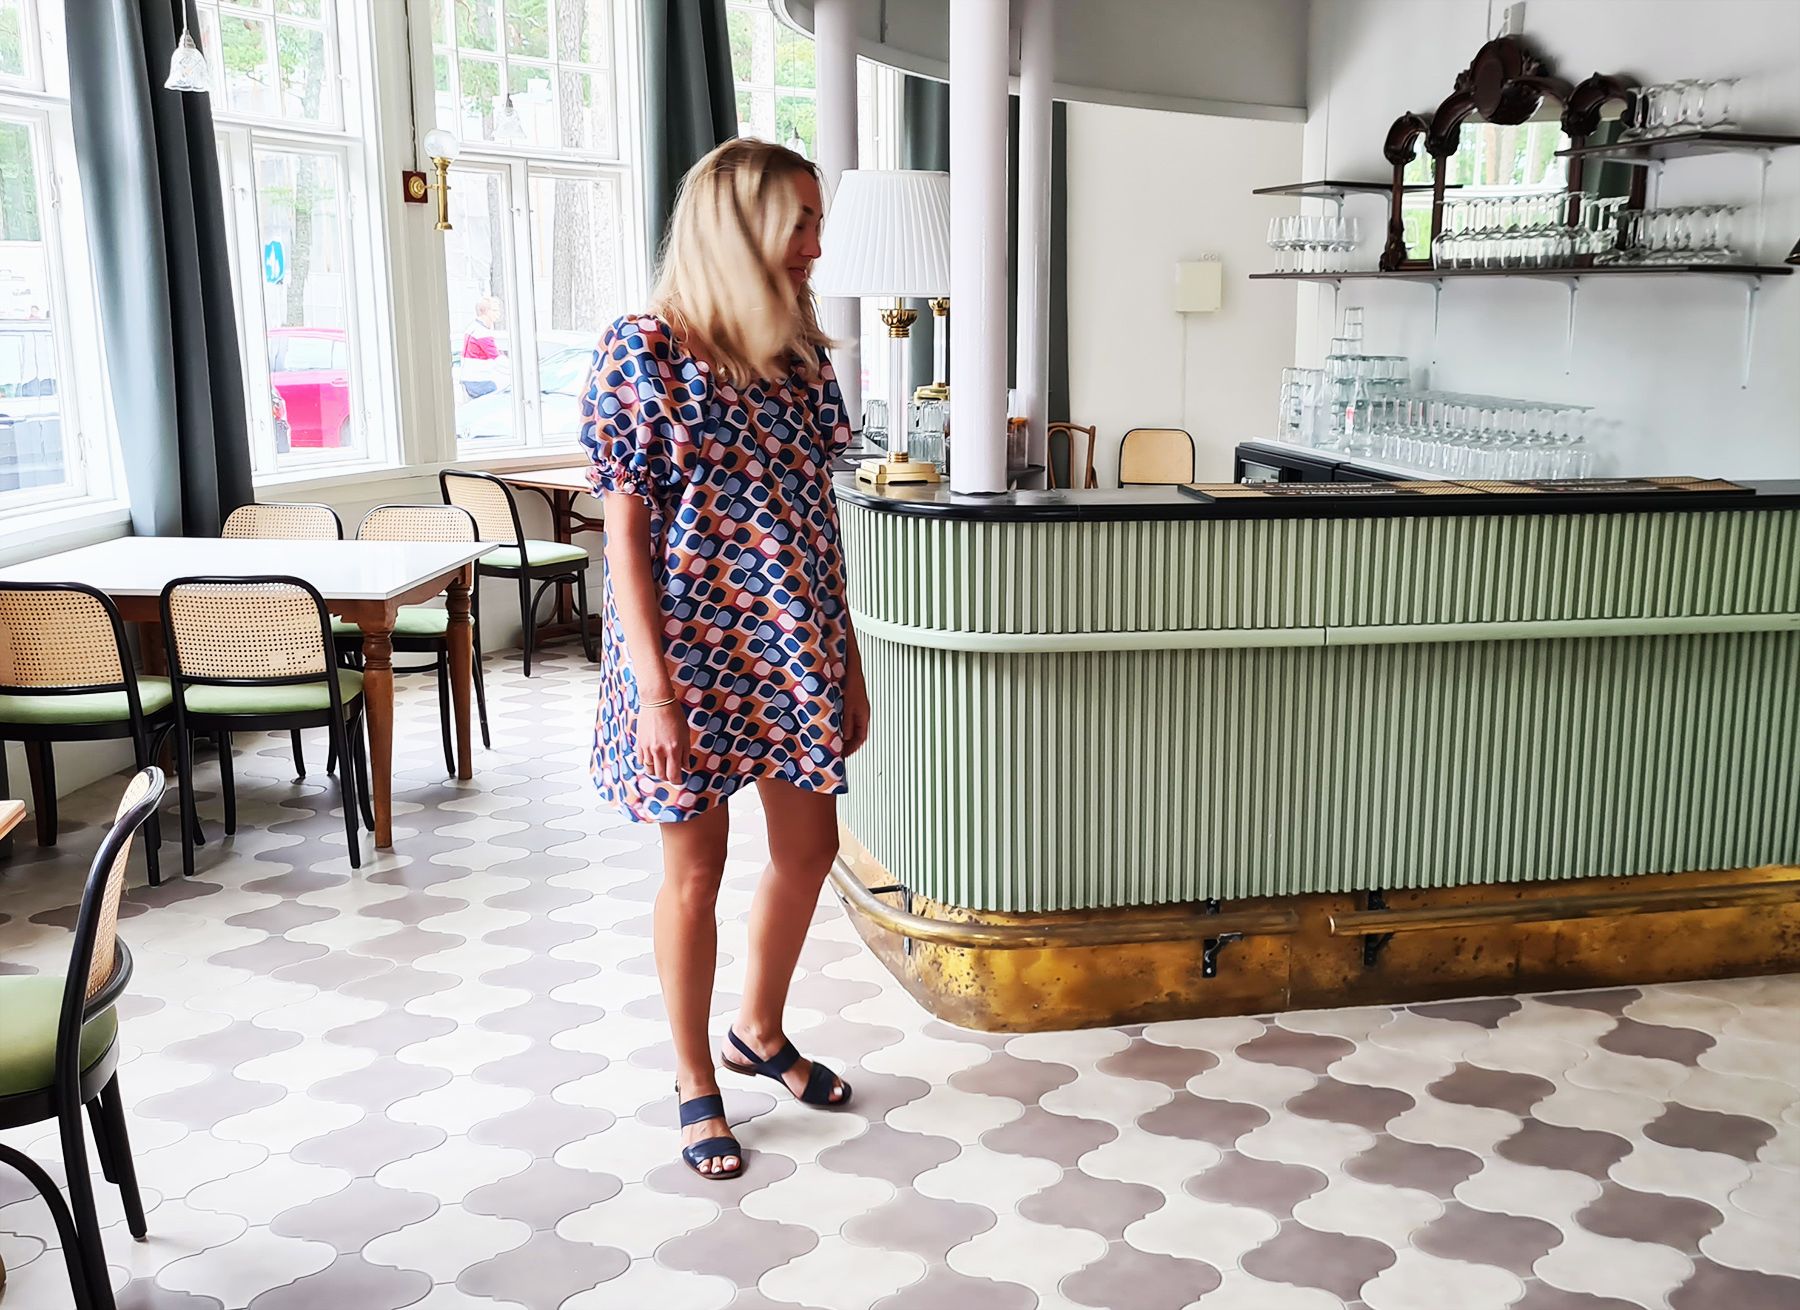
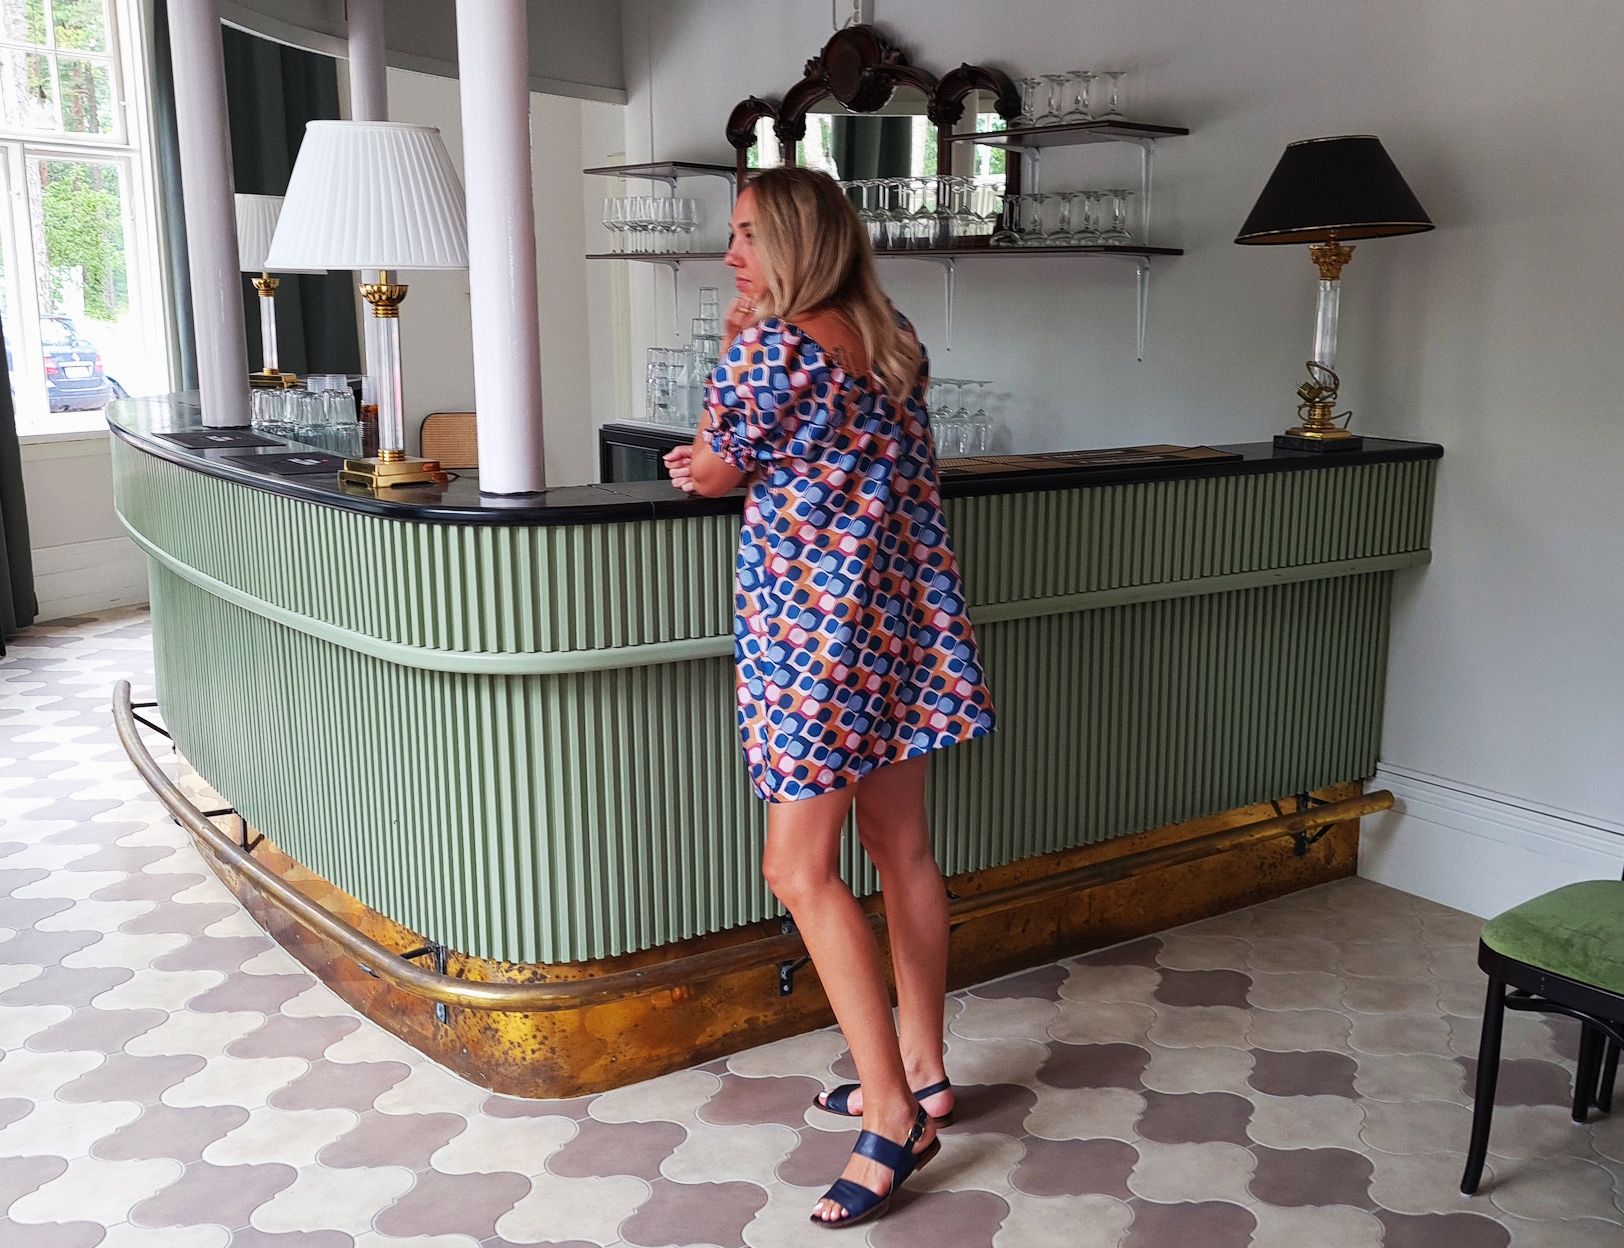
This fabric is definitely not my usual choice but it was all alone in a leftover scraps pile, and something about the print appealed to me. It's also organza, which I'm not really into as a material.. But I've been wanting to make a(nother) really big puff sleeve, so the stars aligned.
Tutorials take a lot of time & effort to create, and I choose to make mine available for free. If you enjoy this guide, you can support me with a donation that feels right for you, here.
TOOLS:
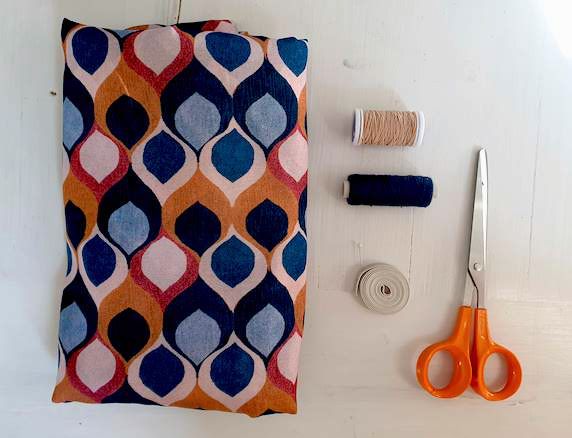
Fabric (if making a mini, 1.5 m of full-width or 2 m of half-width) | Scissors | Narrow elastic (1 m) & small safety pin | Shirring elastic | Thread & sewing machine
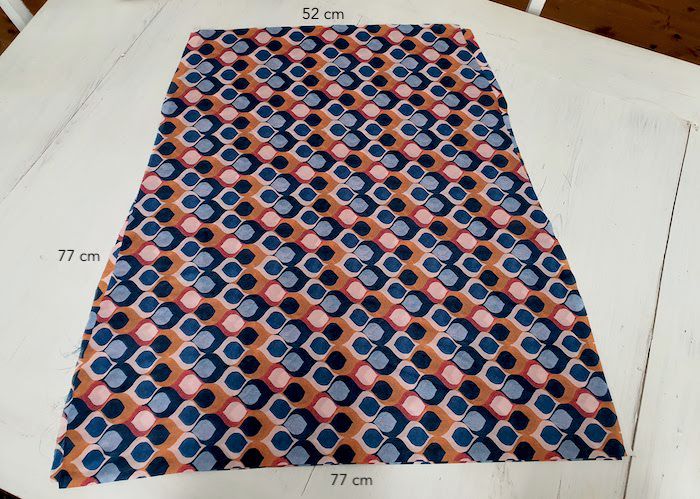
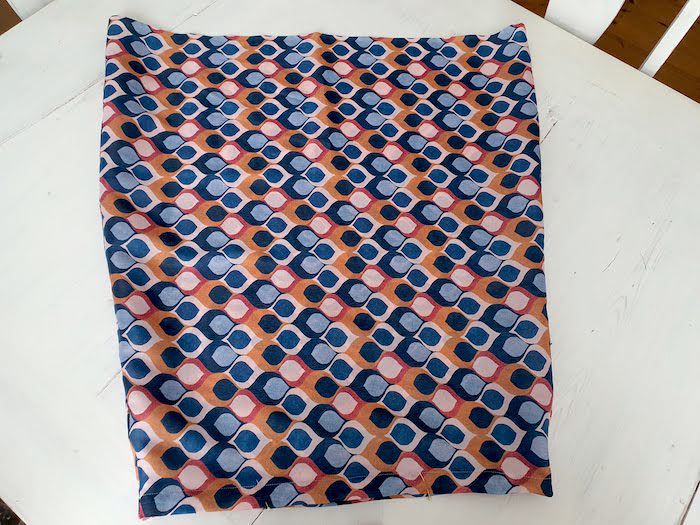
I. I first cut the dress pieces, identical front and back. I'm pretty sure the pattern is meant to go in the other direction, but this was the only way I could squeeze all the pieces out of the remnant piece I had.
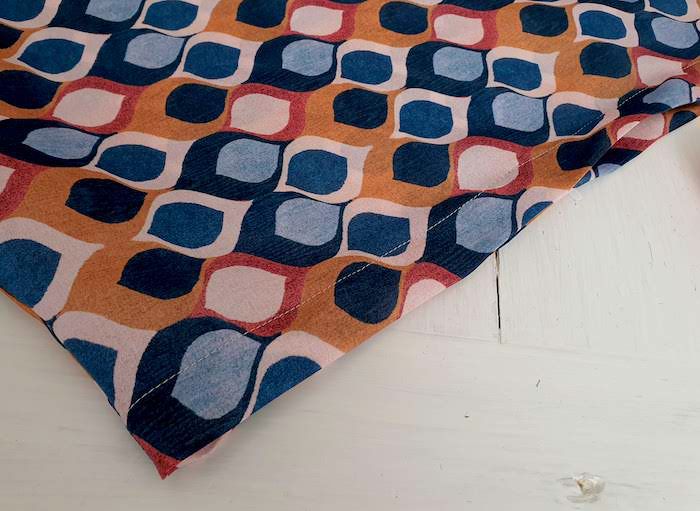
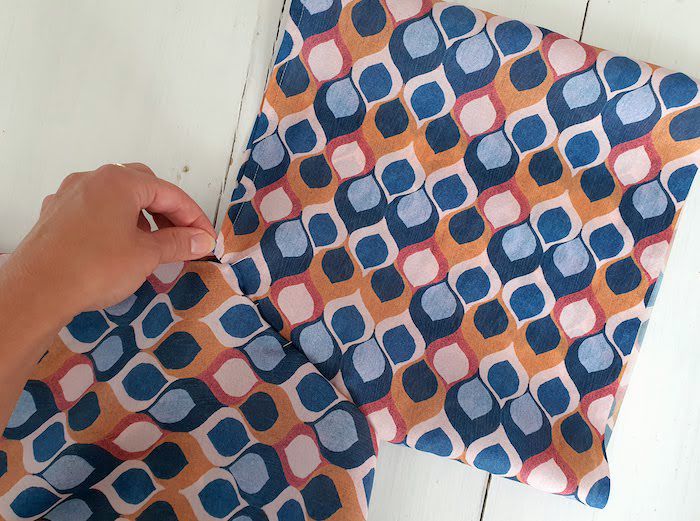
II. Because this was organza which frays like crazy, I did french seams. Basically you do the first seam fabric reverse sides facing, then trim the seam allowance so it's very narrow:
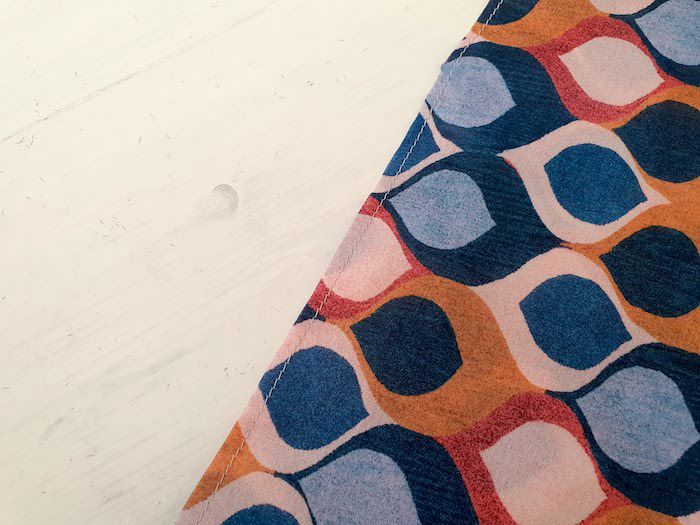
.. Then fold the fabric so the right sides are facing, press the seams, and then sew again.
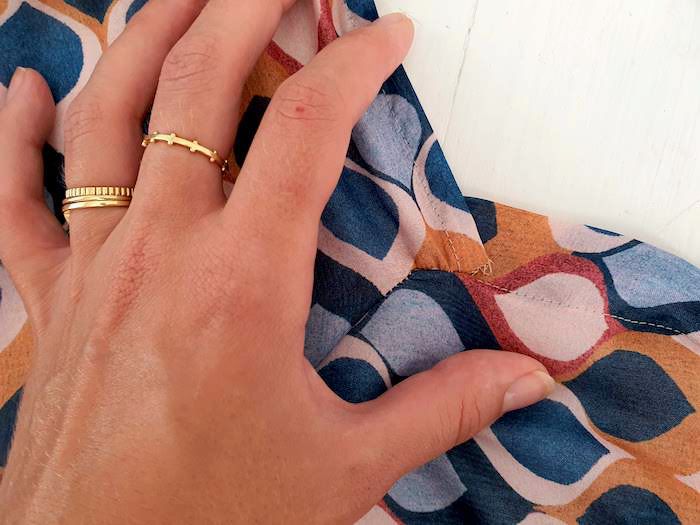
So that was the sides done.
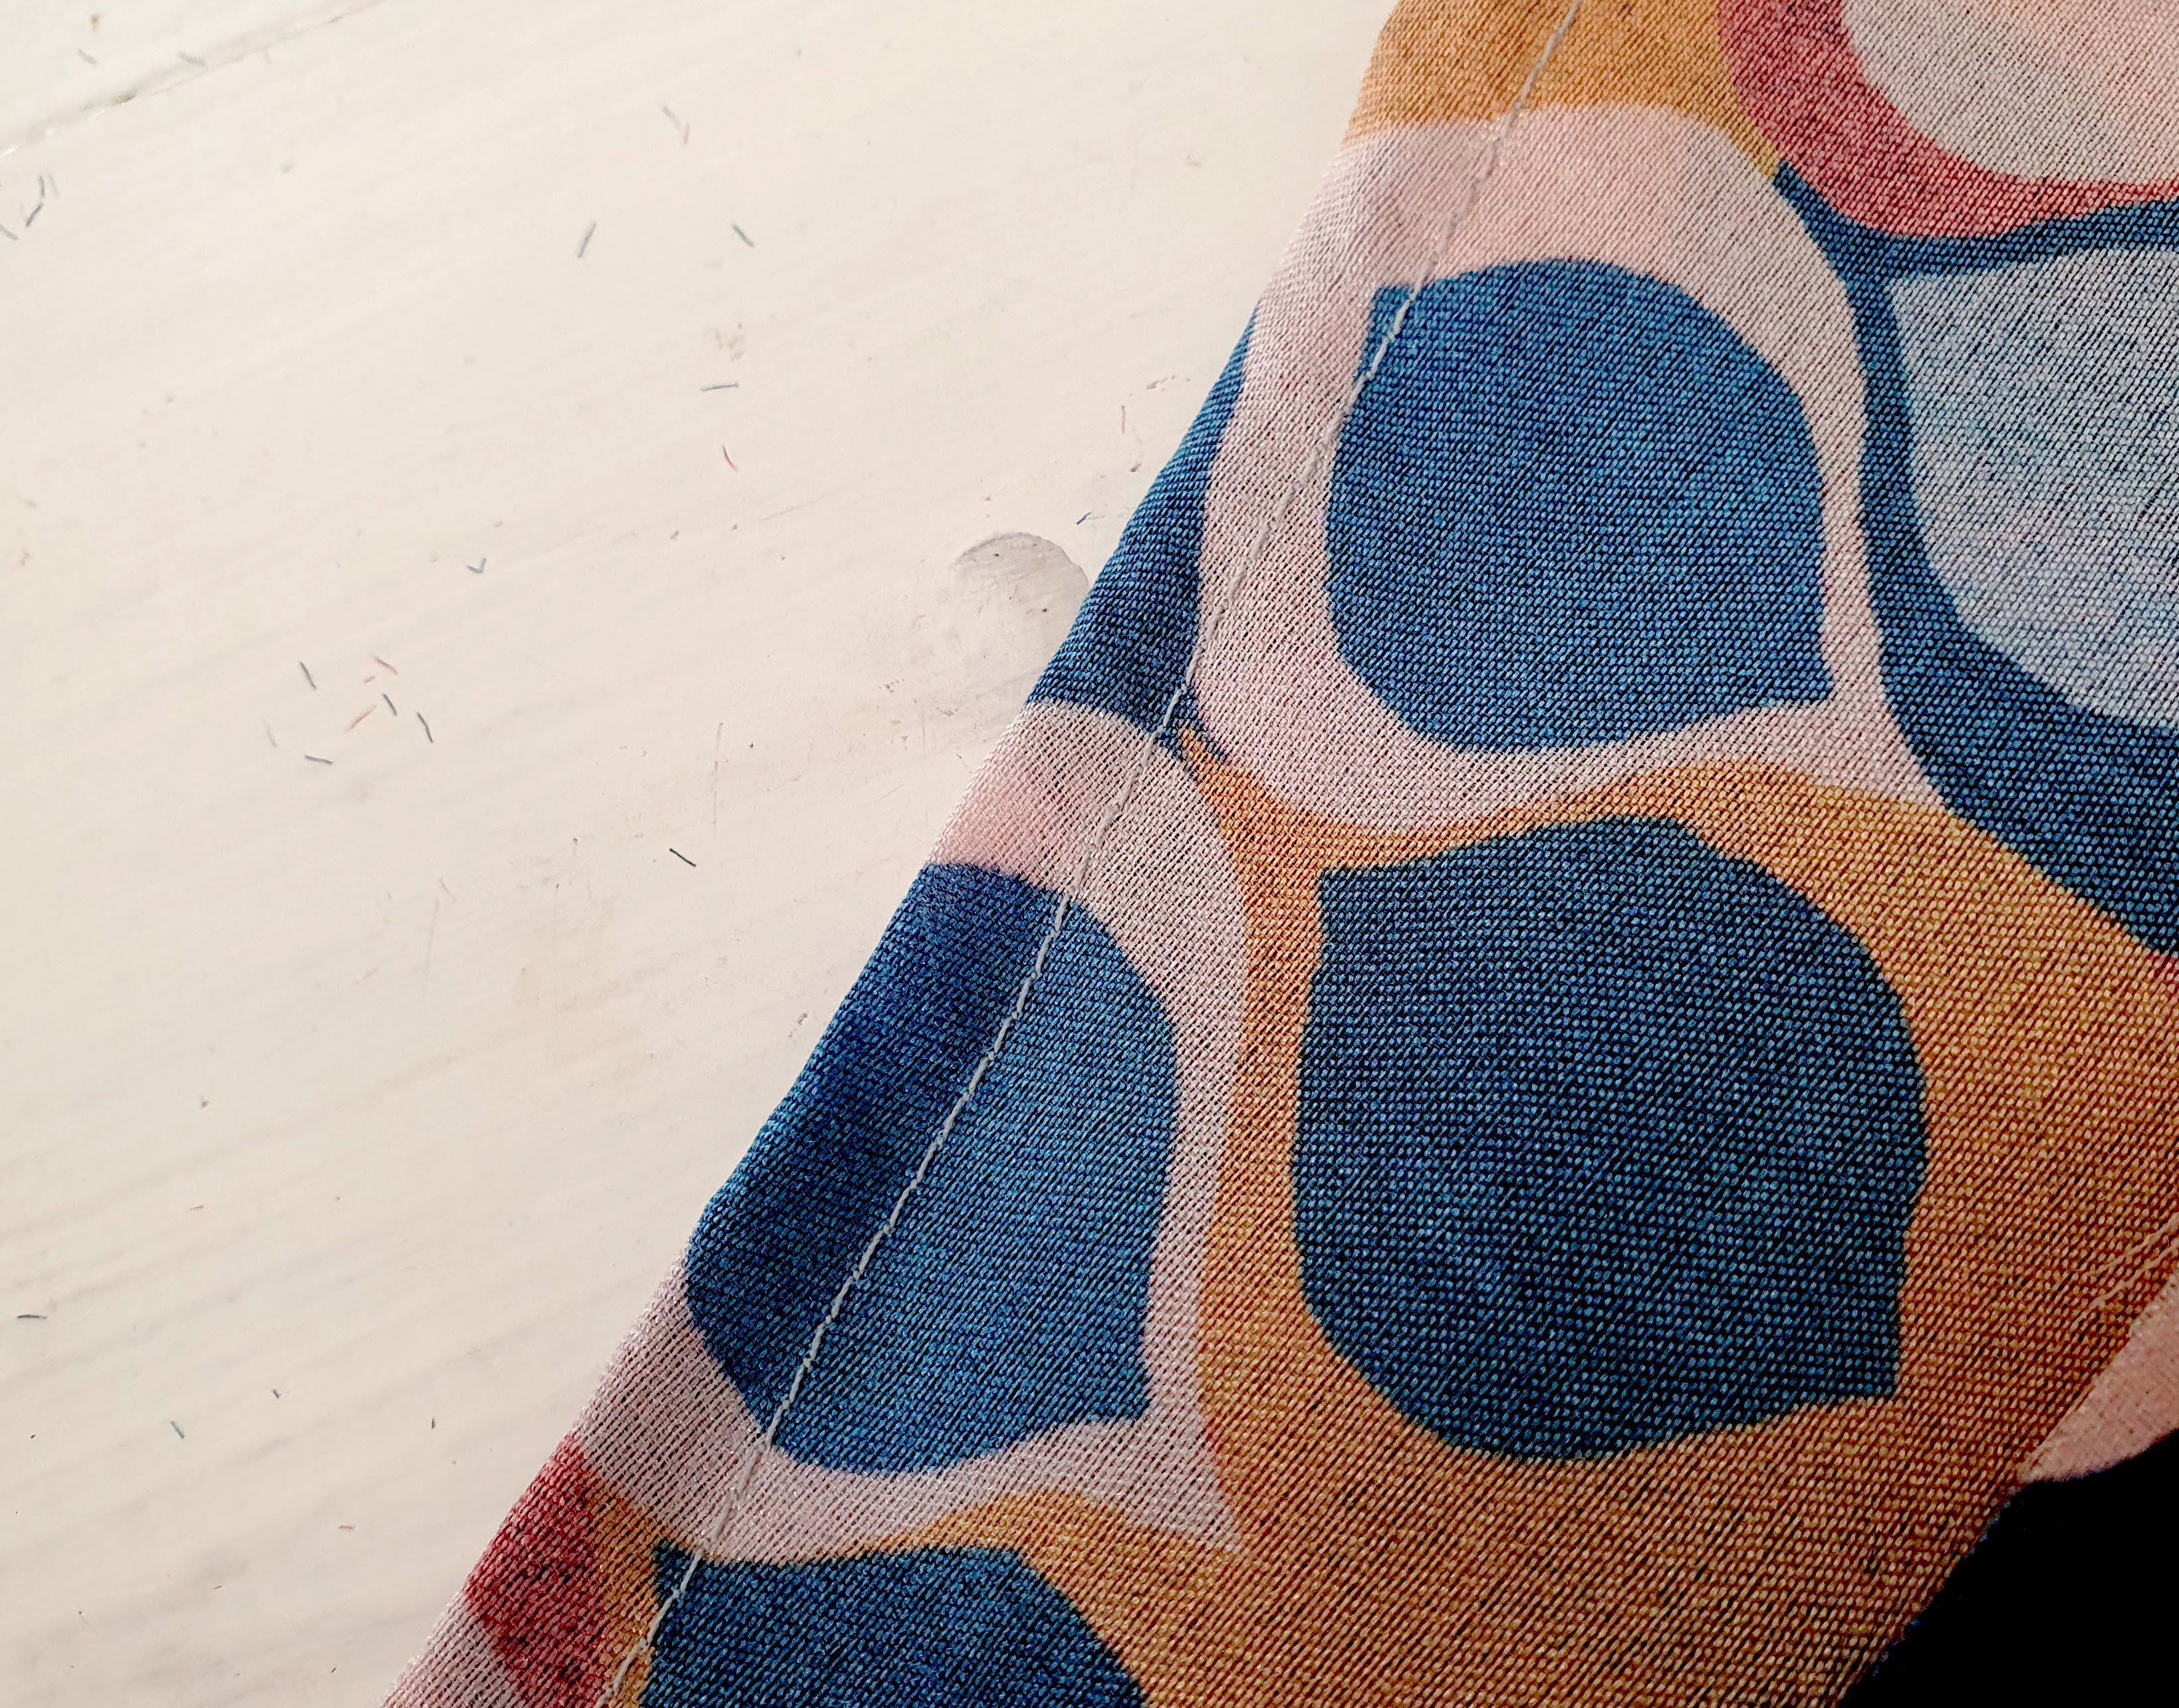
III. Next I did a double fold along what would be the neckline:
IV. Then I cut the arm hole curves. I was looking for a style where the sleeves are very pronounced and come in a bit more than normal towards the front - to get a more classic sleeve positioning, cut the curve in a 10 cm by 10 cm area.

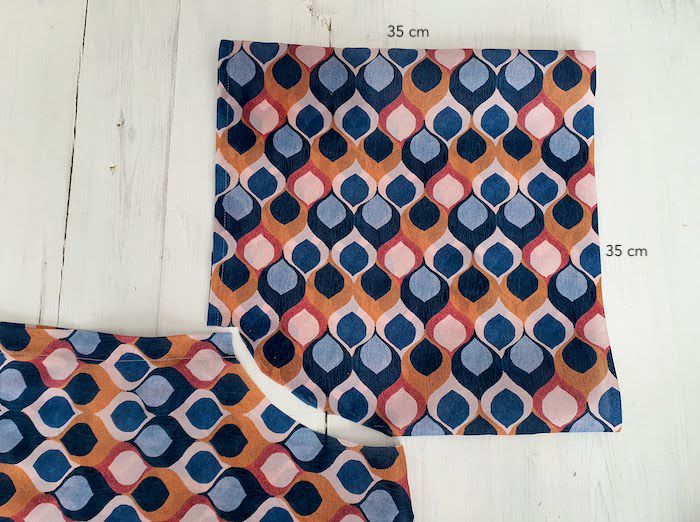
V. Next I cut 2 rectangles for the sleeves, 70 cm by 35 cm each. I folded both rectangles right sides facing and sewed the short edge (did a french seam there too), and did a double fold on one side (just a bit wider than my elastic). Then I used the curve I had cut on the dress piece to cut a corresponding curve on the sleeve.
VI. Then I pinned the sleeve in its place, starting by alining the side seam of the dress and the underseam of the sleeve piece, up until the part cut at an angle on the sleeve. Sewed to that point, and then you need to pivot the sleeve piece to align the edge with the stitch on the neckline.
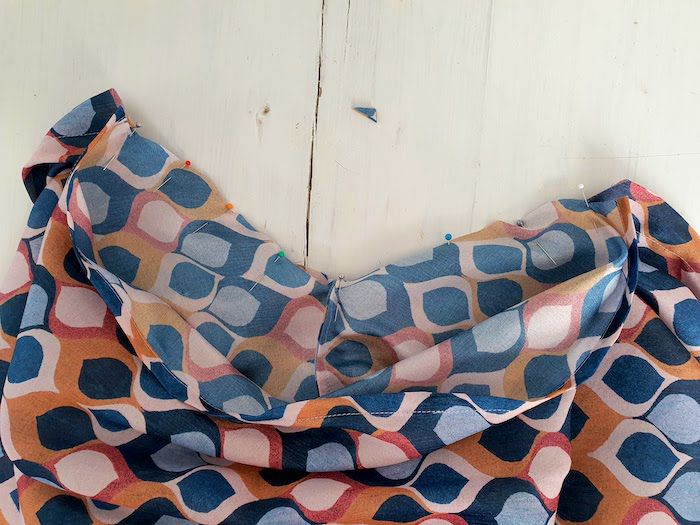
.. This is what it was looking like on the right side after pinning.
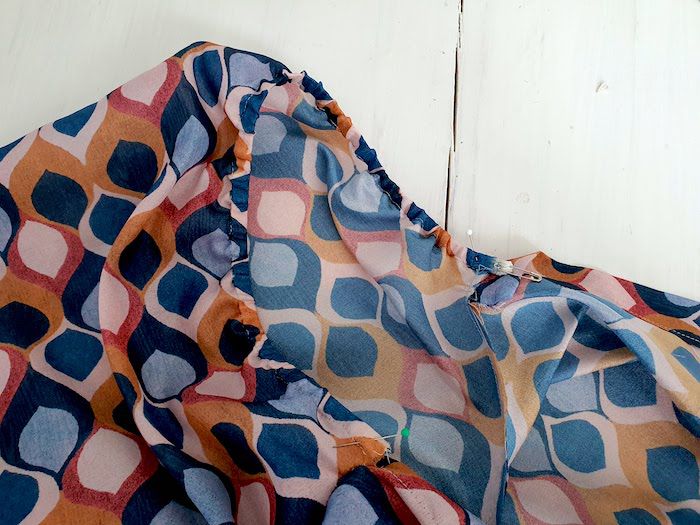
When something needs to be elasticated I like to leave inserting the elastic to the end, so I can make sure I get the length right. So in this case, after pivoting and sewing a few stitches, I stopped sewing where the casing starts.
VII. Then I cut 2 piece of elastic, 45 cm each, and used a small safety pin to insert the elastic into its casing..

.. Tried the dress on to make sure the elastic was the right tightness, and secured at both ends with a few stitches.
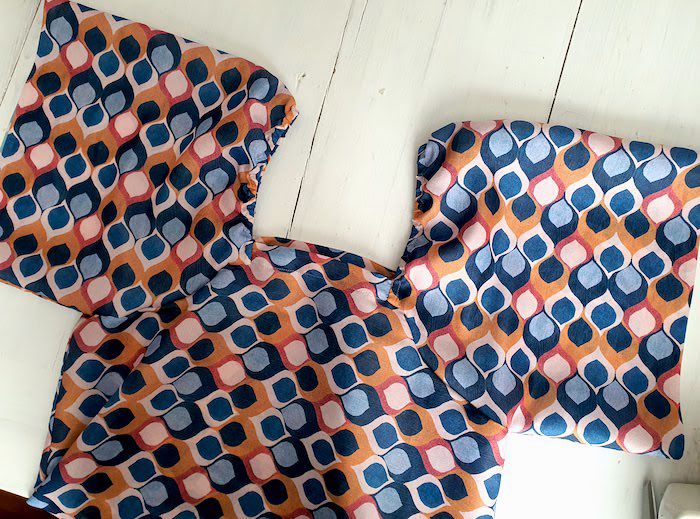
VIII. I finished the seam allowance with my serger and hands-sewed the neckline and the start of the casing together.

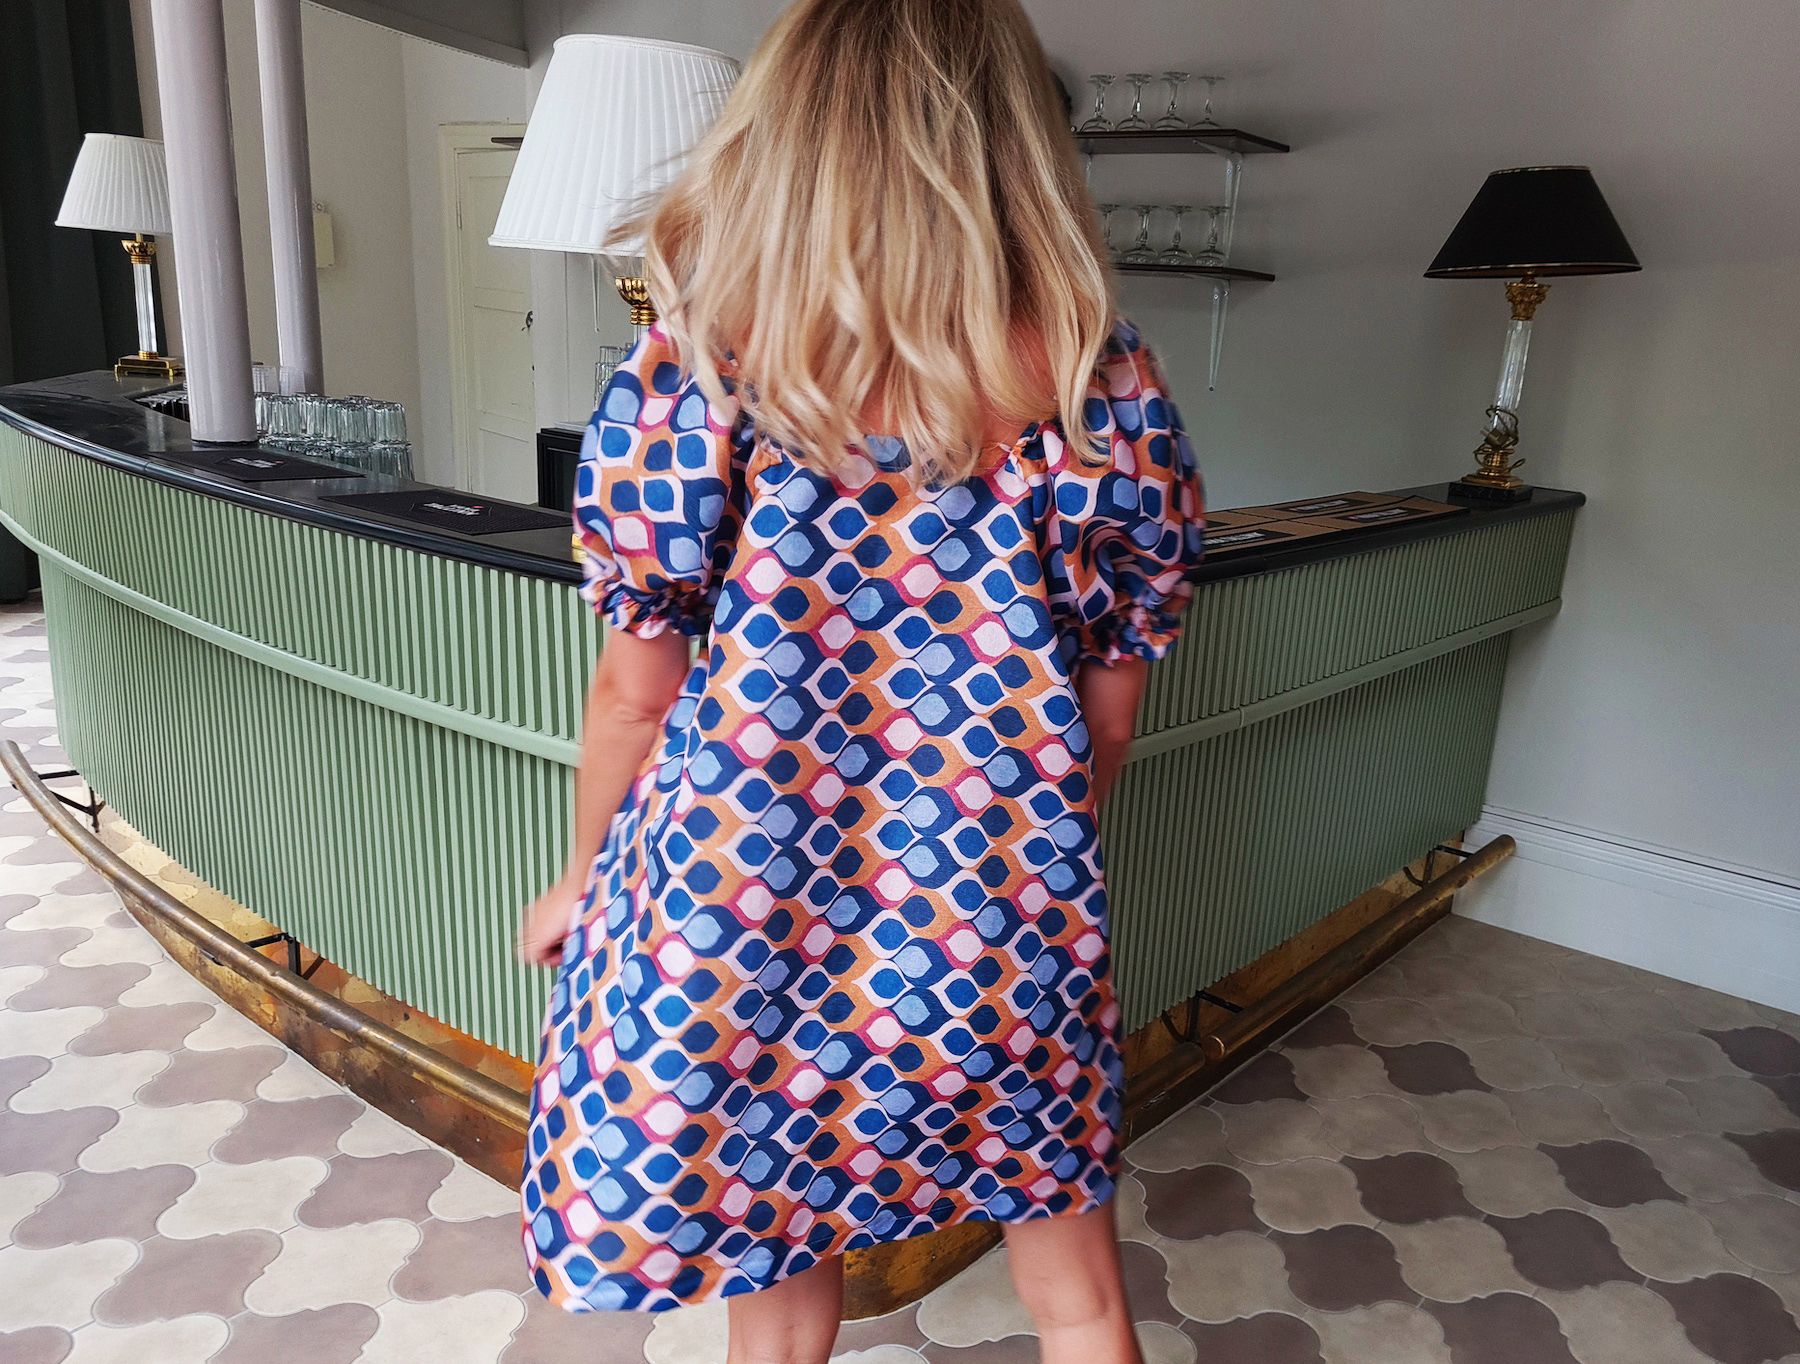
IX. So these were my almost finished sleeves - the last part was to sew 4 rows of shirring at the sleeve hems to create the puff effect, like I did here. I didn't need to hem the sleeves as that was the factory cut edge, which I just left as is.
After that I just needed to hem the dress. The whole thing only took me a couple hours to finish.

xo,
Julia


0 comments:
Post a Comment
I would love to hear what you think and learn about your DIY adventures! If you use one of my tutorials, tag me on social @contour_affair, I'd love to see!