

Tutorials take a lot of time & effort to create, and I choose to make mine available for free. If you enjoy this guide, you can support me with a donation that feels right for you, here.


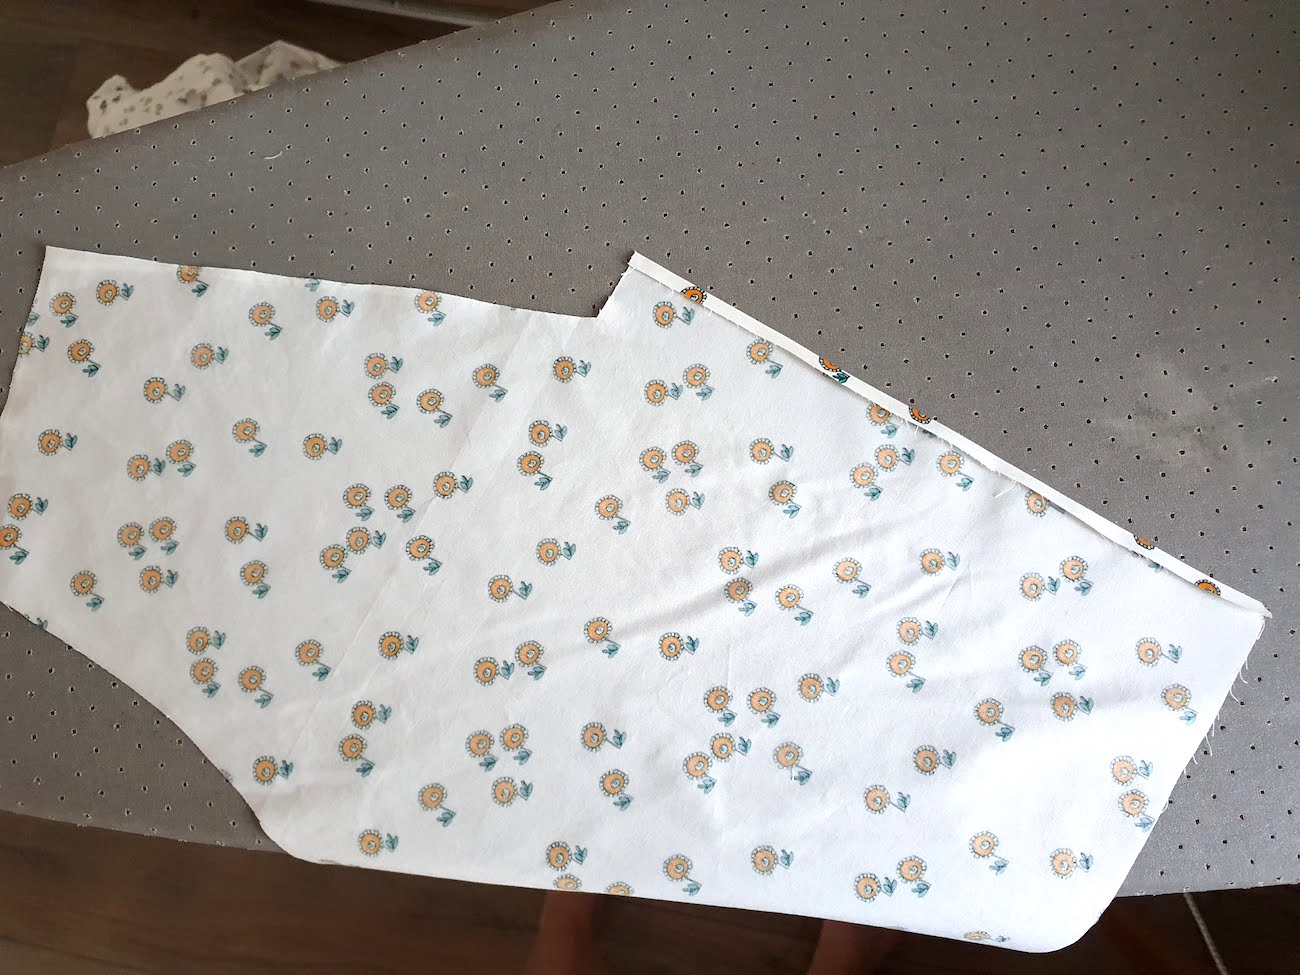
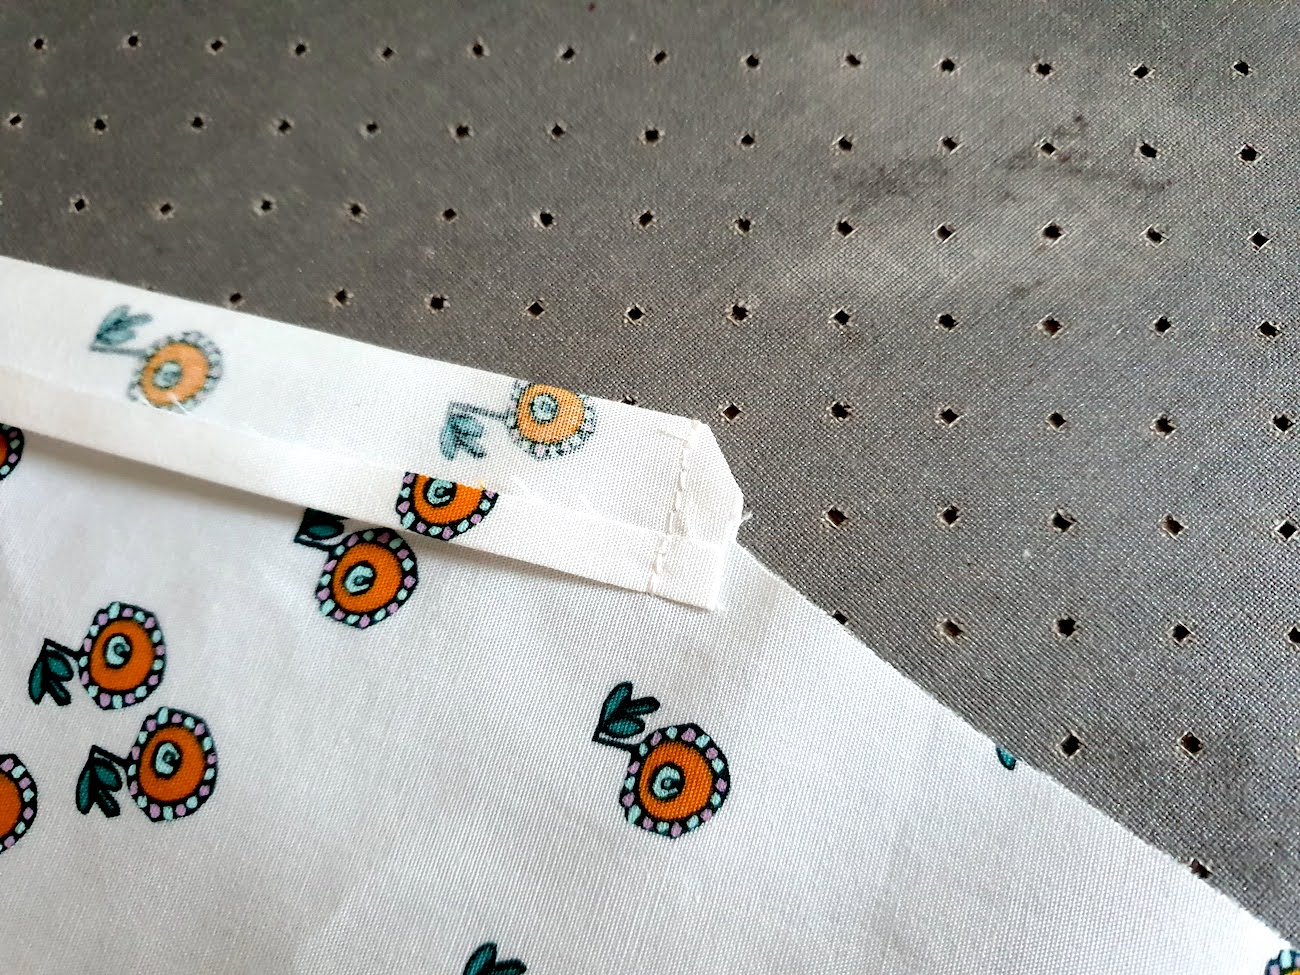
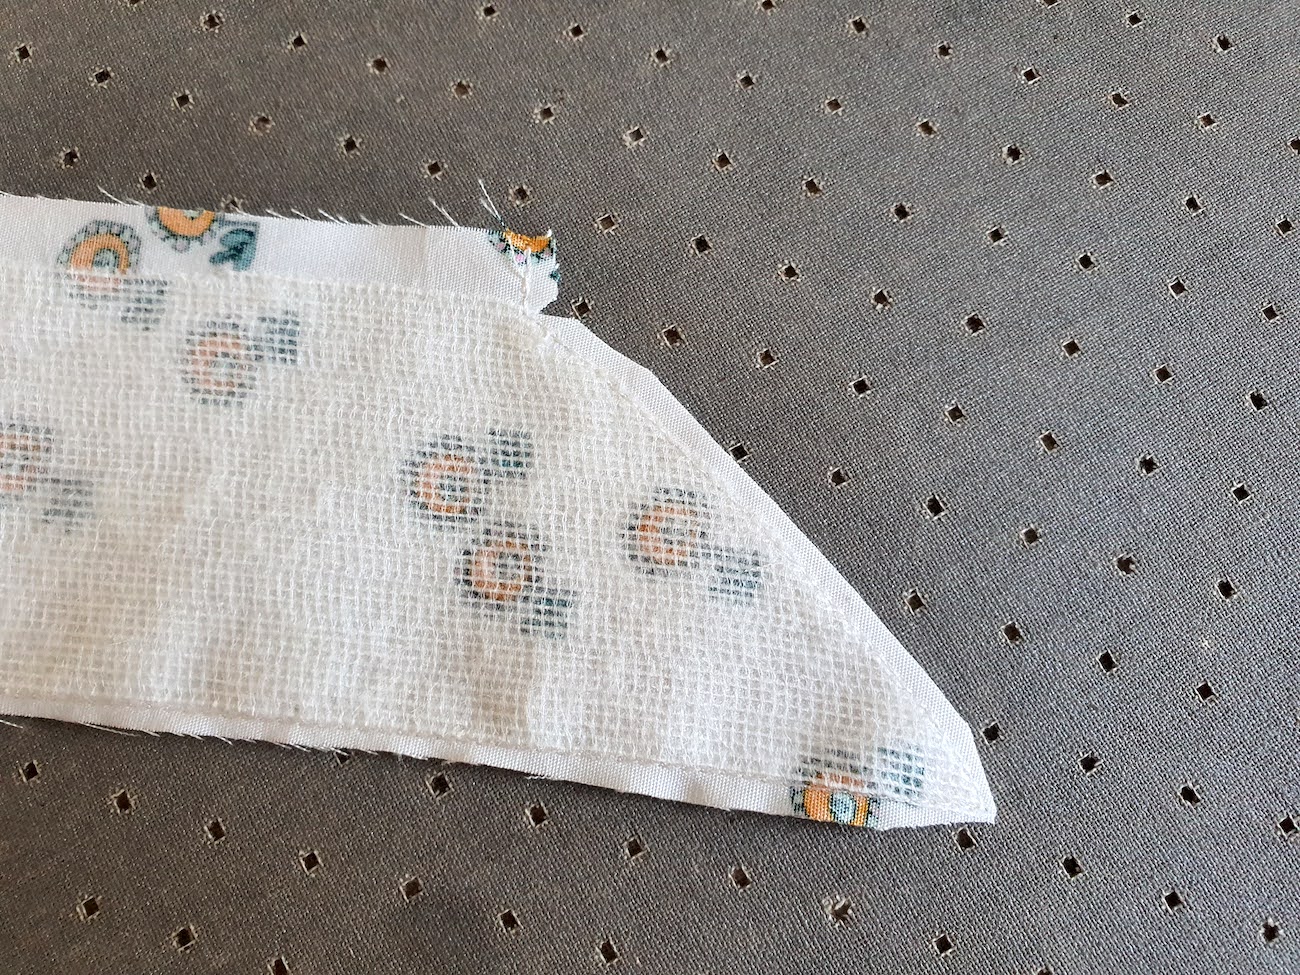
 Sewed the horizontal seam of the top of the button band and trimmed the corner..


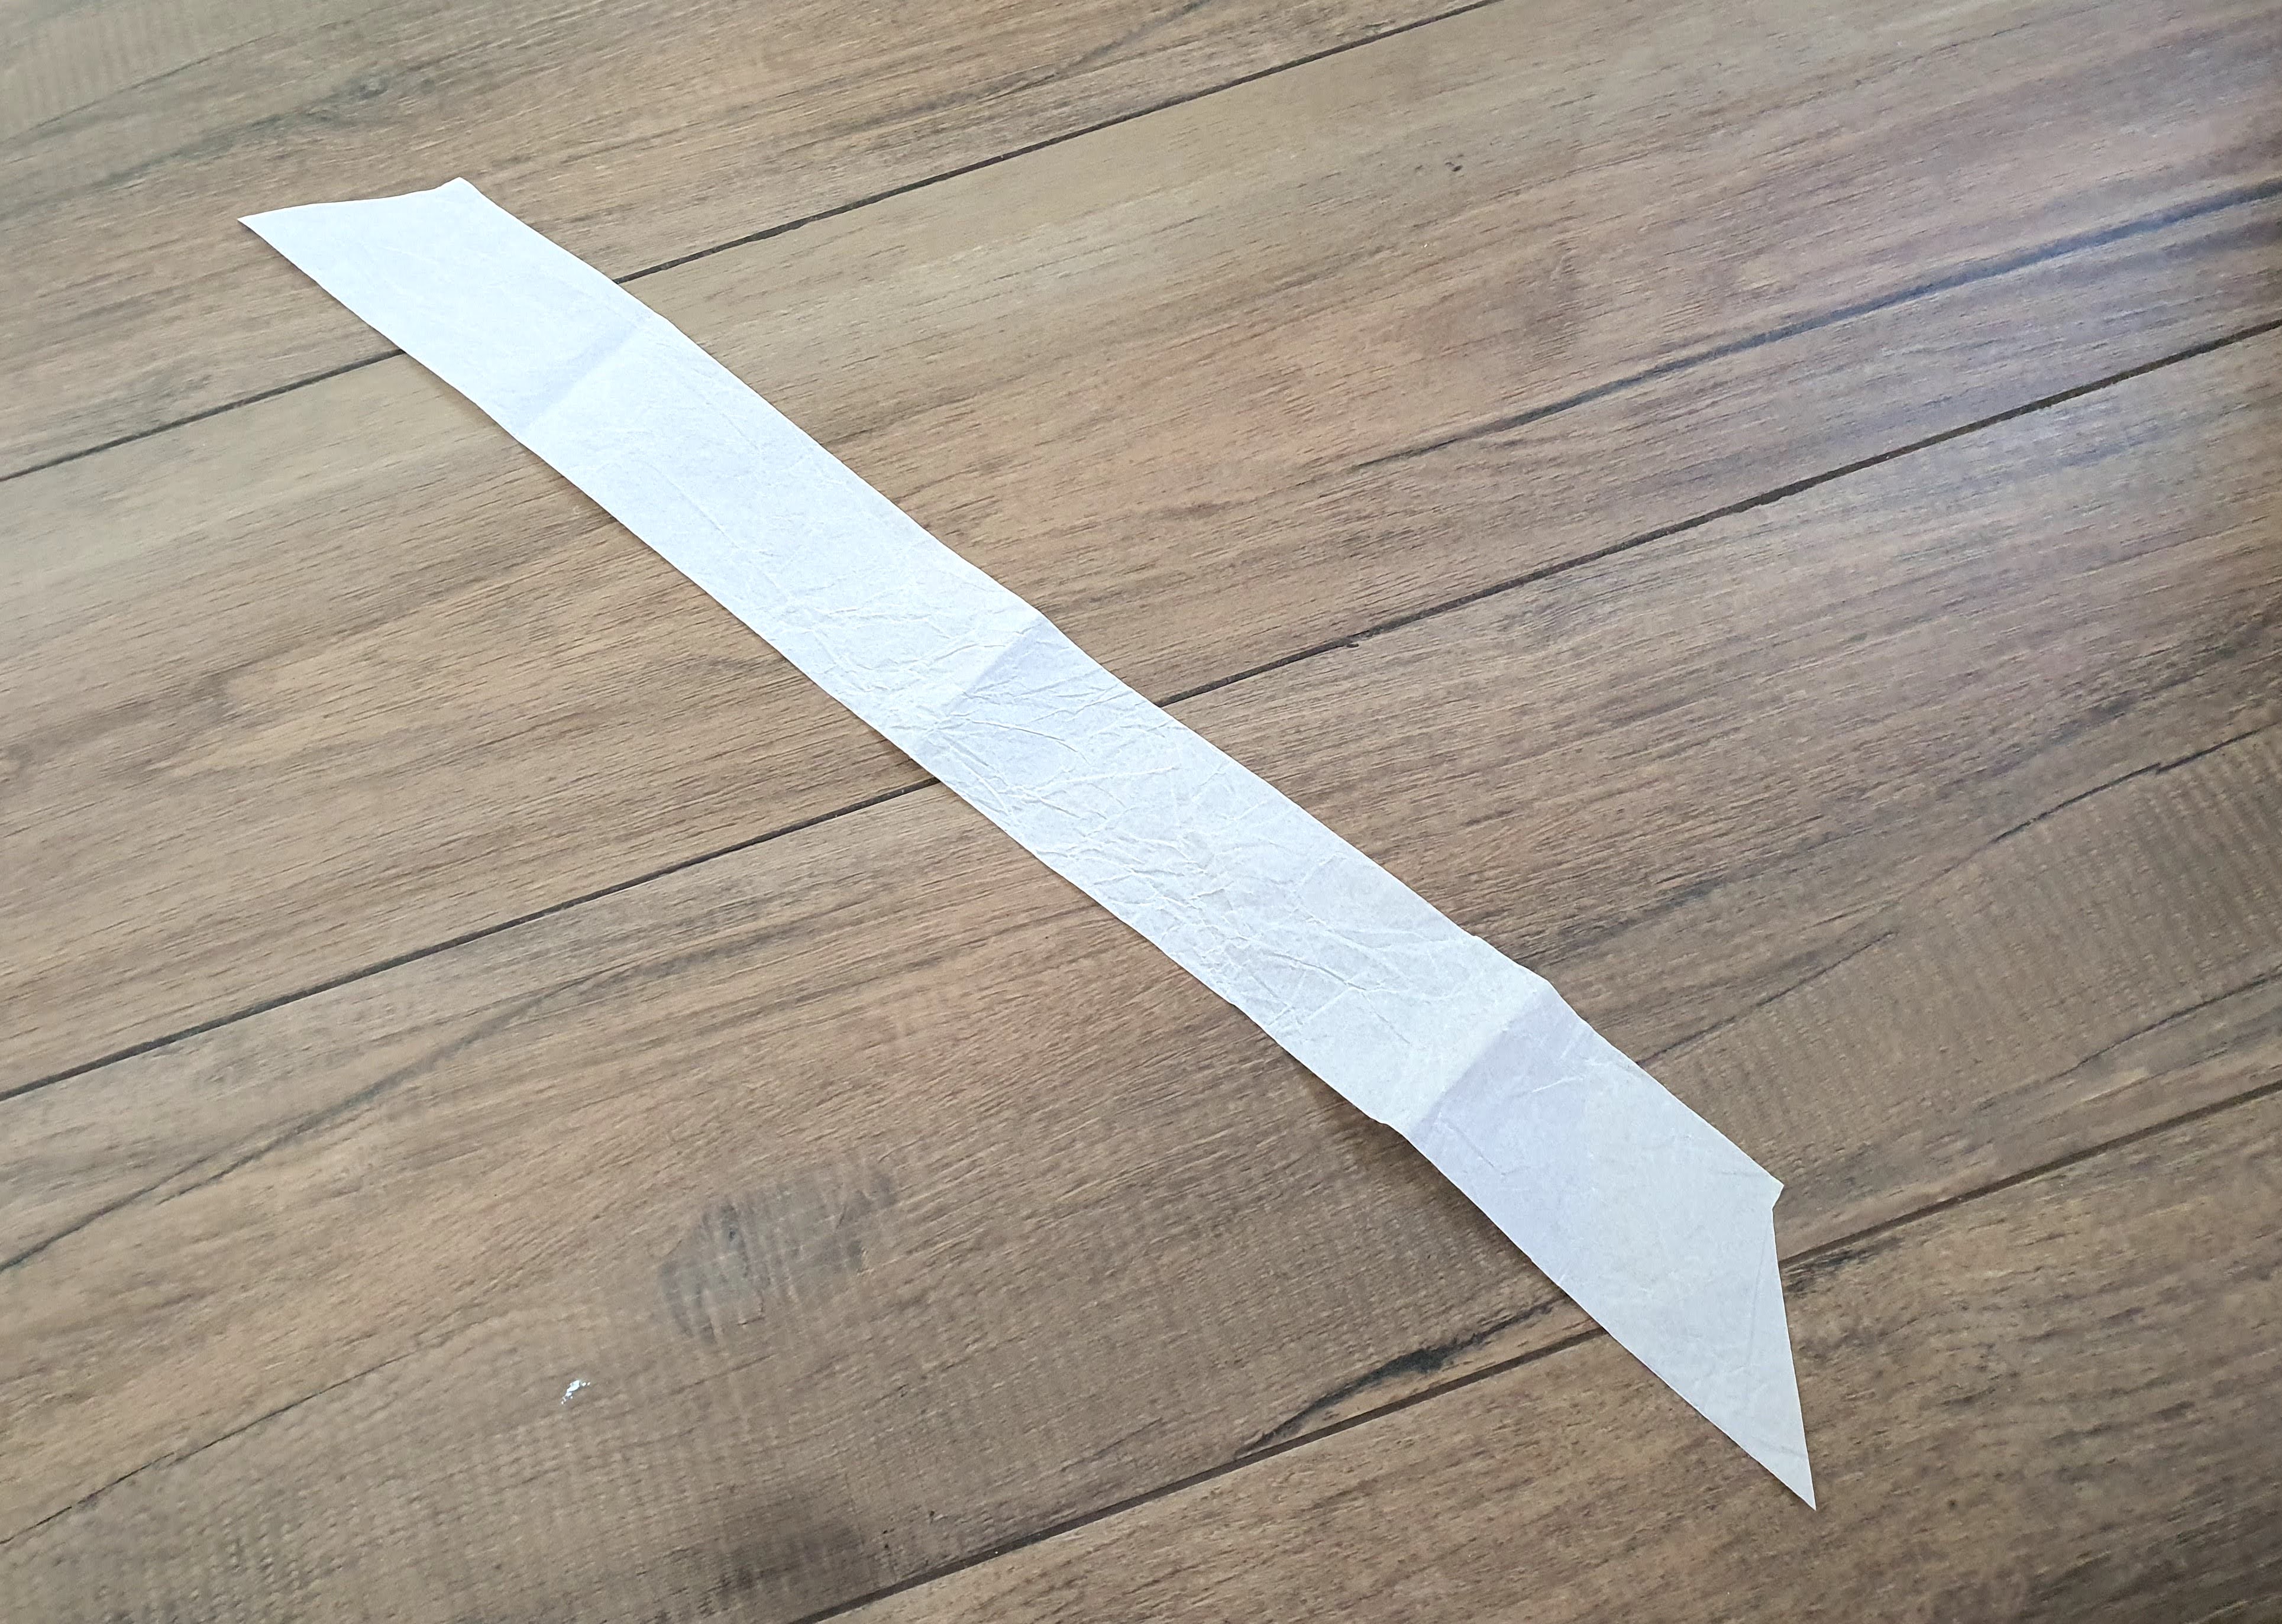
 And I was ready to draft my collar! I used some wrapping paper (yep, I don't have actual pattern paper) to trace the shape:


 .. And turned the collars right side out, pushing the corners out carefully (I like to use the threading end of a large upholstery needle for this). My beautiful pressed collars were ready to go onto the shirt!
 VII. I came up with this bias tape method for attaching collars a while back, and I love it. creates a clean finish but helps me avoid the hand-sewing involved in a usual collar attachment:) Pinned the collars starting from the front..


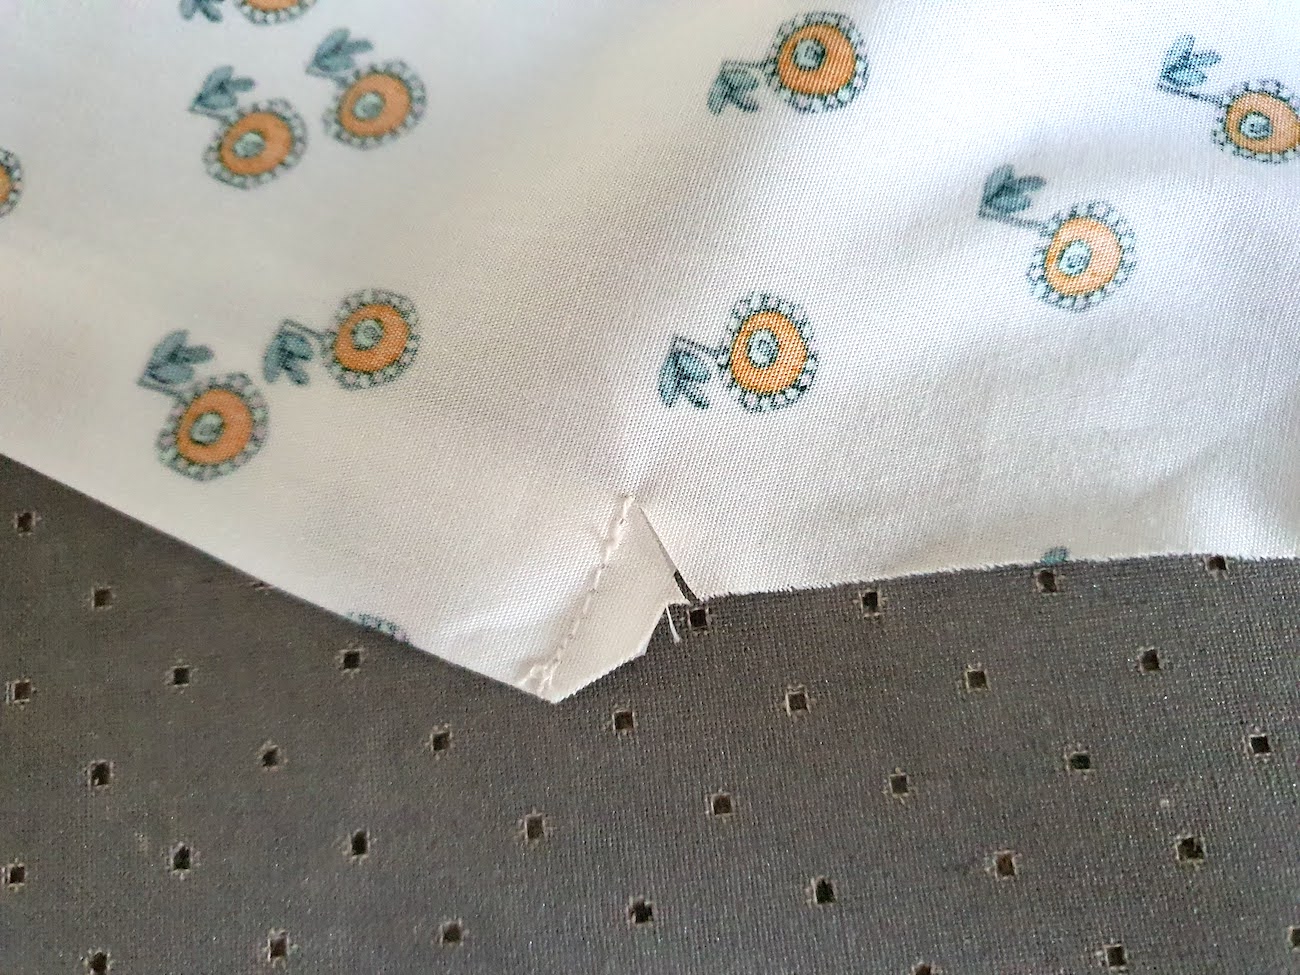
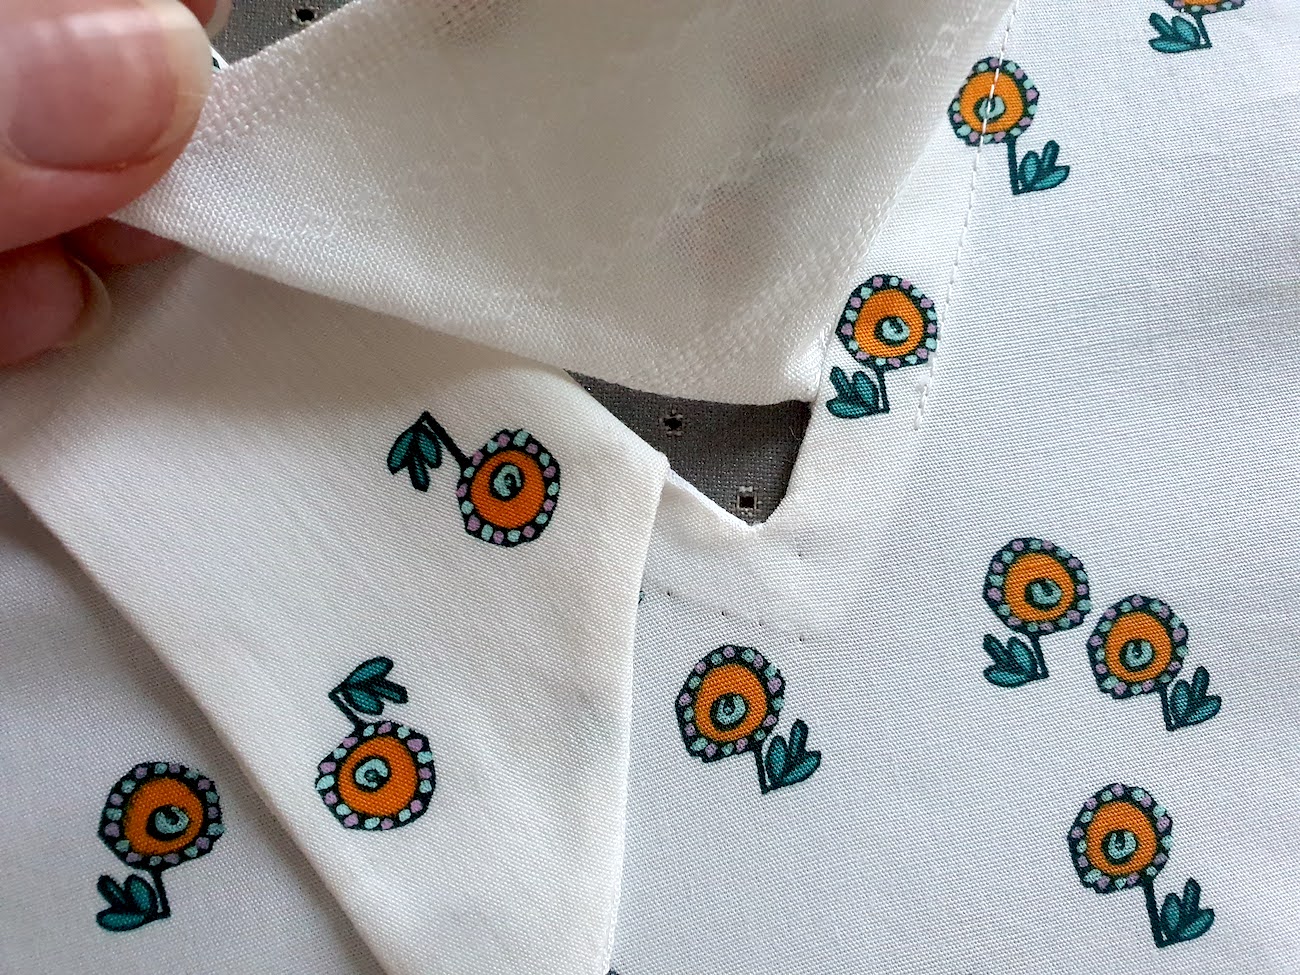
 At the bottom of the back neckline, I didn't want there to be a visible stitch, so I stopped the stitch where it's still hidden by the collar, and did the very bottom of the V by hand.
 VIII. The last bit was to add my button holes and buttons to the button bands, and hemming the top.


TOOLS:
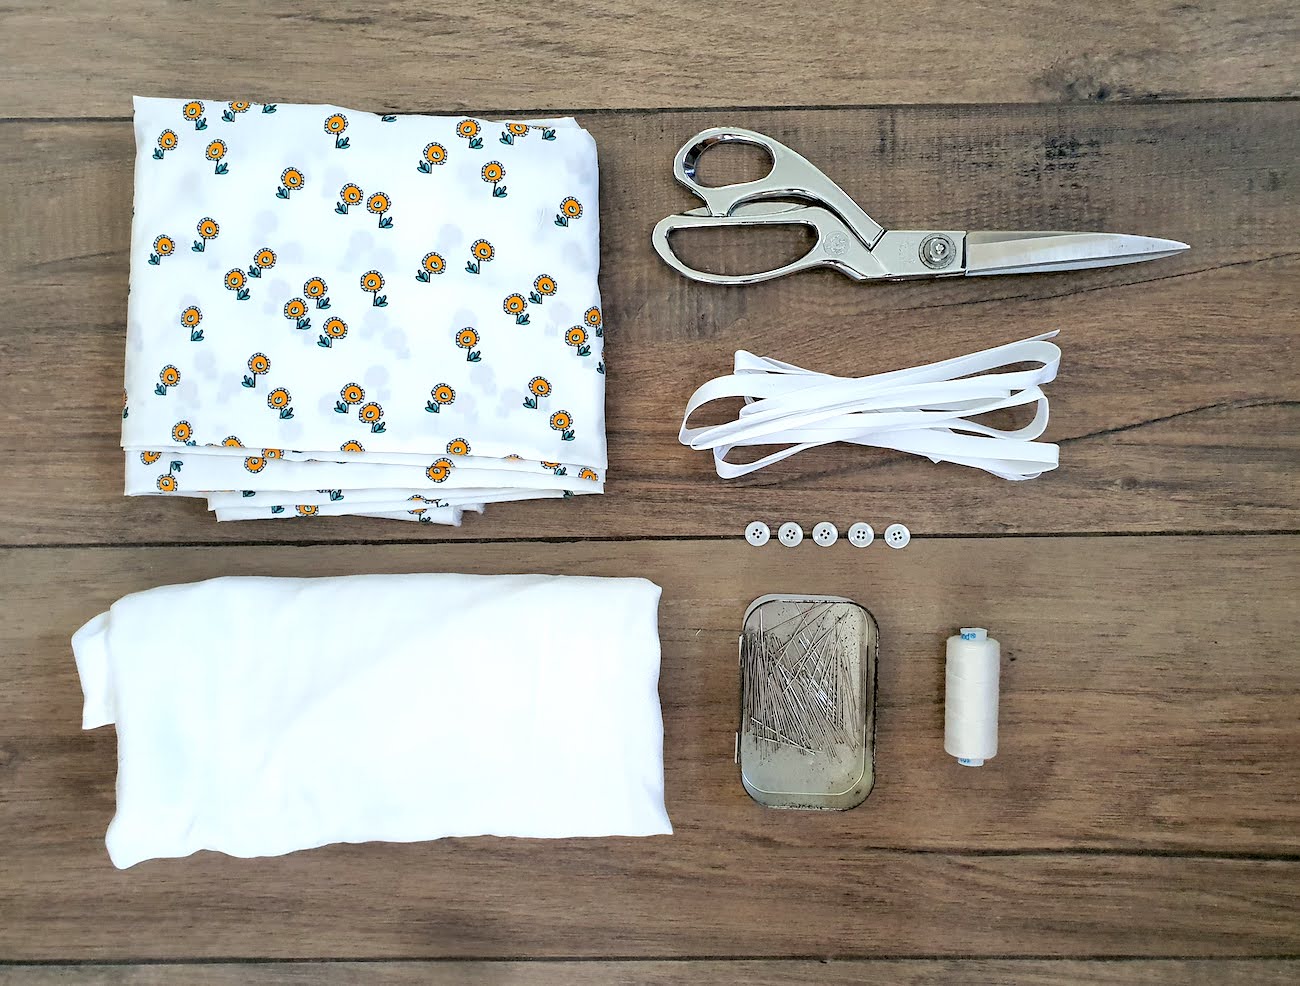
Shirting fabric (I used this cotton poplin from Minerva) | Buttons | Small amount of interfacing for the collar | Bias tape | Scissors | Thread & Sewing machine | I also used a plain white cotton to line my collar and yoke (you could use your main fabric as well)
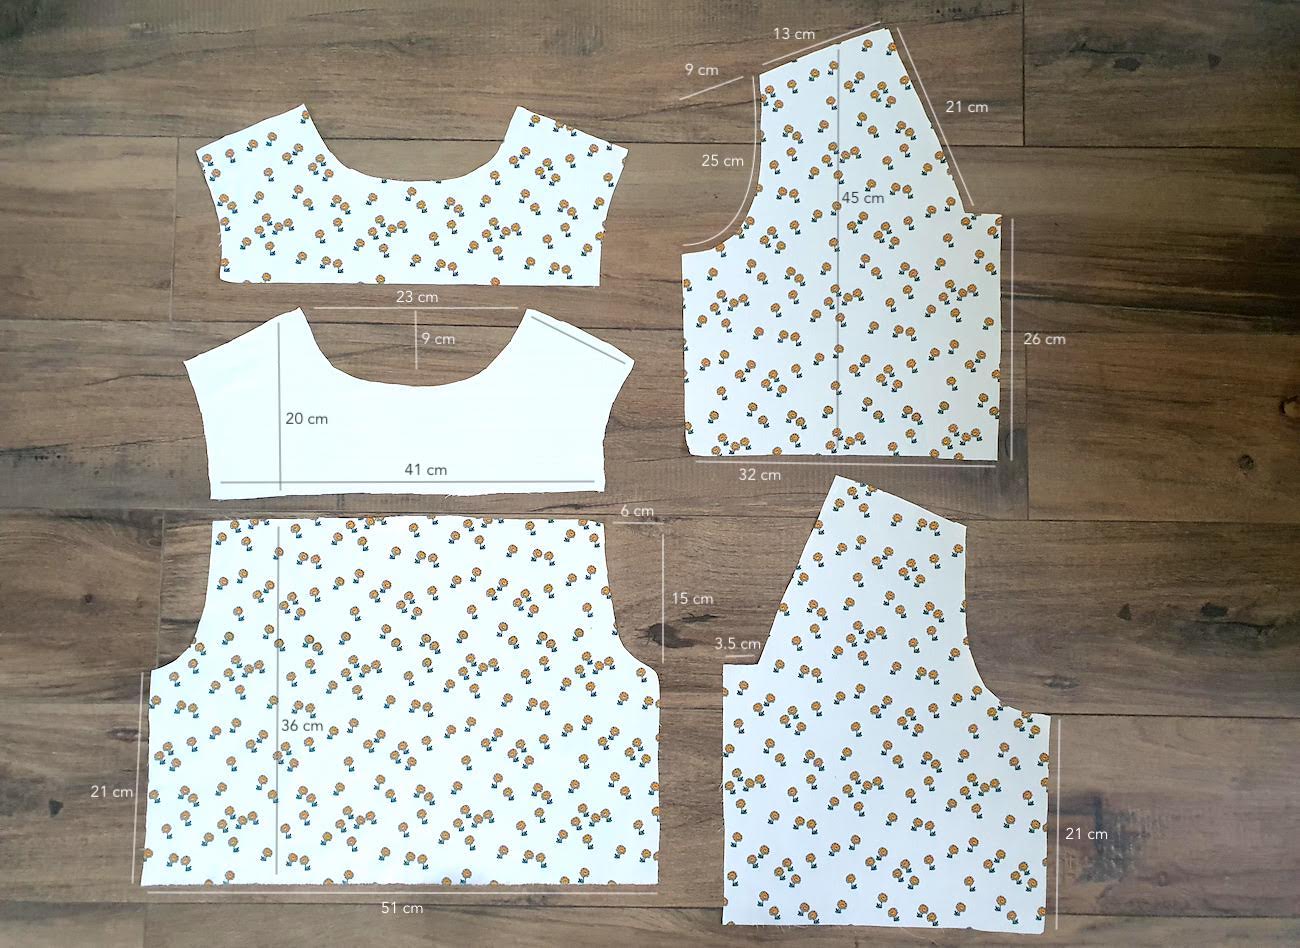
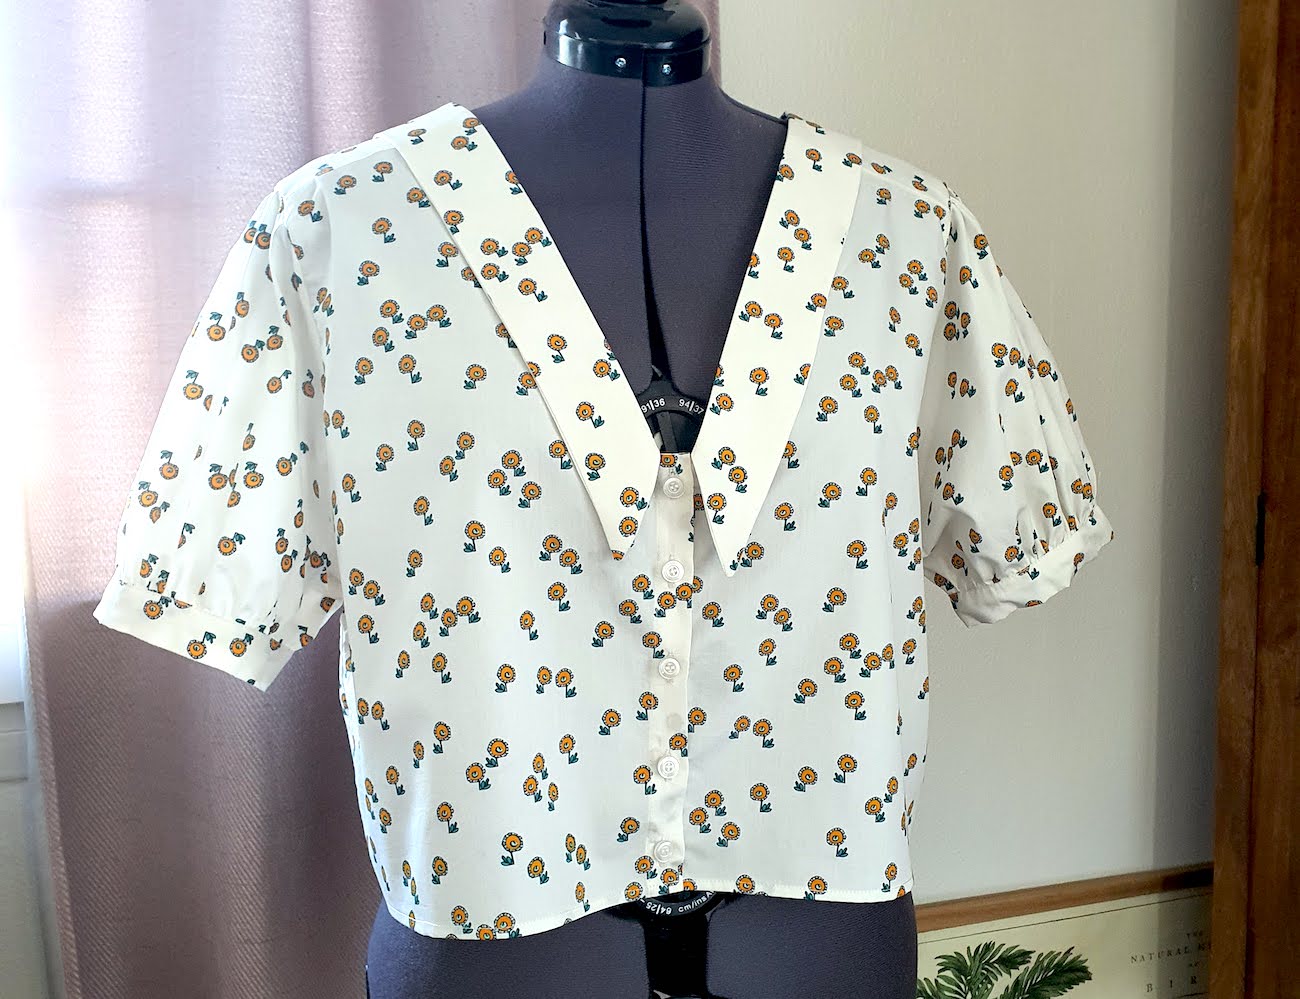
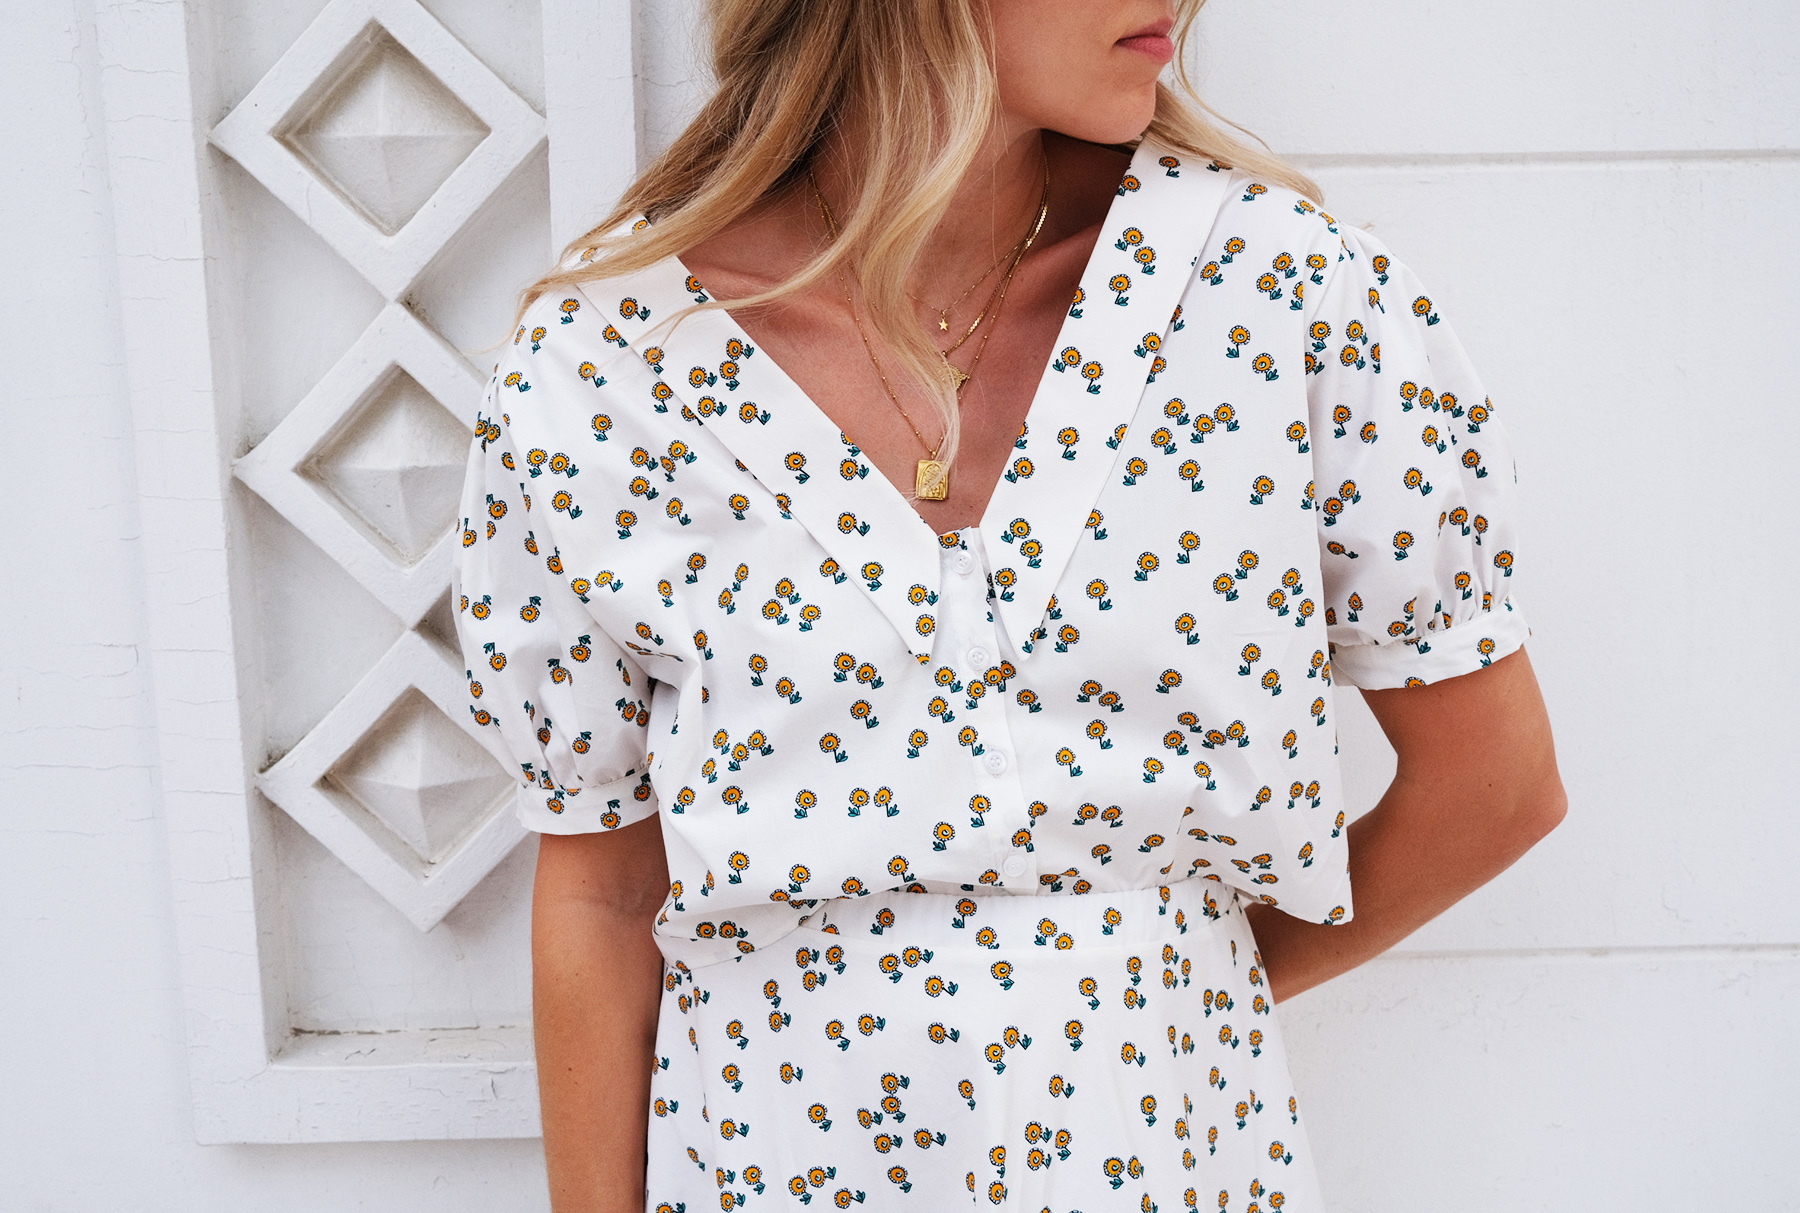
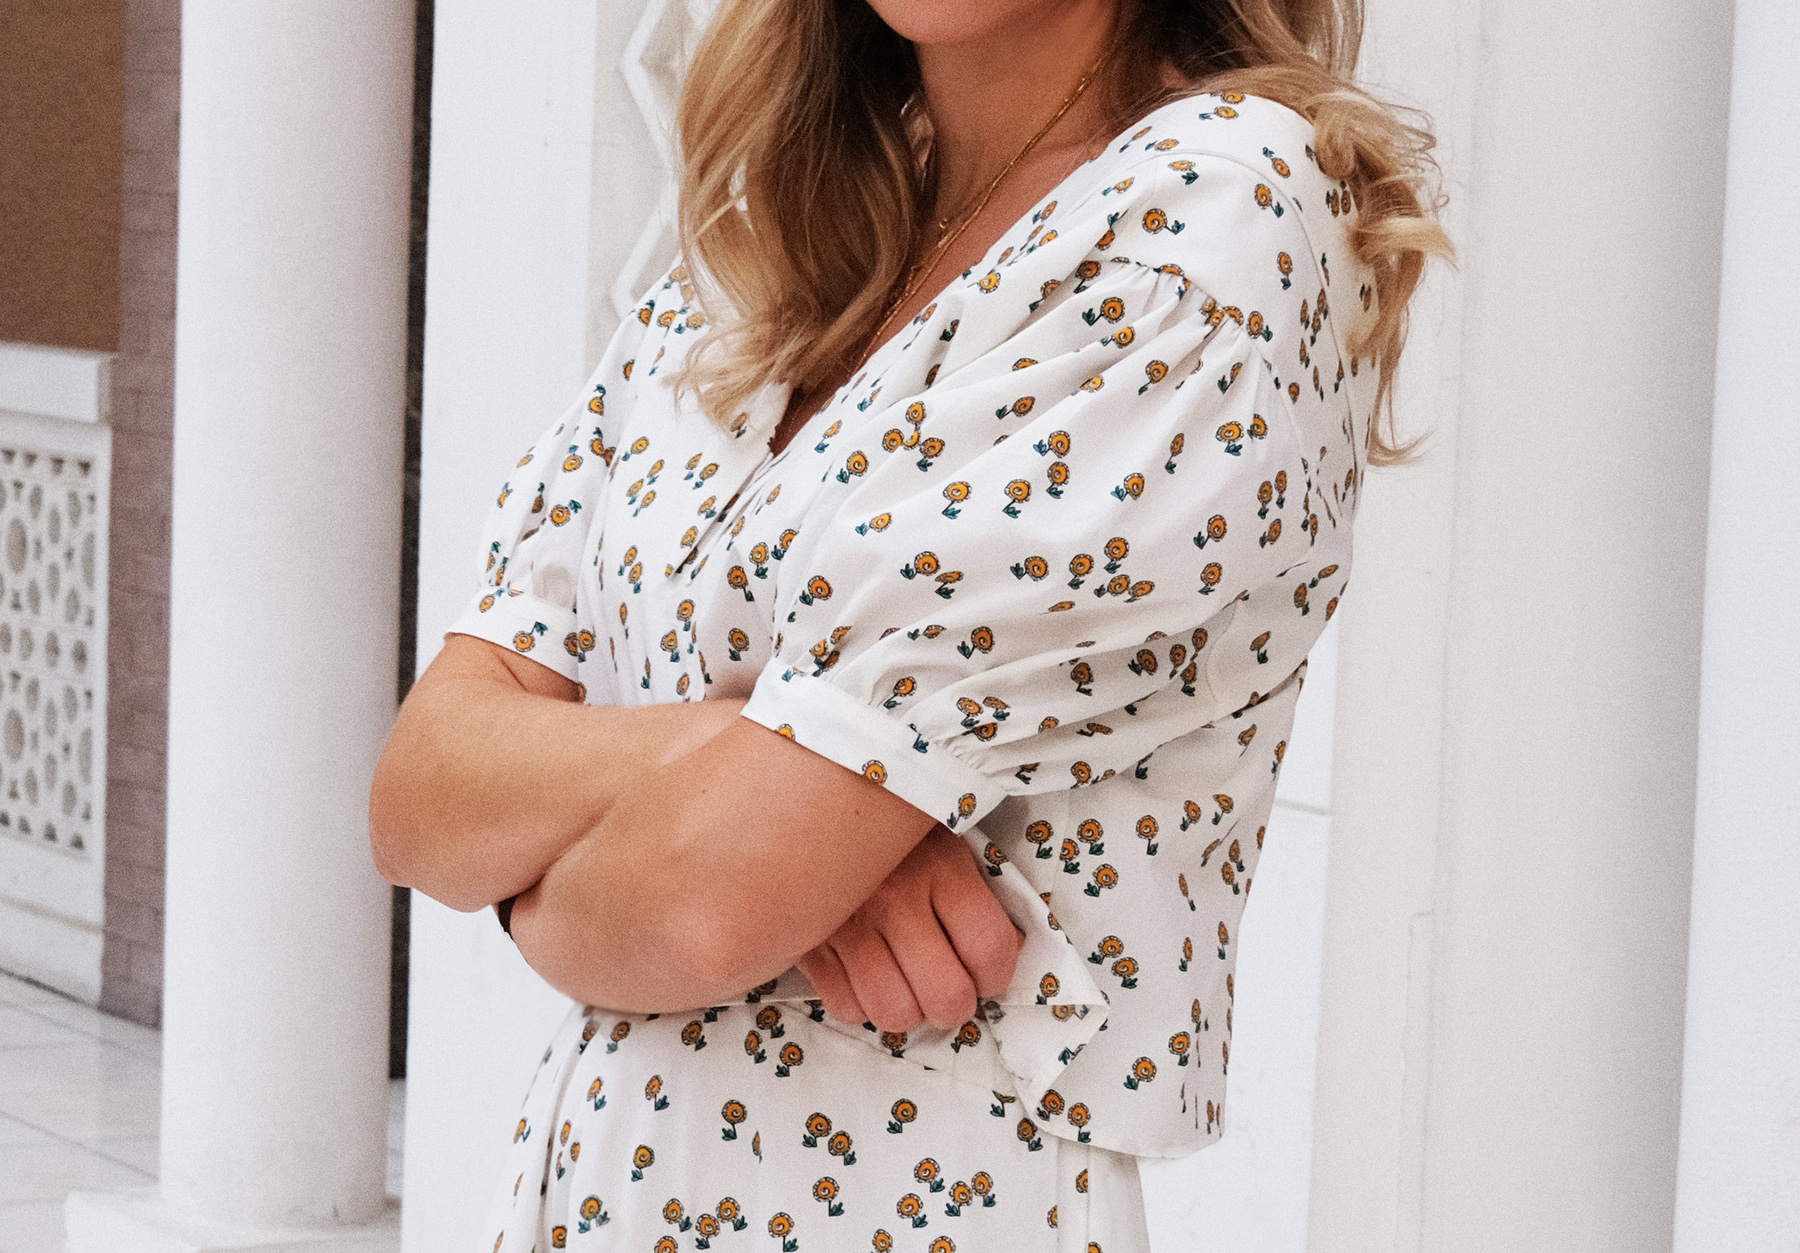
I. Here are the measurements of my cut pieces (which made a boxy fit shirt for my size EU36/US4 - given the looseness would also work for a size up). I cut my neckline wider than usual to show off the collar bones, if you wanted a more classic look then you'd want to go for a more narrow neckline.
II. Started with pinning my yoke pieces to the shirt back piece (right side of main fabric to right side, and lining piece right side to top piece reverse).
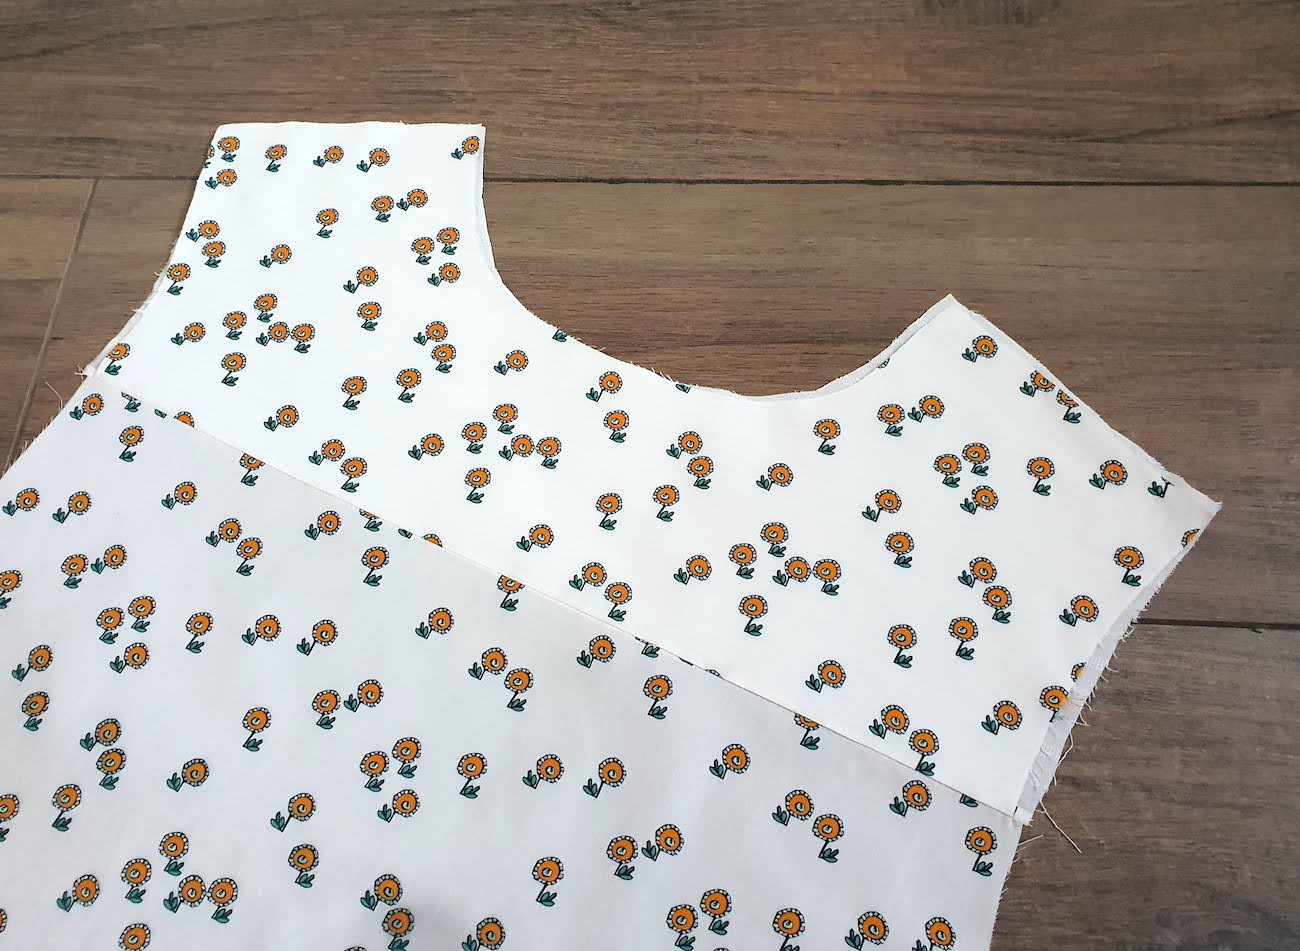
After sewing and pressing the yoke up I had my ready back piece.
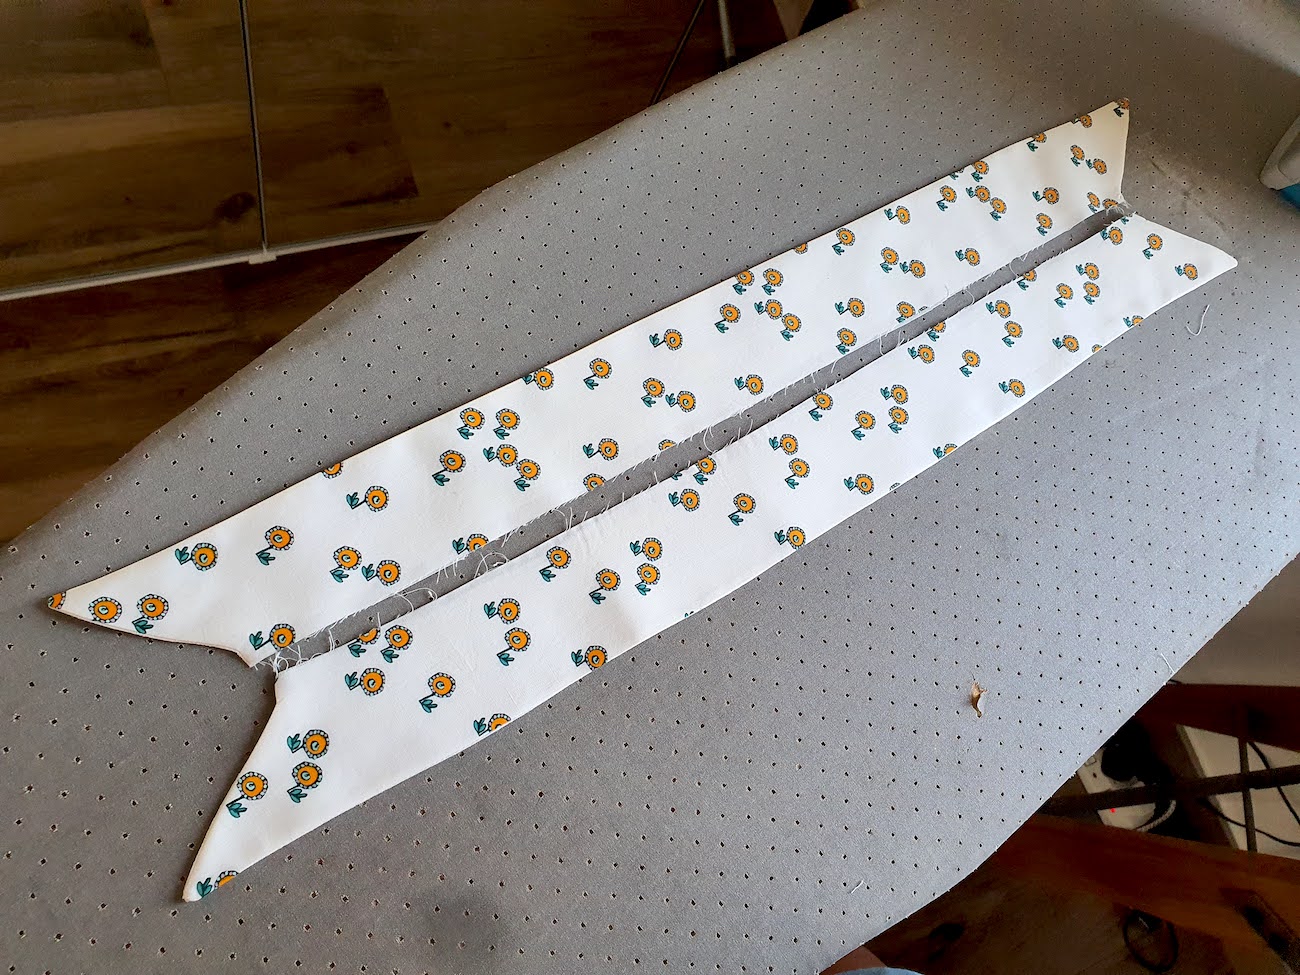
III. Then moved onto my front pieces and creating the button band. First did a very narrow 0.5cm fold onto the reverse:
And then another fold onto the right side.

.. And clipped it on the reverse like so to remove tension:
.. So I was ready to turn the button band right side out and press.
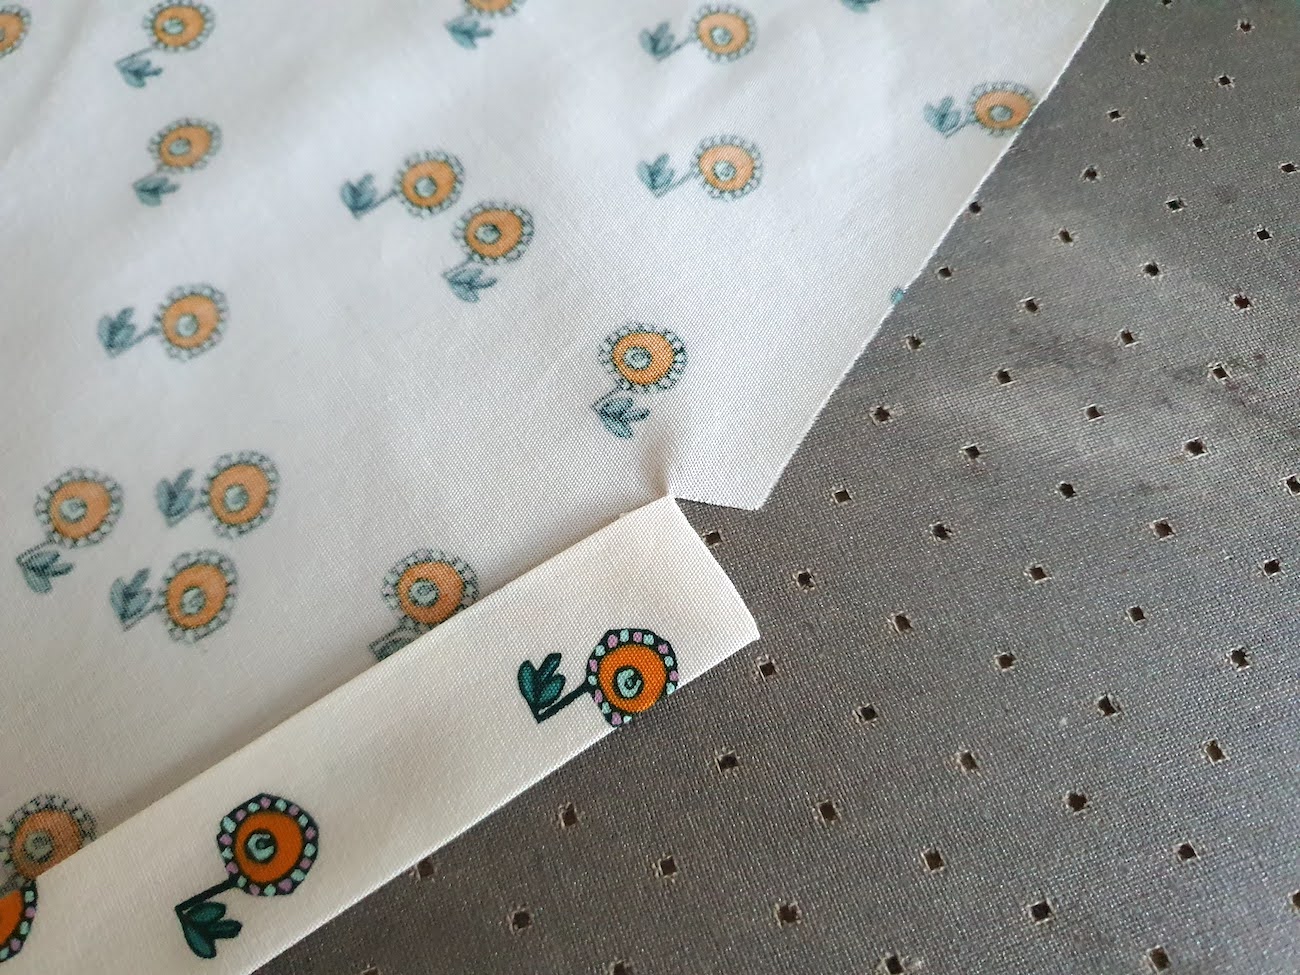
Repeated on the other front piece.
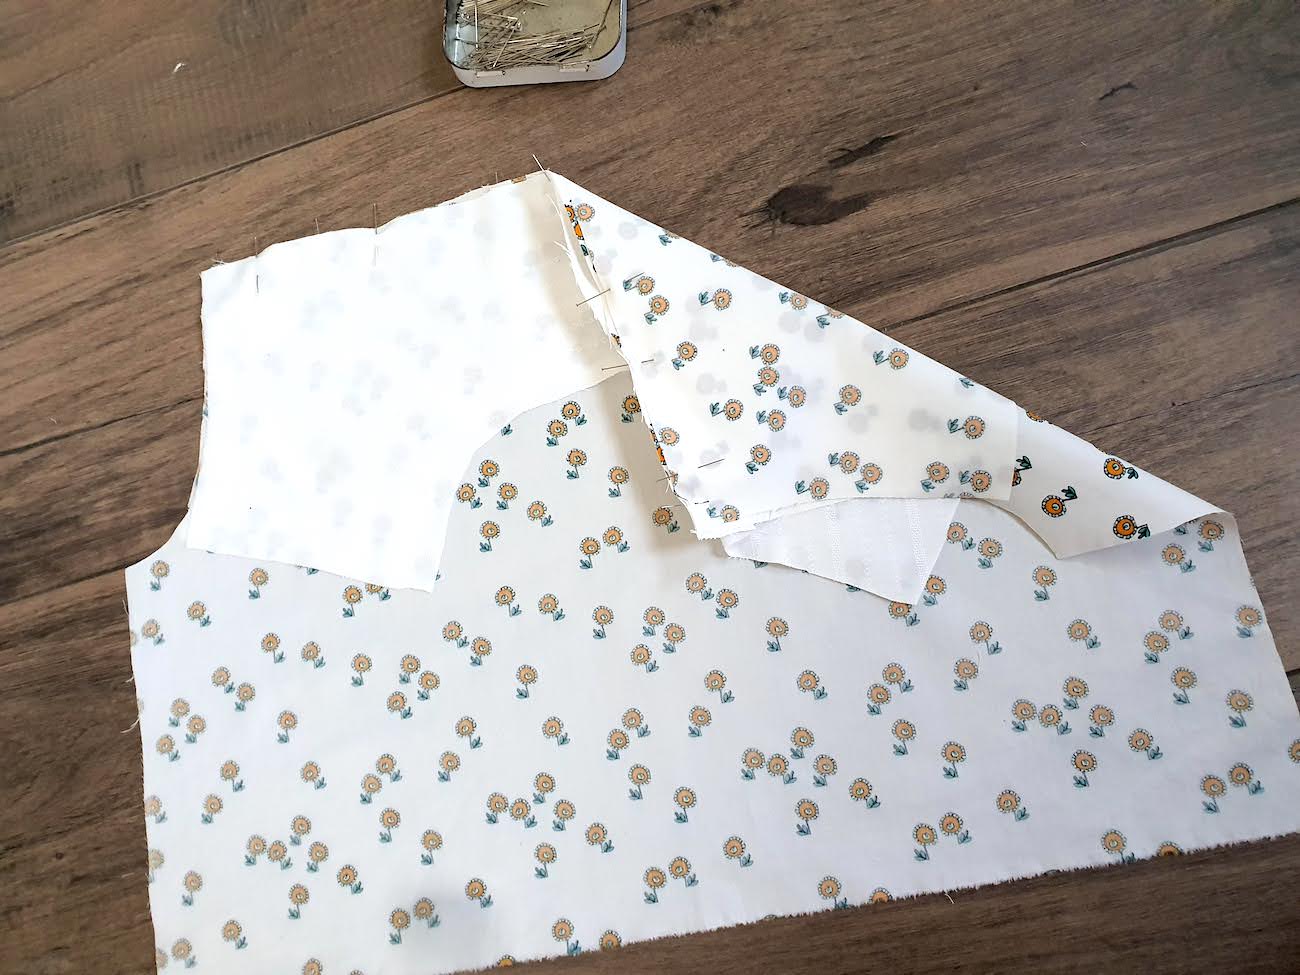
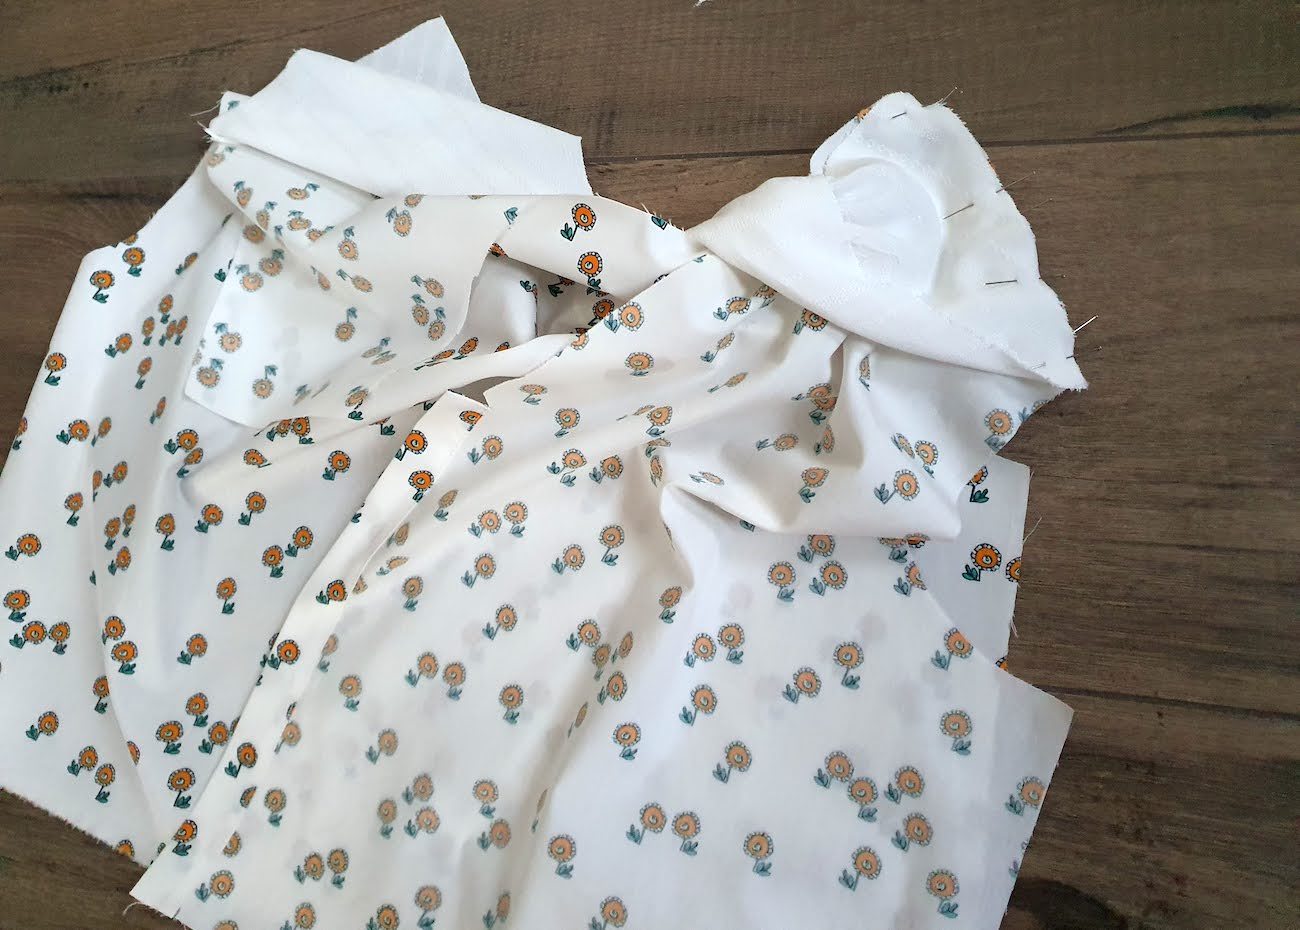
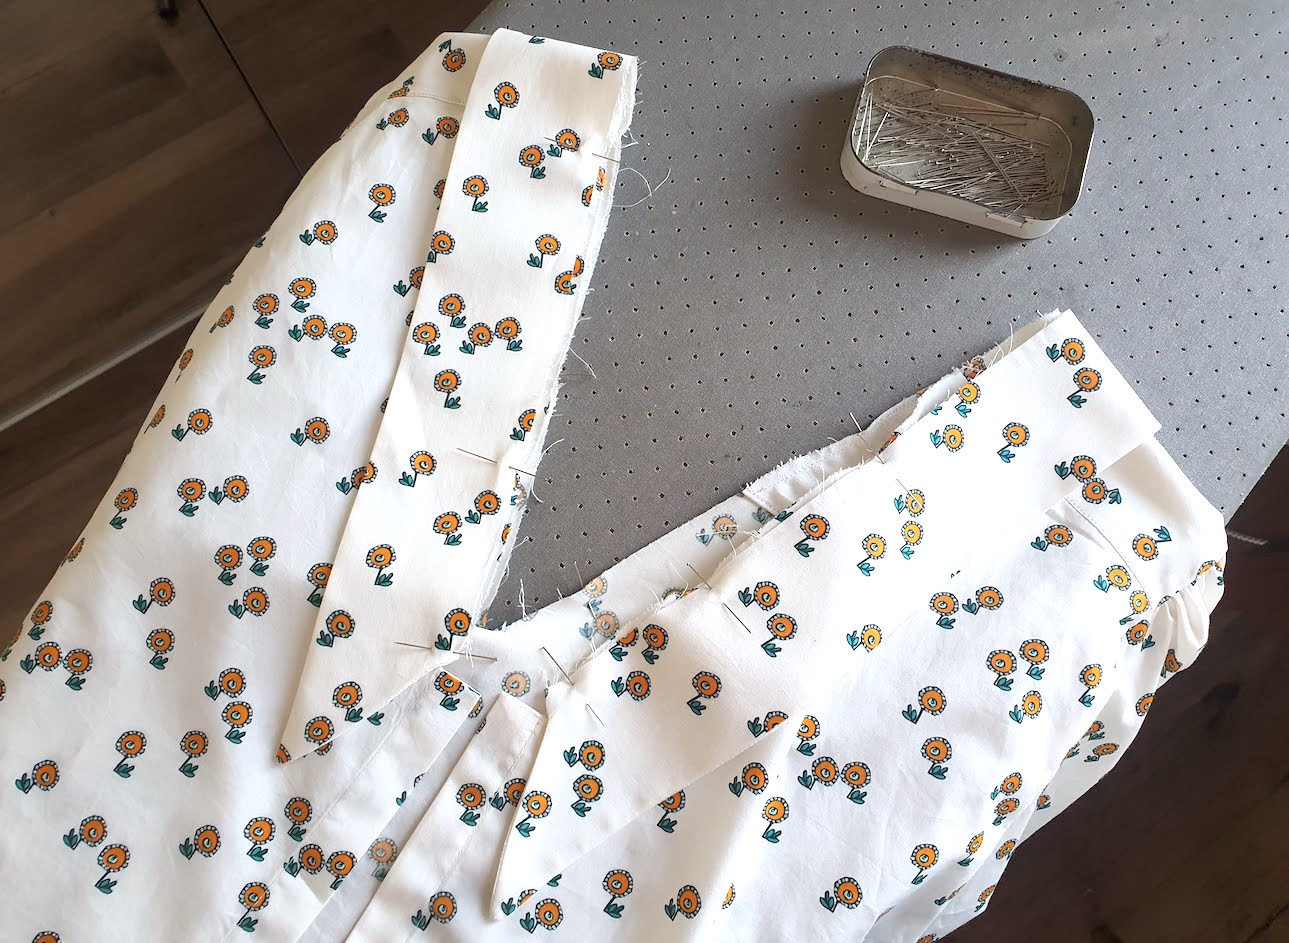
IV. The next bit was impossible to photograph clearly.. But essentially you want to repeat how the yoke was attached to the back piece, with the shoulder seams. The shoulder line of each front piece needs to get sandwiched between the shoulder lines of the yoke lining & yoke main fabric. To get it right, I like to fold the shoulder lines of the yoke onto the reverse, stick the front piece shoulder line in between, add a couple pins and then turn that part reverse out, so I can get in there and sew the shoulders through all 3 layers. I also top-stitched the yoke seams at the back and along the shoulders.
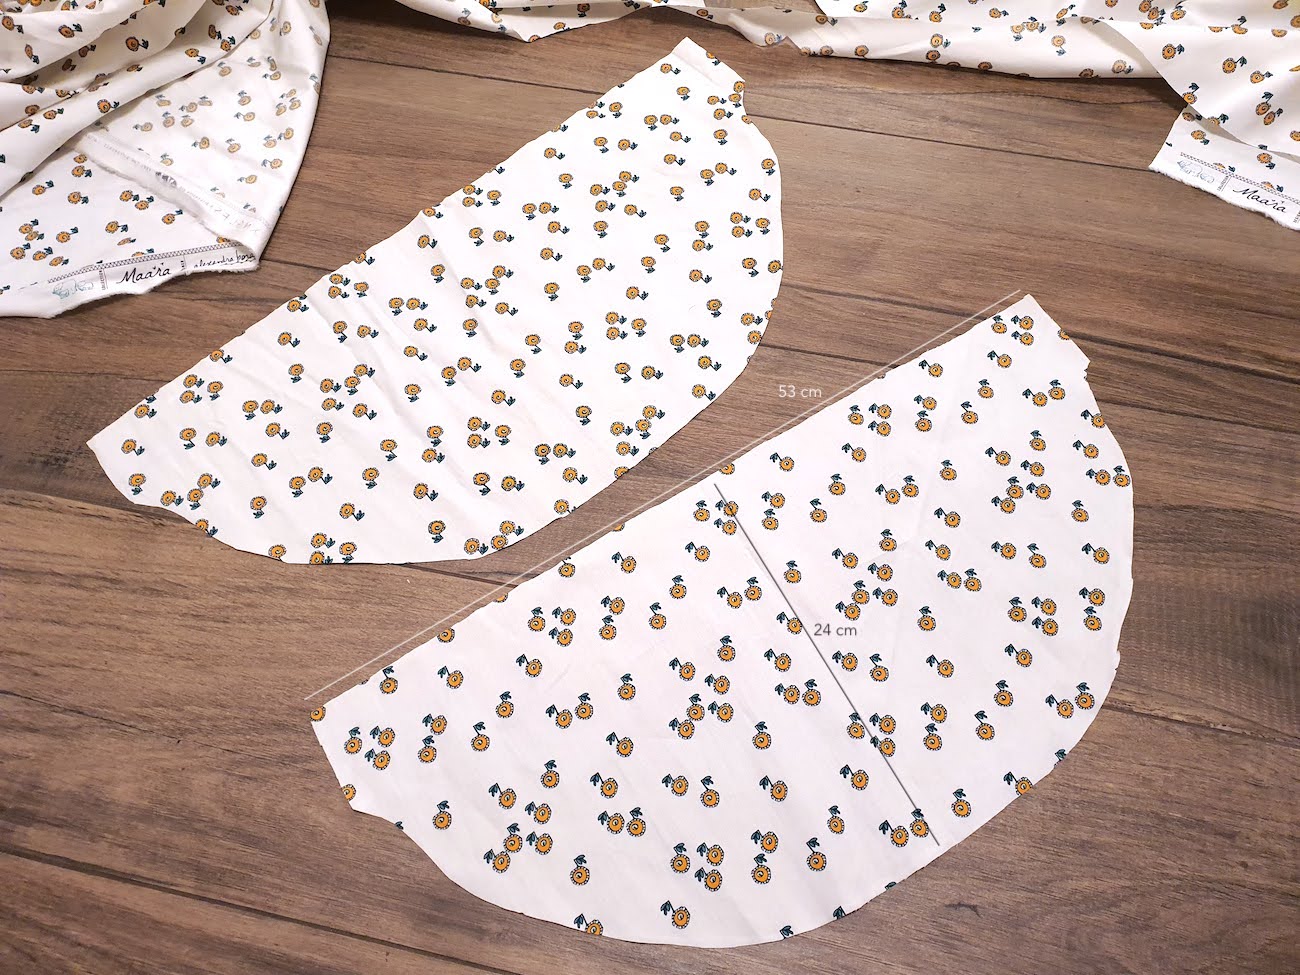
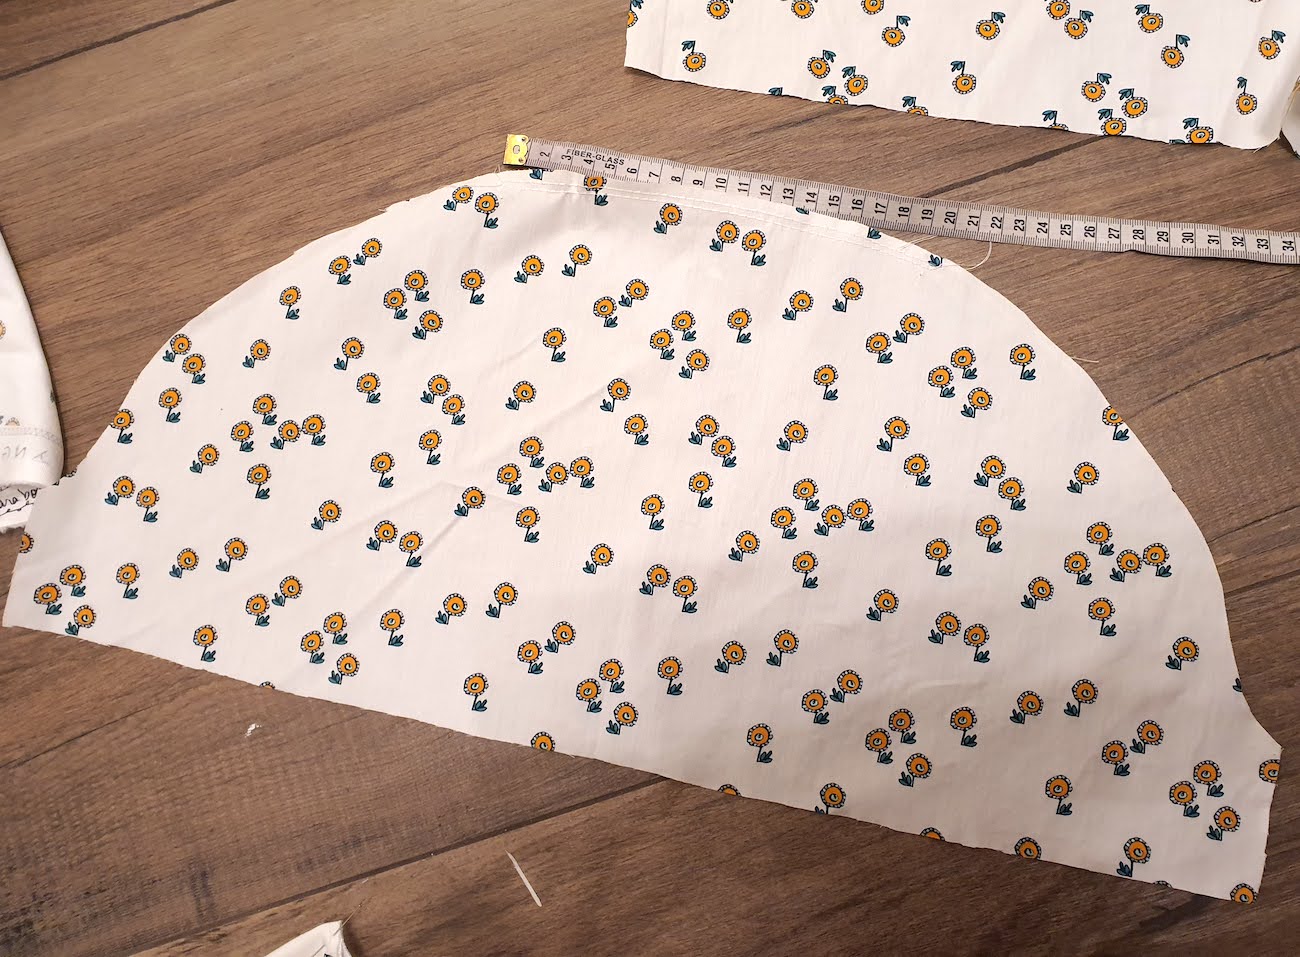
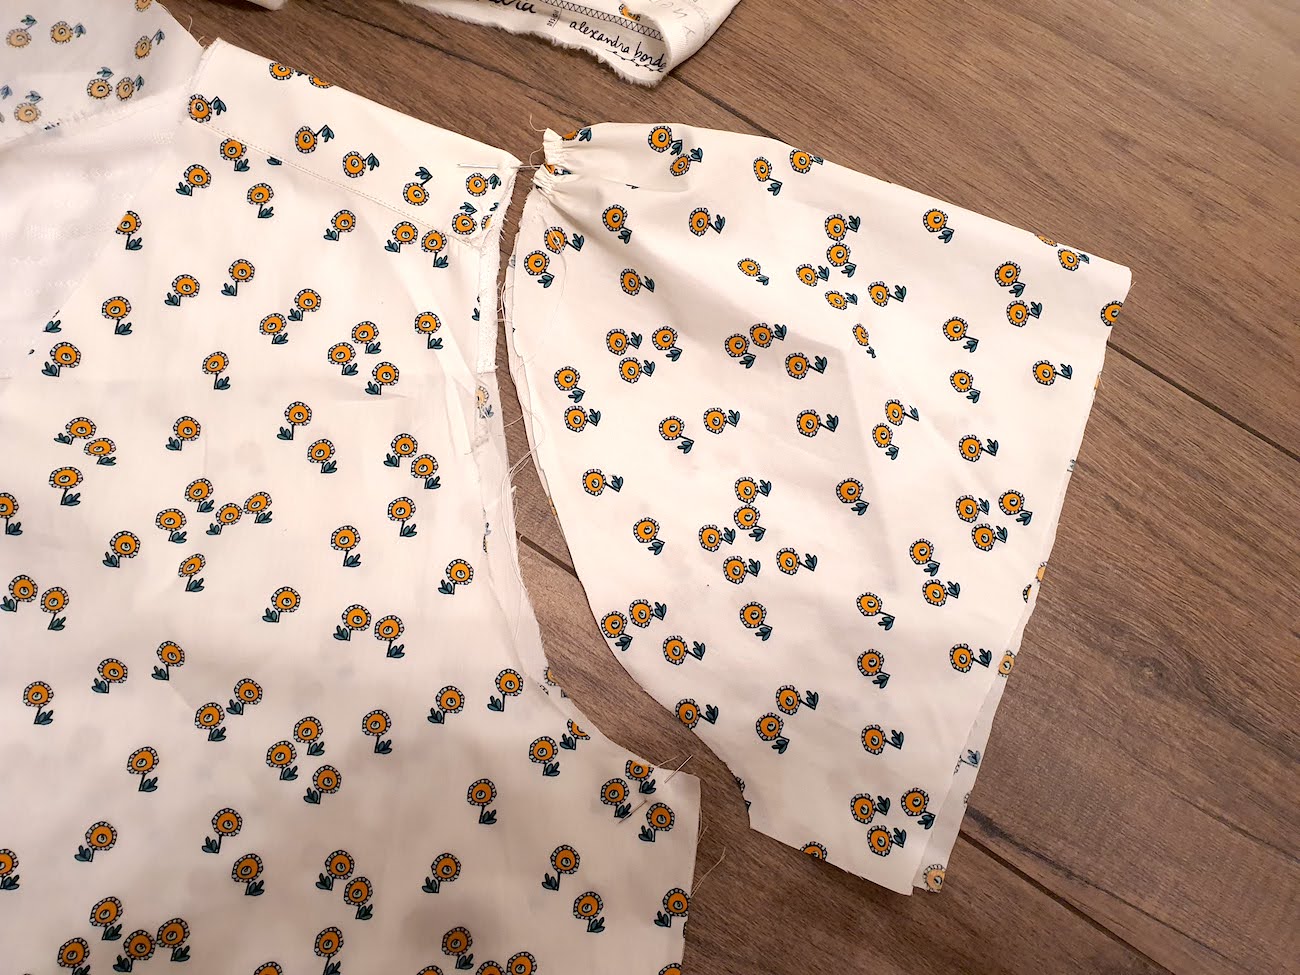
V. Next up: Sleeves. My cut pieces:
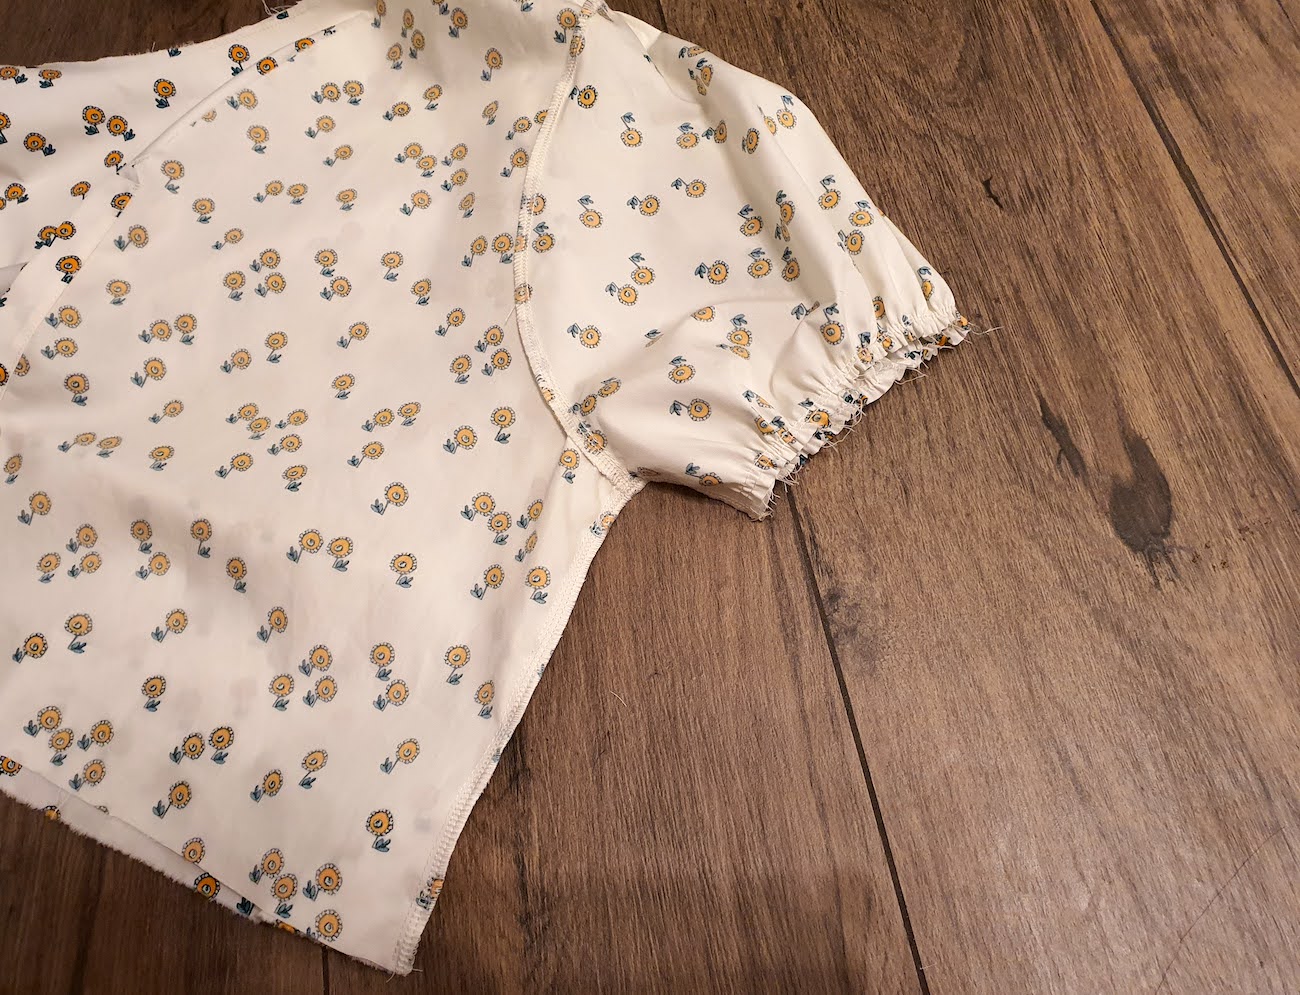
First I added two basting stitches (longest stitch on your machine) at the center of the arm curve on both sleeves. I did my stitch over a distance of 20 cm..
.. And then pulled on basting stitch bobbin threads to gather the top of the sleeve to create the puff.
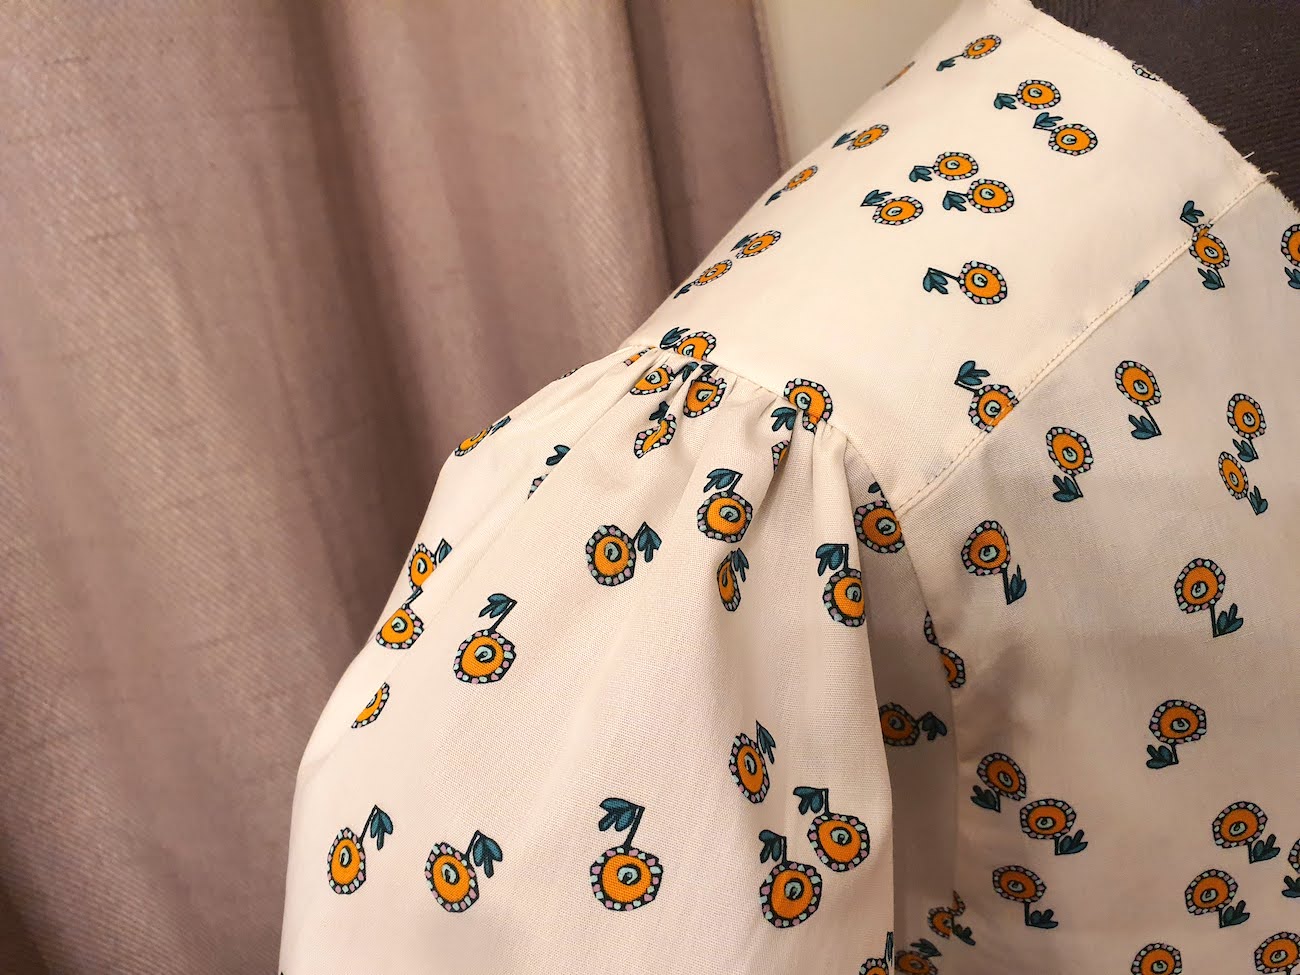
Pinned the sleeves in their curves on the top (right sides facing):
And after sewing, finishing my seam allowance with my serger (you can also do zig-zag) and pressing it towards the top, I had my sleeves attached.
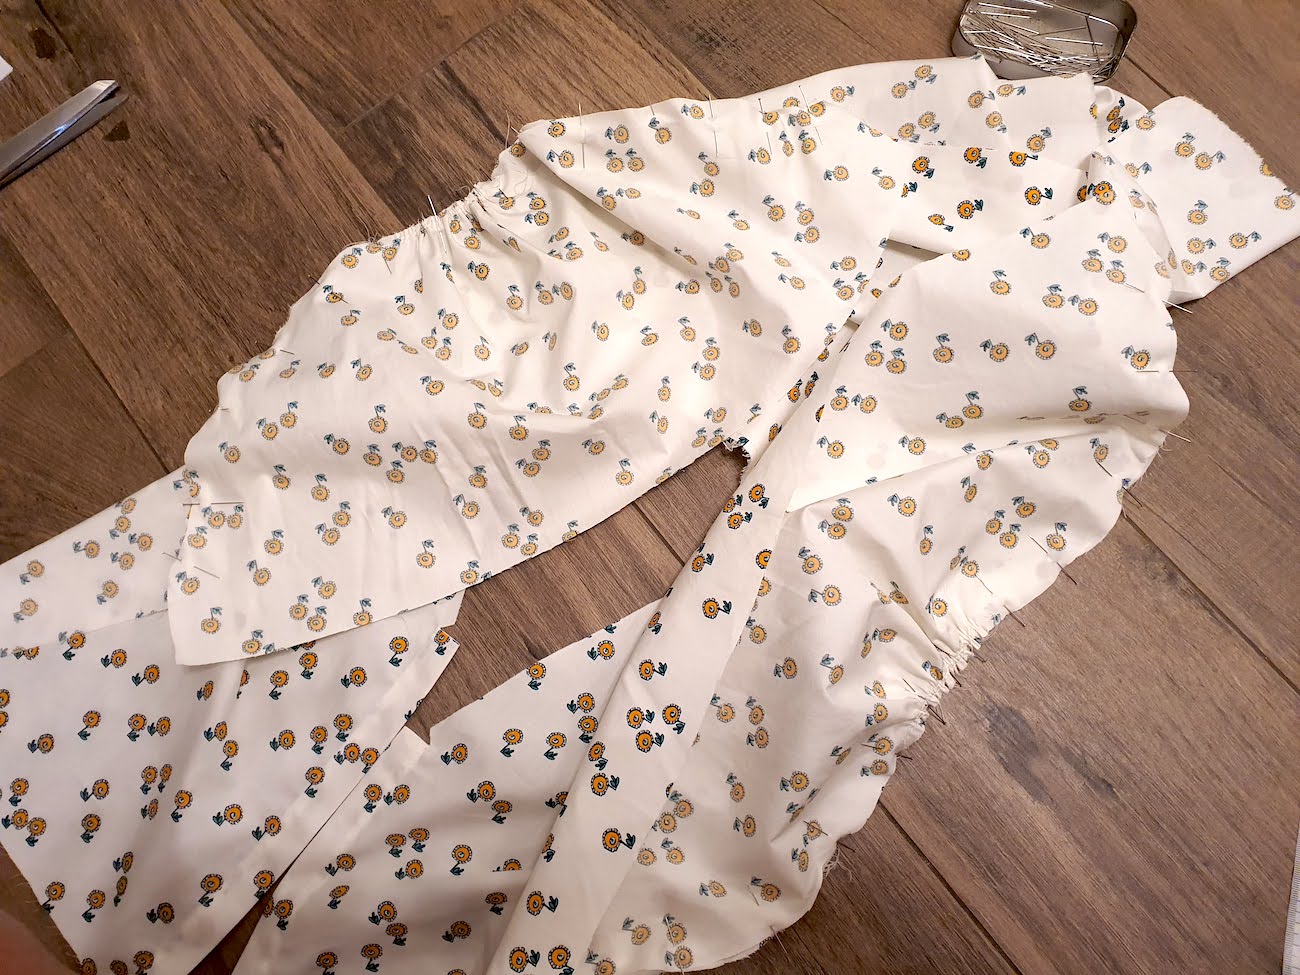
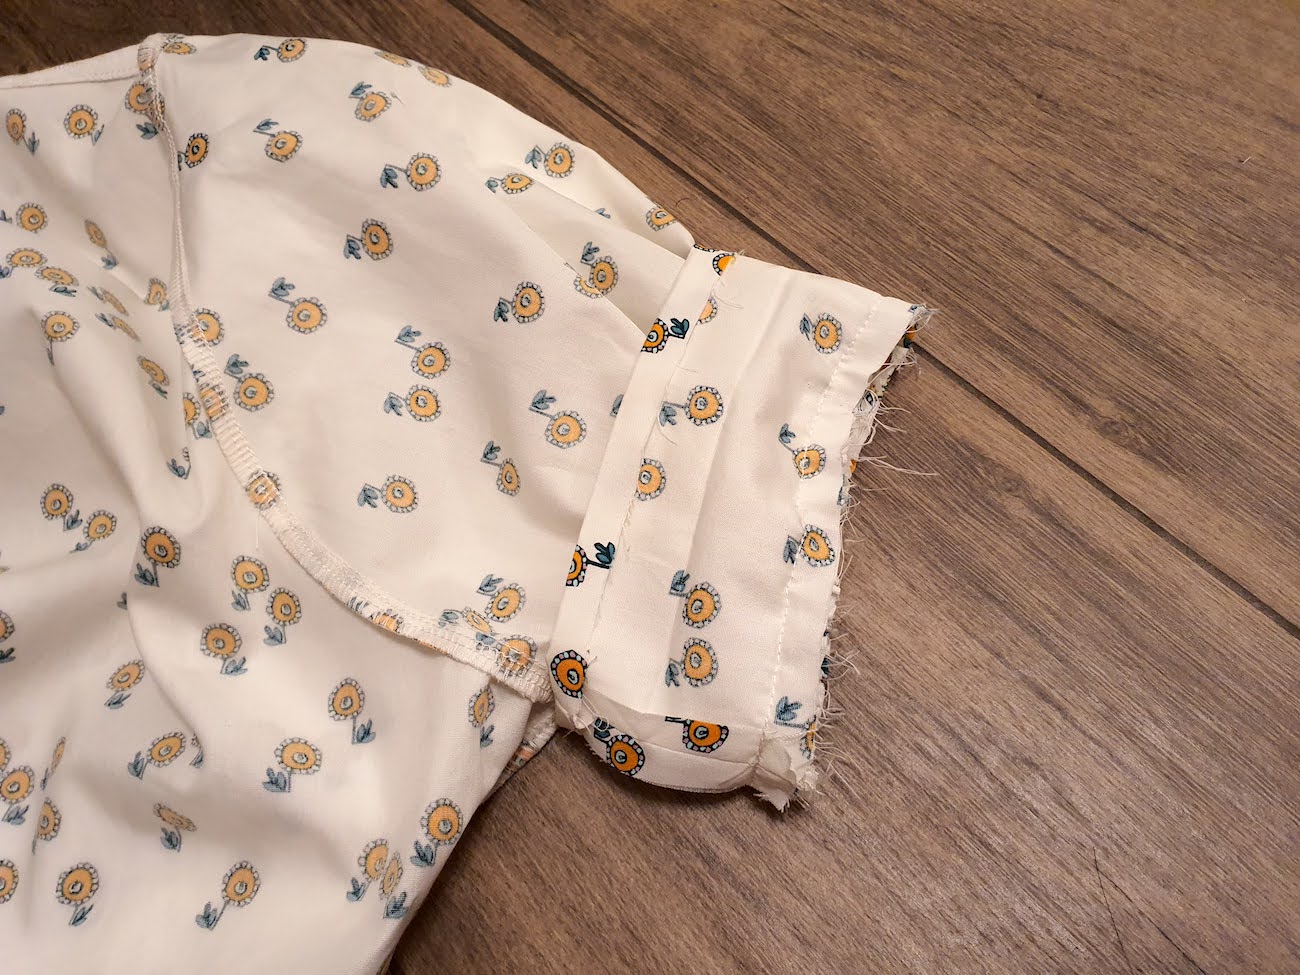
I then added another 2 basting stitches along the hem of the sleeve, and gathered to a comfortable length to go around my arm (wrap measurement tape around your bicep and slide it up and down over your elbow to verify). Then pinned the sleeve underseam and sides together, and sewed them.
To finish the sleeves, I made my cuffs - length that same comfy length to go around your arm, plus 2 cm or so for seam allowances, and I cut mine about 6.5 cm wide.

Sewed the short ends together to create circles, pressed about 1 cm on the edges, and also pressed the whole thing in half to make my cuffs.

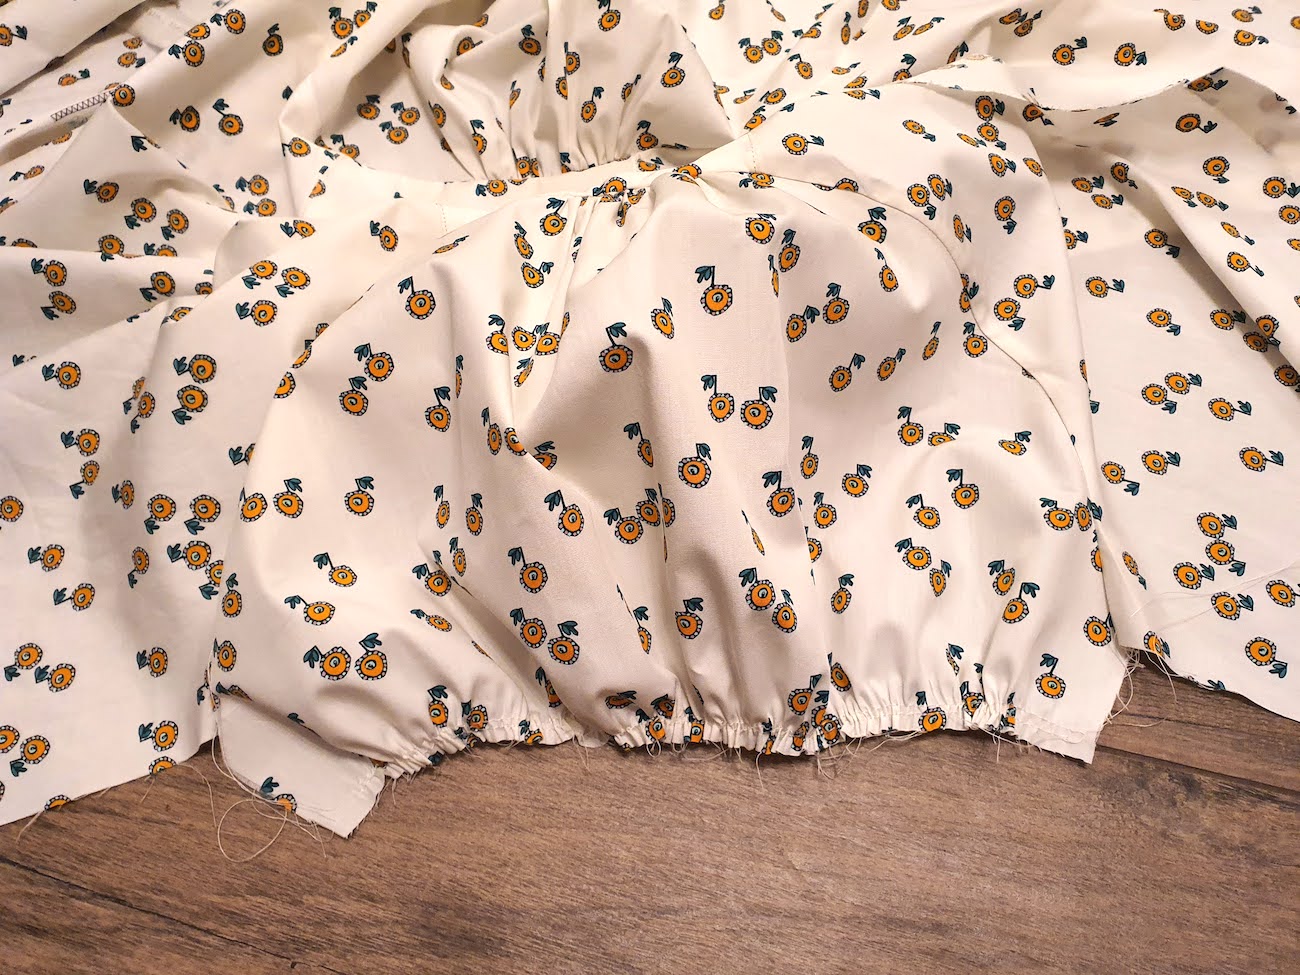
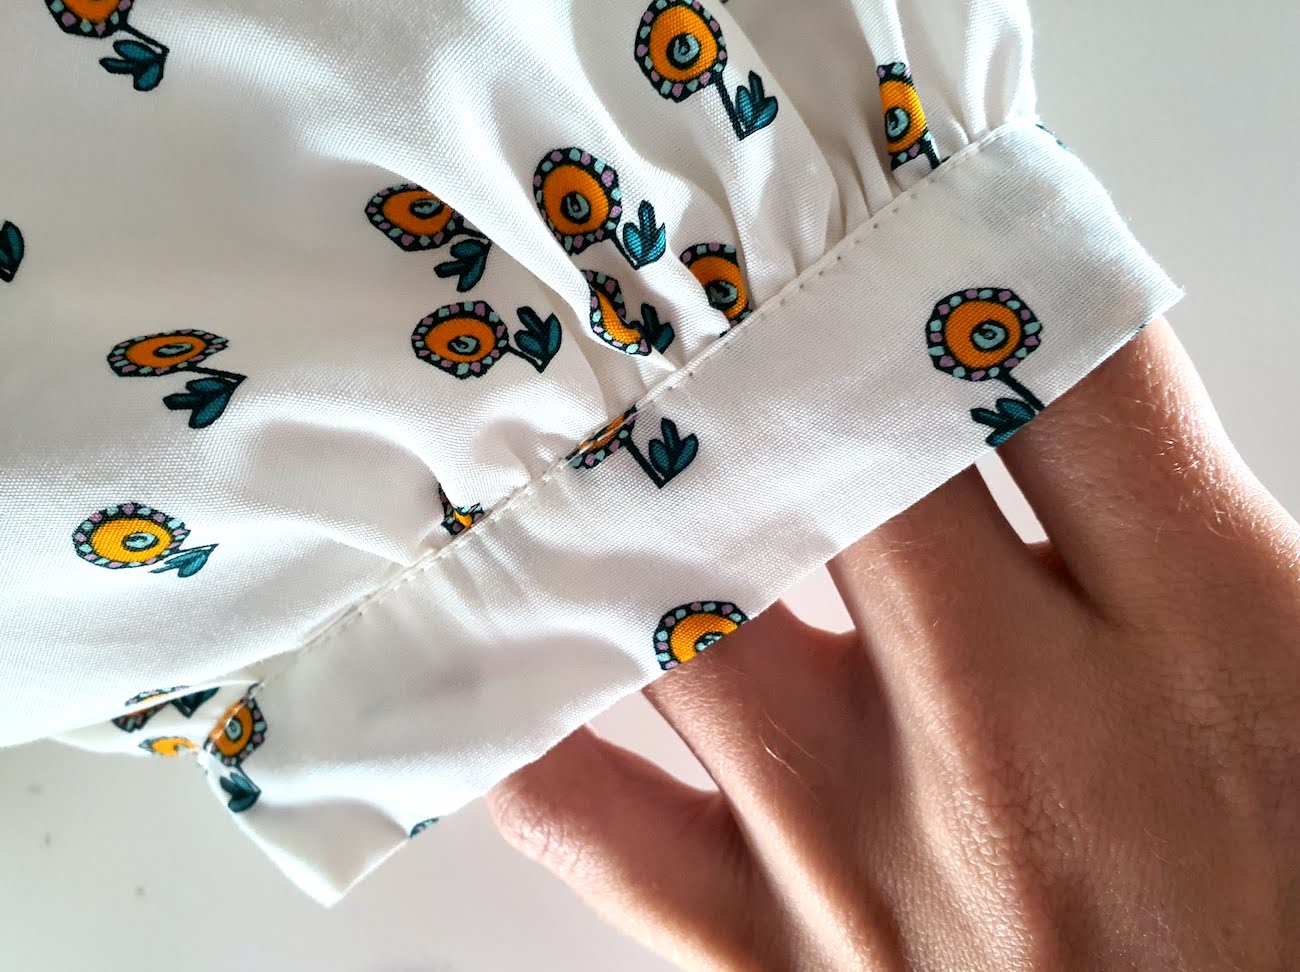
Pinned the cuff onto the gathered sleeve hem. I like to pin on the reverse, sew all around along the pressed seam allowance fold..
.. And then flip the cuff onto the right side, and top-stitch right next to the fold.
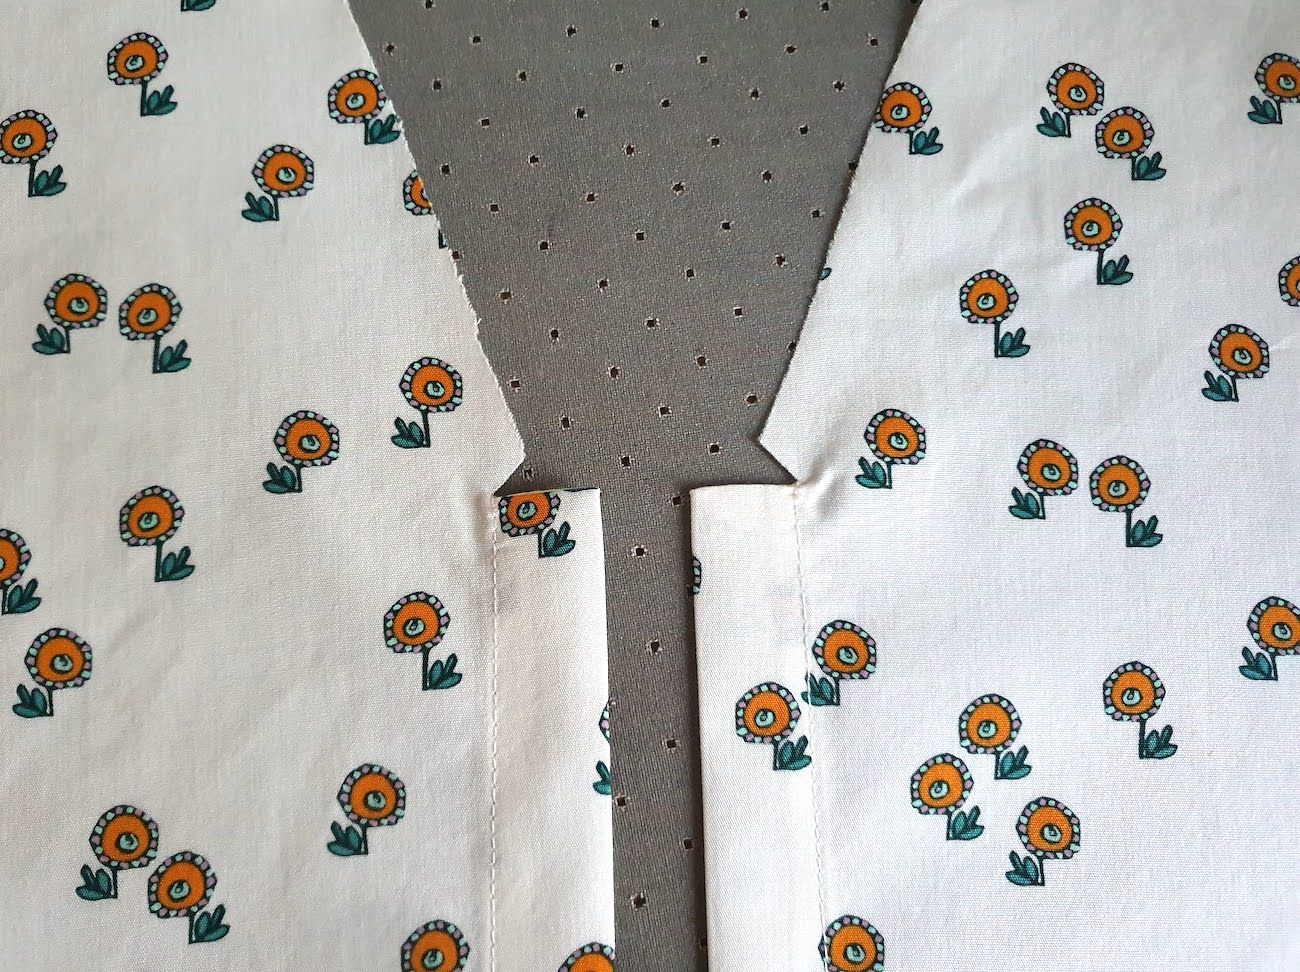
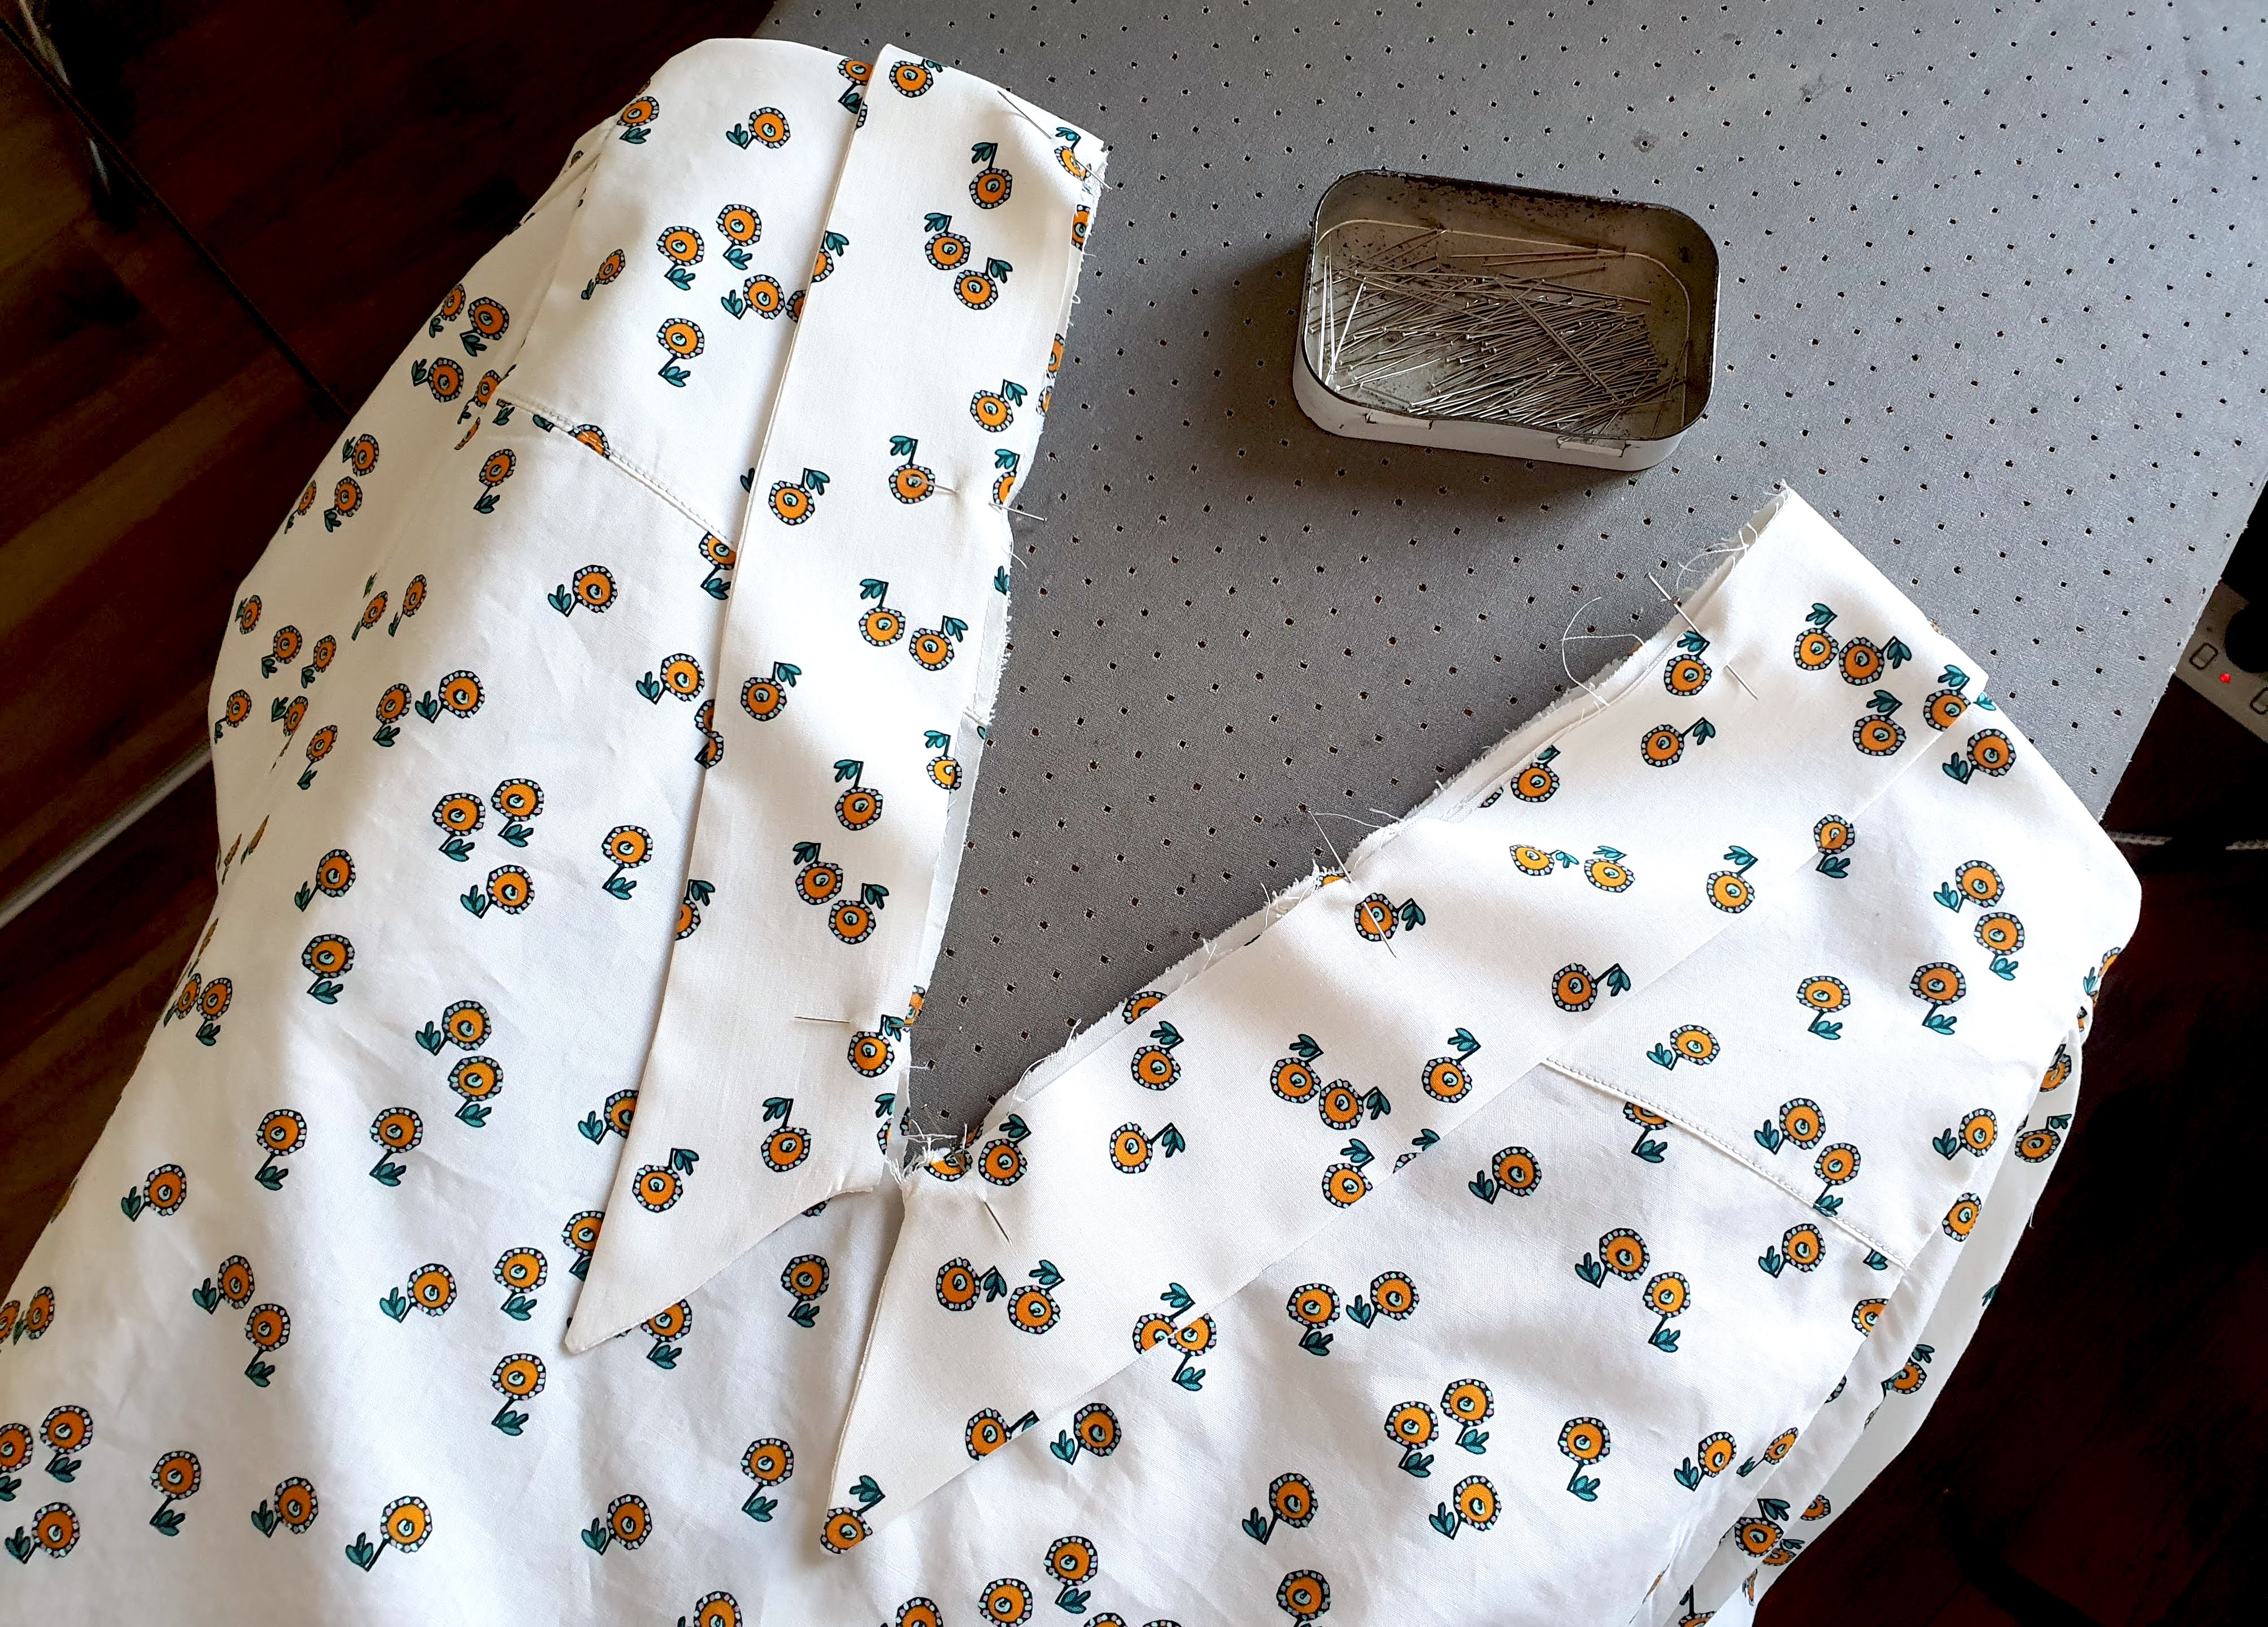
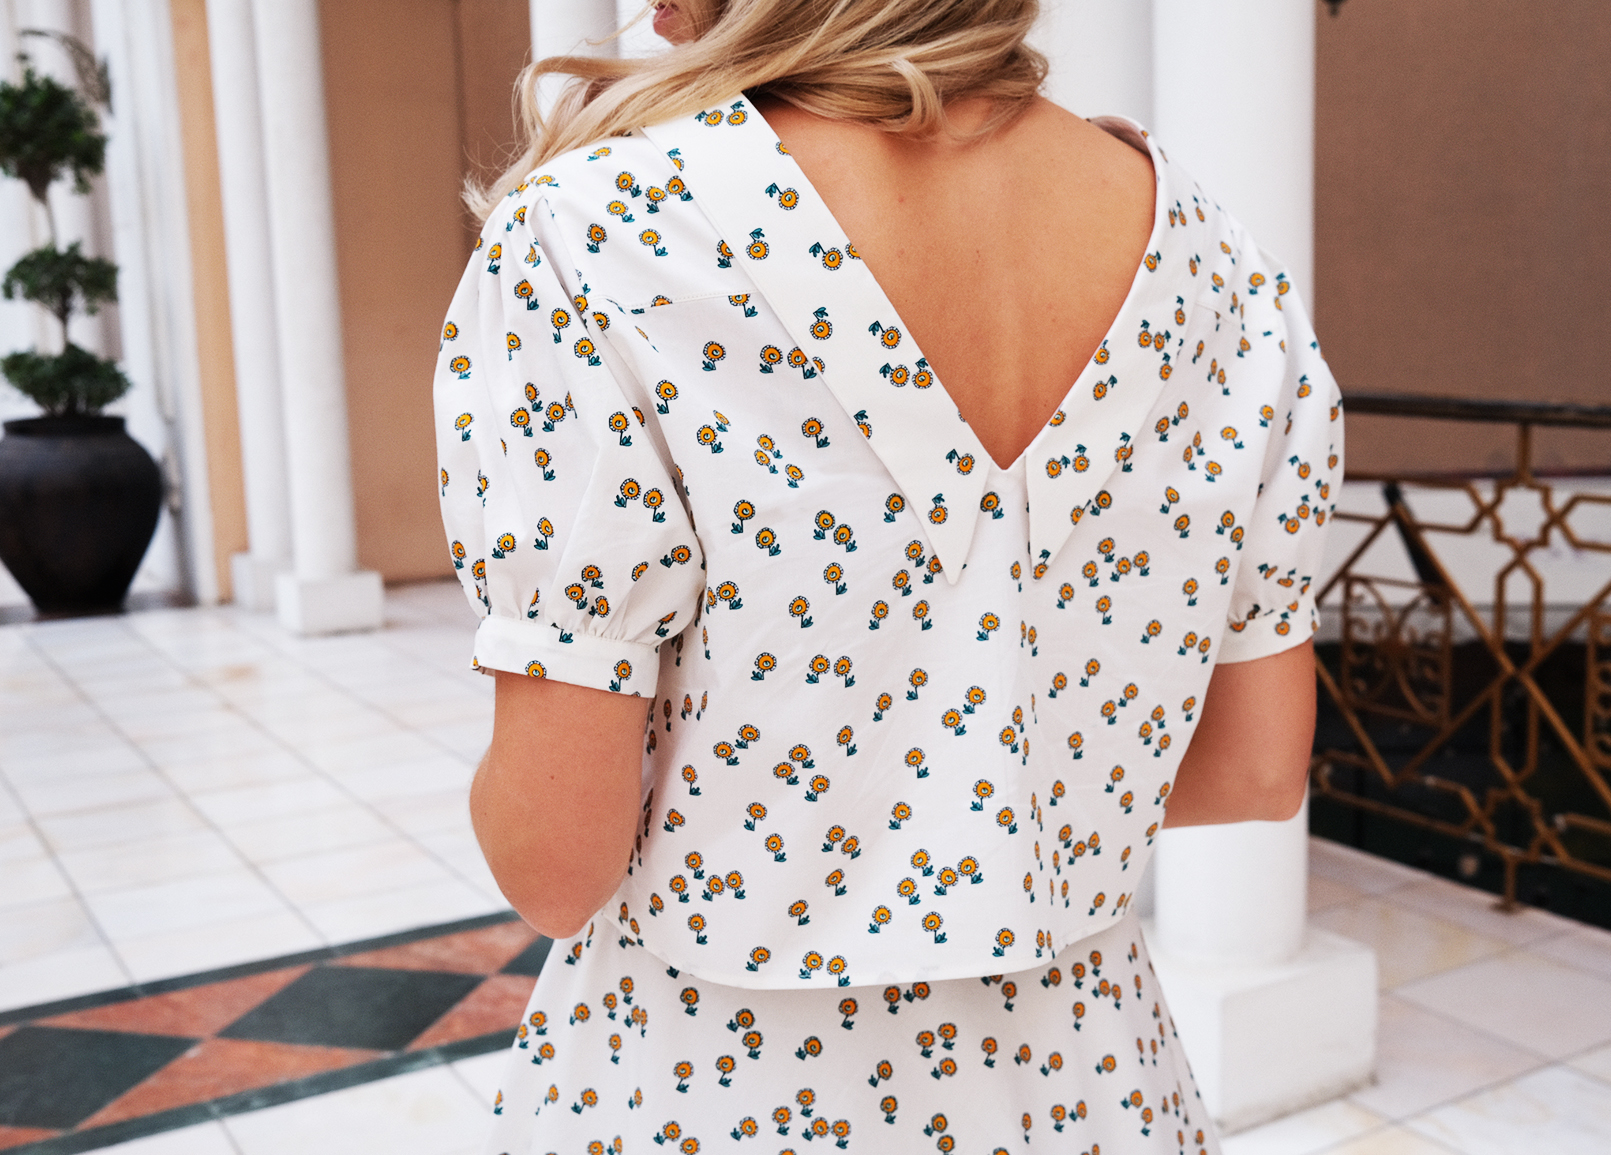
VI. Phew! Getting there! At this point I decided I wanted to do a V in the back as well. So I went ahead and cut the neckline shape in the back:
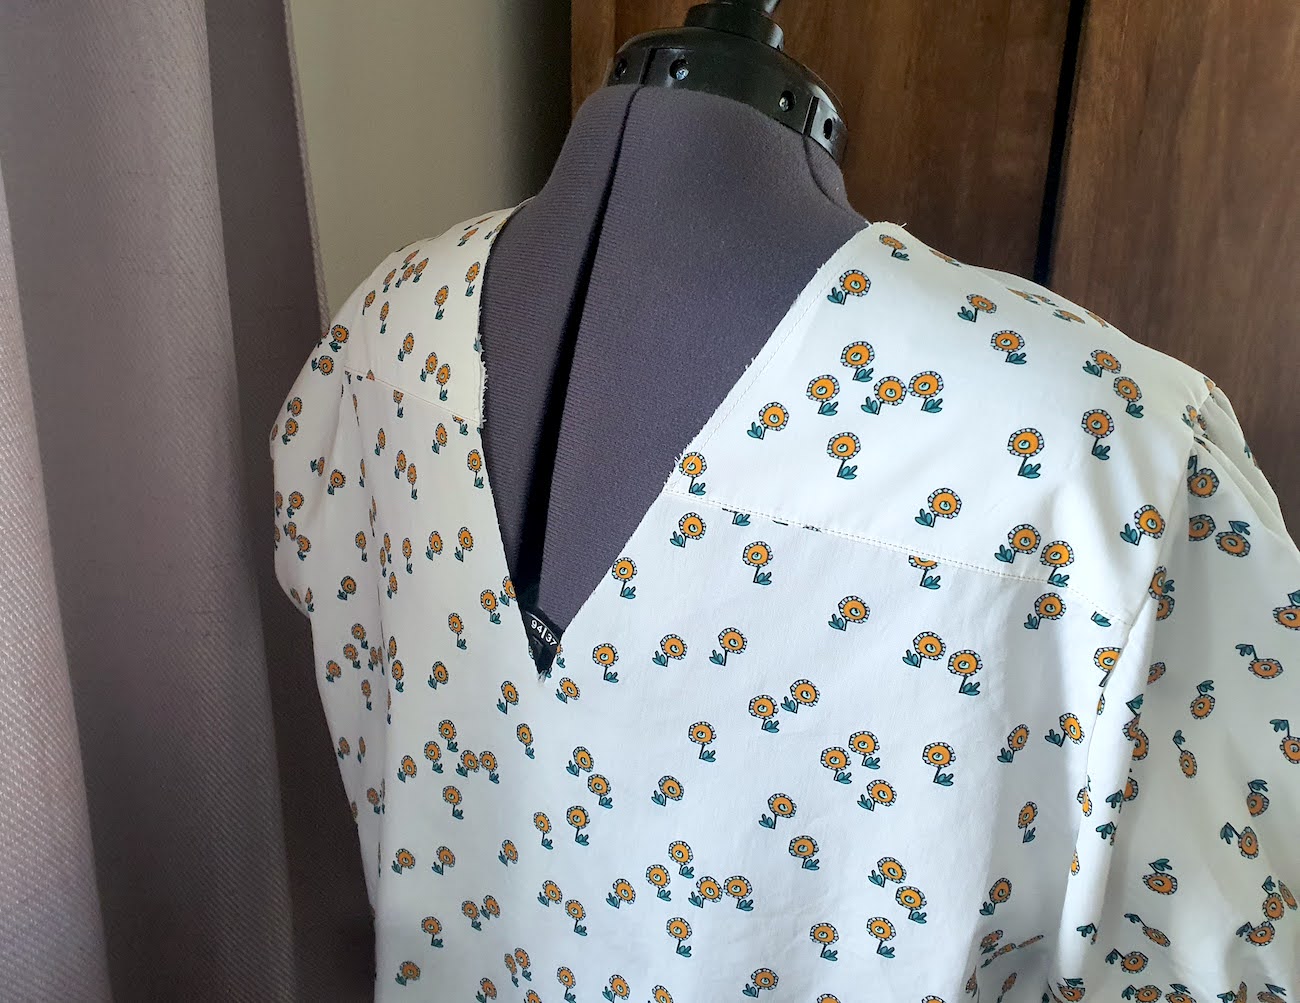
And here you can see the shape better. With a V neck in the front and in the back, the collar will be a straight piece.
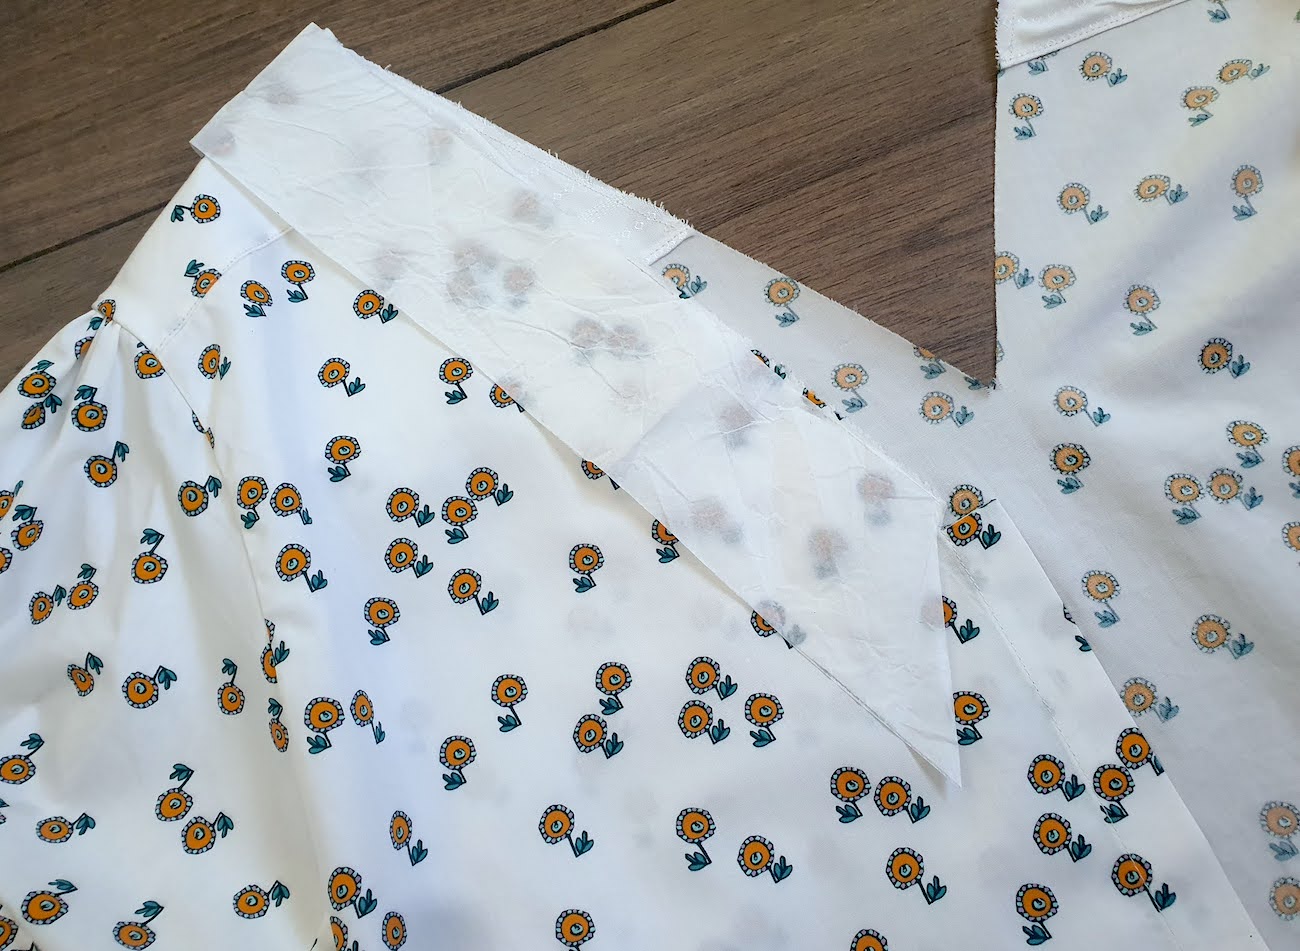
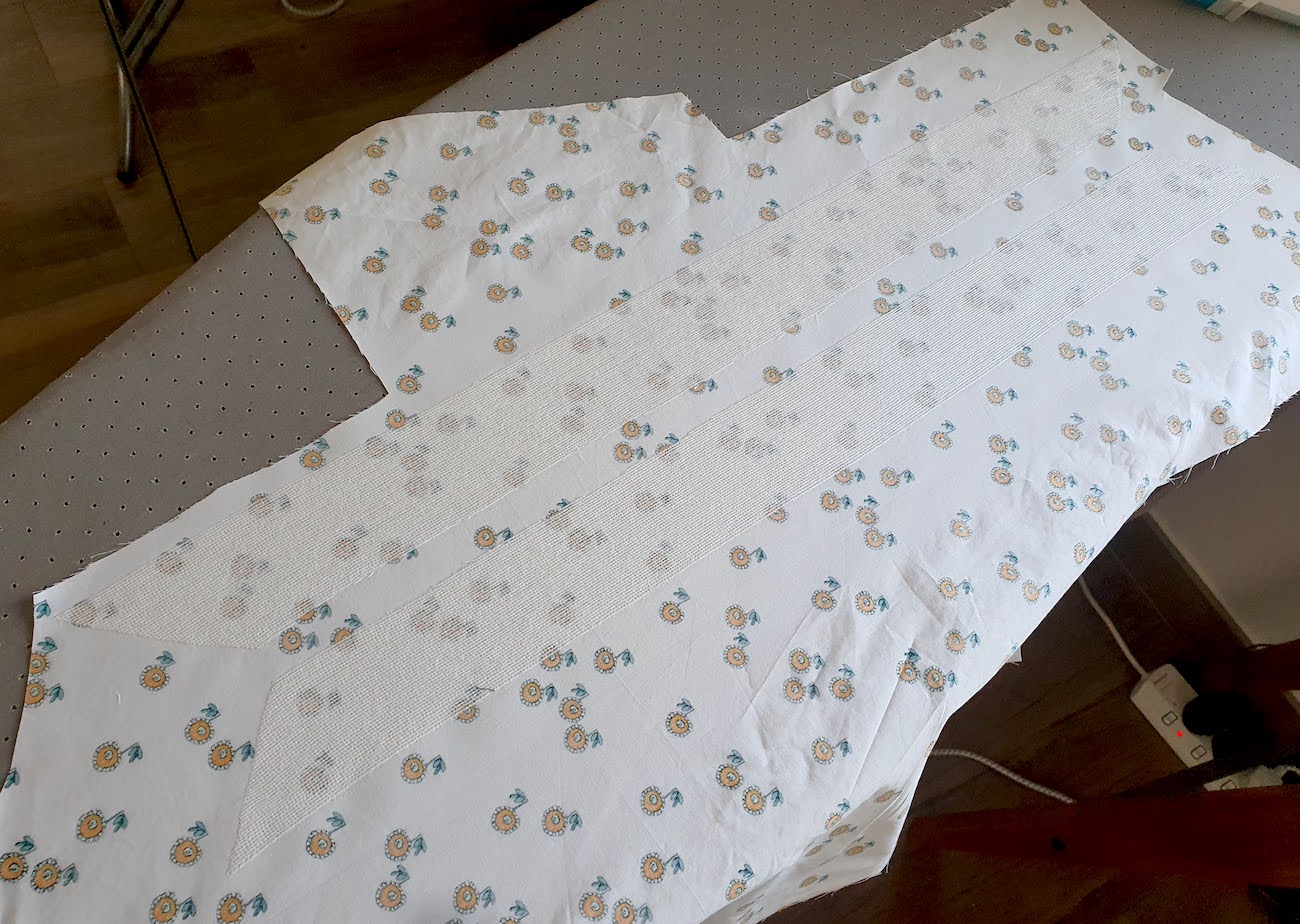
I used this pattern to cut out 2 pieces of interfacing, and pressed those onto my fabric (remember to pay attention to pattern direction if your fabric has a pattern).
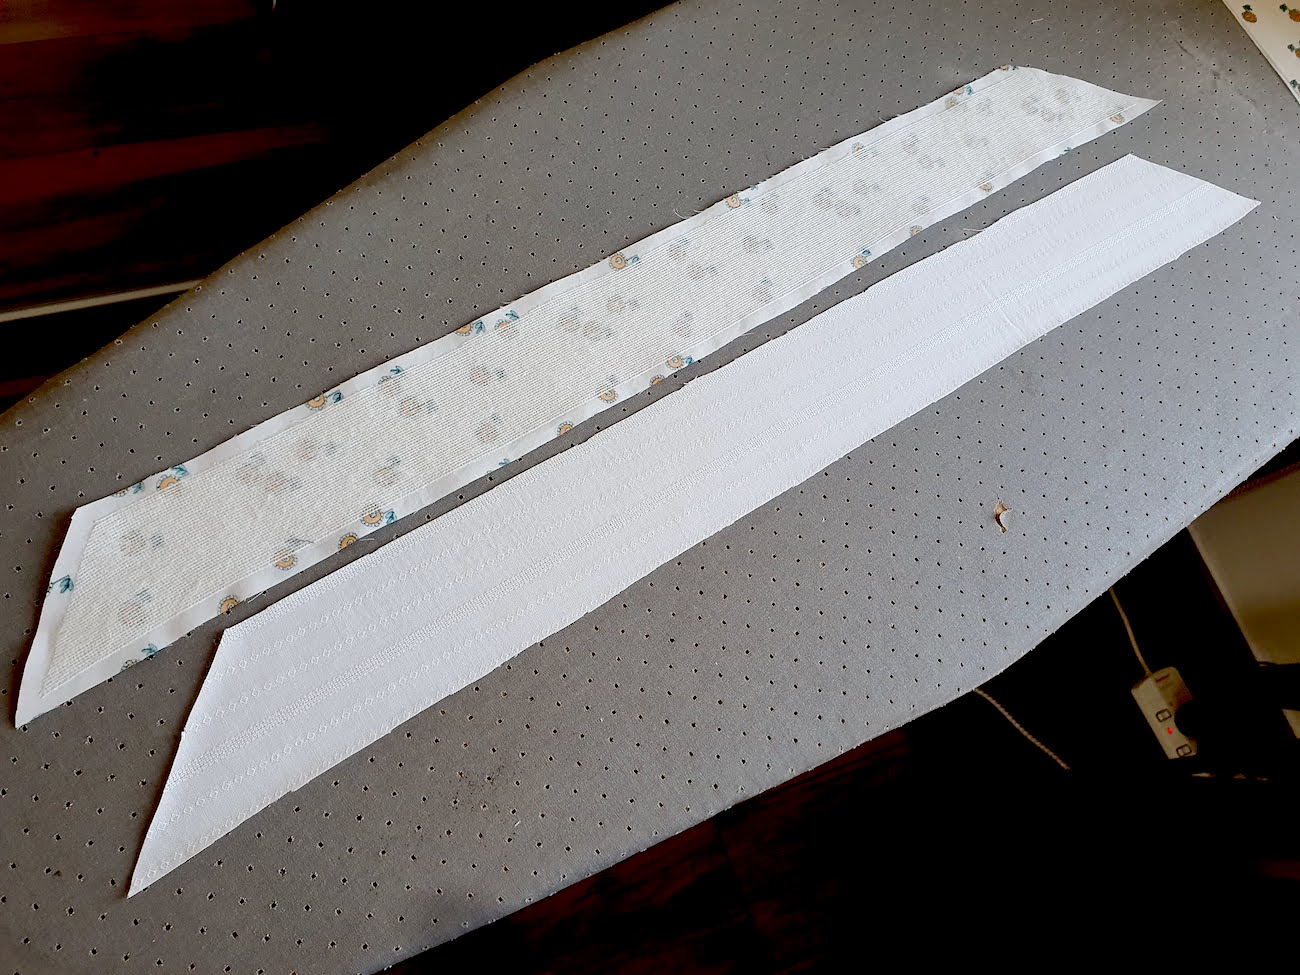
Then I cut the collar pieces out, about 0.7 cm outside of the interfacing. I also cut two more collar pieces for my lining (which you could also do from the main fabric, but given that mine was a white, I wanted to pattern to show up crisp and without the lining florals shining through).
Next I pinned the lining & main collar pieces together, right sides facing, sewed around following the interfacing edge as shown in the image below, trimmed & clipped corners...

.. All the way to the back:
Next I added on top my bias tape, folding it over itself at the start (the bottom of the V in the front), and continuing to pin up the front..
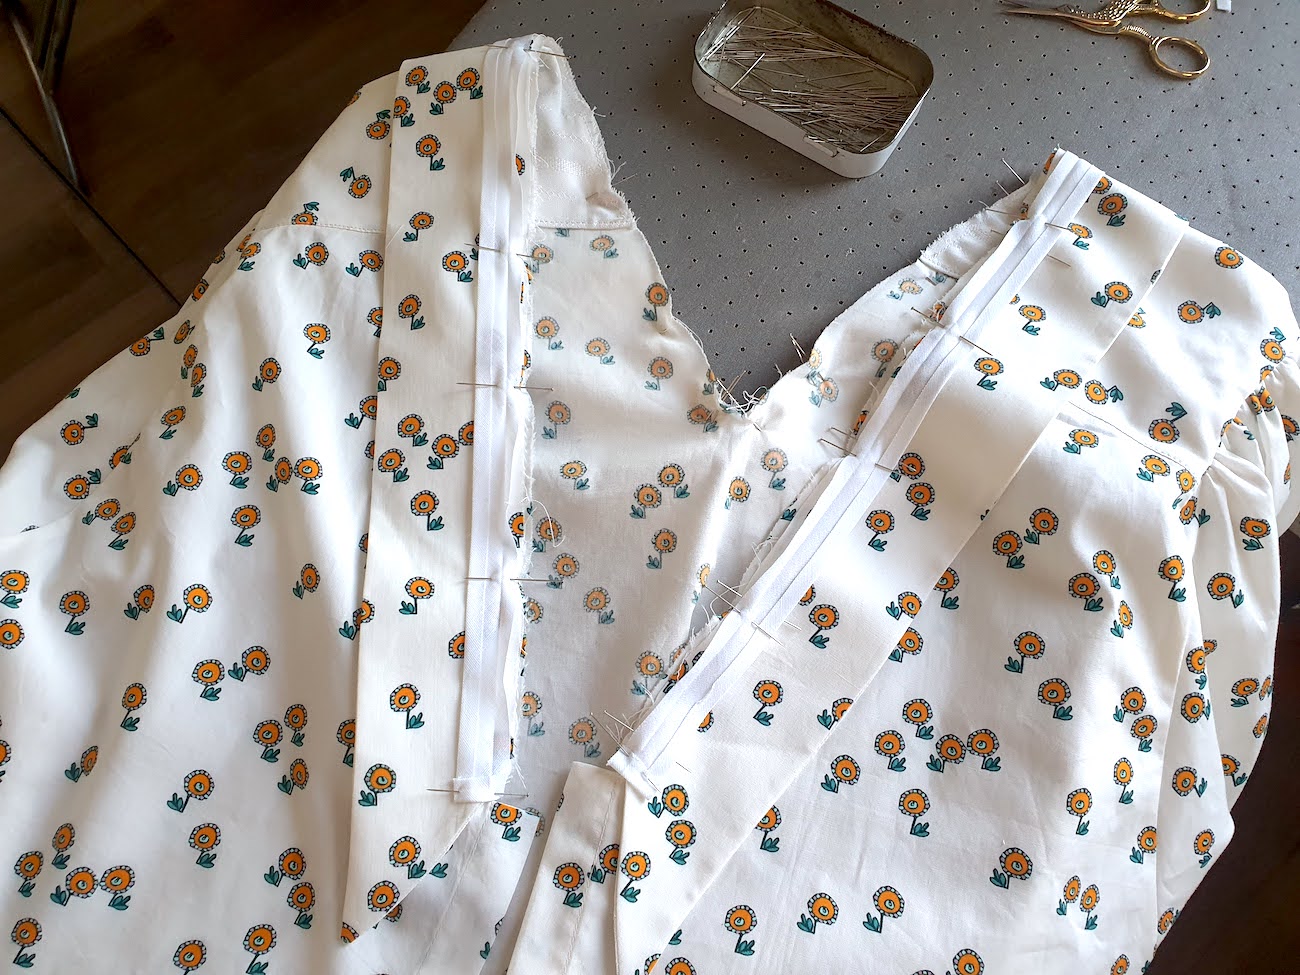
.. And down the back. At the bottom of the V I folded my bias tape to make the angle, pinned all the way back to the front, and then sewed along the fold line. After sewing remember to clip into the V at the back to remove tension. There's more detail on how to do the fold at the bottom of the V in this post.
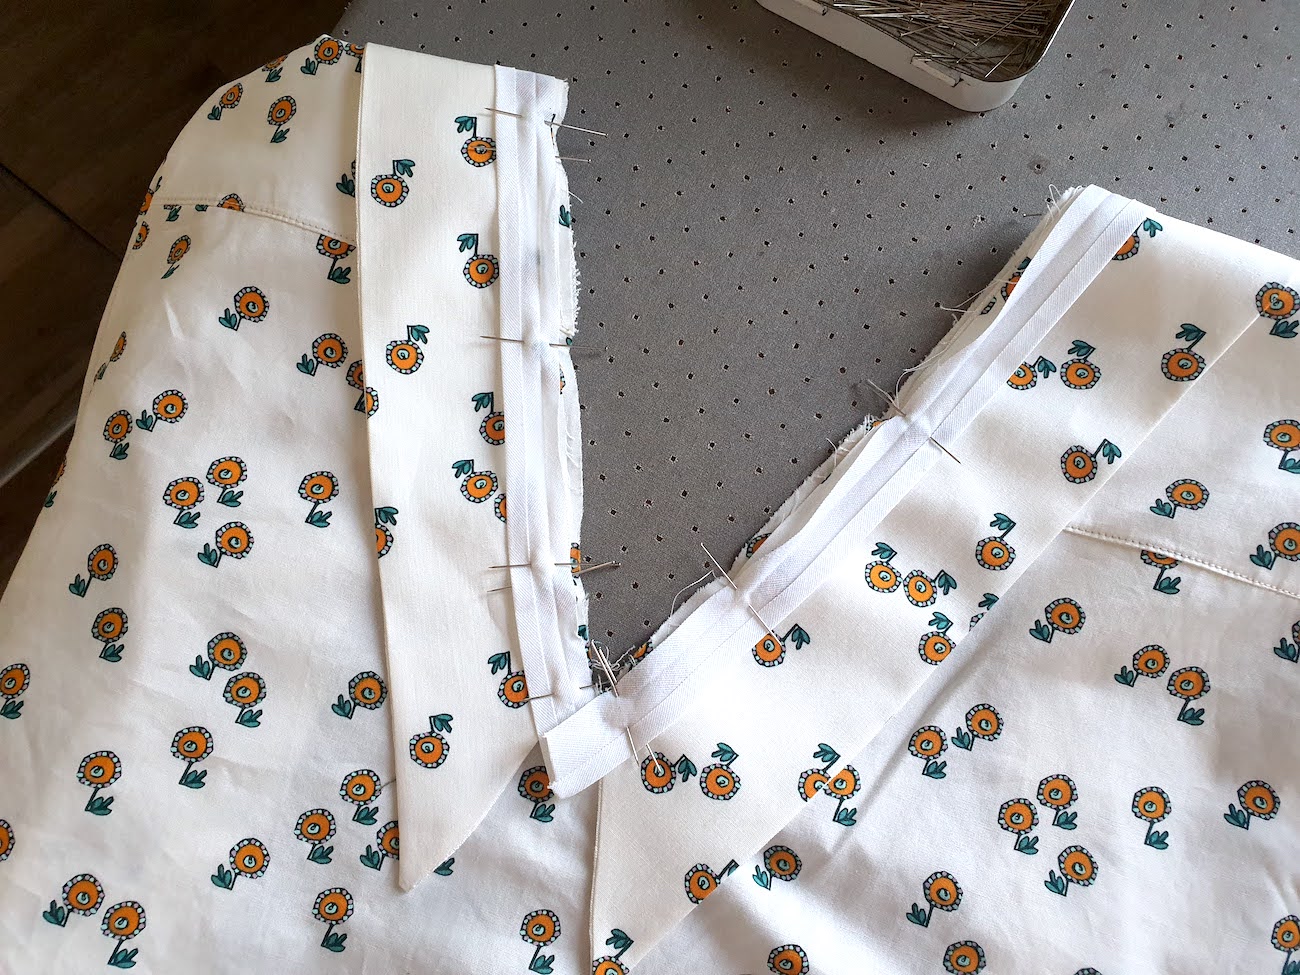
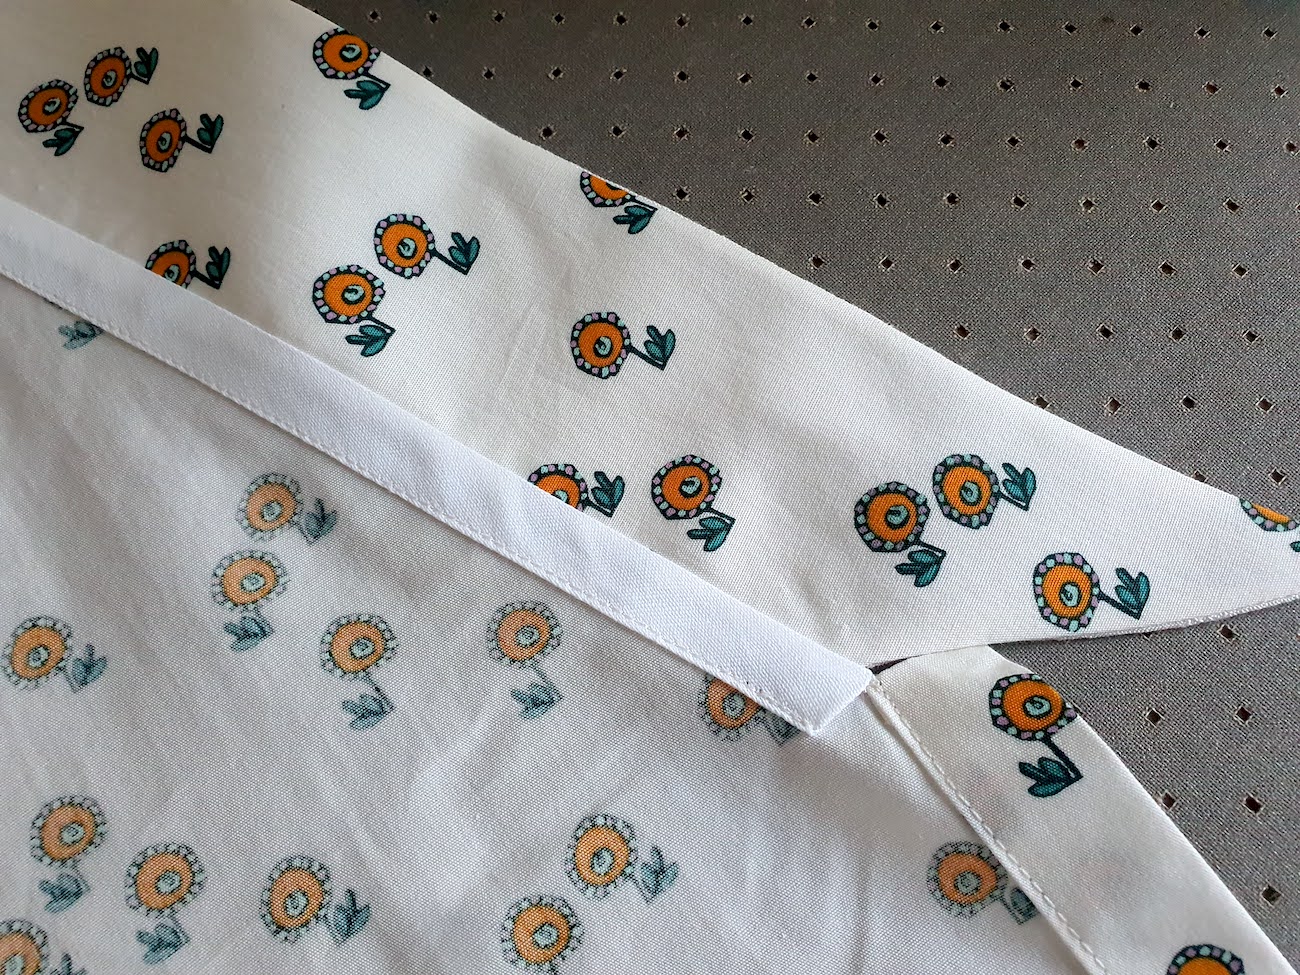
To attach the bias tape, I then pressed it towards the top, and sewed along its edge.
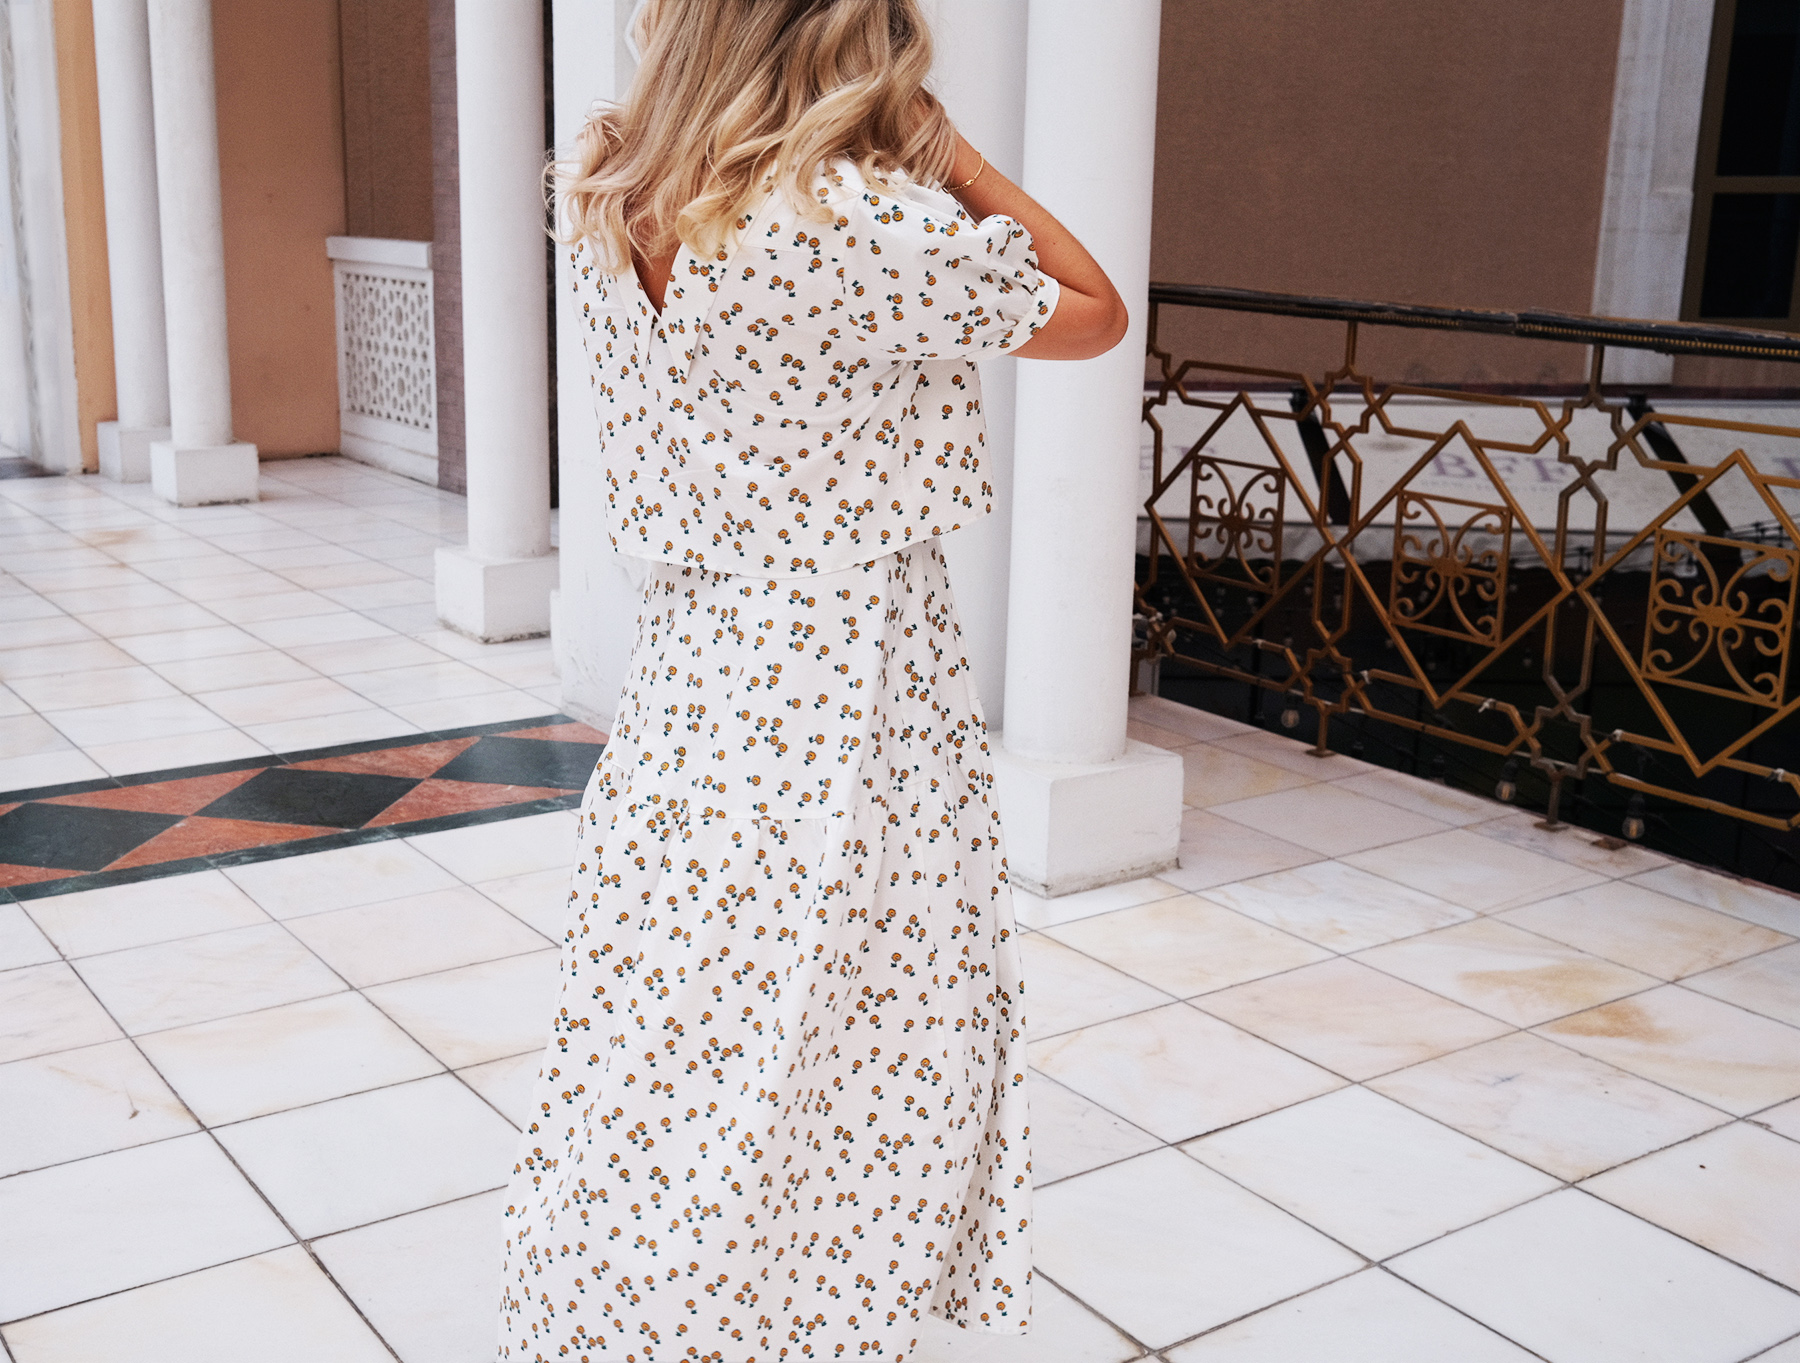
Wah. That was a long post but I am so happy with how this turned out!! The matching skirt is just a very simple design with a half-circle skirt as the top part, and then a gathered rectangular hem piece.


xo,
Julia


I love this, I'm getting my sewing machine tomorrow and am so excited to start making my own clothes
ReplyDelete