
I've sewn welt pockets for years but they still made me a tiny bit nervous... Until I came up with this super simple method! And as I said in my IG story - I know there is probably someone out there that has figured this out before me. Maybe even done a tutorial on it. But I haven't come across it, so here goes for the benefit of all welt pocket fearing seamstresses out there.
I'll also include steps for how to French seam the pockets, to create cleanly finished pockets on an unlined coat. But the method of course also works on lined garments (you can just stop at step VI).
Tutorials take a lot of time & effort to create, and I choose to make mine available for free. If you enjoy this guide, you can support me with a donation that feels right for you, here.
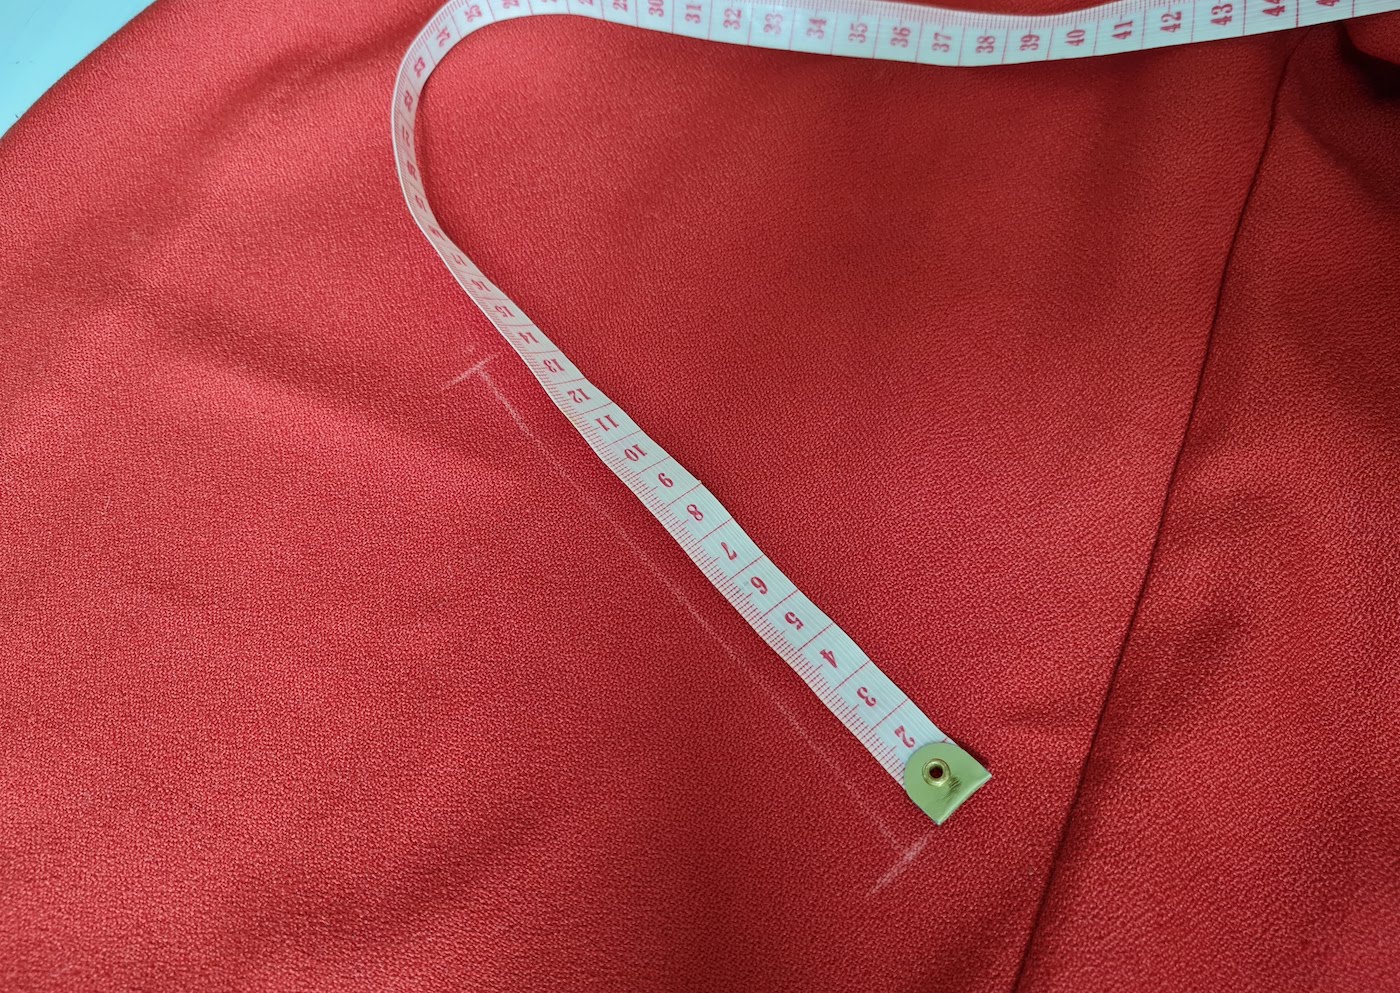
I. Start with your garment you want to add the pocket to, and mark its position (a line that corresponds to your pocket opening width). I wanted mine positioned at an angle, I find that more natural on a coat.
II. Then cut your rectangular pocket piece. That's right, piece, singular. Most welt pocket methods involve several pieces, this one, only one. To figure out the size of your piece:
Length:
2D + 3WH + 5 cm
Width:
W + 5 cm
Where:
D = Desired pocket depth
W = Desired pocket opening width (width of the welt)
WH = Welt height
That may sound complicated but hopefully my example will make it clearer: In my case, I wanted a pocket about 19 cm deep (D), 14 cm wide at the opening where you put your hand in, and I wanted the welt itself to be 2.5 cm in height. So here's what my piece ended up looking like:
If your finished pocket needs to be an exact size, then you need to also account for seam allowance as follows:
- If doing a lined garment, add your seam allowance x 2 to the width of your rectangle (I use 0.5 cm seam allowances)
- If doing an unlined garment (like what I did here), to account for the French seams, add 4 x your seam allowance to the width
- No need to worry about seam allowance taking up pocket depth - the bottom of the pocket is folded, not sewn
Here's a closeup of the rectangle that corresponds to the size of the welt, which you want to trace at the top of your pocket piece, on the reverse side of the fabric.
III. Now align the top of the rectangle you've traced on your pocket piece, with the pocket position line marked on the garment - right sides facing, and pin in place. Easiest way to do this is to take 2 pins and put them thought the corners of the rectangle on the pocket piece, and then through the ends of the line on the garment. Then sew around the rectangle.
After sewing, carefully clip inside the rectangle and into the corners like so:
.. Which will allow you to flip the pocket piece through the opening & onto the reverse, and press.
IV. Now comes the mindblowing part where you create the welt out of that same piece. BY FOLDING. Just fold the pocket piece over the pocket opening, up against the top of the opening, and then back down over itself. You want to perfectly cover the pocket opening with this fold - not too little, not too much.
Secure with pins on both sides - I also hand-stitched the folds down at the sides to make sure they stayed put.
On the right side, you'll have this - it's already starting to look like the real thing!
Hand-stitch the sides, or you can of course also machine stitch carefully, right at the edges.
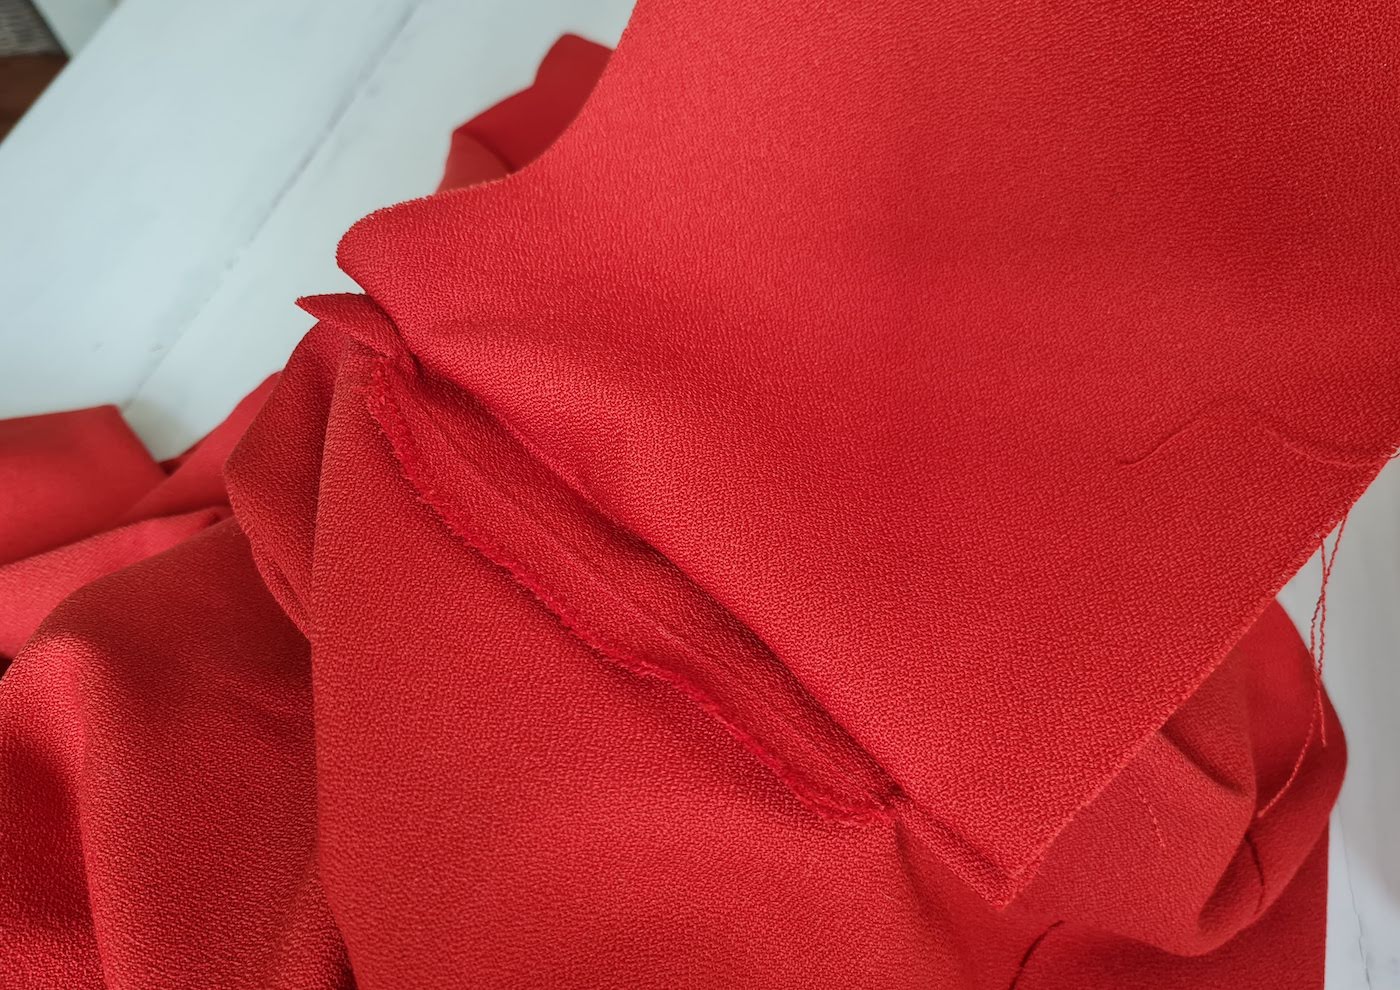
V. If your garment will be lined, you can skip this step. If doing an unlined garment, you want to finish the raw edges on the seam allowances to keep them from unraveling. Just lift the pocket out of the way and zig-zag the seam allowance at the bottom..
.. And at the top:
VI. Now you're ready to create the pocket itself - just fold the pocket piece in half over itself, aligning all the edges.
If doing a lined garment, the pocket will be covered by the lining, so you can just leave it at that. You'll have this on the right side:
The final step is to stitch the upper edge of the pocket opening on the right side - skip to last step IX. If doing an unlined garment and want to do French seams on the pocket, continue on.
VII. Trim your seam allowances around the pocket to a minimum, about 2-3 mm.
Then pull the pocket through its opening onto the right side, push corners out gently, and pin all around. Press with your iron.
.. And sew all around again, with a seam allowances just a tiny bit more than what you trimmed the first seam allowance at.
To reduce bulk at the top corners, I clipped those lightly at this point (they will be hidden away so won't unravel because of this).
Then you're ready to pull the pocket back onto the reverse side, push the sides/corners out, and press the pocket. And you'l have a beautifully French seamed finish that can handle being seen ❤︎ The dashed lines indicate where I blind-stitched the pocket to the coat on the reverse in the next step.
VIII. Just a couple finishing touches left! Before sewing the pocket down on the reverse, and trimmed the little triangular seam allowance bits on the sides of the pocket opening, to make sure they weren't peeking from under. After that, I went on to blind-stitch the pocket onto the reverse of the coat (indicated by the dashed lines in the photo above).
IX. Last, on the right side, I blind-stitched the upper edge of the pocket opening on the right side, to the lower layer of the pocket - NOT the welt (that would close your pocket for you). Again, you could machine stitch, but I prefer blind-stitching as it creates a much cleaner finish without a visible stitch.
That's it!
xo,
Julia


0 comments:
Post a Comment
I would love to hear what you think and learn about your DIY adventures! If you use one of my tutorials, tag me on social @contour_affair, I'd love to see!