

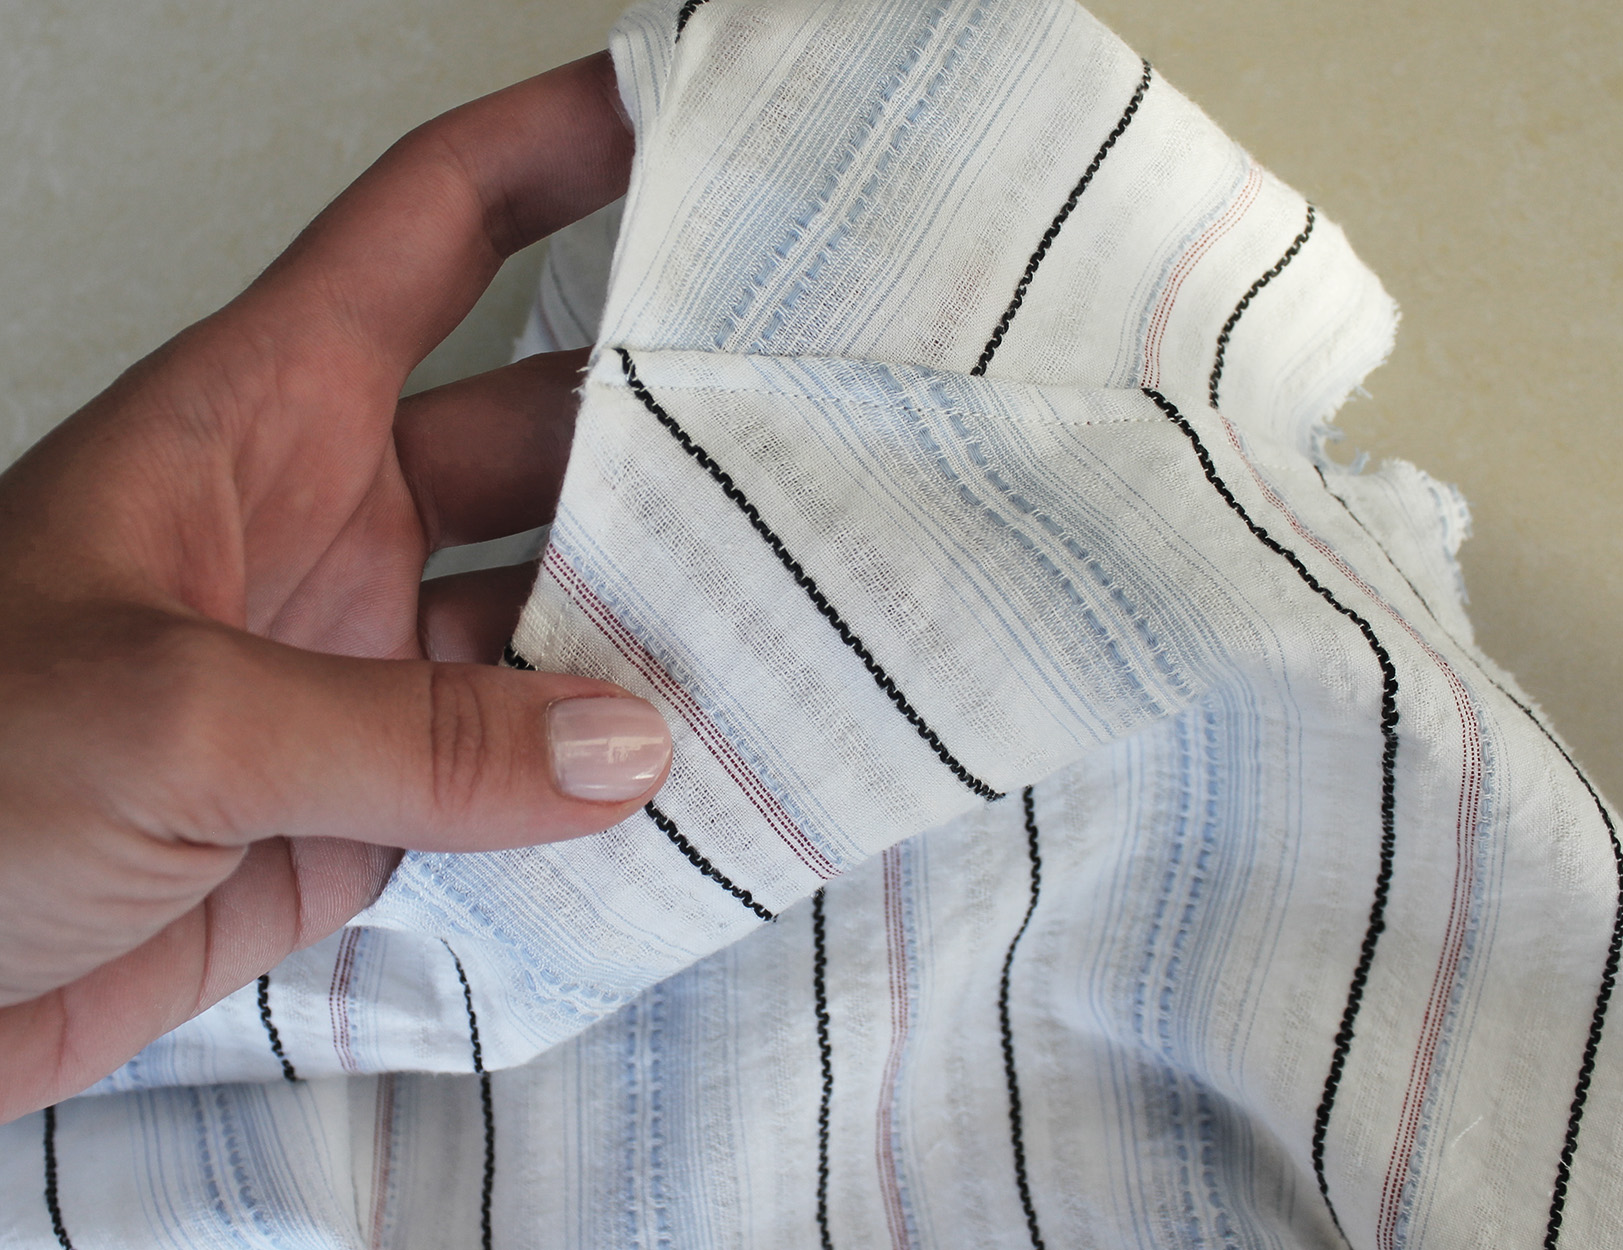
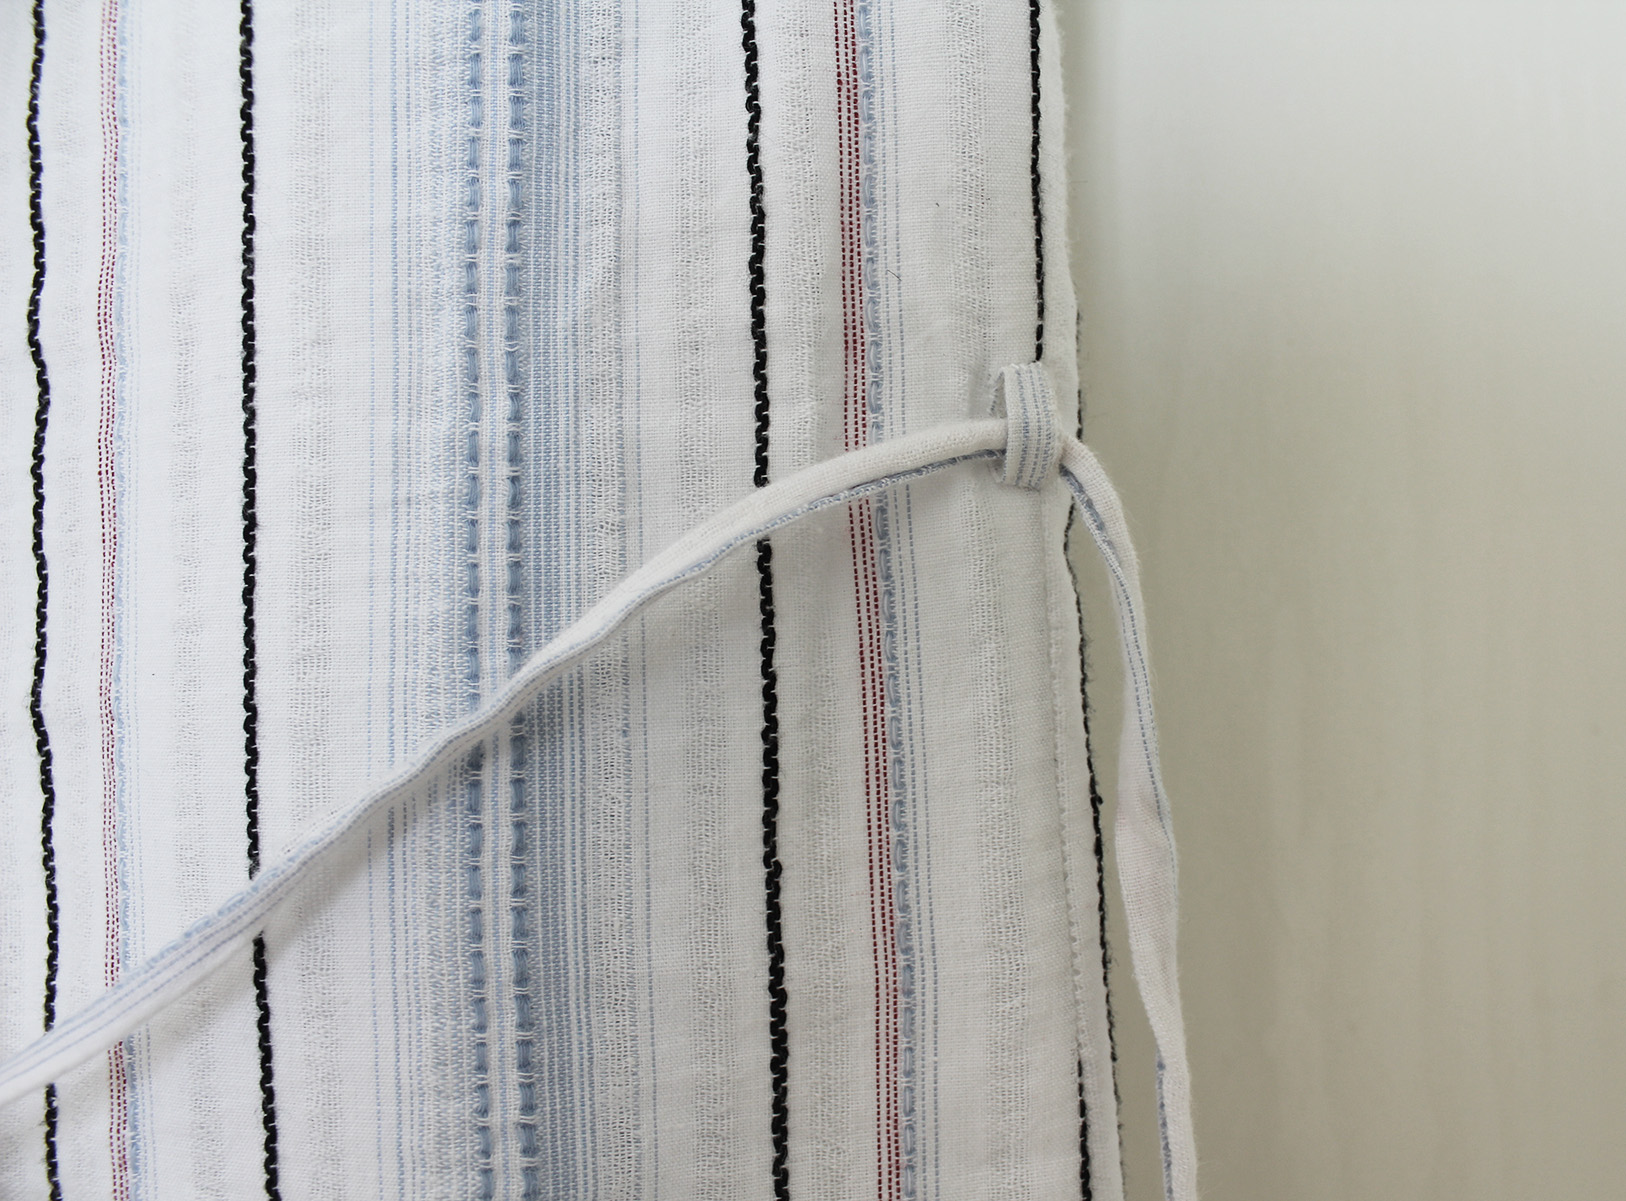
I was in Old Dubai doing my fabric shopping, and at the counter noticed an end-of-roll discount pile - in it this stripy cotton. I was inspecting it and the shop owner started enthusiastically selling it to me as material for dish-drying cloths. Luckily I don't ever let someone tell me what a fabric is meant for and what it's not:)
Tutorials take a lot of time & effort to create, and I choose to make mine available for free. If you enjoy this guide, you can support me with a donation that feels right for you, here.
TOOLS:

Fabric - Mine is 100% cotton, and I used 1,5 m (however I used mine until the very last piece, 2 m is safer) | Scissors | Fabric marker | Pins | Thread & sewing machine | String for the belt and the neckline, about 1,5 m each and a small 30 cm piece to make the neckline & belt loops (I've made so much string/strap for some of my past projects - here's the method I use) | (+New autofocus for my camera...)
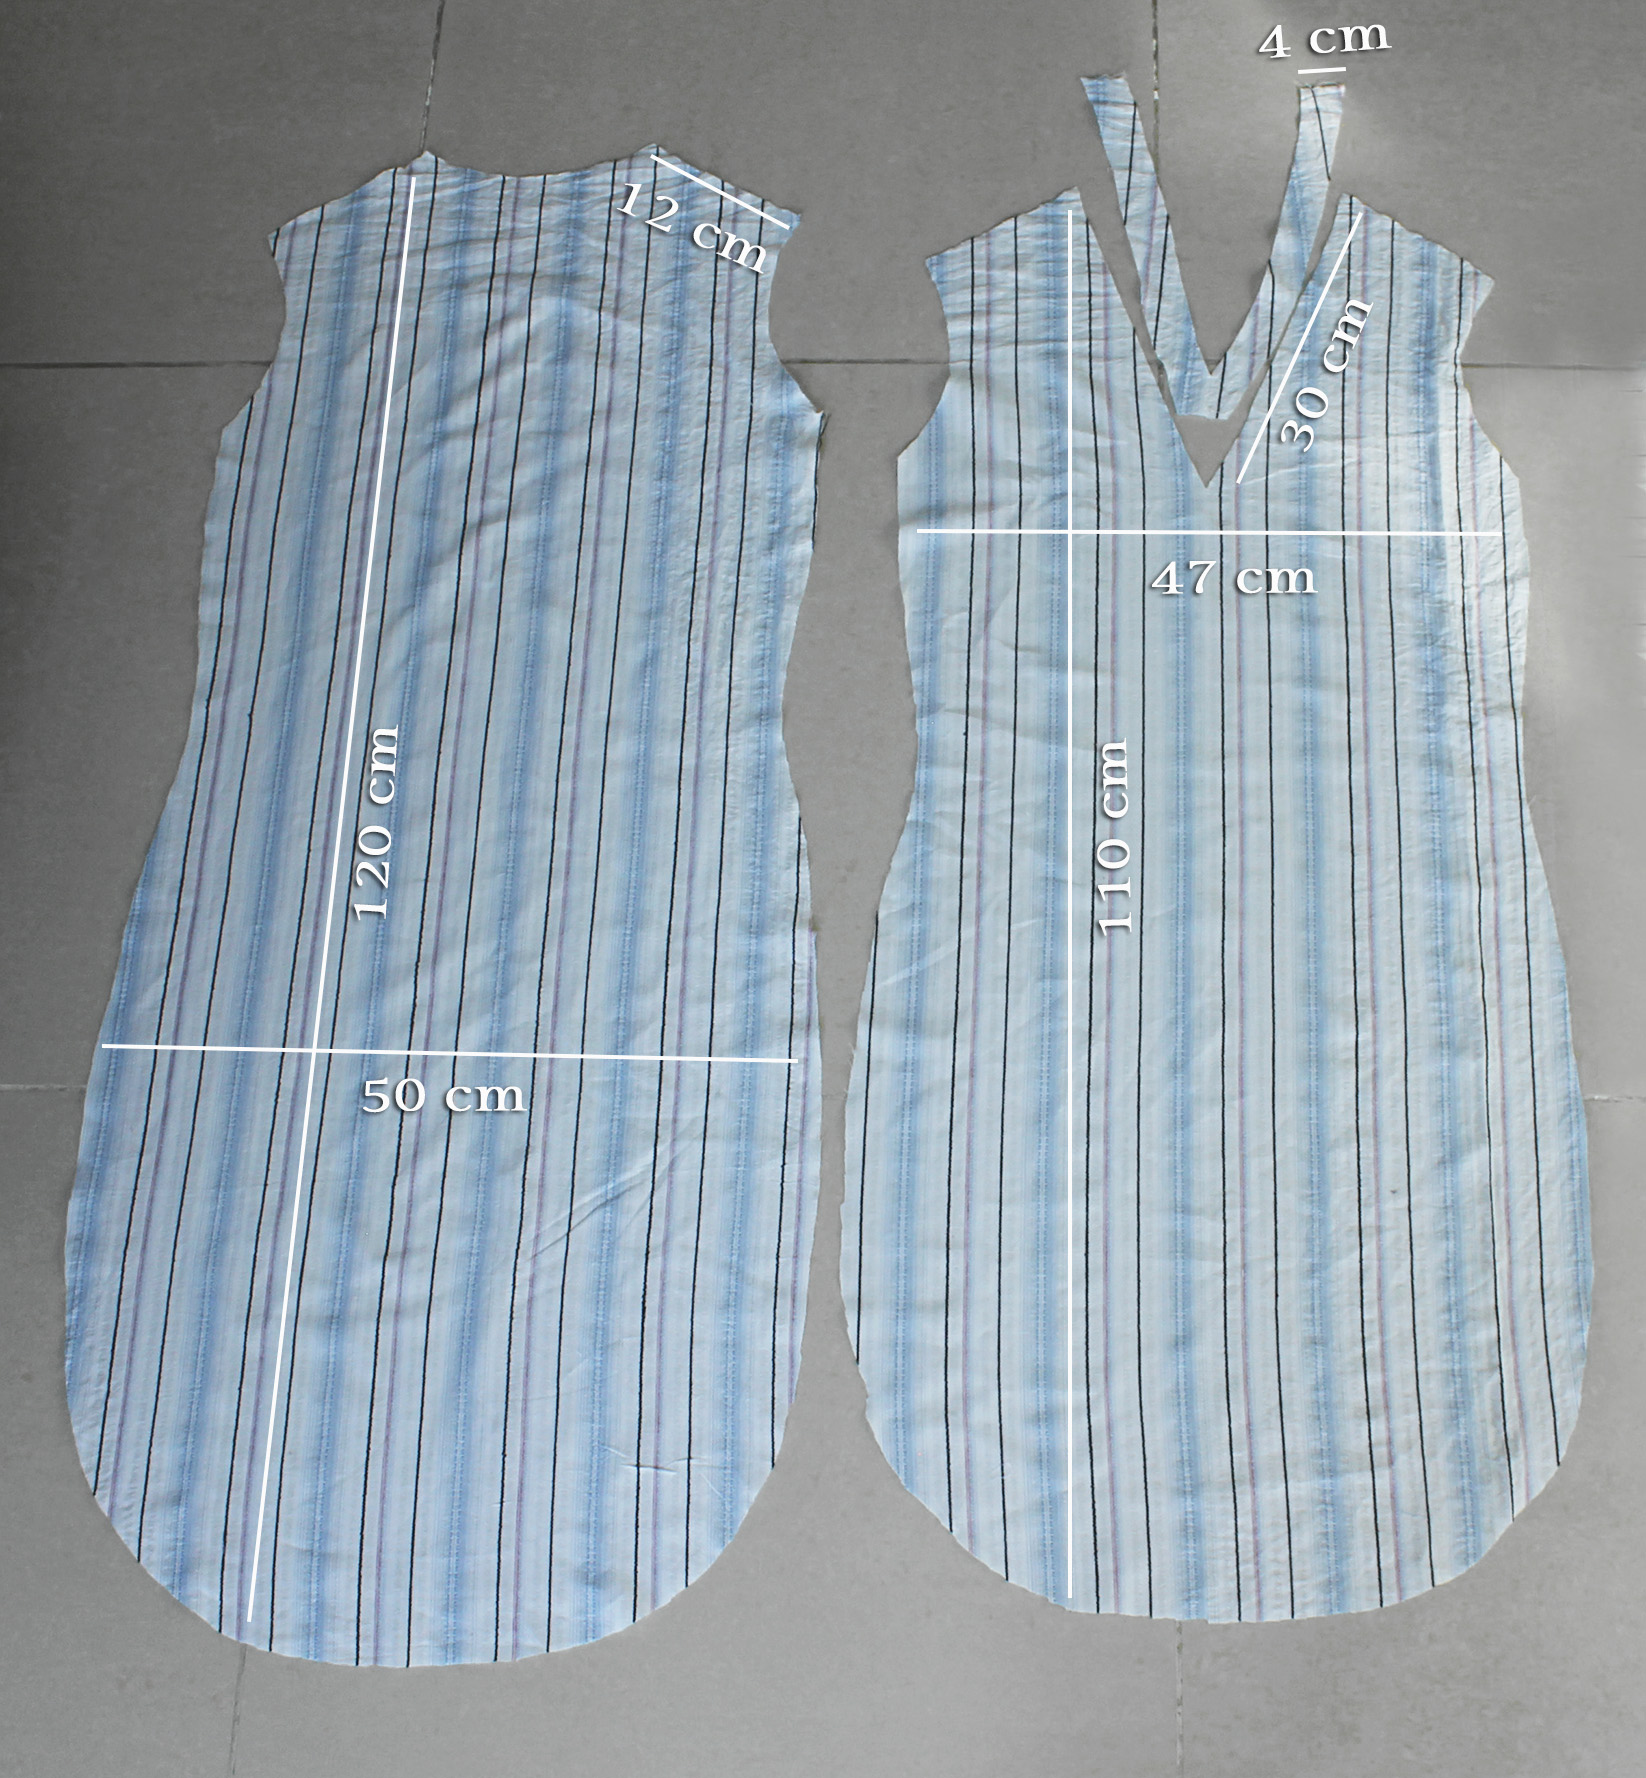
I. Here are my cut pieces with approximate measurements (I'm EU 36/US 4).
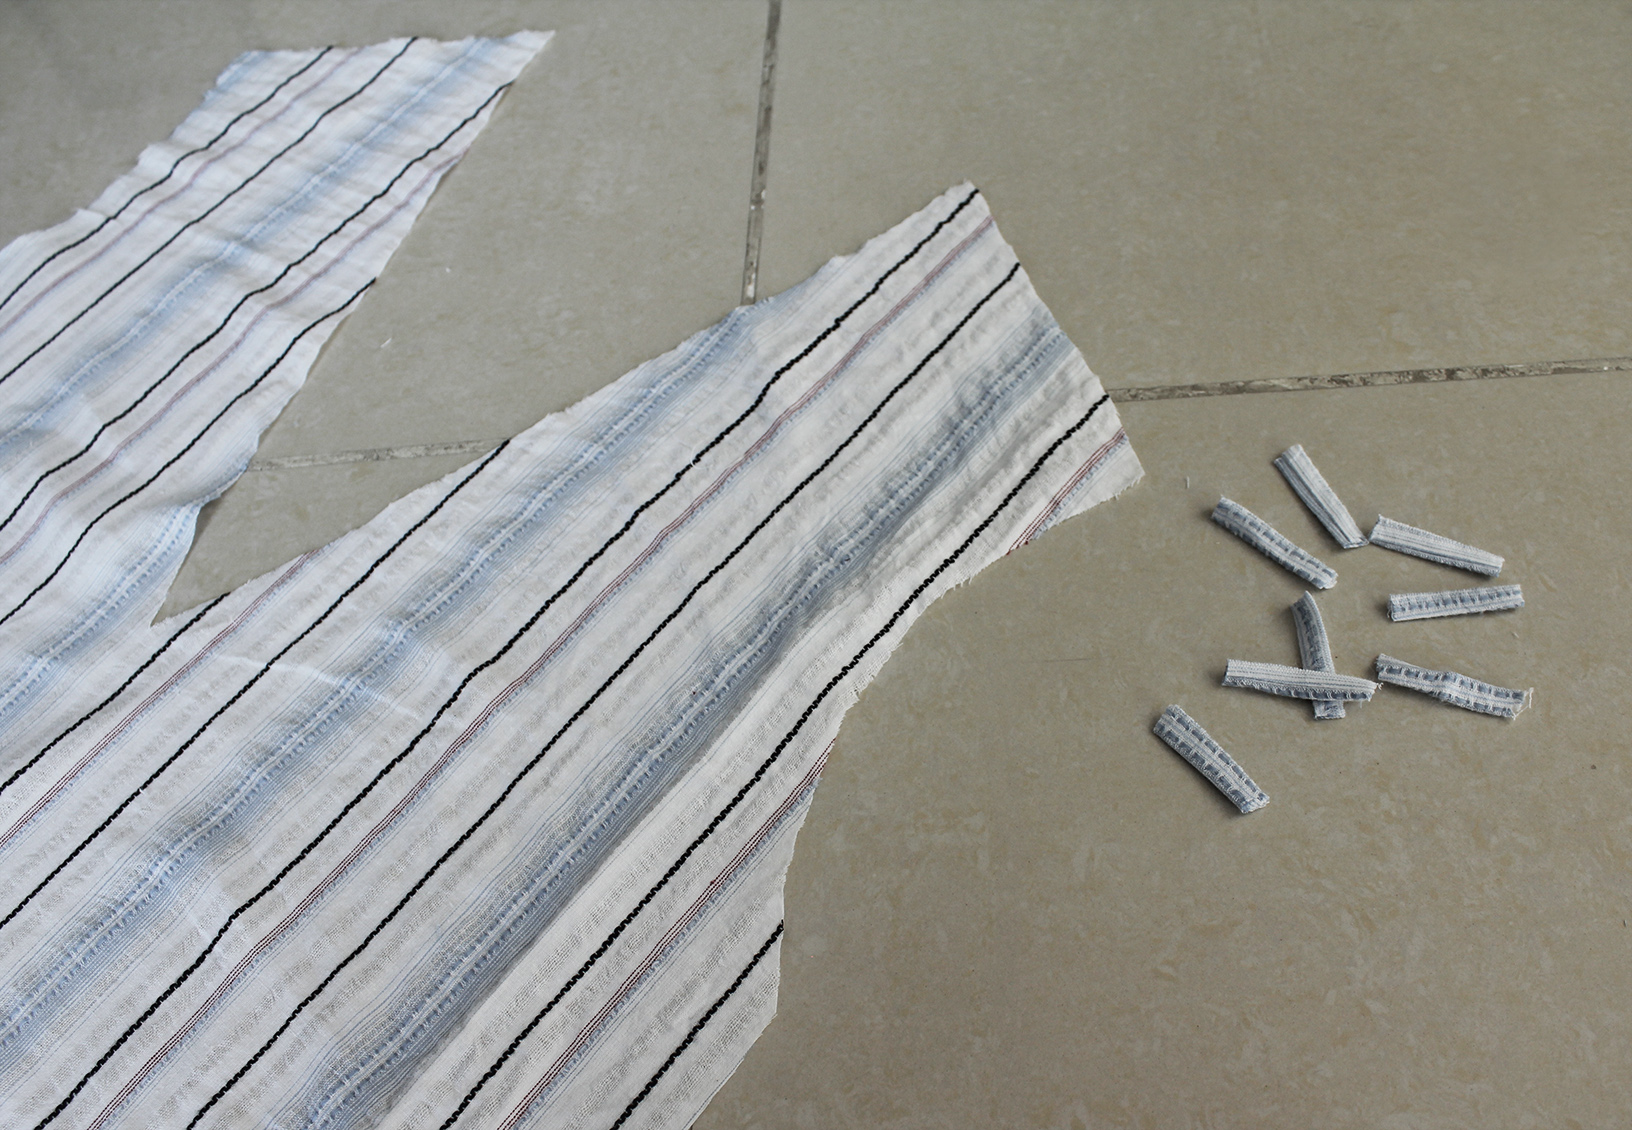
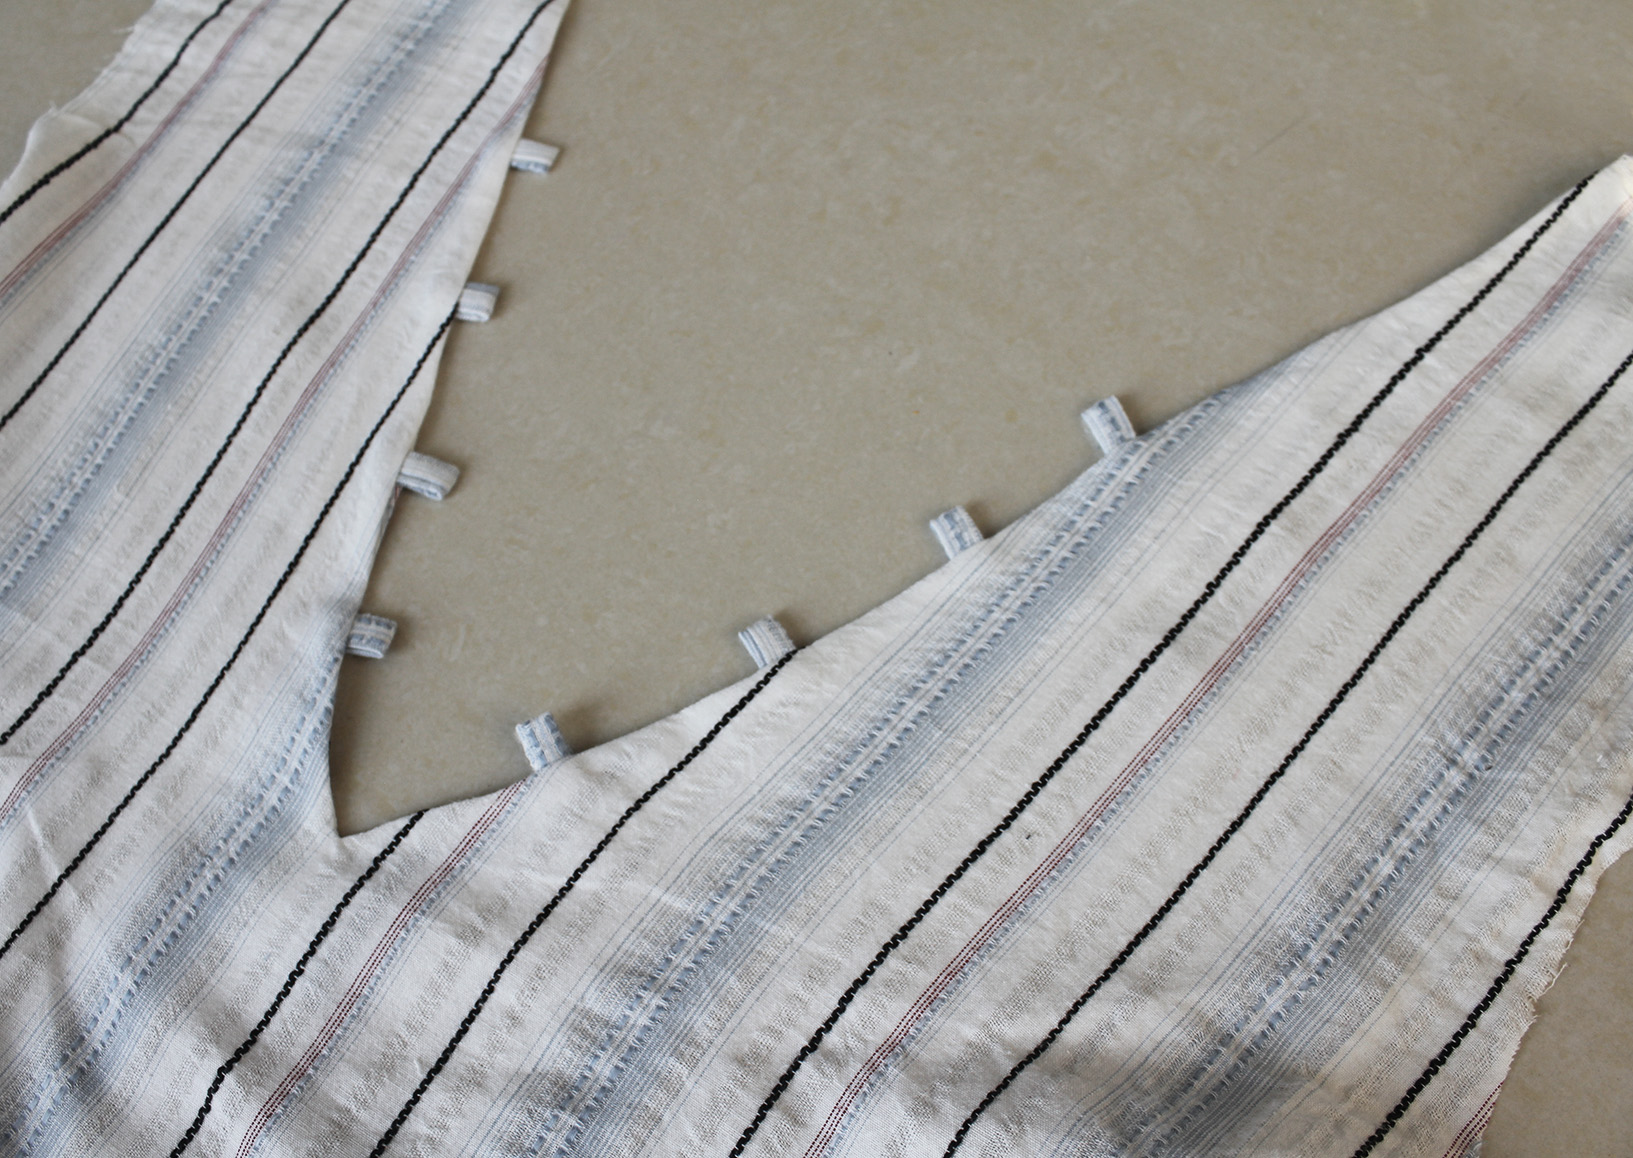
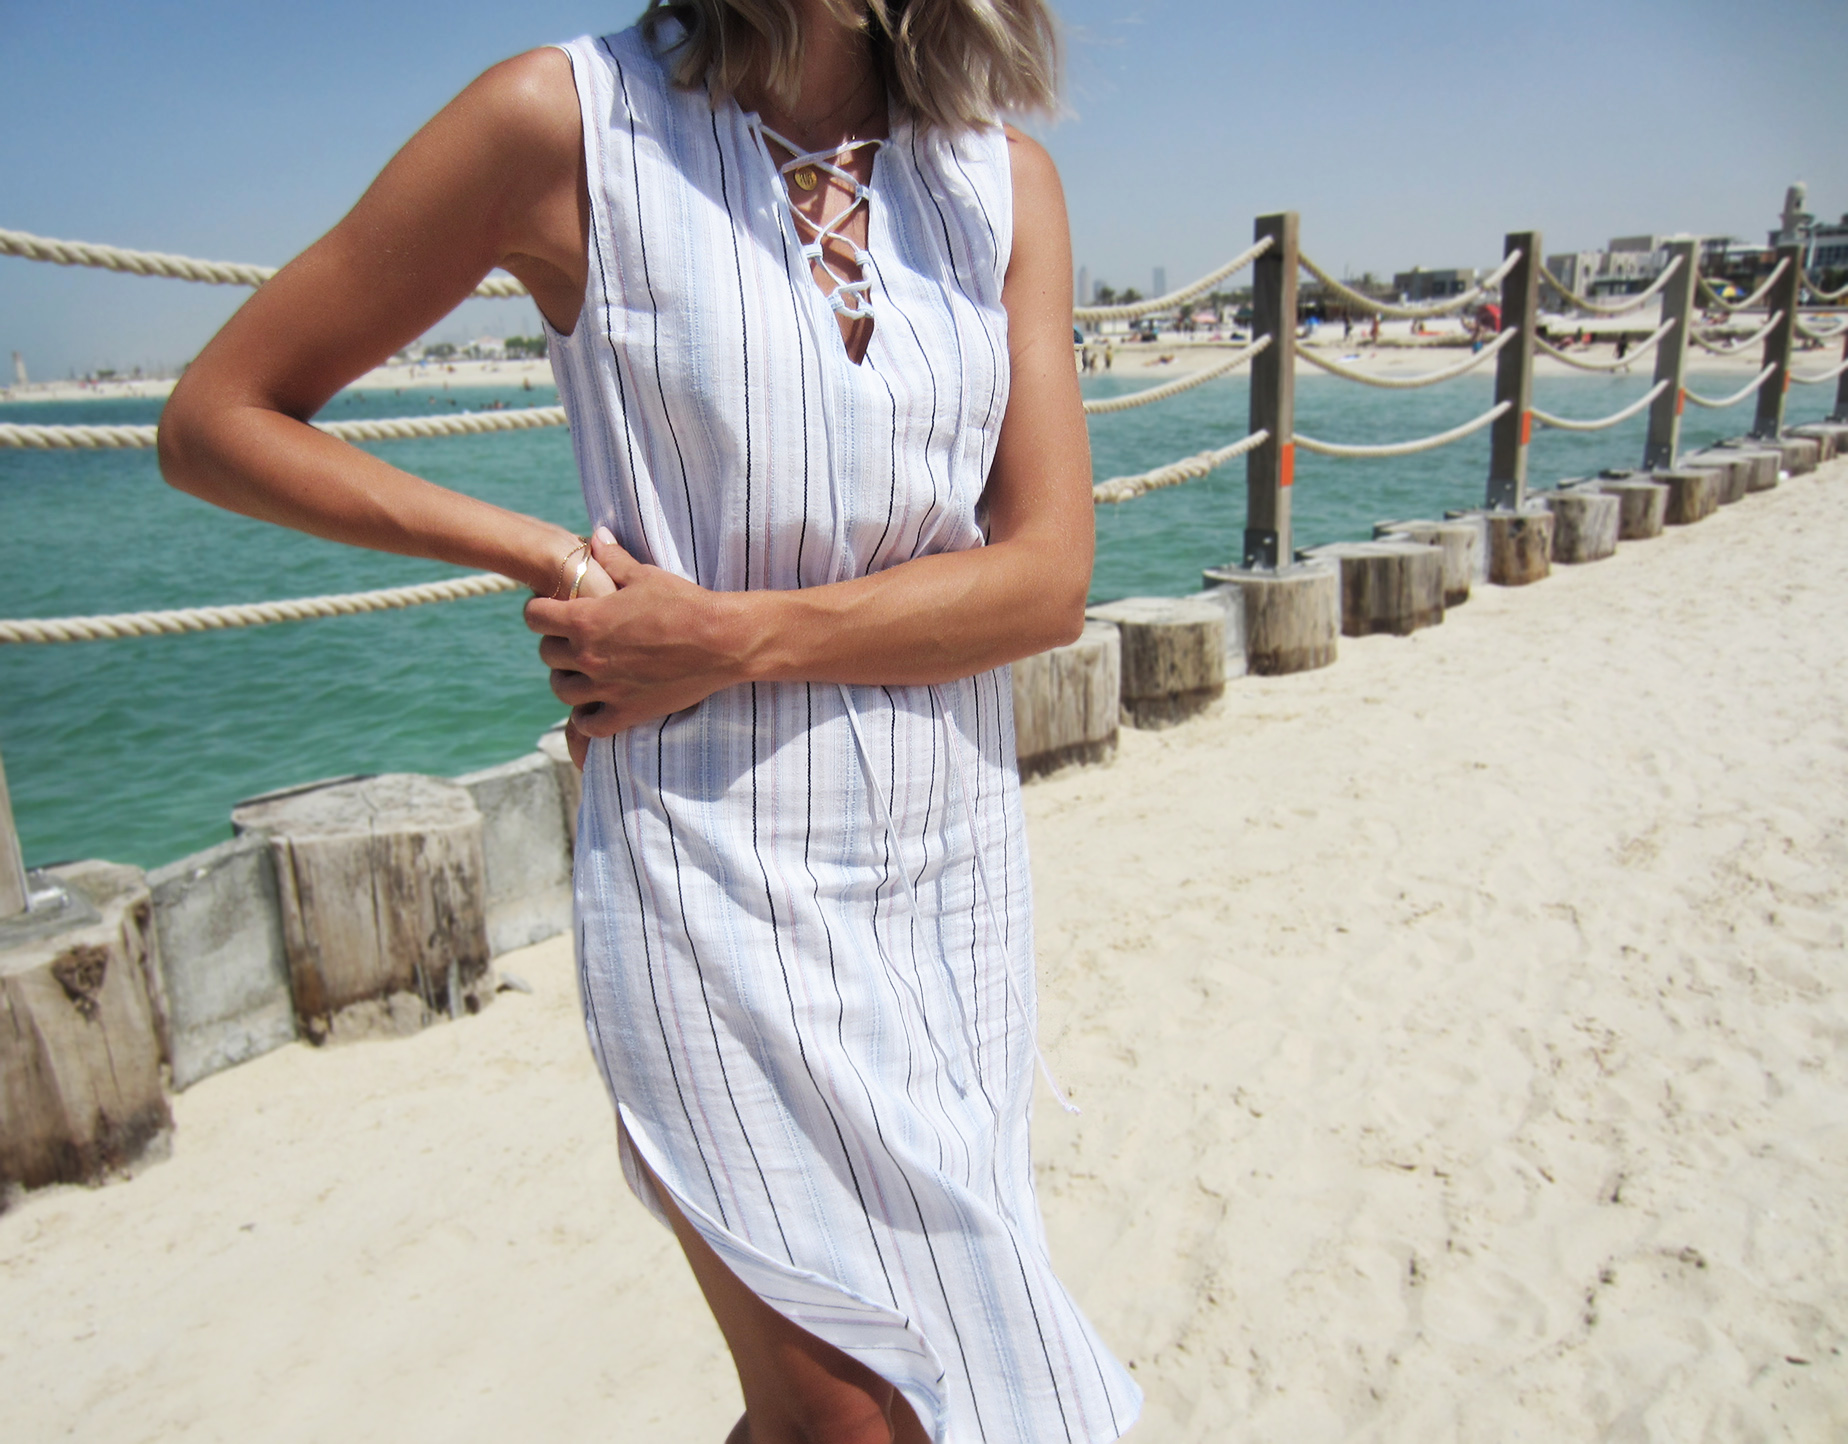
II. Starting with the neckline.. Cut small approx. 3 cm pieces of your string, I did 4 for each side of the neckline.
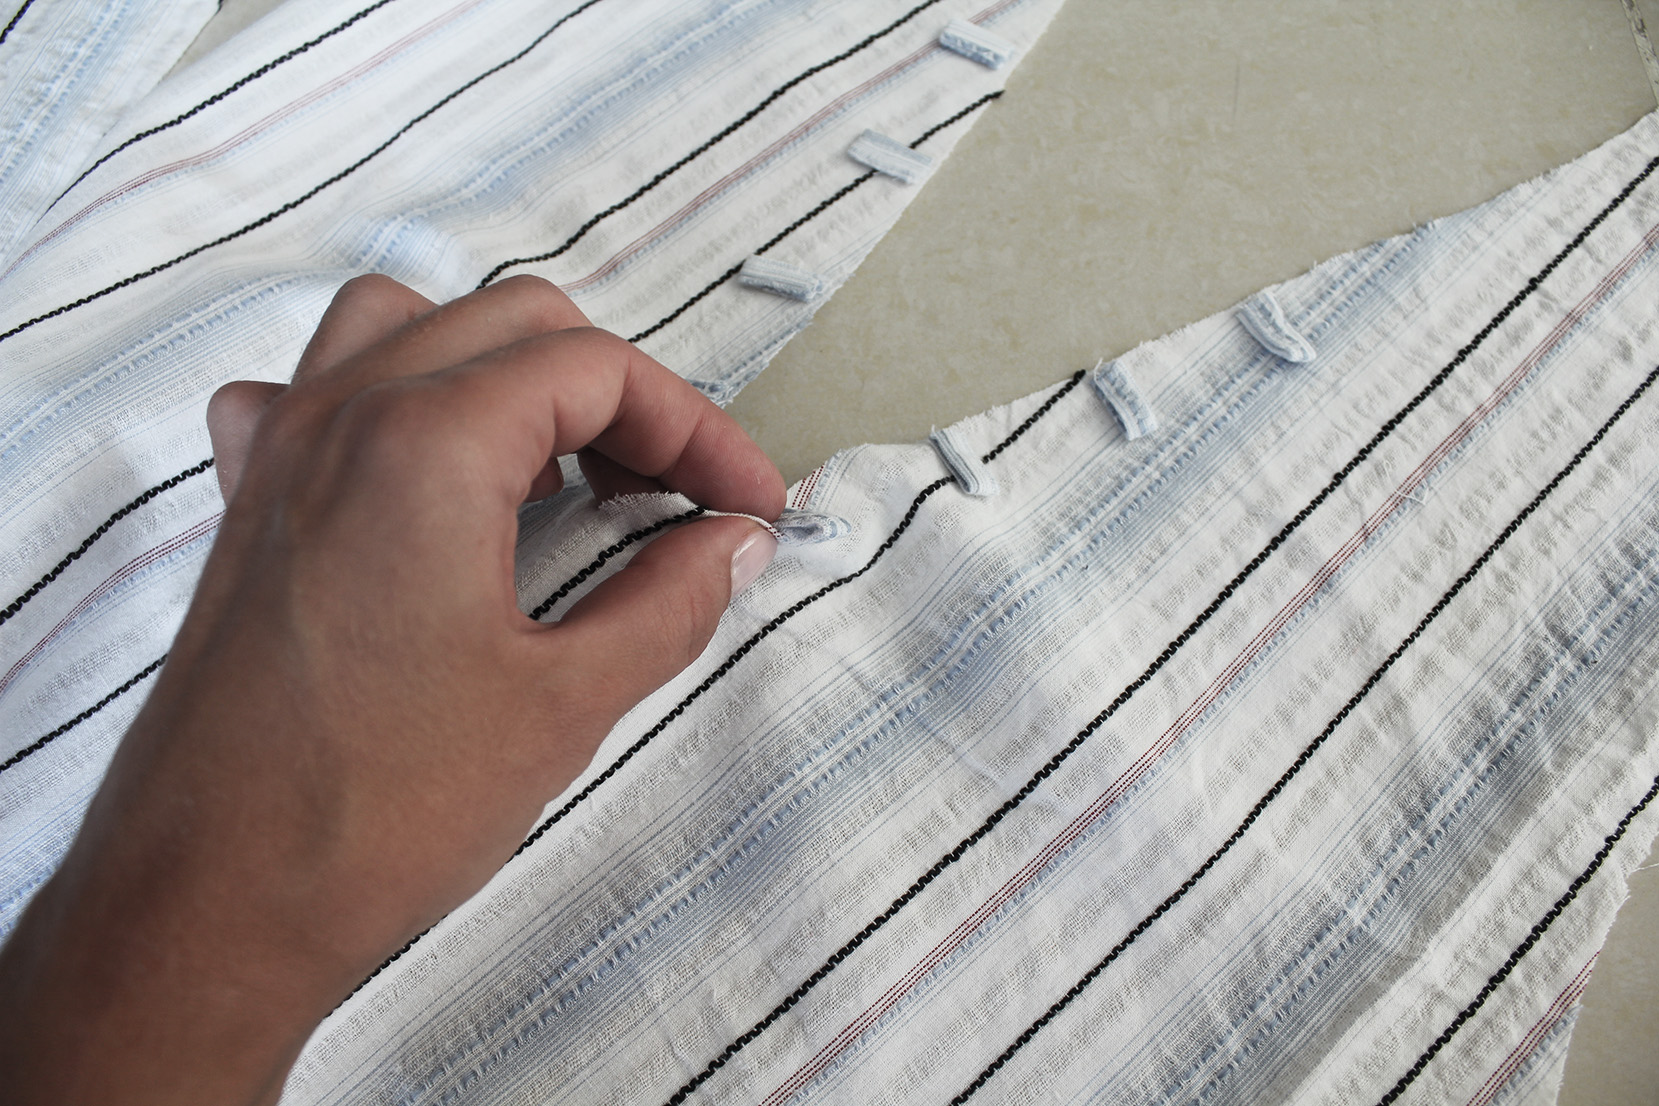
Fold the pieces in half (helps if you press them with your iron) and hand-stitch them at equal intervals on either side of the neckline, on the right side. As you see here the fold should be pointing away from the neckline.
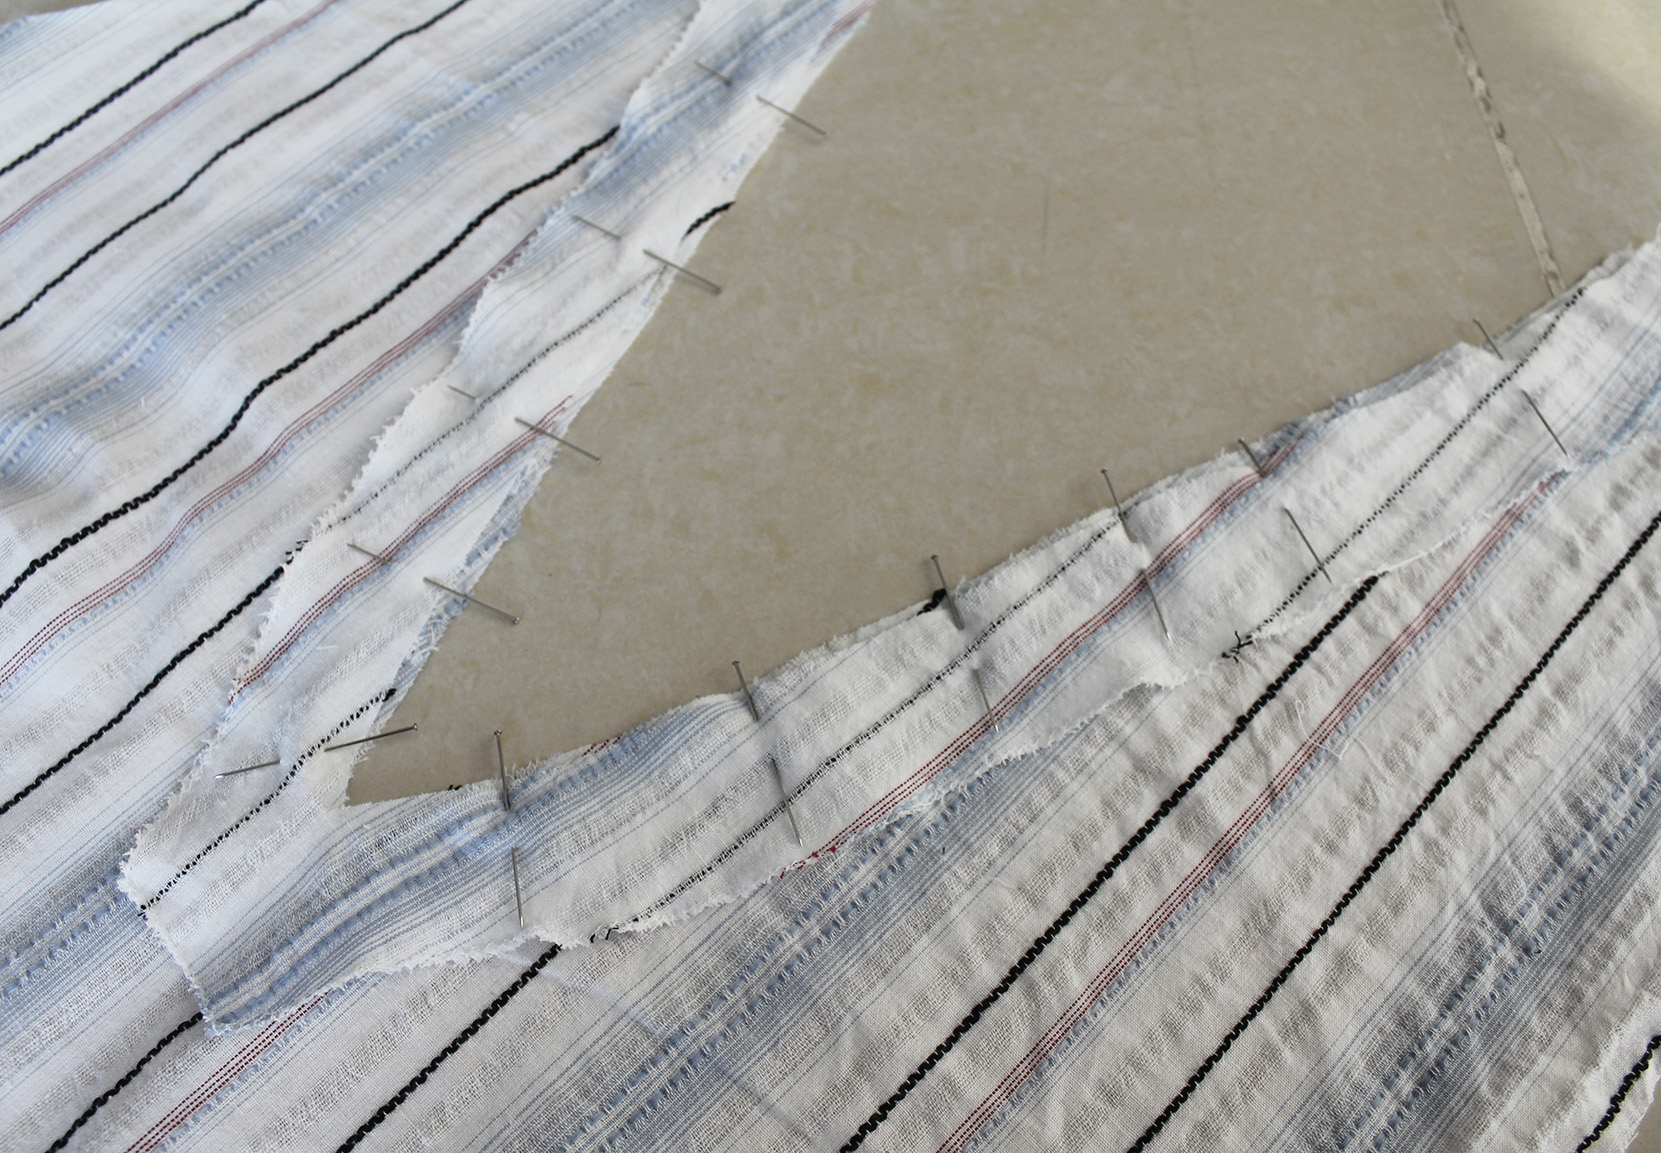
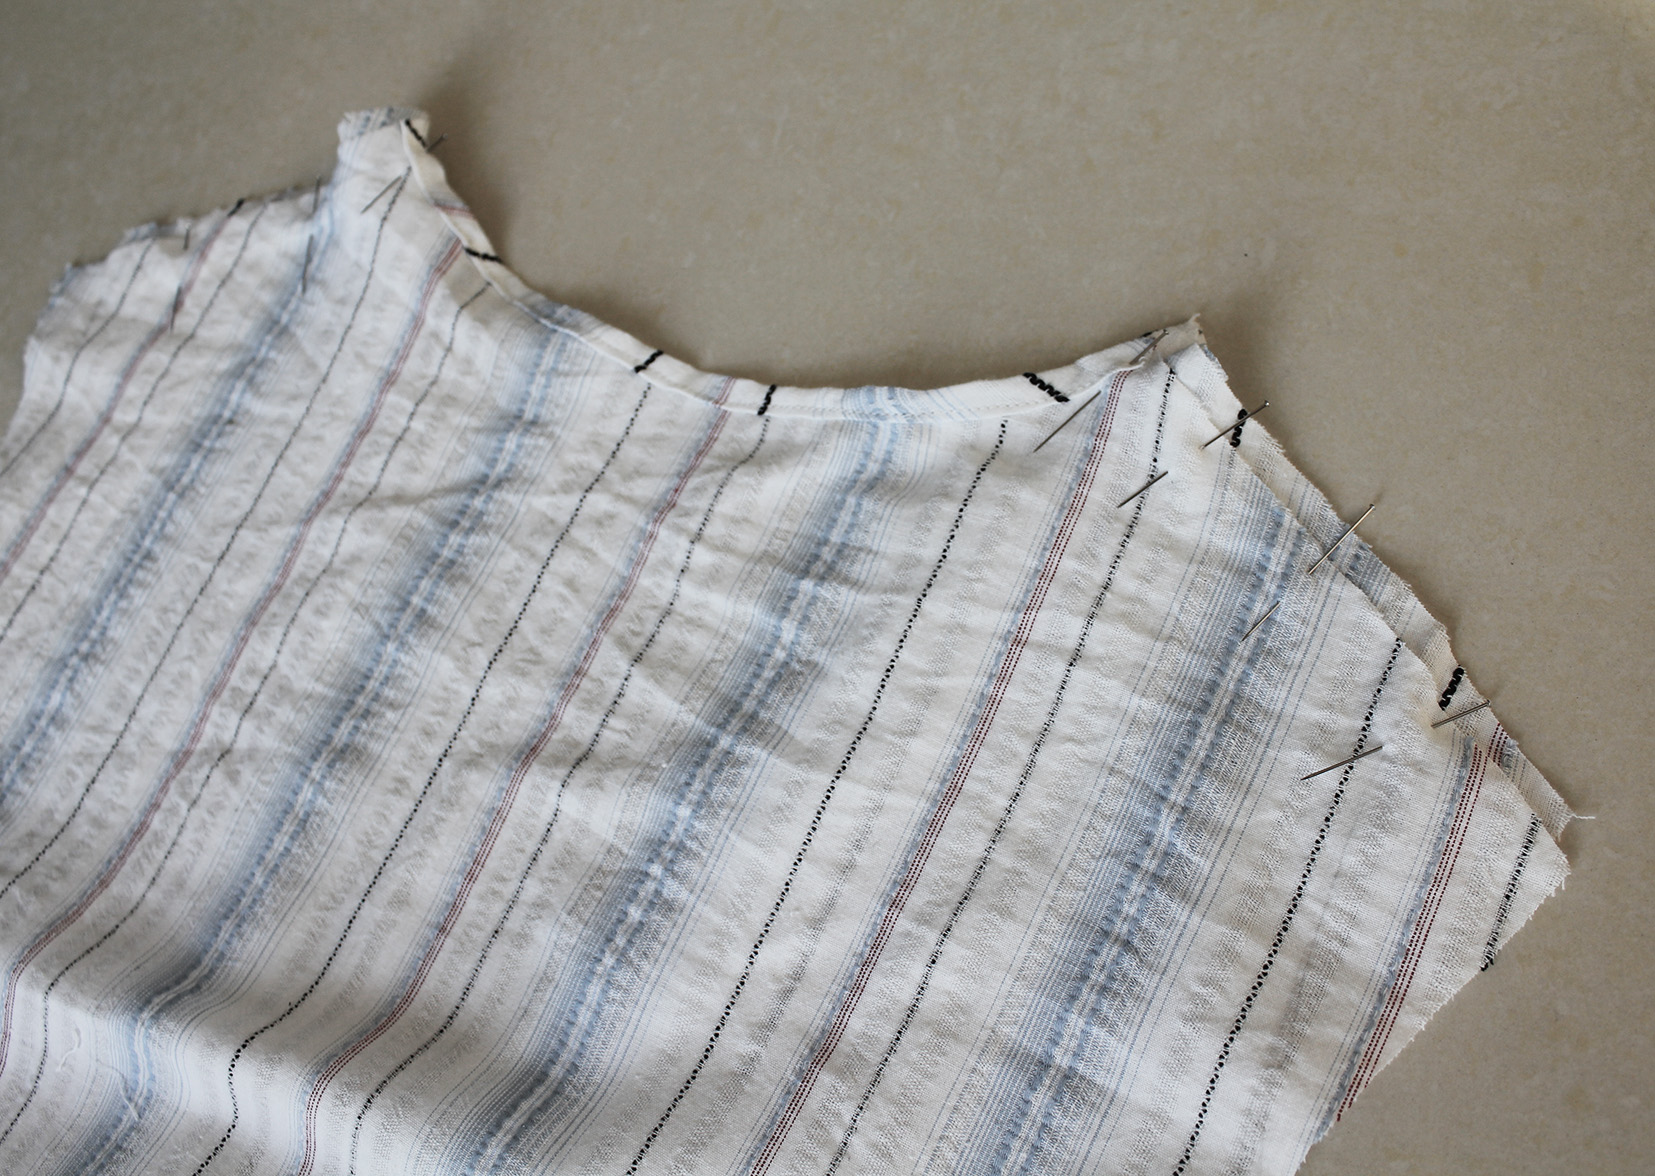
Add the lining piece, right side facing right side, leaving the loops in between. Pin in place. Sew a straight stitch along the edge, making sure you go at least 3 mm from the ends of the loops to secure them in place. You can reverse at each loop to make extra sure they're properly attached.
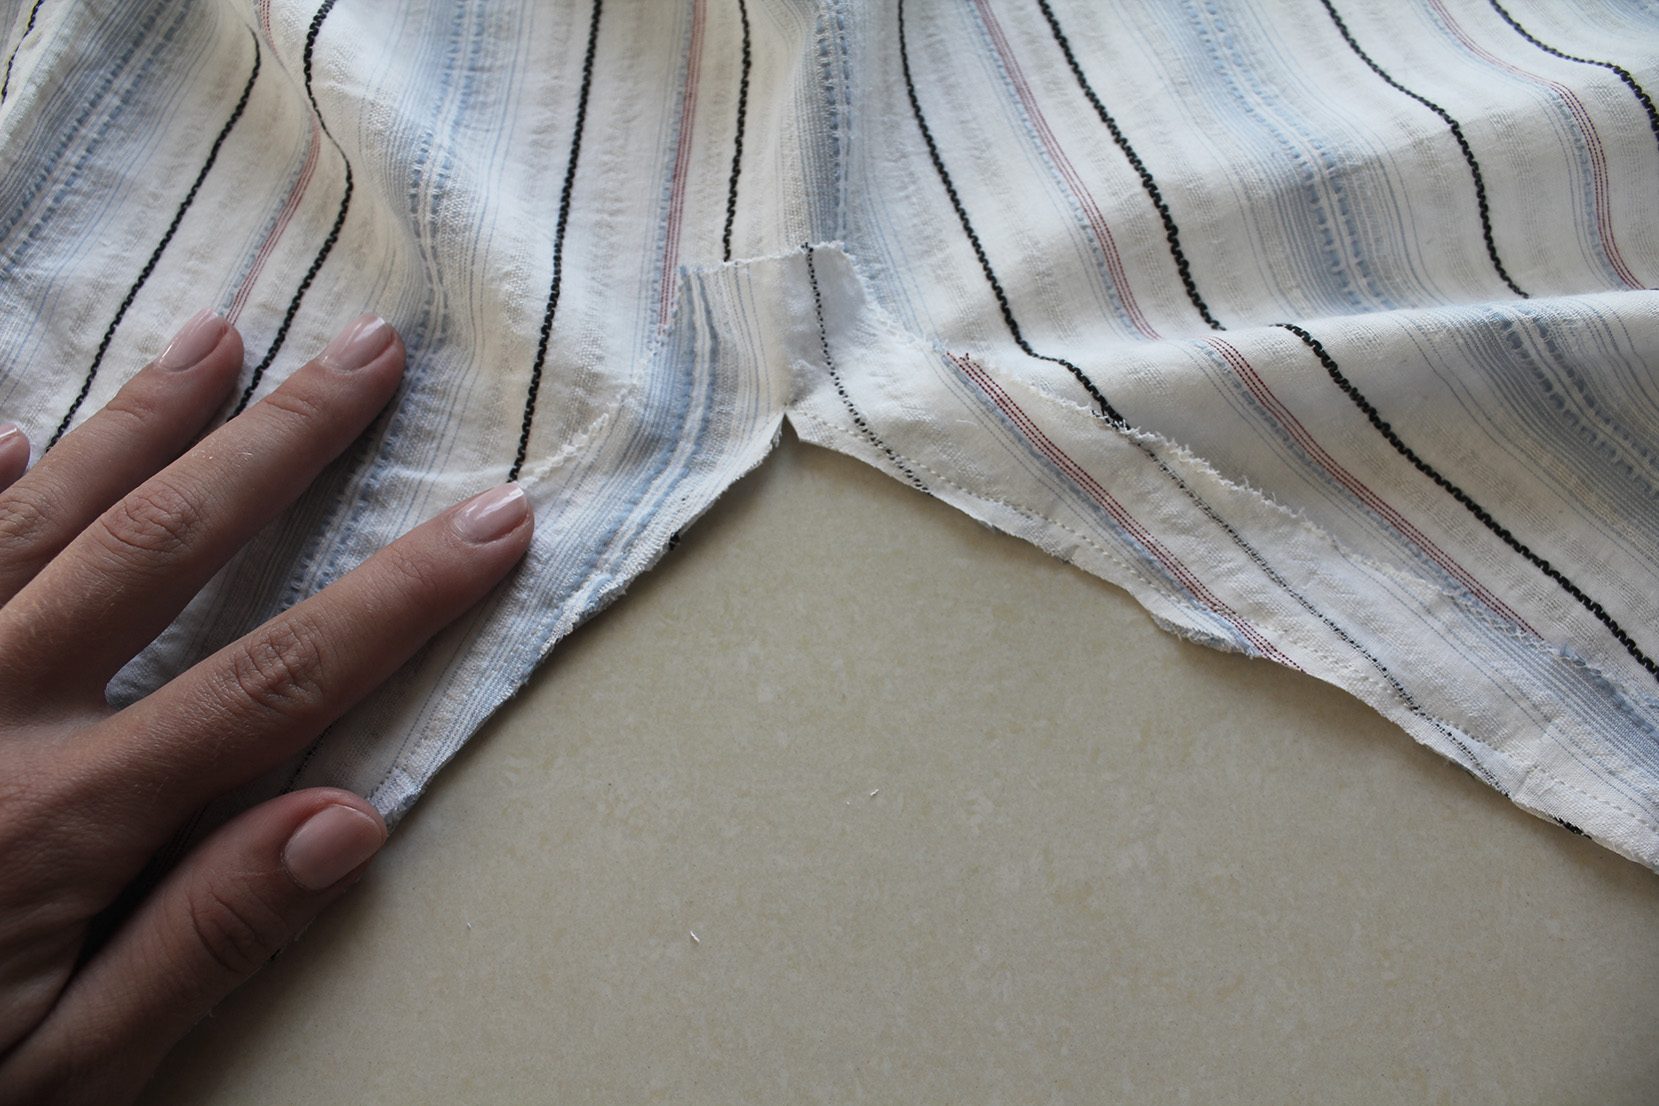
Notch the bottom of the V to remove tension, don't cut your thread.
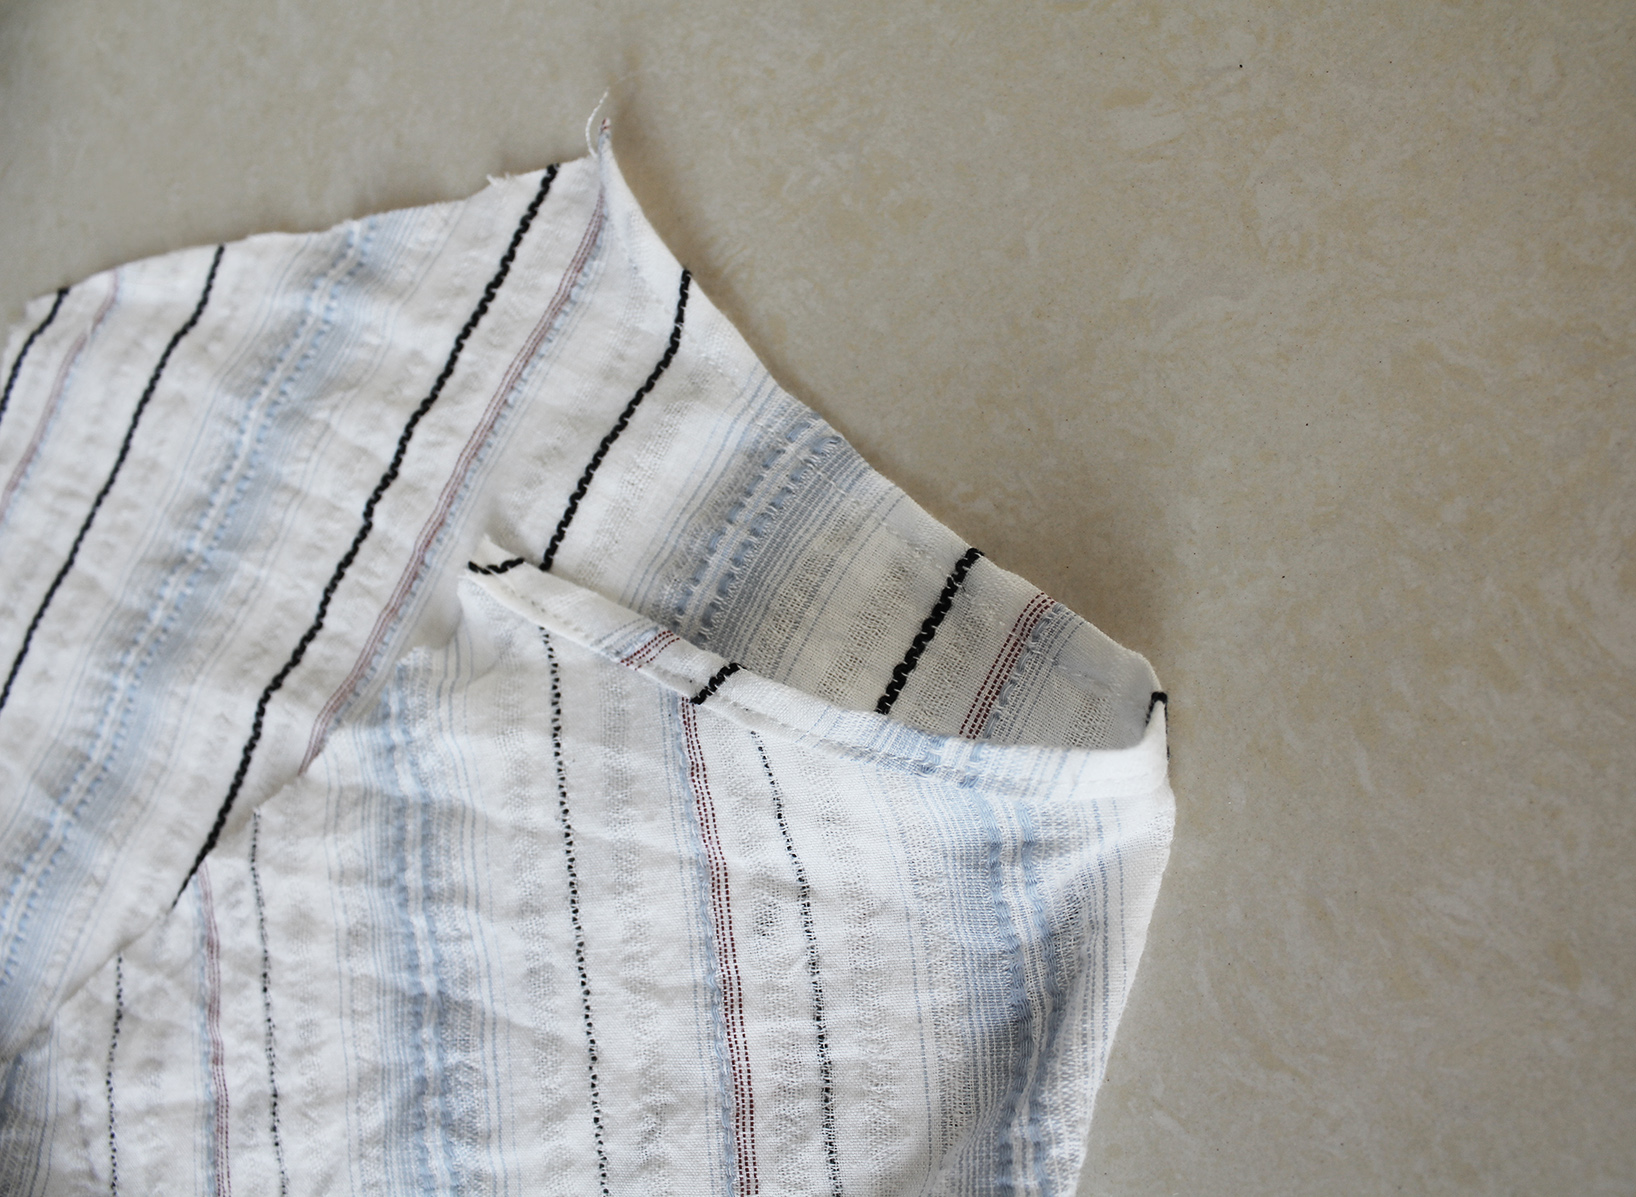
Flip the lining on the reverse side and press the seam, and it should look something like this.
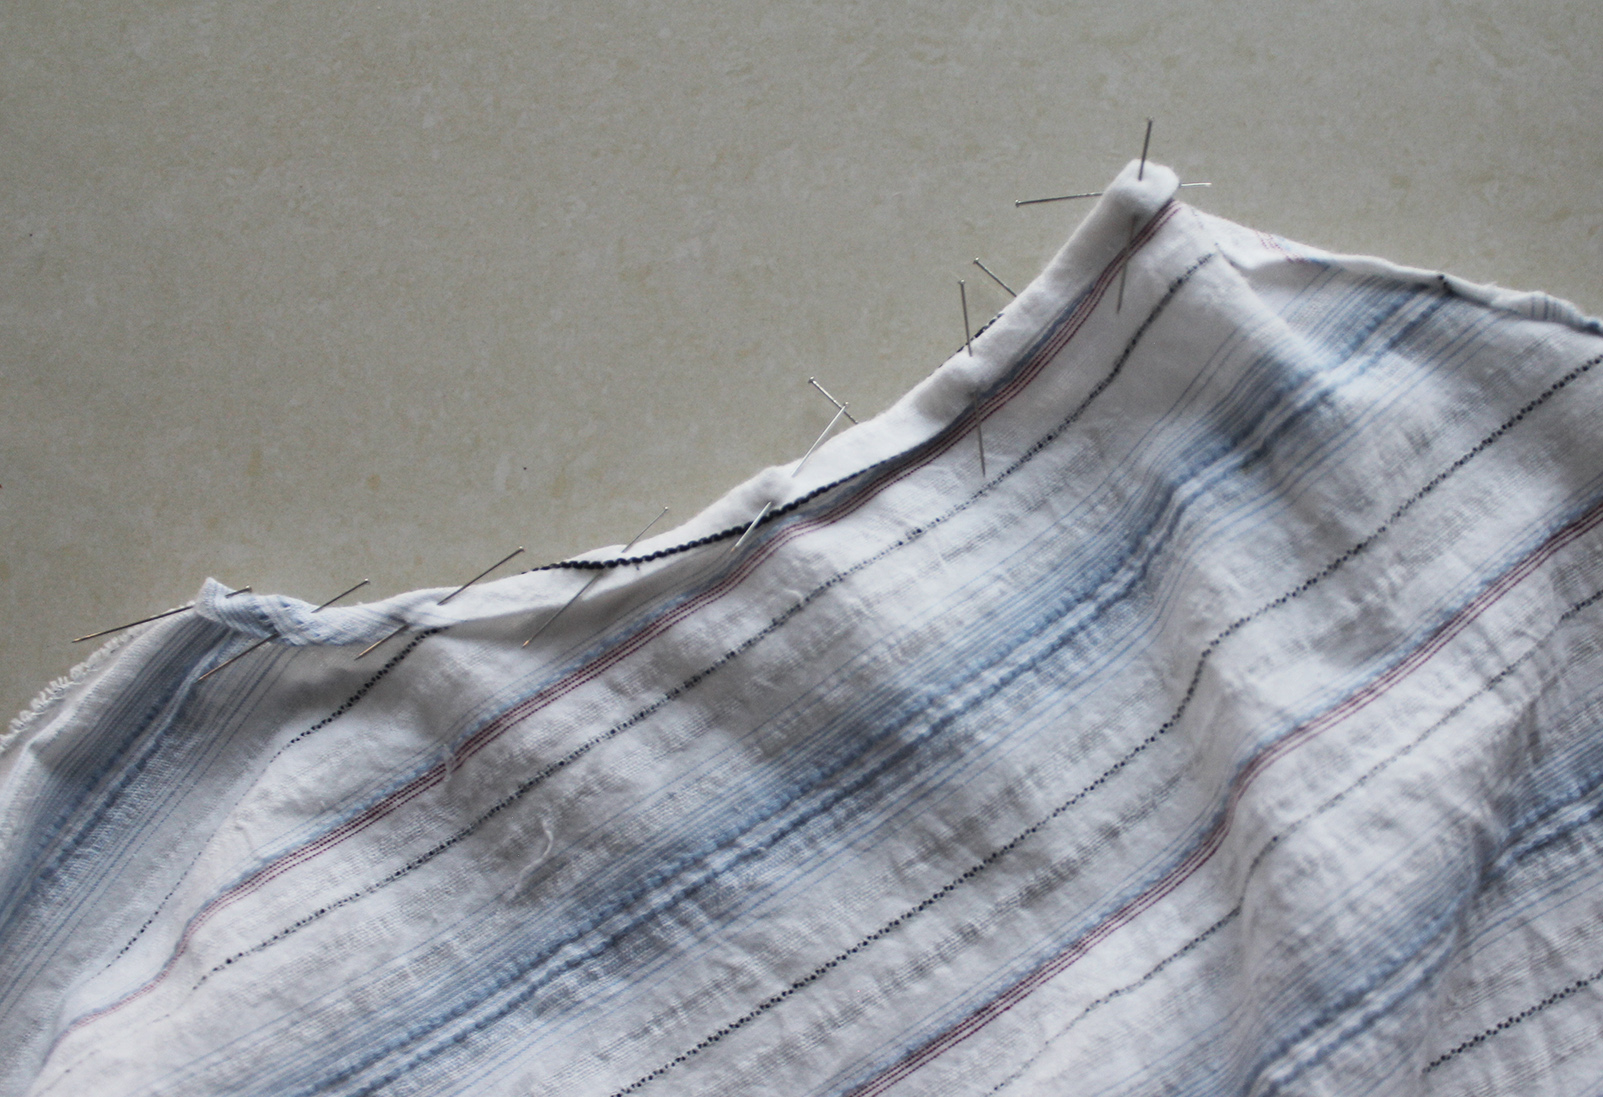
III. Finish the neckline of the back piece with a double fold & straight stitch to hold it in place, press (my fabric allowed me to do a double fold easily for the moderate curve here without puckering, if yours gives you trouble see step VII).
IV. For the shoulders I did a flat-felled seam.
V. Add some shape with a couple of darts for the bust area. After adding these I also hand-stitched the neckline lining piece in place to avoid it flipping over to the right side when putting the dress on.

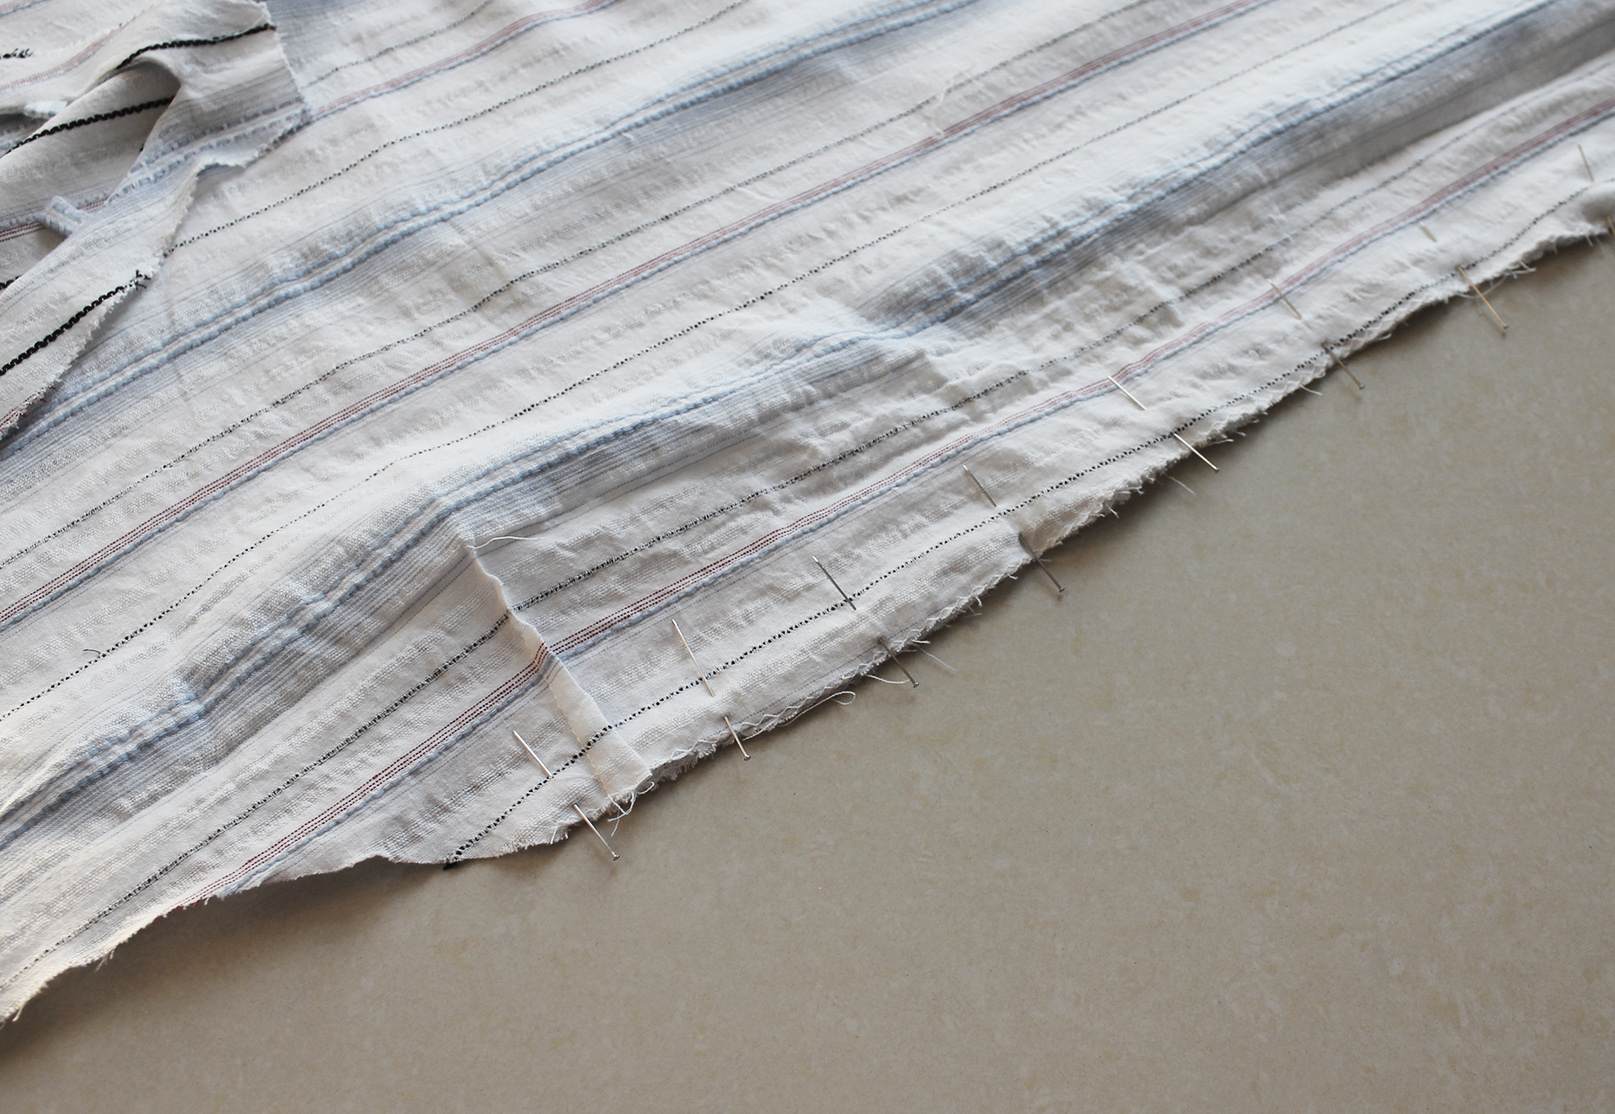
VI. About 70% done. Pin the sides, right sides facing, and sew down until the curve of the hem starts. Press the seam.
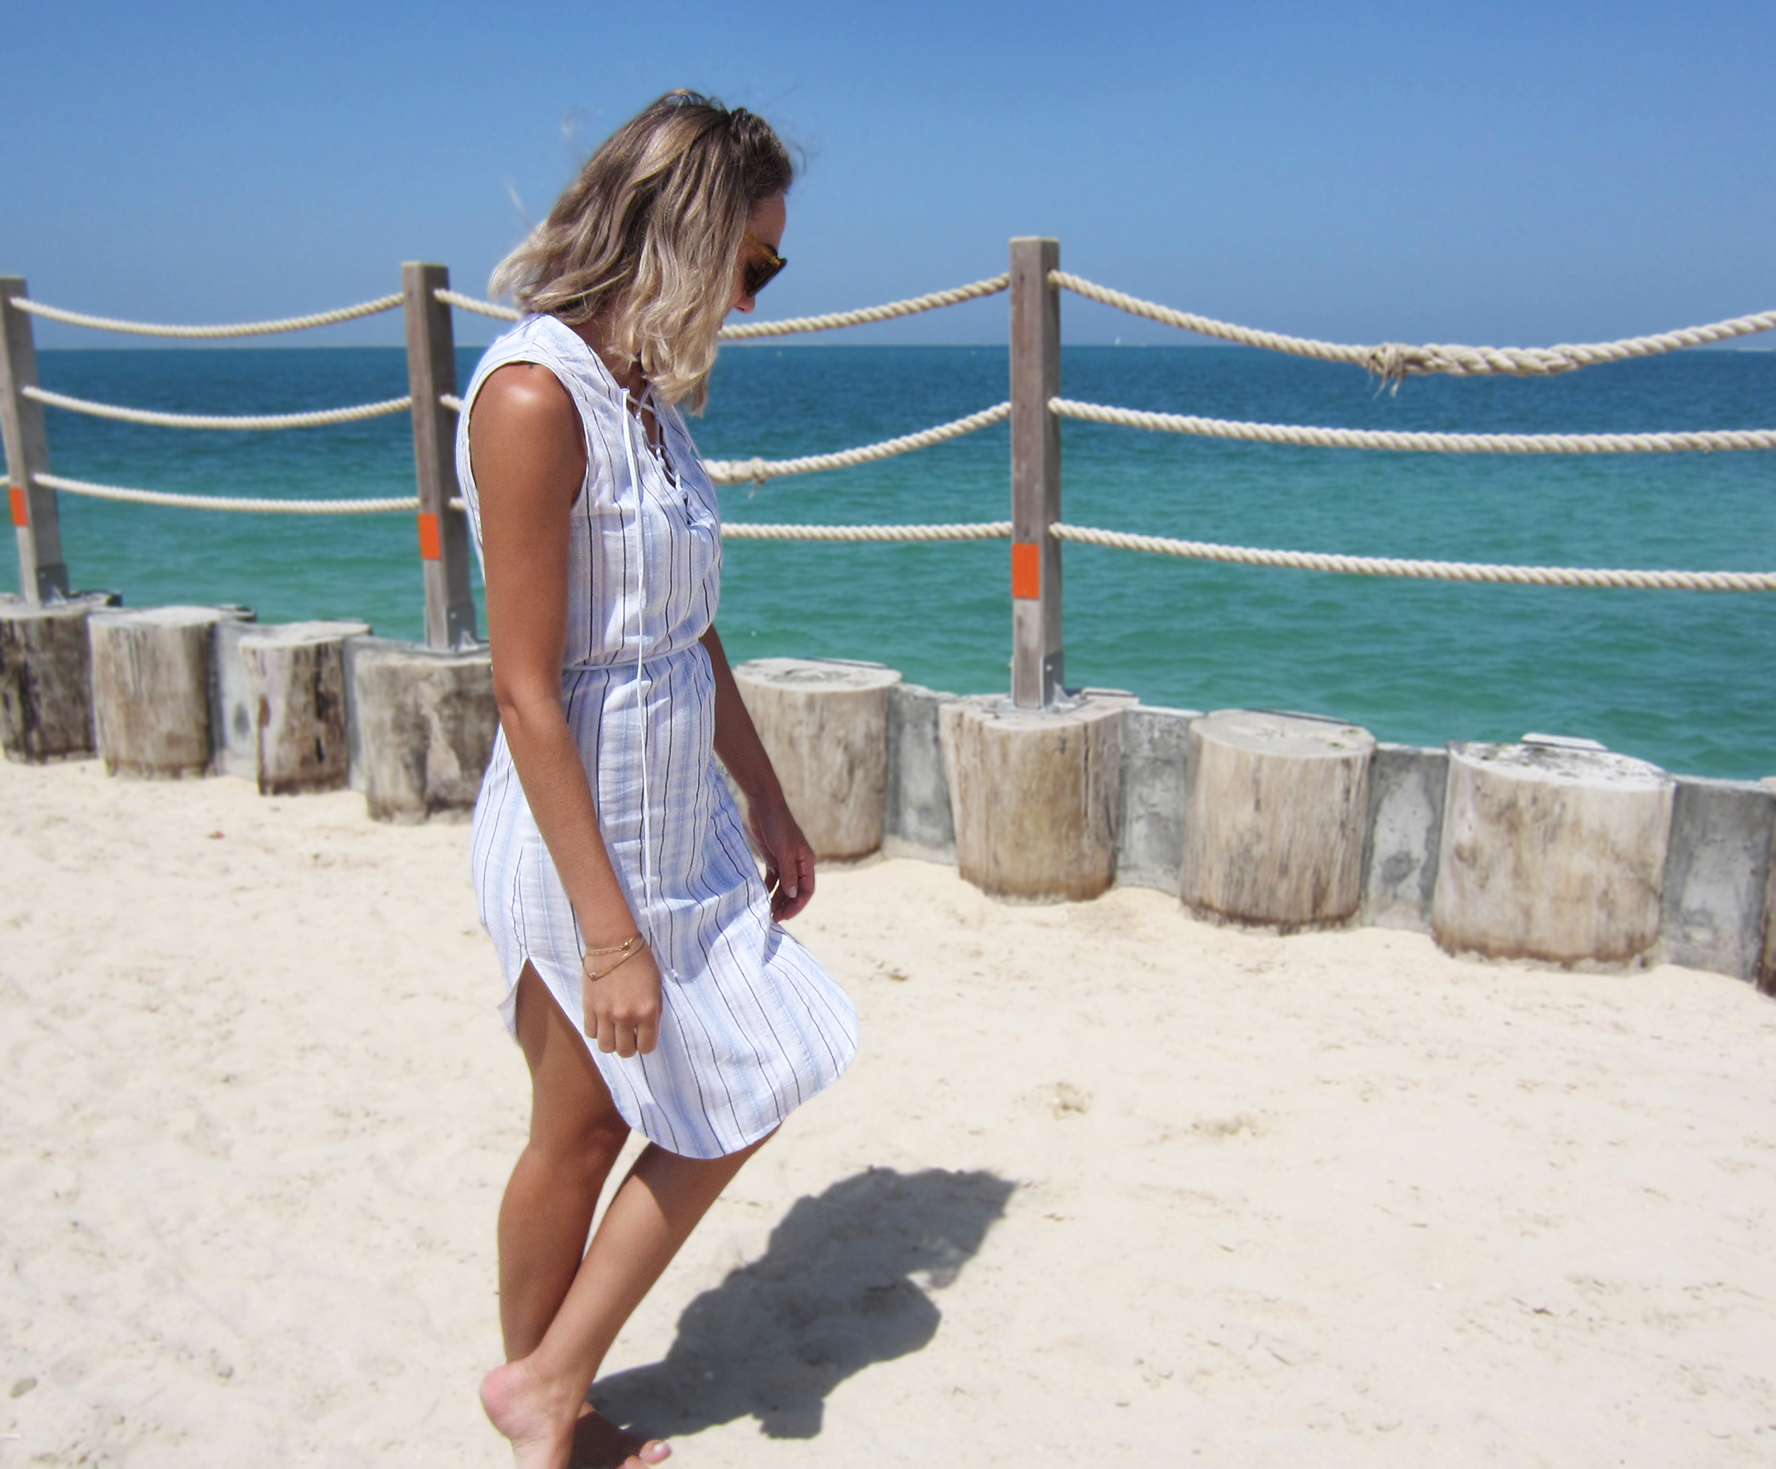
VII. I finished the arm holes and the hem of the dress with a double-fold. Seeing as these are very curved areas, I first cut little notches (about 3 mm) the entire way. This makes it easy to make the first fold (press with iron as you go along)..

.. And then fold again, pinning as you go. It makes it easier if you use a lot of pins as you fold the fabric, and then press with your iron before sewing. I had a lot of time on my hands when making this, so I slip stitched the arm holes and the hem by hand (I'm not into visible seams). If you wanted it easier, you could just machine-sew these finishes.
 VIII. Add your string:
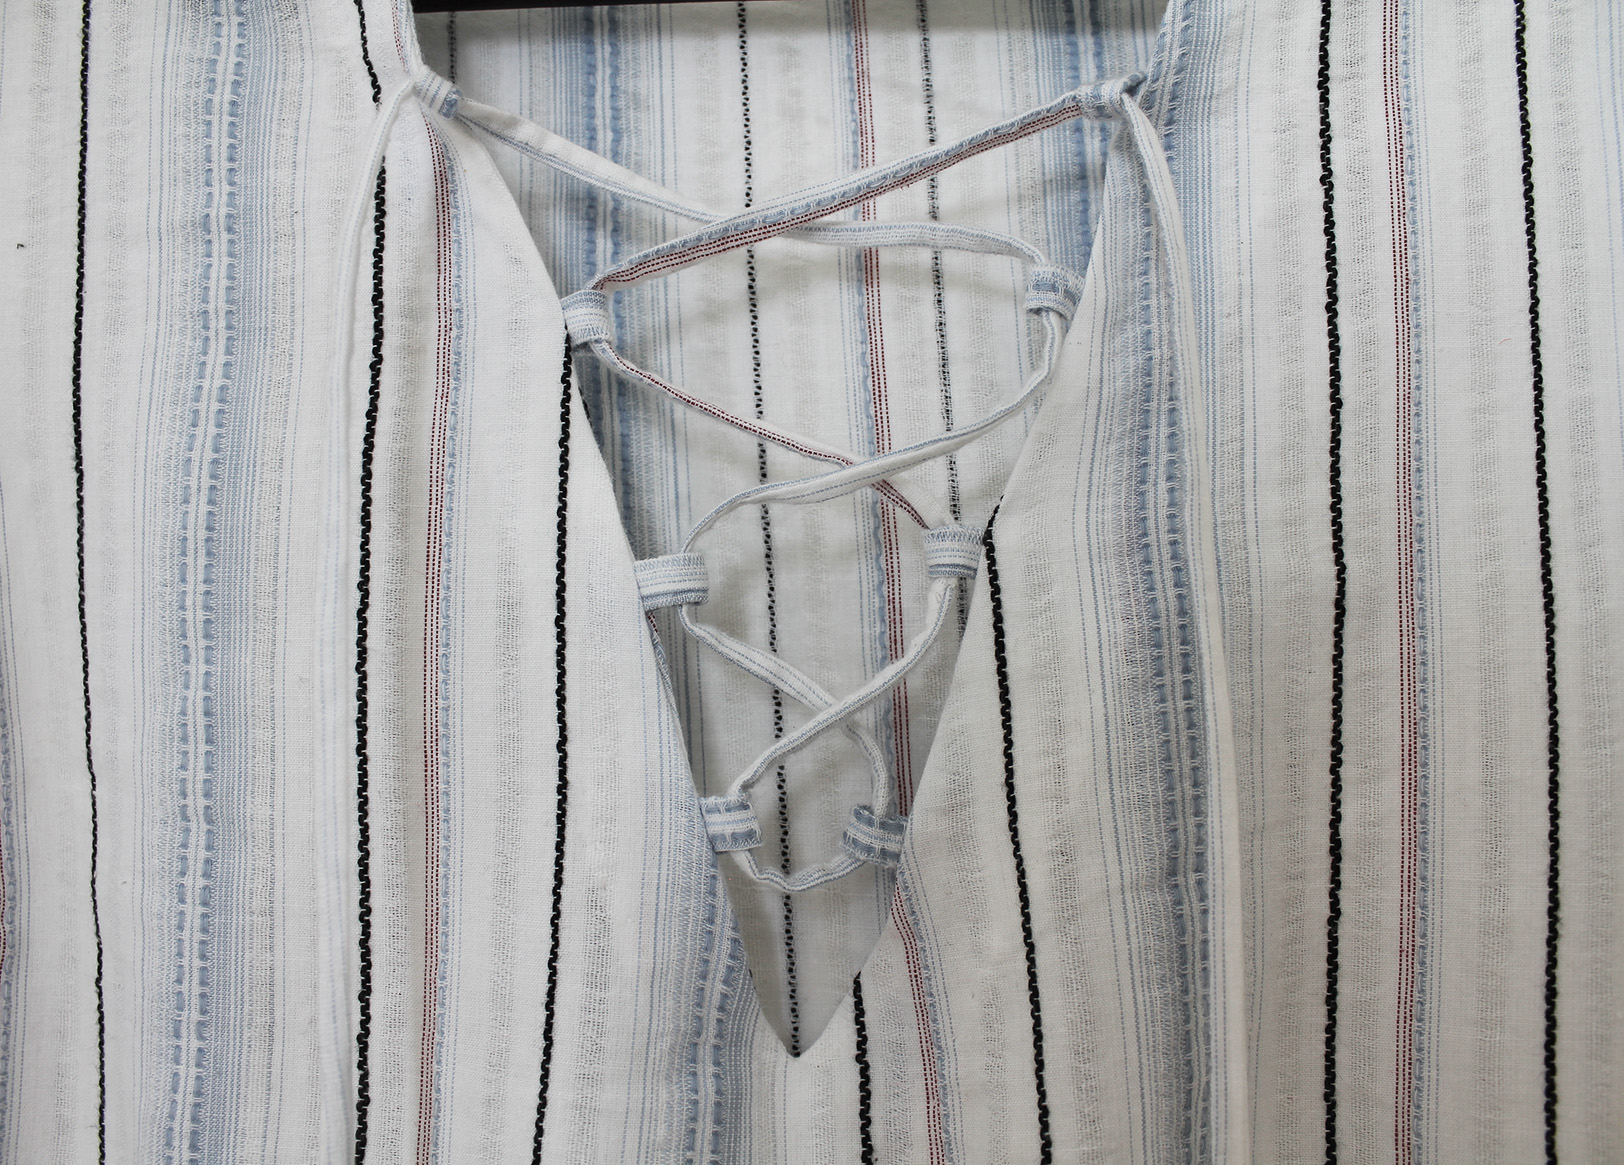
.. And use a couple of small pieces of your string to create belt loops on each side at the waist, if you'd like.
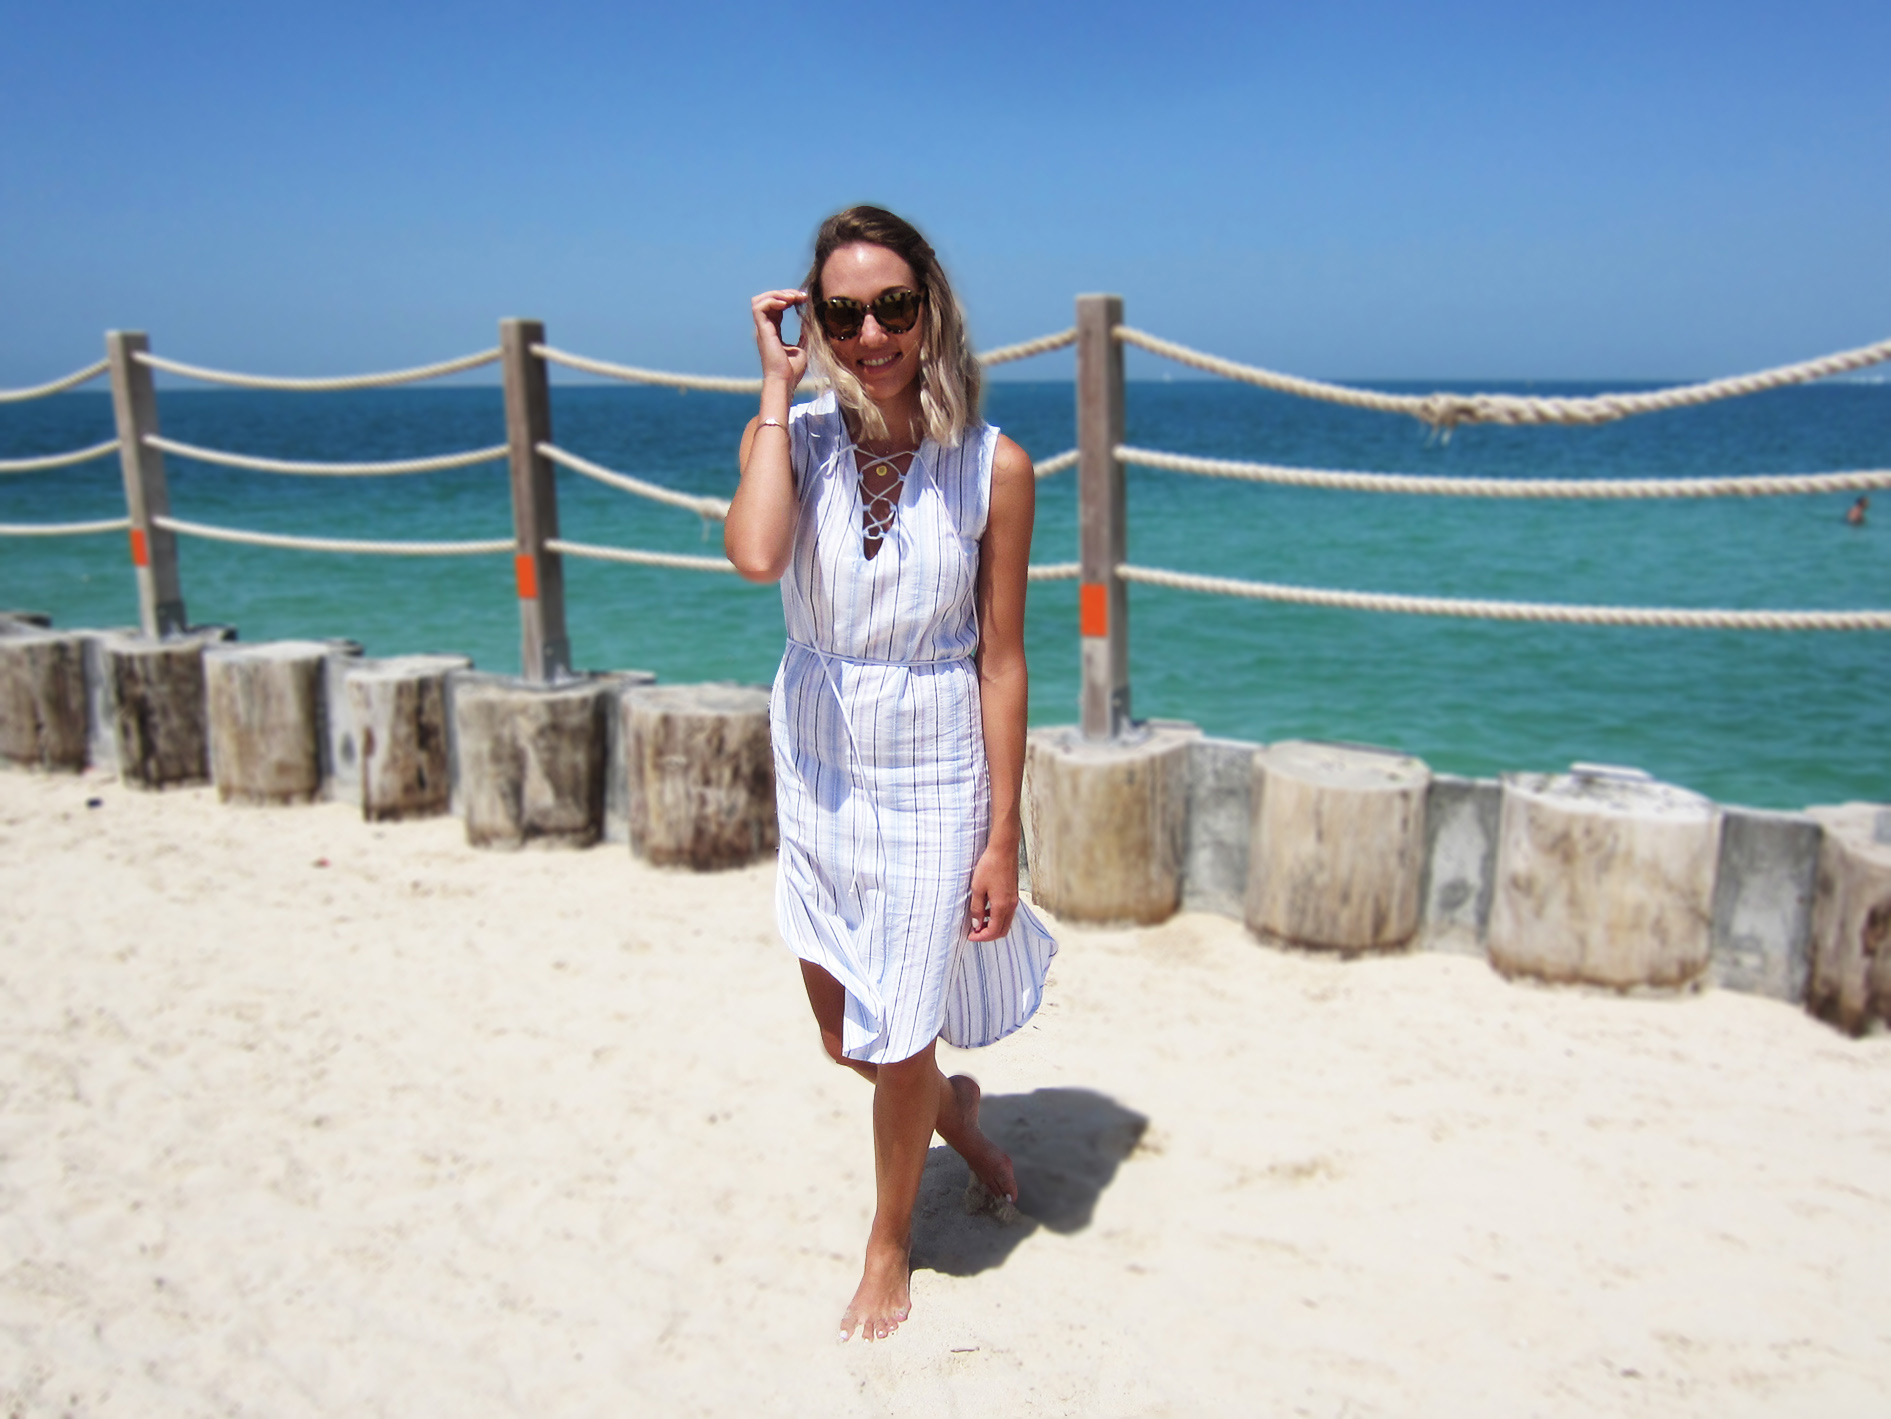
Beach time!
 xo,
xo,Julia


0 comments:
Post a Comment
I would love to hear what you think and learn about your DIY adventures! If you use one of my tutorials, tag me on social @contour_affair, I'd love to see!