

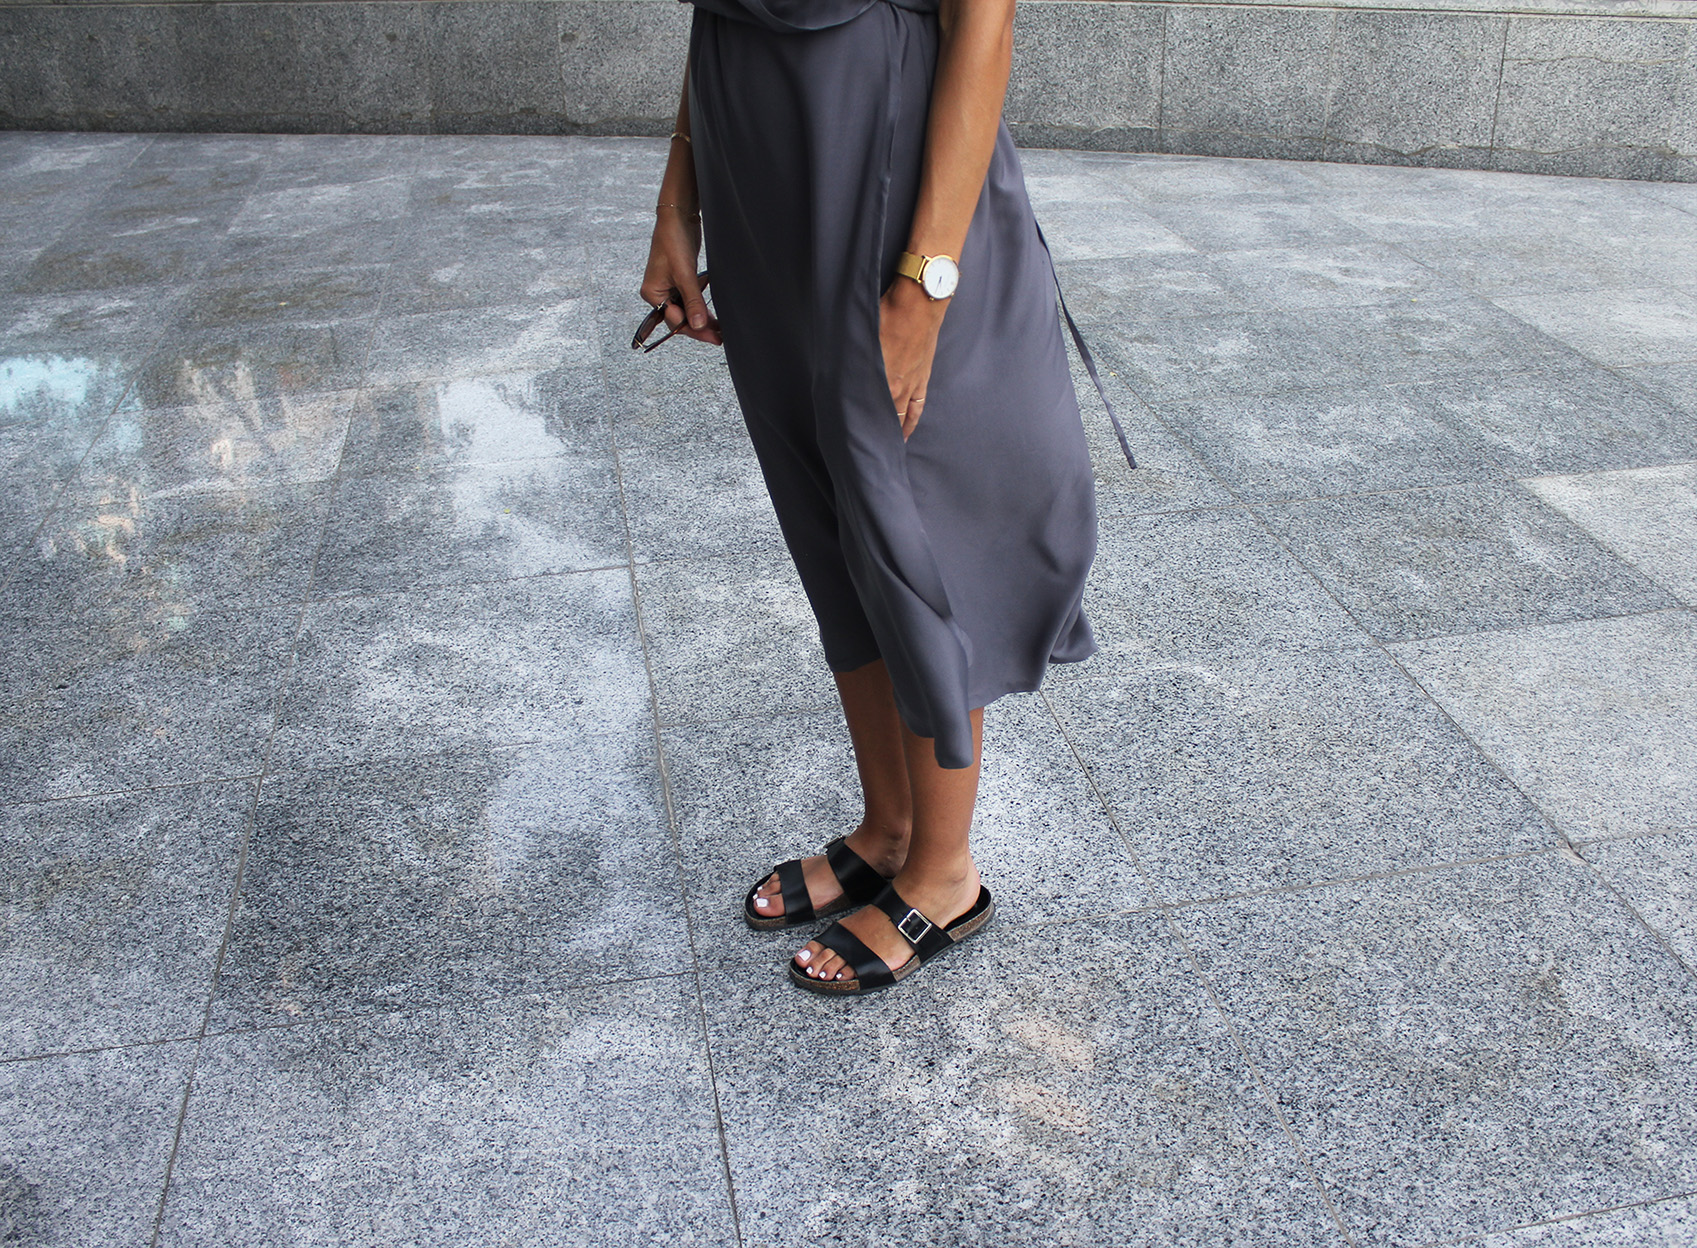
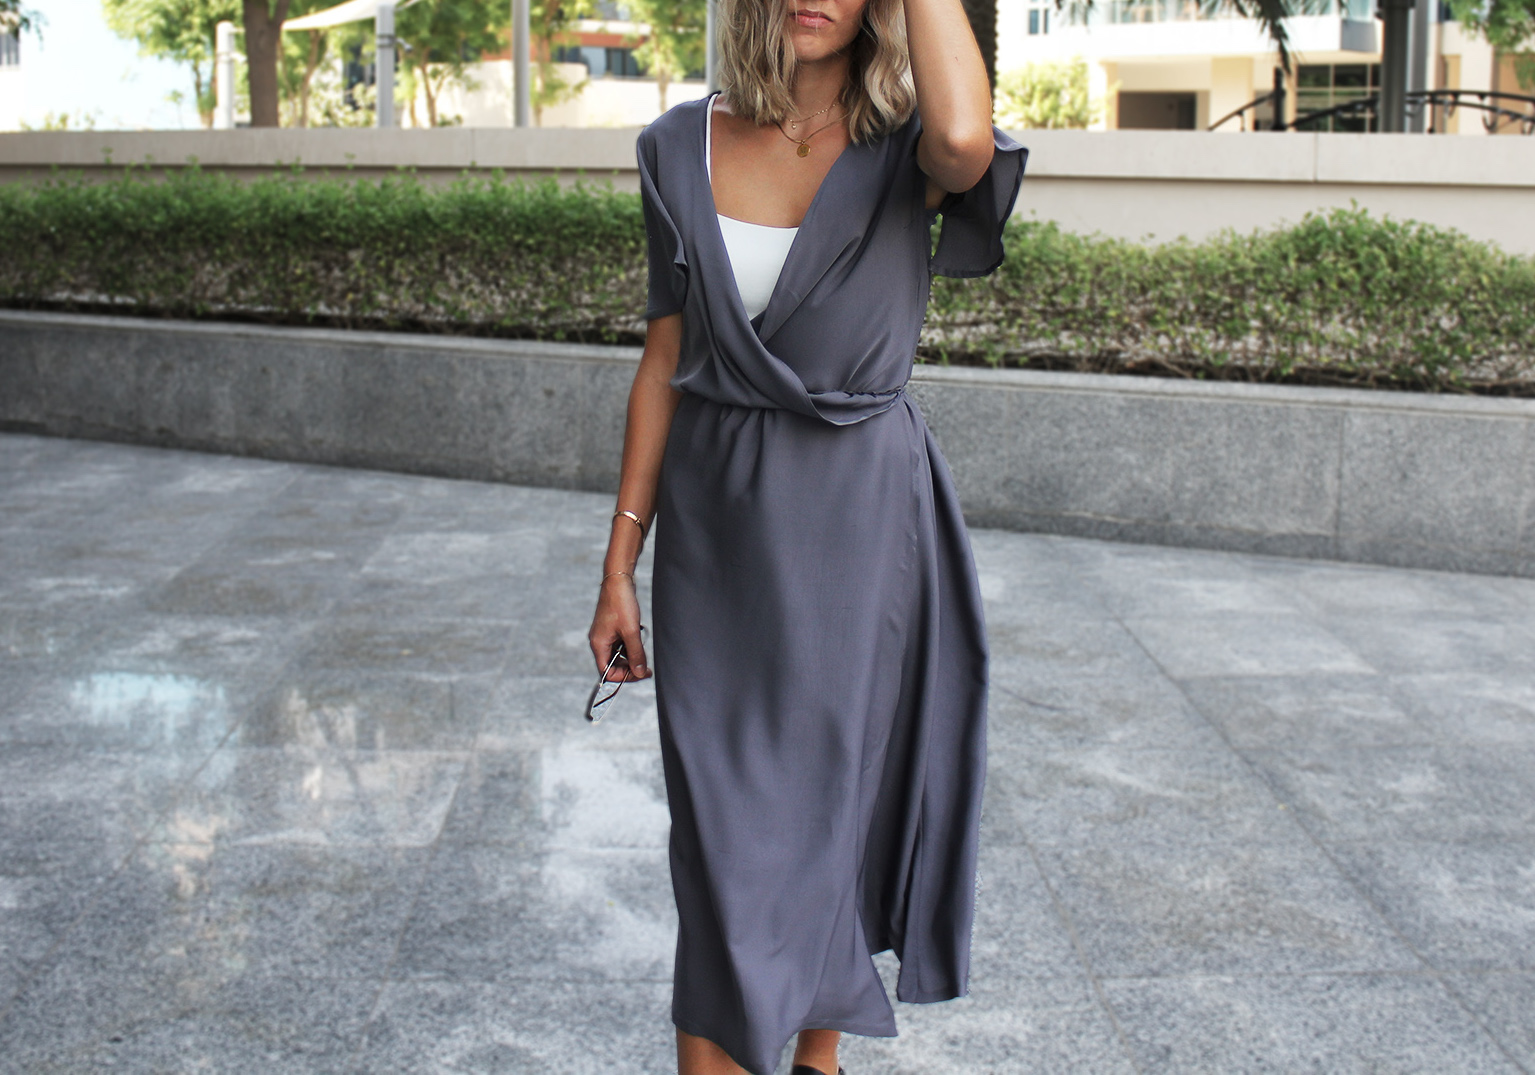
One of the best ways to know something is a sustainable, worthwhile addition to your wardrobe is when you find yourself thinking you'd have the perfect thing to wear if only you had that one thing, over and over again. I've had the image of this Finders Keepers jumpsuit in my mind for about a month now, so I was convinced it wasn't just a fling. I went for a loosely inspired dress version, pants seemed too effort-heavy today.
Tutorials take a lot of time & effort to create, and I choose to make mine available for free. If you enjoy this guide, you can support me with a donation that feels right for you, here.
TOOLS:

Flowy fabric (I used silky crêpe), 3 m | Fabric marker | Thread & sewing machine | Scissors | Pins | Approx. 2,5 m of string/ribbon or a shoelace/similar if you want to make your own string for the belt
I. Cut and zig-zag the edges of your pieces. Measurements here are good for a dress sized S/M (since this is a wrap dress the size is pretty flexible). For the skirt:
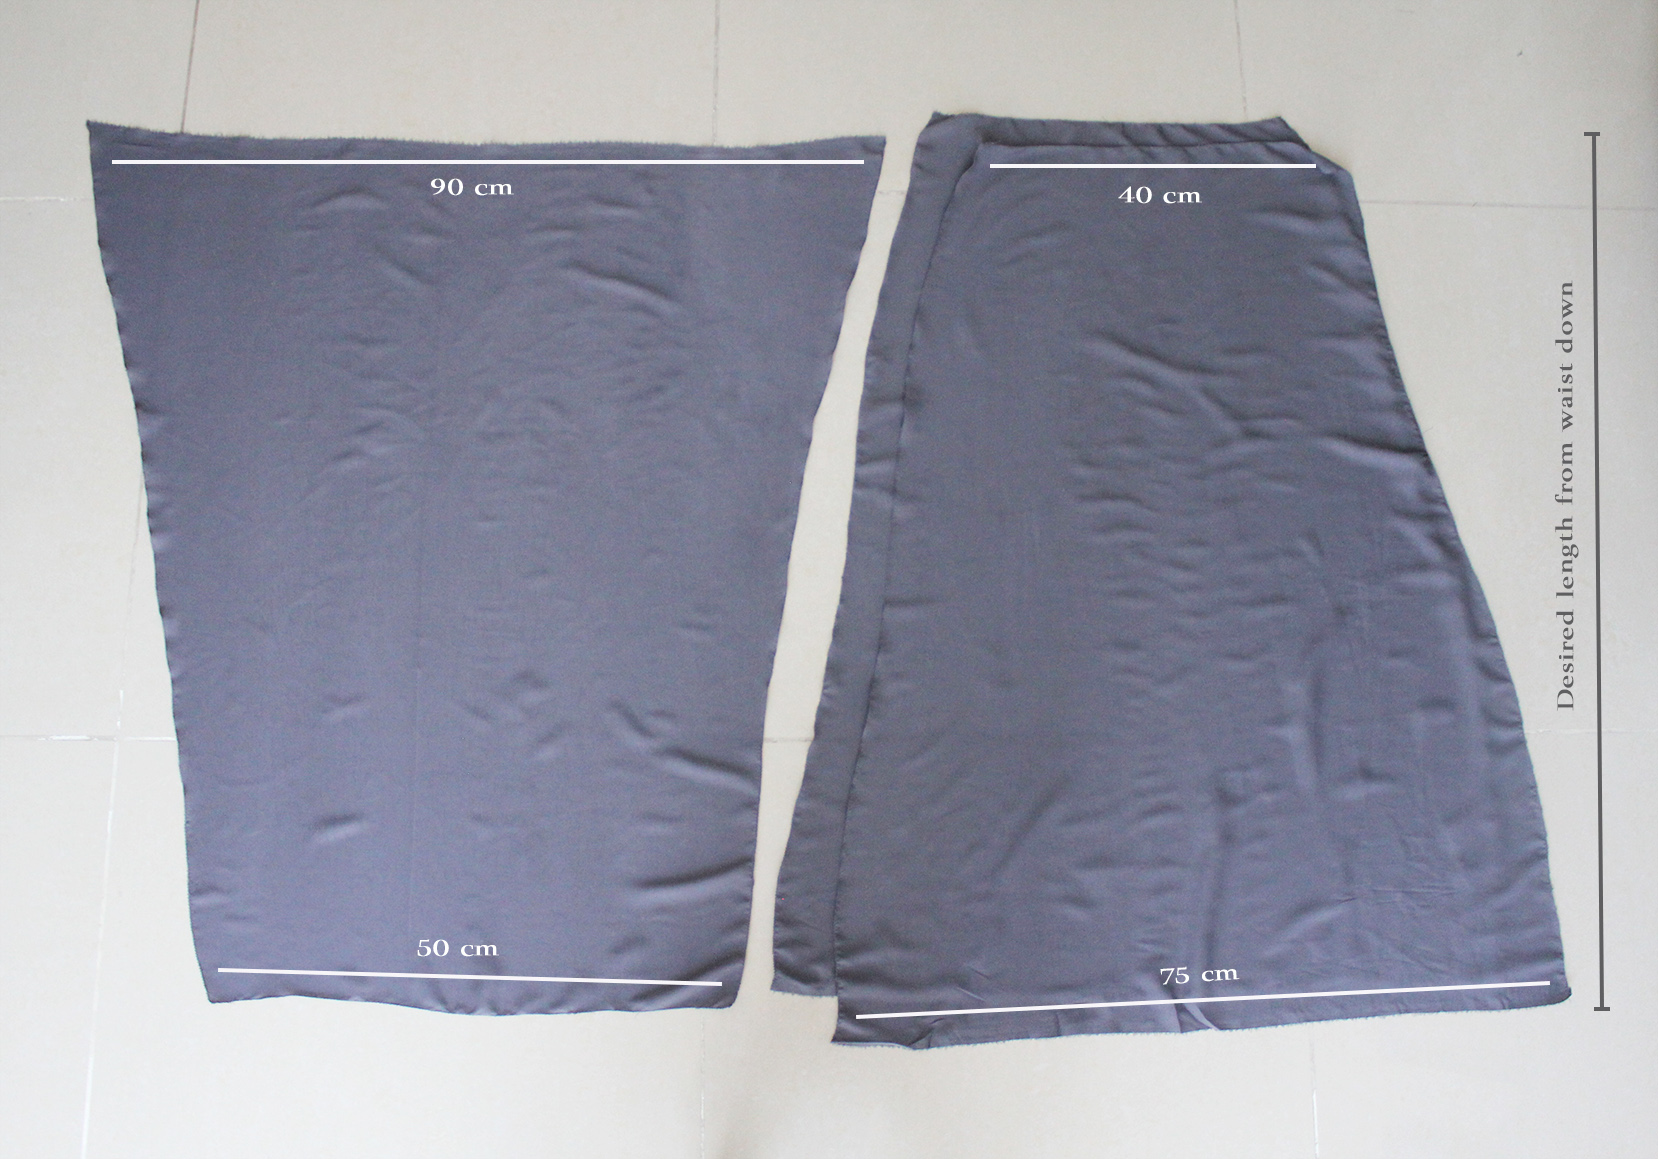
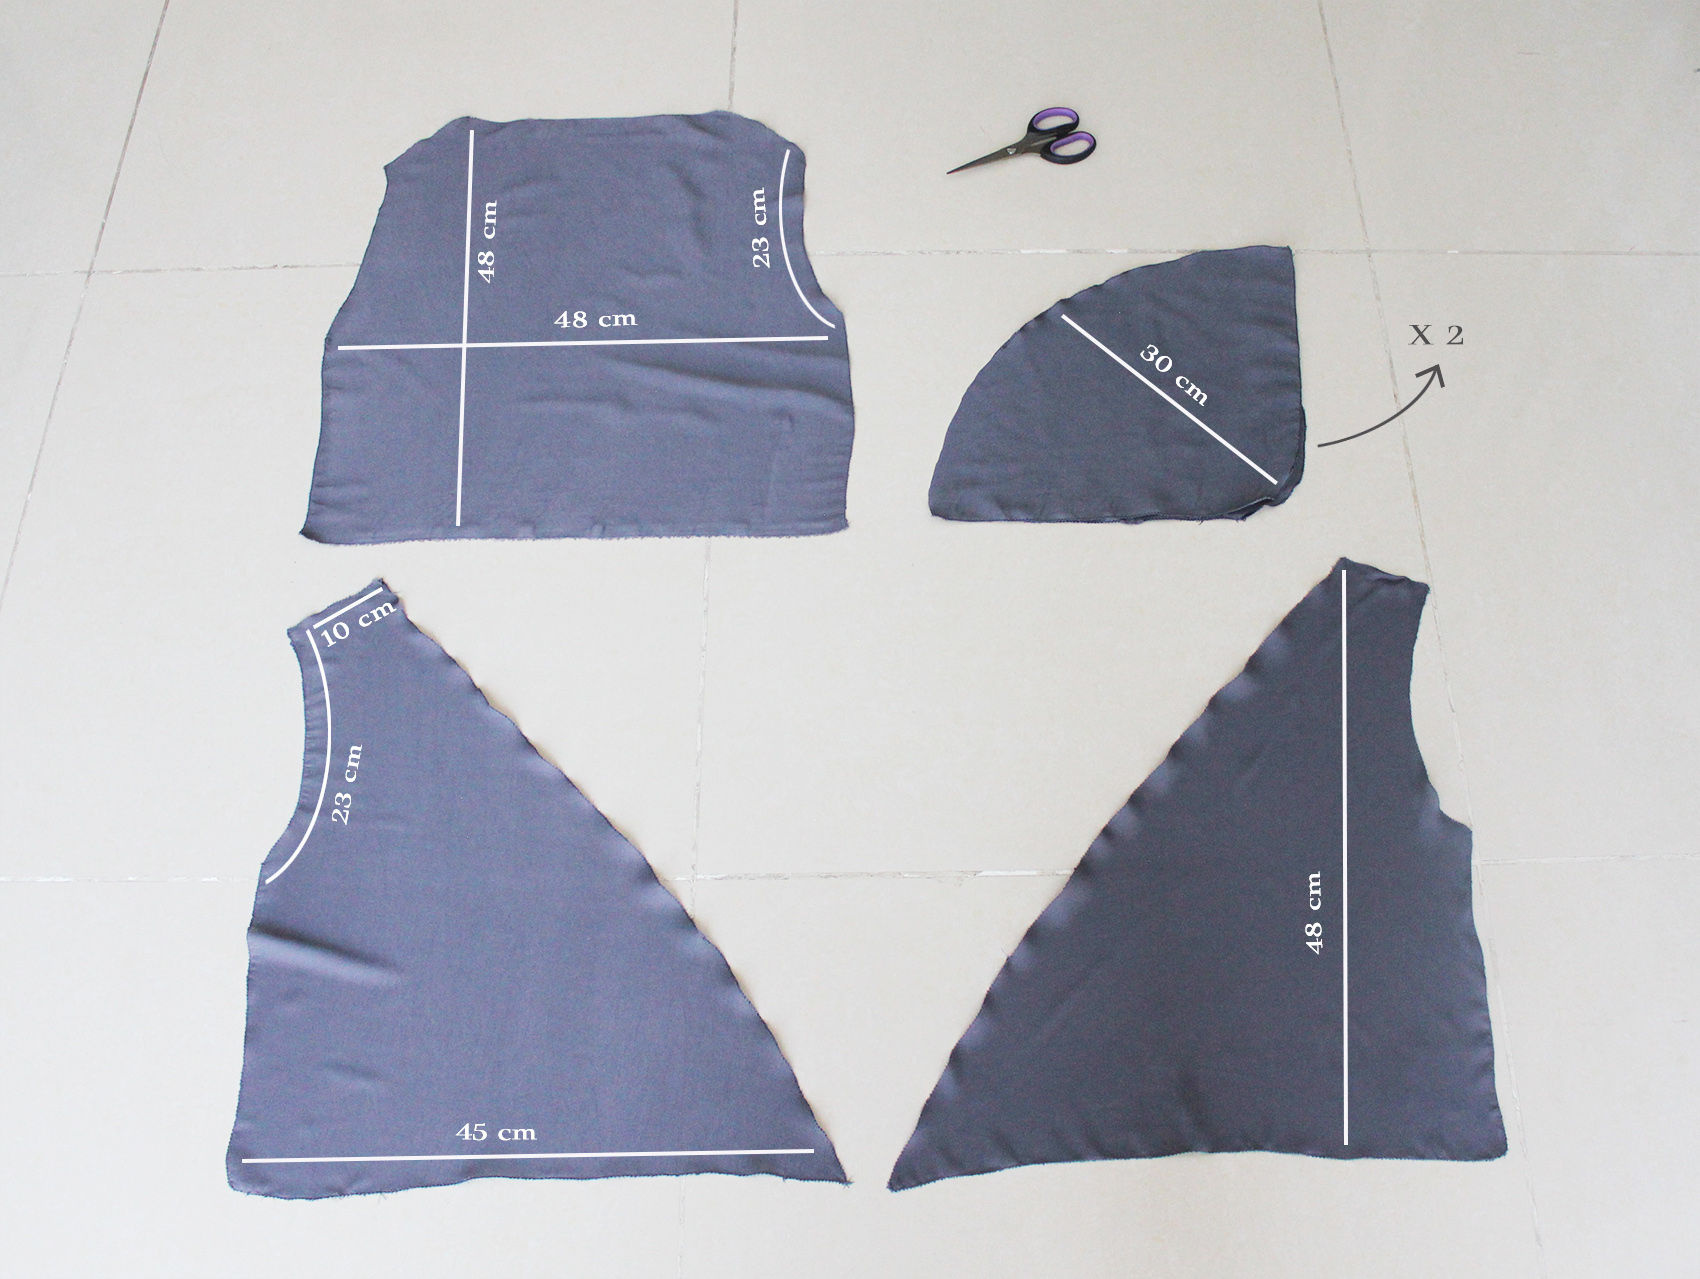
And for the top (note you need two of the sleeve pieces, or if you want to go sleeveless, just ignore them).
II. Place the skirt piece sides together, right sides facing, so the largest back piece in in the middle and the two front pieces on its either side. Pin the sides, and sew a straight stitch about 0,7 cm from the edge. Press the seams open.
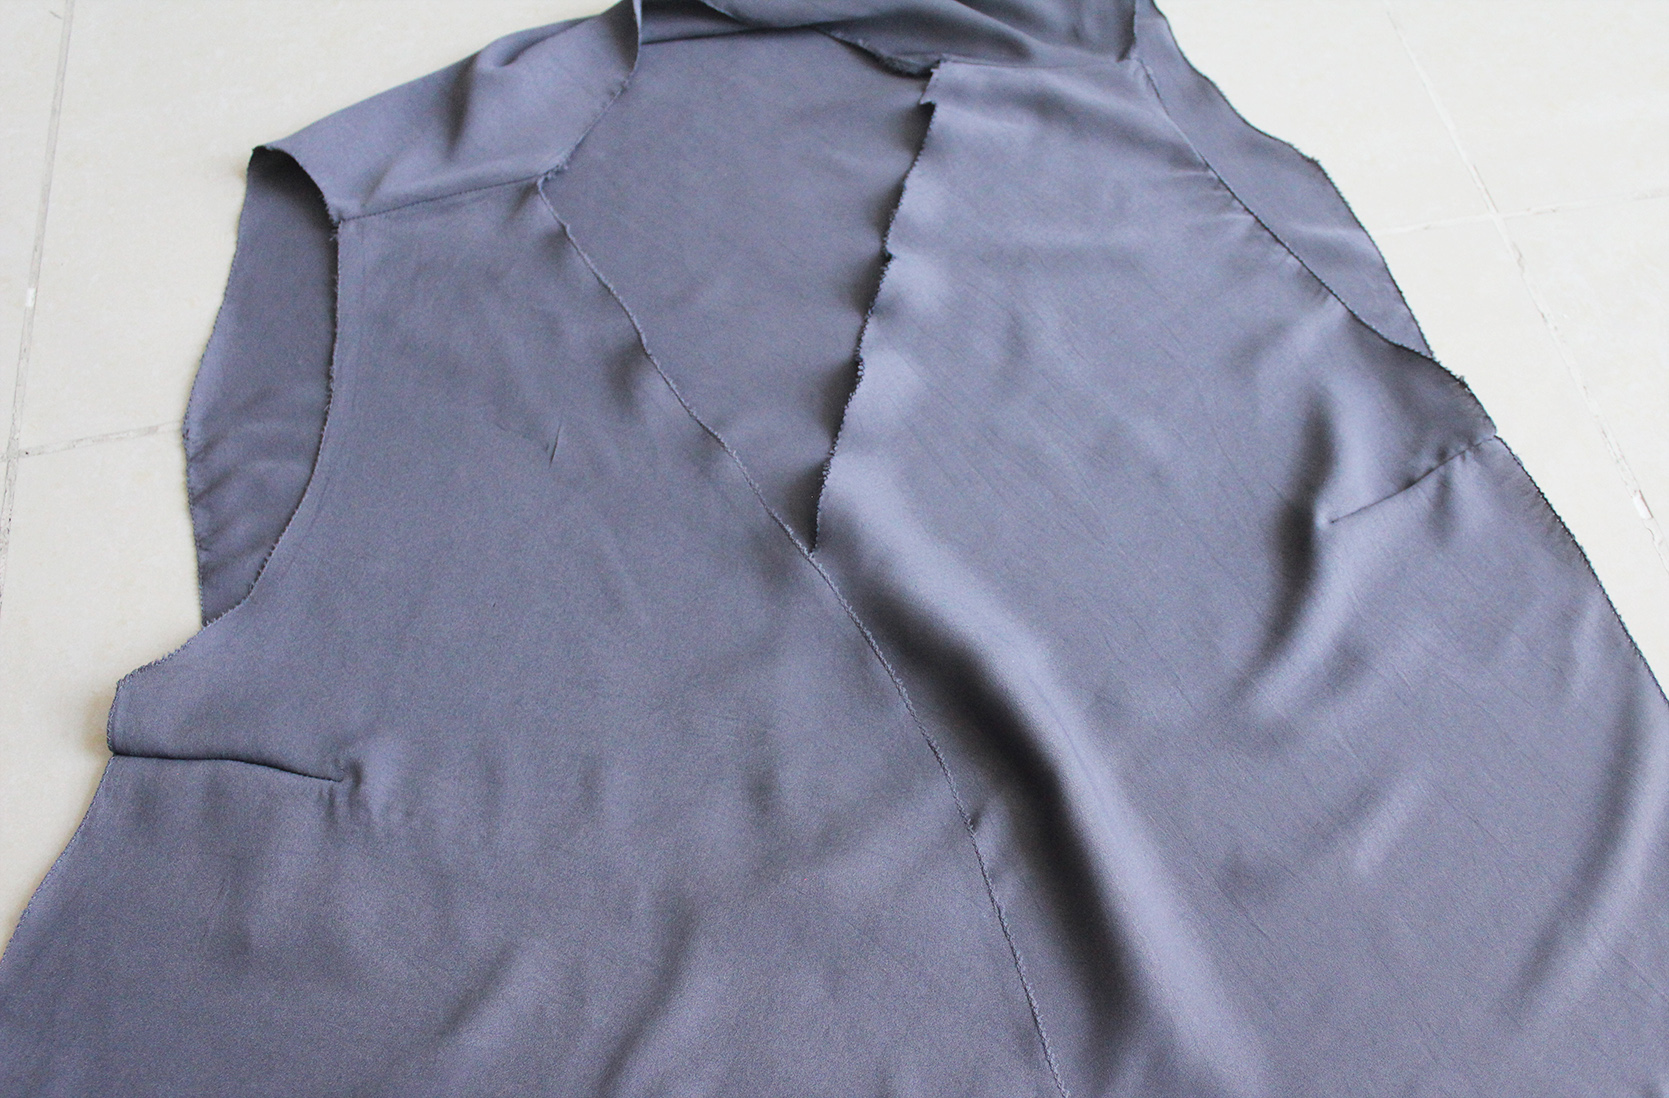
III. Pin the top shoulder lines together, right sides facing, sew and press the seams.
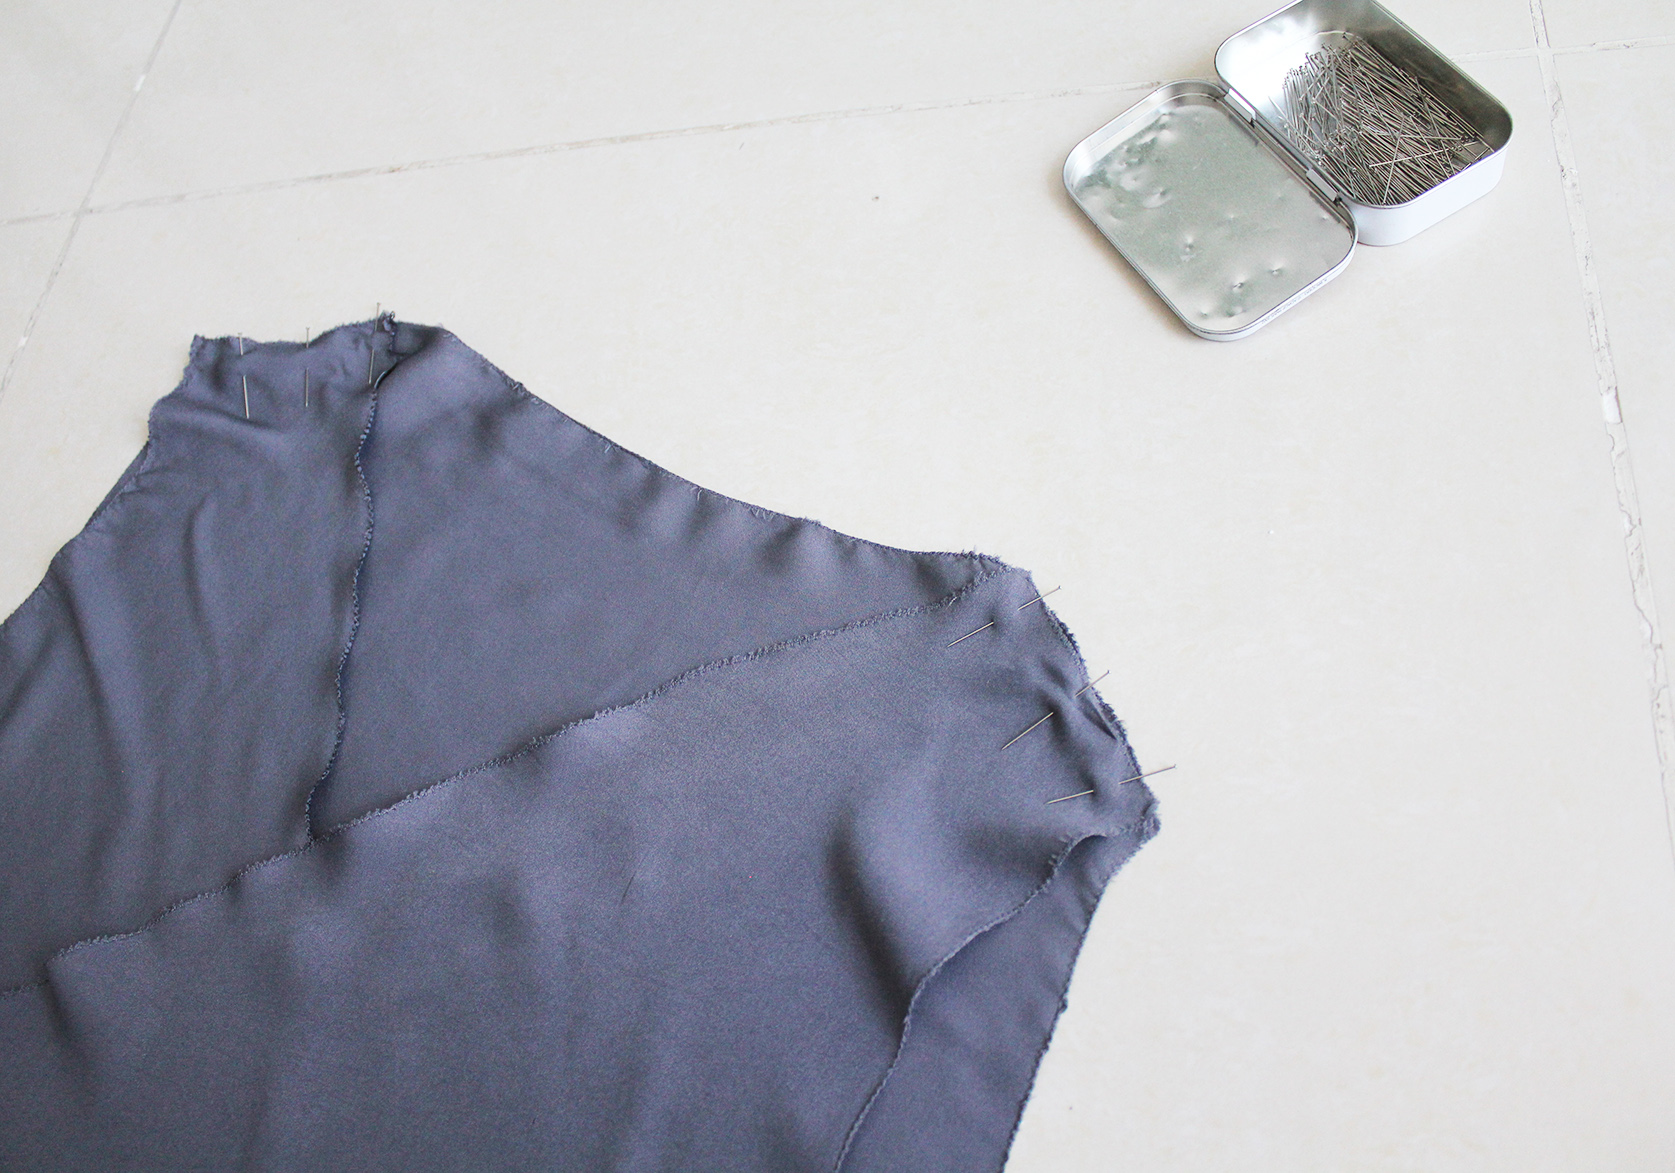
At this point I also added small darts to the bust:
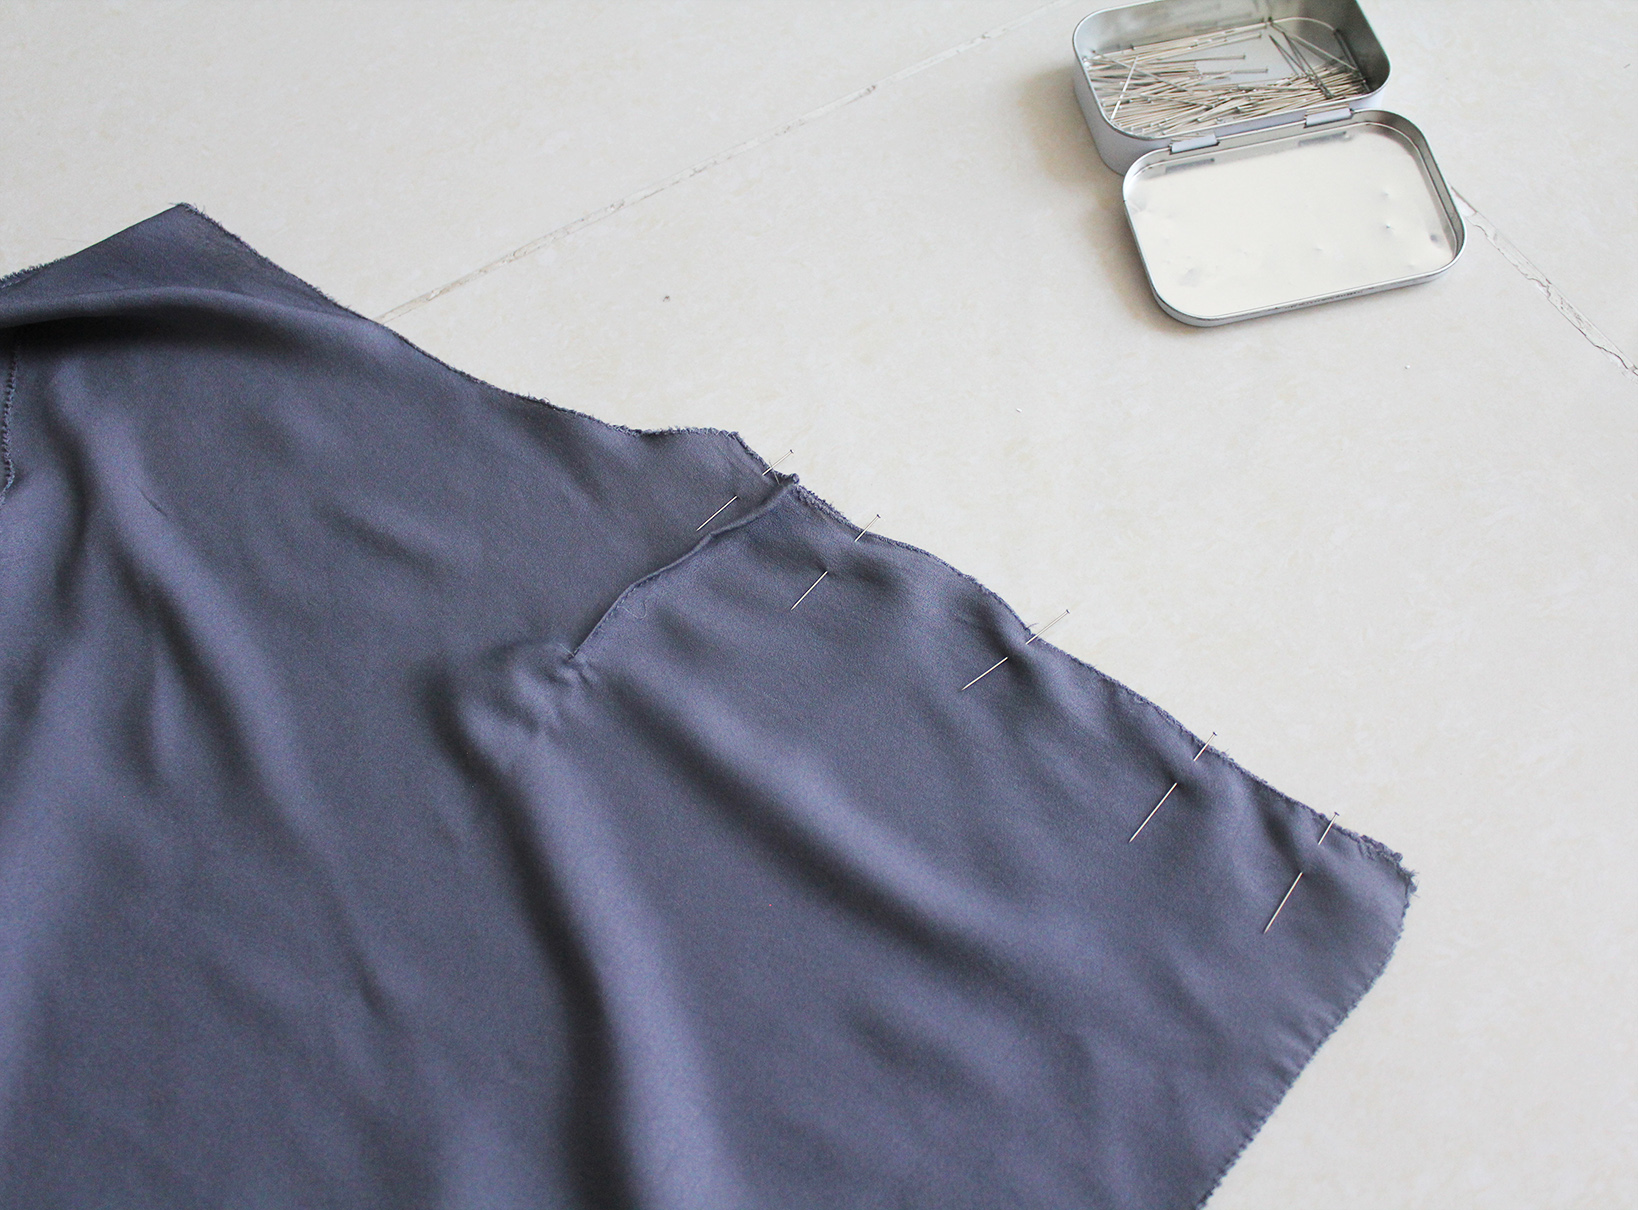
IV. Pin the sides of the top, right sides facing, sew, and press the seams.
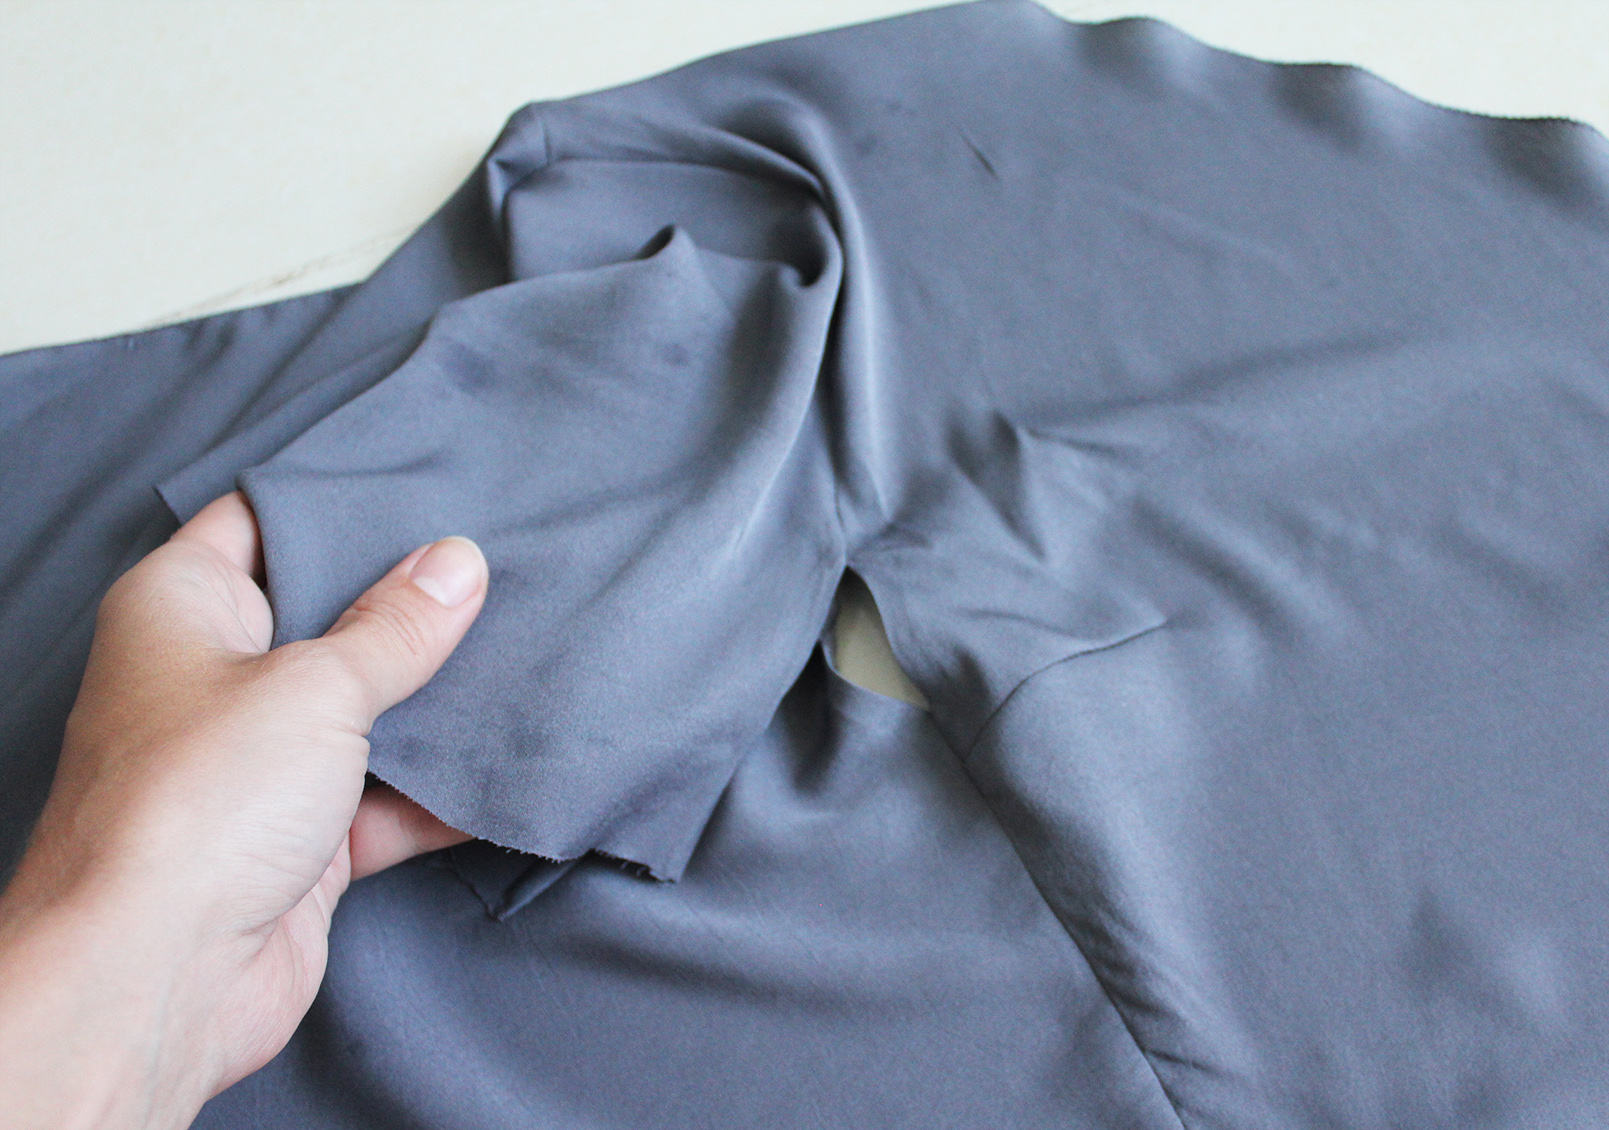
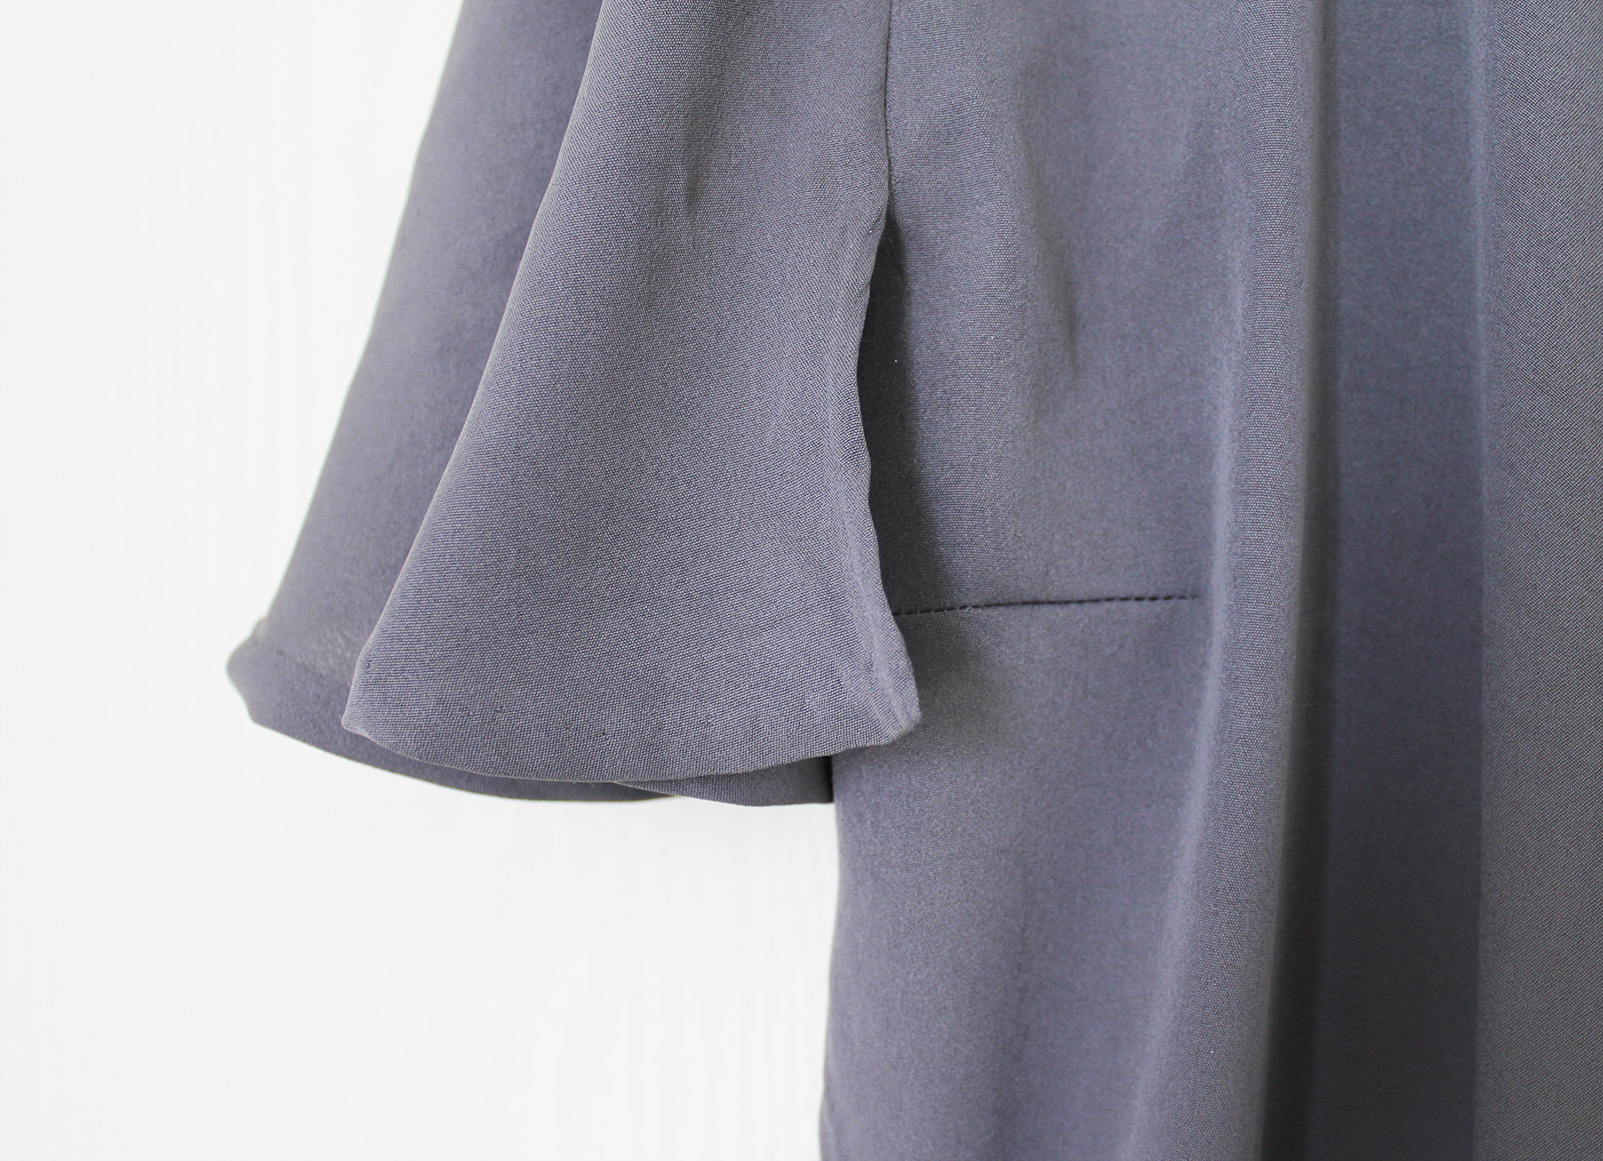
IV. Add the sleeves - Right sides facing, pin them to the arm holes. I wanted mine to be extra breezy, so I left the bottom of the arm pit unpinned and stopped sewing about 5 cm before the top's side seam.
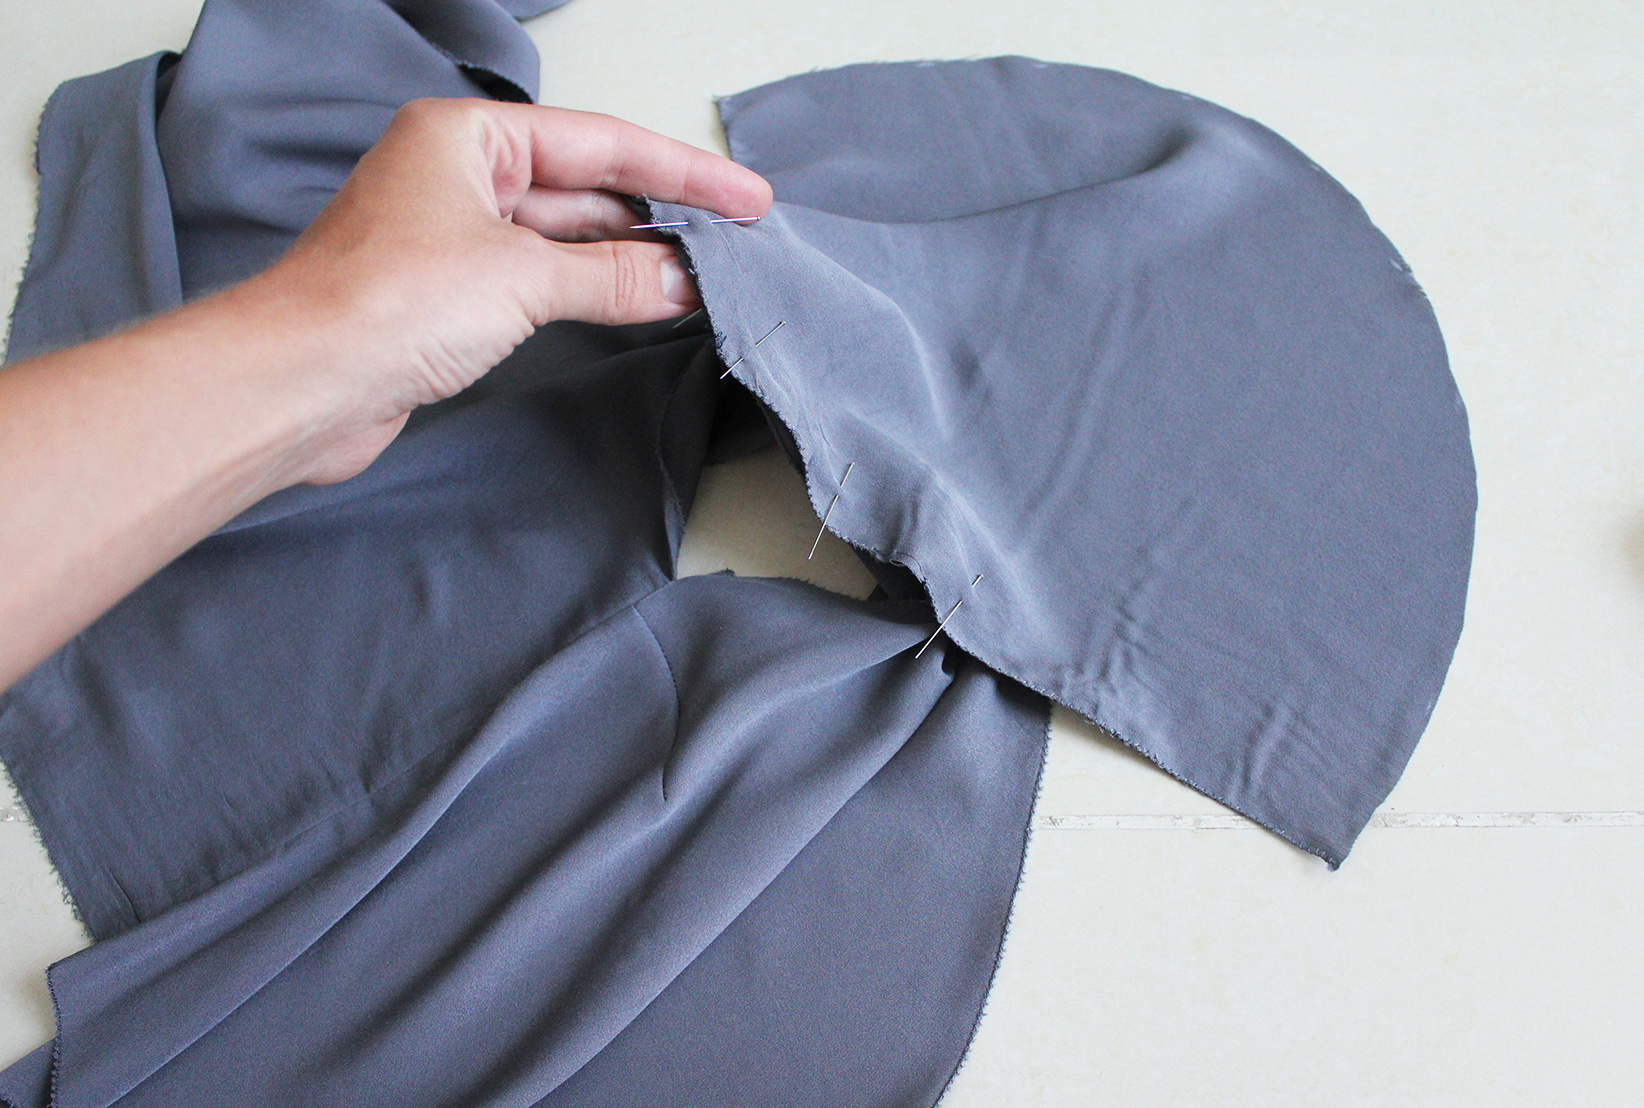
I then pressed a small fold to the remaining arm hole edges and the loose edge of the sleeve and hand-stitched for a clean finish.
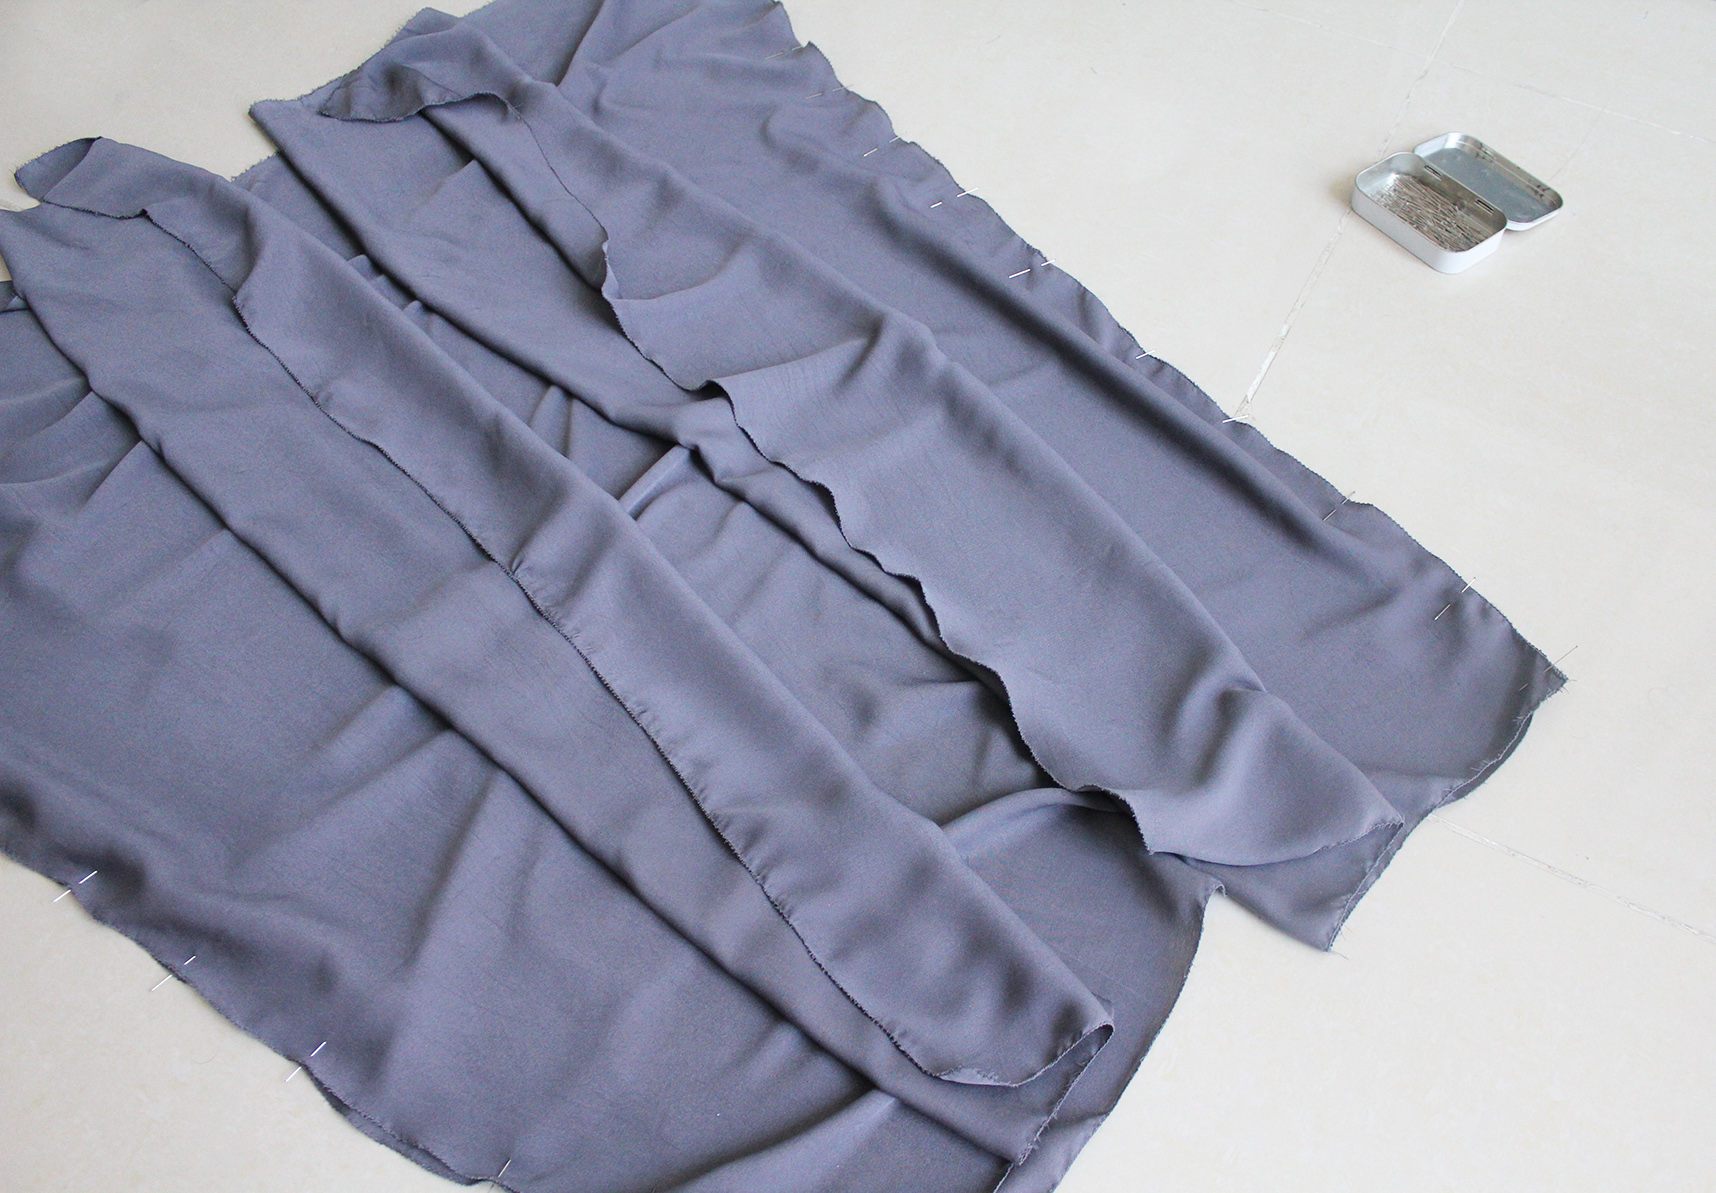
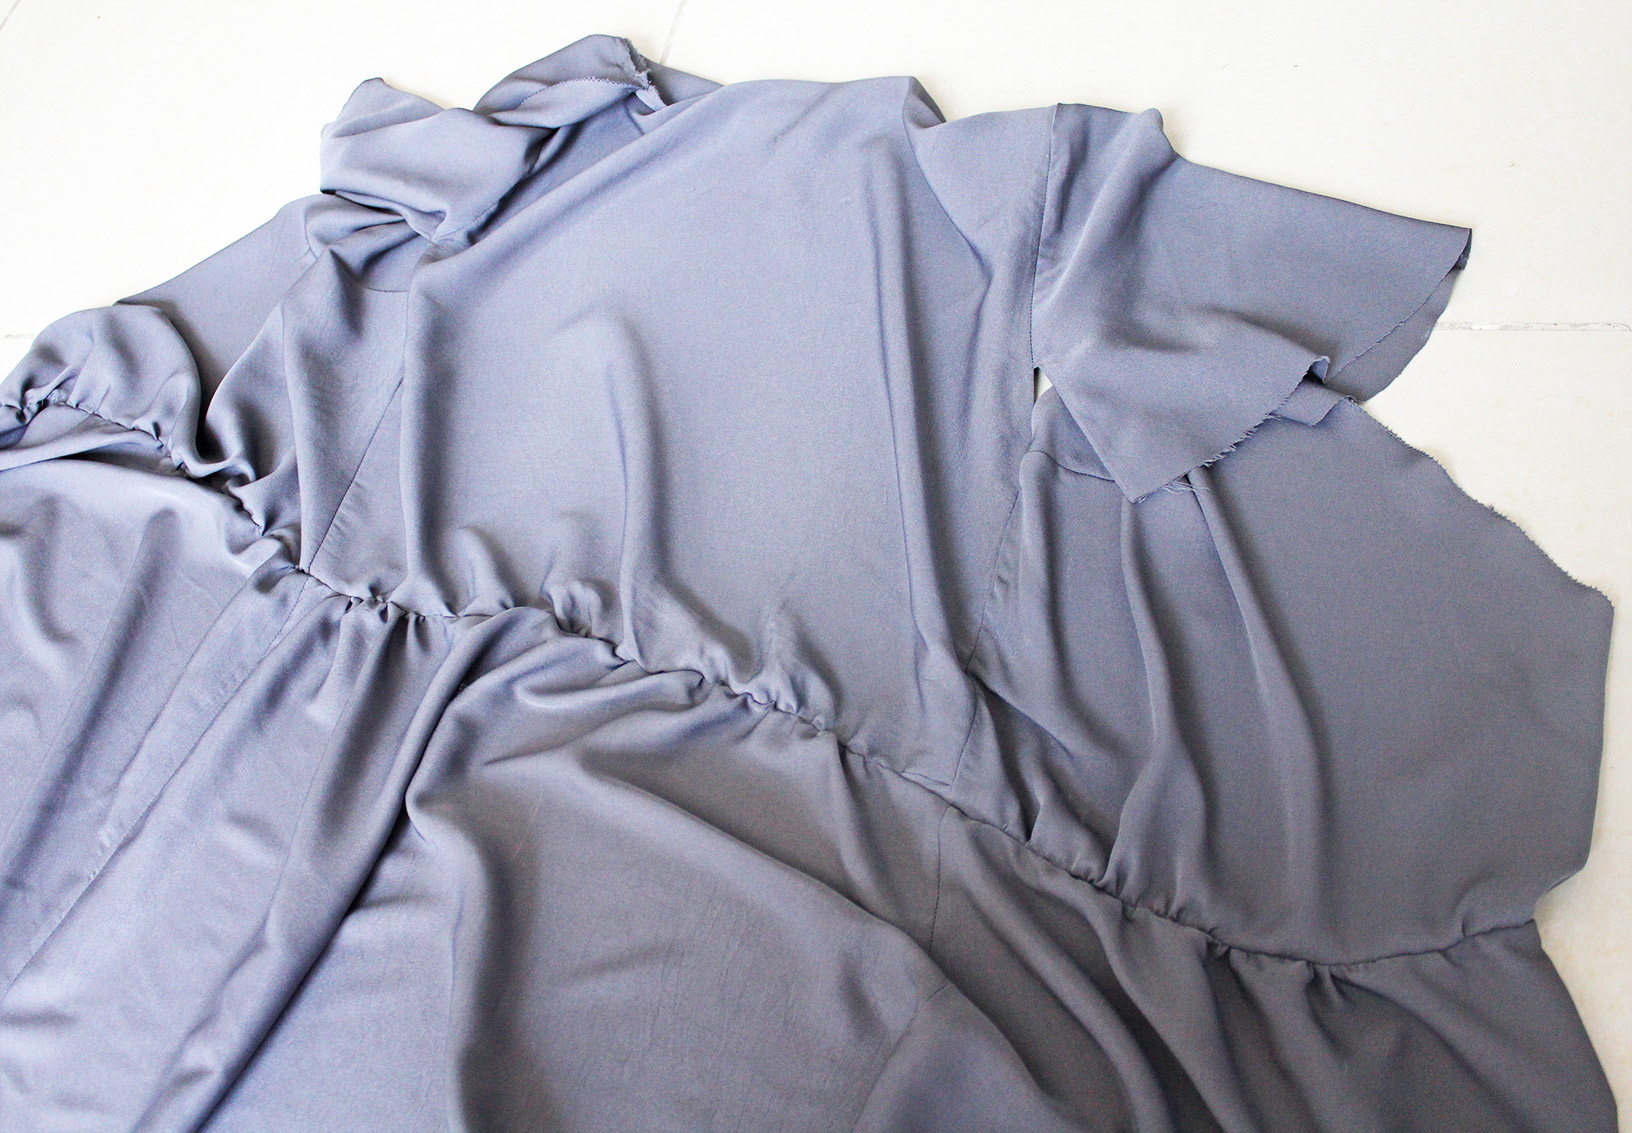
V. To attach the top to the skirt, first sew a basting stitch with the longest setting on your machine to both the back piece of the skirt and the back piece of the top. Pull on the bobbin thread to gather the fabric so it measures about half of your waist circumference. The reason why I did this in bits - back piece first - is that the longer the distance you try to gather by pulling your basting stitch, the harder it becomes to get it nice and even.

Once gathered nicely, Pin together and sew a straight stitch through.
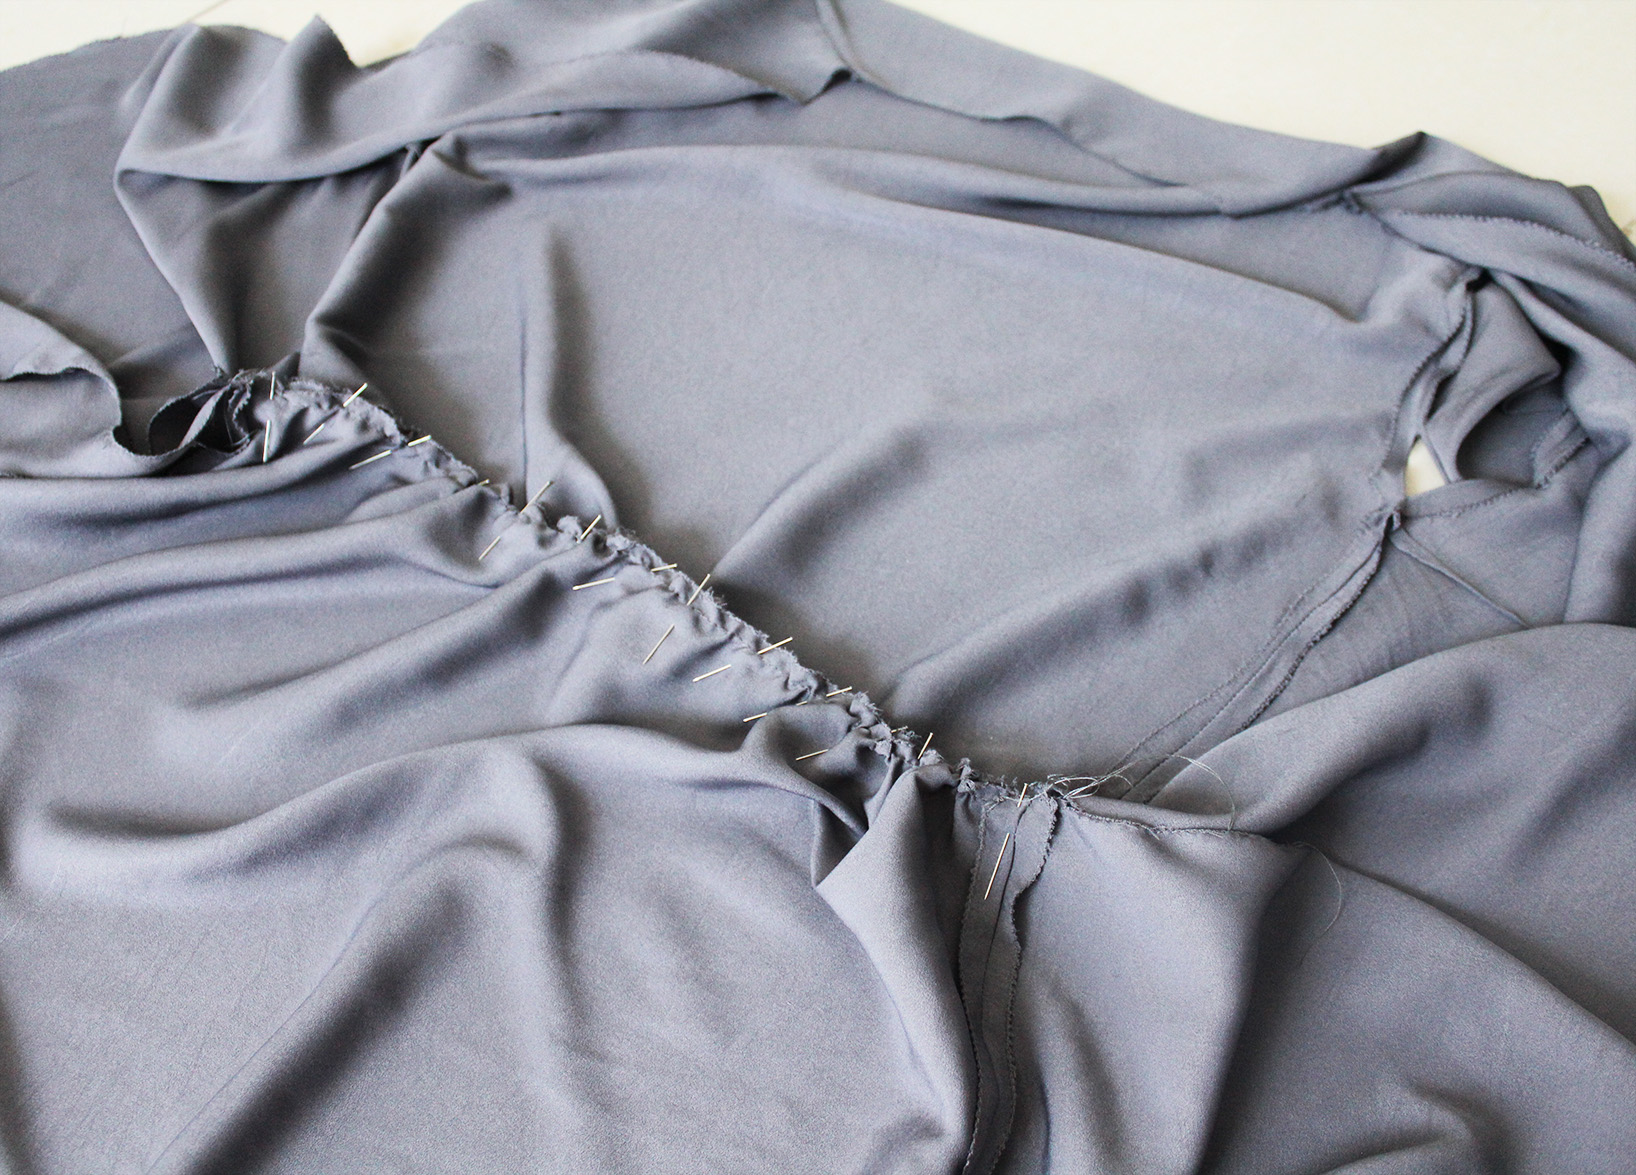
Repeat the process for both of the front pieces.
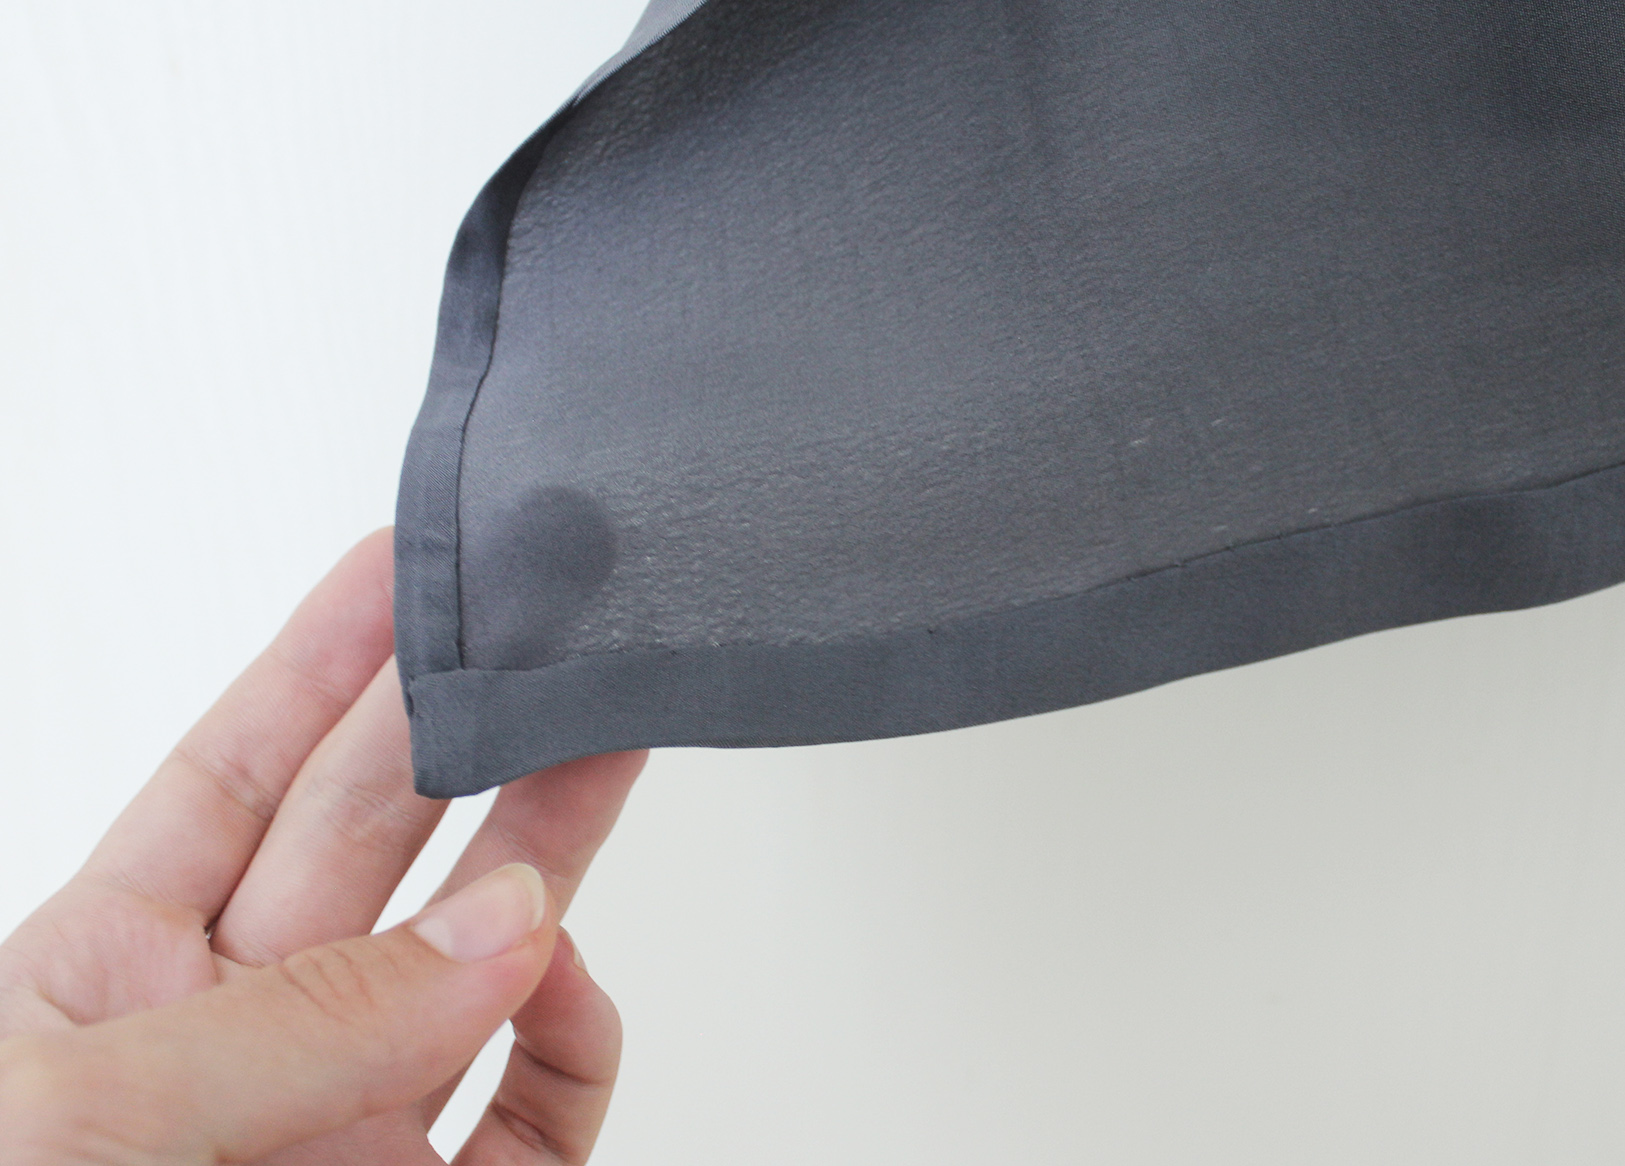
VI. Finish the edges of the front pieces and hem the dress by pressing a double-fold at the edges and slip-stitching by hand. Alternatively you could machine-sew these as well.
 VII. Add your belt string (which you could use ribbon for in same/contrasting colour, or make your own string from your fabric using this method). You'll also want to open up the stitch just above the waist seam on one side of the dress, and reinforce on both sides of the opening to create a small hole, so you can slip the string through as you wrap the dress around yourself.
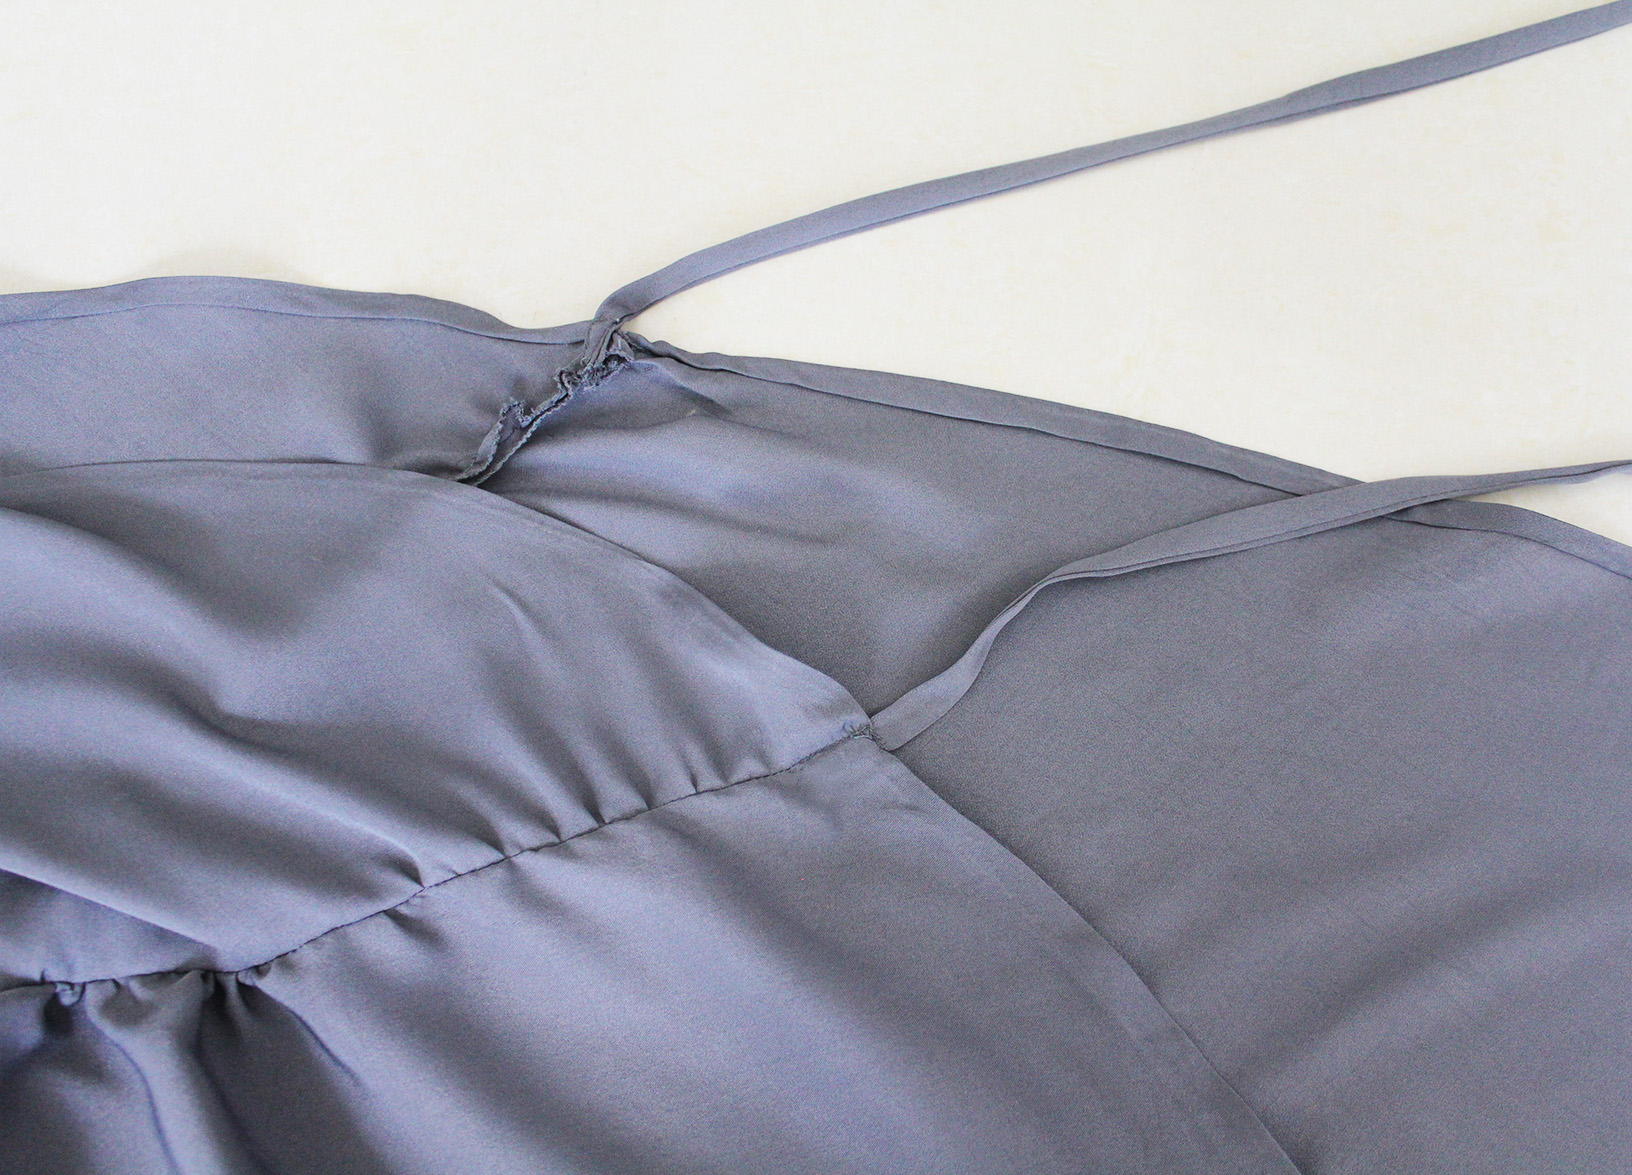
VII. Last step is to hem the sleeves, I went for a double-fold and a hand-stitched finish here as well.
Press all over and done.
xo,
Julia


Very pretty. Where do you buy your fabrics?
ReplyDeleteThank you:)! Before I lived in Toronto and there I shopped mainly at a store called King Textiles, and now that I'm located in Dubai, I luckily have access to amazing Indian fabric markets:) Honestly I buy all over the place, sometimes in thrift stores (I've made a skirt out of a vintage table cloth for example), sometimes from the upholstery fabric section of furniture stores... There are also some great online stores where you can get really affordable fabrics, but to shop at those I think you need a pretty solid understanding of different fabrics so you don't get unpleasantly surprised when your shipment arrives.. I prefer to buy when I can physically feel the fabric first.
DeleteJulia
Julia
Hi Julia, I absolutely love this and would like to make it, but I don't know how to work out the size to cut the fabrics. I have a 117cm chest - can you recommend somewhere on the web I could learn how to work out what size I should be cutting all the pieces?
ReplyDeleteI'm a basic sewer, have only used commercial patterns and woven cottons and linens to date. Thank you or anyone out there who can help? Ps totally love the blog and Instagram - always inspiring!
Hi Elizabeth! Thank you for the compliments:) The good thing about wrap dresses is they're really forgiving and flexible when it comes to sizing. For reference my own chest is 90 cm and that resulted in the loose fit you see in my ready dress, with these measurements. I'd say first measure the width of your back piece (get the distance between your arm pits across the back; for me that's 46 cm, plus 1 cm of seam allowance on each side resulted in the 48 cm you see marked in the image). To figure out the front pieces that wrap on top of each other, first take half of your waist circumference (for me 70 cm/2 = 35 cm) and ad 10 cm. This will be the bottom width of each of your front top pieces (for me again, that resulted in 45 cm as you see in the image). The height of the pieces will just be the measurement from your shoulder down to your waistline. Also, if you look closely at the cut top pieces image, you'll notice I did not cut the diagonal edge that starts from the shoulder dead straight but a bit curved upwards - this was to give it a more natural, less open flow when wrapped around the bust. I hope this helps!! If you need more detail just shoot me an email at contouraffair@gmail.com and I can send over some visuals:)
DeleteHi Julia, I love your blog and I would love to do something similar to this for a bridesmaid's dress, but I can't see any of the photos on this post. I feel like I can get the gist with the instructions, but having a visual would really help.
ReplyDeleteThank you so much for having page up! I've gotten so much good advice from you!
Hi! Sorry about that.. images not displaying is a result of photo hosting challenges I got into last year, when Photobucket stopped displaying images on 3rd party sites.. I've since been moving slowly to self-hosted images, but going back through the old posts is a big project.. I've fixed the pics for this post now! So happy you find ideas here:)!
Delete