

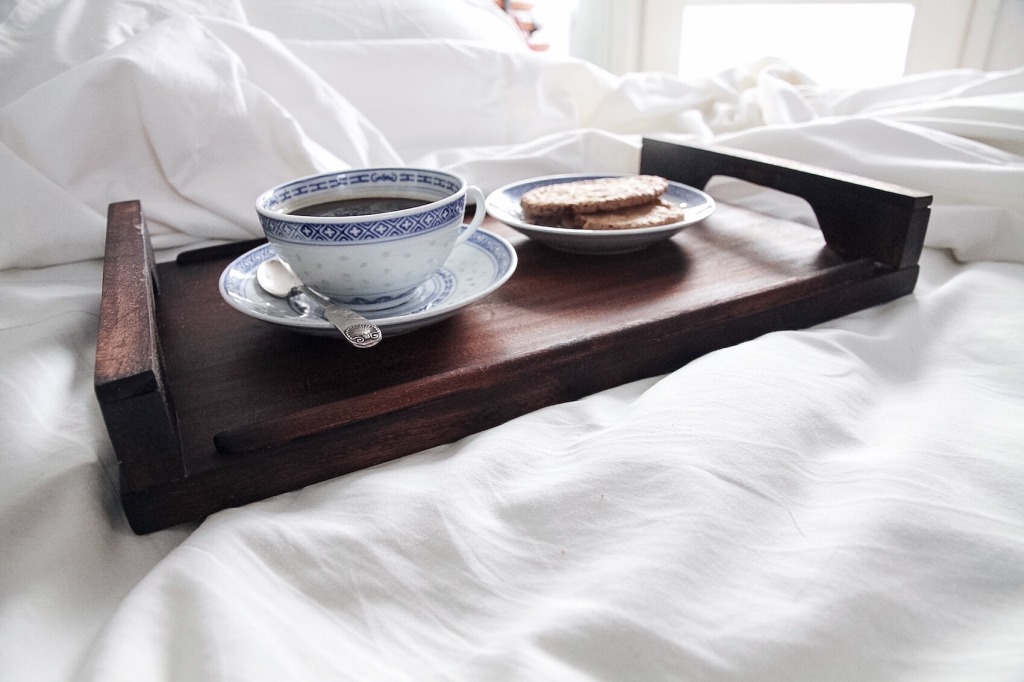
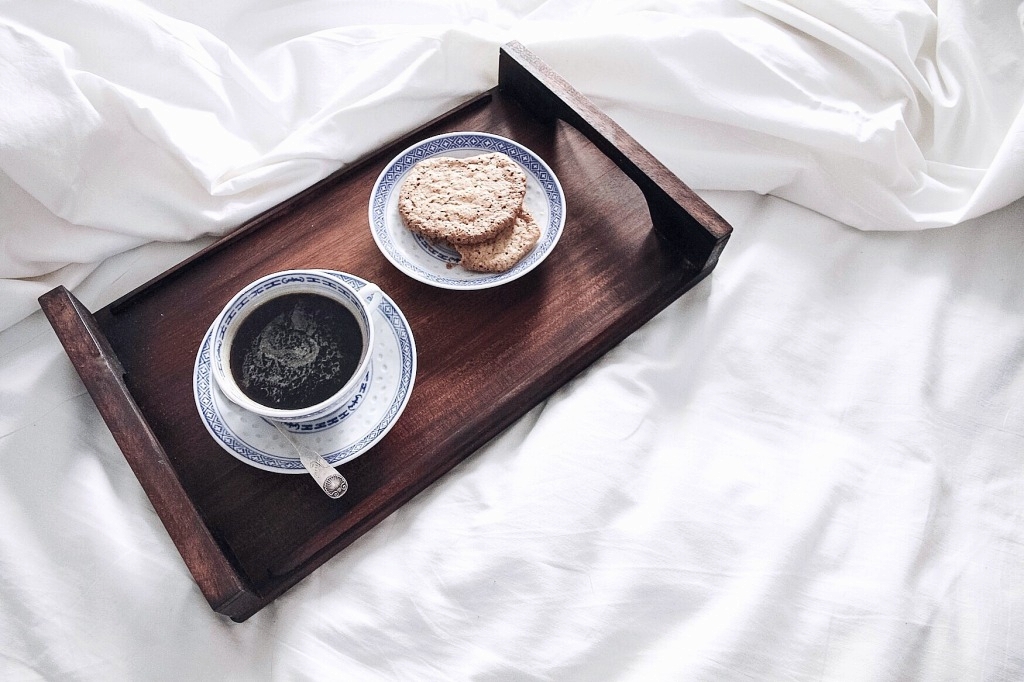
The one great thing about visiting your parents is access to dad's tools. I've been looking for a compact tray (coffee always tastes better in bed) and realized I had a reserve of scrap wood waiting to be played with in the garage!
I USED:
- Tigerwood (leftover from when I built a bed and shelves for my room as a teenager - I pitched this acquisition to my dad at the time and his response was he'll take me to the hardware store and I can pick the wood.. Thanks dad for raising a capable young woman!). You could use all kinds of wood - pine, walnut, etc.
- Basic wood glue
- Oil for finishing (I used linseed oil)
- Tools: Table saw and sander machine (or hand saw and sand paper if you're tenacious), jigsaw, clamps, hot air blower
I. I first cut the following pieces out of the wood:
- One main rectangle the size you want your tray to be
- Two handles made of two pieces - one where a curved shape is cut out, and another slim top piece (the width of your large rectangle)
- Two very narrow slithers of wood for the sides (so whatever you're carrying in the tray doesn't slide out). The length should be the length of your tray - 2 x the thickness of the handle - about 2 cm. This will leave you with a little 1 cm gap between the handle and the side piece, so water or crumbs can get out.

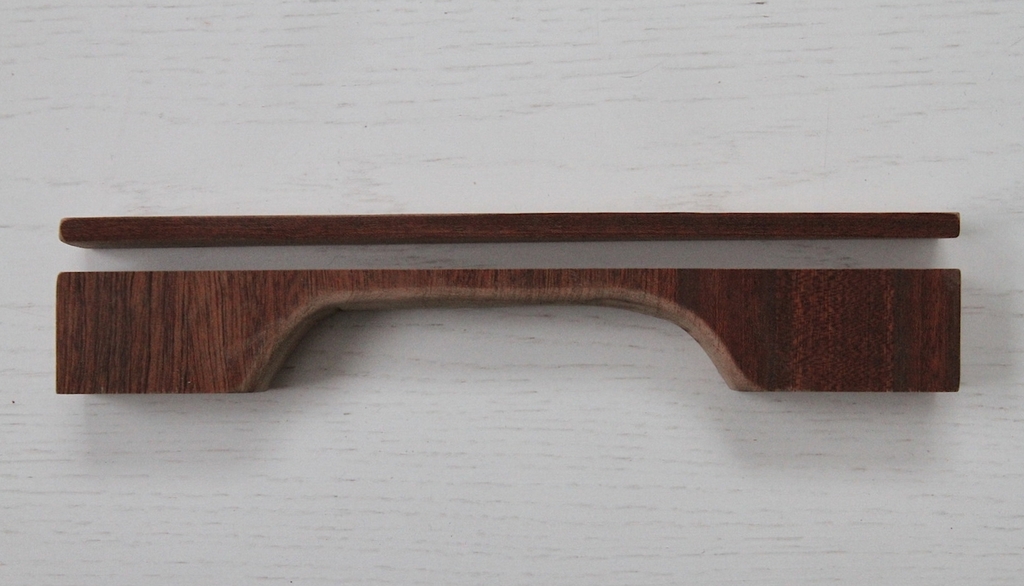
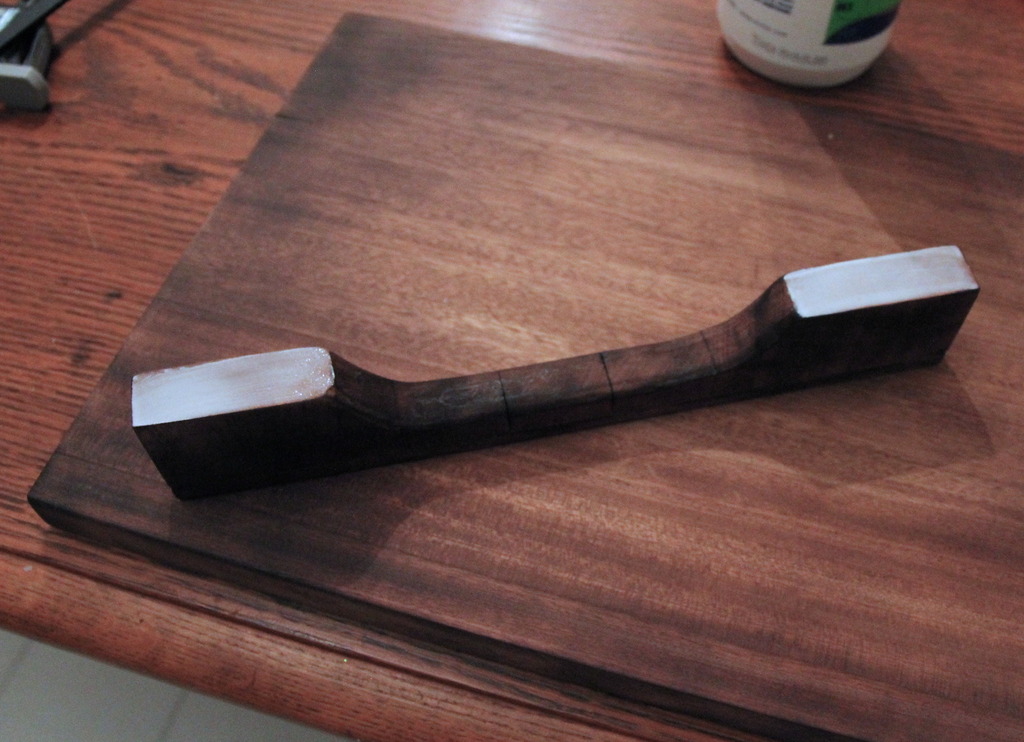
I carefully sanded all the surfaces as well as the edges of all the pieces. Here are some closeups of the handles:

.. The narrow side pieces:
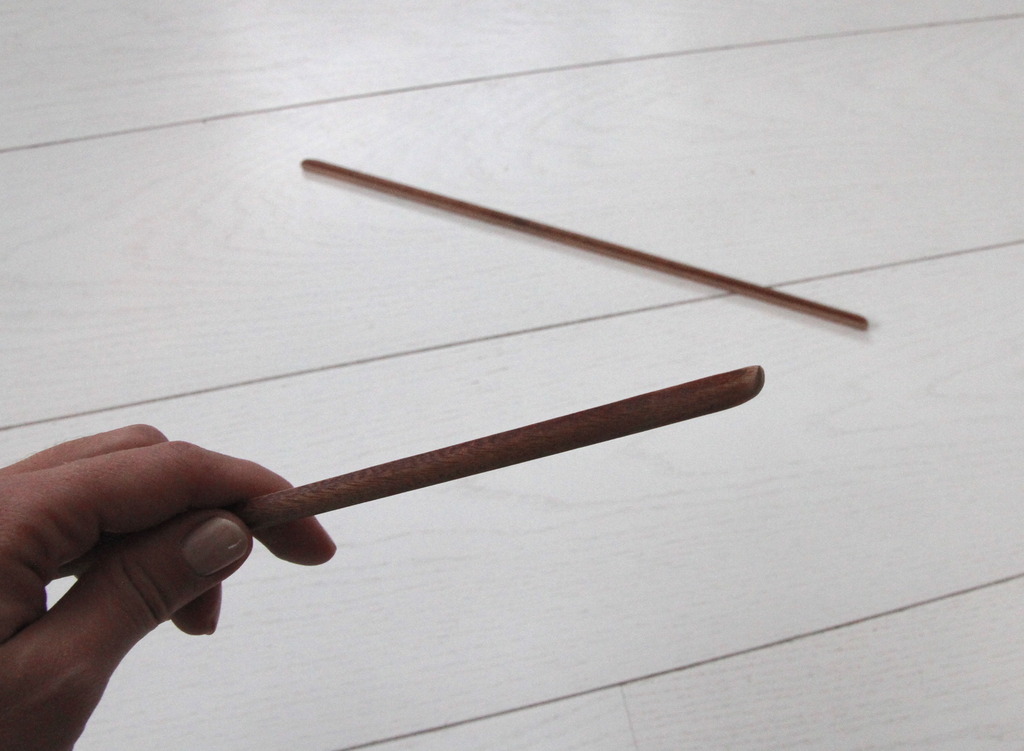
.. And the two pieces that make up each handle. I could have of course made the handle out of one piece, but I wasn't sure how I wanted to construct it from the start so I wanted to keep my options open (I was planning first for the bottom part of the handle to be inverted, so the curved handle piece is the other way around, U-shaped, and the narrow piece is on top to create the handle. I decided against this as I thought it looked better this way).
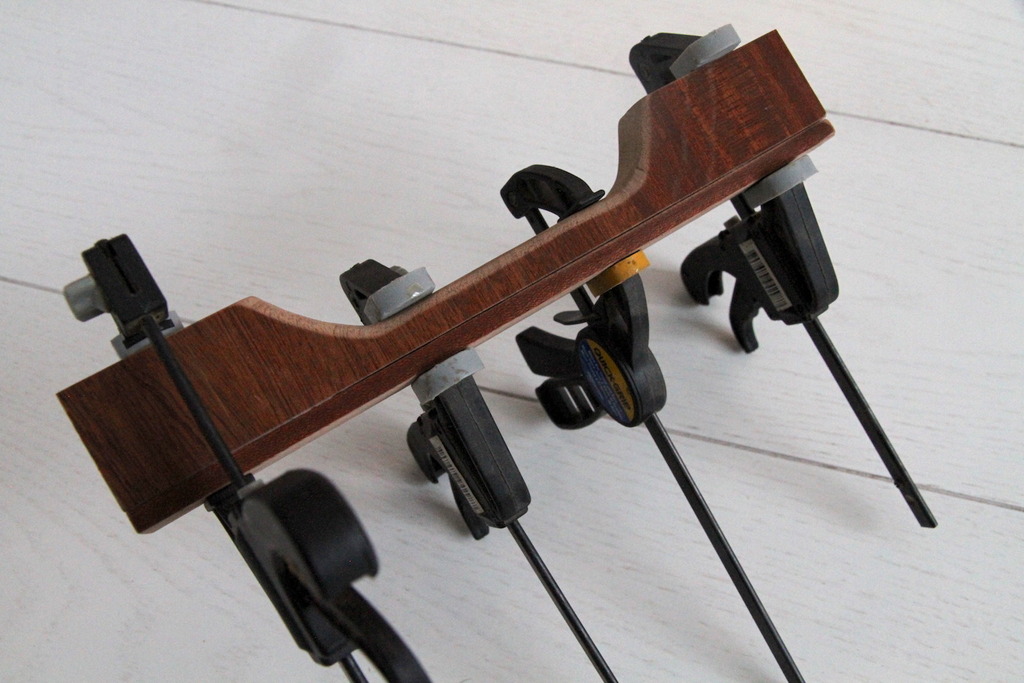
II. To put together my handle, I applied a thin layer of glue on the upper edge of the bigger handle piece, and pressed the narrow piece on, securing it there with clamps. Repeated the same thing for handle #2, and let these dry for a good 12 hours. Note! If you put too much glue it will ooze out of the crack as you clamp the pieces together. If this happens, wipe the glue off with a damp cloth. It will look crappy if it dries like that (though you could fix even that by sanding if off once dry).
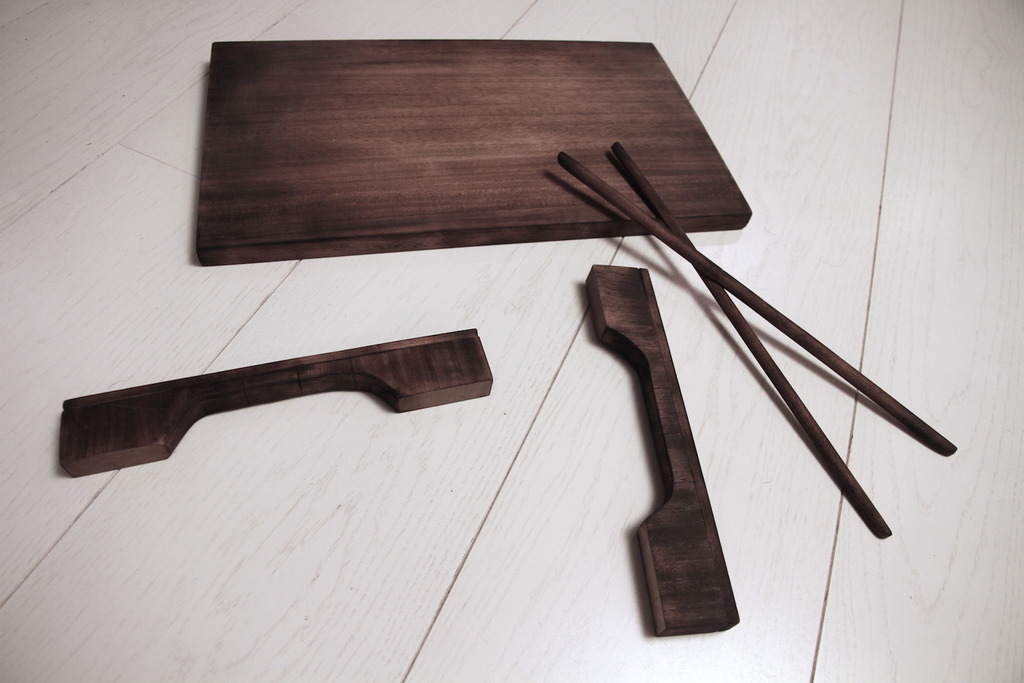
III. Then came the fun part. I got this idea because I noticed there was a bit of burn on the lower edge of the handle from the jigsaw (which sometimes happens when you slow down the saw at tricky spots, like curves. You can see it up in the closeup image of the handle). I liked it and started wondering how I could create that kind of an effect all over the tray for an aged look. Then I remembered the hot air blower. First I sanded the surface of my big rectangular piece thoroughly. After some experimenting on the bottom side, I got the hang of it and it created what I think is a really pretty tone! As you can see from the pieces here, I kept blowing on the corners and the edges of the pieces for longer, to burn them more and create some depth to the surfaces. This technique works on almost all wood. I know because I was so excited that I started testing on all the pieces of wood I found in the garage, including the tables (sorry dad!) After I was happy with the look, I just wiped the pieces with a damp cloth (they can get a bit blackened so this is a good idea not to make a mess).
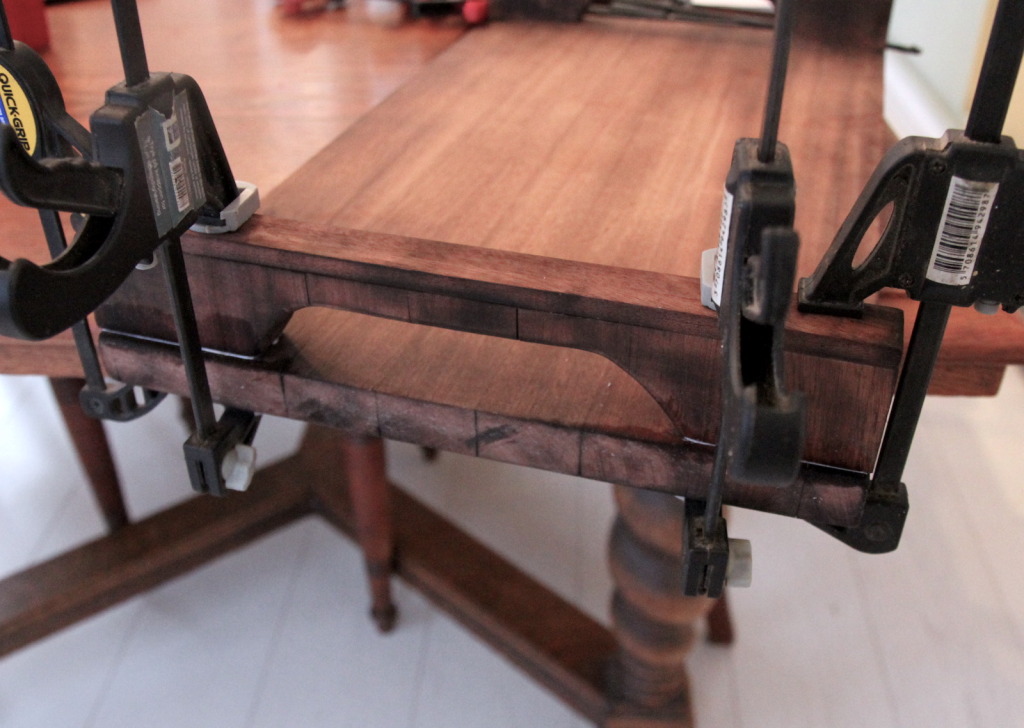
IV. Then it was time to attach the handles to the tray. As before, I spread a thin coat of glue on the bottom surfaces and clamped the handles onto the tray (I secured them just a couple mm next to the edge, I thought it looked nicer that way than if they were perfectly aligned).
Again, let dry for 12 hours.
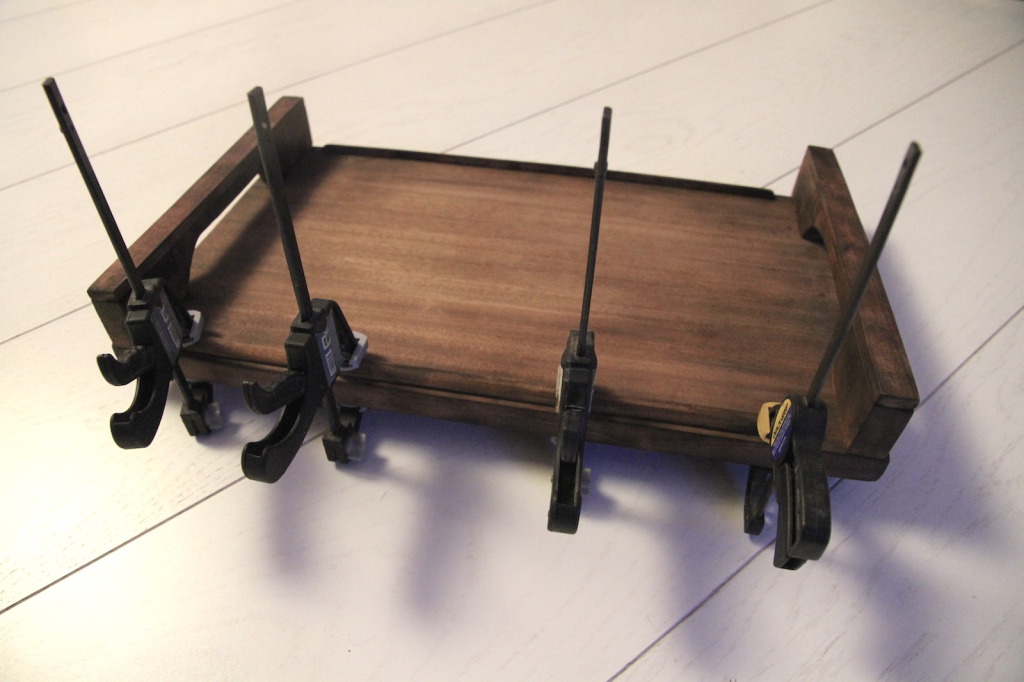
V. The final gluing was to attach the two narrow side pieces. Same deal, glue on the bottom surface, clamp in place, wait to dry.
VI. To finish, I rubbed the tray with a cloth dipped in linseed oil and let it absorb for a few hours before wiping once more with a clean cloth.
xo,
Julia


0 comments:
Post a Comment
I would love to hear what you think and learn about your DIY adventures! If you use one of my tutorials, tag me on social @contour_affair, I'd love to see!