

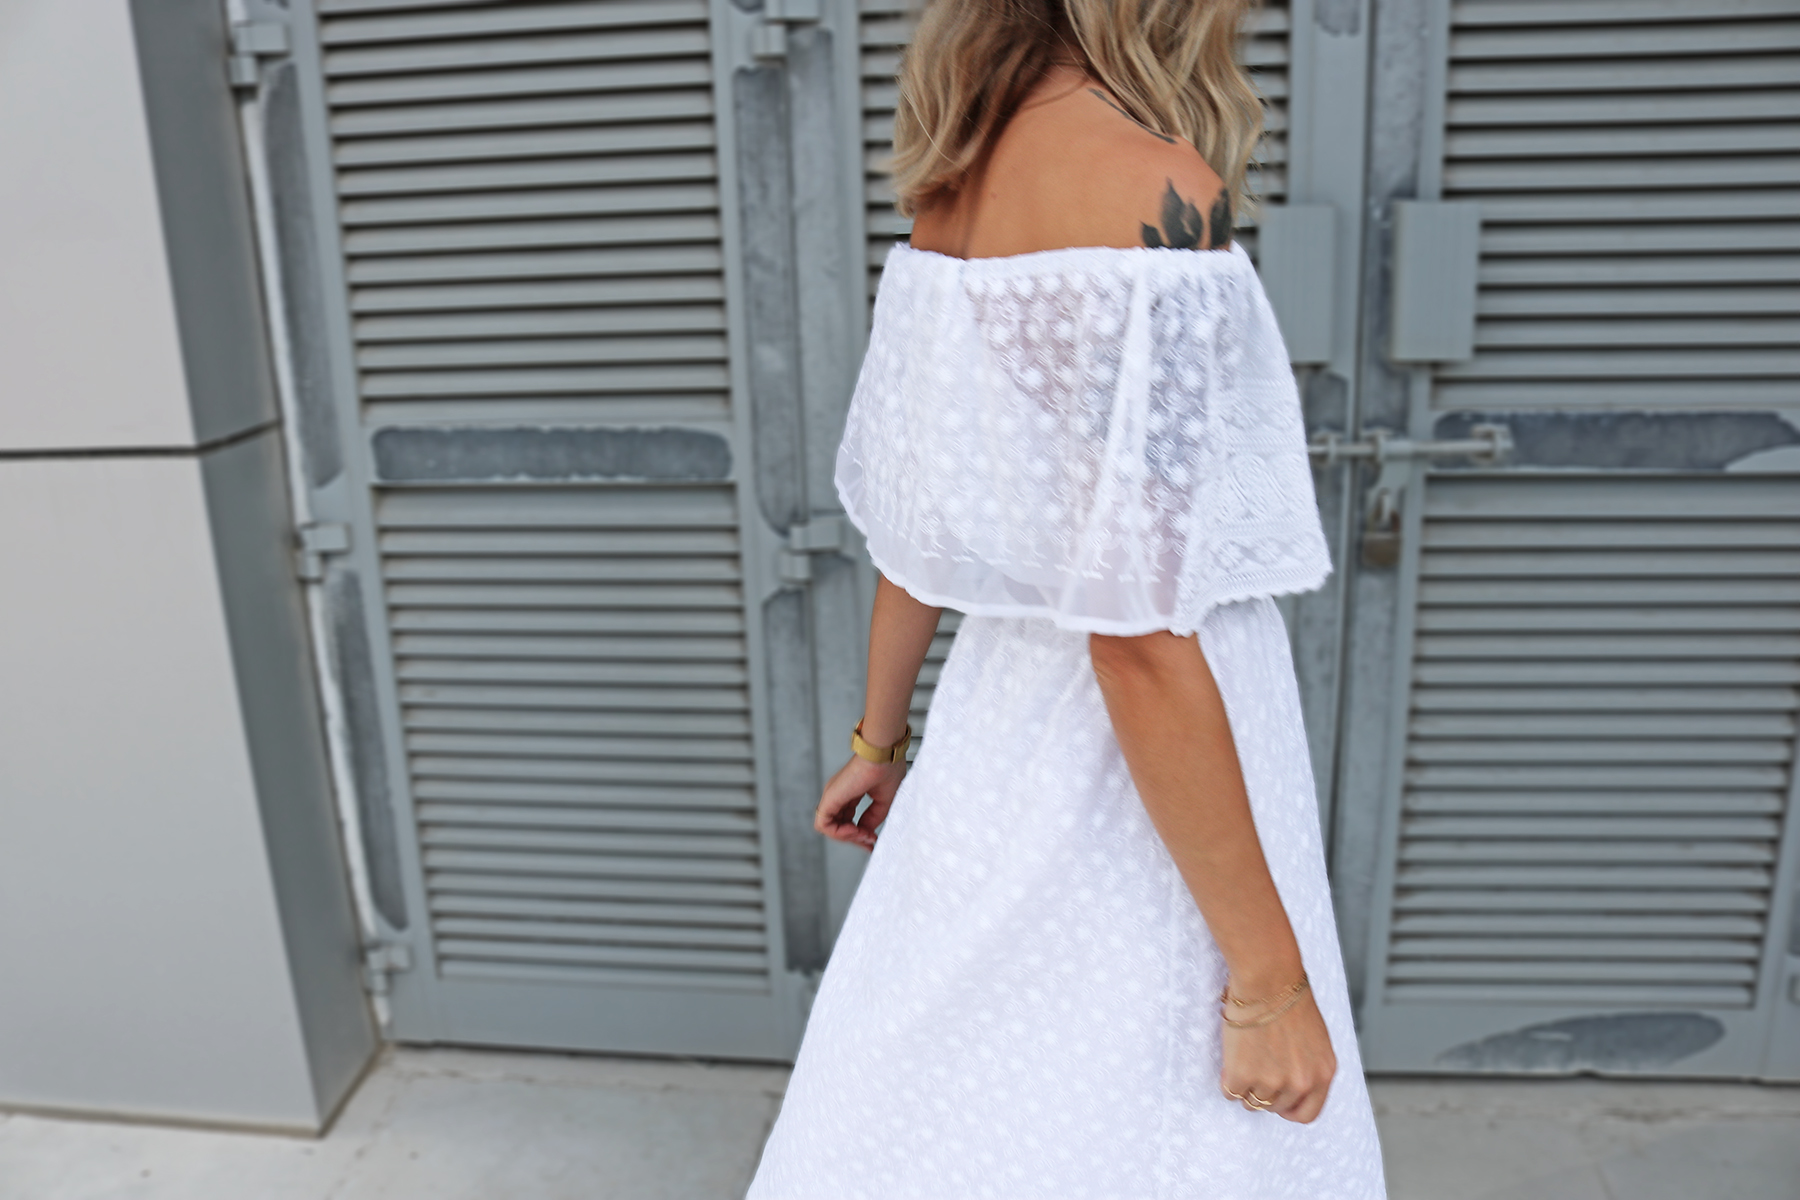
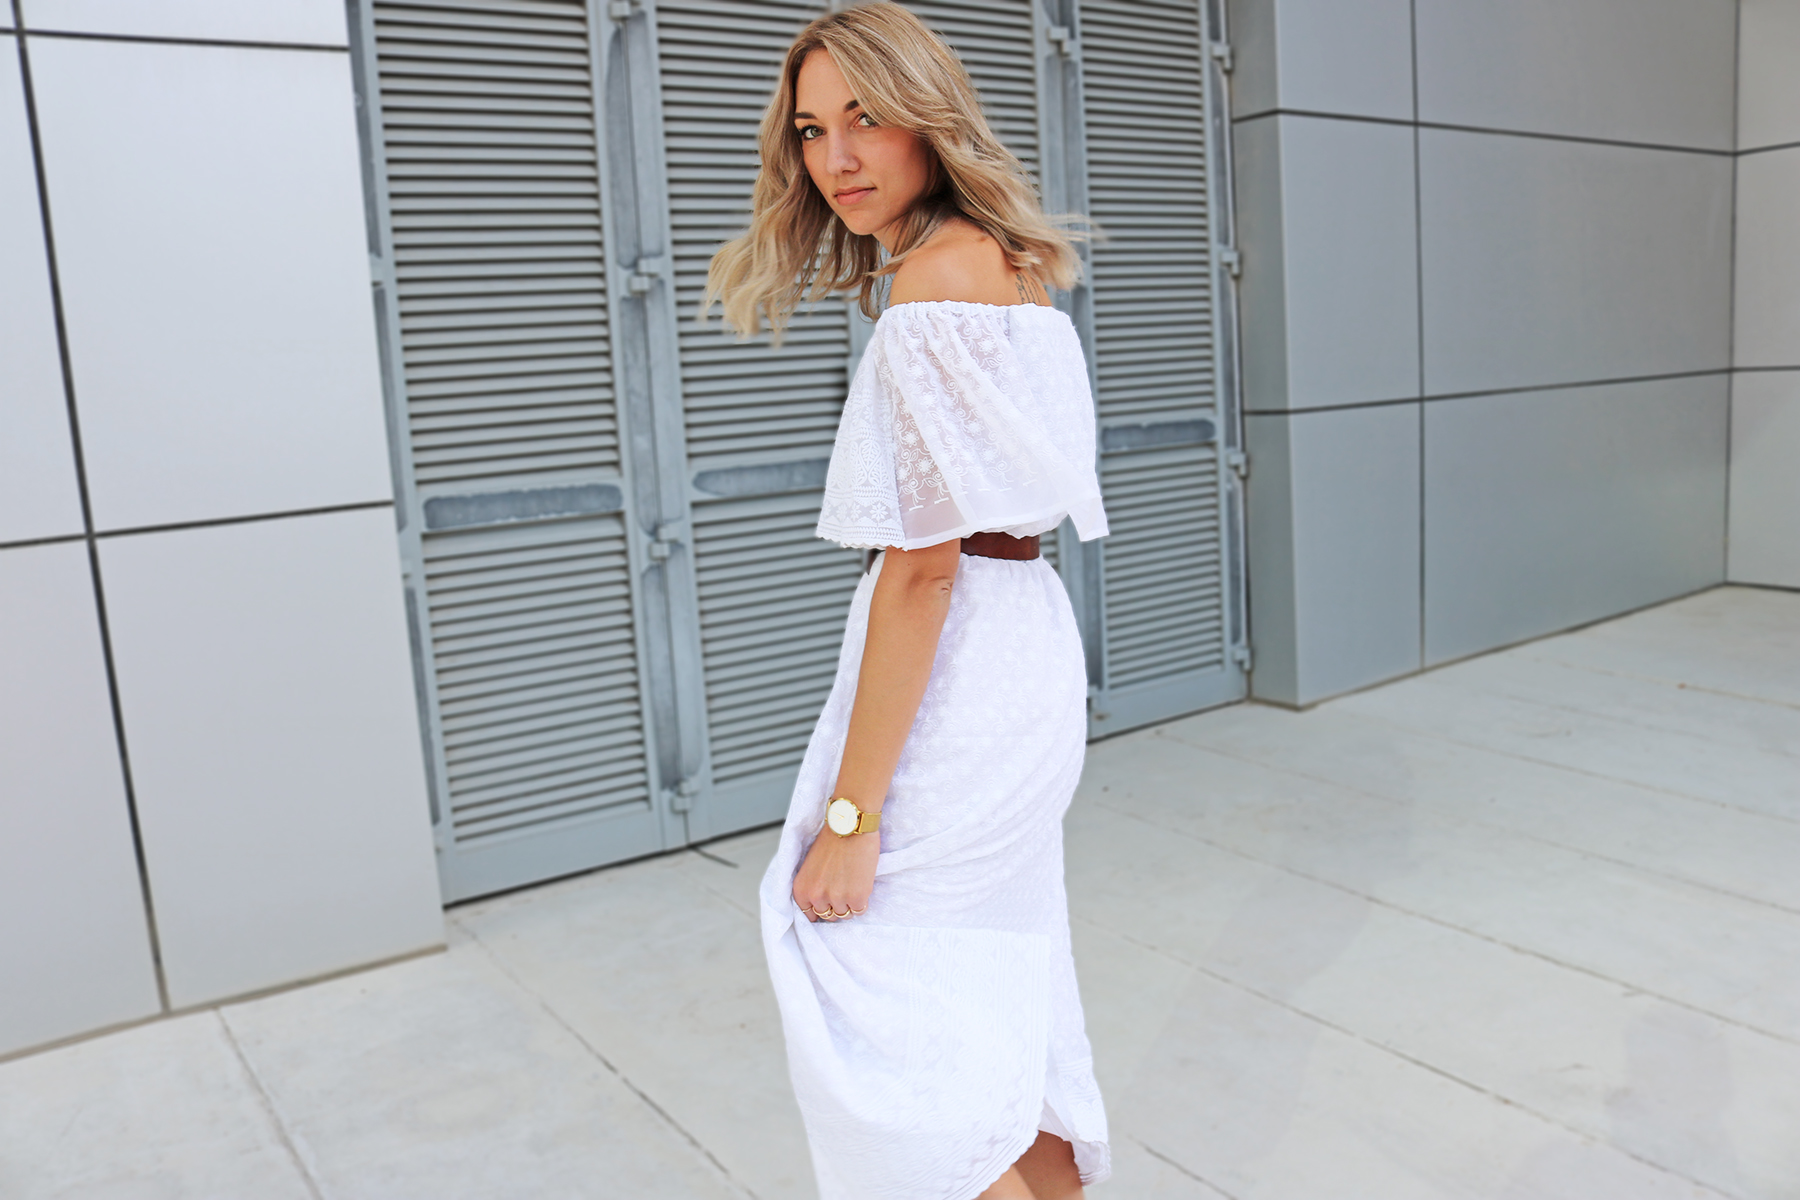
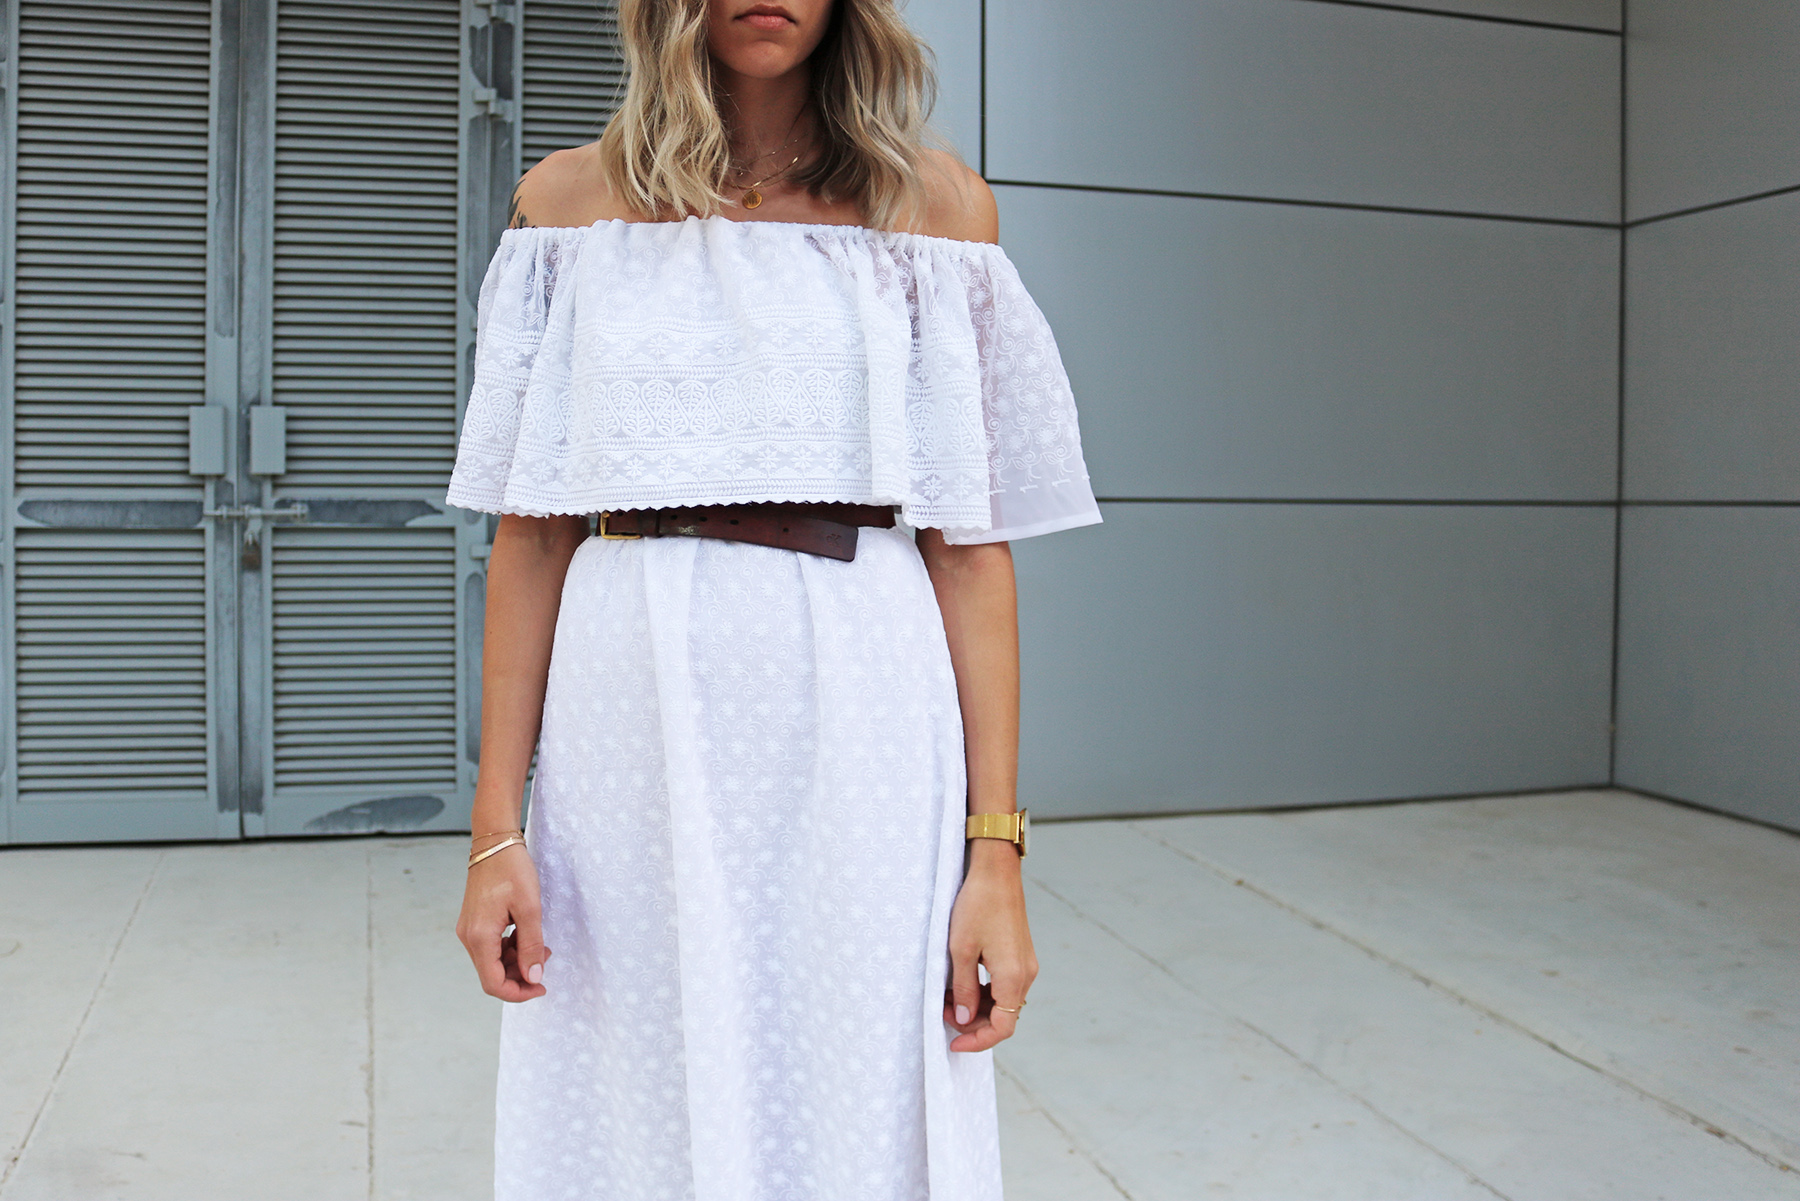
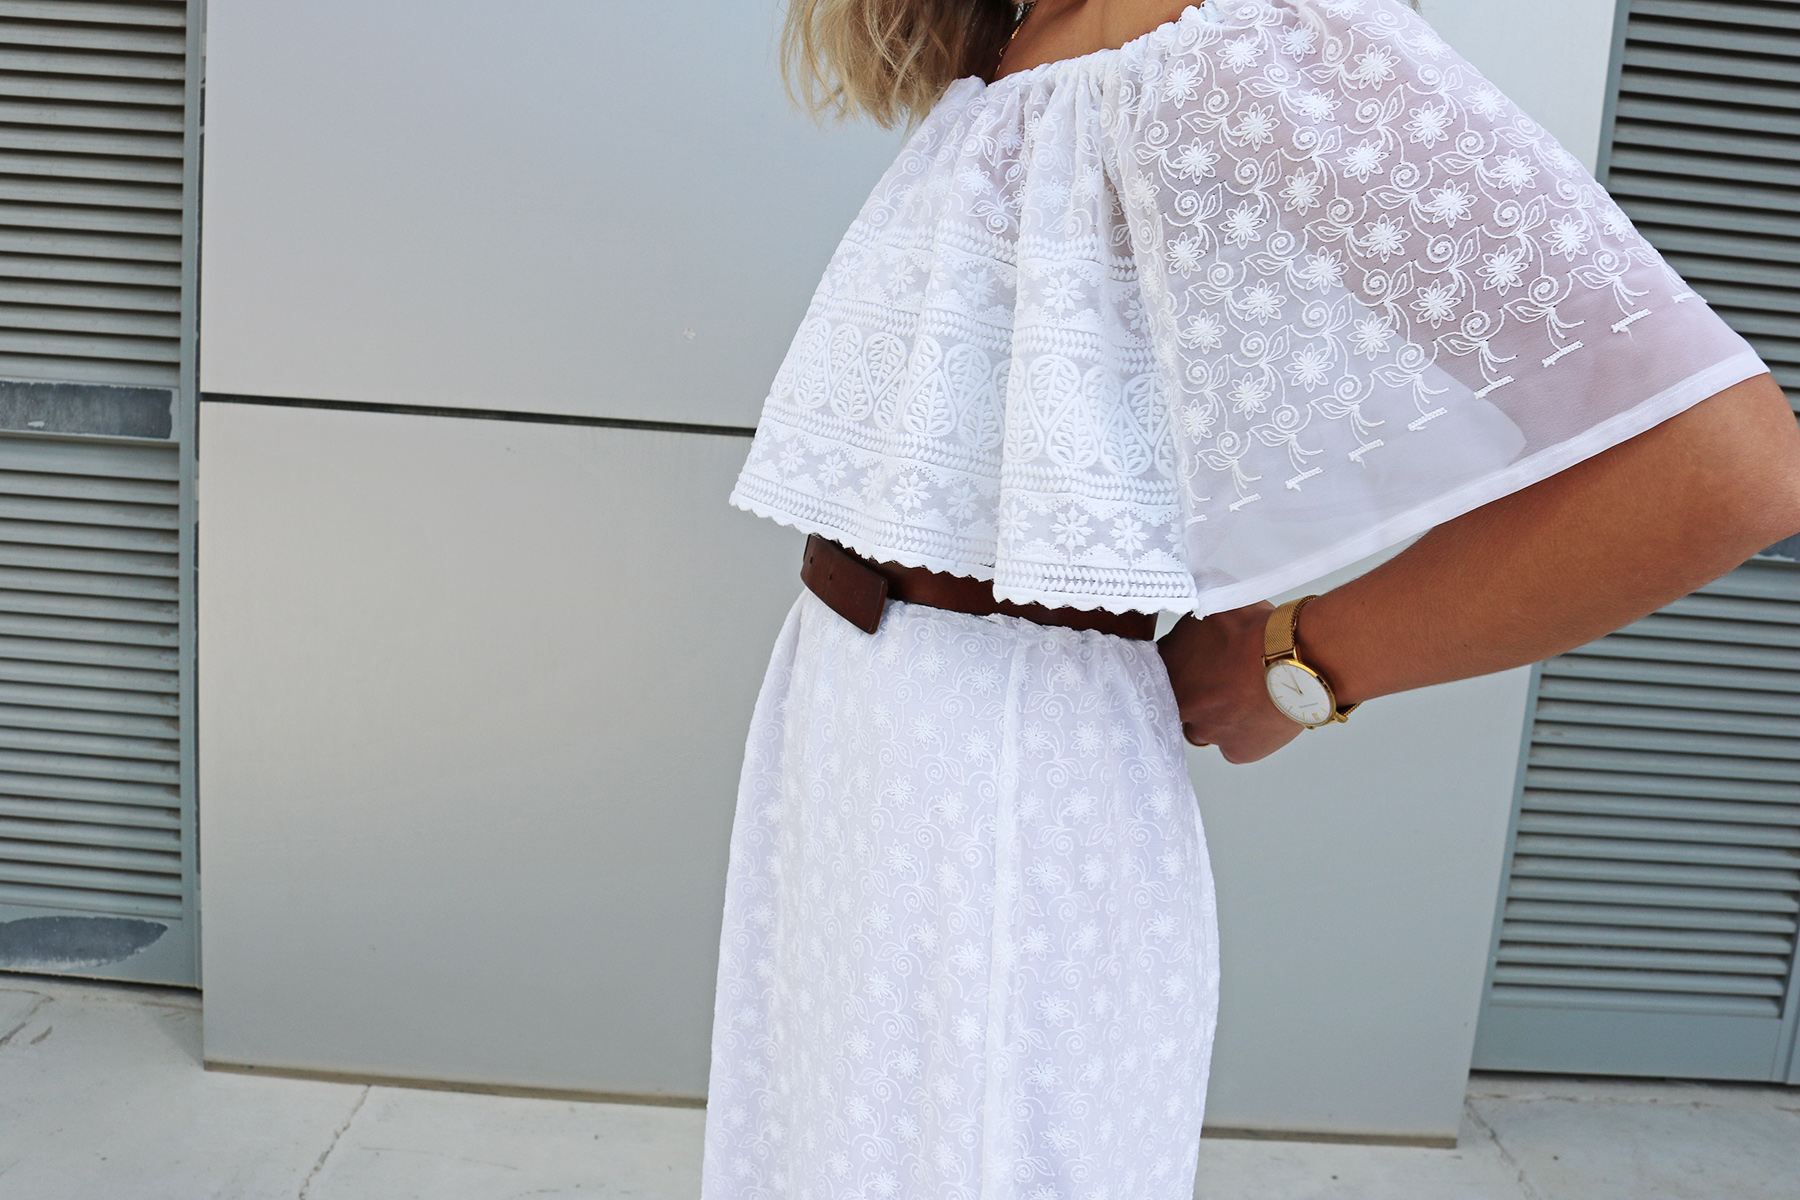
Living in Dubai it's impossible to have too many sundresses. Also starting to think the same applies to the off-the-shoulder trend. I think because most of my projects are pretty minimal, it results in the occasional strong urge to make something ultra-feminine to balance things out. Now just need a Spanish vineyard to roam.
Tutorials take a lot of time & effort to create, and I choose to make mine available for free. If you enjoy this guide, you can support me with a donation that feels right for you, here.
TOOLS:

Embroidered or eyelet cotton + lining fabric (I used 100% cotton and a crepe for the lining), 3,5 m | Scissors | Fabric marker | Pins | Thread, sewing machine | Elastic (enough to go around your waist and arms+torso comfortably)
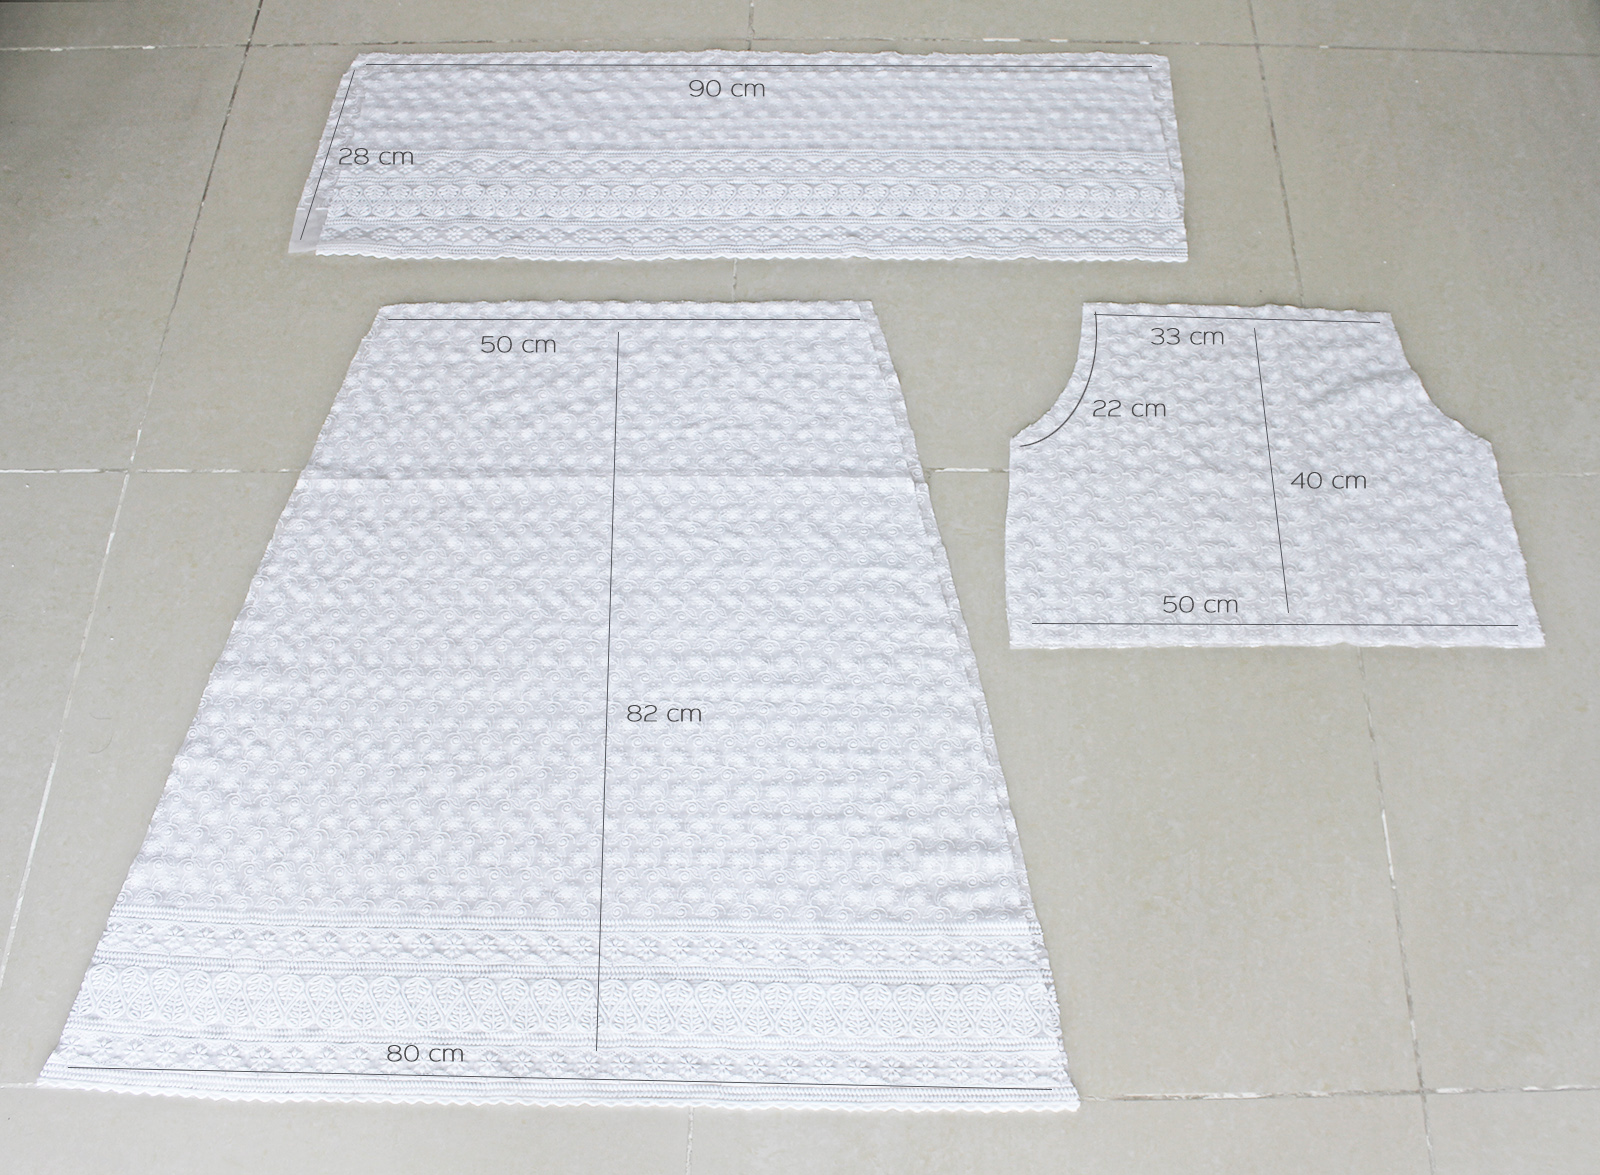
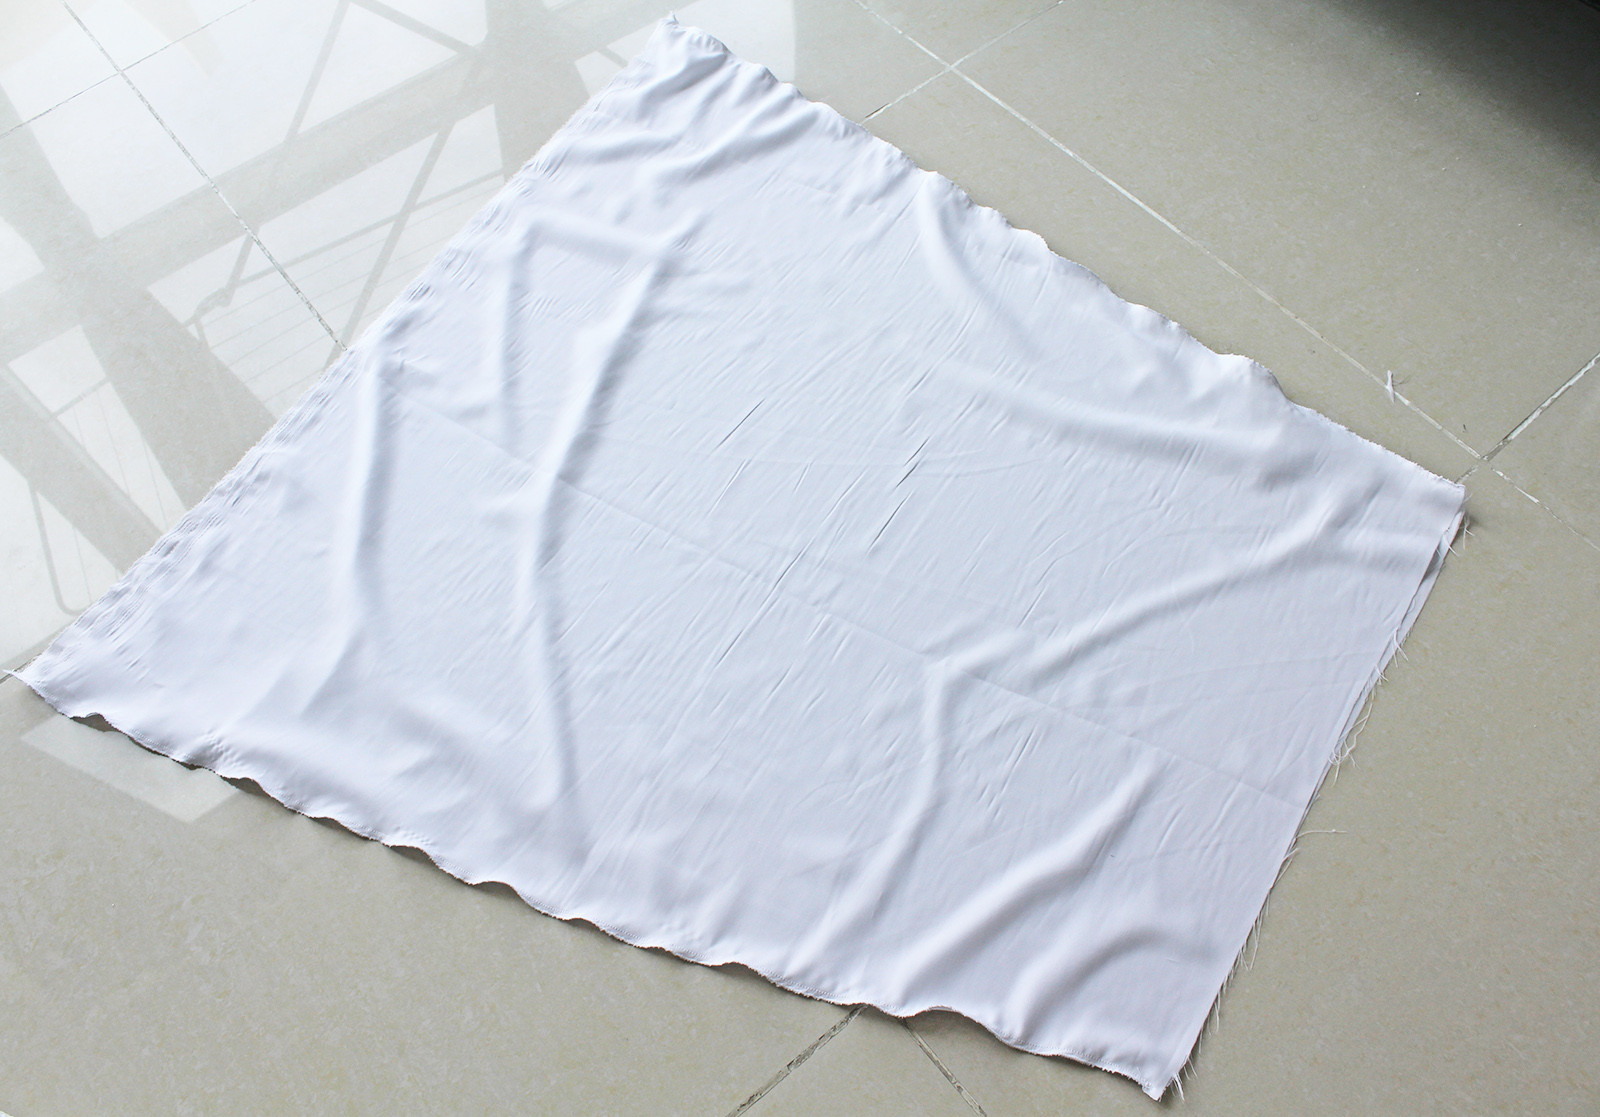
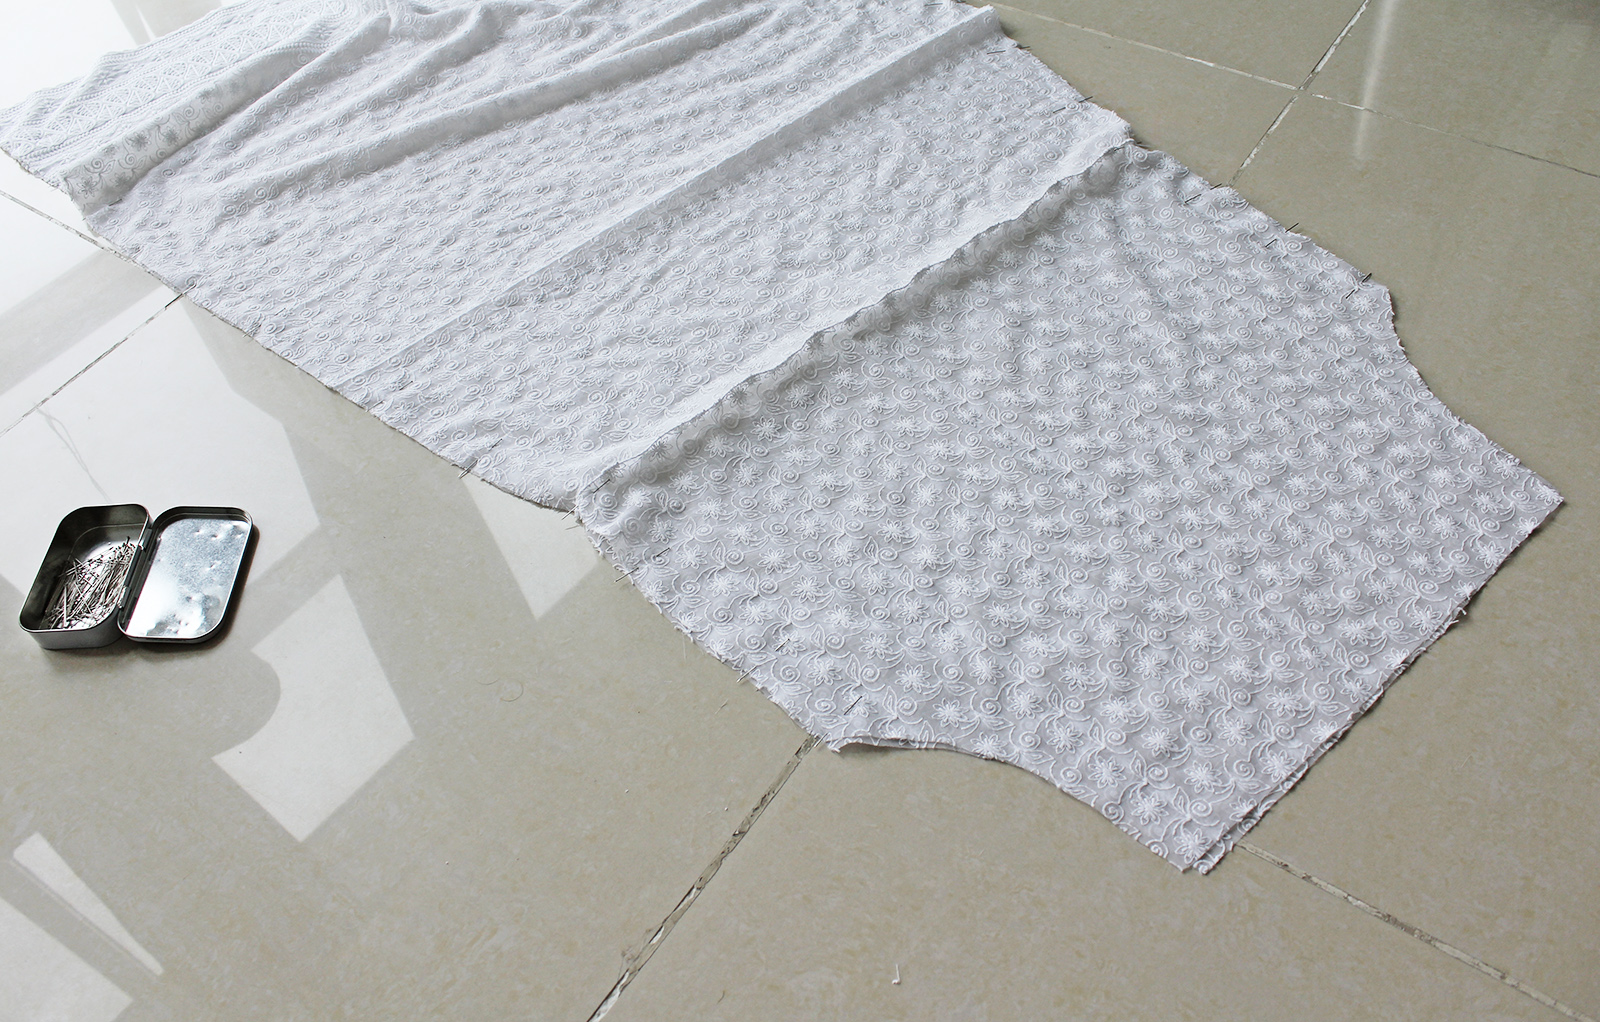
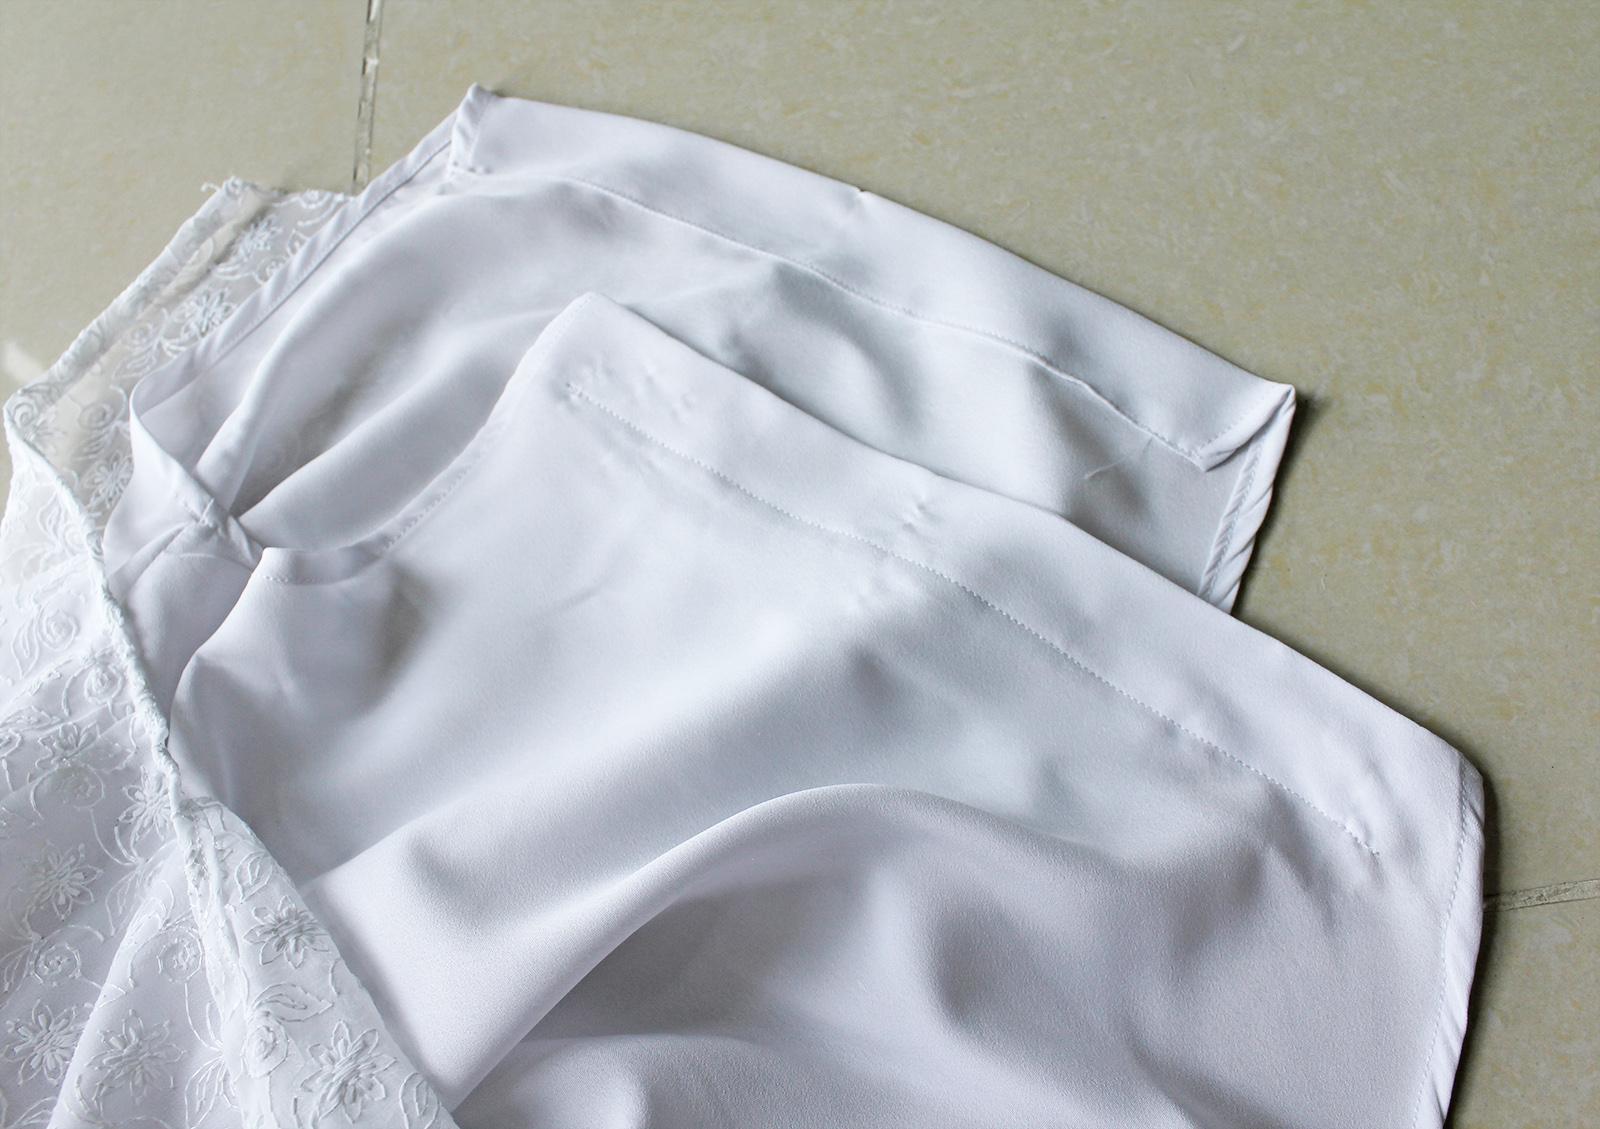
I. My cut our pieces looked like this. Note that there's 2 of each piece. I also cut identical skirt and the top pieces out of the lining - the ruffle piece I left sheer with no lining.
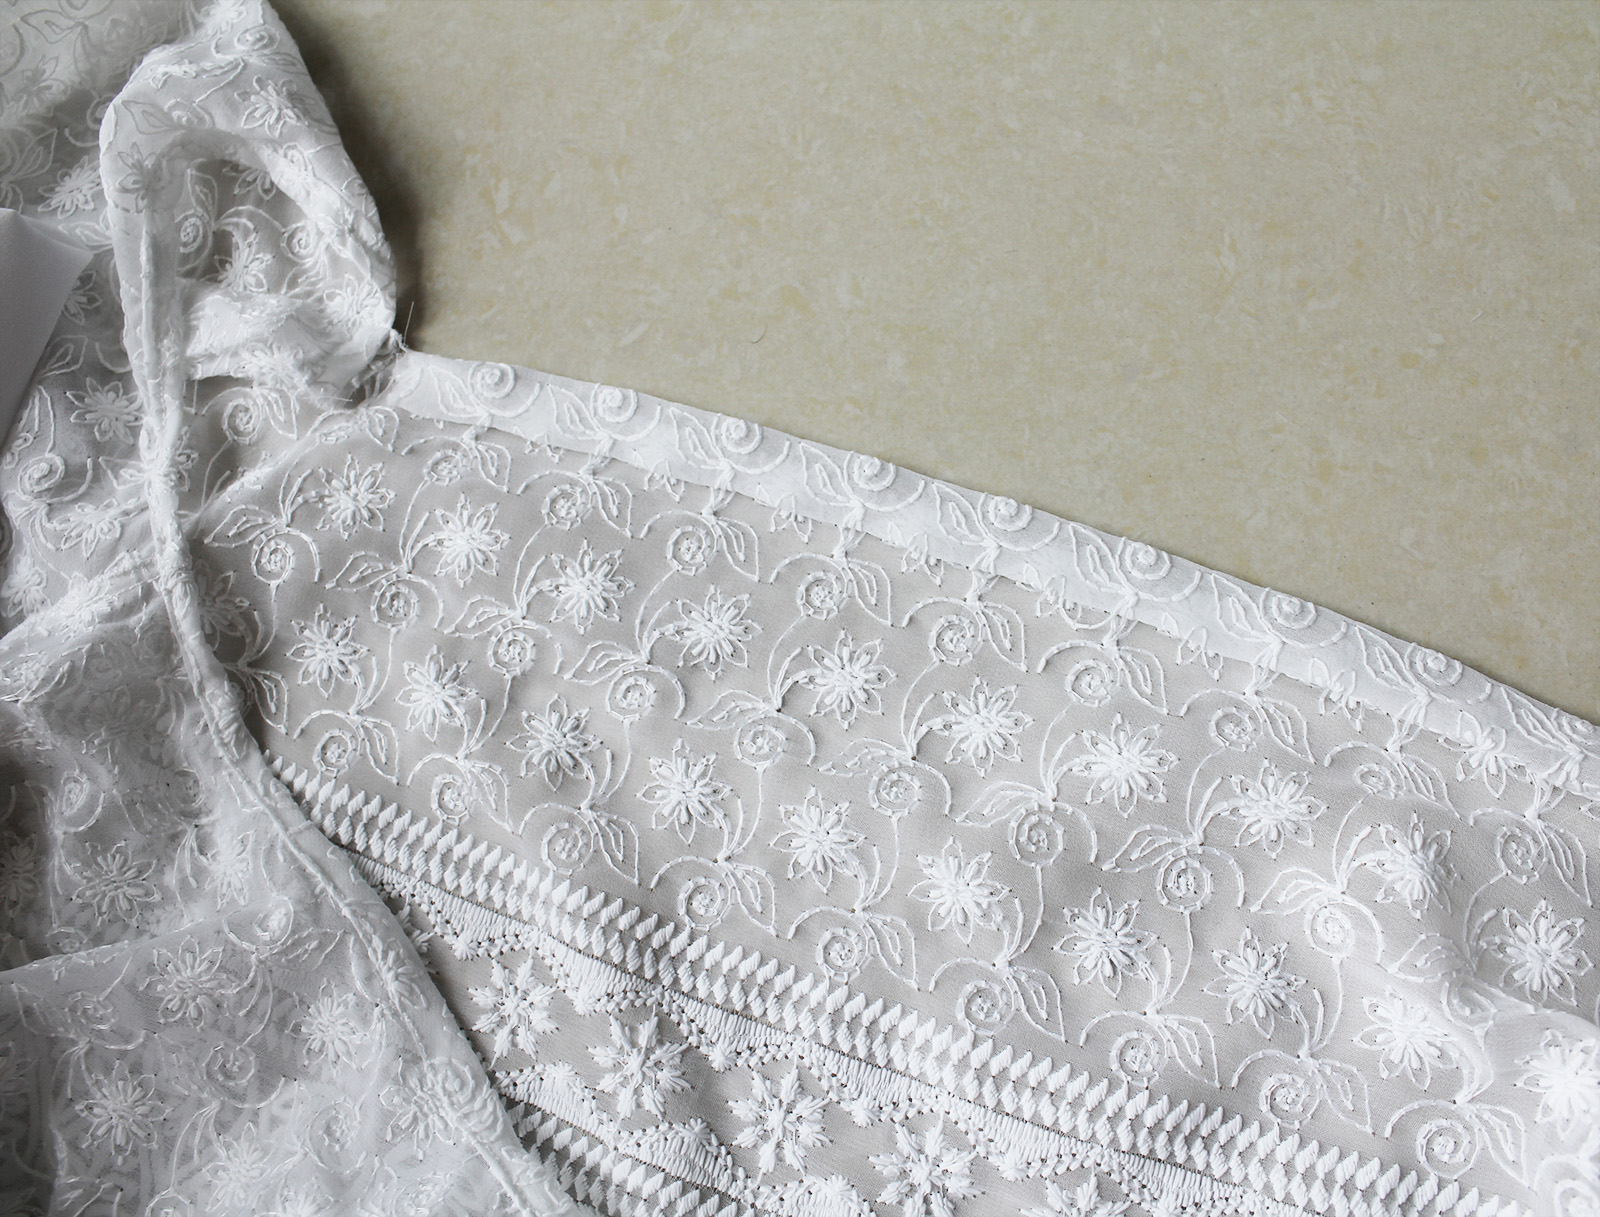
II. I first pinned each top piece to the skirt piece, right sides facing, and sewed together, zig-zagging the seam allowance.
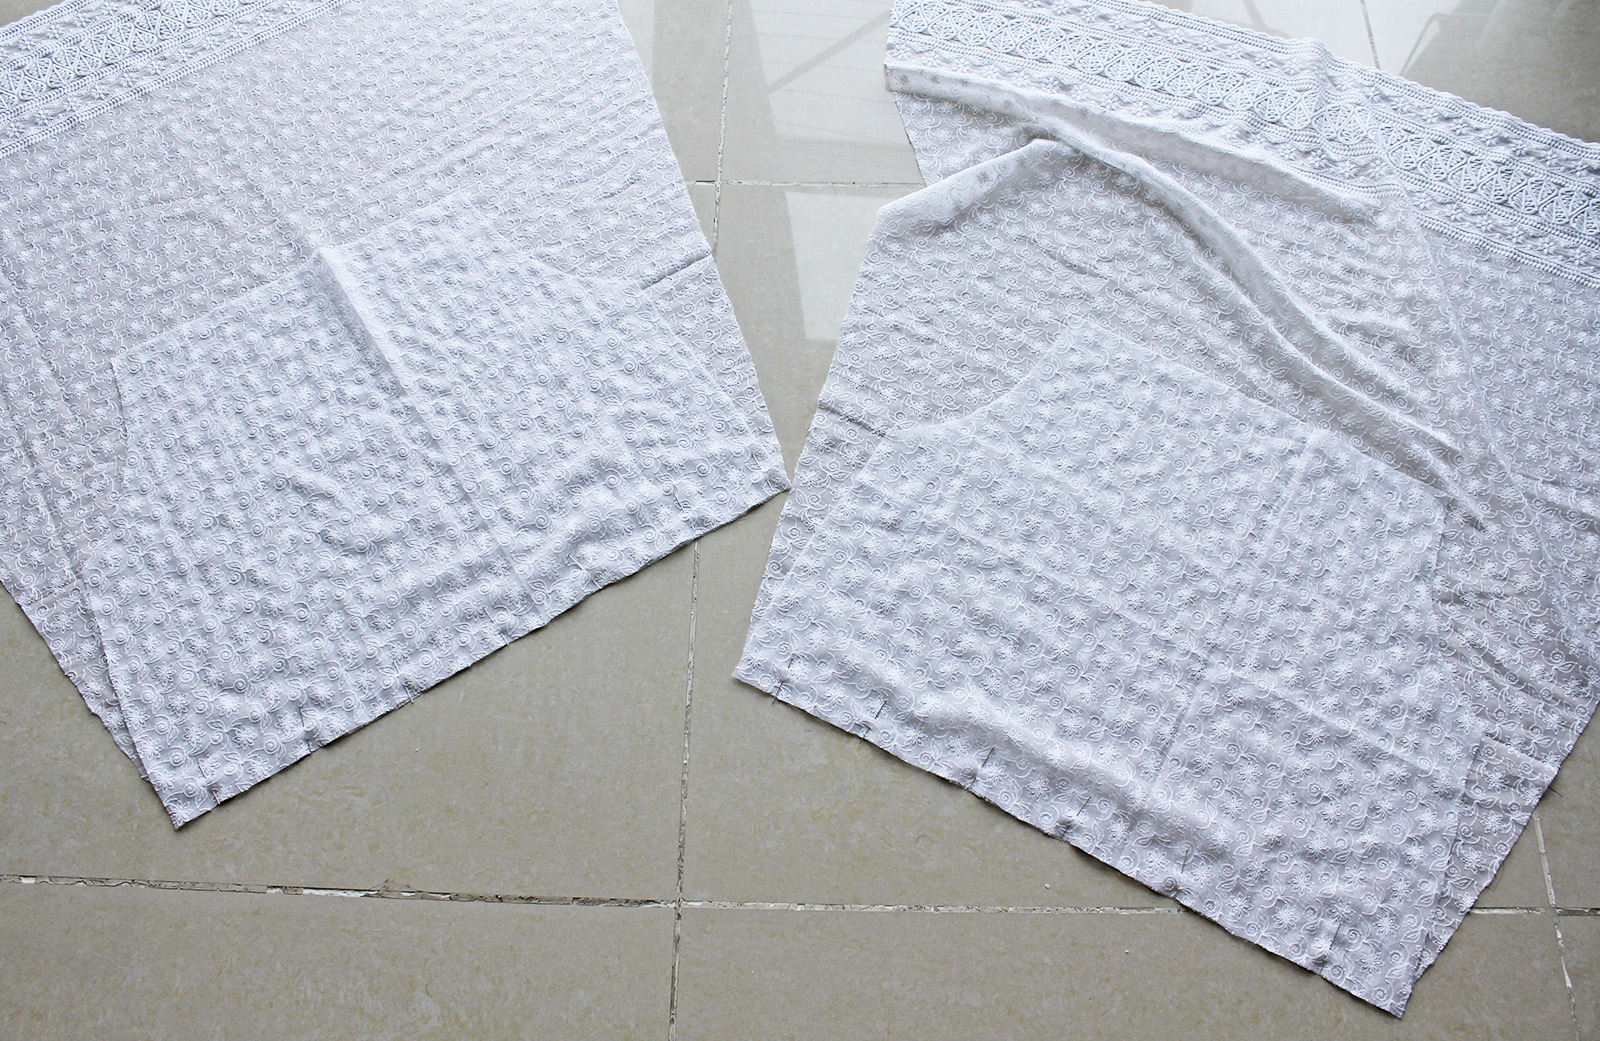
,, Leaving me with two pieces that now formed the back and the front piece of the dress.
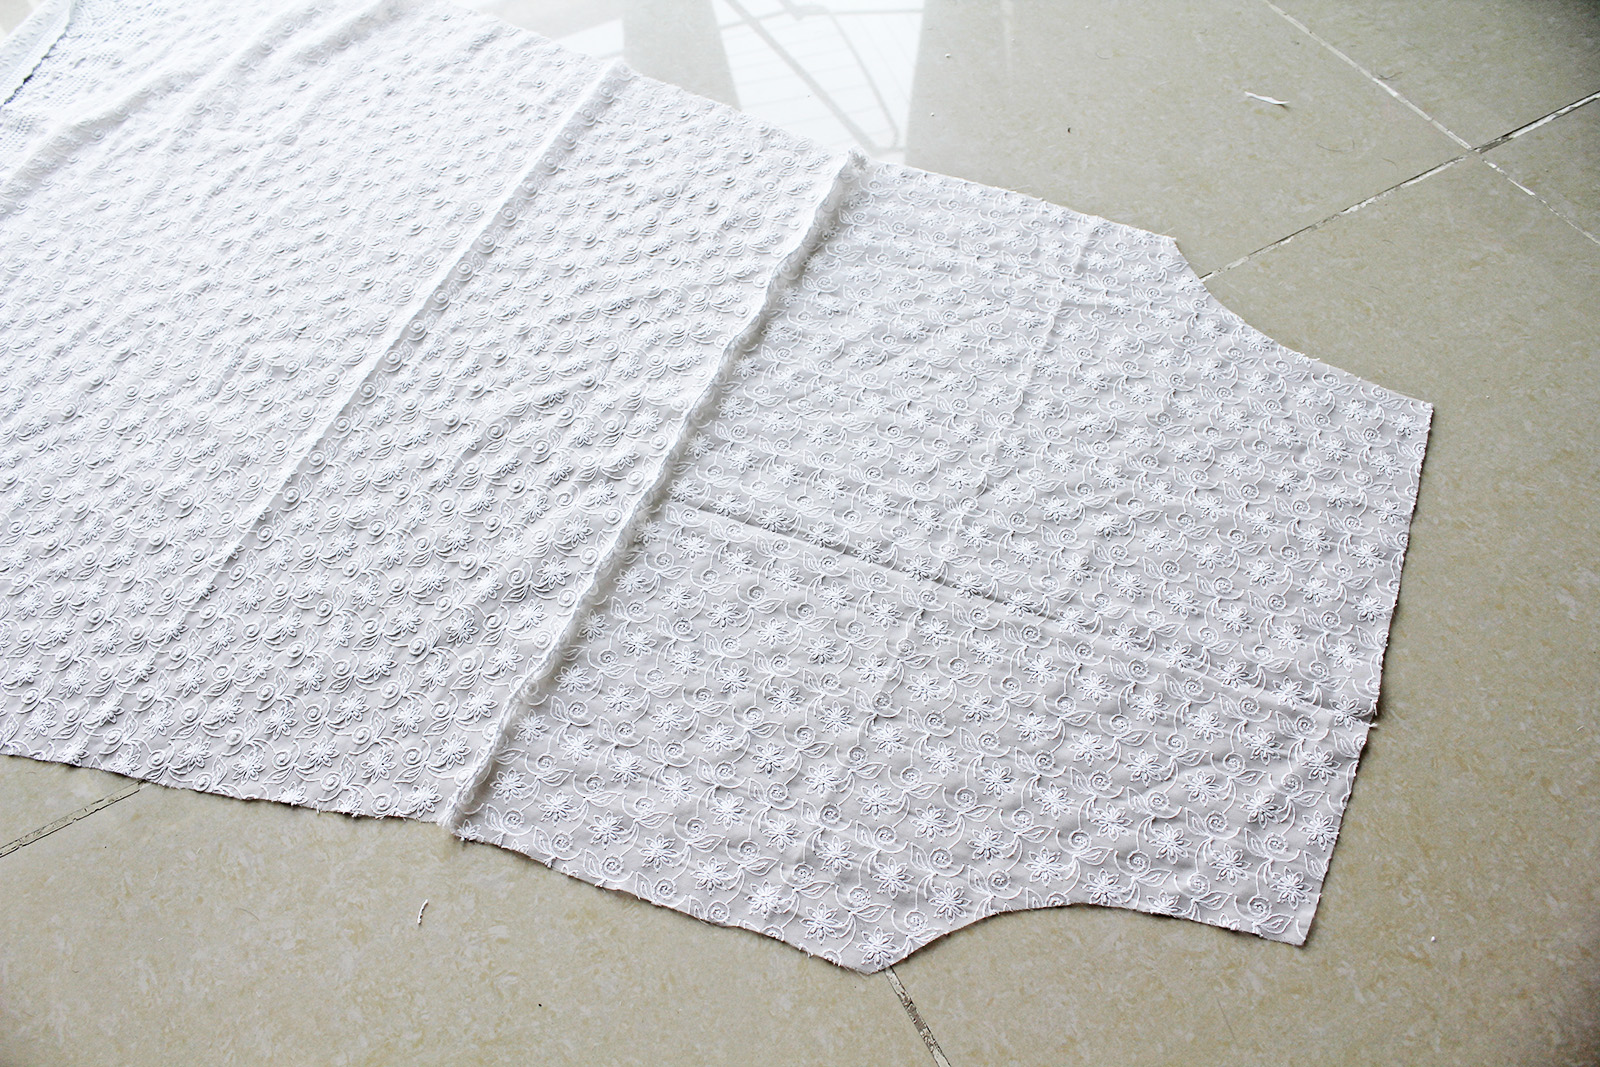
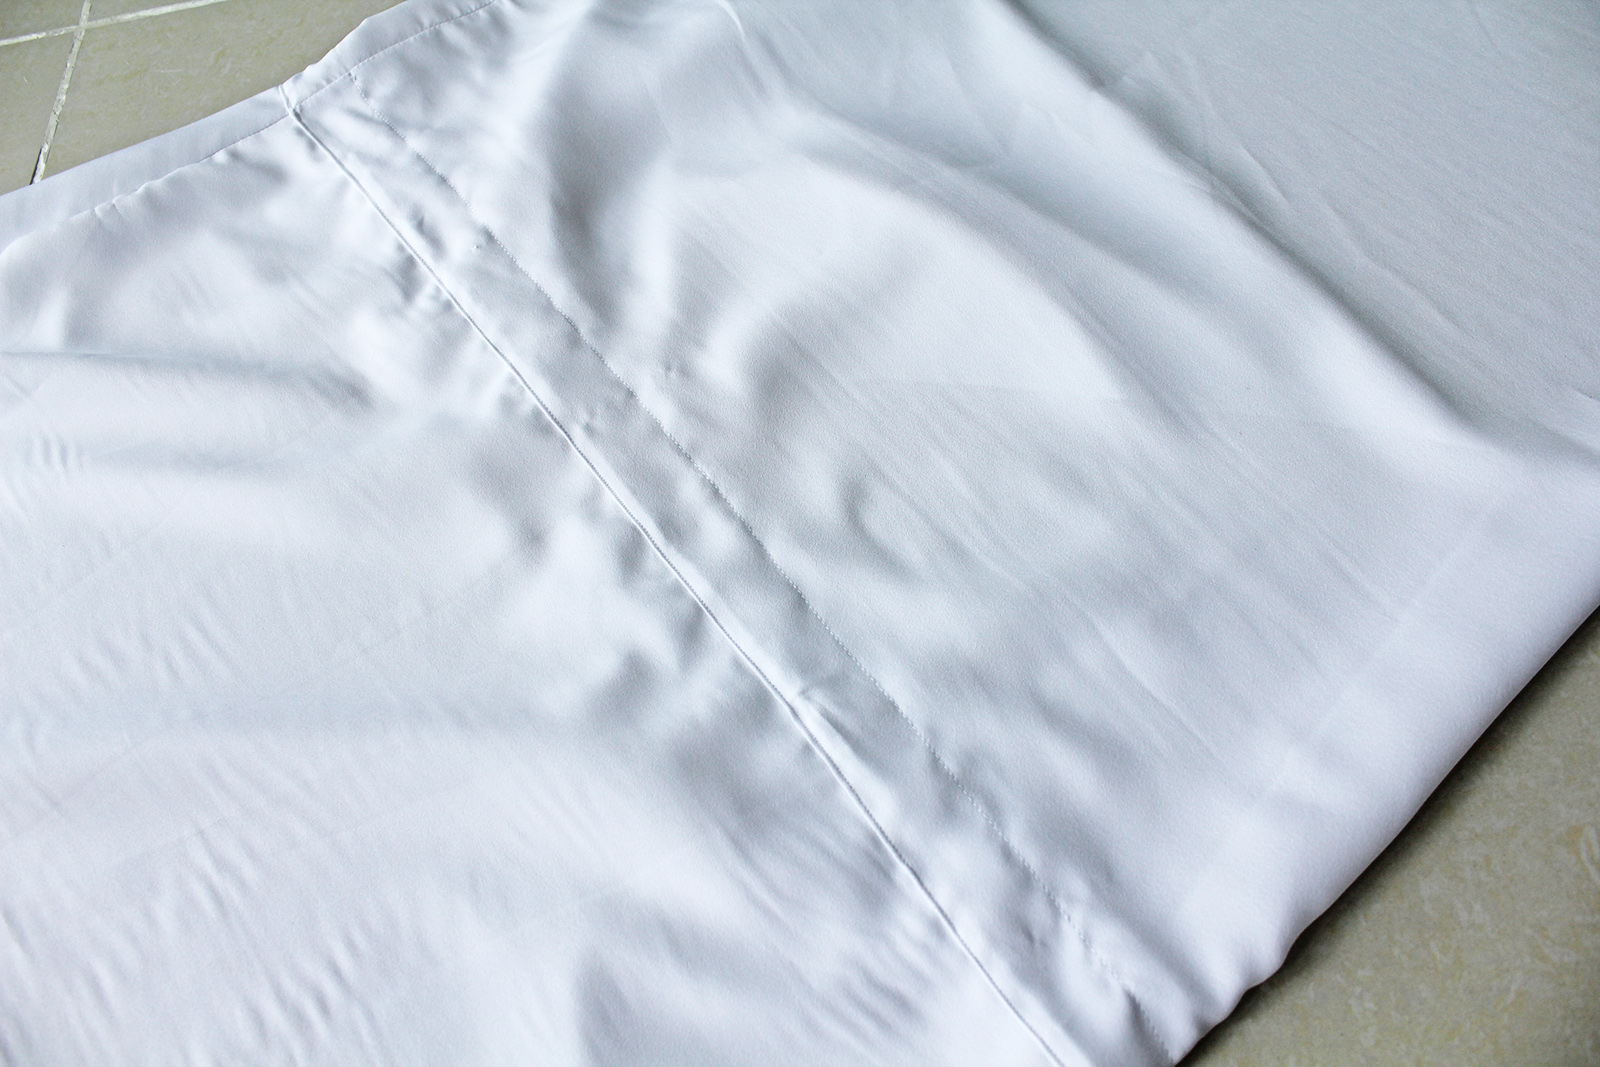
III. I then placed the top lining pieces right sides facing and sewed the side seams..
,, And did the same thing for the skirt lining.
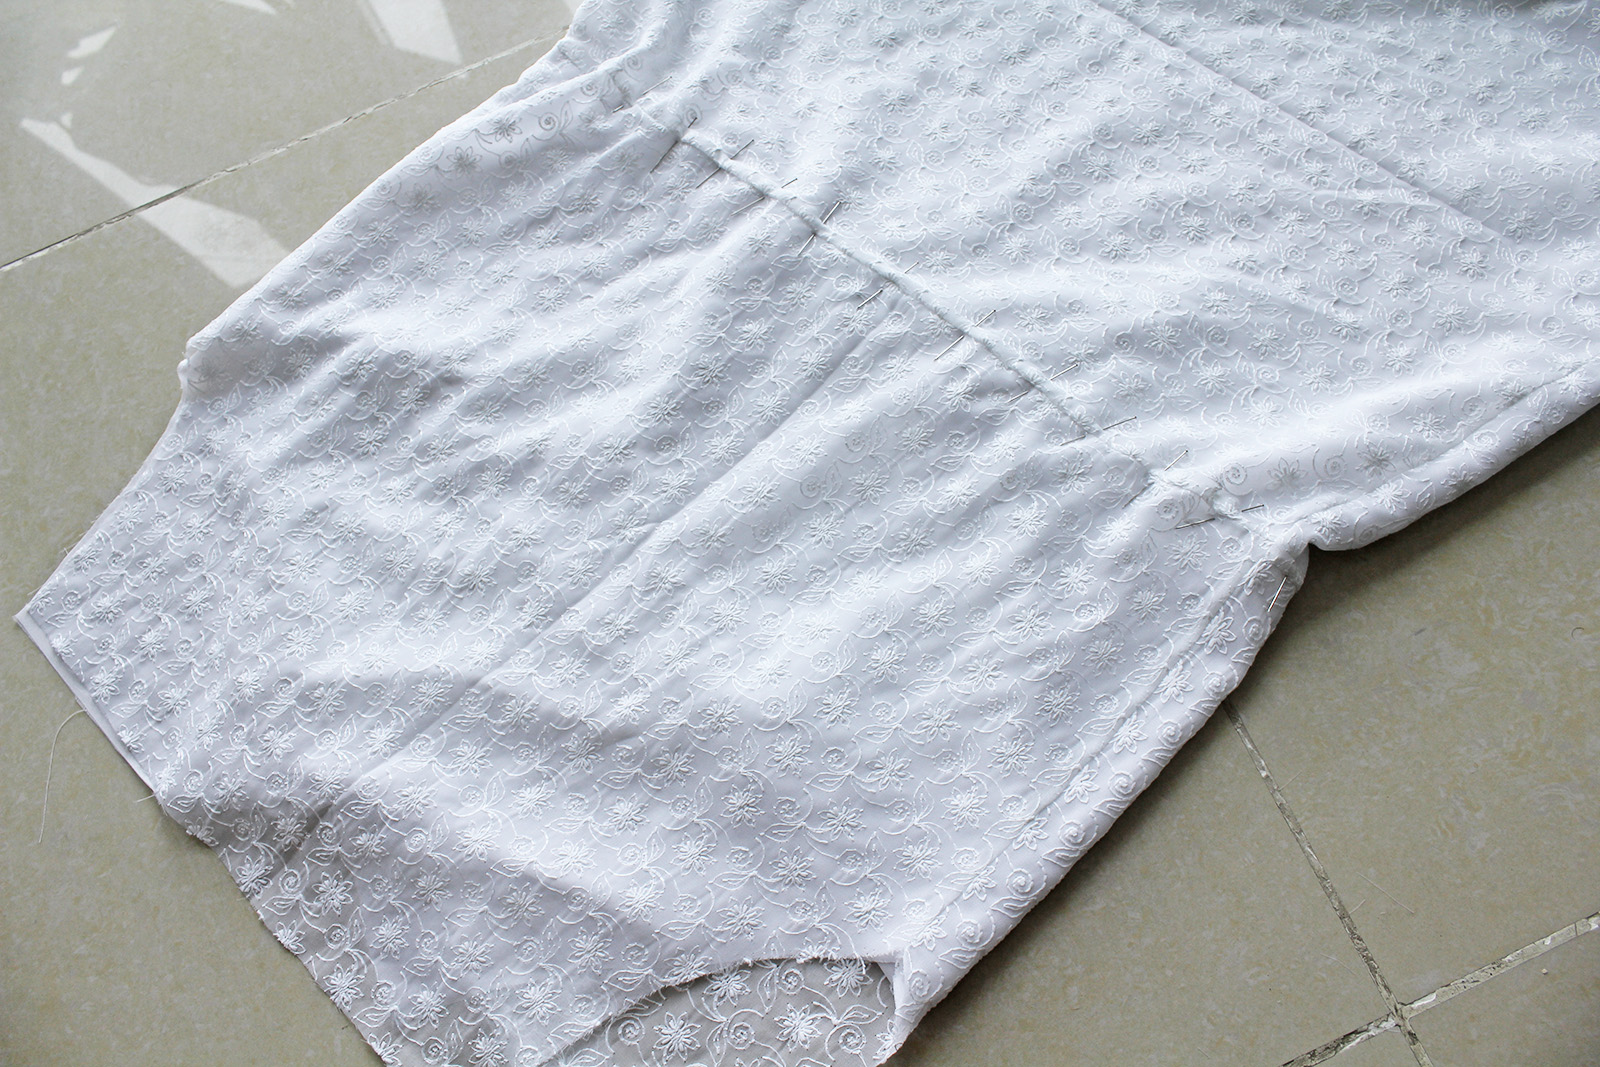
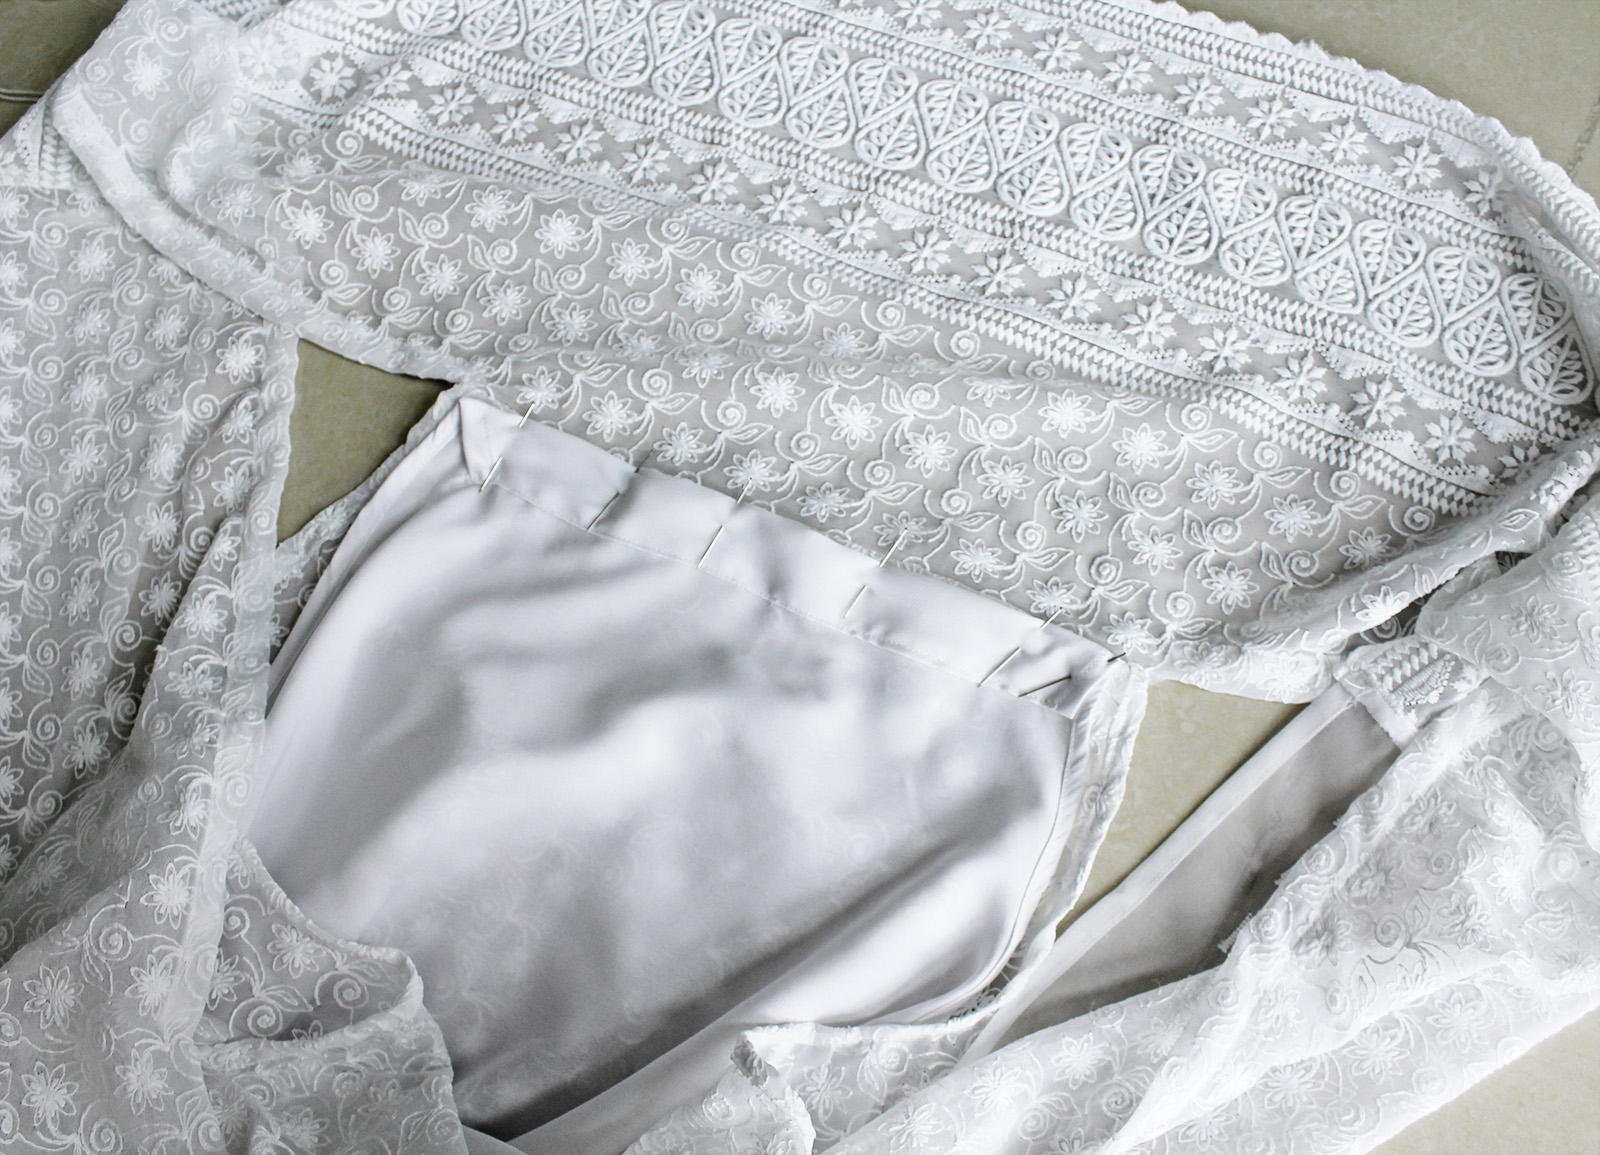
IV. Next I pressed a little (about 1 cm) fold on the top piece and zig-zagged the raw waistline of the skirt..
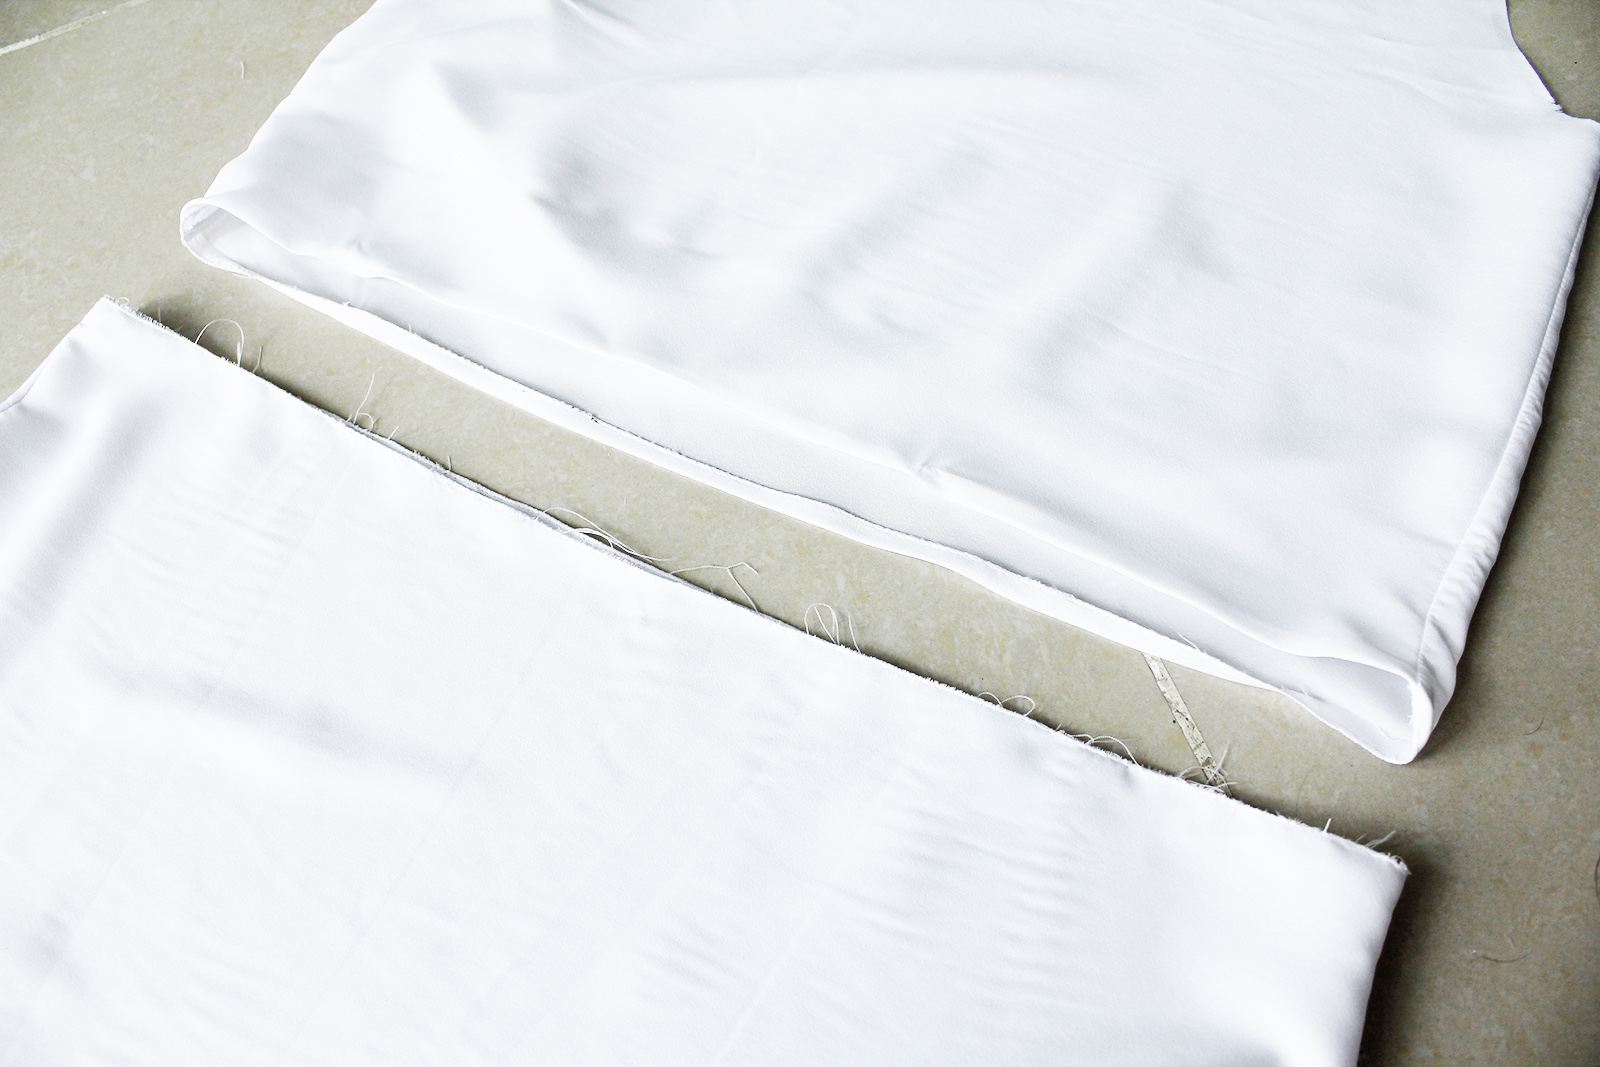
.. Inserting the skirt inside the top, and pinning in place so the skirt overlapped with the top approx. the width of my elastic.
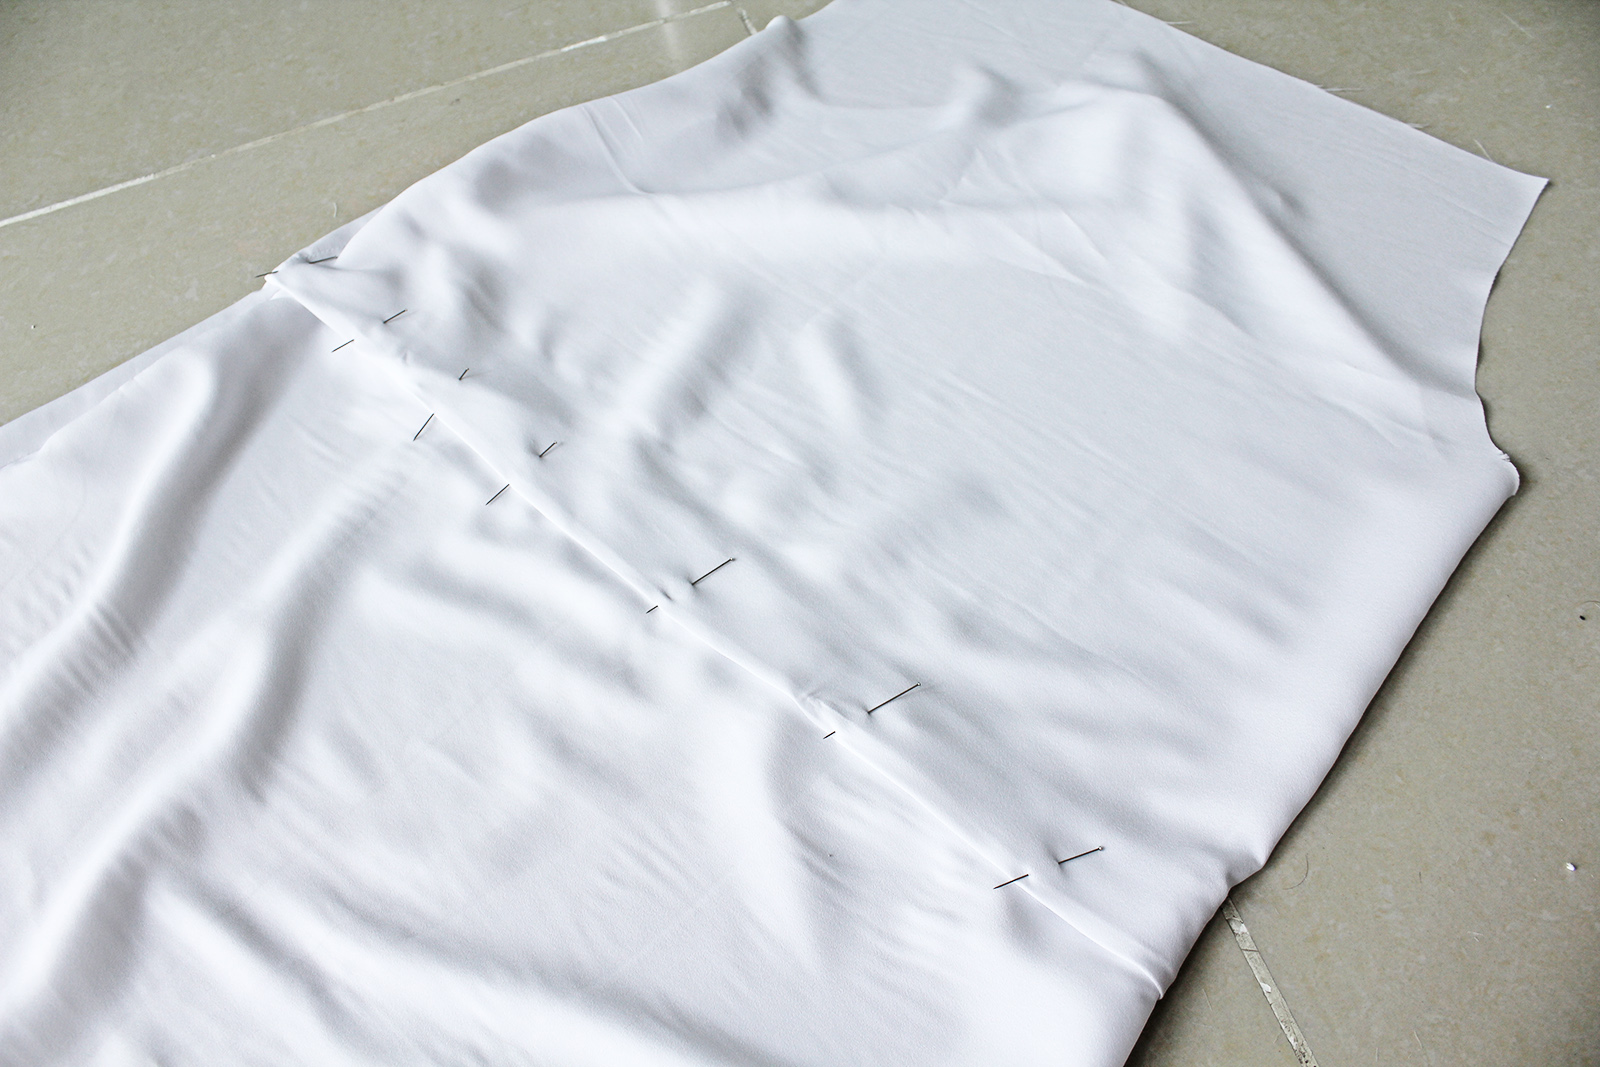
Here's a closer look. My elastic was about 2 cm wide, so I overlapped the skirt and top by just a little more than that, about 2.3 cm.
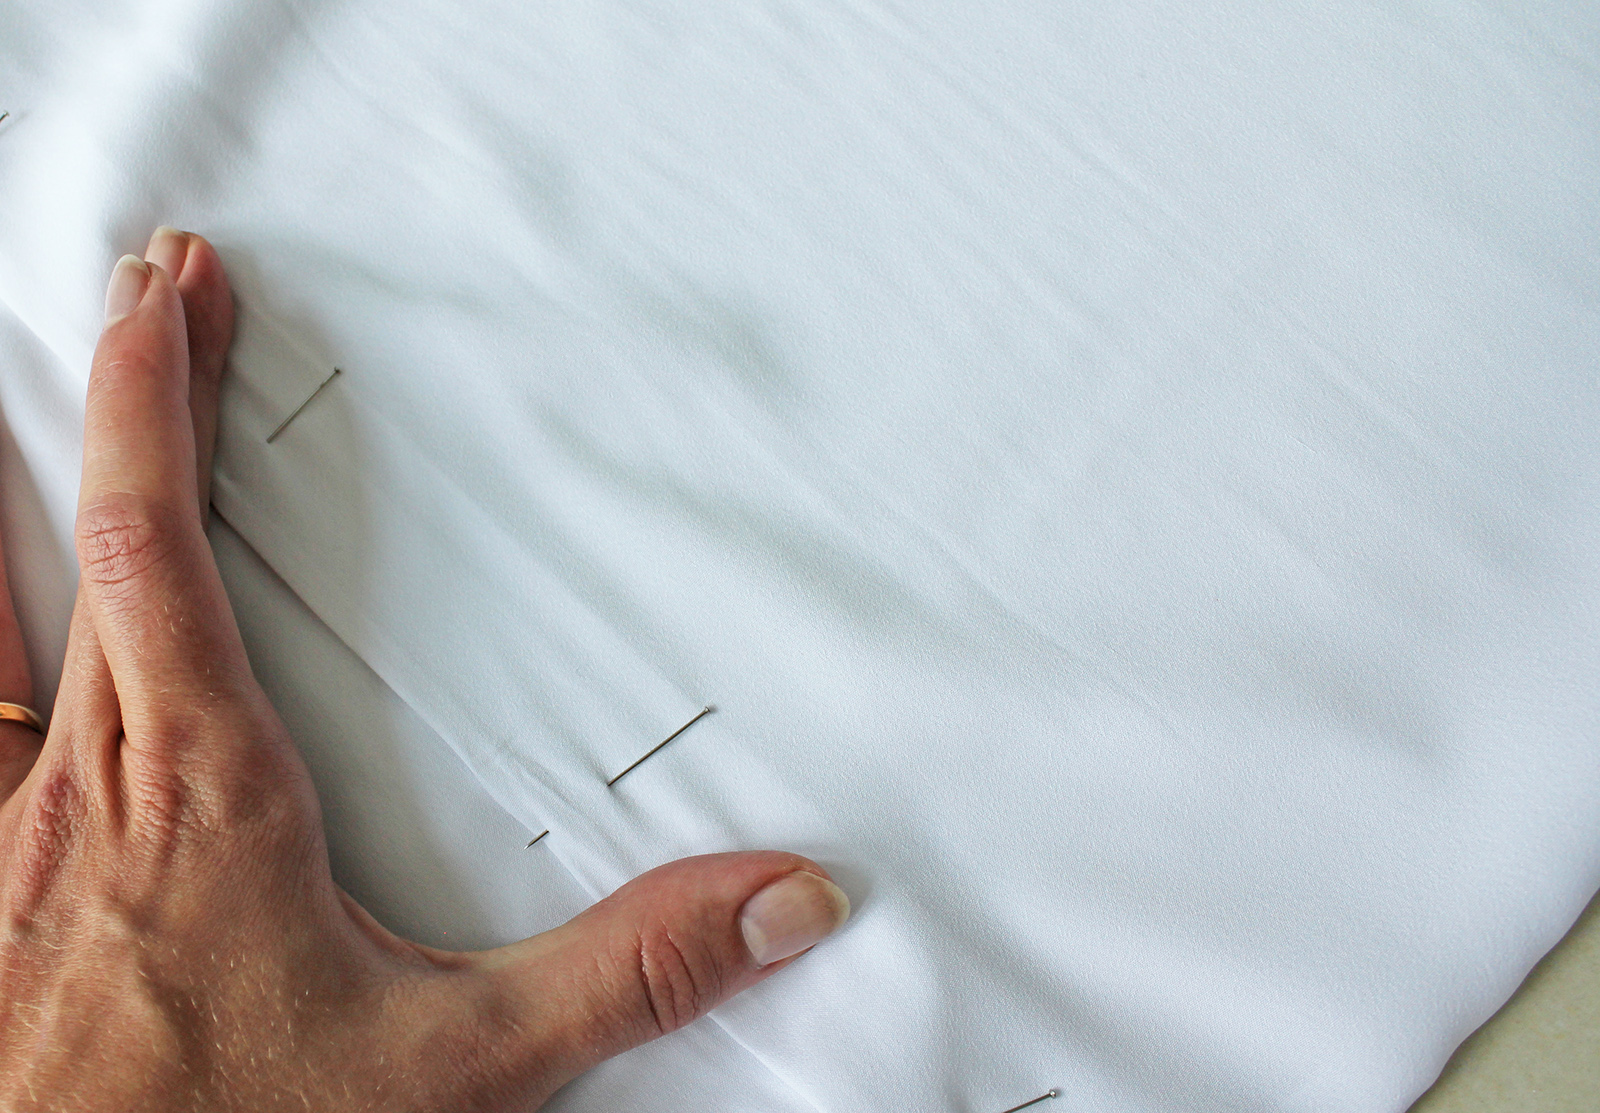
Then I just sewed two seams around the waistline; one at the folded edge of the top, and one right next to where the skirt piece's edge, making sure to leave a gap in the upper stitch for the elastic.
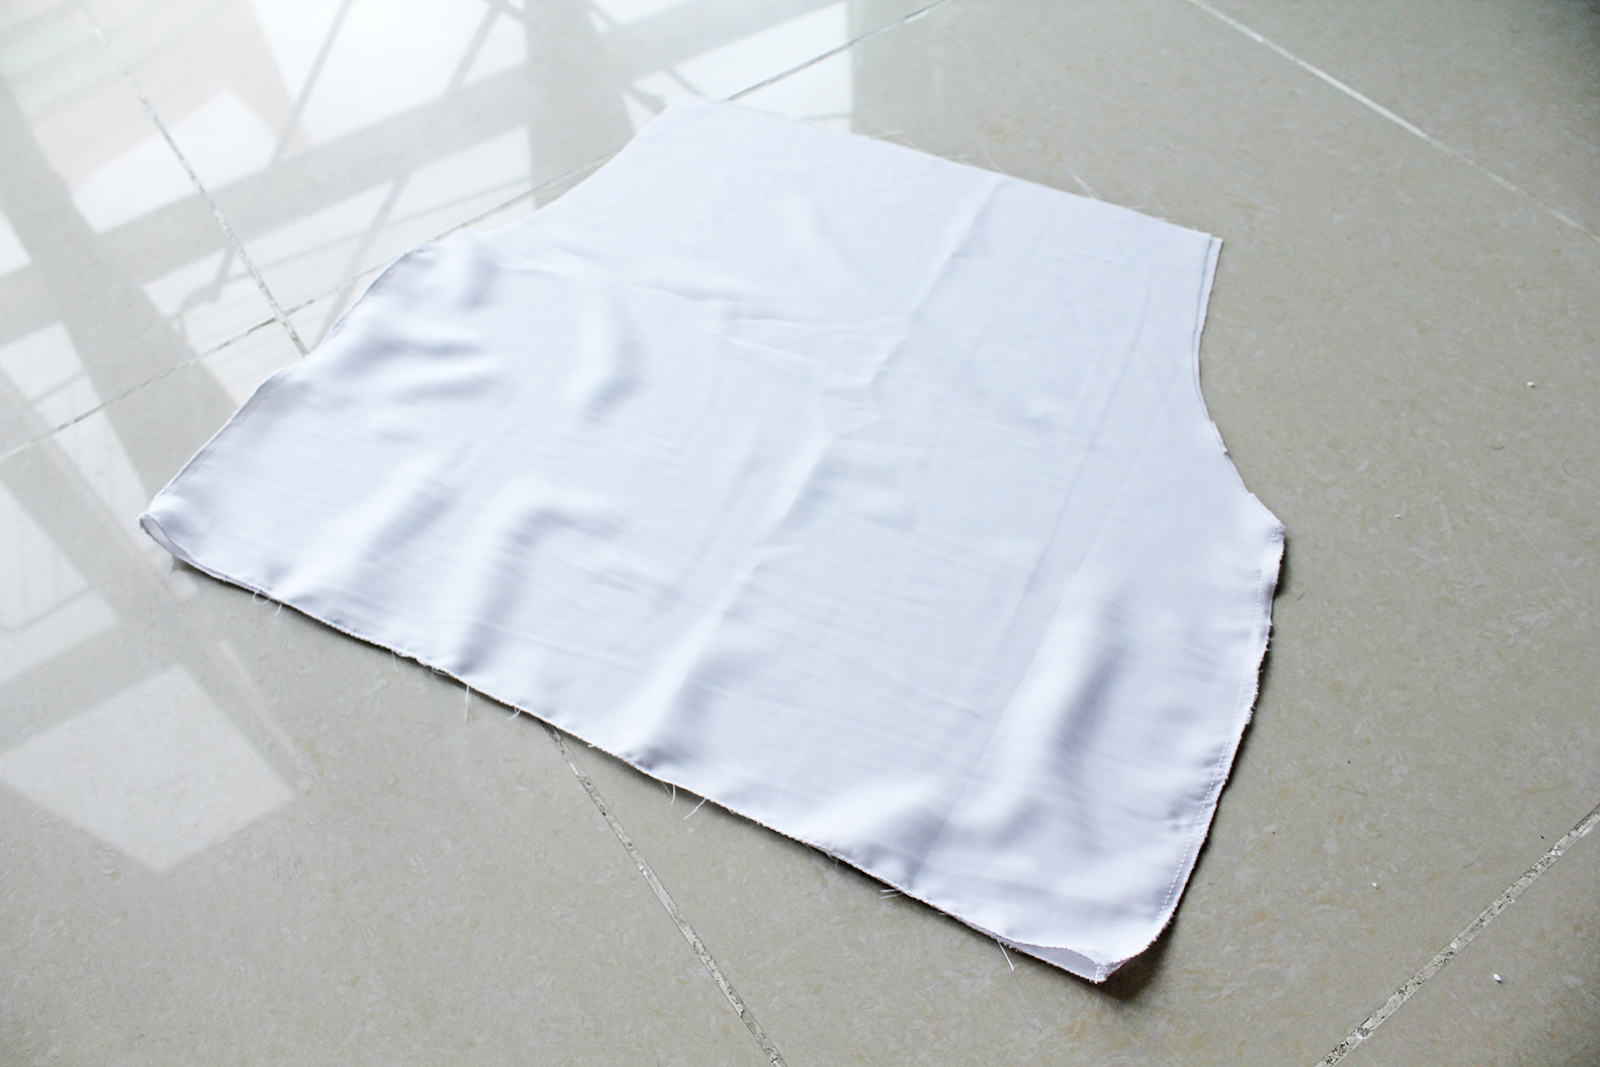
V. Next I pinned the front and back pieces together right sides facing and sewed the side seams.
VI. To attach the lining to the dress, I inserted it into place and then pinned the waistline of the outer layer to the lining, along the lower seam I had sewn earlier. Then sewed around.
As long as you didn't forget to leave the gap in the upper stitch circling the waistline of the lining, you will then be able to insert the elastic into it's place, sew its ends together, and close the gap in the stitch.
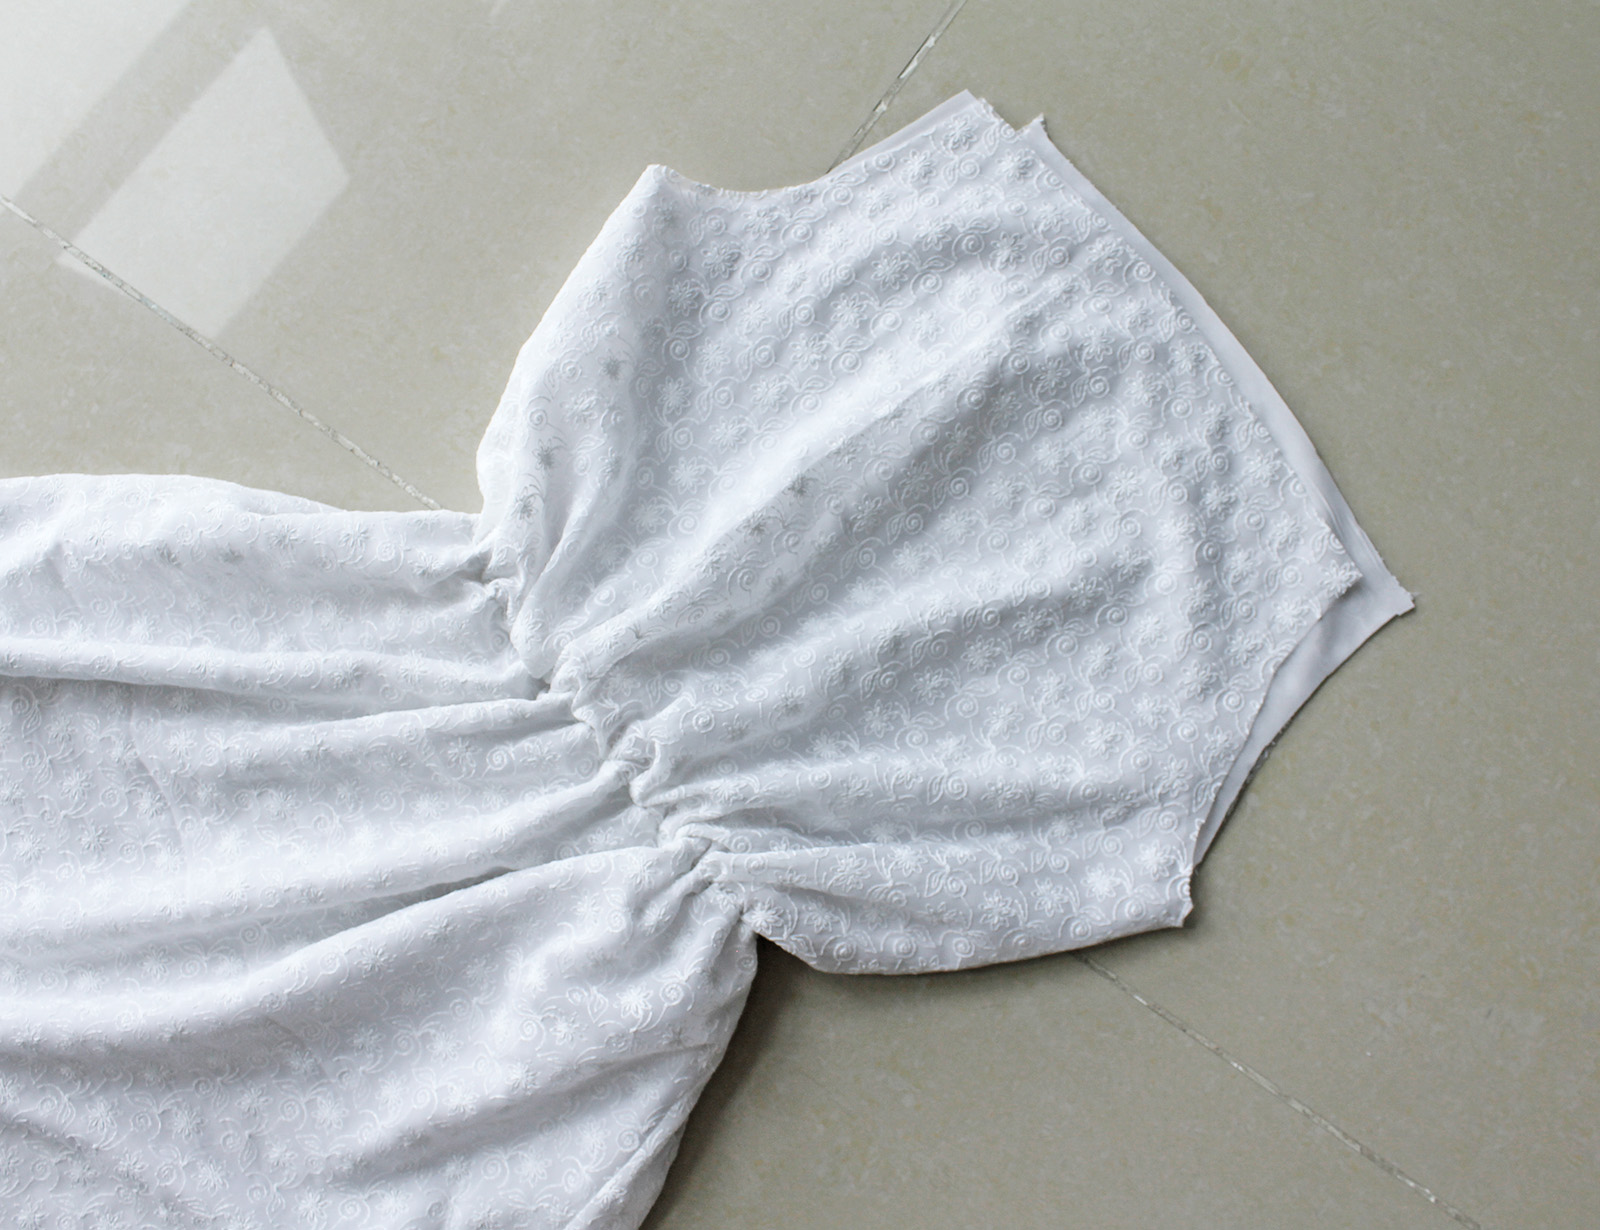
VII. Then for the upper part. First I double-folded the arm-holes (lining and main fabric separately), pinned the folds, pressed with iron, and sewed them in place. At this point I also confirmed how far up I wanted the neckline to come, and I ended up snipping a few cm from the lining and the main fabric to get it to where I wanted.

VIII. I then folded the lining once (about 1 cm) on the reverse, and again, about 2 cm, creating a tunnel for my elastic and securing it with a straight stitch.
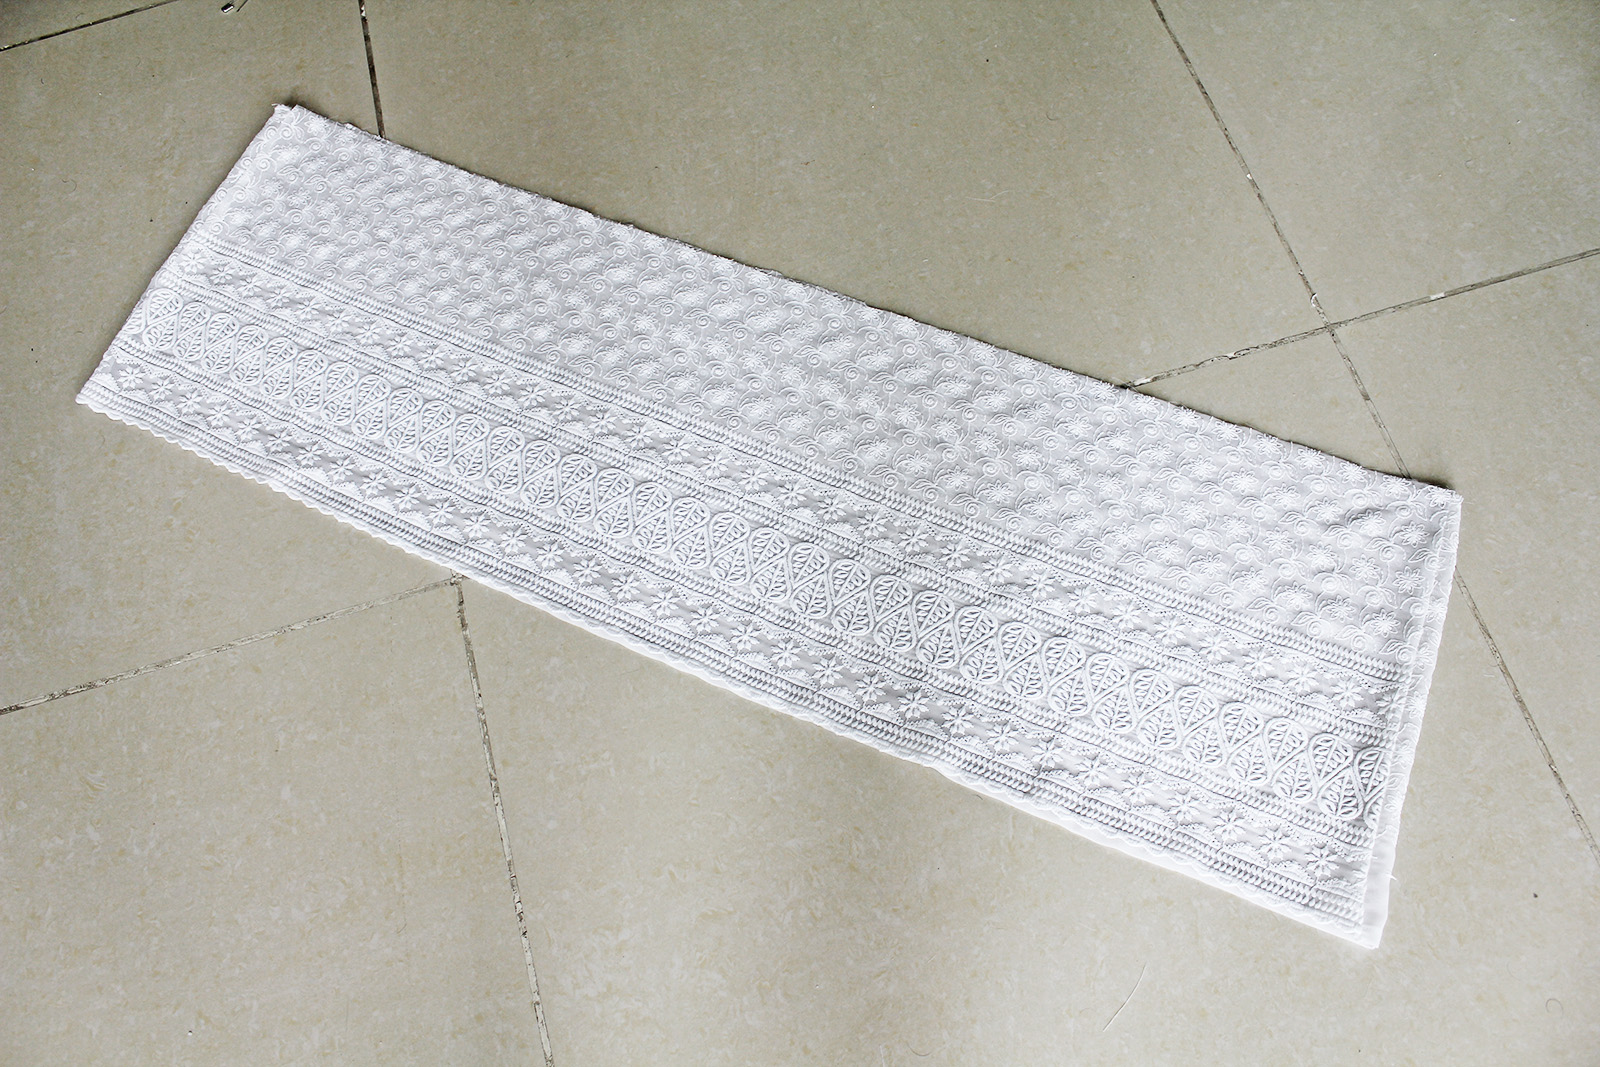
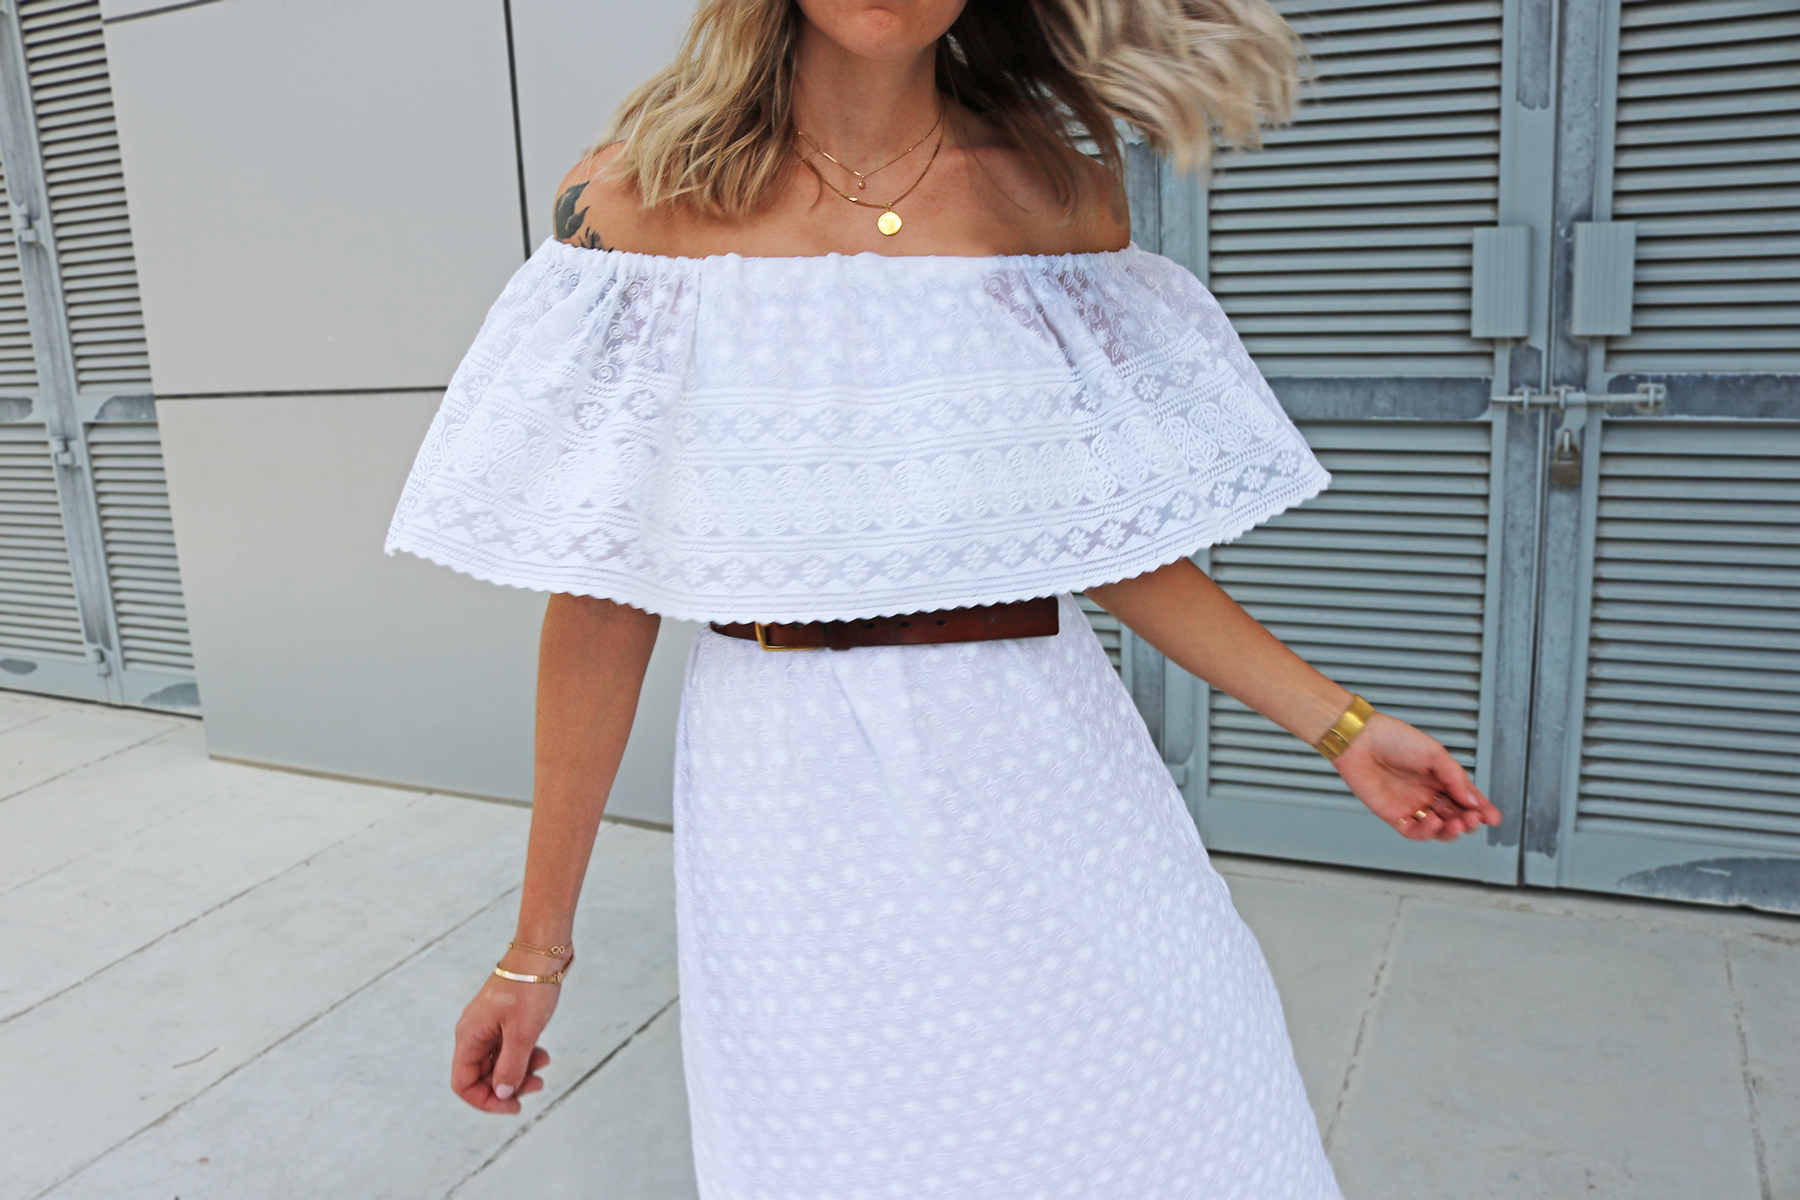
IX. To create my ruffle, I took the two long rectangles and sewed them together at the shorter sides, creating one circular piece. I'll admit I didn't realize my fabric only had the pretty edge detail embroidered on one edge, so I miscalculated the amount of fabric I needed a bit and didn't have enough for the nice embroidery to continue all around the ruffle.. Only in the front. For the back piece I used the other side, which I actually ended up liking as a nice detail in the finished dress.
X. To attach the ruffle to the dress, I marked the center of its front and back, matched those with the centers of the front and back neckline on the dress, and pinned the edges together, right side of the ruffle to reverse side of the top. Note that I left the lining out of this at that point.,
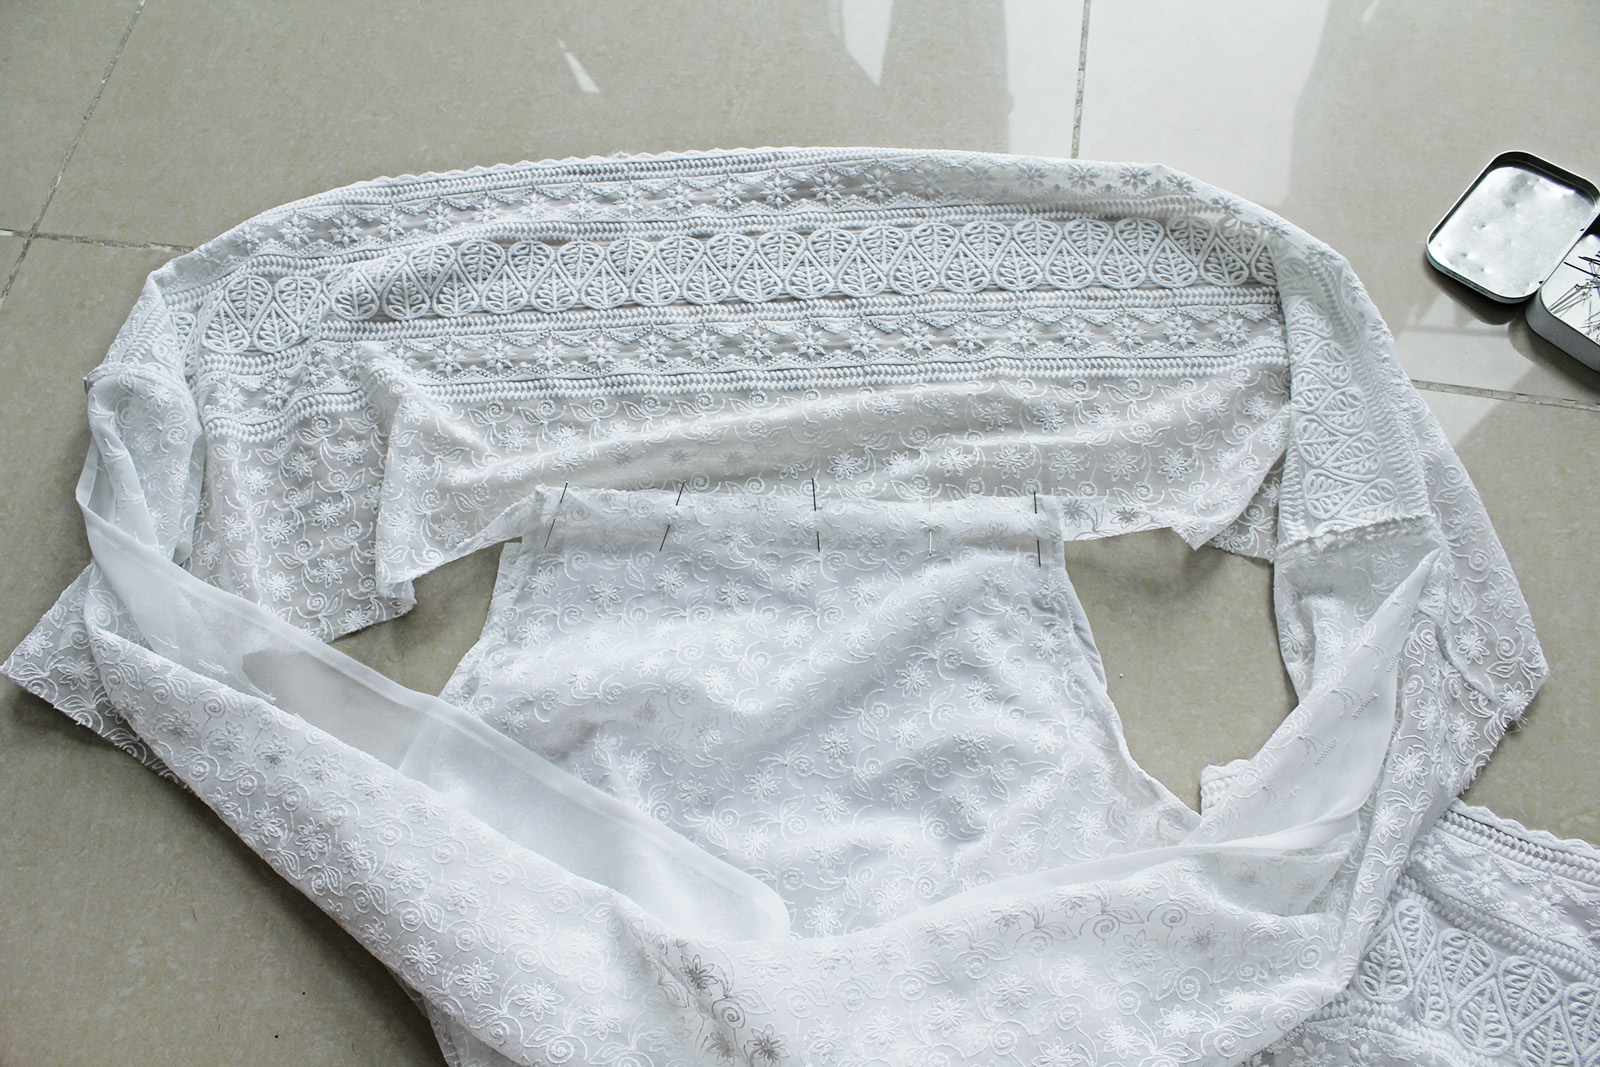
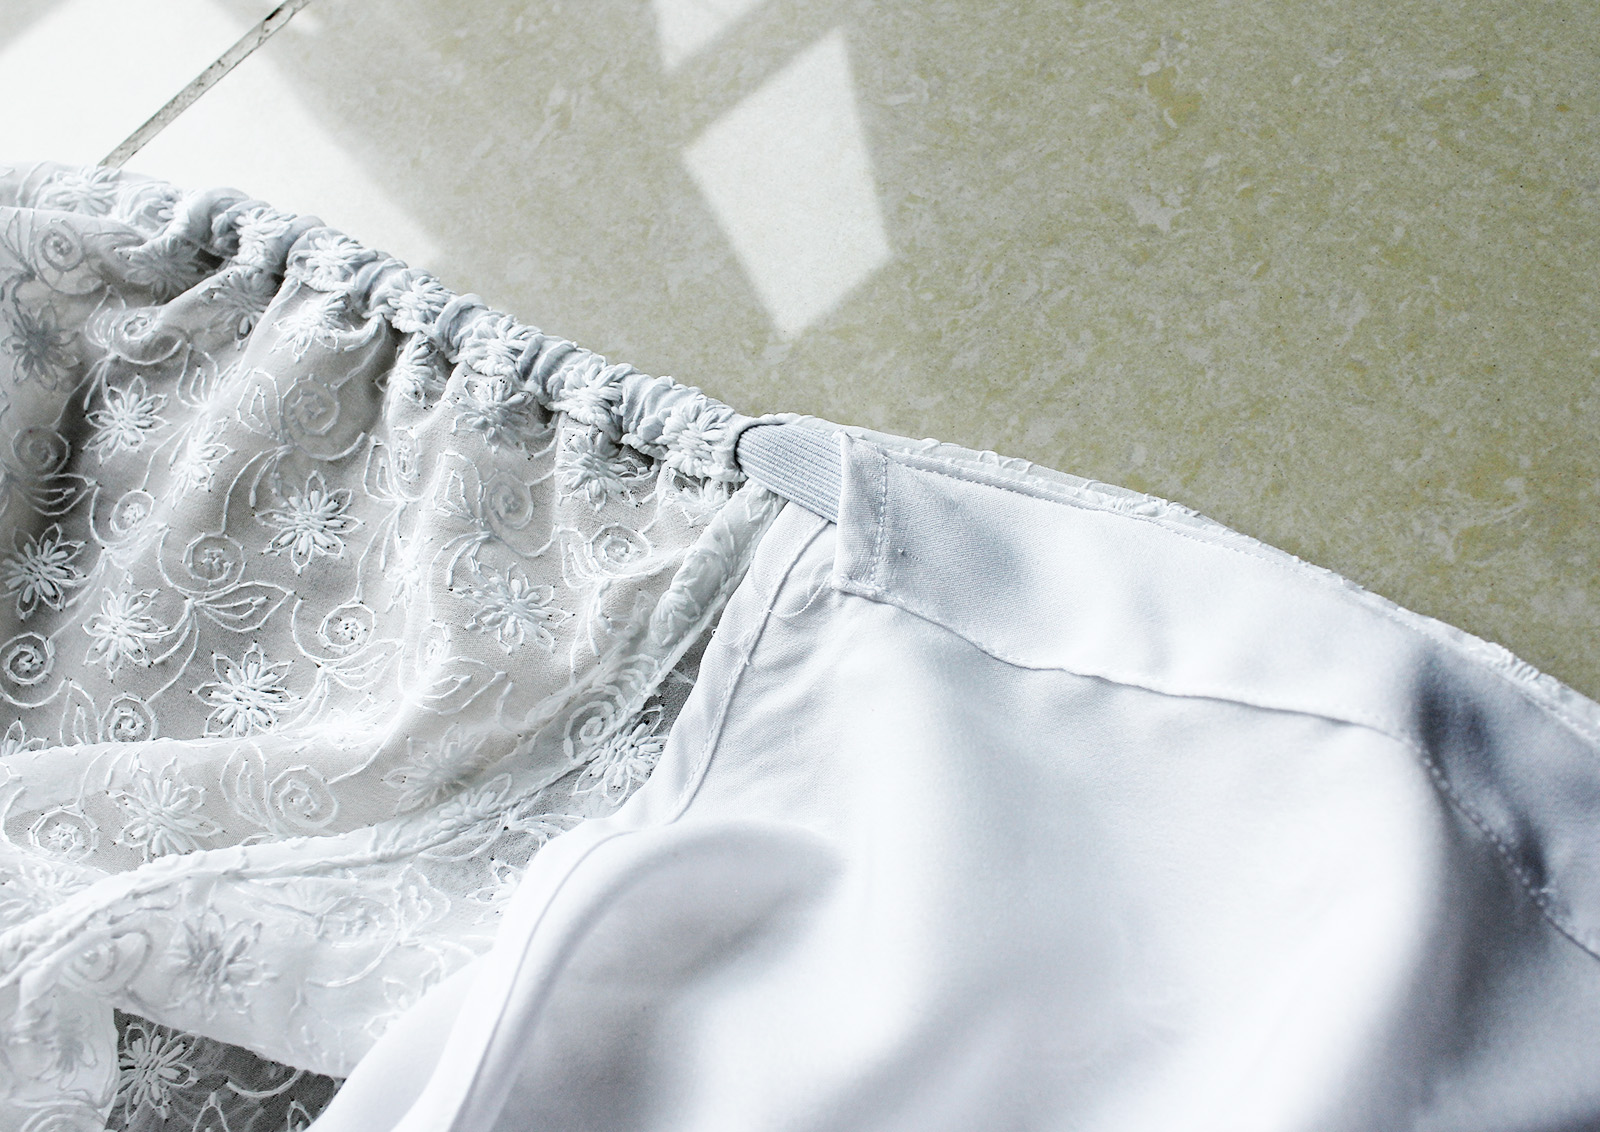
Then, after flipping the ruffle onto the right side, I clipped a little notch right next to the edge of the arm hole, in the 4 spots where the top ends and the ruffle starts, like this:
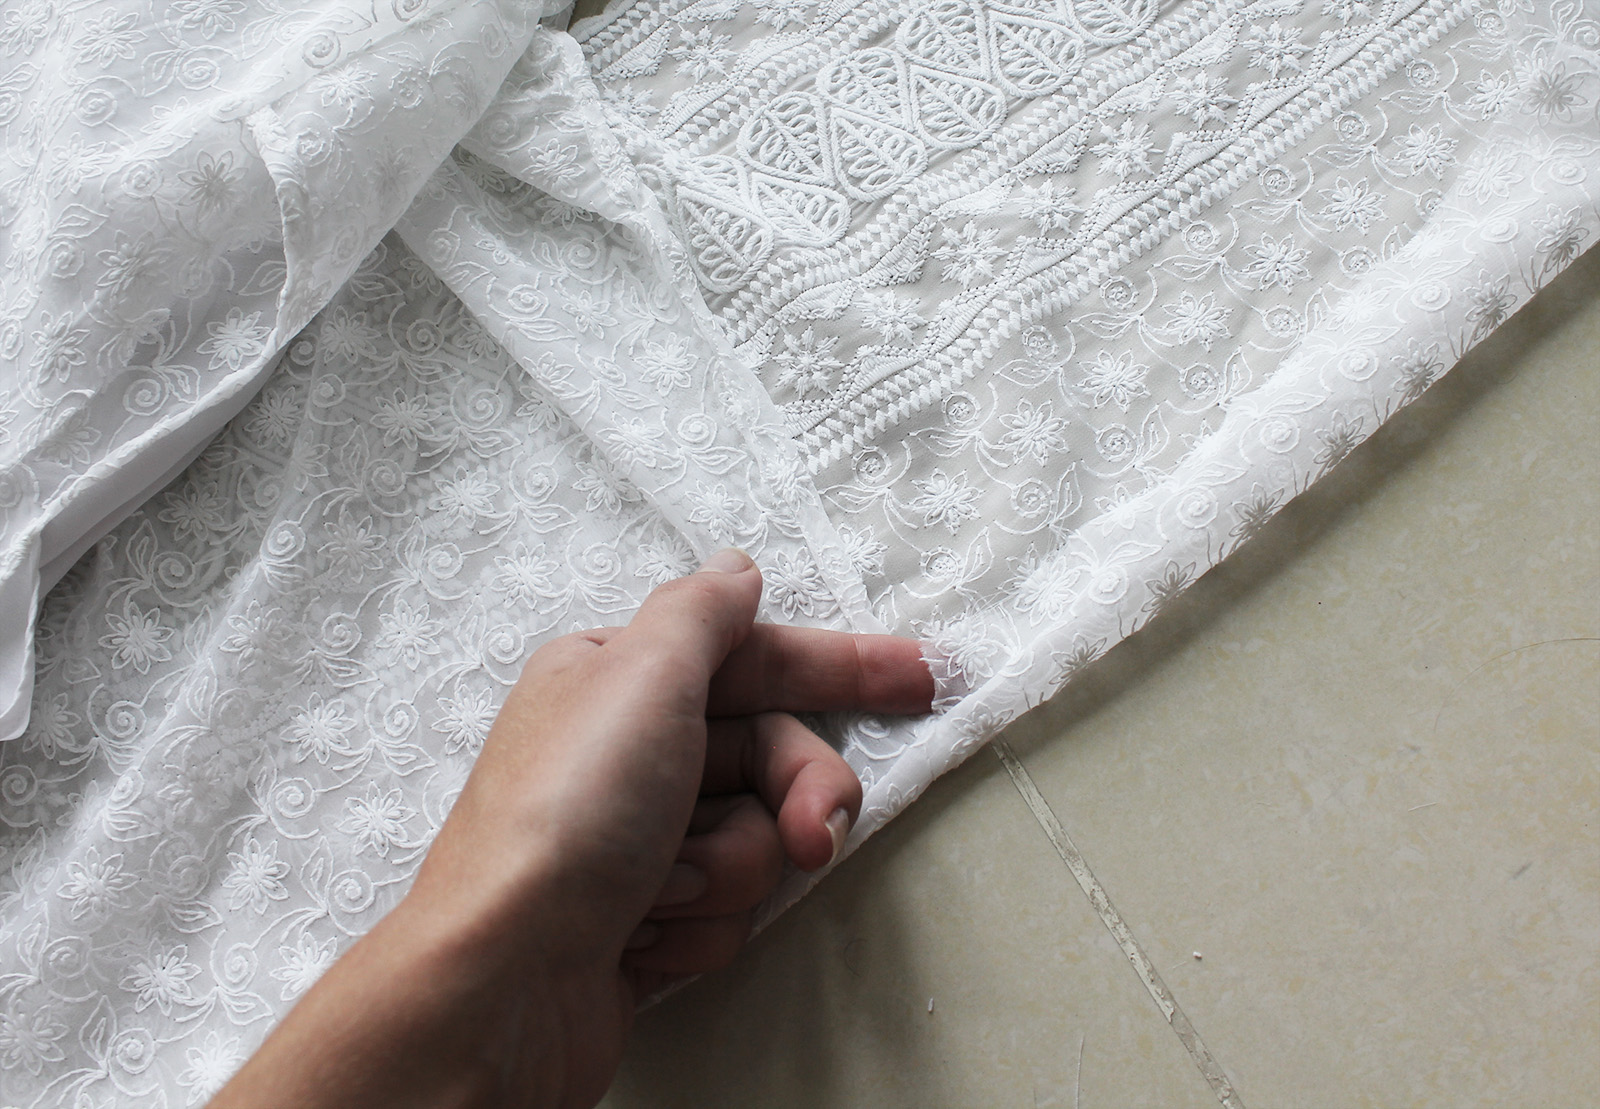
.. Which allowed me to do a double fold at the top edge of the ruffle piece, just wide enough for my elastic to go through. I pinned that fold in place and sewed right next to the folded edge. Then repeated the same thing on the other side of the ruffle.
XI. I then pinned the lining piece to the main fabric so its top edge ran just below the seam where the ruffle and the dress are attached, and sewed just a couple mm from that point to attach the top of the lining to the neckline. Note that I only sewed the lining to the top of the dress, not the ruffle.
XII. The last step was to just insert my elastic, starting from the tunnel in the lining...
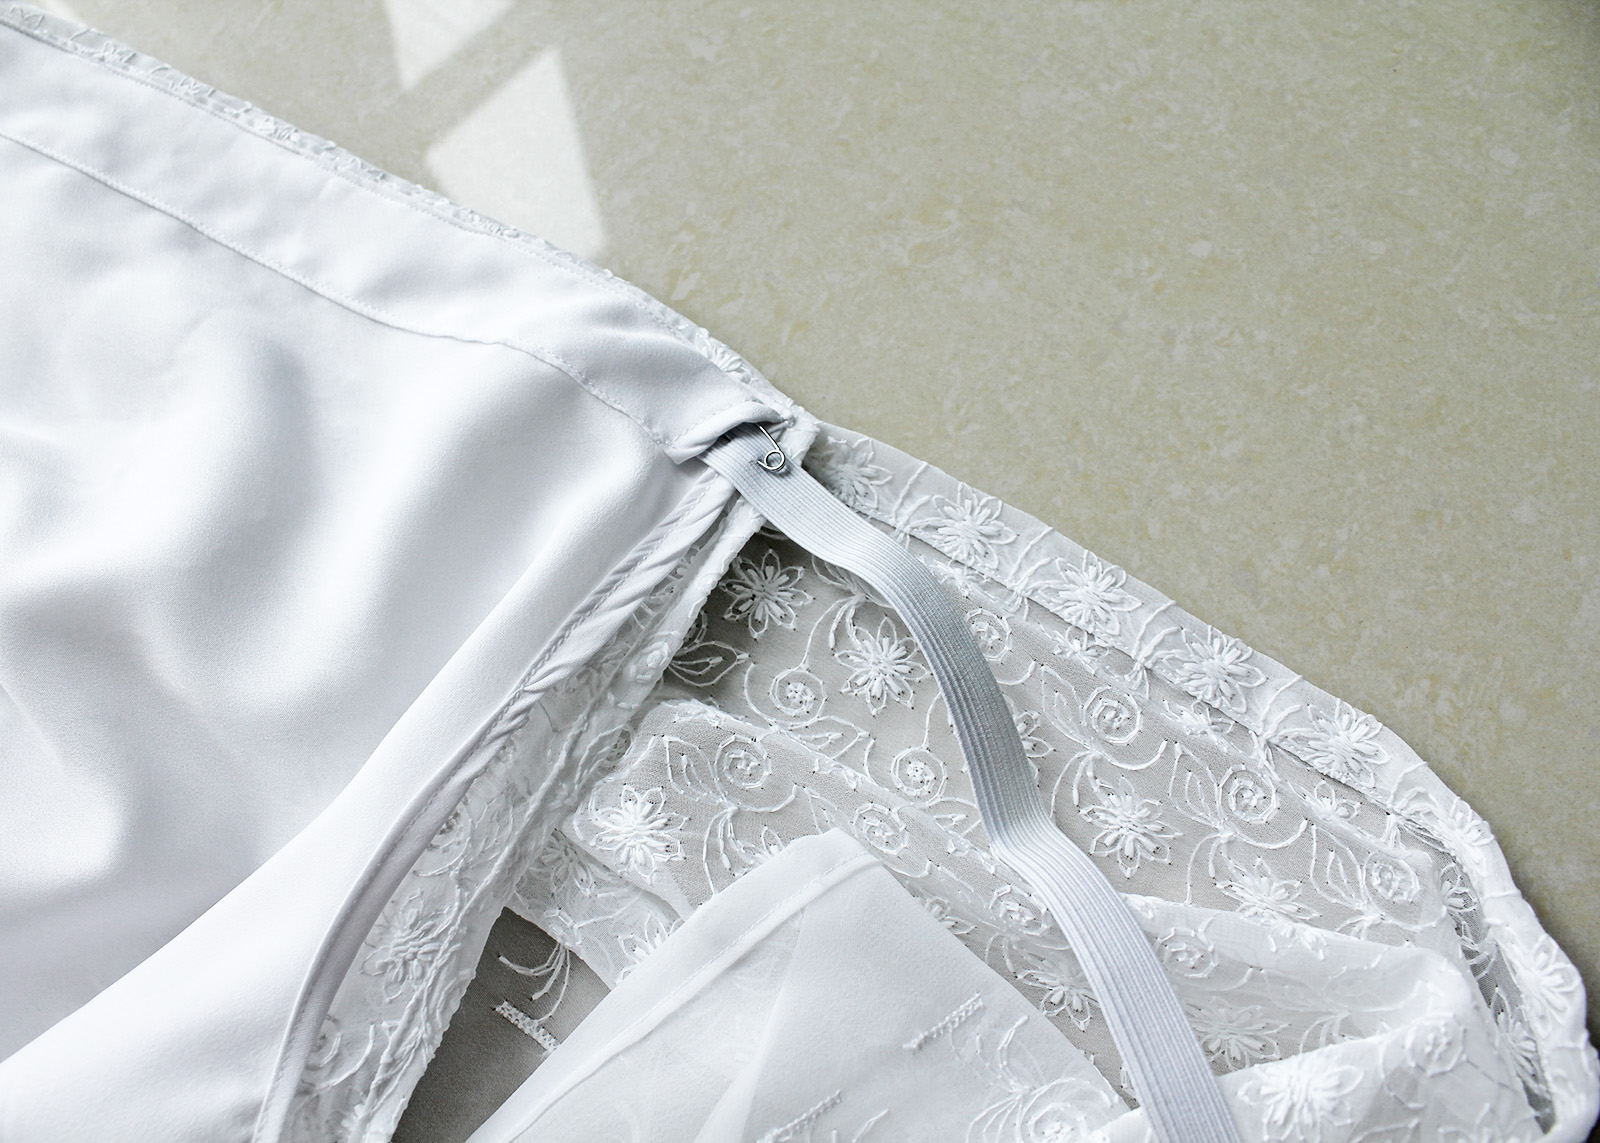
.. And once through there, continuing into the other tunnel running along the top edge of the ruffle. Then back into the back piece of the lining, through the other side of the ruffle. Then just sewed the elastic ends together at the right tightness, and pulled that part with the seam in the elastic inside the tunnel in the lining to conceal it.
Lastly just hemmed the lining of the skirt.
xo,
Julia


Woow elle est belle... j'espère pouvoir réussir la mienne
ReplyDeleteMerci! J'espère que la tienne est devenue parfaite!
DeleteI just love your tutorials!I'm sewing this today! <3
ReplyDeleteAmazing Floriana!! I hope it turned out nice:)!
DeleteThe dress turned out faboulous and it is easy to make!I also made a top from the same pattern from this tutorial and I put an elastic in the waist for a nice fit.Thank you for sharing!
DeleteHow wonderful! That is the risk with off-the-shoulder things.. once you start you can't stop..:)
DeleteGreat blog you haave
ReplyDelete