

TOOLS:
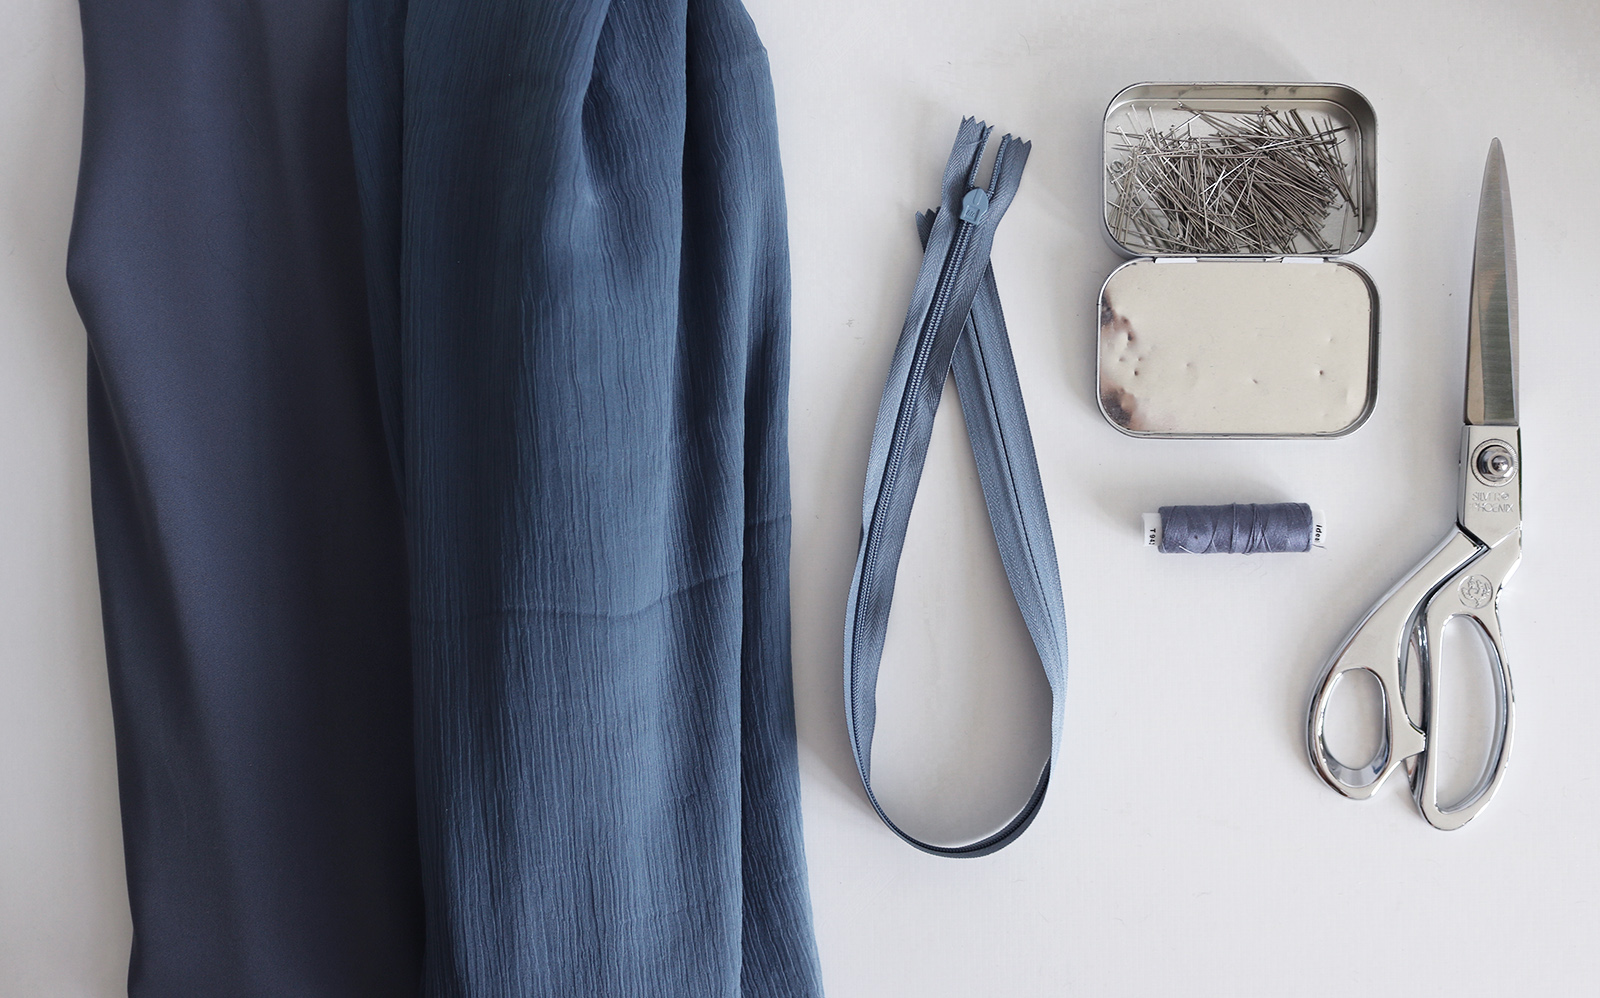
Chiffon and lining fabric (I used a polycotton), 5 m each | Scissors | Pins | Thread & Sewing machine | Invisible zipper | Also used some bias tape (enough to go around waist)
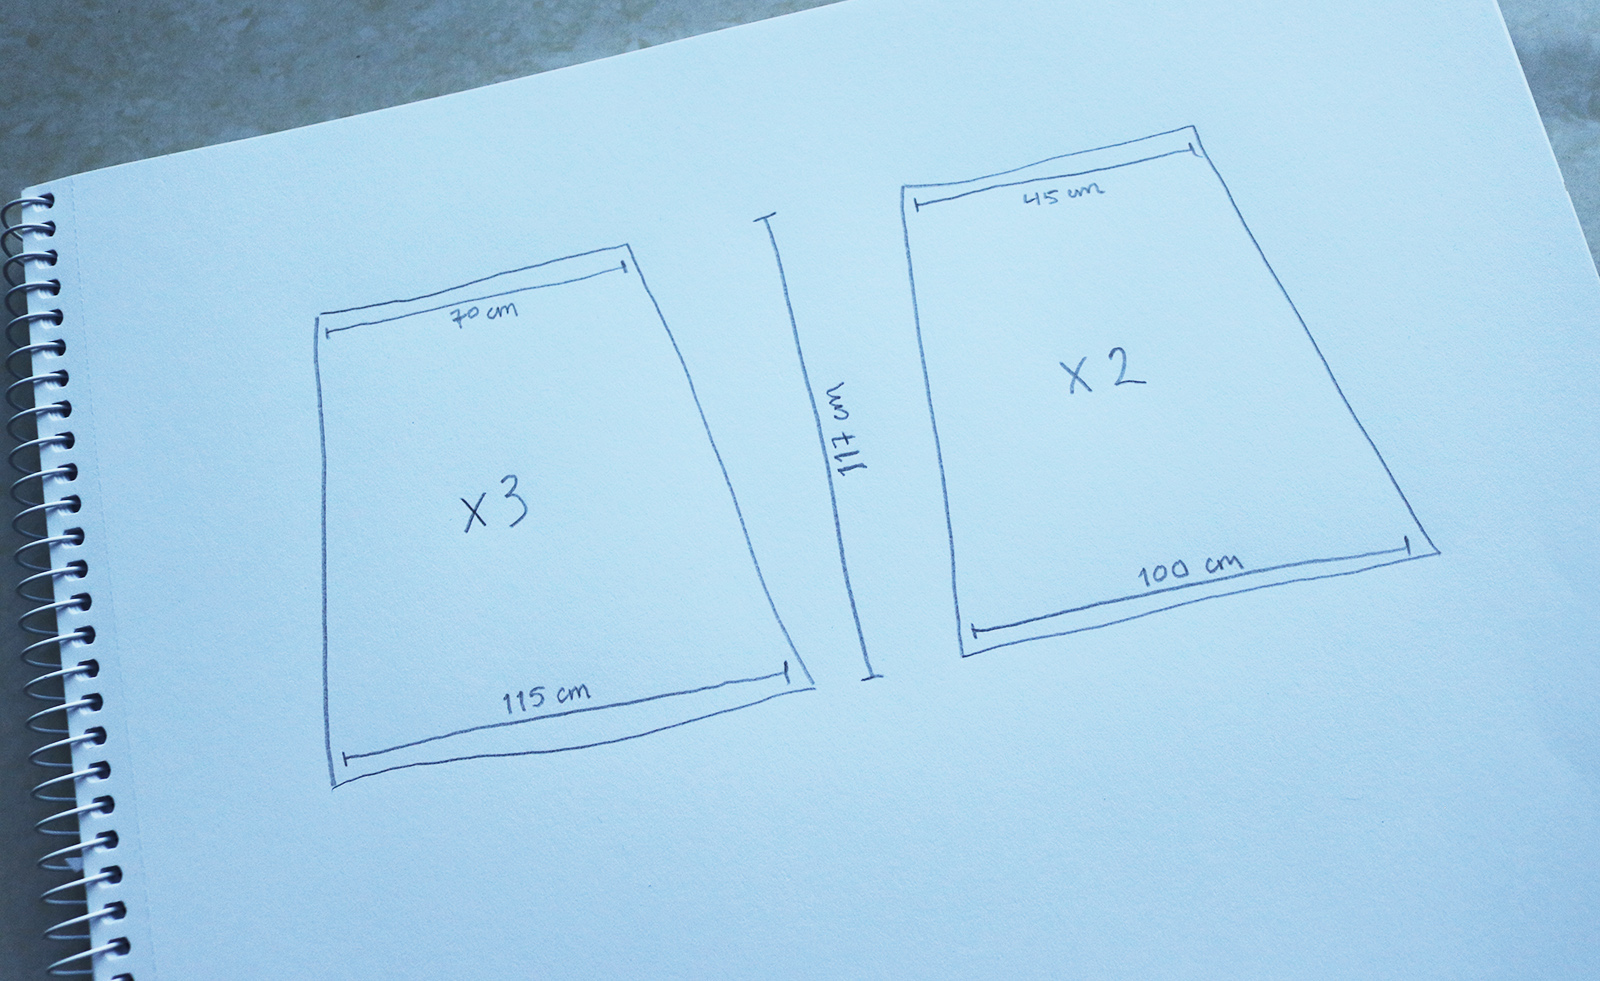
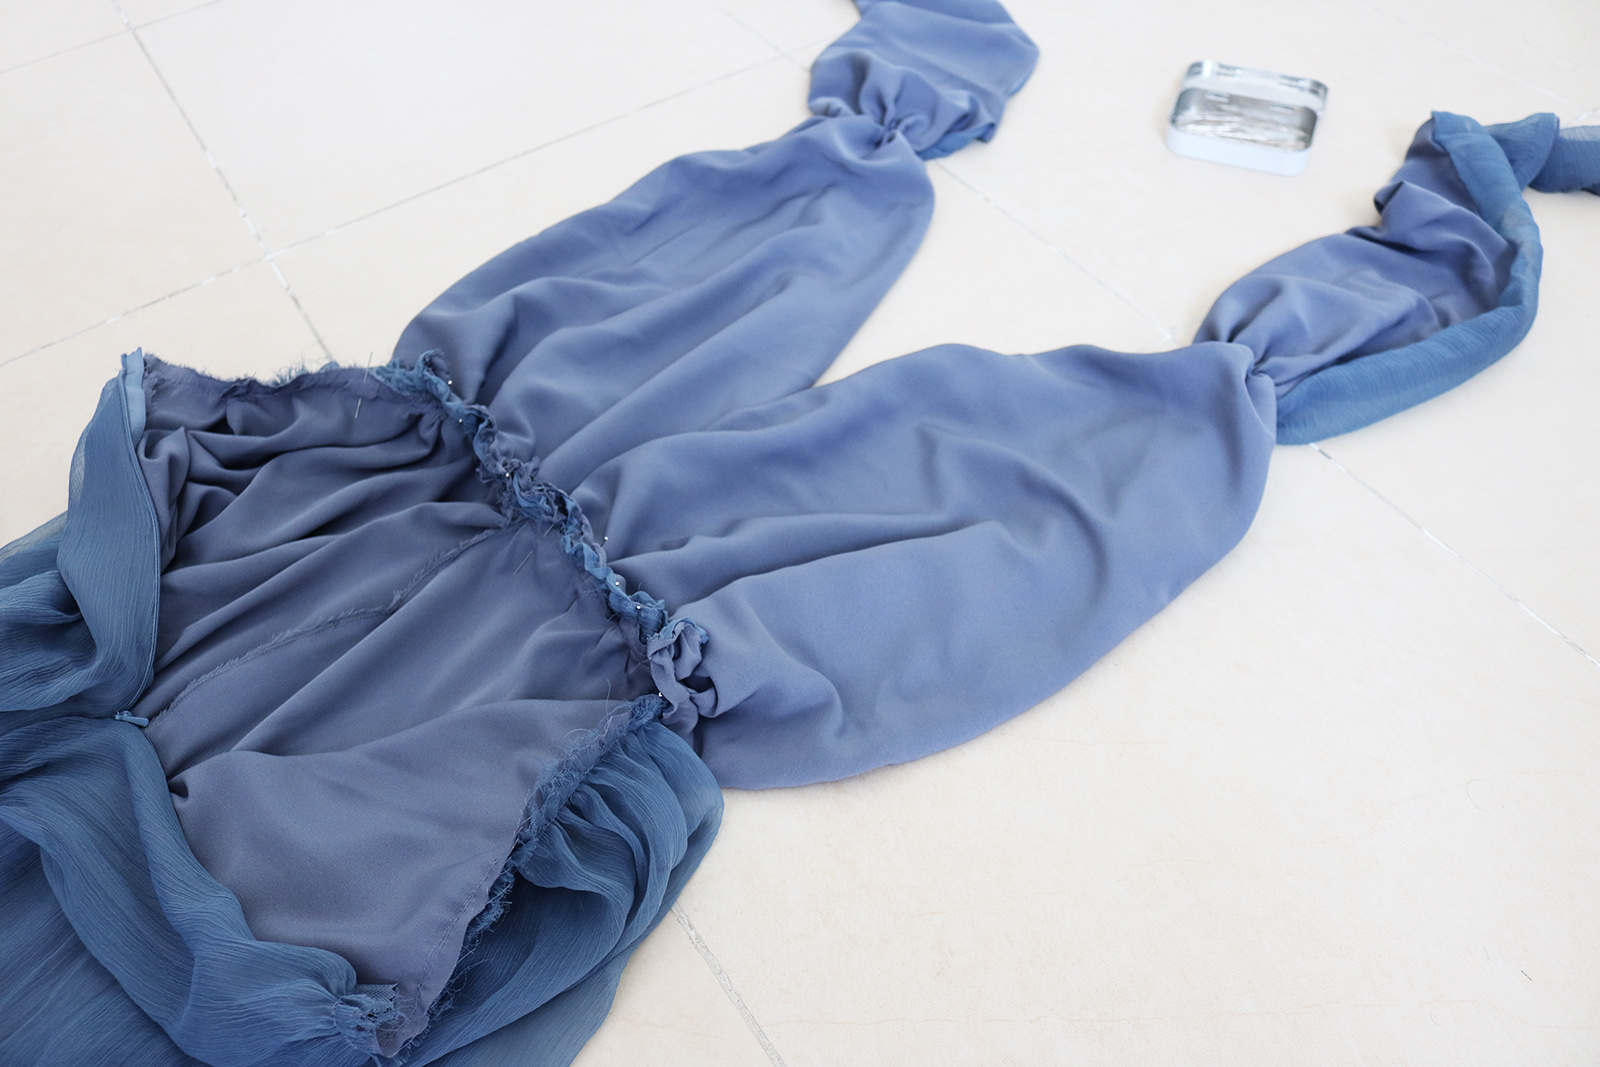
I. I totally forgot to take a pic when I started cutting the pieces.. Here's what I cut. Three of the bigger pieces on the left from chiffon, two of the smaller on the right from the lining.
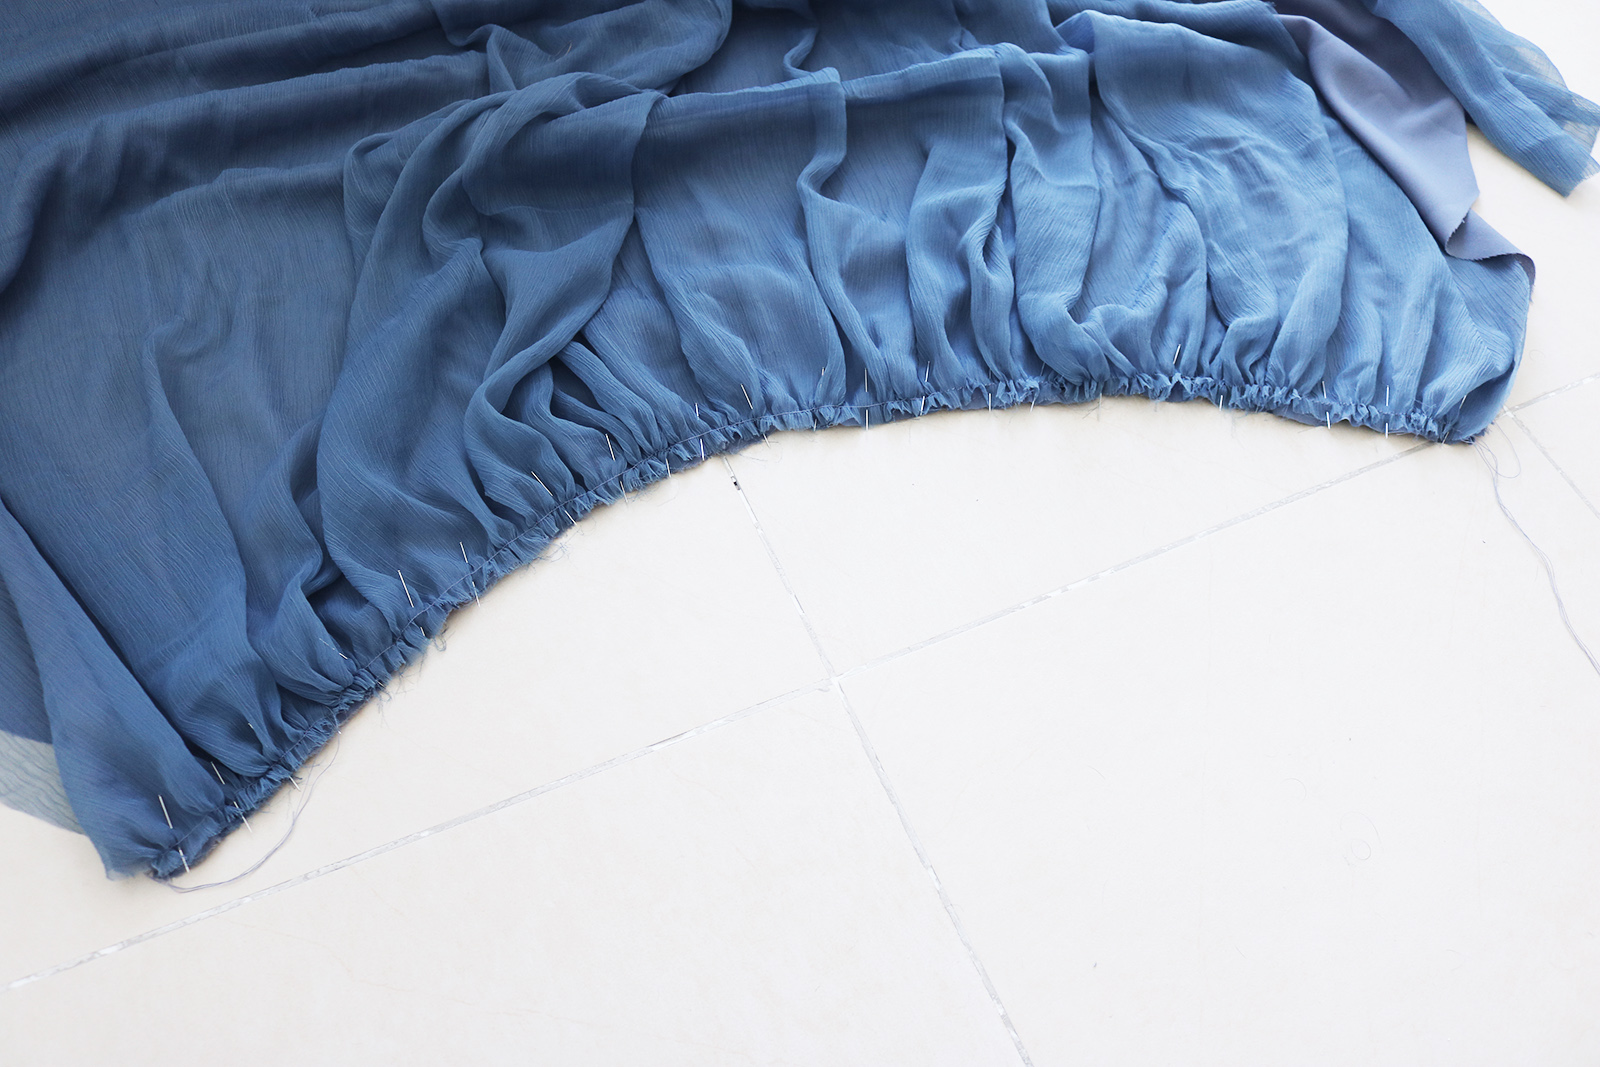
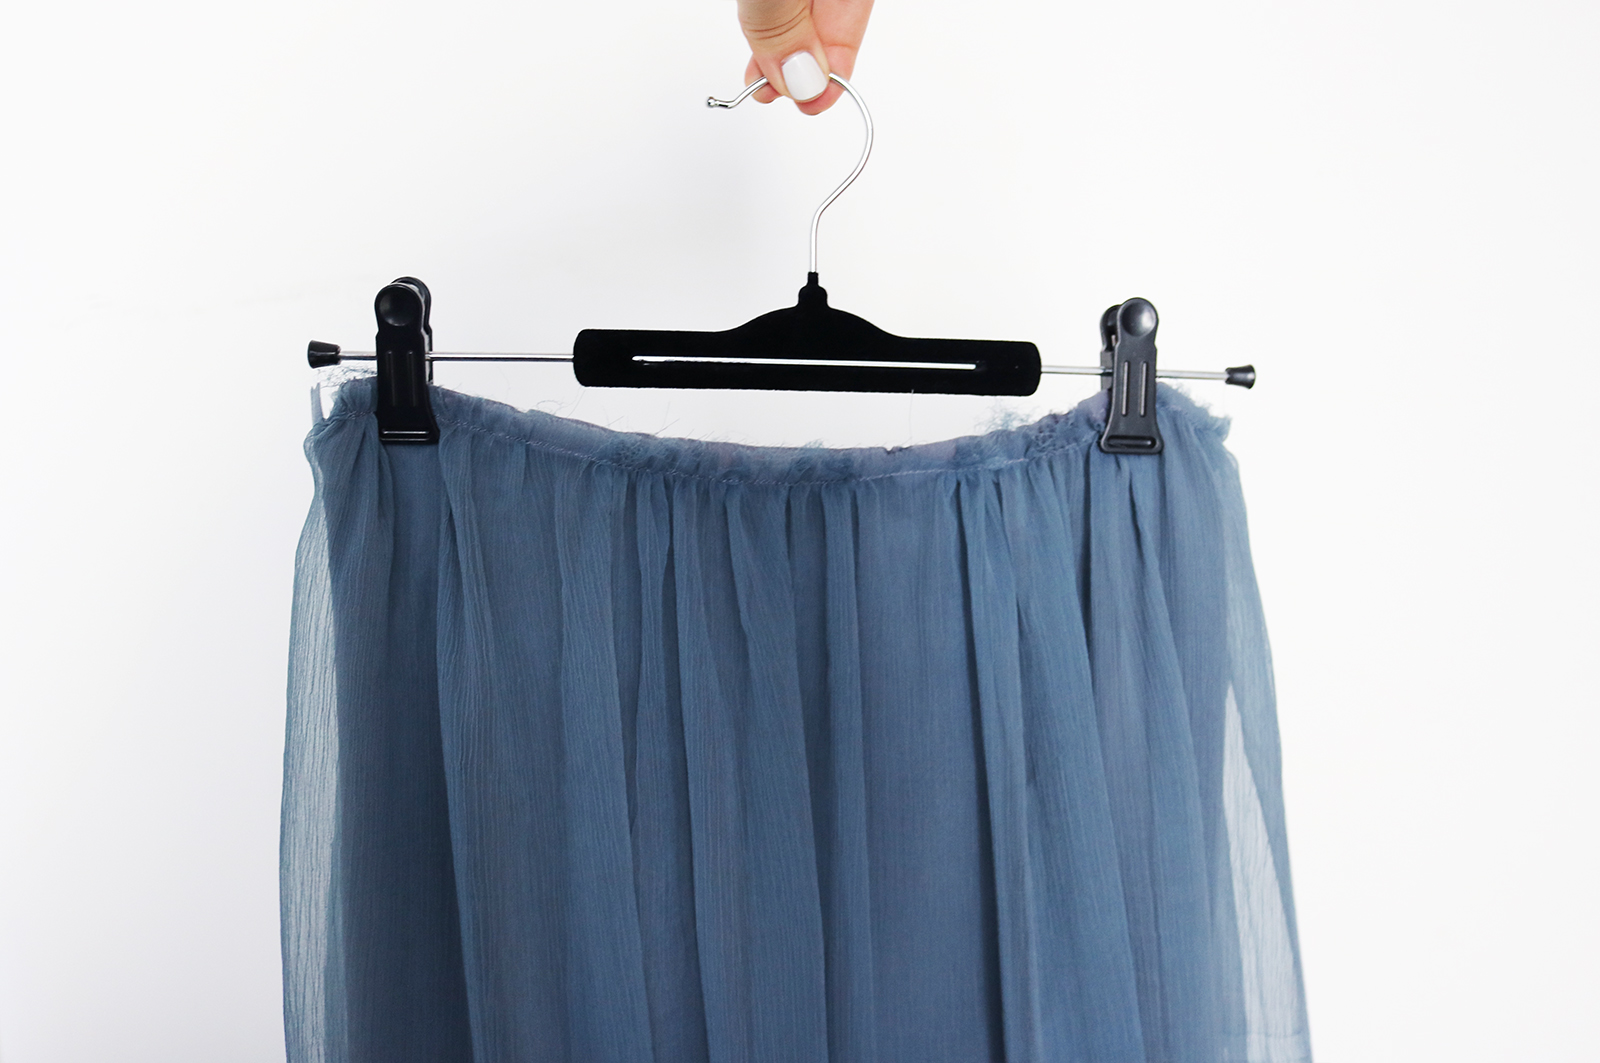
II. I then sewed the chiffon pieces together into one long piece, and did the same to the two lining pieces. Then added a basting stitch across the upper edge of each piece, and gathered them enough for the total length of the waistline to become fit comfortably around my waist..
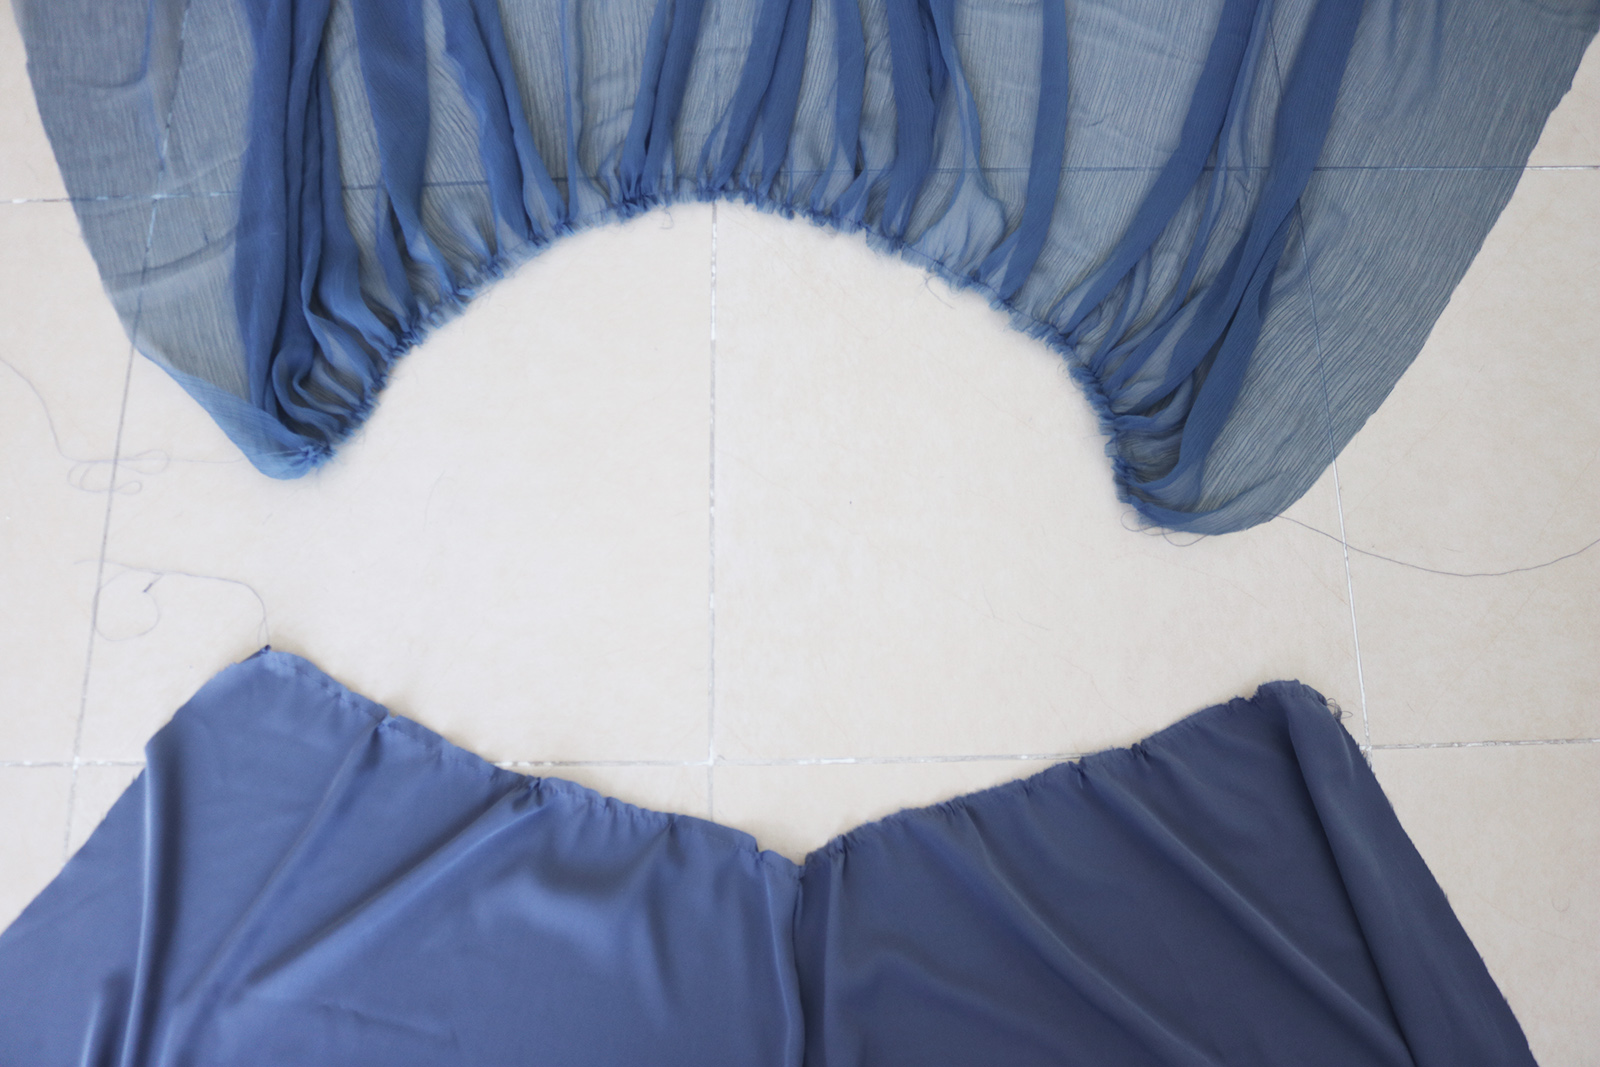
.. Then pinned the chiffon to the lining along the waistline, reverse side of chiffon facing right side of lining.
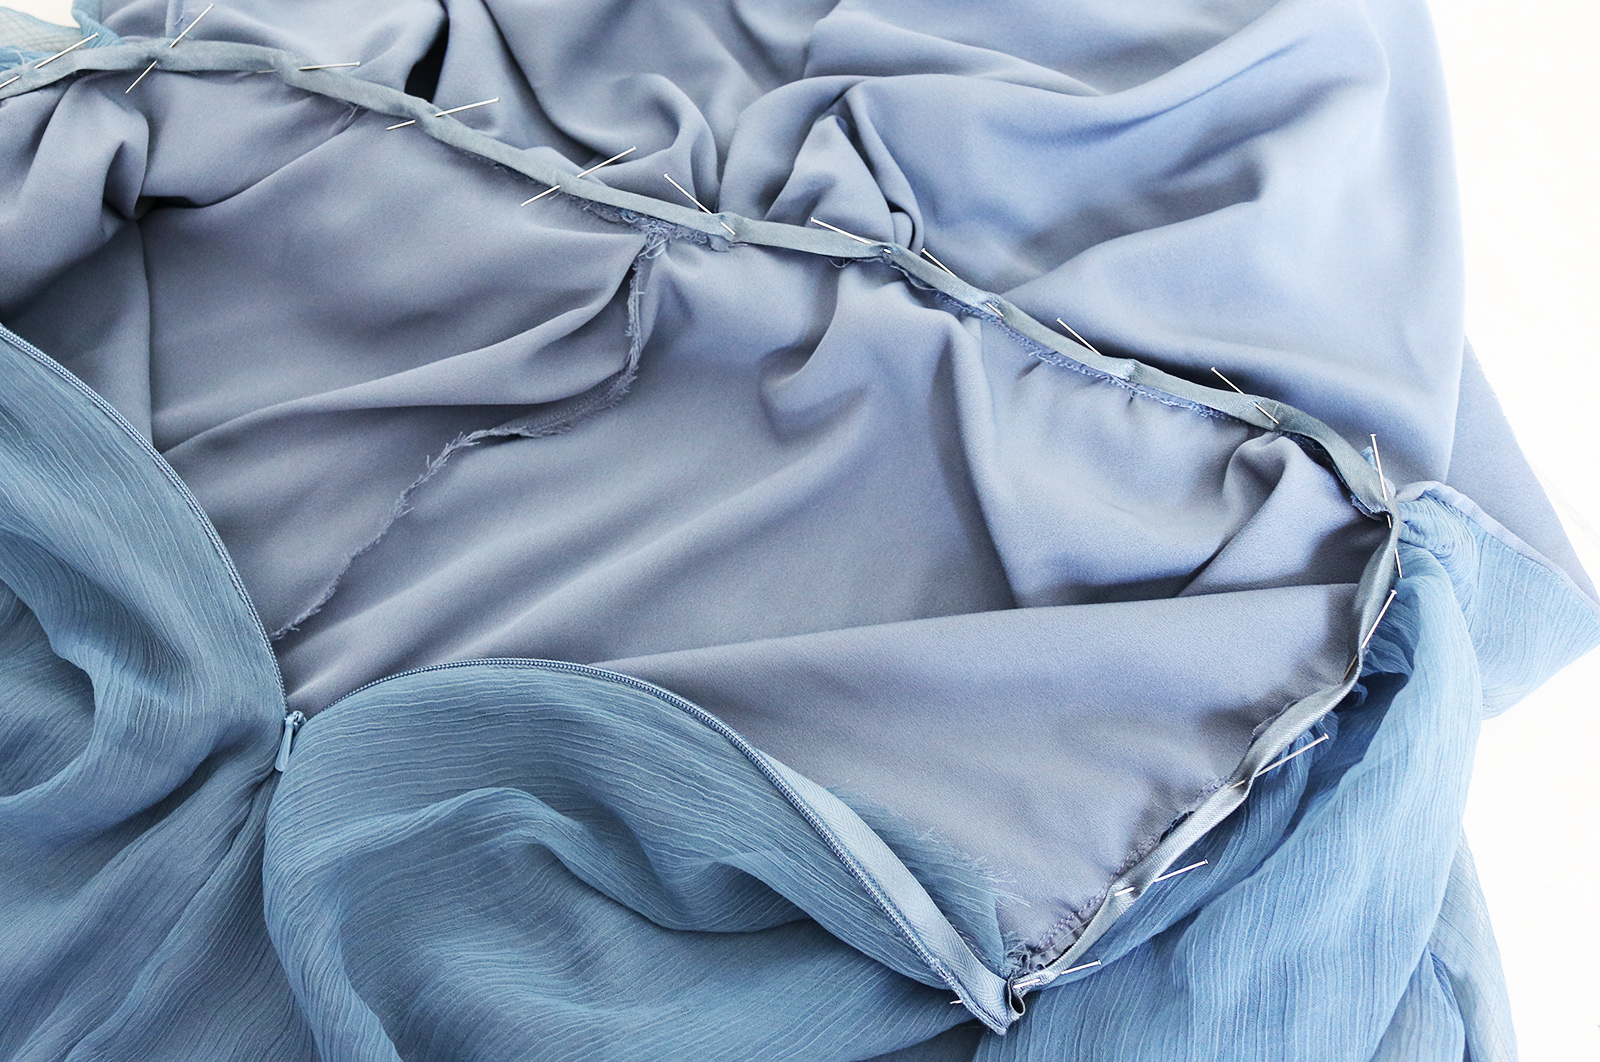
III. Before adding my zipper, I sewed the lining and the chiffon together along the vertical edges to make them easier to work with. Then pinned my invisible zipper as usual and sewed it in place, plus continued the seam al the way down..
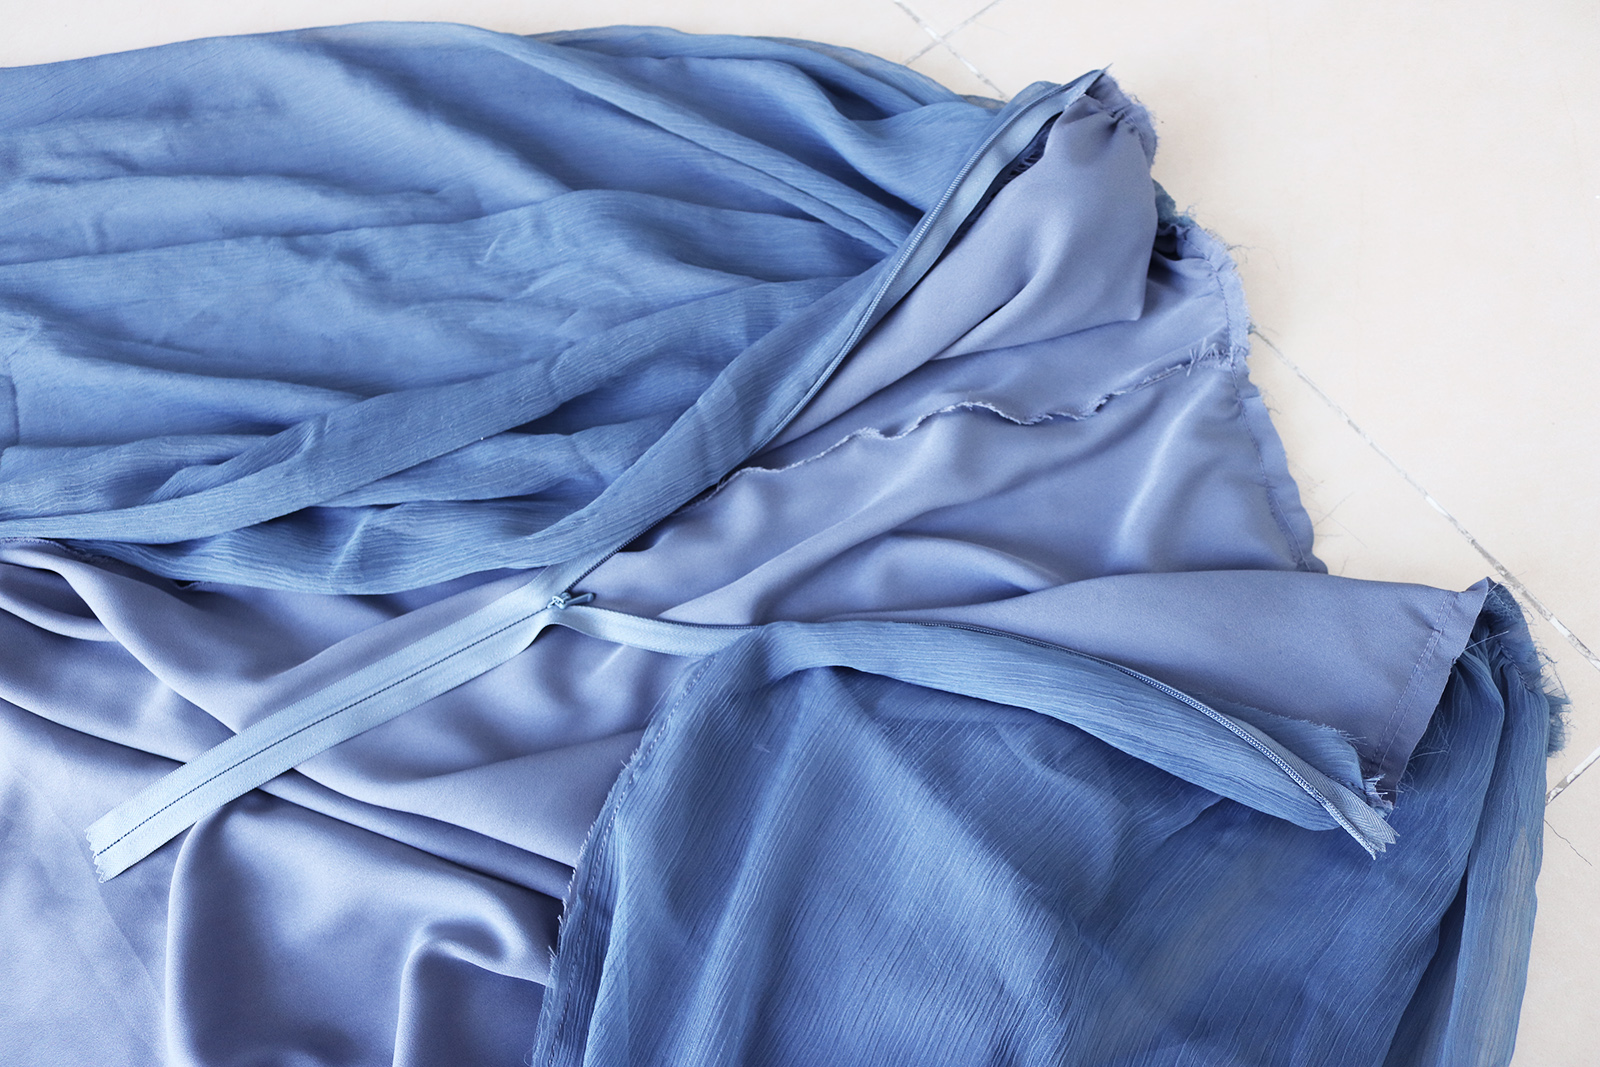
Which meant I had my skirt pretty much ready.
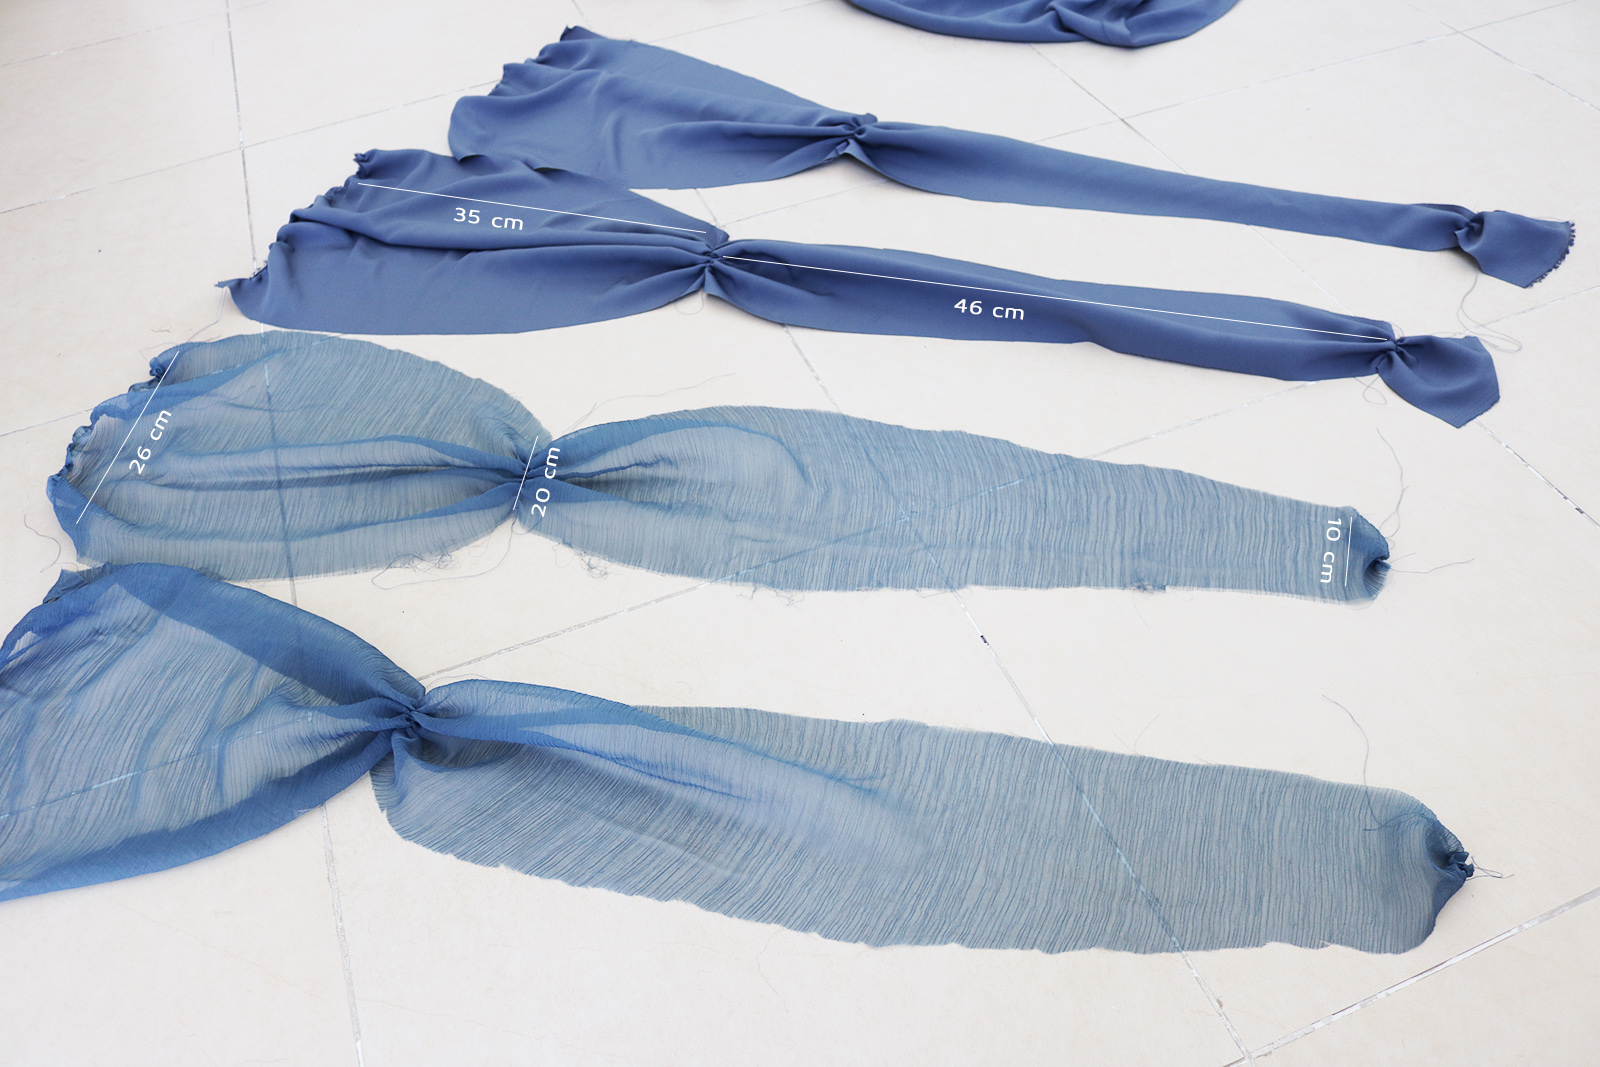
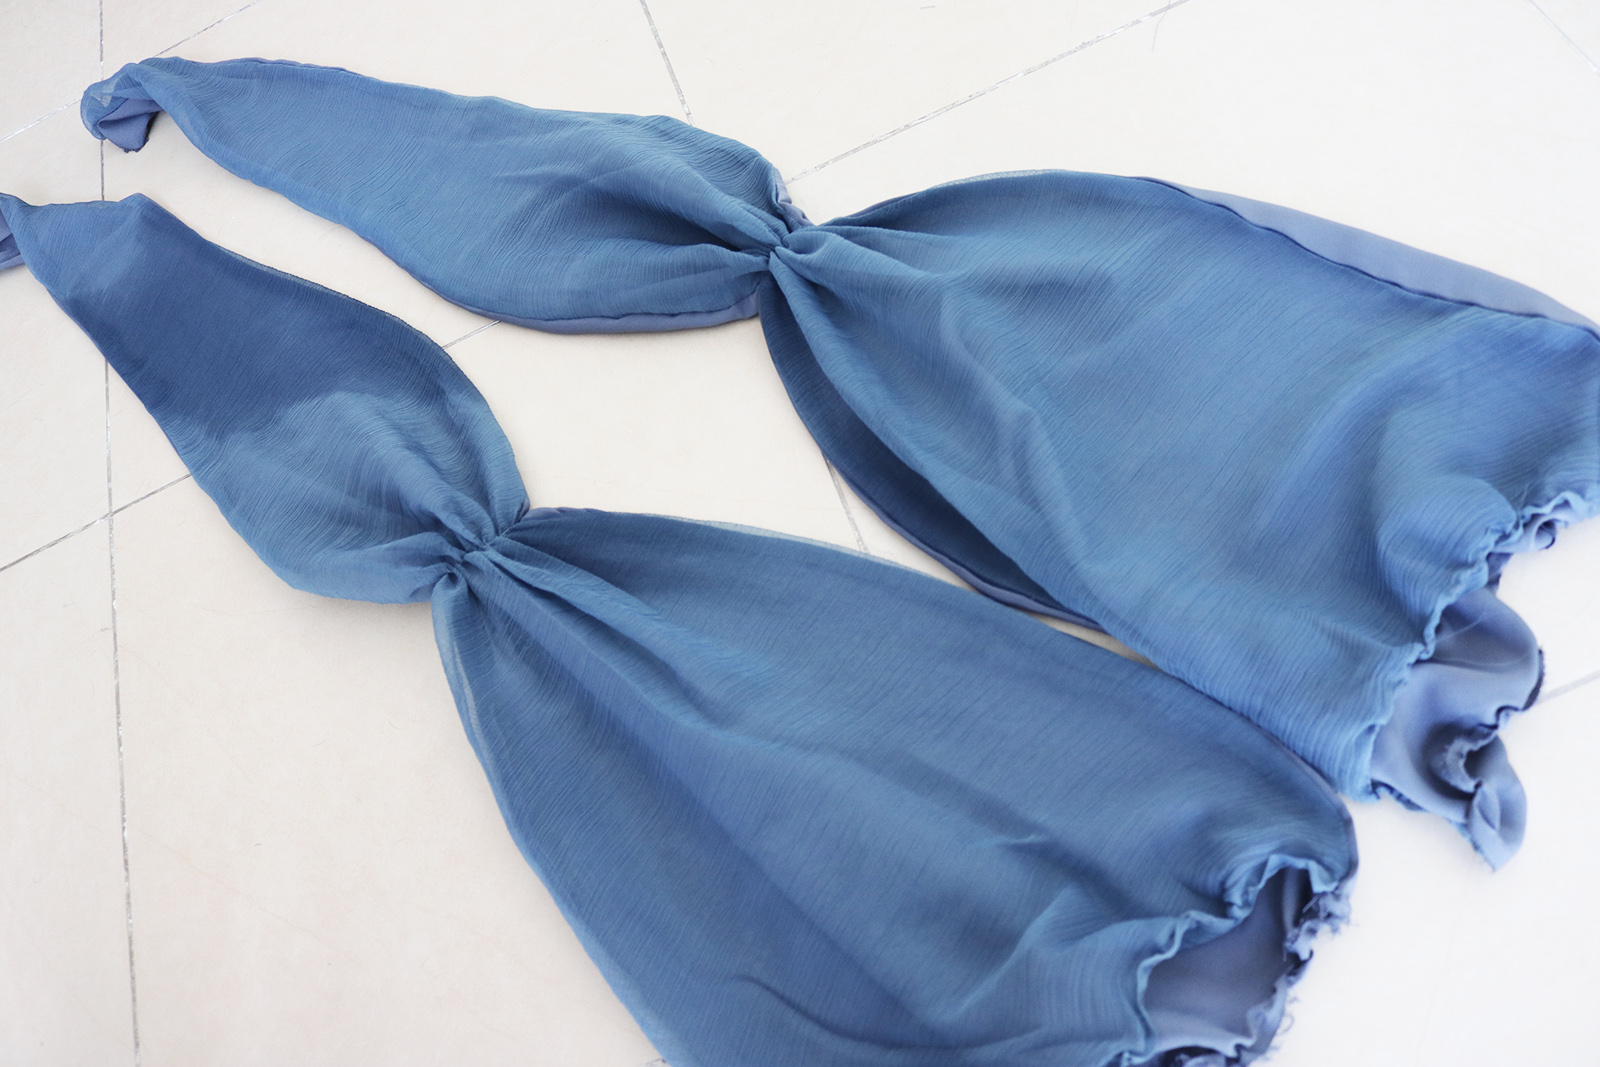
IV. Then I cut these long triangular pieces for the top, two identical pieces of lining and two of chiffon. here are some measurements after I had added basting stitches to the ends of the pieces, as well as about 35 cm up from the base of the triangle (where the piece would sit on the shoulder). The measurements here are from before I added the gathers, after gathering the base of my triangles was about 20 cm and the width at shoulder about 10 cm.
Then pinned the lining to the chiffon, right sides facing, sewed along the long edges..
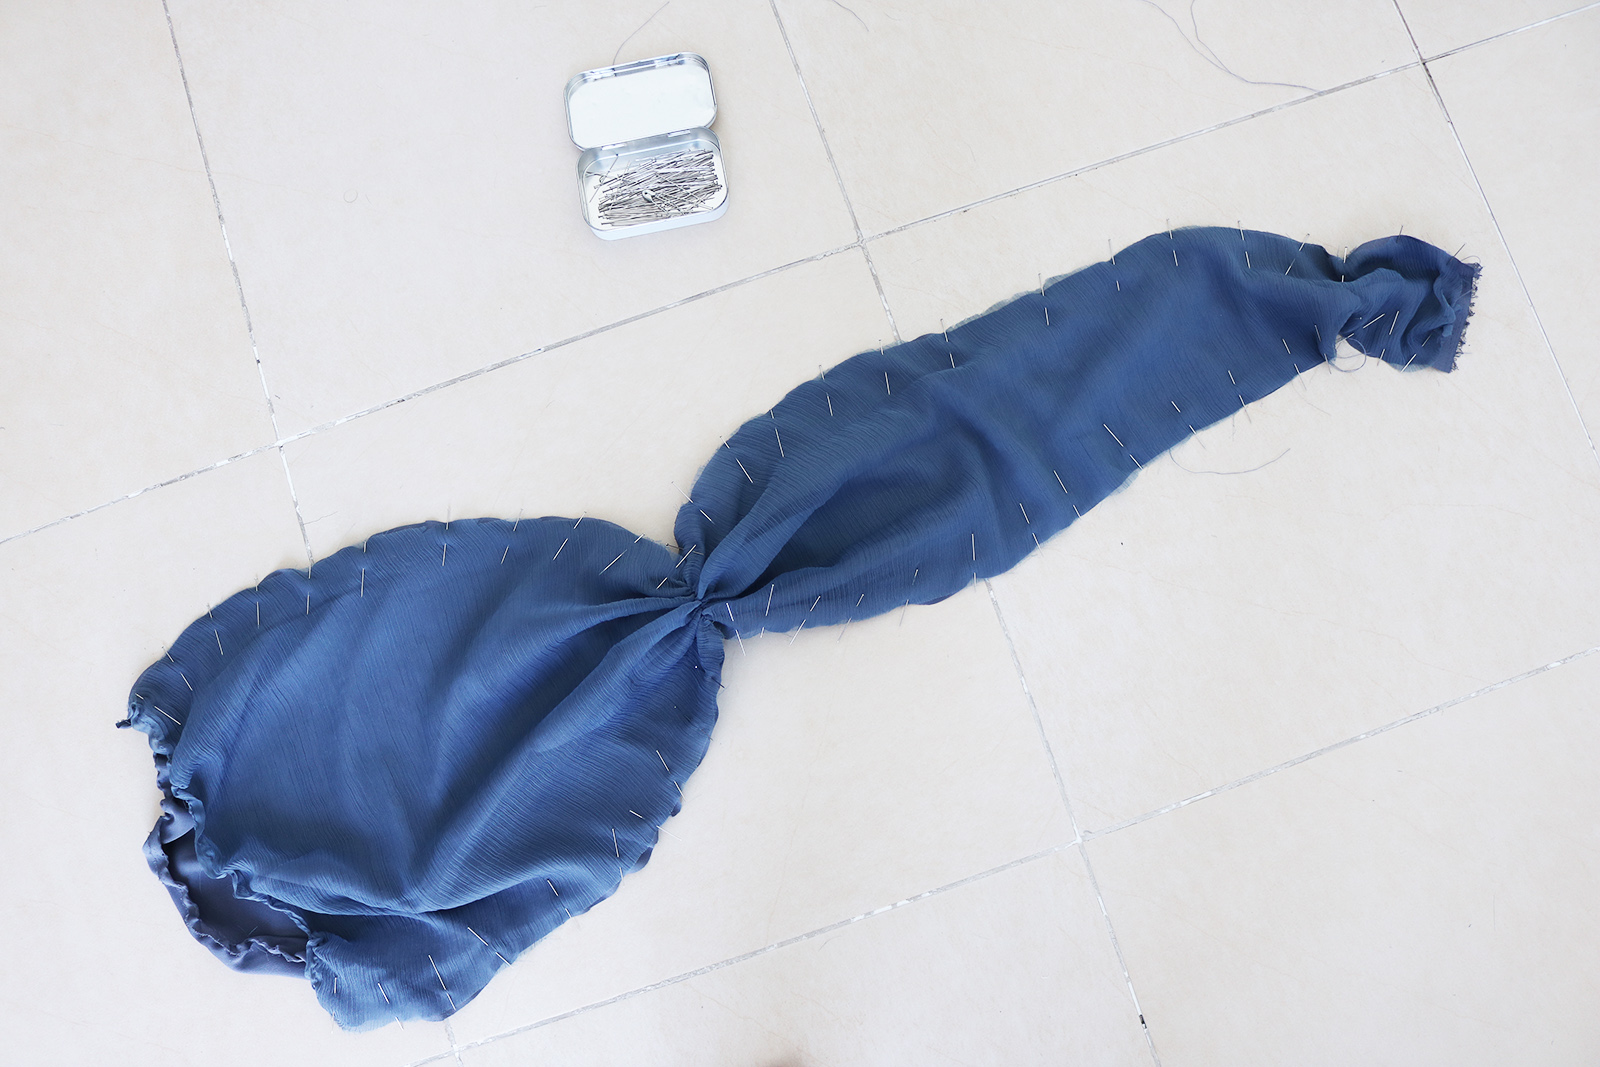
.. Then turned the pieces right side out and pressed (and apparently spilled water everywhere..)
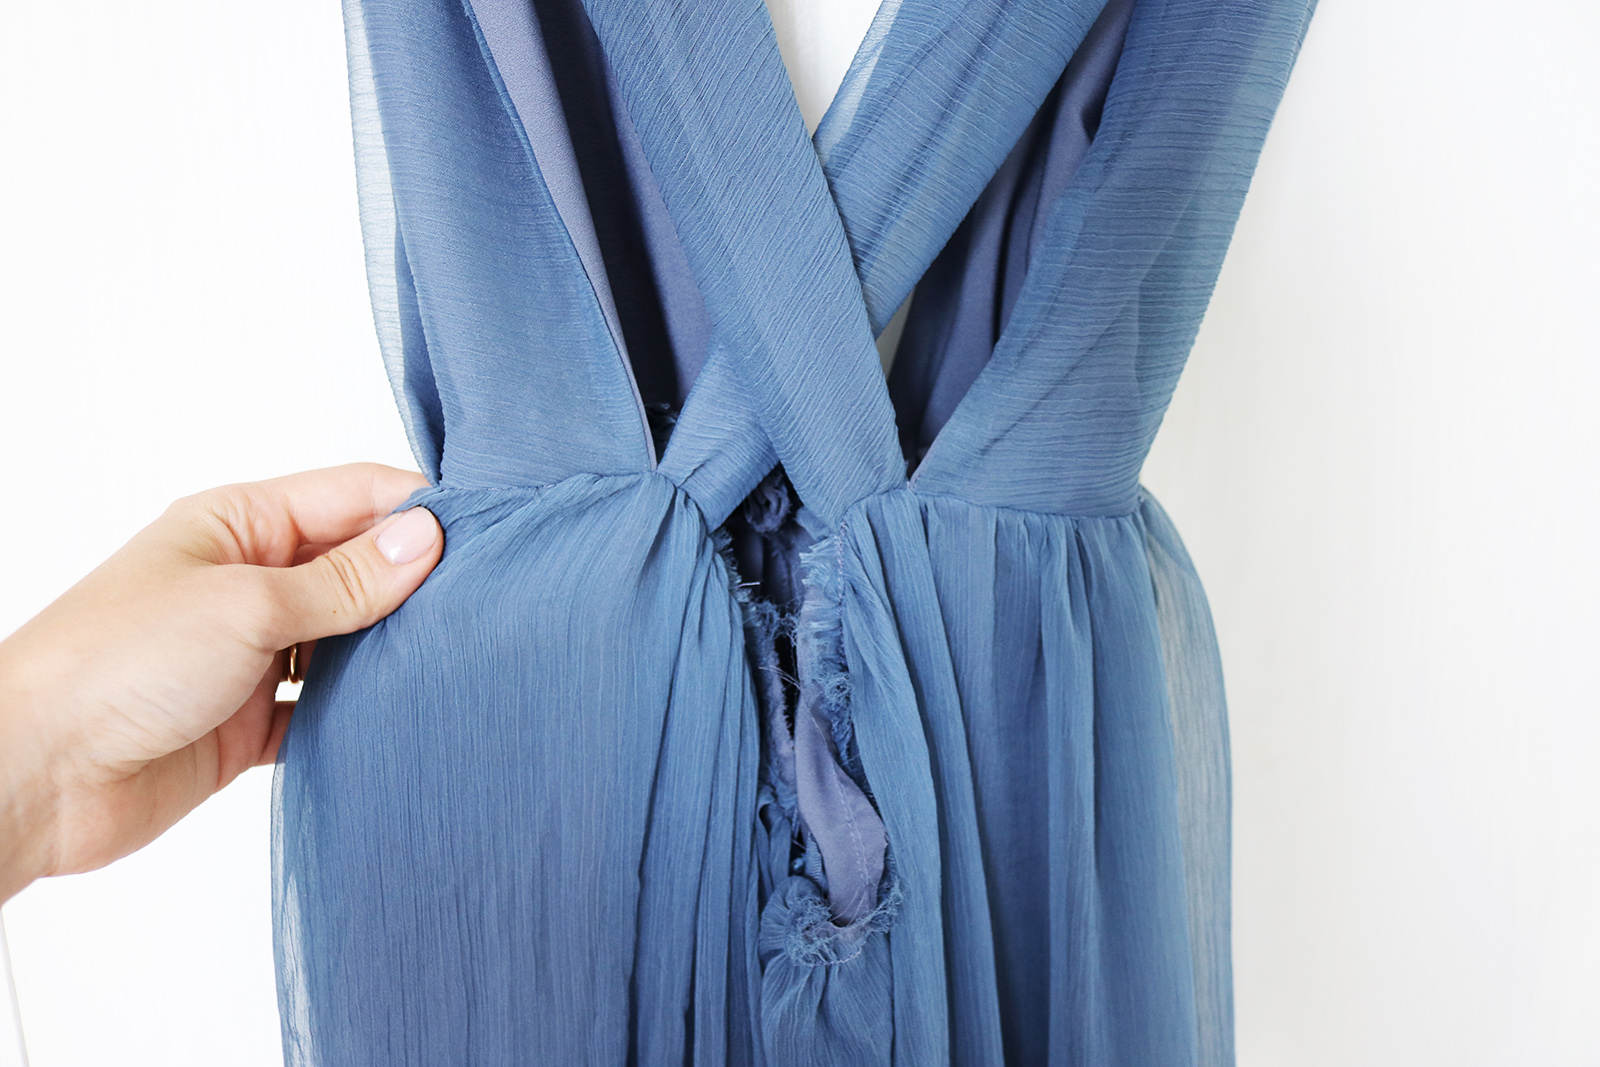
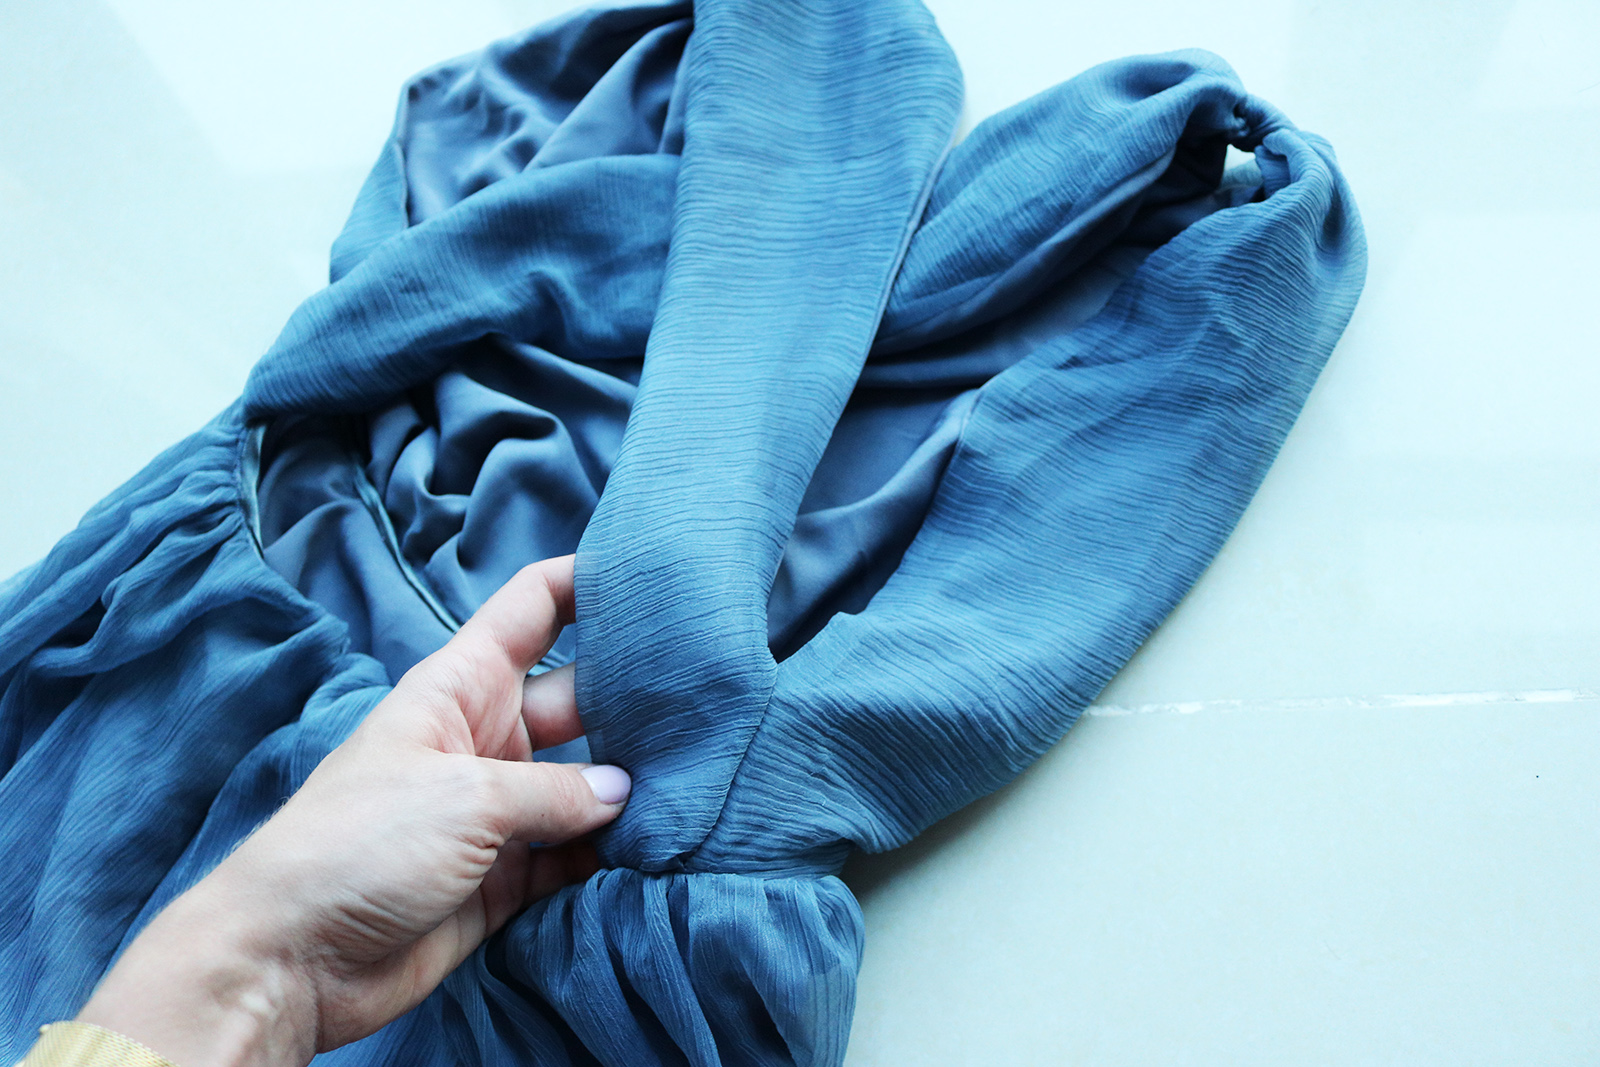
V. Next I pinned the triangles on either side of the front center of the skirt, and sewed them in place.
After verifying the right length of the traps by putting the dress on I sewed the other ends of the long triangles to the back of the skirt's waistline, right next to where the front pieces ended.
VI. To finish the raw hem I pinned bias tape all around and sewed along the fold (line marked with red below), making sure I had folded the bias tape 1 cm or so at the ends.
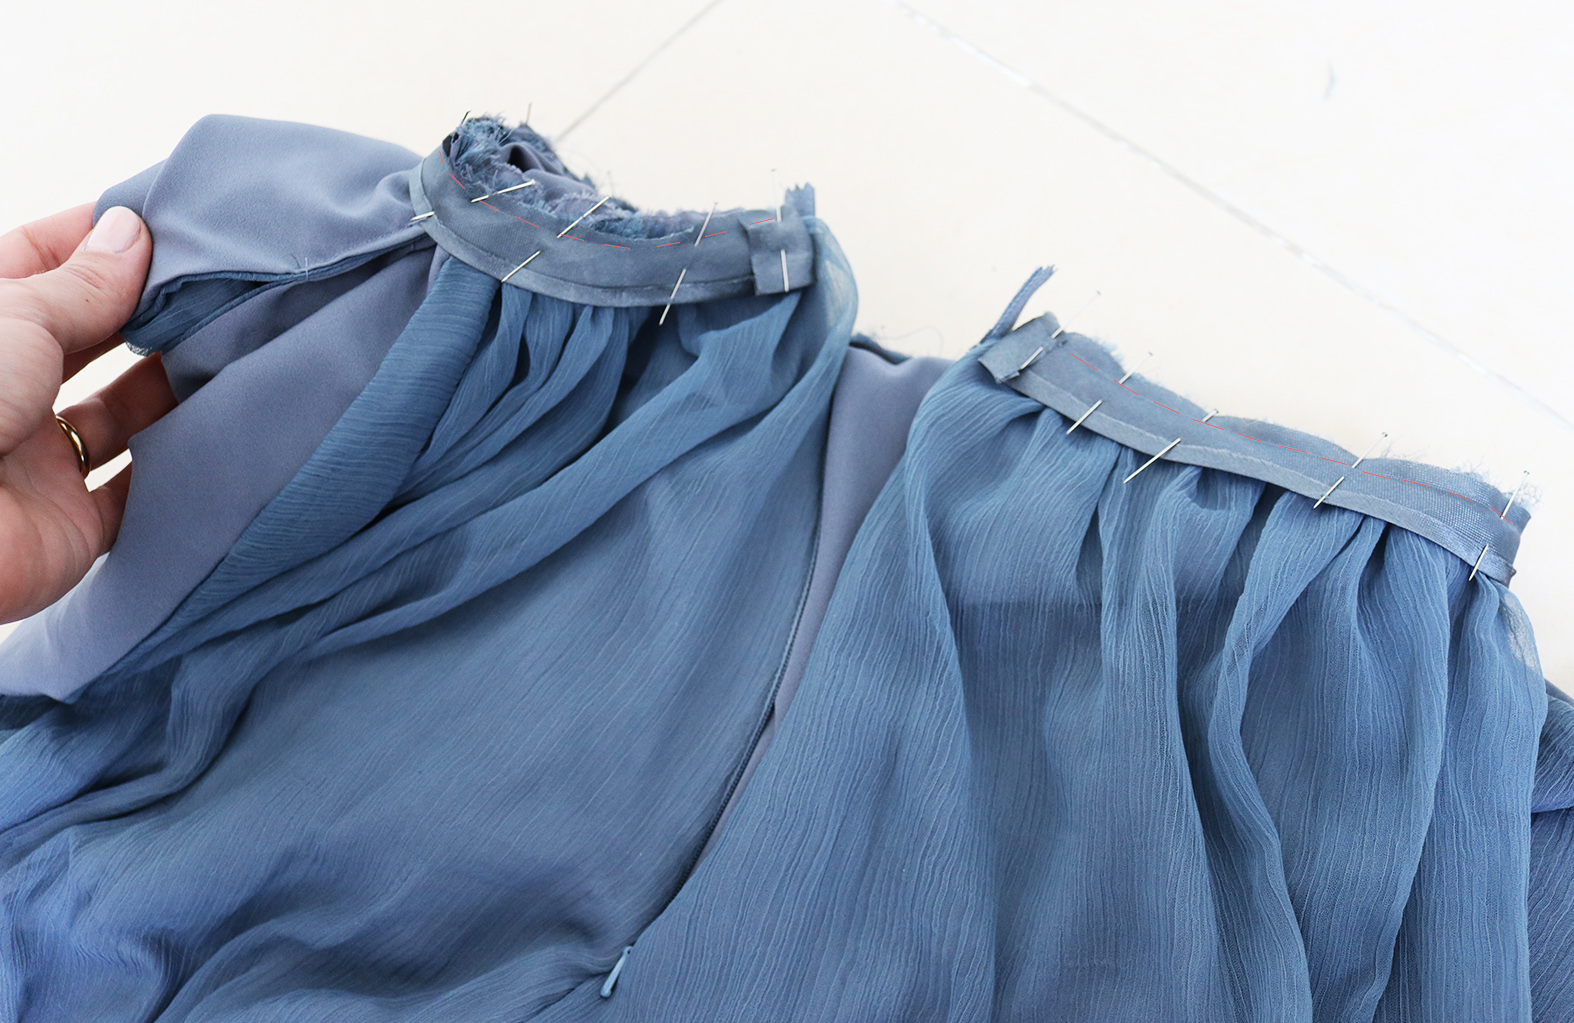
Then folded the bias tape over the raw edge and sewed in place, then folded once more and hand-sewed onto the lining to secure.
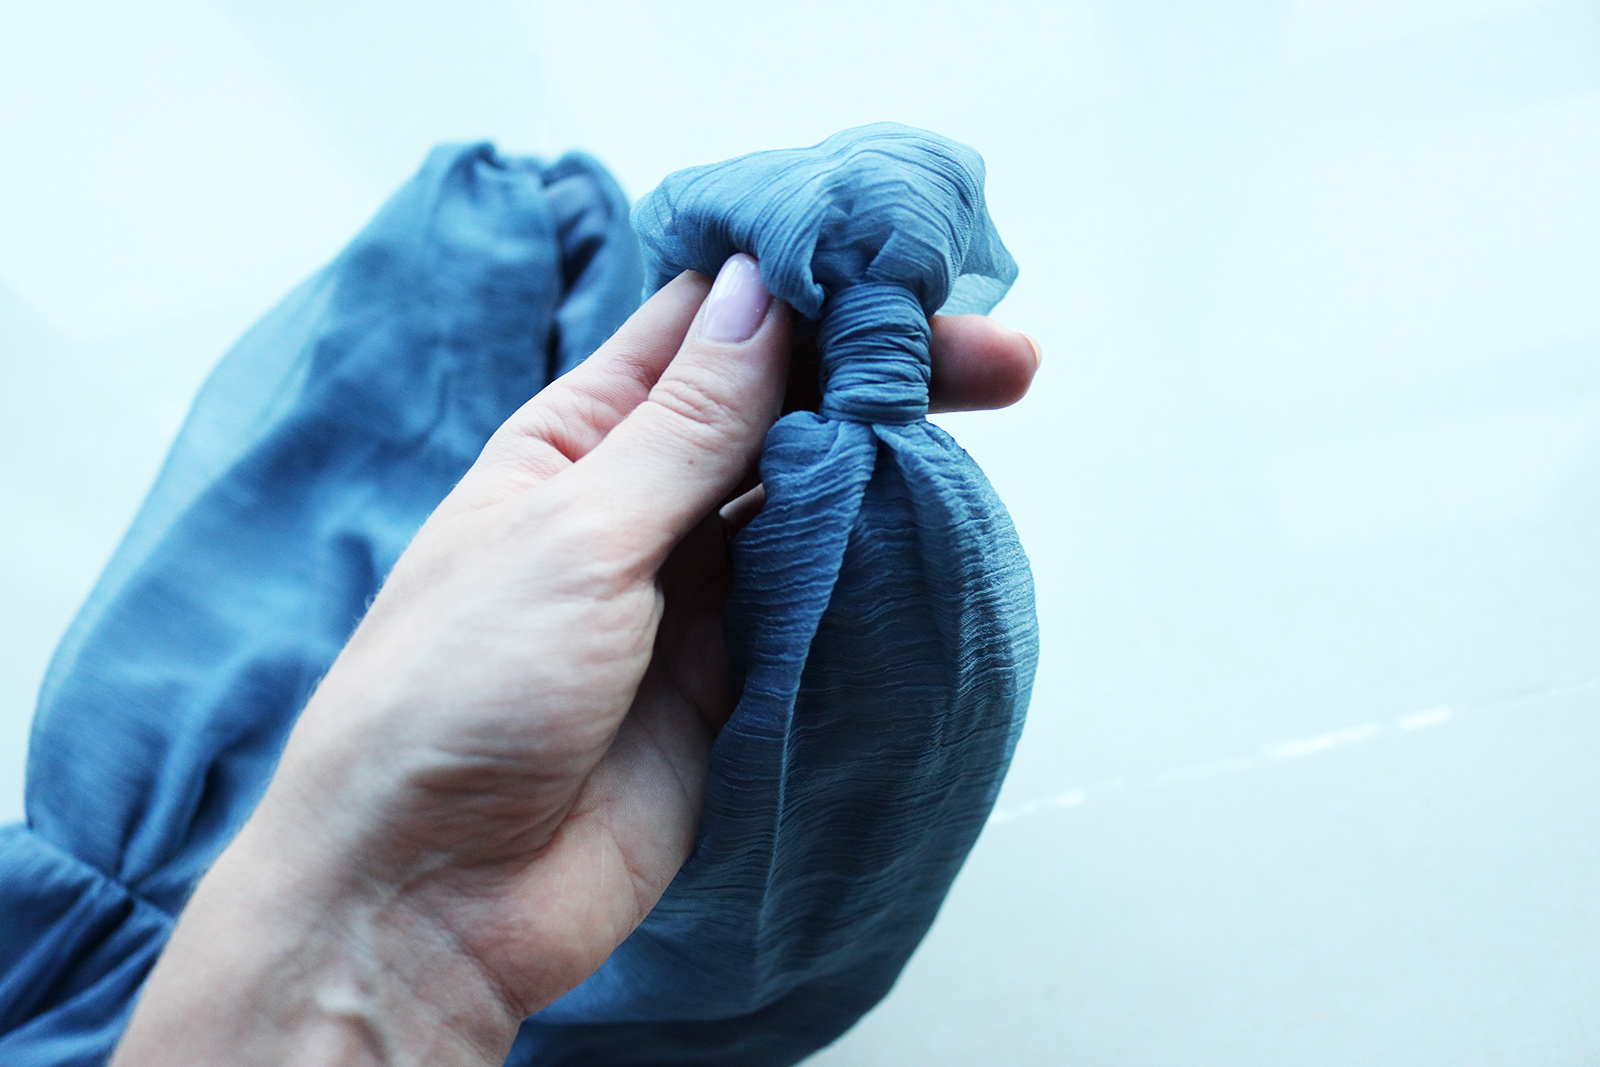
VII. To finish the top I used some of the leftover chiffon and wrapped around the spot where I did the gathering..
.. And also for security's sake, sewed the side of the front piece of the top to the back strap about 6-7 cm up from the waistline. This gave some added firmness I was looking for, for dance floor purposes..
Lastly I just hemmed the lining, the chiffon I actually left raw at the hem, just sewed a straight stitch around the hemline about 1 cm from the edge to make sure it didn't unravel out of control. Oh and made a quick belt from the leftover chiffon too for added ancient Greekness.

xo,
Julia


Love this! It turned out gorgeous.
ReplyDeleteThank you:)!!
DeleteAhhhh it turned out beautiful!
ReplyDeleteThanks Jade!
DeleteThis is beautiful! I love the fabric, the colour, the shape - simple but so effective! <3
ReplyDeleteThank you Liliana:)!!
DeleteShe can do anything.
Delete