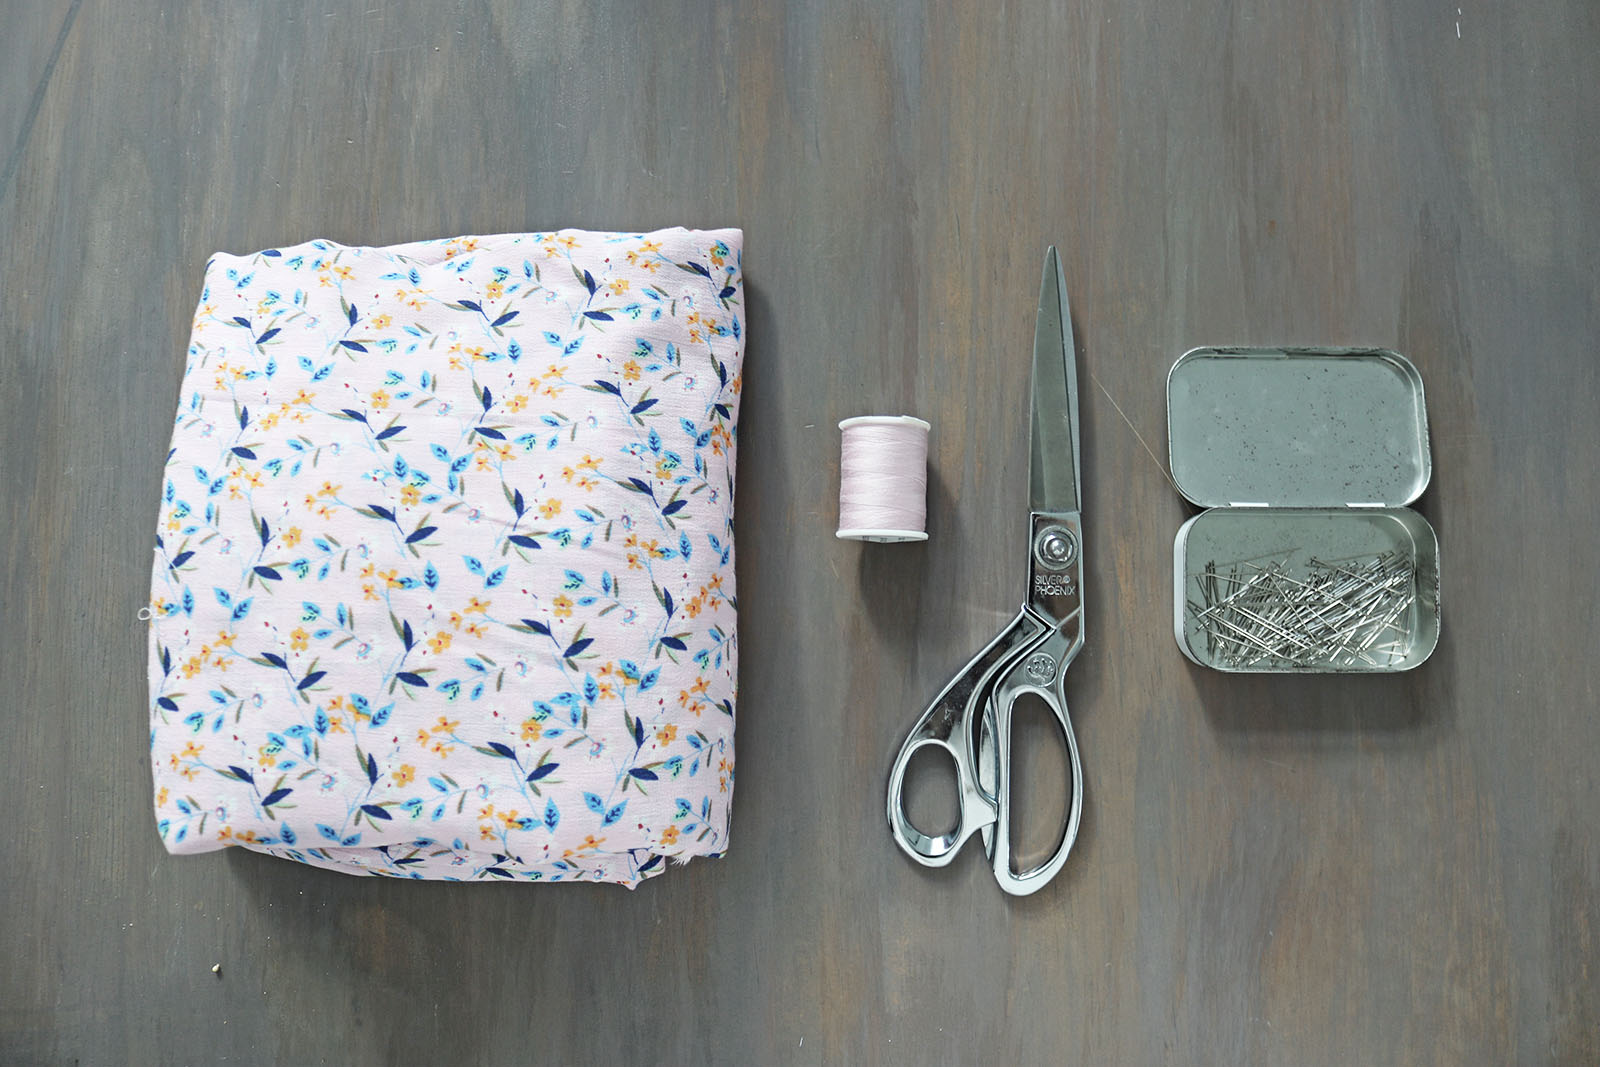
TOOLS:
Fabric, 3 m (mine an ultra soft cotton. Seriously I cannot explain how soft. My god. + I also needed about 1.5 m of white lining fabric for the skirt, for that I used polycotton) | Thread | Scissors | Pins | Sewing machine (+I used my serger to finish the skirt seams, zig-zag would also be fine)
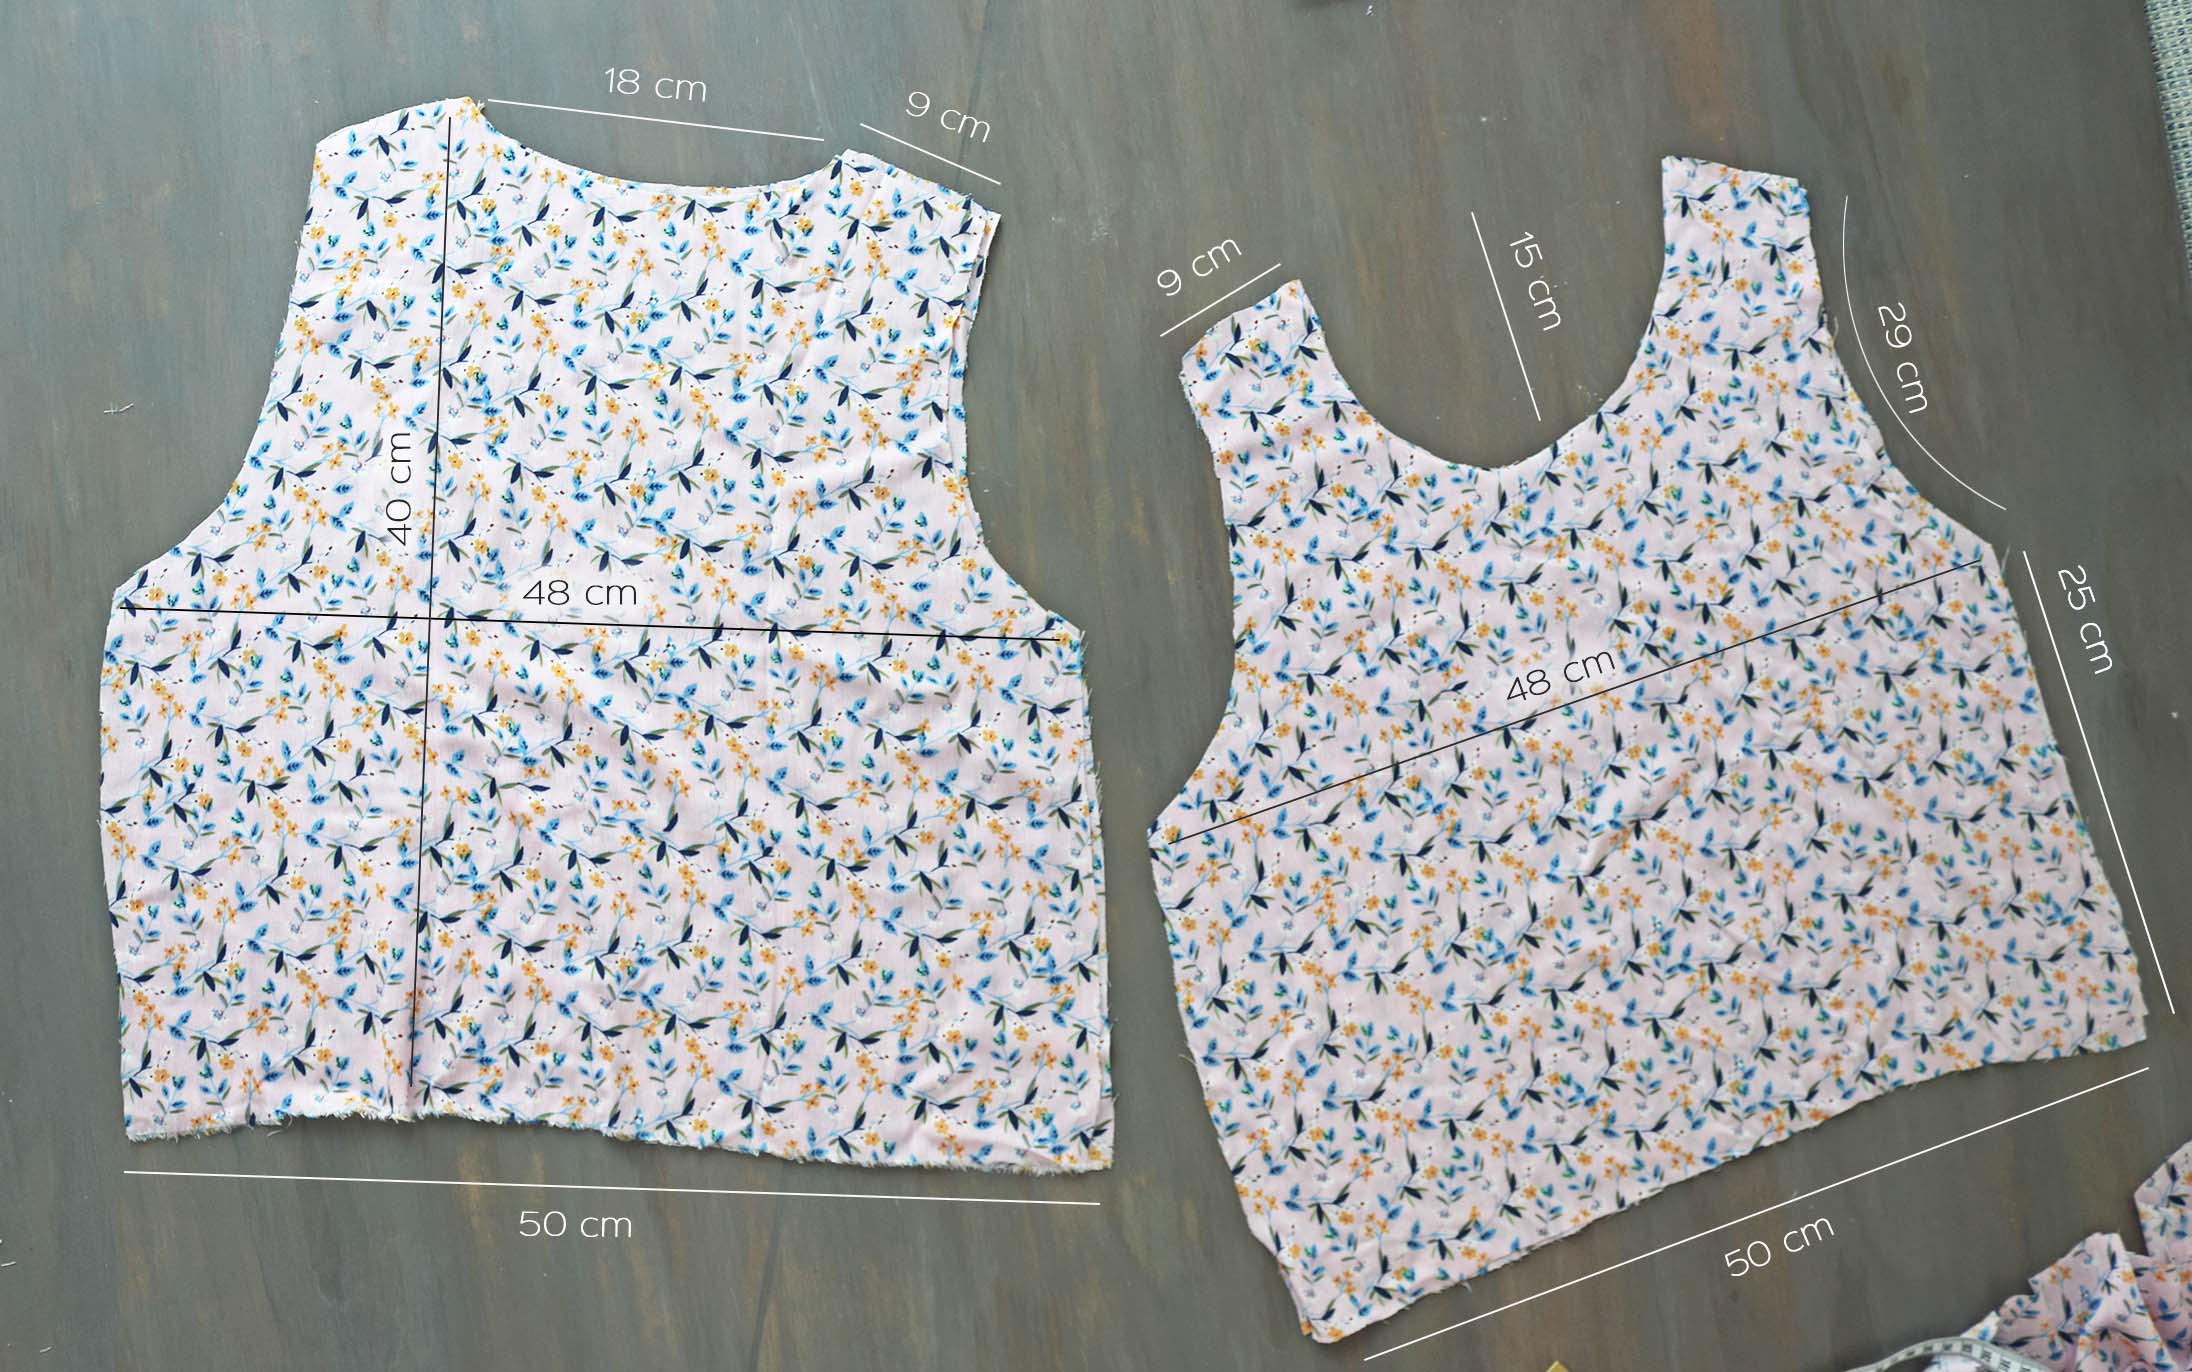
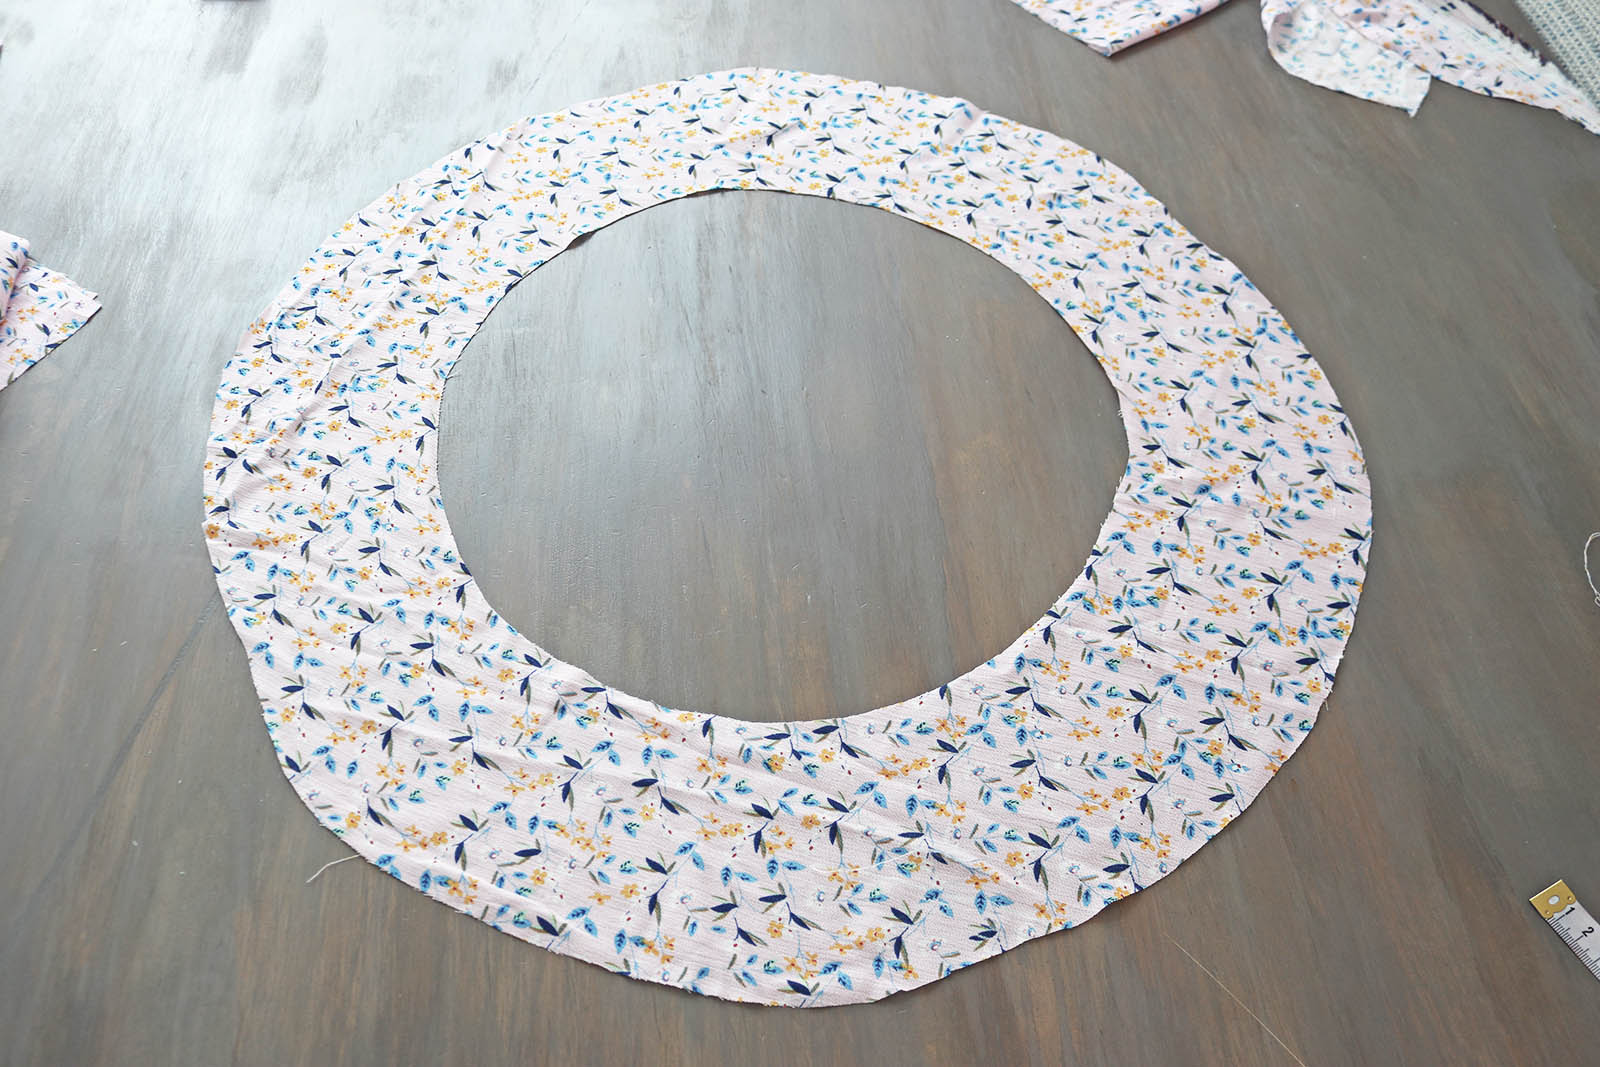
I. I made the fit of this dress quite loose to avoid having to deal with a zipper. So the measurements would be ok for EU36-38 (US4-6). The top pieces look all crooked but I swear it's just because of the slinkyness of the fabric:) Note: you need two of each piece - 2 identical for the back, 2 for the front.
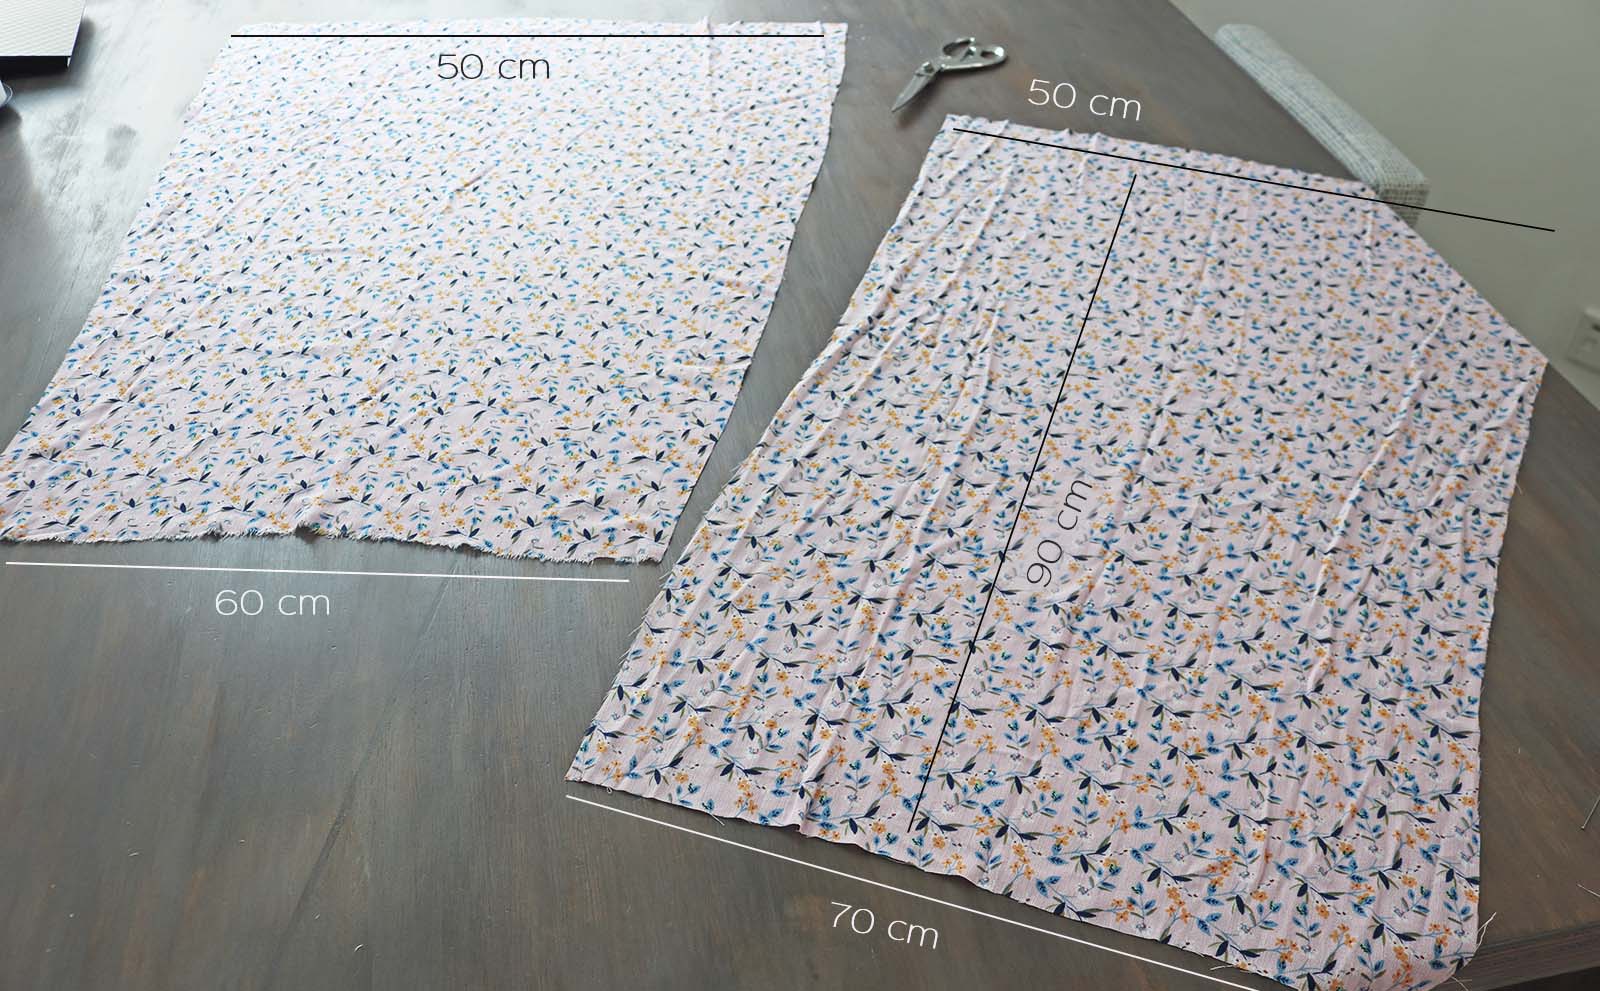
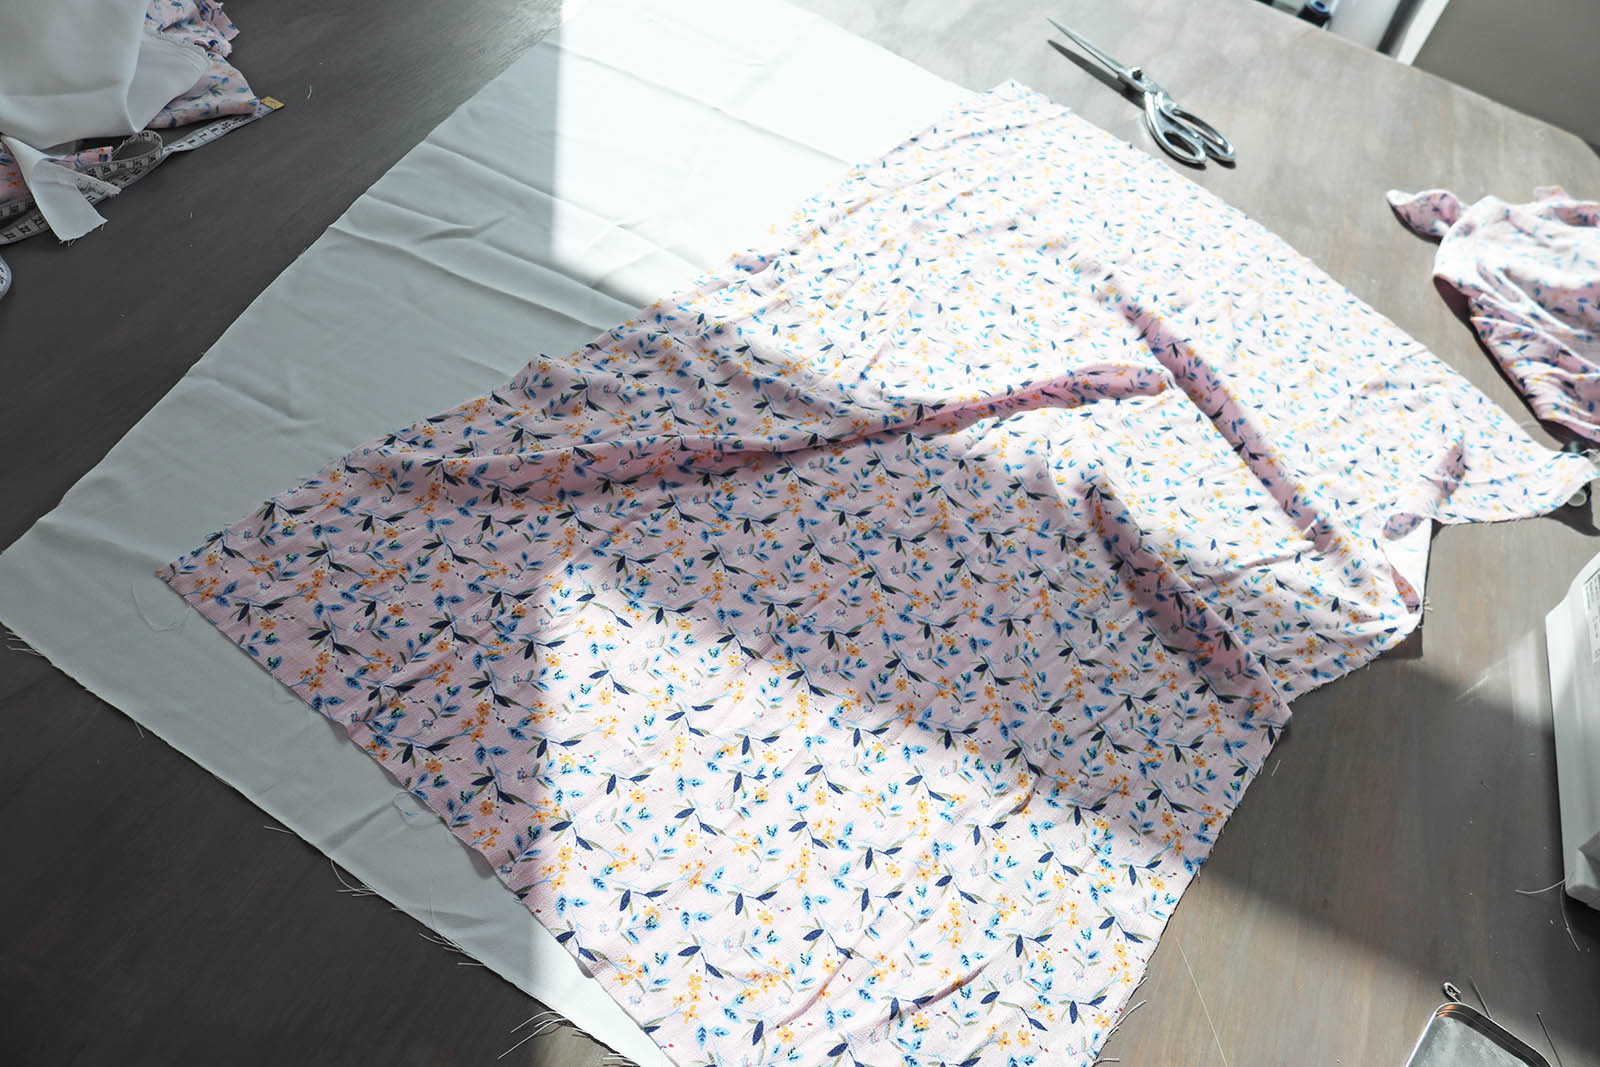
.. And the skirt pieces. Length obviously depending on how long you want it. I ended up cutting my back piece just a tiny bit wider towards the hem as you can see from the measurements, for more room to walk in (my steps are long..)
II. Next I took the pairs of top pieces and pinned the shoulder lines, right sides facing.
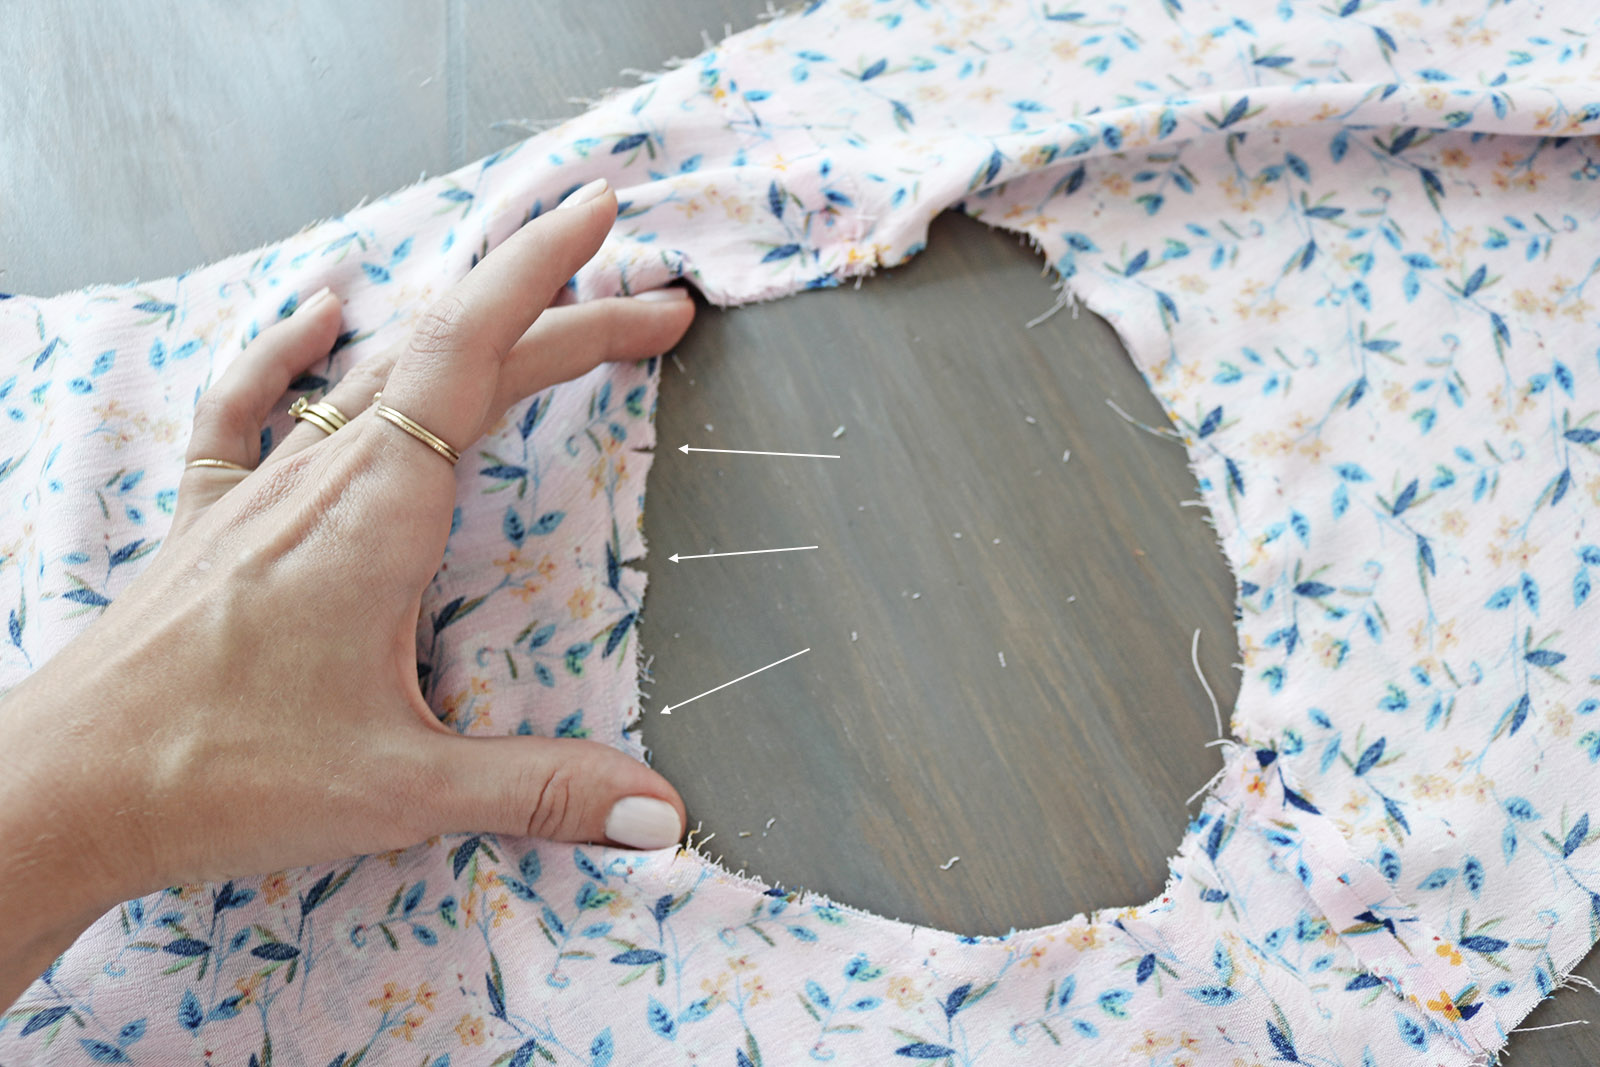
Then placed again right sides facing, so the necklines align, and sewed all around the neckline. Clipped at intervals to remove tension..
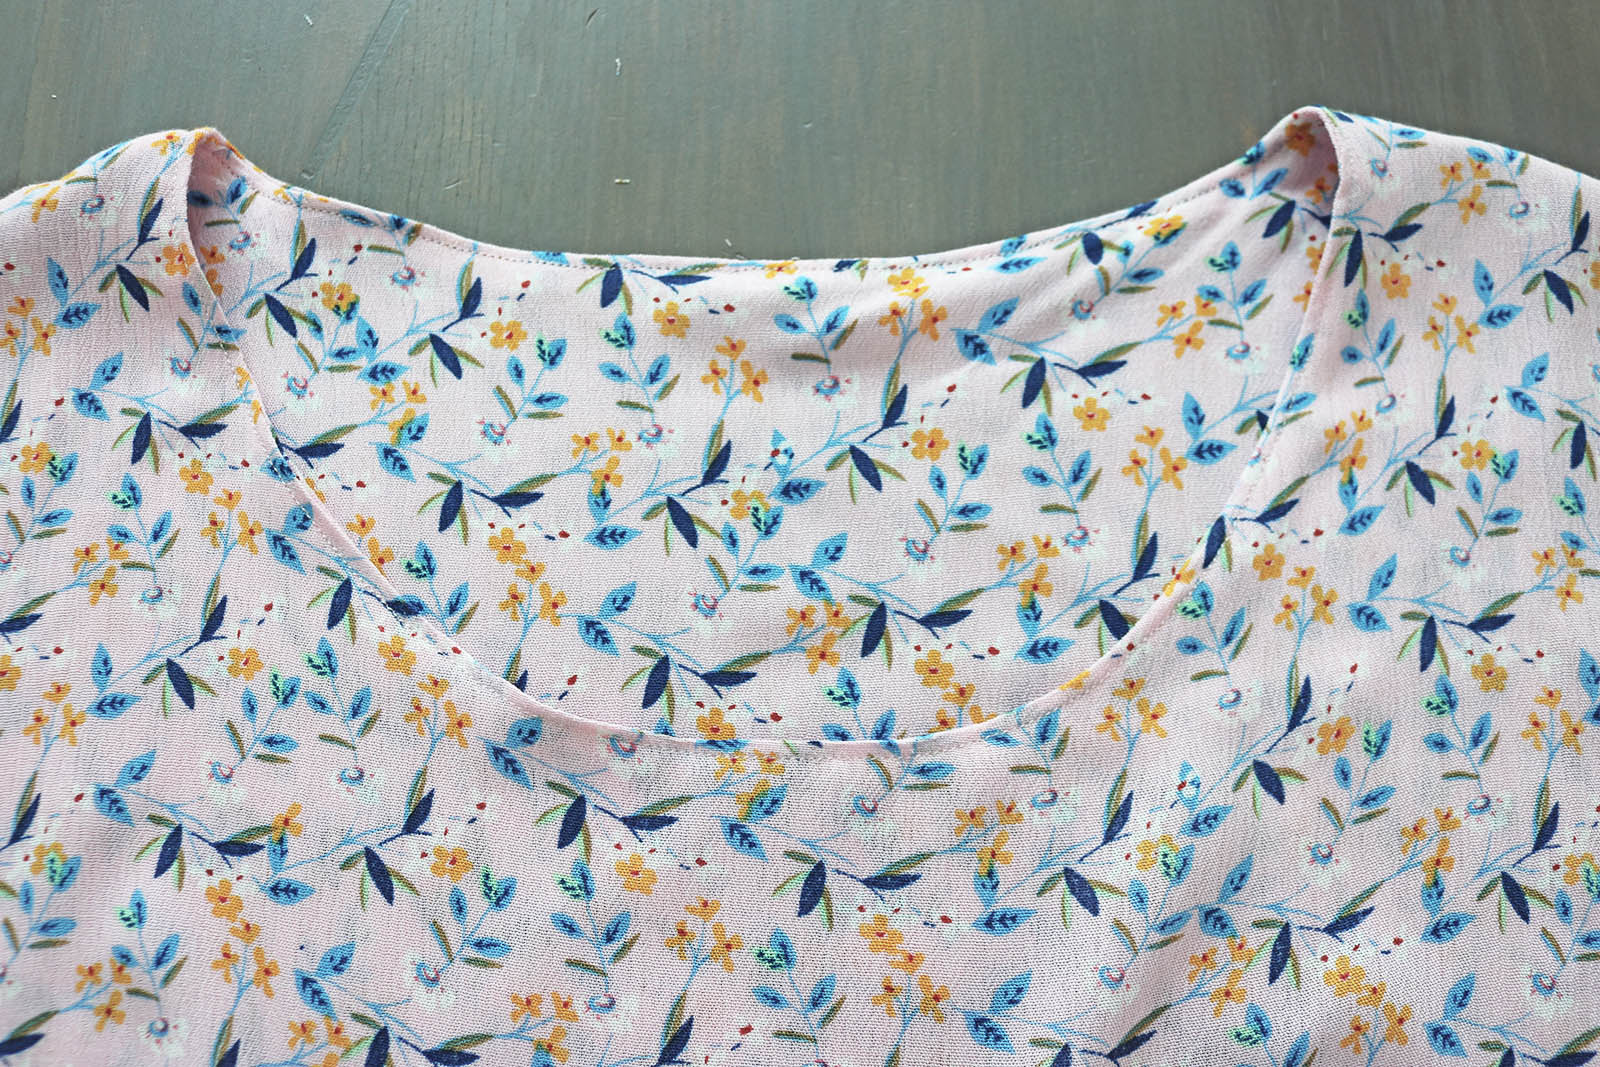
.. And turned right side out, pressing & edge stitching to finish the neckline.
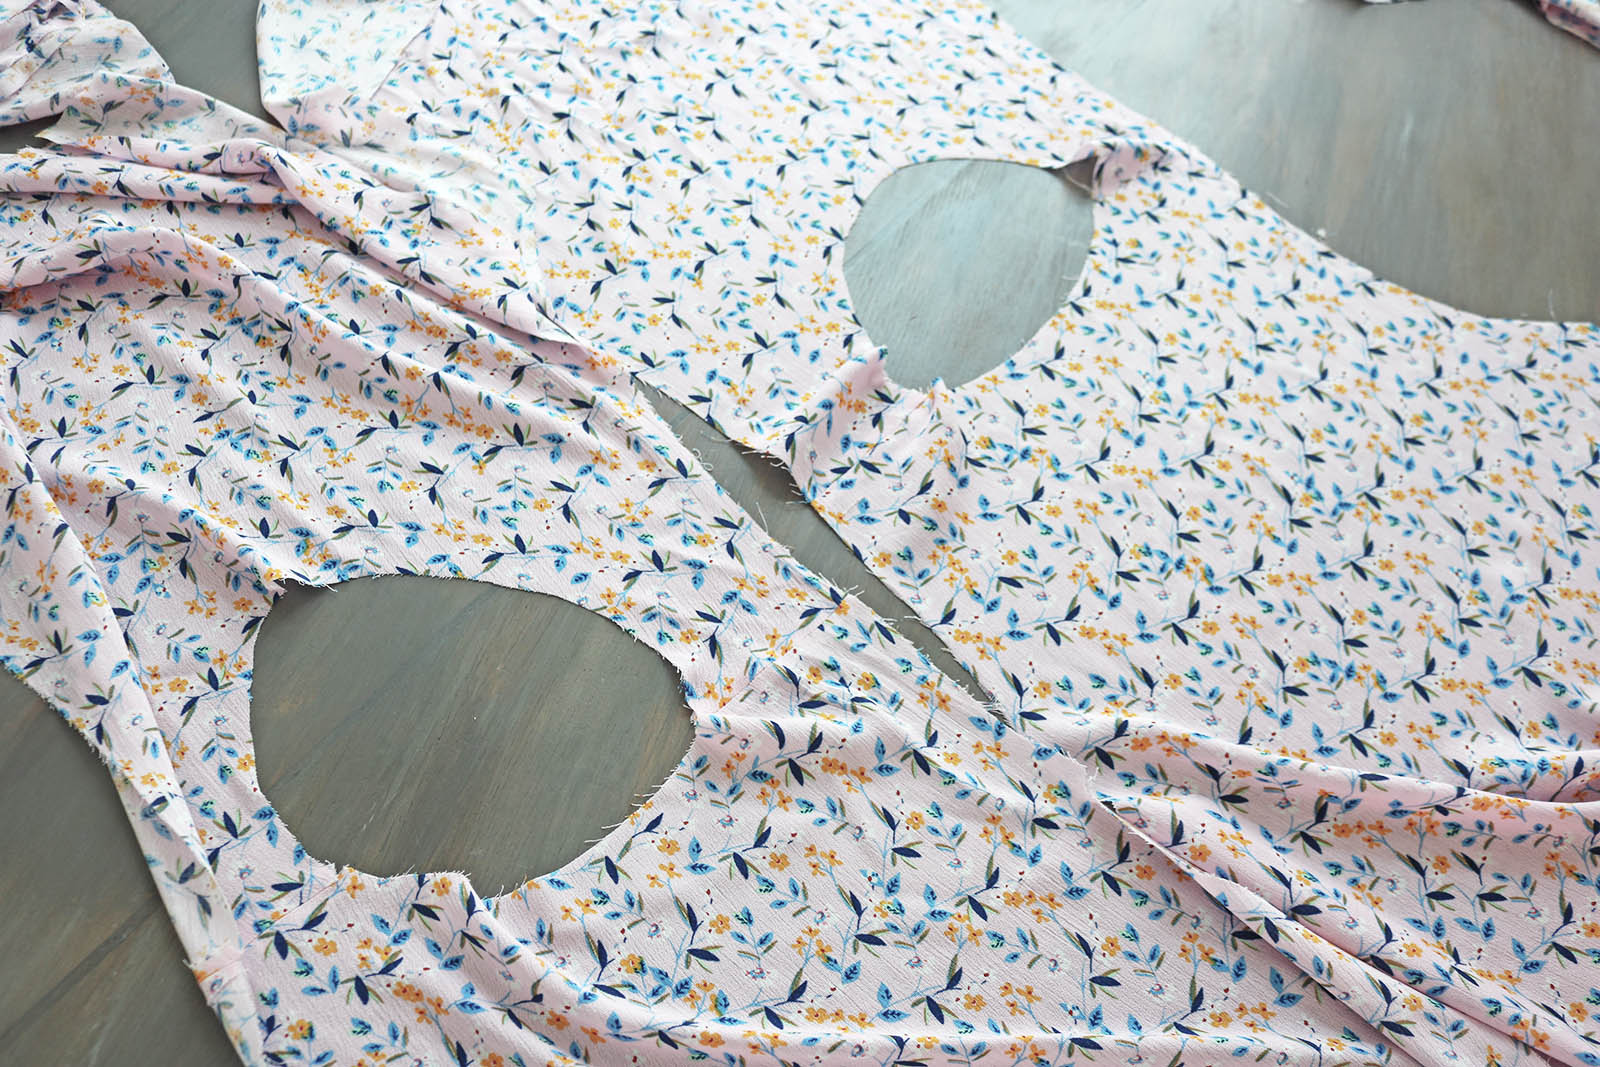
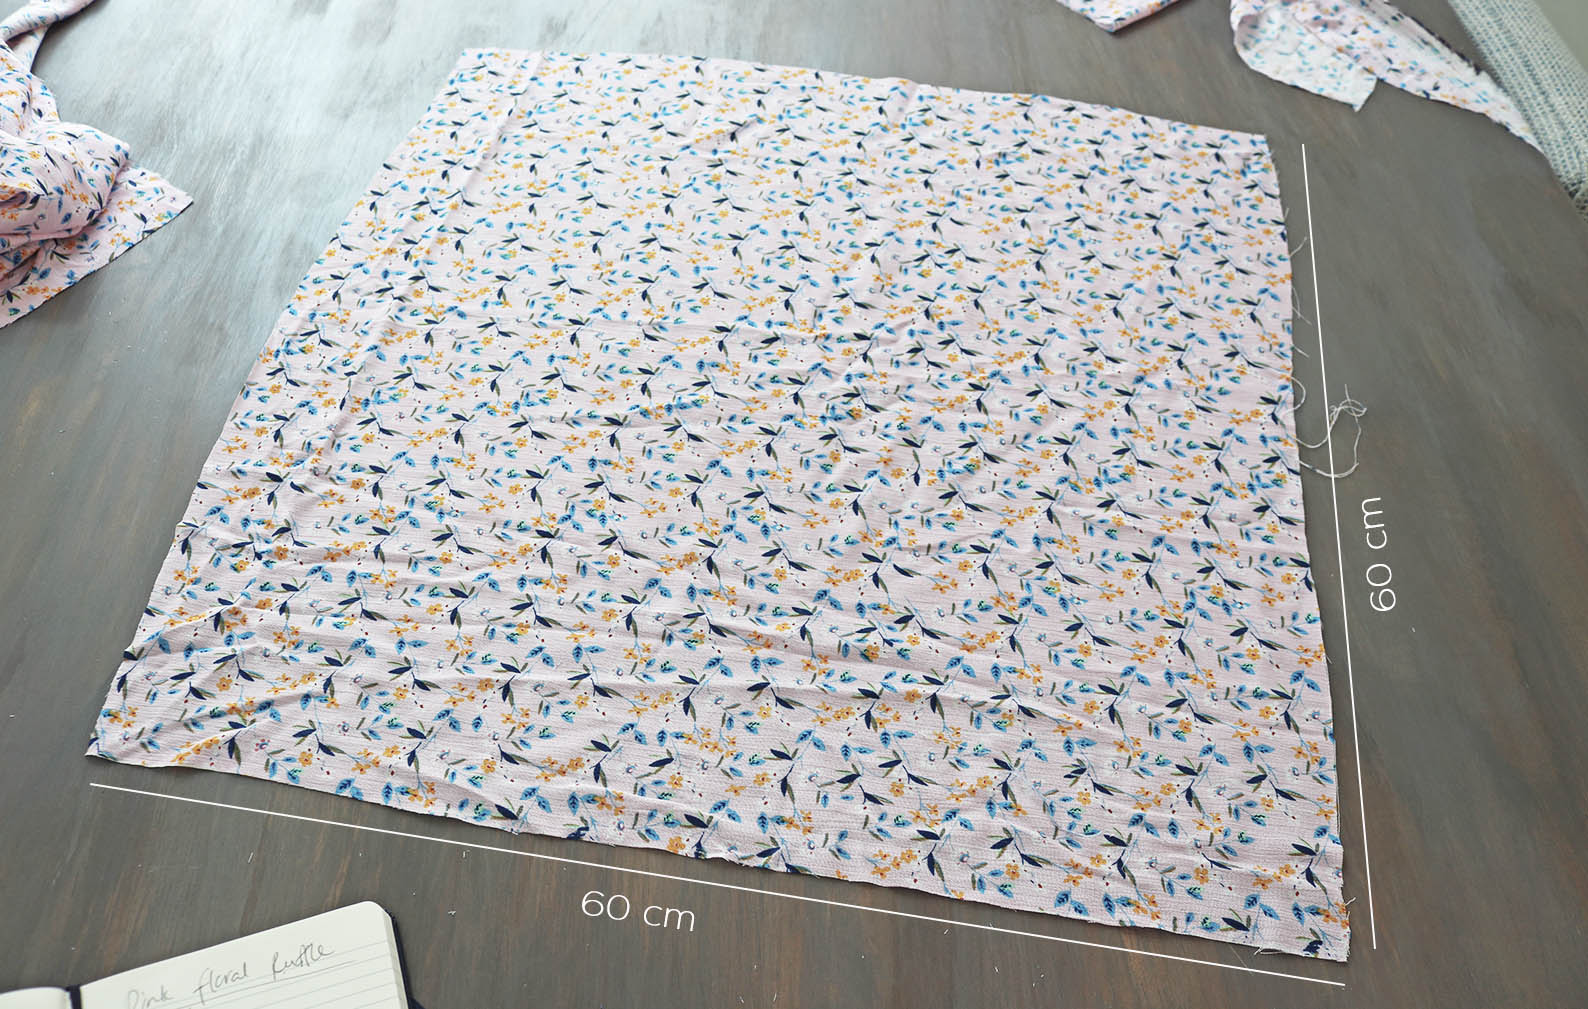
III. Then I needed to create these ruffle pieces for a cold shoulder kind of sleeve design I had in mind. I started with some math you don't need to be bothered with, and found out I needed to start with a square where the side is 60cm.
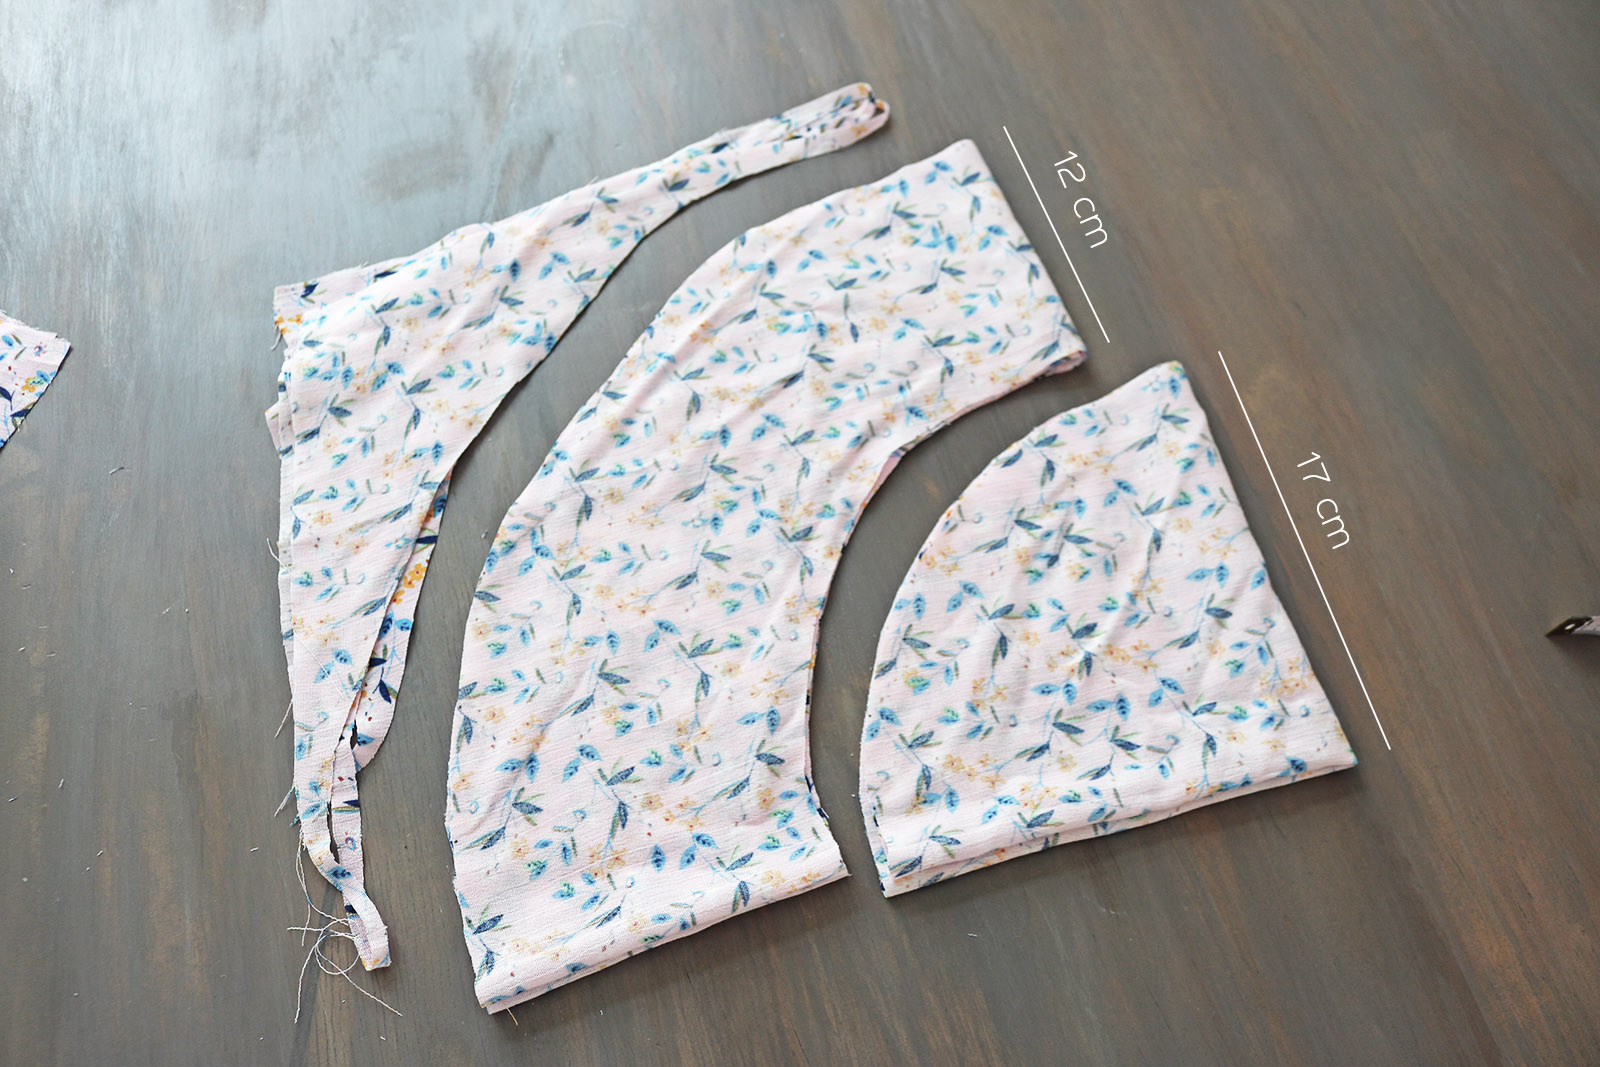
Then folded the square in half and in half again, and drew on it my curved guides to cut out my circle. With a radius of 17 cm and ruffle width of 12 cm, I got a long enough ruffle to result in the look you see in the finished images.
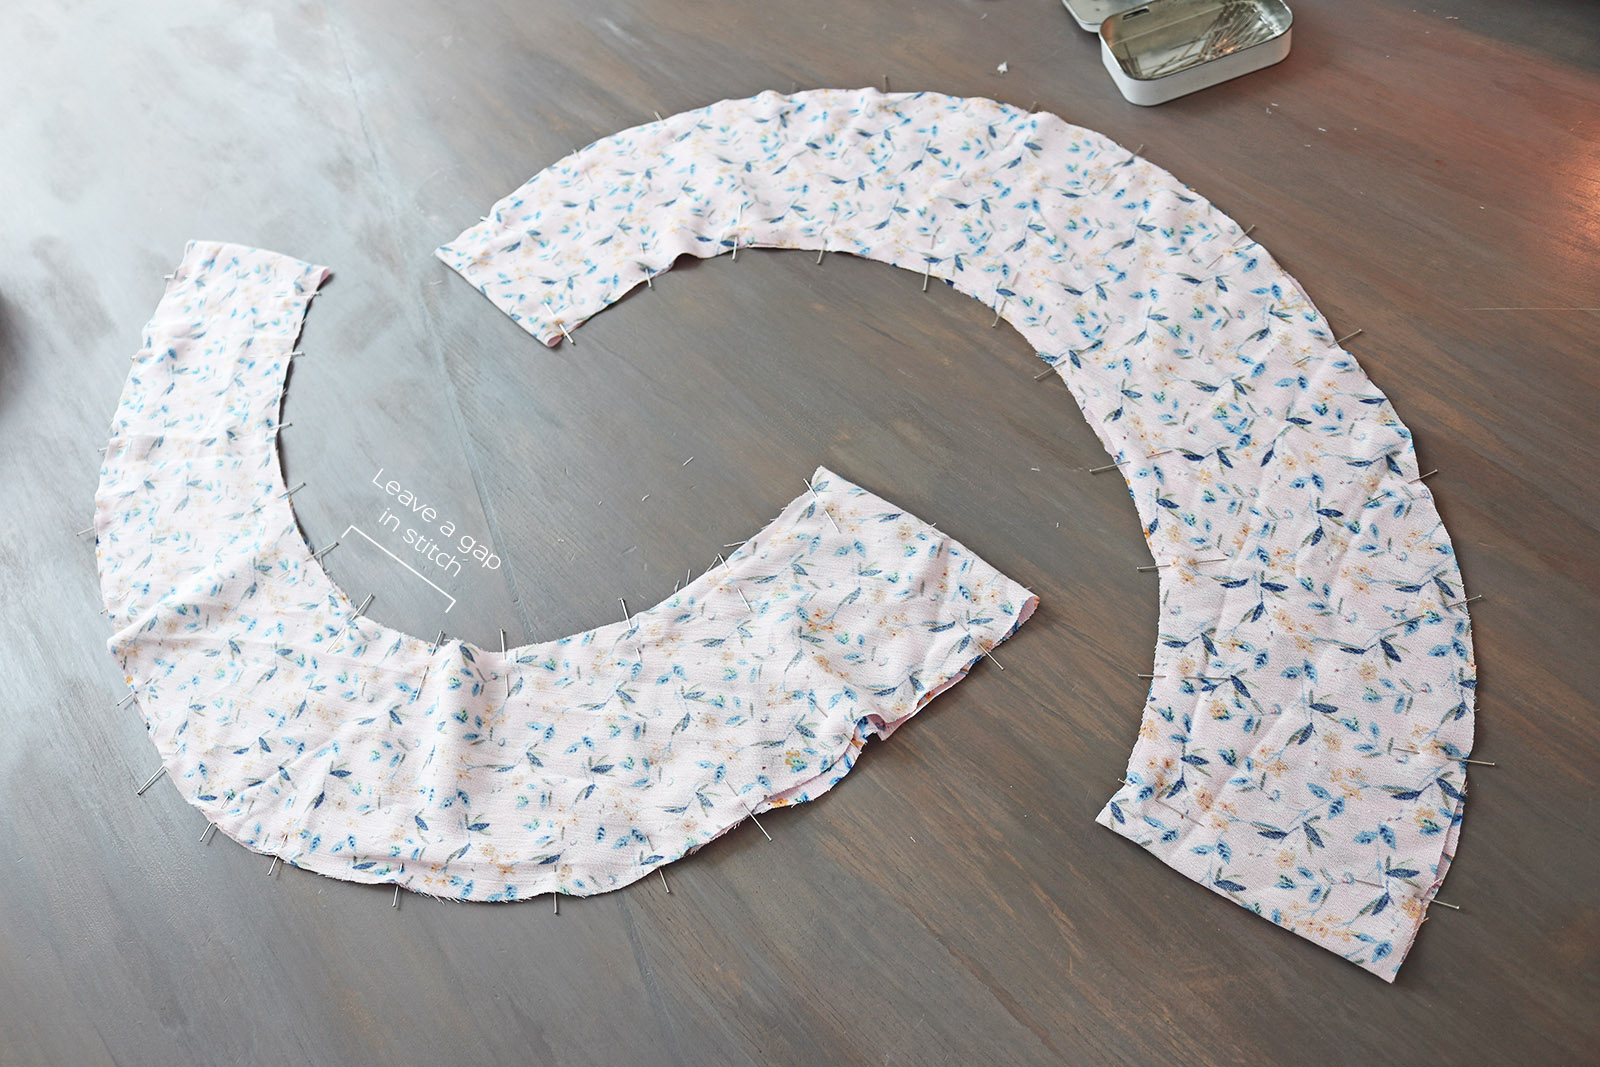
This is what I then had. A donut shaped thing. I repeated the square cutting and created another circle just like this one.
I then folded both circles in half, right sides facing, and pinned the edges, and sewed all around EXCEPT for a gap of a few cm to turn the ruffle right side out.
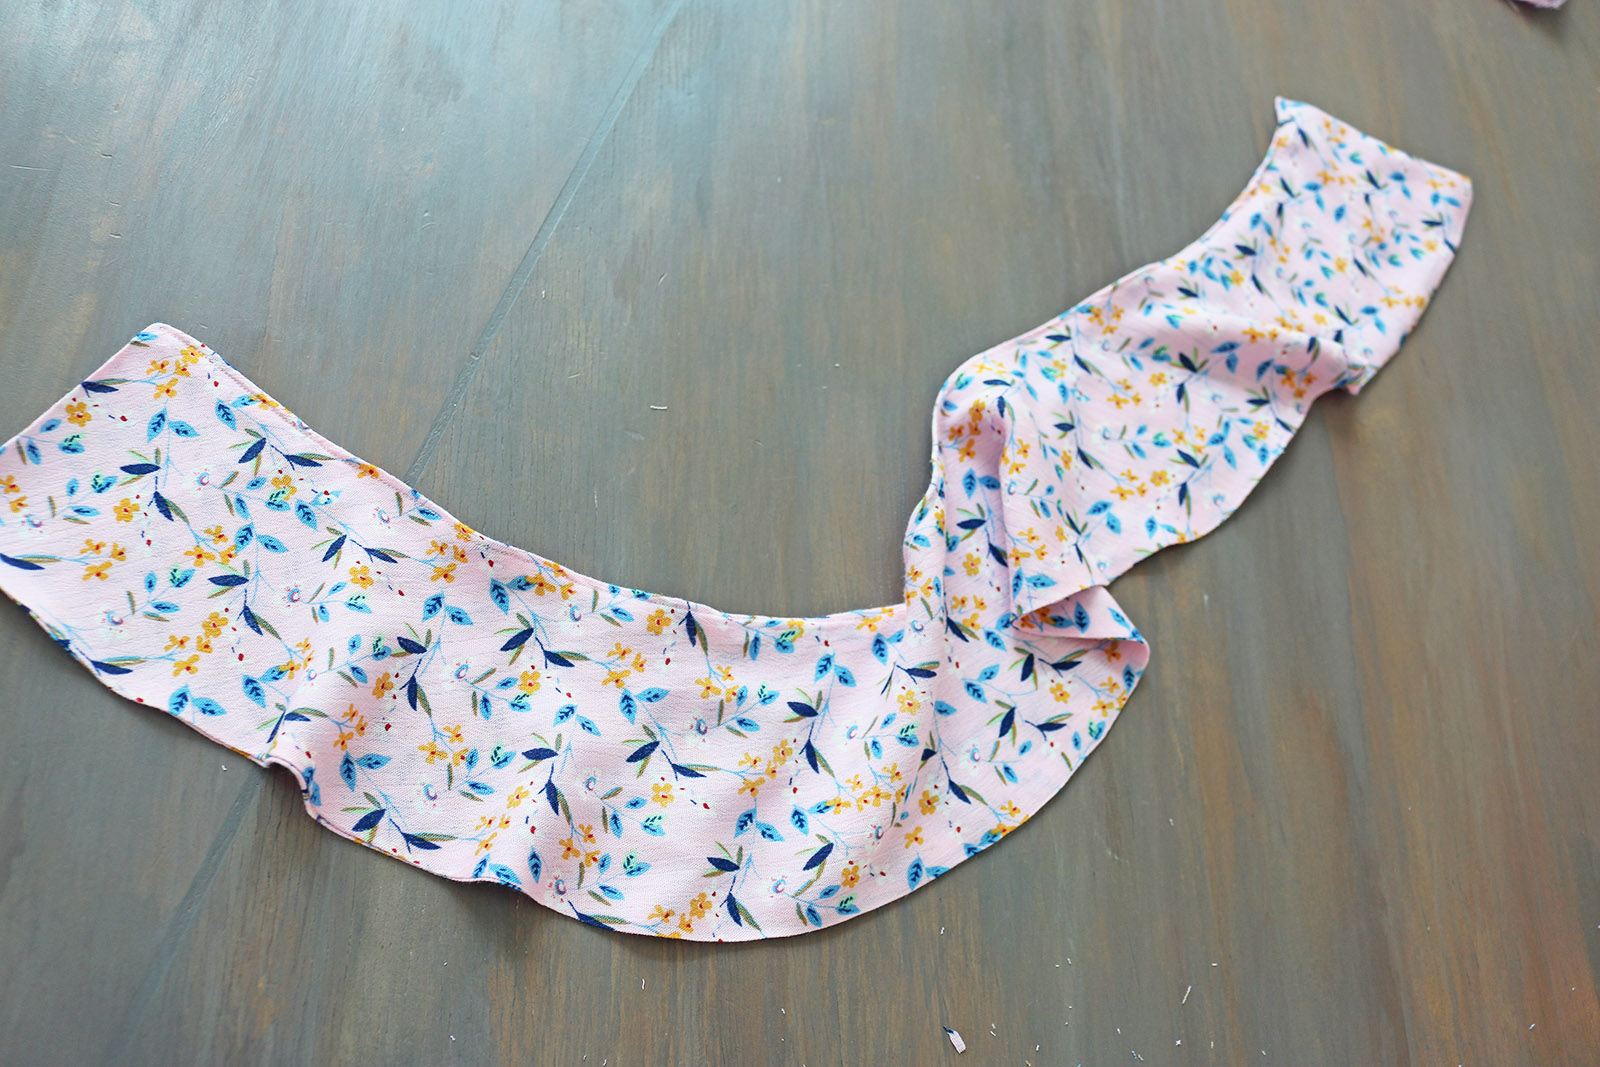
After pressing, I edge stitched the inner round edge, taking care at the same time of the gap in the stitch. Ruffle ready!
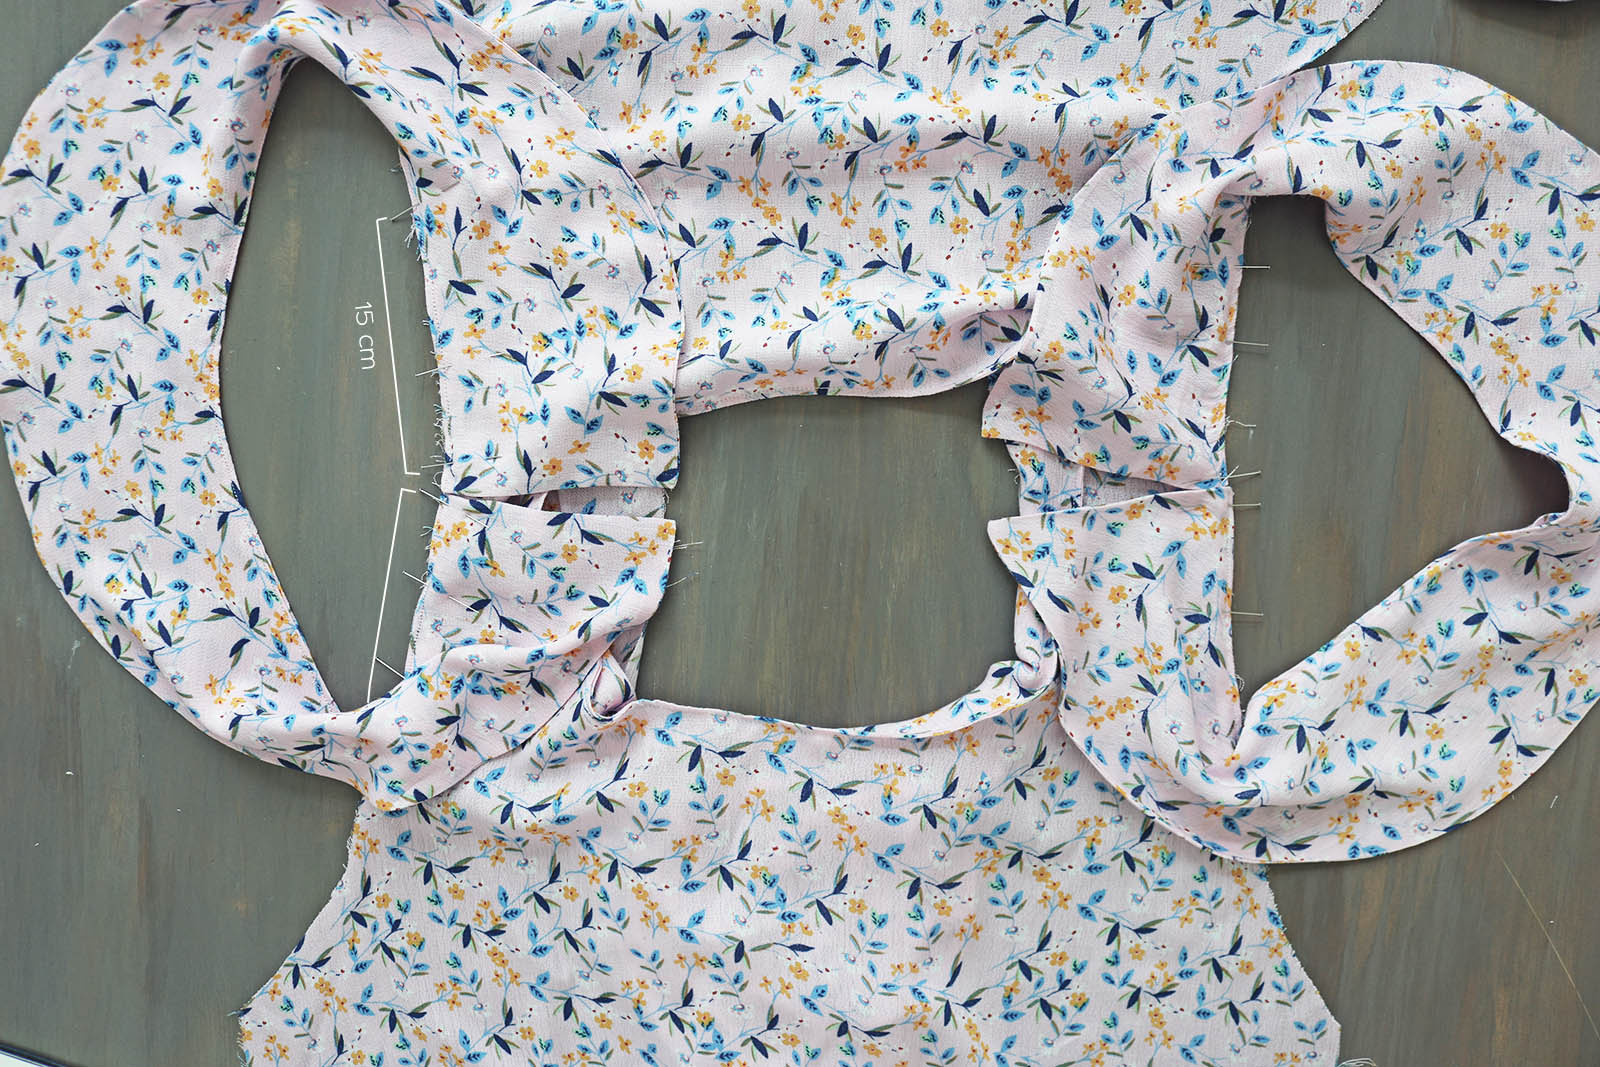
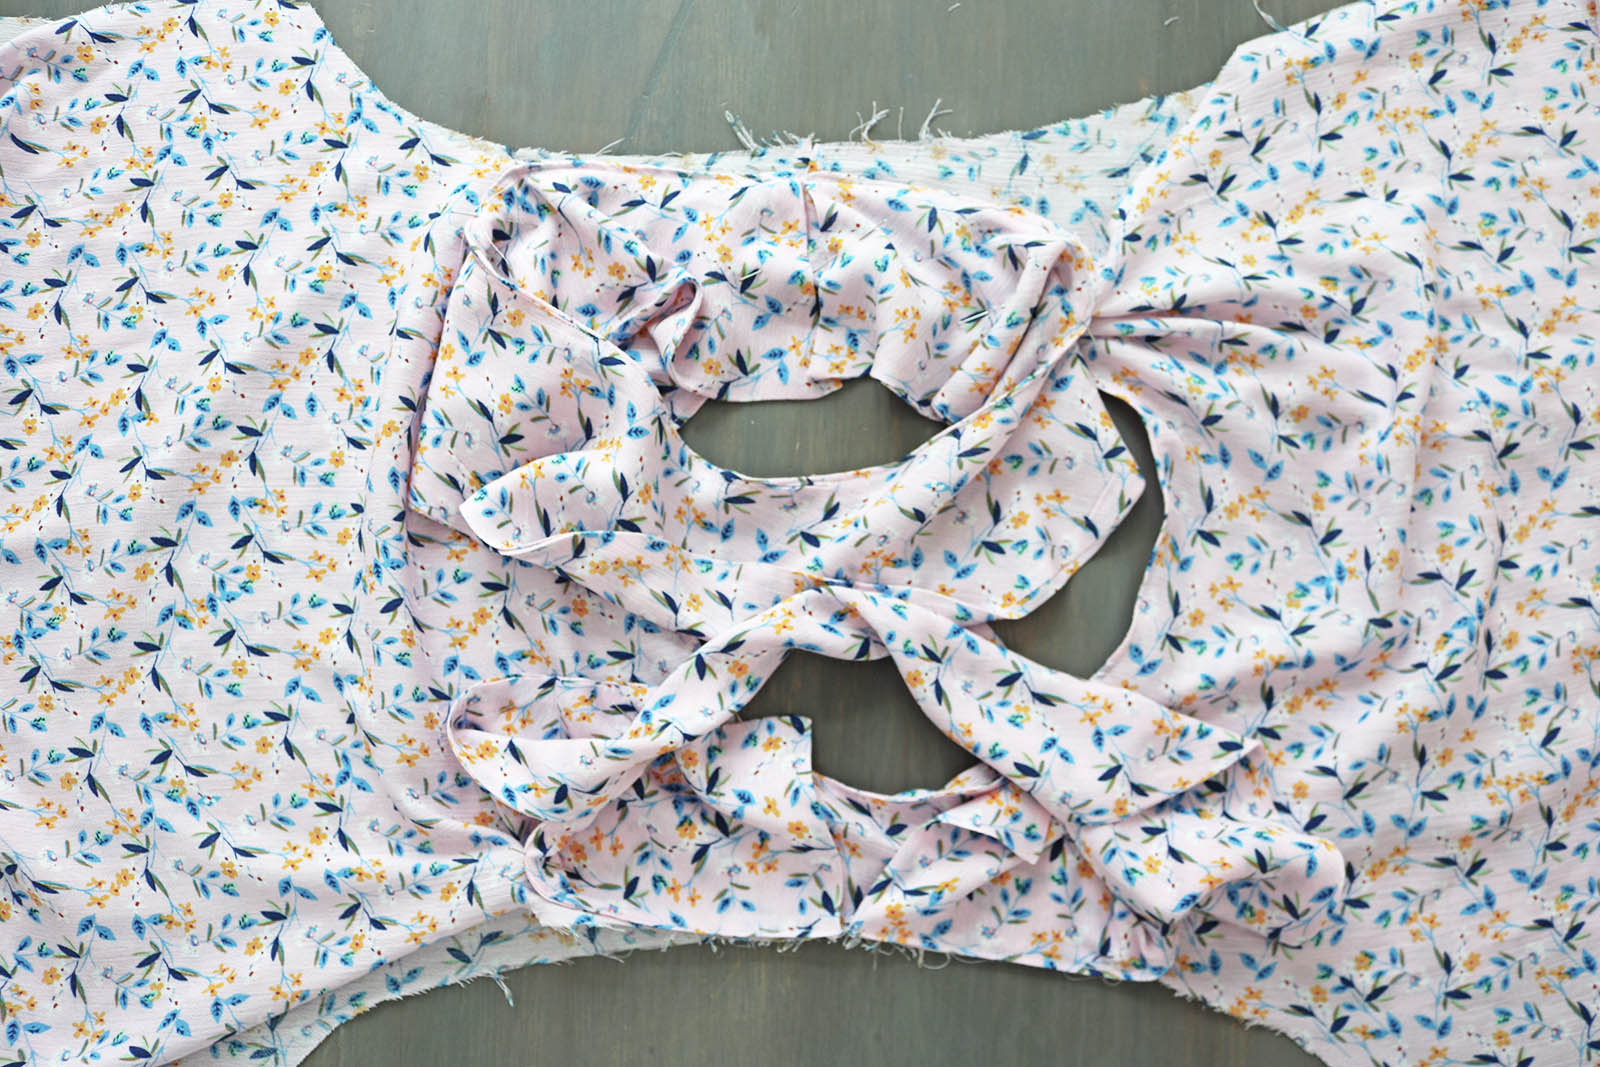
IV. Then, I came back to the top. It can help to first sew the two layers of the top together with a quick basting stitch just along the arm holes. Once that's done, you can go ahead and pin each of the half circular ruffles to the arm holes. Start by aligning the end of one ruffle with one shoulder seam, keep pinning down, and place the last pin about 15 cm from the shoulder seam. Take the other end of the ruffle and repeat in the other direction from the shoulder seam. The rest of the ruffle should be free.
Next important prepping step: bring the ruffles towards the middle, and attach them together with a safety pin. You might even wanna pin them in a few places to the top - The idea is that for you to be able to finish the arm holes with the burrito method, you need these ruffles staying out of the way so you don't accidentally sew over them. Then you are ready to use said burrito method to sew the curved arm holes. I've shown it
in this post. If you want a video,
this is a good one.
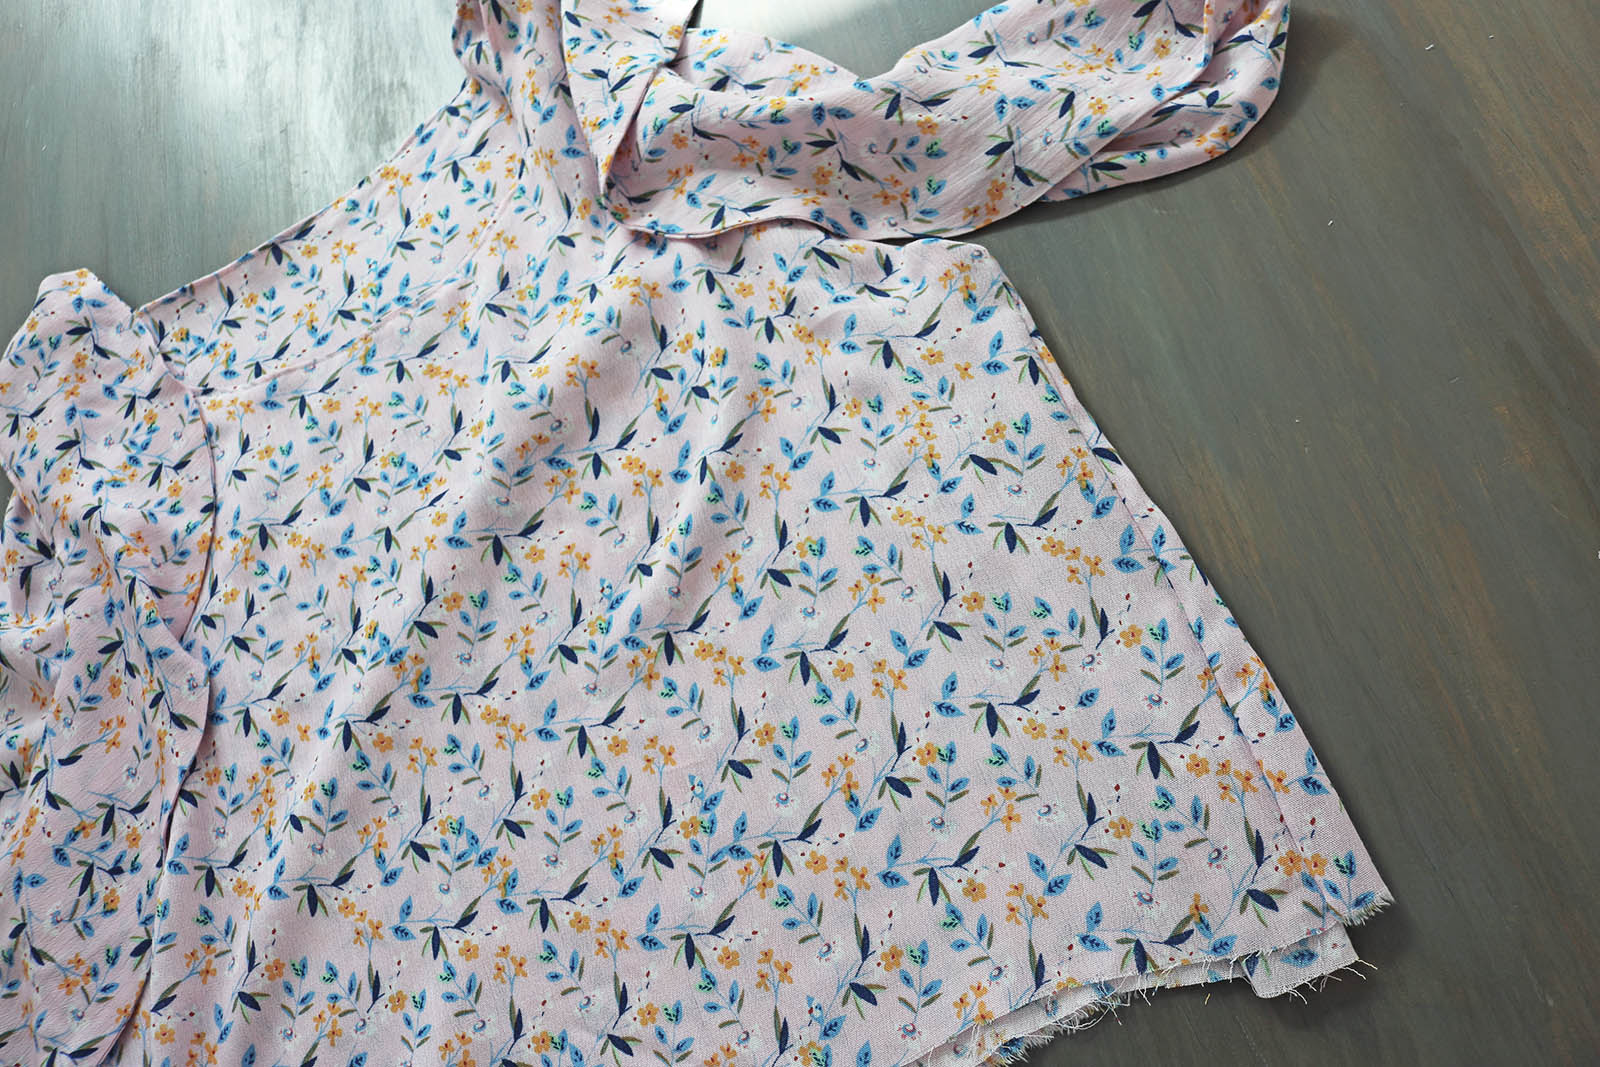
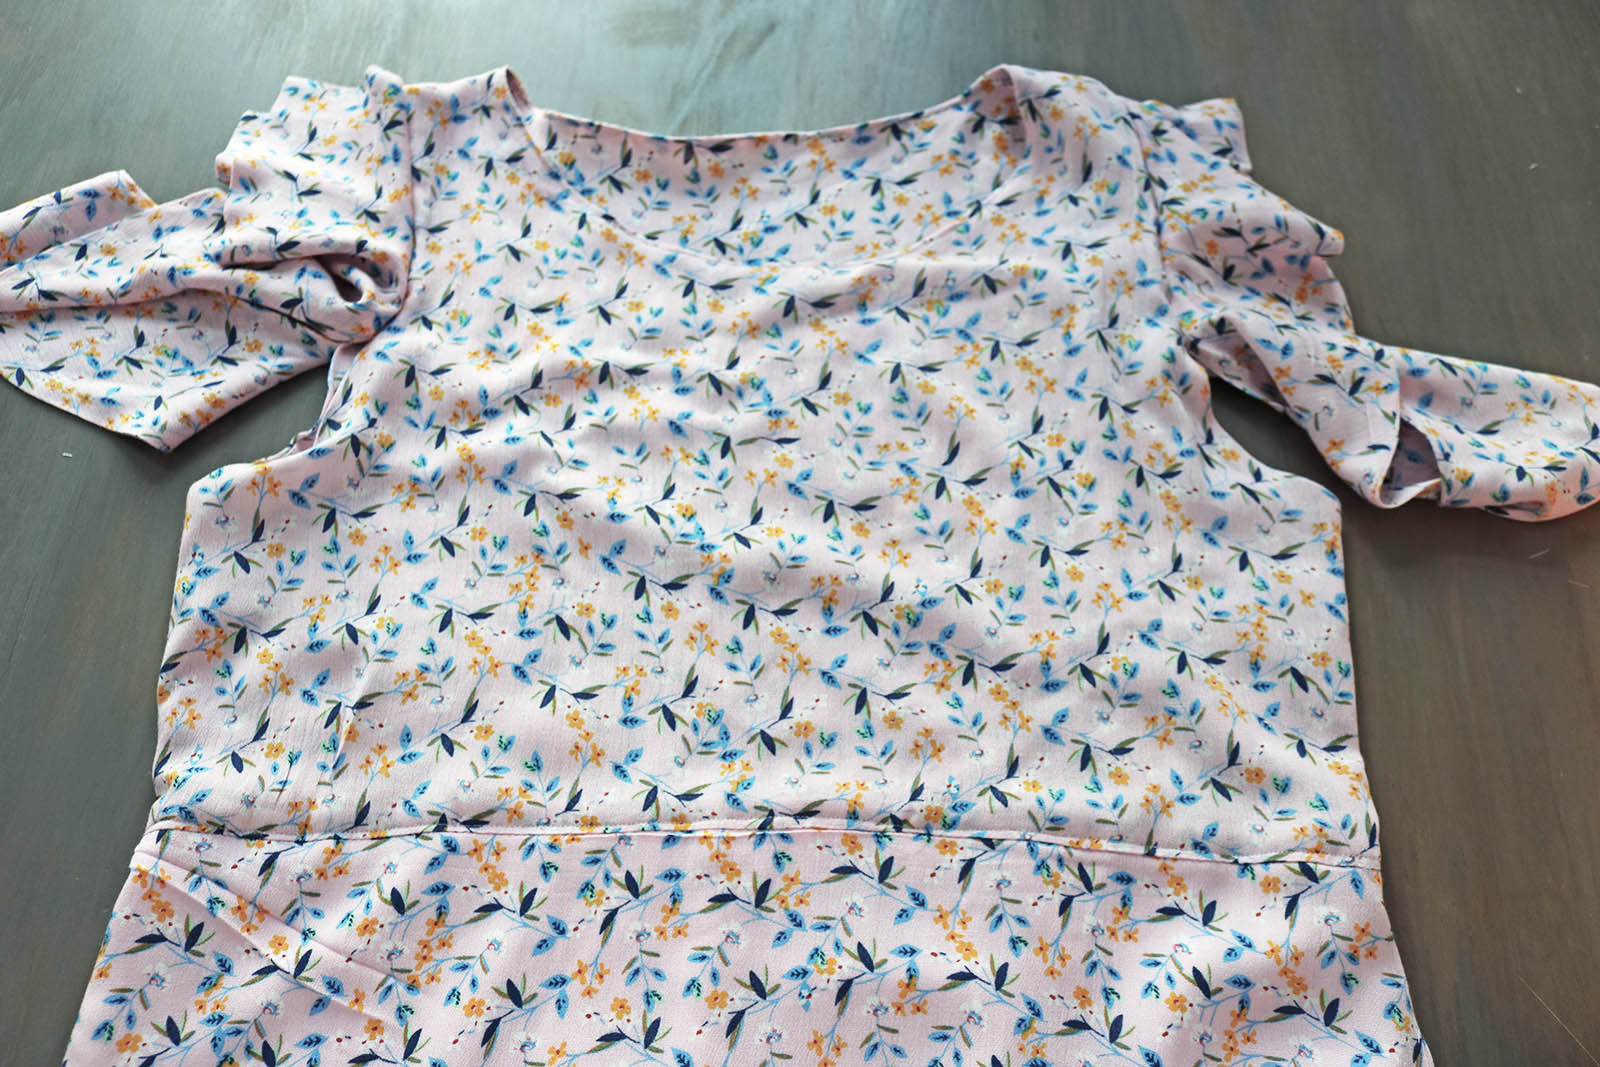
V. Once done, you should have beautifully finished arm holes, where the ruffle is attached halfway down from the shoulder seam and hangs loose for the rest of it. To finish the top, just pin the sides right sides facing, sew and press. If you just want to make a top, you could simply hem it at this point and be ready.
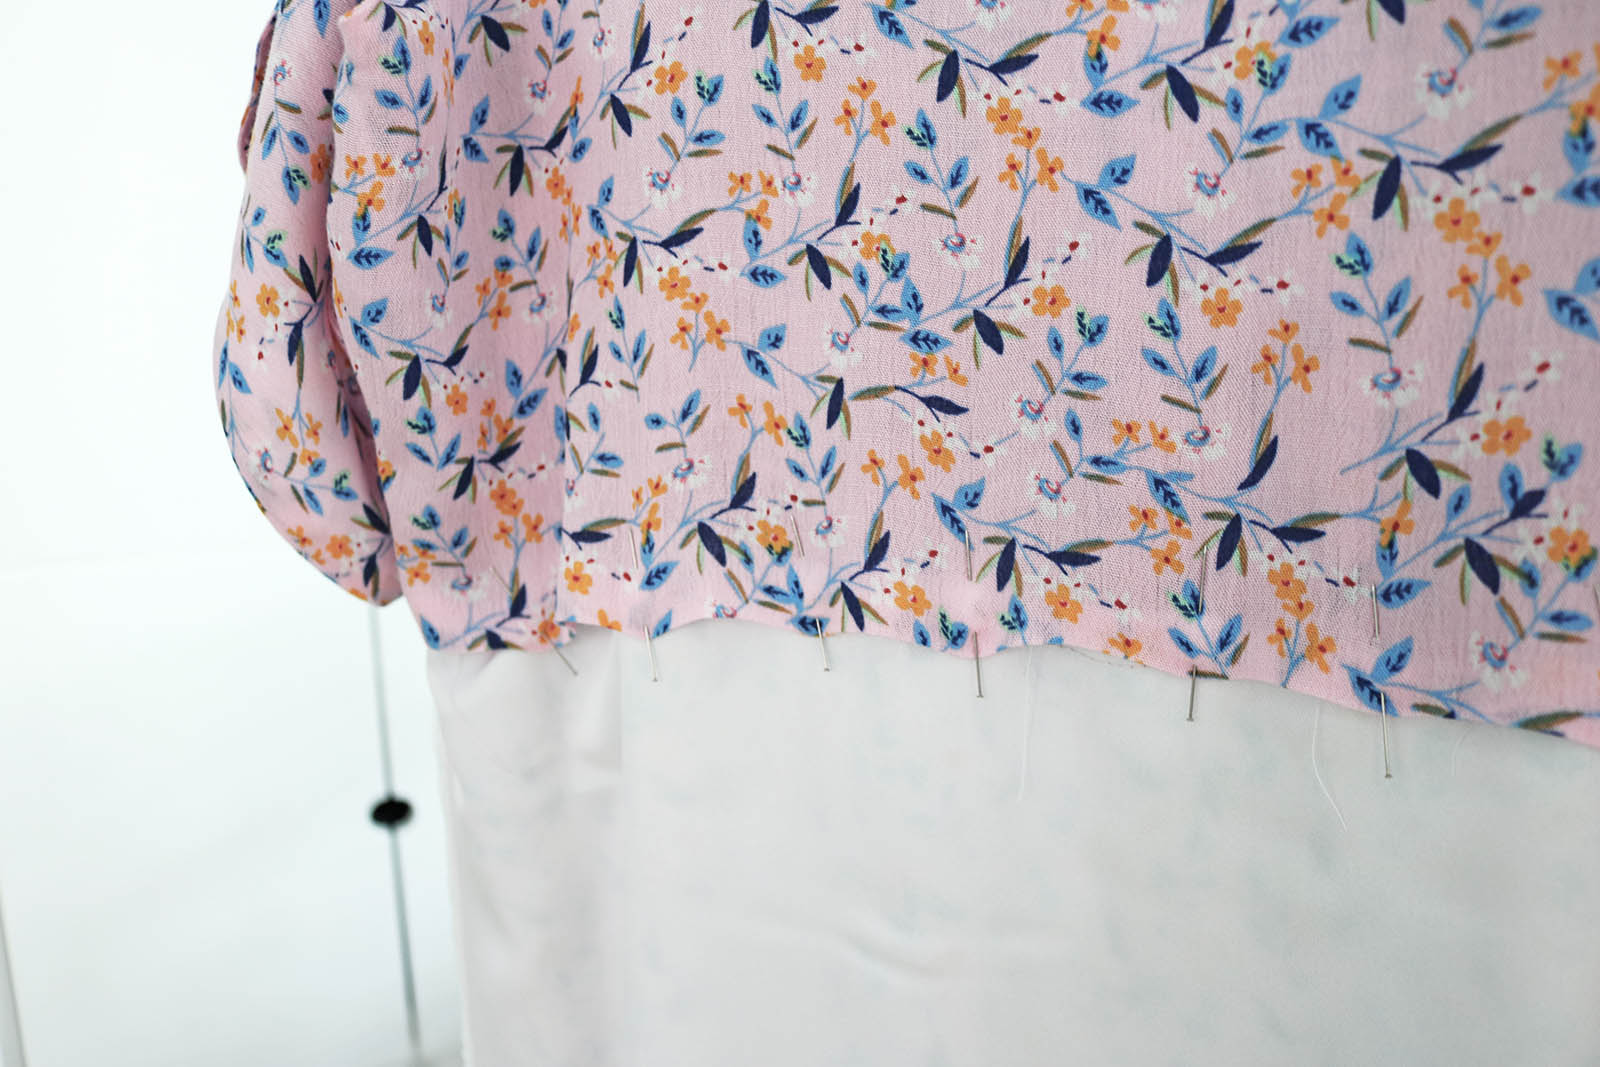
VI. But I wanted a dress, so I took my skirt pieces and cut matching pieces from a basic white lining fabric (the cotton was too transparent and thin for an unlined skirt). Then just pinned the skirt pieces along the sides, sewed, and repeated for the lining. After pressing placed the lining inside the skirt, and sewed a basting stitch around the waistline to attach the two.
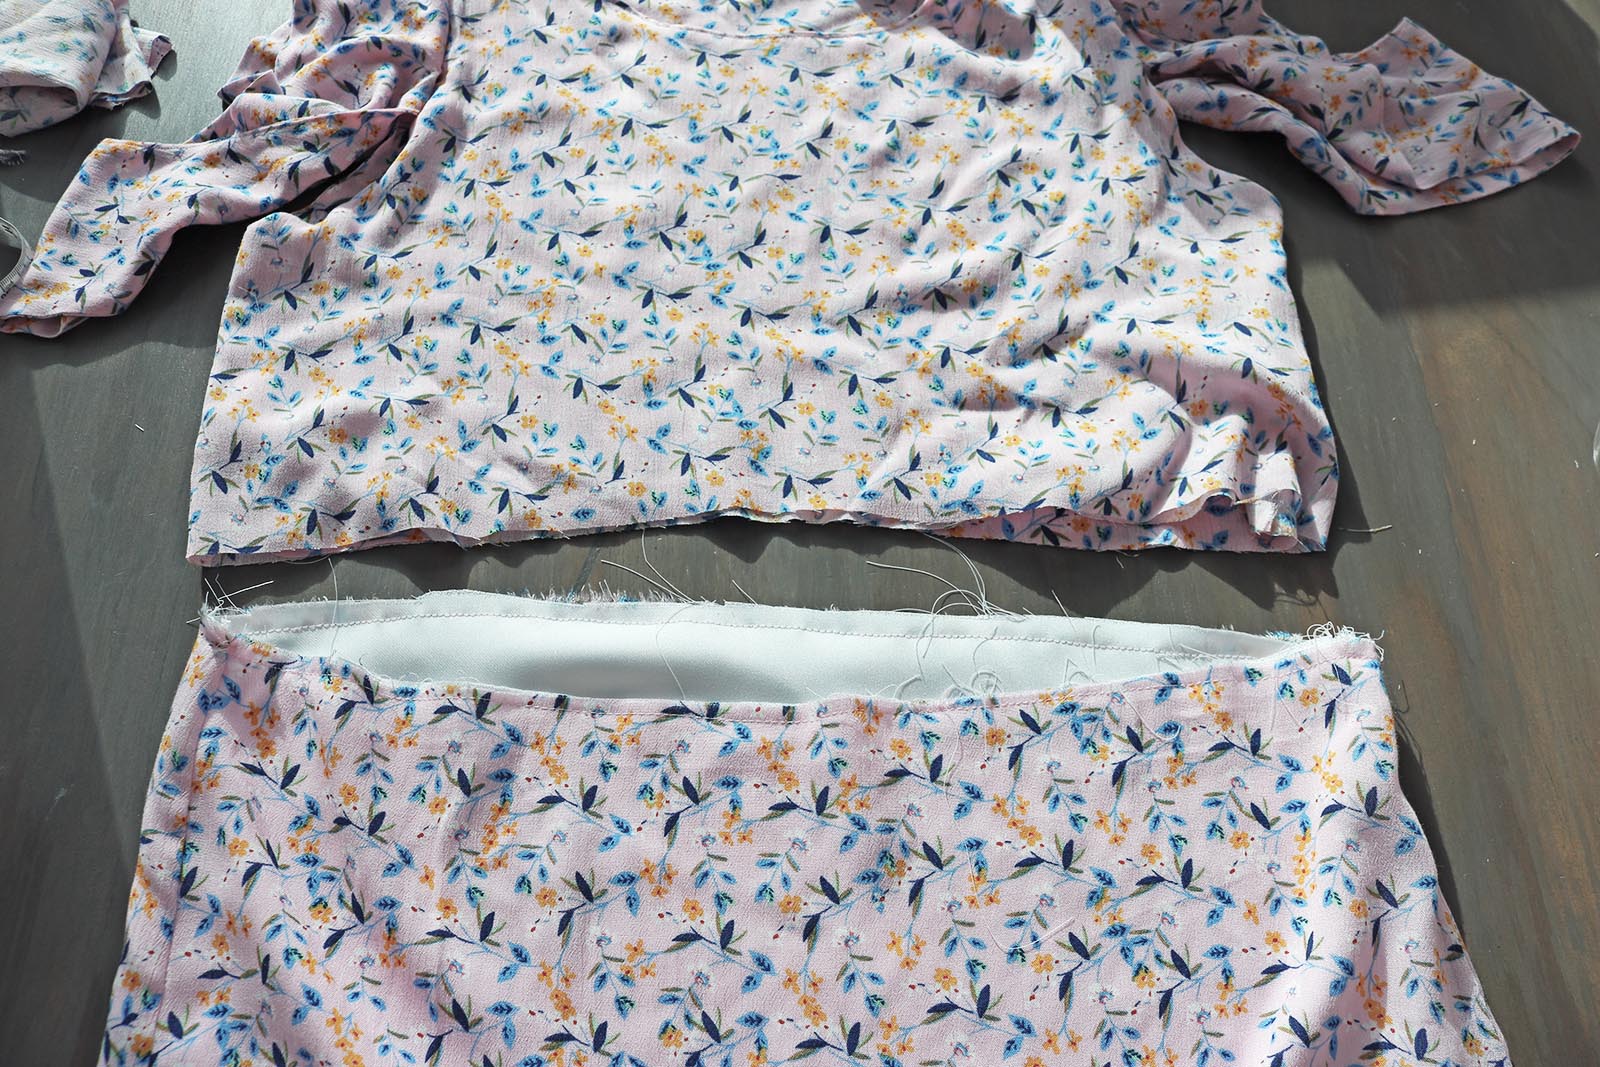
At this point I wore the top and checked exactly where a belt sat on my waist. Marked that place with a pin, and chopped about 10cm or so from the hem of the top (to make sure my waist seam would sit under my belt when worn).
Then just checked I hadn't messed up the size in terms of width - which looked ok. I first flipped the skirt lining side out, placed the top inside right side out, and pinned only the outer layer of the top to the skirt. Sewed around.
To attach the lining on the reverse, I first pressed a small fold onto the hem of the top lining, hung the dress so the reverse was out, and pinned the top lining to the skirt lining. I like to hang garments when pinning areas like this to ensure I'm not going to attach anything too loose or tight - when you hang the dress, you'll see where the lining naturally comes.
Then I sewed next to the first waist seam on the right side, attaching the lining on the reverse. Lastly hemmed both the skirt and the lining.
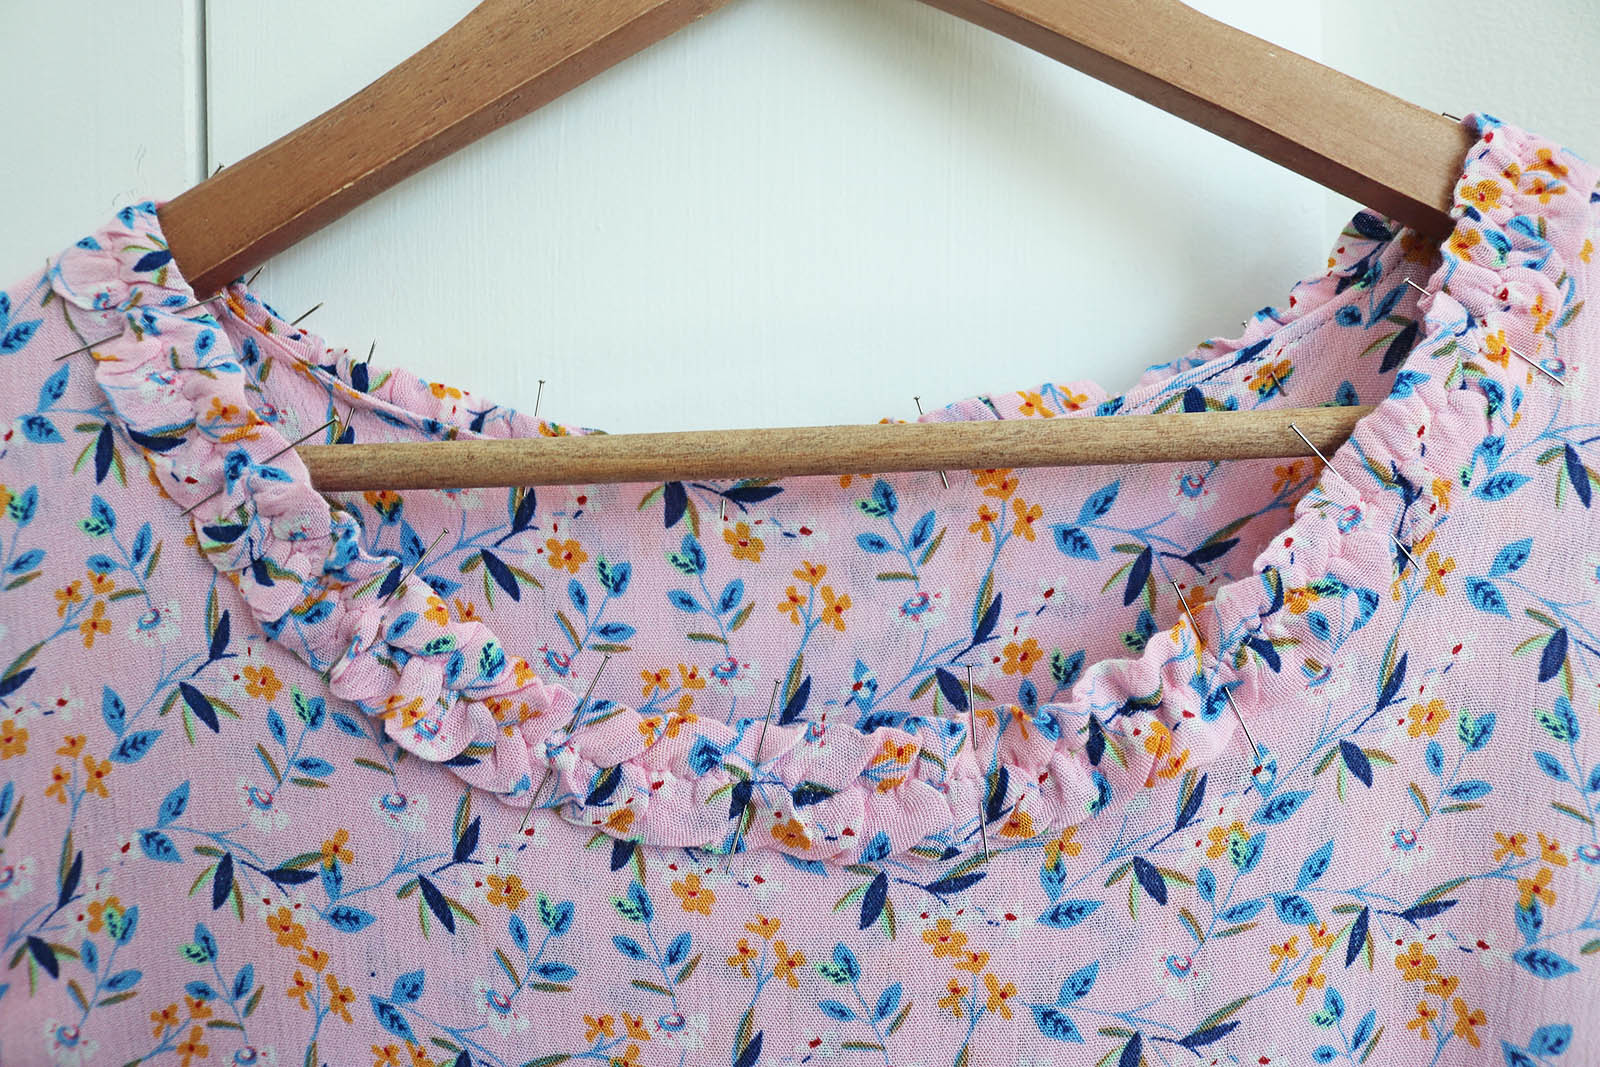
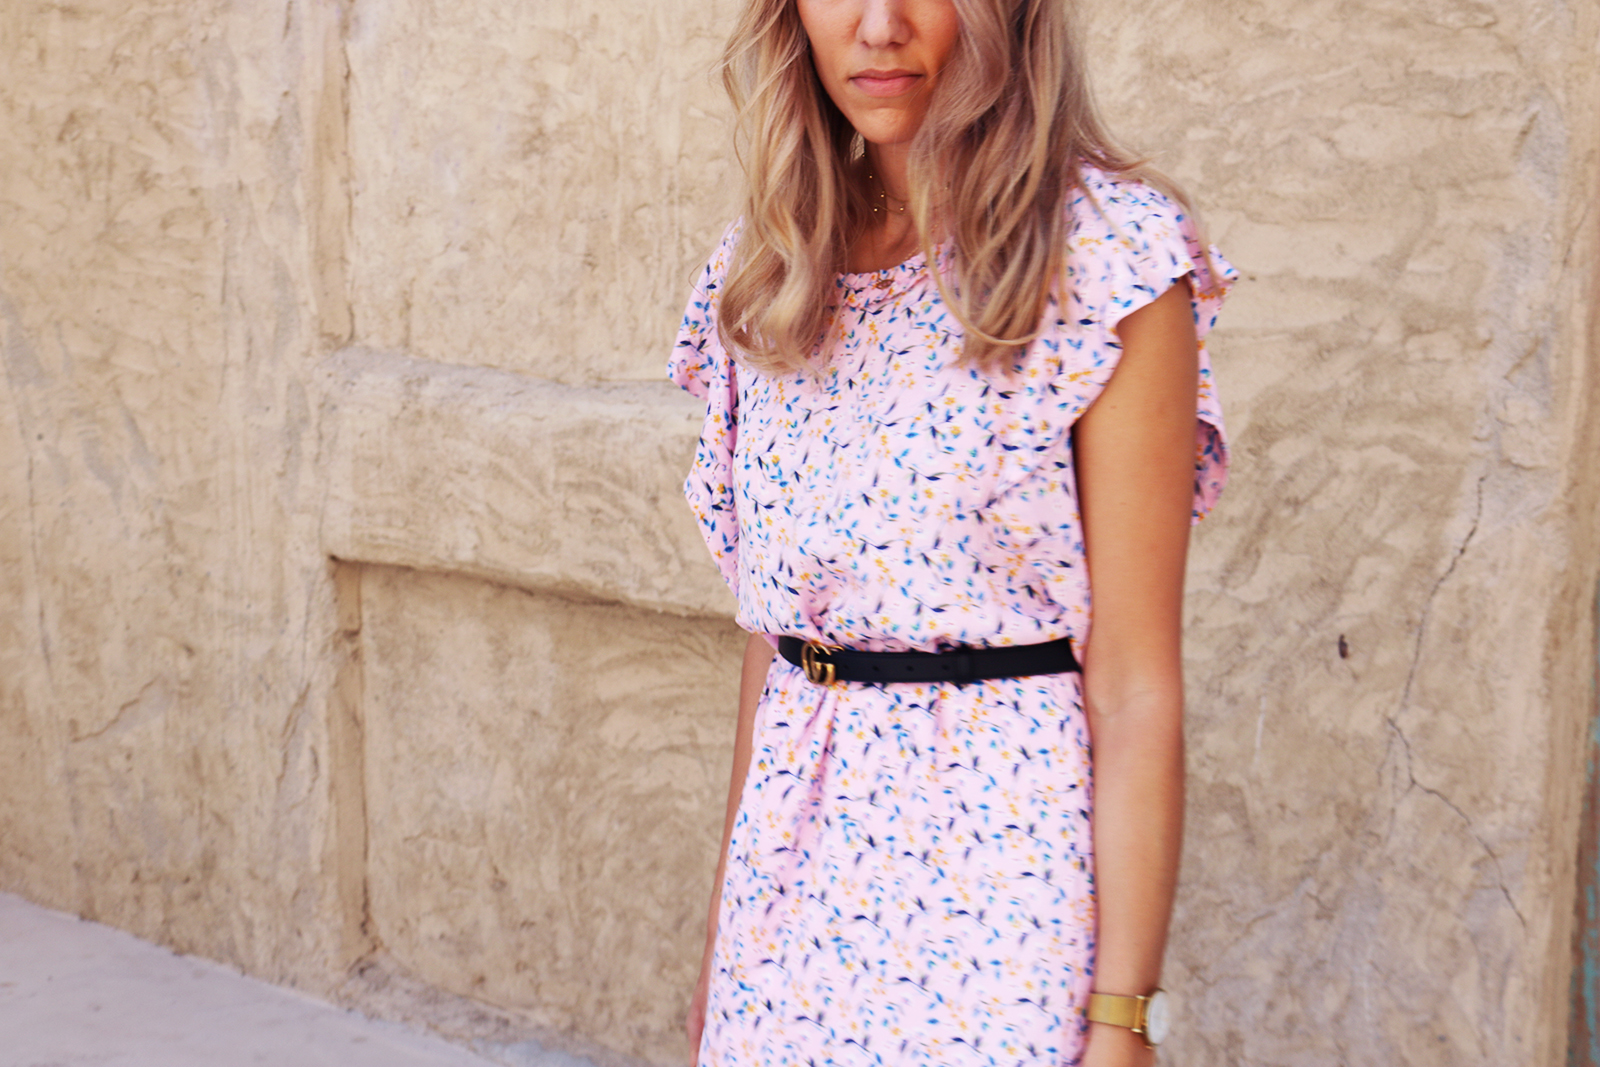
Ok that was not completely last I suppose. I felt like the dress still needed something. After pinning and unpinning different kinds of ruffle to the hem about 10 times, I realized maybe the hem was not where the something needed to be. So I added this small ruffle detail to the neckline instead. I thought it immediately looked less like a pajama.
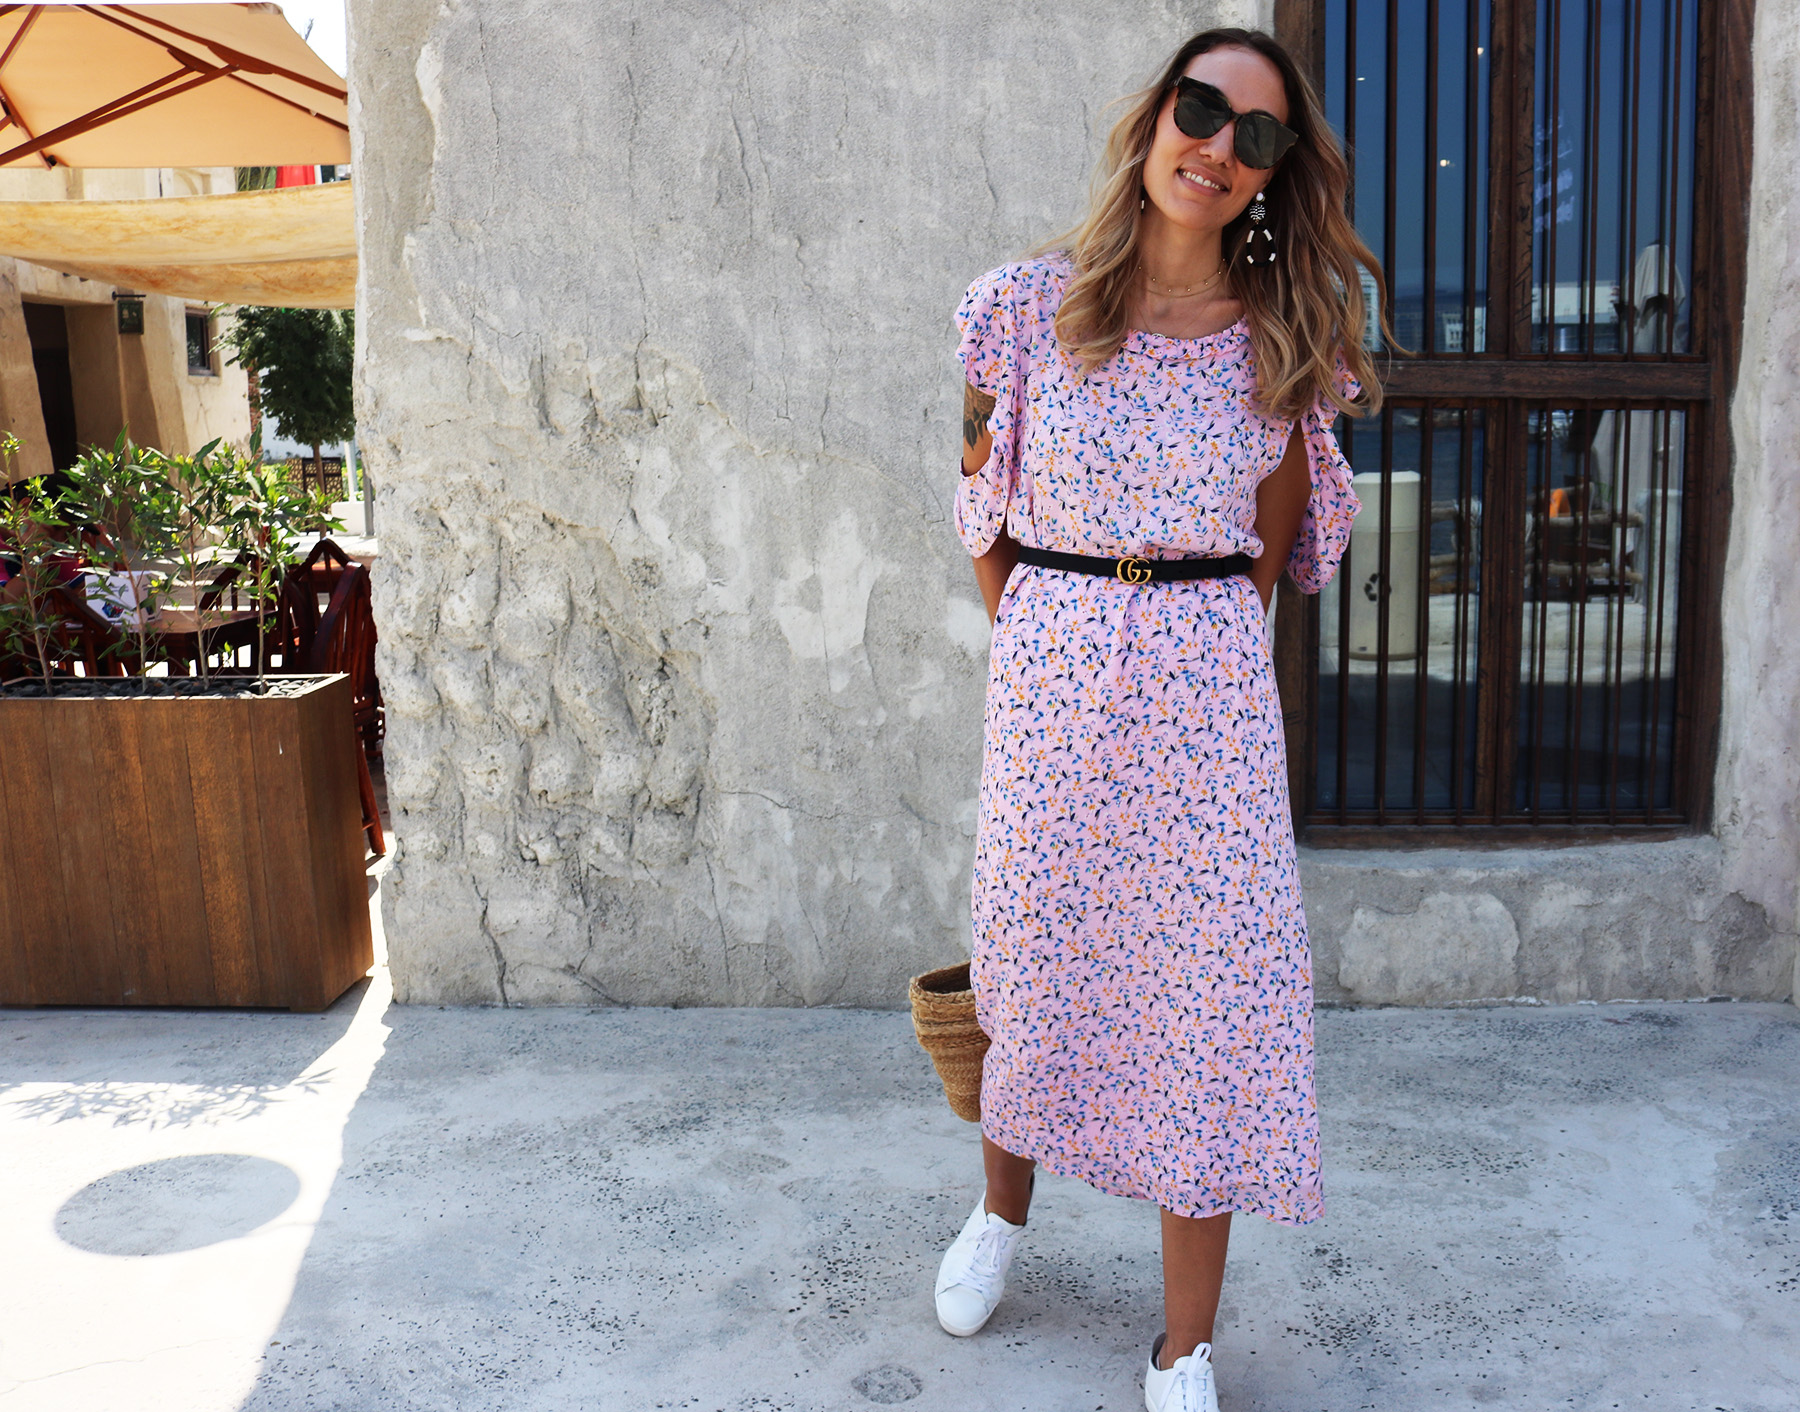
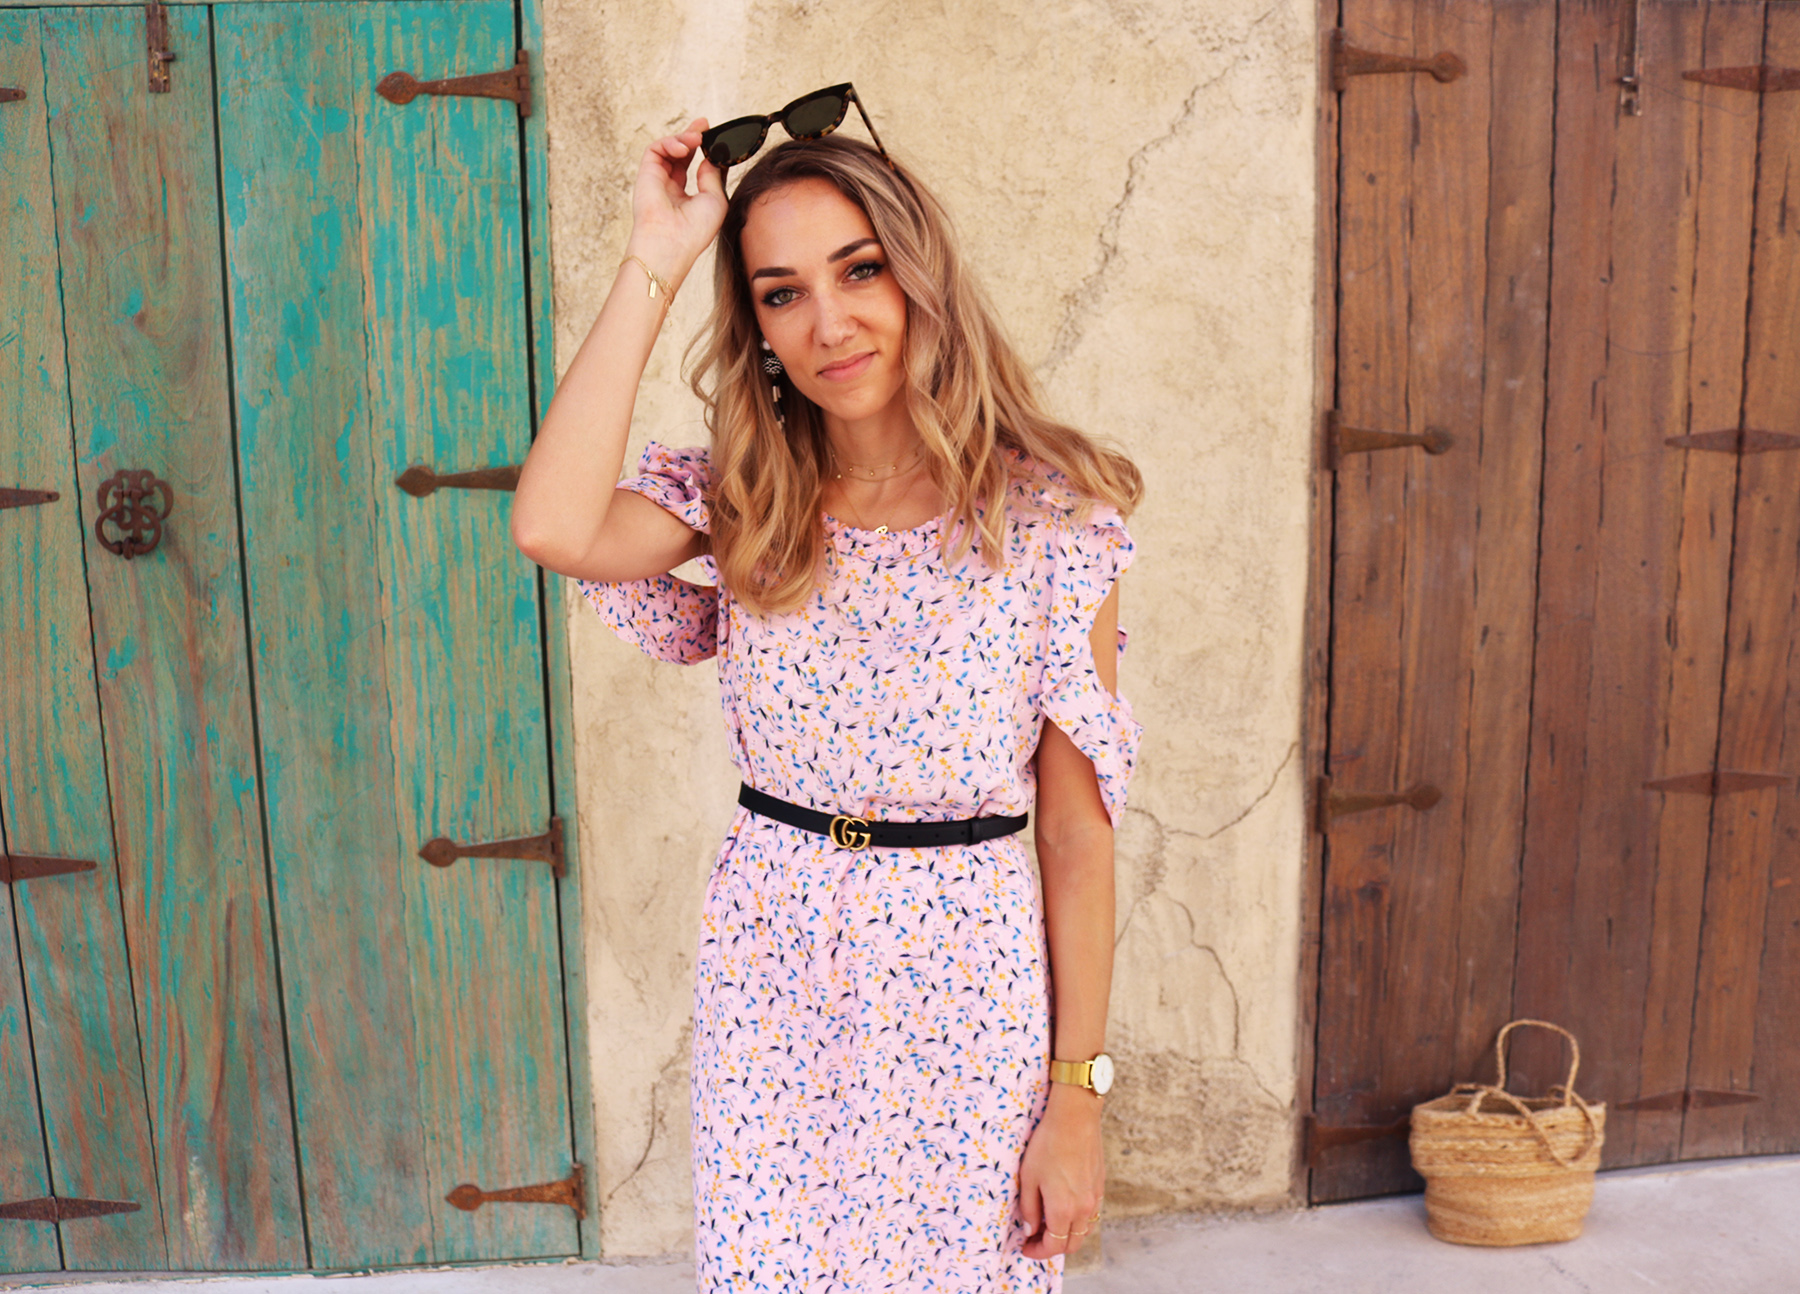
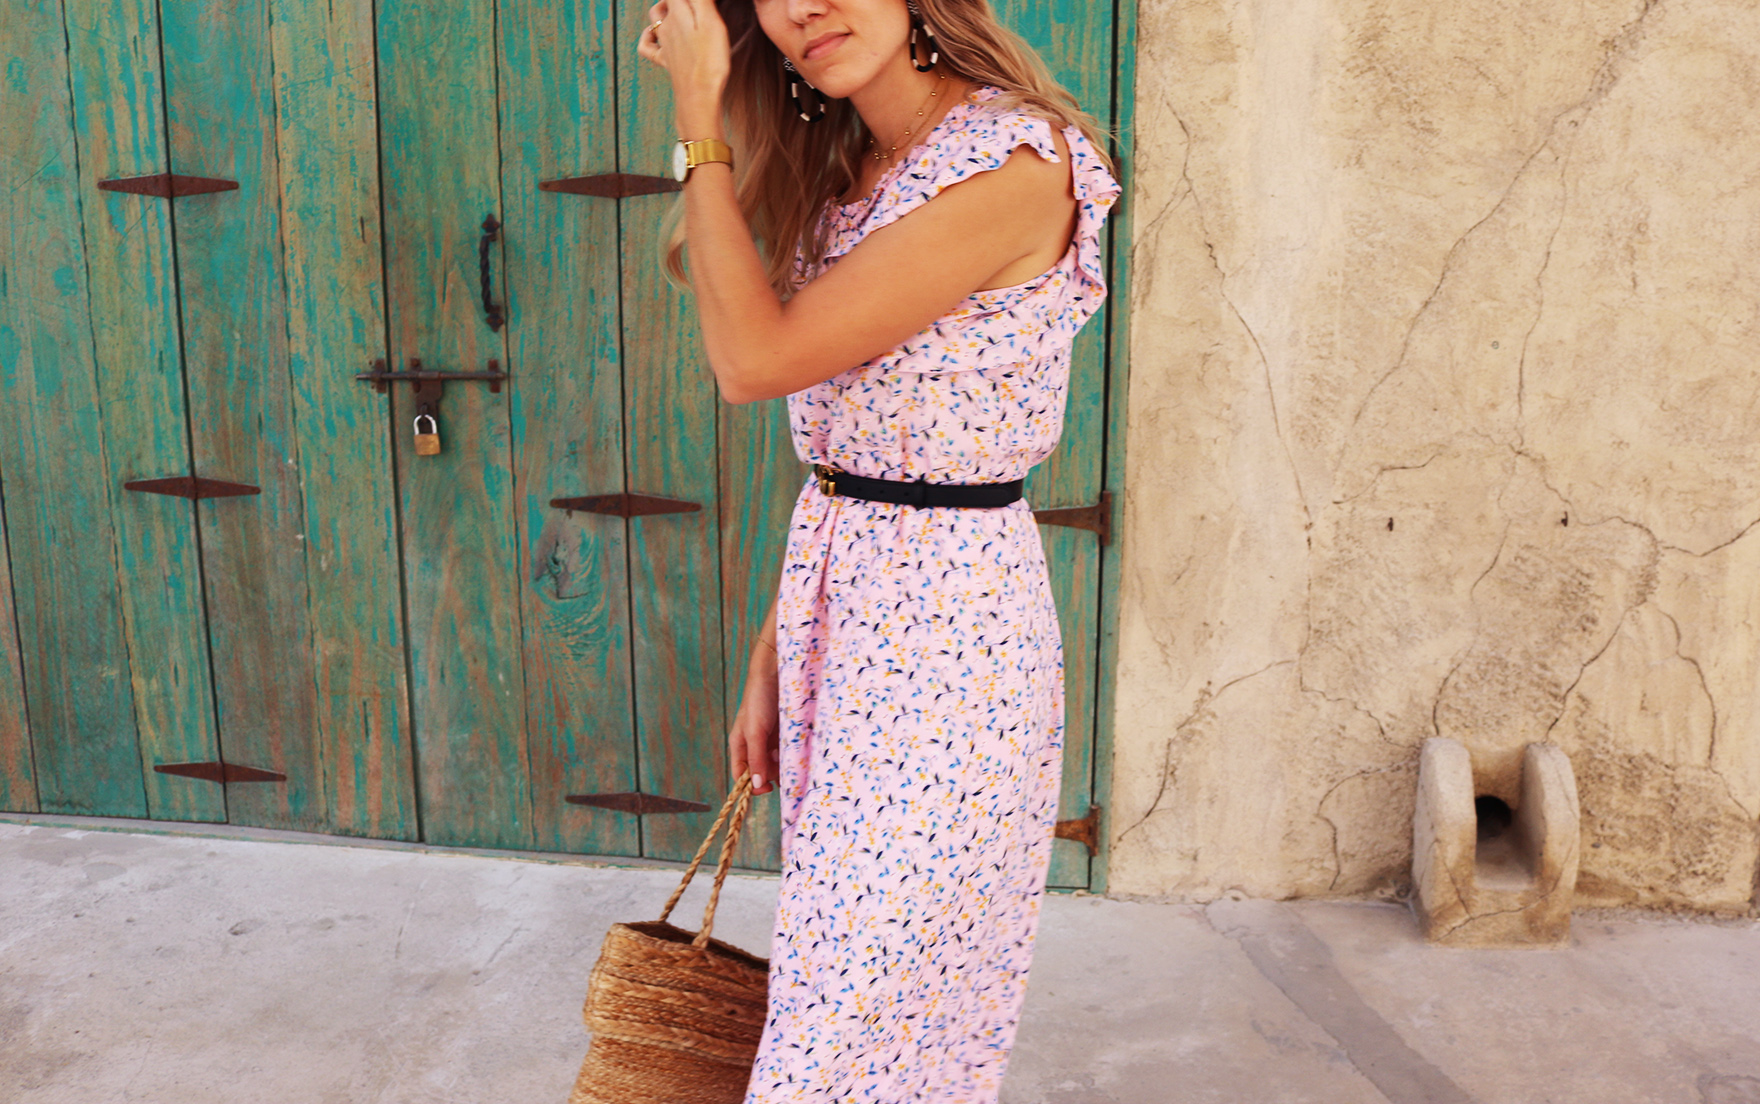
Can be worn two ways - With the ruffles over the arms:
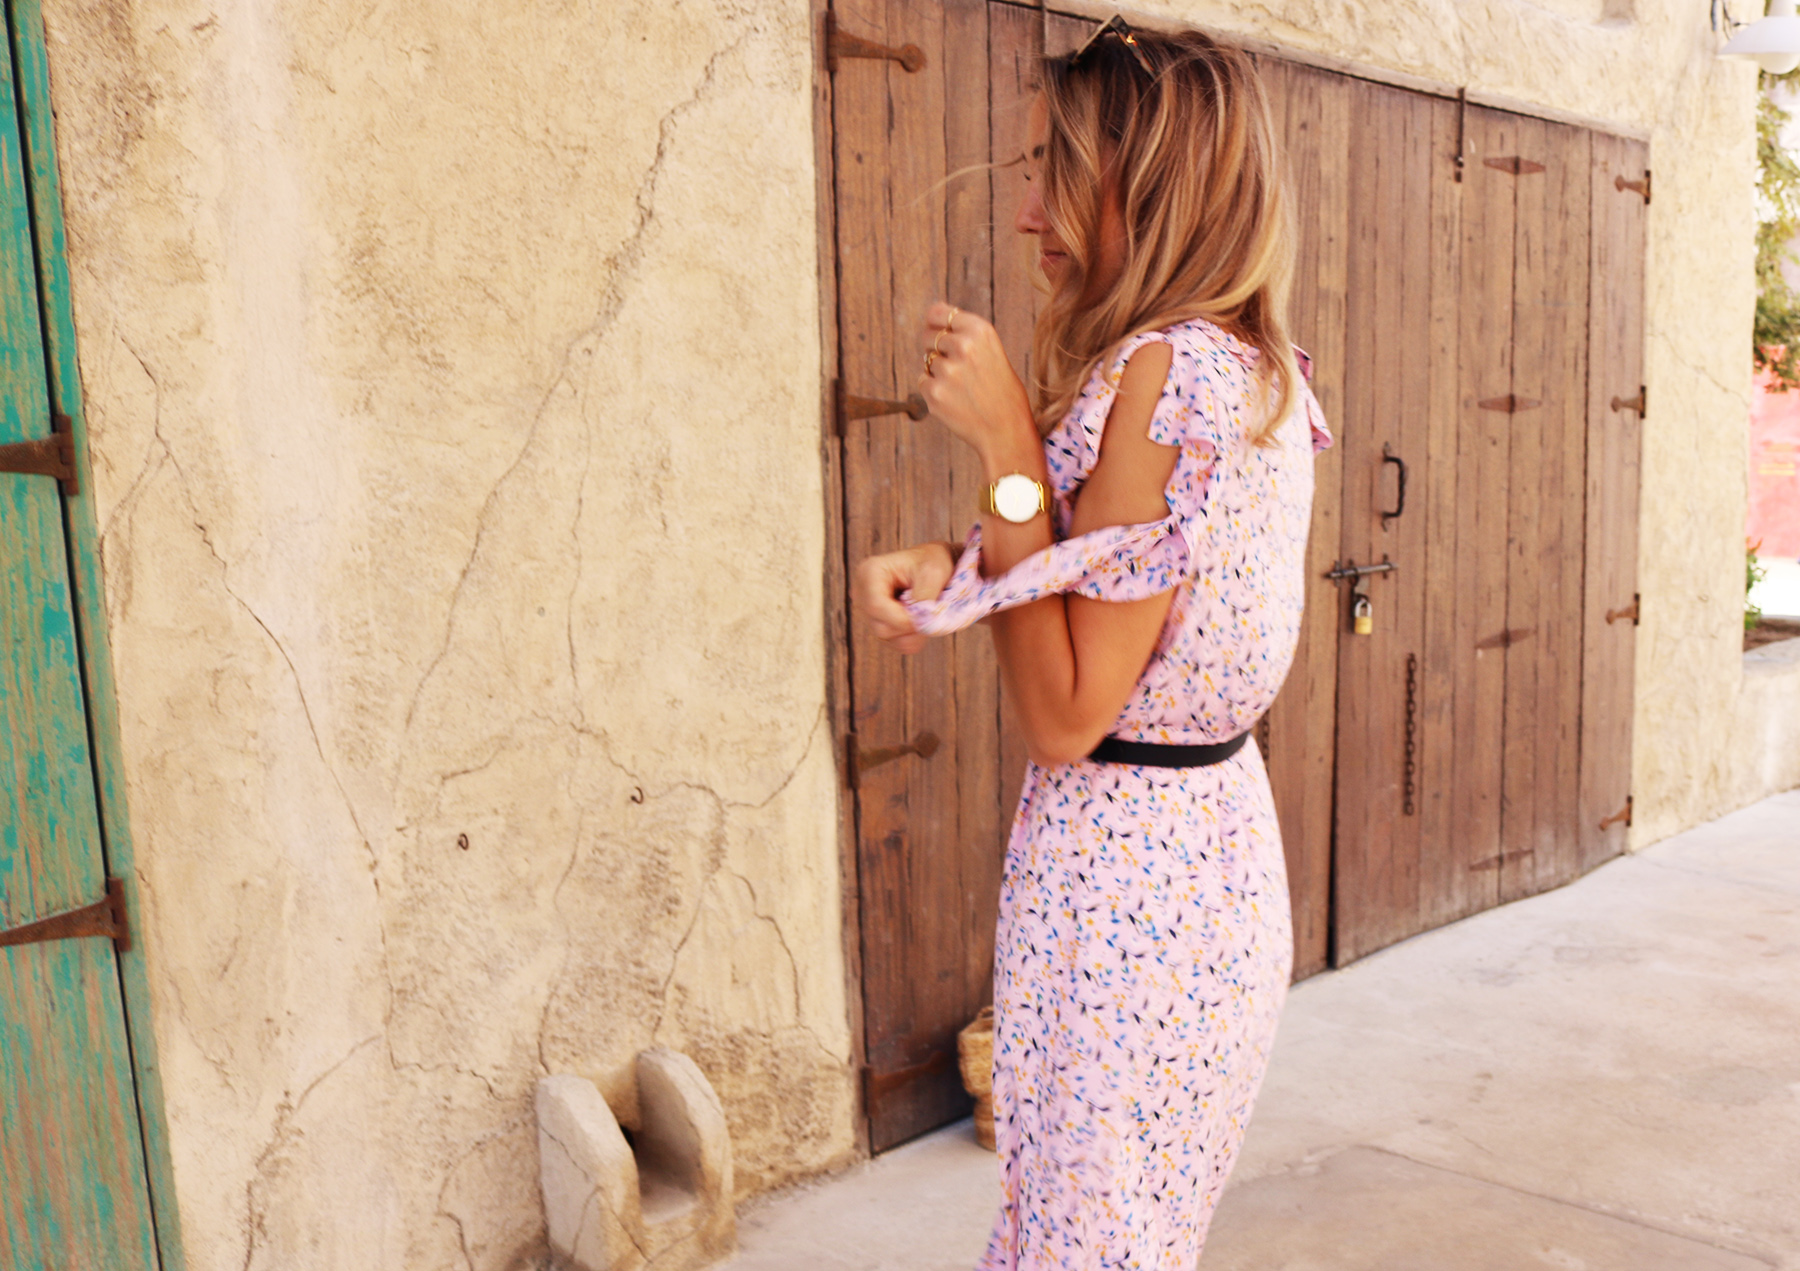
And once you slide the sleeve ruffles off..
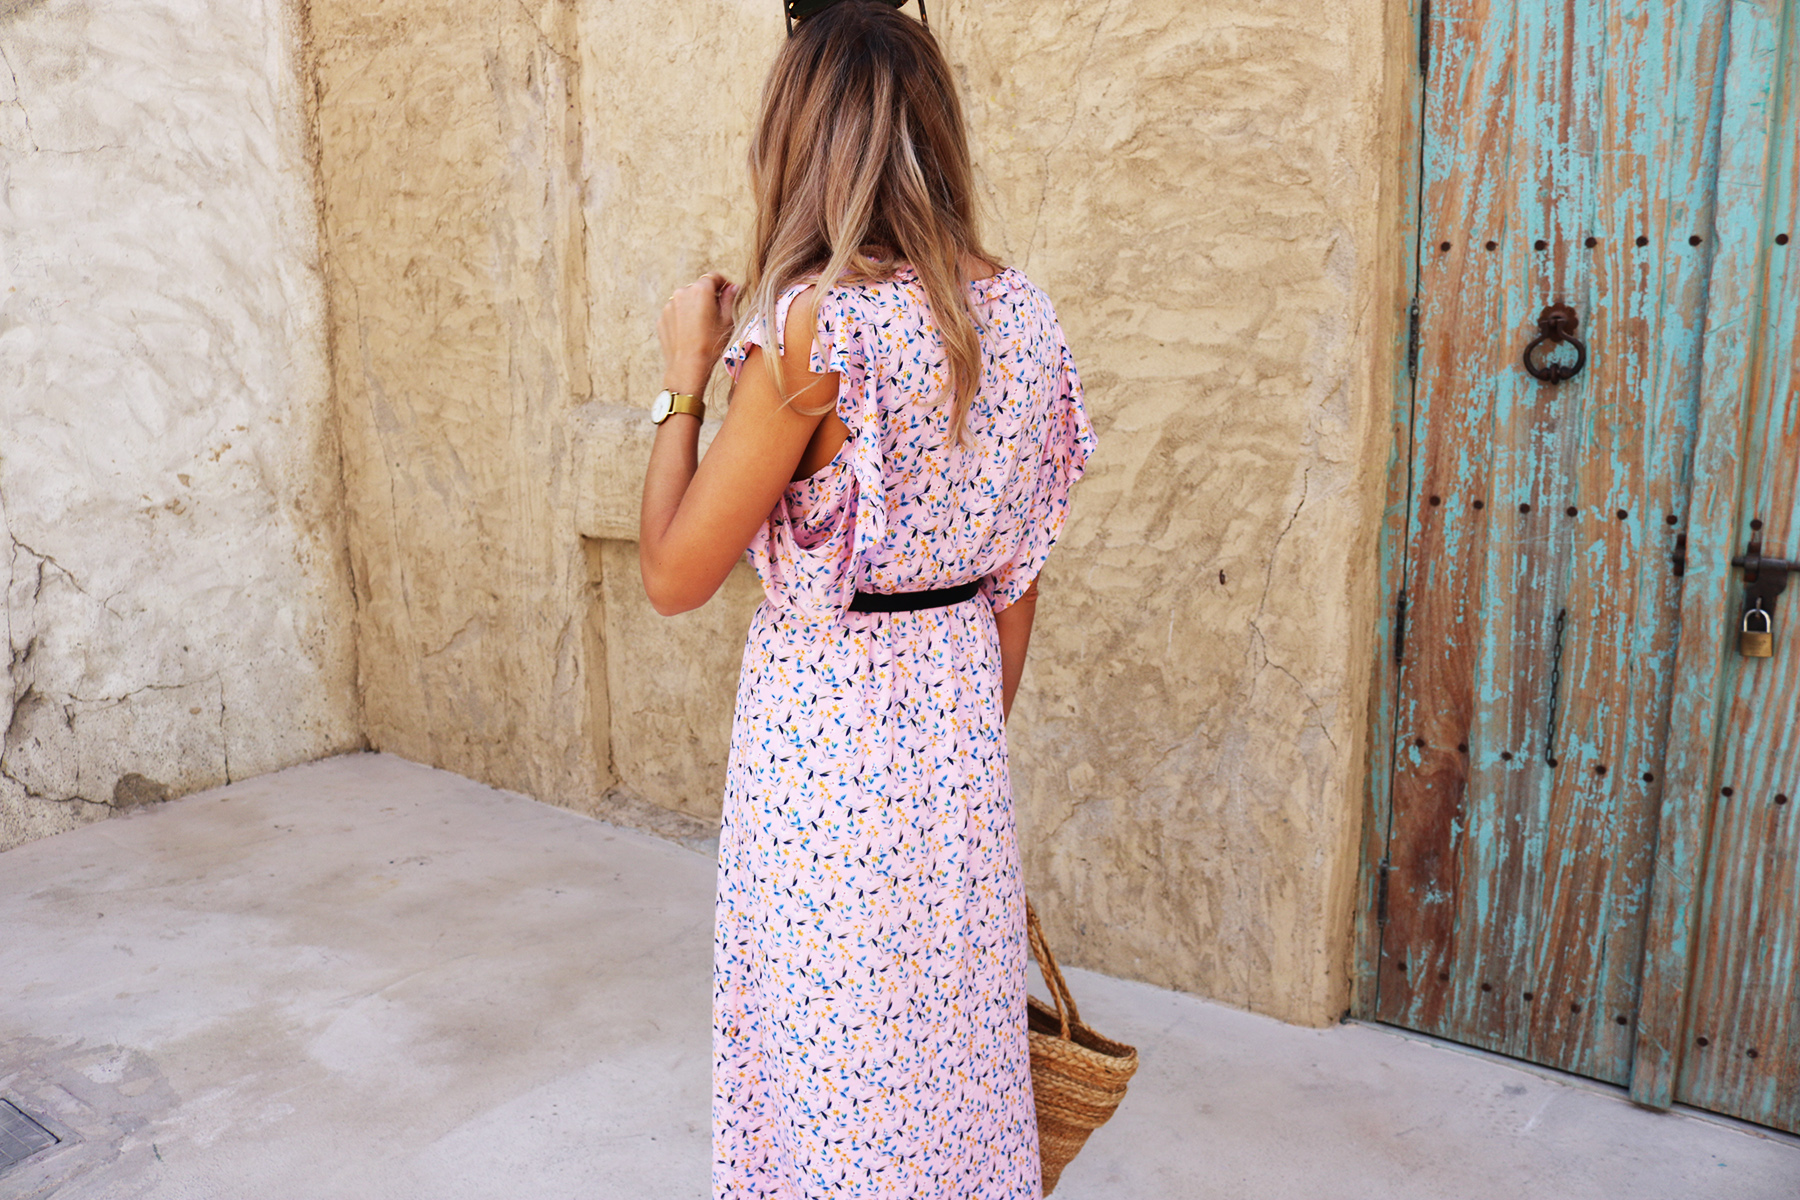
.. it's like I have 2 dresses!
xo,
Julia


0 comments:
Post a Comment
I would love to hear what you think and learn about your DIY adventures! If you use one of my tutorials, tag me on social @contour_affair, I'd love to see!