

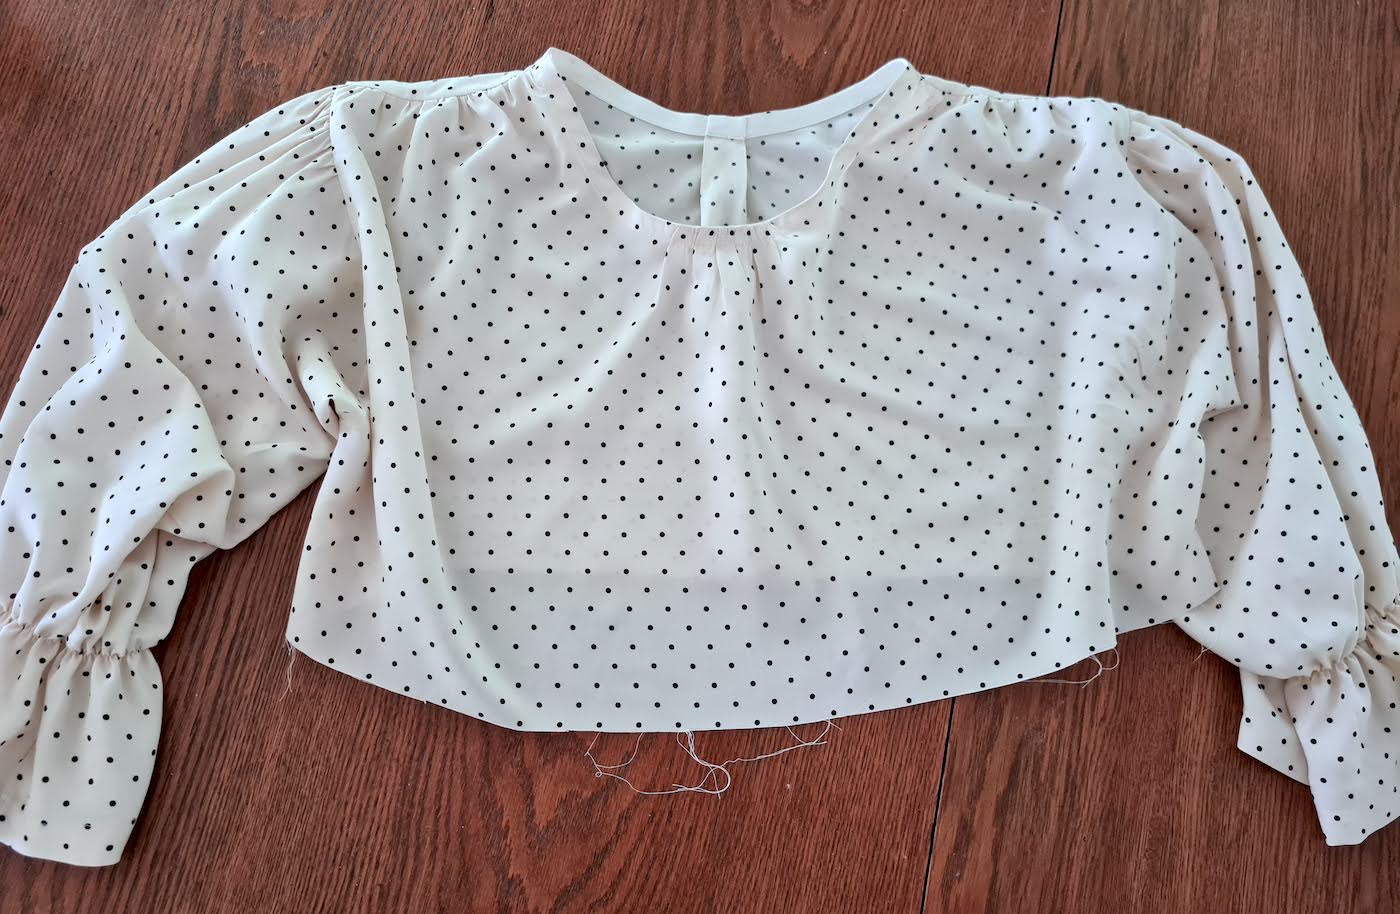
Here's the last thing I sewed when still pregnant, 2 days before delivery. Looking back, I'm proud to say that my resolution not to buy a single piece of maternity clothing stuck until the end, and everything I made while pregnant still works perfectly postpartum (with one exception - the DIY preggo jeans, which no longer stay on).
Tutorials take a lot of time & effort to create, and I choose to make mine available for free. If you enjoy this guide, you can support me with a donation that feels right for you, here.
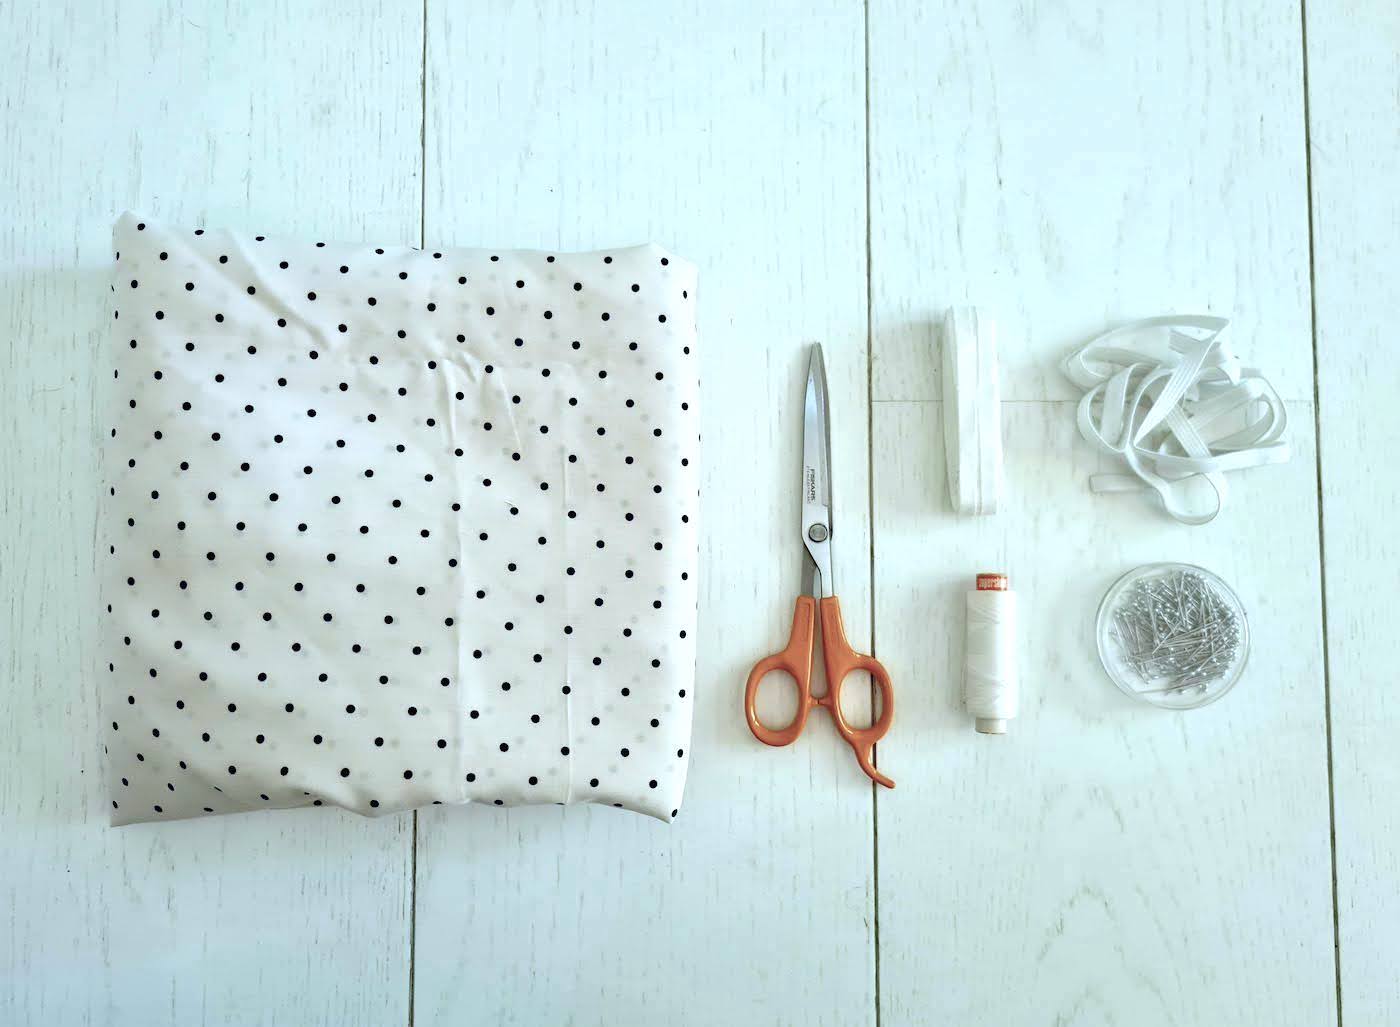
TOOLS:
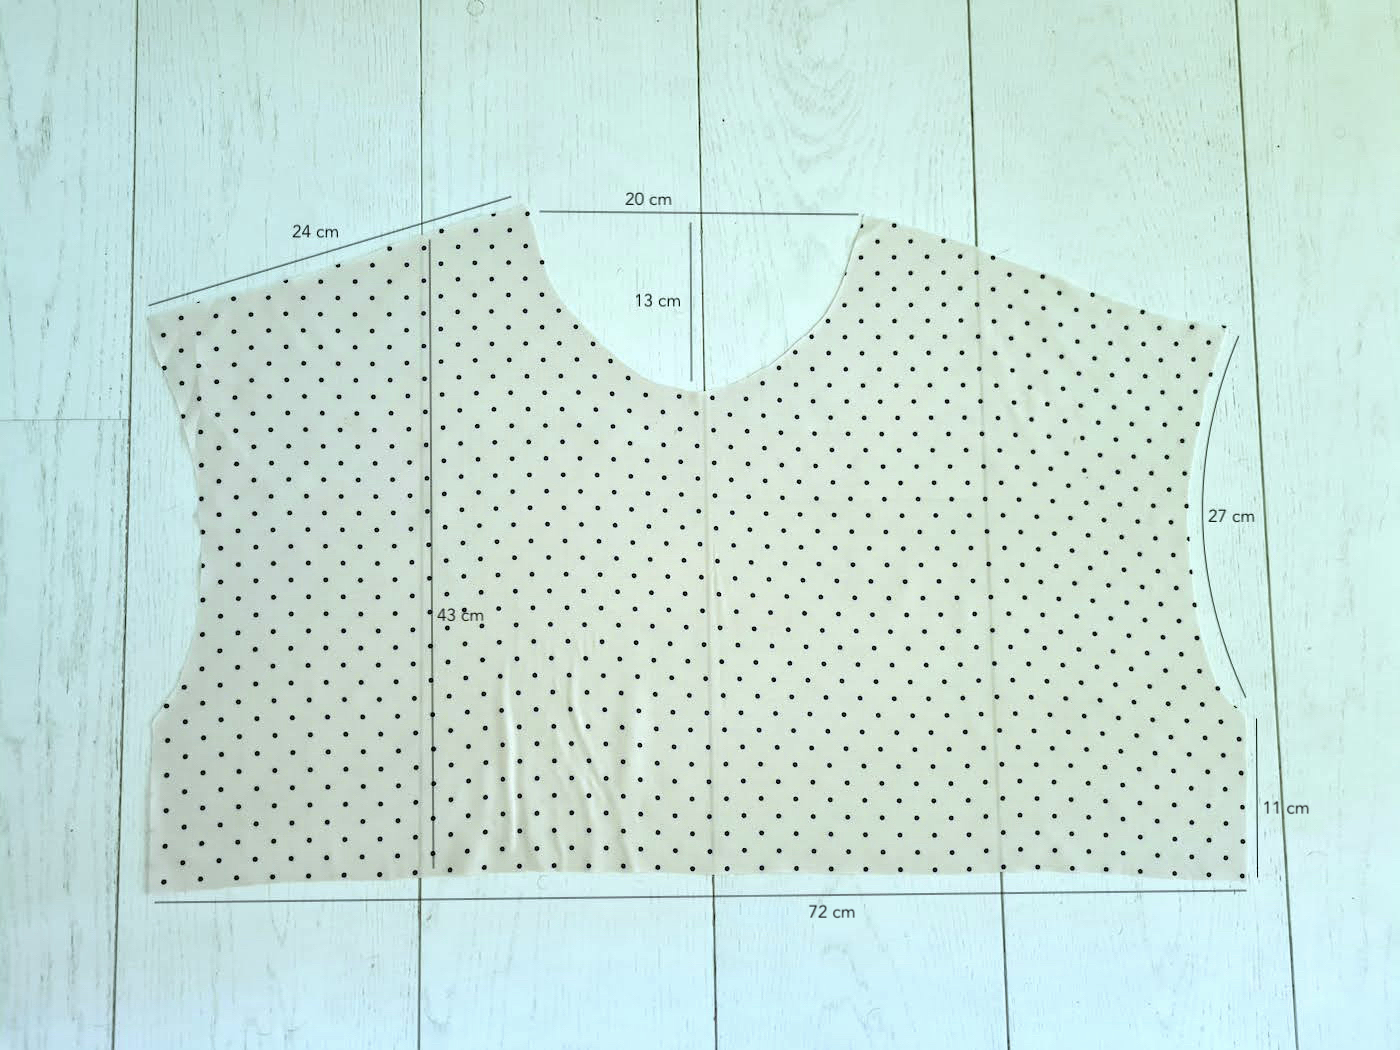
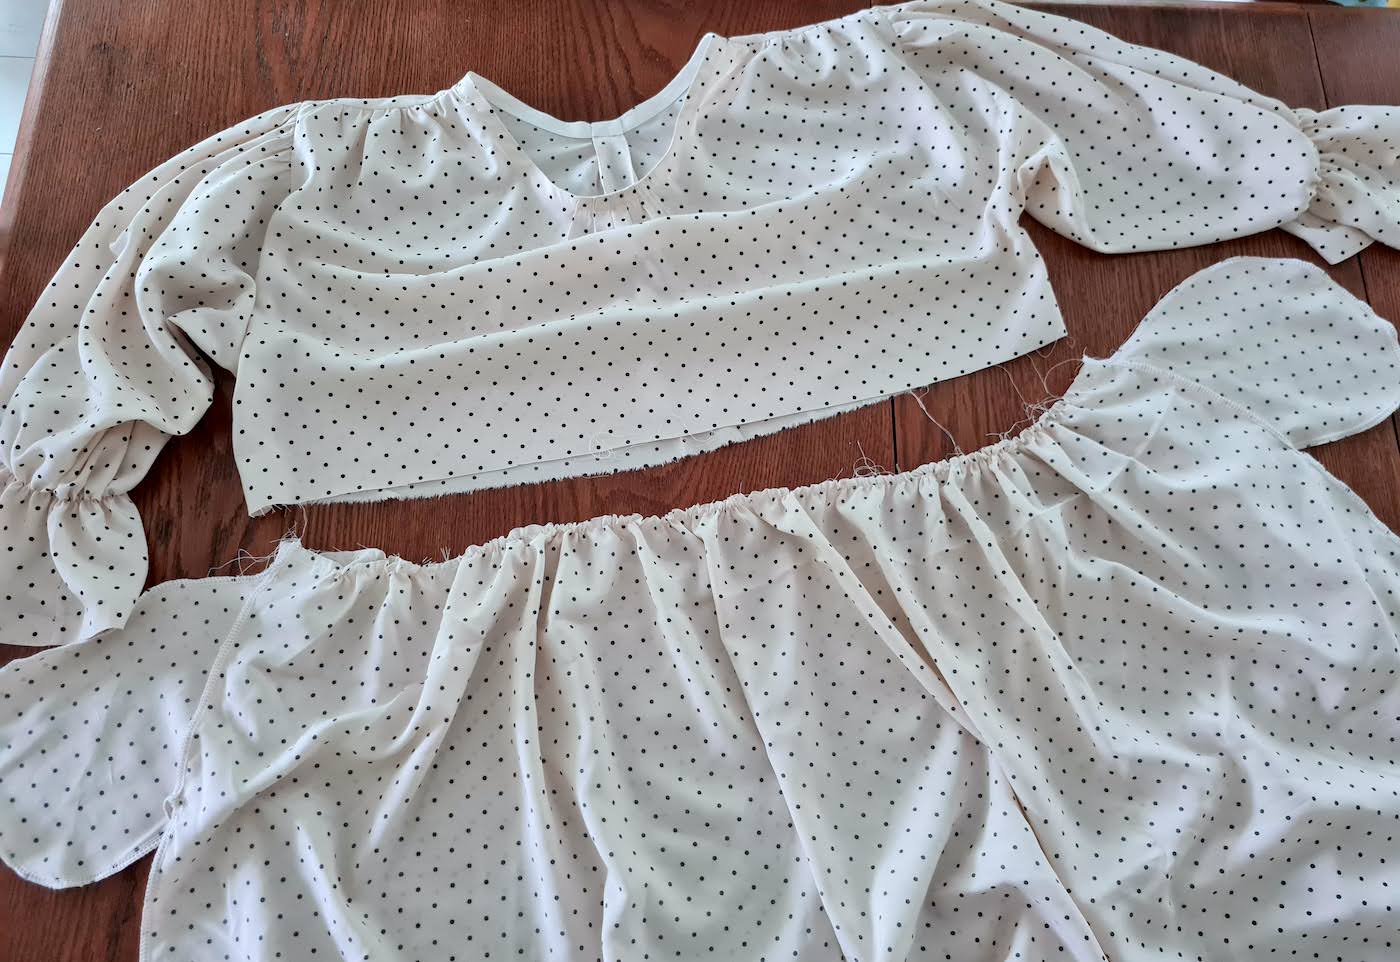
I. Here are my cut top pieces. The main difference was in the length of the shoulderlines, to allow for the gathering on the front piece. I also cut both necklines wide to be able to do gathering in the front and a box pleat in the back. if you wanted to do just a simple round neckline without those details, cut that part about 15 cm wide. For sizing, as you see from the images of the finished dress, the fit is very loose. I'm EU36/US4 but this fit me at the very end of my pregnancy, and would otherwise easily fit at least up to EU40/US8.
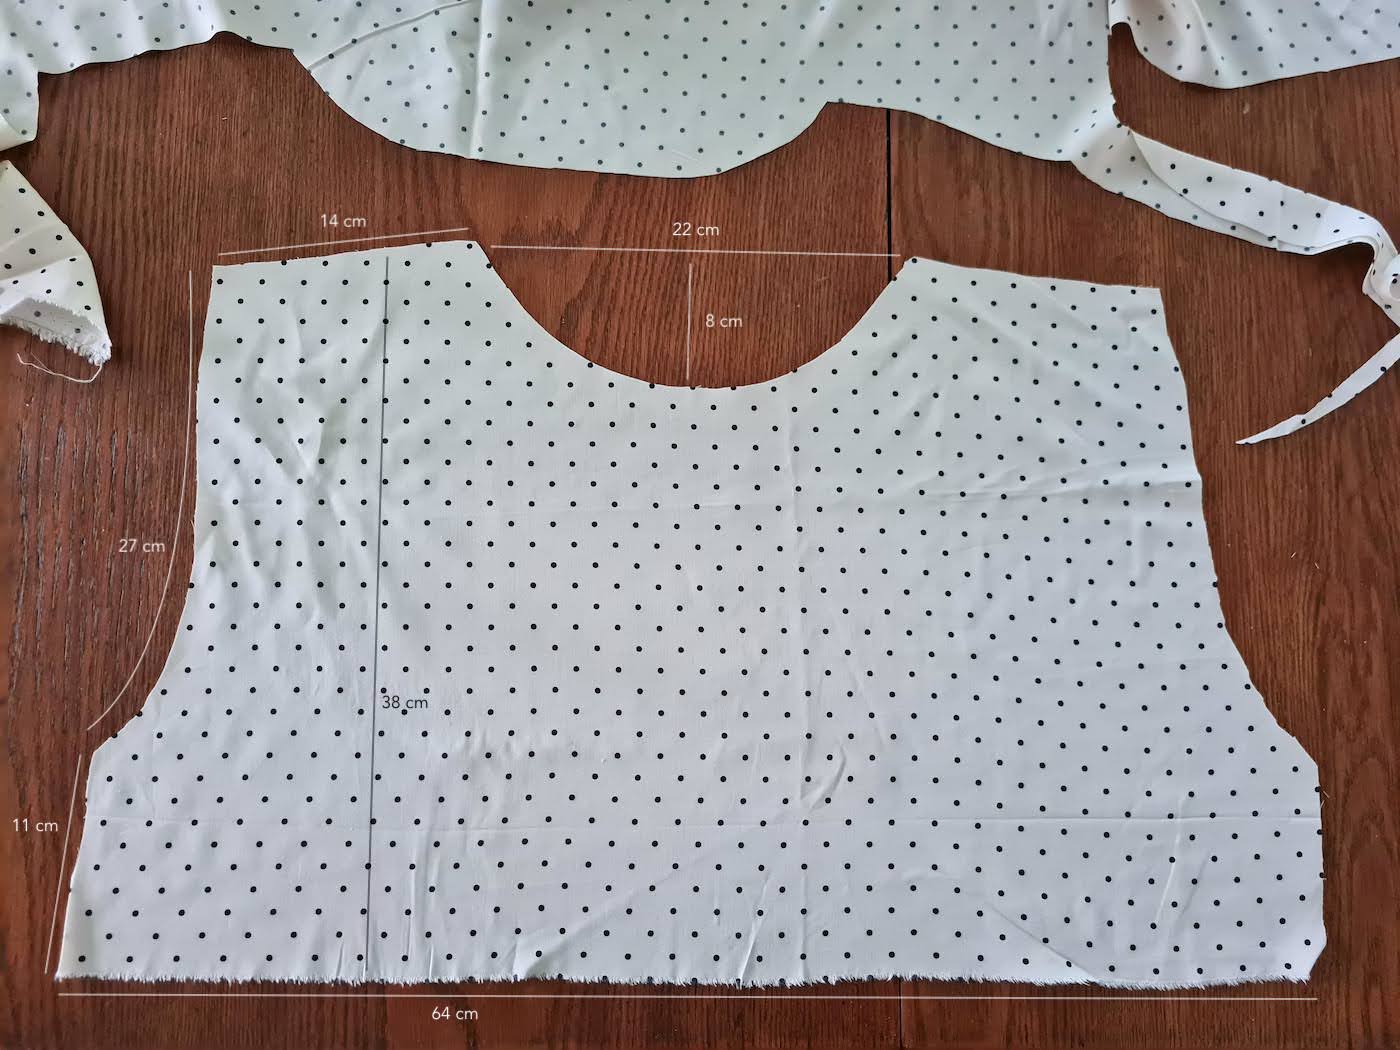
One more thought: If I made this dress again, I'd cut the shoulderlines on the back piece (which govern how wide the finished shoulders are) a bit less wide. With these measurements, I got a bit of a drop shoulder - if you want a more natural shoulder seam placement, take a couple cm off the shoulderline measurement - I'd do about 11 or 12 cm (something a bit more like this dress here).
Front:
Back:
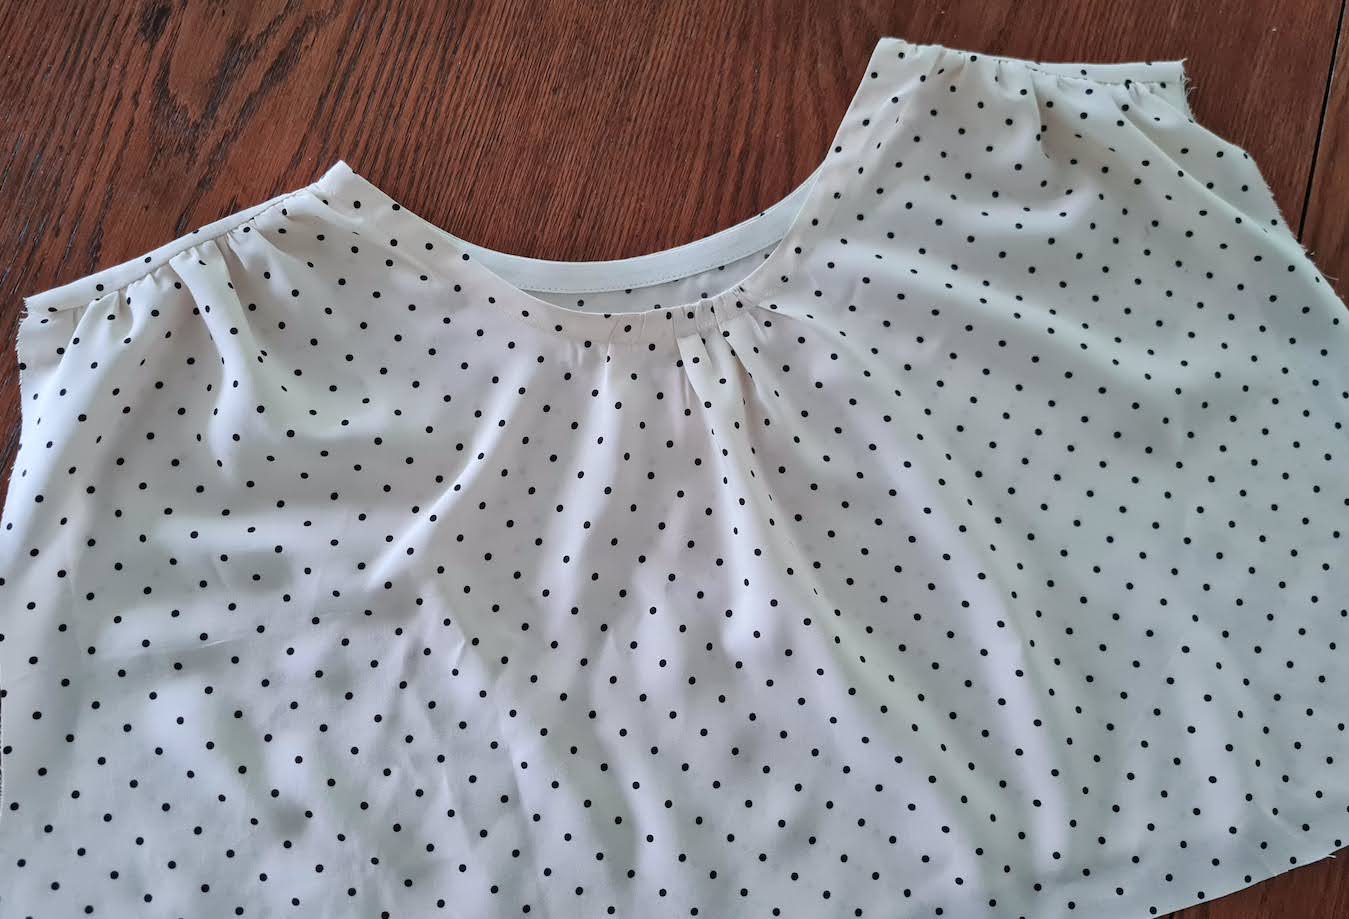
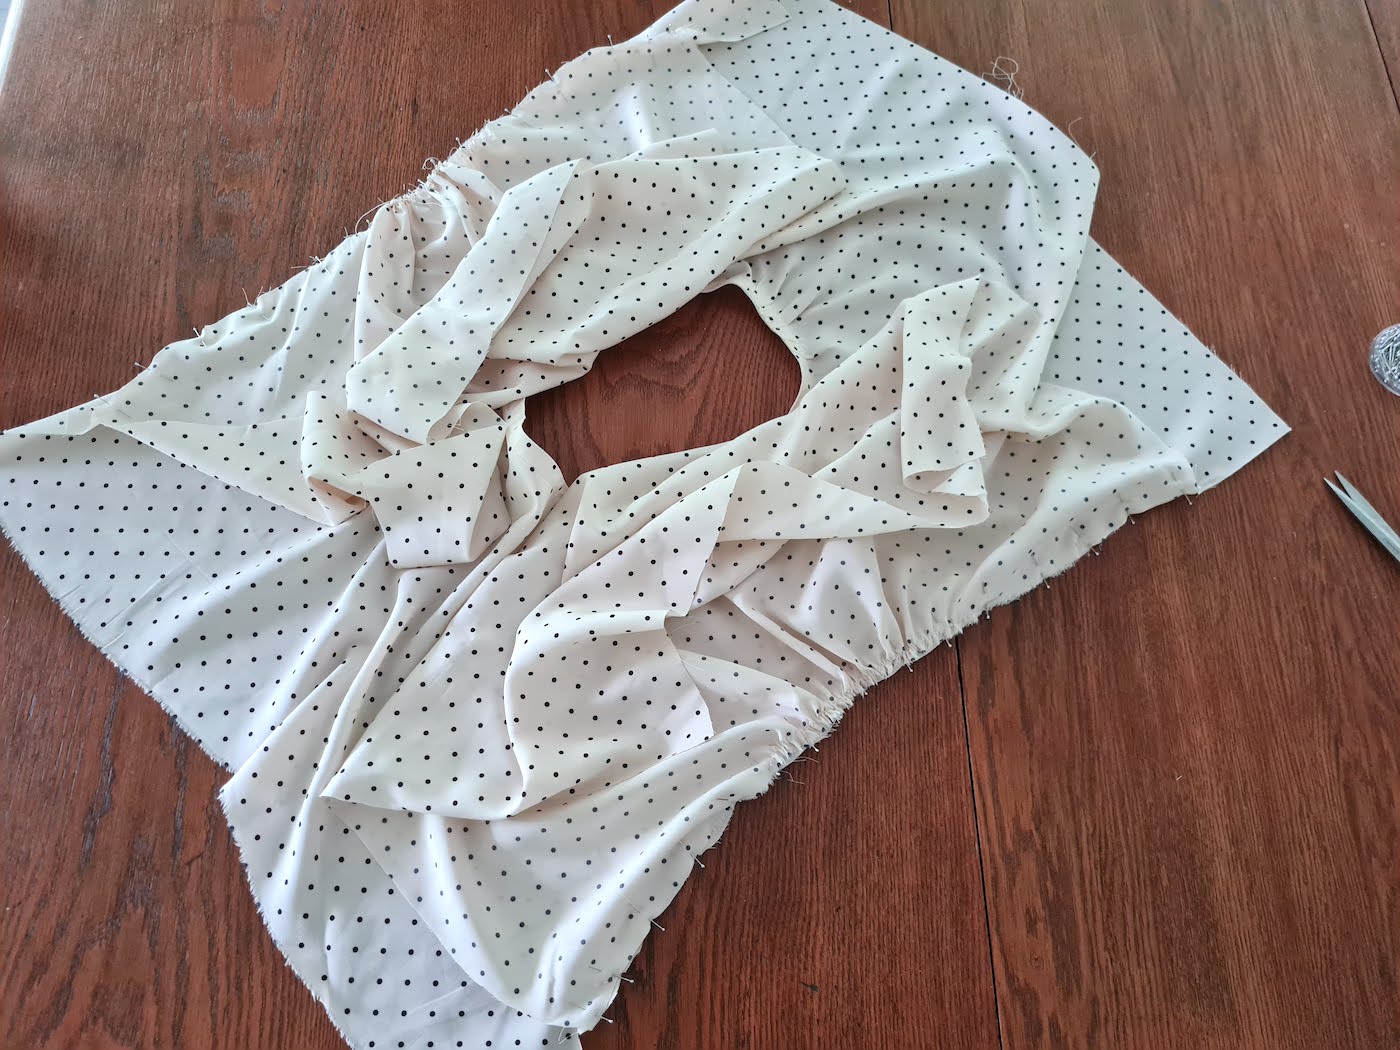
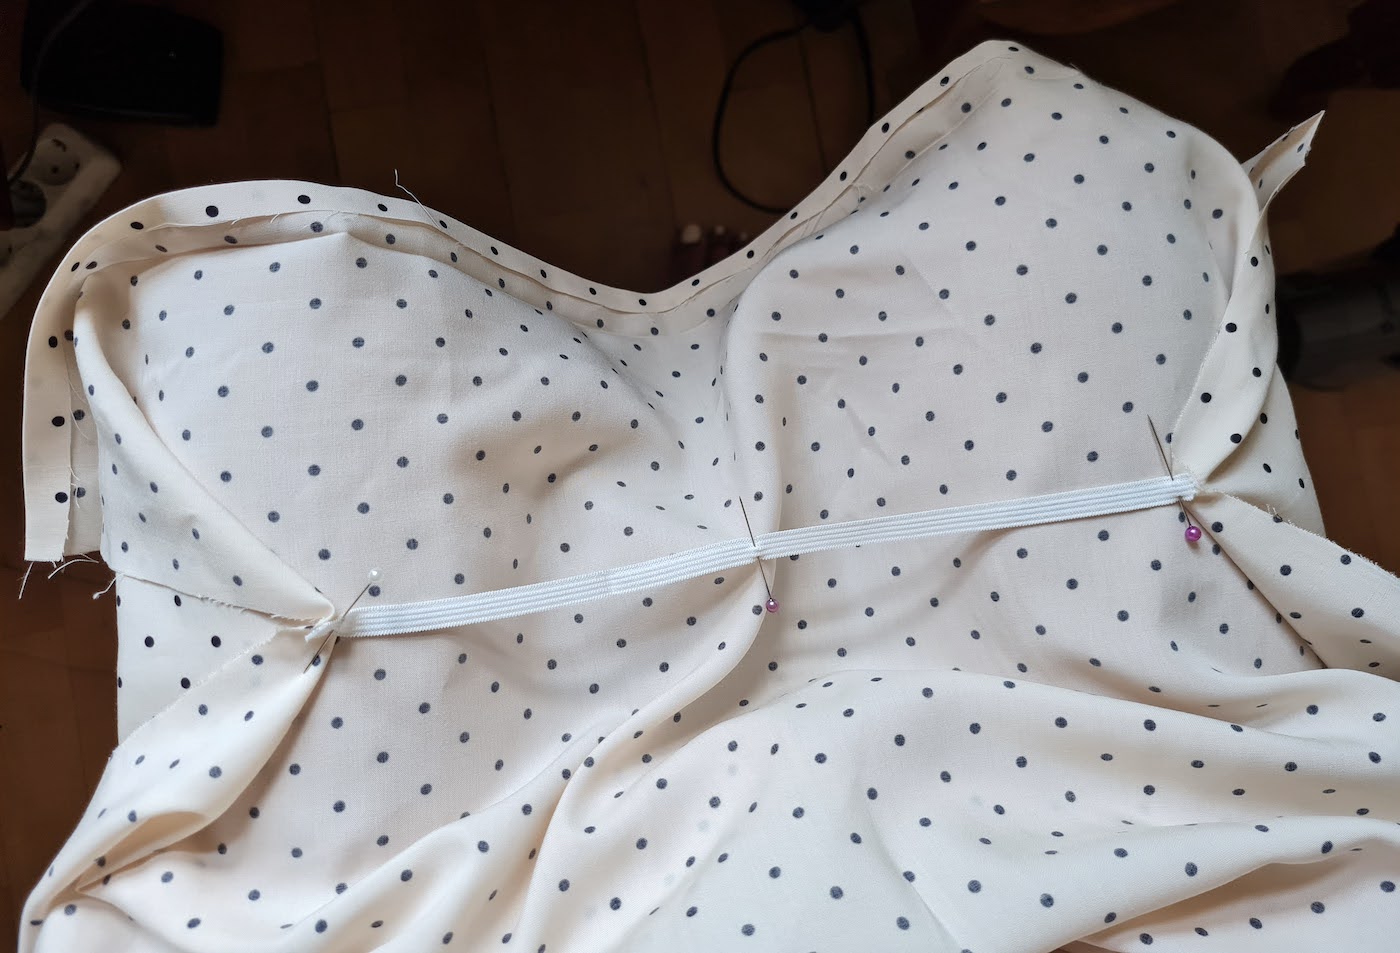
II. Started by sewing 2 basting stitches (longest stitch on your machine) along the front piece shoulders, and gathering those until they matched the back piece shoulders. Then pinned the shoulders together right sides facing, and sewed together.

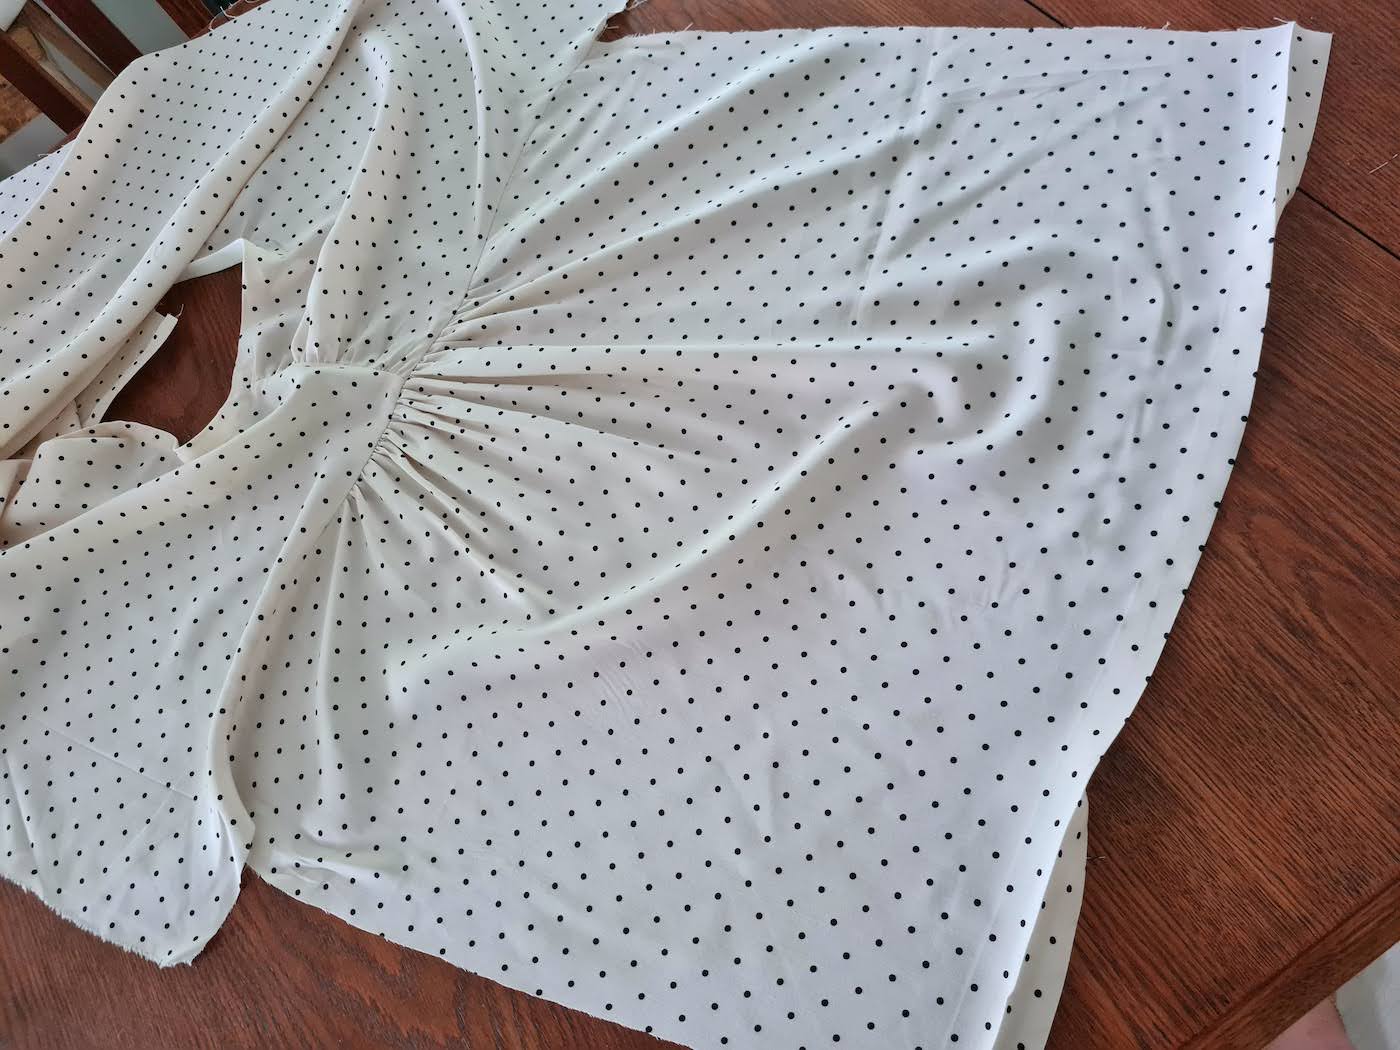
III. Next I added a little gathering detail at the center of the neckline as well.

I had to do my bias binding twice because I forgot the box pleat the first time around (photo below was from the moment I realised that).. More detail on finishin a round neckline with bias here. The gathering or the pleat don't change anything in the process, you just pin the bias tape over them.
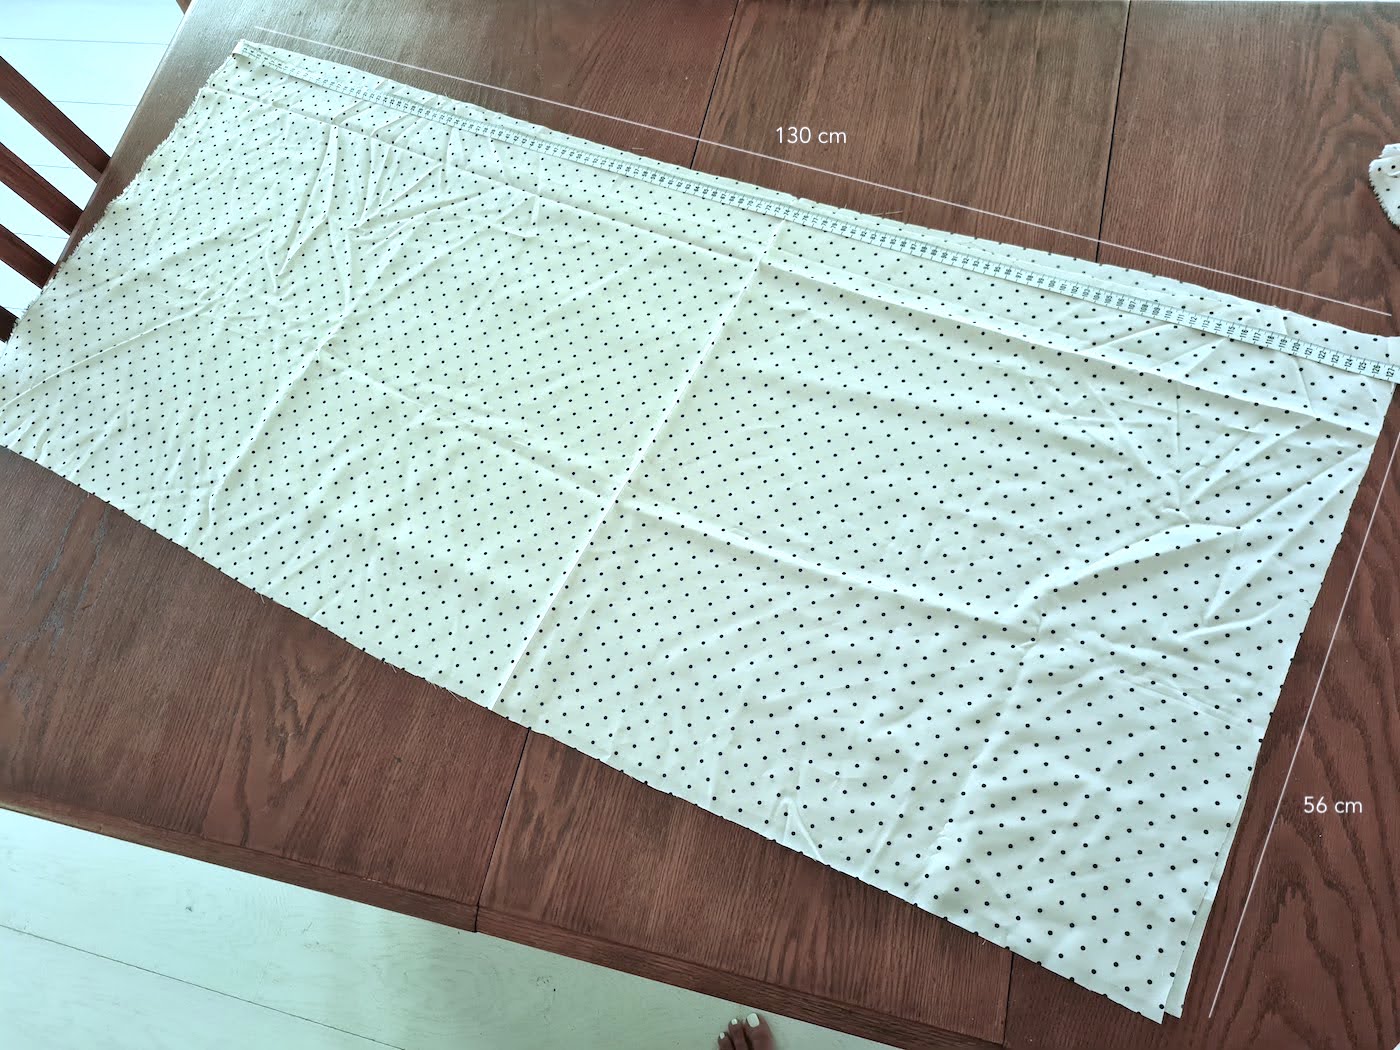
IV. For the dress hem, I cut 2 rectangles as wide as I could go with the amount of fabric I had, which ended up being 130 cm. Considering my top pieces' total hemline circumference was 72 cm (front) + 64 cm (back) = 136 cm, that got me a 2X ruffle.
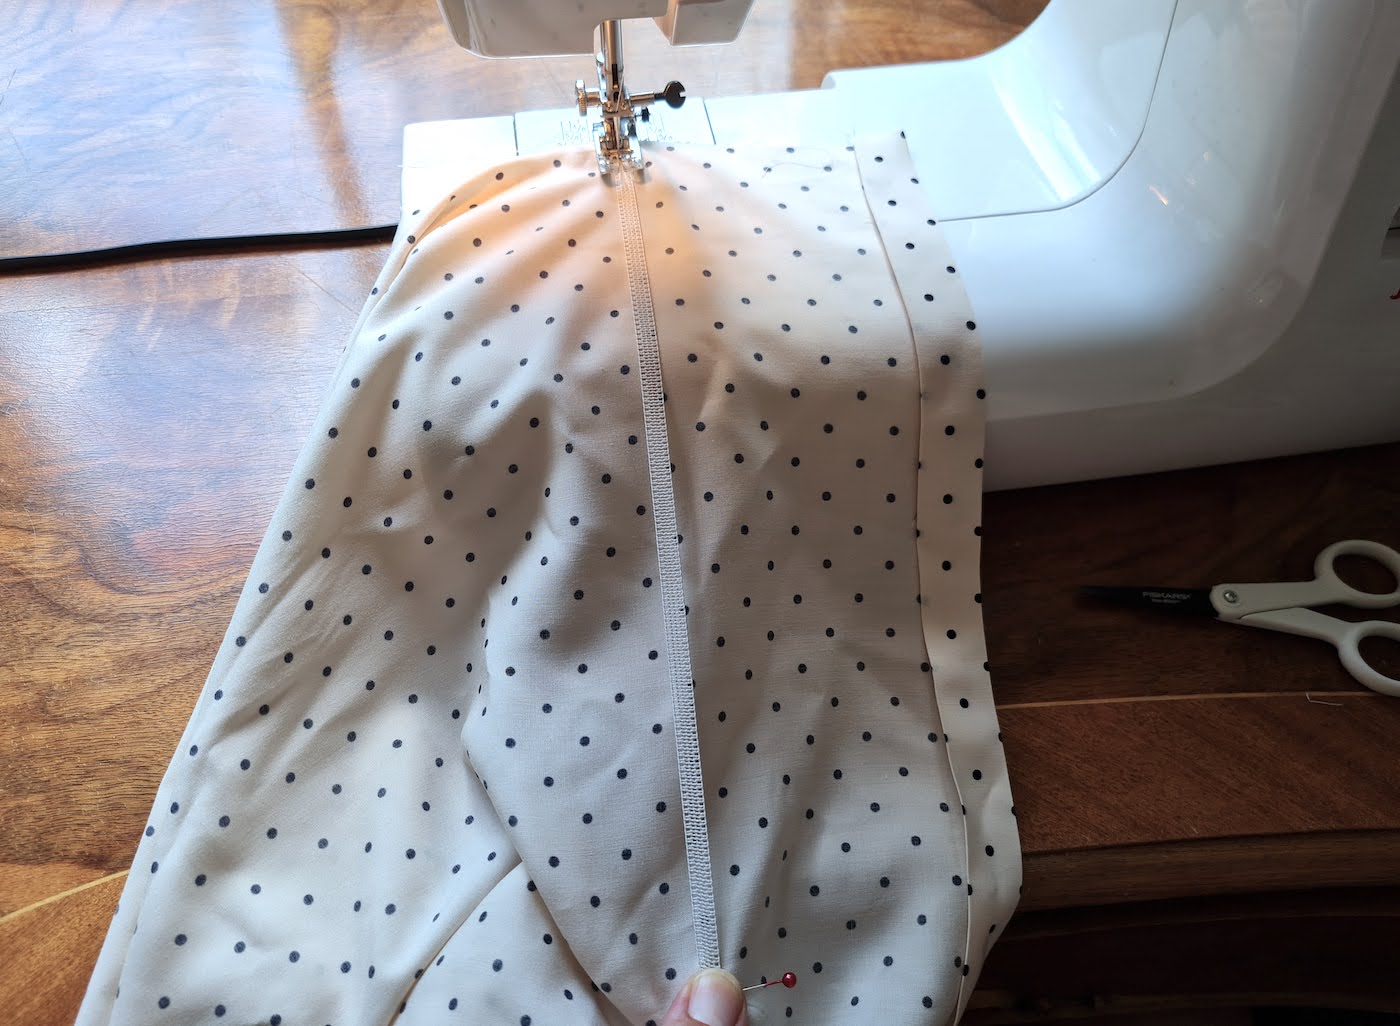
V. Also cut my sleeves, with equal logic (as big as I could spare with the fabric I had).
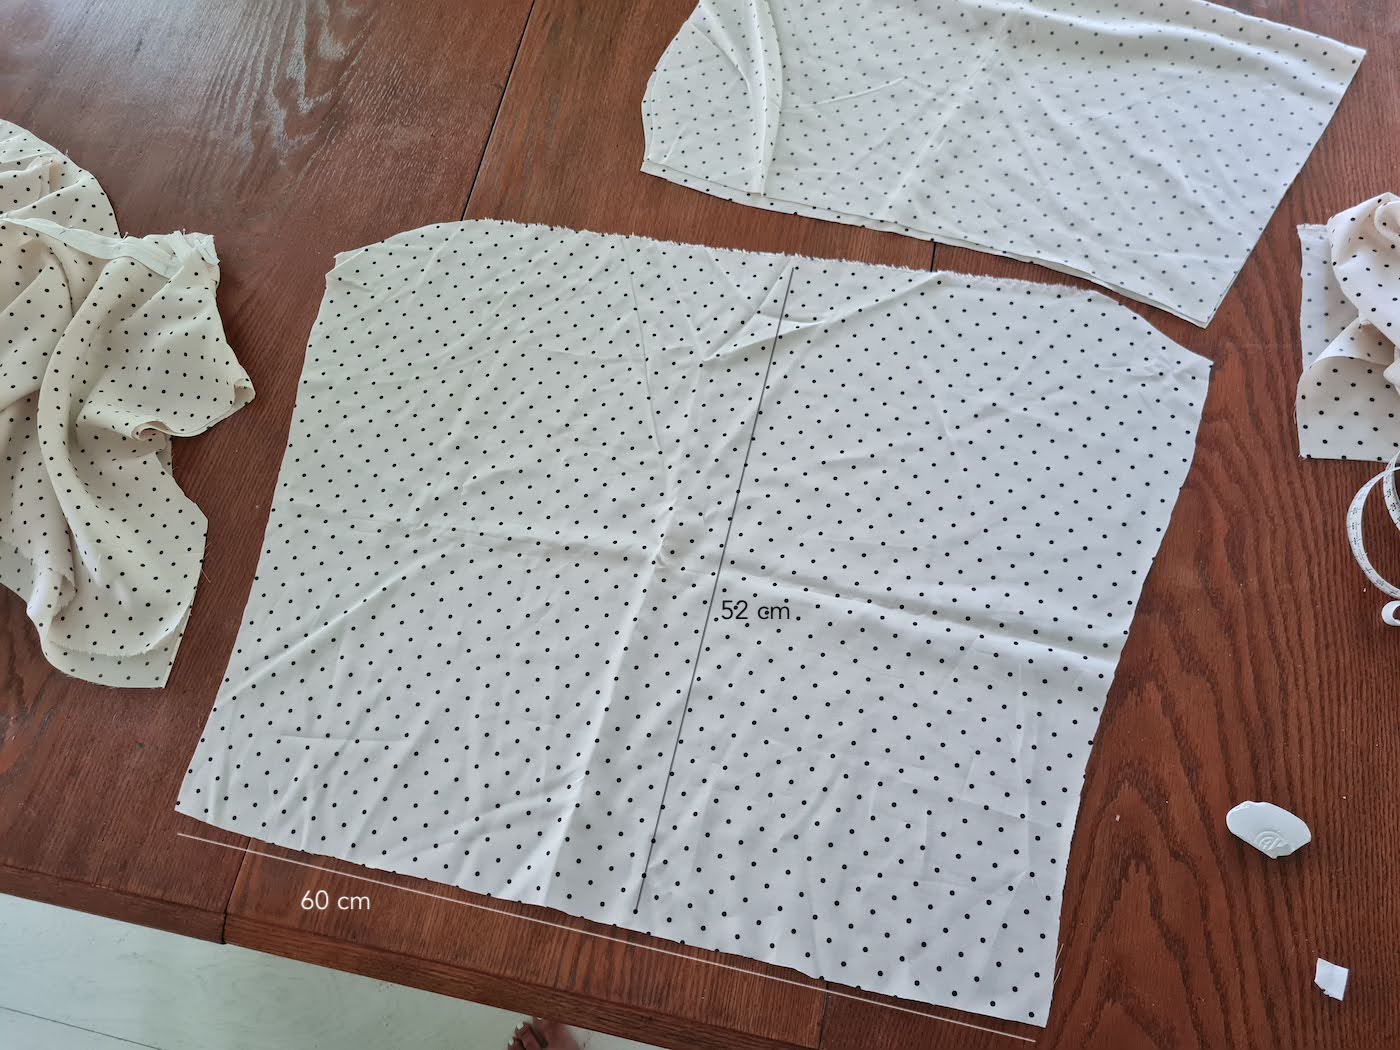
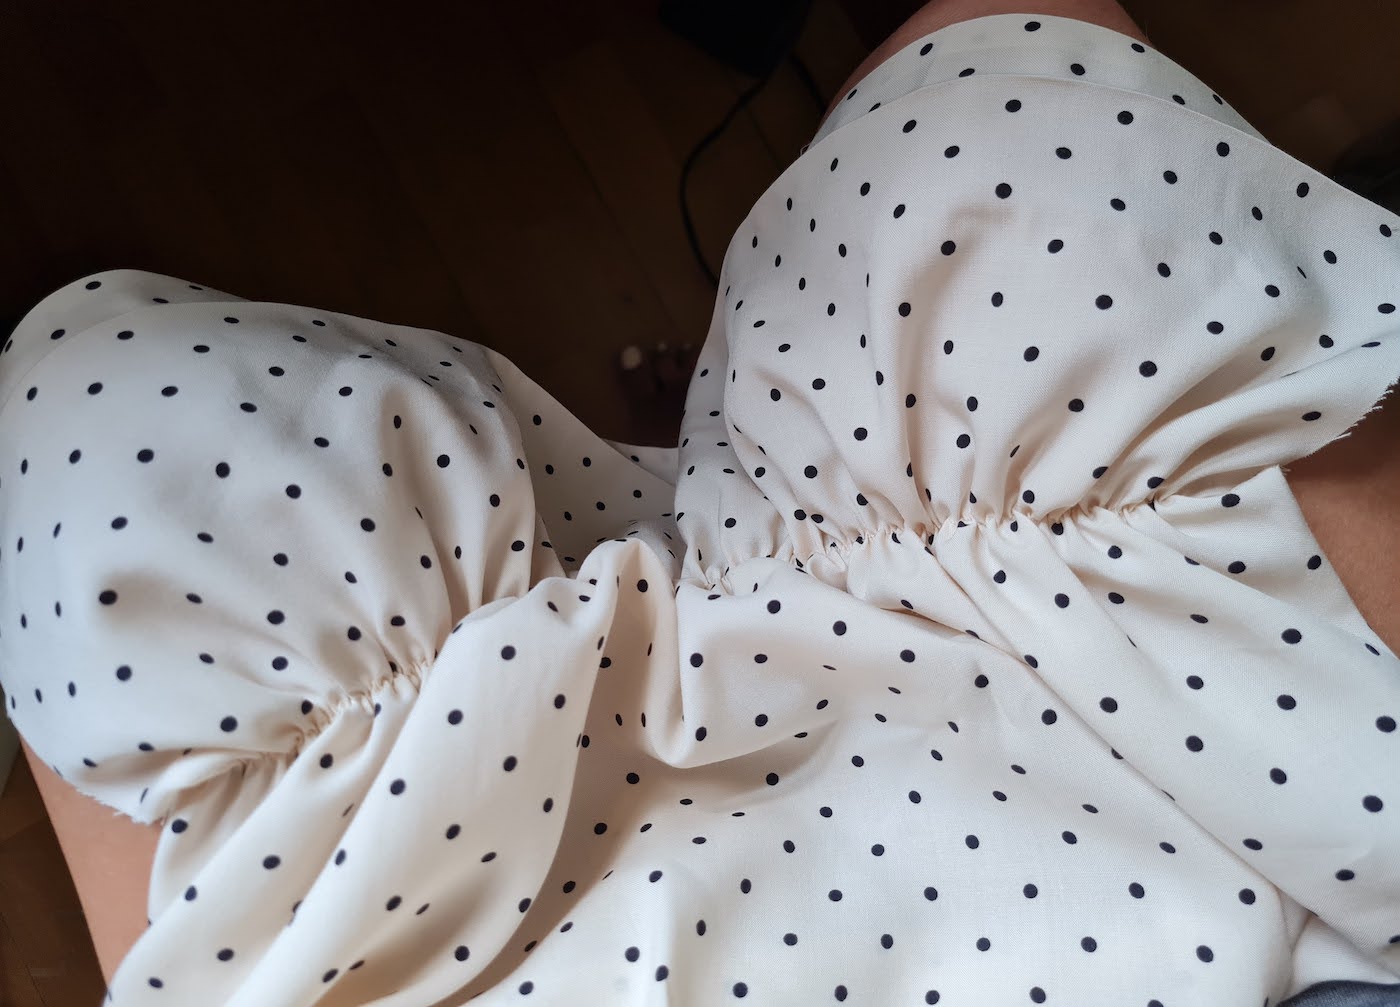
Then gathered the centers of the sleeve curves enough for the total length to match the spots for the sleeves on the top..

.. And. pinned the sleeves in their places, right sides facing right side of top, and sewed.


xo,
Julia


What an amazing experience visiting GoodNewsVintage! The stories are unique, uplifting, and well-written. I love the way the website maintains consistency in quality while sharing positive news, making it a perfect destination for anyone seeking good vibes daily.
ReplyDelete