

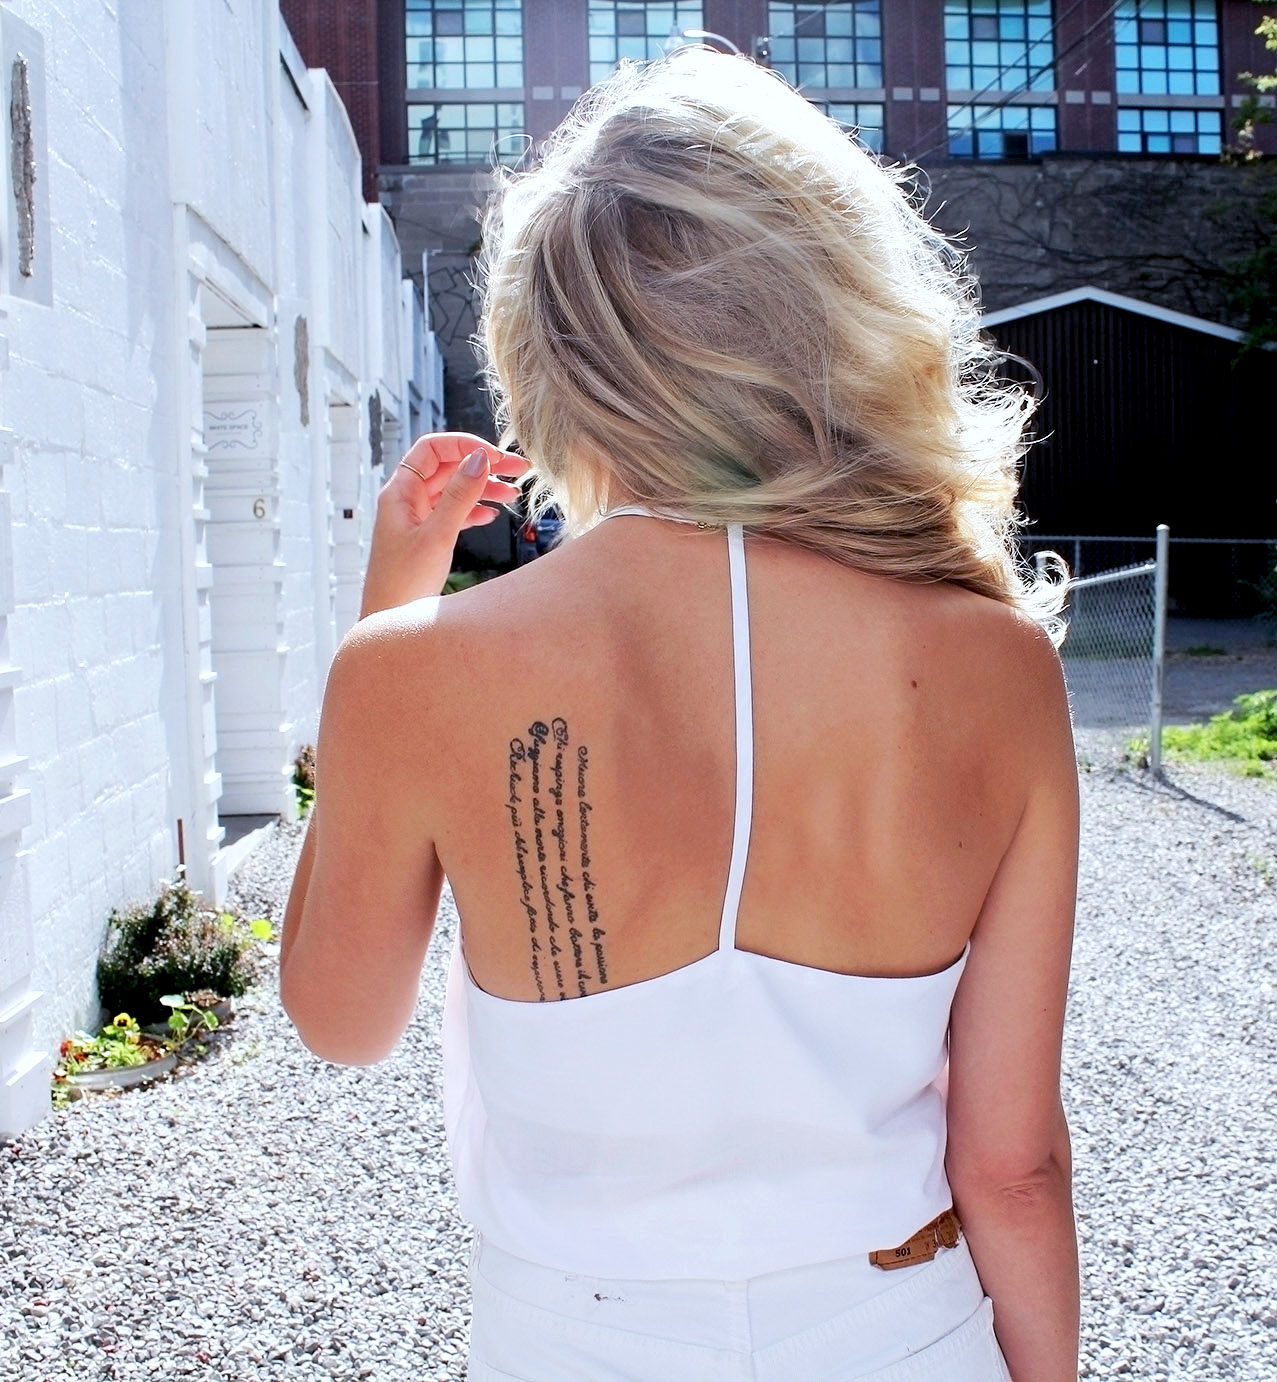
T-strap top. Super simple, incredibly easy, and right to the top of my top go-to pieces list. The base top I made like this (adjustment being, instead of a straight back, I did a slight upward triangle shape, so the top flows nicely when the single back strap is attached to the centre).. And added straps as follows:
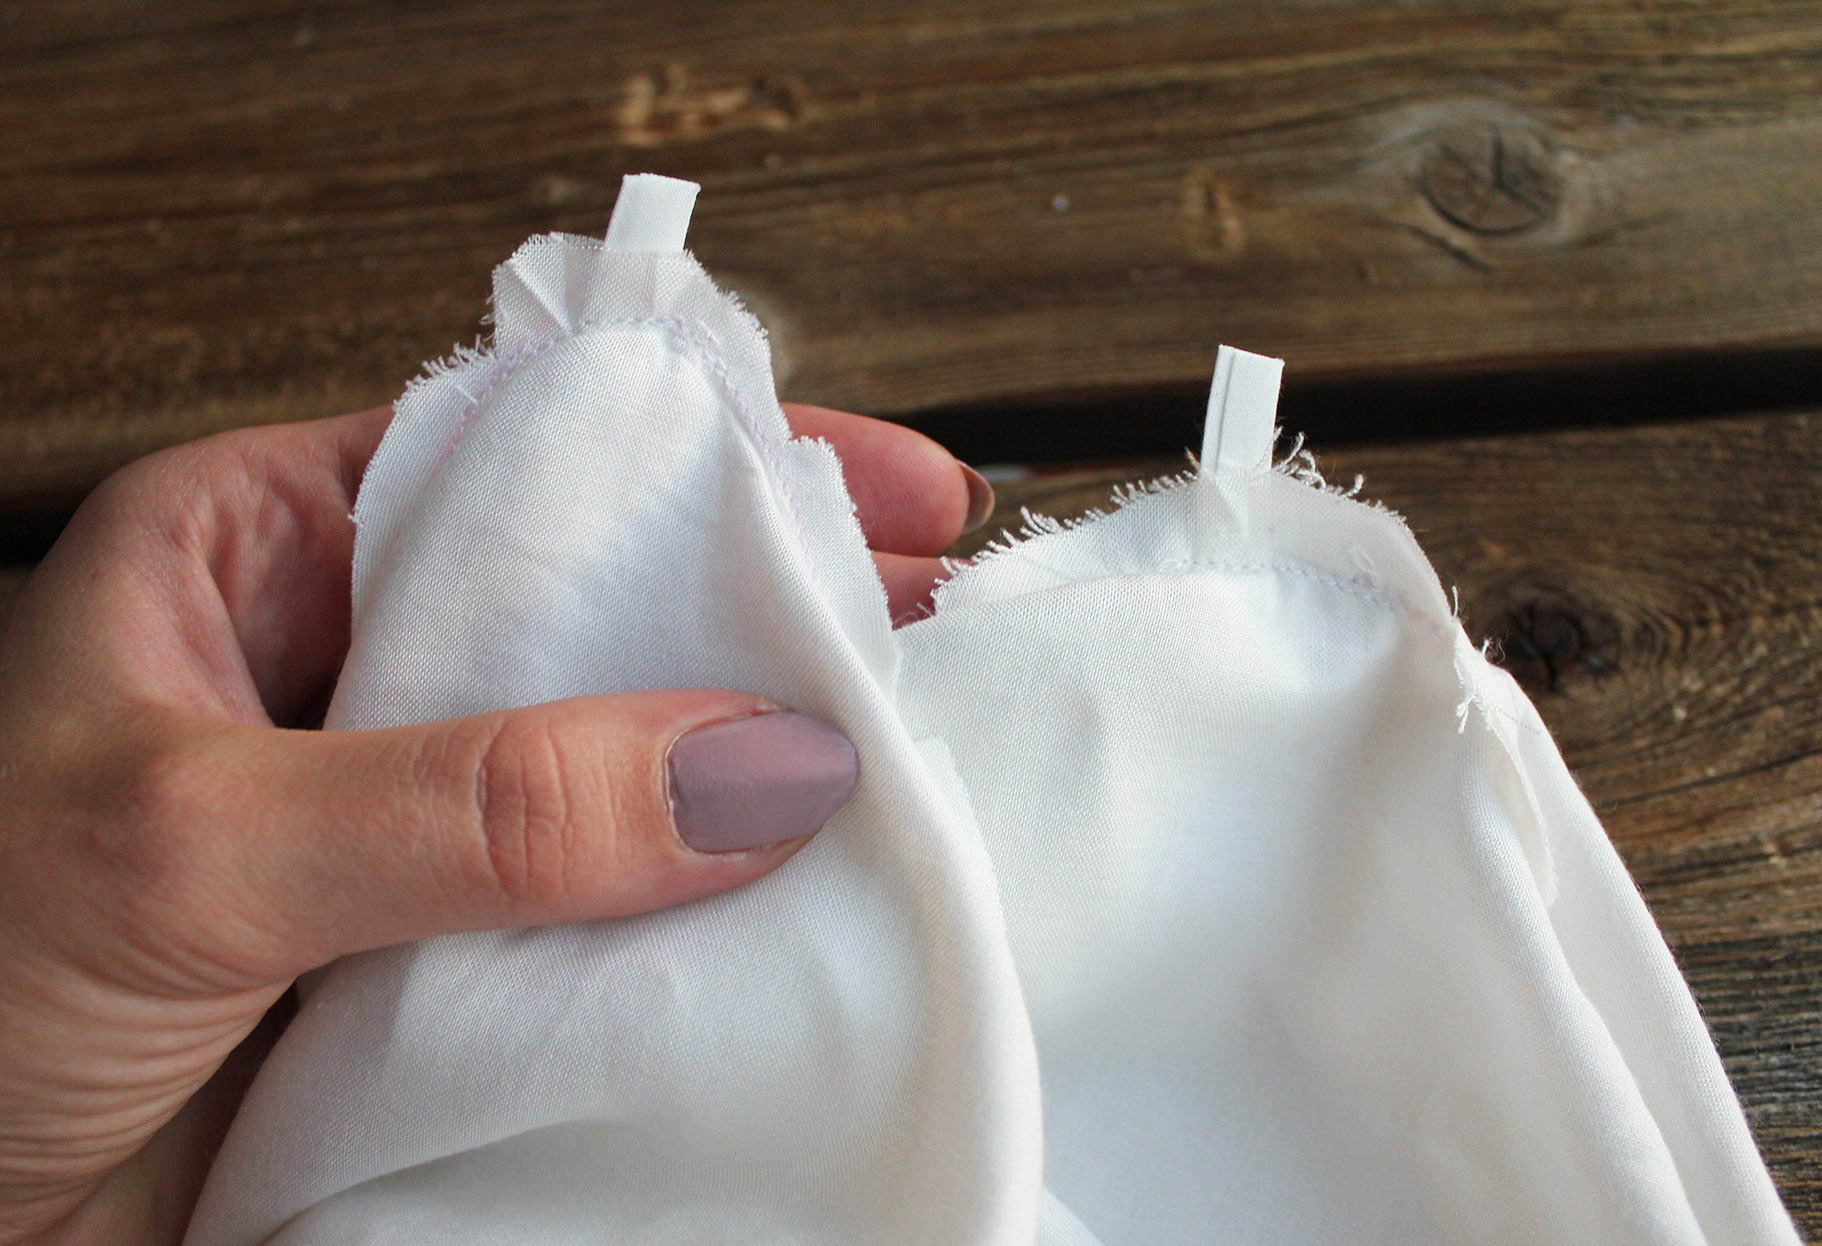
I. Lay top flat and position the straps to plan where they should sit.
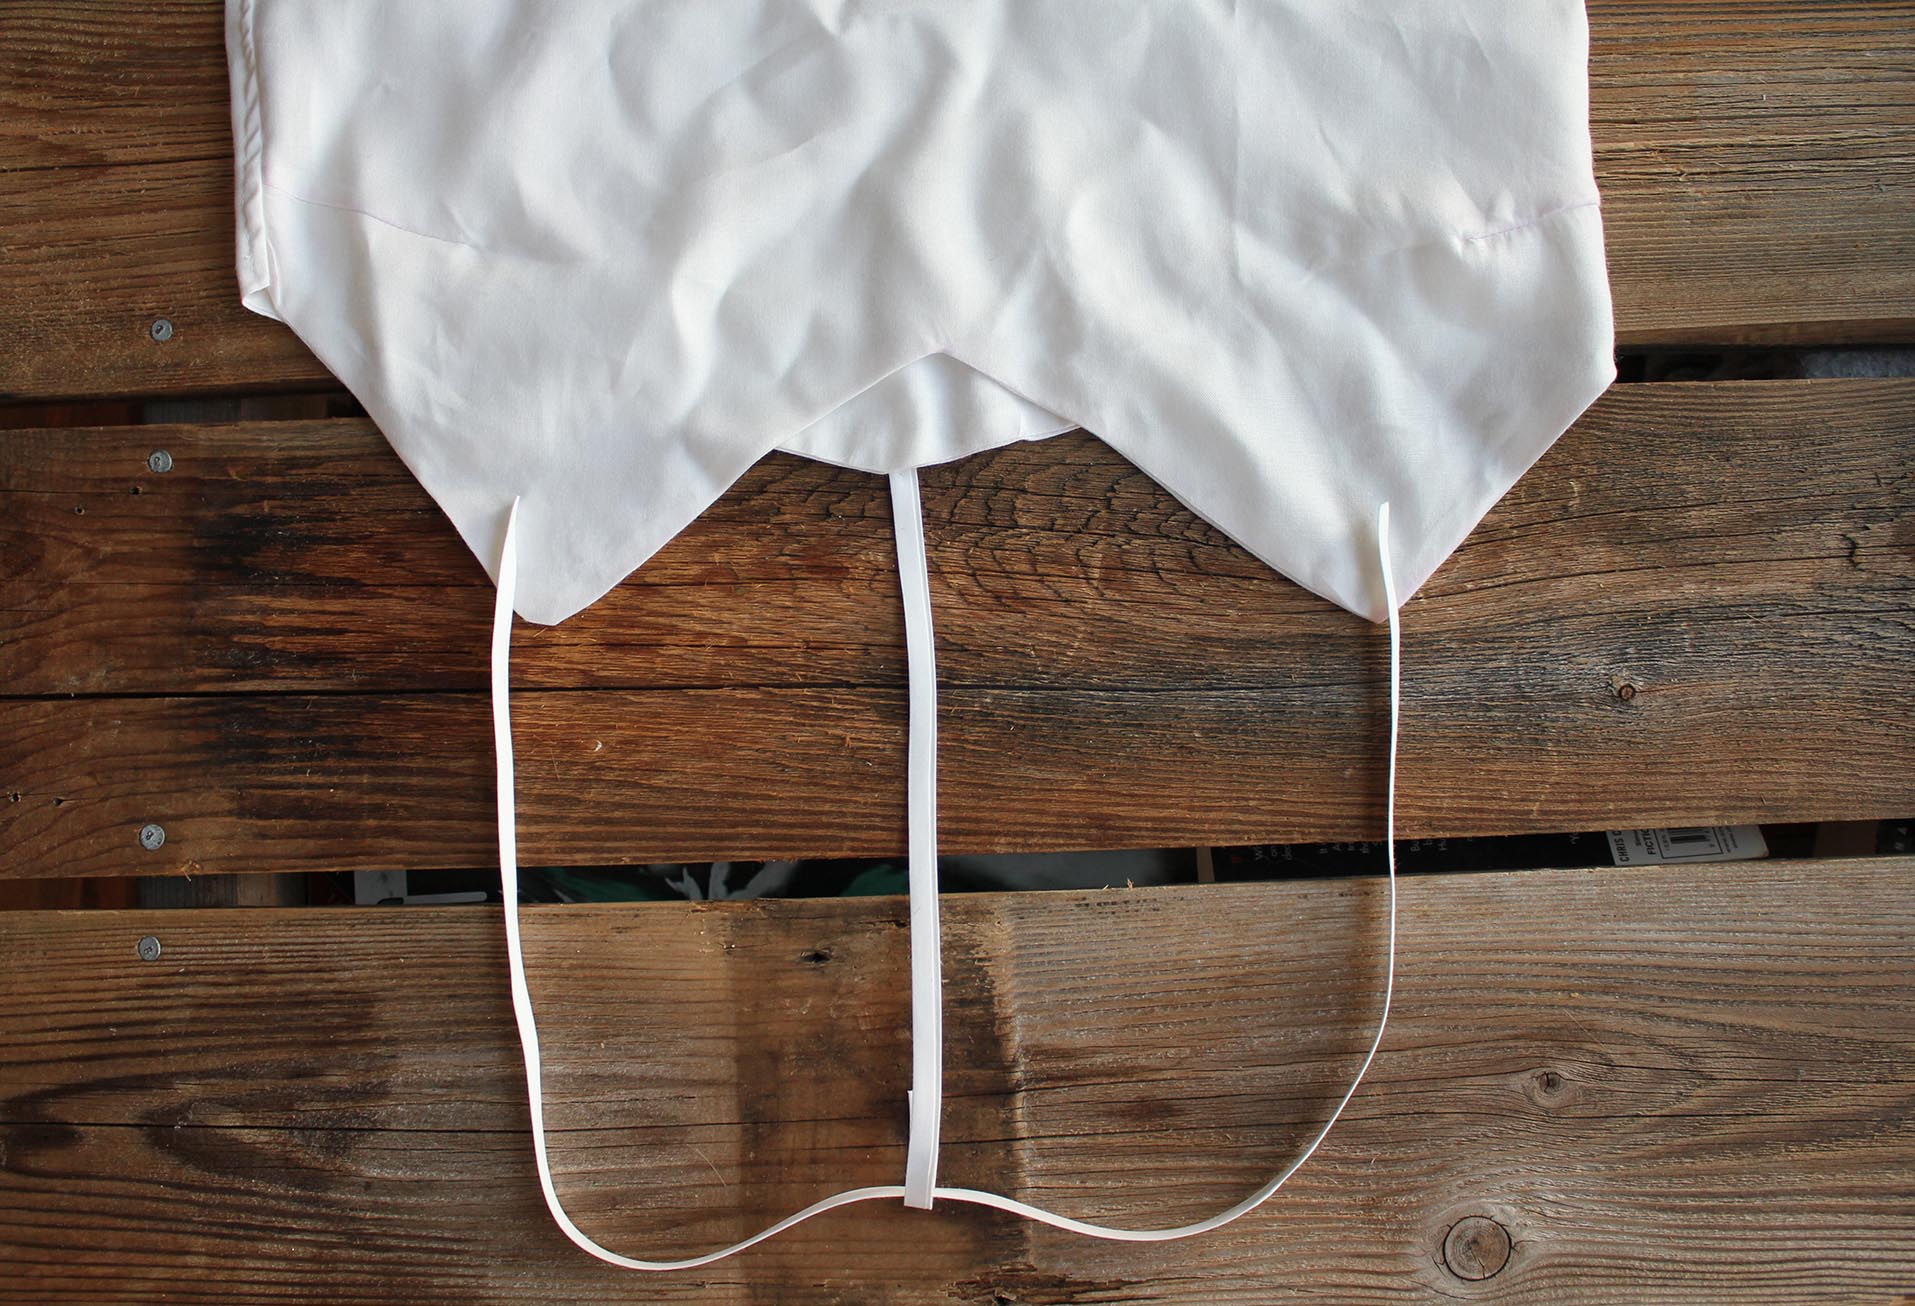
II. Attach the other end of the halter-strap at the front, and the other end of the back strap in the centre of the back piece. Wear the top and measure the appropriate length of both pieces by pinning the loose ends down - the halter strap to the front and the back strap to the halter piece at the back of your neck. Try to take off without too much injury from pins.
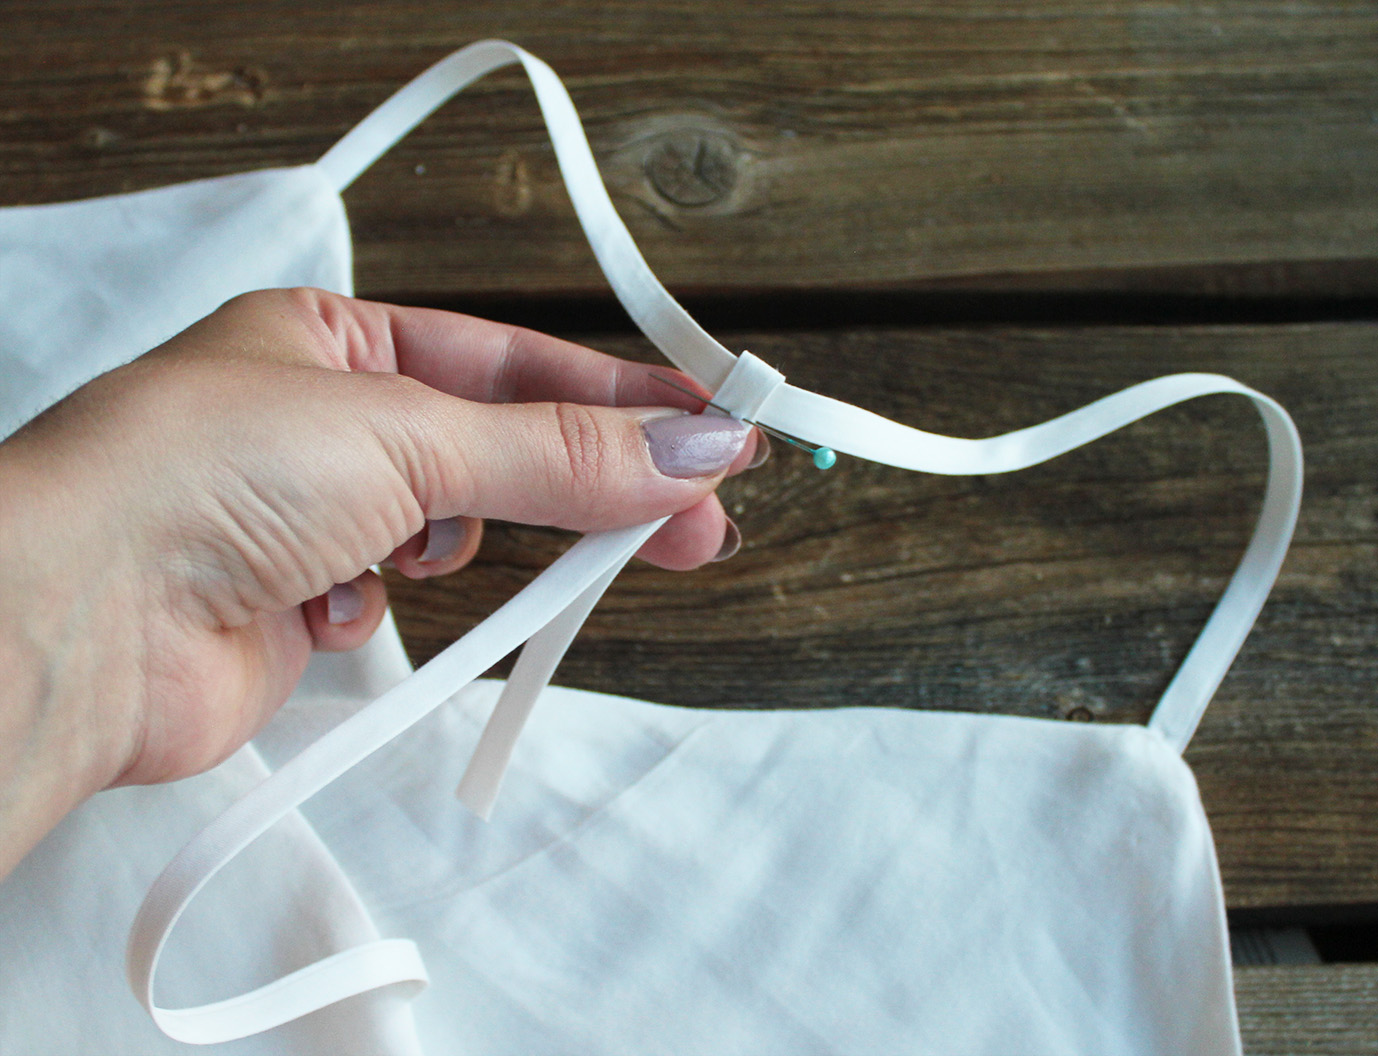
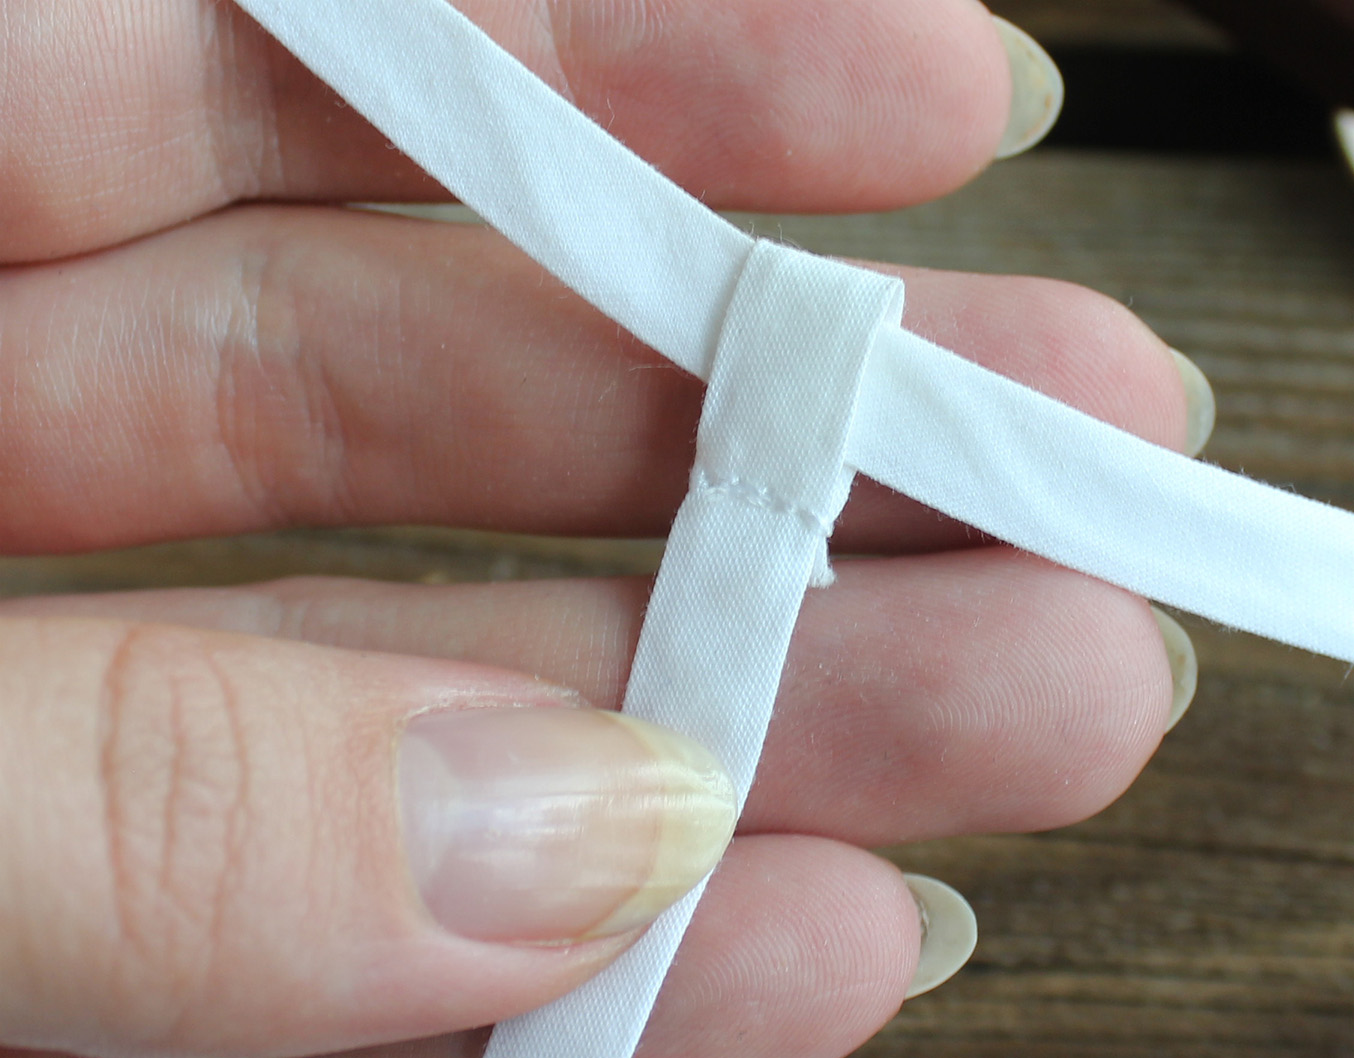
III. Sew the other end of halter strap to the front piece, making sure the ribbon is straight so it sits properly around the back of your neck without any twists. Then fold the back strap in a loop around the halter strap. Sew using a straight stitch, a couple mm below where the pin is in the image below, and cut off excess ribbon. You only want to attach the back strap to itself, not the halter strap, to allow for free movement. This way there will be no weird pulling in any direction.
 Goes with EVERYTHING.
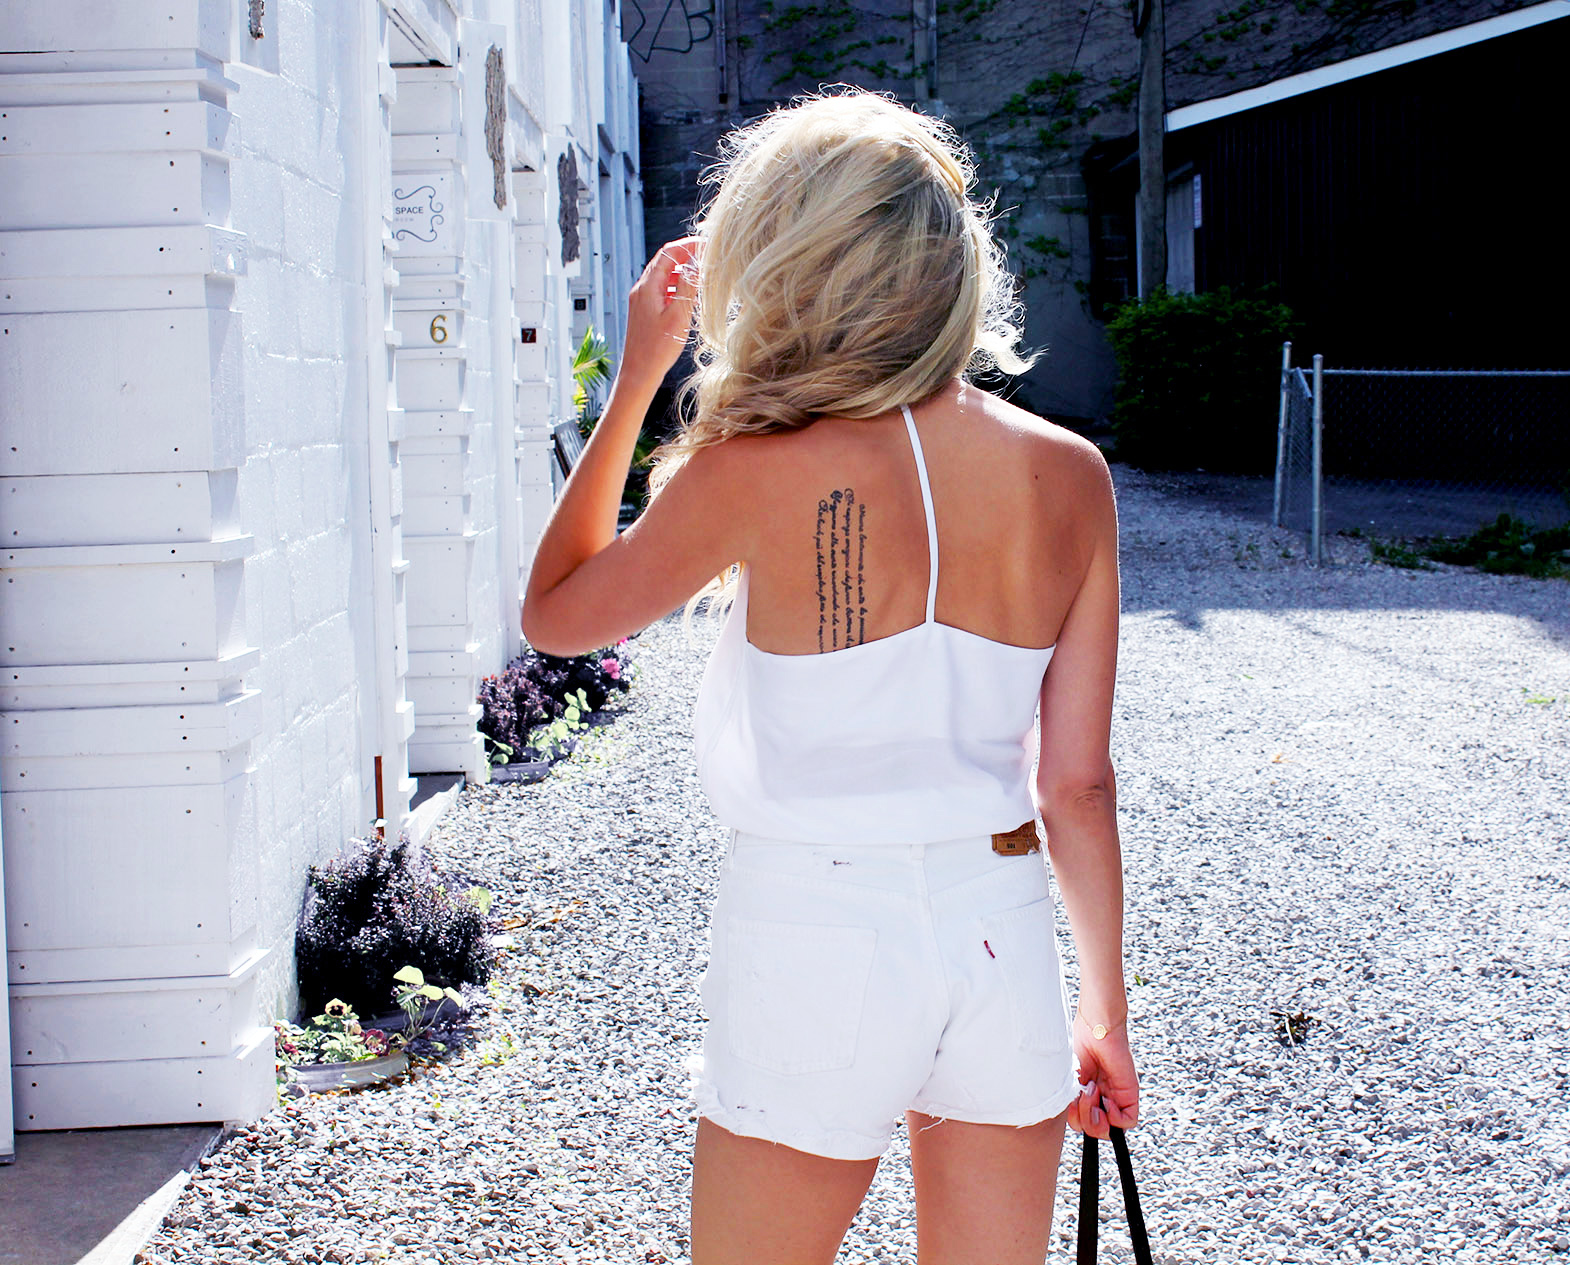
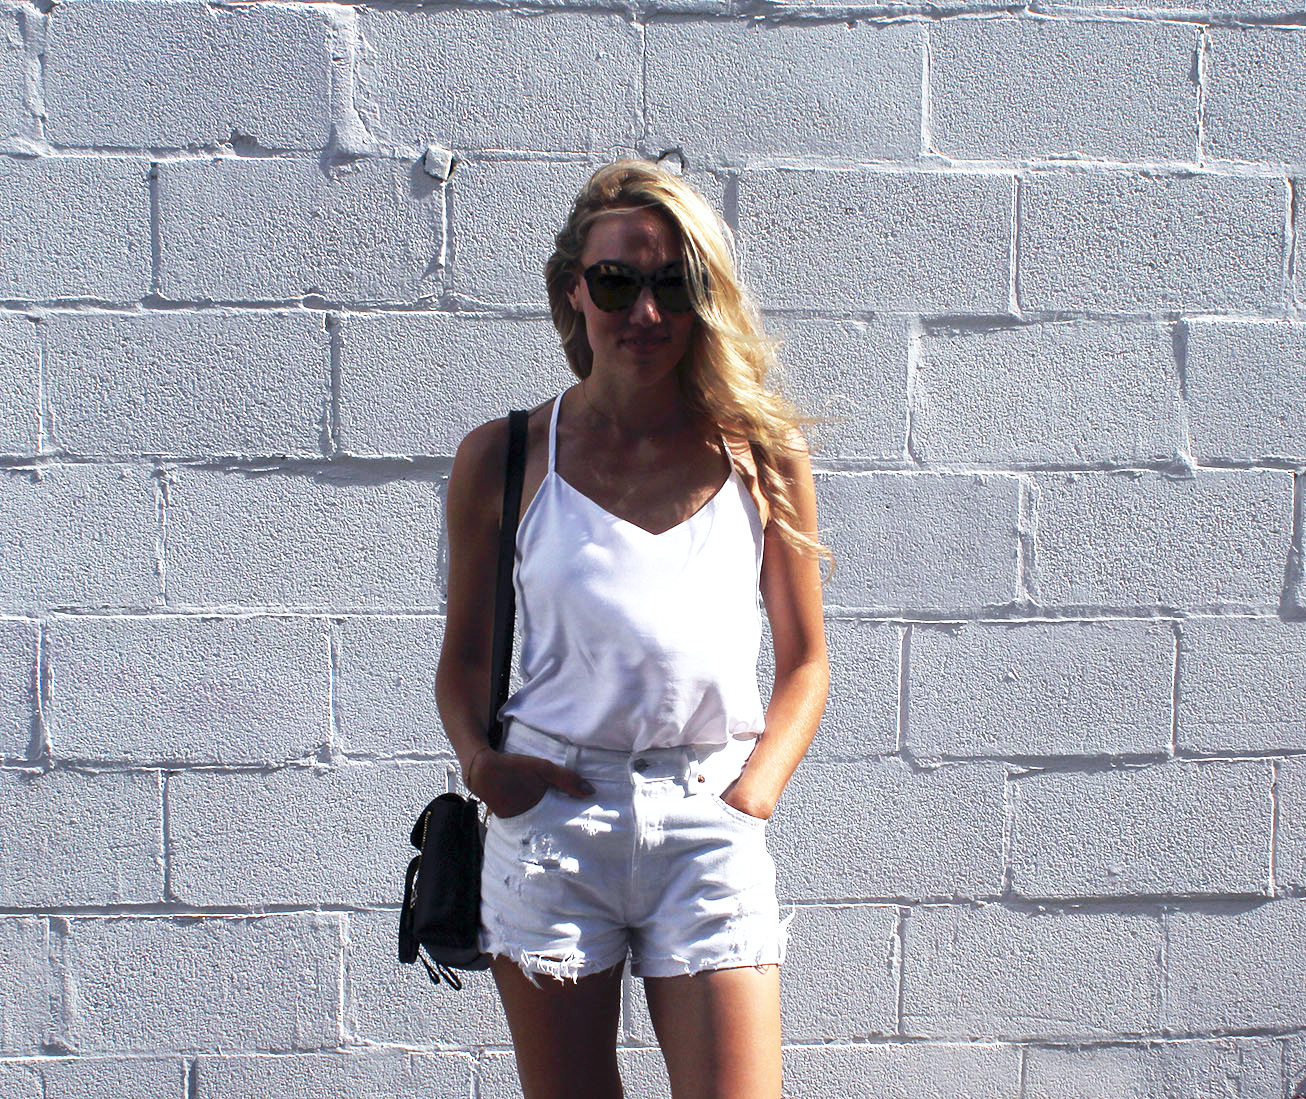
Also wearing DIY distressed Levi's 501
xo,
Julia


What a great DIY! That top looks great on you!
ReplyDeleteThanks Mindy!
ReplyDelete