

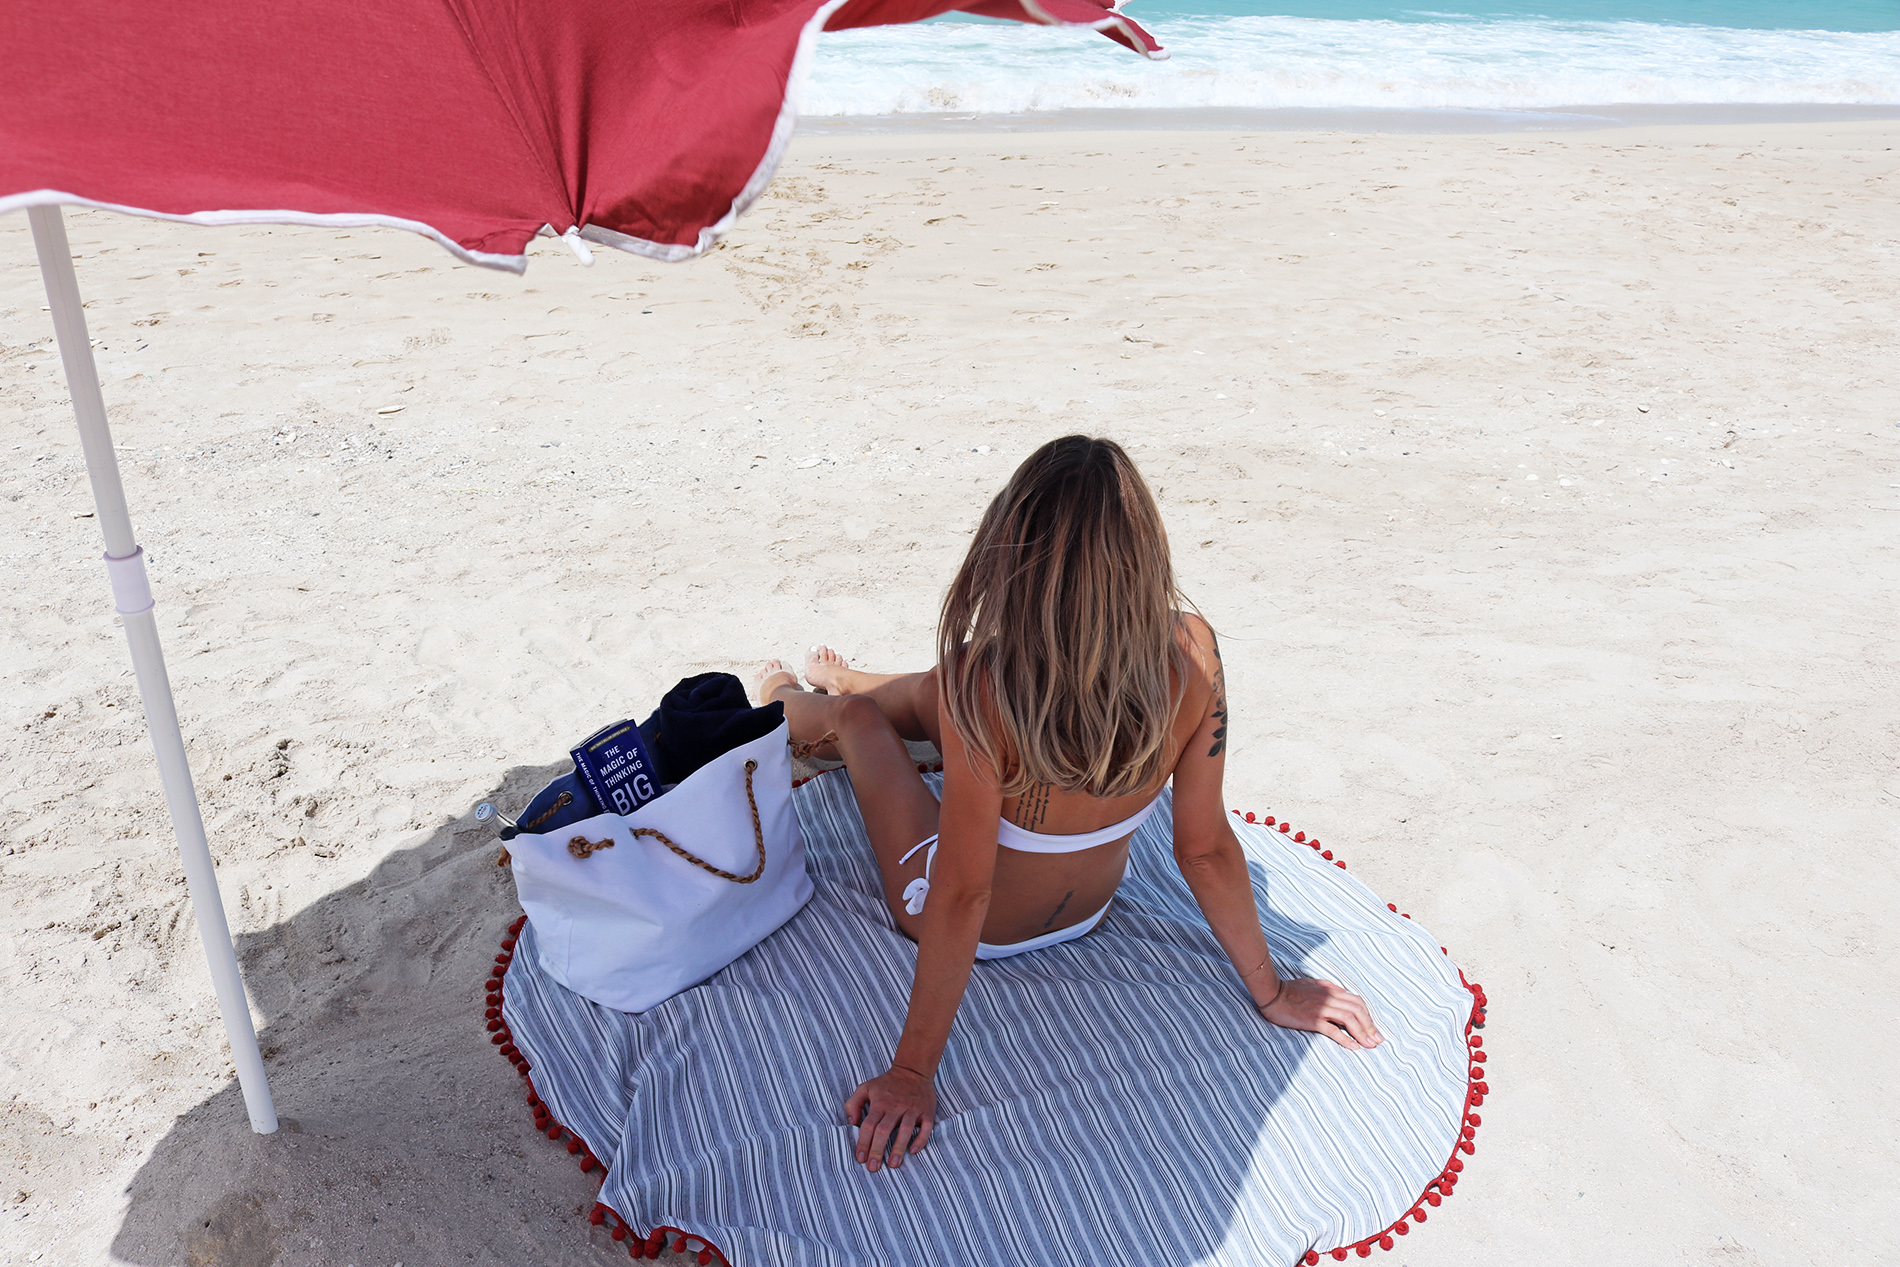
Beach/pool kit, part 2! Super easy carry-all bag. Tutorial for its cousin, the pom pom beach towel, here.
Tutorials take a lot of time & effort to create, and I choose to make mine available for free. If you enjoy this guide, you can support me with a donation that feels right for you, here.
TOOLS:
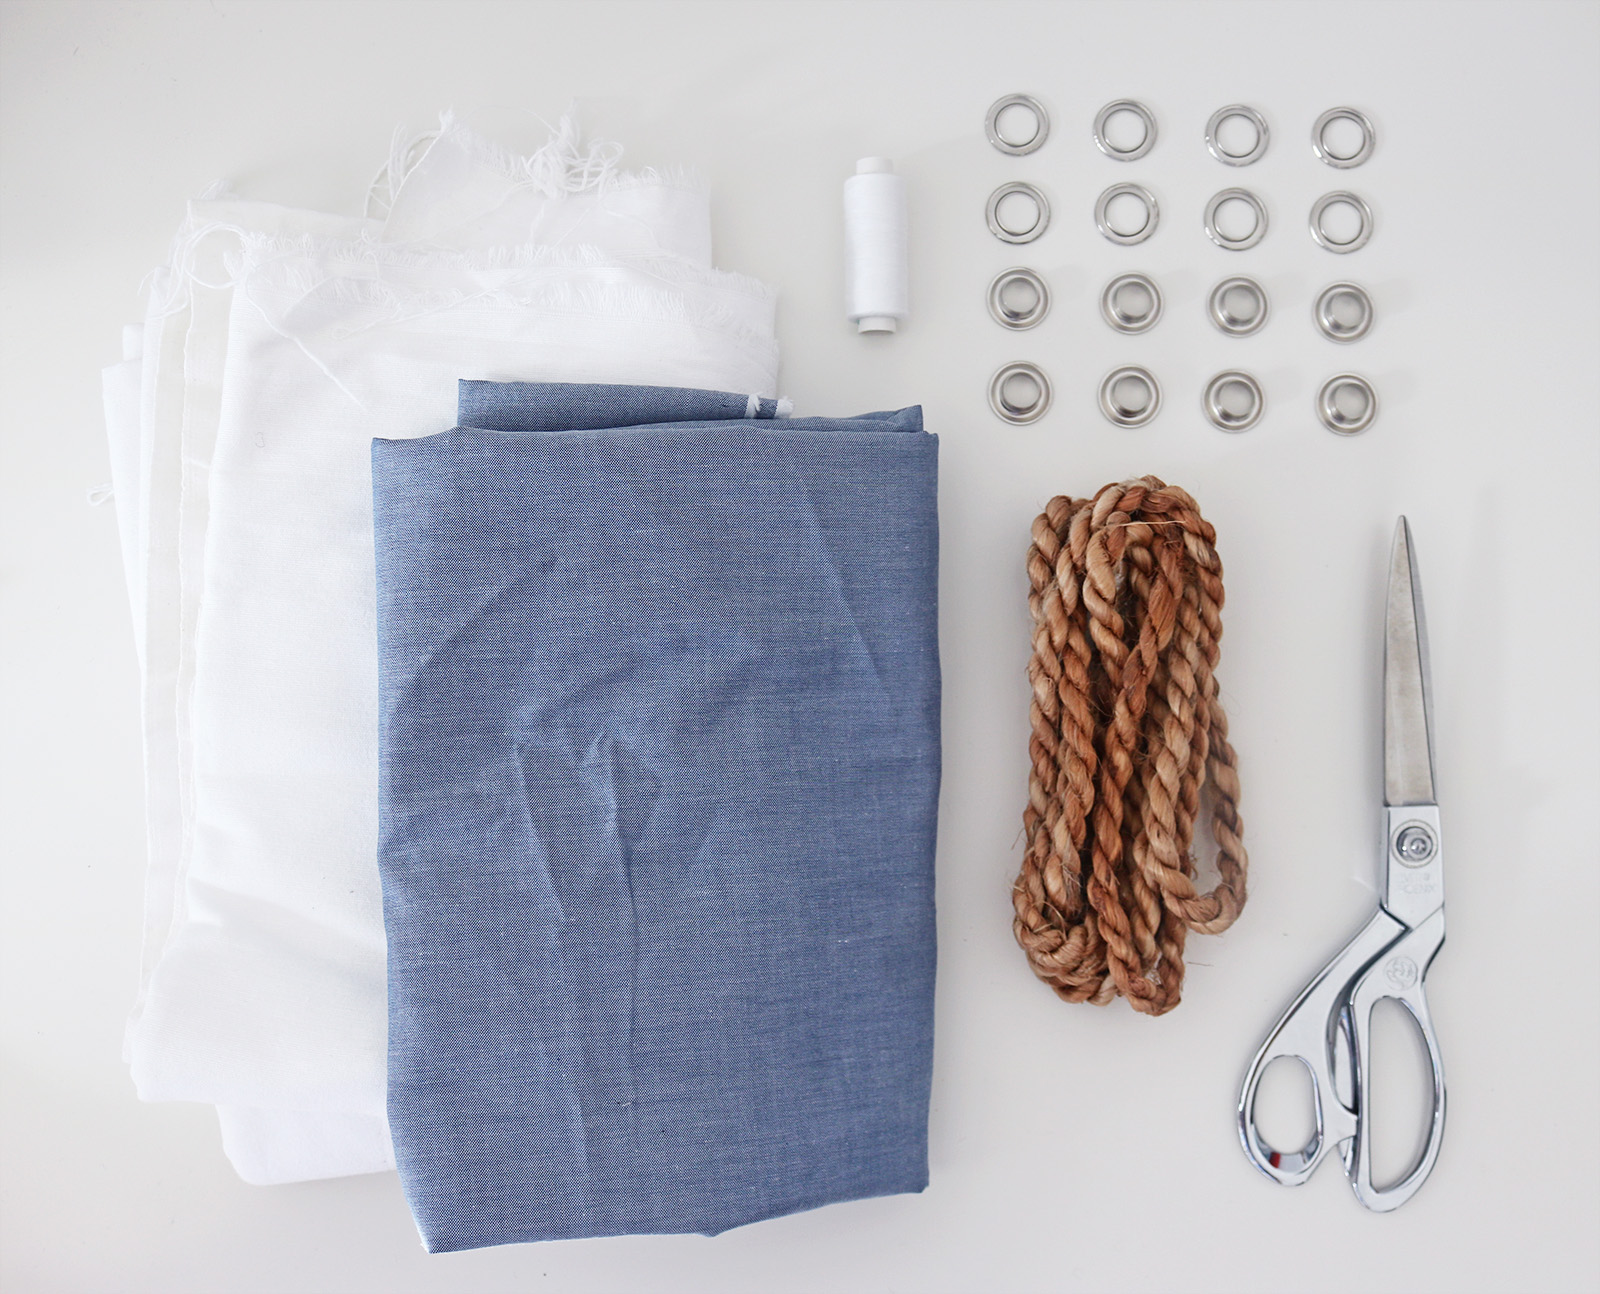
Two types of fabric - a relatively thick one and another for the lining, which can be regular shirting (or just one kind if you don't want a contrasting lining) - 1 m | Medium stiff interfacing | Scissors | Thread & sewing machine | Rope | Optional: Grommets that are big enough for the rope to fit through
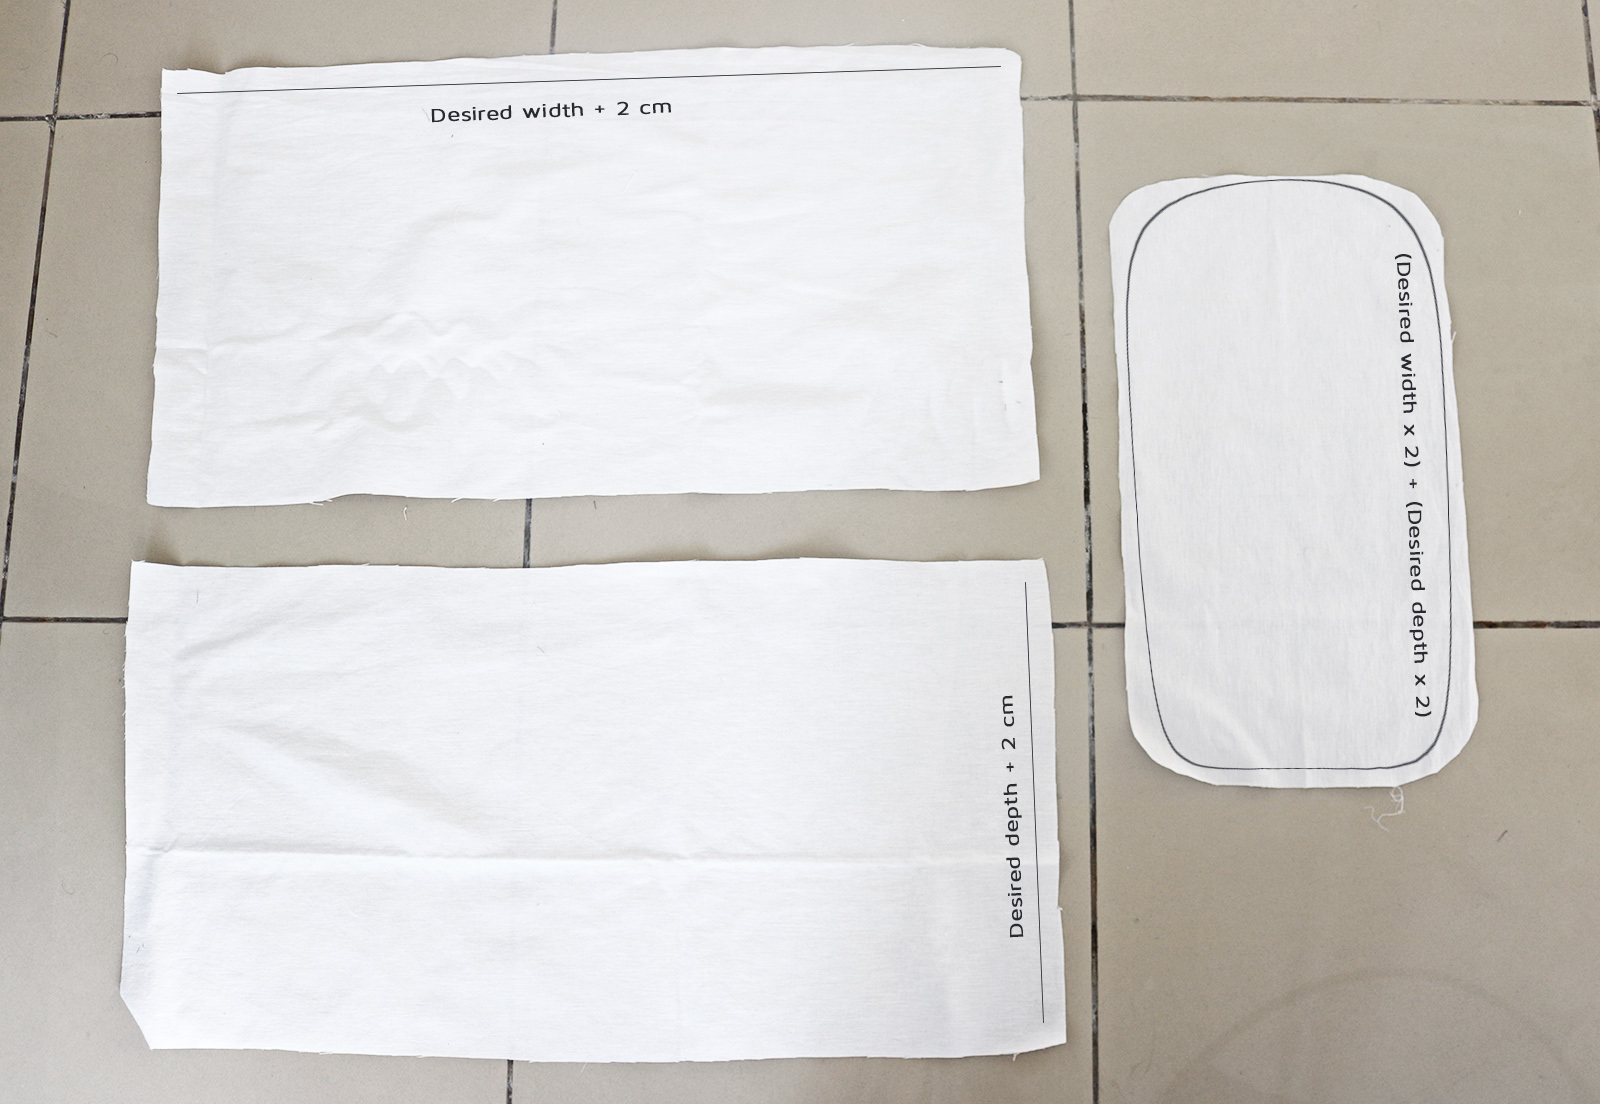
I. First cut your pieces - you need two of each of these (one set in the main fabric, another set in the lining fabric). You also need these pieces cut out of the interfacing - identical for the bottom piece, and otherwise identical to the two rectangles, just 1 cm less on the shorter edge (you'll see below how this makes things a bit easier).
My bag was pretty big - The bottom piece on the right below for me was about 45 cm x 26 cm, and the two rectangles that make the walls of the bag were approx. 34 cm x 64 cm each. The idea is, when you measure the circumference of your bottom piece, that should be twice the length of one of your wall pieces without seam allowances.
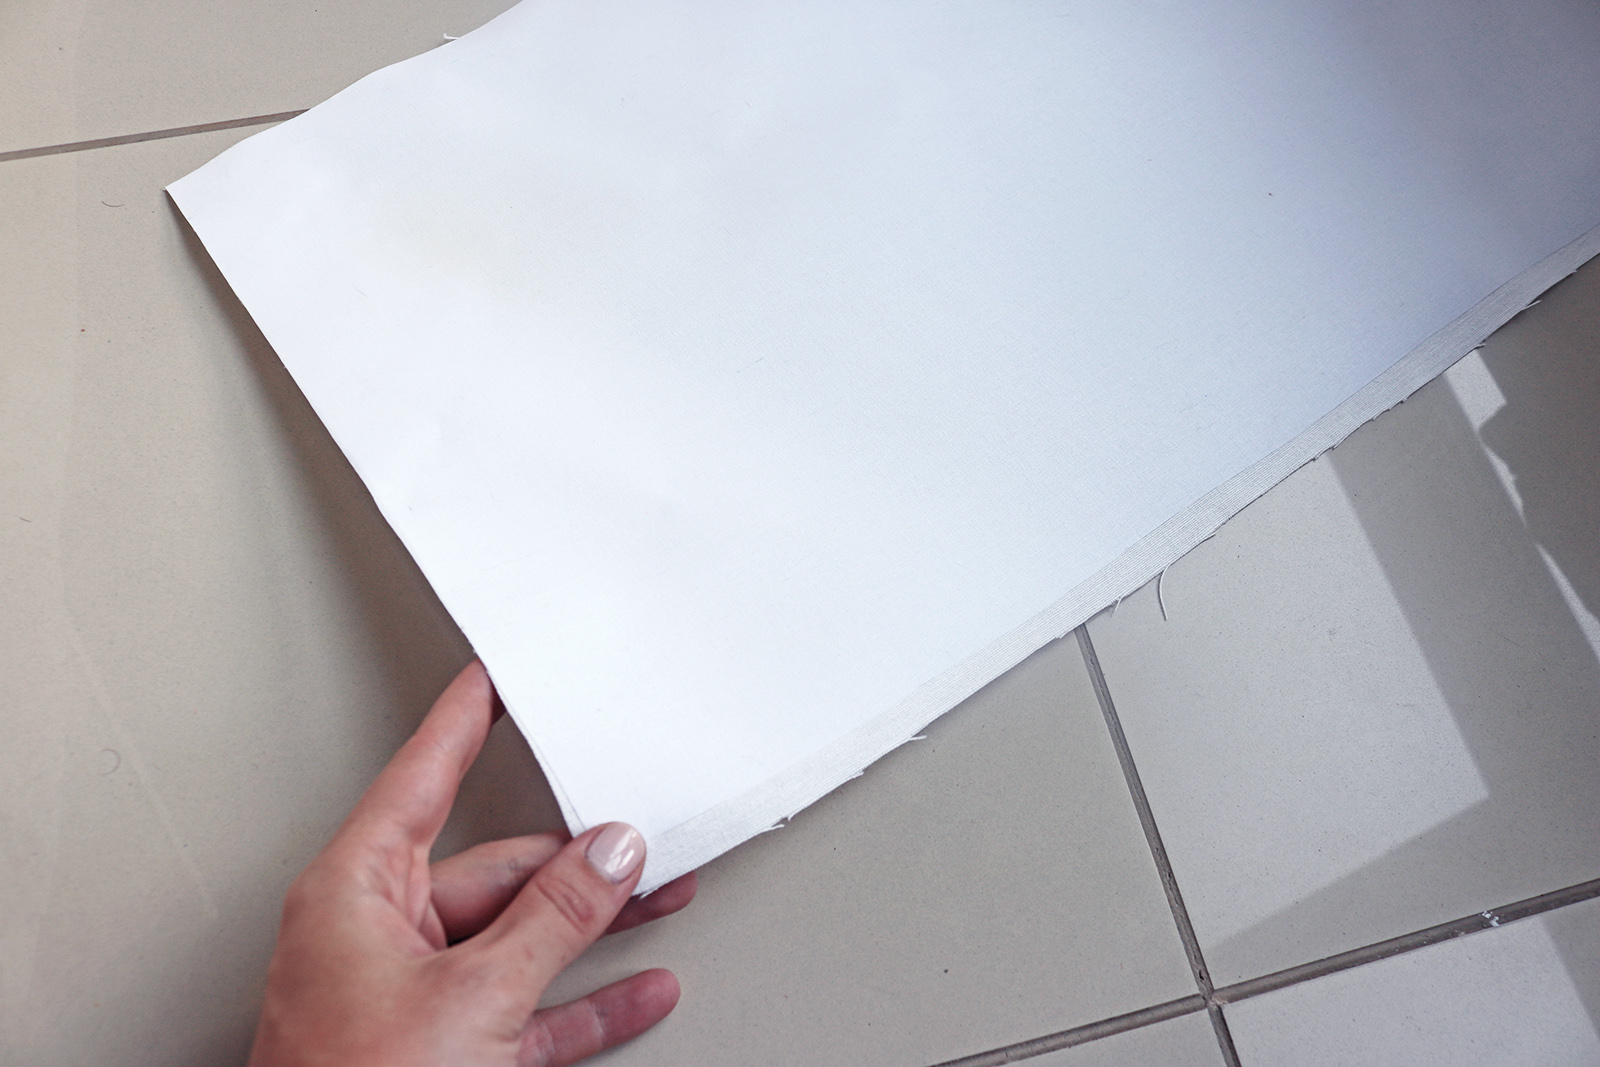
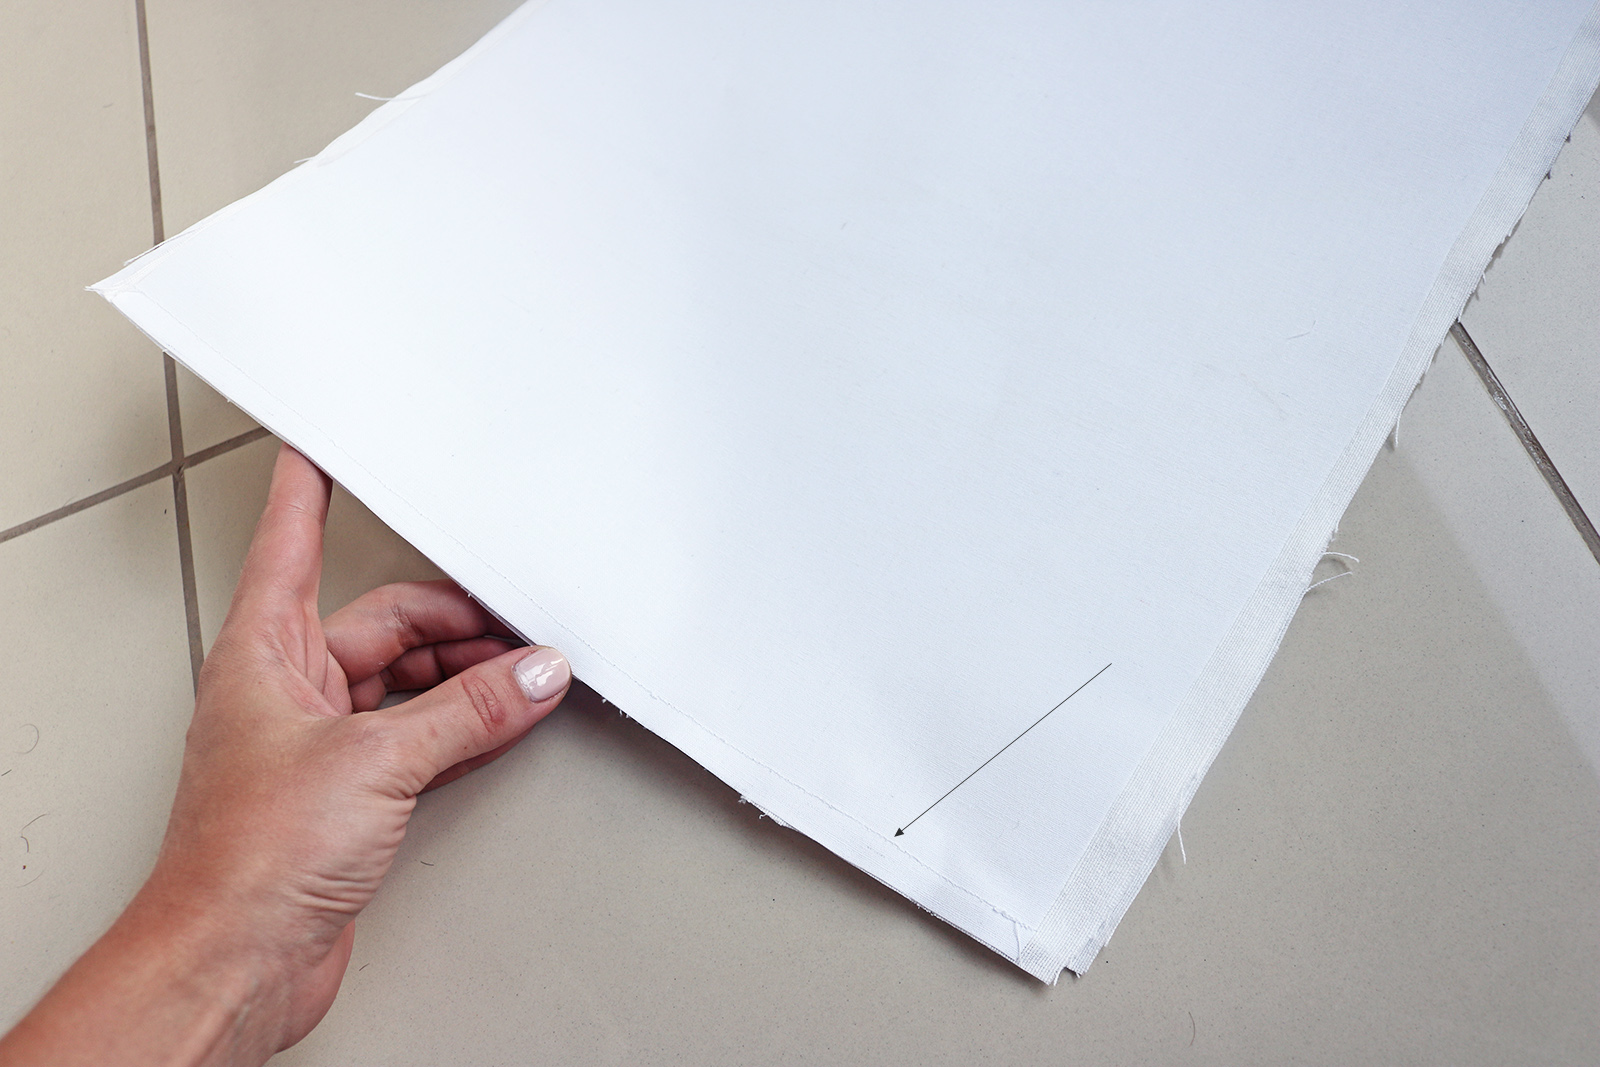
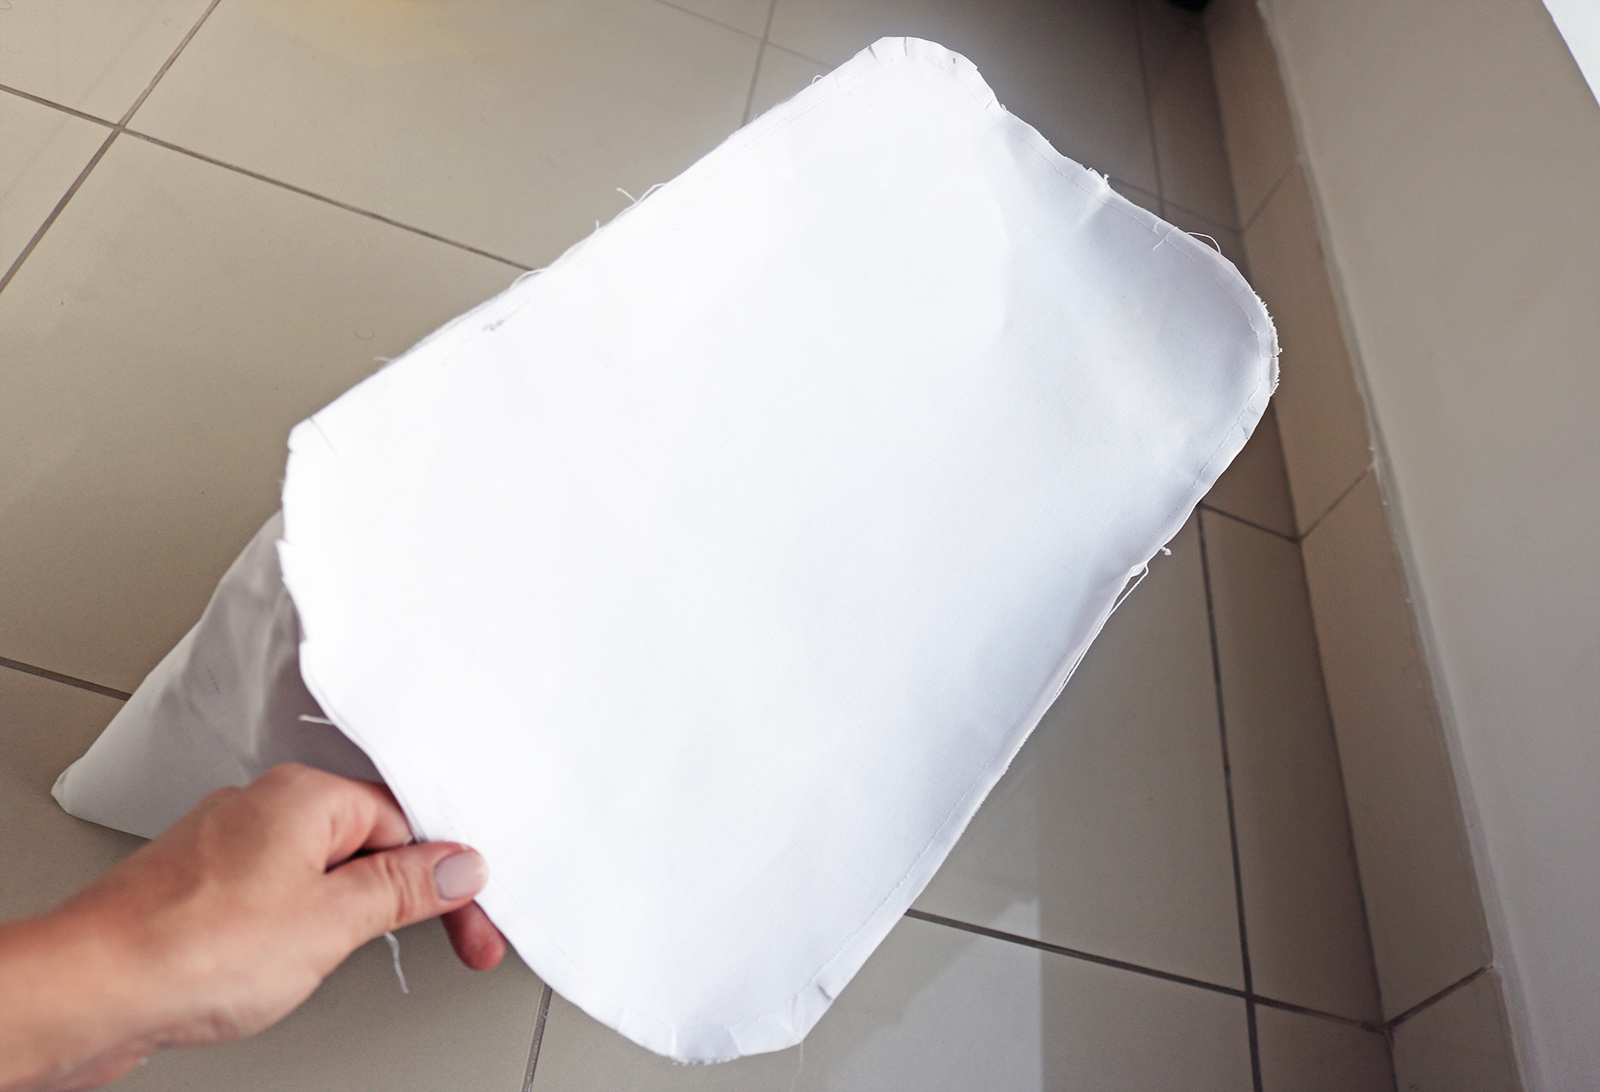
II. First iron on your interfacing to the reverse of the main fabric pieces (the two rectangles and the bottom piece). If you cut it a bit shorter for the rectangles, it will look like this:
III. Then place the two rectangles together right sides facing, and sew them together down the short edges.
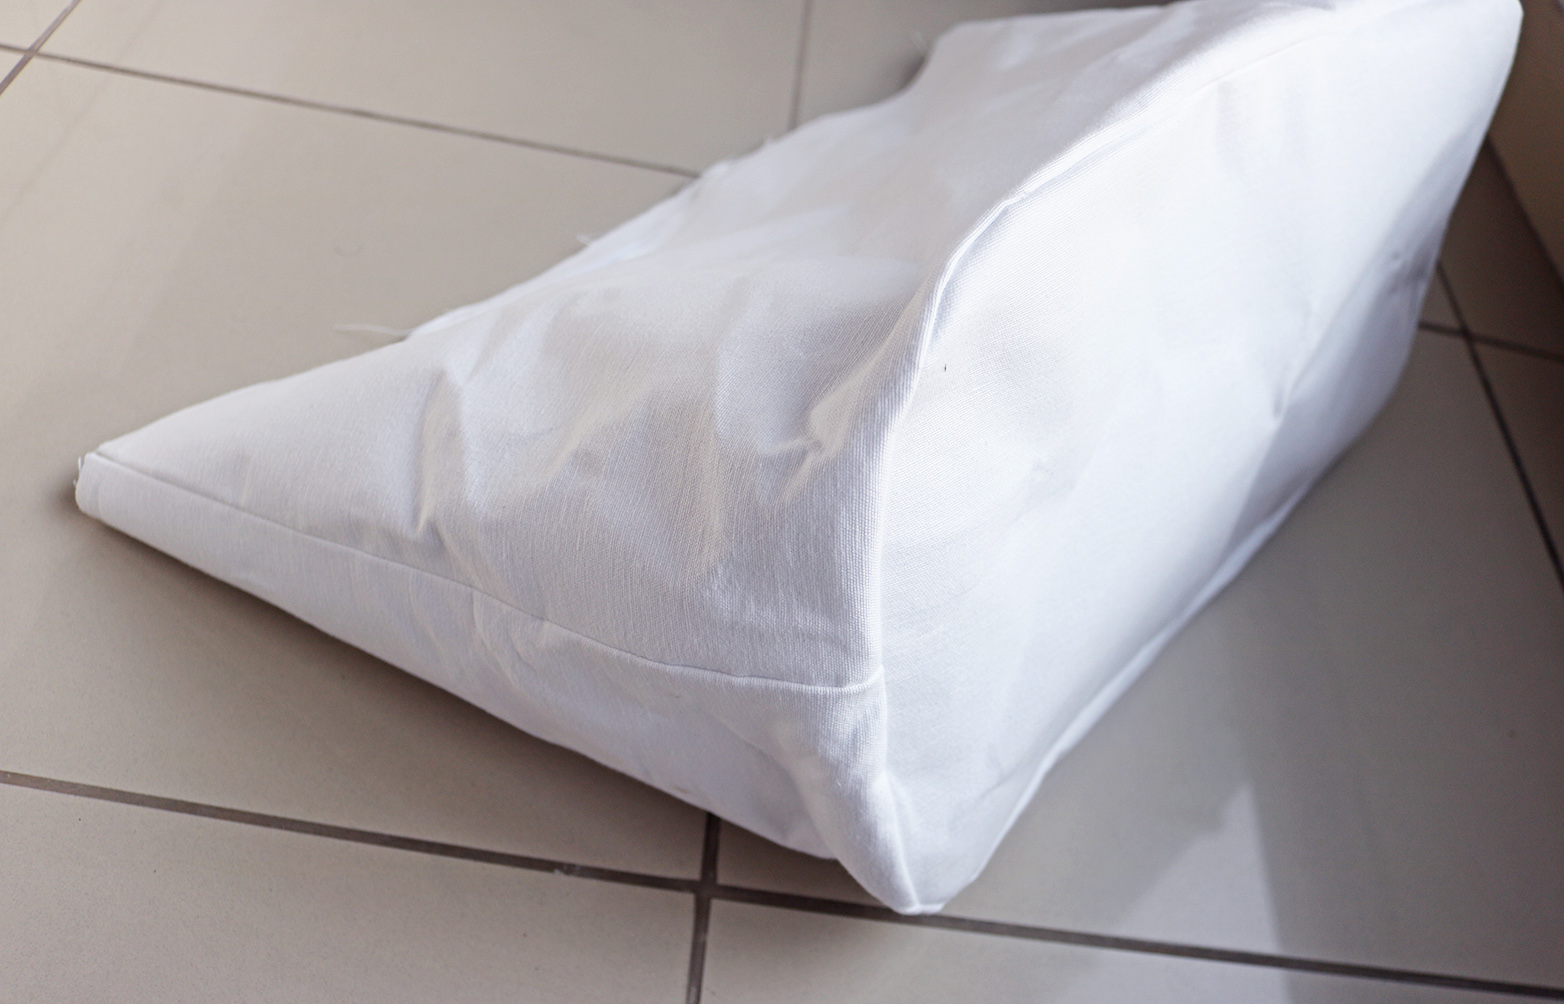
IV. Next pin the now circular walls of the bag to the bottom piece, right sides facing, and sew around. Now you should have something like this:
.. And as you turn the bag right side out, it will start looking like a bag:
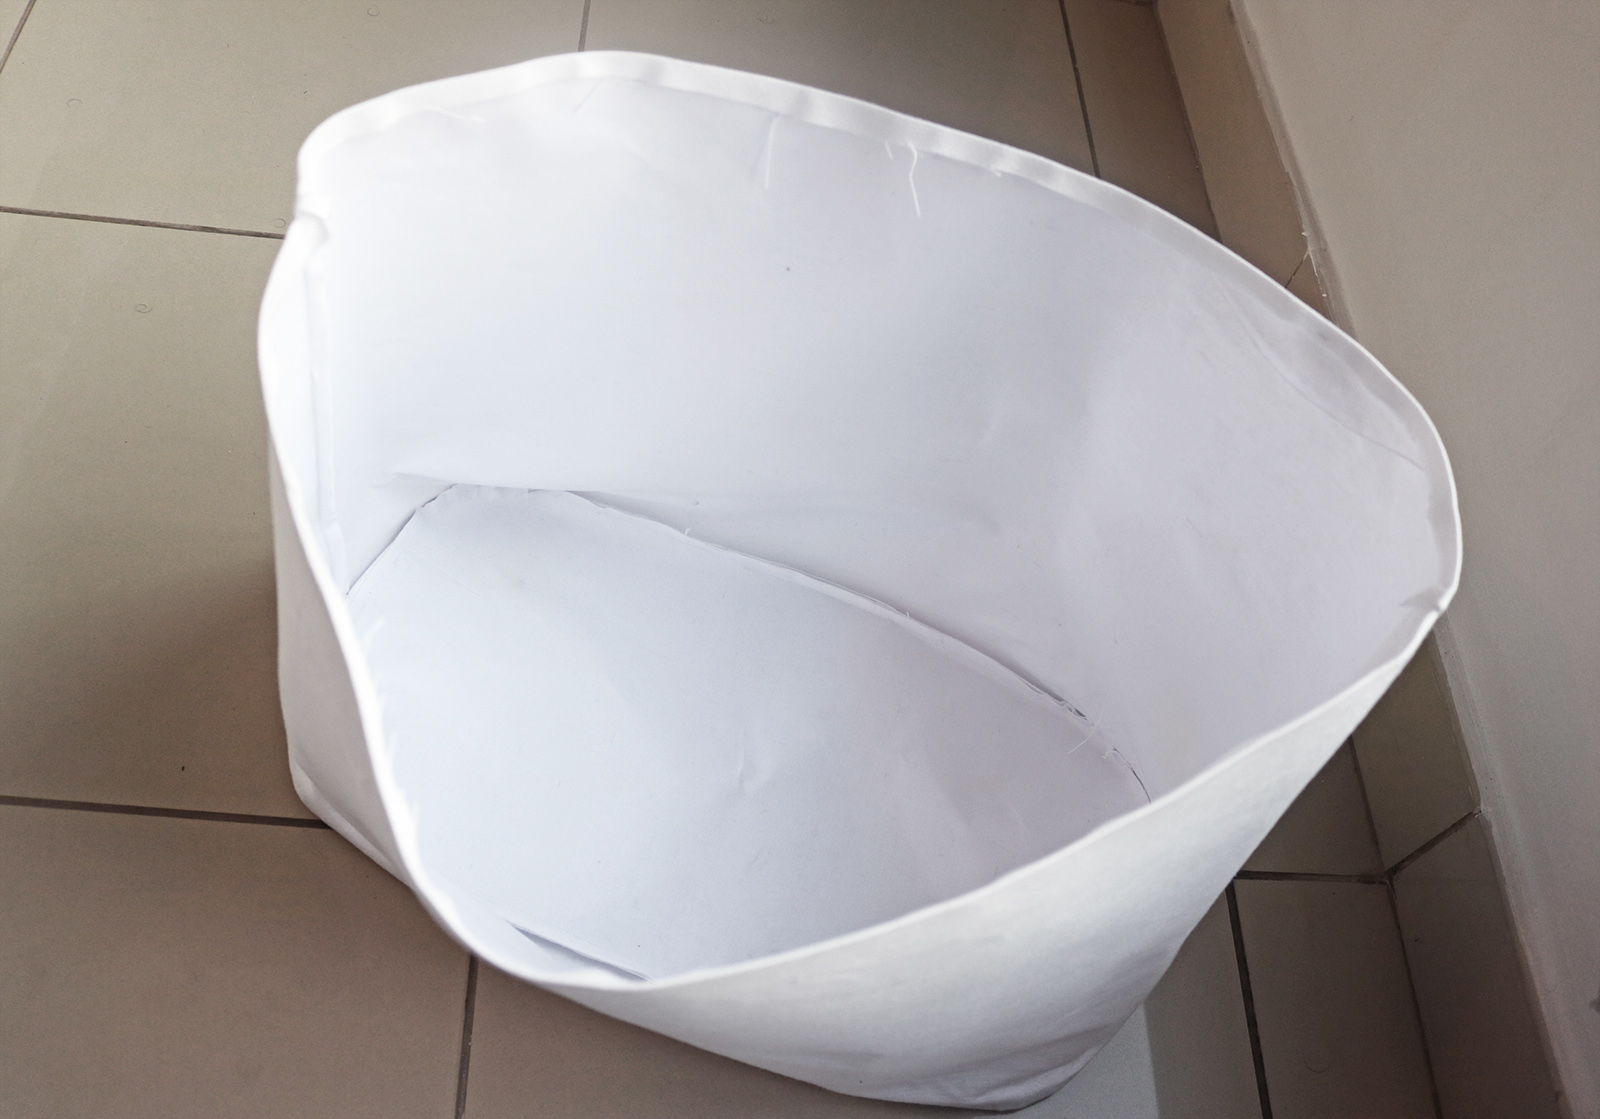
V. Here's where the shorter interfacing comes in handy: Use it as a guide to press a fold on the top edge of the bag.
VI. Repeat III-V for the pieces you cut out of the lining fabric. No need to finish the seams too much, they wont' ever be seen.
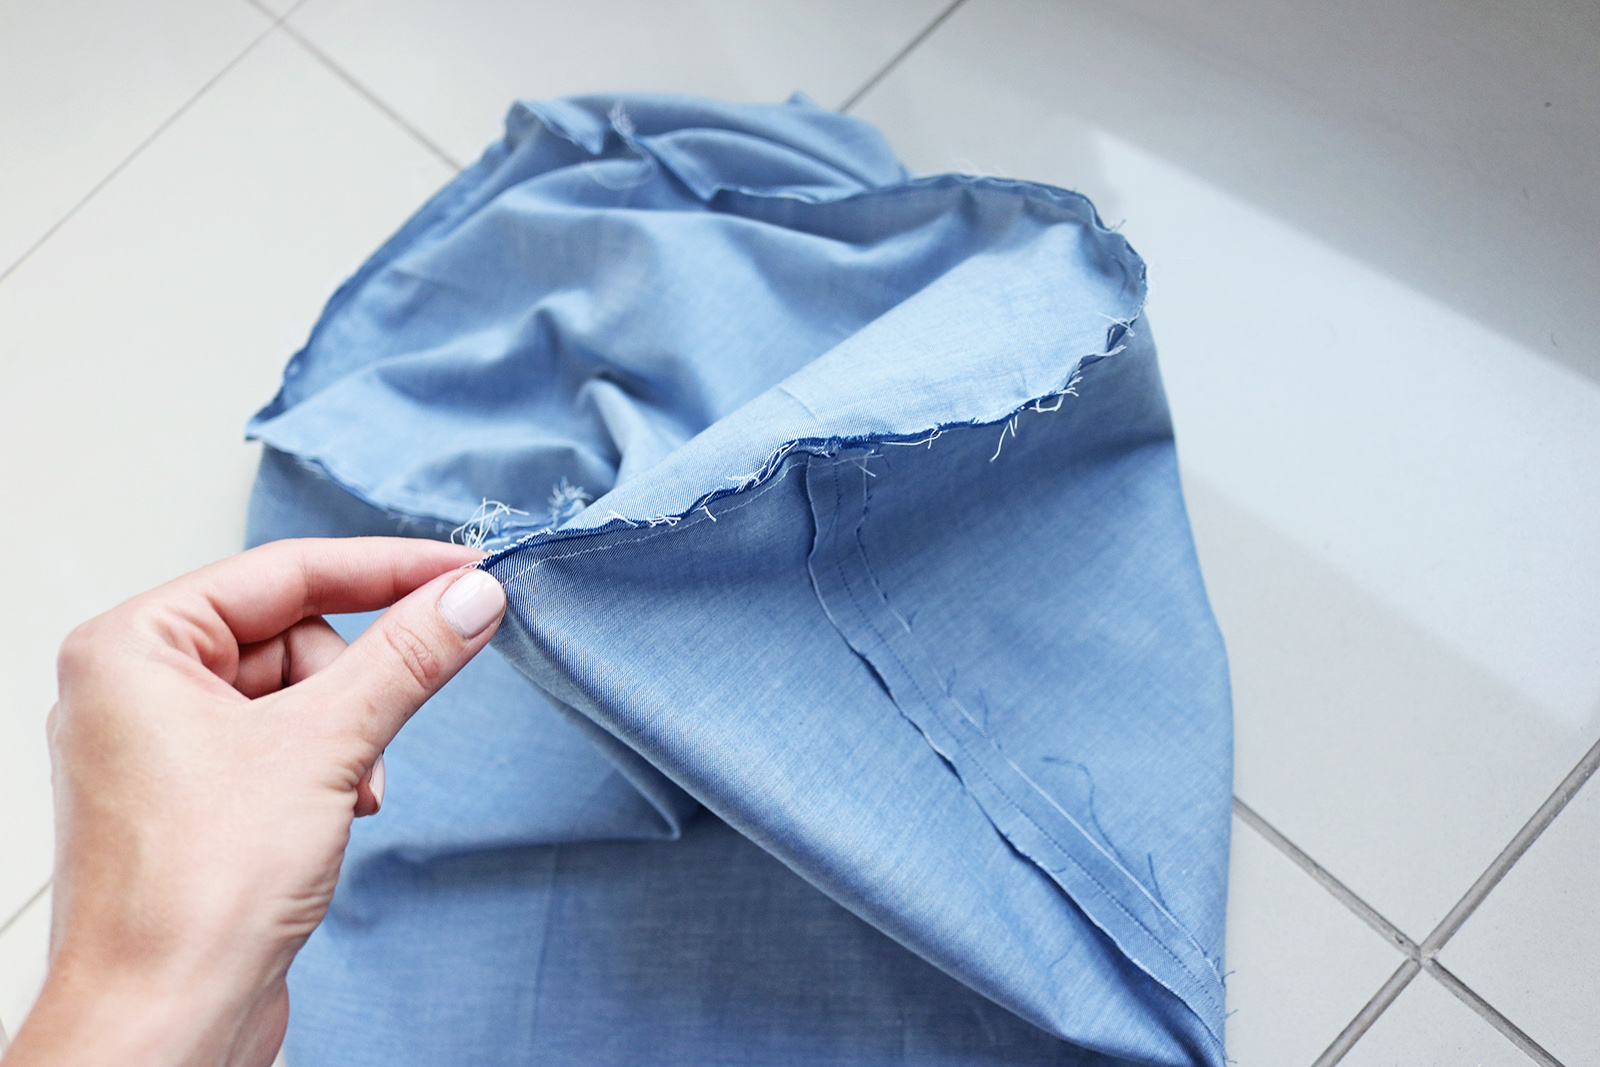
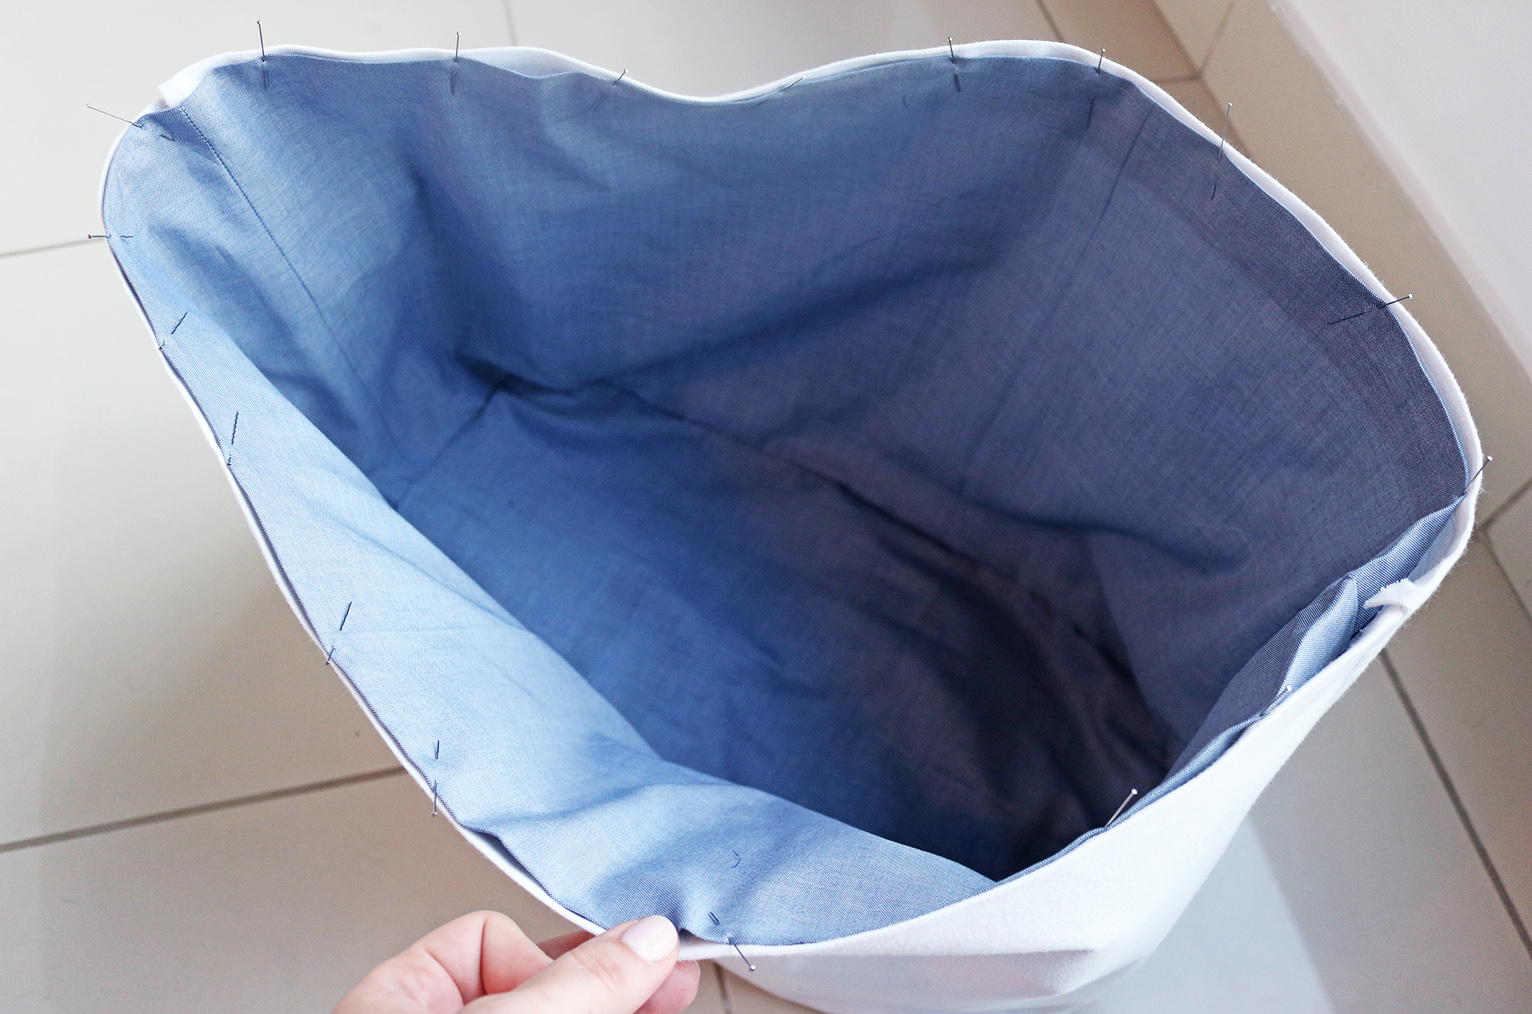
VII. Insert the lining into the bag and pin to the top edges. Sew all around.
VIII. The last bit is attaching handles. I did mine using grommets (I go into their attaching in this post so won't repeat myself here).. Then I just slipped my rope through the holes and tied knots at the ends.
.. But you could also easily create two long straps using your main fabric (reinforced with interfacing), and sew them onto the bag.

xo,
Julia


So cute! Great tutorial as usual :)
ReplyDeleteThank you for commenting:)!
Delete