

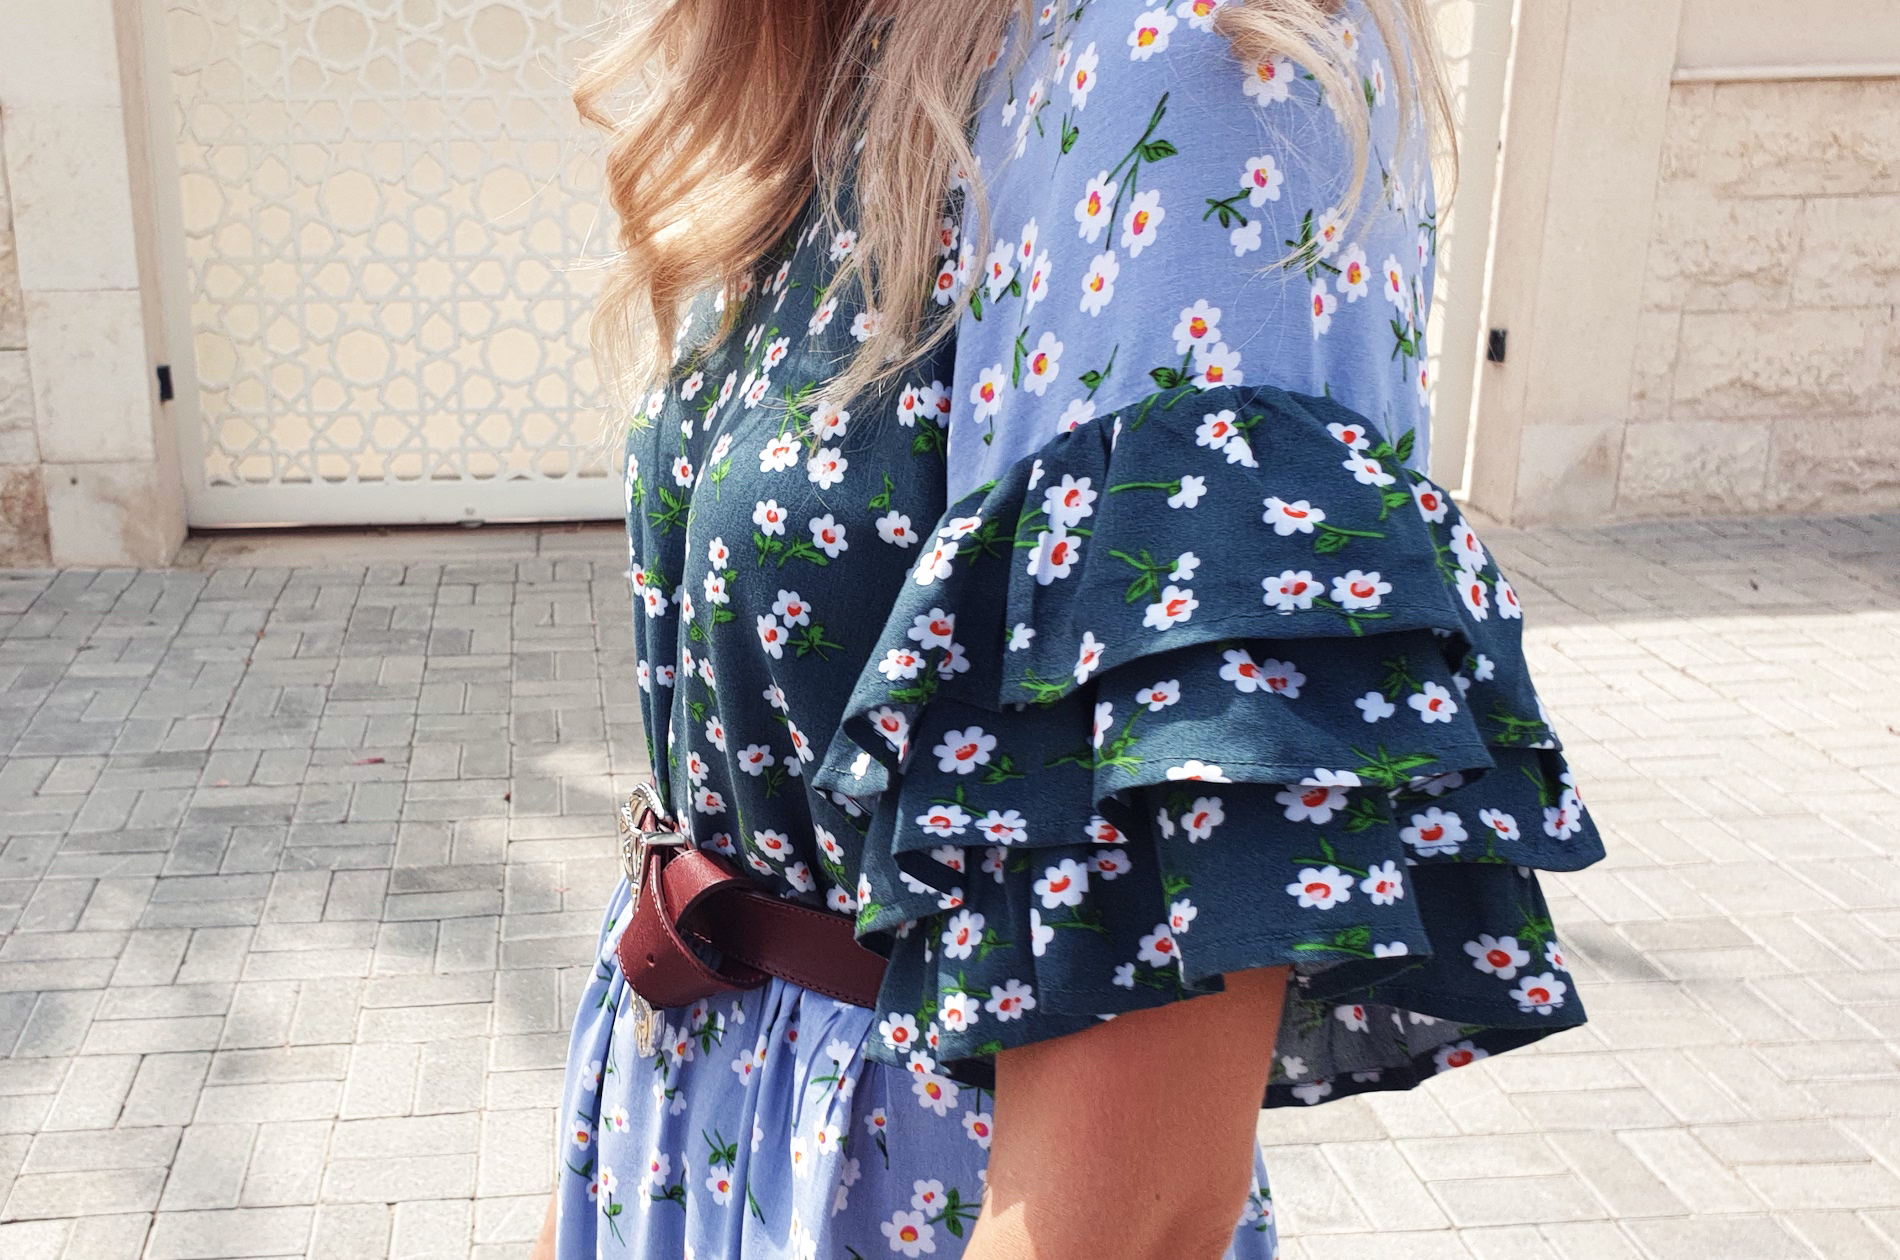
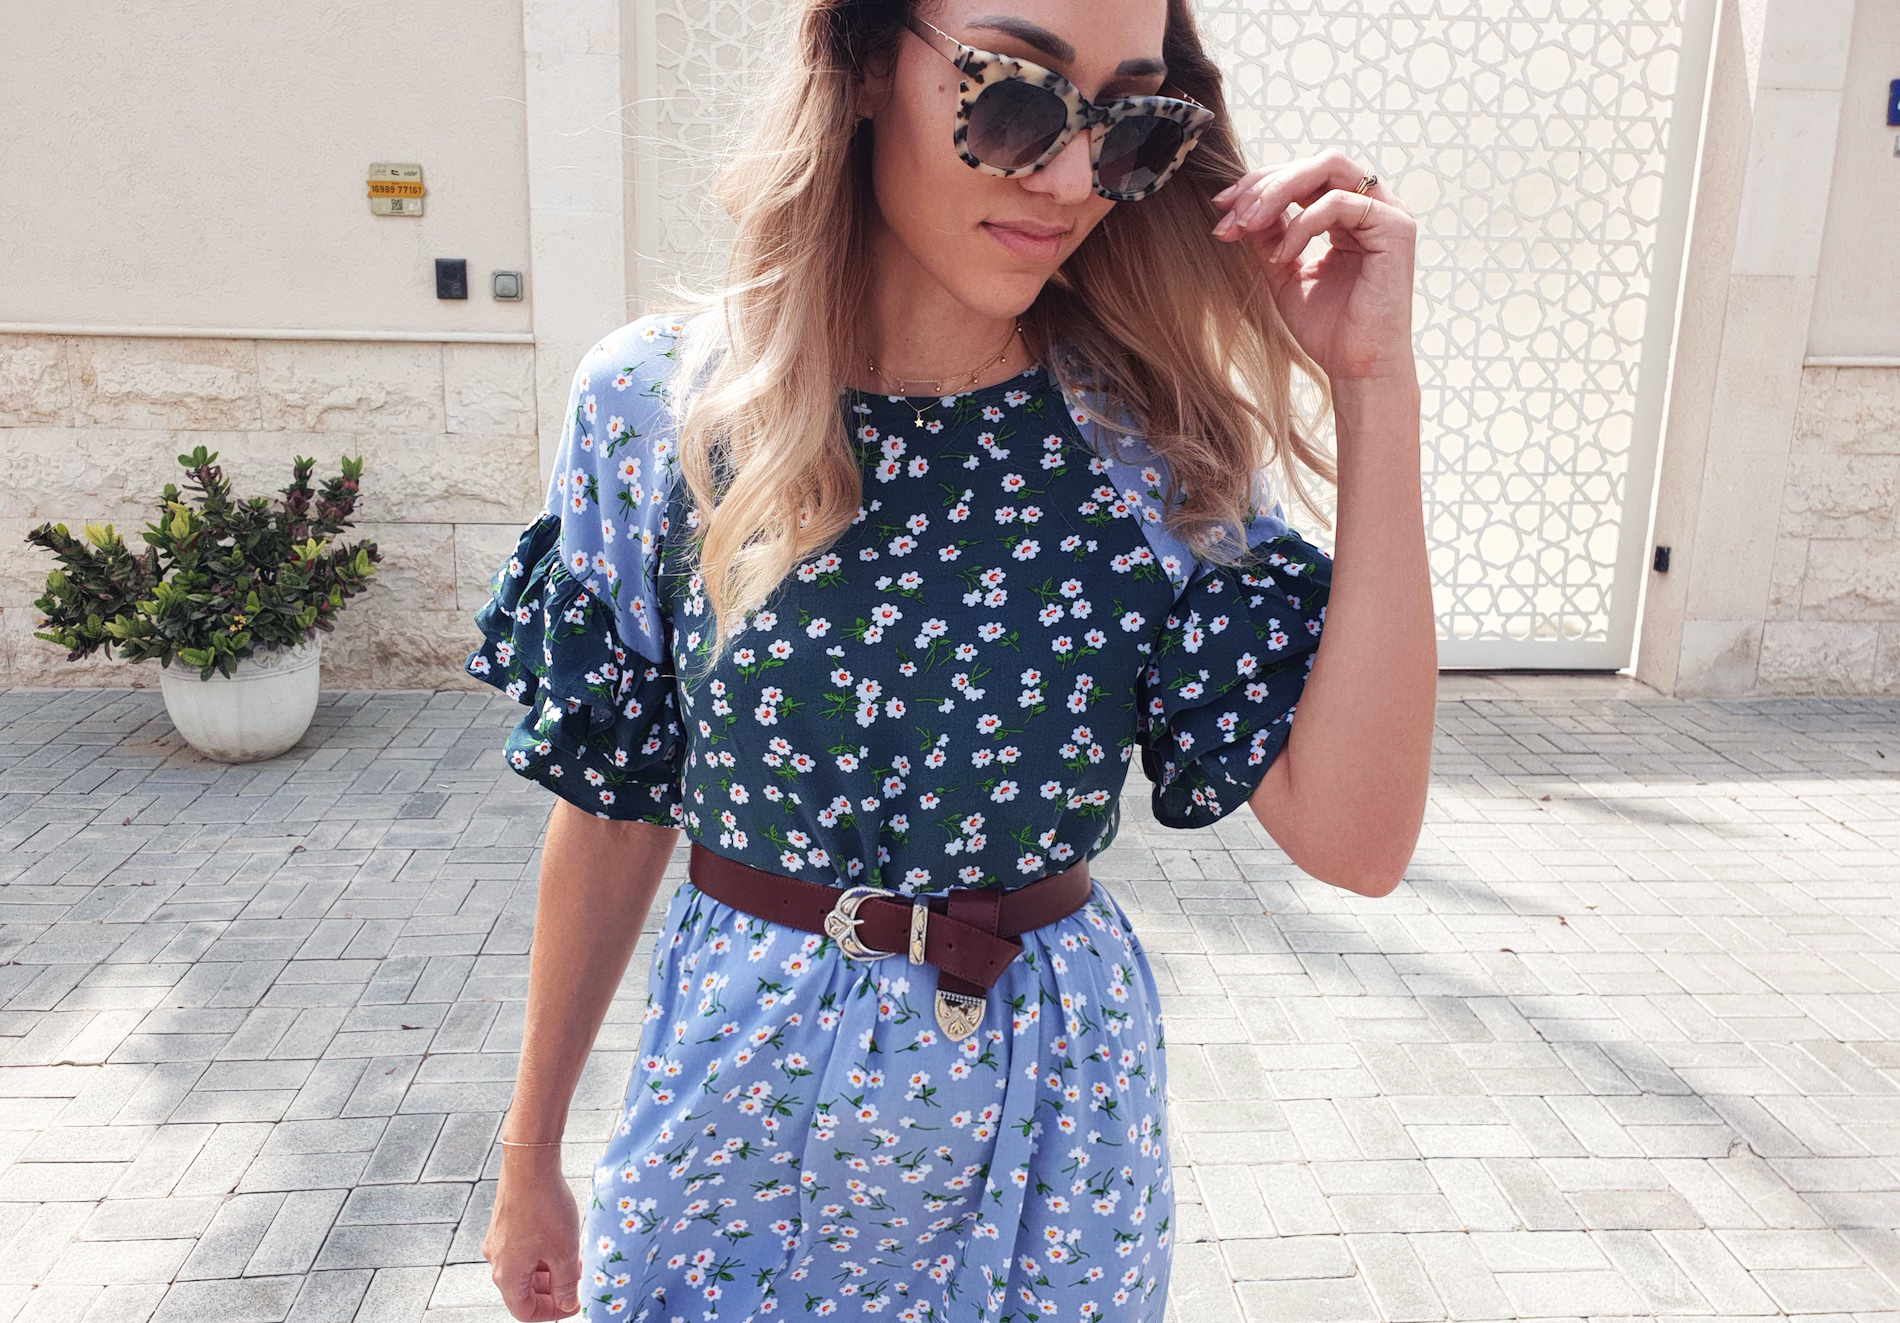
ANYWAY. The other day I was wearing this Dodo Bar Or -inspired tassel dress I made back in 2016. And I went to check out their instagram and sure enough, inspiration was waiting. The plan was to source similar fabrics and to reproduce that dress, but then I found these 2 floral cottons in my stash. If I'm honest, I don't think it worked as well with this print. Somehow the floral puts out a bit too much Little House on the Prairie vibes for my tastes, the prints on the original are more fresh. BUT, I think there is a way to make the most of this situation: Scissors. I'm pretty sure with a short hem this will all come together. I figured I'd still photograph it the way I initially made it. Do you agree?
Tutorials take a lot of time & effort to create, and I choose to make mine available for free. If you enjoy this guide, you can support me with a donation that feels right for you, here.
TOOLS:
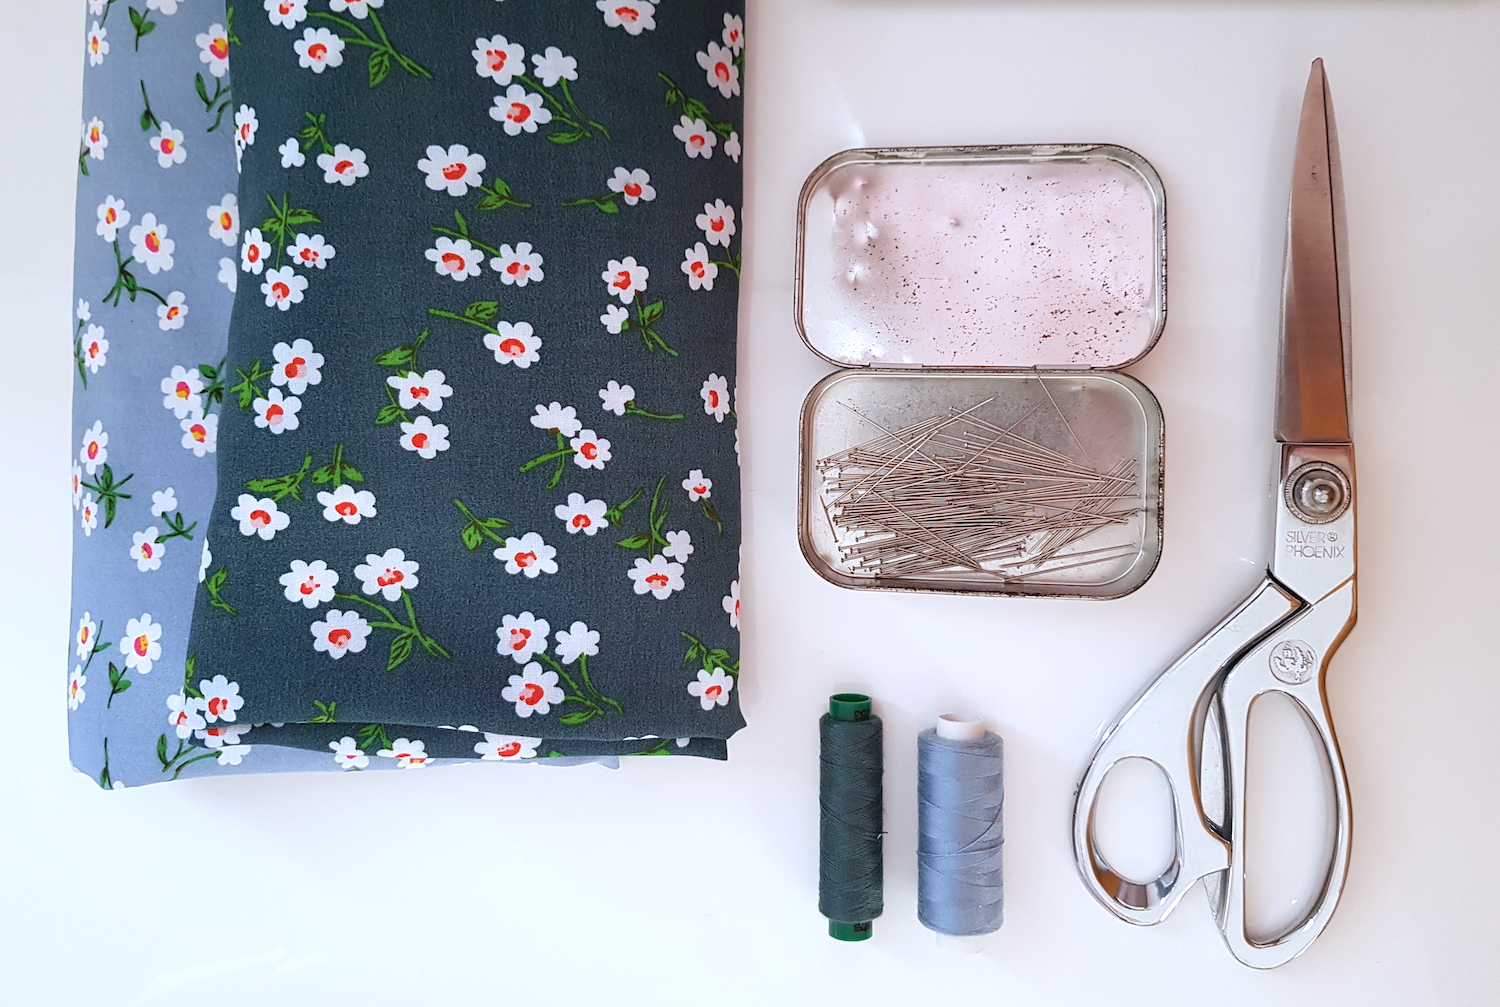
Fabric, 2 tones, 1.5 m each - full width (I used 100% Japanese cotton) | Scissors | Pins | Thread & Sewing machine | Not pictured: used bias tape to finish the neckline
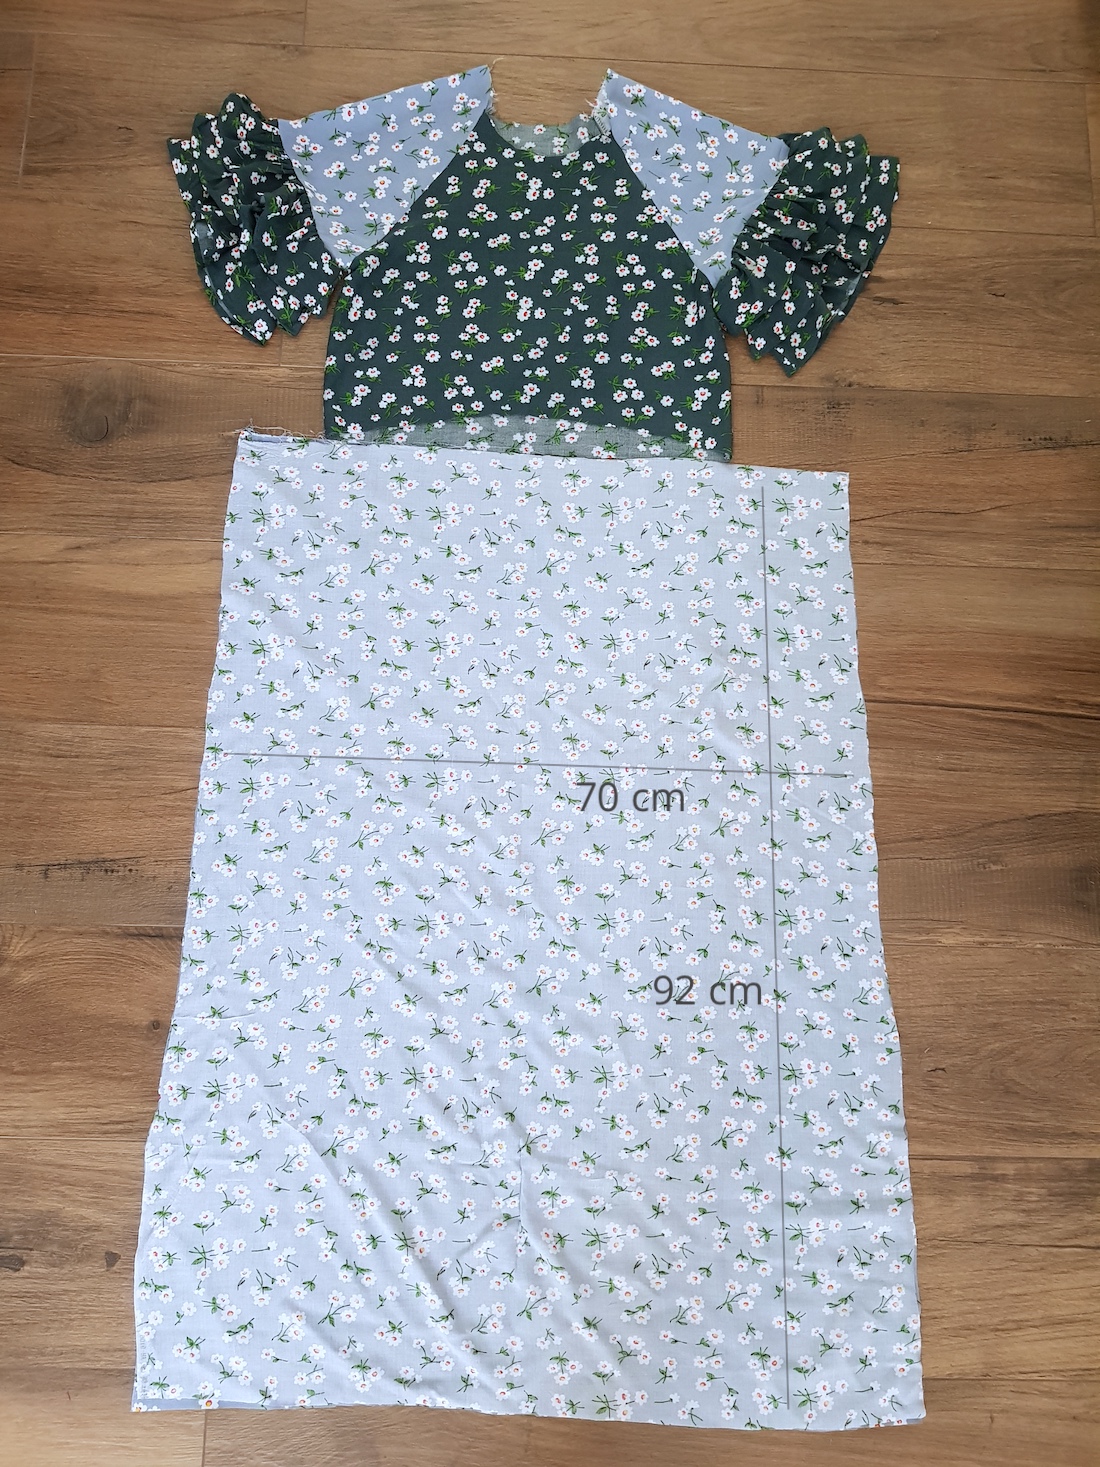
I. For the top, I just did a remake of the top on this dress here, with slightly shorter sleeves, and minus the keyholes.

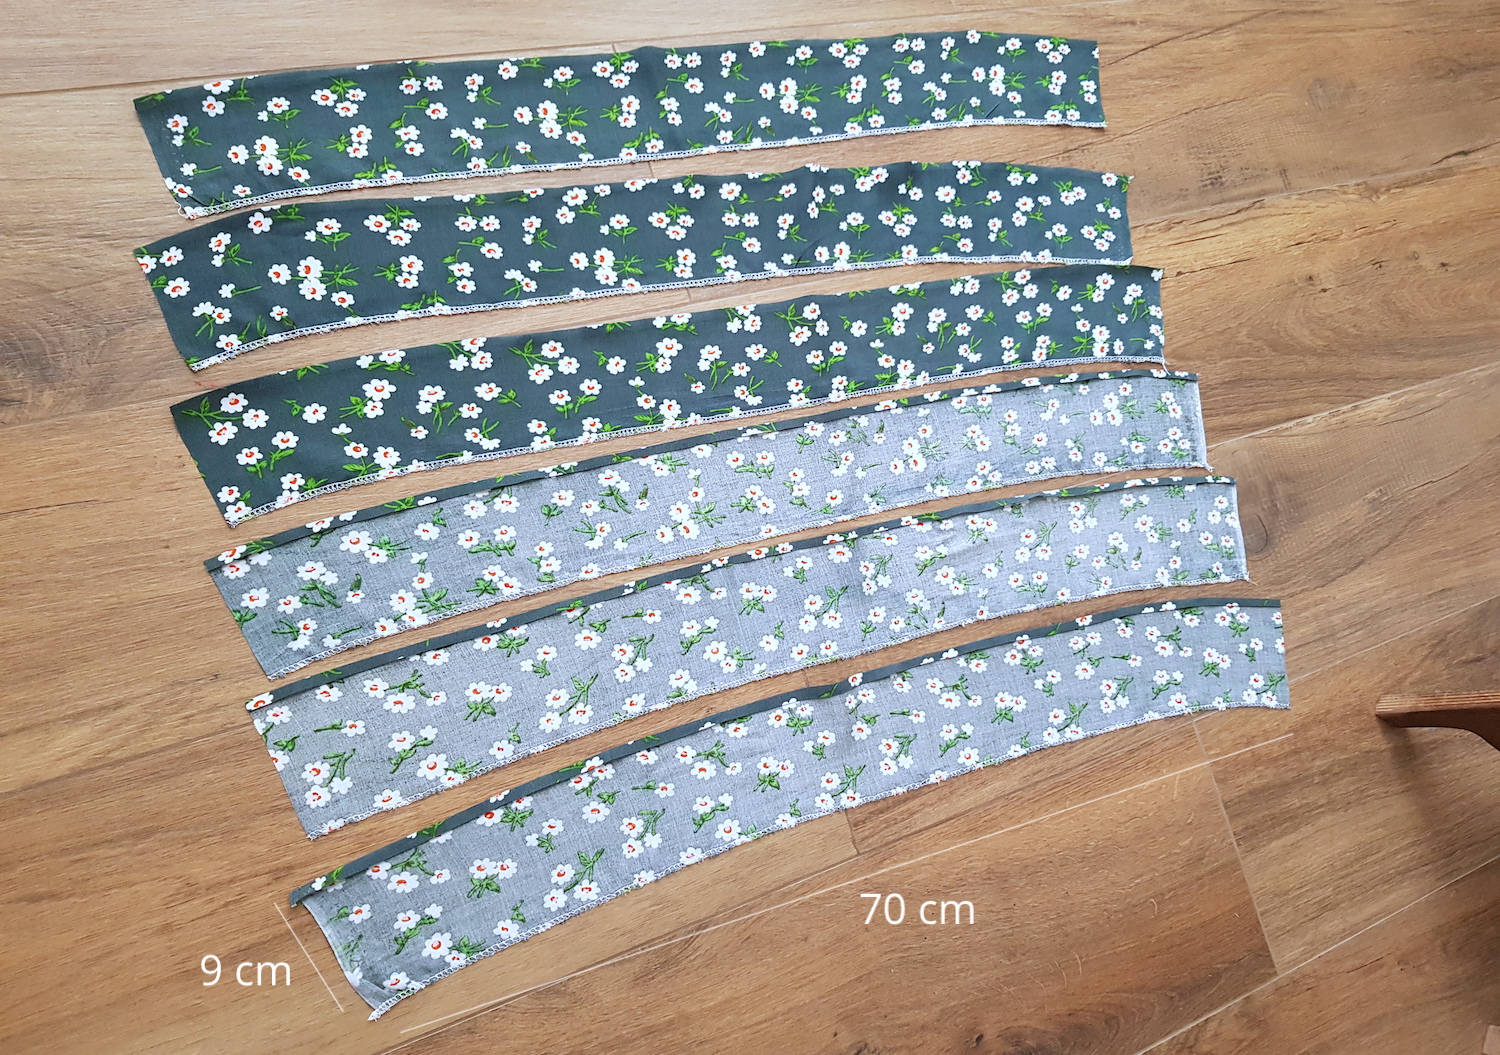
II. Then I cut my sleeve ruffle pieces. Just cut 9 cm wide bits along the entire fabric width and clipped them in half. Then finished the long edges: one with my serger, and the other by just pressing a narrow 0.5 cm double fold (not sewing it yet though). Pressing at this point is super easy, and makes it so easy to hem the ruffles later.
Confession: I finished the sleeve hem with a stitch in the wrong colour, since I still had green sewing to do and could not be bothered. Especially since this stitch would be covered by the ruffle.

III. I gathered the ruffles until I had the sleeve hem length..
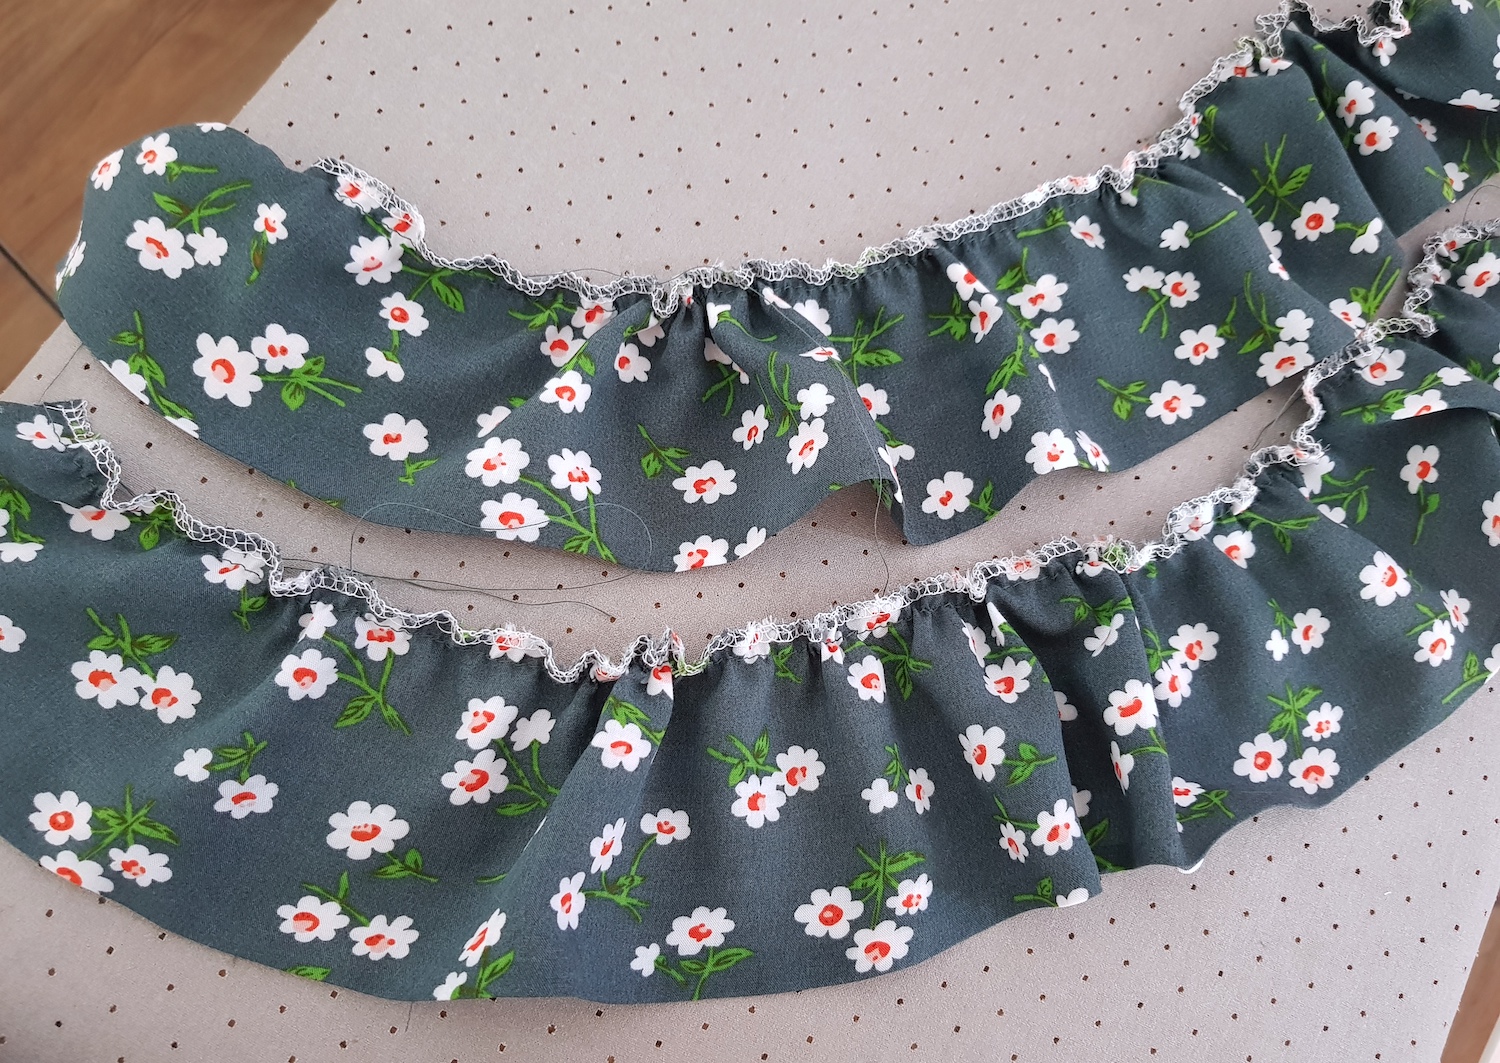
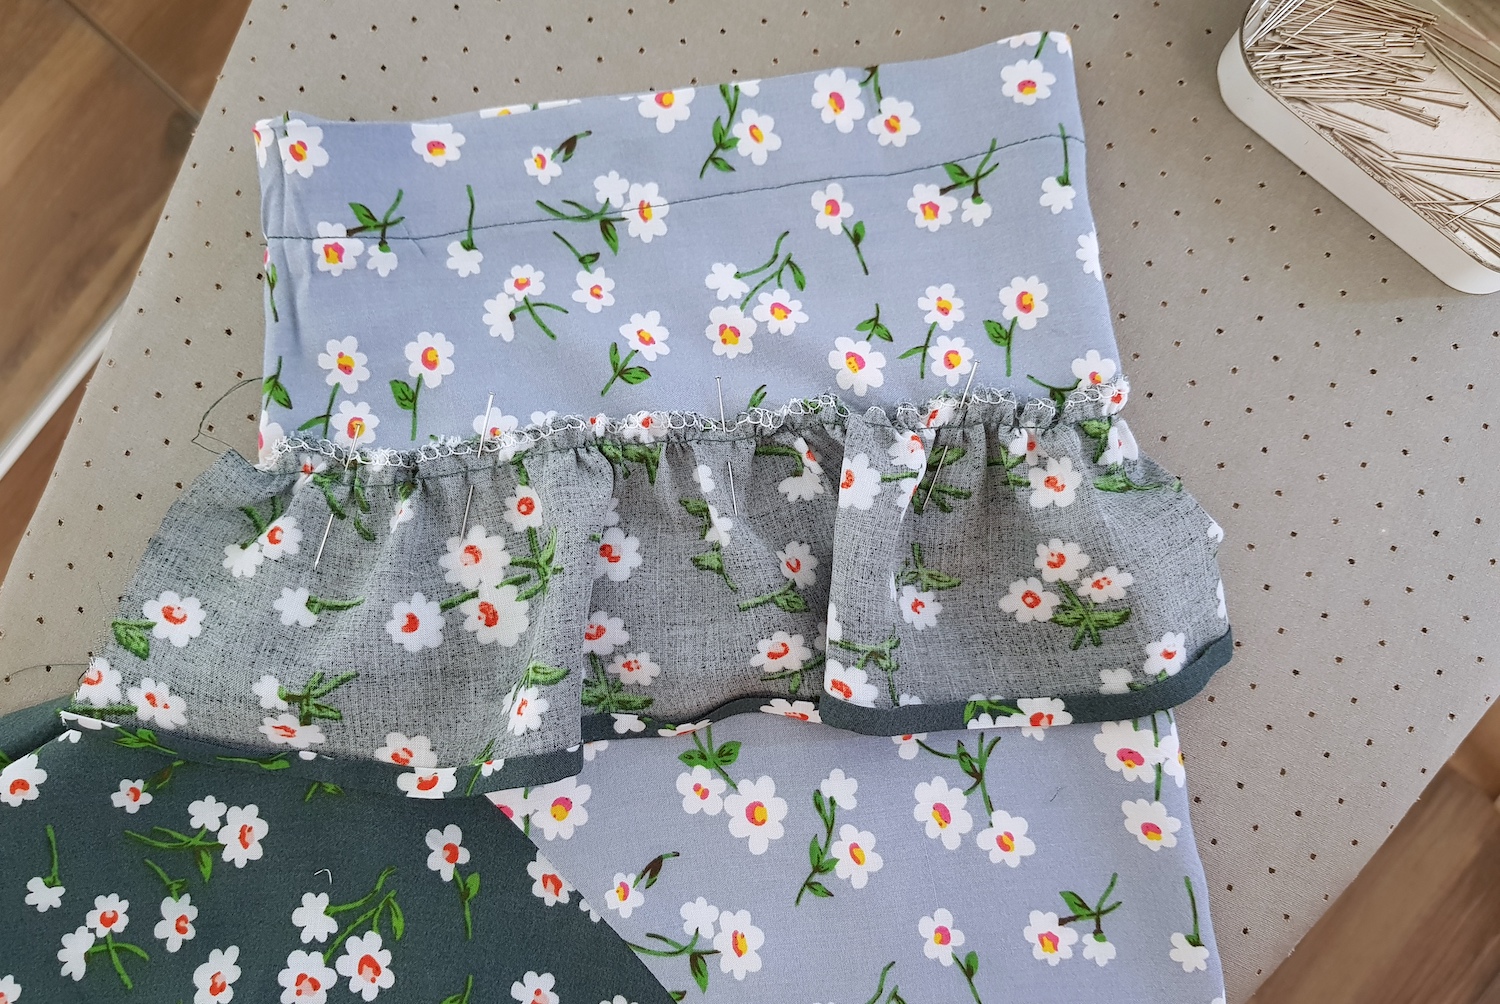

Kept going, pinning the next ruffle in place and sewing it there:
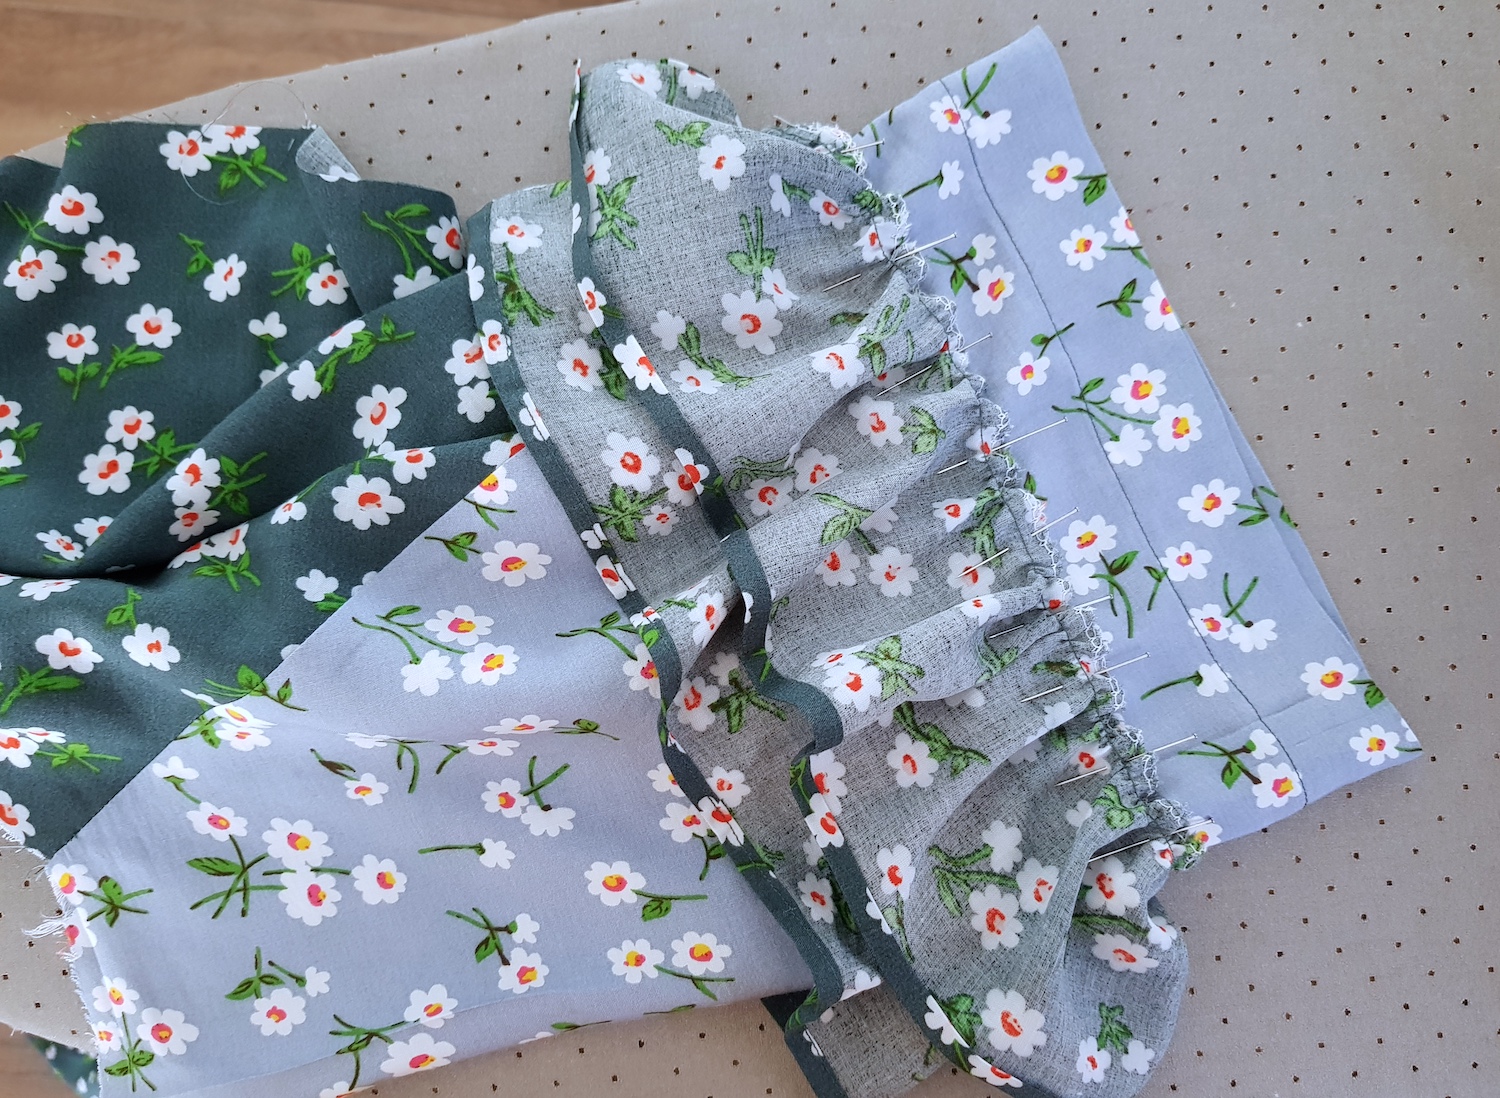
.. Until I had all 3 ruffles attached to the sleeve.

Here's the evidence of pinning lazy - every 4 cm or so, vs. pinning steadily every 2 cm. It's tough to keep track of how straight the ruffle is when you're sewing. Here you can see my lazy pinning on the first one, and pretty much the straight stitch on the second. Luckily on the finished sleeve you could not tell the first ruffle went on a bit crooked.

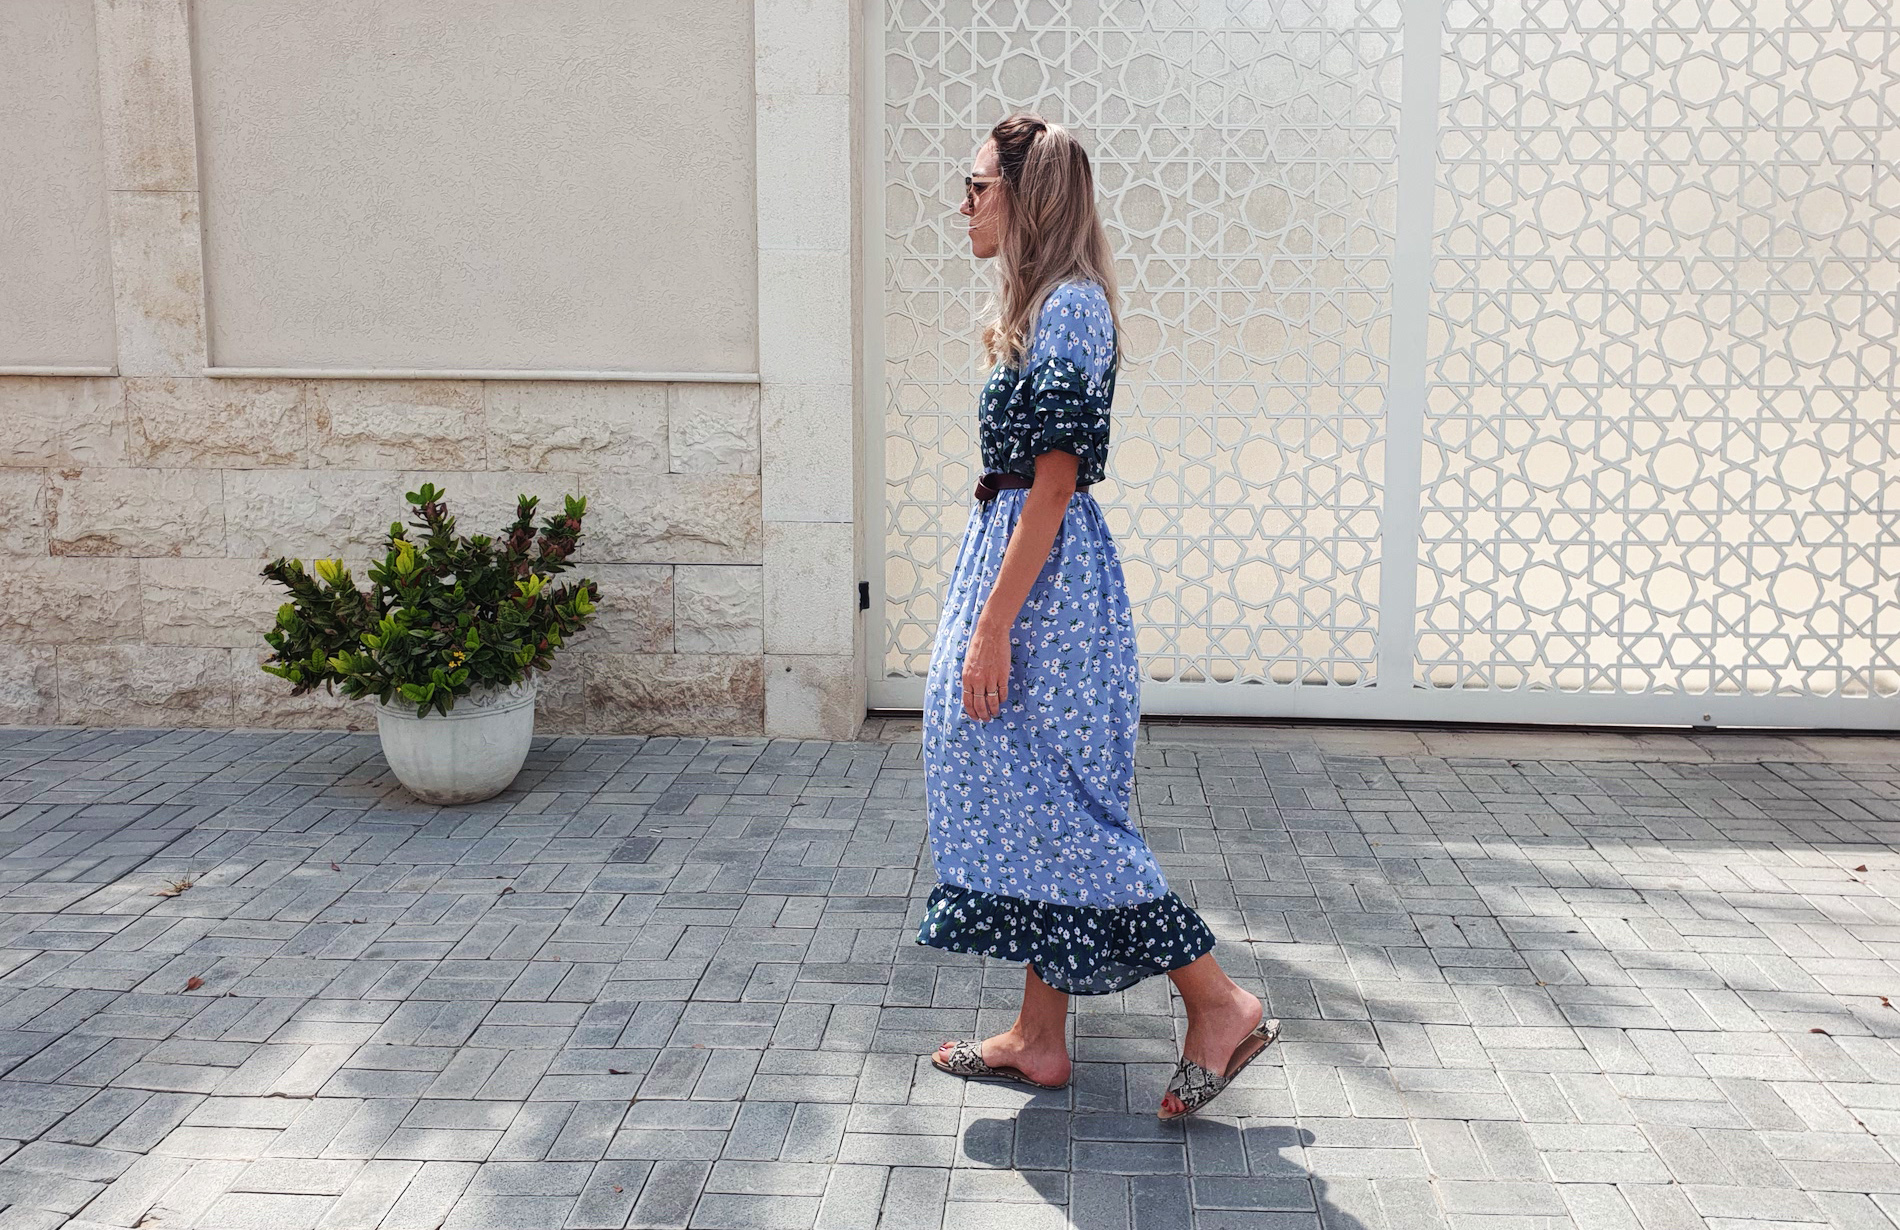
IV. Next up, the skirt part. I just folded my remaining fabric in half, and cut a slight A-line so the width at the waistline was maybe 20 cm more than the width of the top part (I wanted a bit of gather here but not too much). The length here ended up being too much, since I added a ruffle along the hem as well. I trimmed it later.
I gathered the waistline and sewed in place.
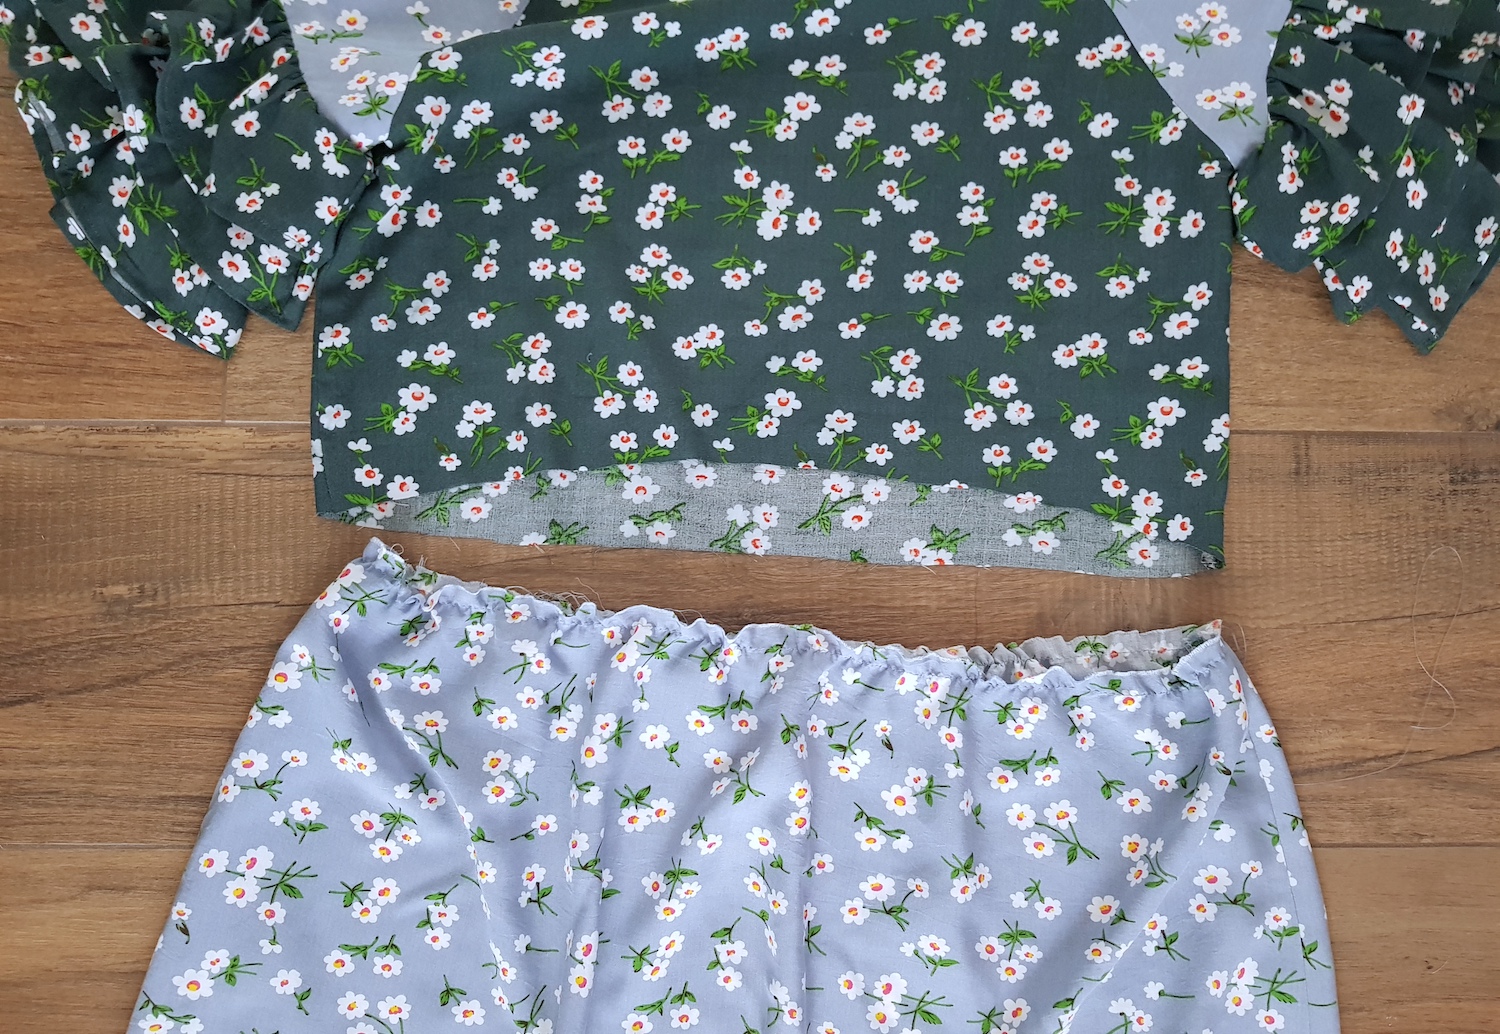
V. At this point I also finished my neckline with some bias tape. And yes I did change thread colour.

VI. And finally added one more ruffle to the hem (1.5 multiplier on the hem length for the ruffle piece).

Like I said... The chances this gets chopped into a mini are high.

xo,
Julia


You did it perfect.
ReplyDelete