

I liked the combination of this fabric and a solid red, and my initial plan was to make a two-tone dress. Until I realized the red fabric bleeds when washed (always pre-wash your fabric kids). So a dress would not have survived a wash.. So did a separate top instead. The random seams you see on the top are because this was another leftover project.. Basically V2 of this one - I was already in shirring mode from the skirt, so I made sleeves with a balloon effect done with shirring as well.
Tutorials take a lot of time & effort to create, and I choose to make mine available for free. If you enjoy this guide, you can support me with a donation that feels right for you, here.
TOOLS:
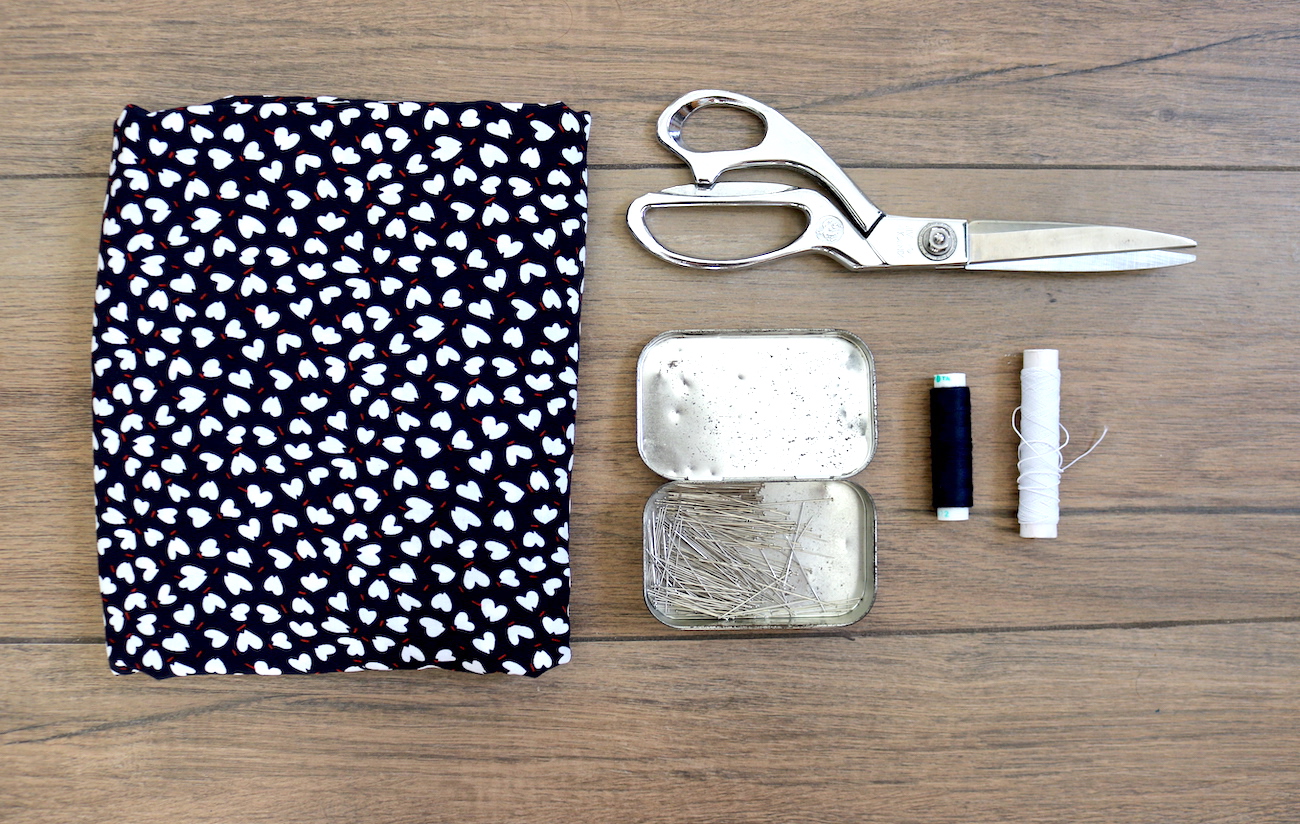
Fabric, 1 m (1.5 m width) | Scissors | Pins | Thread (regular & elastic) | Sewing machine
I. My cut pieces (2 of each, total 4). The piece on the right looks like a rectangle due to the angle, but as you see from the measurements, is actually slightly wider at the hem. I first cut a trapezoid, and then cut it in half along the center to create the straight edges for the slit.


About the top.. I started with a shirred back and non-shirred front piece..

.. Then added as big sleeves as I could cut from the leftover piece I had, and used shirring to gather the sleeves at the neckline + at two spots along the sleeve to create the balloon-esque look.


xo,
Julia


Very cute!
ReplyDeleteCute is an understatement! Love the simple and flowing design paired with the red top! Can't wait to try it!
ReplyDeleteThank you!! if you make one tag me on IG, would love to see!!
Deleteamazimg!!!
ReplyDelete