, and that's how long it has taken me to buy some more elastic thread. Now I have a good stash so some more smocked items are on the way! I used a superlight cotton, leftover from a
I made last year. It felt so wonderful and supple in the store, but I discovered it wrinkled completely from sitting for about 30 seconds, and the material was generally too light for a dress. I ended up giving it away.
BUT here's the pro tip: If you have fabric that wrinkles easily, get ahead of it and make it wrinkle on purpose, with shirring! I'm incredibly satisfied this small scrap piece found a purpose after all. The MIY March Sustainability theme is good for me - So far I've done 3 projects exclusively from scraps!
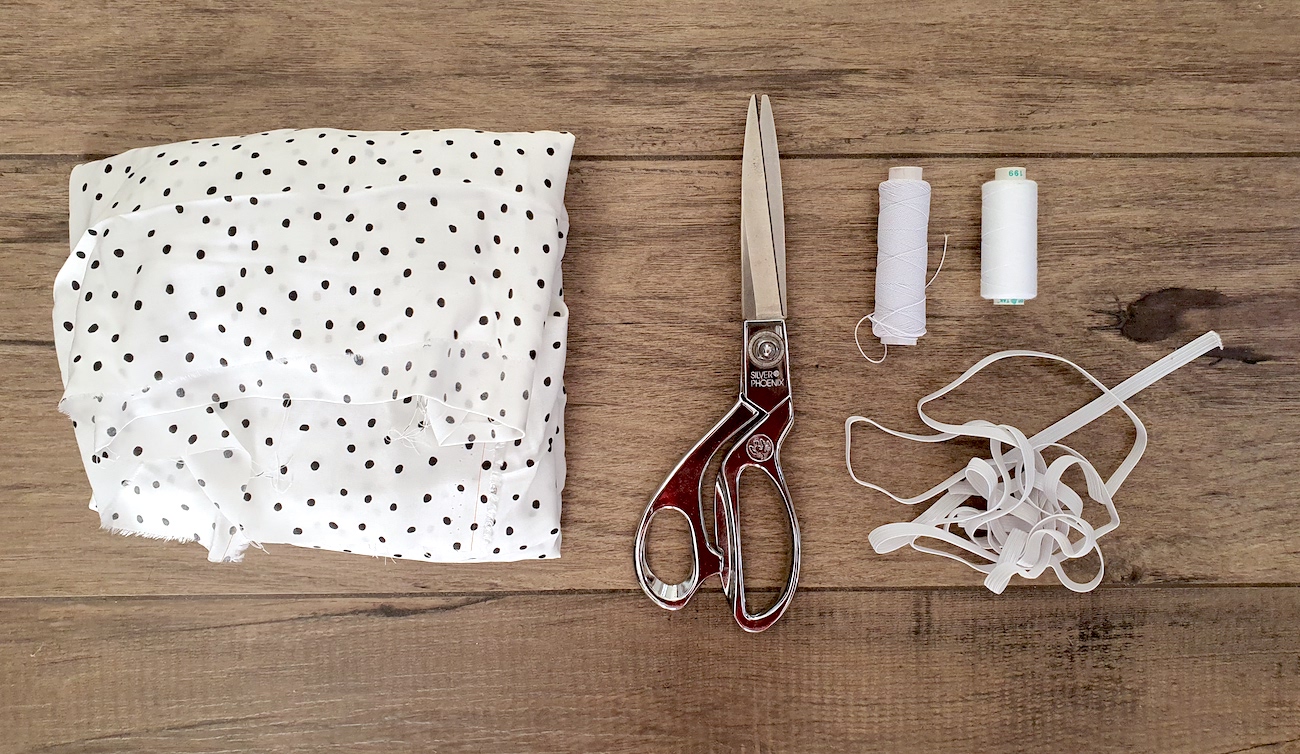
TOOLS:
Fabric, 0.5 m will do | Scissors | Elastic thread + regular elastic | Thread & Sewing machine | Not pictured but I also used some bias tape to finish the arm holes
I. Cut your top pieces. These dimensions resulted in quite a fitted top for my size EU36/US4 - if you want it a bit looser or to size up, add at least 15 cm to the width.
II. First I made a 2.5 cm fold along the neckline and sewed across to secure:
III. Next step was the shirring - all the way through the bodice, leaving as much as you want loose at the hem to create the peplum effect. I've linked to
this video in previous projects - it's super clear if you haven't shirred before. Also, if you're on Instagram, @alissahthreads just recently posted a crazy sewing marathon where she walks through shirring in detail, check it out
on her page in the "LYD pt 1" story.
IV. After the smocking was done, I sewed the side seams of the top:
V. And then the arm holes. I finished them with bias tape by first pinning the tape on the right side (both ends folded as shown), sewing along the opened fold...
.. And then flipping onto the reverse, folding under itself and sewing again to create a clean finish.
VI. Last bit was the straps. I cut two pieces, 12 cm by 70 cm or so:
Folded right sides facing, sewed along the long edge, turned right side out and pressed (leaving both ends open). I had to line my straps because my fabric was fairly sheer, and I wanted the dot print to be crisp.
I was first going to do shirring on the straps as well, but at this point decided to use regular elastic to make a bouncier frill detail. So I first tried the top on, measured my required strap length, and cut 2 pieces of elastic in that length (for me 38 cm). Then I inserted the elastic with the help of a safety pin inside the strap, pulled through until the elastic was about to disappear inside the strap and sewed the end in place there in the middle of the strap end. Then continued pulling the elastic all the way though, sewing the other end at the end of the strap. So I had a strap with the elastic inside, secured at both ends.

Next is my trick for pinning fabric along an elastic evenly, before top-stitching. I first pin one end to my ironing board (with several pins so it's very secure), then stretch the piece out until the fabric is fully extended, and pin the other end to the board. Then I can pin the length of the piece to the elastic (I like to put a lot of pins to make sure it stays evenly distributed).
After that, I take it to my sewing machine and - stretching the fabric out to its full length as I go - sew over the elastic. This is the result:
VII. Next I just needed to attach the straps to the top. I first sewed them like so along the last shirring stitch:
And flipped them upwards to cover the seam allowance, and hand-sewed all around.
Final step was a quick double-fold along the hem. Looks hilariously small when not worn😄
xo,
Julia


Thank you for putting in the measurements! It helps a lot especially for those beginner out there like me
ReplyDeleteHi Julia! I want to try this and am going to add width. Do you add it to top measurements as well?
ReplyDeleteshould I keep the arm measurements (10cm x 10cm) the same? Thank you!
When adding width, add it consistently across all measurements - not sure how much you want to size up, but let's say you do 80 cm wide top pieces, you can cut the arm curve along a 13 cm wide area.
Delete