

I've been sitting on these white curtains I got from a secondhand shop since last summer, and on New Year's Day I was feeling ceremonial enough to sew something all-white, to symbolise the start of a fresh era. I wasn't really sure where this was going as I was making it, but it turned out pretty nice in the end! You could also make this as a top by cutting the 'skirt' part short.
Tutorials take a lot of time & effort to create, and I choose to make mine available for free. If you enjoy this guide, you can support me with a donation that feels right for you, here.
TOOLS:
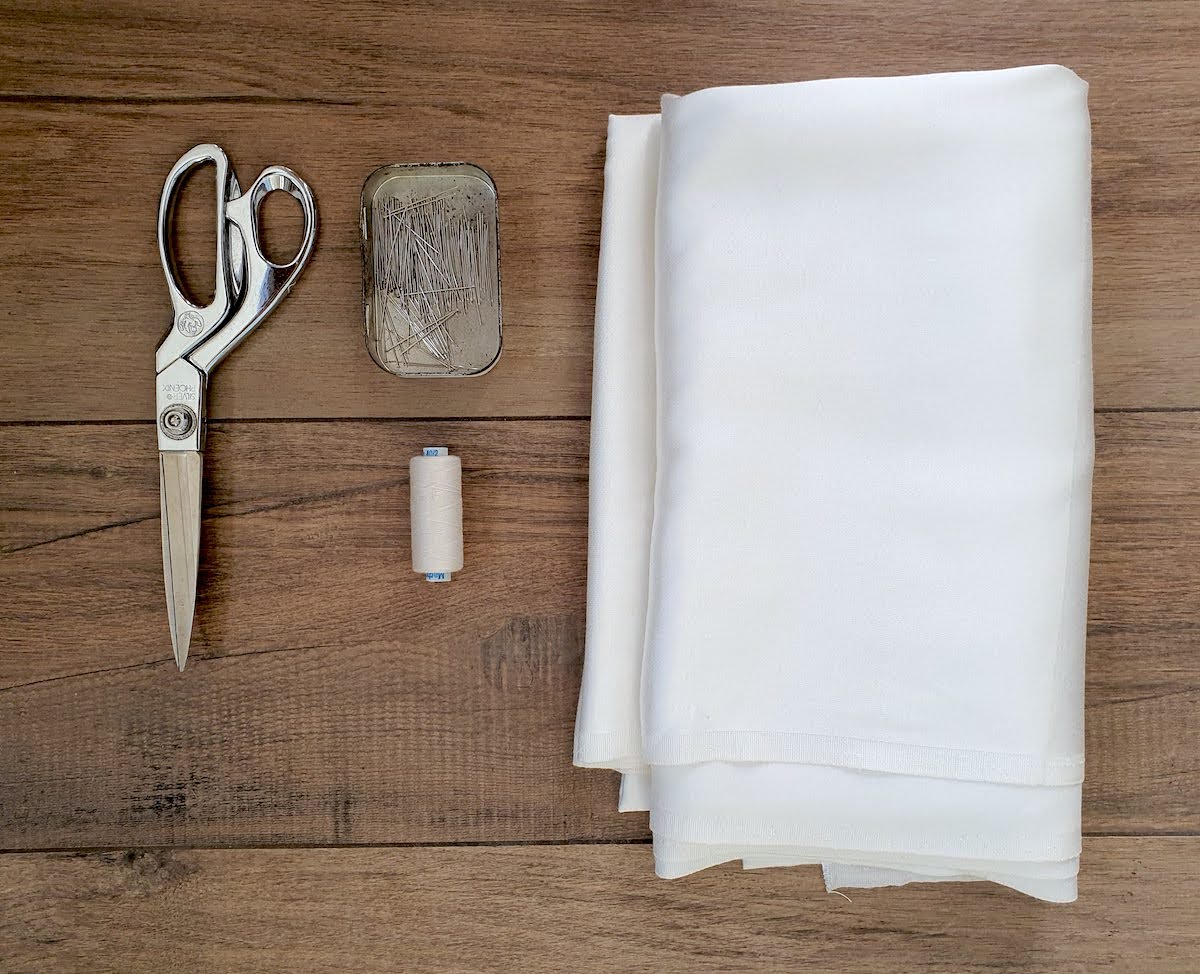
Fabric, 2.5 m (I used a 112 cm wide curtain in med-heavy cotton with good drape - could be a variety of materials, from cotton/poplin to a flowier kind like crepe or silk) | Scissors | Pins | Matching thread & sewing machine (I also used my serger but zig-zag would do) | Not pictured but used: small piece of lining fabric (or use the same fabric as for the dress) + Elastic to go around your bust
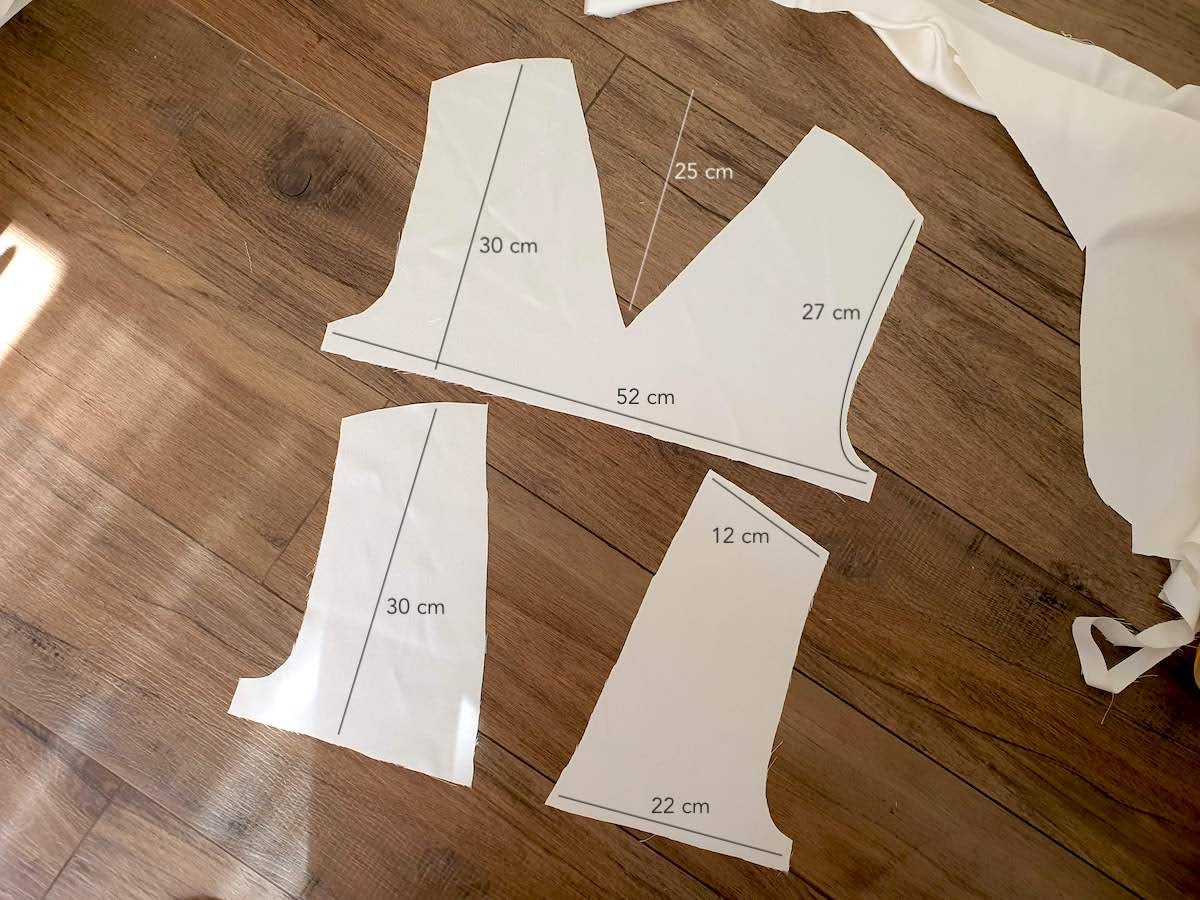
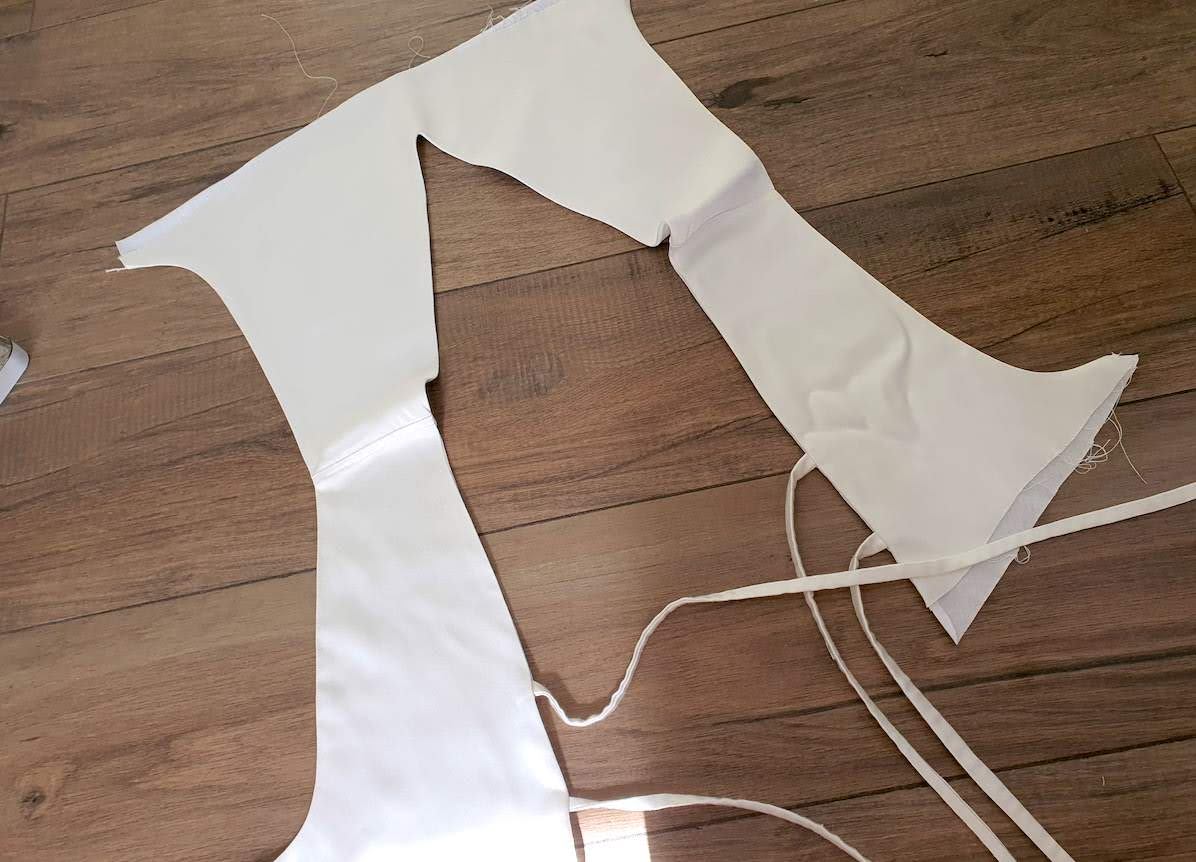
I. Started by cutting my top pieces - I'm a EU36/US4, these measurements would work for a size up from that as well.
II. Sewed the shoulder seams - pinned right sides facing & did a straight stitch, finished seam allowance with my serger, and sewed the seam allowance flat on the right side for a sort of fake flat felled seam:
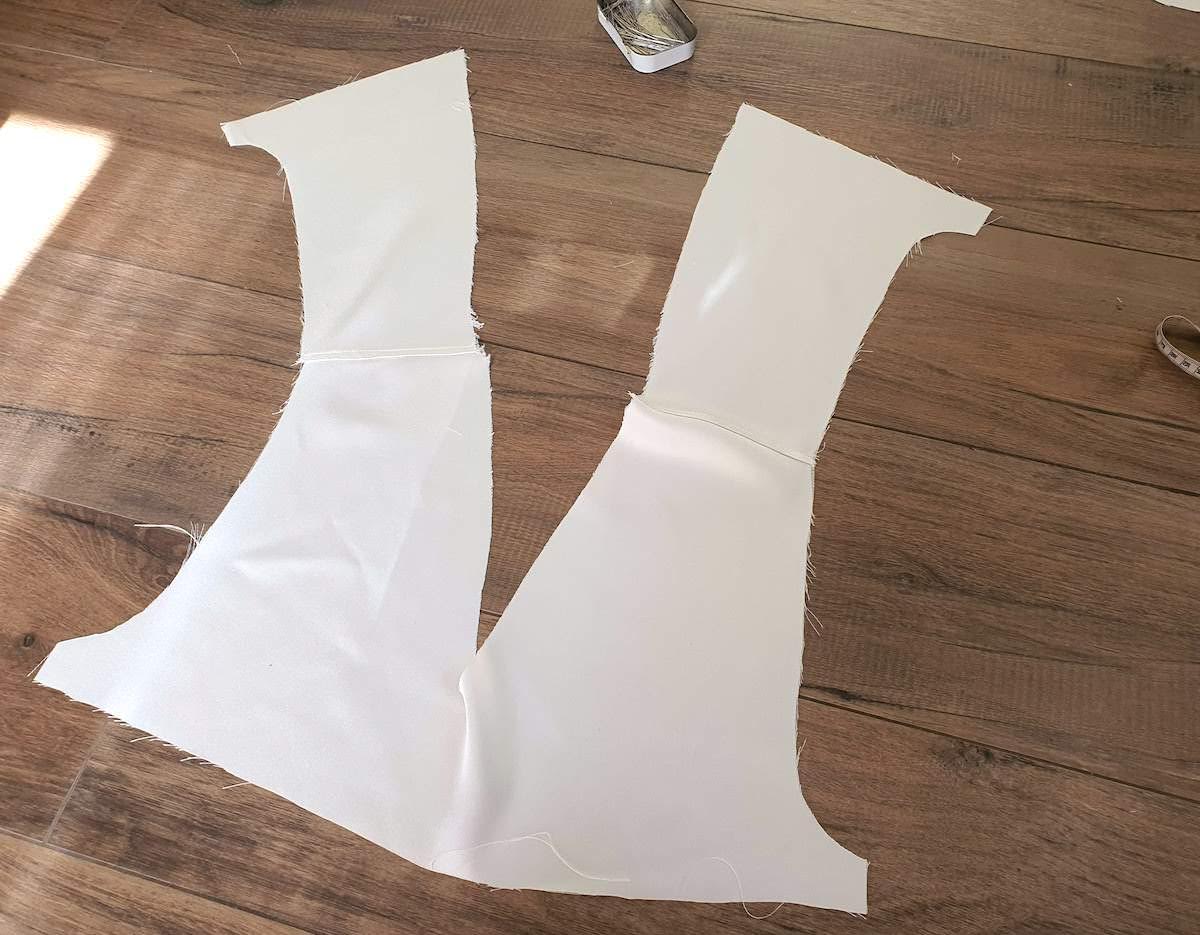
.. And then cut a copy from my lining fabric (I used a light jersey which I cut from a pillow protector.. And sewed the shoulders on that too.

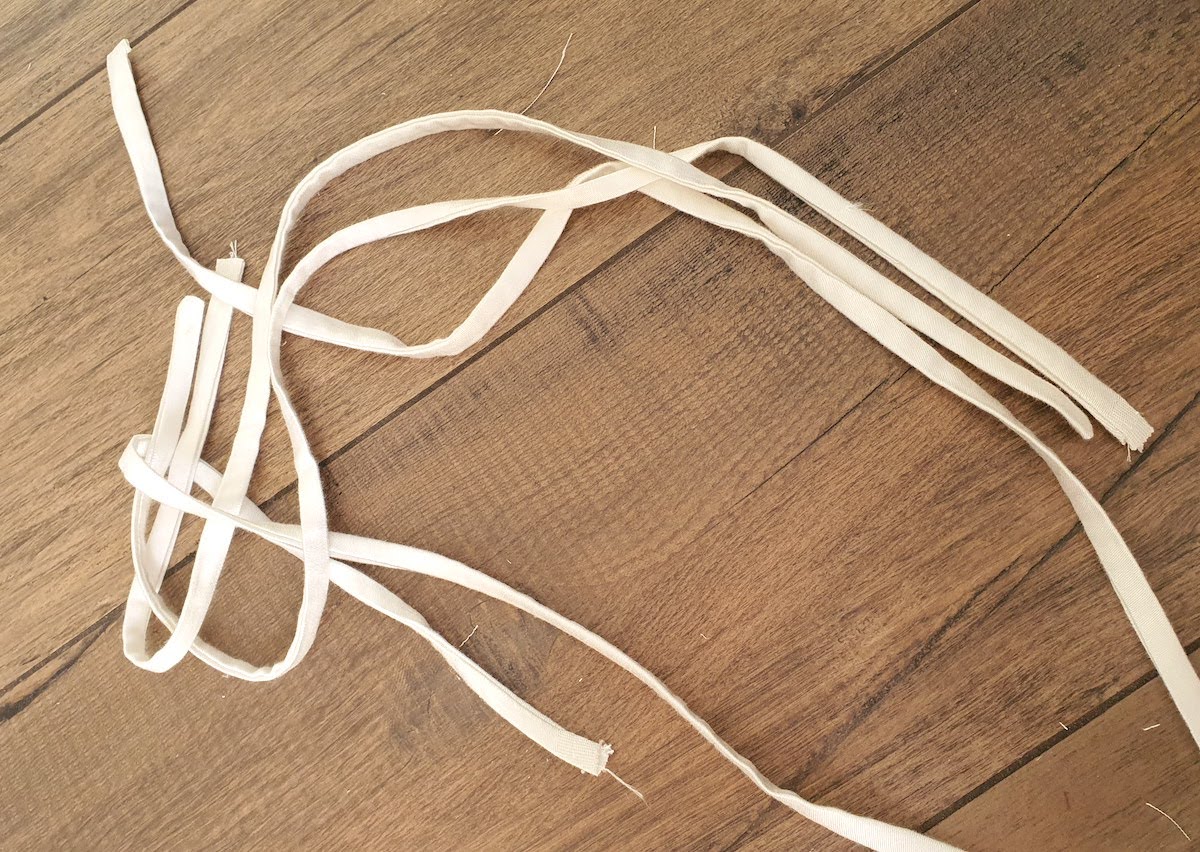
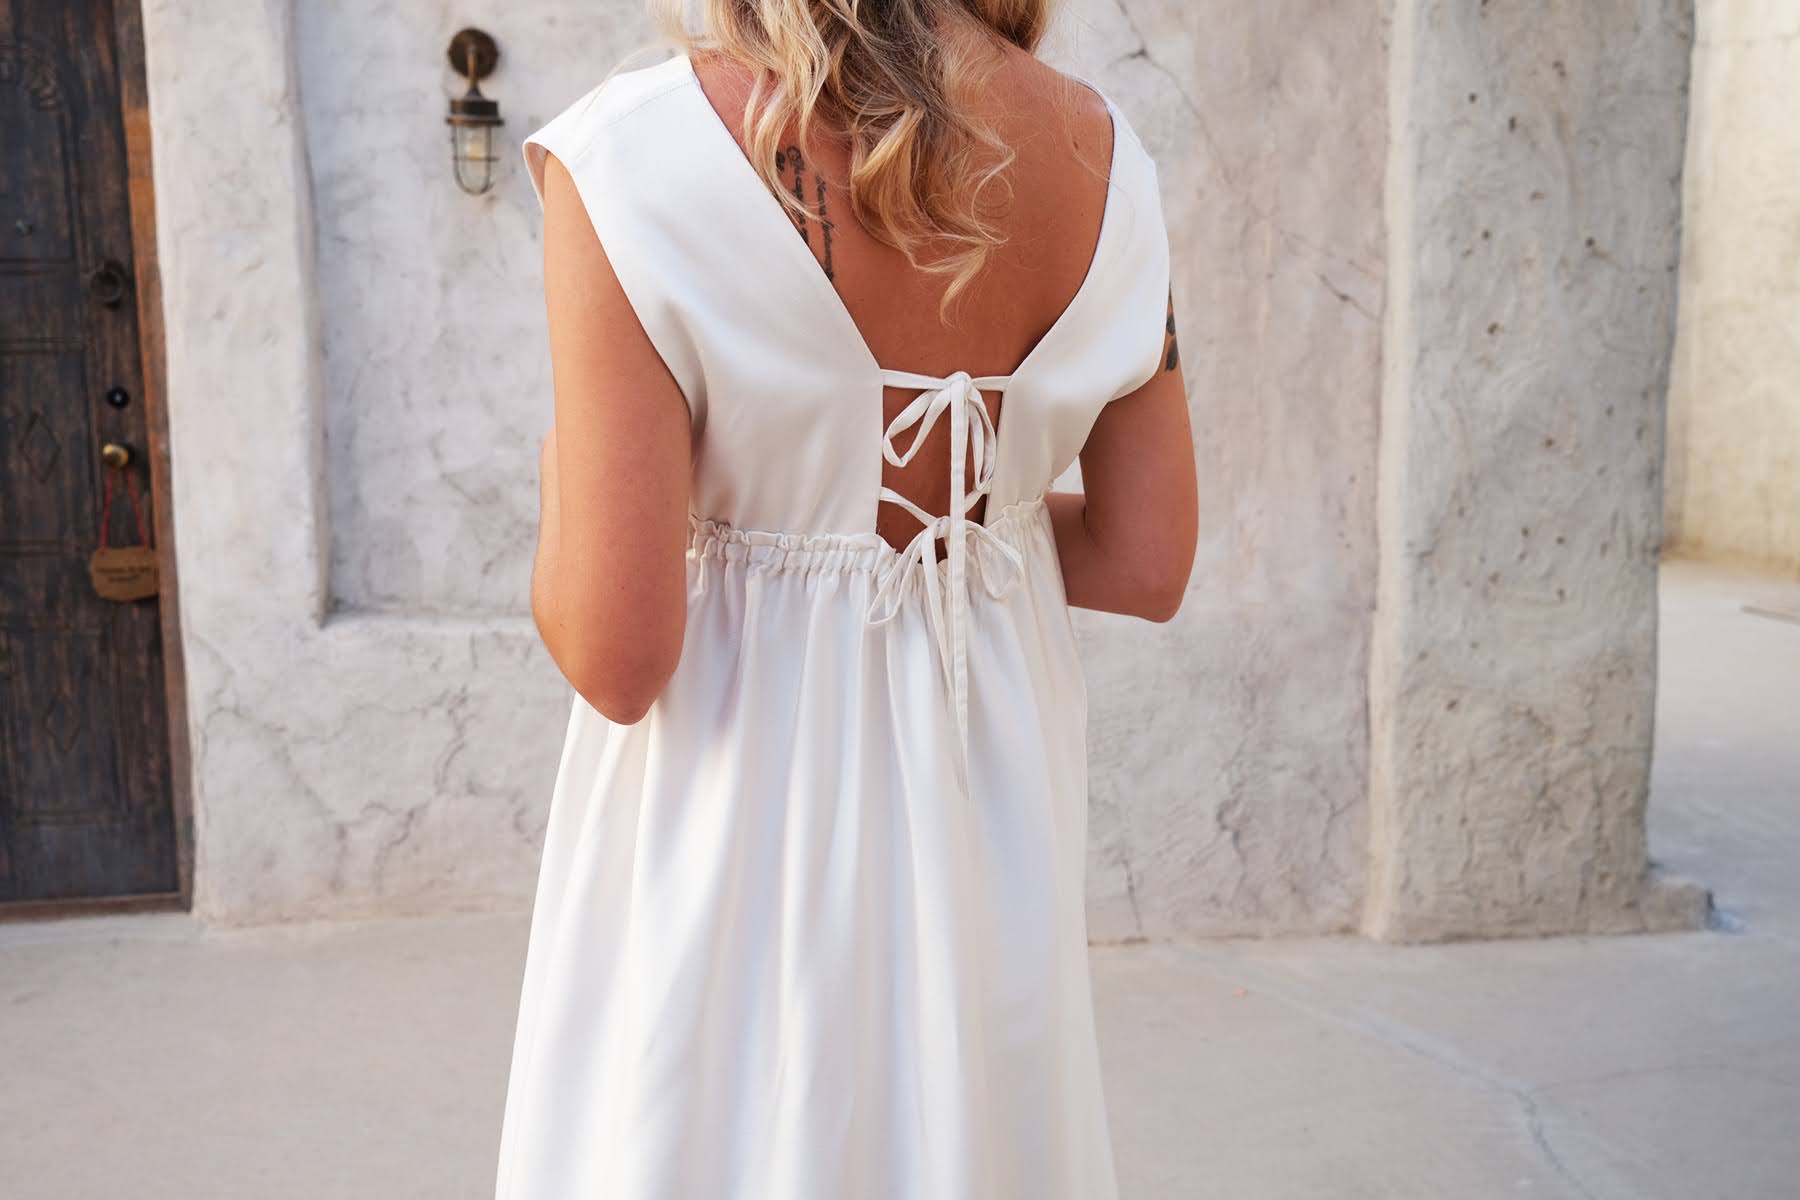
III. Next I made 4 straps for the back, about 65 cm long each, using this method.
IV. Then attached the straps to the back of the top - I put the upper straps 20 cm down from the shoulder line. Just stitched them in place as pinned below..

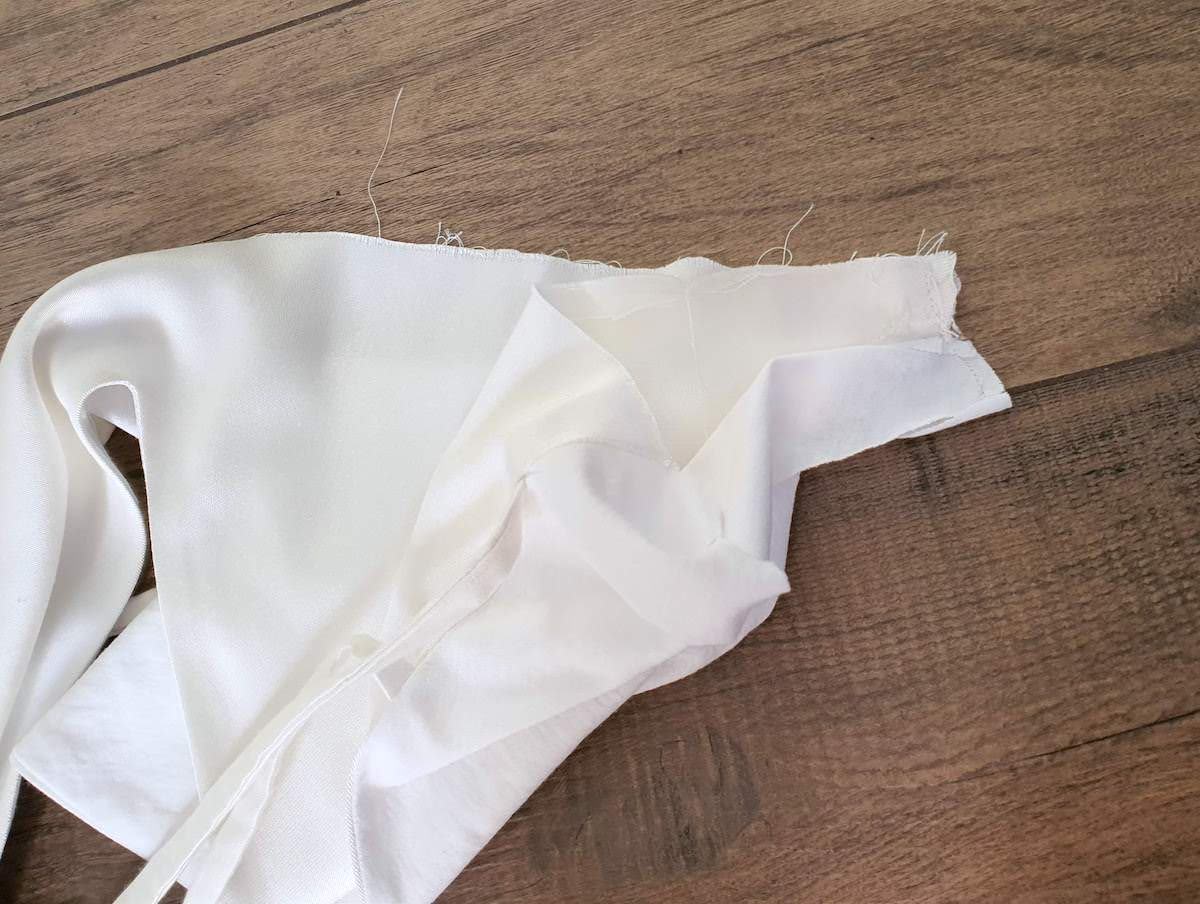
.. Then pinned the lining to the top, right sides facing, first sewing the neckline..

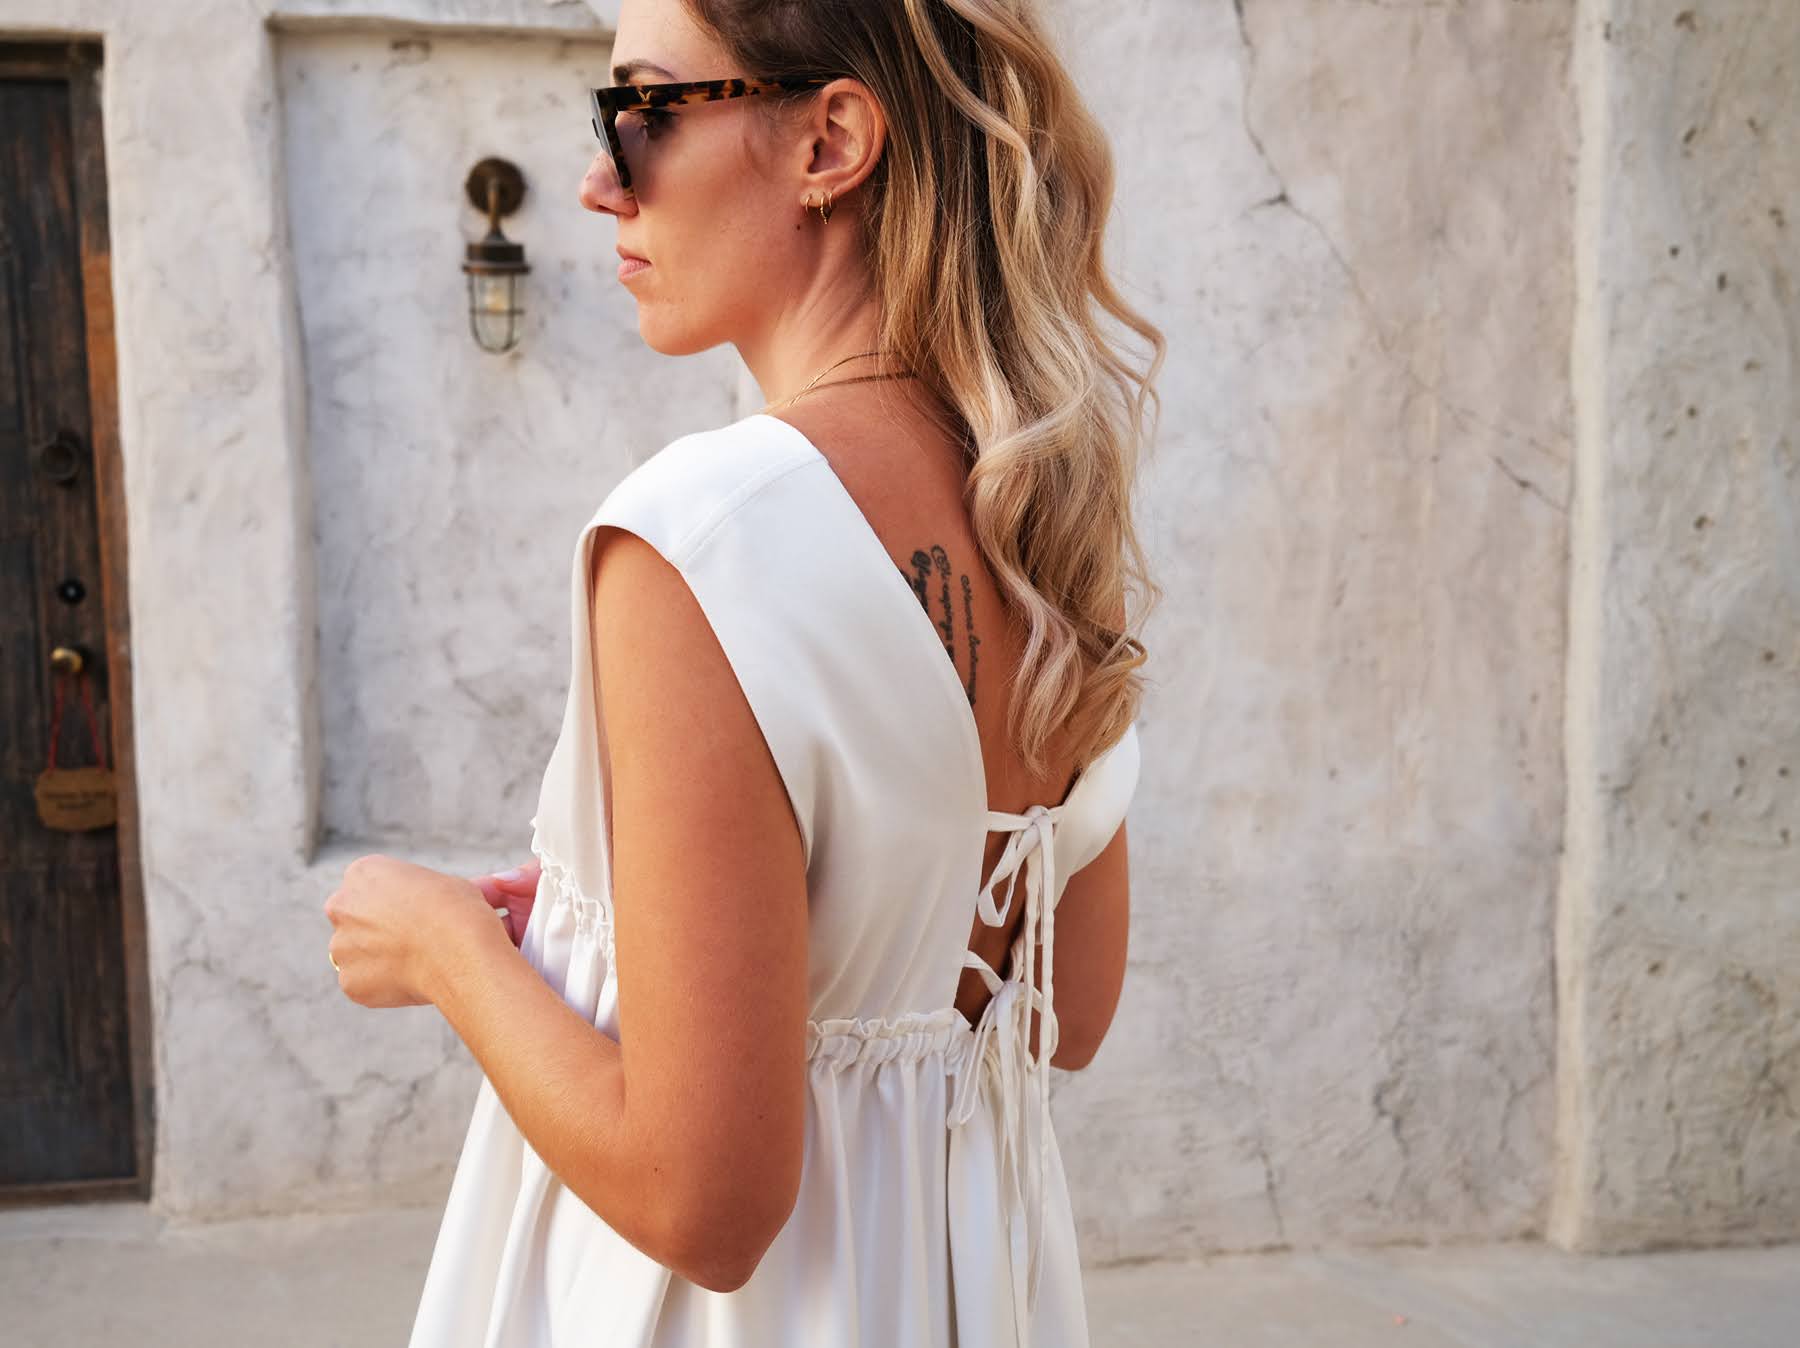
.. Then pinning the arm holes too and sewing those. At this point I also took the shoulder line in a bit at the sides, ending up with 11 cm or so as the shoulder width.

V. Next I turned the top piece right side out by pulling the back pieces through, and pressed the whole thing.
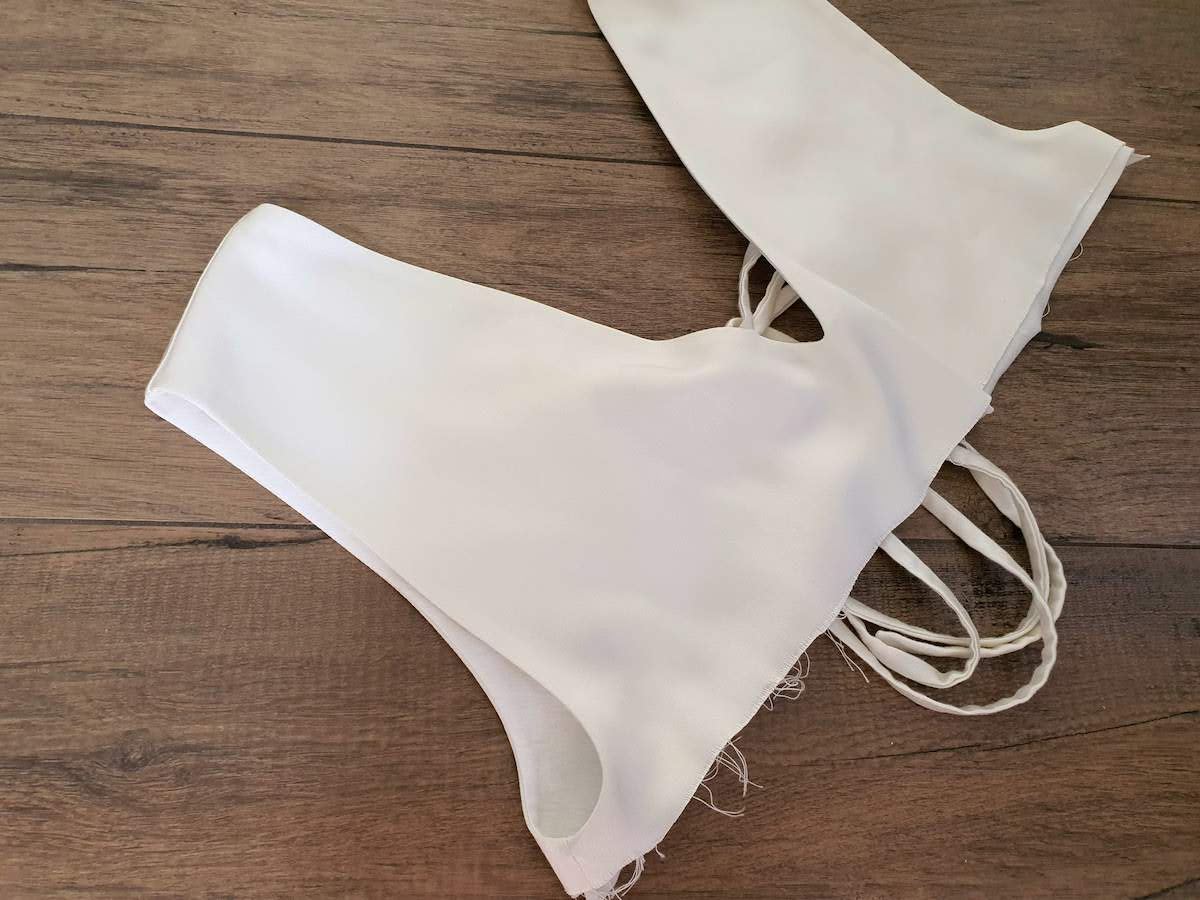
VI. Last bit to finish the top was to place the sides together, right sides facing (making sure you align the seam where the right side meets the lining) and sew..
.. And you'll have a clean finished top:
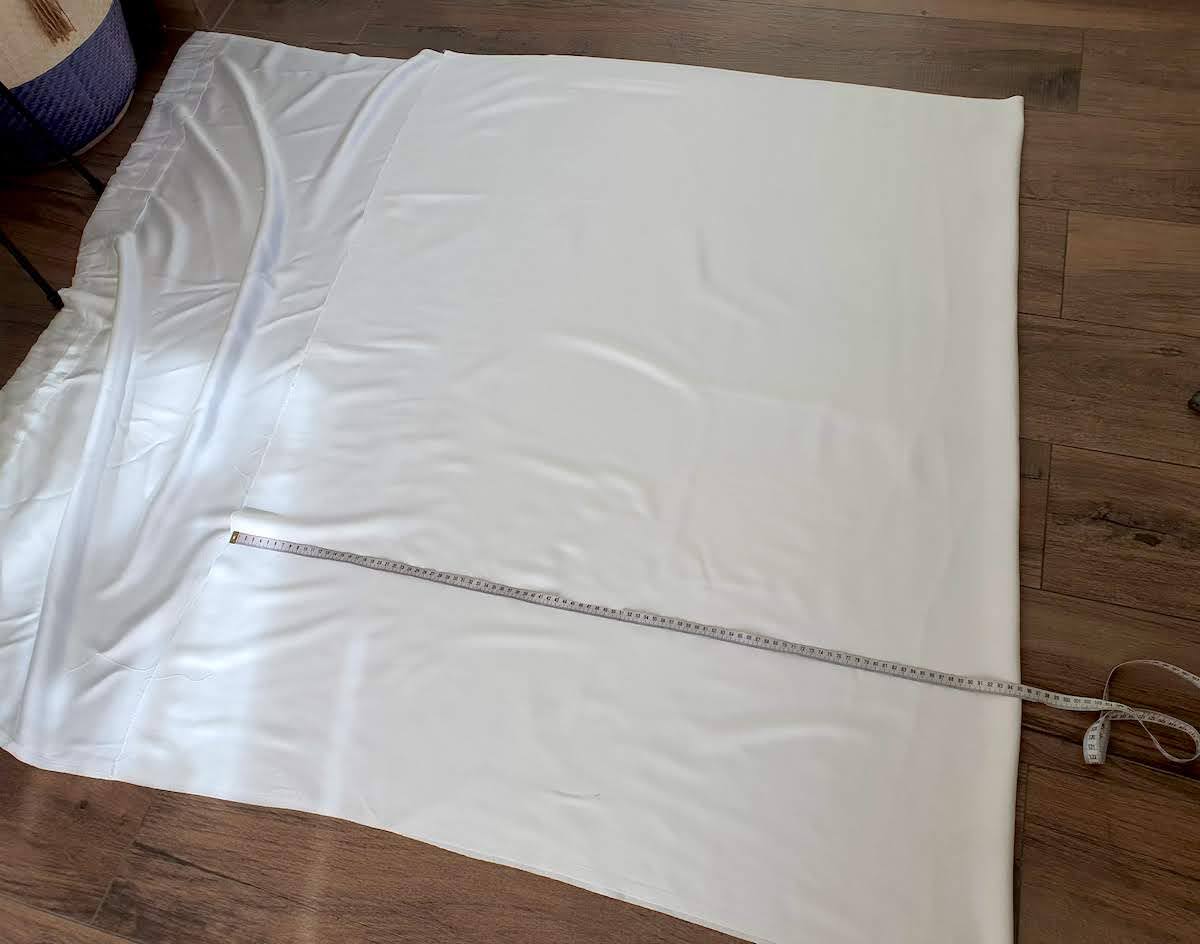
VII. Onto the skirt part. I first folded my fabric in a rectangle of 95 cm wide, 112 cm long. I cut it as a rectangle, but had to take it in a bit to create an A-line later.. so I could have cut it at 80 cm or so at the top, 95 cm at the bottom at this stage already.
VIII. Anyway, went on to sew the long rectangle together to create the back seam, and then did a double fold just a bit more than twice as wide as the elastic I was going to use. Pressed that in place..

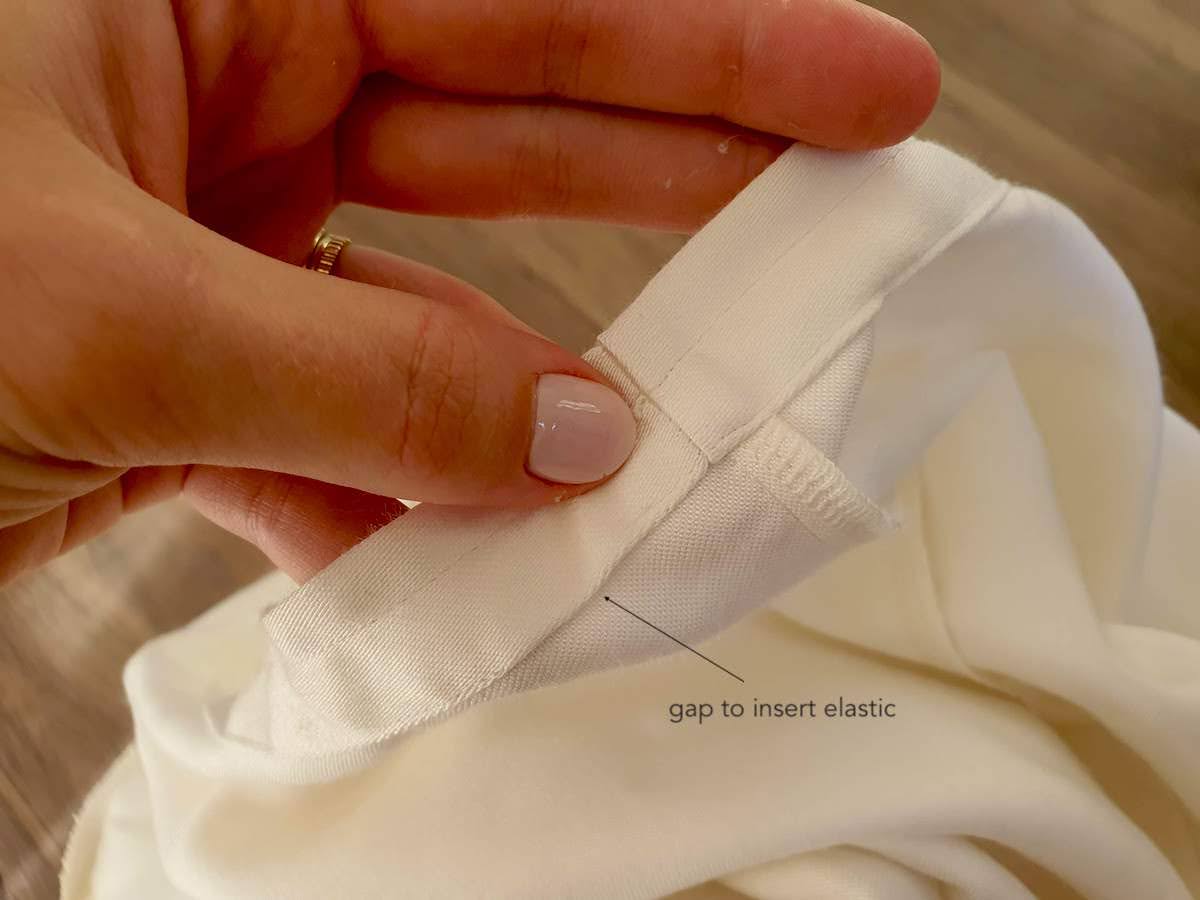
.. Then sewed two stitches around, creating a casing just a bit wider than my elastic.

.. And remembering to leave a gap in the lower stitch to insert the elastic from.
IX. After cutting an elastic the same length as the circumference of the top hem (unstretched), and inserting it into its casing on the skirt, I realised I had too much fabric being gathered.. it was just too heavy. So I trimmed off around 15 cm from the back seam, at the same time securing the elastic in place. You could also gather using a non-elastic ribbon, I just like the ease of elasticated gathering.
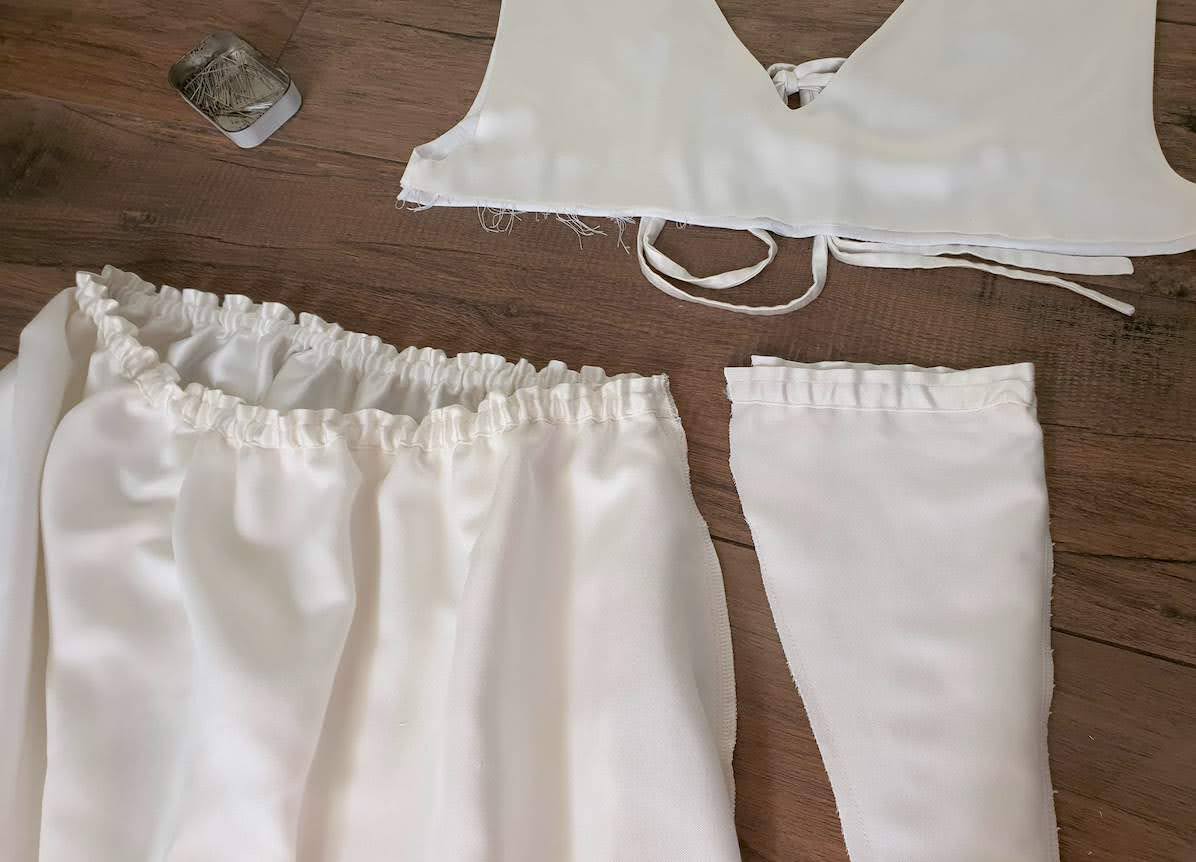
After trimming the piece off I was happy with the fullness of the gathers. I finished the top hem with my serger..
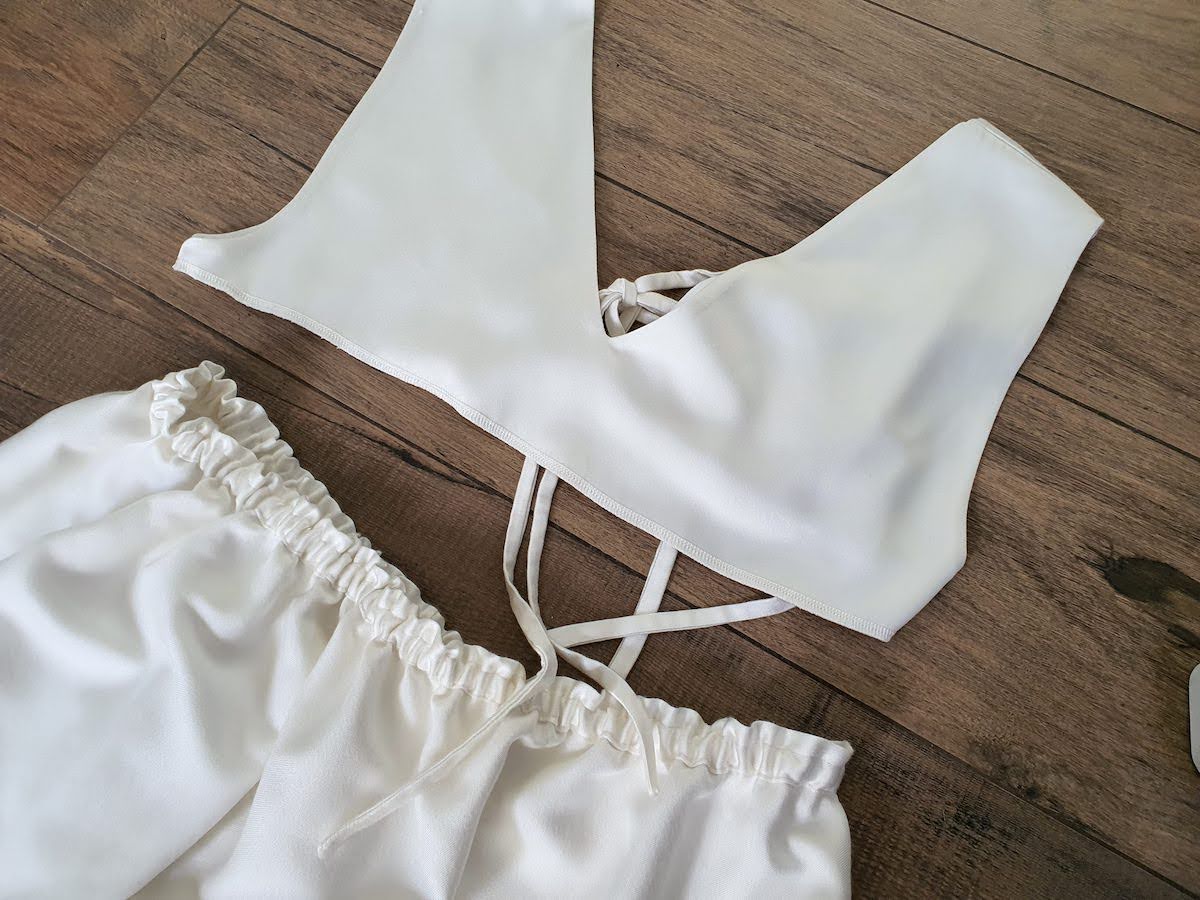
.. And pinned the skirt onto the top. At this point comes the real beauty of gathering with elastic - because it's stretchy, it's much more forgiving and easy to distribute along the piece you're attaching the gathers to. Pinning the back pieces, I left a 10 cm or so gap to get the open detail there. Then sewed on the right side, along the upper elastic casing stitch.

X. I was super hungry at this point - Don't sew hungry! Get a snack.. So the gathers didn't end up quite as uniform as I could've done, but I was still sufficiently happy. Last step - hemming the skirt.

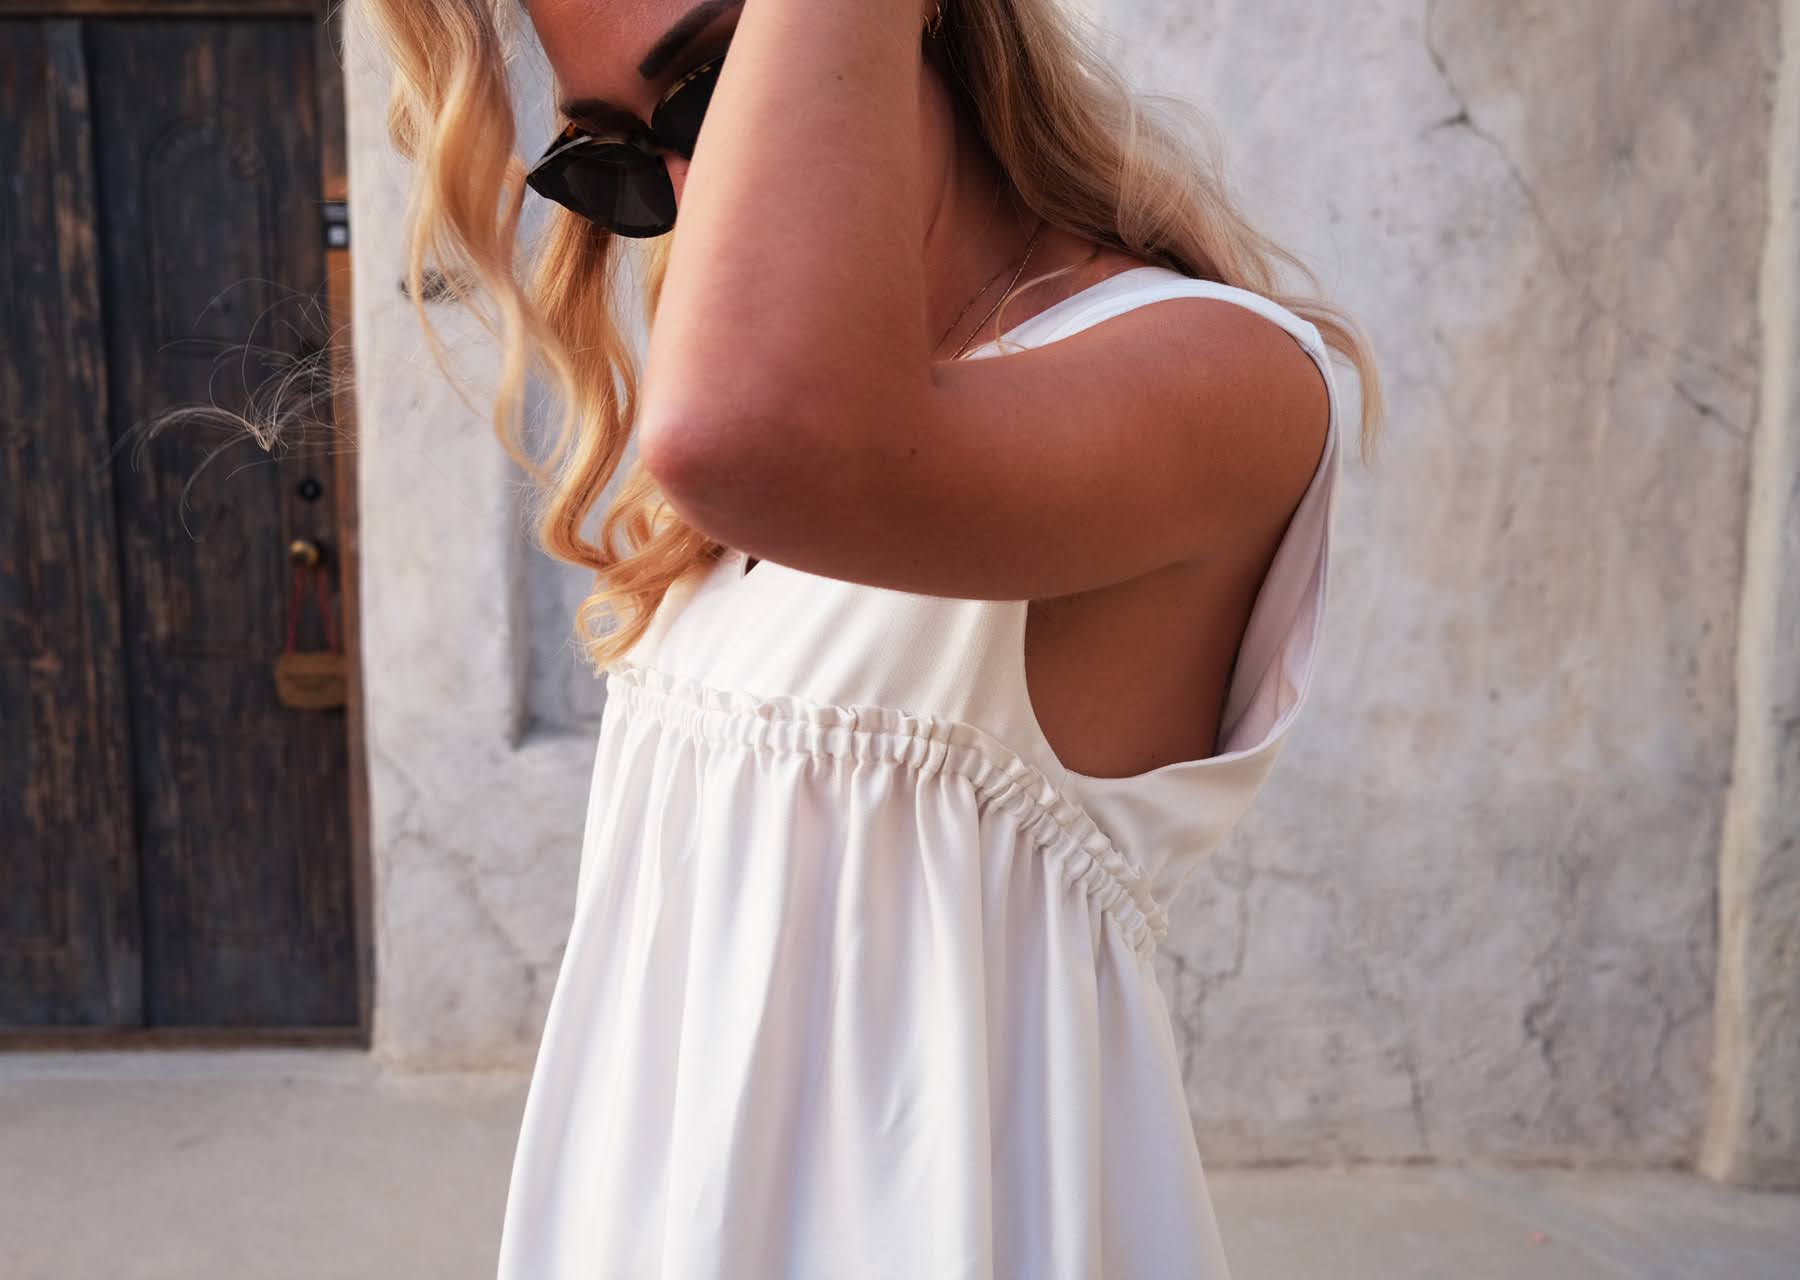
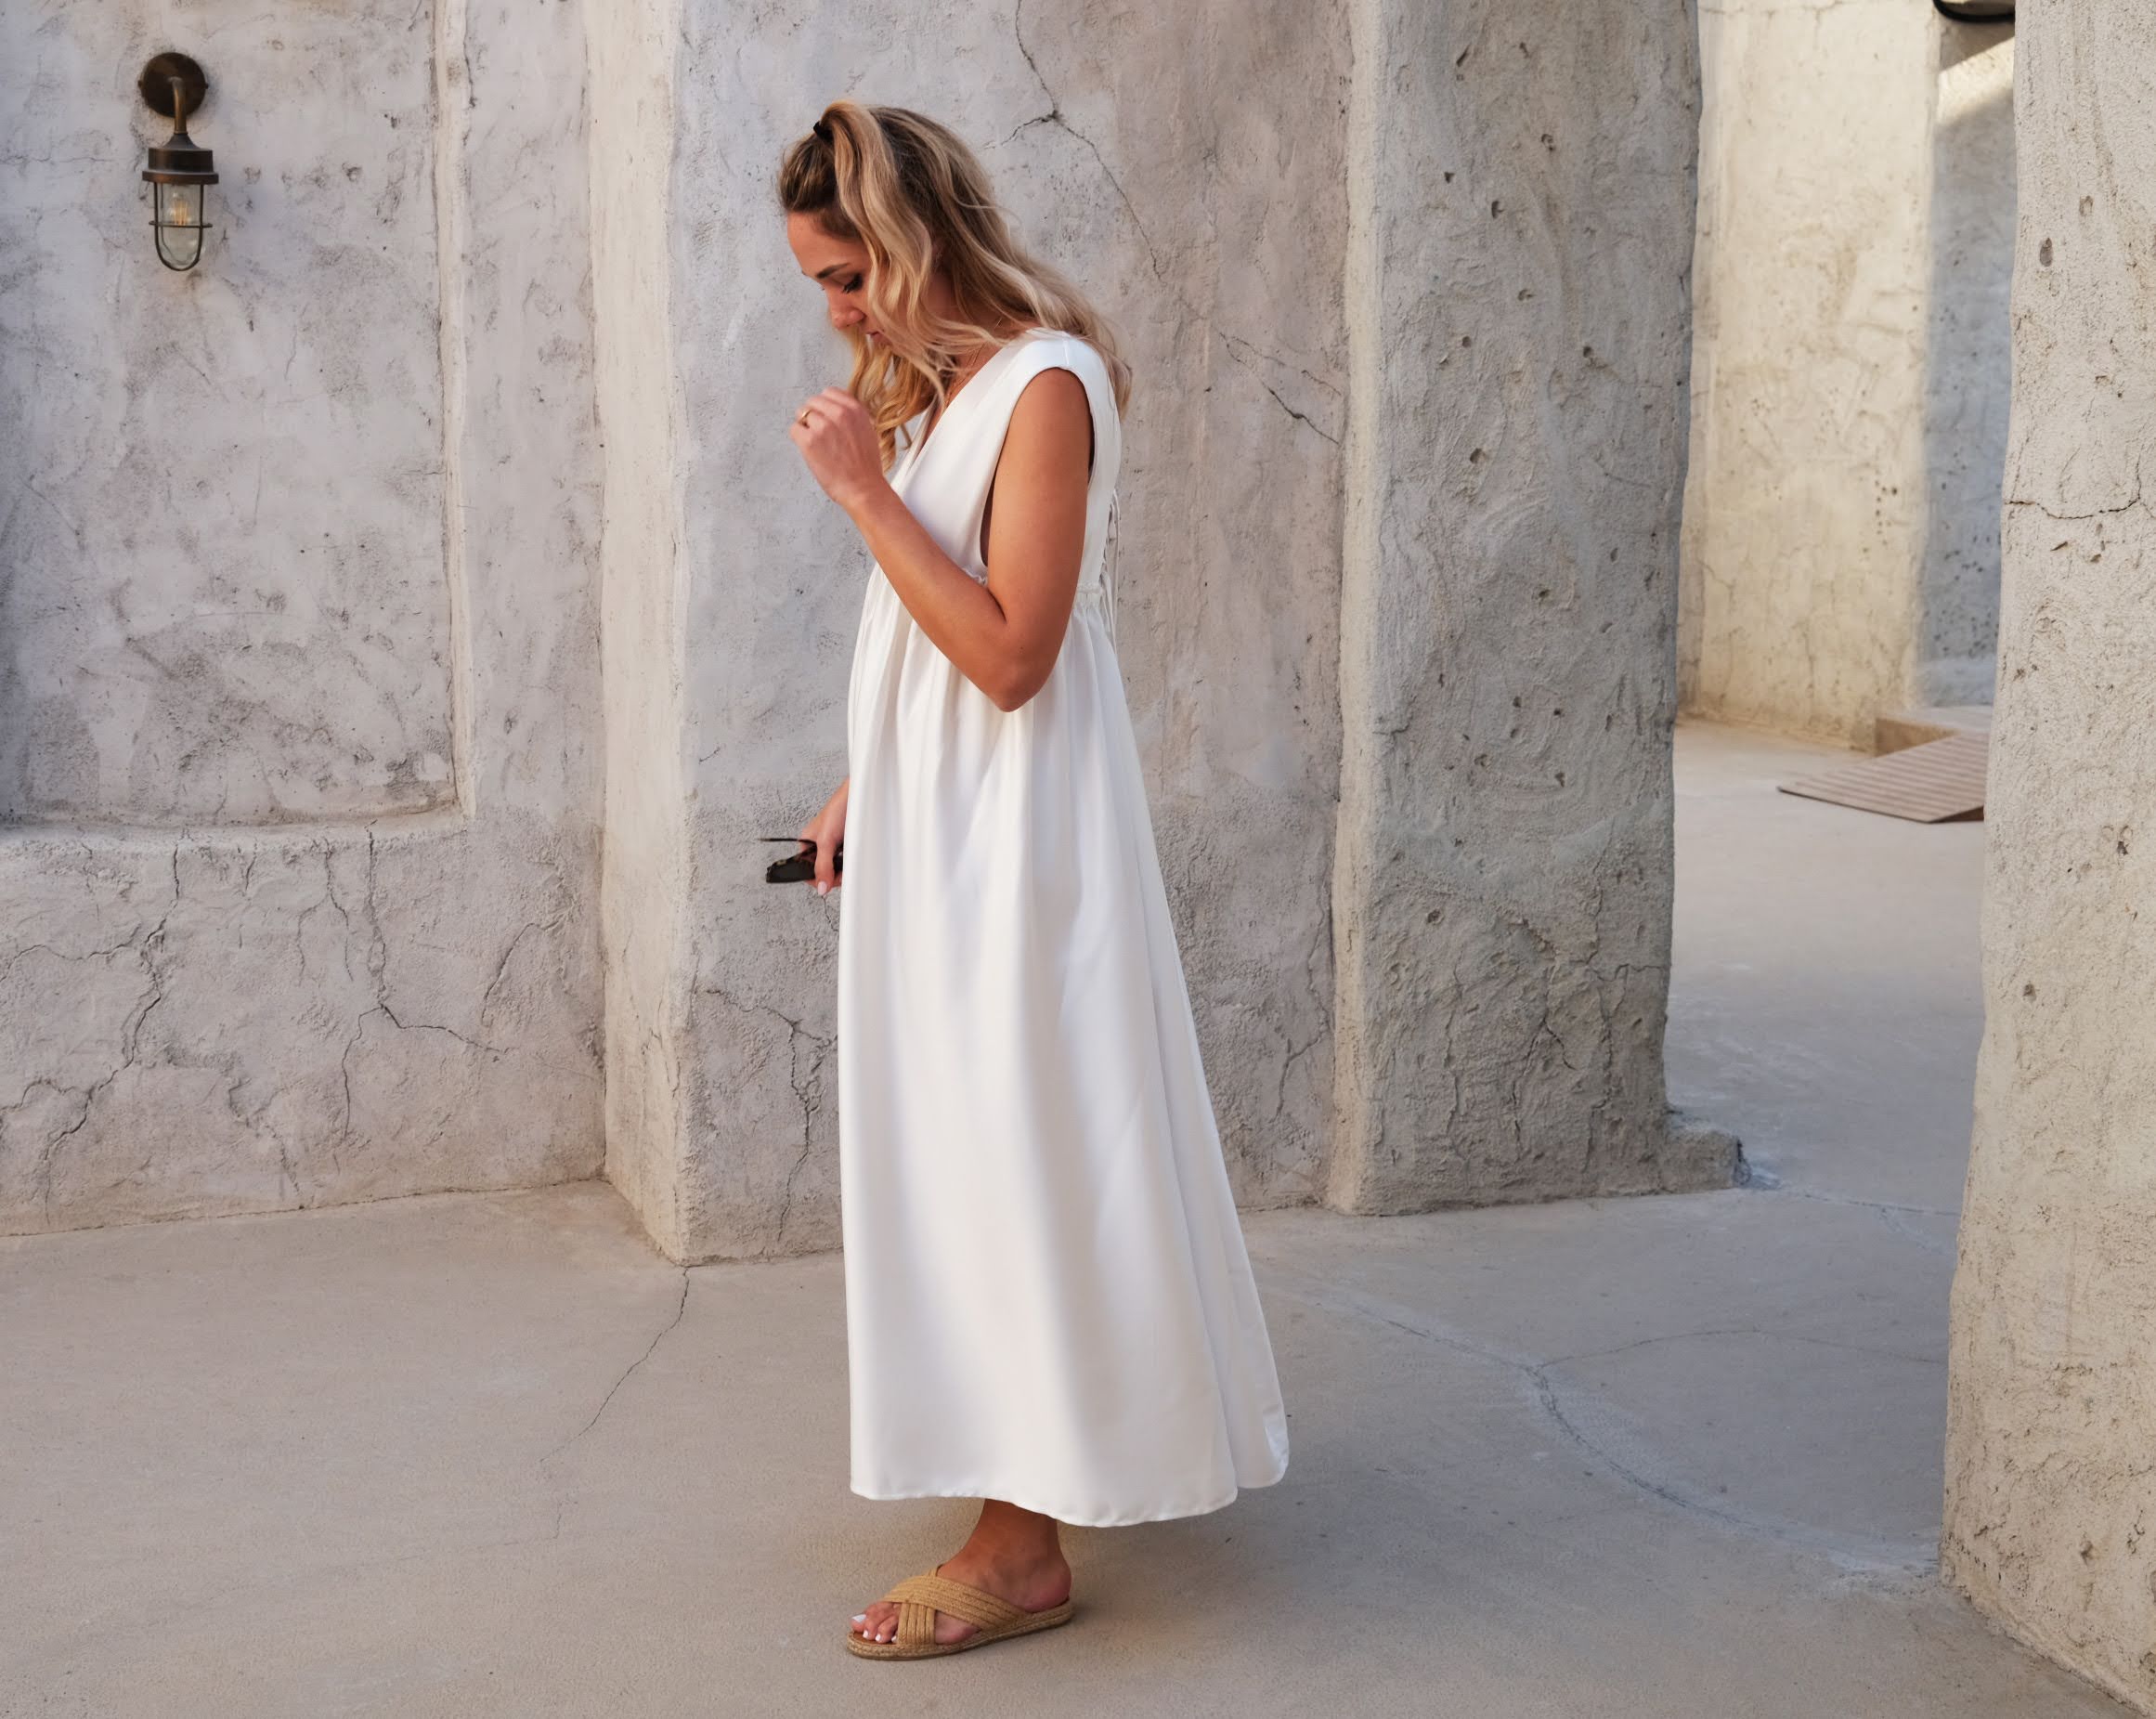


She had been holding onto the white secondhand curtains since last summer, and on New Year’s Day felt inspired to sew an all-white piece to symbolize a fresh beginning. Without a fixed plan, the project came together naturally and turned out beautifully in the end. The design is also versatile and could be made into a top by shortening the skirt section. Creating tutorials requires a great deal of time and effort, which is why she offers them for free. Those who enjoy the guide are welcome to support her work with a donation that feels right to them.
ReplyDelete