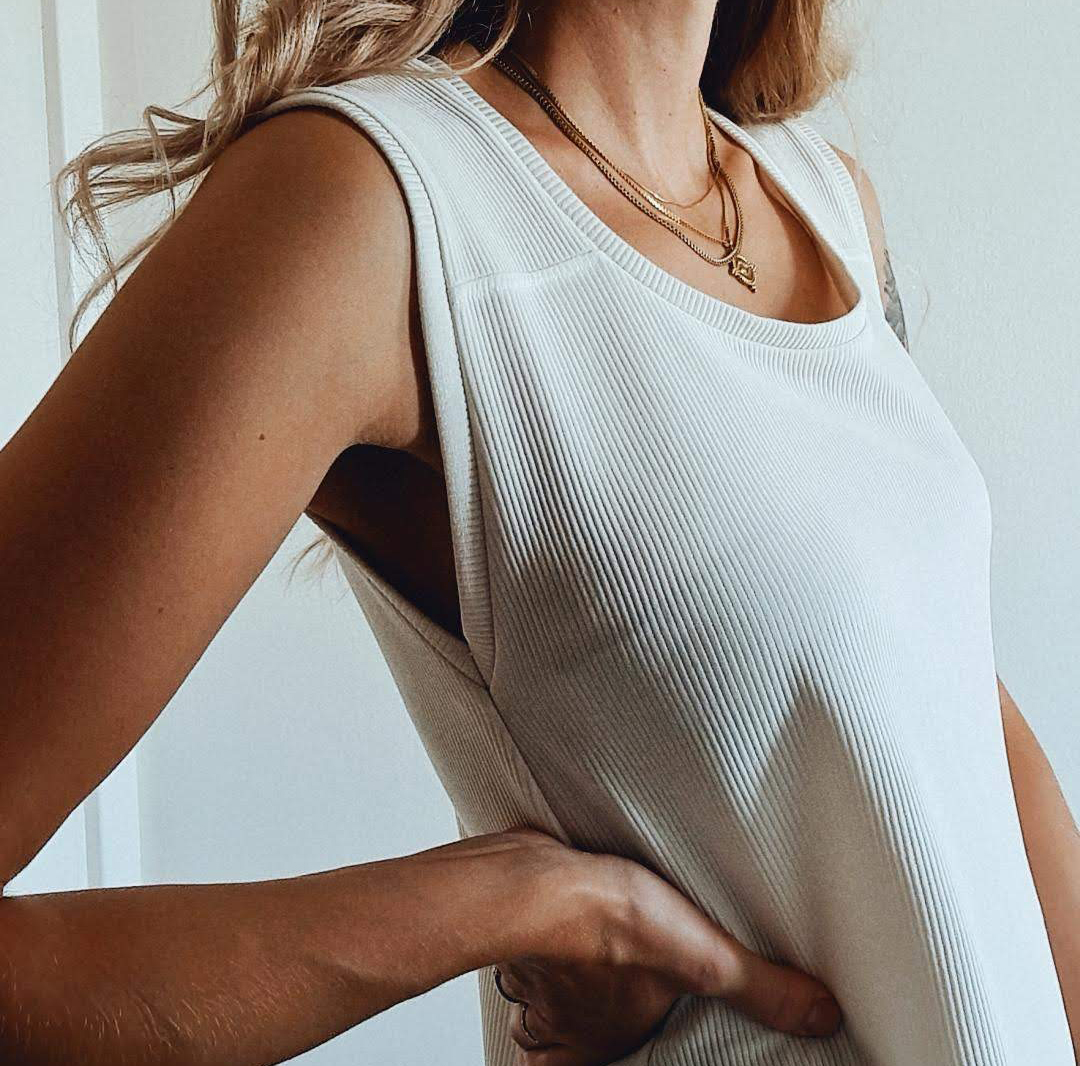
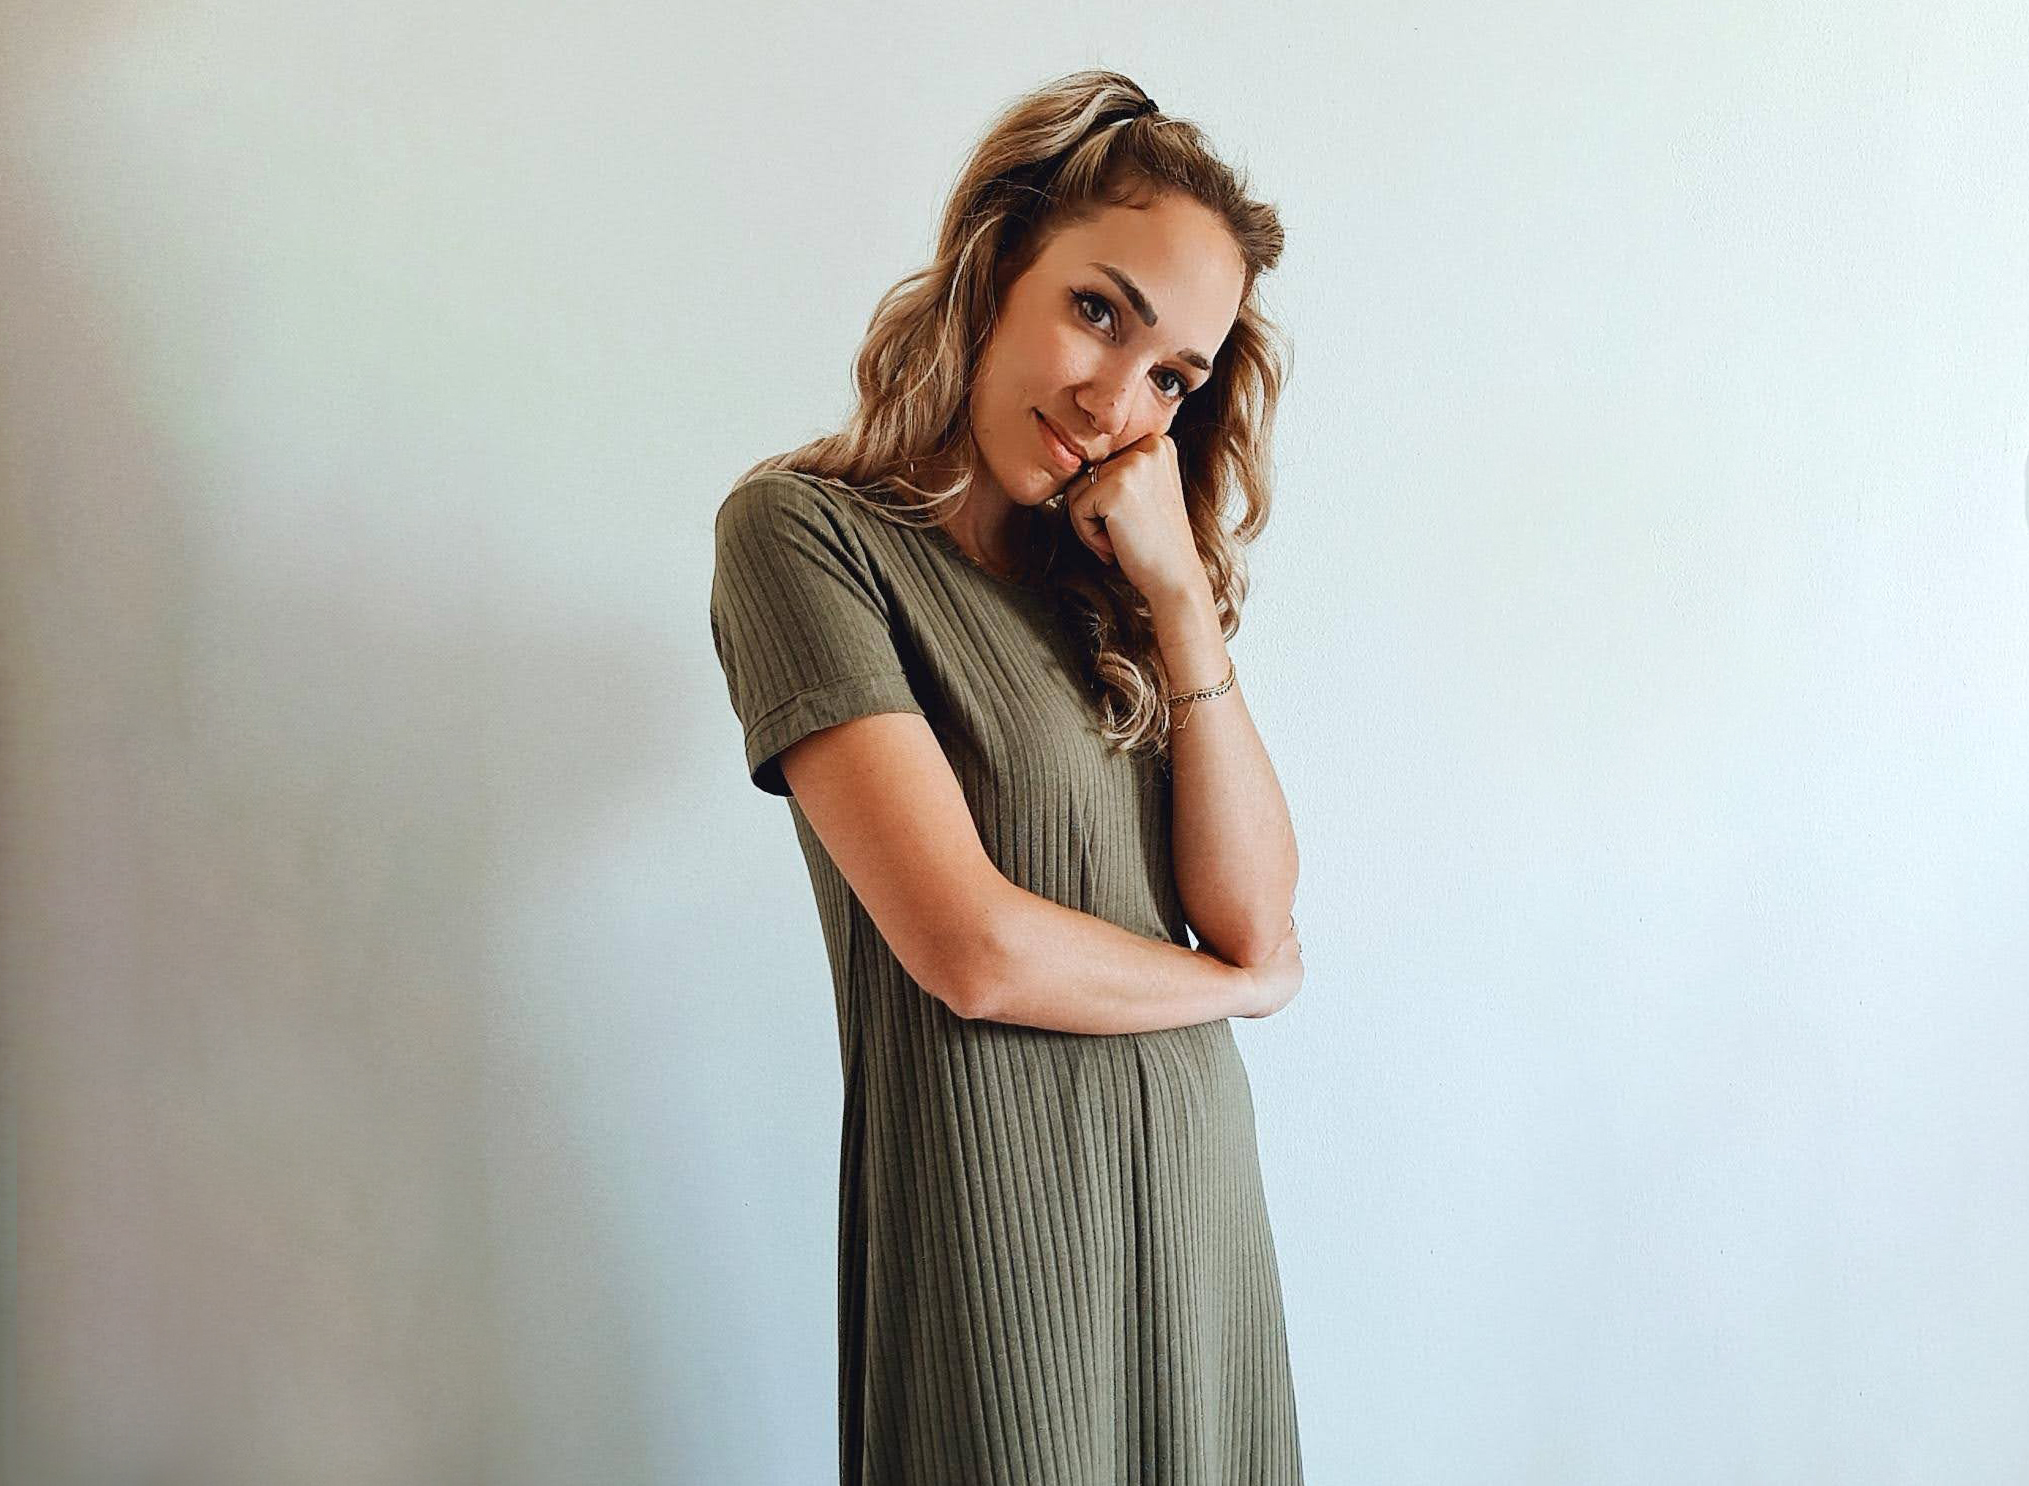
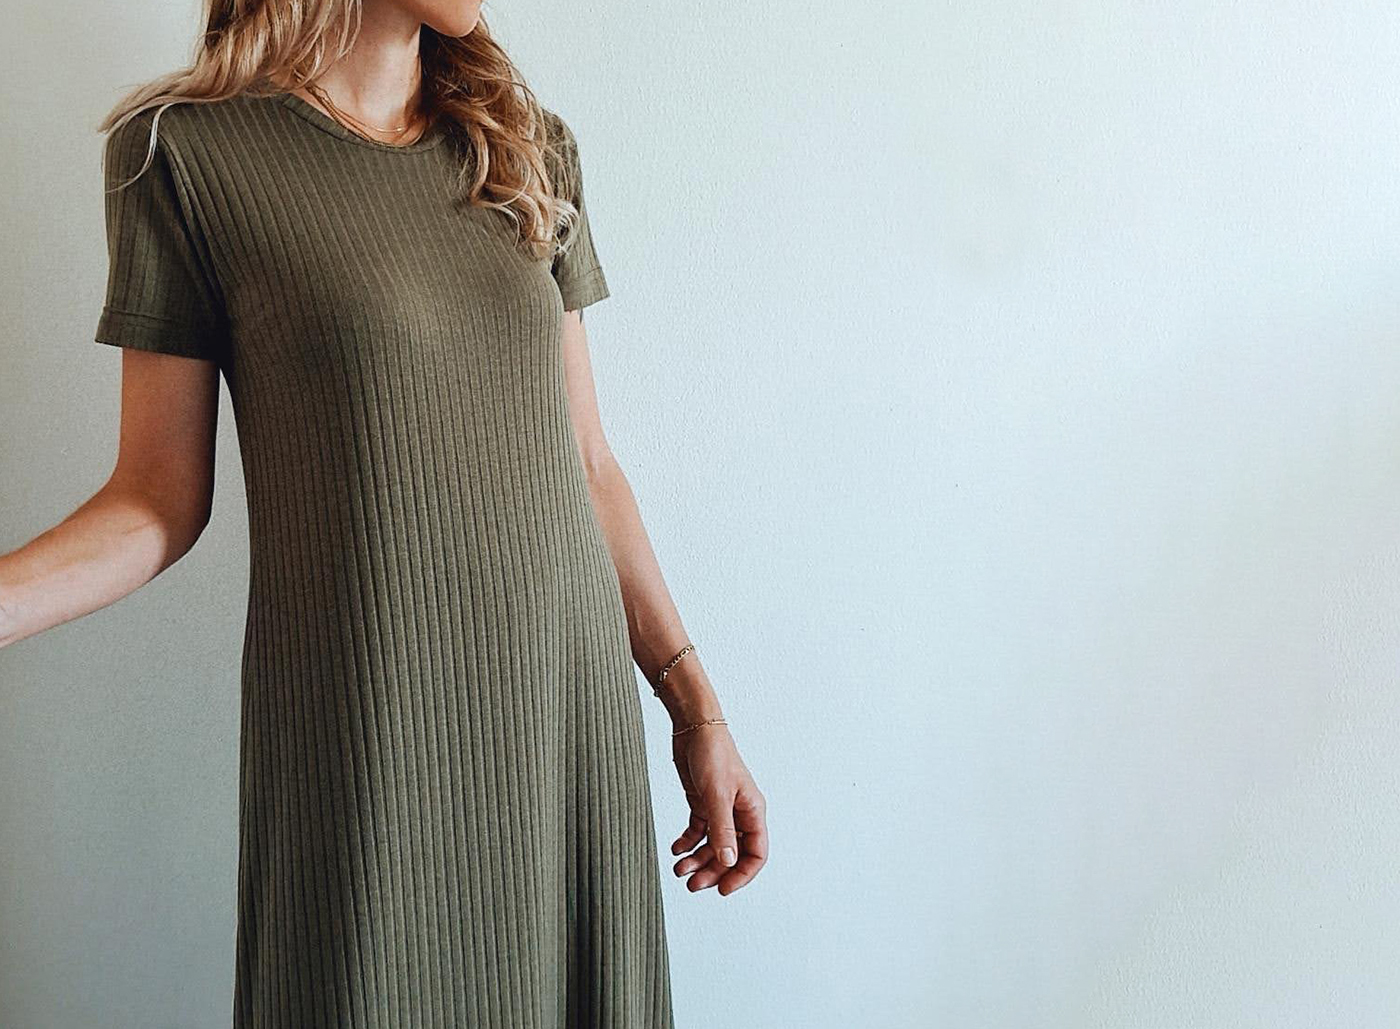
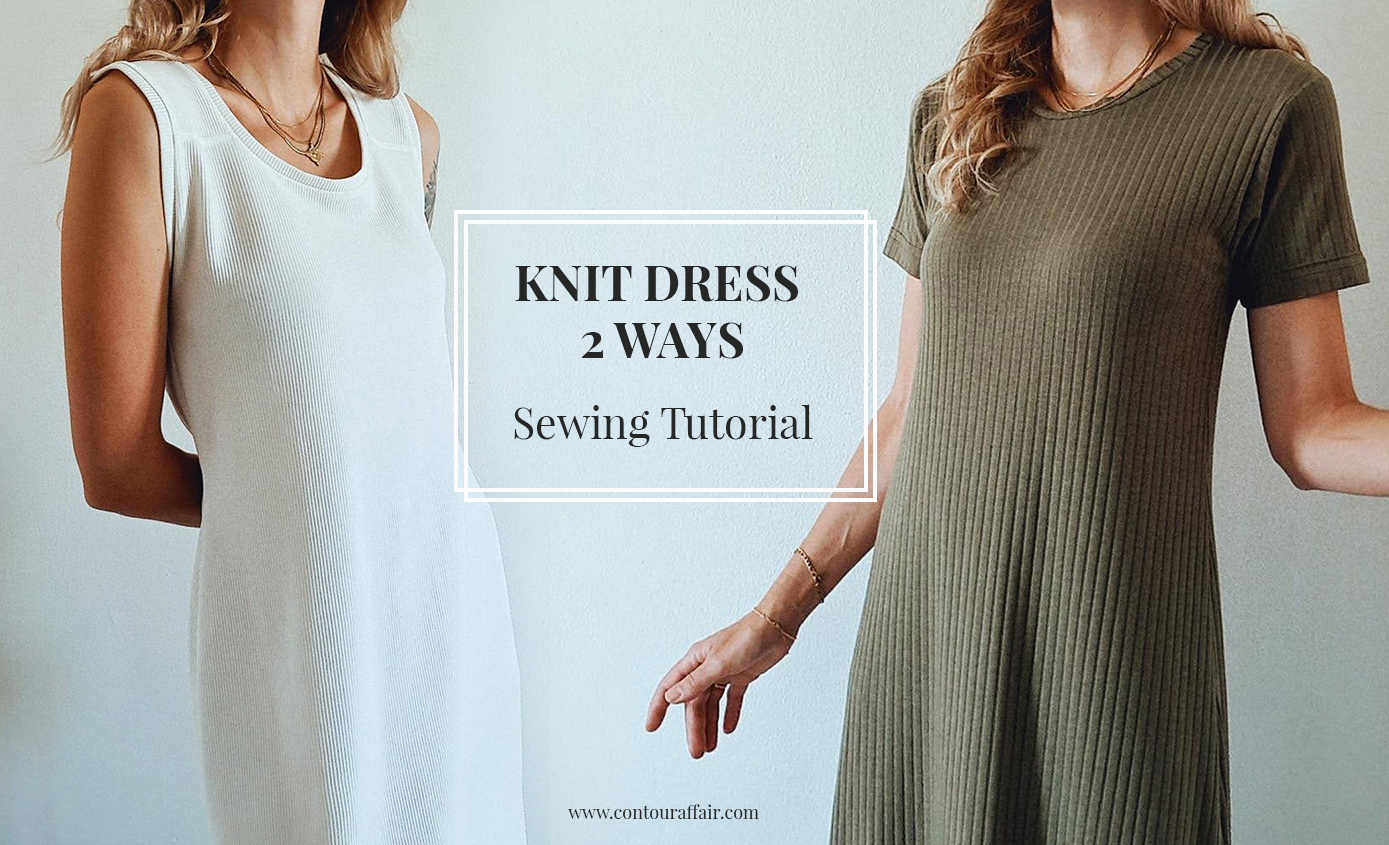
A cozy knit dress is such a good staple. This is a combo guide for sewing an easy, comfy dress from knit fabric in two ways - Sleeveless, and T-shirt. Although I've used ribbed knit for both dresses, you could also go with jersey or another comfy, stretchy fabric. You can of course also play with the length of the dress from mini to maxi.
In there are also two little hacks: 1) My favourite trick for hemming knit fabrics - using fusible hemming tape instead of stabiliser. Especially if you're a beginner with knits, I highly recommend trying that out. And 2) How you can use a strategically positioned seam to create a detail and a dart in one.
Both dresses feature a loose fit, combined with a stretchy material, so I'd say you can use the same measurements if you're between EU34/US2 (take in a bit) and EU40/US8. Of course for the latter the fit will be a bit closer. I am EU36/US4 and 175 cm tall.
Tutorials take a lot of time & effort to create, and I choose to make mine available for free. If you enjoy this guide, you can support my work with a donation that feels right for you, here.
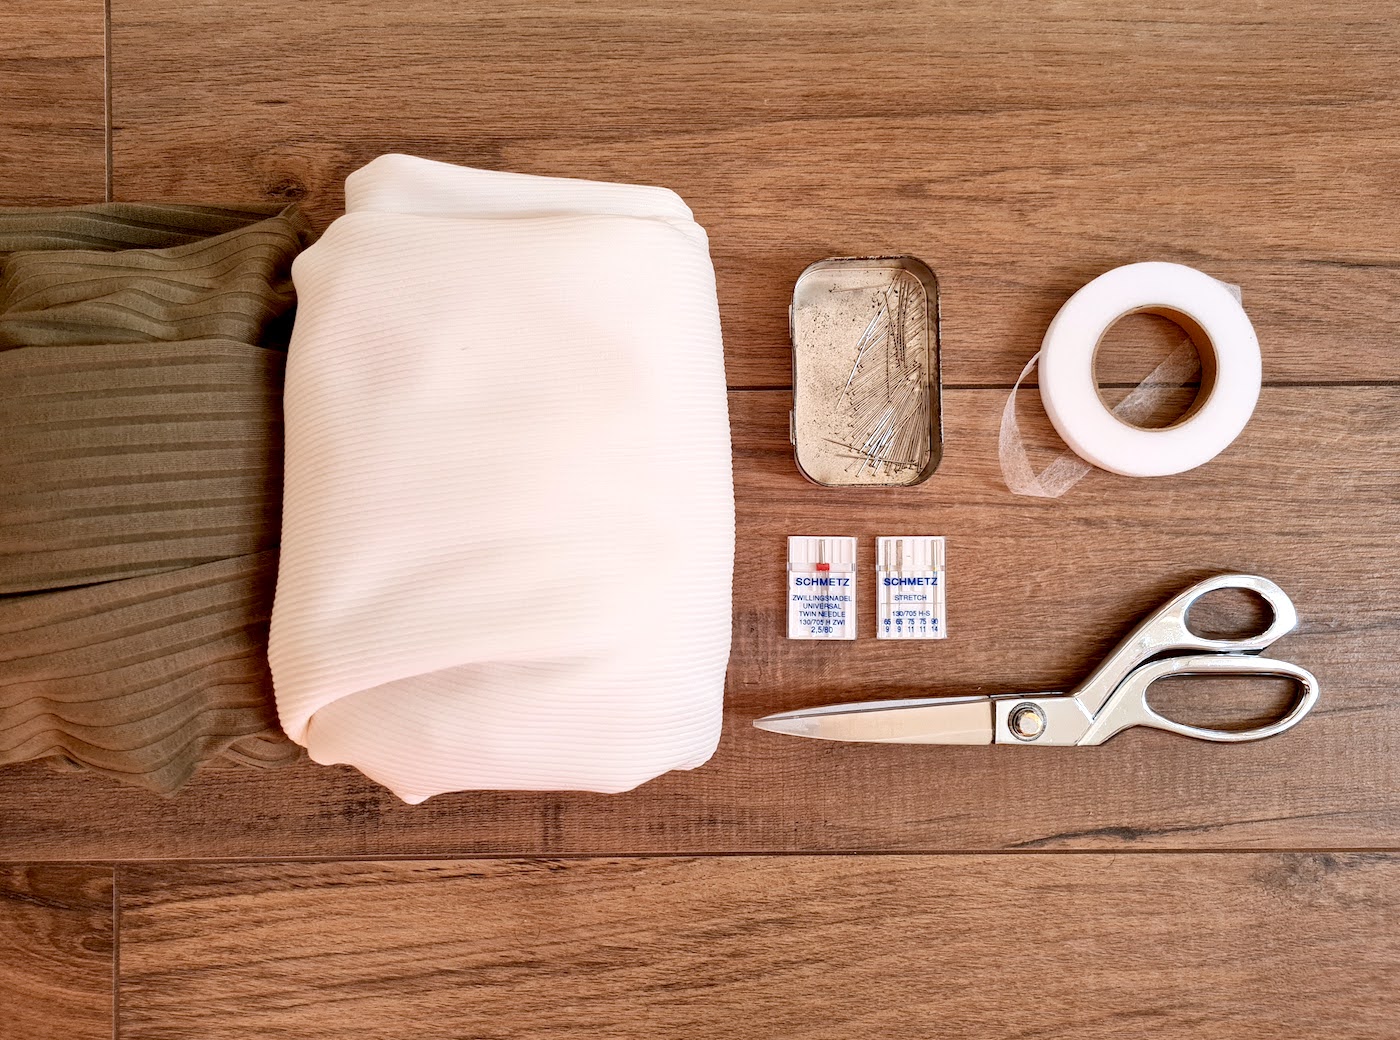
TOOLS:
Knit fabric (I used a white thrifted 70's rib, and this one in Olive from Zelouf fabrics) - 2 m of full-width (150 cm wide) per dress | Thread | Stretch needle + Universal or stretch twin needle | Pins | Scissors | Sewing machine (+serger if you have one) | Optional but makes life easier: Fusible hemming tape
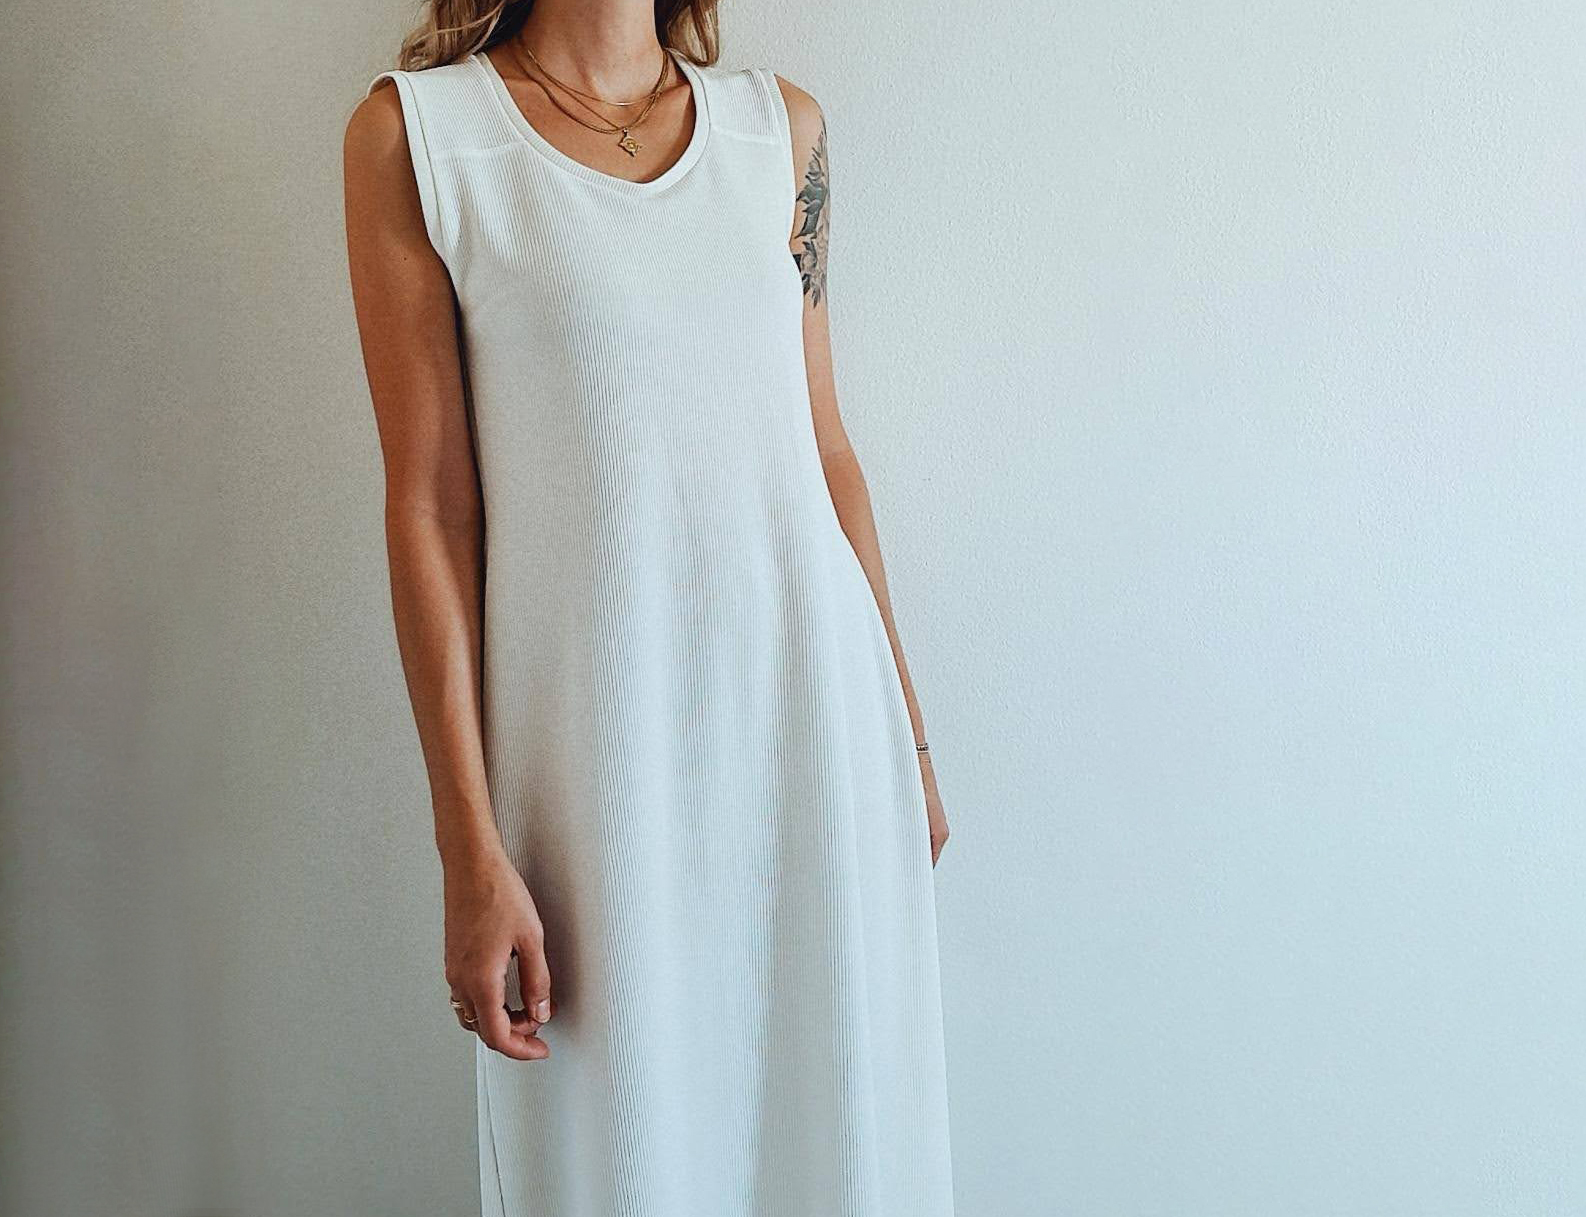
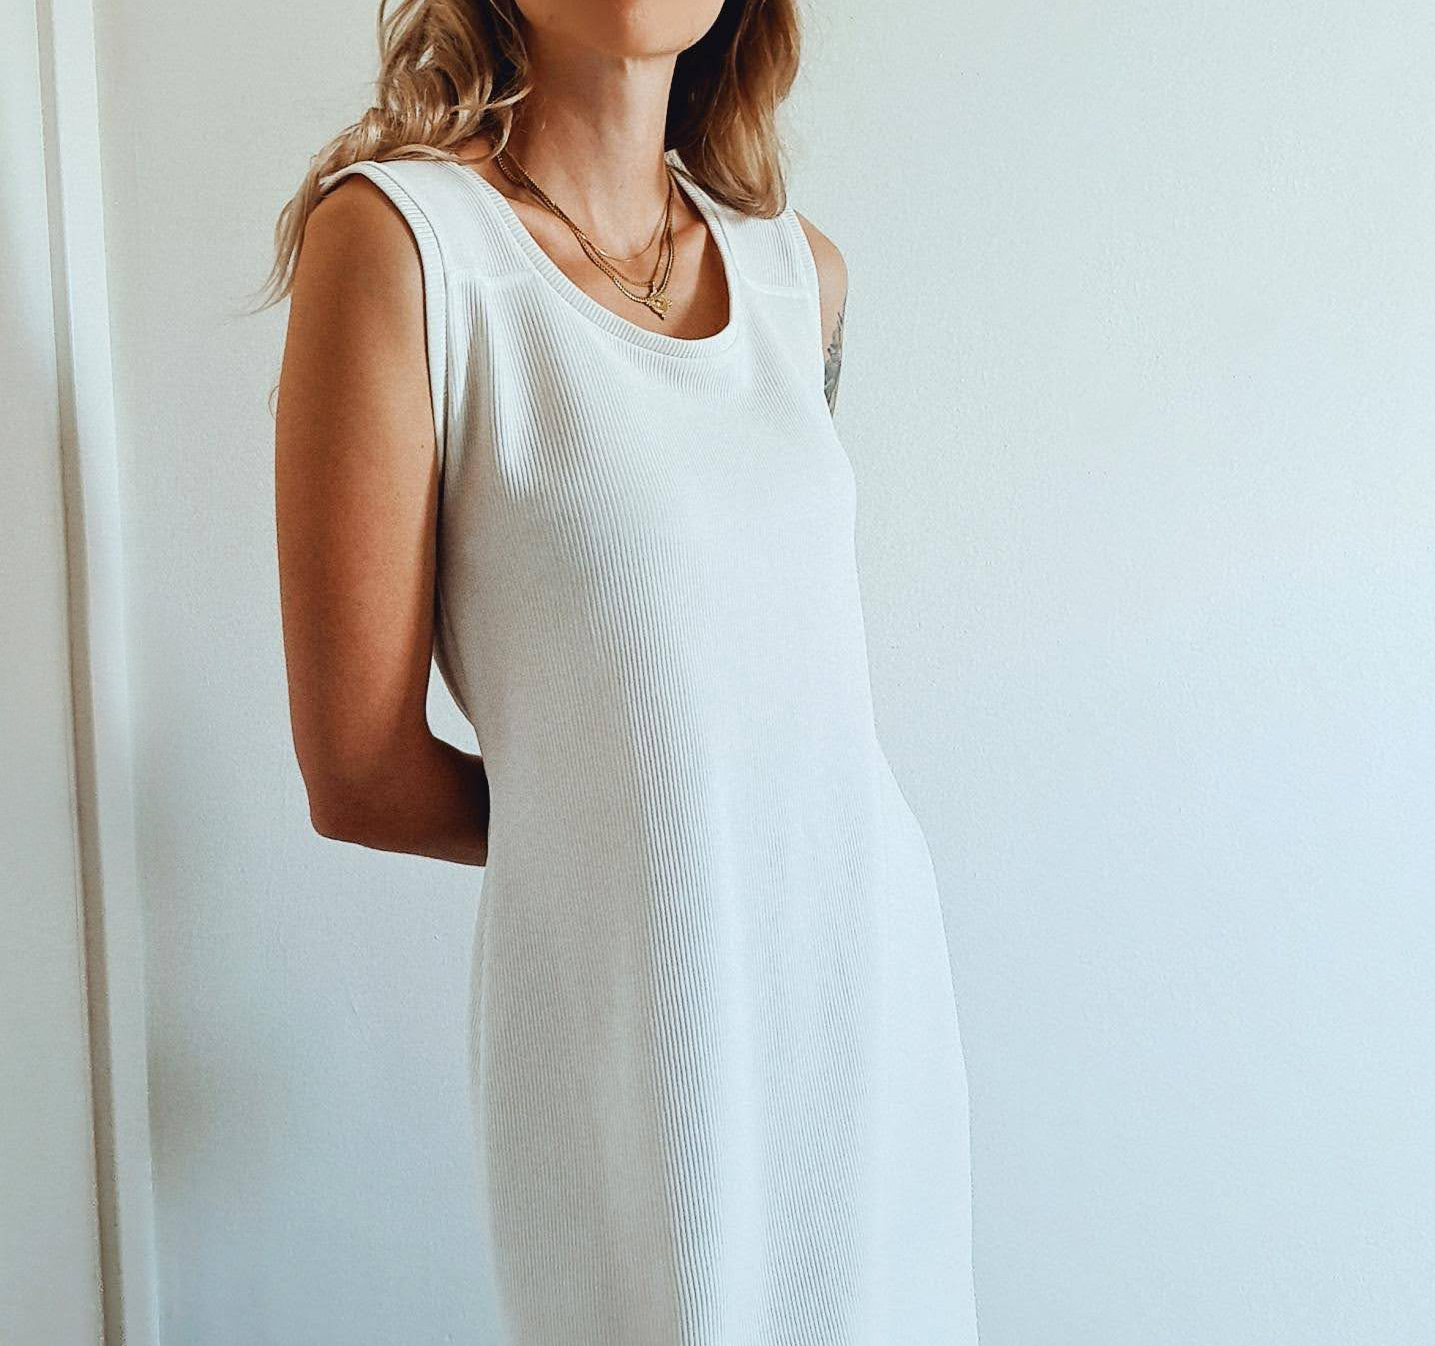
OPTION 1 - SLEEVELESS DRESS
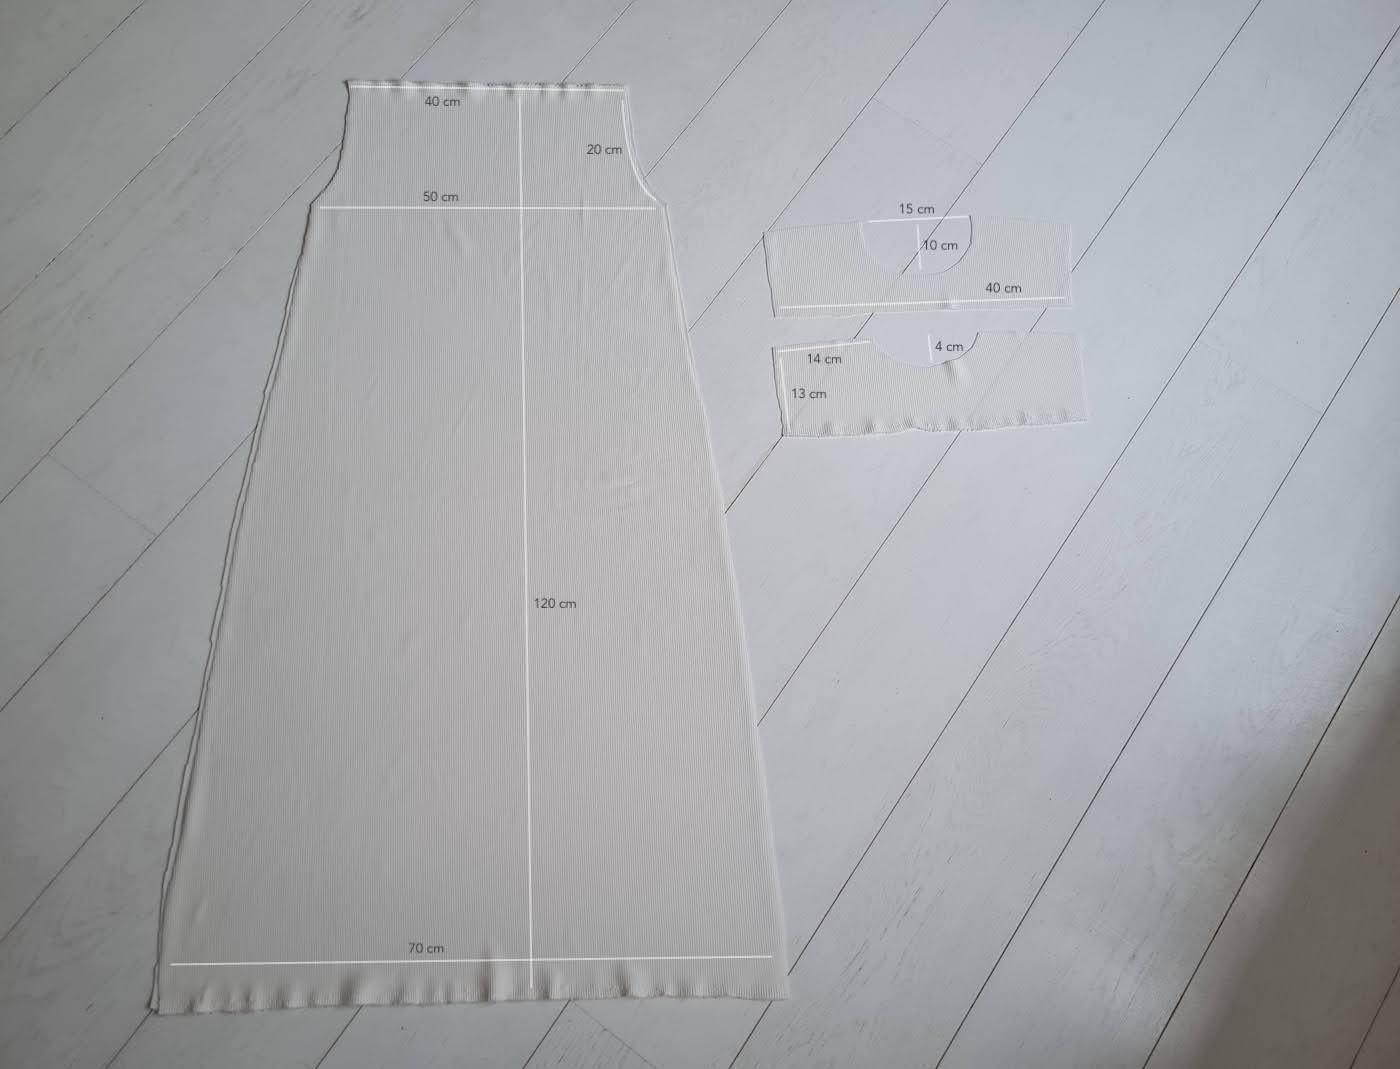
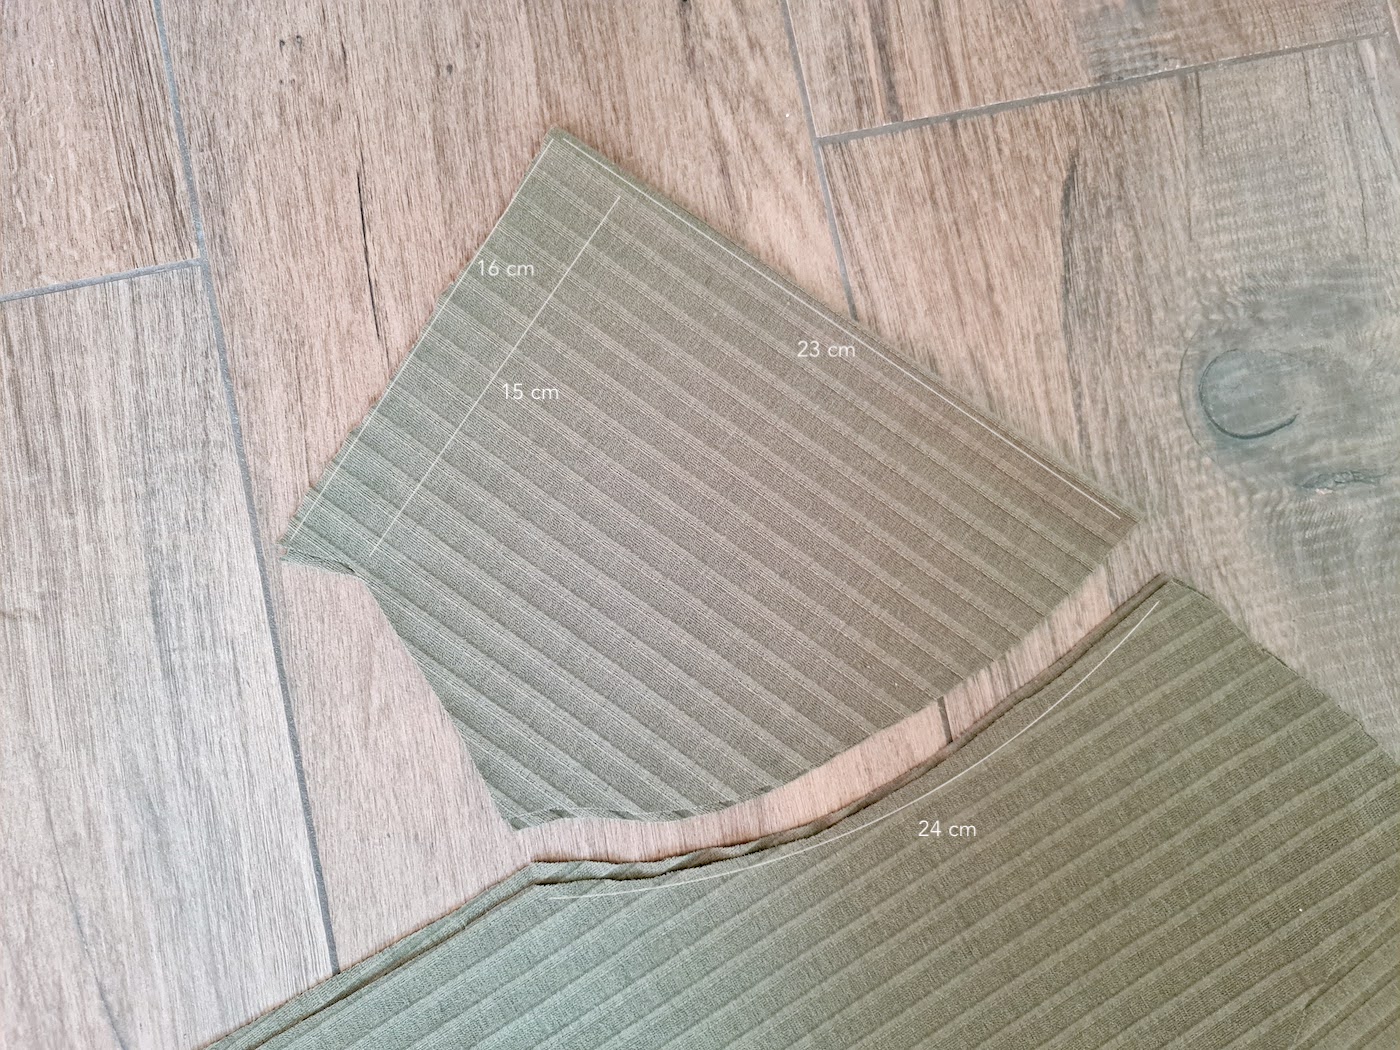
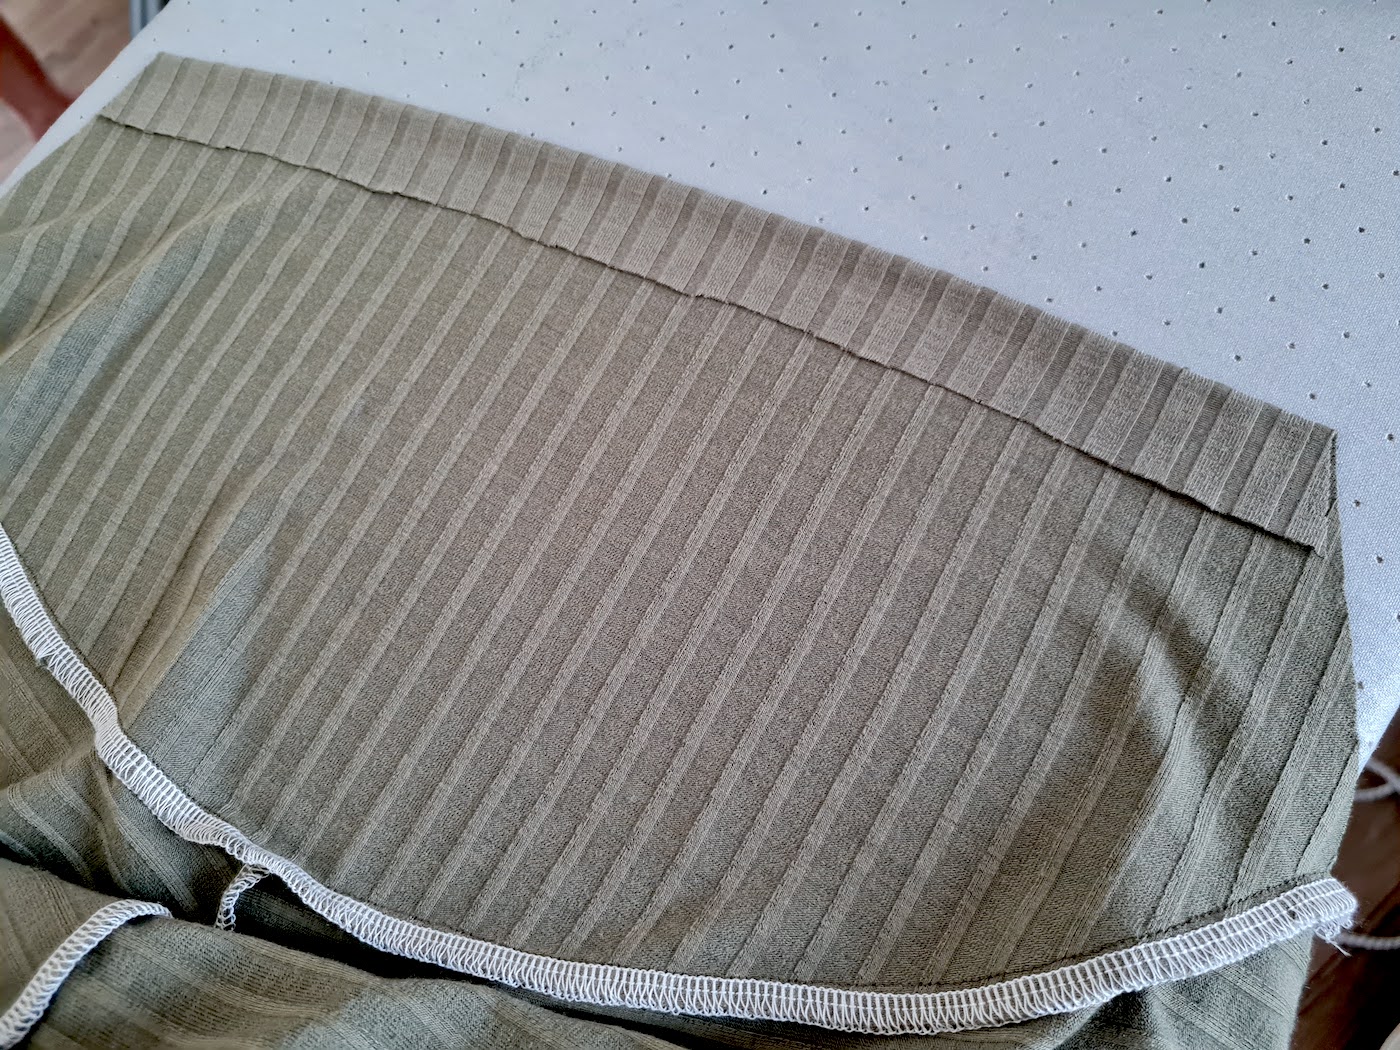
I. Starting with my cut pieces with measurements. I only cut mine like this because the fabric I was using was 120 cm wide, which was not enough for the ankle length that I wanted. But it resulted in a nice seam detail which I like a lot. If you want to cut your dress out of one continuous piece, scroll down to the T-Shirt dress version. I used my serger for both of these dresses but you can also work with a regular sewing machine, finishing the seams with a wide zig-zag and/or a stretch stitch. The important thing is to use a stretch needle, a regular needle will not work with most stretch materials.
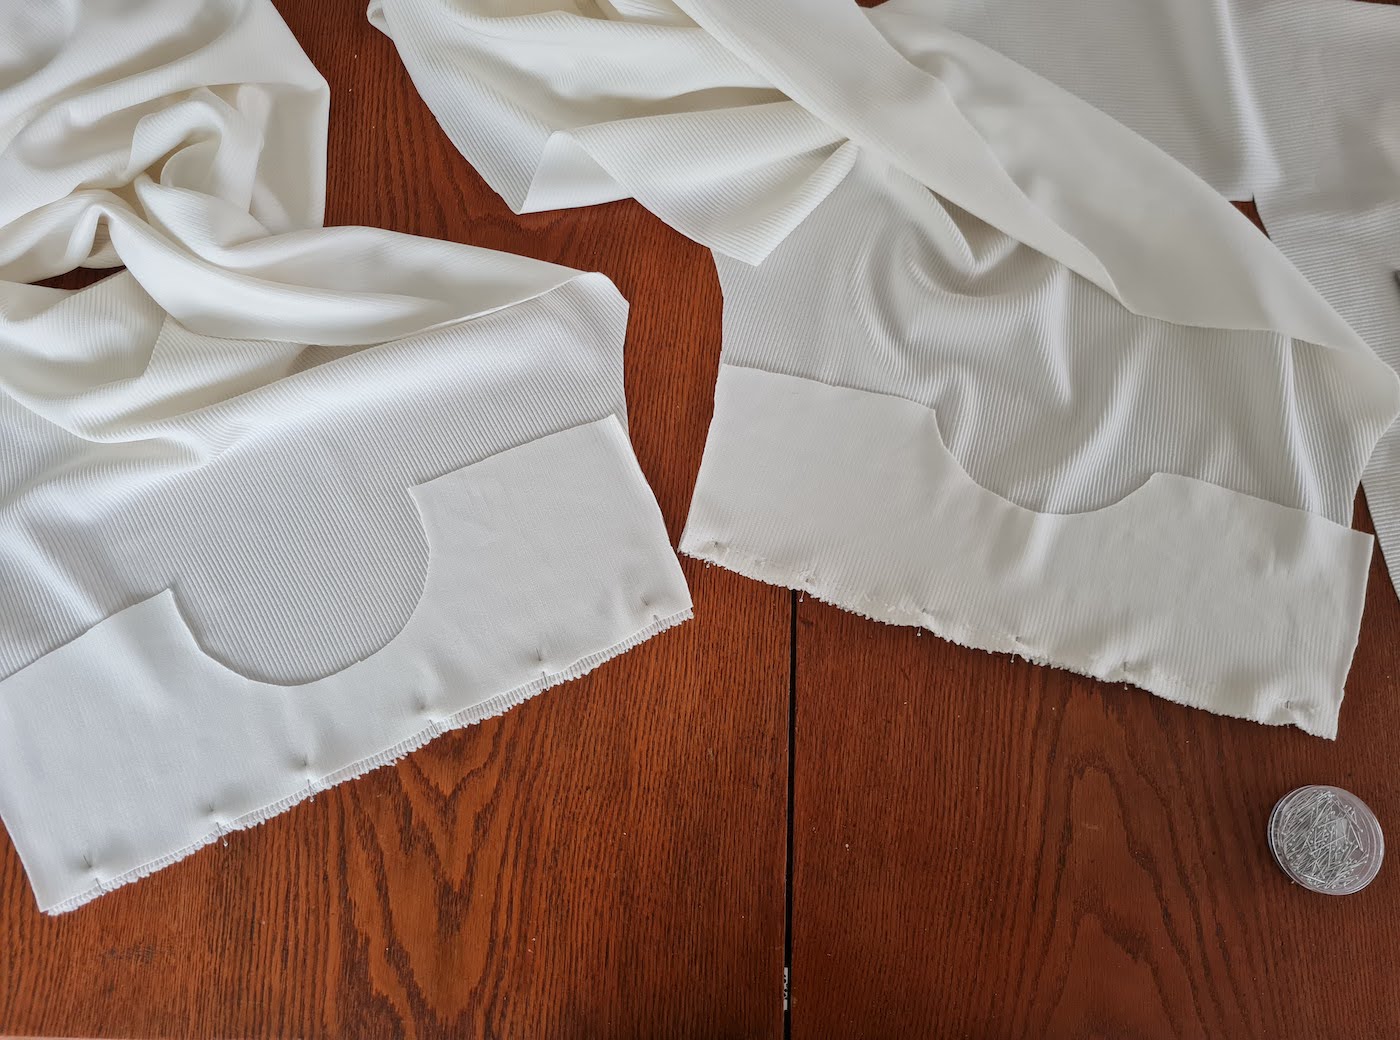
II. To assemble my front and back pieces I pinned my pieces together right sides facing, and sewed together. I also top-stitched these seams to emphasize them a bit on the right side.
.. I adjusted my necklines a bit deeper:
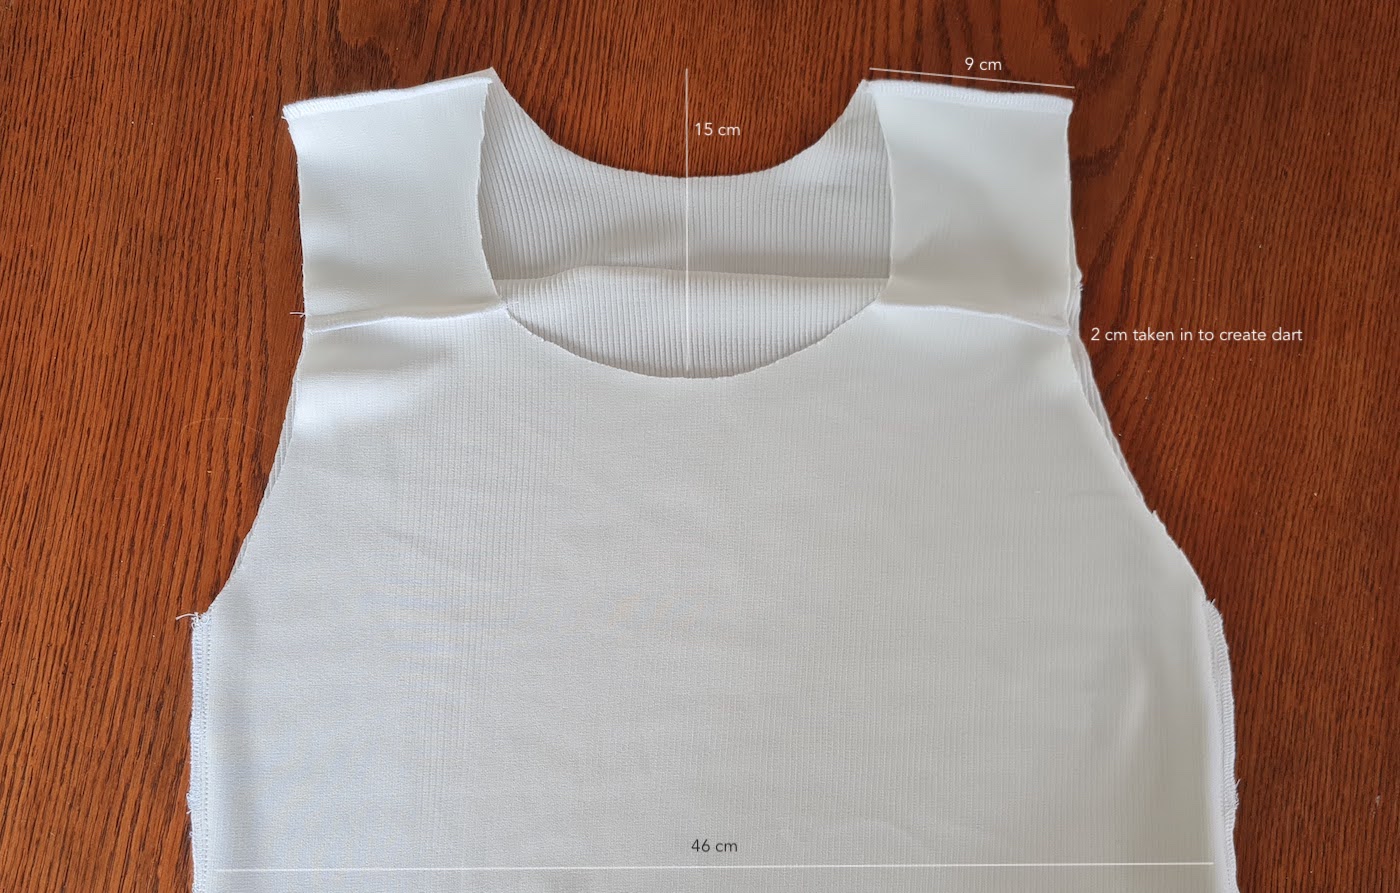
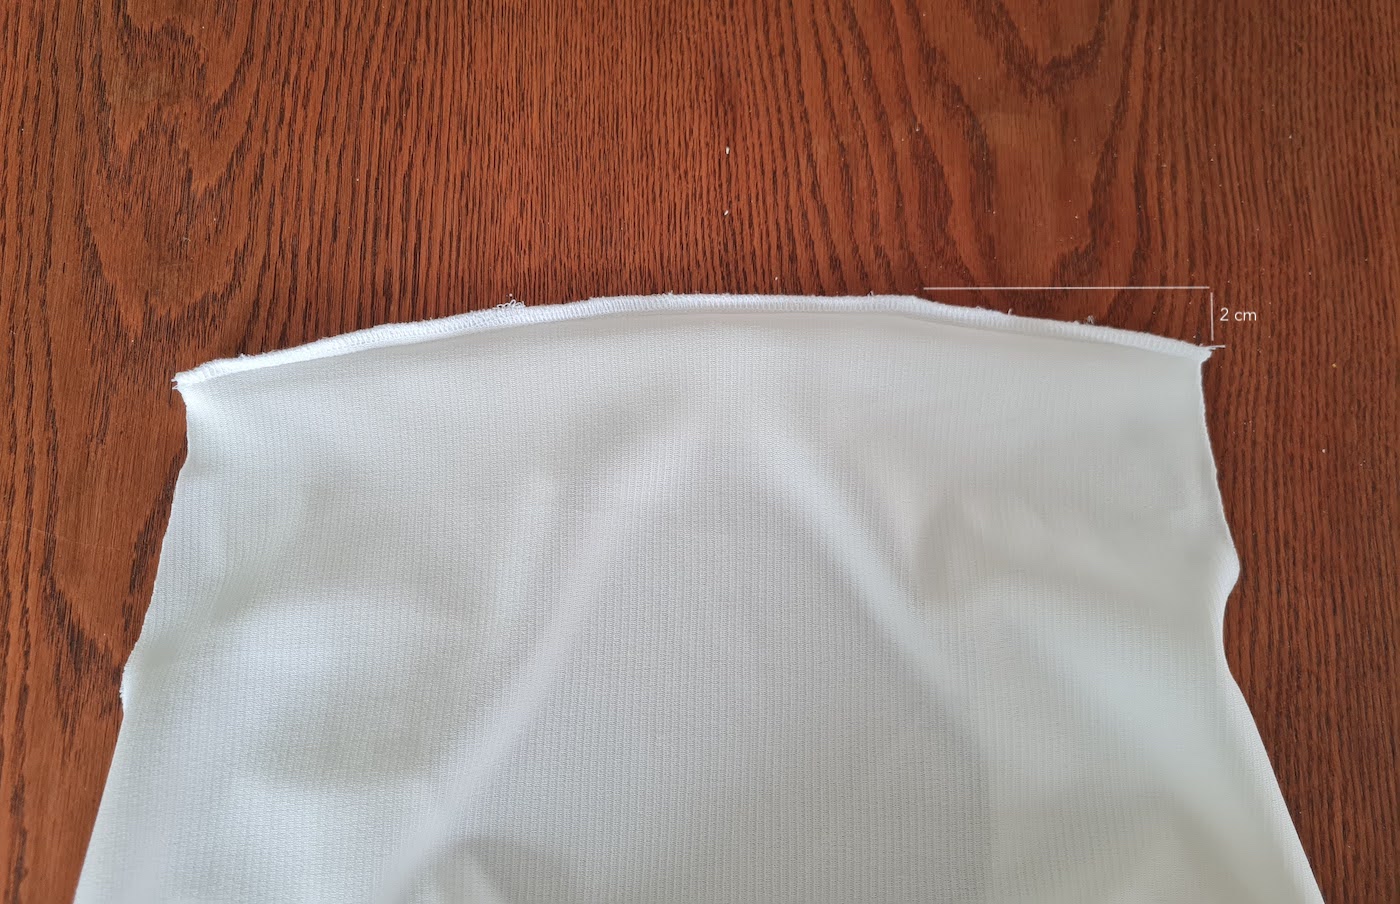
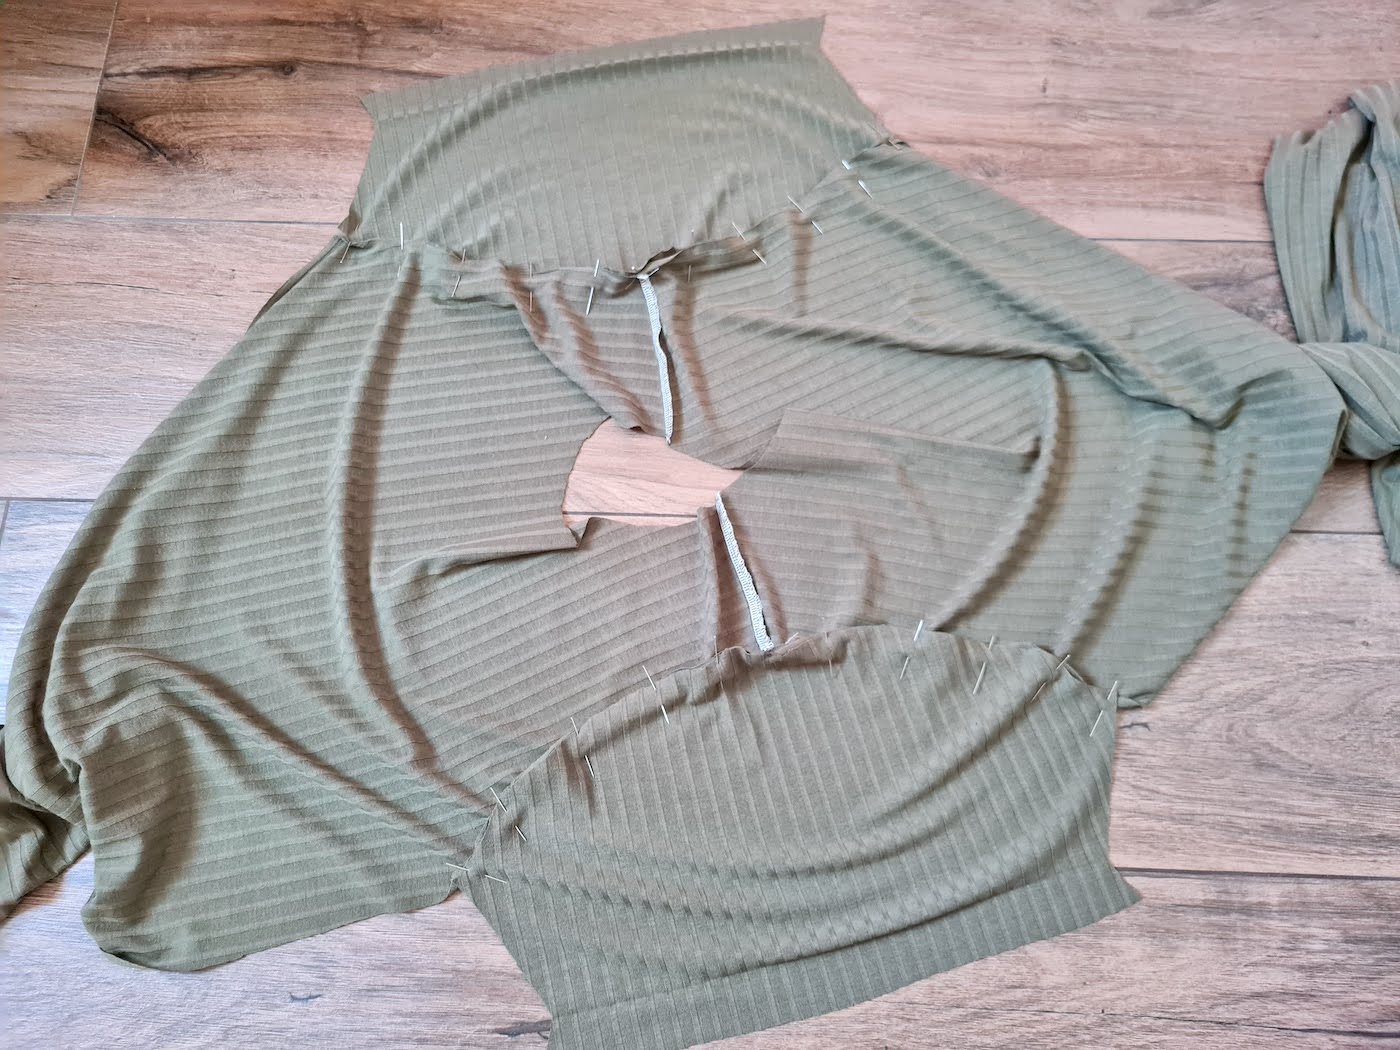
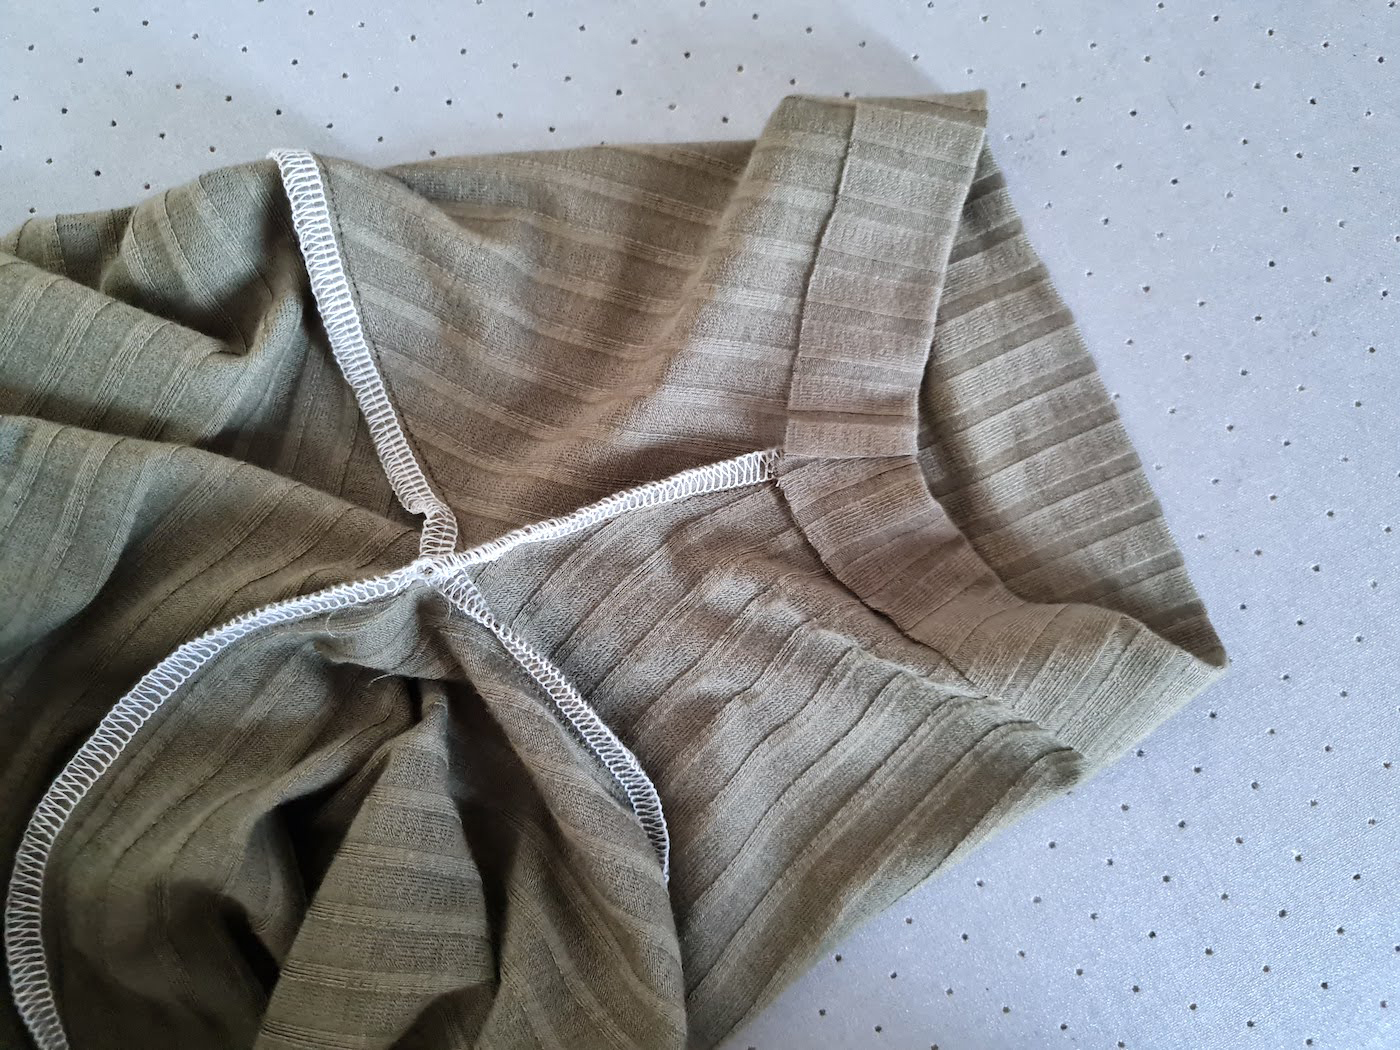
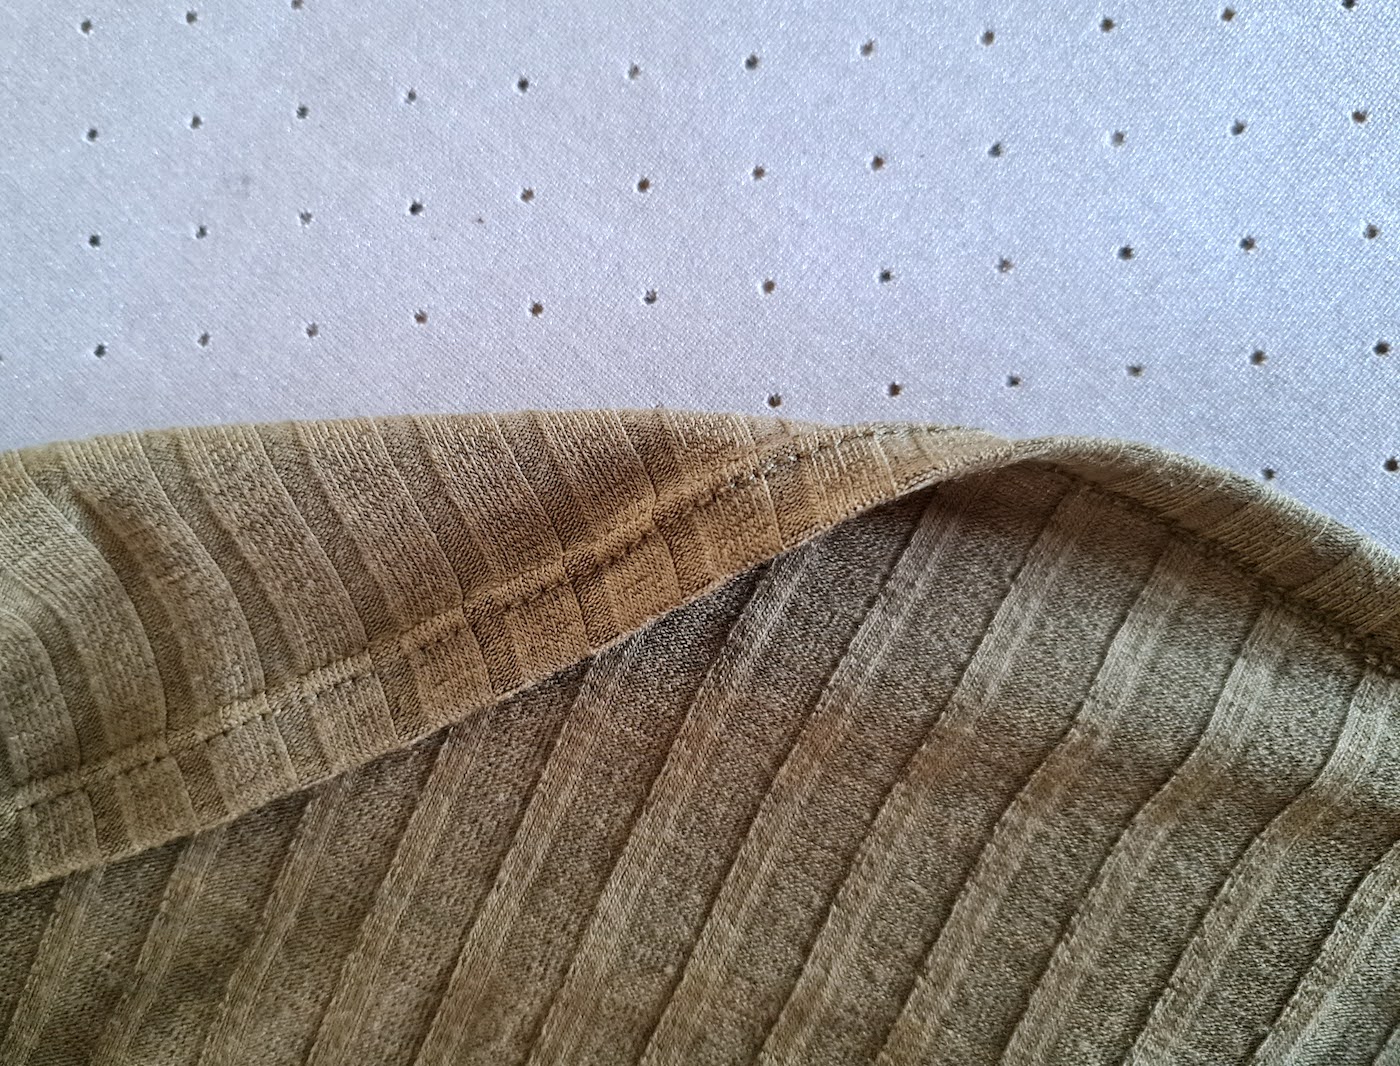
II. Next I pinned and sewed the shoulders, and when trying the dress on I realised I could skip sewing darts, and just use the seam I already had, to take in gaping at the arm hole.
Here's a photo I hope illustrates this better. At both ends of the seam, I took in about 2 cm.
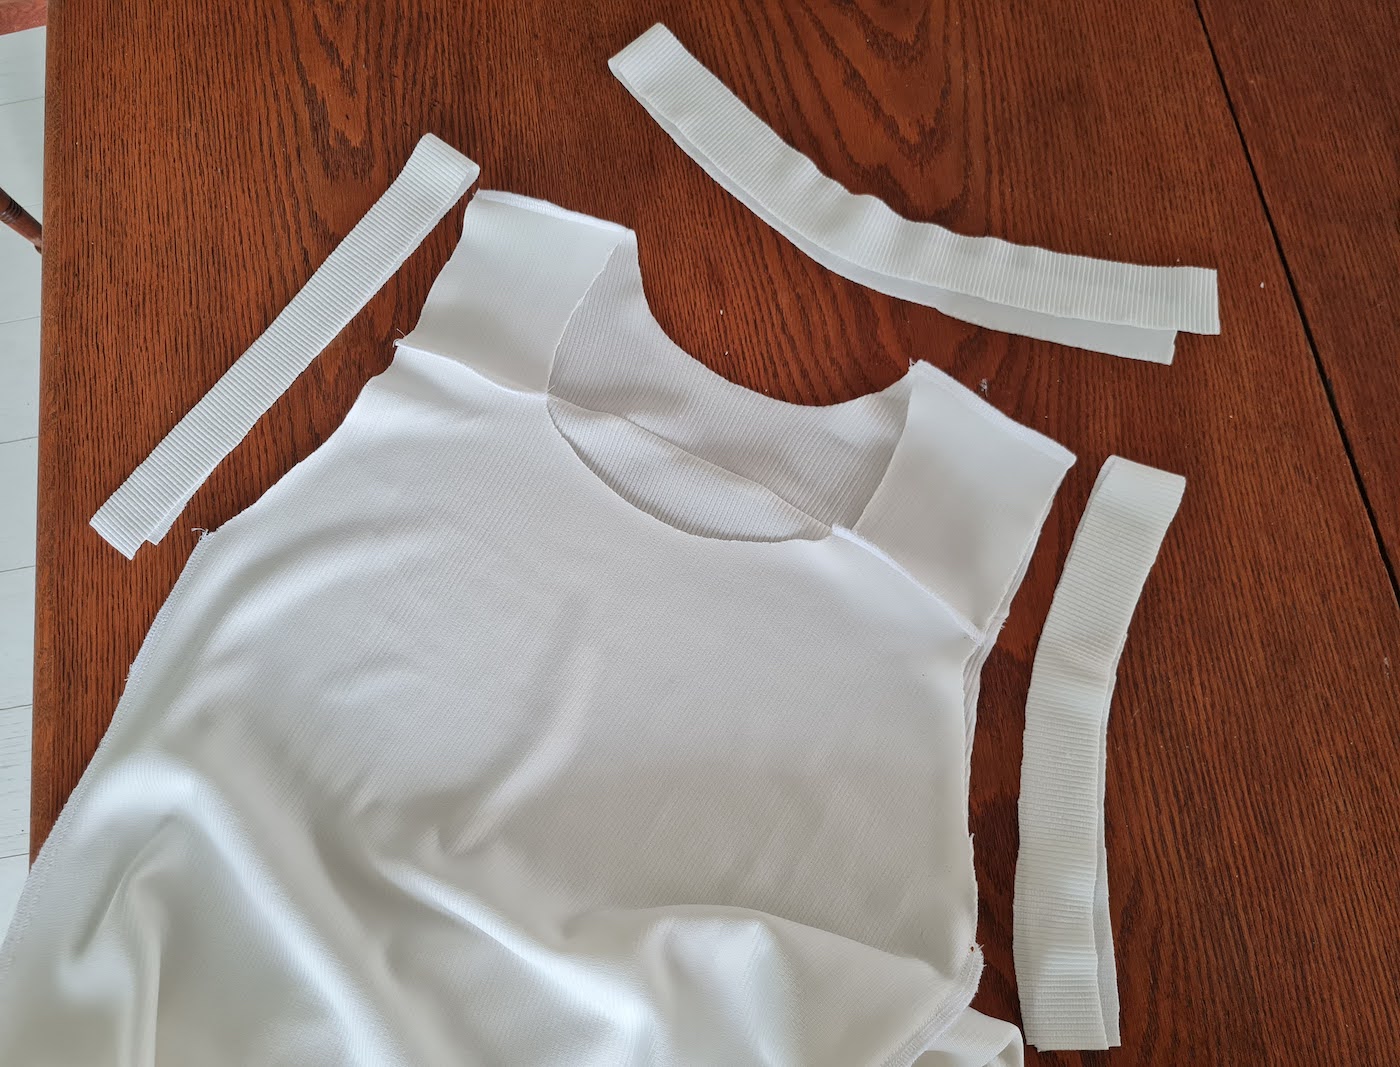
III. Now I was ready to cut out my trims for the neckline and arm holes. I measured the circumference of each, then cut out 3 strips of fabric (lengthwise opposite to the direction of the rib in the knit). Width about 4 cm, and length 90% of the neckline/arm hole circumference. Fold the strips in half width-wise, wrong sides facing, and press a fold along the length with your iron.
This next image will probably come back to haunt me one day. It's ok to laugh. But I forgot to take a photo of this critical step, so you what you get is a remarkably crappy drawing. What this illustrates is how you need to sew the ends of the trims of the arm holes, to get them to lie flat under the arm. If you just sew them straight, the trim will stick out.
When you place the ends of your trim together right sides facing, instead of sewing straight, sew a triangular shape as shown in this fine art work. Then trim excess and clip the corner before turning right side out and pressing again.
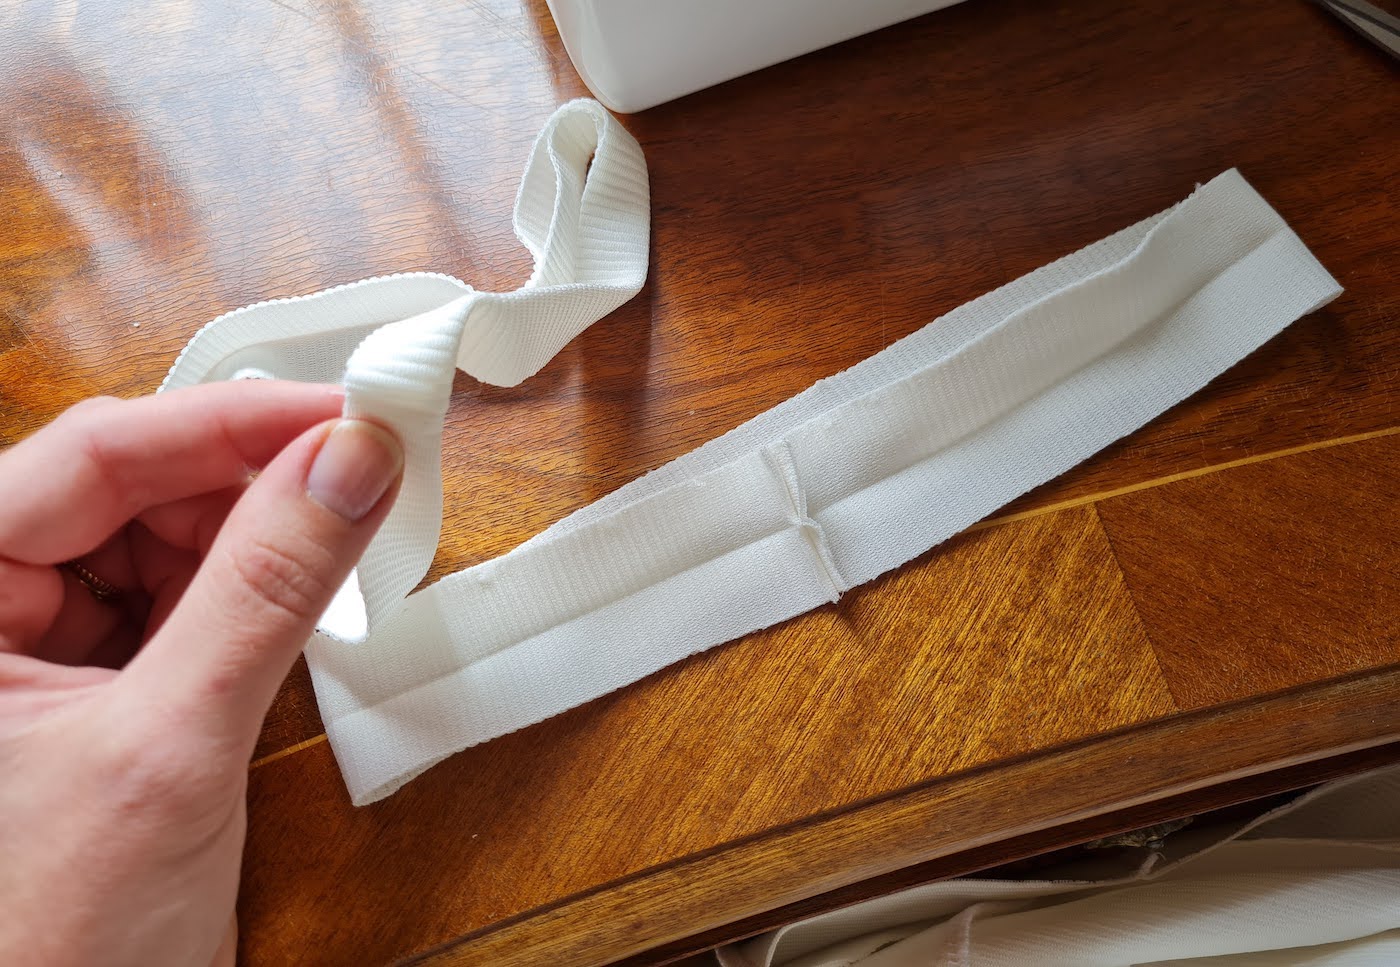
When you have your 3 trims (neckline and 2 arm holes) sewn into loops...
.. You're ready to attach them to the dress. You want to first quarter them - Fold each trim loop in half, mark the halves with pins, and then fold those halves and mark the quarters. Do the same for the neckline and arm holes. As you pin the trims to their places, you start by alining those quarter pins, and then stretch the neckline/arm hole slightly as you pin the rest. Make sure on the arm holes to start with alining the seam of the trim with the side seam of the dress. With the neckline you can either place the trim seam center back, or align with with one of the shoulder seams.
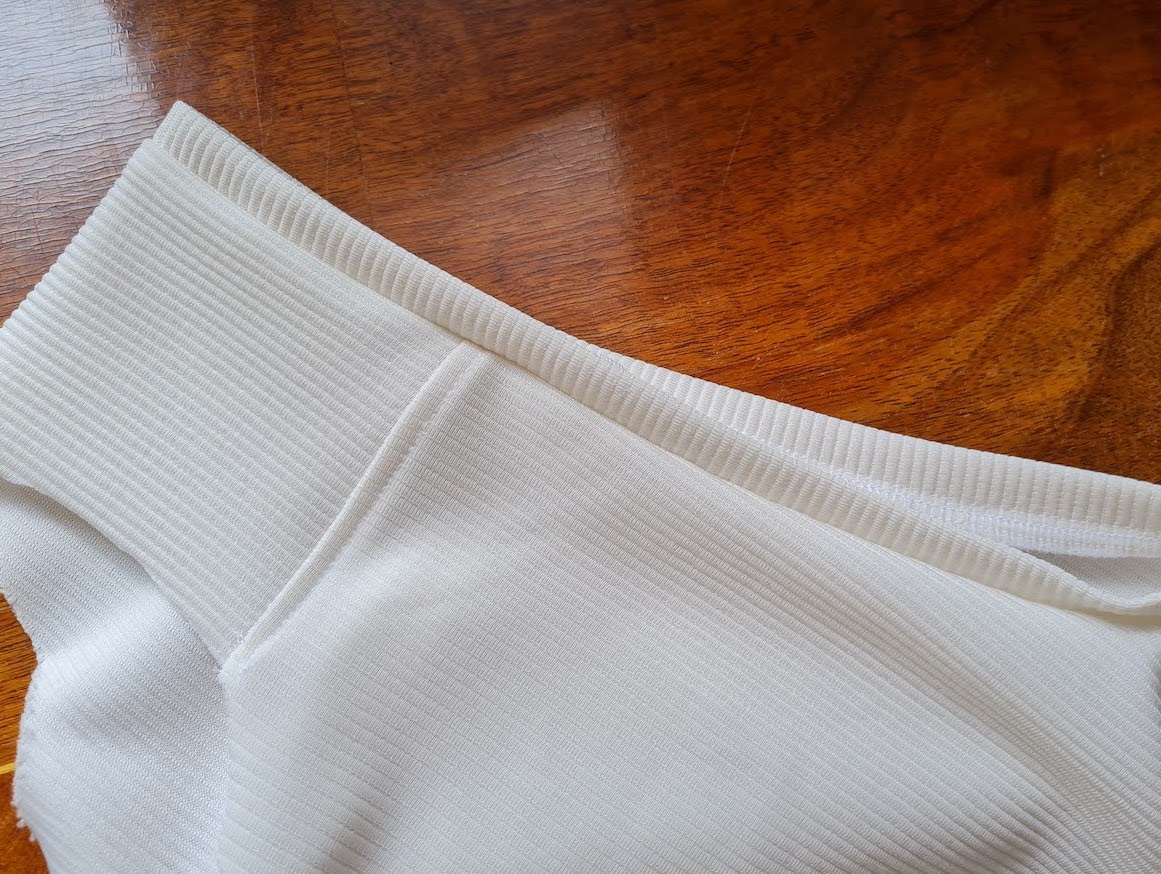
After sewing all around, here's what you'll have. Press.
Repeat for the neckline, except there you can sew your trim into a loop straight.
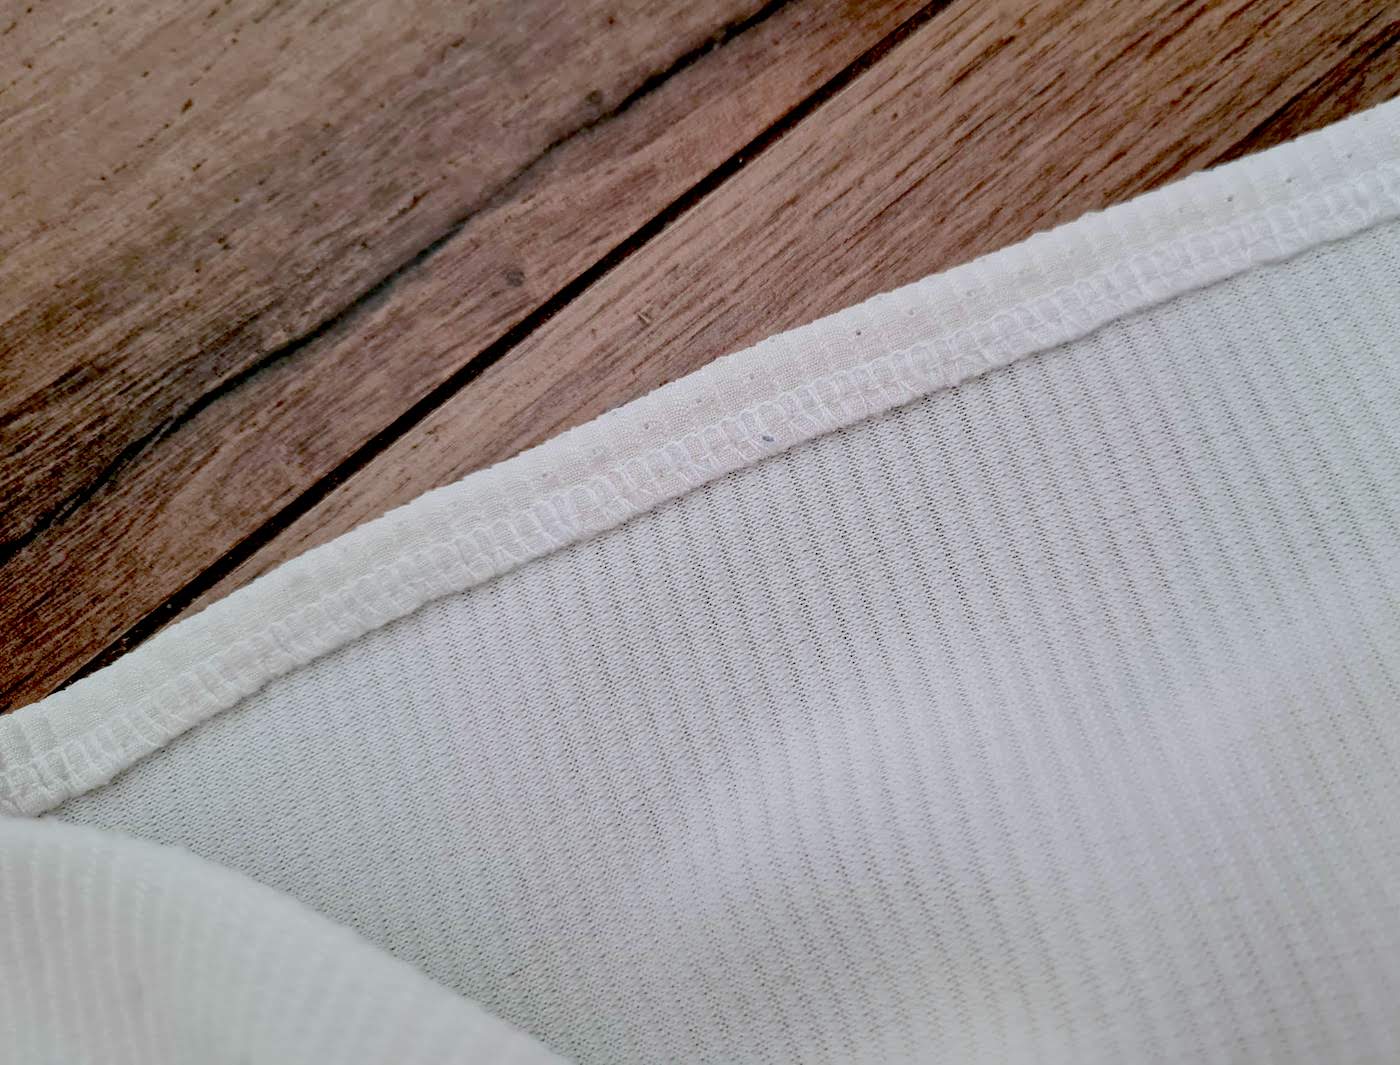
At the time of sewing this dress I didn't have a twin needle at hand so I hemmed the dress by first finishing the hem with my serger, then doing a single fold which I secured with my sewing machine's stretch stitch.
That's it for the sleeveless one!
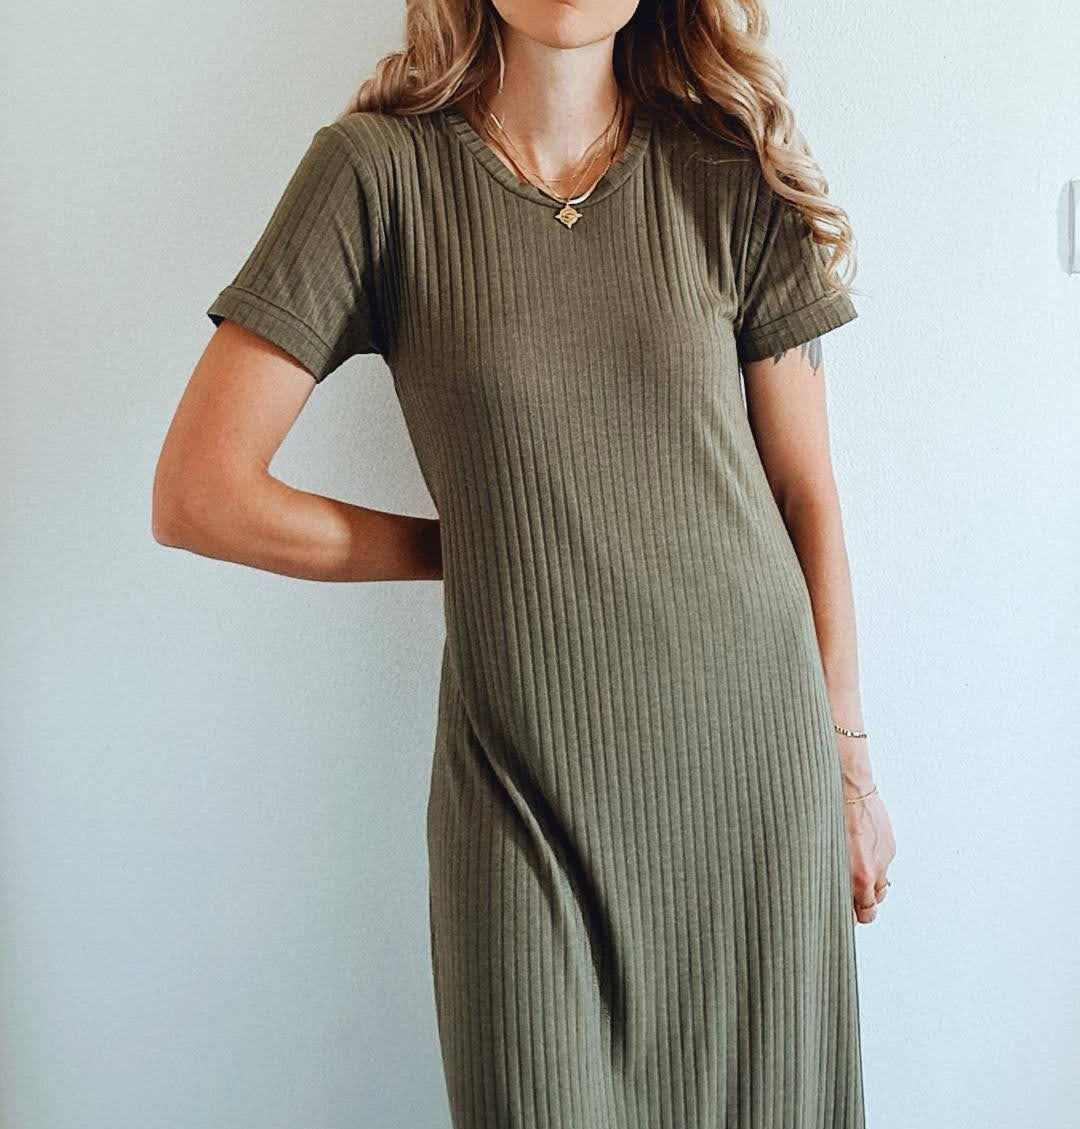
Very similar as the above, main difference being this one features sleeves. I used a twin needle on some of the finishes this time around.
I. Cut pieces below, fit just a tiny bit less loose than the sleeveless version.
Here's a closeup of the sleeve & measurements. The seam allowance/hem of the sleeve is cut outwards, mirroring the angle of how the sleeve underarm is cut, to allow for folding on the reverse.
II. After sewing the dress shoulders I pinned my sleeves in their places, right sides facing, and sewed:
 III.
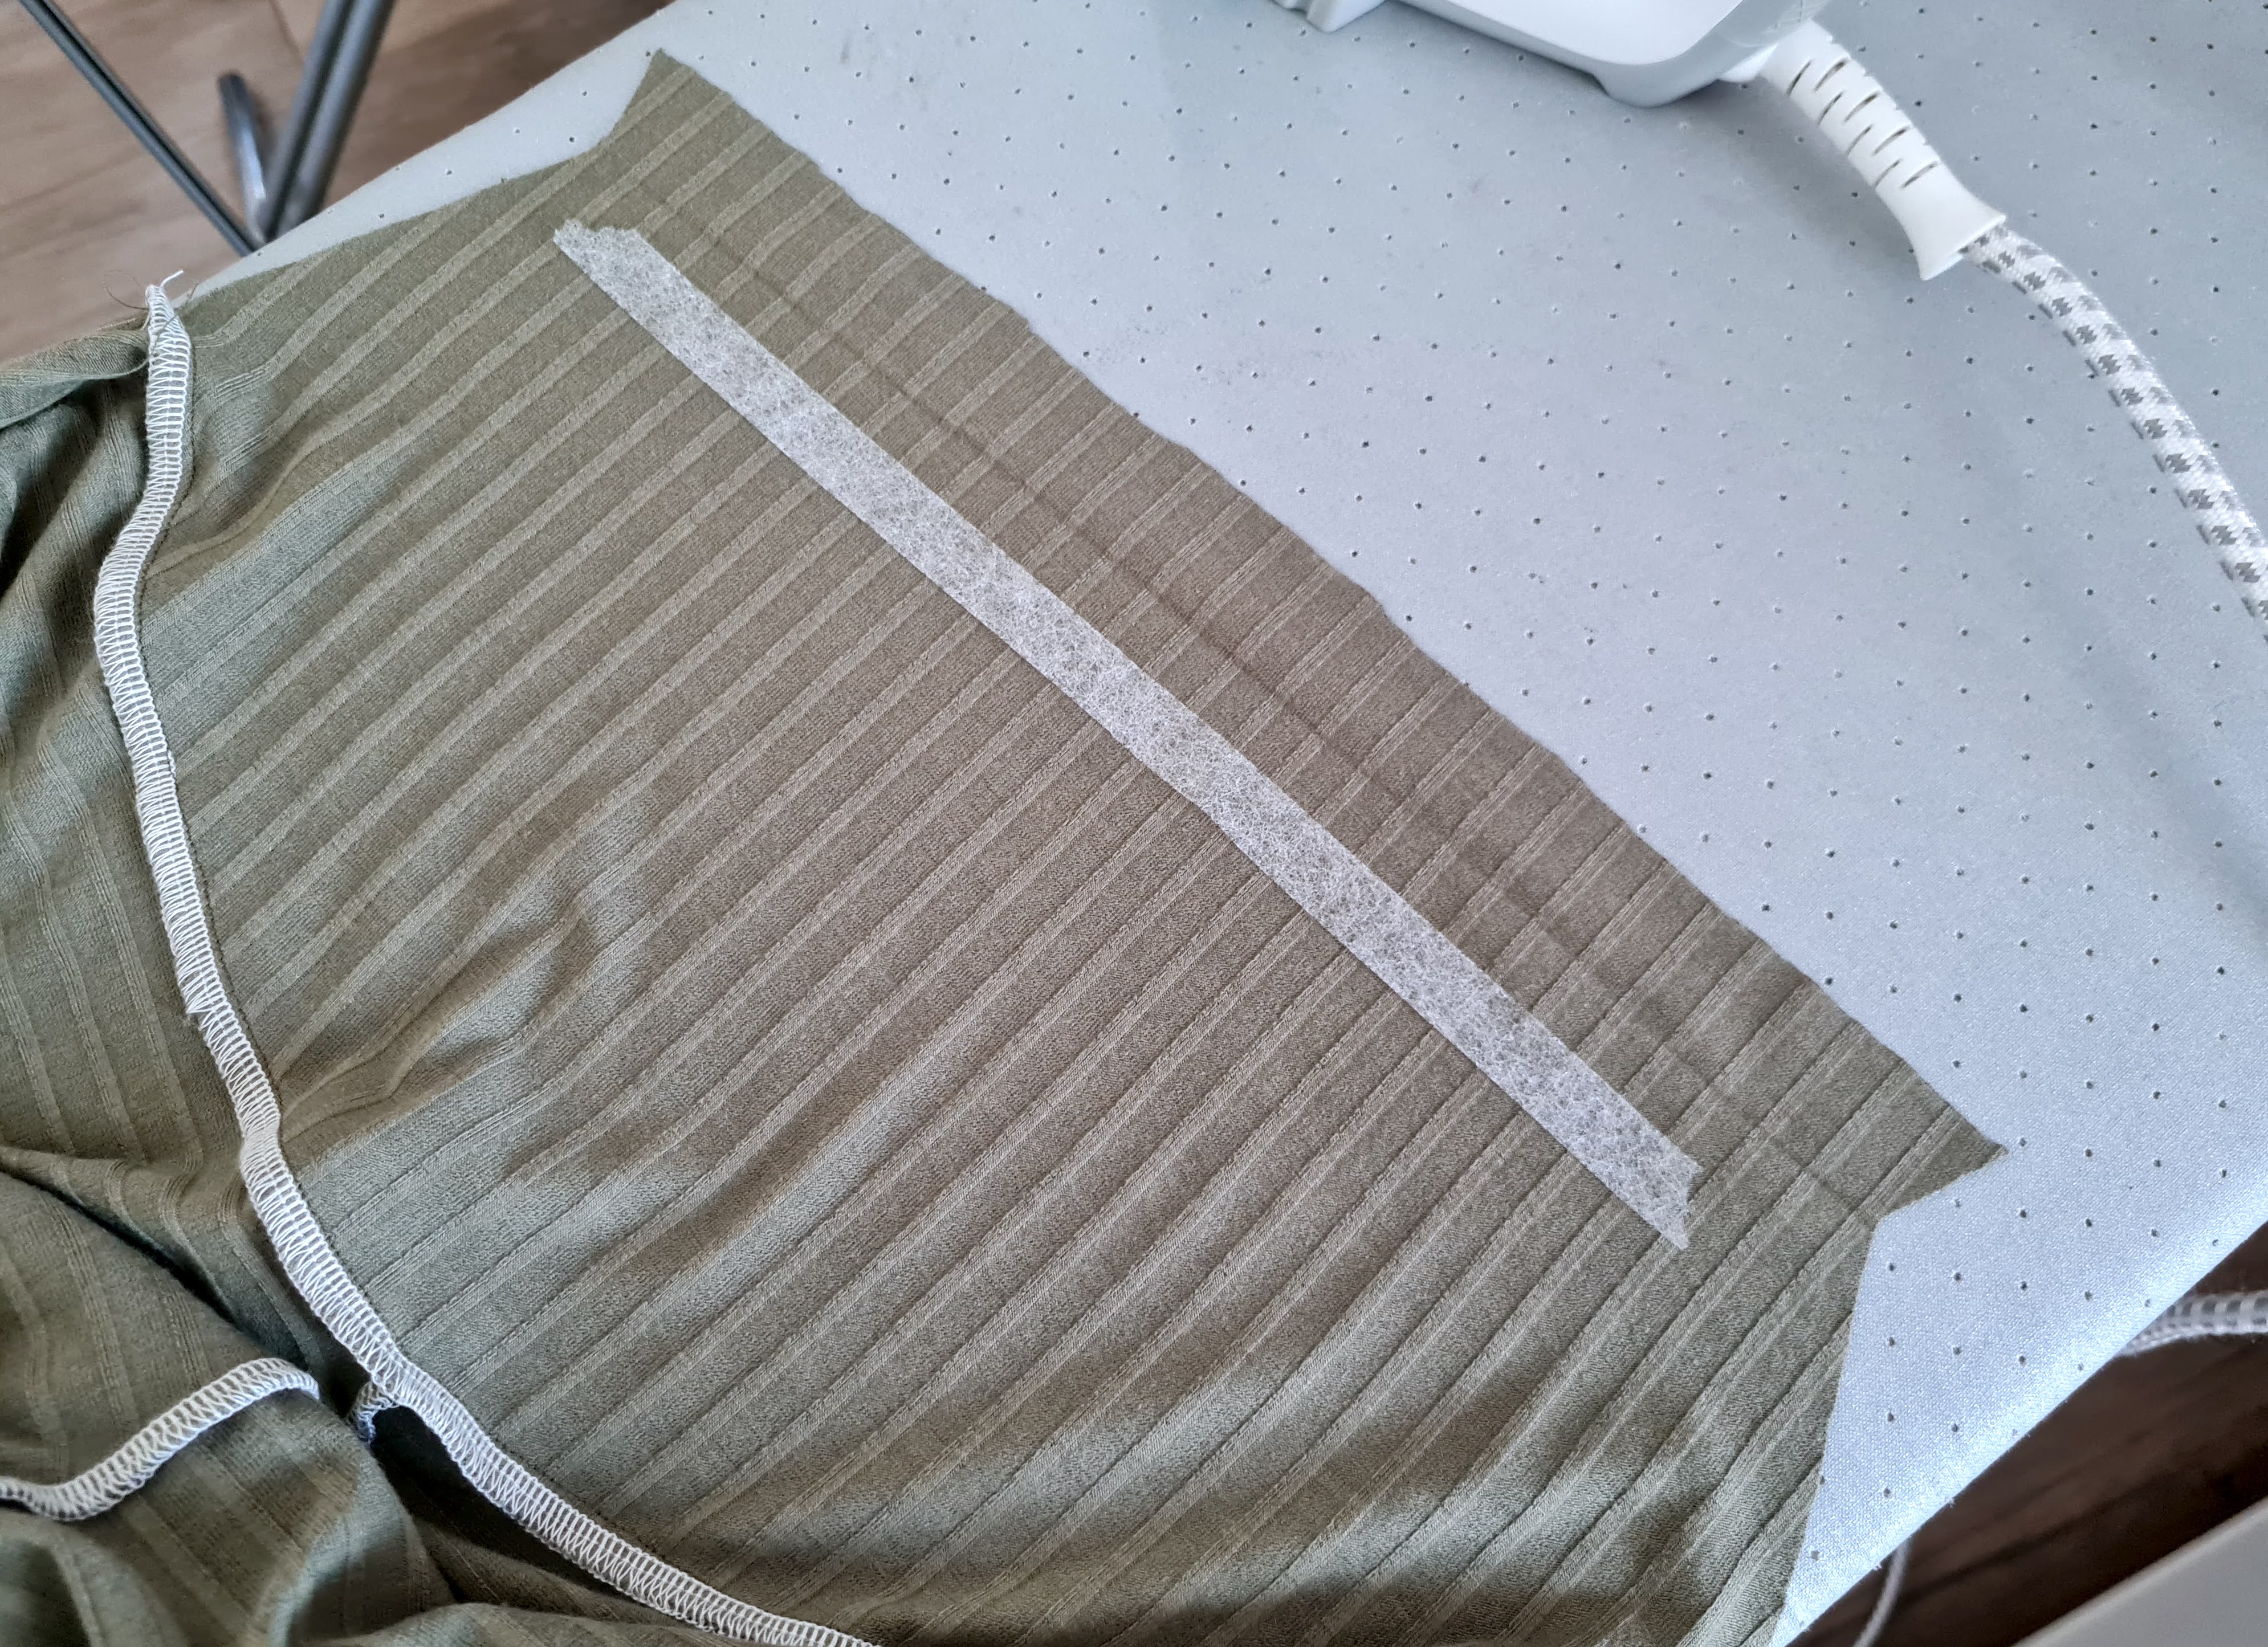
III. Now for my little knit fabric hemming trick. Most tutorials will tell you to use fusible fabric stabiliser at the edges of your fabric before sewing with a twin needle. I prefer to use fusible hemming tape, which does the job of the stabiliser, but also secures your fold, to sew over with your twin needle. I also like to do this early, right after sewing the shoulder seams - it's much easier to work with a sleeve you can open up fully, compared to when the sleeve underseam is already sewn.
Place a piece of hemming tape along where your folded edge will sit. Important that you don't fuse the whole distance of the fold yet - leave a couple cm on each side unfused.
After fusing the hemming tape with your iron, most of your fold, excluding the sides, will be nicely secured.
IV. Now we'll leave the sleeve hemming for a bit and pin the sides of the dress + sleeve underarms, and sew those.
V. Once that's done, you can go ahead and add a small piece of hemming tape under the bit of sleeve folds where it's still unfused. Now everything is nicely secured and ready for you to take your twin needle and sew your sleeve hems on the right side.
Here's a quick video on this process if it's your first time working with a twin needle.
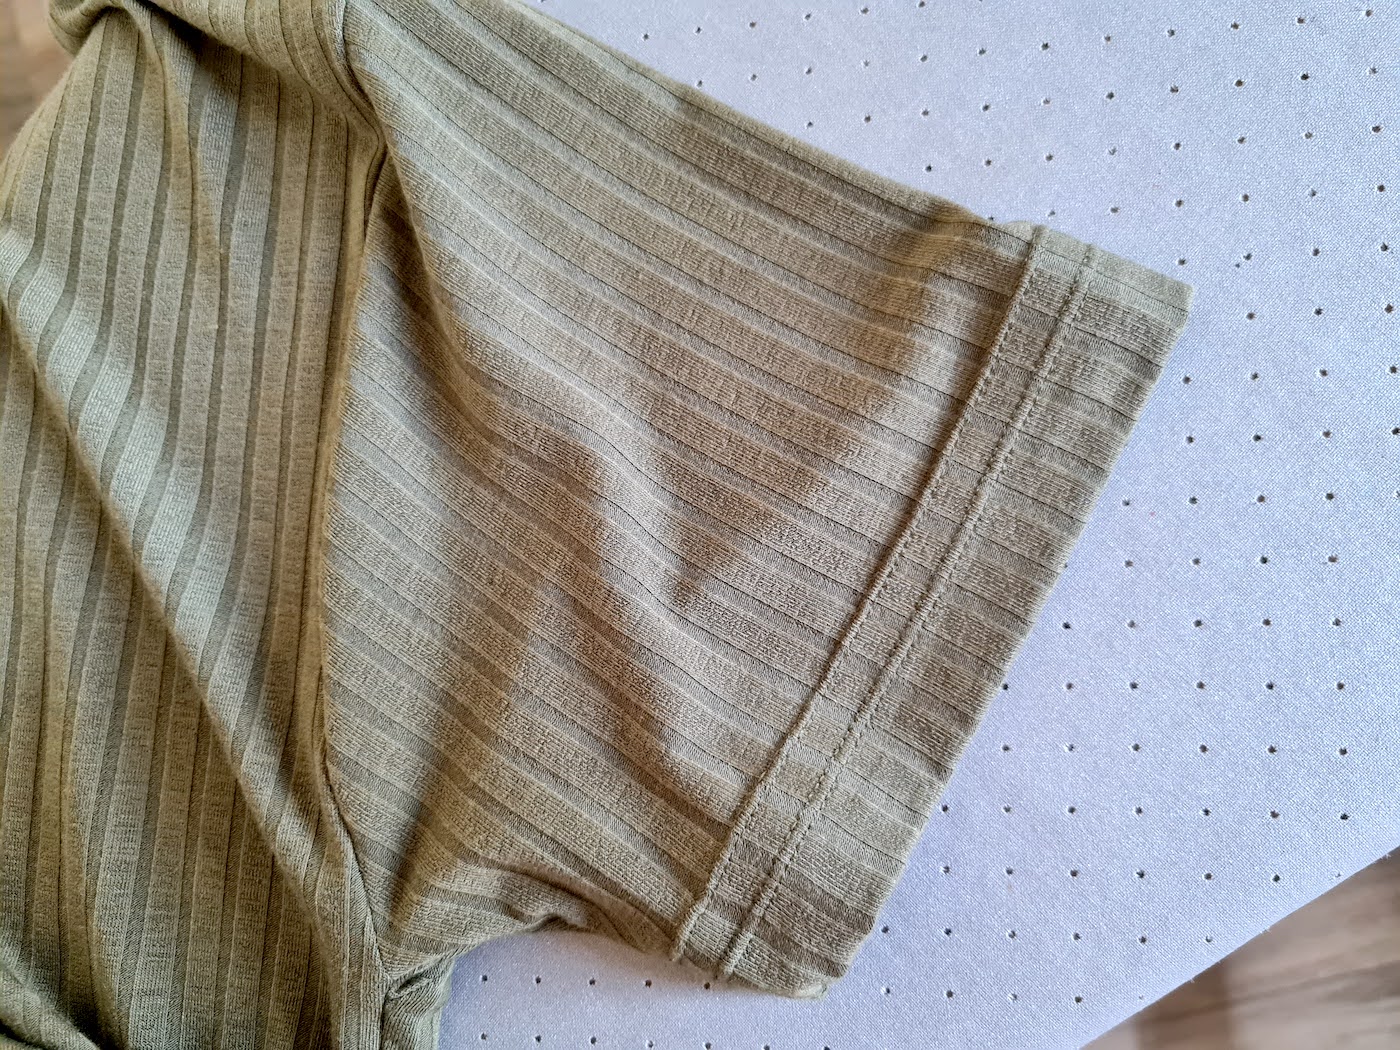
As a purely visual detail I did two rows of twin needle stitches on my sleeves.
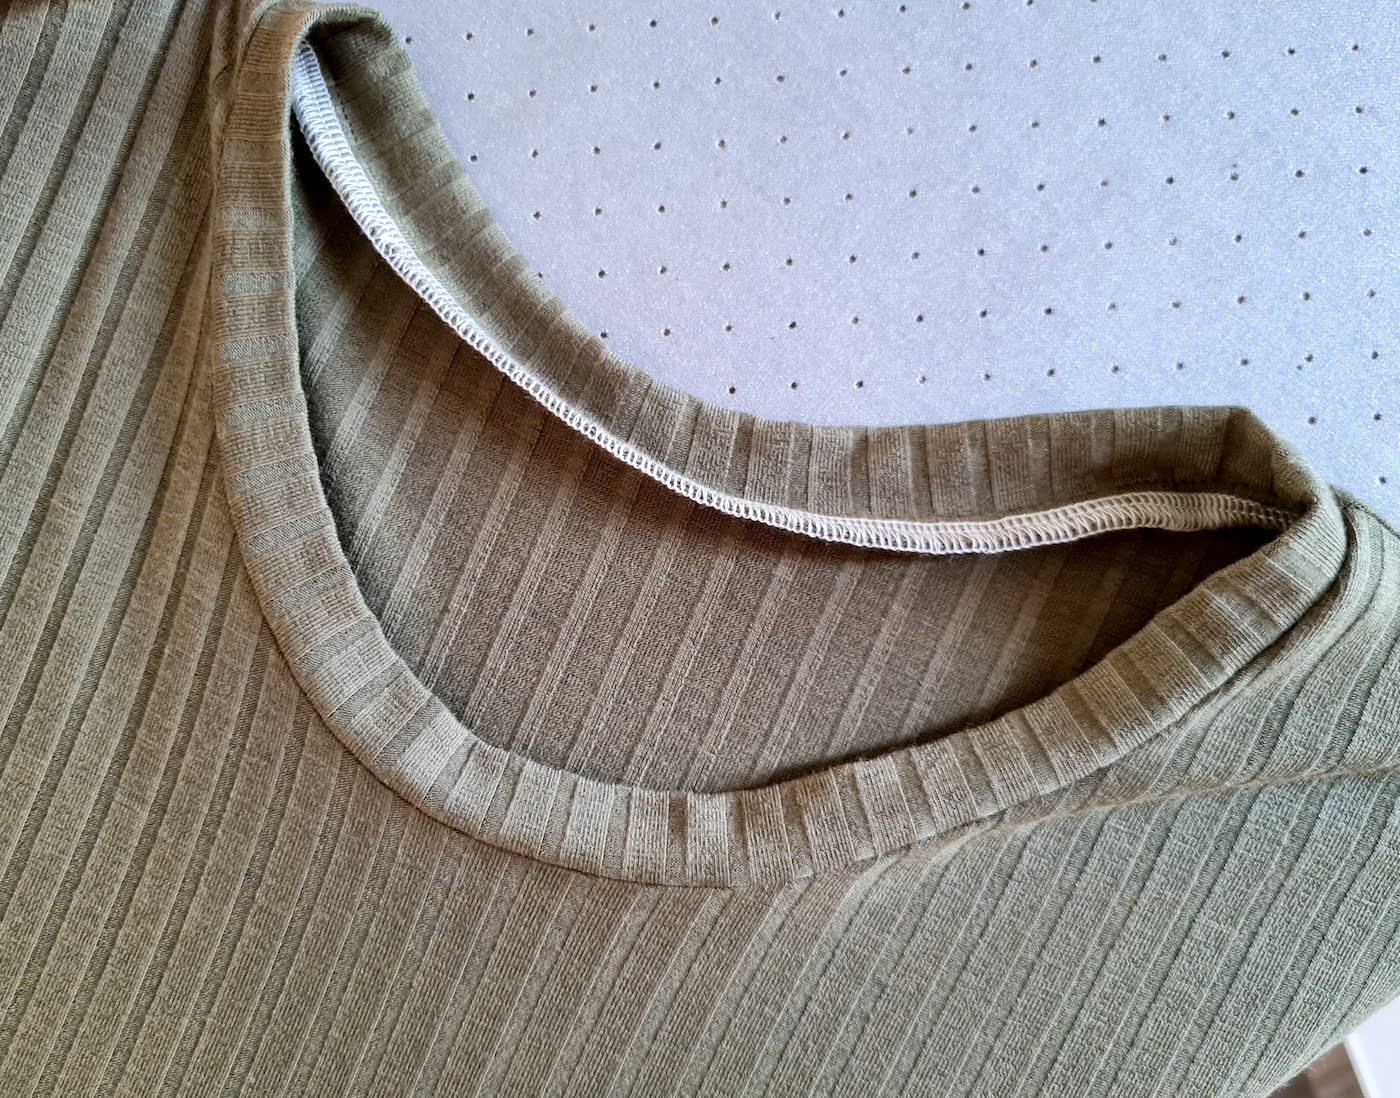
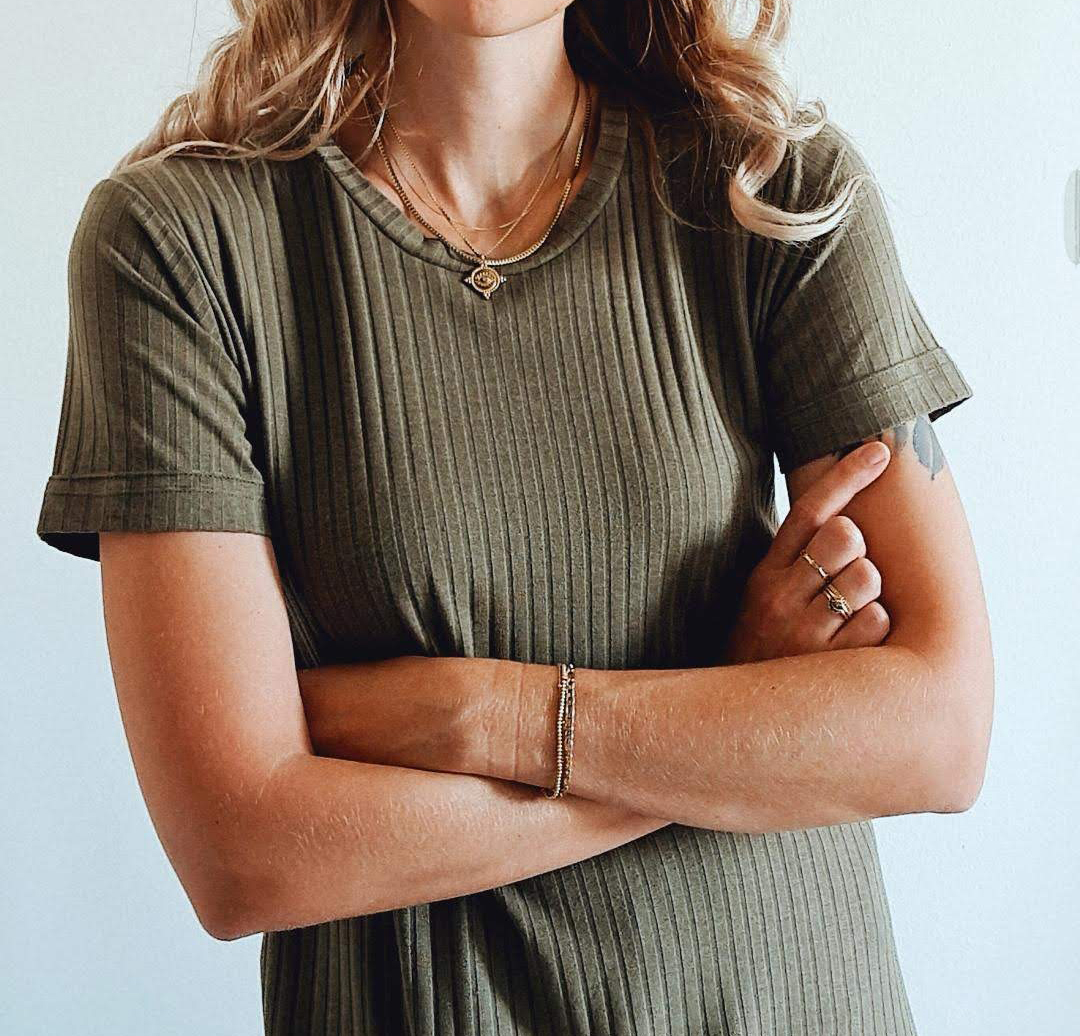
VI. Here are also a couple of images of my ready neckline (done as with the sleeveless dress version above) + the simple single fold hem of the dress, with a twin needle finish.
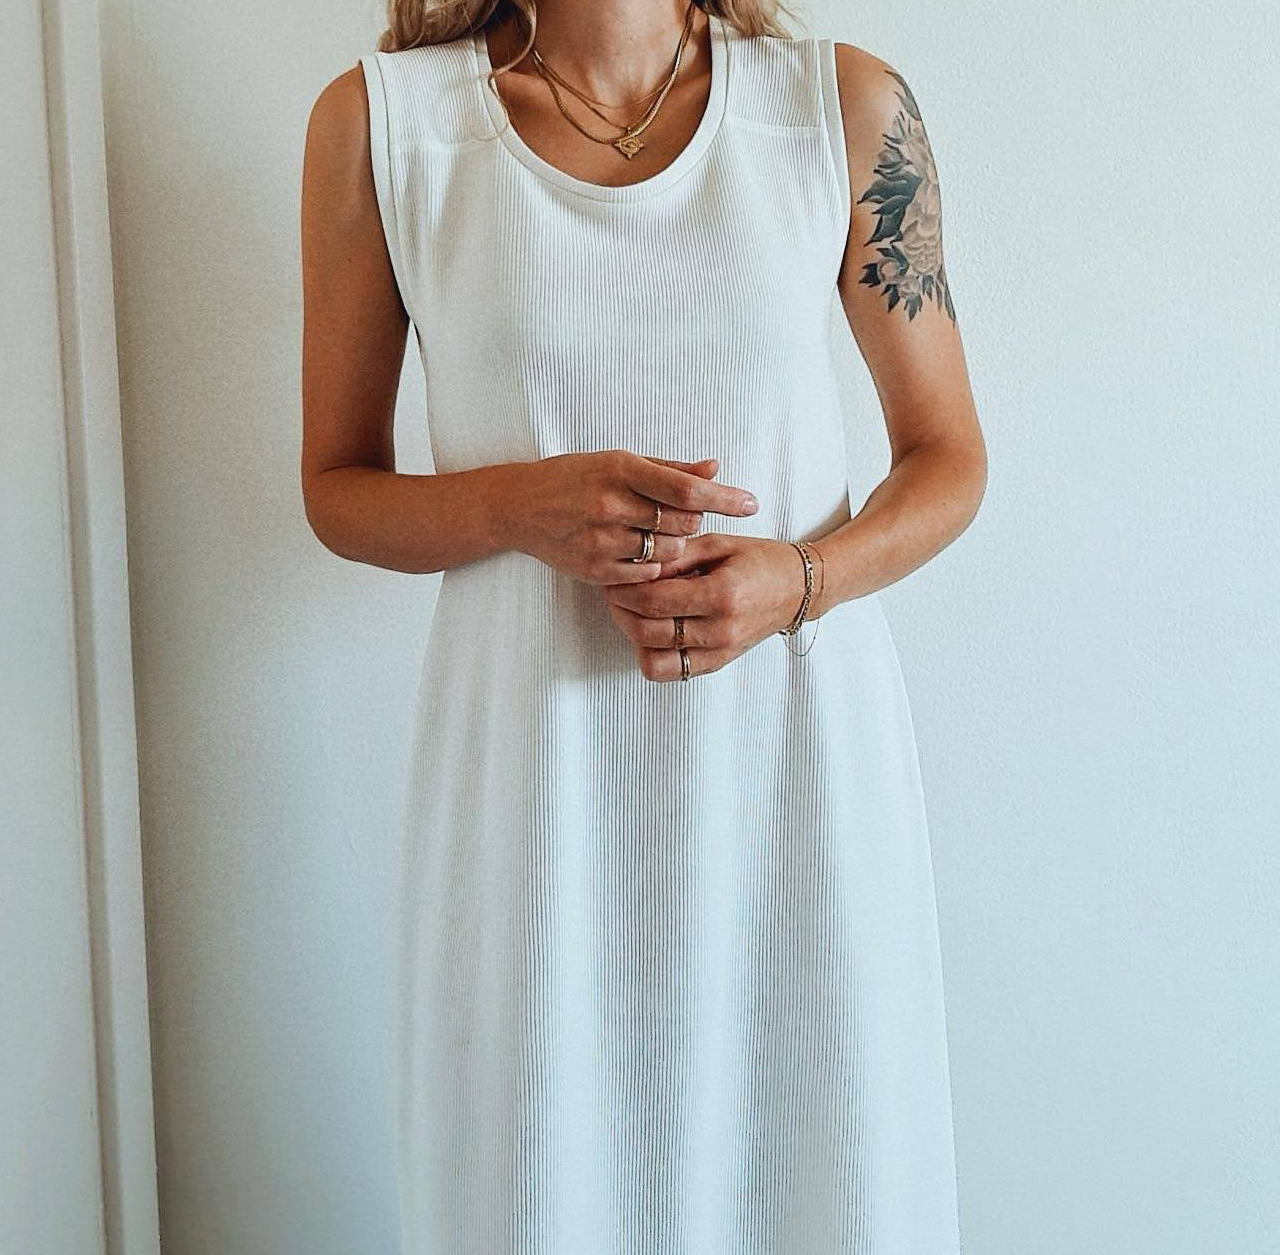
I've already worn these so much I might be able to justify making another colour:)


Your step-by-step breakdown is super clear, and that trick with the fusible hemming tape is genius. I know this struggle with knits curling up at the edges, so I am definitely trying that next time. Also, huge respect for keeping your tutorials free I know how much work goes into writing and photographing everything. Feels like finding an affordable nursing disability writing service but for sewing quality help that does not break the bank.
ReplyDelete