

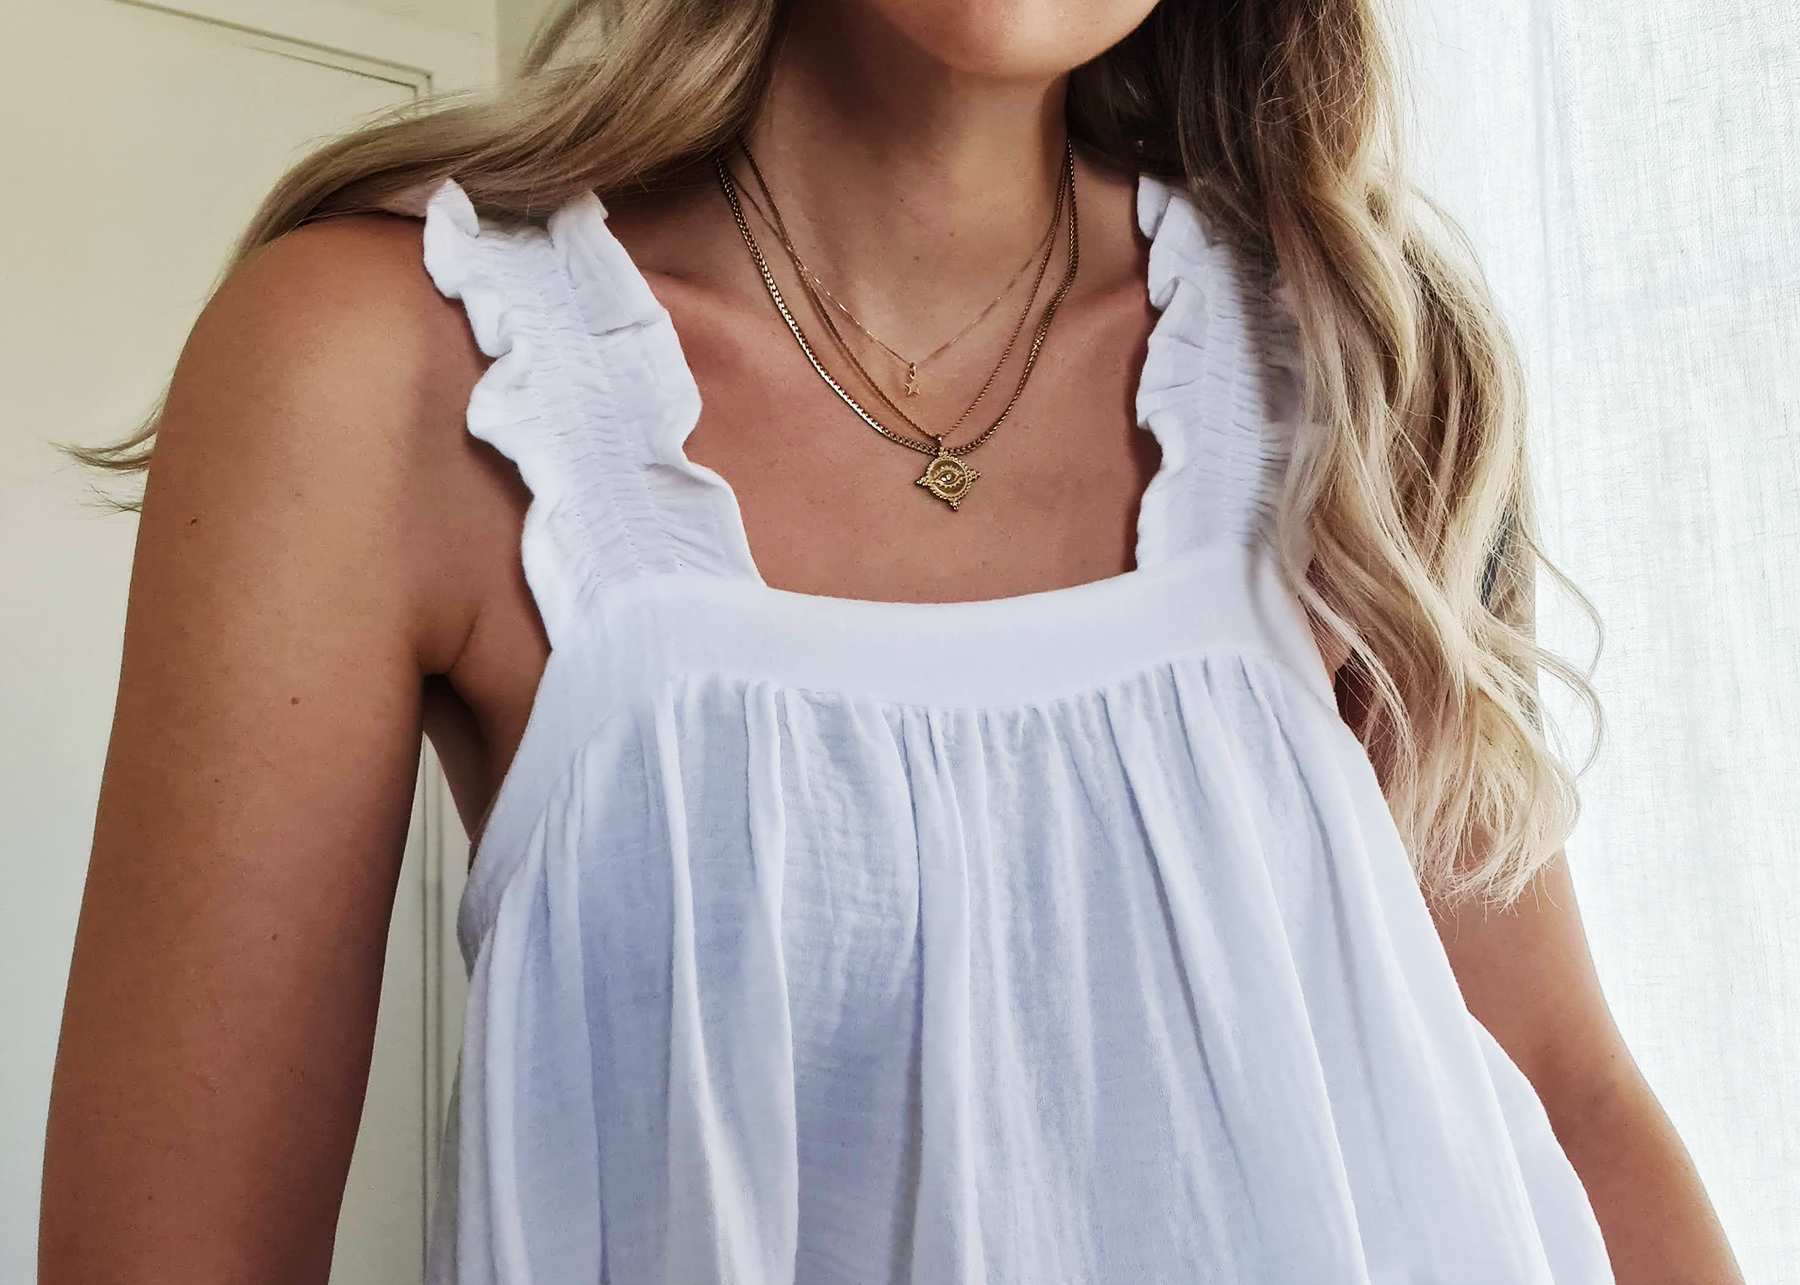
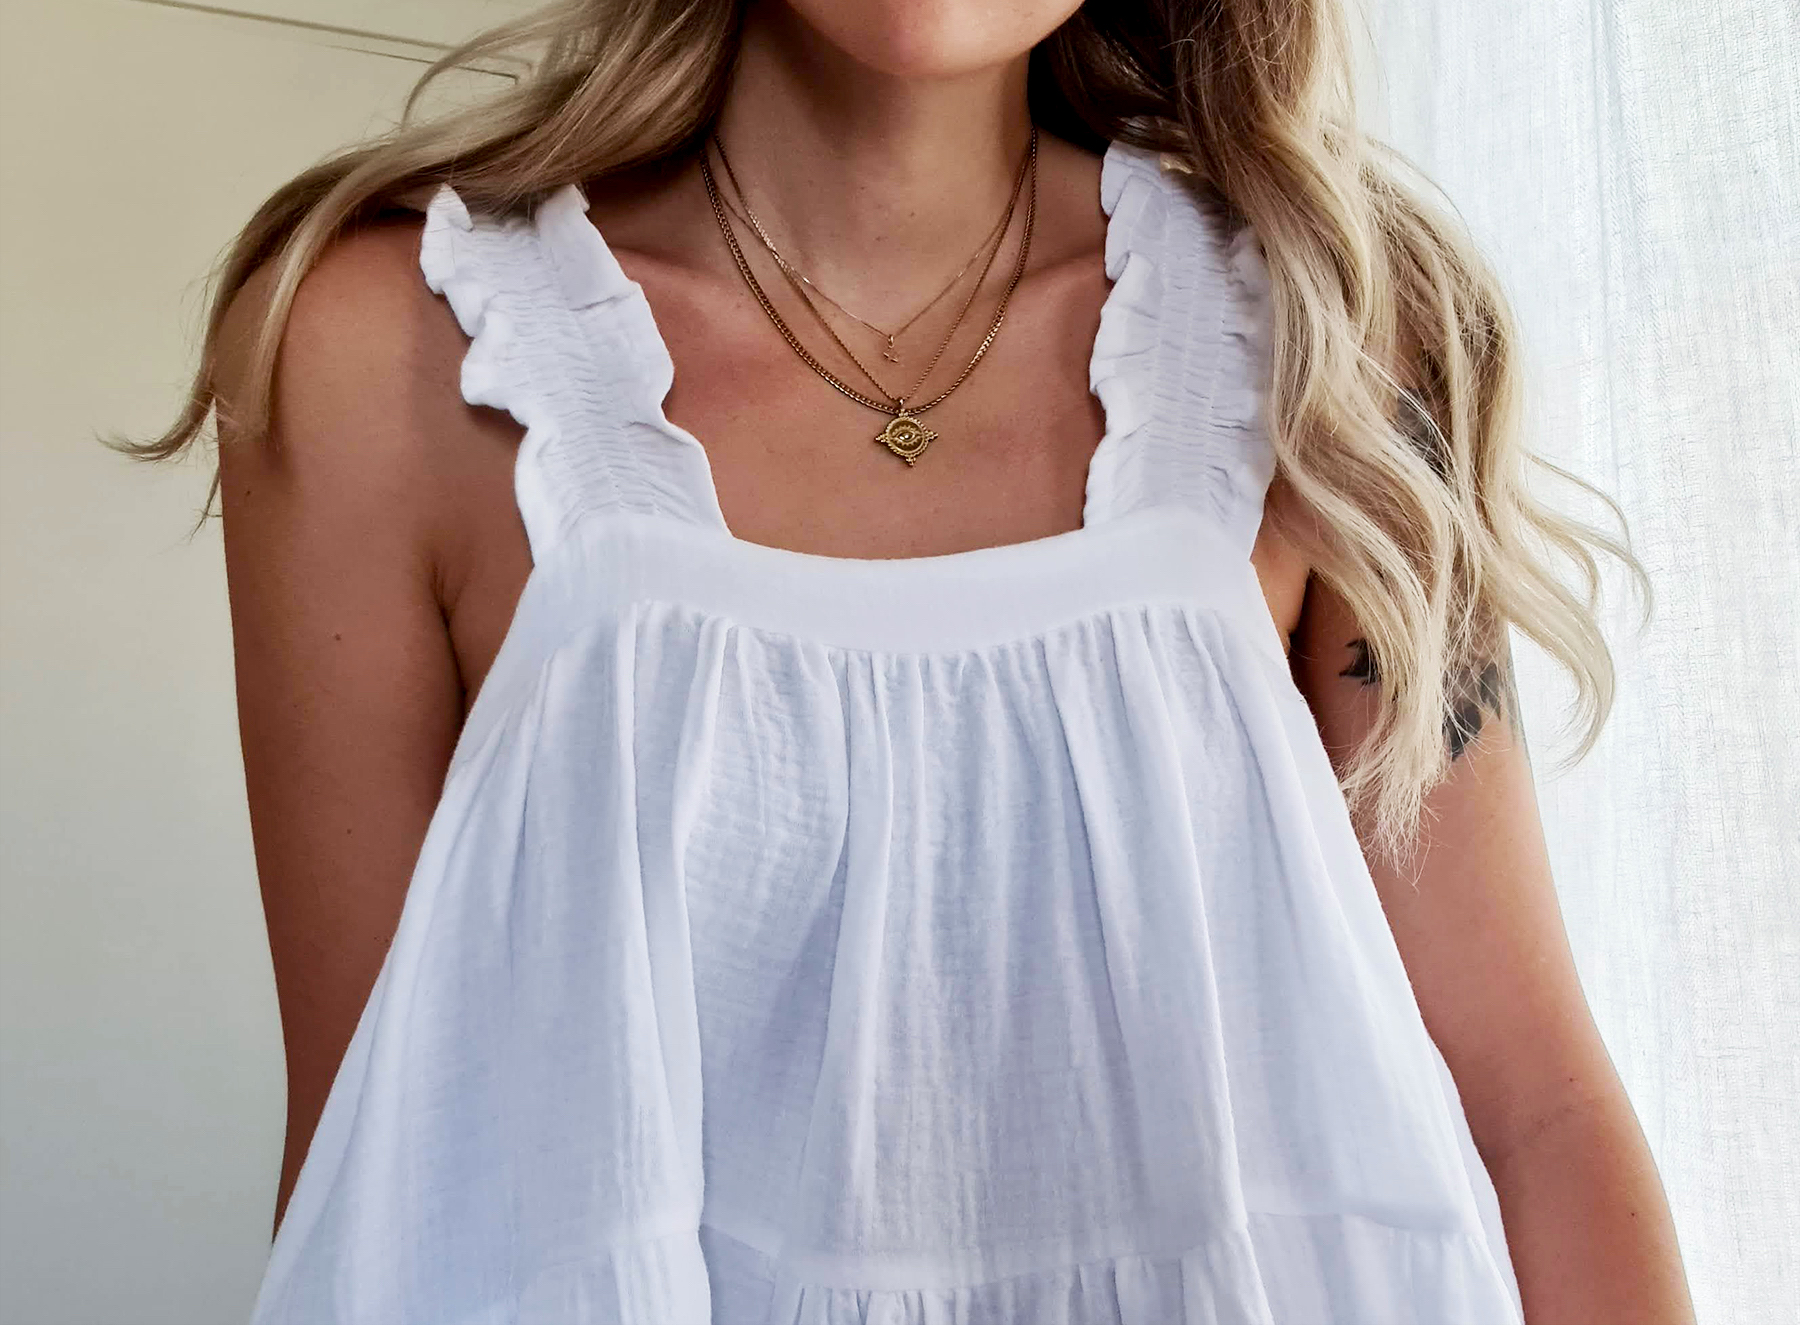
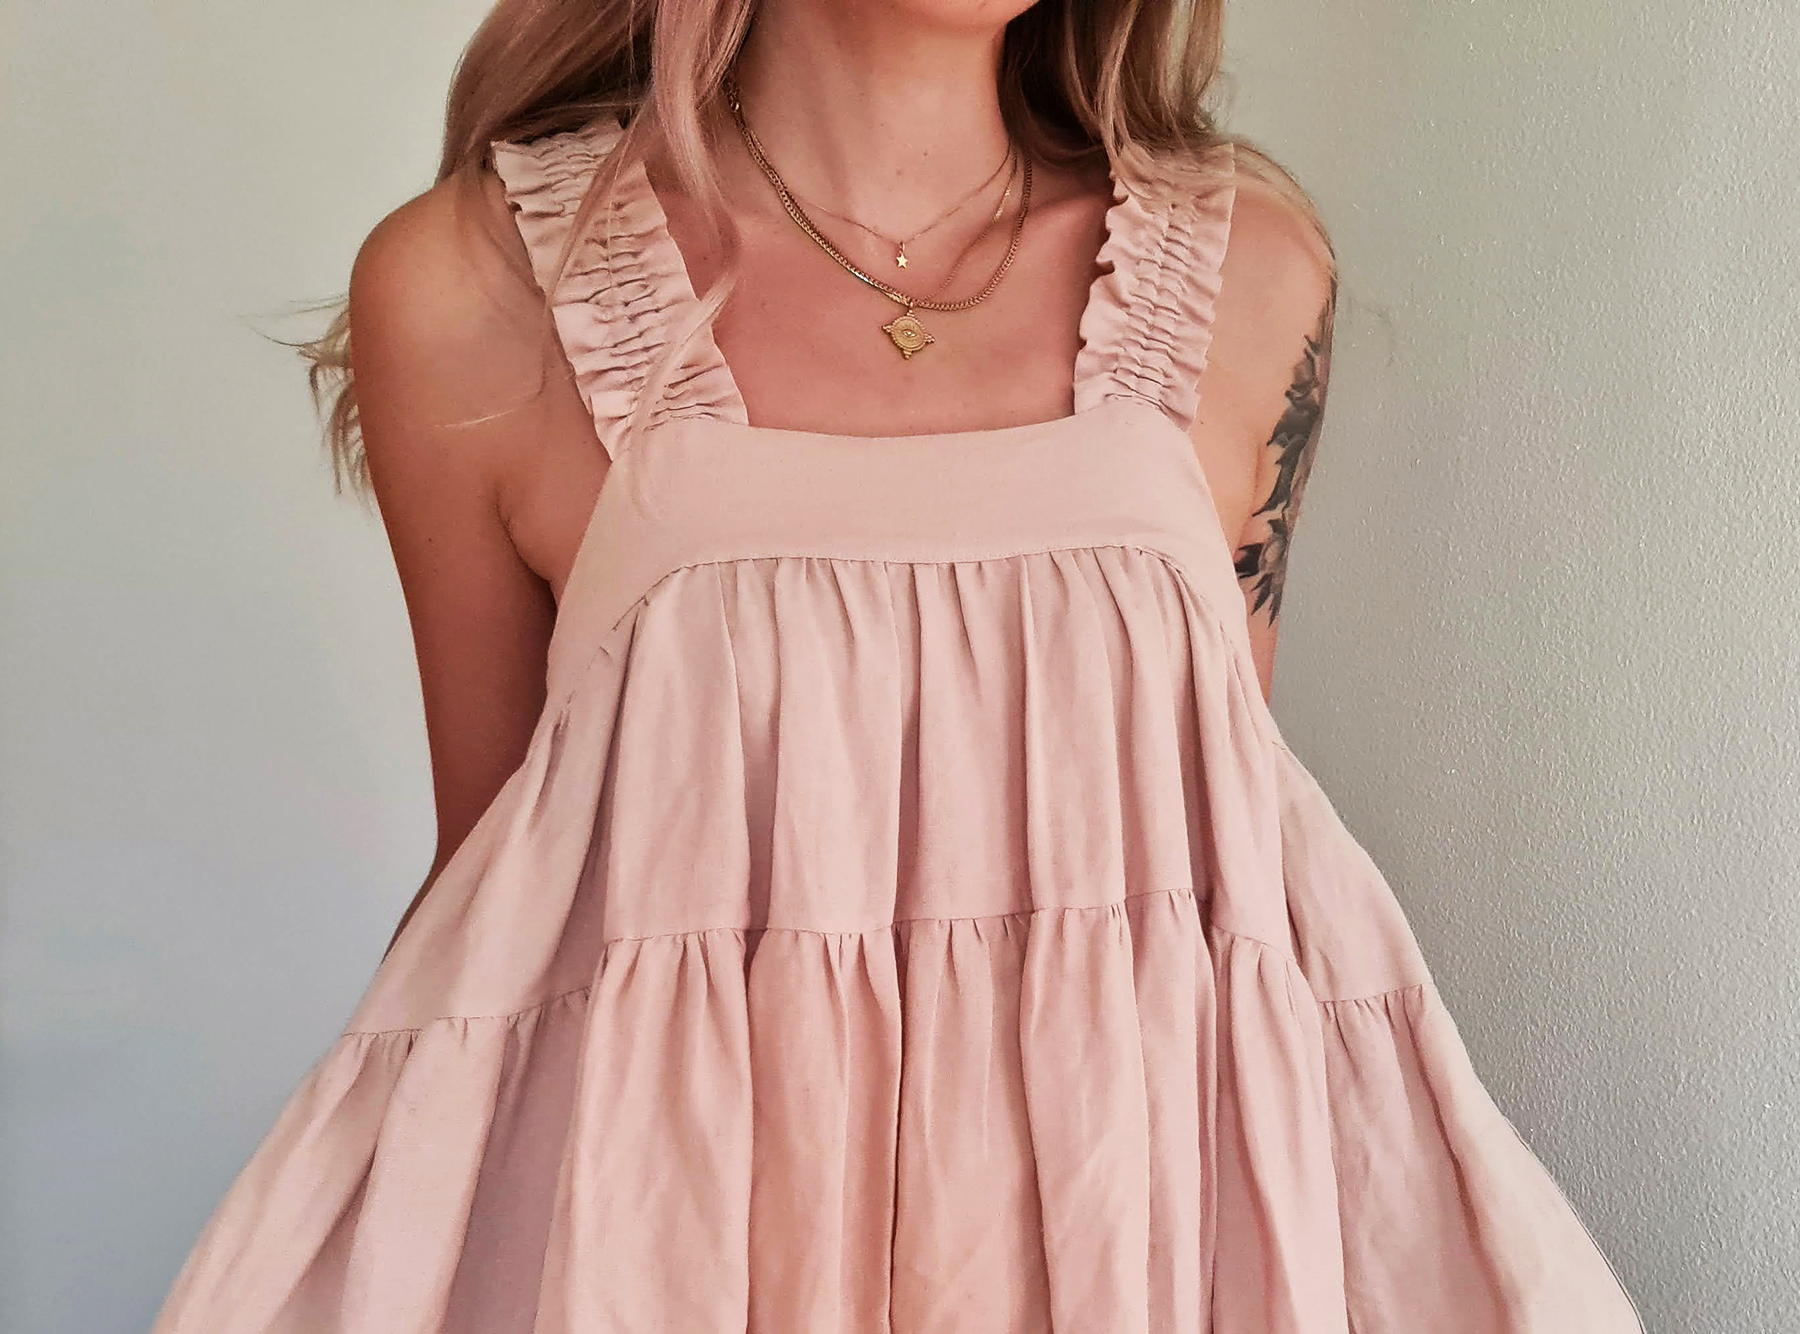
This is a quick and easy one, and adds a really pretty & delicate detail to add to any top or dress. I got lots of requests for a tutorial for the whole dress - that might be coming later on - I'm finding these mini guides are more suited to my current job as milk barkeep:)
I've made the same dress twice recently, with the same style straps achieved in two different ways; using rows of shirring, and with a double casing of narrow elastic. Below are both methods.
Tutorials take a lot of time & effort to create, and I choose to make mine available for free. If you enjoy this guide, you can support my work with a donation that feels right for you, here.
A couple of things will play a role in how this style of shoulder strap turns out:
1) The type of fabric you are using. This will impact how 'dense' the shirring will become (a lighter fabric will allow itself to gather more). It will also determine how much the straps will stretch out when worn, from the weight of the fabric = the weight of the dress. If working with heavier fabric, I recommend the cased elastic version, the shirring is best suited for lighter materials.
2) How many shirring stitches/rows of elastic you do. In the shirred version, I did only 3 rows of shirring on each shoulder strap, which was enough to nicely gather my lightweight cotton gauze. If working with a heavier fabric, you could do more rows of shirring. Same goes for the elasticated version - 3 rows would get you even more firmly gathered straps. Remember though that as you add shirring rows/rows of elastic, you add the intensity of gathering, which means you may want to start off with longer strap pieces.
METHOD 1: SHIRRING
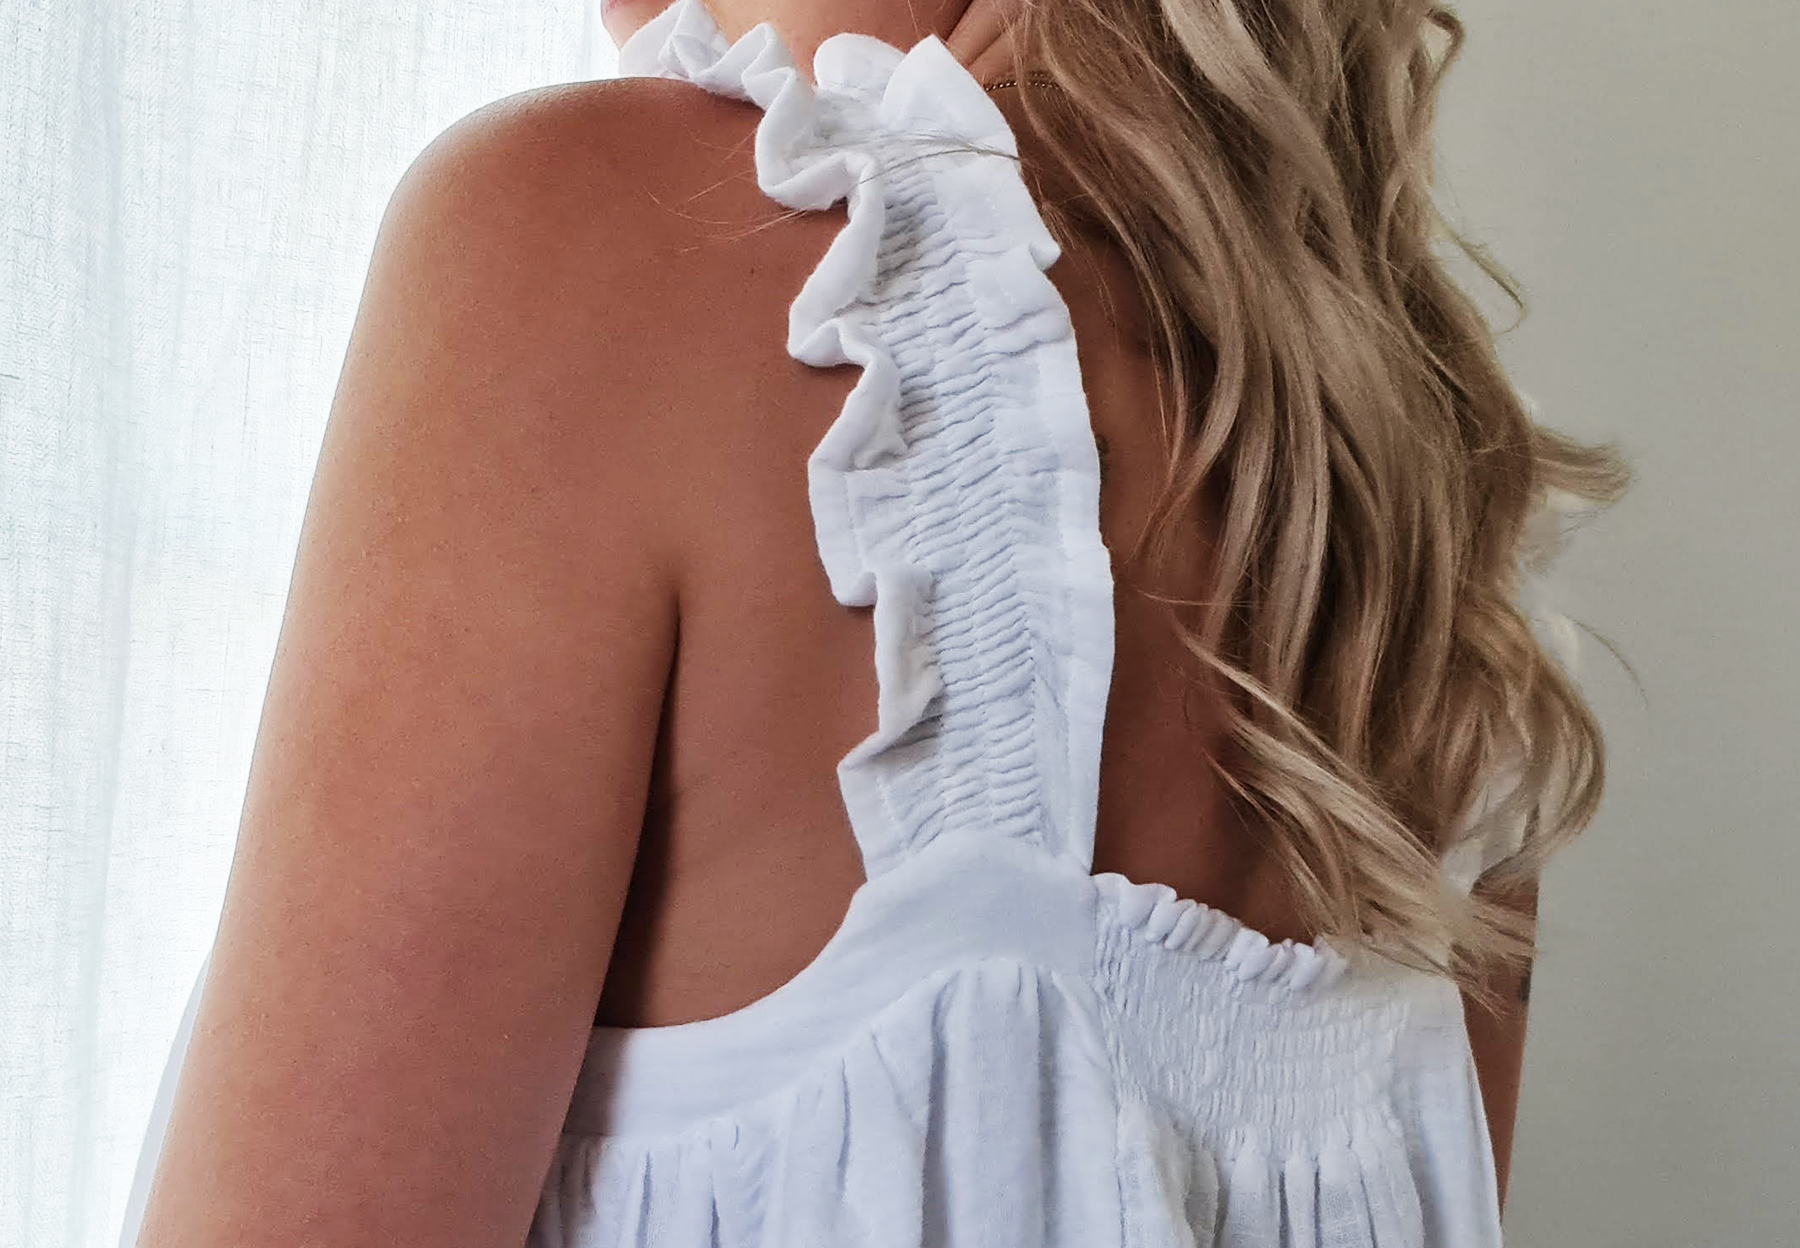
For reference, my finished over-knee dress out of double cotton gauze weighs just under 300 g. With the measurements I've shared, my straps are 20 cm at rest (dress not worn) and the weight of the dress stretches them out to 40 cm when worn.
TOOLS:

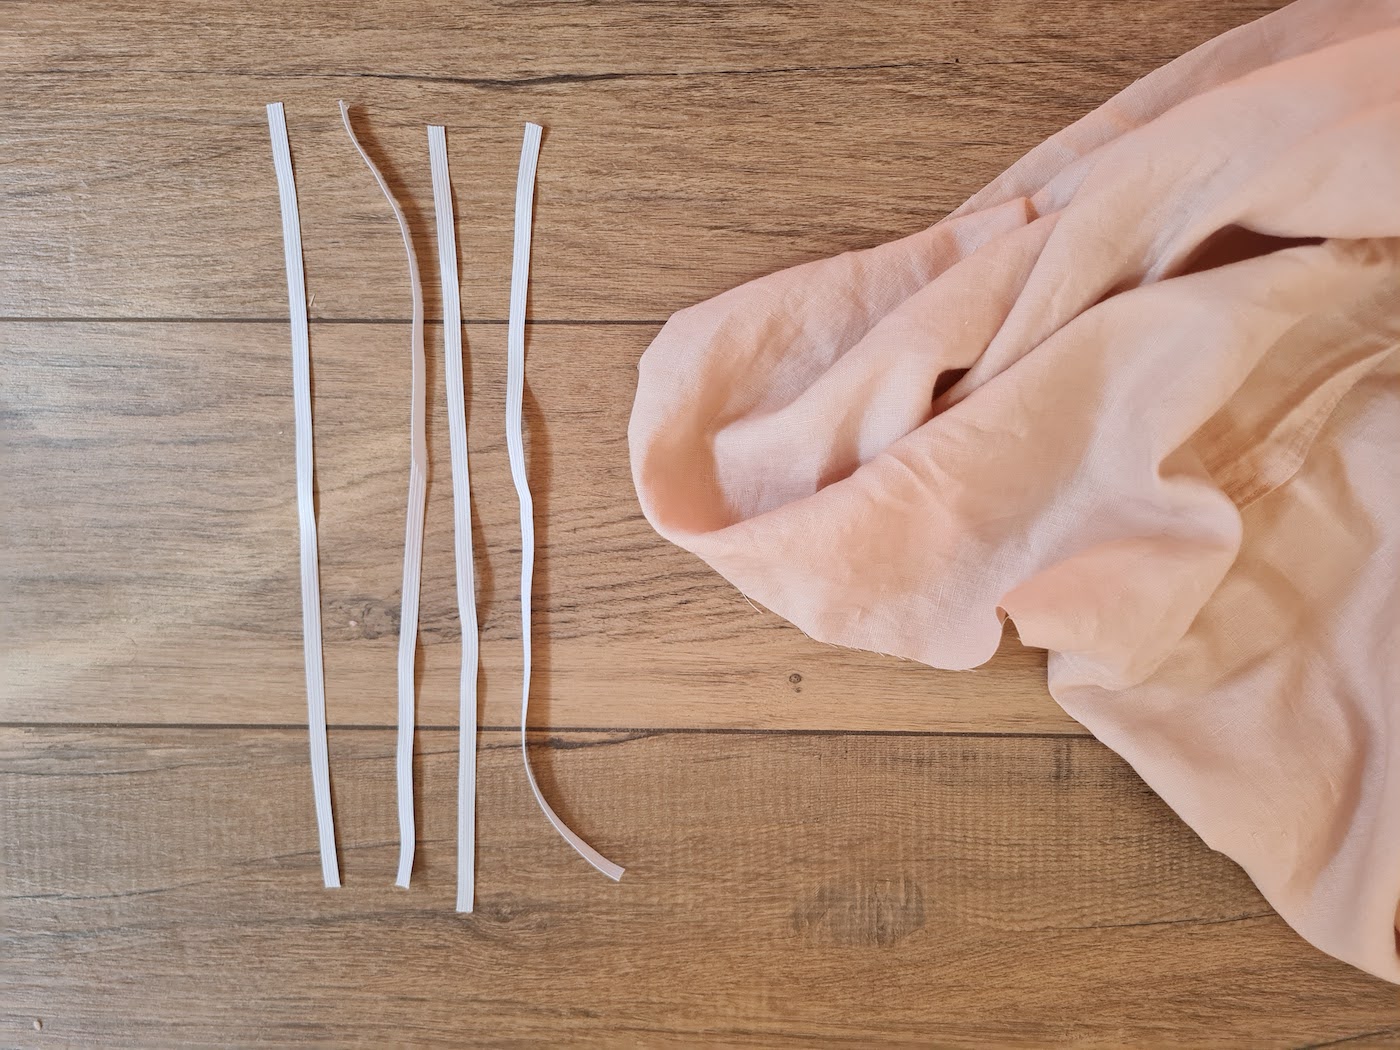
I. I started off with about 65 cm long, 11 cm wide strap pieces.
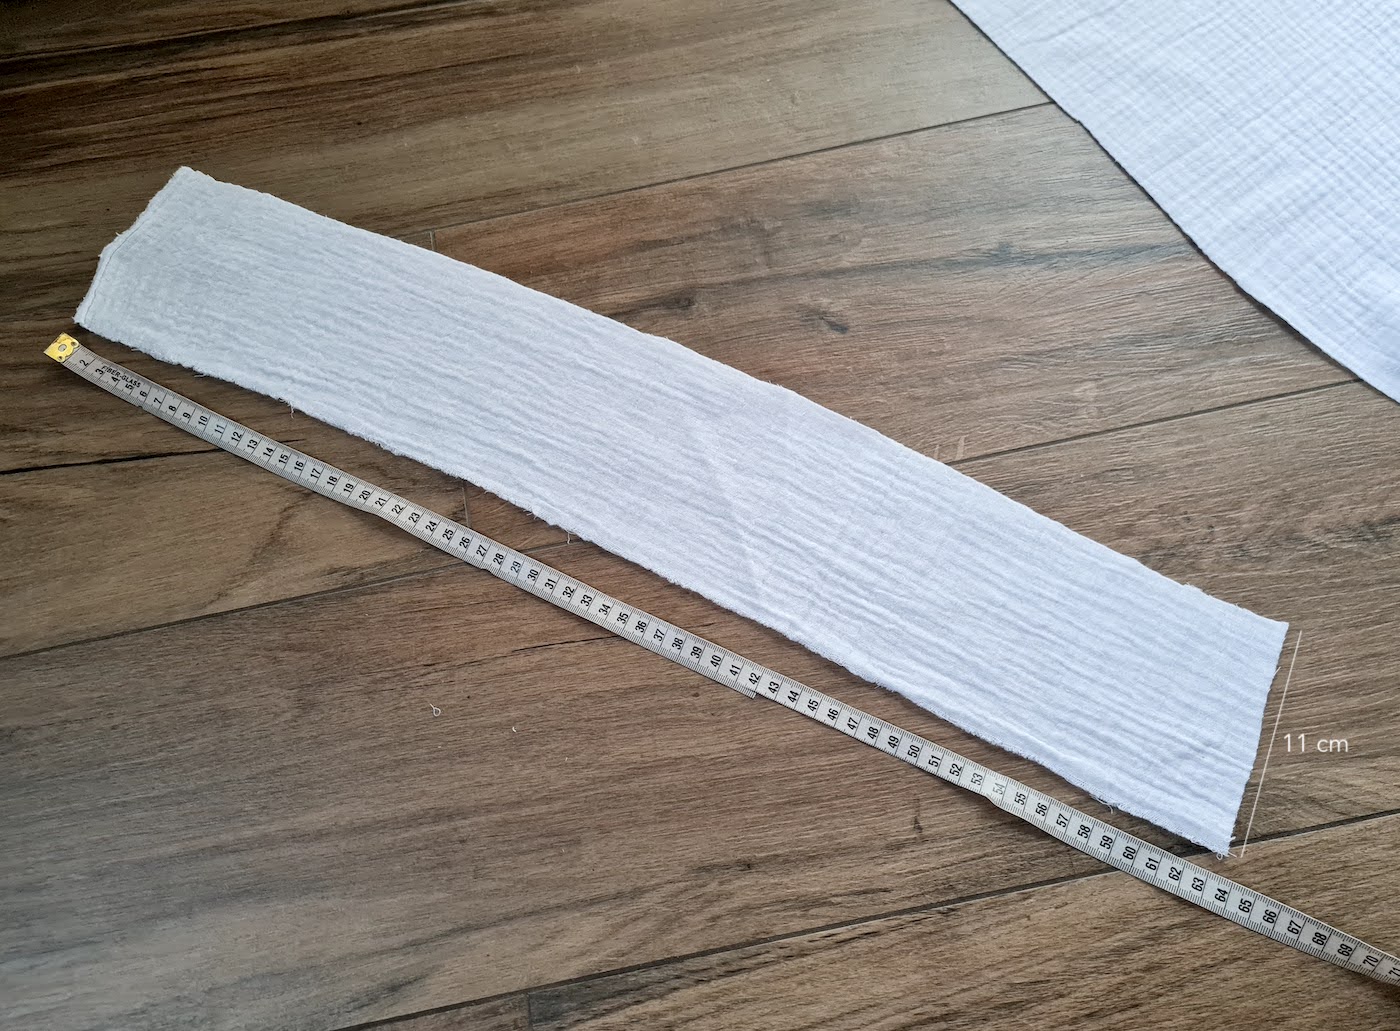
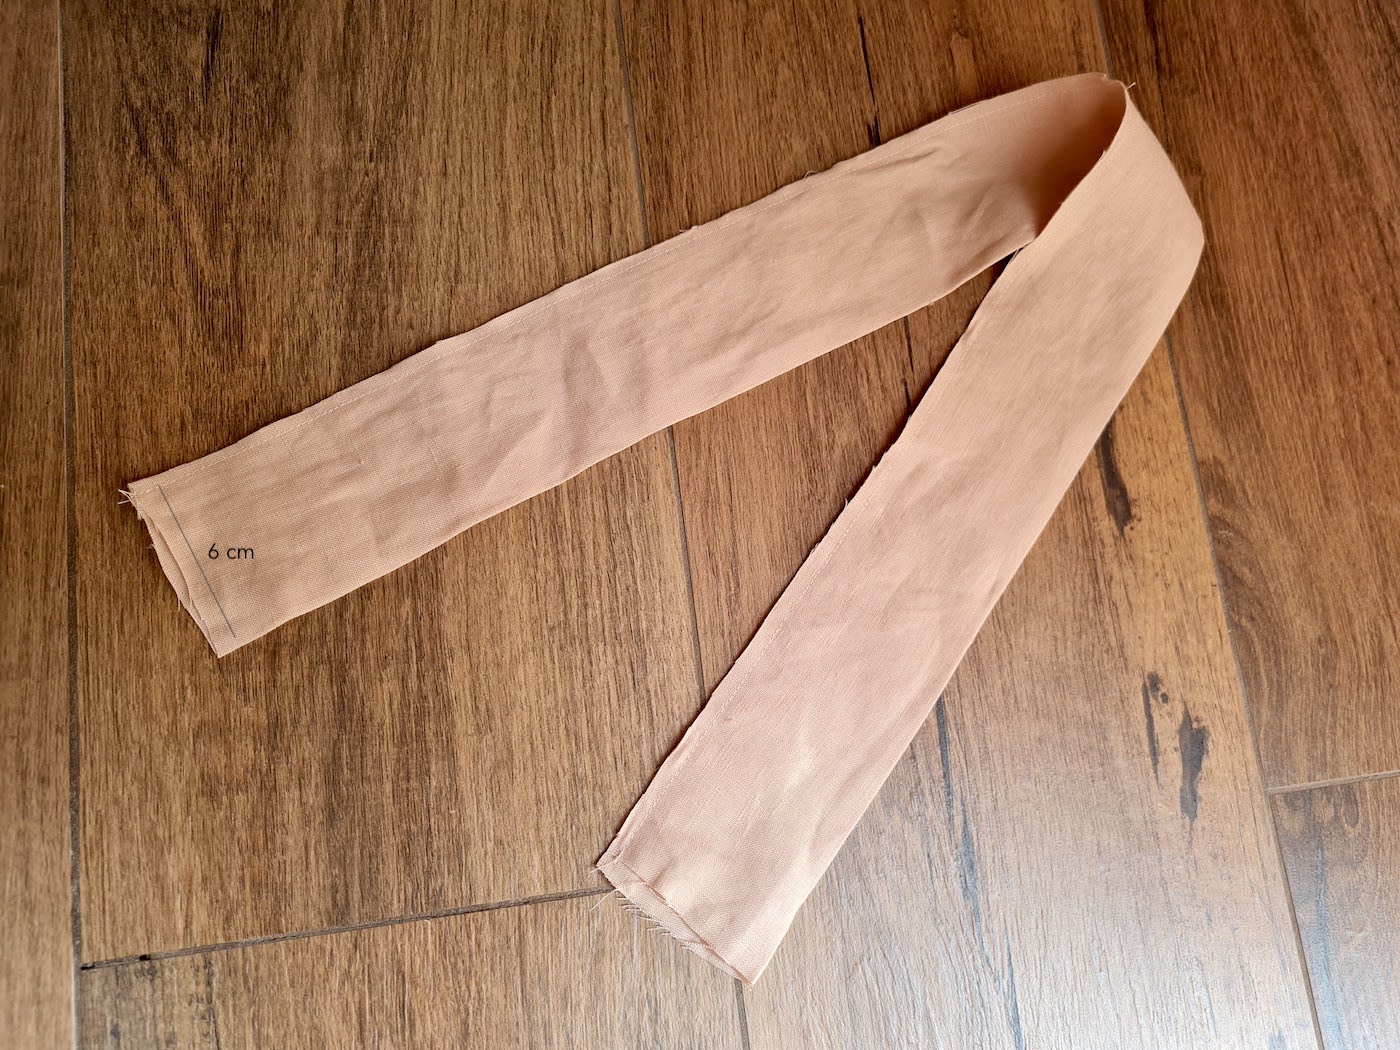
II. First do a double fold on both long edges of the piece (I did a 1 cm fold), and sew along the fold. Then fold the strap width-wise and press, so you have a marking down the middle.

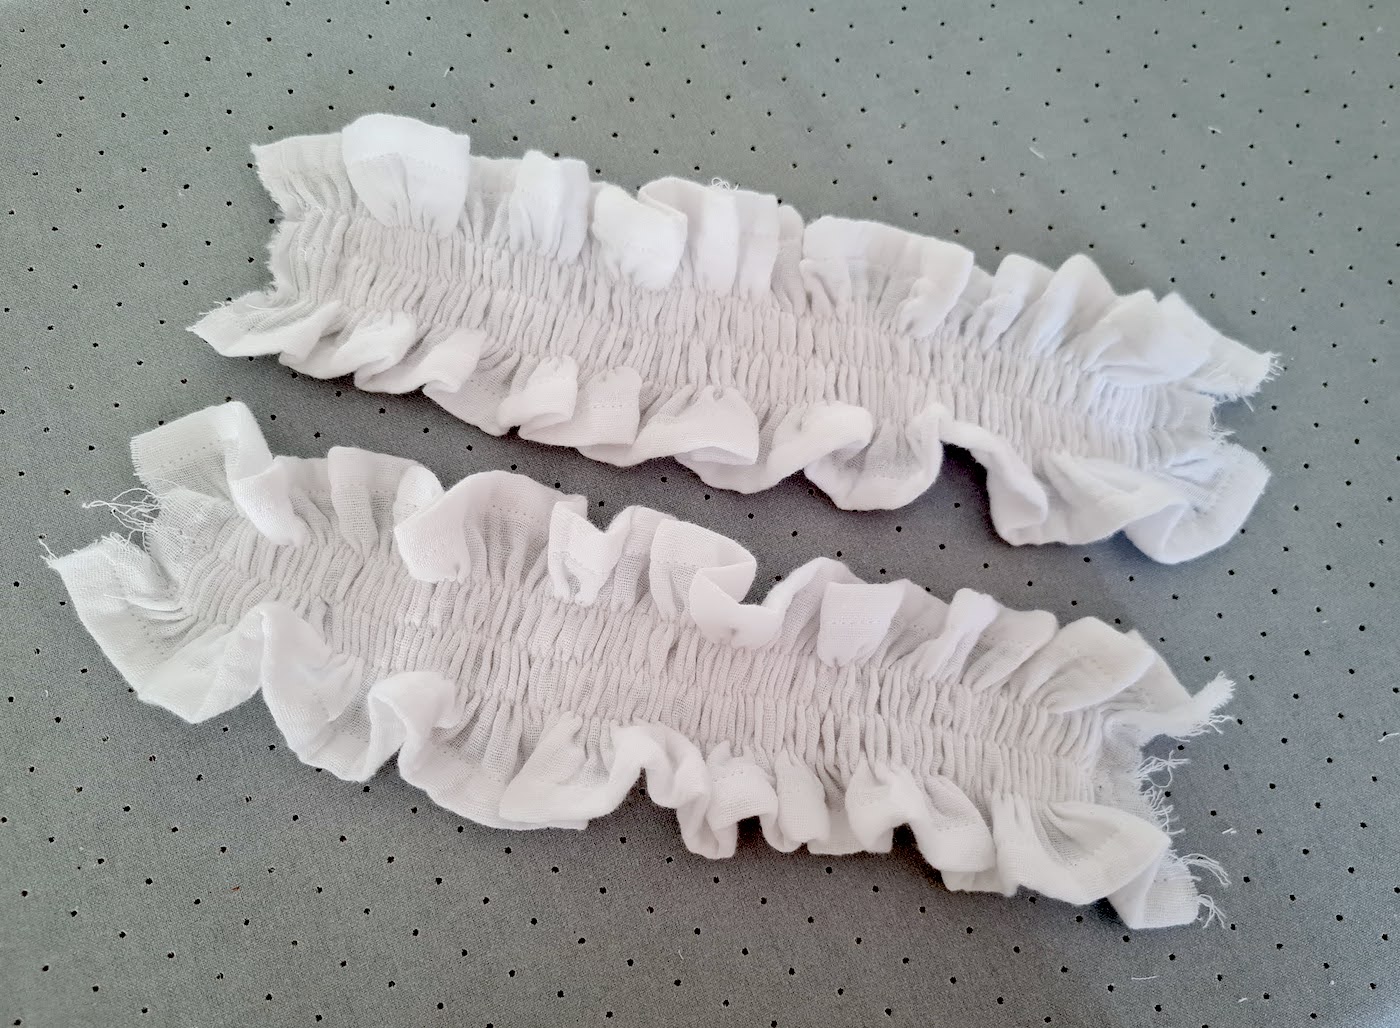
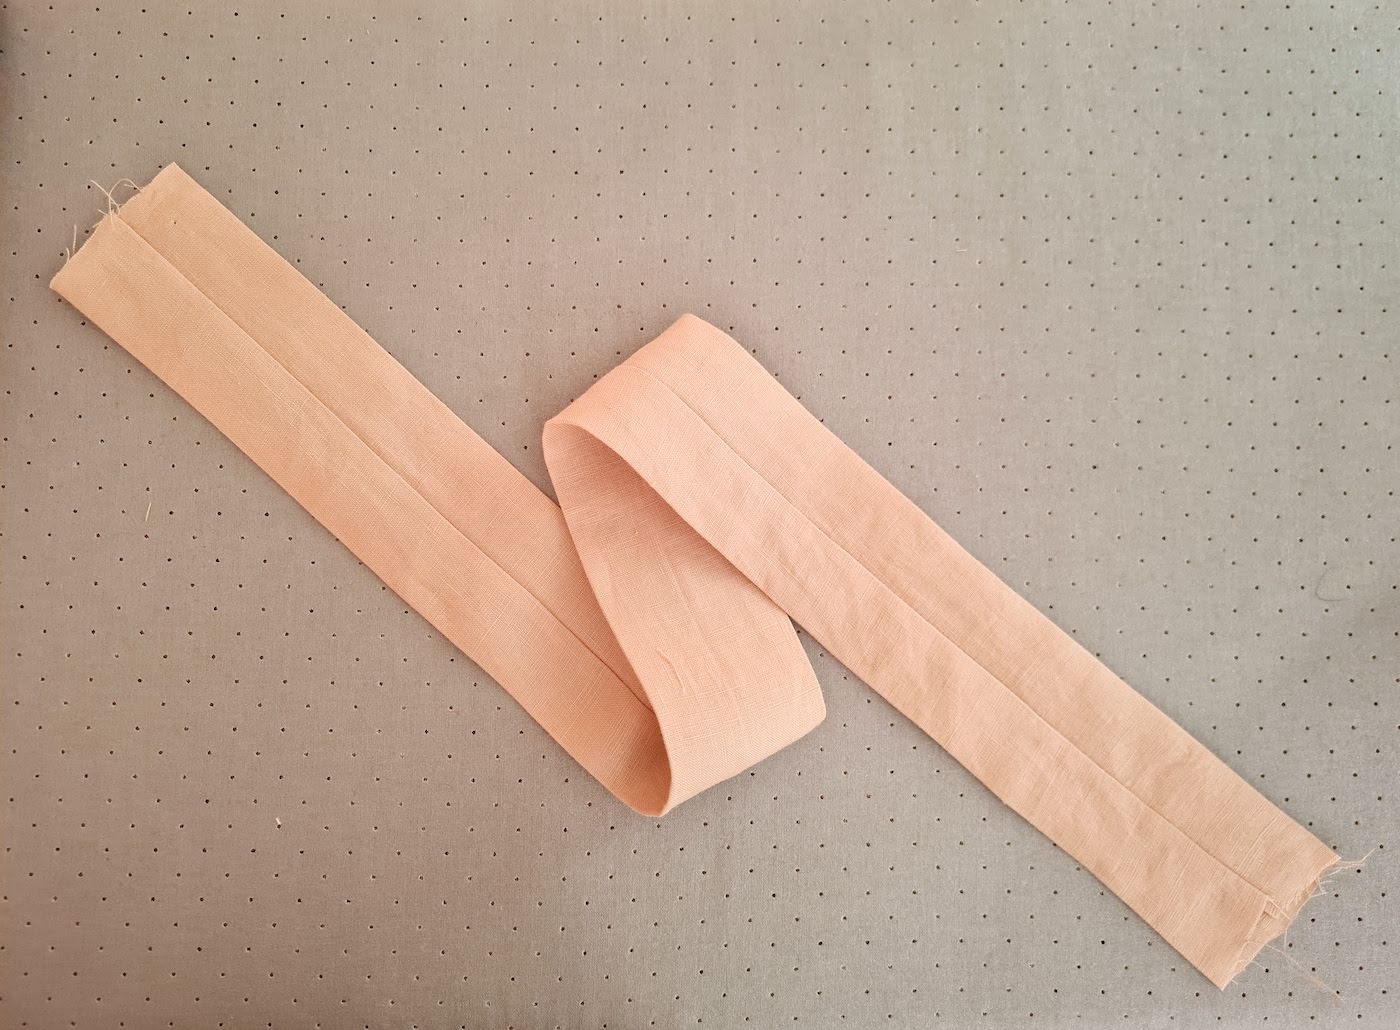
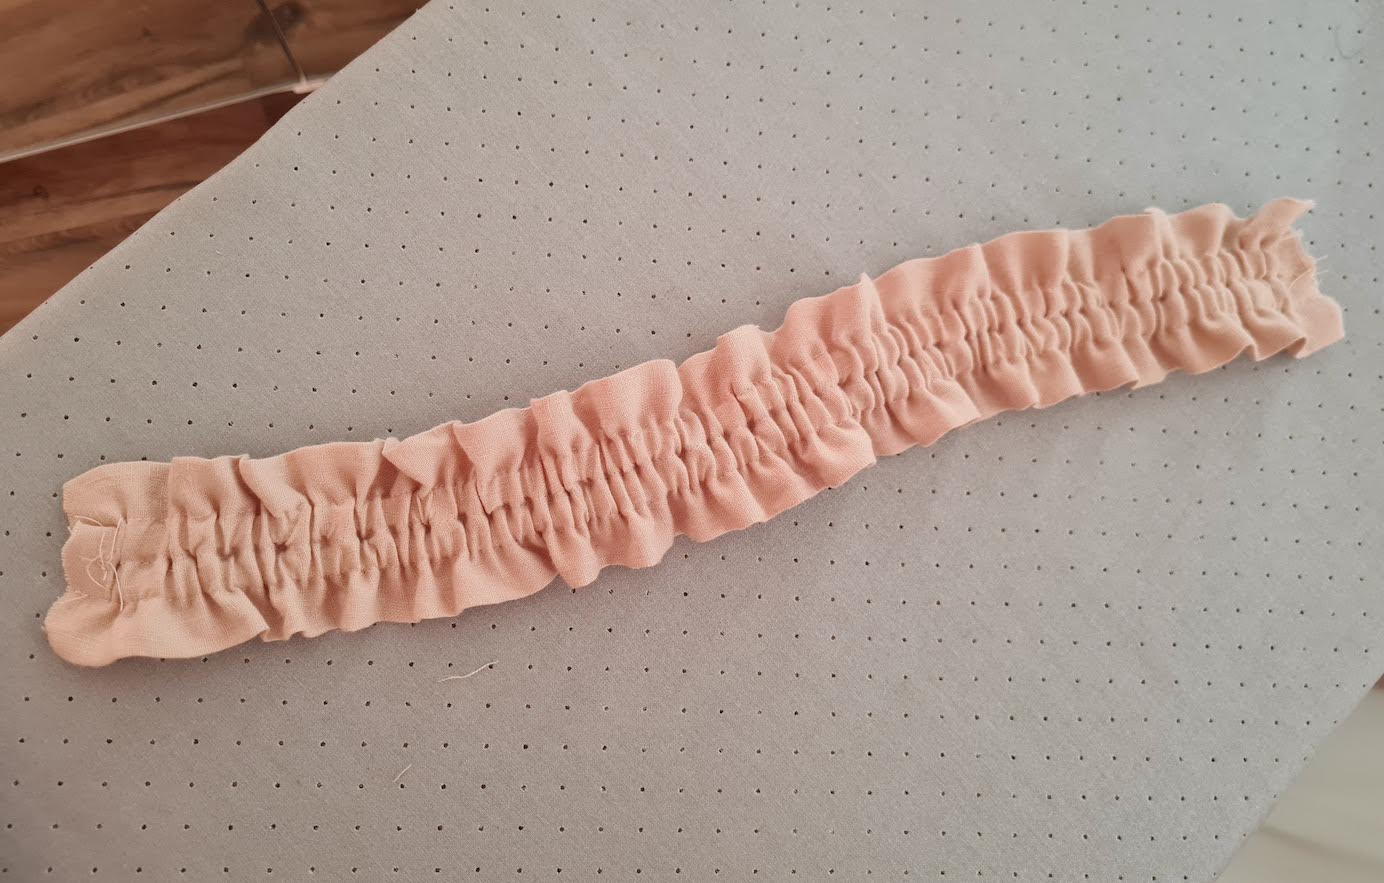
III. Then sew 3 shirring stitches symmetrically down the middle (or you can do more rows, as I mentioned above, the more shirring stitches the more the fabric will gather). Start by sewing one along the fold you just pressed, and then one on each side of that first stitch, using your presser foot edge as the guide. Once stitched, it's important to tie up the ends of the threads like I've shown in this post. Otherwise the shirring will start coming apart with wear.
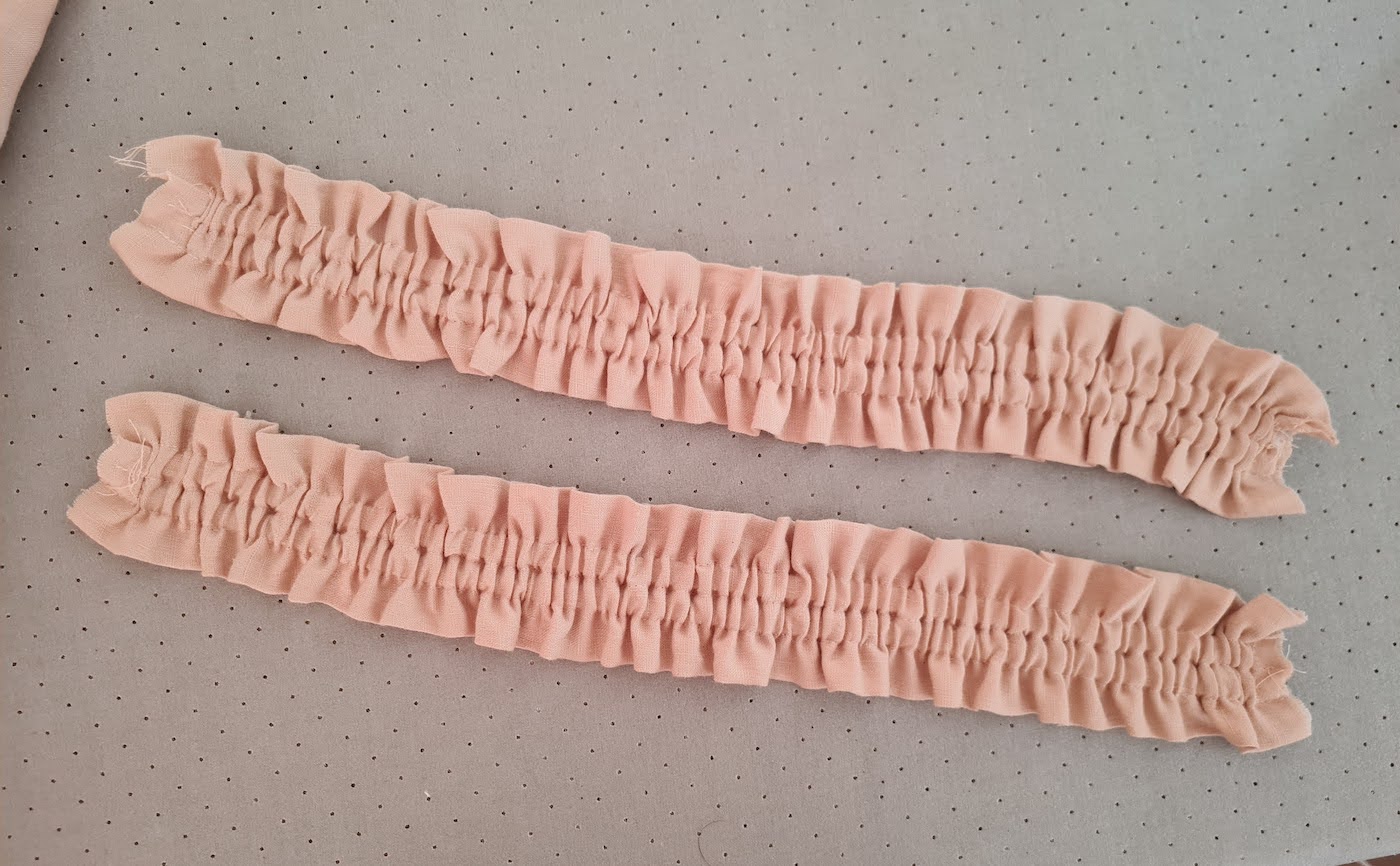
Repeat for the other strap, then take your iron and press with steam. When pressing shirring, instead of ironing regularly (gliding your iron back and forth) it's better to press it down on one spot, apply steam, lift, and move on to the next area, steam, and so on. And voilà.

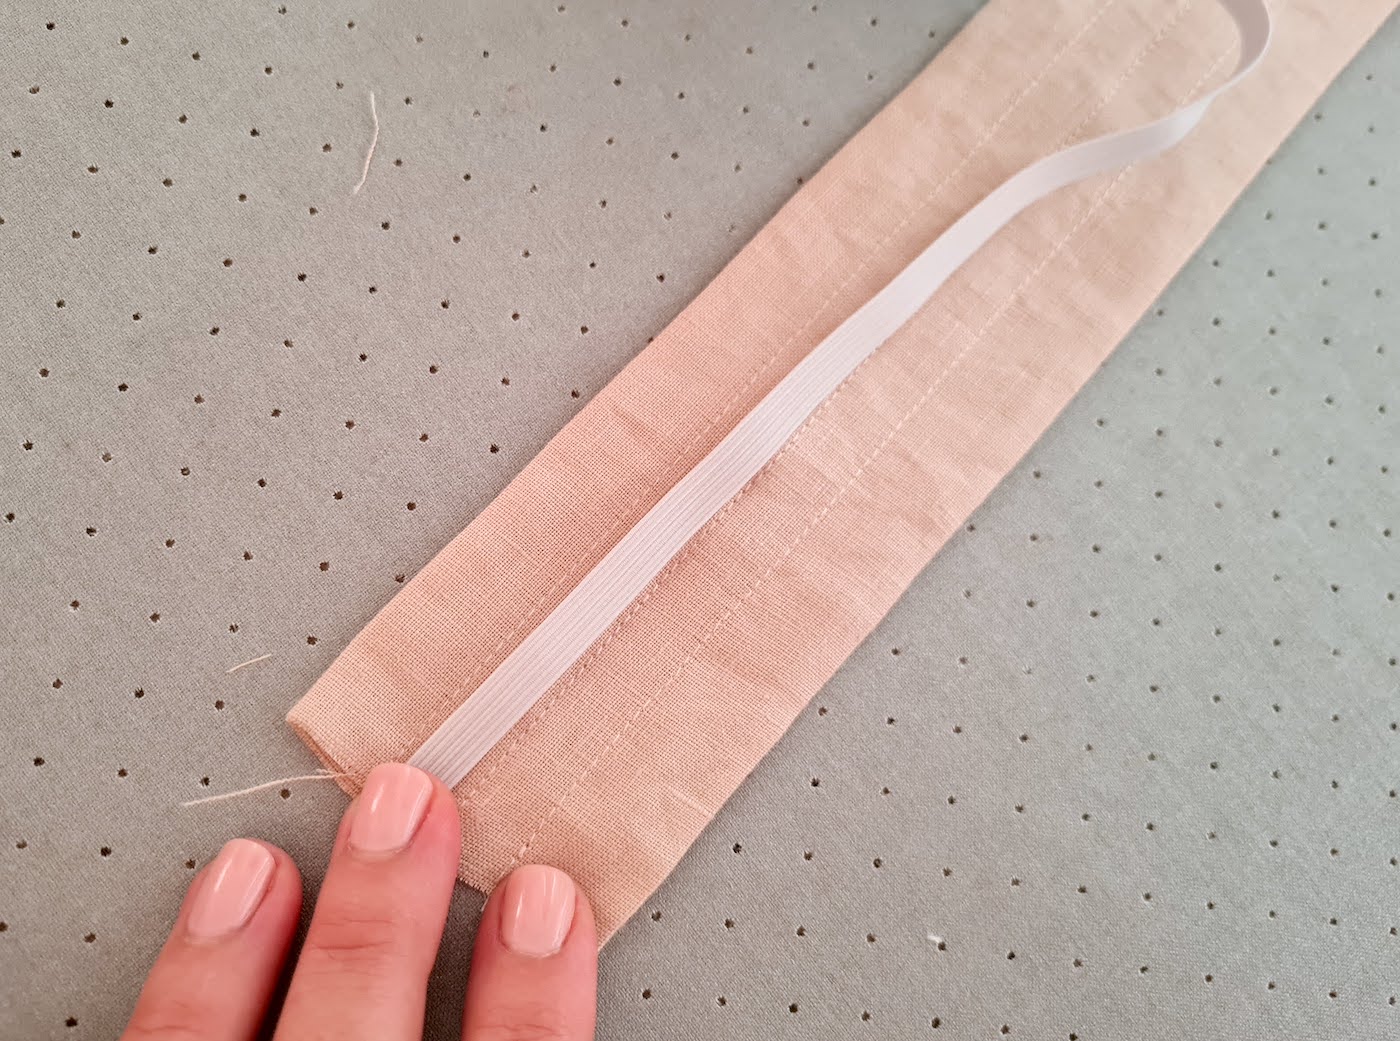
METHOD 2: CASED ELASTIC


Hi! Love this, made the shirred straps the other day. Thanks for the tutorial. Do you also have tutorials for the dresses in this blog?
ReplyDeleteHi! Glad you liked it! I haven't made full tutorials for these dresses so far, it's on the list....
DeleteI second this, would love a tutorial for the dress! They’re the cutest dresses ever.
DeleteAm going to make a dress for my granddaughter with your elasticised straps. Thanks for the tutorial.
ReplyDeleteThank you for your help. Very useful for repairing dress straps
ReplyDeleteLearning how to create frilly shoulder straps using both shirring and cased elastic is such a game-changer for sewing lovers! This tutorial makes the process simple, fun, and beginner-friendly. I love how the two methods offer different textures and levels of stretch, making them perfect for dresses, tops, or kids’ outfits. The step-by-step instructions really help achieve neat, professional-looking straps. Anyone who enjoys sewing and customizing their designs will definitely appreciate these techniques. And for those adding embroidered details to their projects, pairing them with high-quality digitizing services for embroidery can make the final result look even more stunning!
ReplyDeleteThe layout and content quality on GlobeMediaNews are absolutely impressive. I love how they balance breaking news with in-depth features. Their attention to detail ensures readers get accurate information, which makes browsing the site a consistently enjoyable experience.
ReplyDeleteLiveBroadcastNews offers a seamless reading experience combined with reliable reporting. I appreciate the consistent updates, relevant topics, and user-focused design, making it my favorite platform for keeping up with breaking news, in-depth stories, and daily current events.
ReplyDeleteEvery visit to howblogs com is rewarding. The content is informative, reliable, and extremely well-written. I love the way complex topics are broken down for easy understanding. Definitely a top-notch website worth bookmarking and sharing!
ReplyDelete