

Festival season is upon us and there really is only one thing to do about it - take the parmiggiano grater to some of your denim. I previously discussed denim distressing in more detail here, but when results must be obtained fast, the grating method is a good alternative. I like to use the slit technique from my previous post combined with grating, I think this makes for a more balanced shredding, if there is such a thing (in the before photo above the incisions are visible on both sides of the skirt - I removed the vertical threads in those areas before attacking the fabric with the grater).
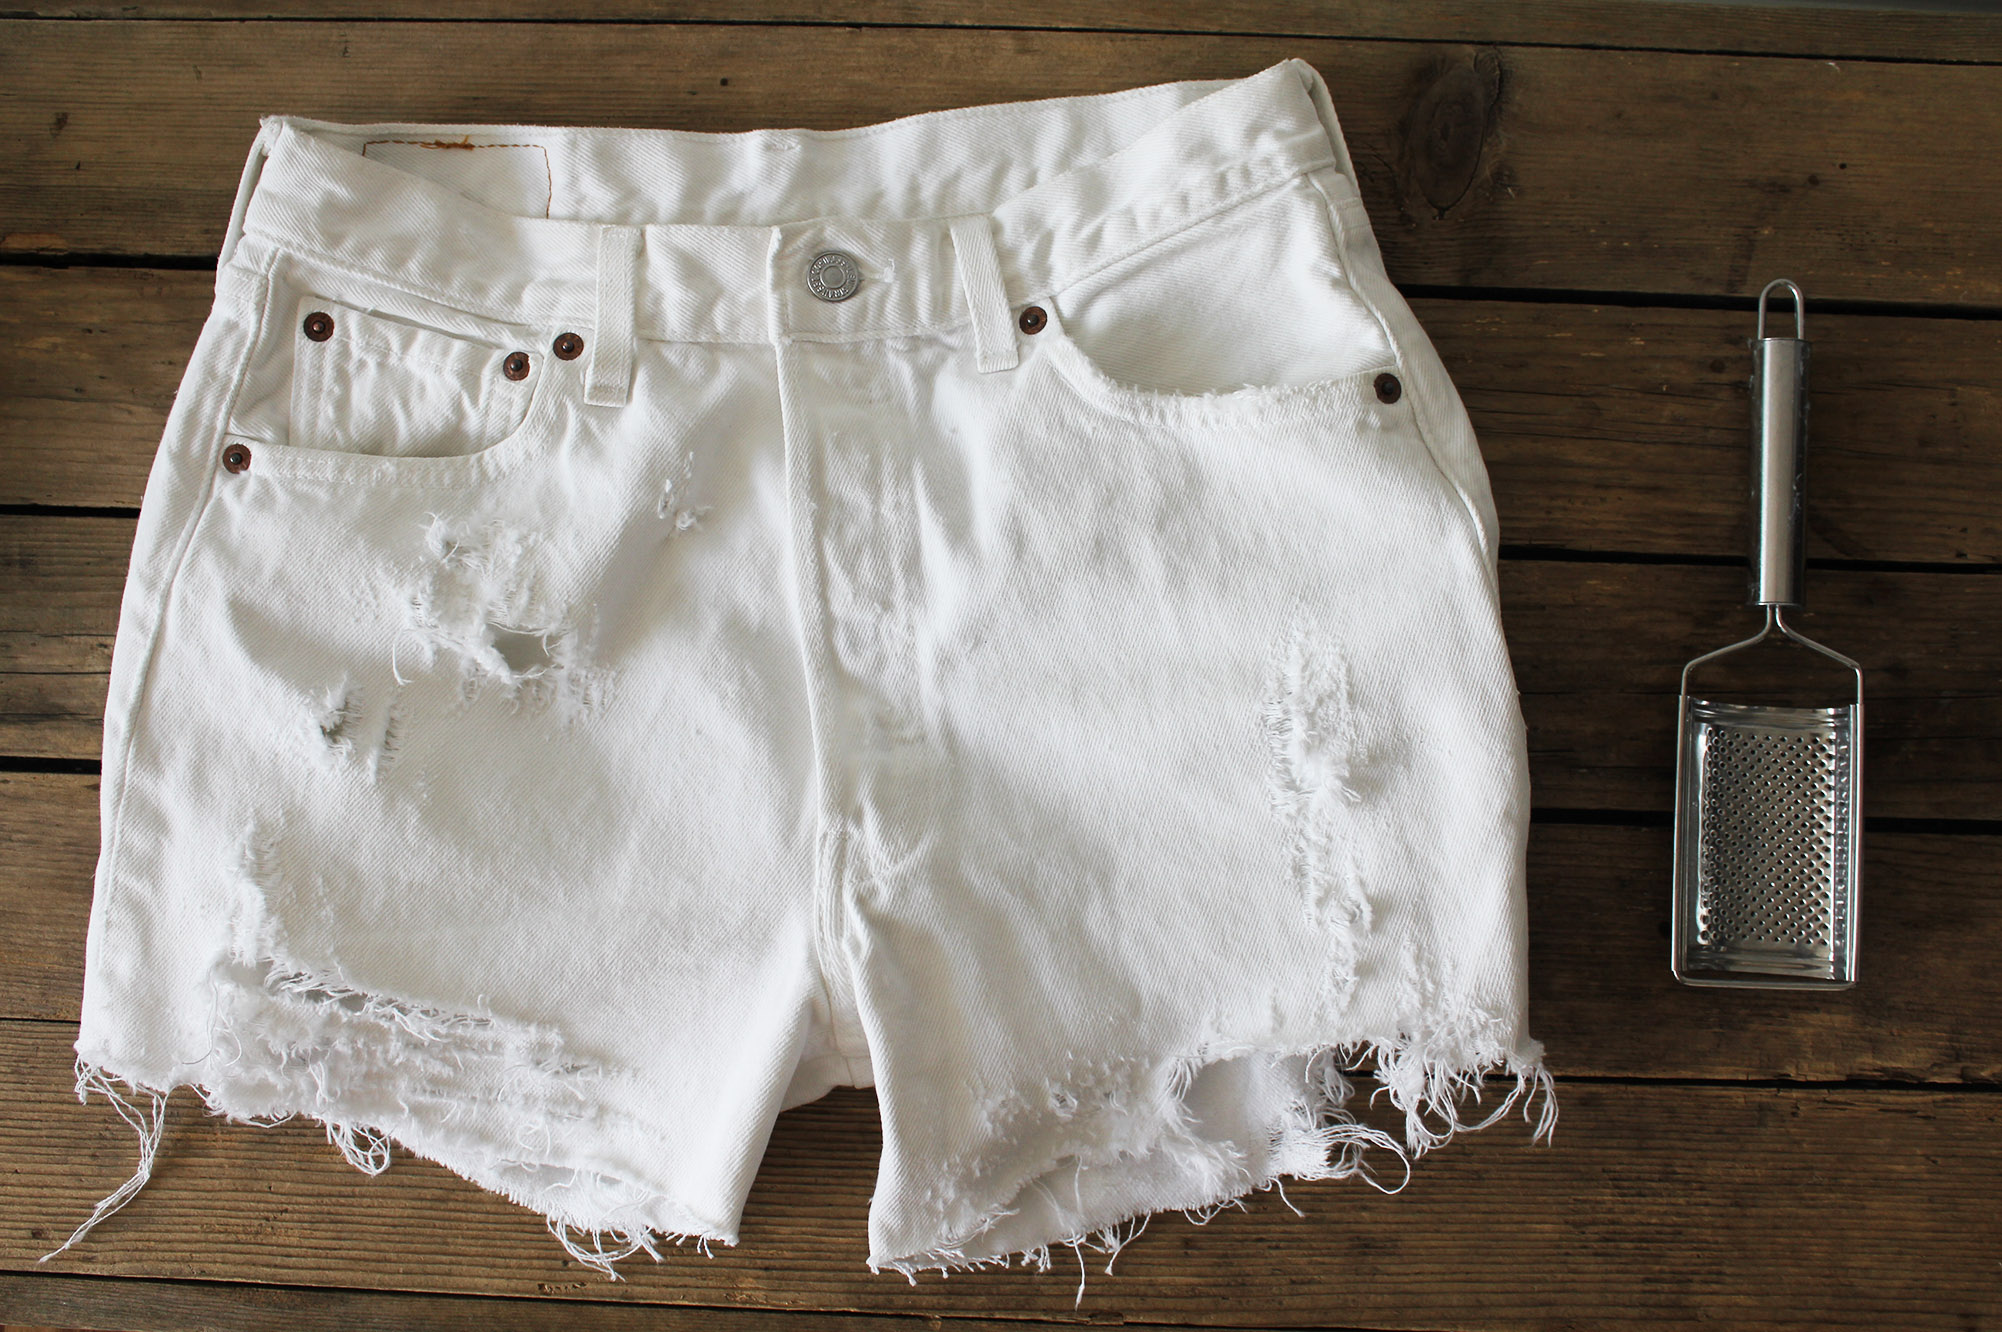
All you need is a hand-held grater, ideally with small holes (this will ensure you don't accidentally grate off too much fabric, with smaller holes you are able to gradually distress the denim to the point you are happy with).
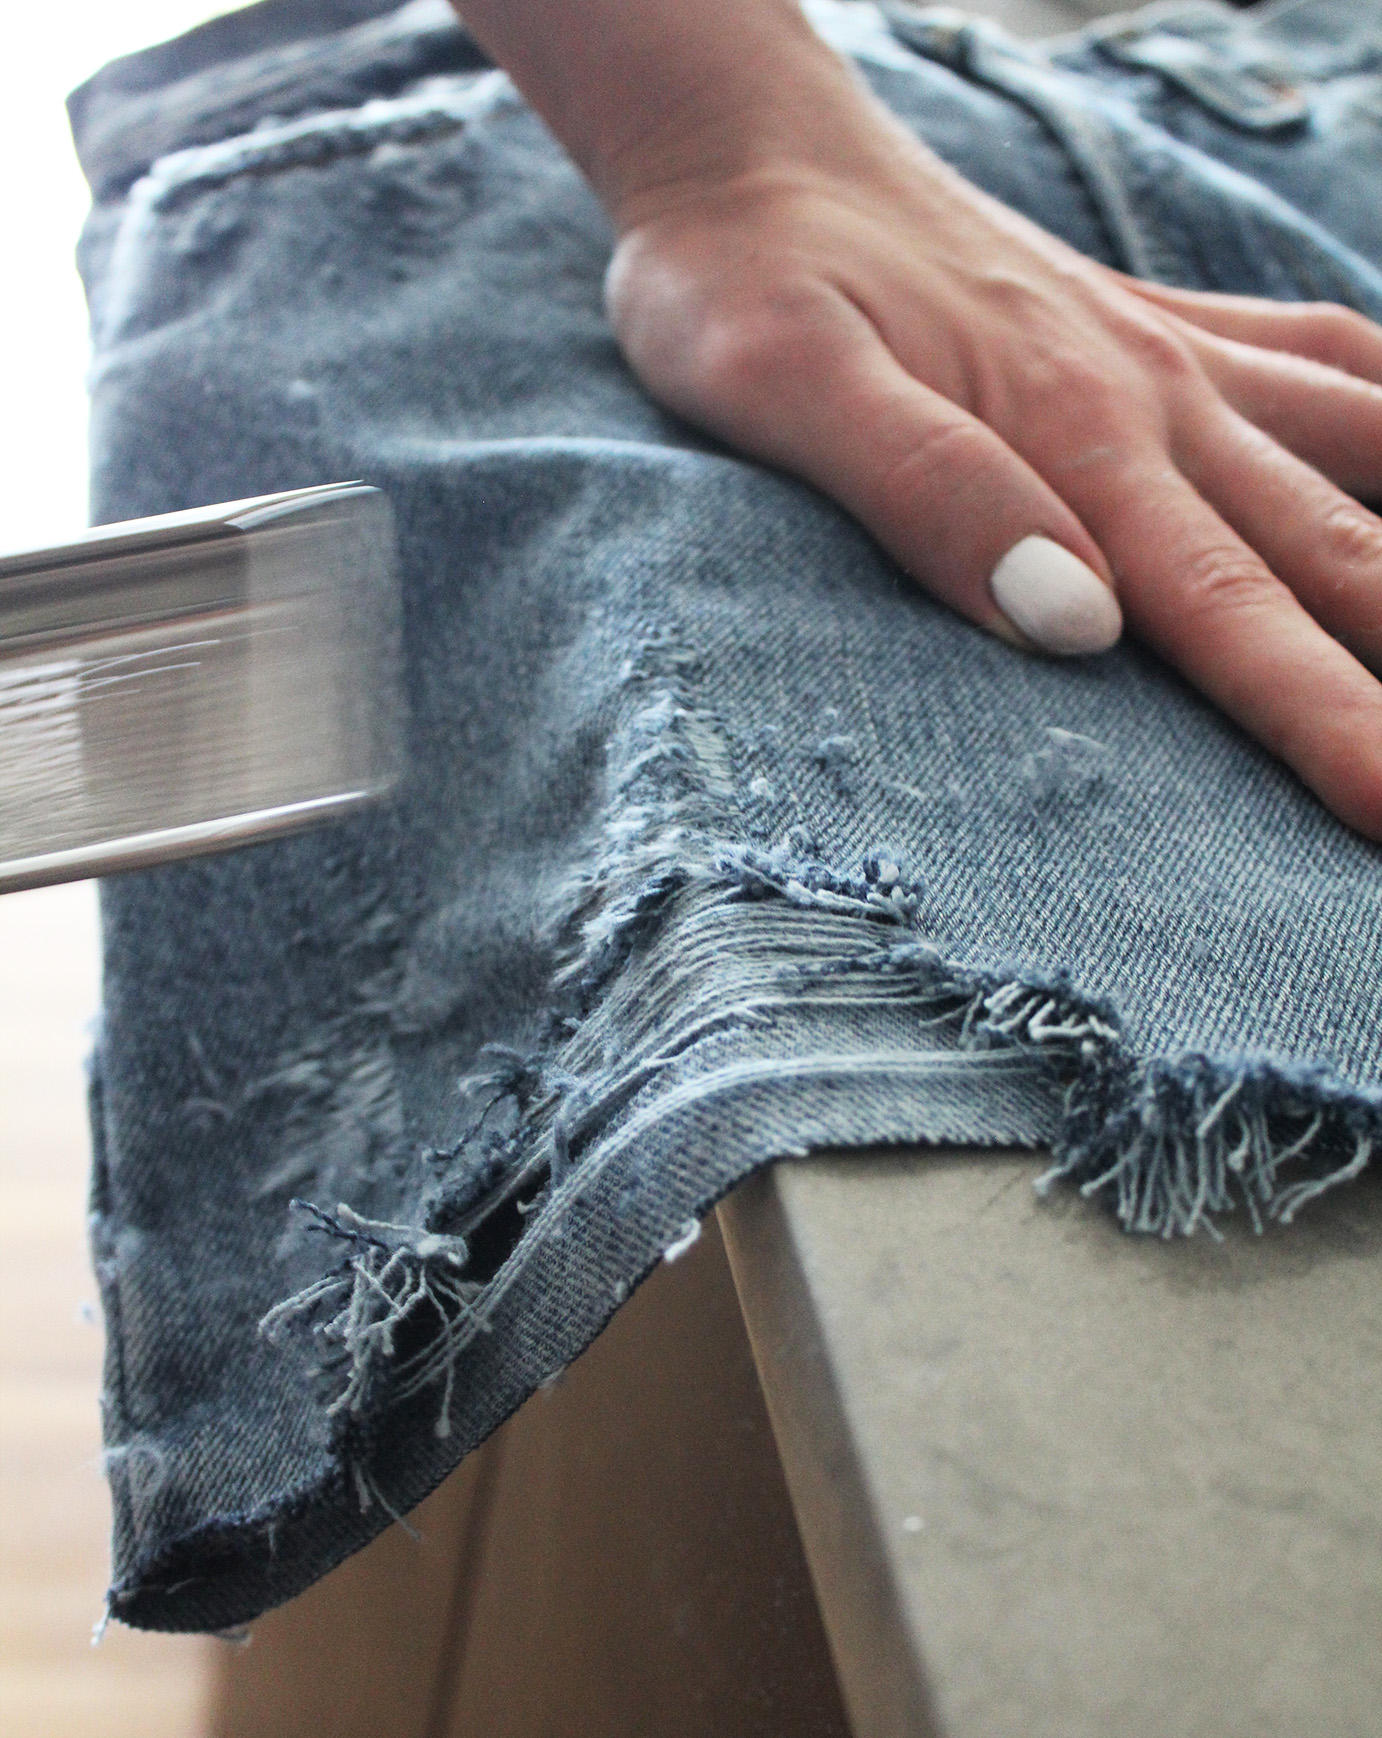
I. Work at a table you won't damage with the grater (my marble counter was perfect for this, but you could just place a cutting board on the edge of your kitchen table for protection). Lay your garment at the edge of the table, the angle hitting the spot you want to distress. In the photo below you see that I wanted to extend the distressed area I had created by removing the vertical threads, so I aligned the table's edge with the ripped part of the skirt. Start grating the denim in a downward-pulling motion (in the same direction as the fabric's horizontal threads go).
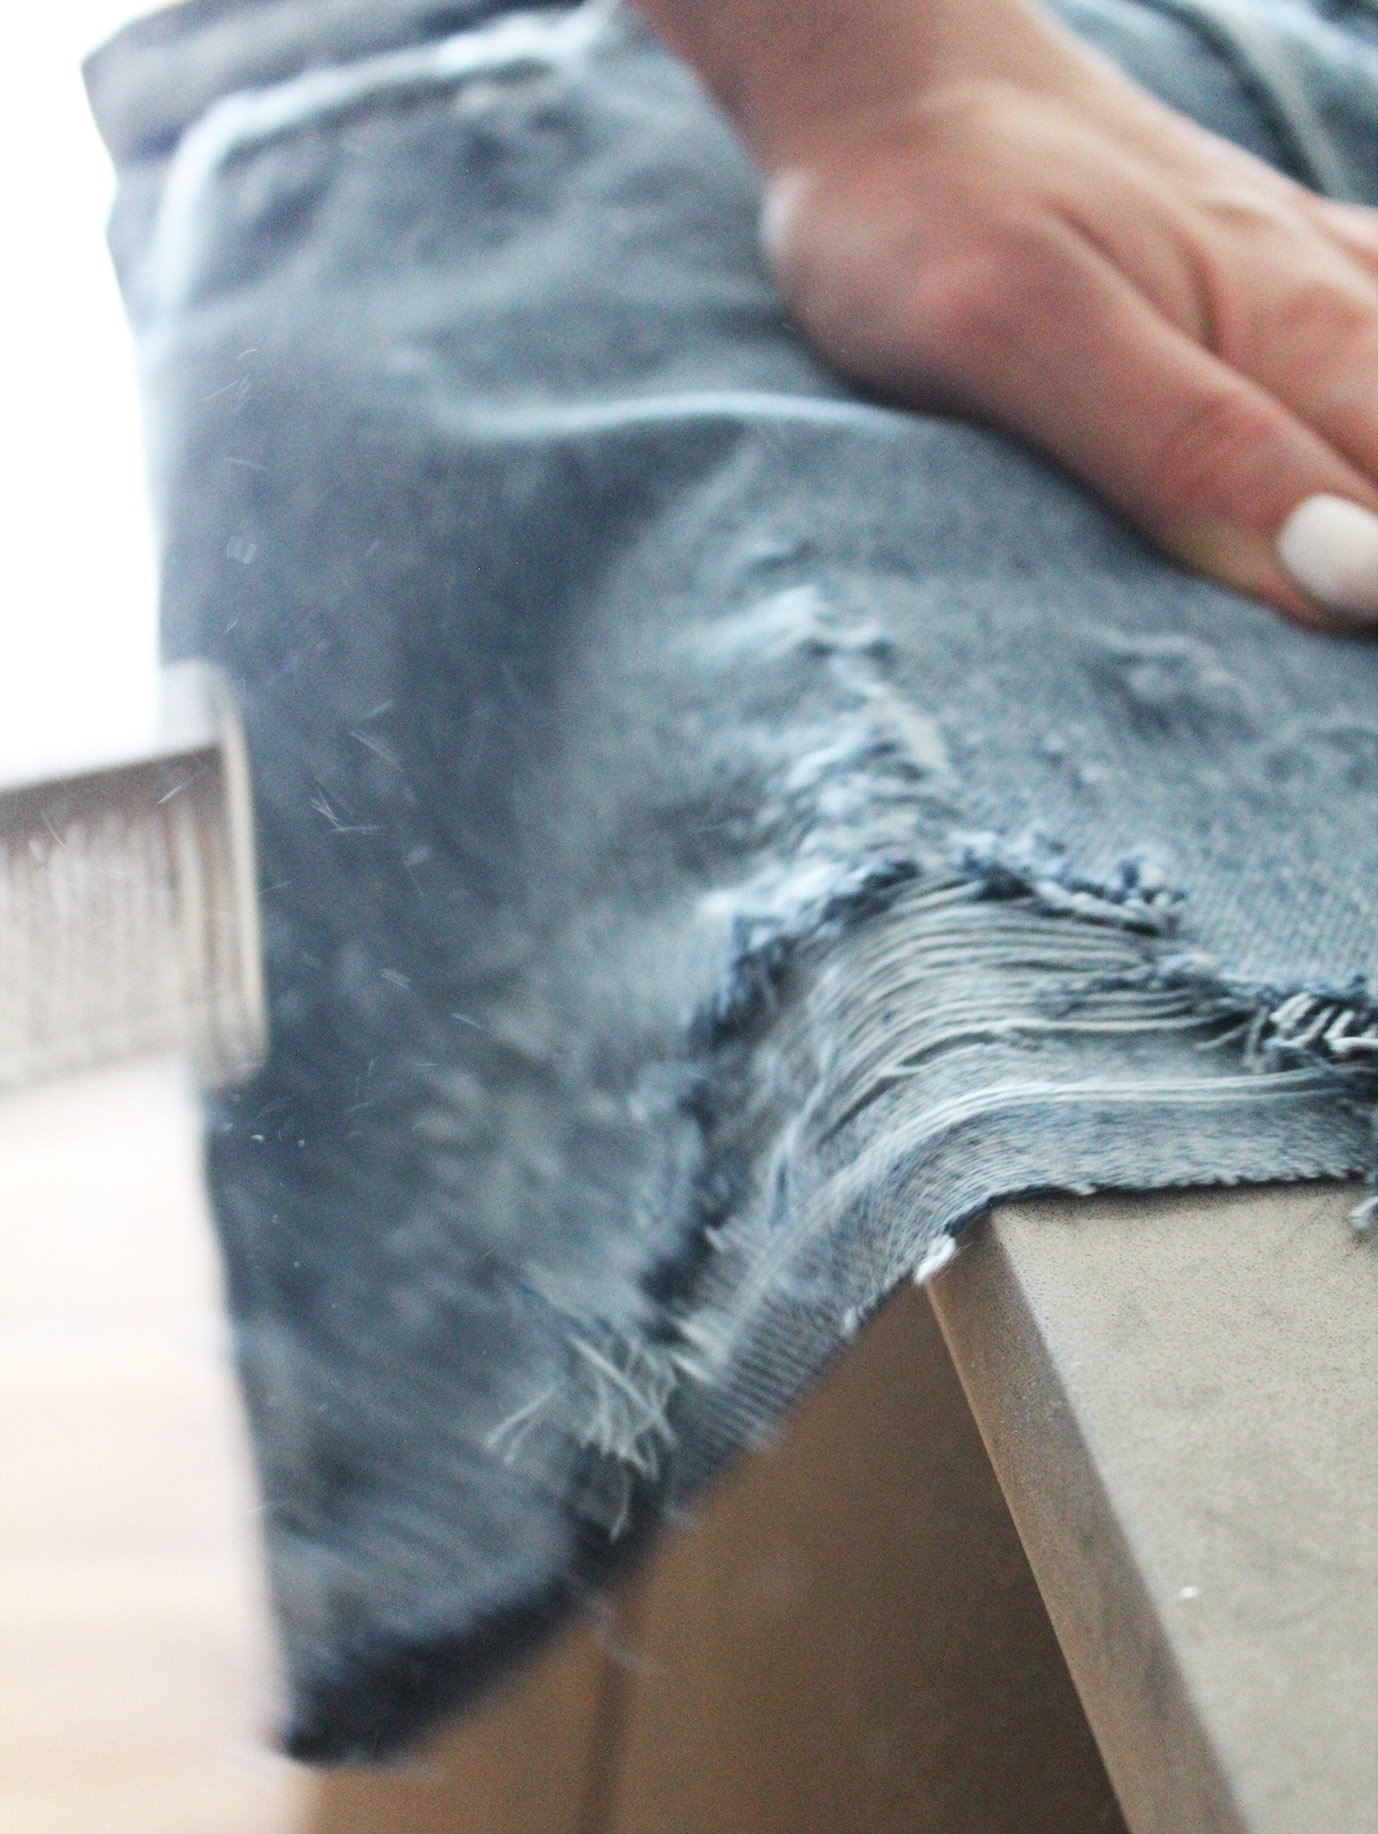
II. When you see results forming and are happy with the distressed-ness, move the fabric to bring the next area you want to work with to the edge of the table. You'll notice the angle will help you target the grater's impact on the denim and let you control the shape and area of the ripped patches. (NOTE - a LOT of dust will form, keep a vacuum cleaner handy and maybe wear a face mask if you have allergies.)
III. That's all! This is in my experience the easiest and fastest method for creating a naturally distressed effect. Another tip for more precise slits: cut a horizontal incision first with scissors, and rough the edges up with the grater (example in my white Levi's shorts below, bottom left). This also works well for the hems if you are starting by making cutoffs from full-length jeans.
A cycle in the washing machine will soften the shredded effect (don't tumble dry unless you want the threads to become very fluffy). Up next possibly a 90's vibe ripped denim pencil skirt..

xo,
Julia


0 comments:
Post a Comment
I would love to hear what you think and learn about your DIY adventures! If you use one of my tutorials, tag me on social @contour_affair, I'd love to see!