

Tutorials take a lot of time & effort to create, and I choose to make mine available for free. If you enjoy this guide, you can support me with a donation that feels right for you, here.
TOOLS:
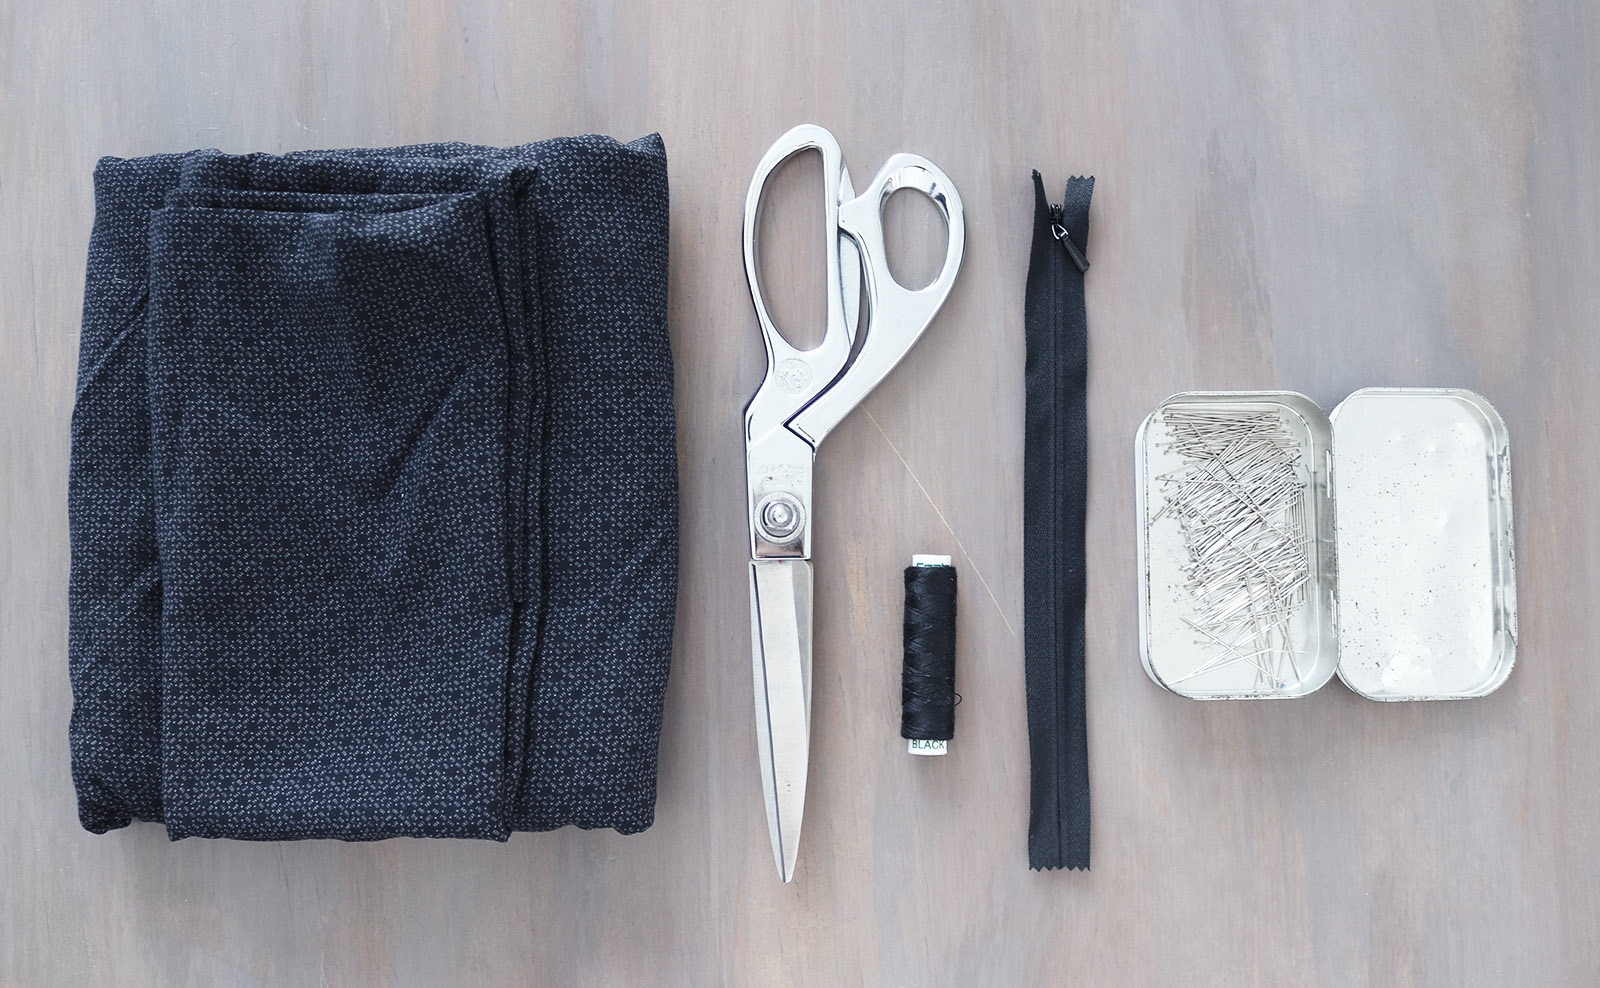
Fabric (I used a full-width medium-light poly-cotton) total 3 m | Scissors | Thread & Sewing machine, needle | 15-20 cm Invisible zipper | Pins
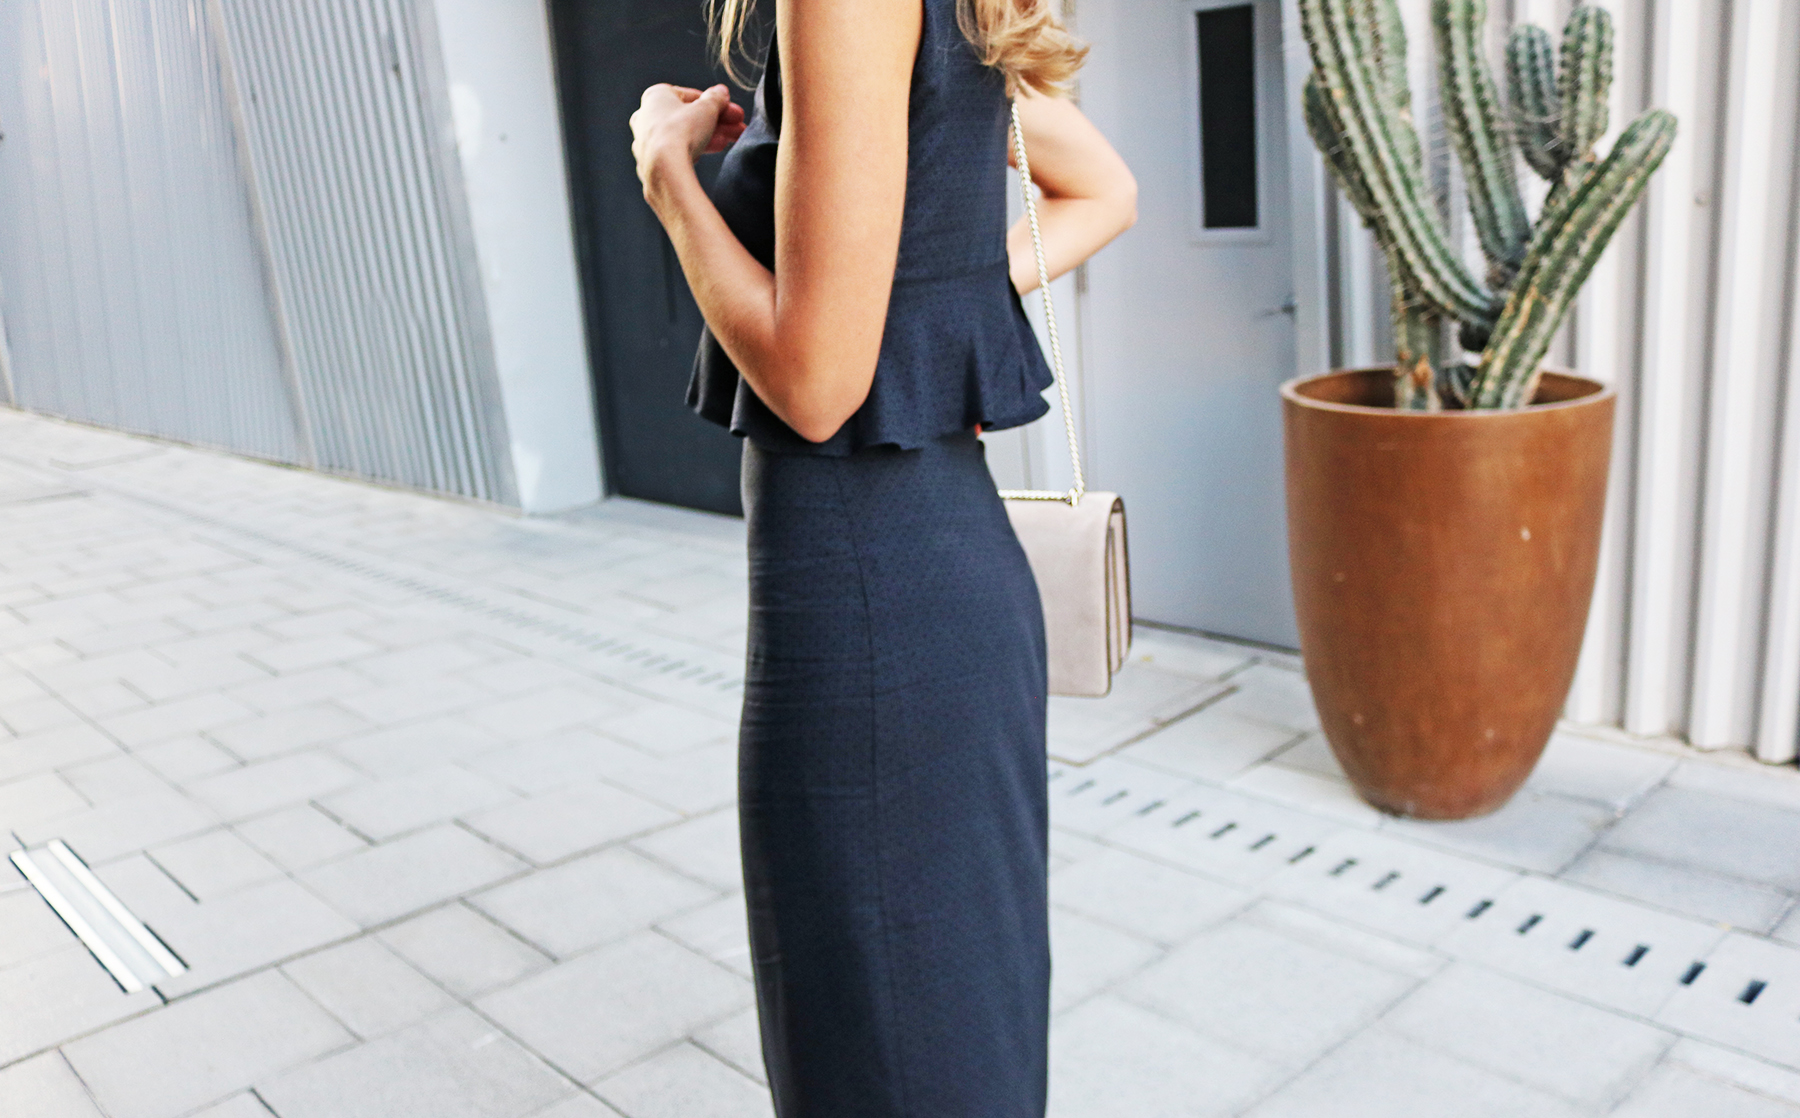
The Skirt
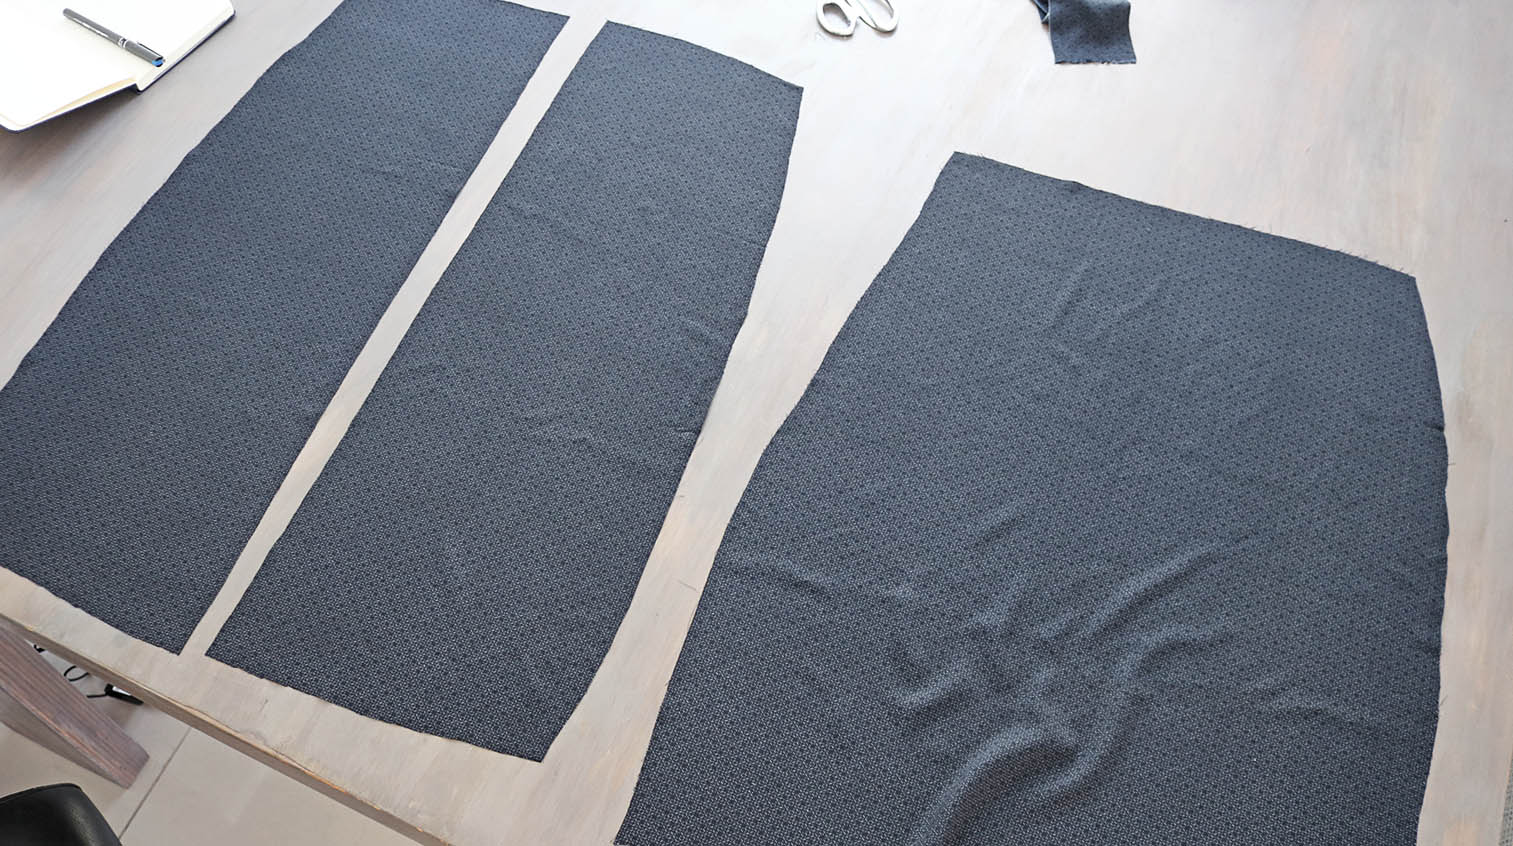
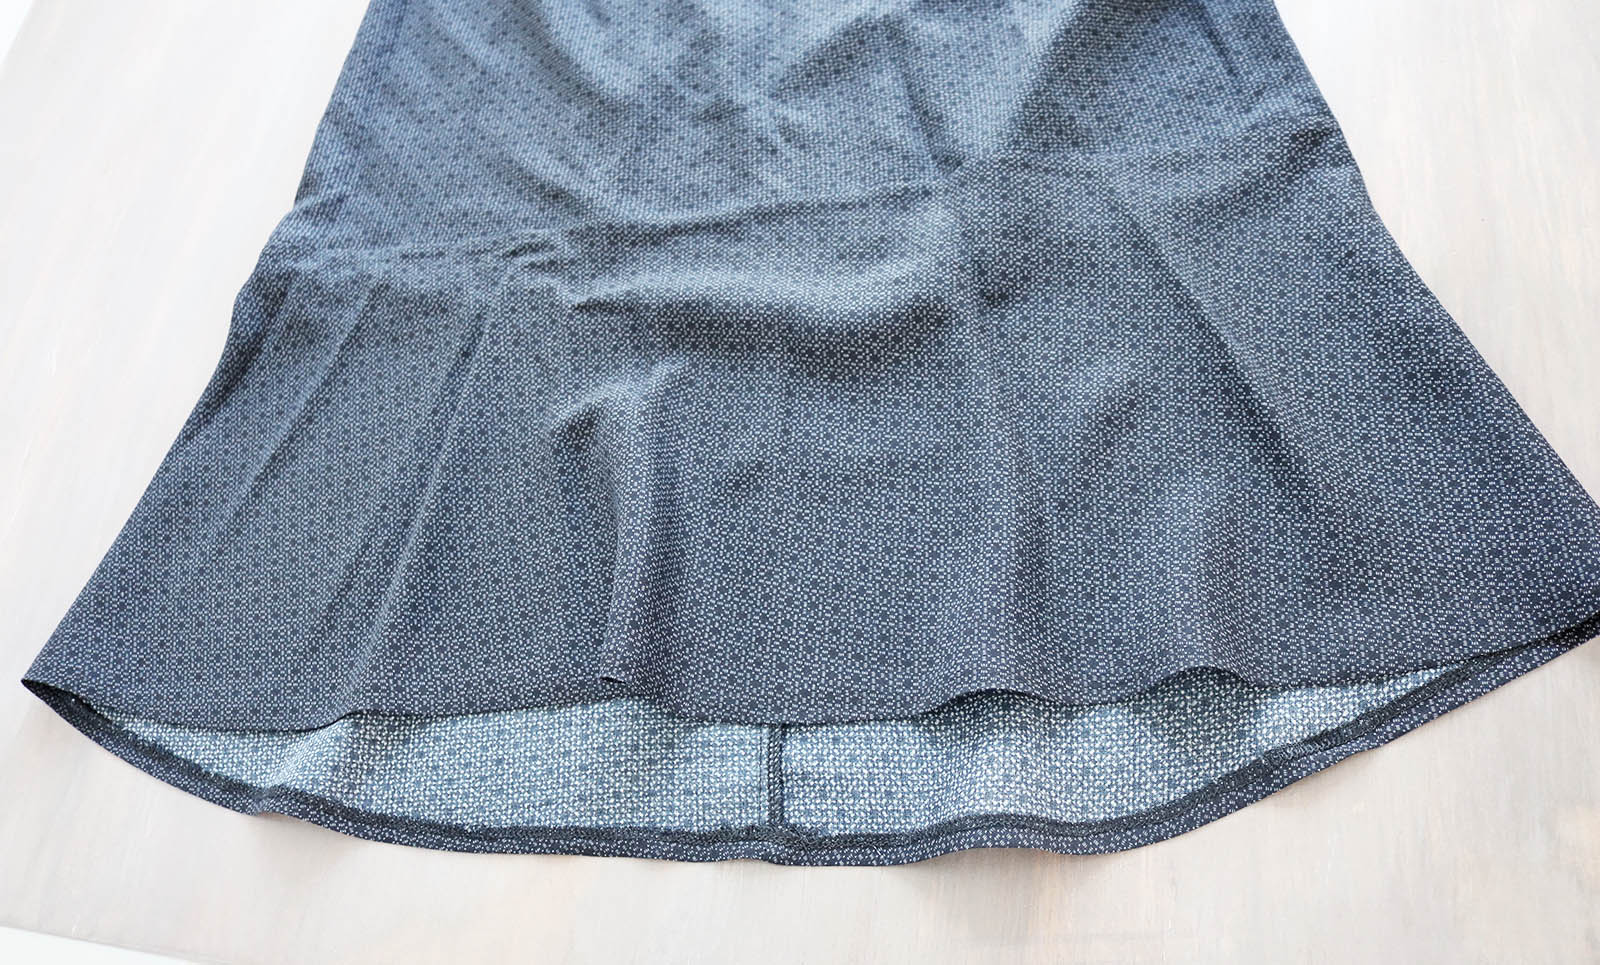
I. Cut pieces below - I made a slight waterfall hem, shorter in the front than in the back so my hemlines on the front and back piece were cut concave and convex. I'm a EU36/US4.

Next I cut the back piece in half along the middle (since I wanted my zipper center back).
II. Then placed the sides together, right sides facing, and pinned the sides to sew them..
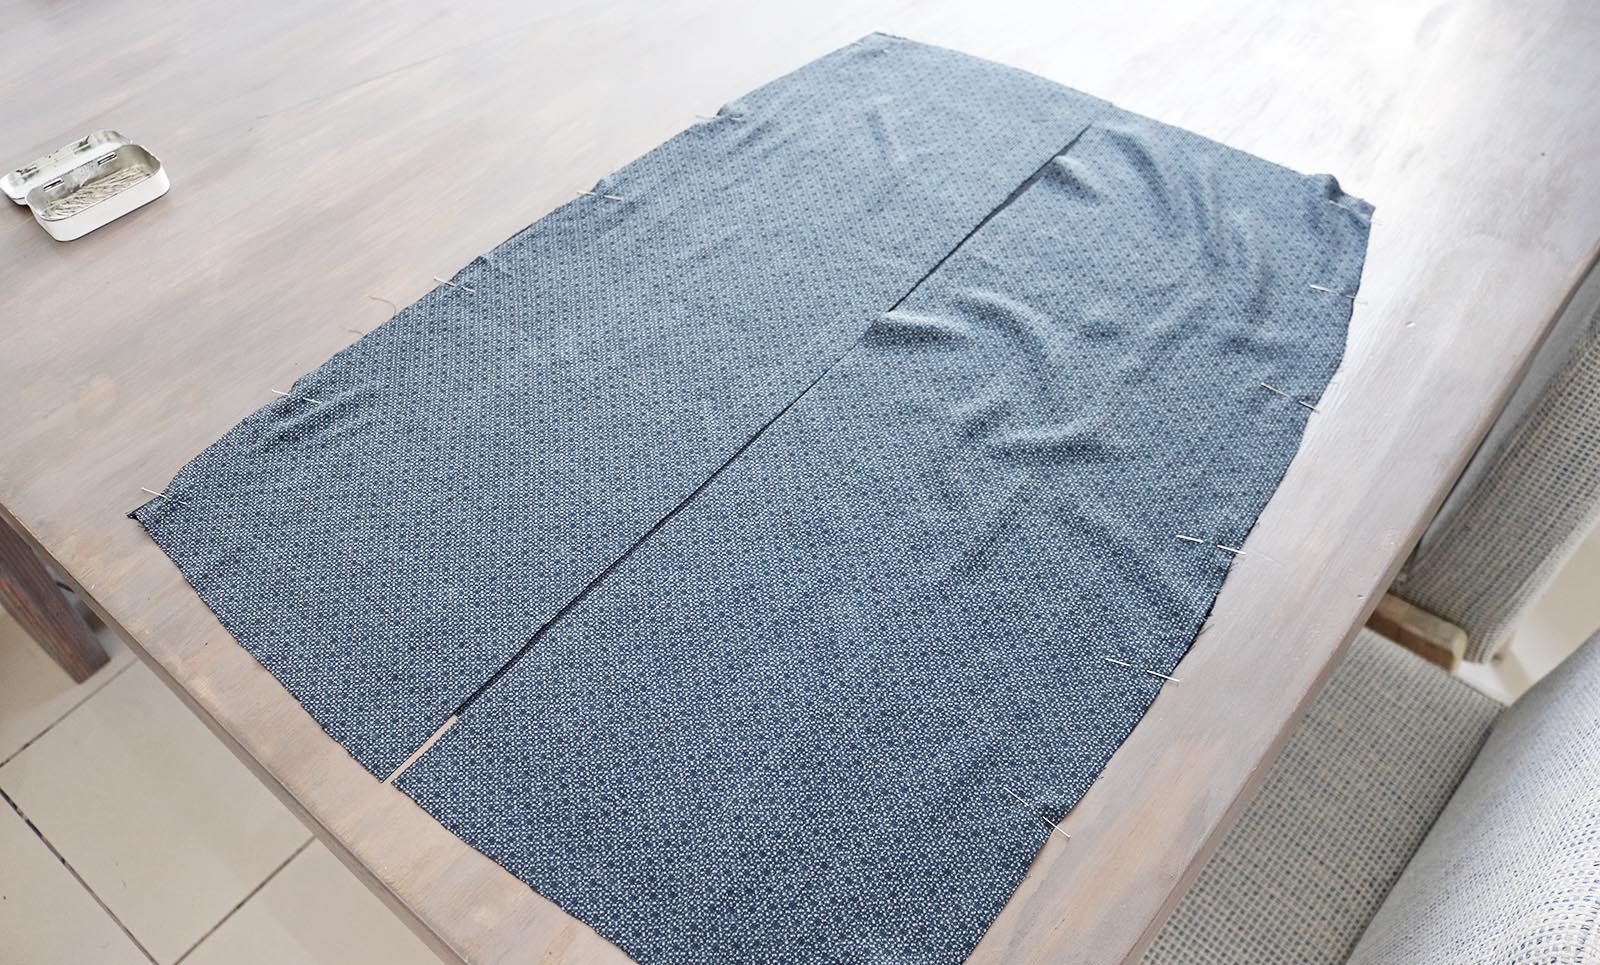
..This is where the lazy started. My fabric had a very nice drape to it and I didn't want to add darts, so instead to get the size right, I tried the skirt on by wrapping it around myself, checking if the fit was right. I did that a couple of times, taking in the seam at the waist a bit each time, until I had the right fit. Then just finished the size seams with my serger (or zig-zag stitch).

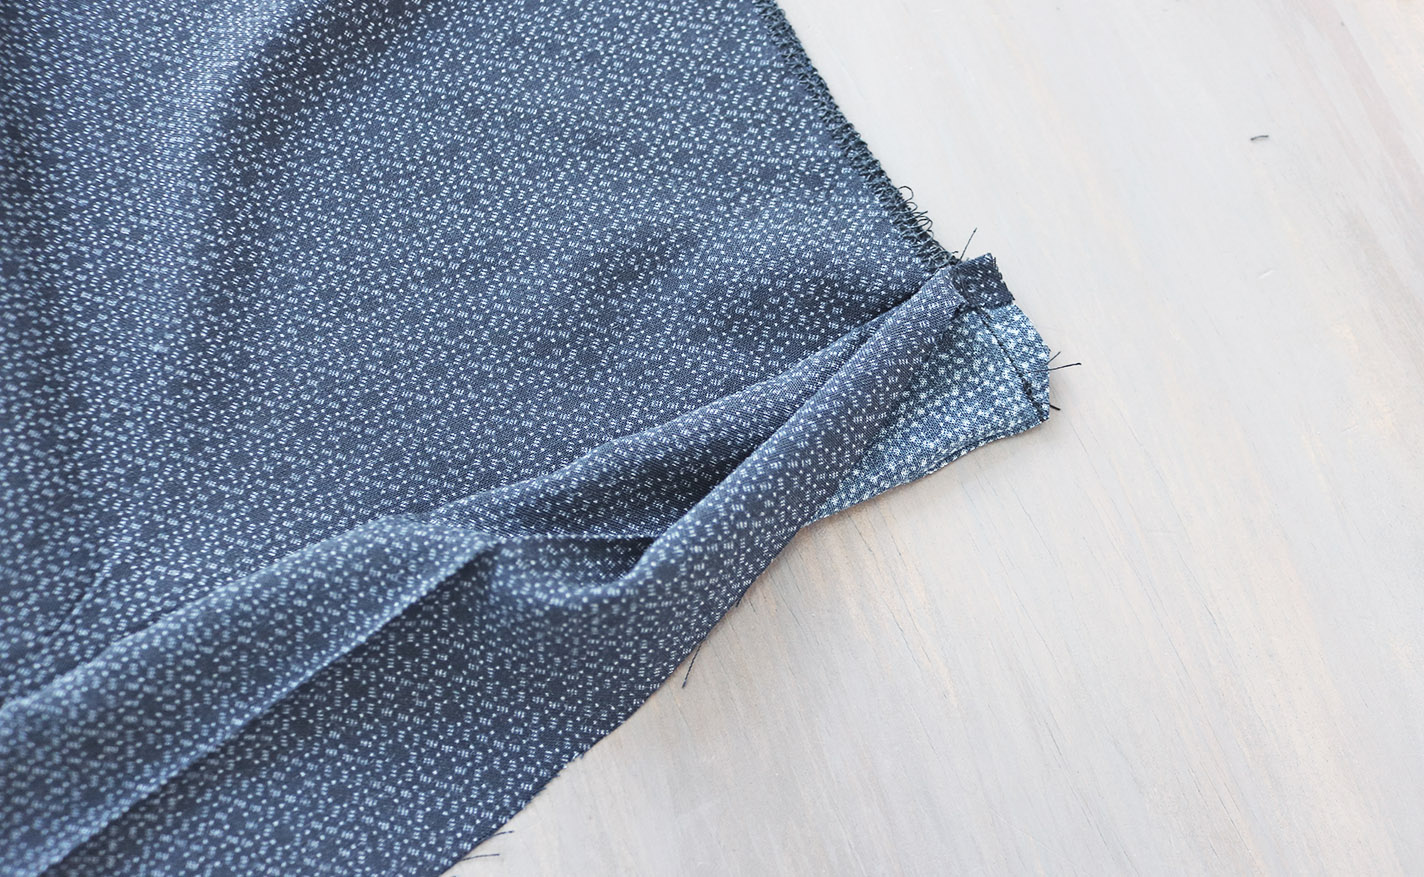
III. I then pressed the waist band in half width-wise with my iron, and pinned it onto the waistline, right sides facing, and leaving a bit of extra on both sides (I always cut my waist bands extra long after one traumatizing experience of a too short piece and no fabric left..):

To finish the ends of the waist-band, I folded it onto itself on the right side, keeping the seam allowances folded upwards, and sewed along the same line as the edge of the main skirt piece.
Then clipped the corner and turned the band right side out, and sewed on the right side, right next to the first stitch to get this:

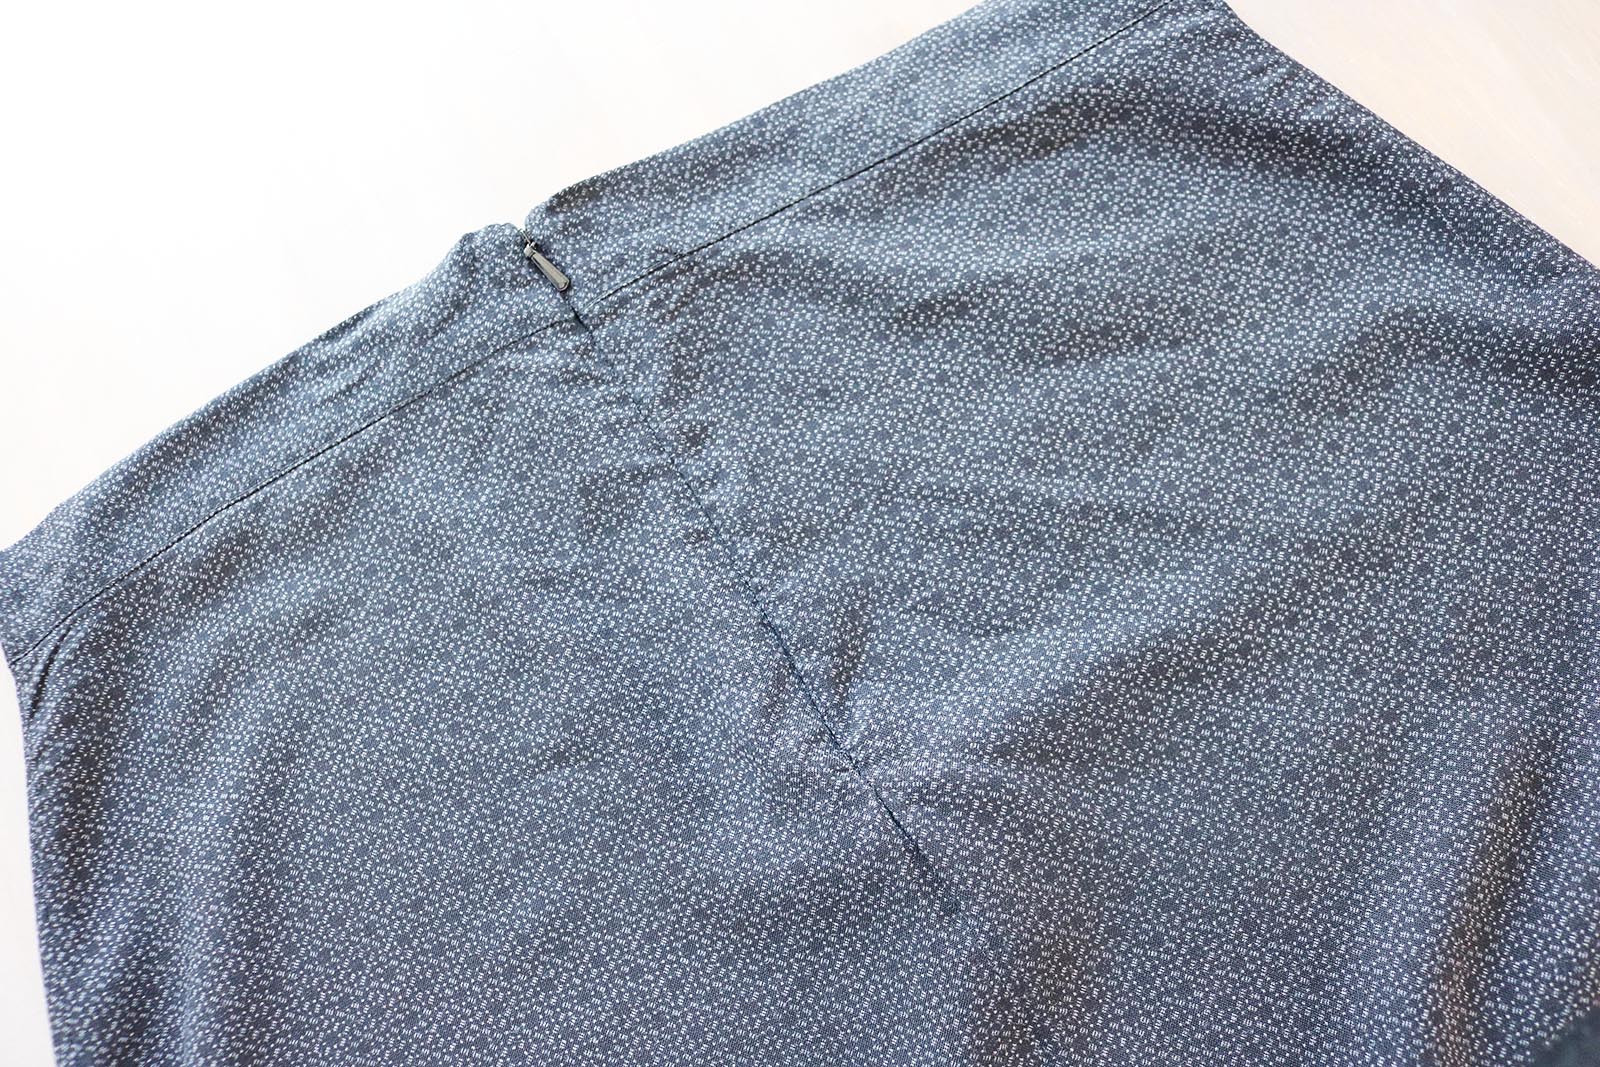
IV. Then added my invisible zipper and completed the back center seam:
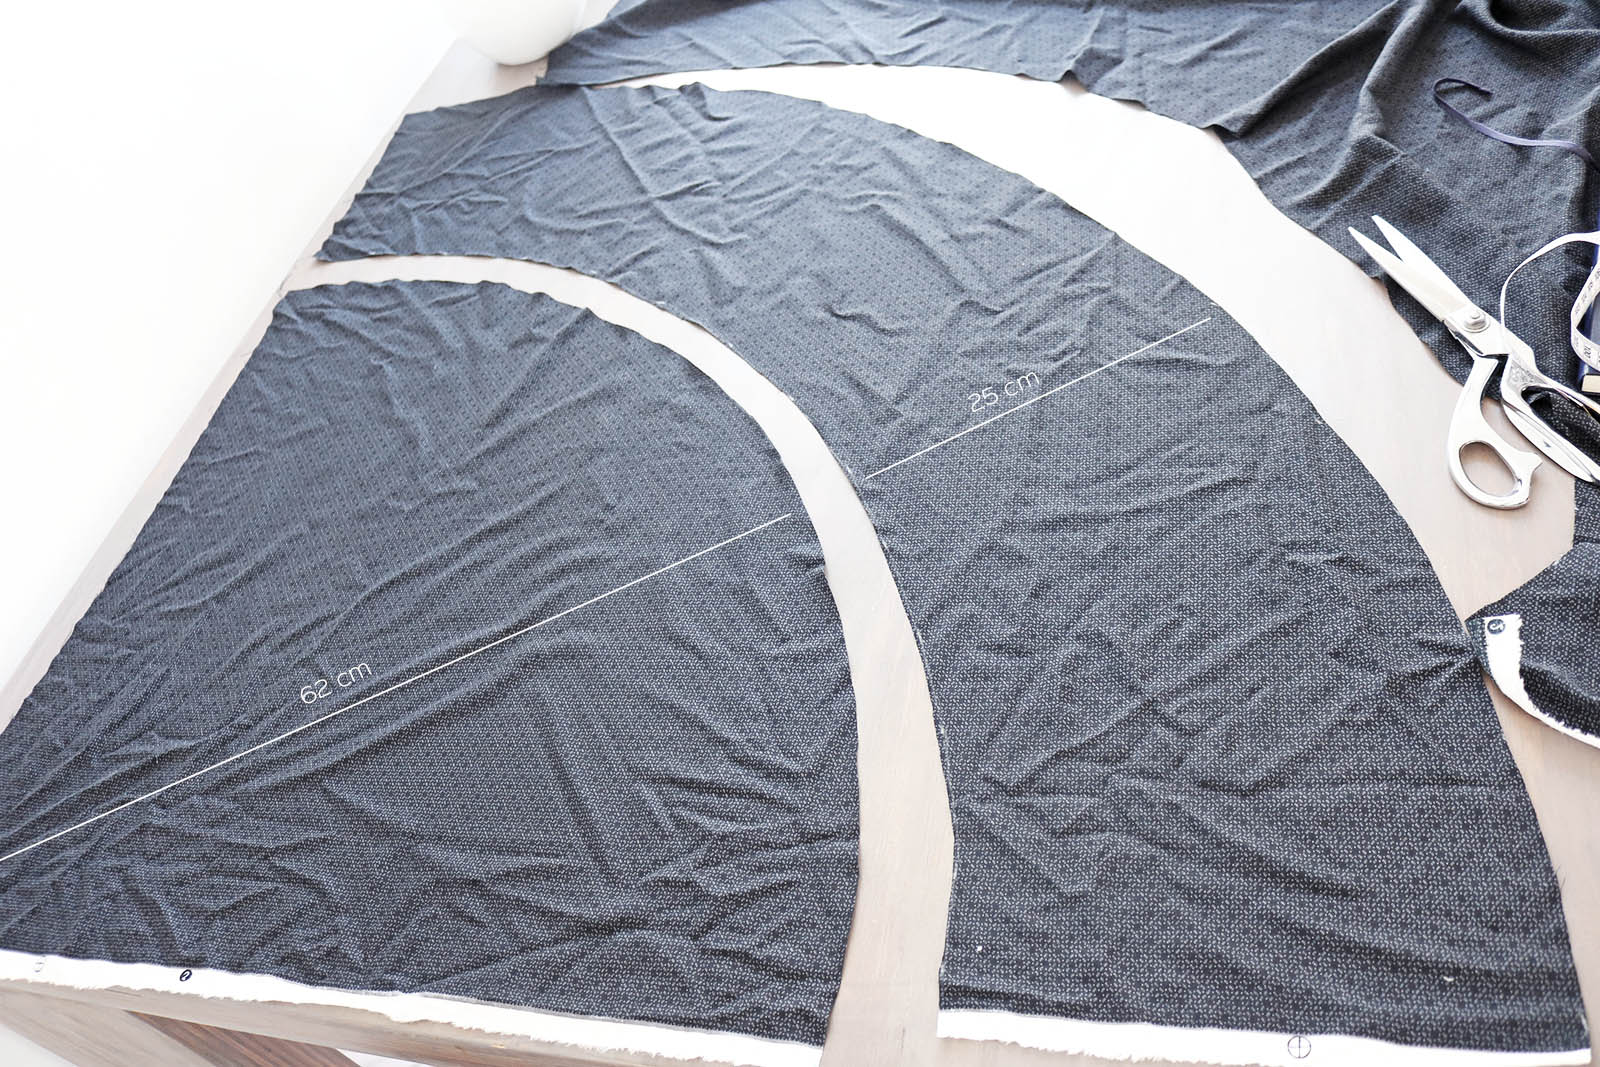
V. The only thing left was to make the fluted bottom part of the hem. I first measured the length of the hem, took that number and used it to calculate the radius as if I was making a quarter-circle skirt (using this calculator). Quarter cause I wanted the fluted part to be subtle, for a more ruffly hem you could do a half or even full circle.
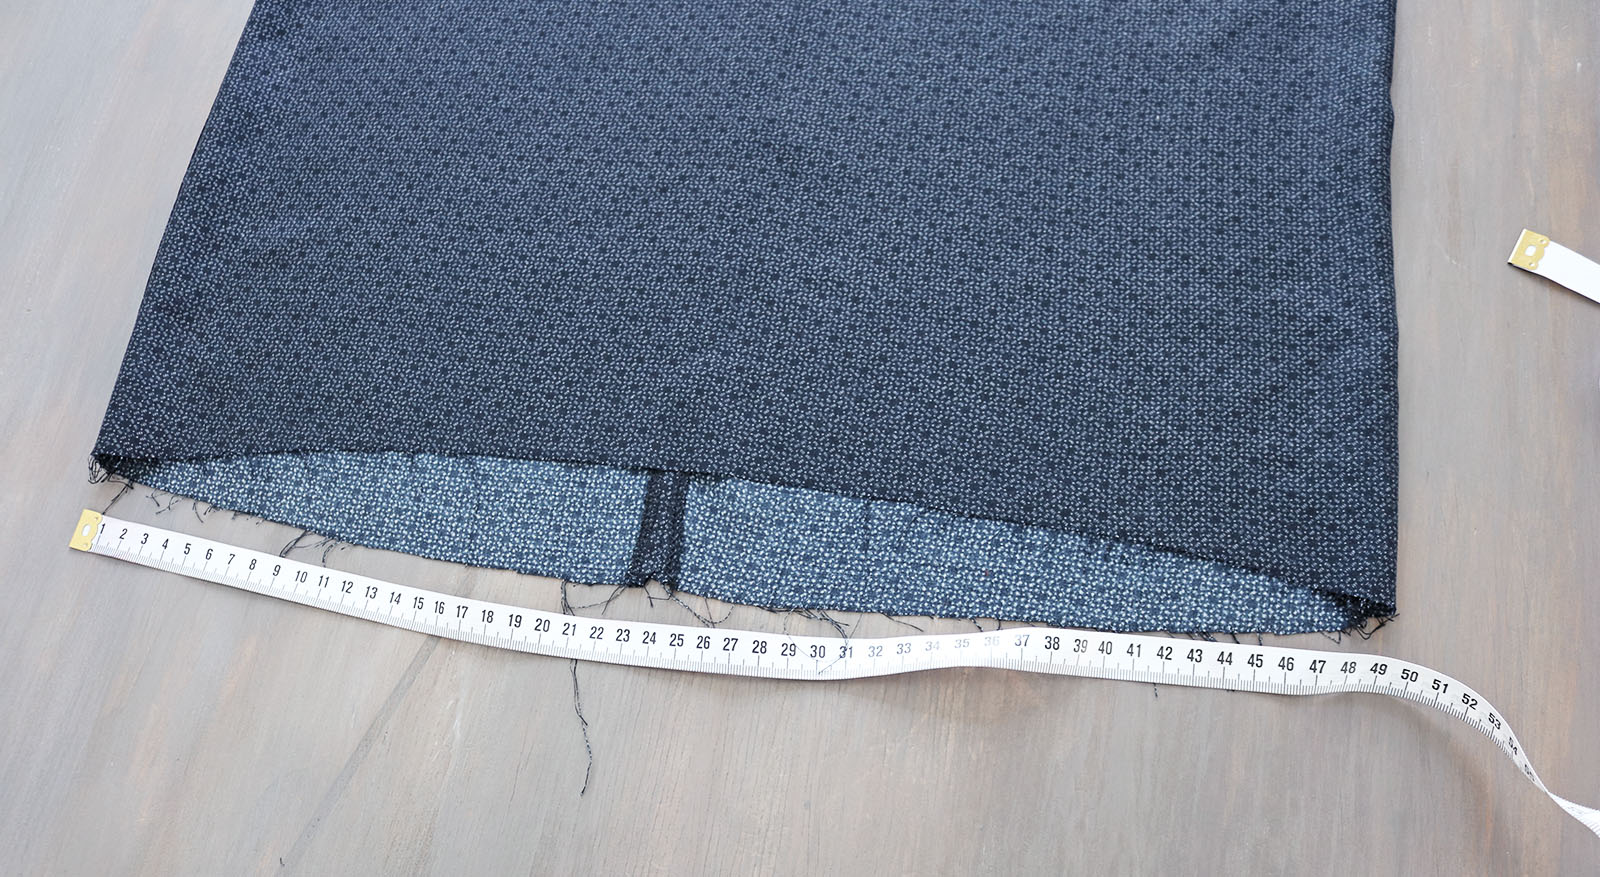
For me the radius ended up being around 62 cm, and I made the fluted piece 24 cm long + 1 cm to finish the hem.
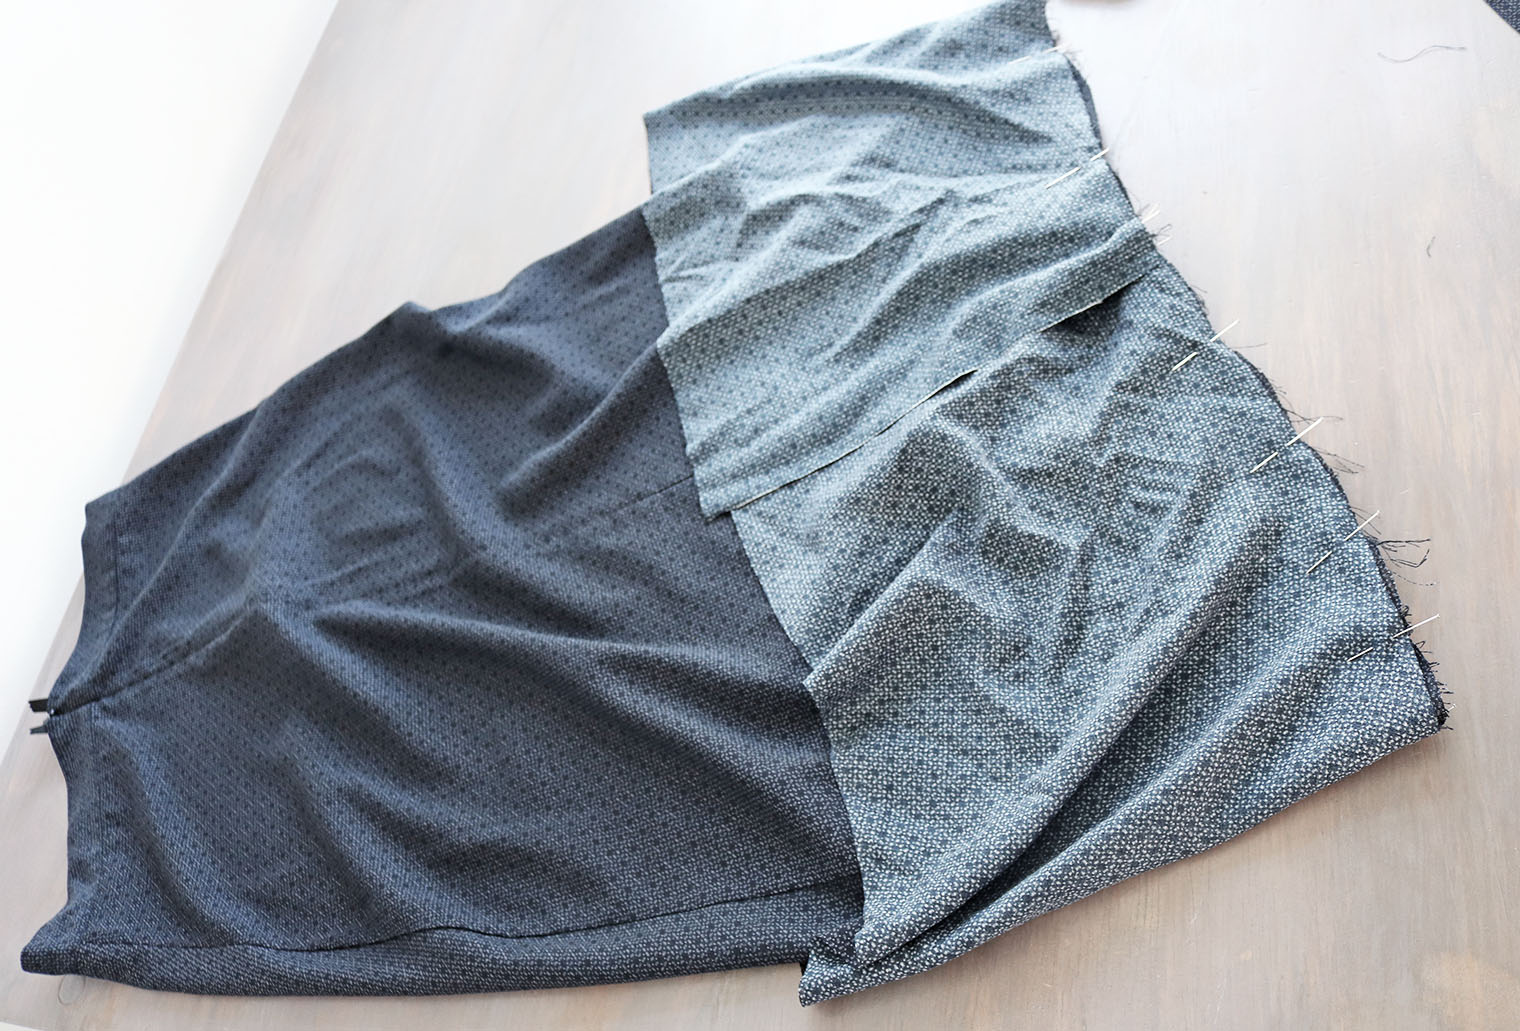
VI. Last I pinned the quarter circle to the skirt, sewed it on, and then sewed the short edges together (I aligned that seam with the back seam of the skirt).
Last as usual was just hemming the skirt.
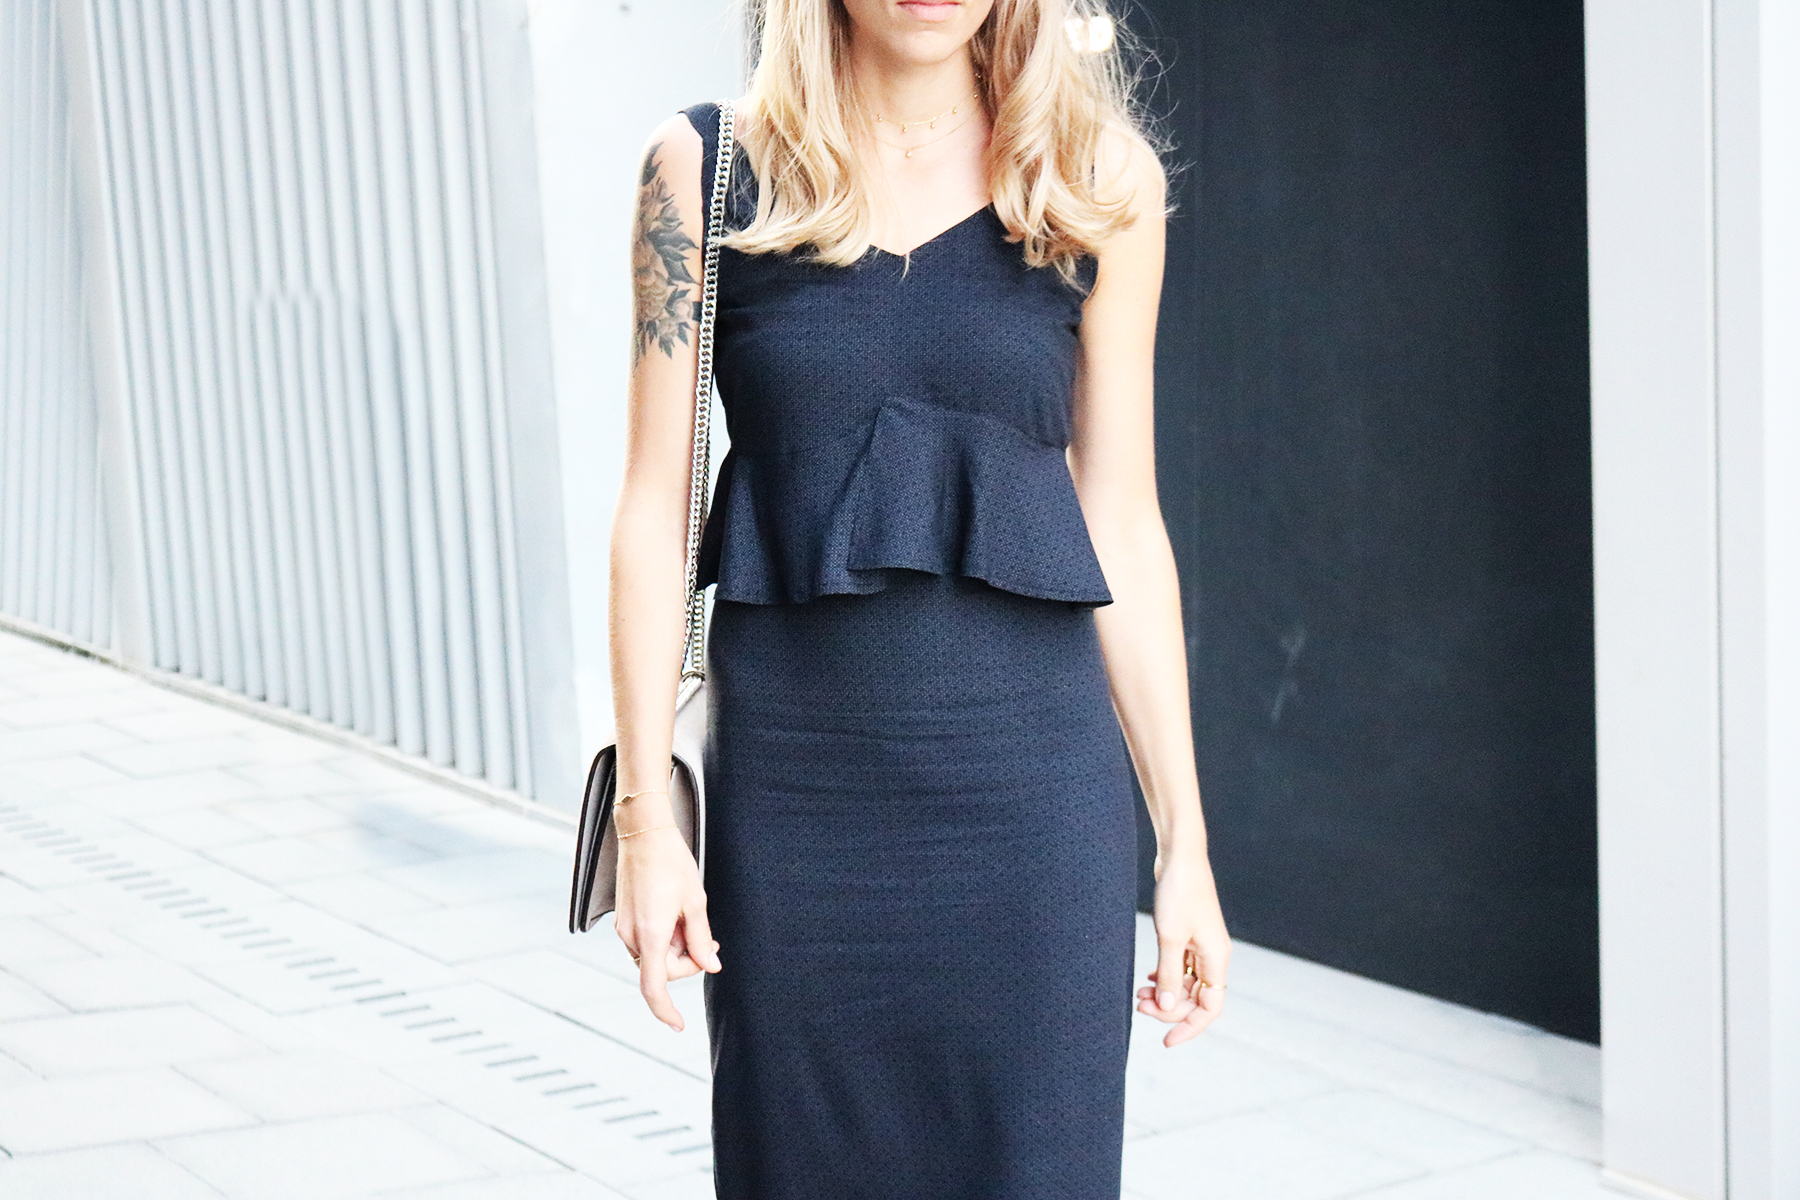
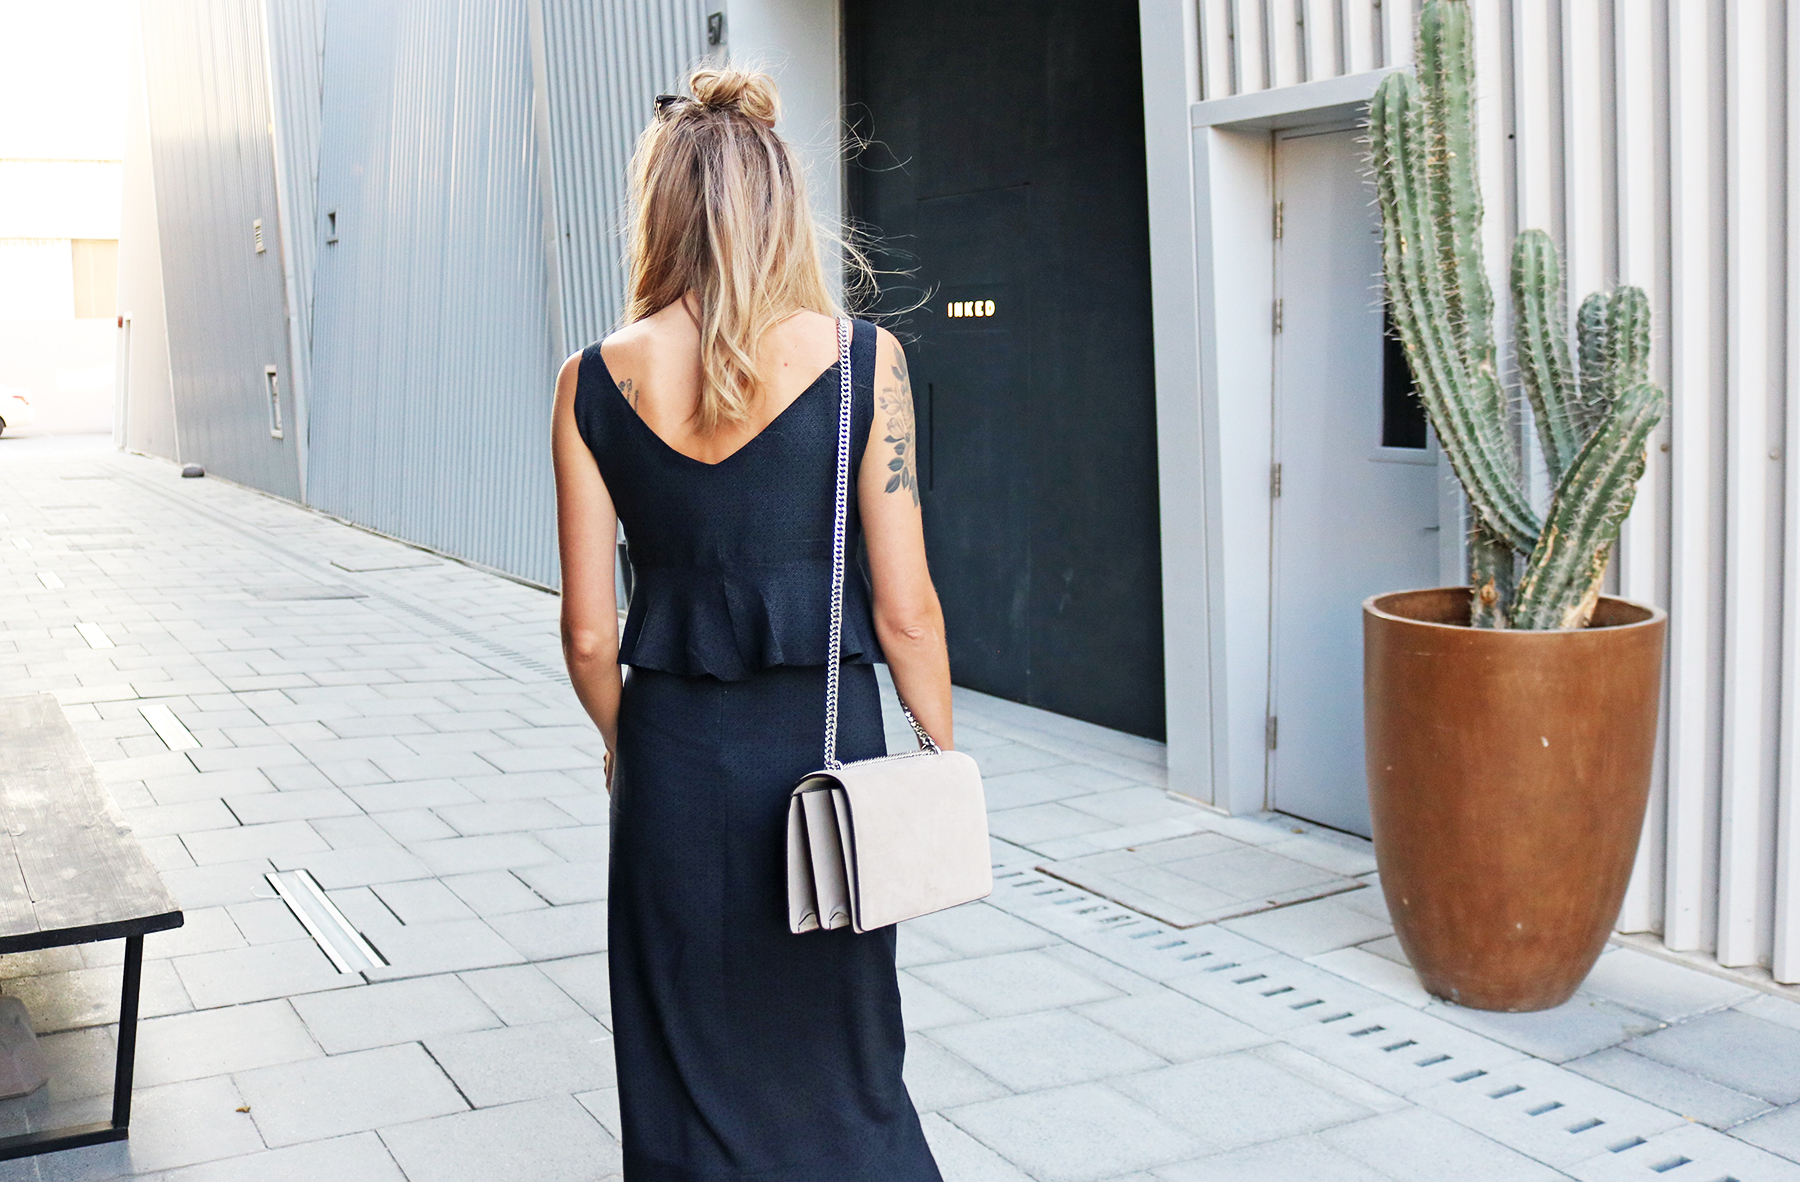
The Top
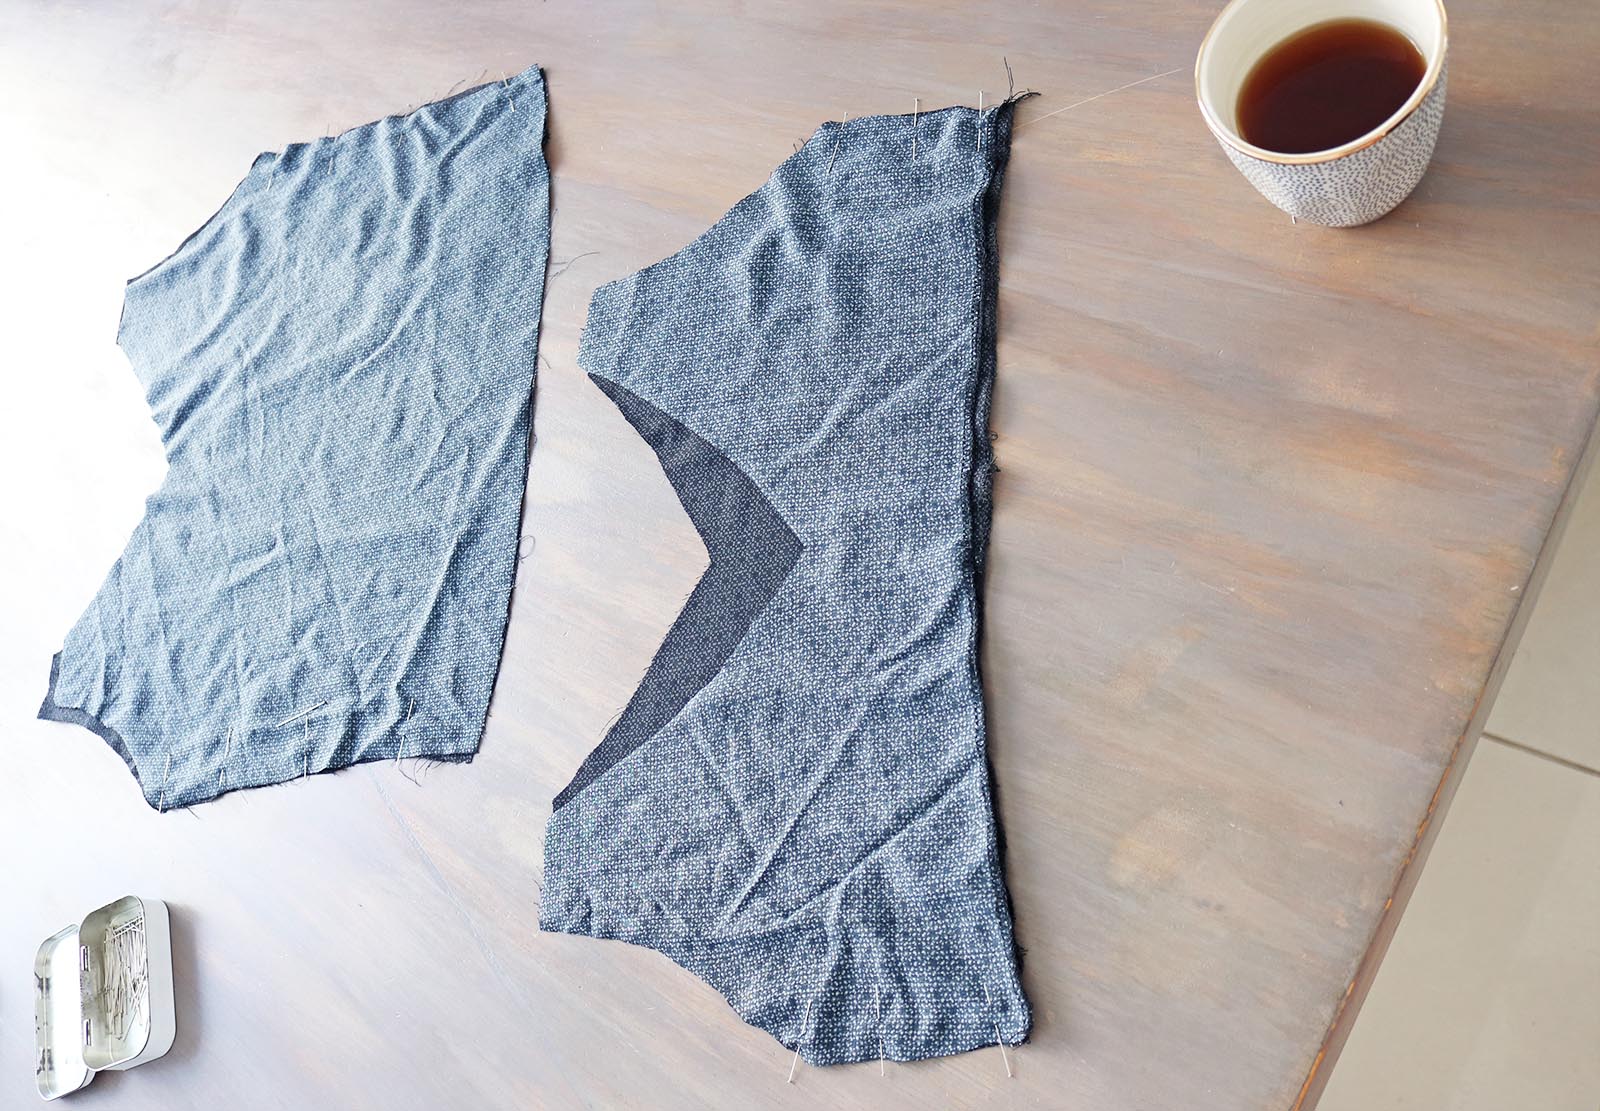
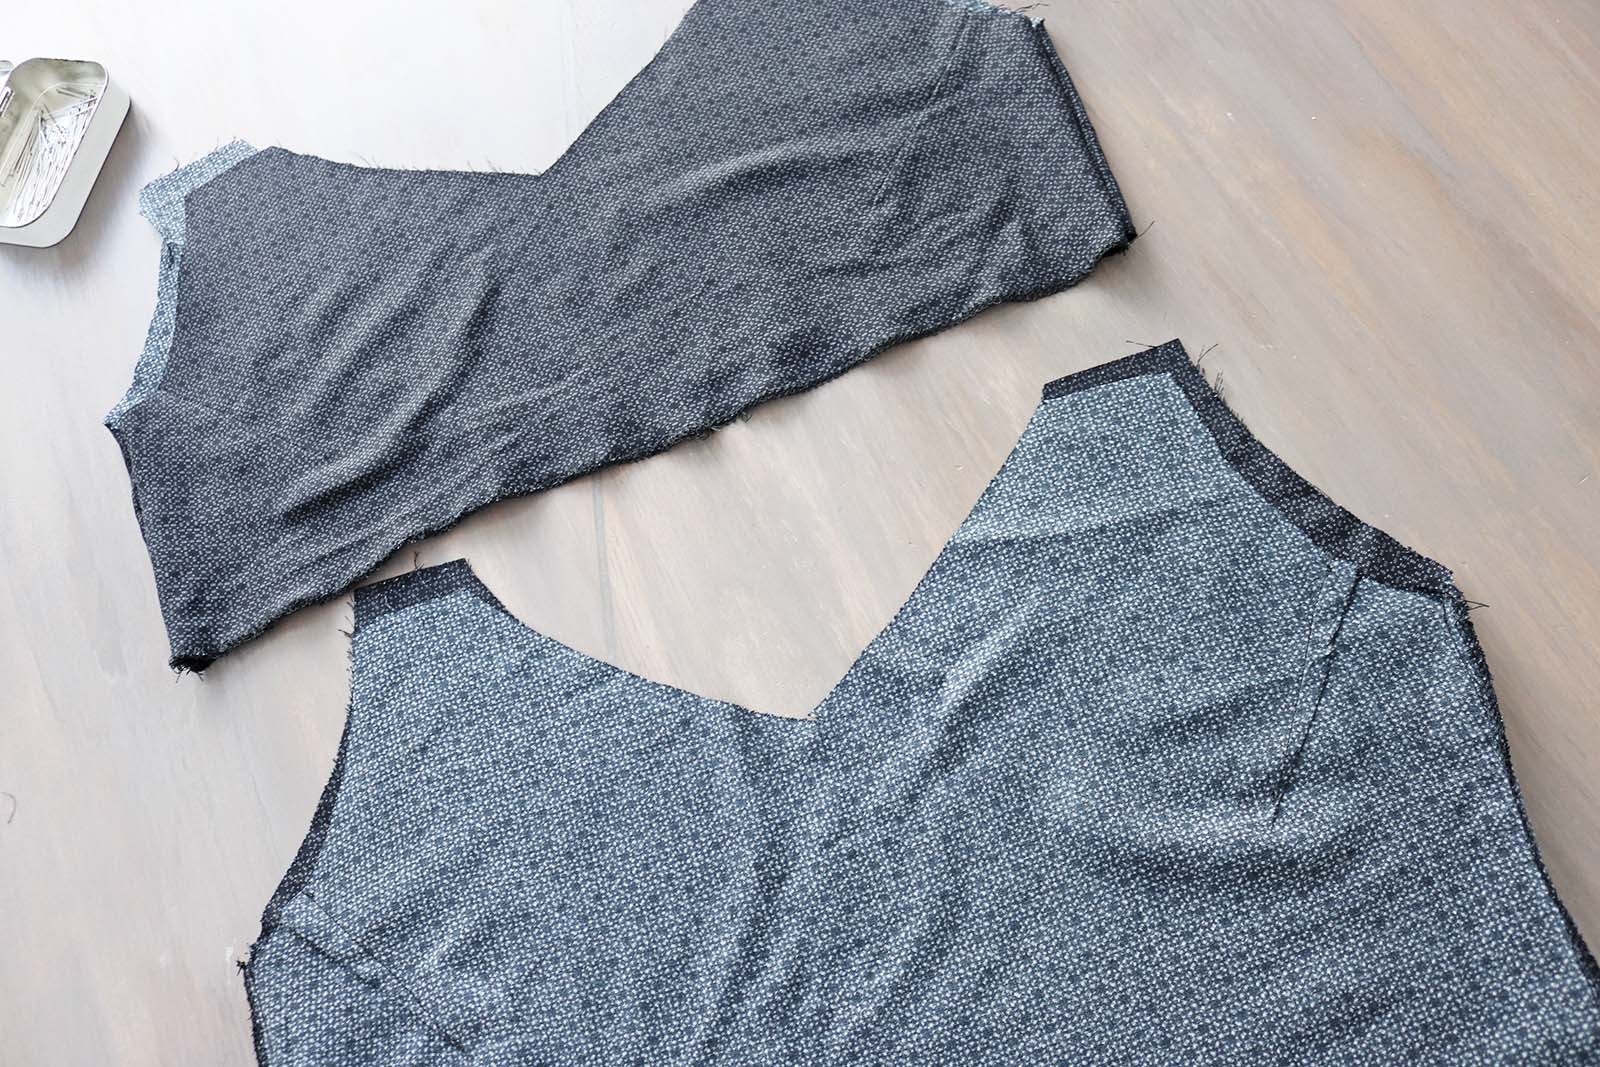
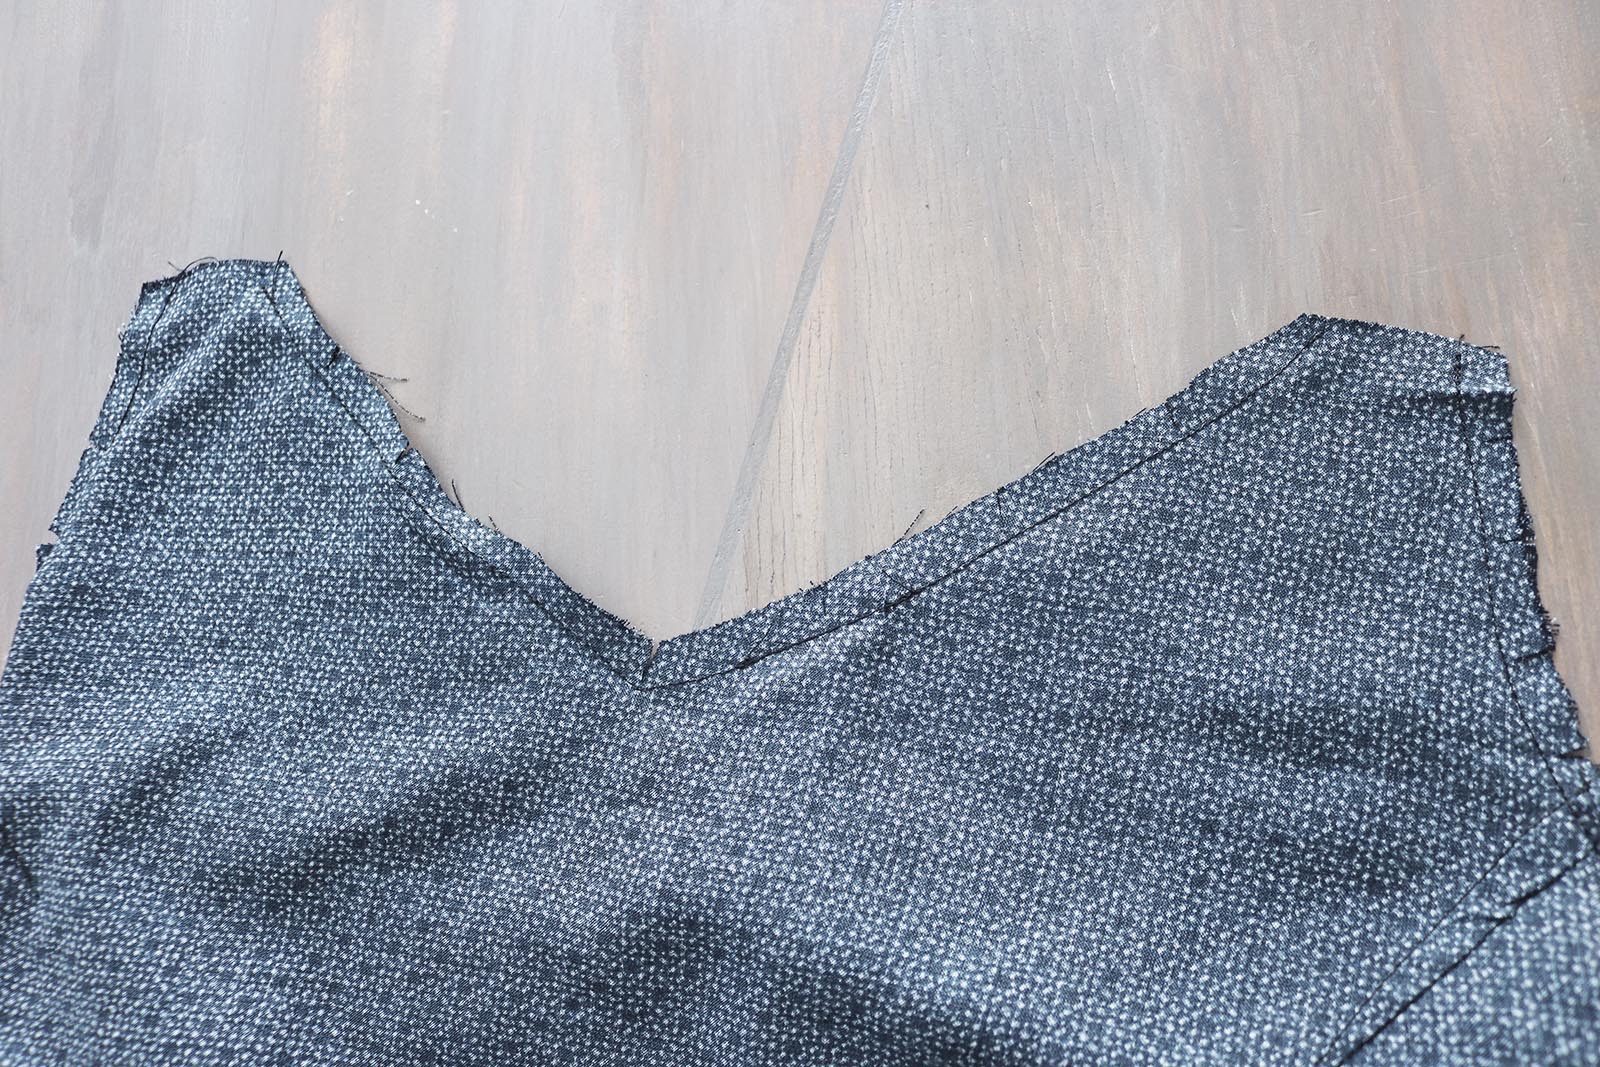
I. Here's what I started with (identical front and back pieces, I just cut a slightly deeper neckline on the back piece, and matching lining pieces to get a nice finish for the neckline and arm holes).
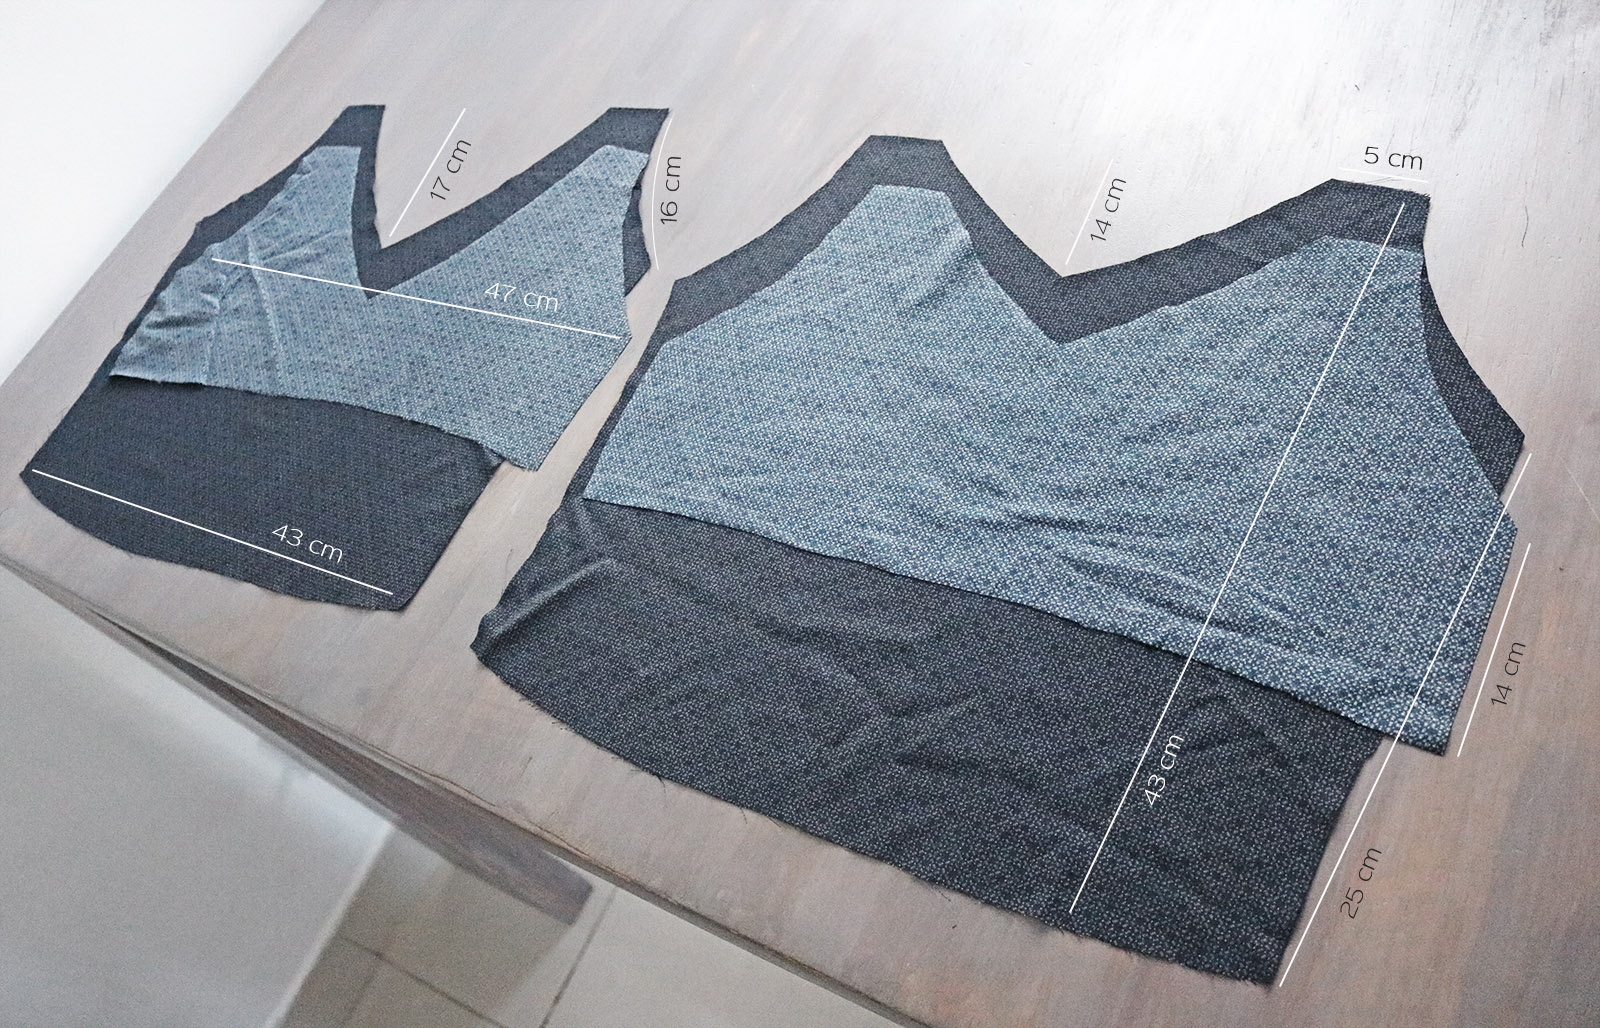
II. I also cut WAY too much strap for what I needed. I thought first I would cross them at the back, but ended up doing just basic ones, and one strap was only about 12 cm in length.

III. The final pieces I needed were the circular bits for the ruffles. I cut two like this. It says 14-15 cm cause my radius for a half-circle was 14 cm, and that was exactly enough to go around my ready top (as you'll see towards the end of the tutorial).
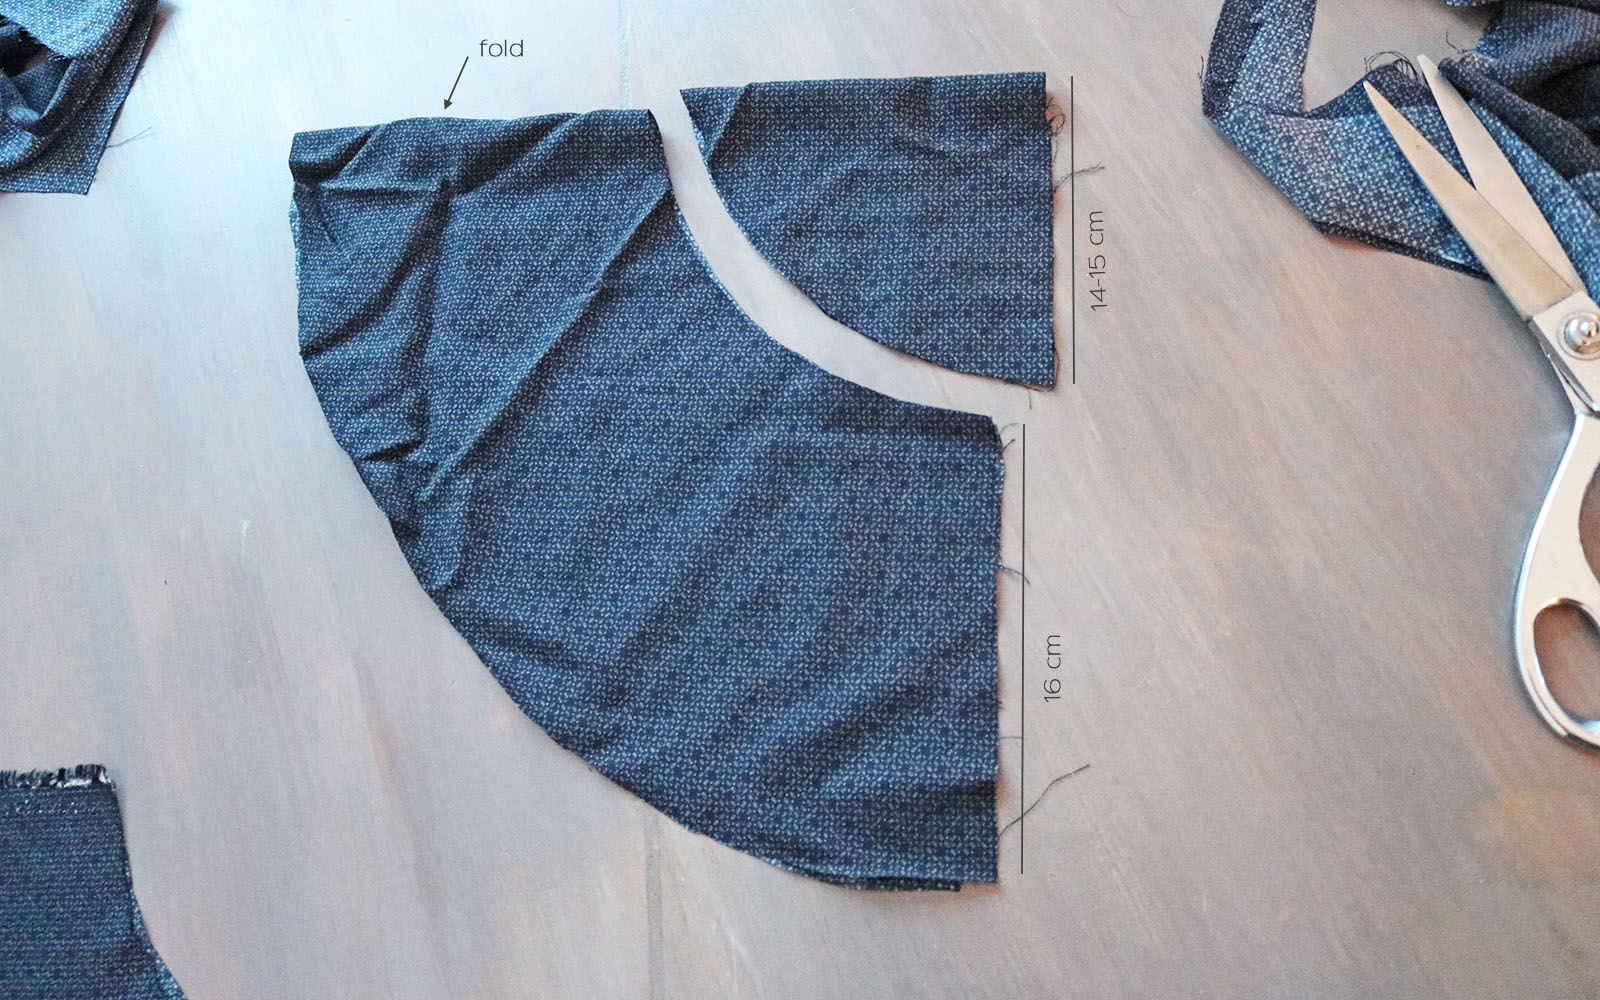
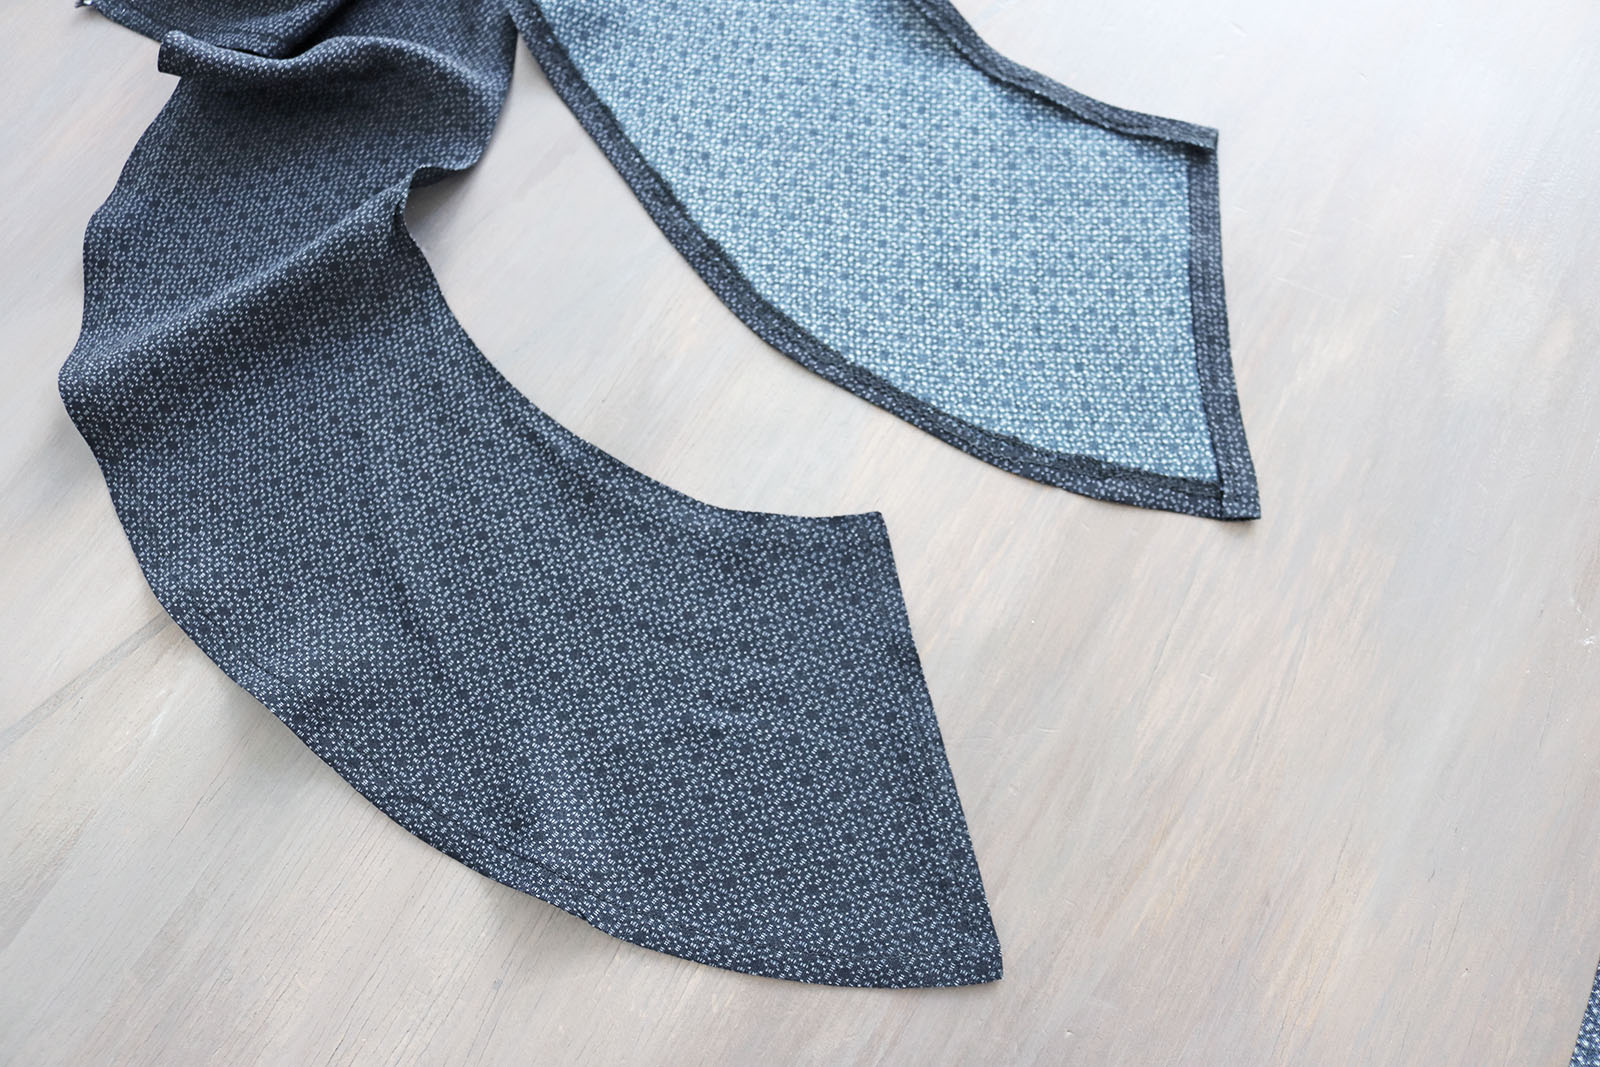
I finished the half-circle ruffle pieces like so (single or double fold on the long edge, serger-finished or zig-zagged shorter curved edge with a single fold pressed, and the ends cut at about 90 degrees against the inner curved edge, and double-folded.
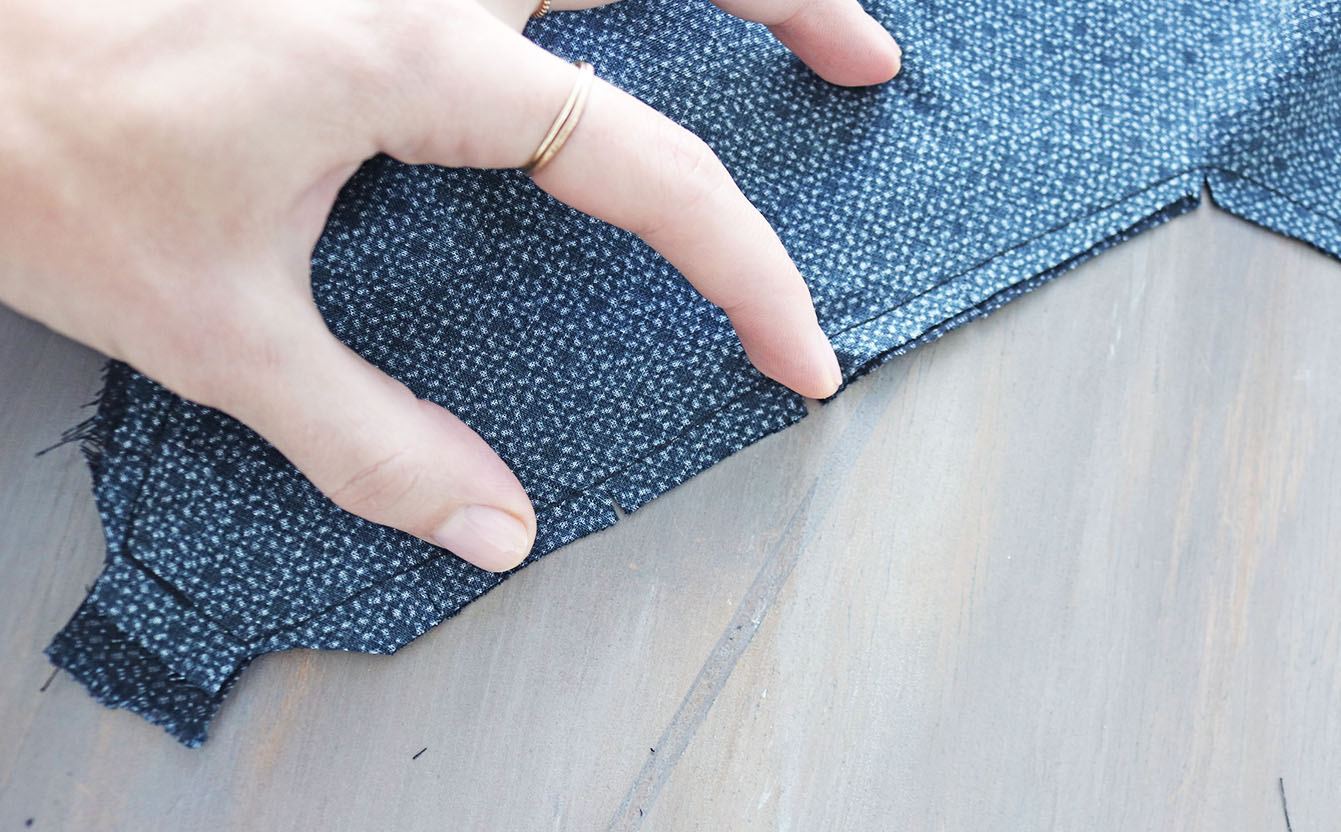
IV. Next I assembled the top. First pinned the edges of both the lining pieces and the main top pieces, right sides facing:
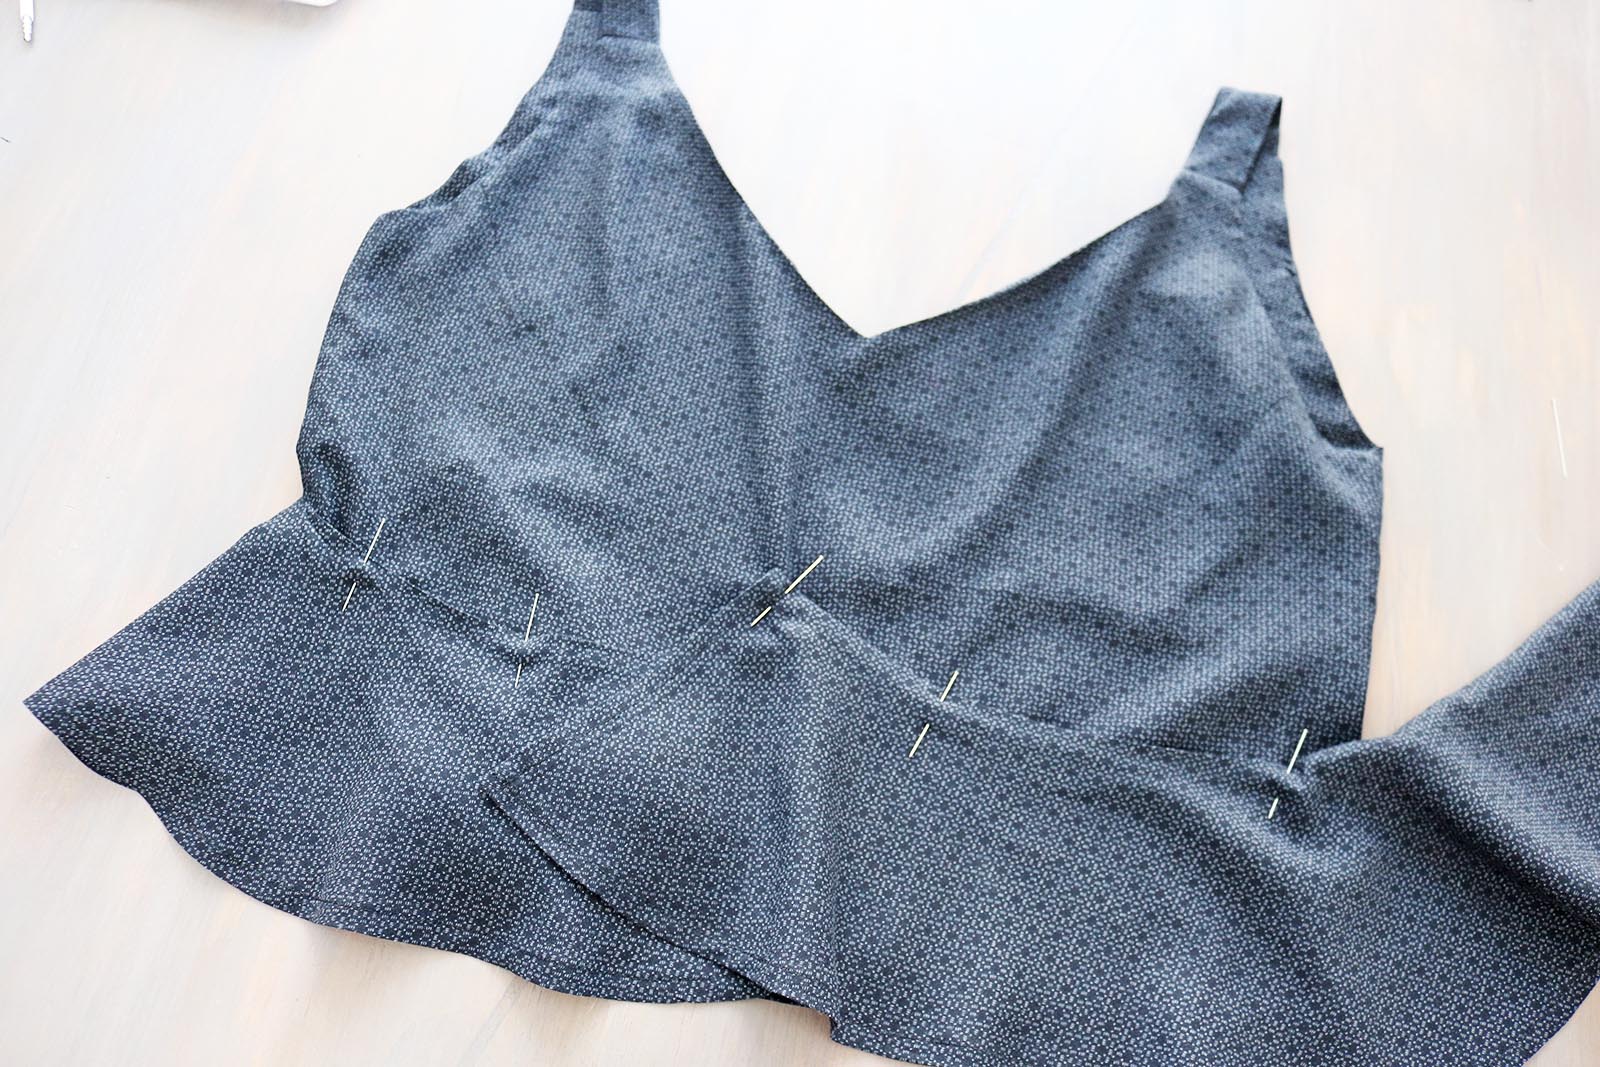
I then pinned the top onto myself to check what I needed in terms of darts:
And added those darts to both the top and the lining, and finished the raw edge on the lining + hemmed the top itself.
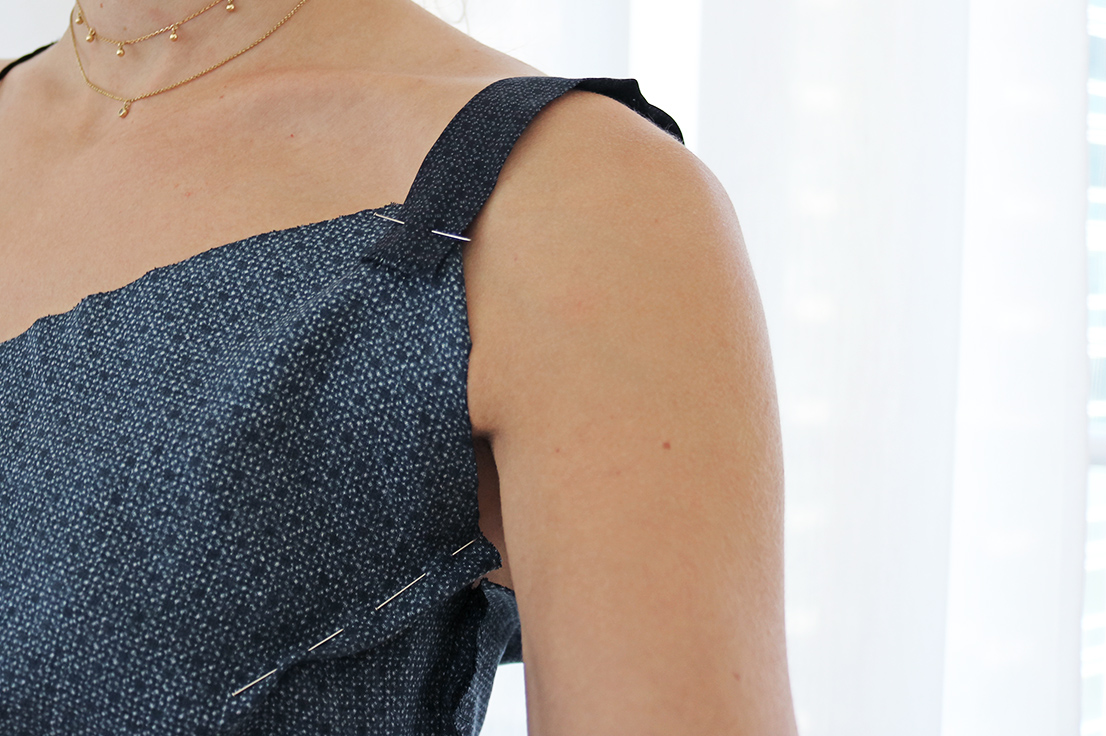
V. Then pinned the straps to one side (I had measured they needed to be 9cm long each so I cut 12 cm pieces for seam allowances)..
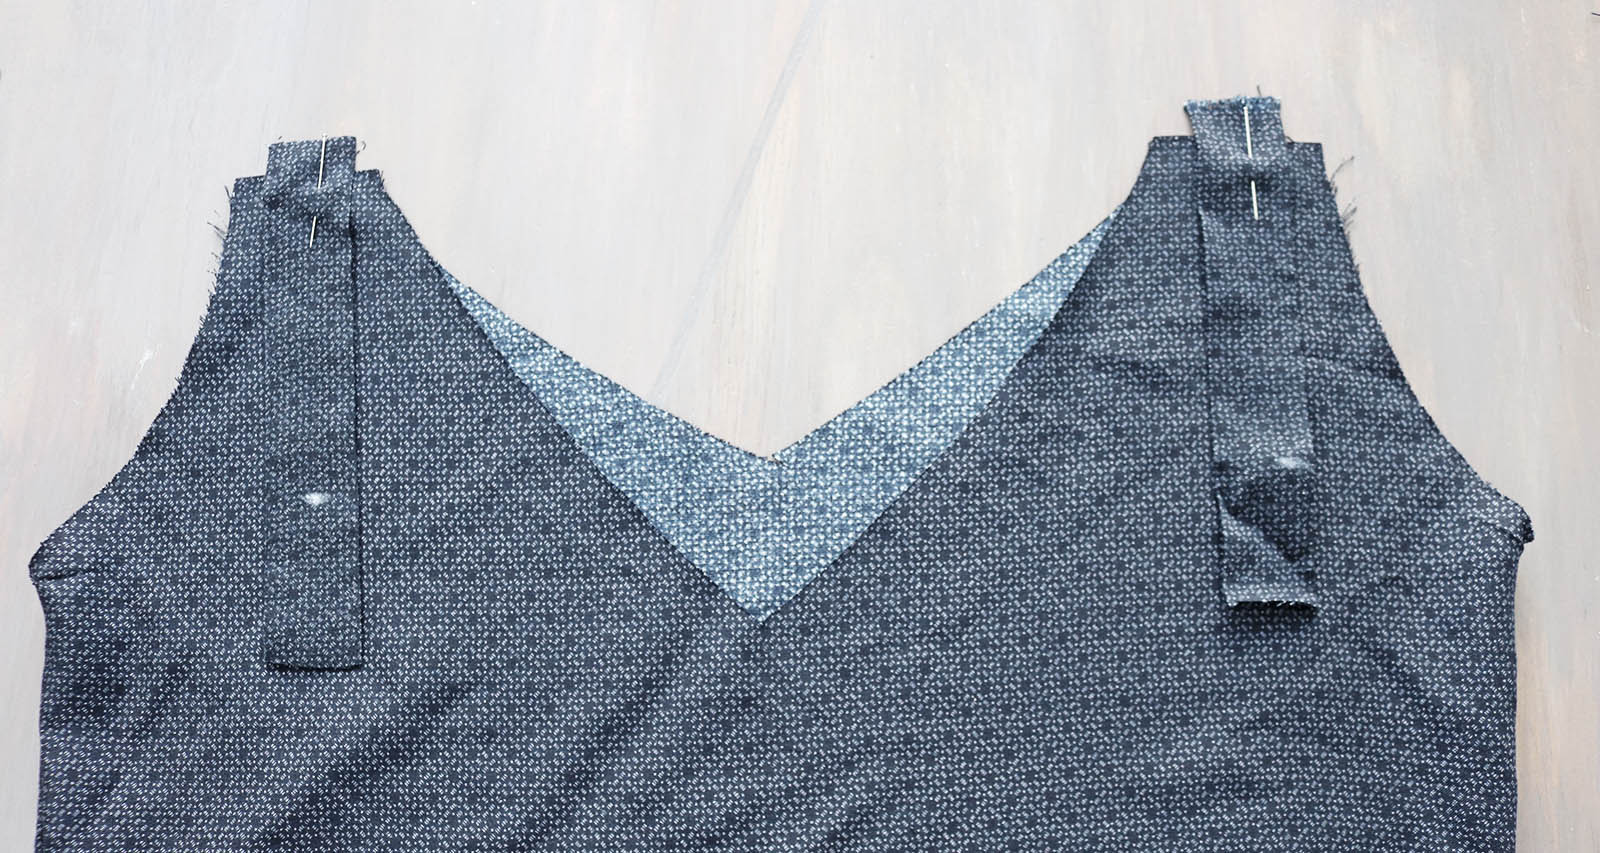
.. And then placed the top pieces and lining pieces right sides facing, the straps in between, and sewed around the neckline, BUT...

.. Left the spots where the straps will attach on the other side unsewn:
VI. I notched the bottoms of the Vs on the neckline and at steady intervals all around (especially the curved parts at arm pits), and also cut excess around where the straps attached.
VII. Then I turned the whole thing right side out, pulled the straps through the gaps I had left, making sure they were not twisted, sewed them in place on the inside, and then flipped the top right side out again to press it.

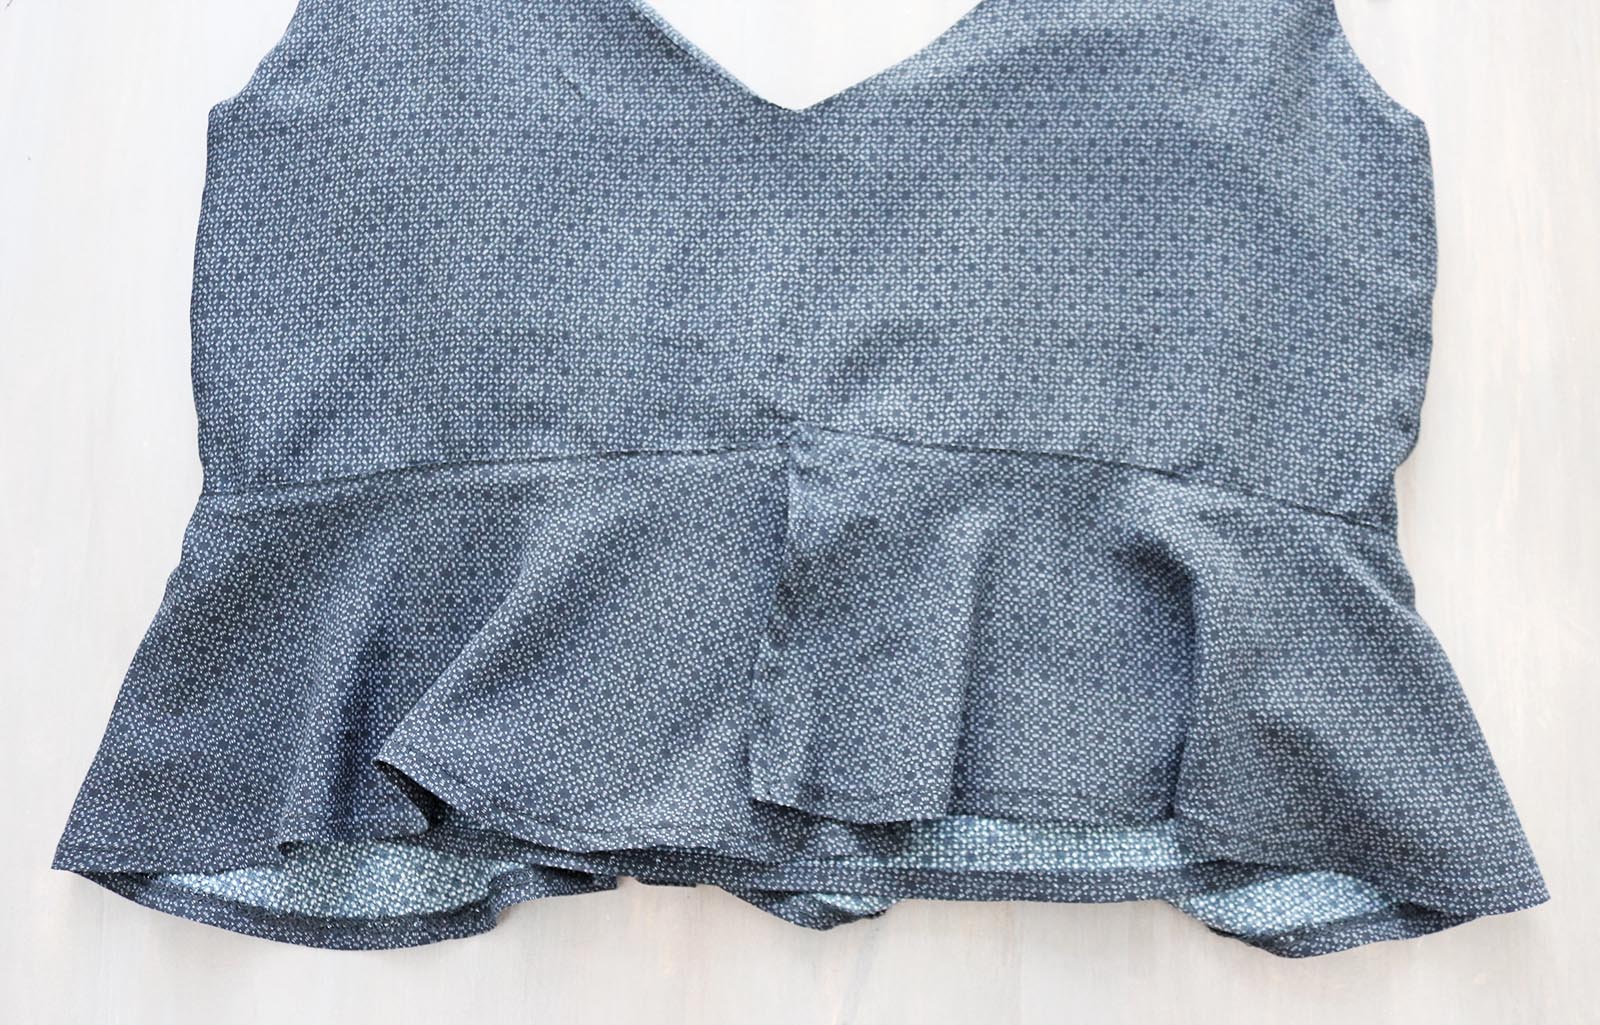
VIII. Last step was to add the ruffle. I pinned both pieces so they overlapped a bit in the front:
And sewed right next to the edge all around. Here's what it looked like ready, from he front and from the back.

Lots of good pressing to finish!

xo,
Julia


This is a beautiful outfit and looks easy to sew. It would be a gorgeous casual wedding dress, too.
ReplyDeleteThank you!!:)
Delete