

Tutorials take a lot of time & effort to create, and I choose to make mine available for free. If you enjoy this guide, you can support me with a donation that feels right for you, here.
TOOLS:

Lightweight fabric (I used 100% cotton) 1.5 m x 1.5 m if you cut economically | Scissors | Thread & sewing machine (I also used my serger to finish seams) | Elastic | Pins
I. I had a slight back issue when making this, and could not climb high enough to get a photo that fit all the pieces so.... Here's a magnificent drawing. To get the key measurements:
- I measured my hip circumference and added 10 cm or so, since the waistline needed to allow for getting into the skirt without a zipper, just an elasticated back half of the waistband. The total waistband length I got was around 100cm, so I traced the back piece at 40cm of waistline + front middle piece 22 cm + 2 times front side pieces, 19 cm+19 cm = total 100cm.
- I cut the pieces just slightly at an A line as you can see from the measurements
- The length will be up to you, mine was 96cm for an ankle length maxi. I actually cut my pieces too short for my liking first, and added a little extension piece to get to my 96 cm.

II. I pinned the pieces together along the sides, right sides facing, in the following order: back, front side 1, front middle, front side 2, finally attaching that to the remaining free edge of the back piece. Sewed and finished all those seams with the exception of the seam connecting the front piece, and the left front side piece, where I made my slit. I only pinned those two parts about 35 cm down from the waistline, putting the marker as a coloured pin, to remember to stop sewing there.


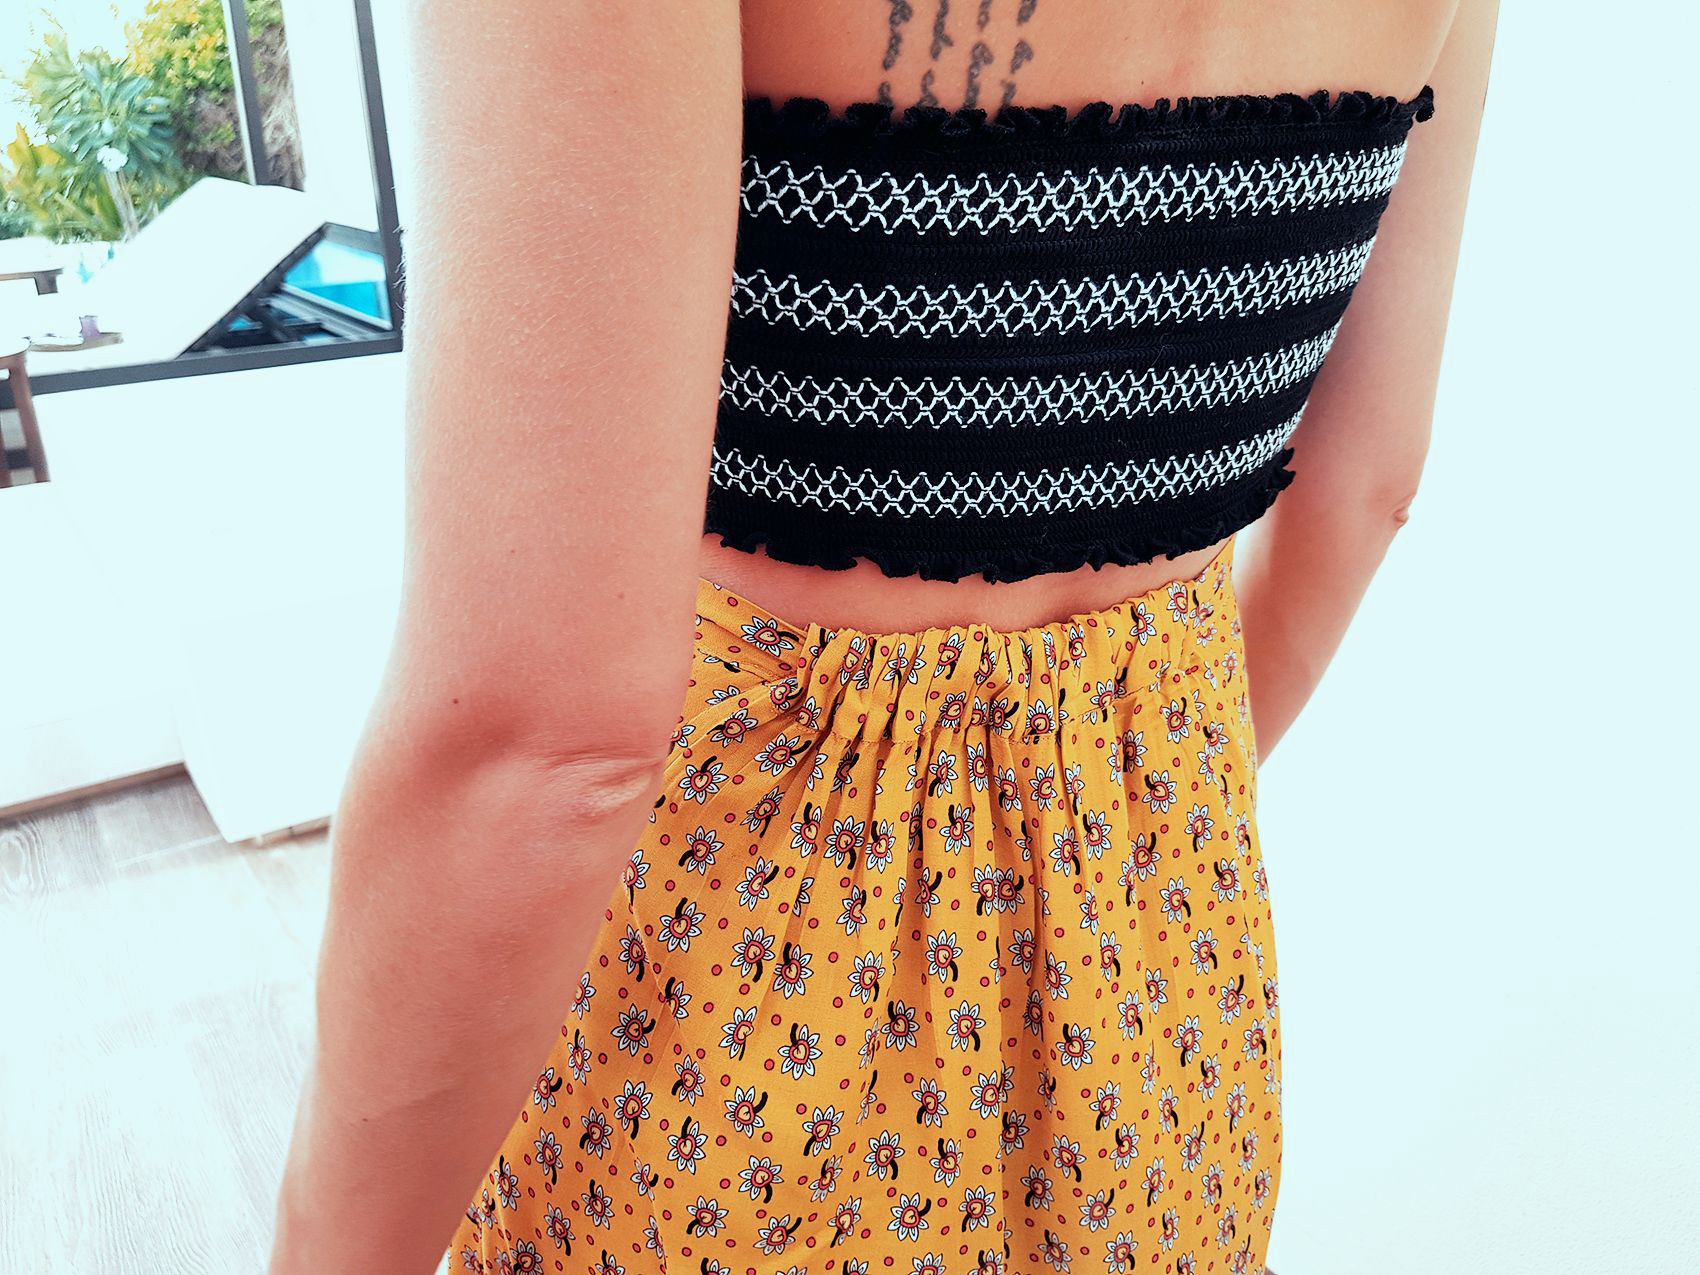
IV. The last step was to add a waistband, like this except I inserted my elastic only inside the back piece, making sure it was gathered enough for the right tightness around the waist. And of course hemmed the skirt.


xo,
Julia


Is there two slit on the sides? or just one? I couldn't figure it out :D
ReplyDeleteIn my version I did just one slit on one side, but you could of course double them up and leave both front seams slit:)
Deletethis is so helpful thank you! i'll be trying it out tonight :) would you mind telling me how tall you are so i can estimate if i can just use the measurements on the pattern or if i have to calculate my own measurements
ReplyDeleteYou can see my measurements in the 'About & Sizing' section accessed from the top menu bar!
Deletealso, does the pattern include the seam allowance? or when cutting it out should i add that in?
ReplyDeleteAll my cut pieces always include seam allowances of about 1 cm.
DeleteHi it says it's free but no matter what you do it costs at least 1USD. I know it's not a lot of money, but I think it is fake advertisement, to say its free when it is not. I thought it was completely fair that you have done so that we can contribute "with an amount that feels right for you". But I think you should change what is written to a 1USD instead of saying it's free. No hate whatsoever!! I just wanted to make you aware
ReplyDeleteHi there. I've got to say I'm not impressed by this comment. I have created almost a decade worth of sewing tutorials on my blog, completely free for anyone to access. There is an OPTION to support my work through my shop, and yes, there is a minimum value of $1 due to the way that platform works. Supporting is optional, as you can see, you can access the blog freely. There is nothing fake about saying it's free, it is. If you don't think my work is worth $1, you may continue to use the guides without supporting financially.
ReplyDeleteHi, I have been searching for a pattern for a skirt like this. Did you cut the fabric on the regular grain or the bias? I have a bias skirt pattern that I've made 4 or 5 times, but I'd like to have a front slit this time. Do you have any experience with that? I'm wondering if cutting on the bias would cause the slit to look strange.
ReplyDeleteHi! This skirt was cut on the grain, no bias. Slits on bias skirts are no problem as long as you've cut your two skirt pieces correctly (this sew-along of the Coco skirt by Staystitch has a diagram https://blog.bernina.com/en/2022/12/sew-along-coco-bias-skirt/). The question is more on slit placement - a side slit is simple, but if you're doing a front slit like I have done on this skirt, then you either have to be ok with the other seam being off-center in the back, or you have to cut your back in one piece, and front in two pieces (if doing one front slit).
Delete