

Tutorials take a lot of time & effort to create, and I choose to make mine available for free. If you enjoy this guide, you can support me with a donation that feels right for you, here.
TOOLS:
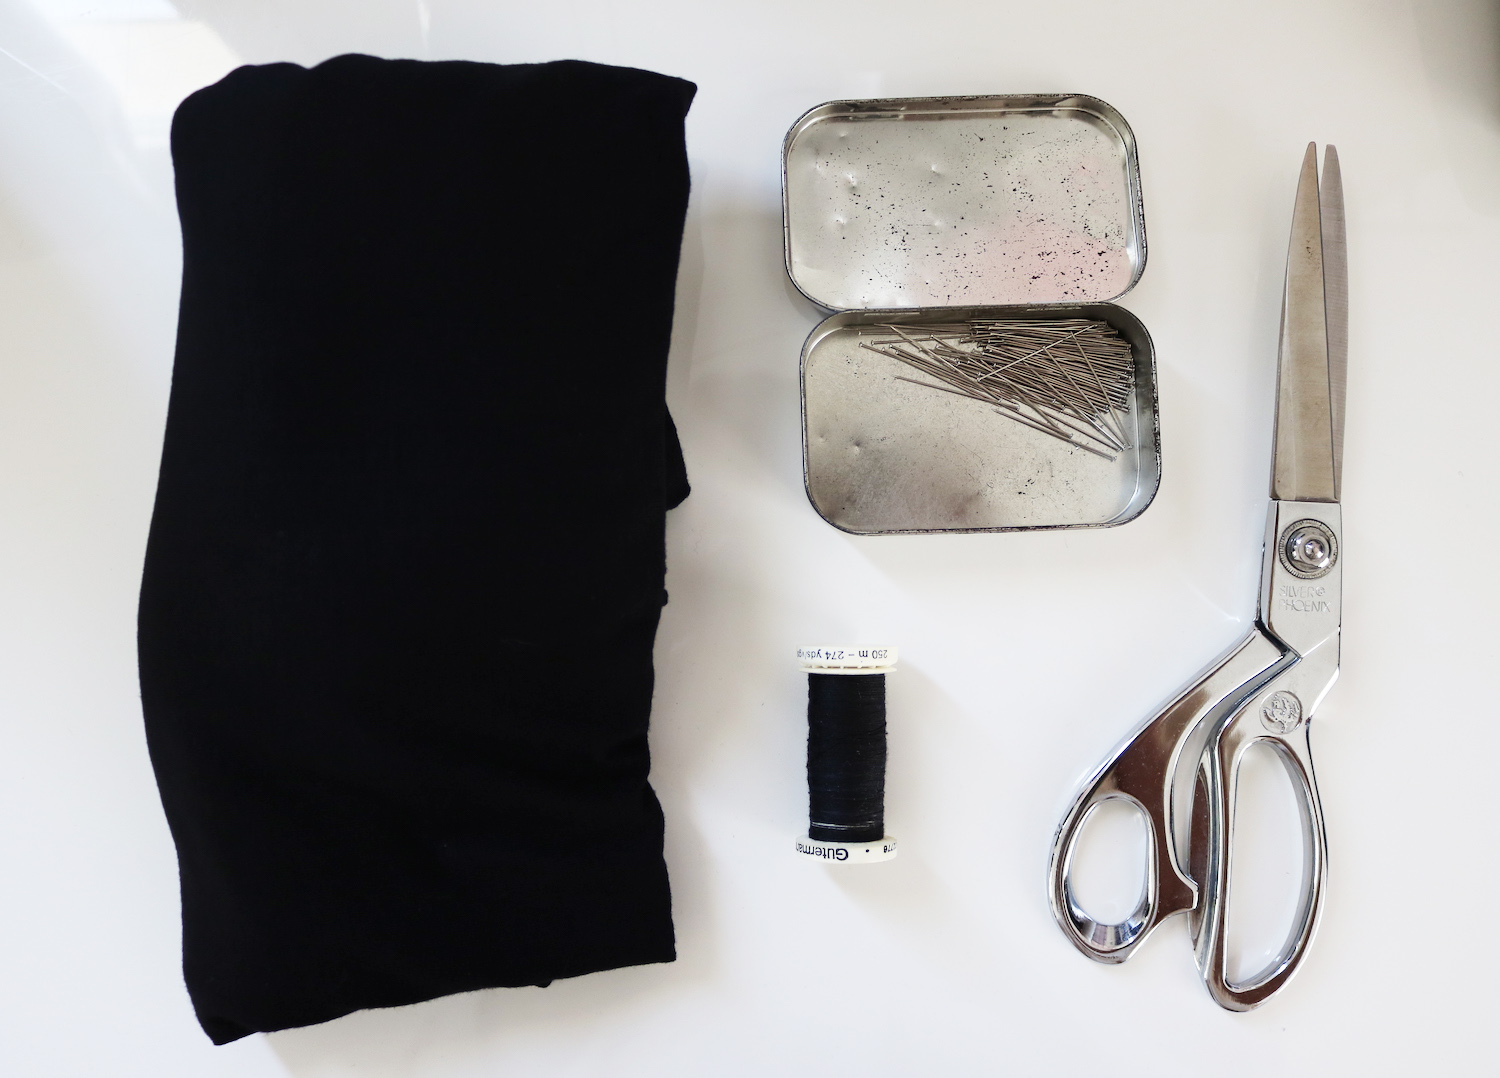
Light jersey (1 m full width, 1.5 half-width) | Thread & sewing machine | Scissors | Pins

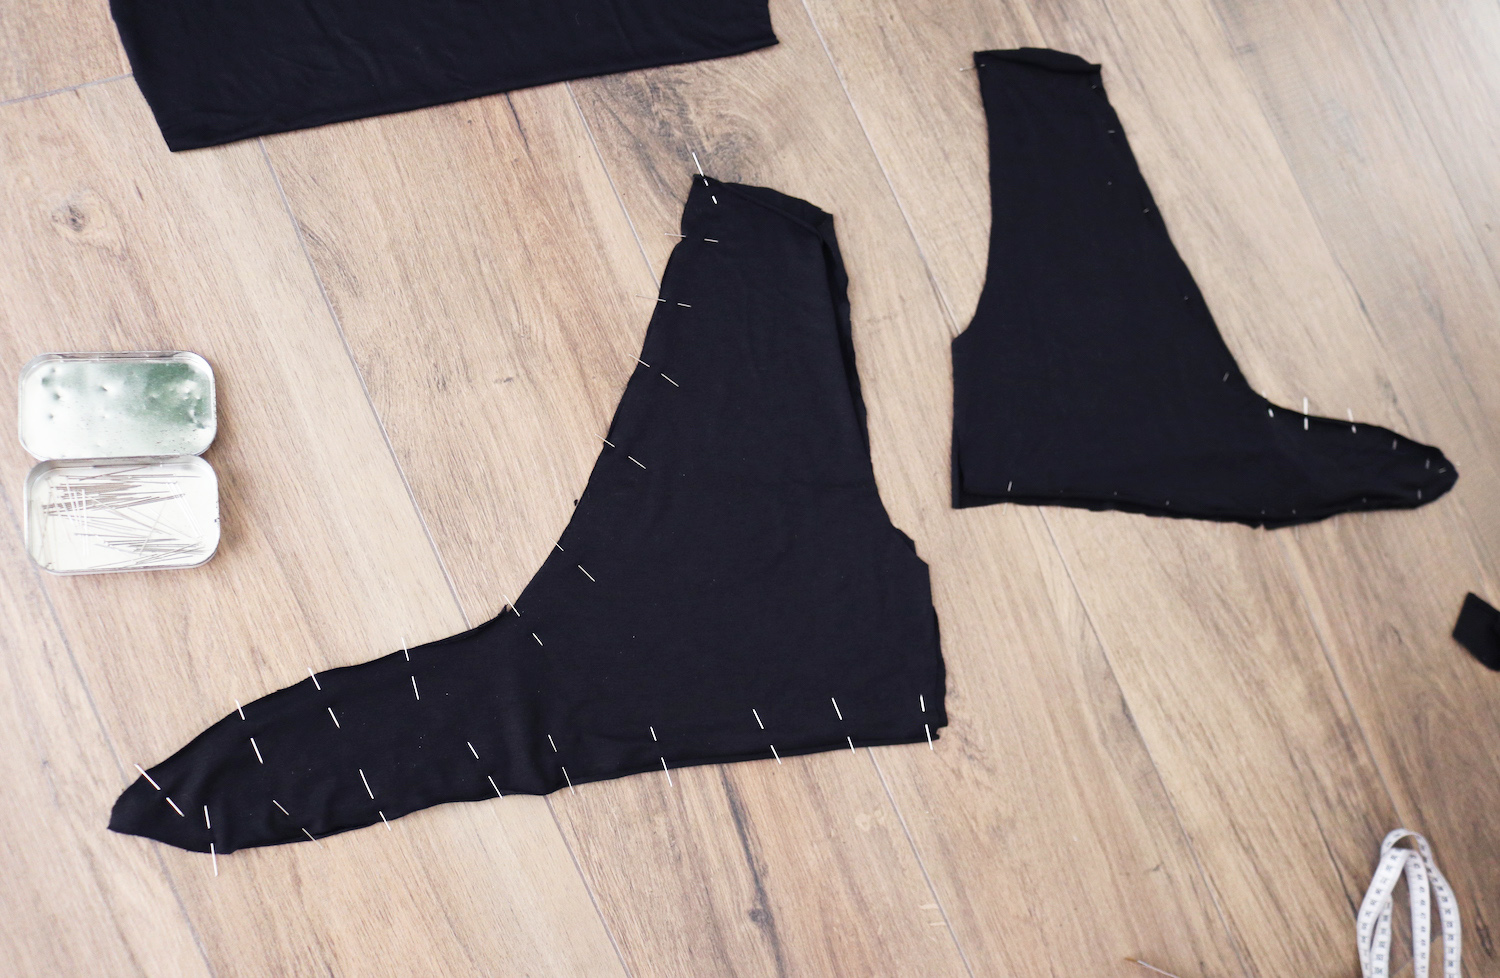
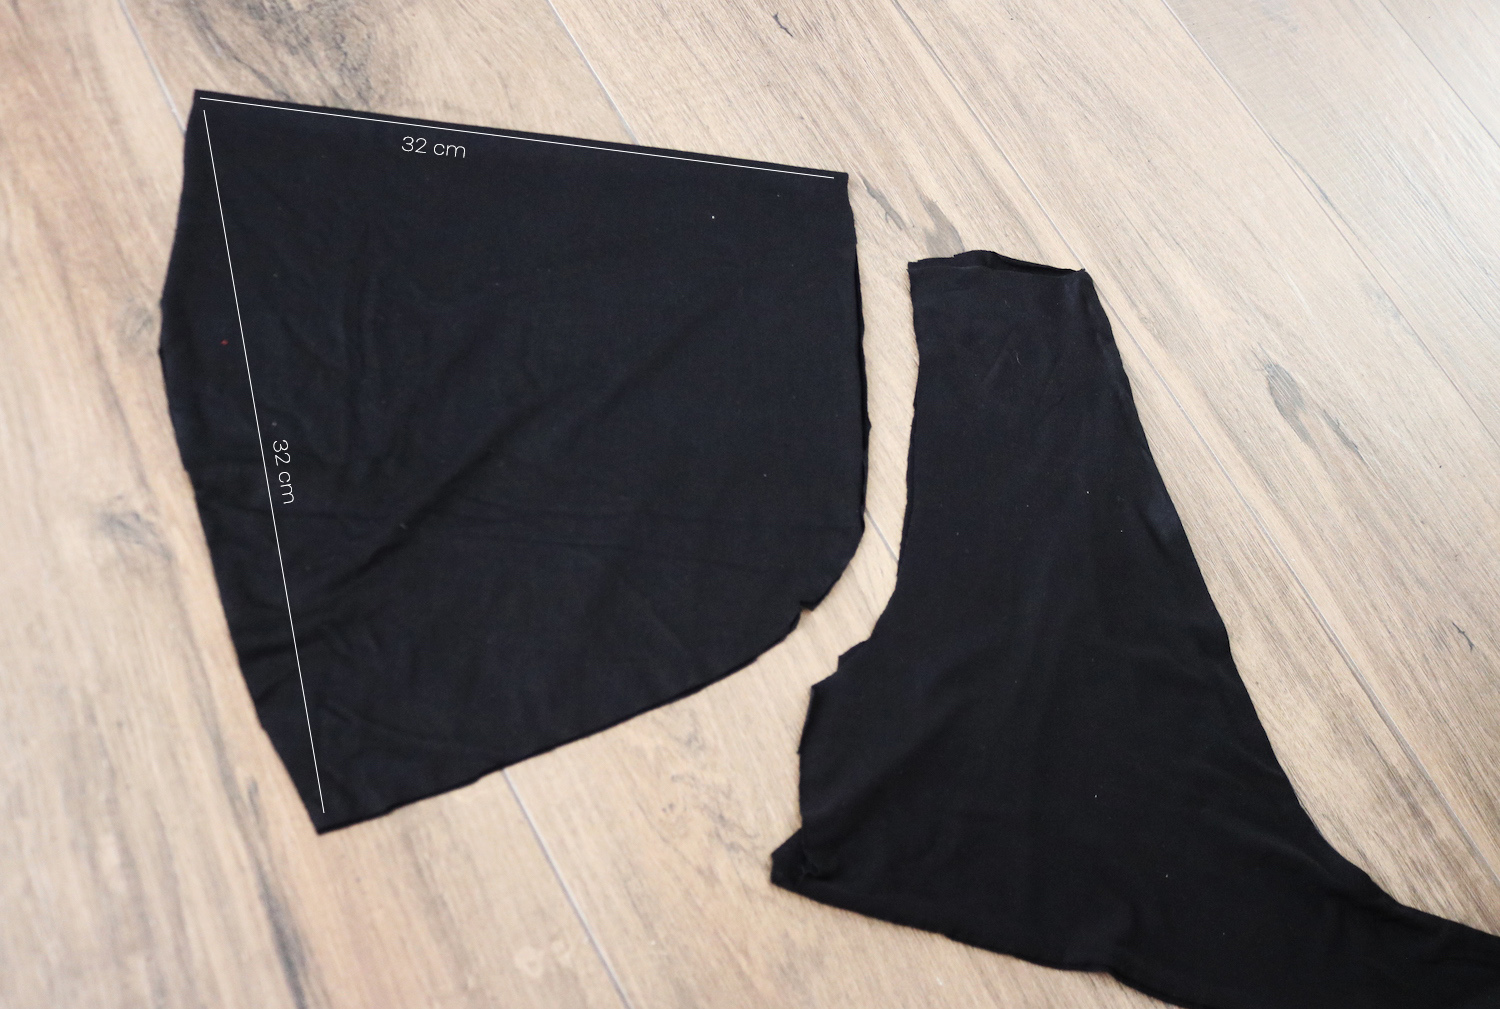
III. Then I used the curve on the front piece to guide cutting the sleeves. Note that the 32 cm edge is the fold.
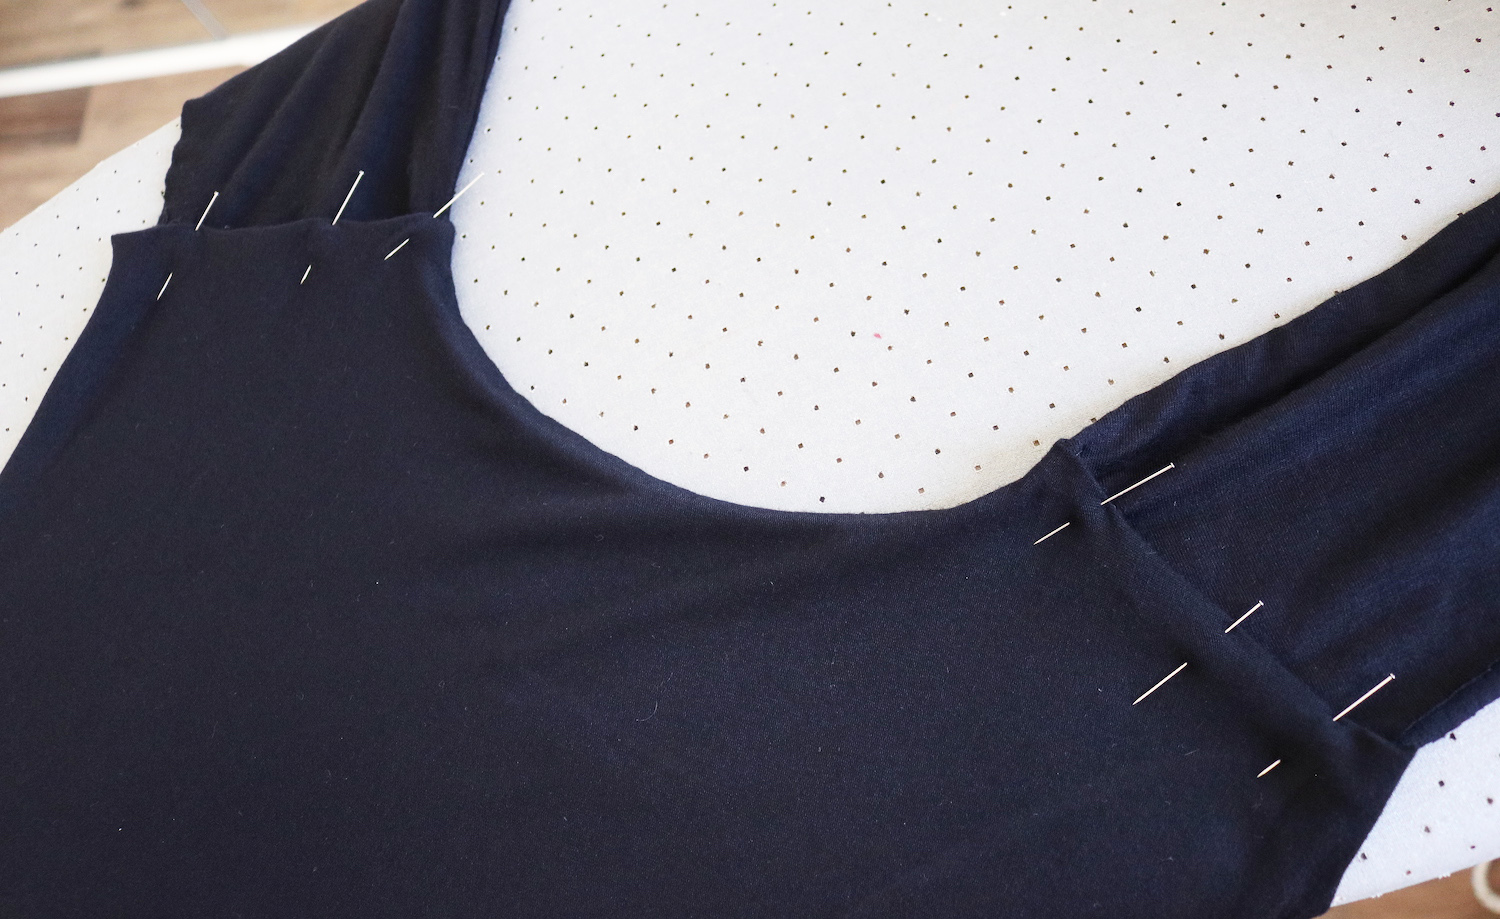
IV. Next the shoulder seams. I pinned and sewed..
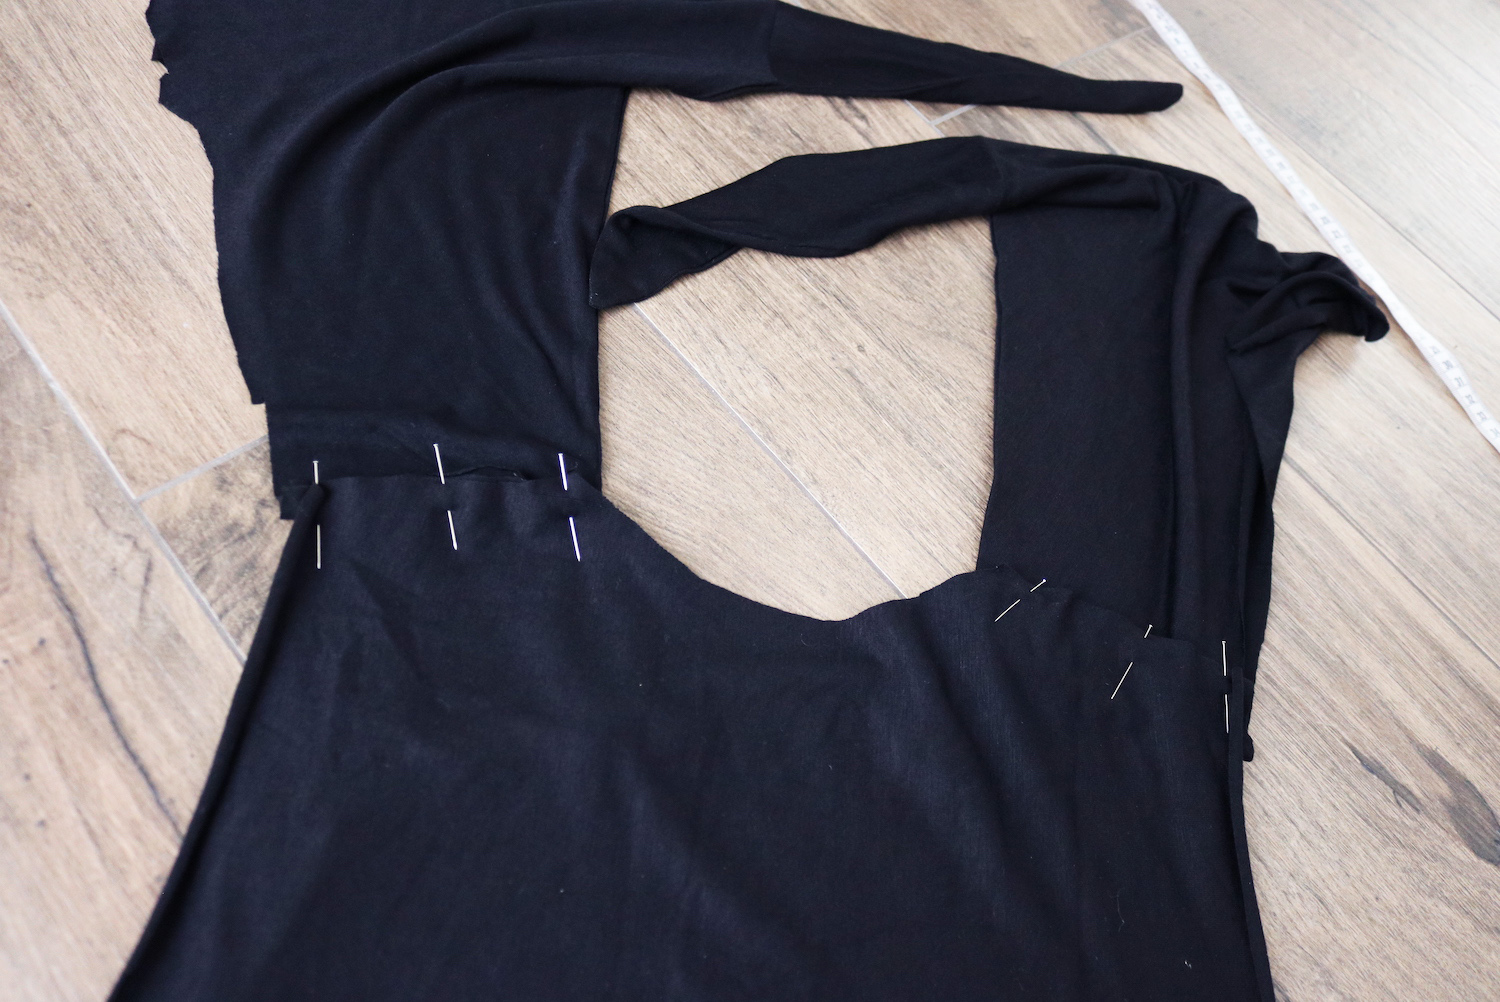
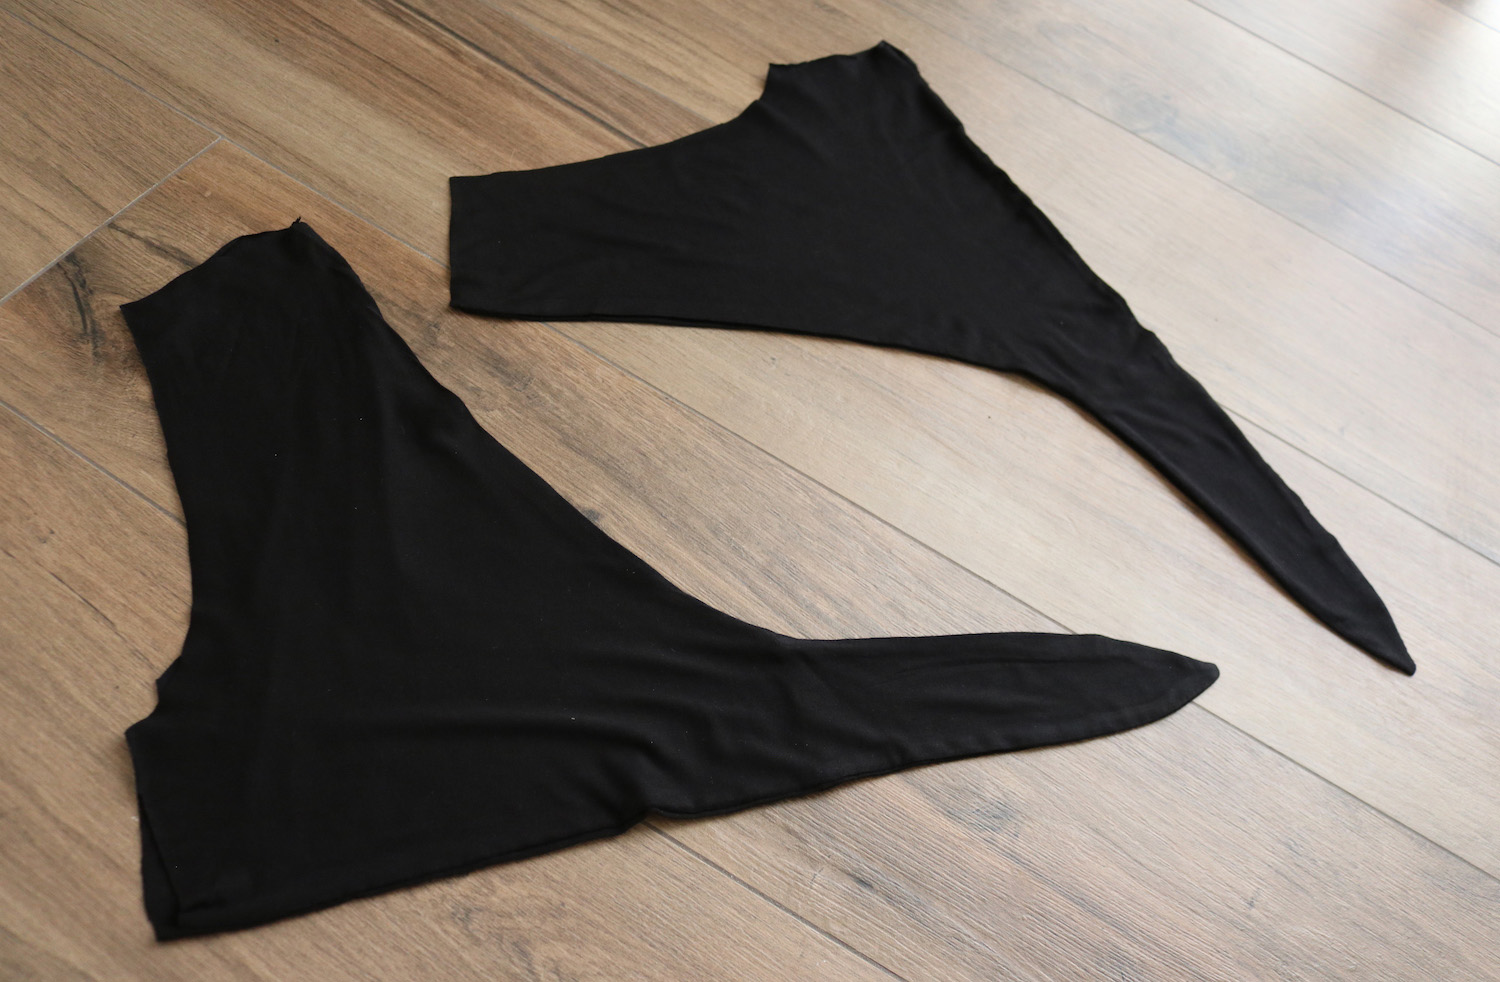
.. Then did a flat-felled seam - cut one seam allowance half shorter than the other, folded the longer one over the shorter one, pinned down, and stitched over - to have a clean seam on right side and reverse.
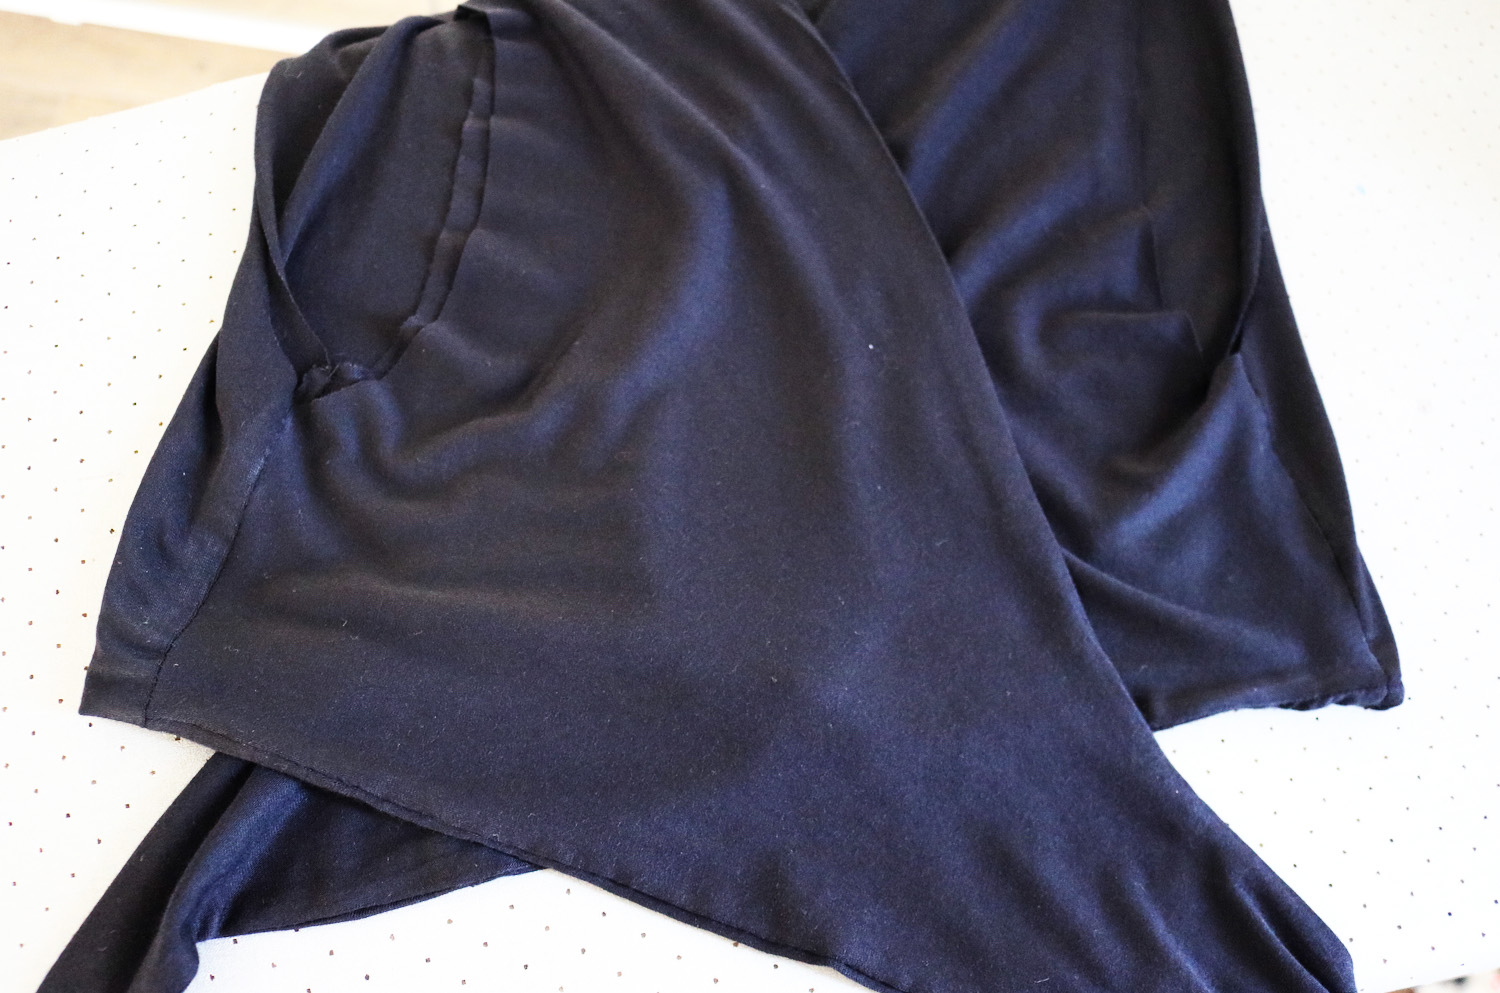
V. This next part was impossible to photograph so it would make sense, but I first sewed the sides on both layers (here's where not having sewed the hem on the front pieces helps), then the hem all around (by pulling the layers through the sleeve opening so I could face right side on right side). It involved a bit of spacial thinking to make sure all seams ended up in between the two layers.
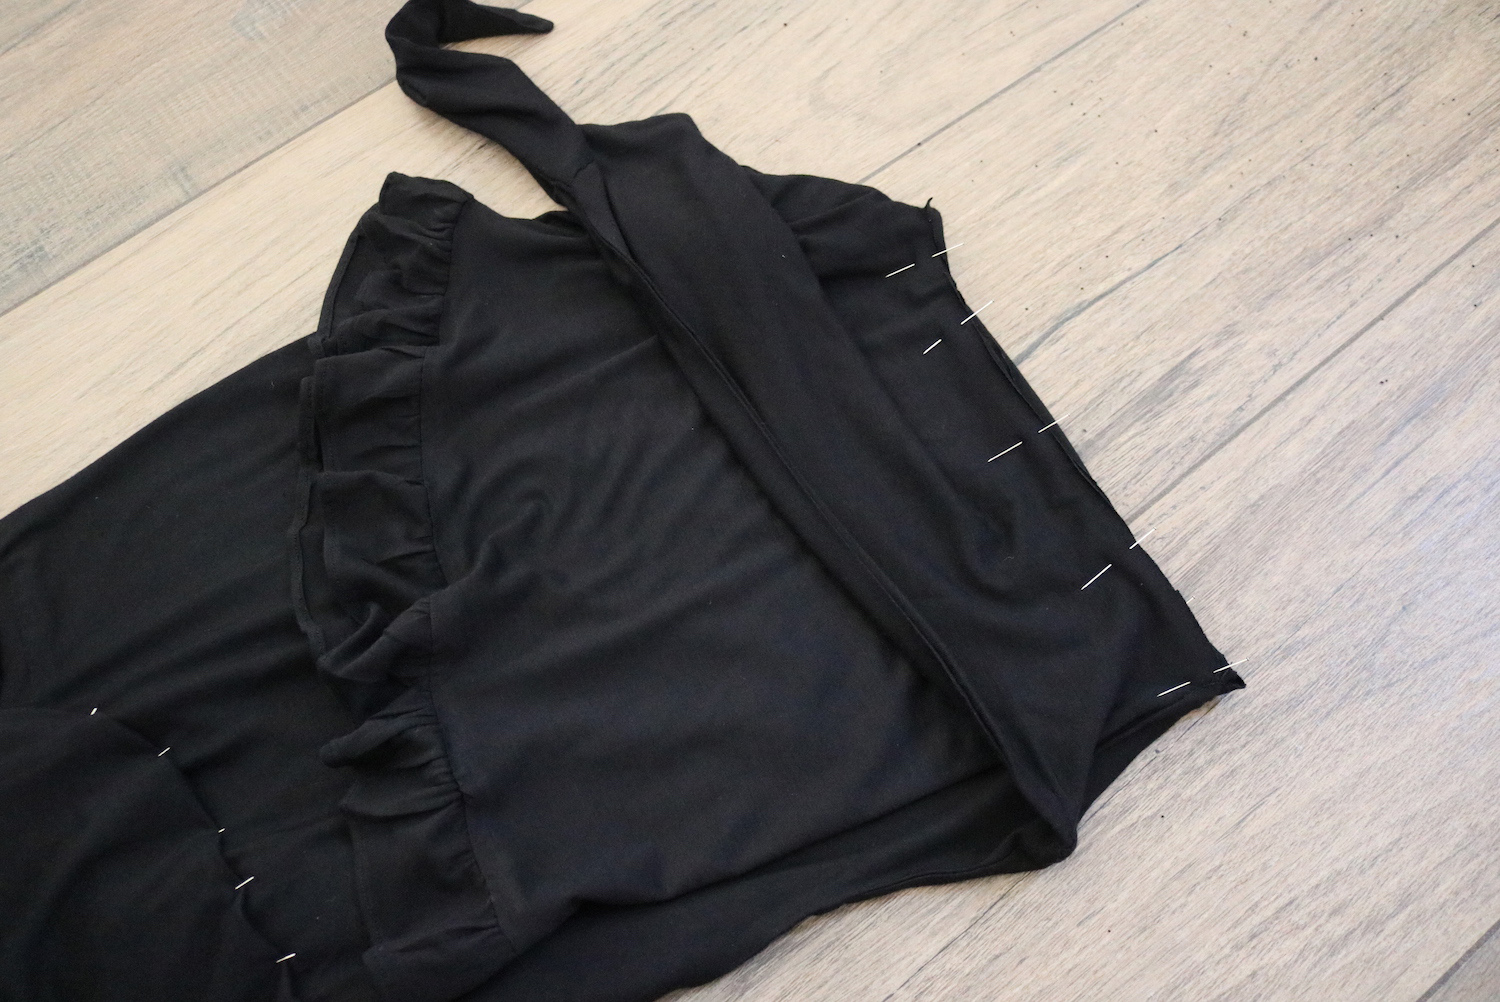
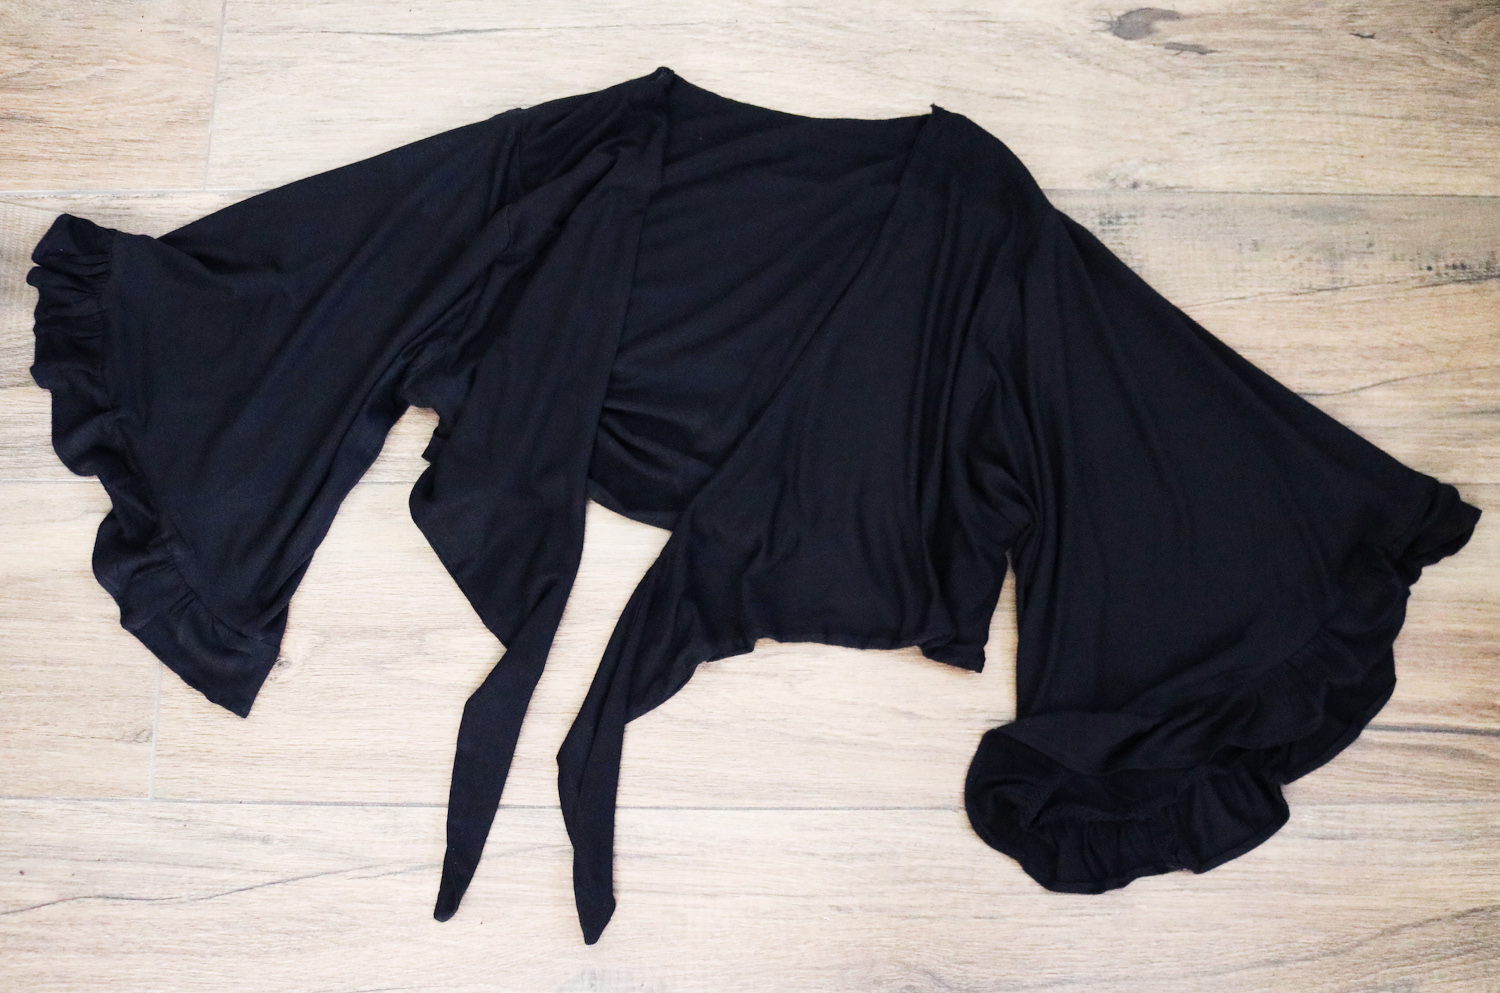
VI. Then took my sleeve piece, did the sleeve under seam. Measured the hem, multiplied by 1.5 and cut a narrow slither of fabric that length, width about 6 cm. Finished one long edge of the piece with a double fold, then added a basting stitch on the other long edge, gathered until the length matched the sleeve hem. Attached the ruffle to the sleeve and sewed the sleeve under seam.

VII. Finally set the sleeve in its place, pinned, and sewed, finishing the raw edge with my serger (or zig-zag).
I don't know why I've been against working with jersey.. so soft, doesn't look cheap like I always thought when put into a garment like this, and definitely not as bad to work with as I've always told myself!
Did I mention it's SUPER soft?


xo,
Julia


CleanFlow news experience where newsavid.com removes unnecessary clutter and focuses on verified information allowing audiences to engage comfortably with daily global updates without distractions or click driven tactics.
ReplyDeleteCleanFlow news experience where NewsAvid removes unnecessary clutter and focuses on verified information allowing audiences to engage comfortably with daily global updates without distractions or click driven tactics.
ReplyDeleteTrusted international reporting channel Newsille ensures balanced coverage across politics business and technology allowing readers to stay informed daily with clarity reliability and confidence while steering clear of sensationalism misleading headlines and digital clutter.
ReplyDelete