

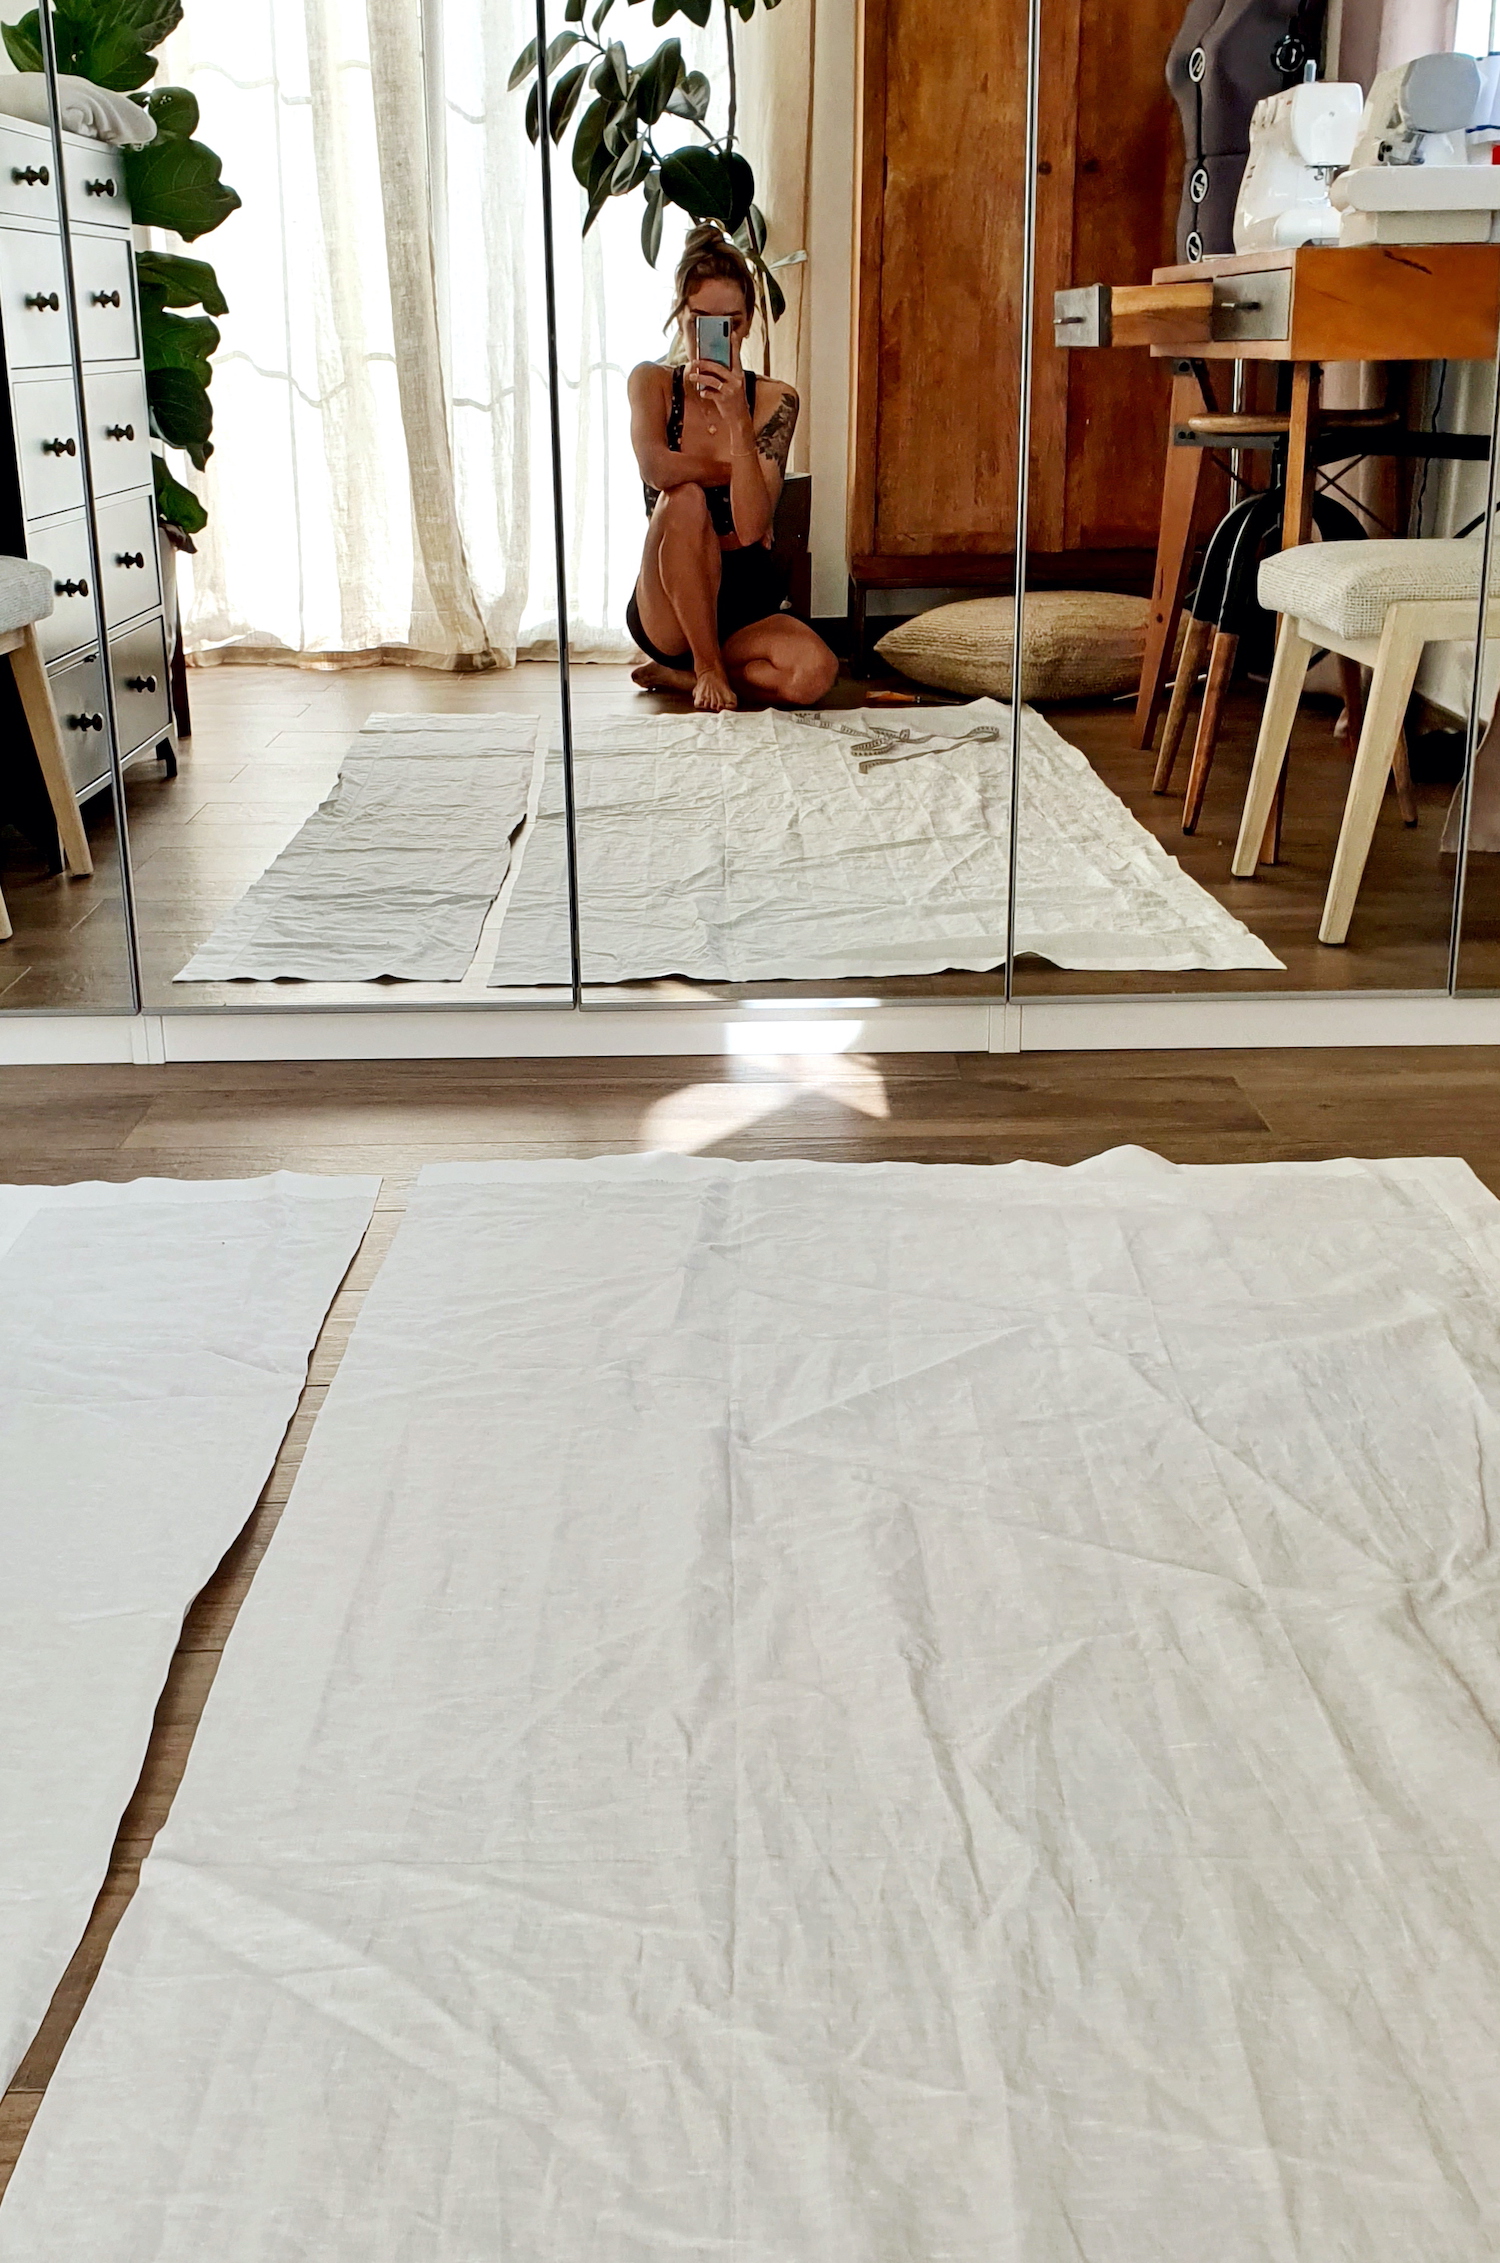
In accordance with my new year's resolution, focusing on acquiring new fabric primarily second hand. And this may be a stretch, but I believe the IKEA as-is section meets the criteria..? I first thought this was a flat sheet:
Tutorials take a lot of time & effort to create, and I choose to make mine available for free. If you enjoy this guide, you can support me with a donation that feels right for you, here.
TOOLS:
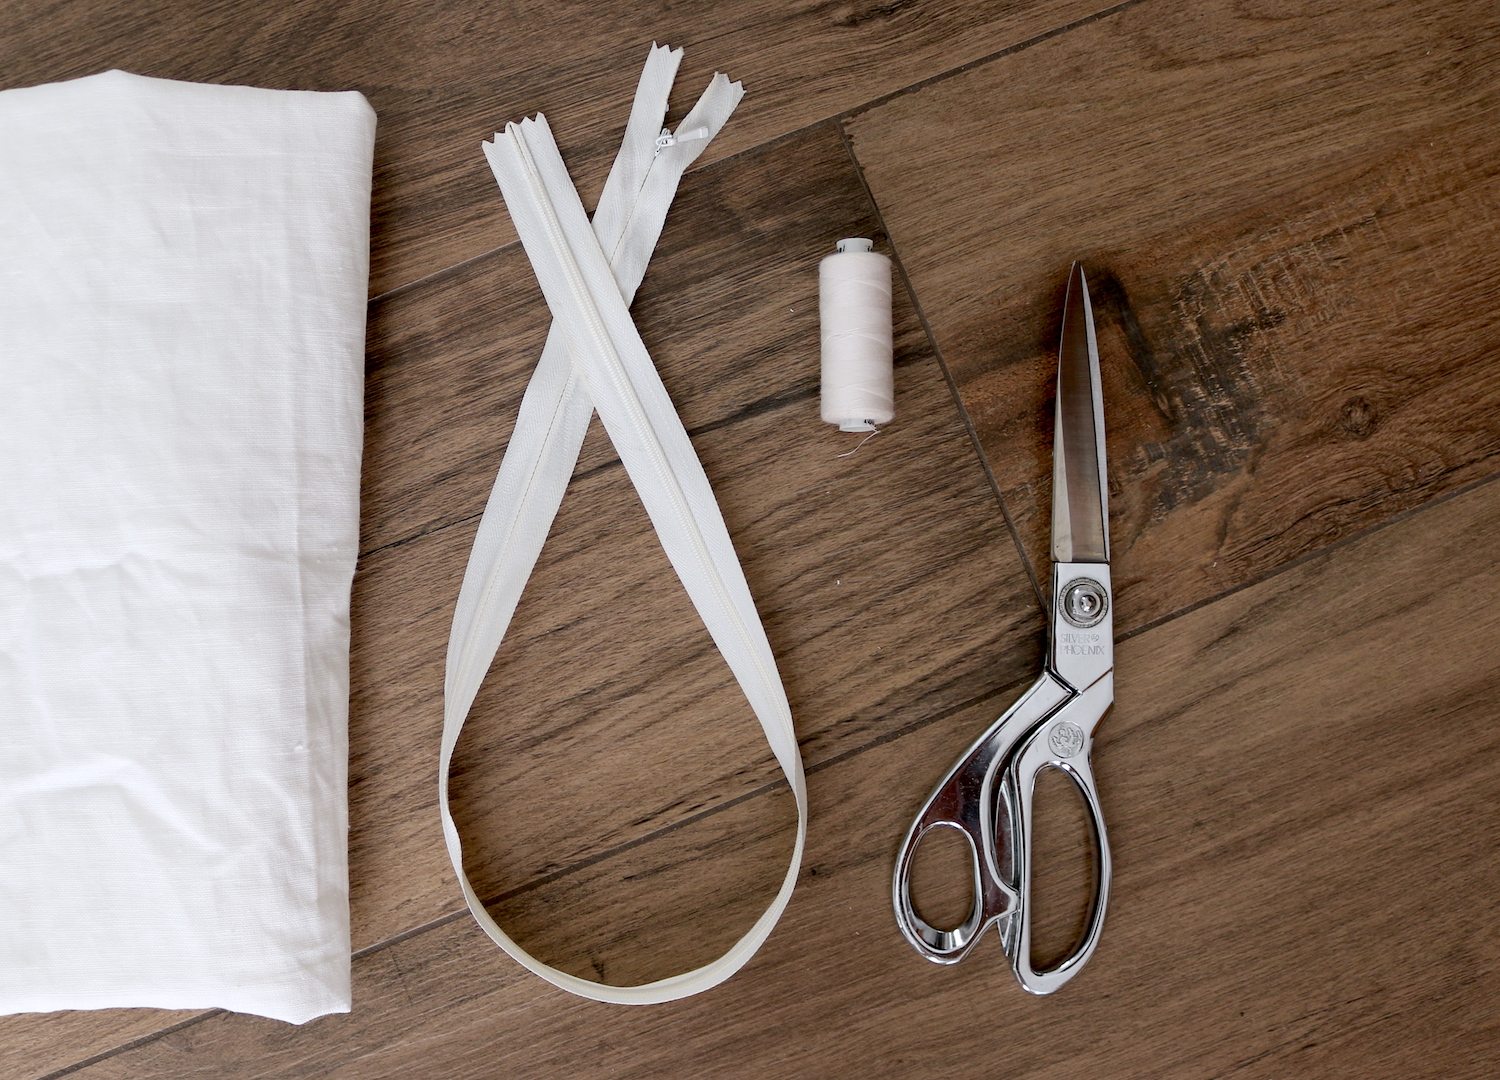
Linen or cotton/linen mix, the tablecloth I used was 145 cm x 220 cm and I had some leftover | Scissors | Pins | Long invisible zipper | Thread & sewing machine
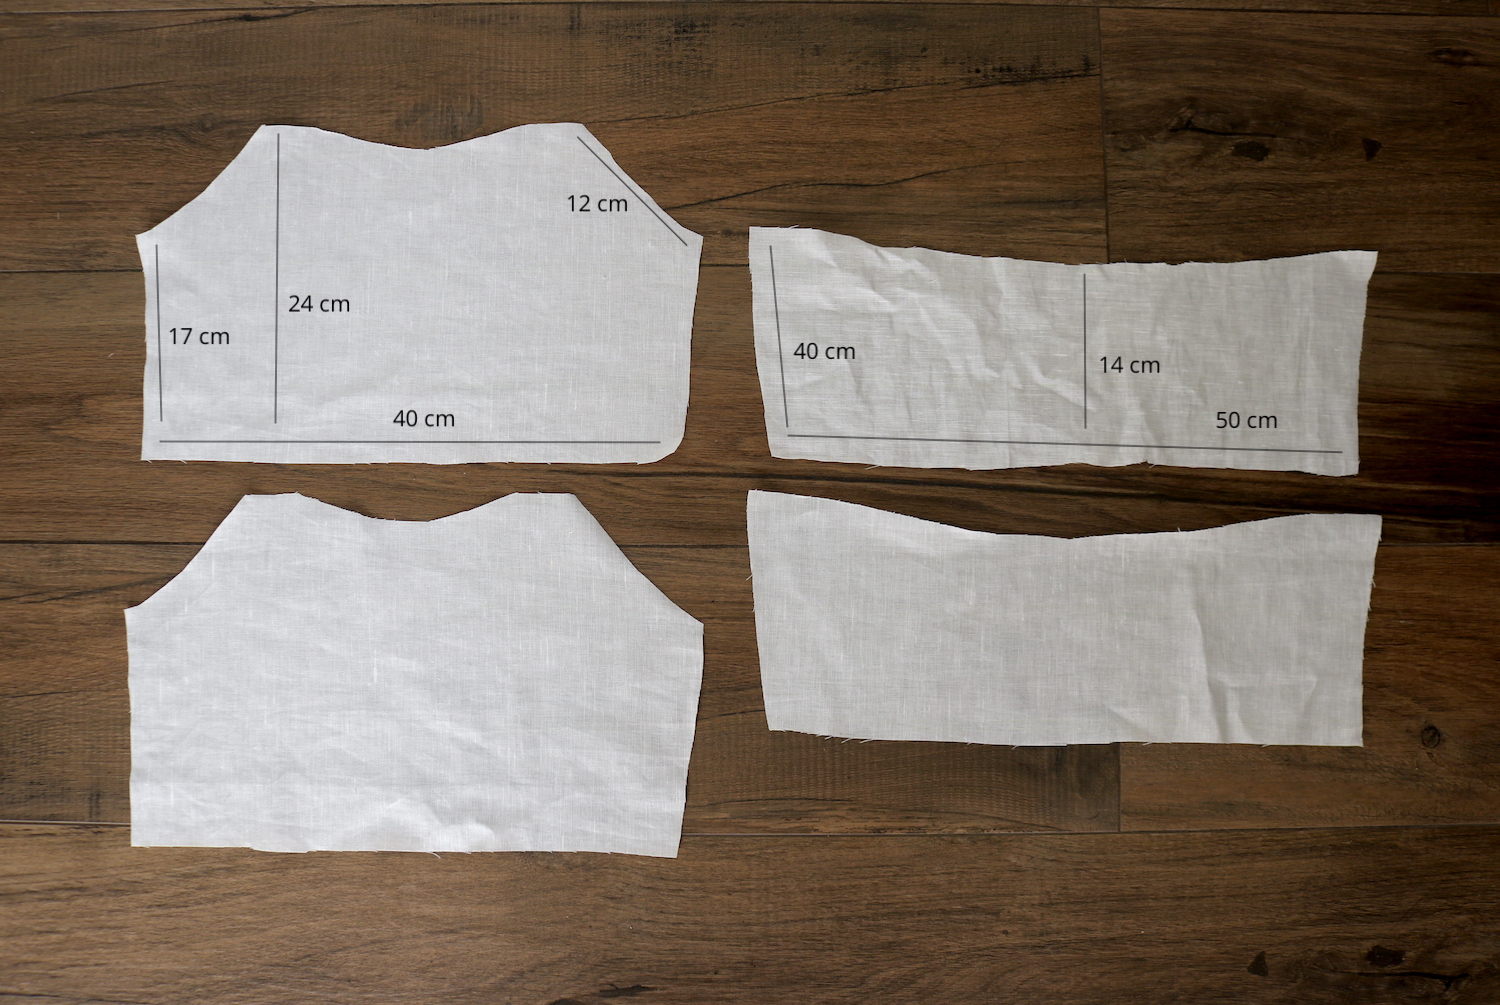
I. After doing some math these were my skirt pieces.

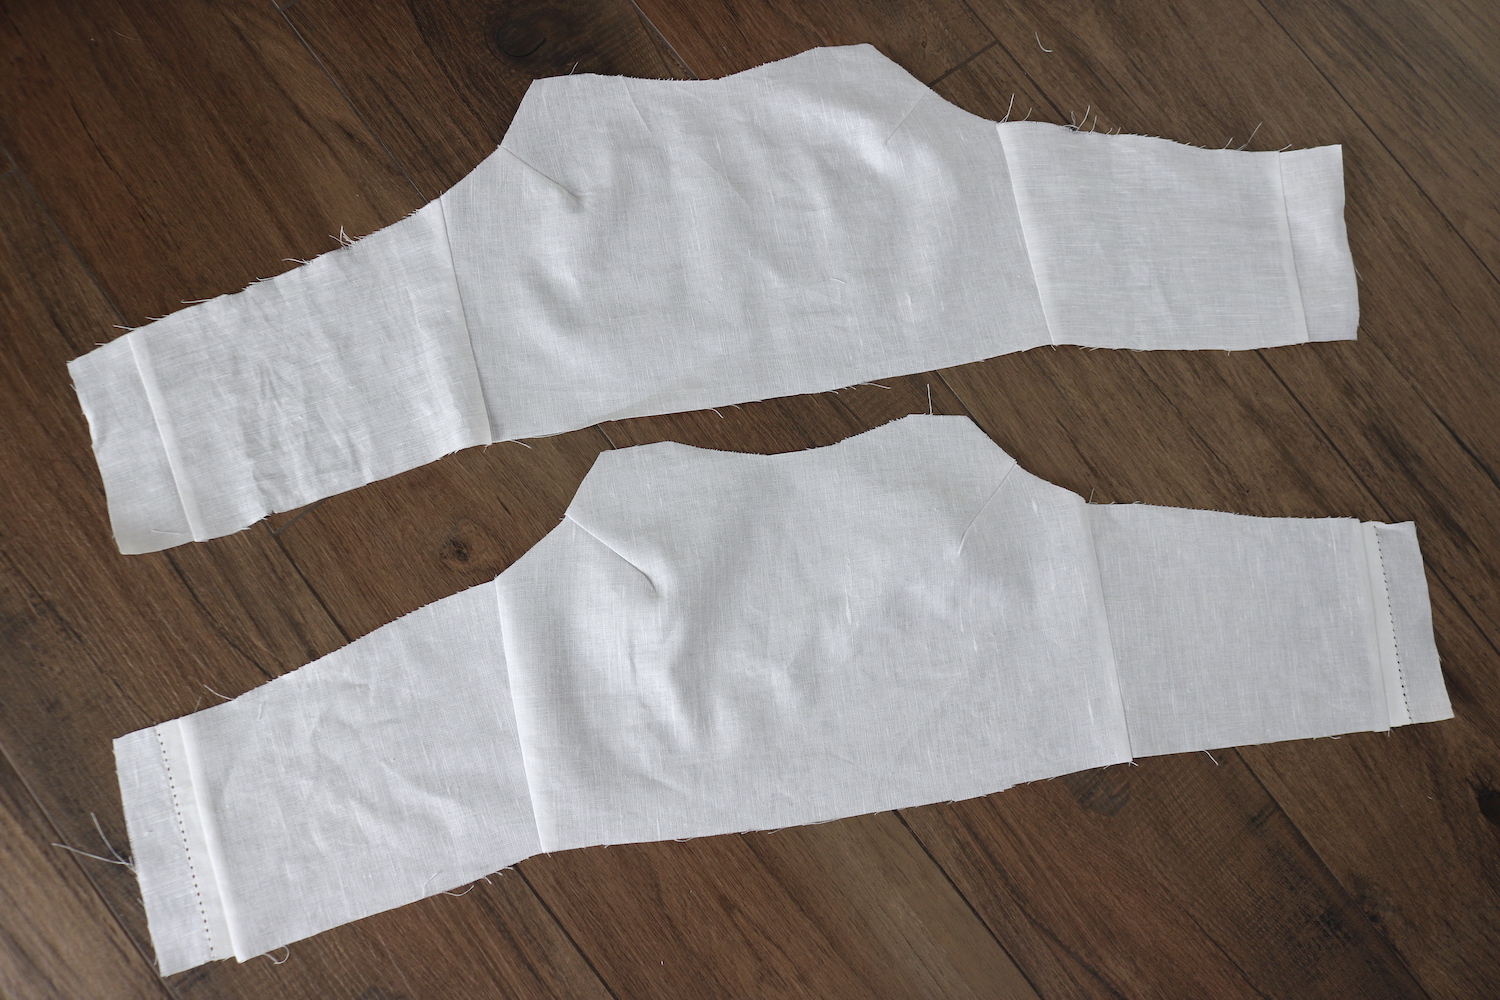
II. And for the top (which I did lined):
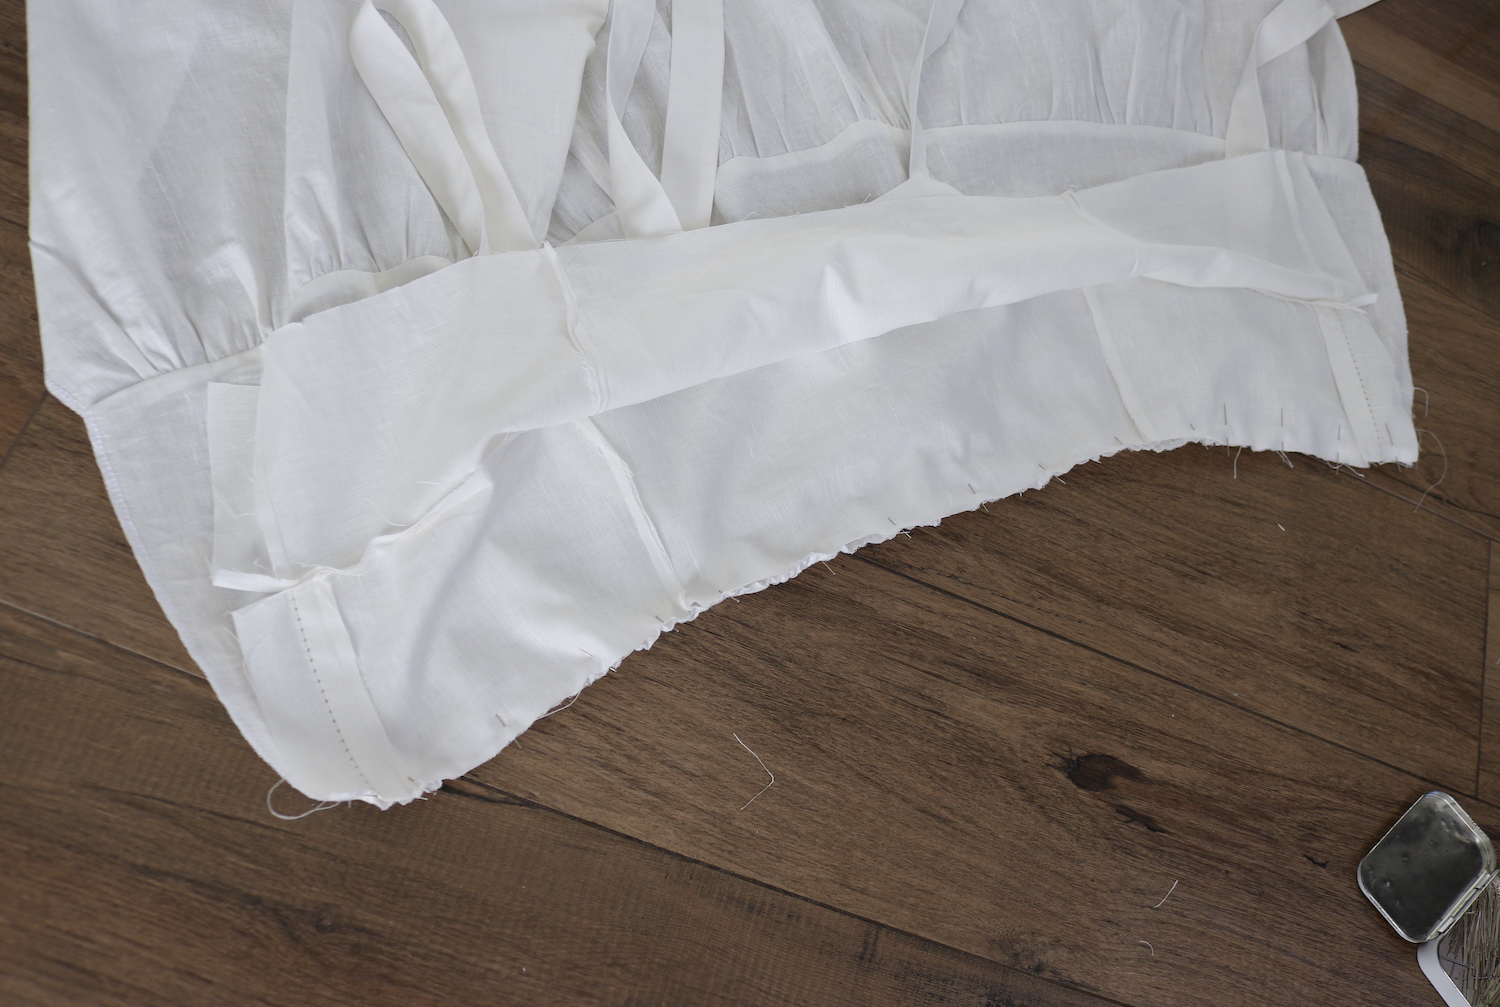
III. First I finished the edges of all my skirt pieces with my serger (or a zig-zag), and added a basting stitch (longest stitch on your machine) to one long edge of each. Gathered each piece by pulling the bobbin thread until it matched the length of the piece above:
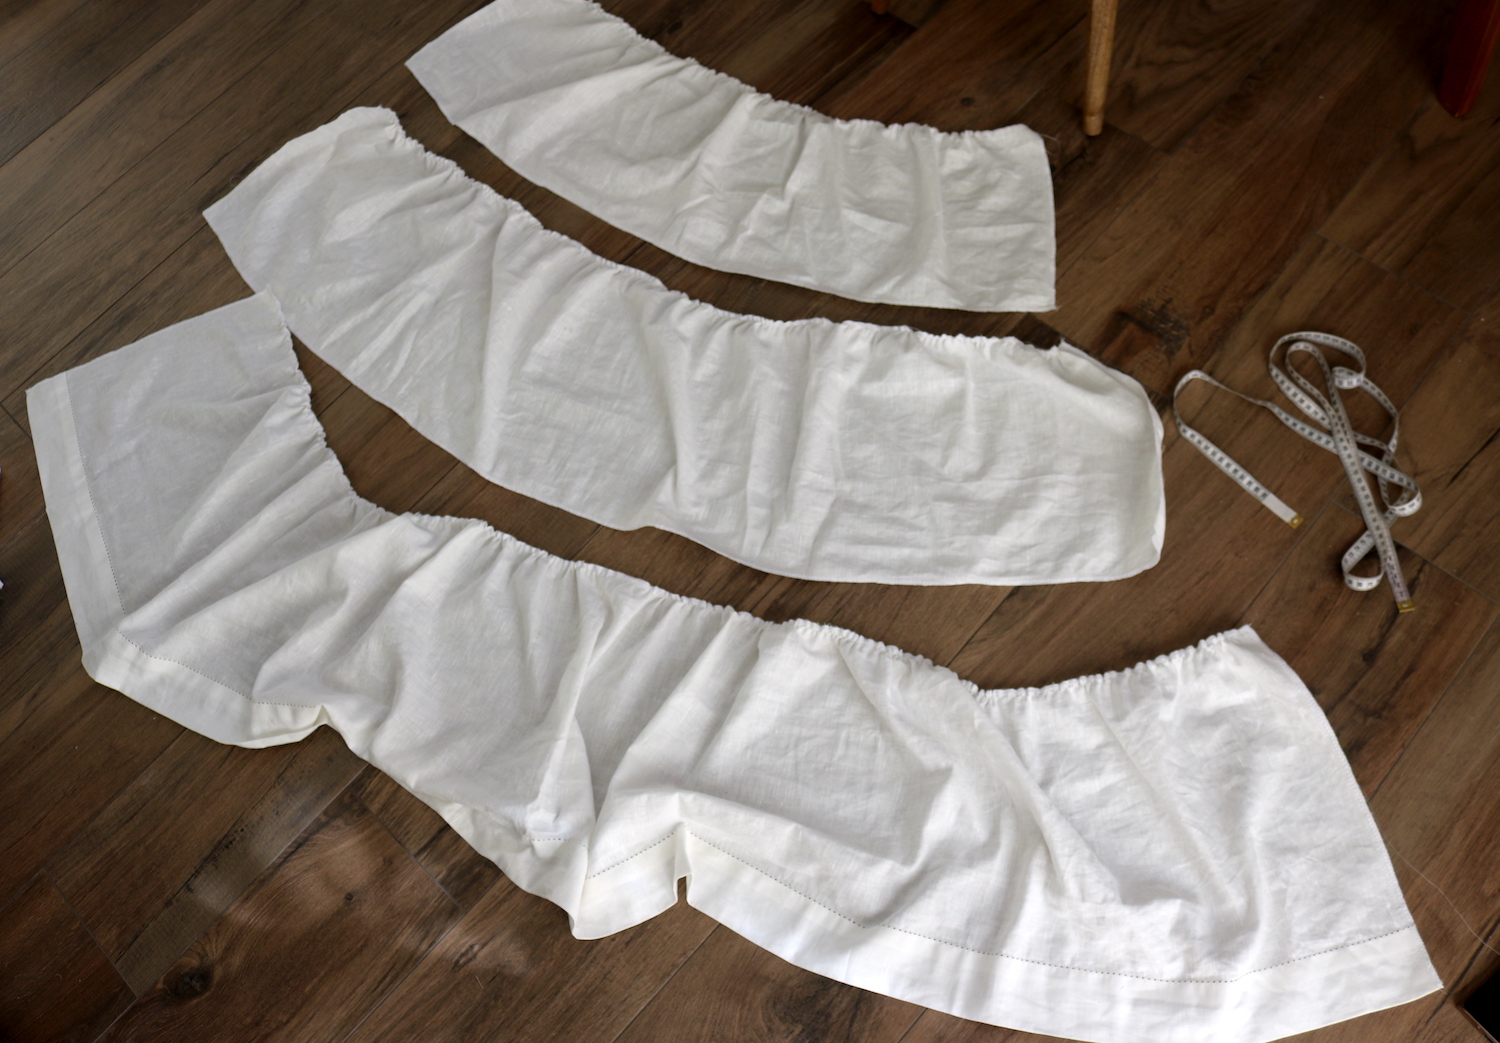
.. And pinned them together to sew. That's the skirt done.

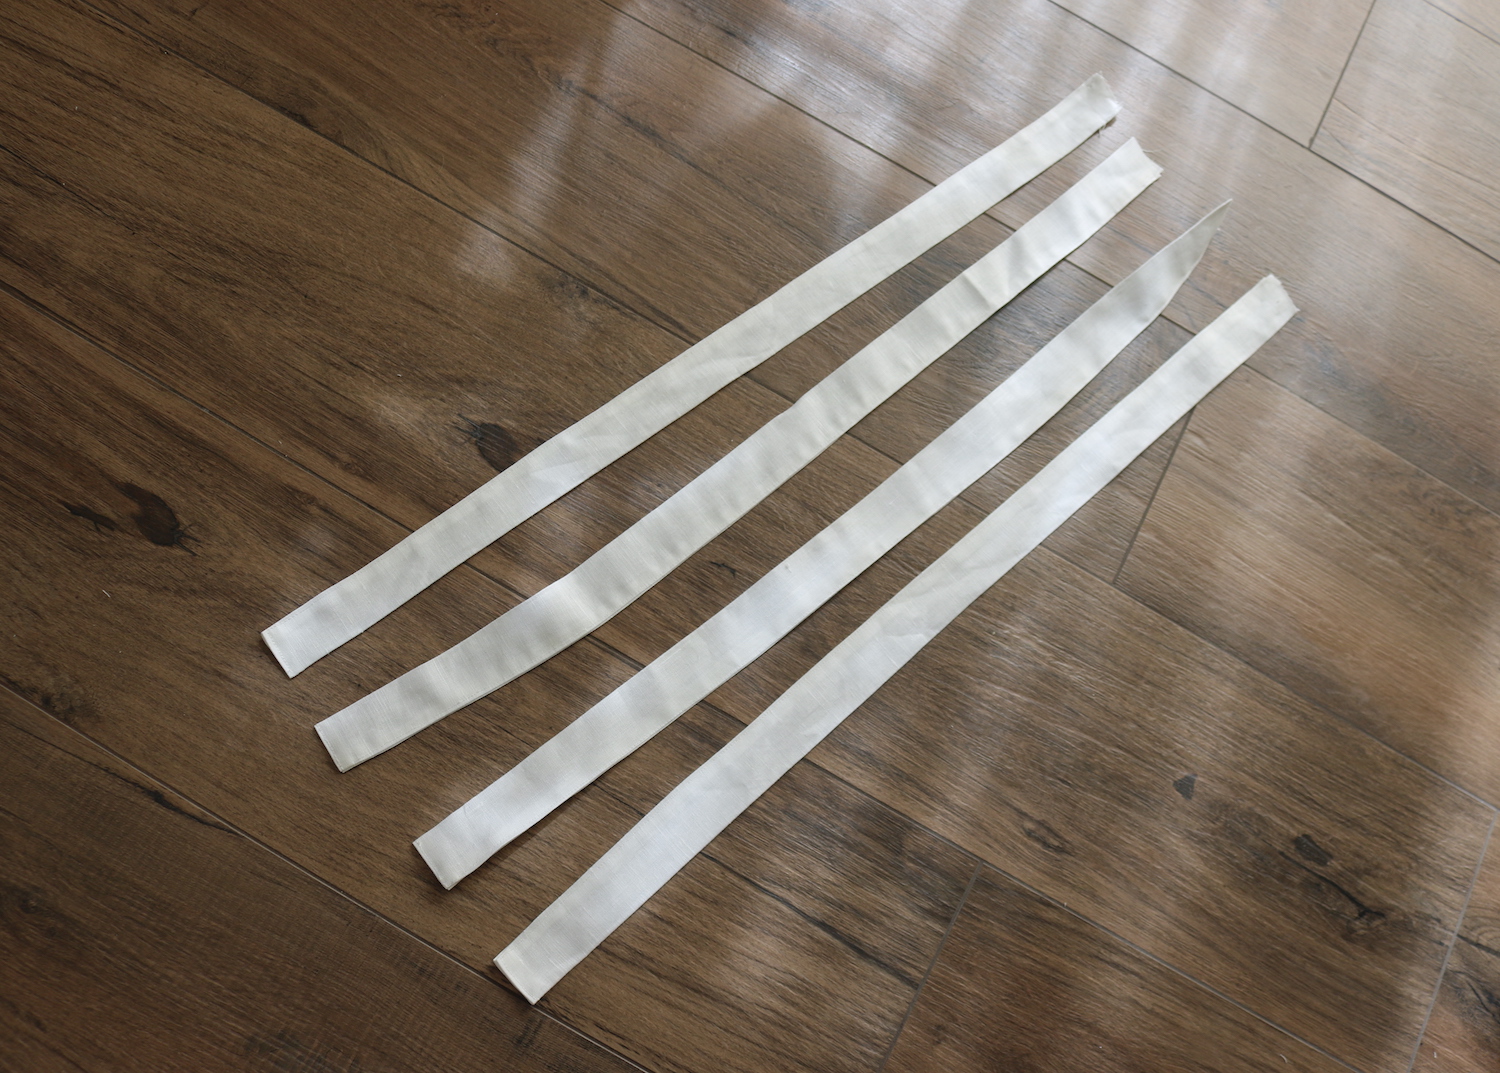
IV. Then I made 4 straps, about 3 cm wide and 70 cm long each.
V. Then I cut the back top pieces in half and sewed them to the front pieces. I also wanted to use the nice trim from the edge of the table cloth some more, so I cut a bit off the back pieces and put in little extensions - on the right side piece I used the bit with the lace-look detailing.
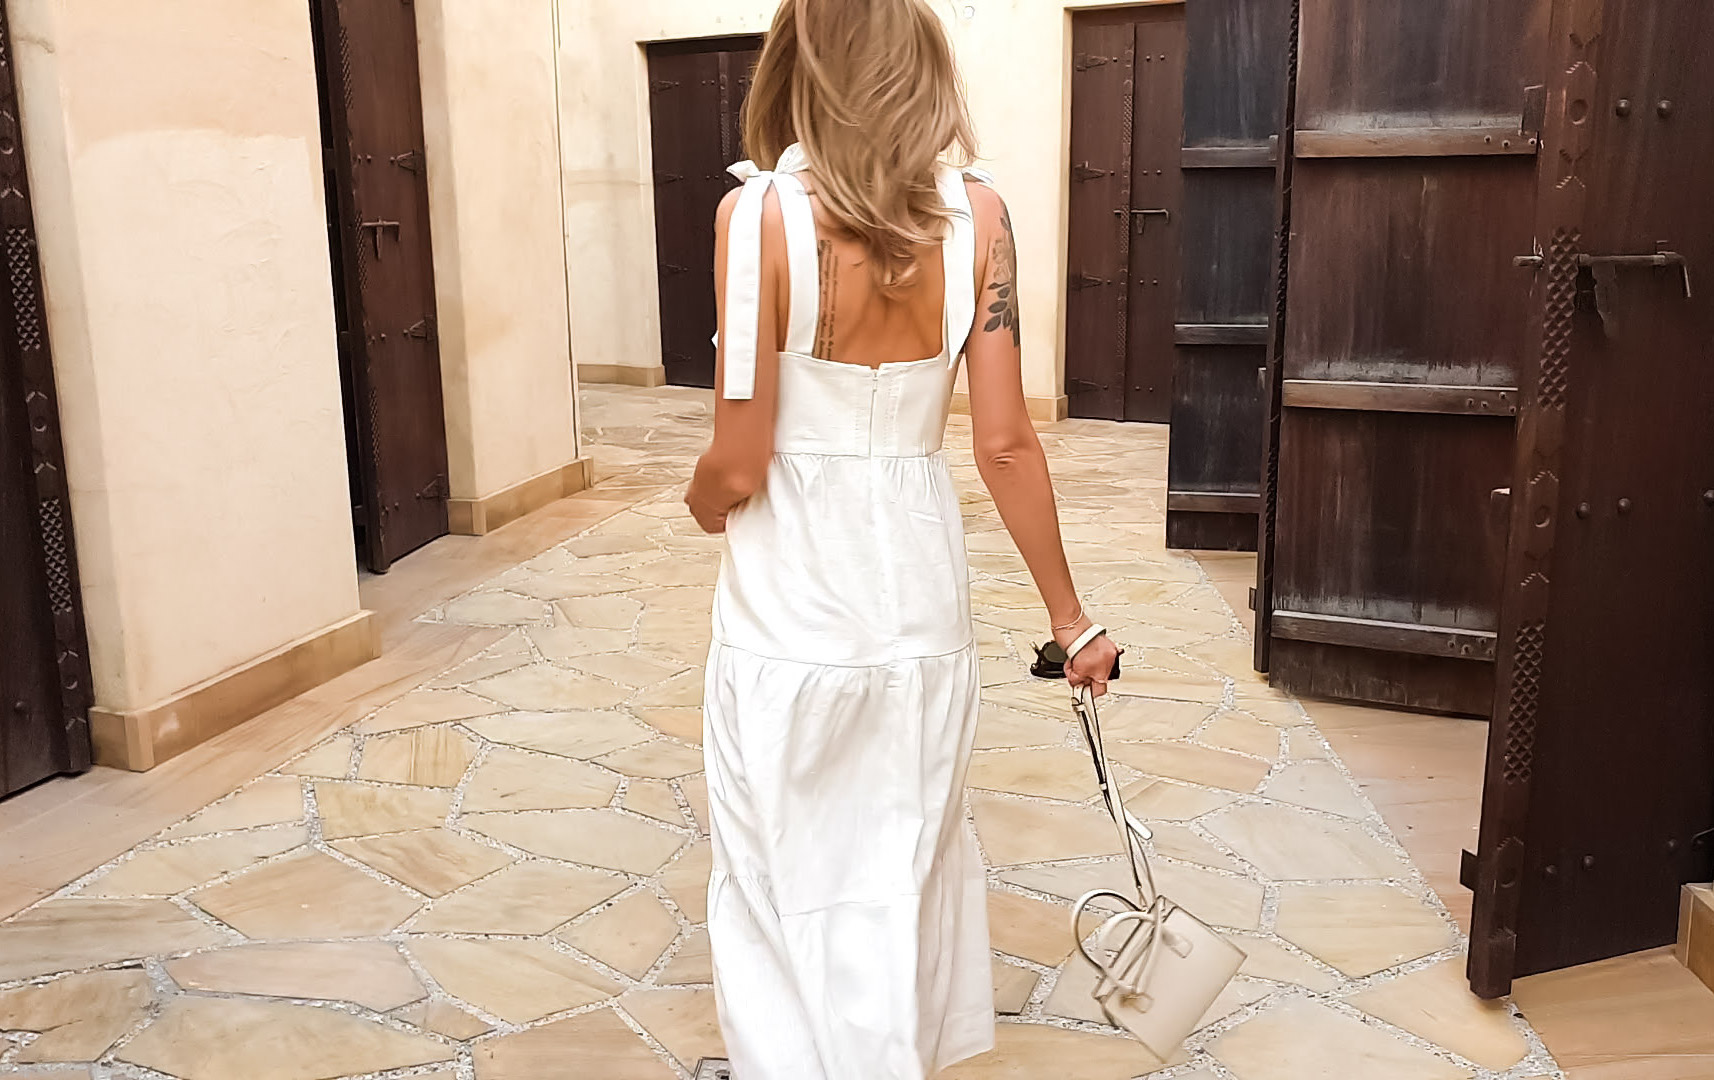
VI. Then pinned the straps in their spots, and the two layers together, rights ides facing, the straps in between, and sewed along the top edge BUT..
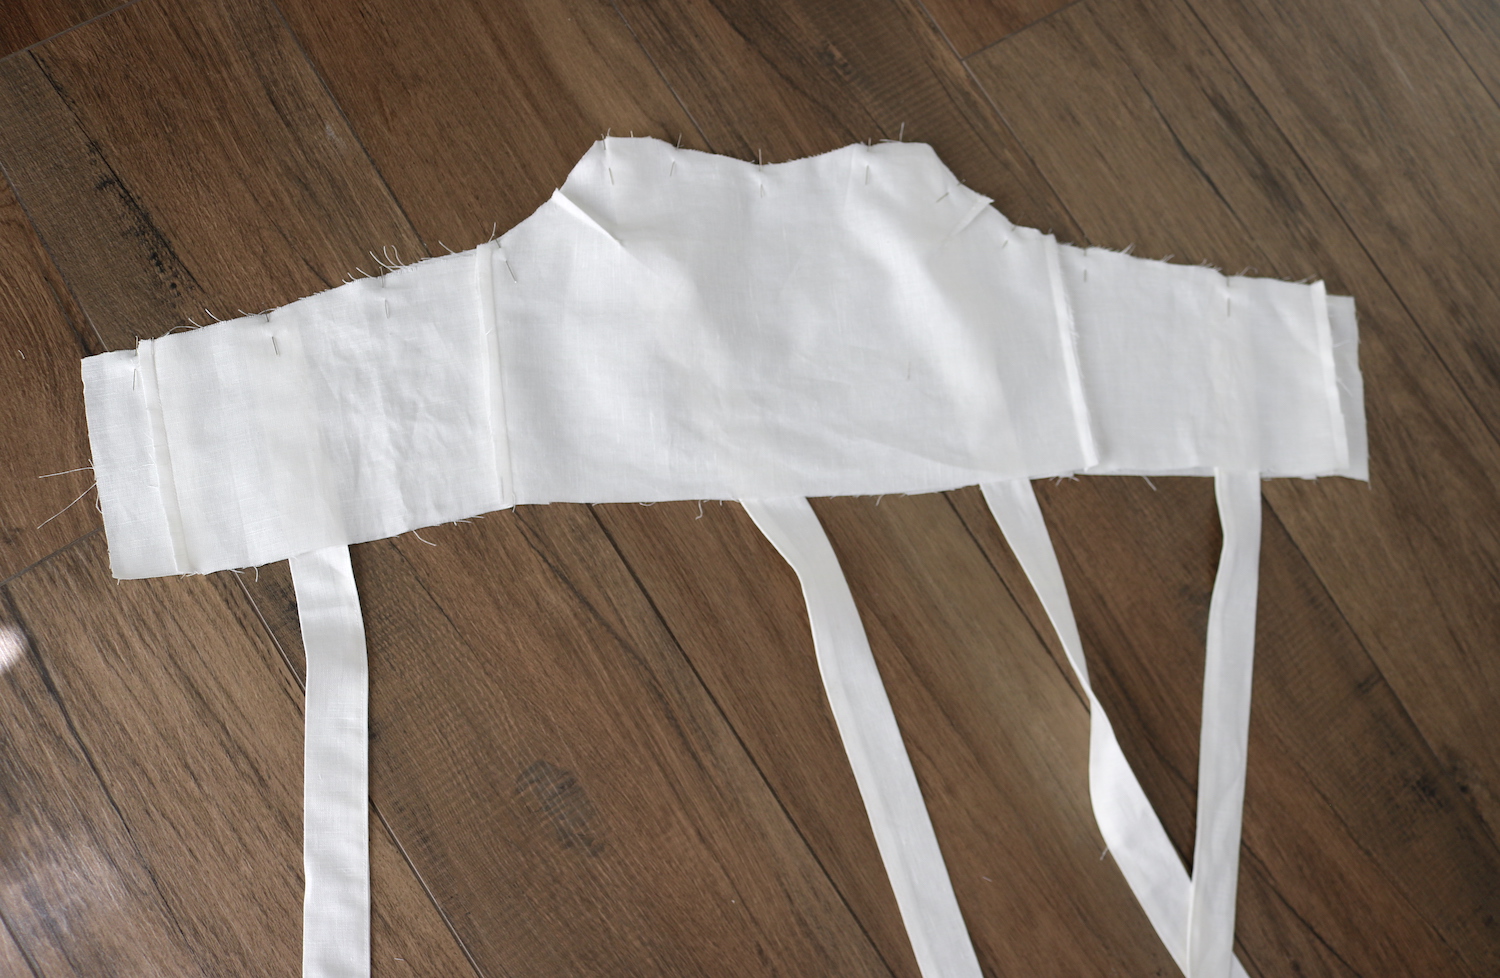
.. Stopped the stitch about 4 cm before the end (this makes zipper installation easier). Turned right side out and pressed.
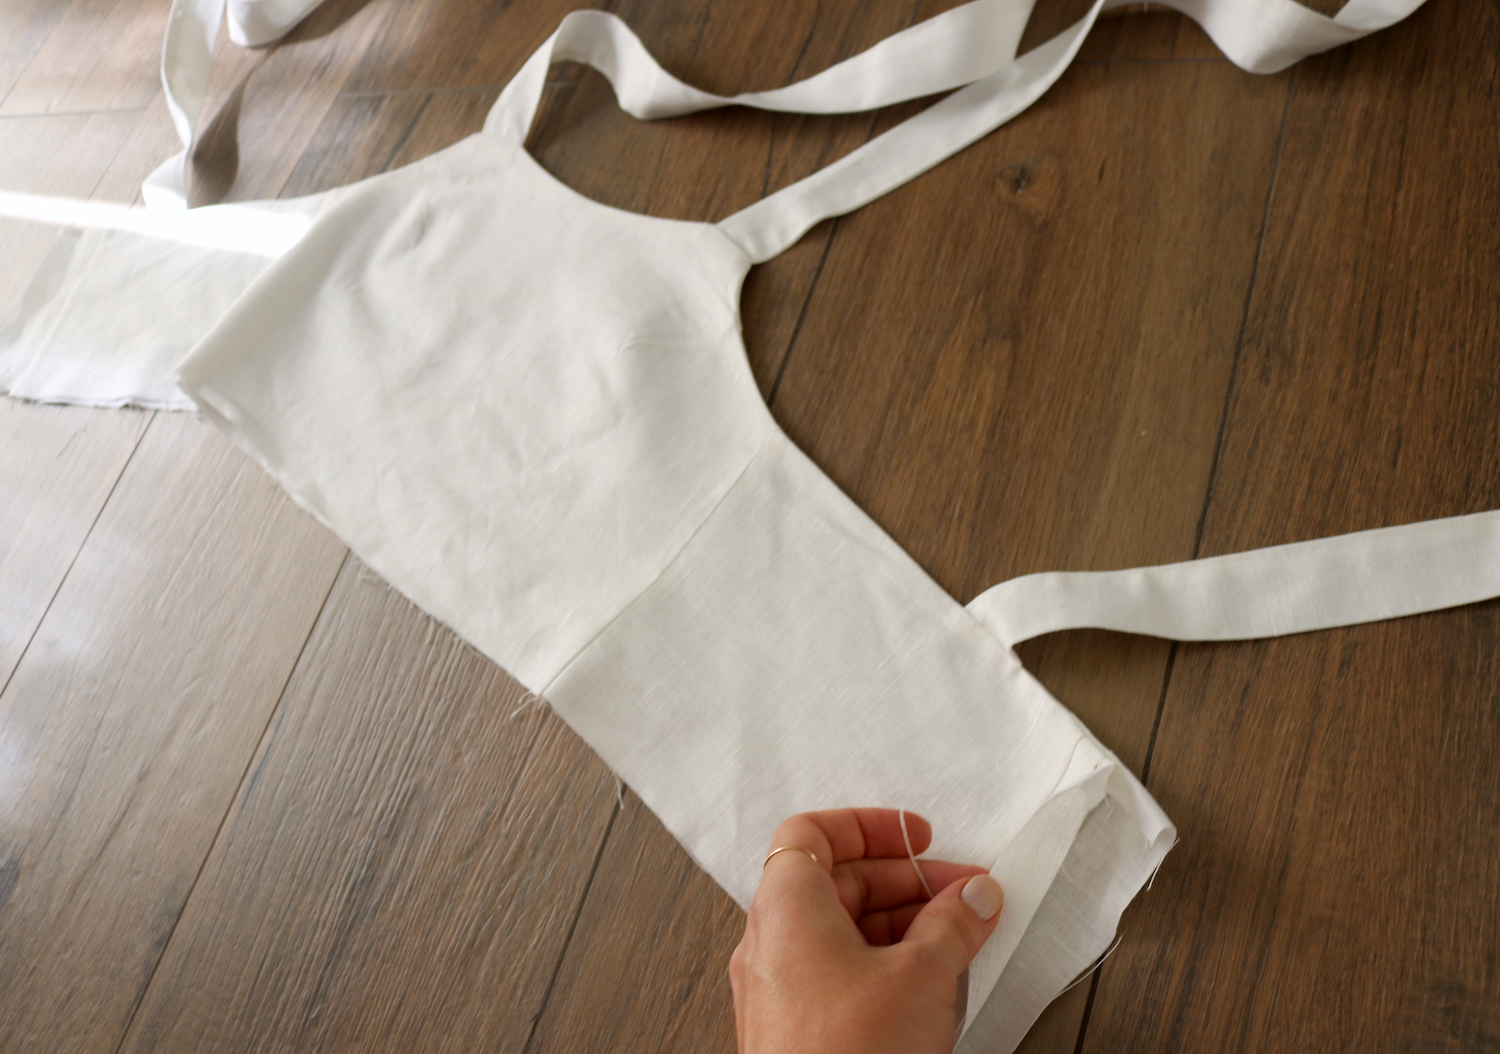
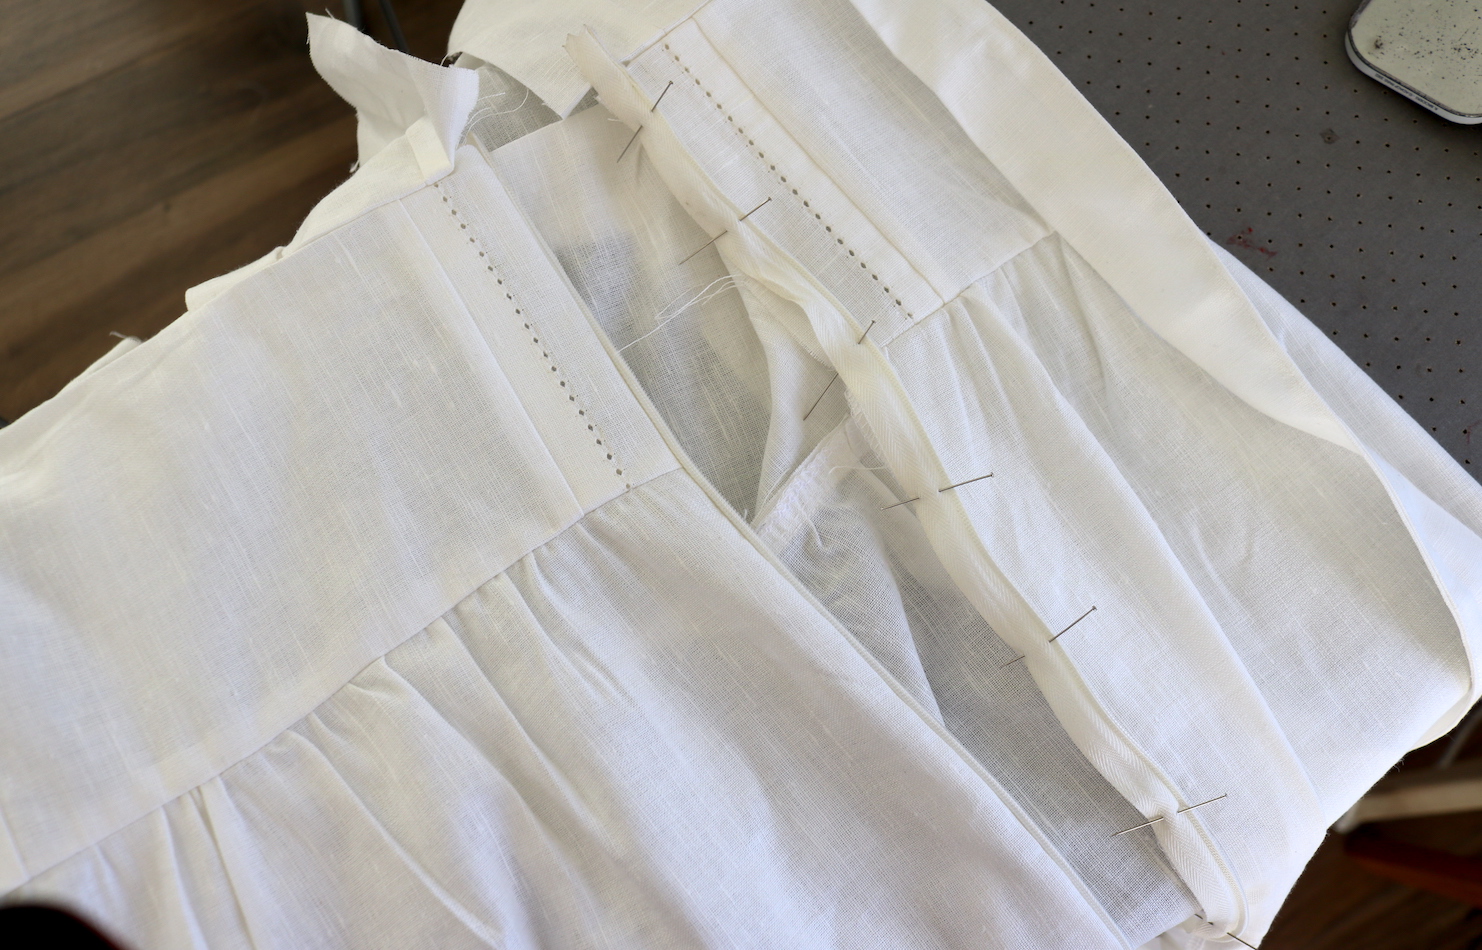
VII. Next I pinned the right side of the top to right side of skirt, and attached them together.
VIII. Then it was zipper time. Pinned my invisible zip on the right side (you can see how the lining is out of the way and not dealt with yet):
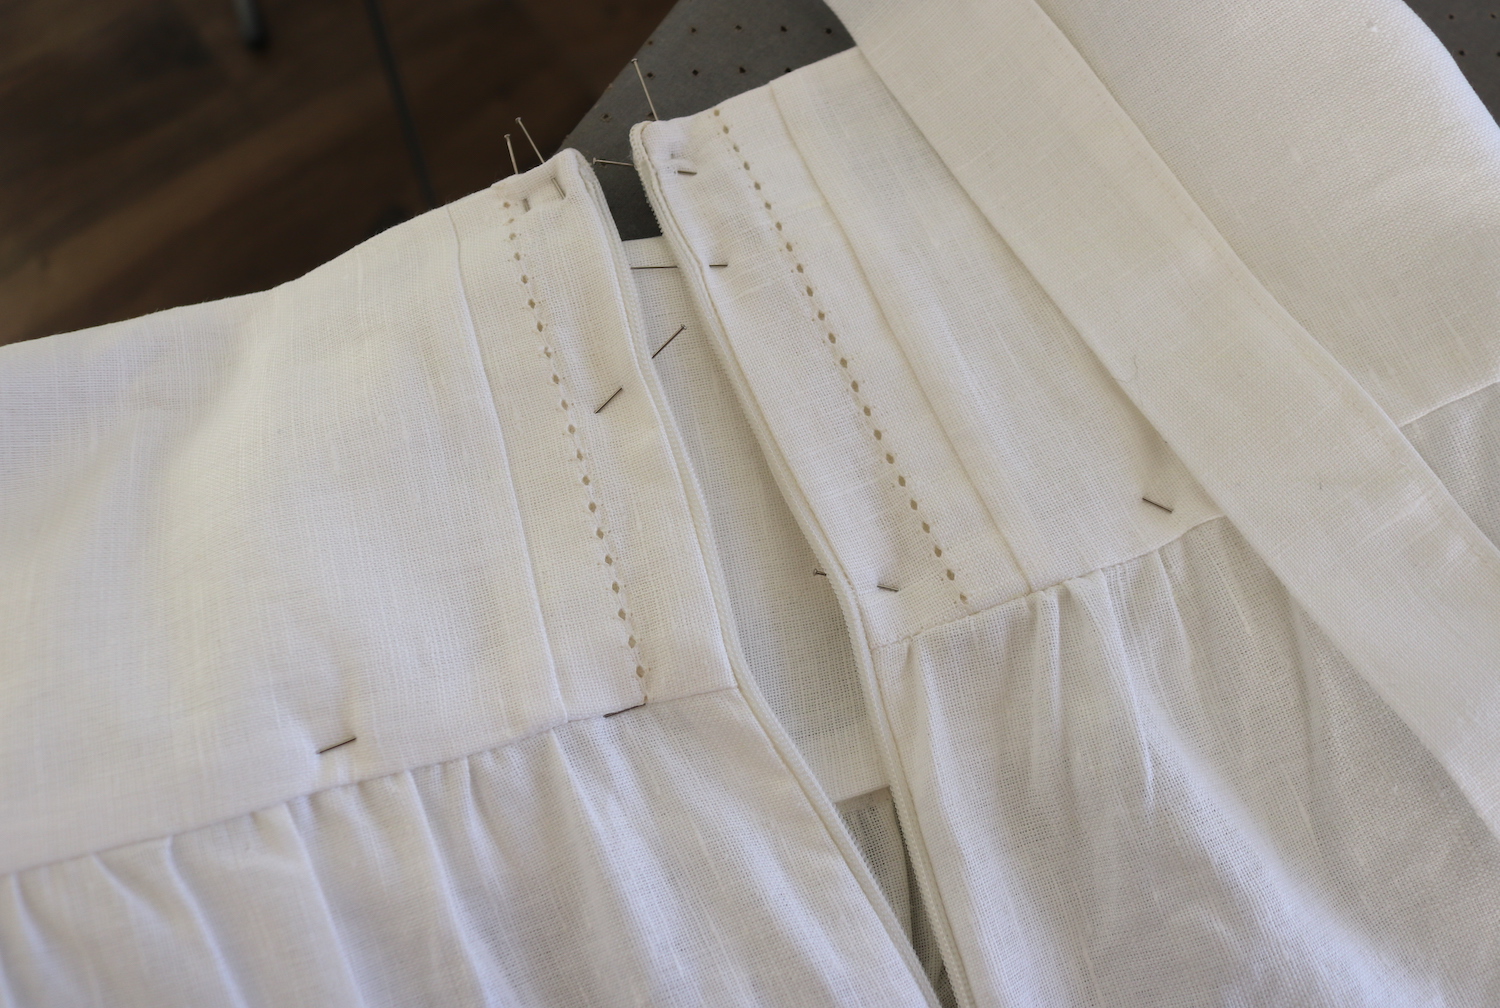
IX. And once I had sewed my zipper, I folded the seam allowance on the lining piece under and pinned neatly along the waist seam and right next to the zipper teeth, to hand sew the lining in place.

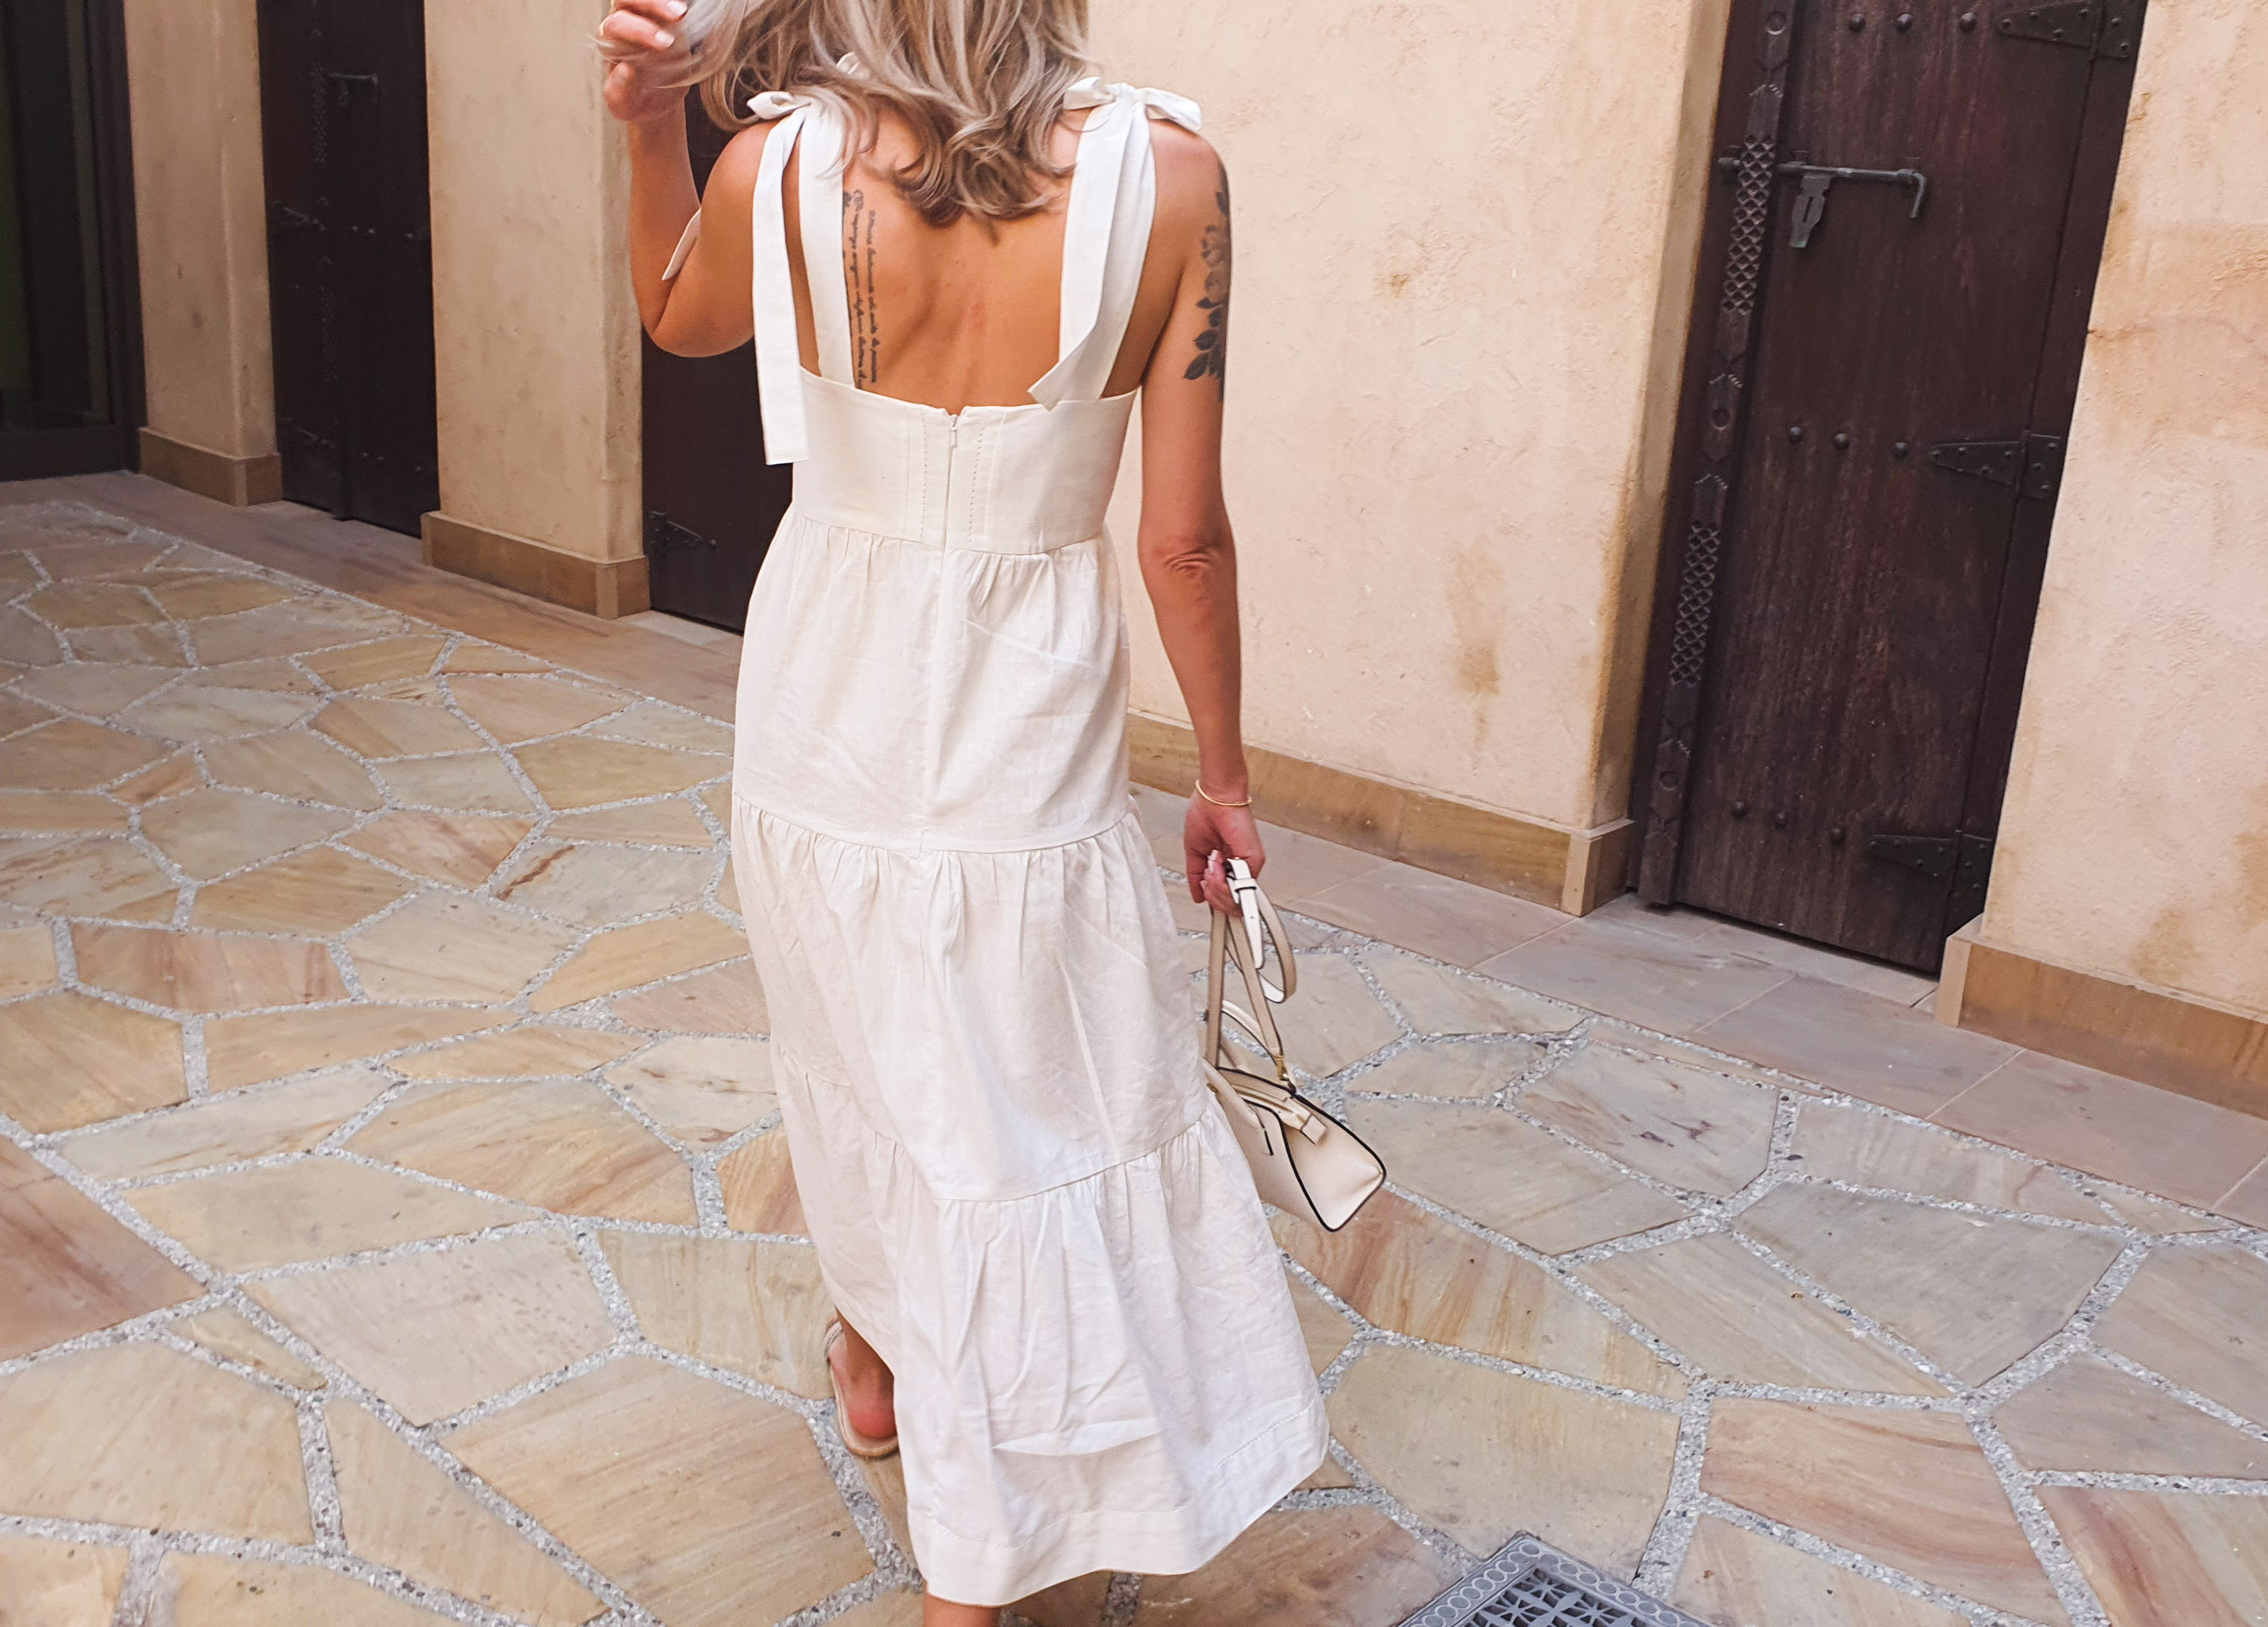
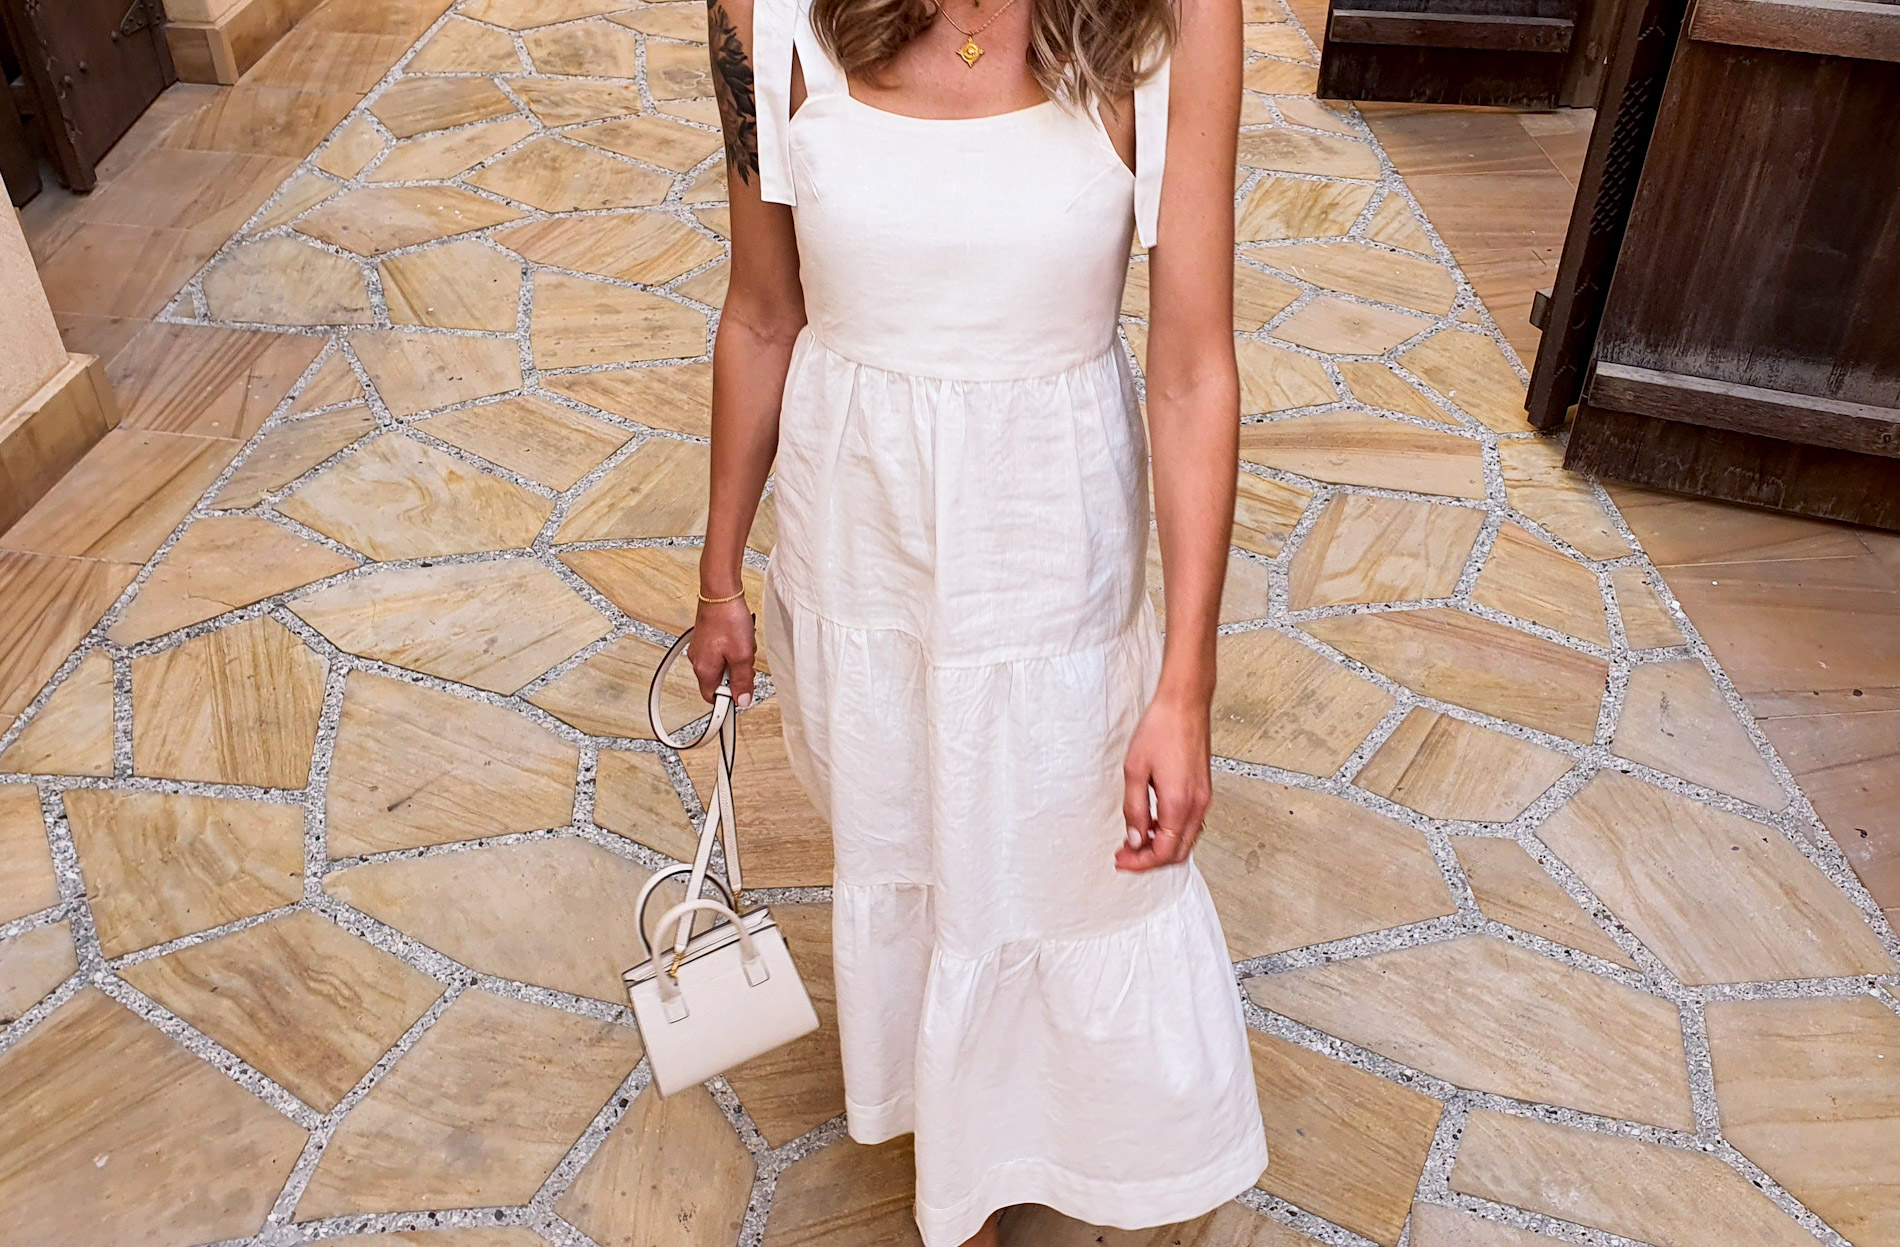
This is what my front side ended up looking like with the small deco details, which I did end up liking.
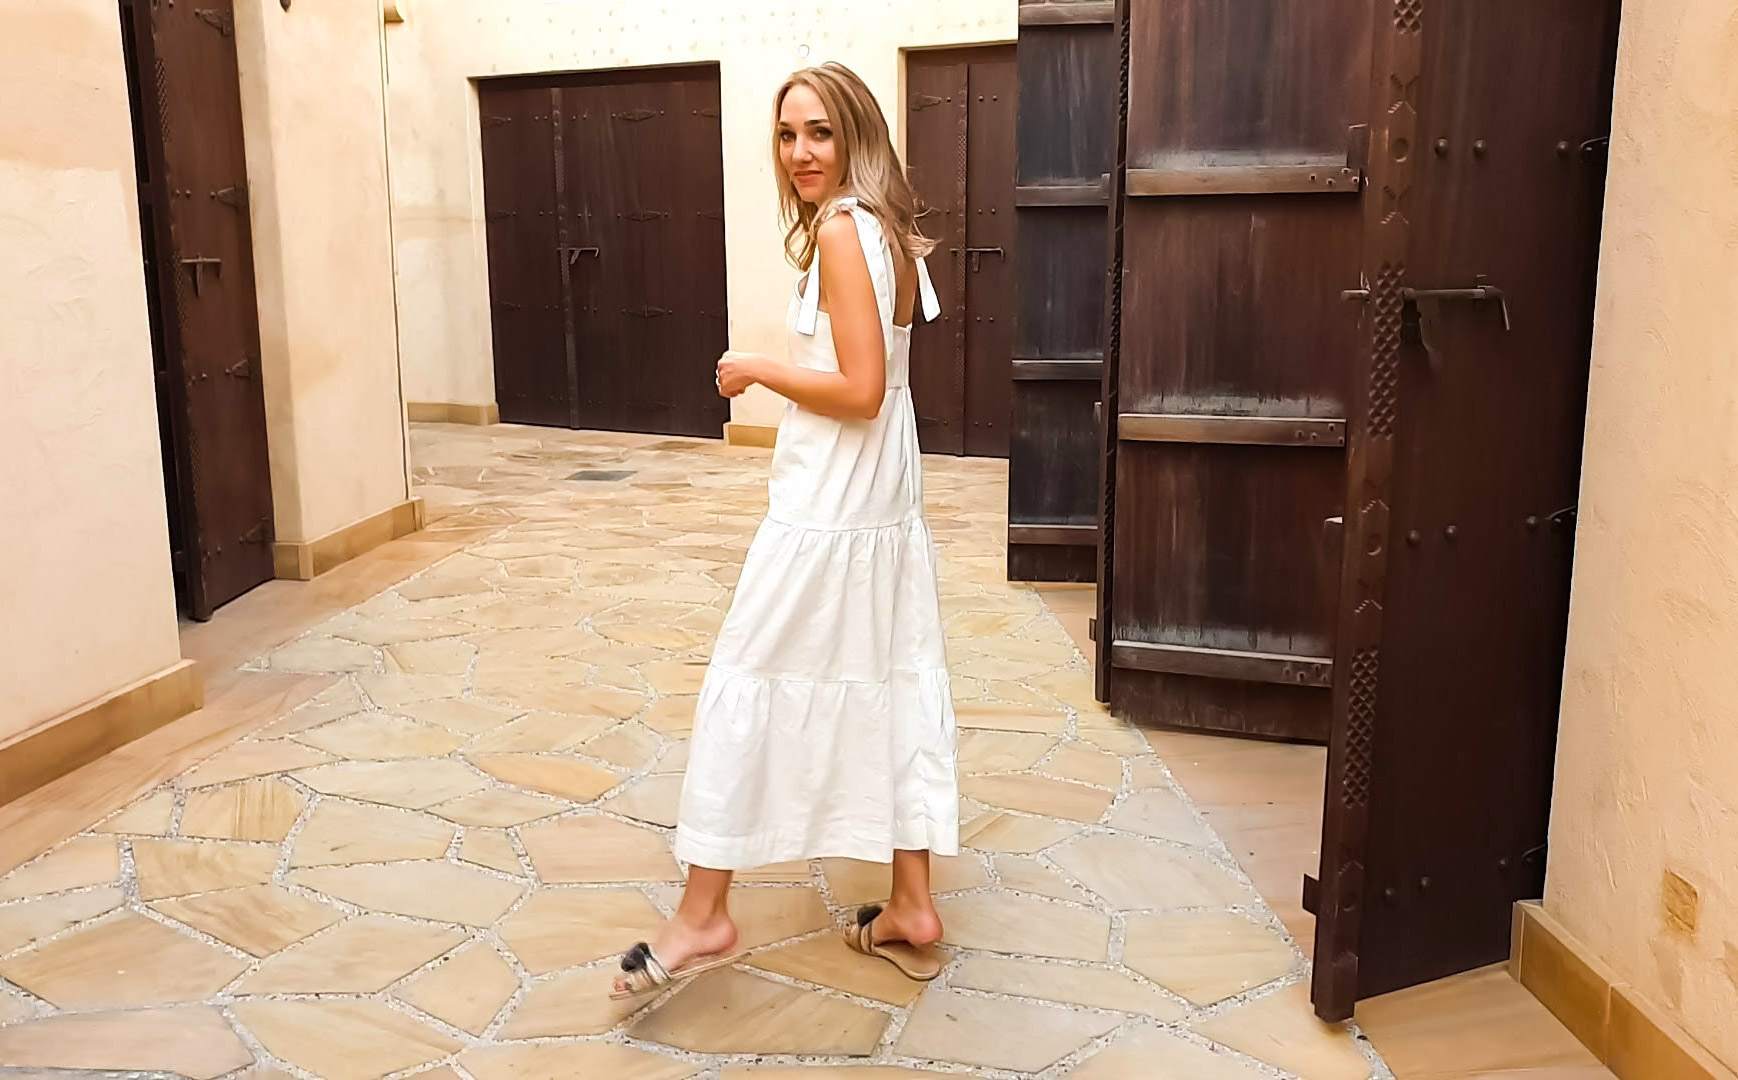
That is it my friends.

xo,
Julia


LOVE ❤️
ReplyDeleteThank you!
DeleteYou did a great job! I remember wearing these as a teenager & being terrified that someone was going to untie my straps. Probably another reason I don’t like straps 😃
ReplyDeleteThanks so much:) I hope one day you get over your tie-up strap trauma:D!
DeleteThat turned out beautiful. Nice job and it looks great on you. BTW, I love the floor and doors of where ever it is you are.
ReplyDeleteThank you! It's a place called Madinat Jumeirah in Dubai, built in the style of an old souk. Beautiful, definitely visit if you're ever in Dubai!
Deletelove it!!
ReplyDeleteThank you Beth!
DeleteAbsolutely beautiful!!!! I'm getting into sewing my own clothes, and I love that you are sharing the love of sewing clothes!!! Cannot wait to make this one
ReplyDelete